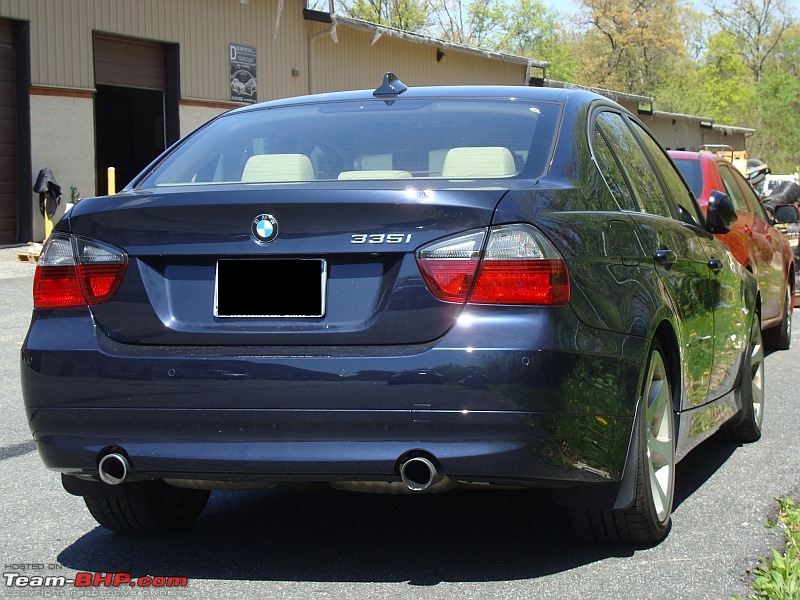
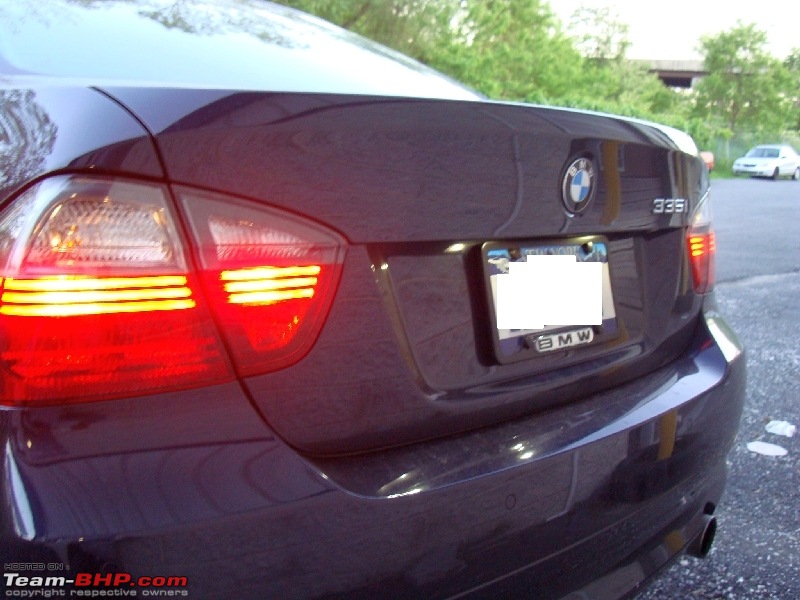
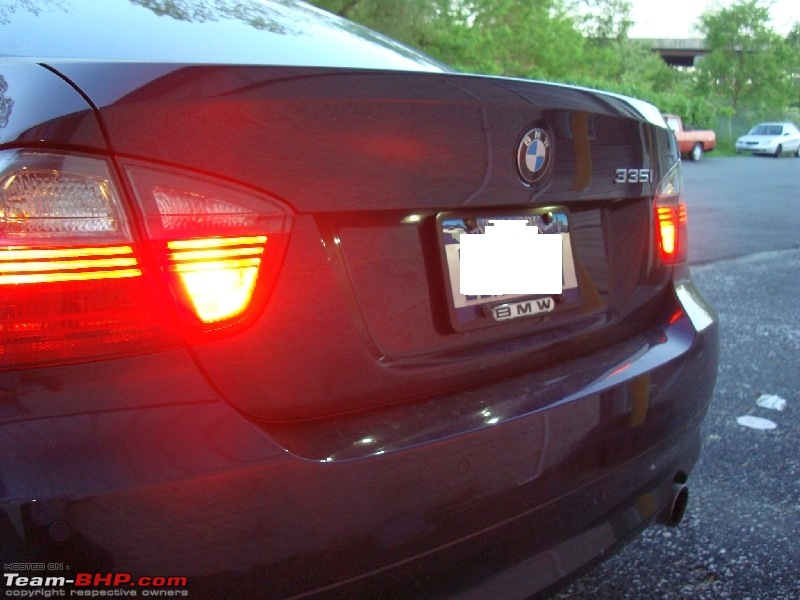
All U.S. bound E90 sedans come with full red (other than Reverse), tail lamps.
The front blinkers are yellow but the rear indicators blink red - as was the norm in U.S. in the past. Regulations were then modified to allow yellow / amber blinkers in the rear.
I know the Europe (and Asia too?) bound cars have a full red tail light too, but the blinkers blink yellow.
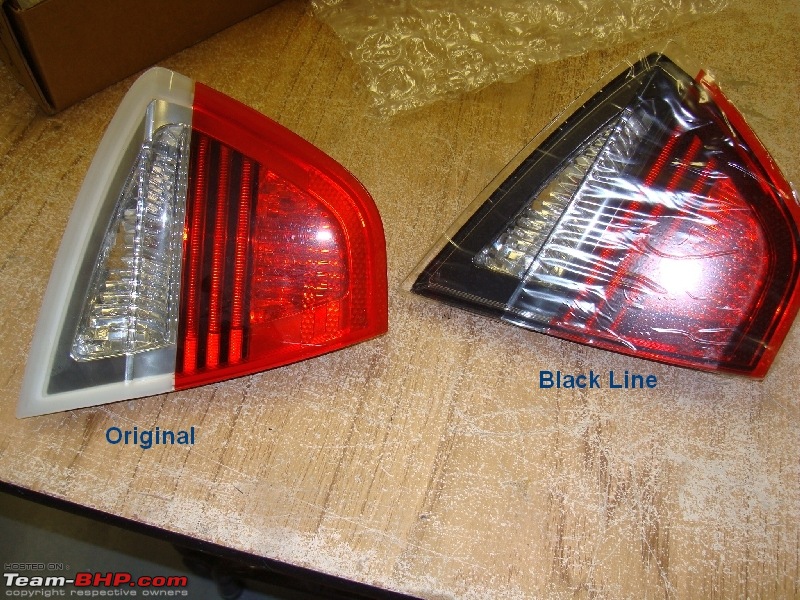
Then BMW came out with the clear / Black Line lights. They have clear lenses and blink amber and they look great!

This is what you need to order -
BMW P/N: 63 21 0 406 678
It comes as a set of 4 lights. 2 for the sides, and 2 for the trunk section.
If you need to order individually:
Left - Side:
BMW P/N: 63 21 0 406 878
Right - Side:
BMW P/N: 63 21 0 406 880
Left - Trunk:
BMW P/N: 63 21 0 406 883
Right - Trunk:
BMW P/N: 63 21 0 406 884
Please check model numbers and part numbers for your car before ordering. My car is pre-LCI (pre-model update).
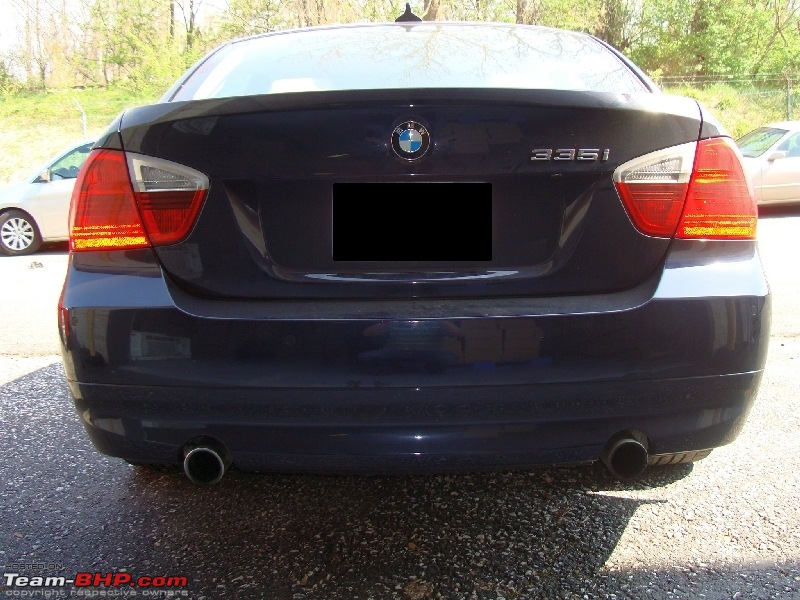
Original
This is what the original factory lights look like:
 Tools
Tools - Flat head screw driver (from tool kit)
- 8 mm socket with 1/4" ratchet, and extension (You will need to keep alternating between using only the 8 mm socket, the socket with ratchet and the socket with extension).
- Plug remover (if you have it, else another flat head or fingers are fine)
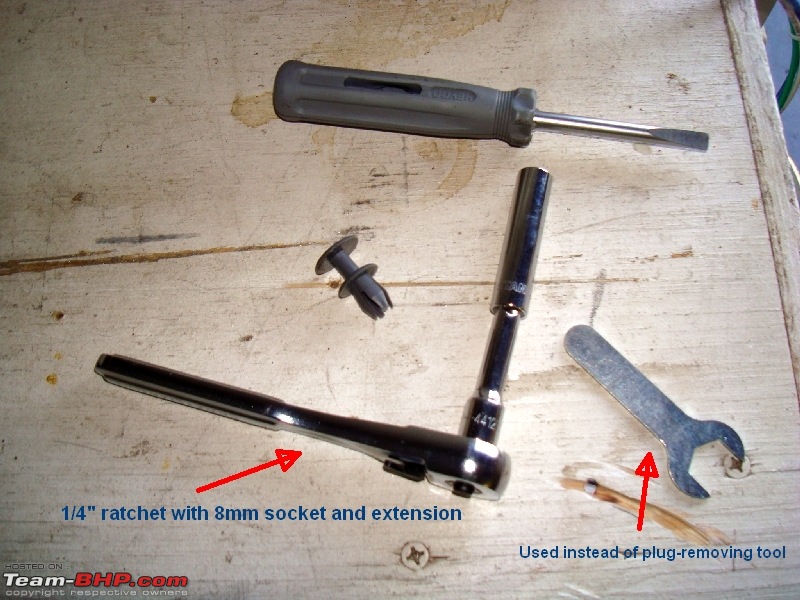
I didn't have a plug remover, so I just used the screw driver and a flat spanner that I found lying around, to help pry out the plugs.
Plugs 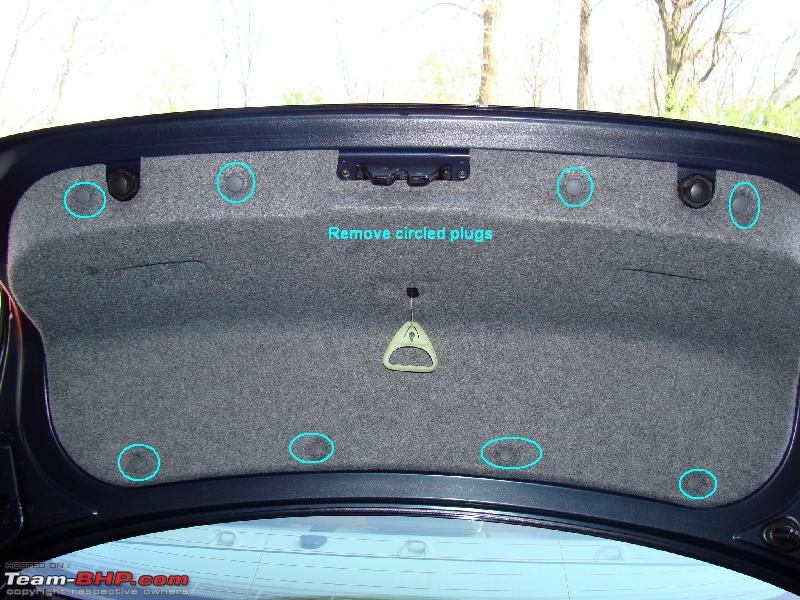
Remove the marked plugs using your fancy tools, and let the carpet hang. The emergency trunk release cable will hold it.
Left - Trunk 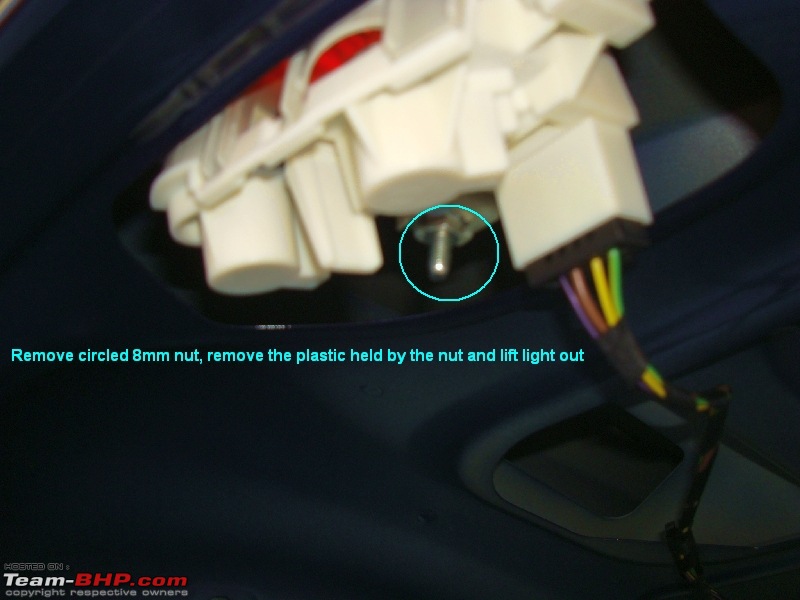
Remove the marked nut, and the plastic tab.
Right - Trunk 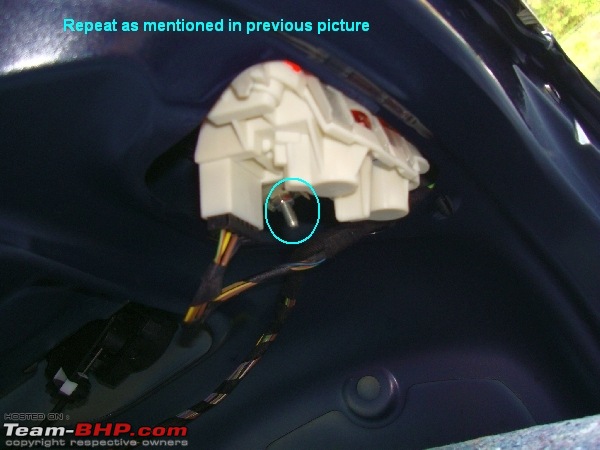
Repeat for the right side.
Compare
Here's what the old and new look like:
 Remove nut & tab
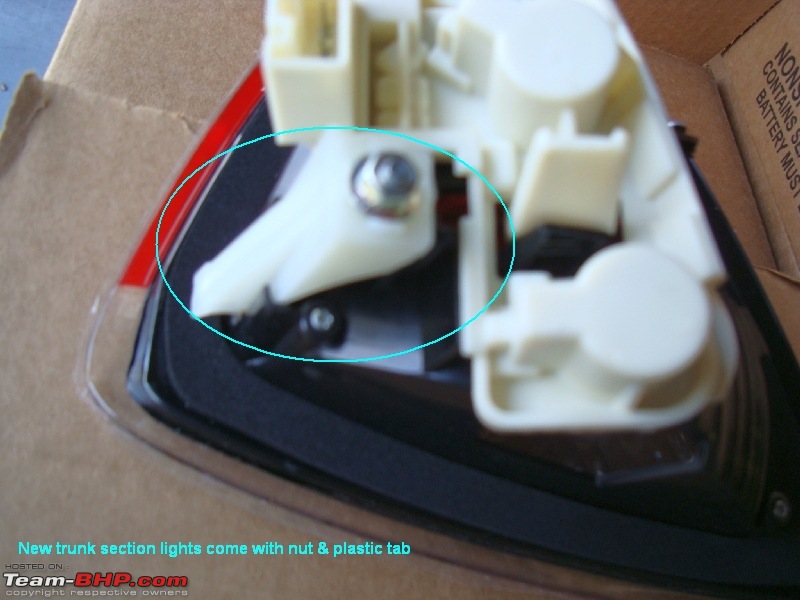
The lights which go onto the trunk (Left & Right), come with new nuts and plastic tabs. You will have to remove these before mounting onto car. Otherwise, the lights won't mount.
Once the light assembly is mounted, then slide in the plastic tab from the bottom - it goes into a slot. Then tighten nut.
Repeat for other side.
Don't over tighten, as the assembly is all plastic!
That's the trunk section dealt with. Now the Left & Right side sections.
Left - Side 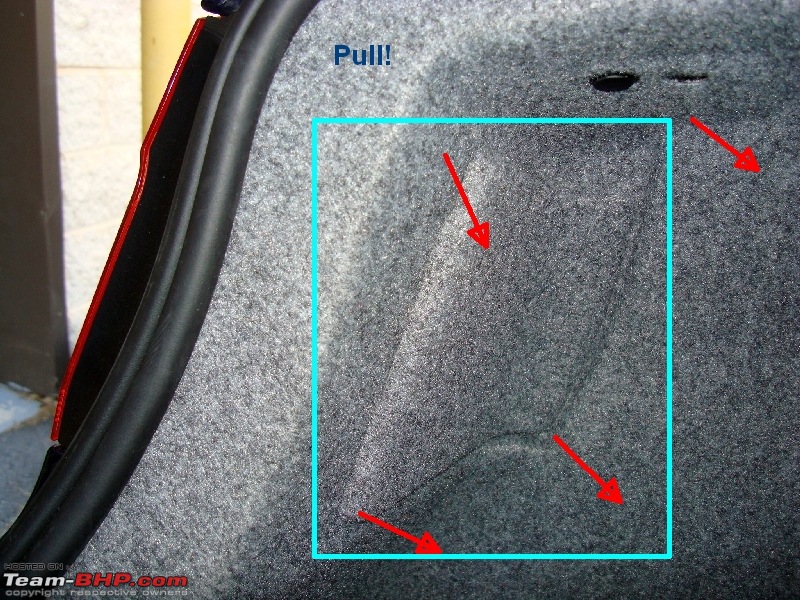
Pull out the carpet on the Left as shown.
Left - Side nuts 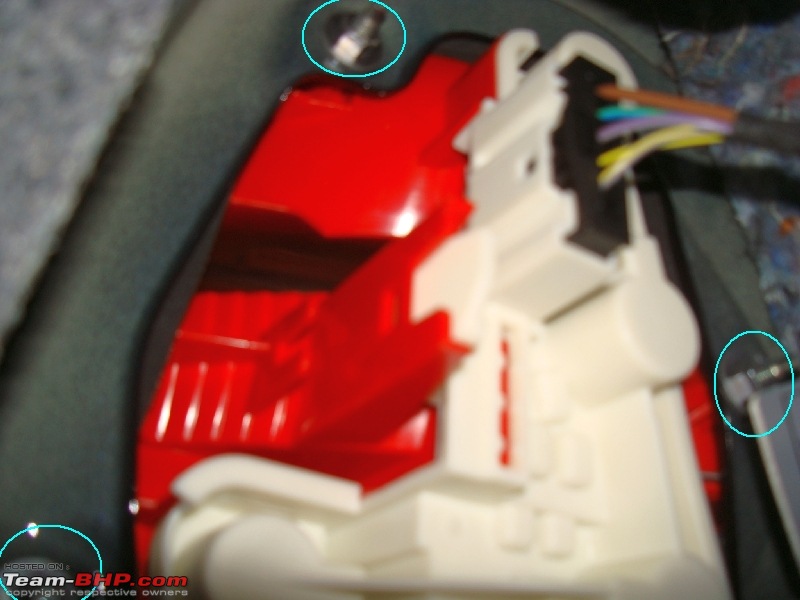
Remove marked nuts.
No new nuts 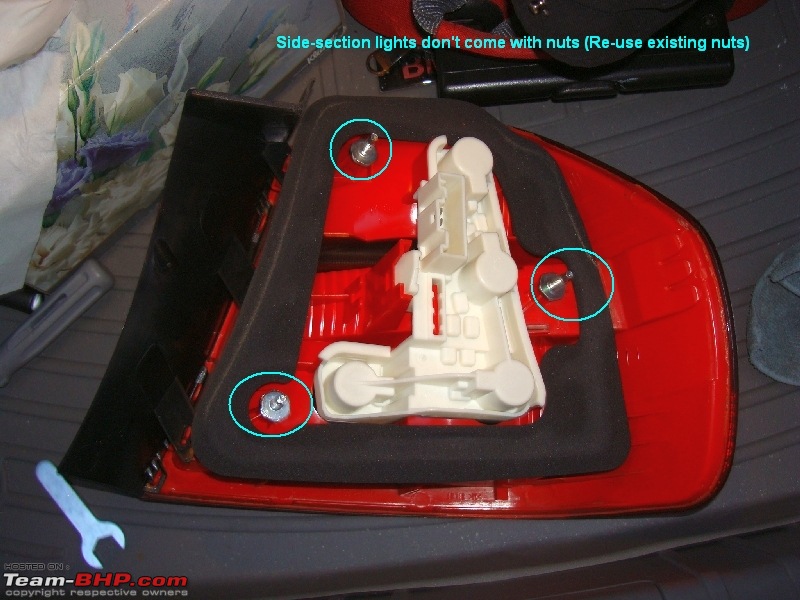
The side lights don't come with new nuts, so you'll have to re-use the existing nuts from the old lamp assemblies that you remove.
Right - Side nuts
Open the battery panel knob, and you have access to the Right side assembly. Remove marked nuts.
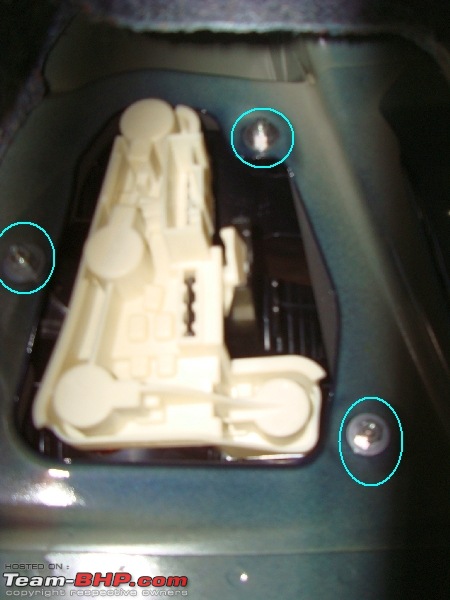
You might have to align the assemblies if they don't line up - you can do that by adjusting the 3 nuts till you're satisfied.
The side sections are a little tougher (strength-wise) than the trunk sections but still try not to break anything.
Black Lines
Here's a picture of the car with the new lights installed:
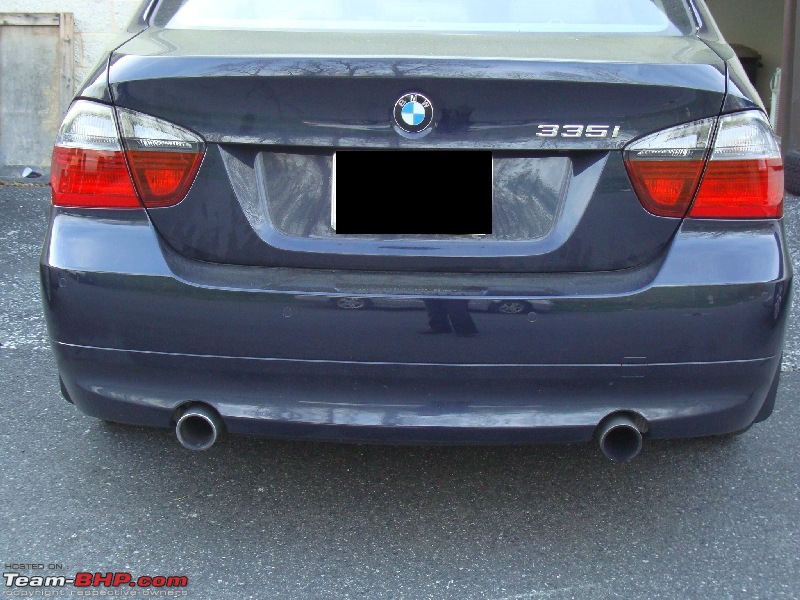
(Needs a wash).
Hope you like it! Very simple procedure - shouldn't take more than 1/2 hr or so.
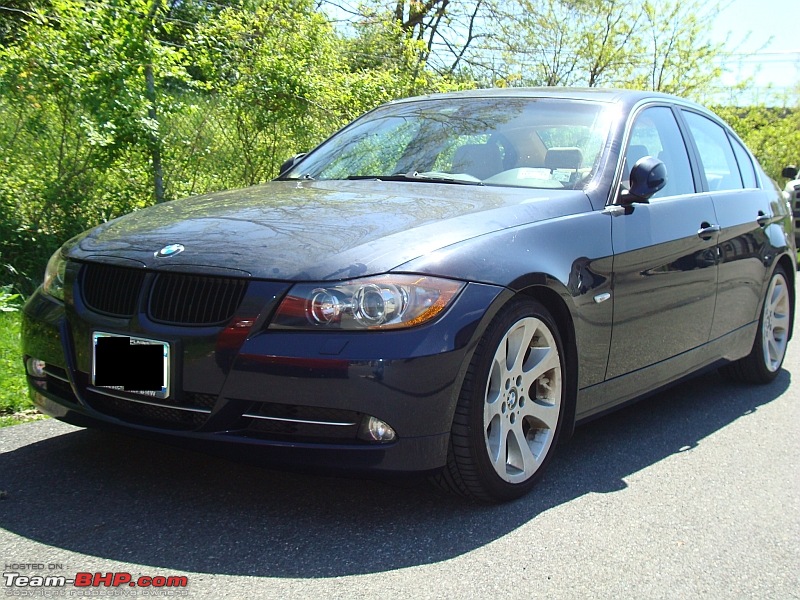
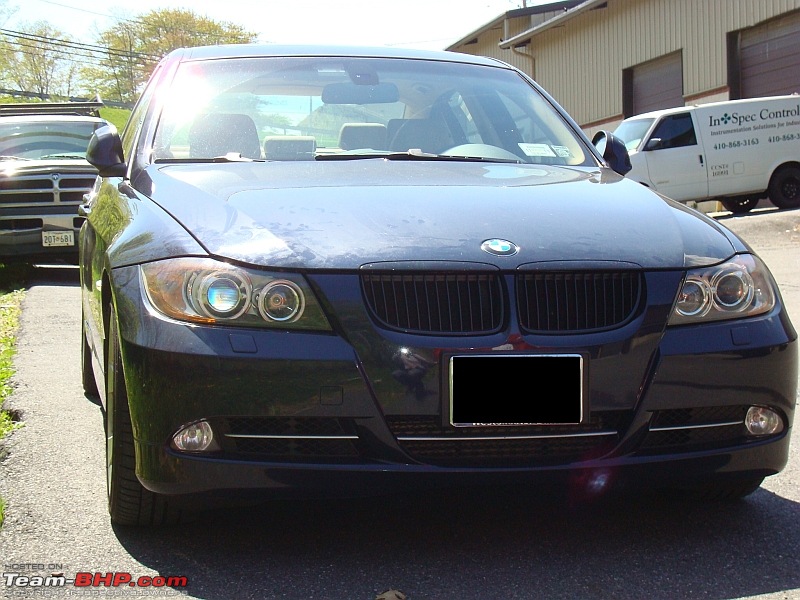
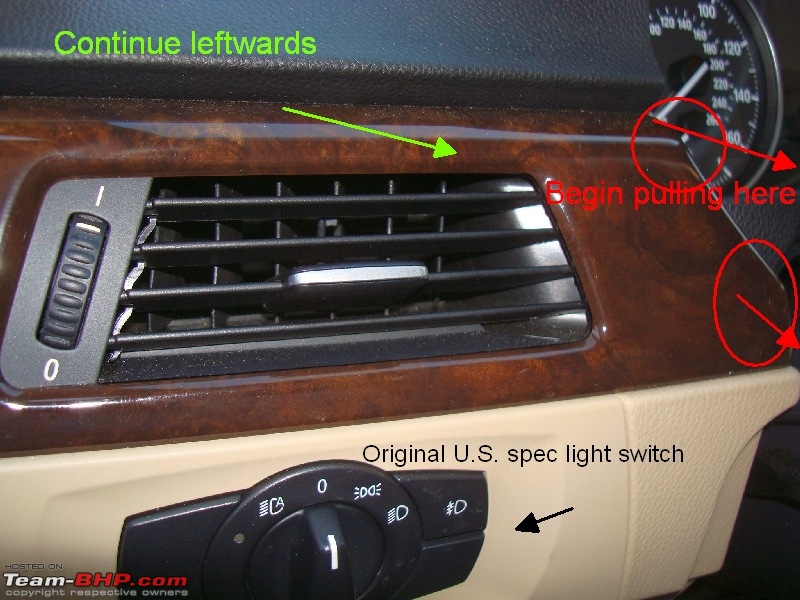
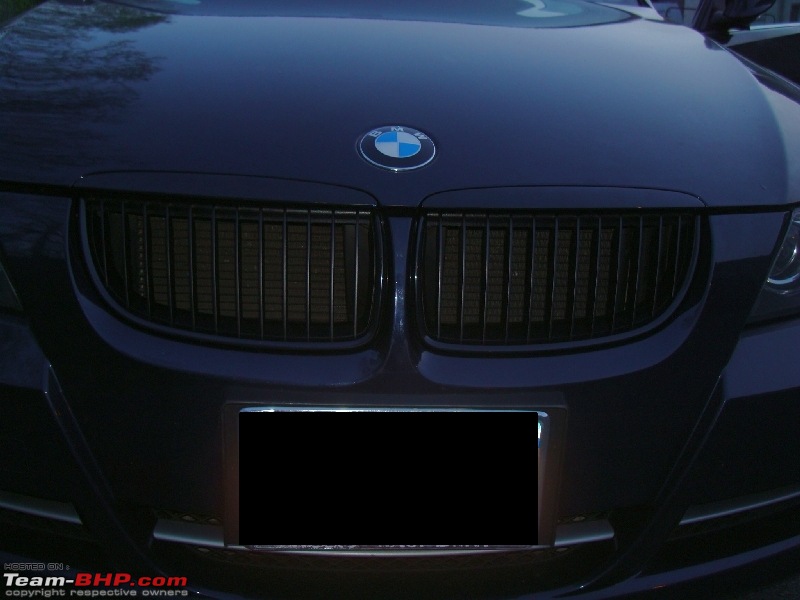
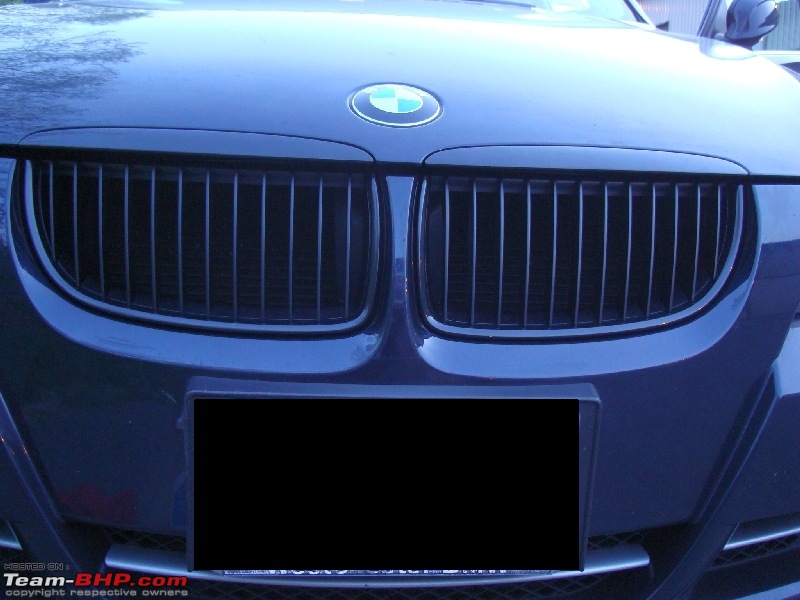
Here's a look at what I'm working on currently:
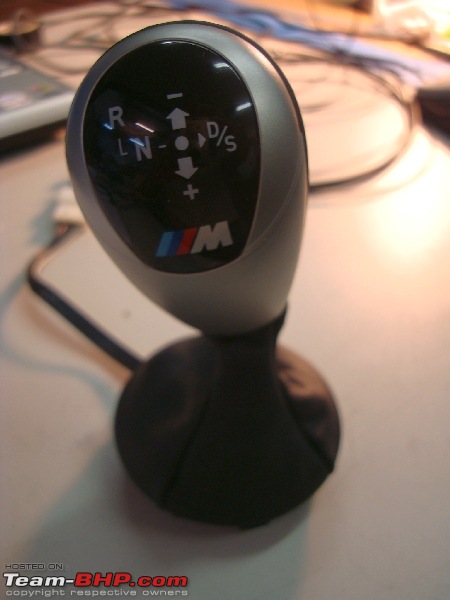


 (1)
Thanks




 Maybe we should work in marketing....