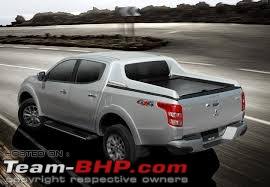
I've been looking out for a roll bar (also known as a sports bar) for Emma. Unfortunately, most bars are not compatible with the Carryboy roller lid I have installed (see post below). The challenge being that the lid takes up most of the space on the sides of the tonneau, and most bars require a triangular mount at the front end.
Quote:
Originally Posted by VivOverland  |
While this accessory is more a case of form over function; in my case I do need it to enhance loading abilities from time to time. Some of the requirements:
1. Provide mounting points for lights.
2. Tug points to run straps and ropes.
3. Support for people sitting out back on the trail.
Had looked at many options, which can be summarized to these 2
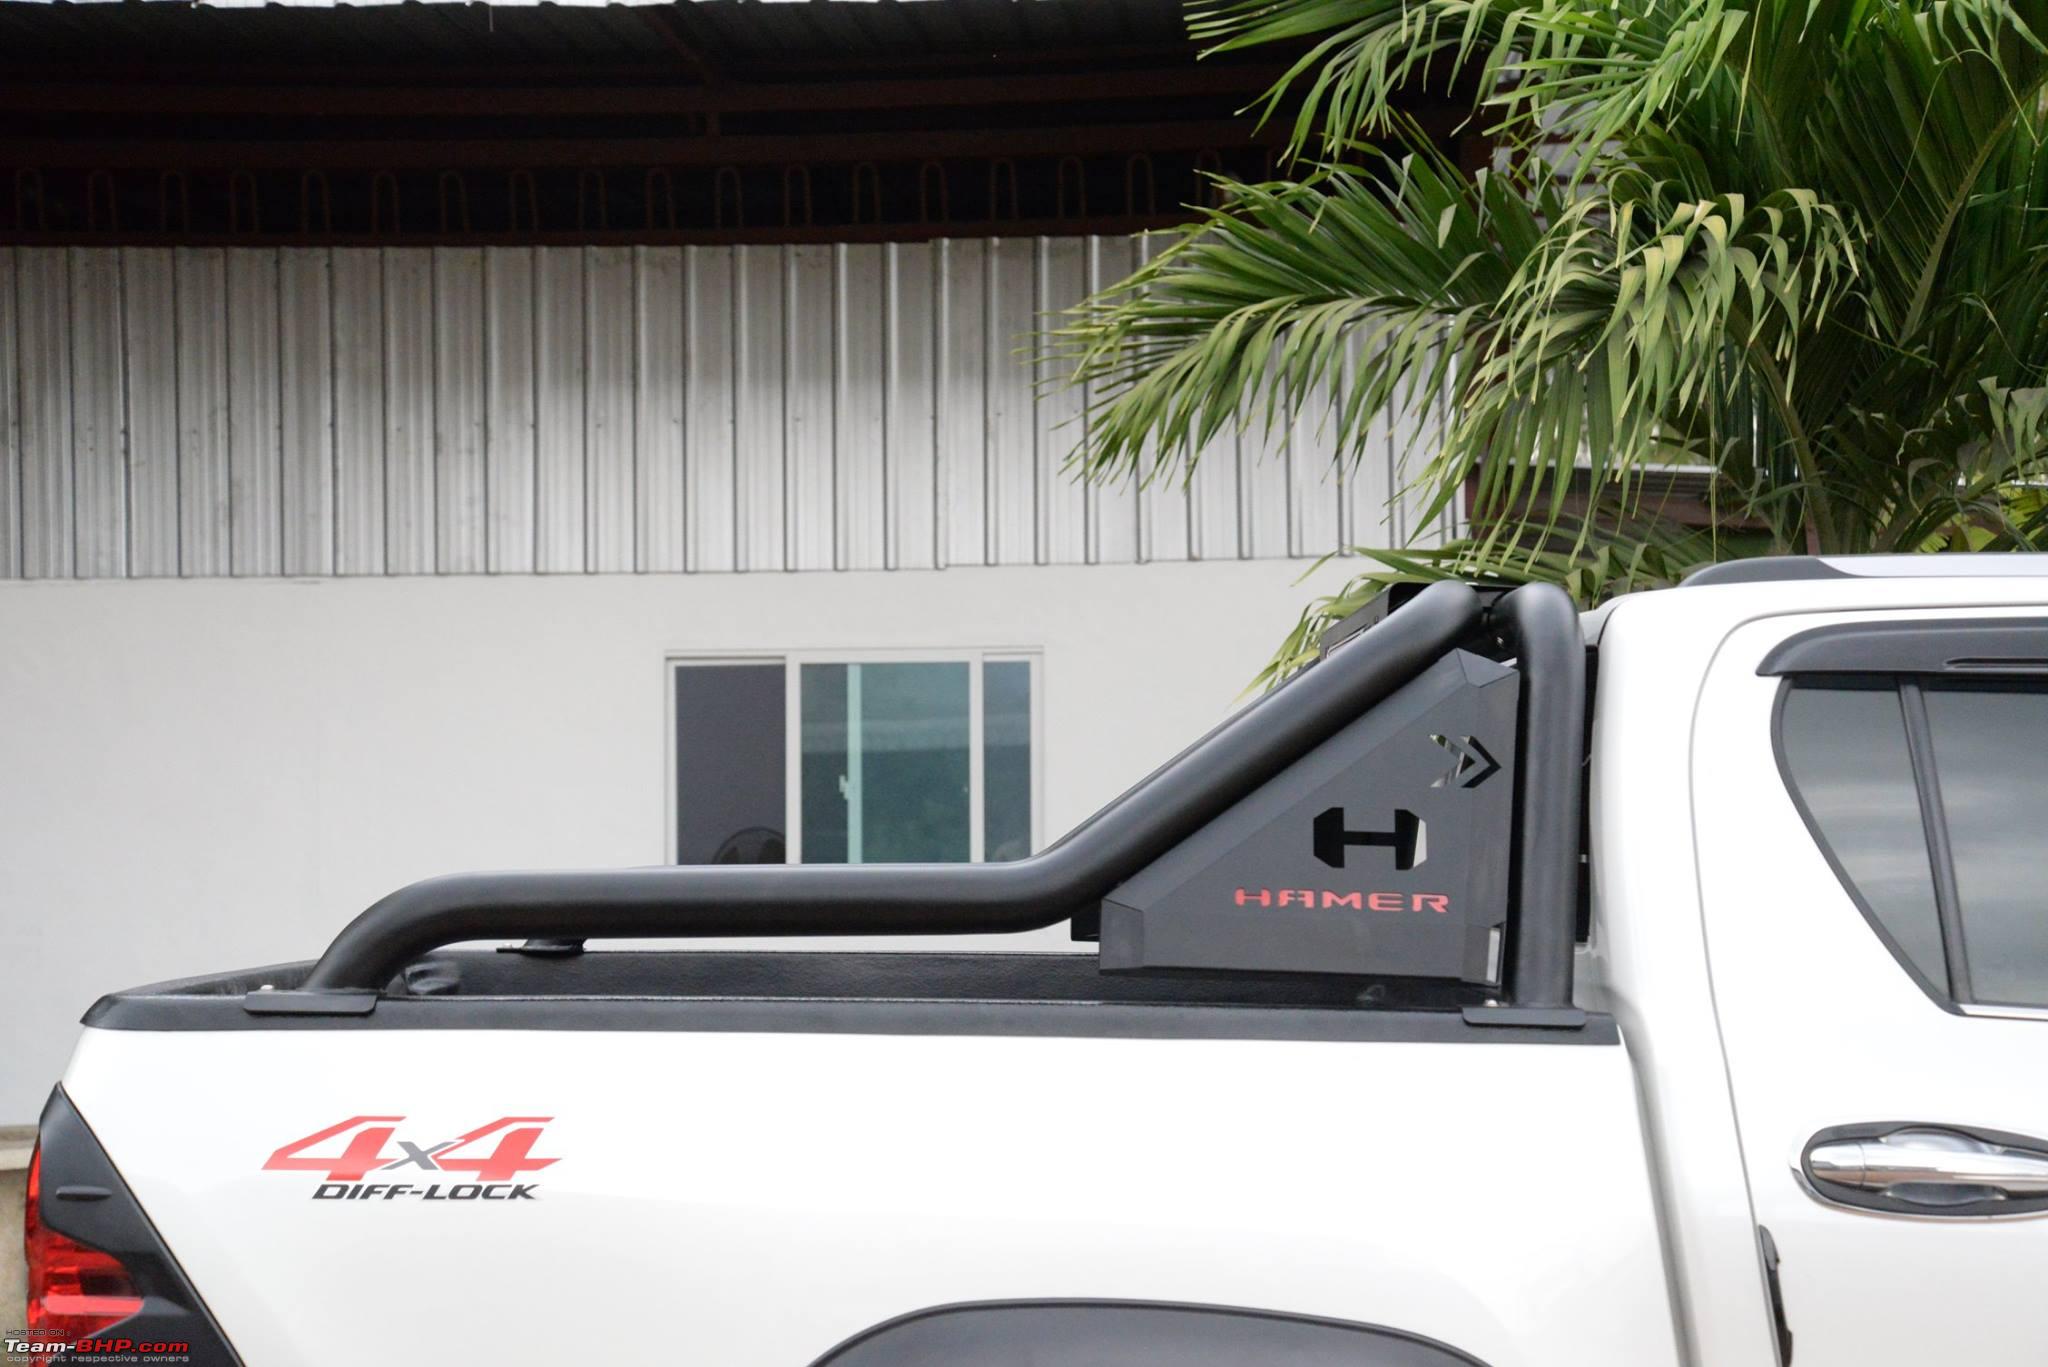
Hamer Long roll bar
Carryboy sports bar (compatible with CB roller lid)
Obviously the Hamer fit my needs, but unfortunately in stock condition it is not compatible with the lid I have. Also found these way too expensive, for what is essentially shaped tubing with powder coating (remember these are usually for form, not function). Kept looking out for options, as I was quite happy with the roller lid configuration for most of my drive cycle. Along the way, and basis notes dropped on the Facebook and WhatsApp owner forums - got in touch with Bon AutoTech (BAT), based in Mumbai. The owner also drives a DMax, and they have a range of products being developed for the truck. What is unique about BAT is that they are India based, and produce 4x4 accessories for international markets, primarily for Mahindra products in South Africa. What this means is a more appetizing price, minus import duty as the goods are manufactured in India. For the DMax I saw side steps, roll bars, snorkel, tonneau boxes, and the like.
(Disclaimer - I have no affiliation or special consideration with BAT, and paid retail rates for my purchase).
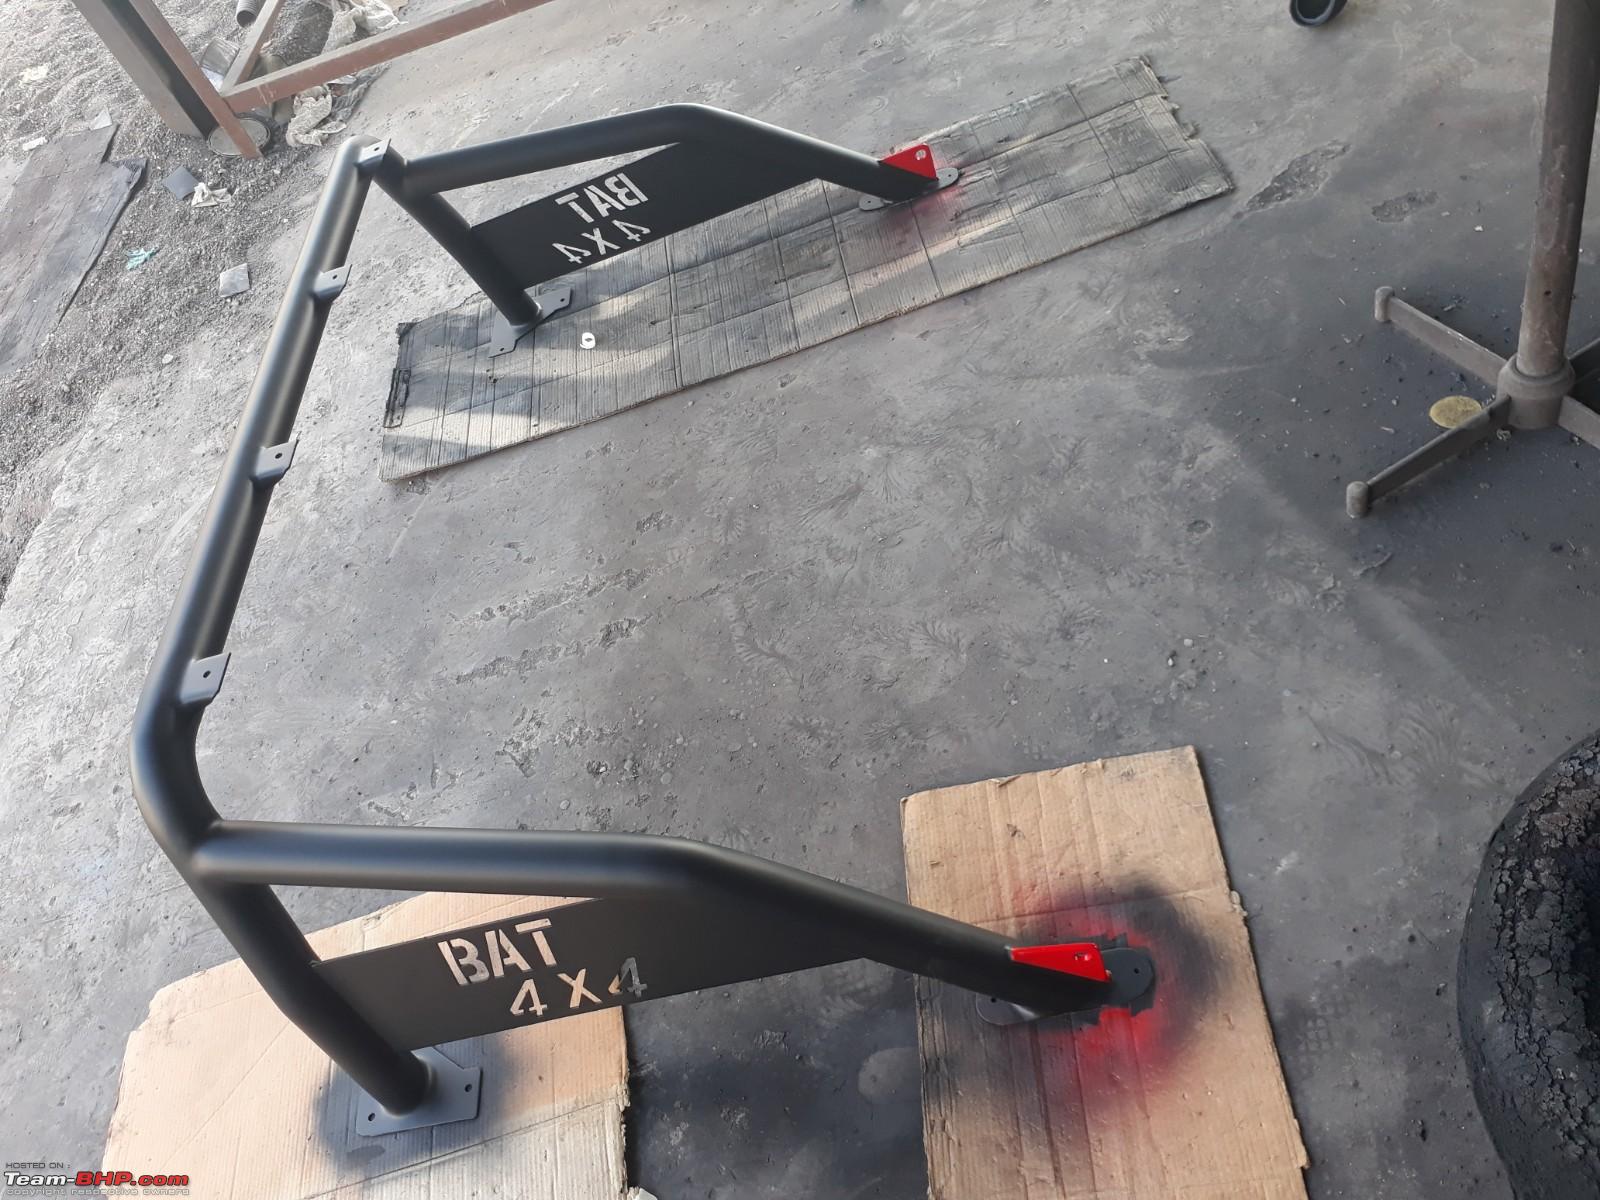
This is what was proposed, with a higher top bar (on which to mount lights).
The owner also seemed quite happy to customize his product to my needs, and we agreed on a mounting system and also additional tug points for lights (4x on the top bar) and ratchets / straps (2x on the side bars). Some variance to the standard paint job (blood red highlights) was agreed to, and we had a deal. As the product is under regular manufacture, my custom bull bar was quickly modified and ready for me in just a few days.
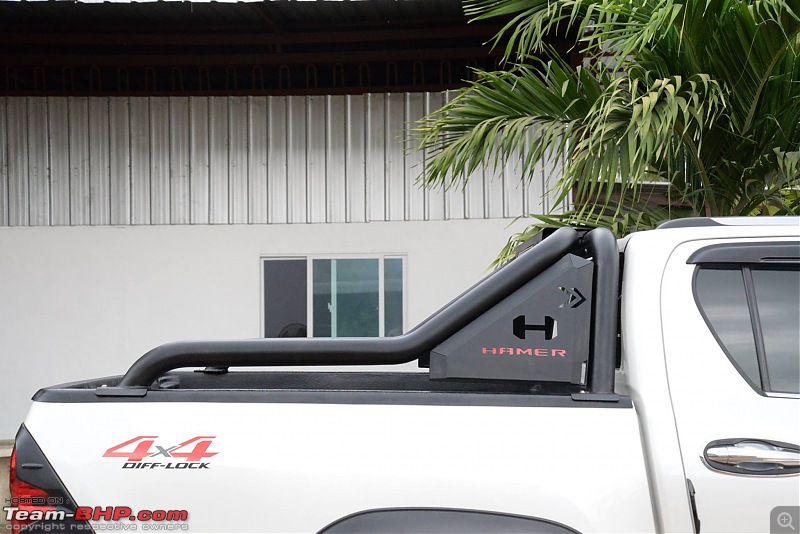
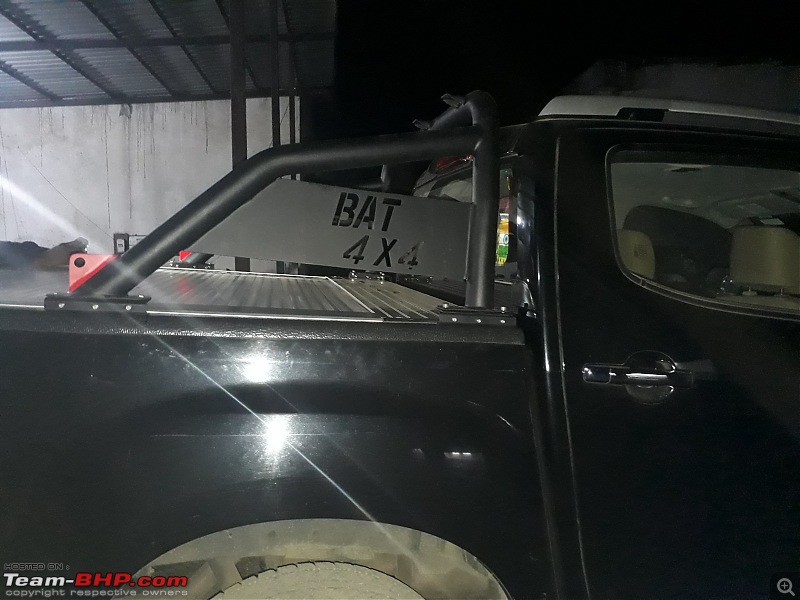
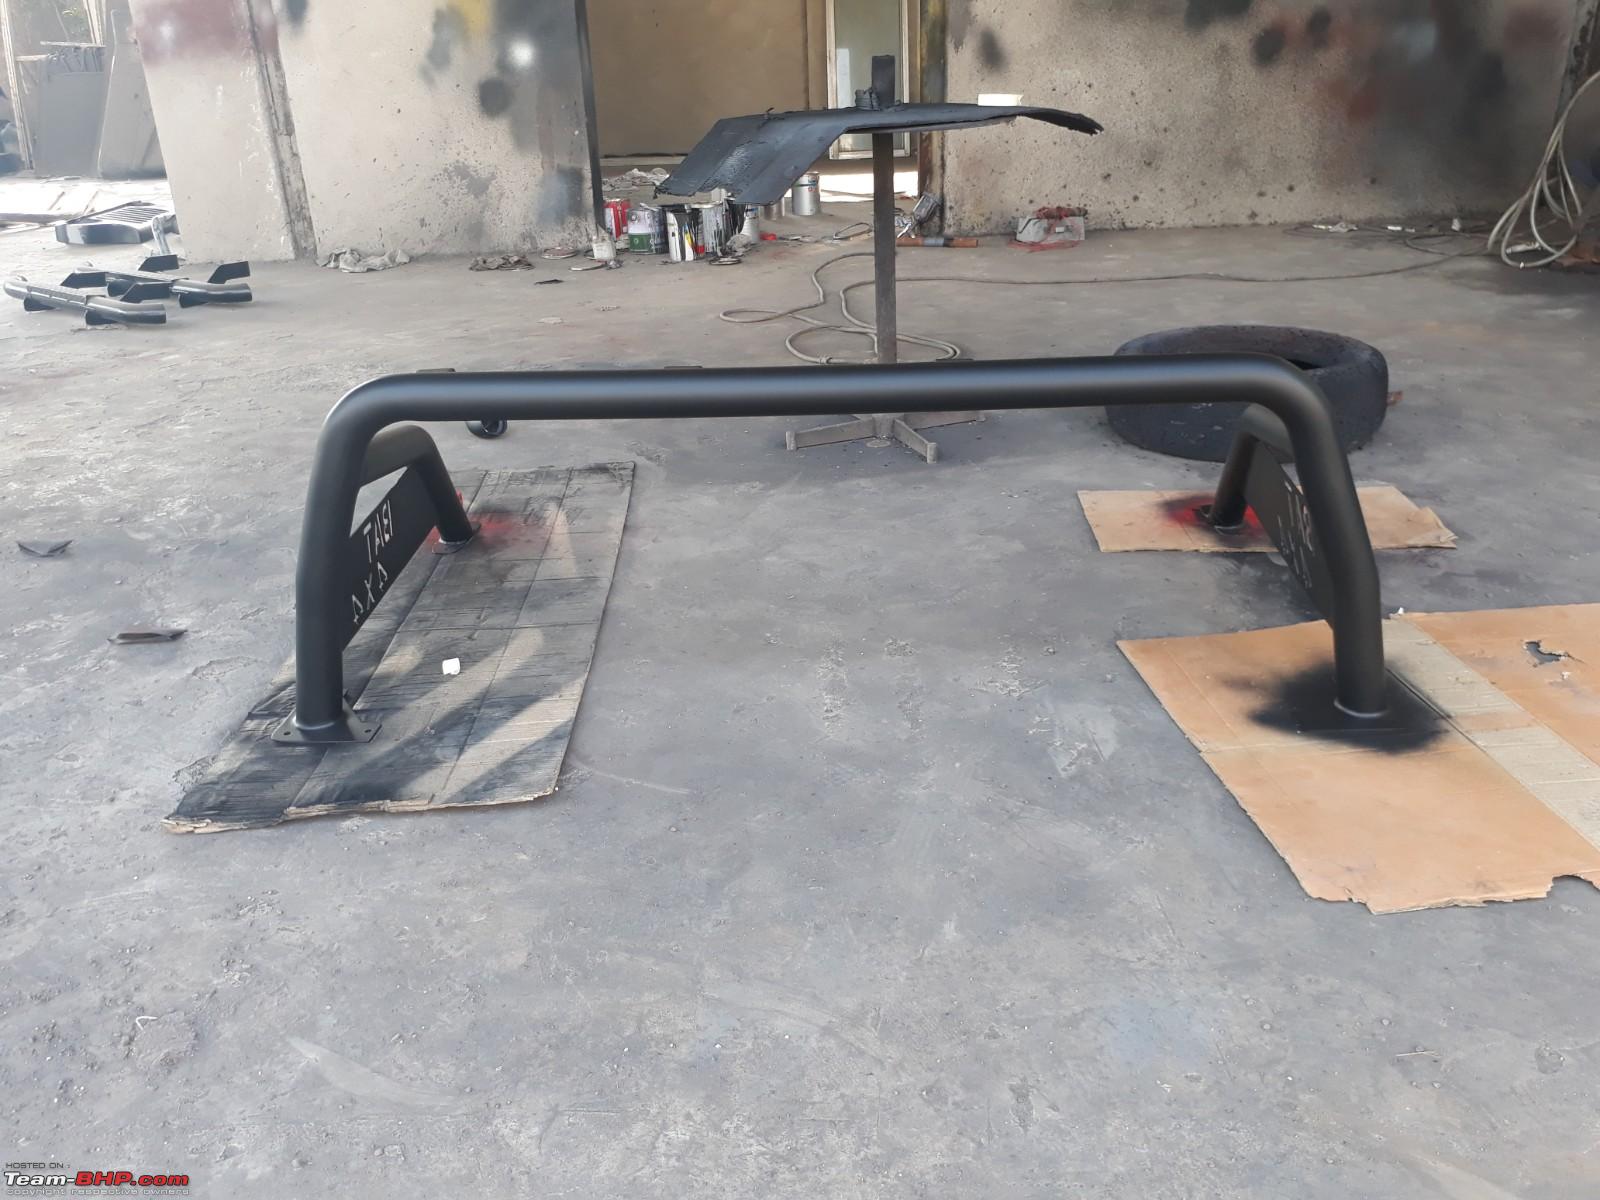
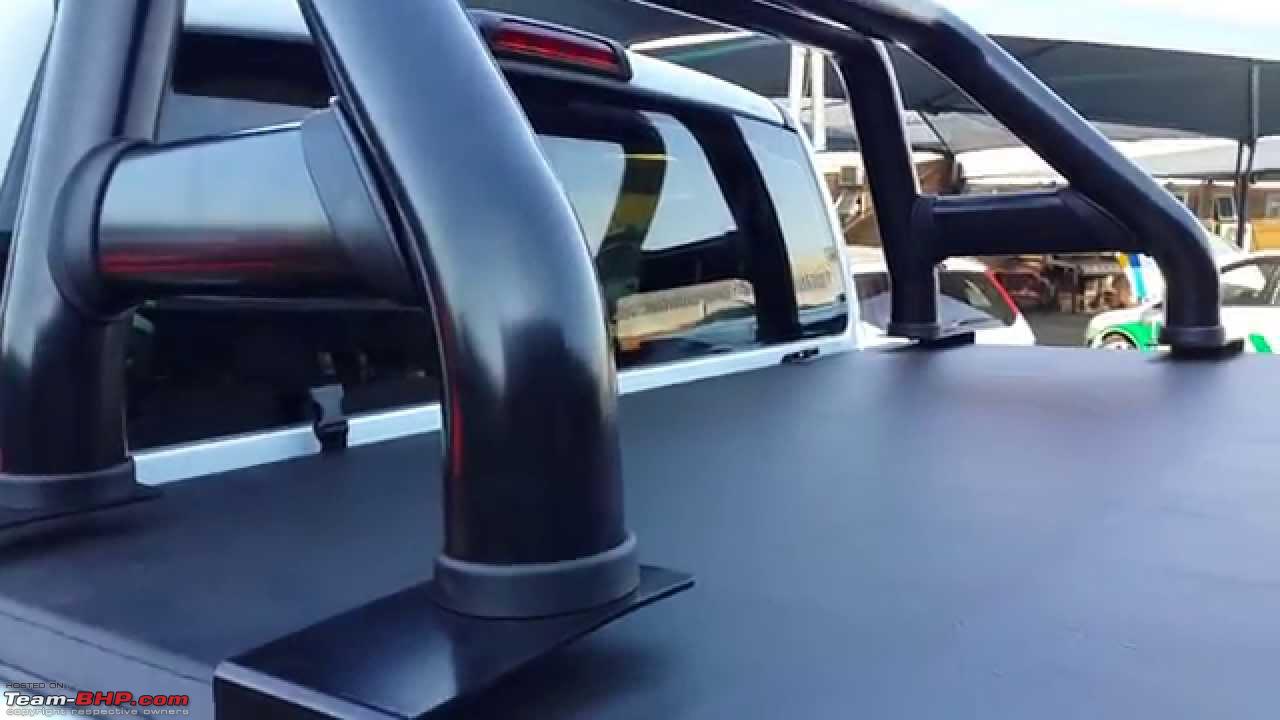
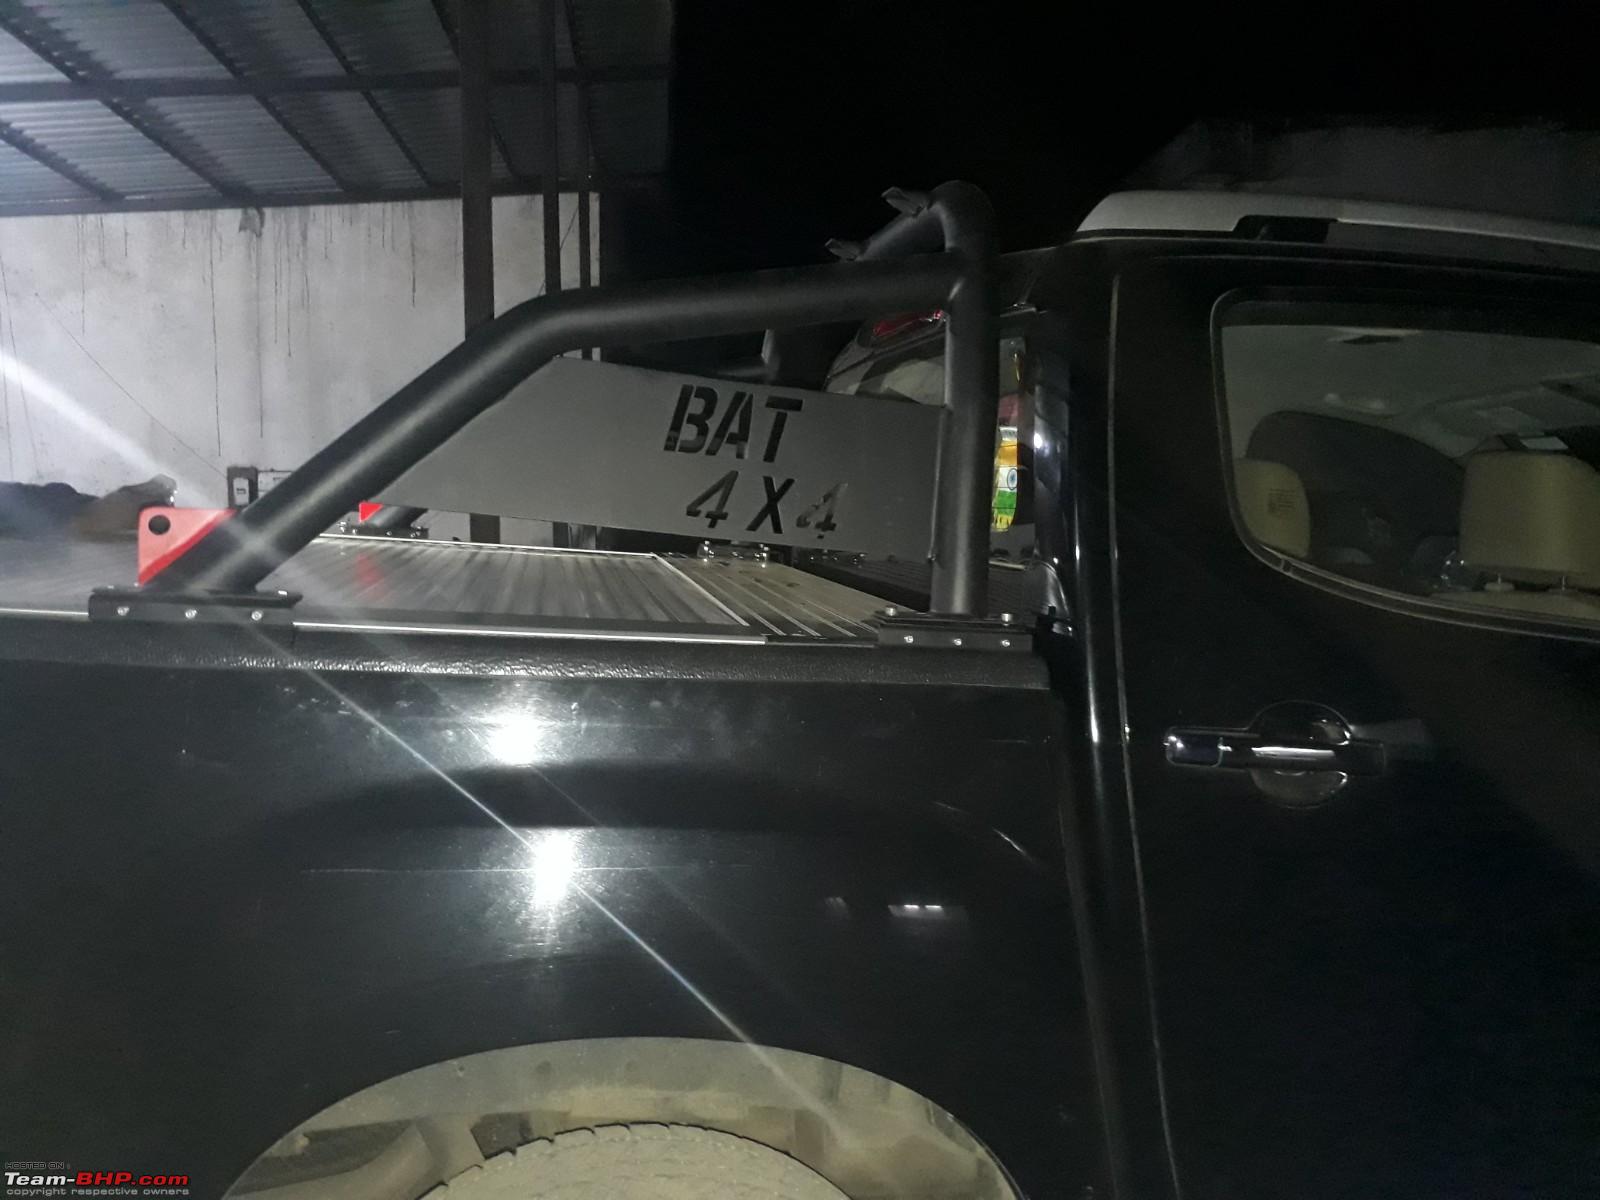
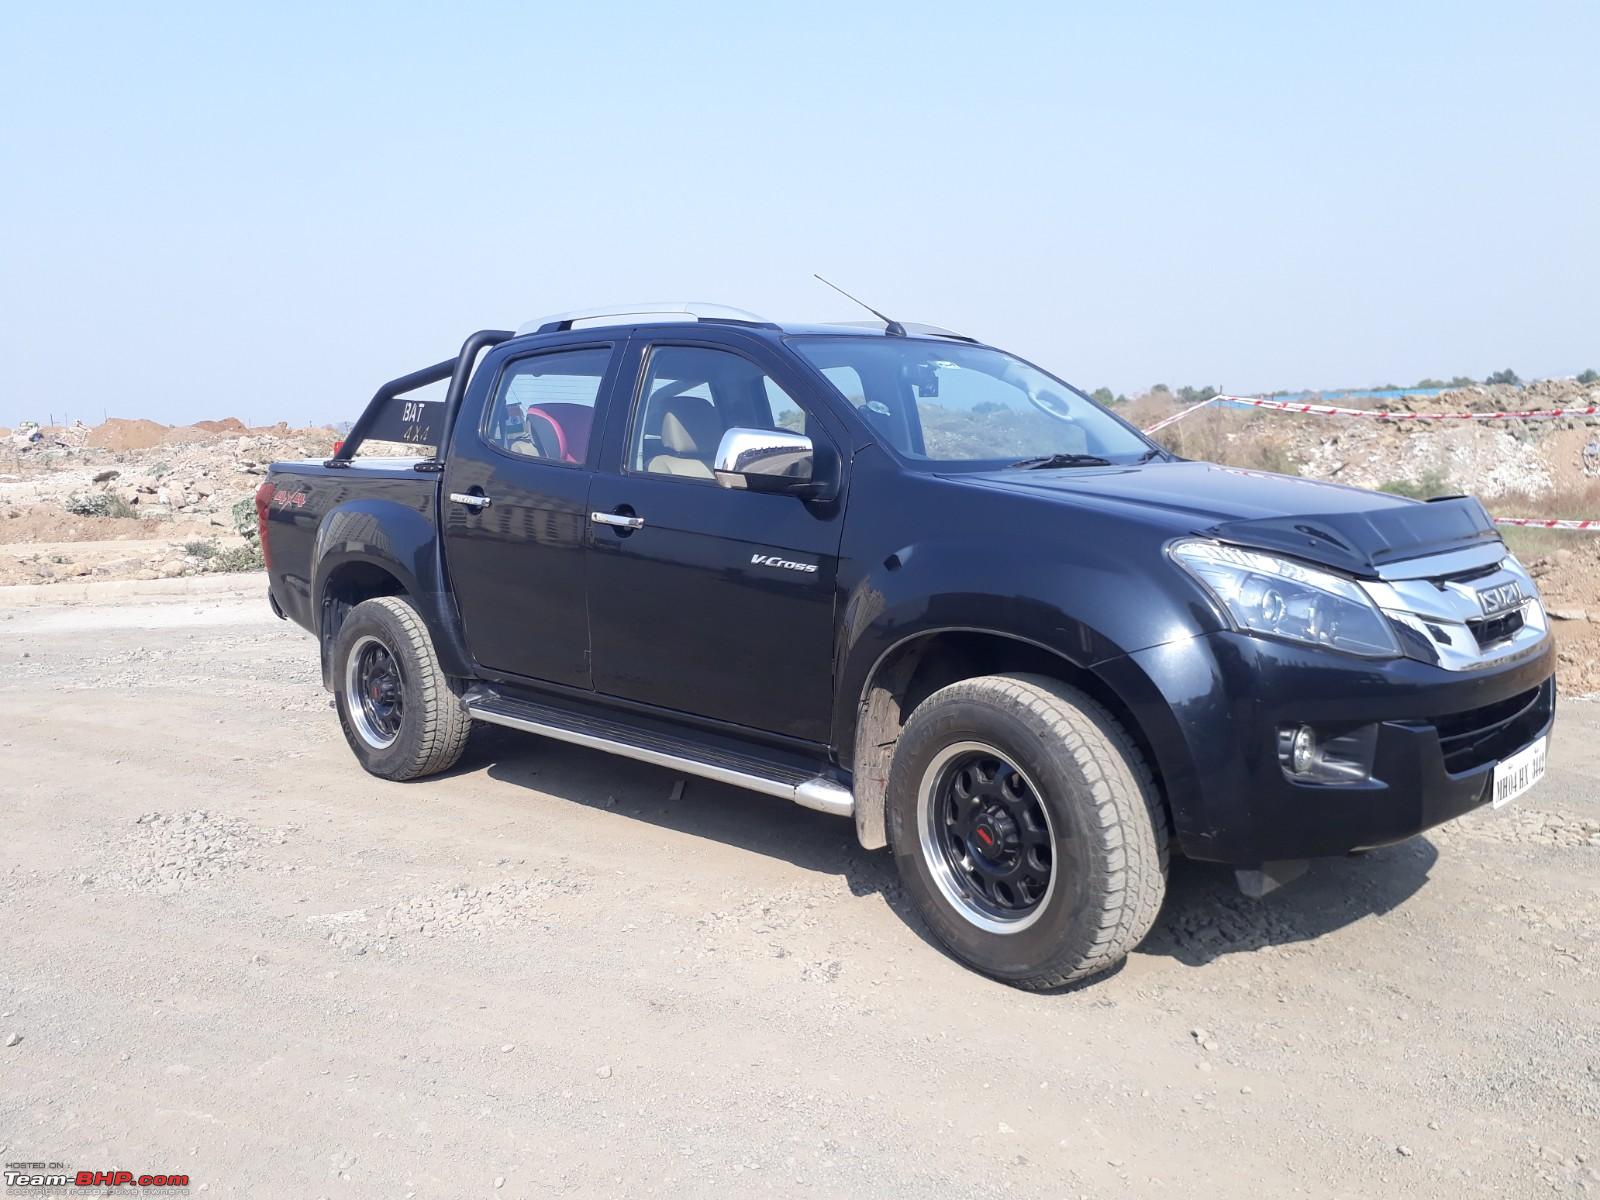
Here's the finished product at the workshop
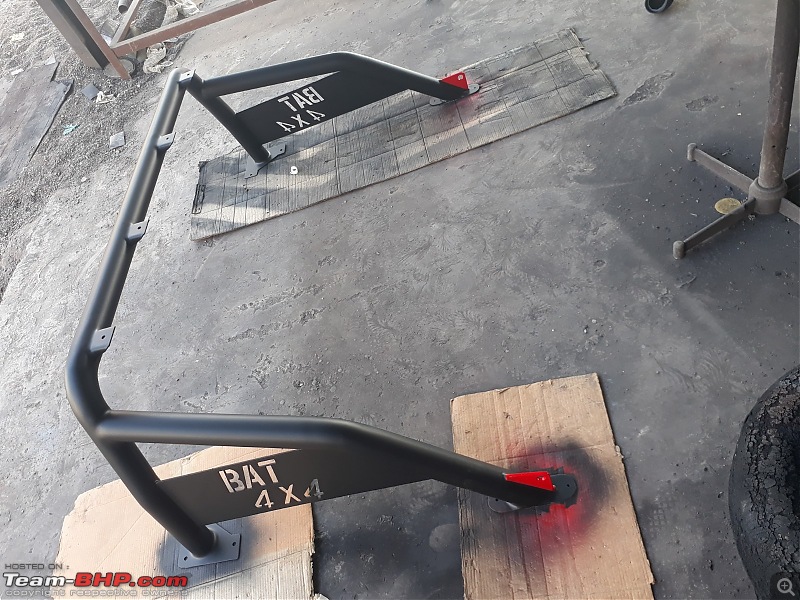
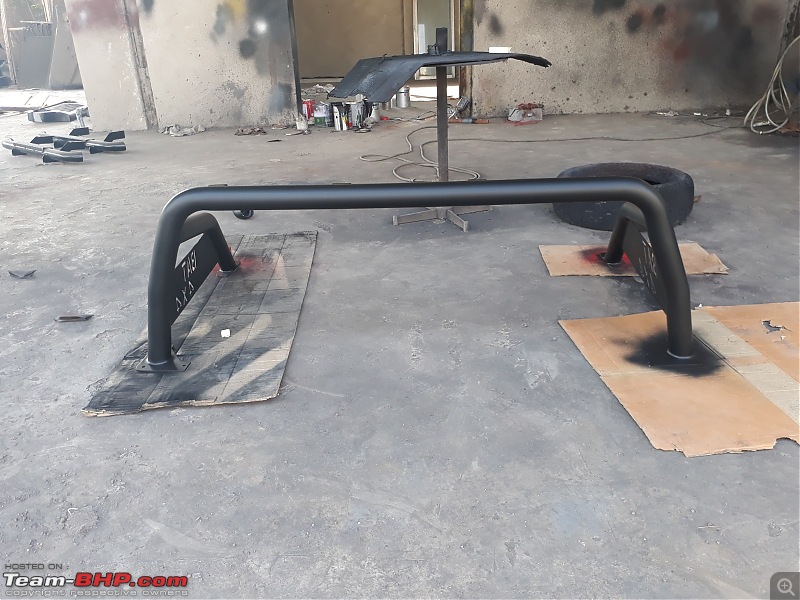
Some thoughts from first impressions:
- you certainly get what you pay for. The finishing is a bit rough in places, but nothing I can't live with.
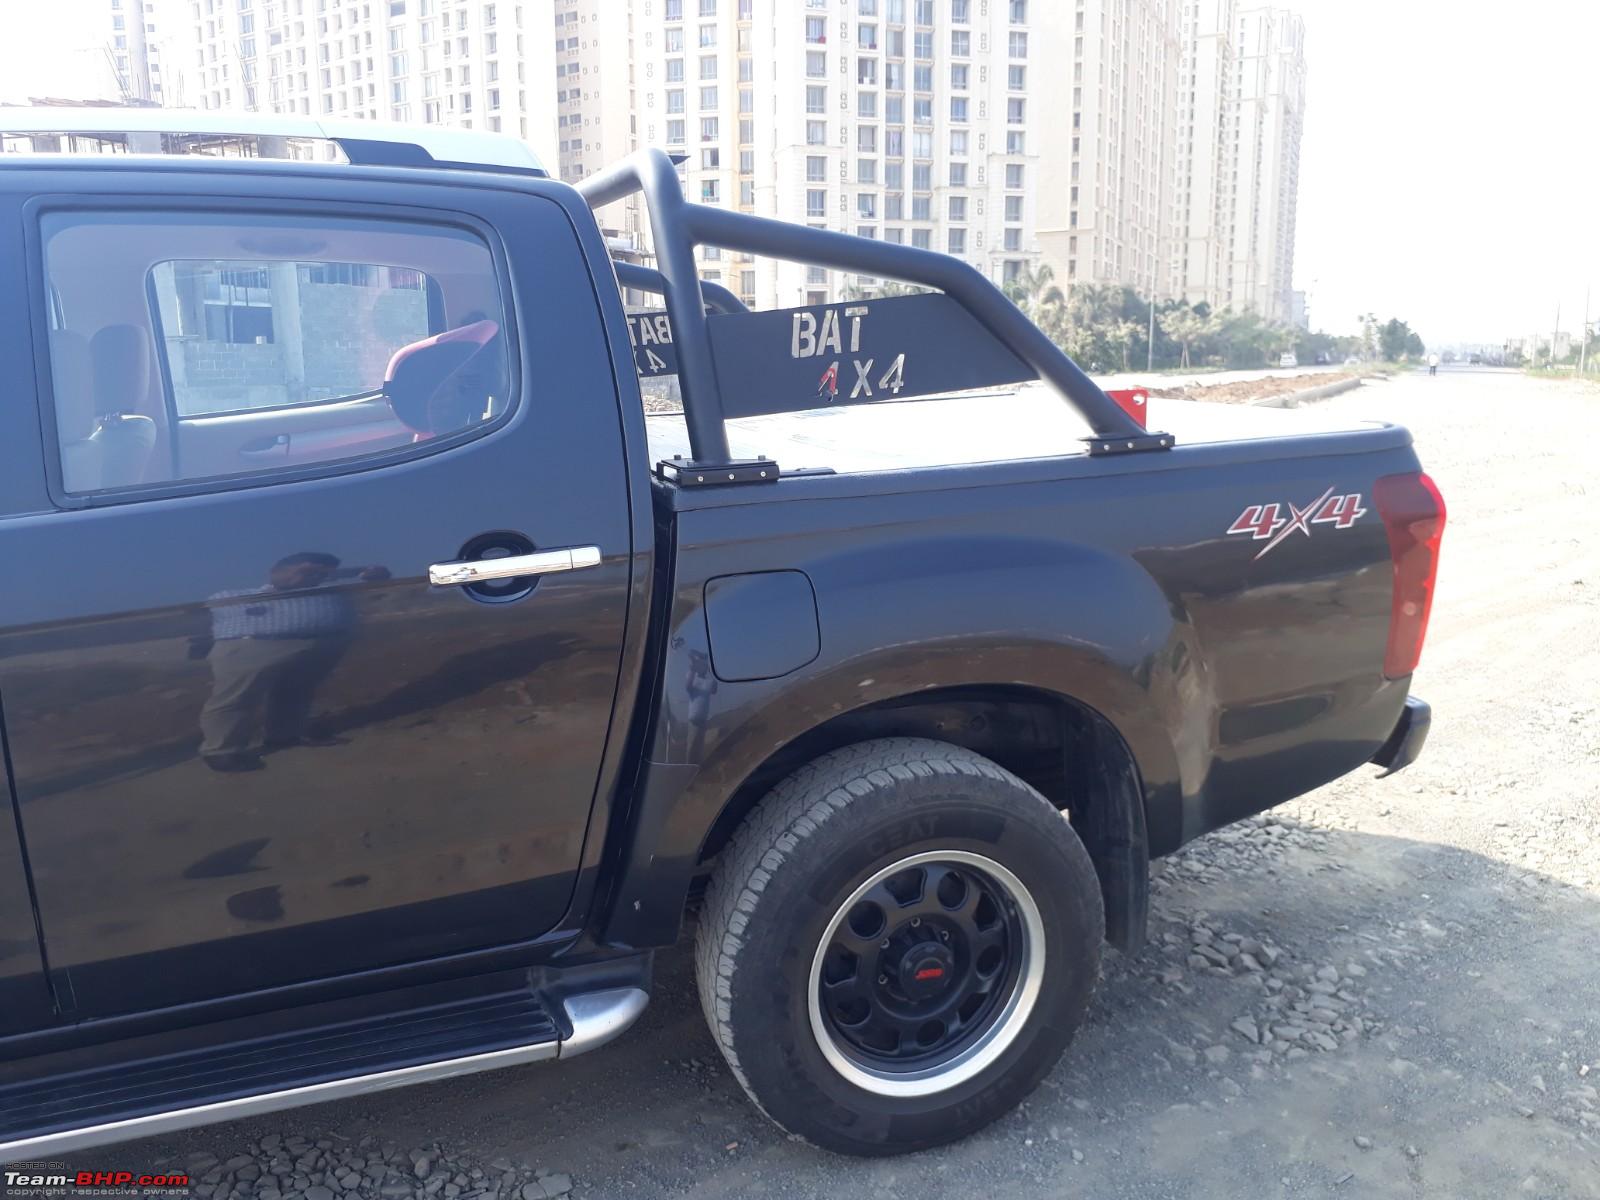
- BAT logo was much larger than anticipated. Again, decided to live with it.
- there were elements which were missed out from the design the owner finalized with me (jerrycan holder, 2x tug points). Put it down to Chinese whisper from his side, as I know the plant guys were on top of their game. He was surprisingly not available to clarify, when this point was raised. Neither was the sketch shared with them for better understanding.
- the plant team had no clue of my specific setup required (they thought it was a standard fitting, and were getting set to drill THROUGH the CB roller lid). However once I (re)explained my needs, they were more than ready to help, and immediately did what they could to find a solution. Another reason to always personally supervise work on your beloved machine.
This was at 4pm (I was a 1/2 hour late), and the entire process took 5.5 hours

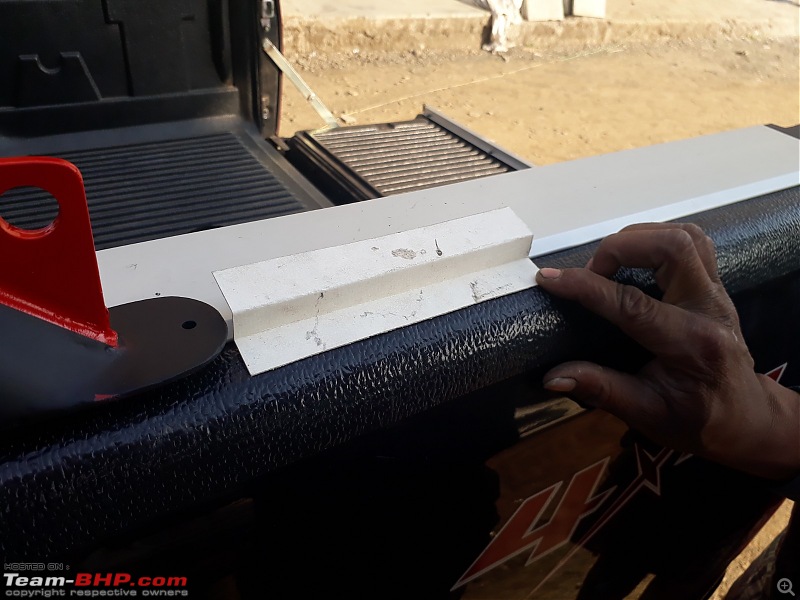
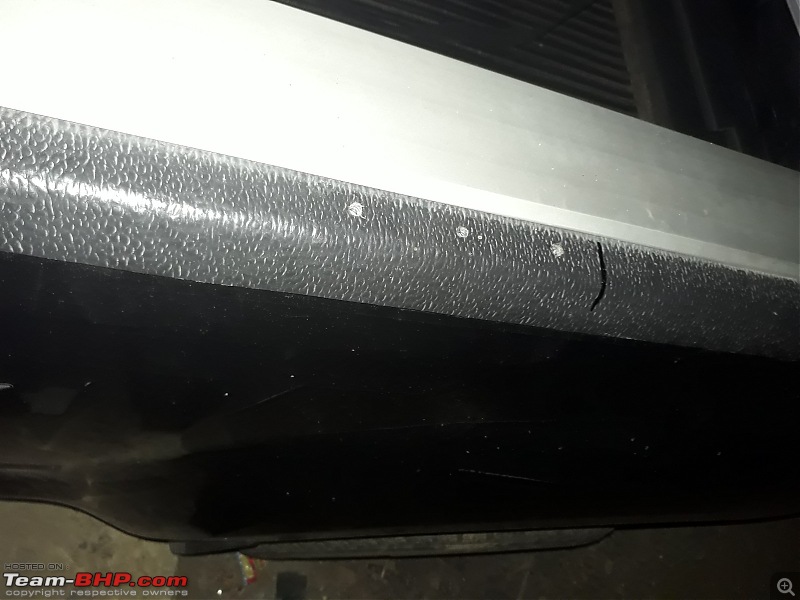
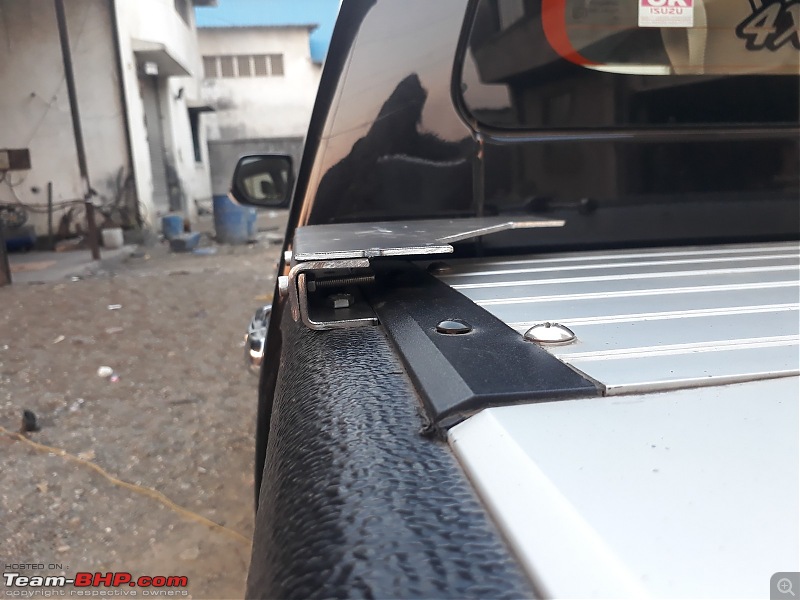
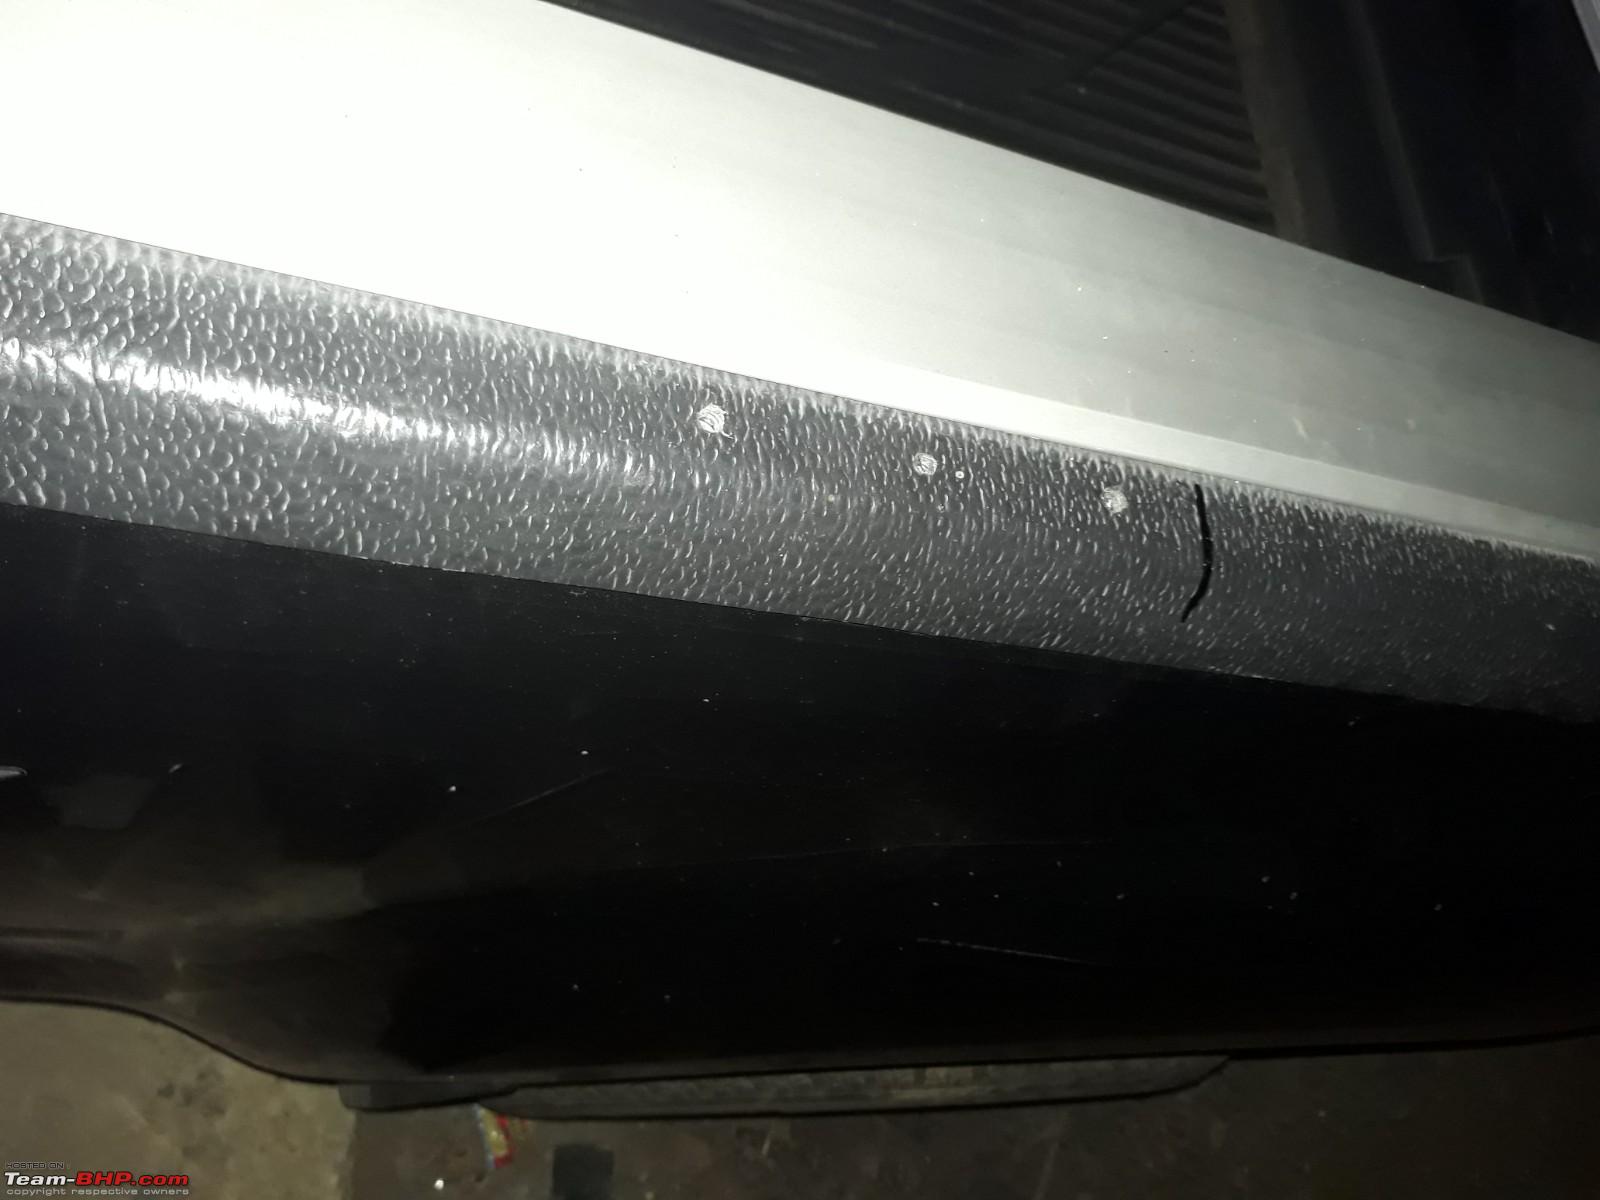
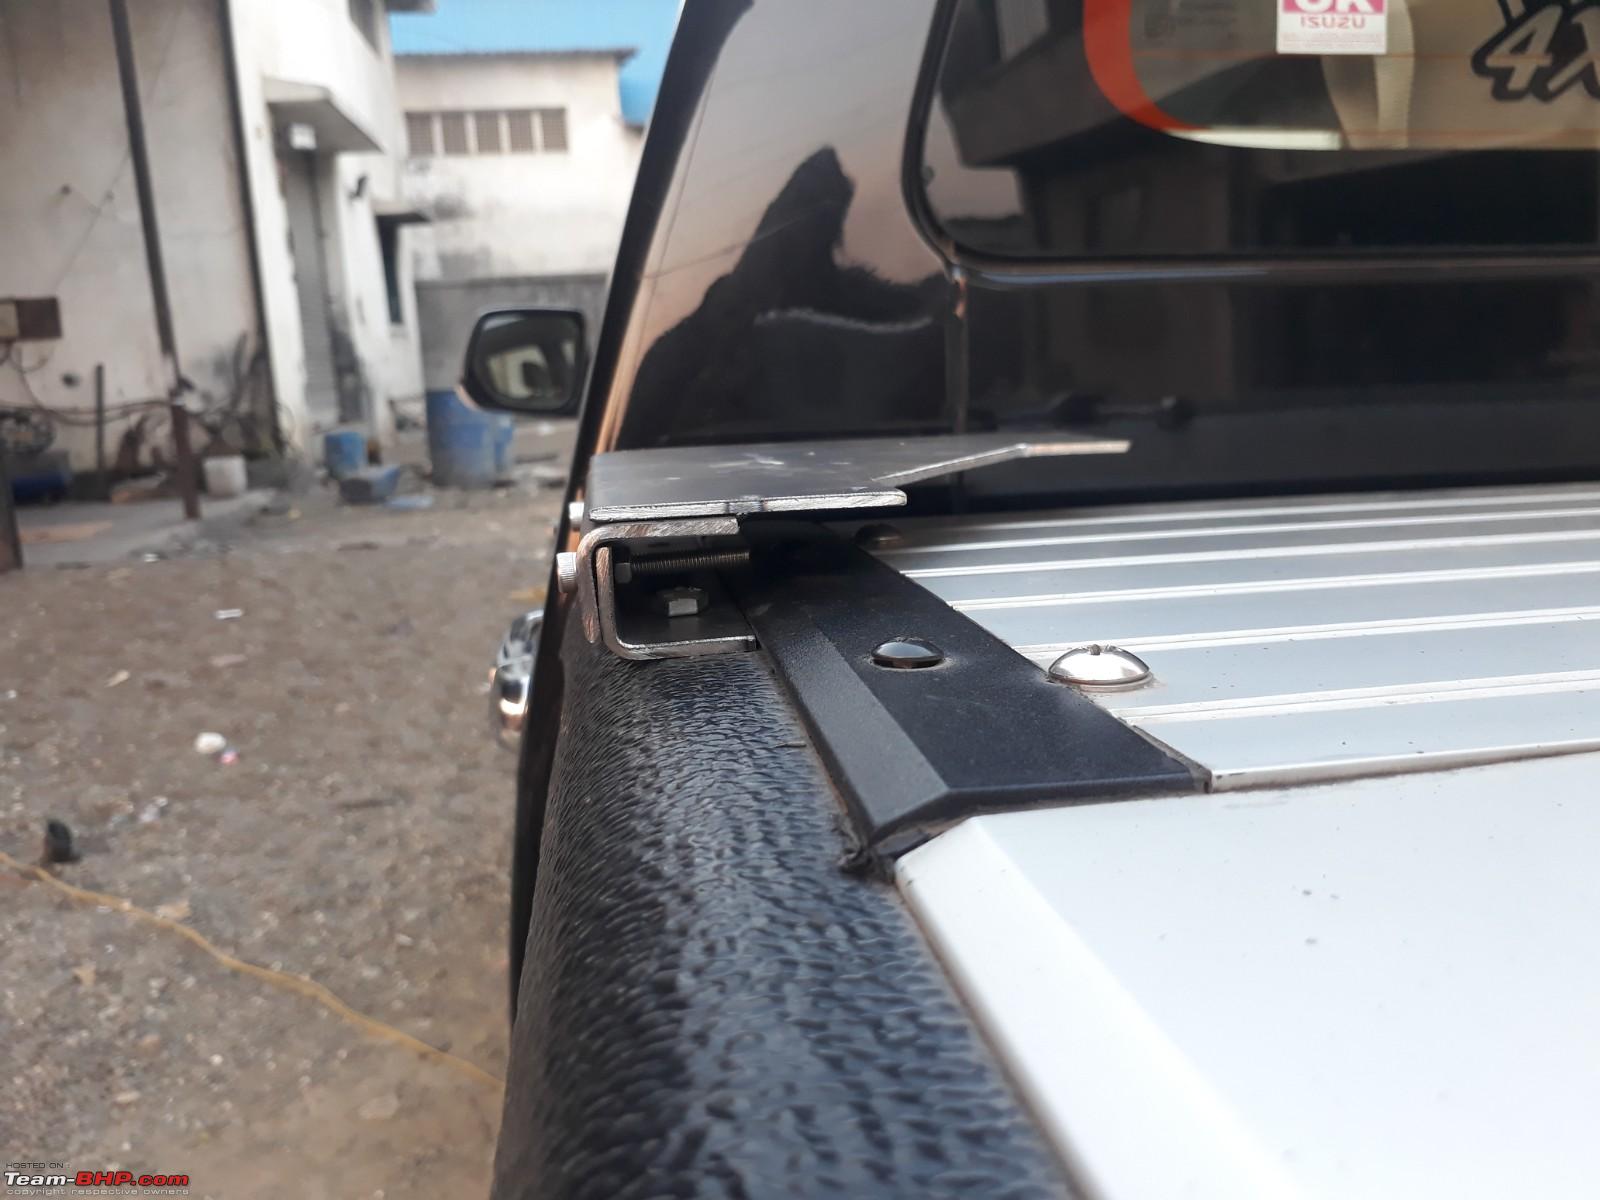
Step 1 - position the bar to understand mounting points.
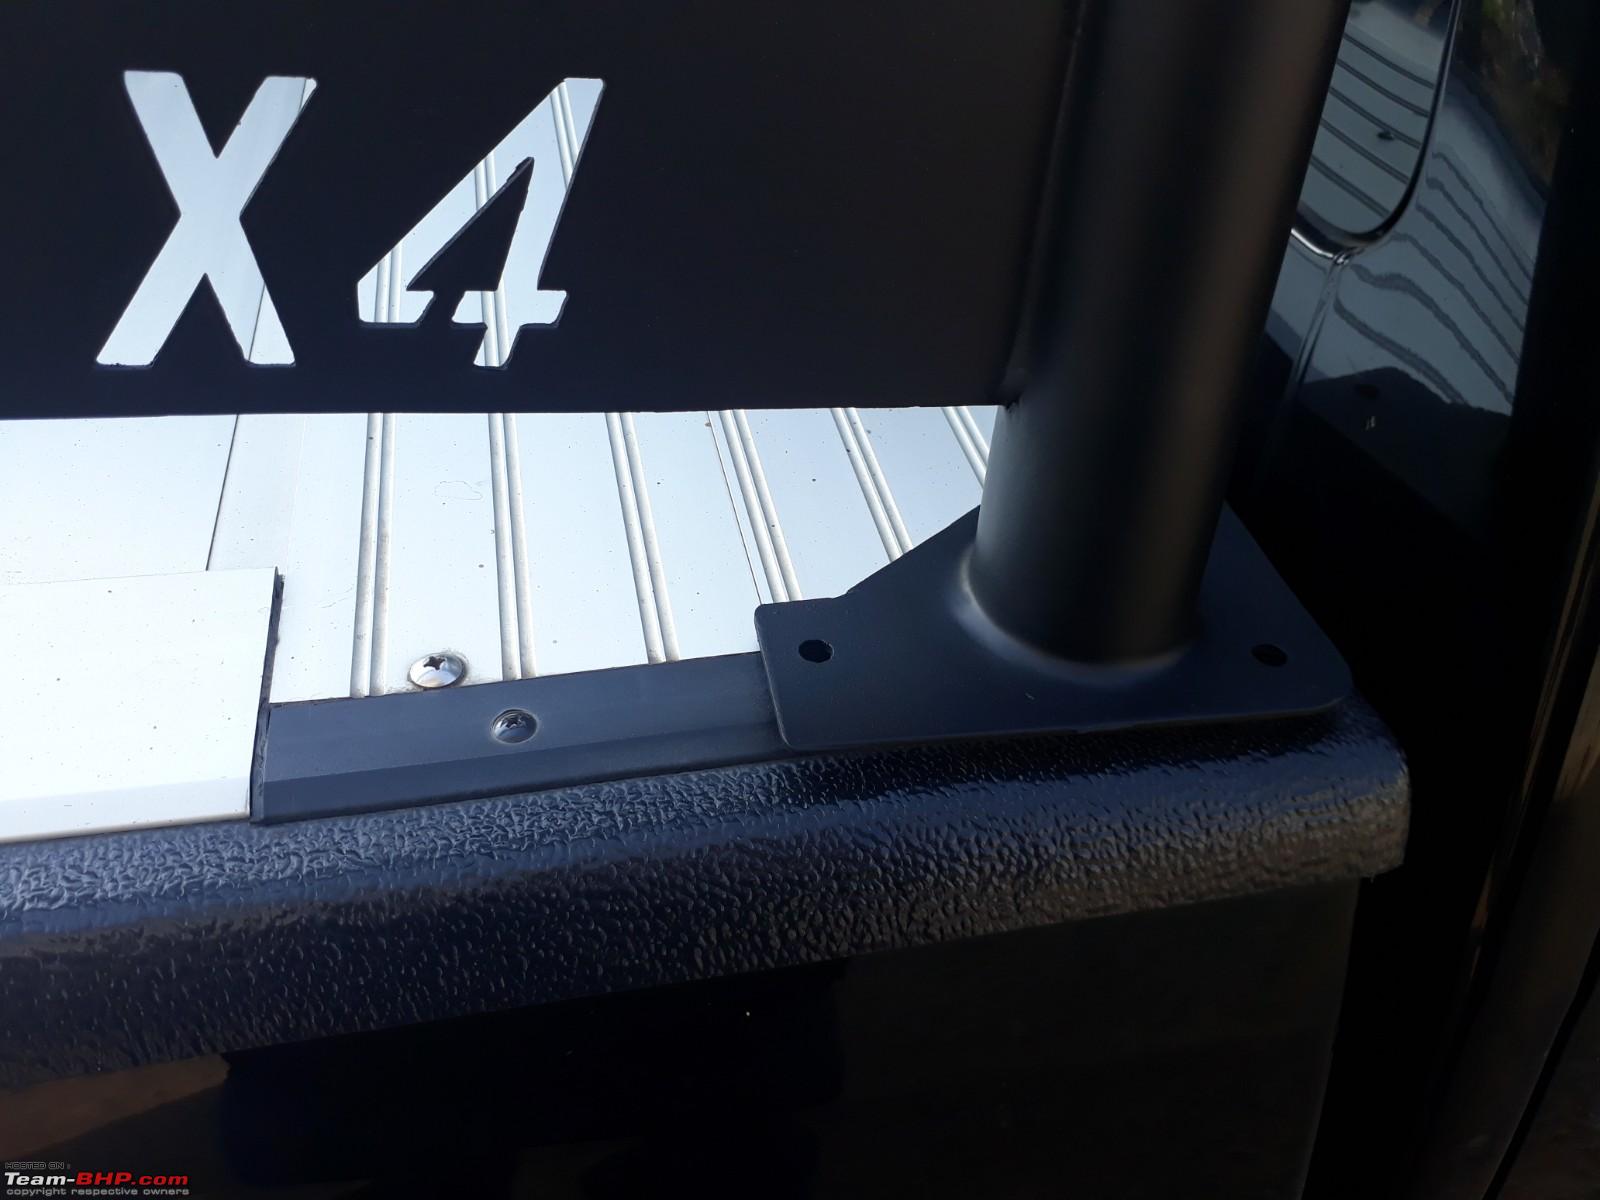
You can see the limited load-bearing space available, due to the flat panel of the roller lid.
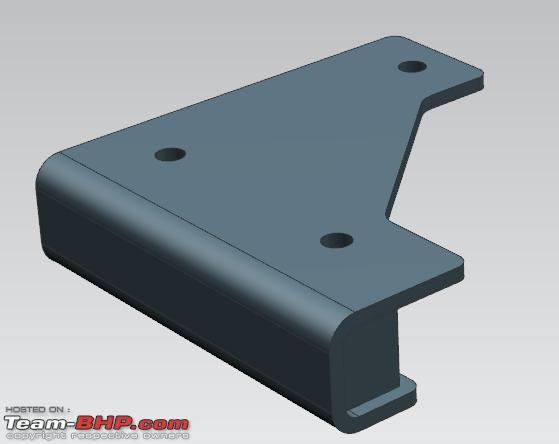
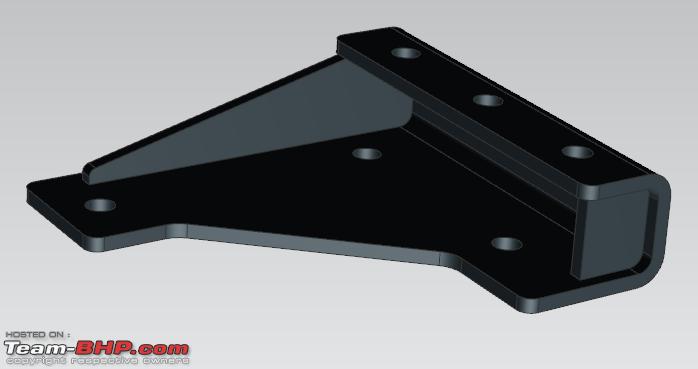
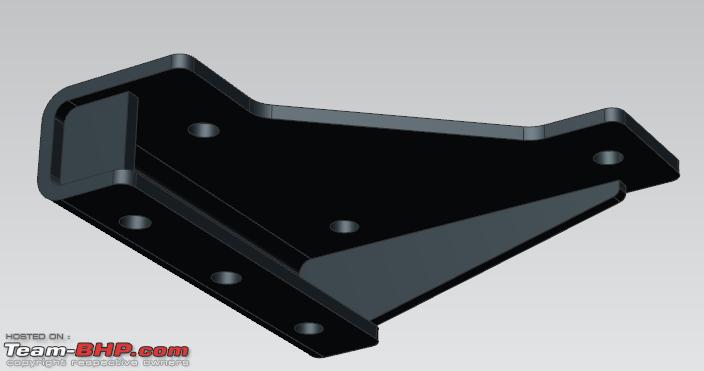
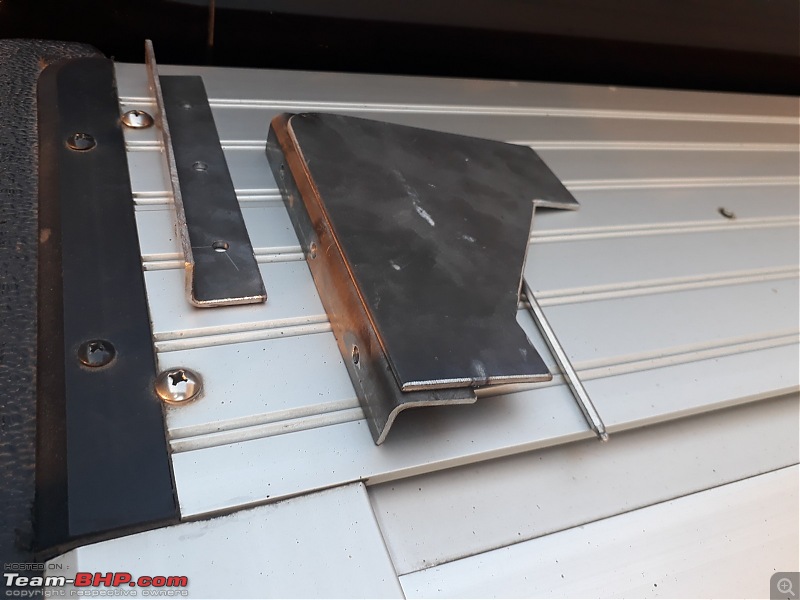
Accordingly, the plan was made to create brackets with supporting holders, which can take the load of the bar; while at the same time, providing necessary mounting strength for use of tug points in future. The team did explain that this solution is not as strong as the original, which I was anticipating. The idea was to create something like this, and happily the team reached a similar (IMHO, better) conclusion.

Step 2 - taking measurements, and creating a paper template. Objective being to limit drilling, while giving maximum stability and strength to the mounts.
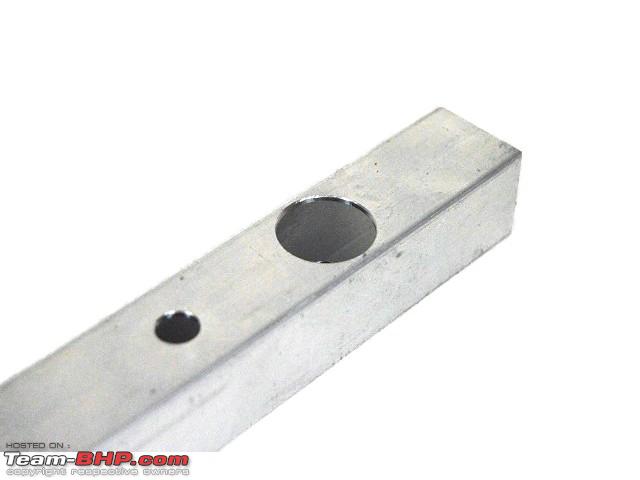
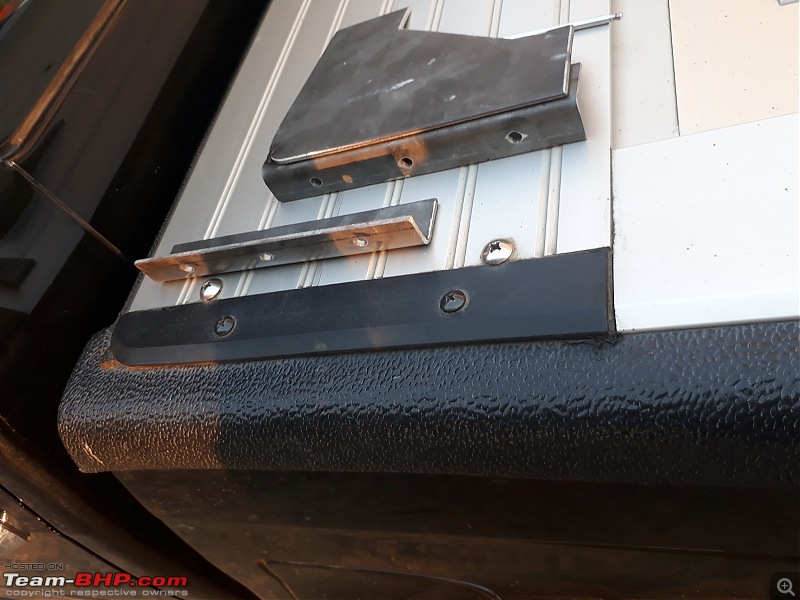
Step 3 - fabricate brackets for front and back legs. Drill (3x4 holes, i.e. 3 for each leg).
Rear leg brackets - 2 pc each side.
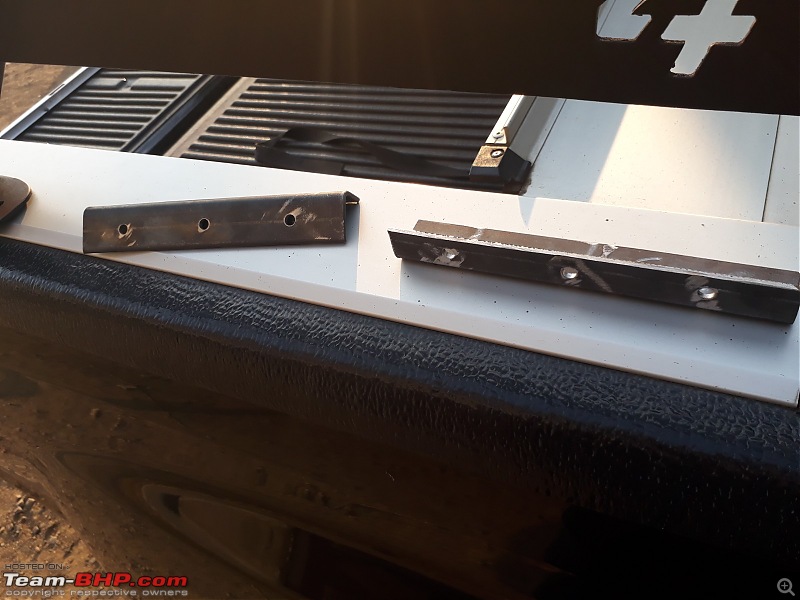
Drill holes for the rear leg
And the front leg
Front leg brackets - 2 pc each side (you can see the holder welded on).
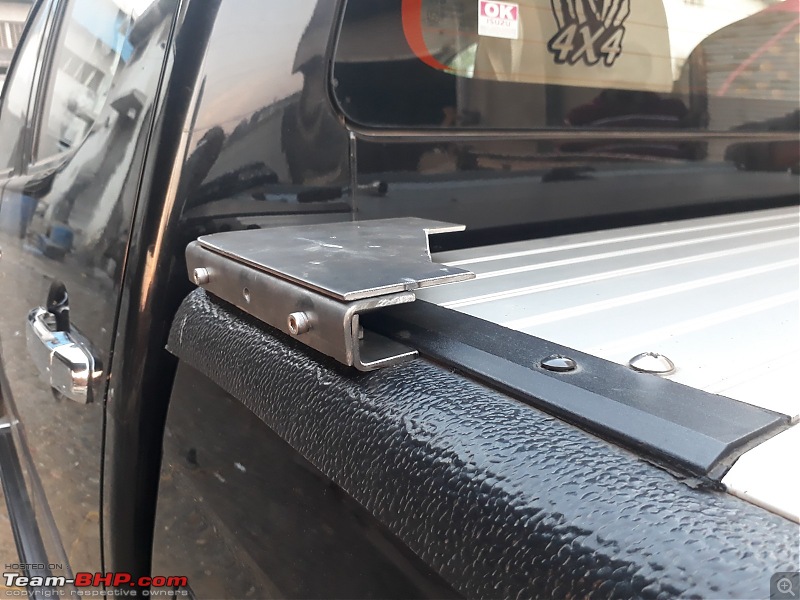
Step 4 - mount the brackets and test sizing.
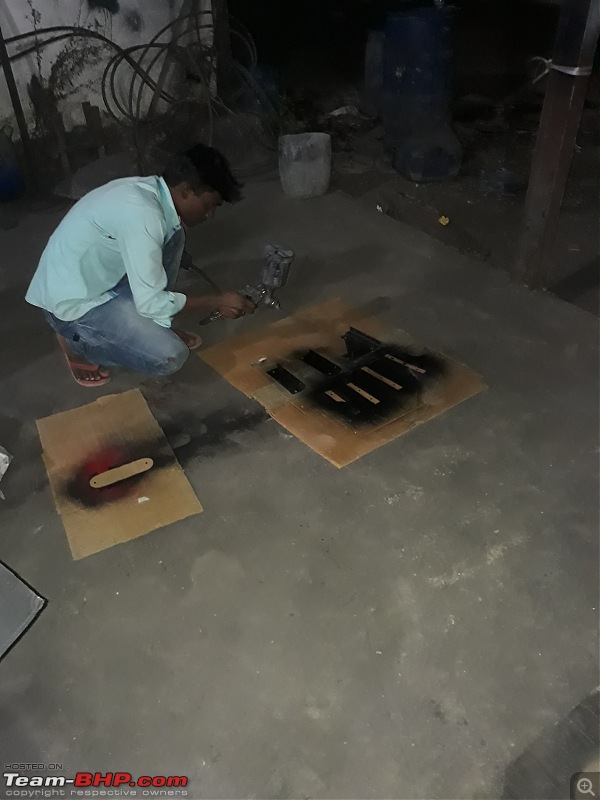
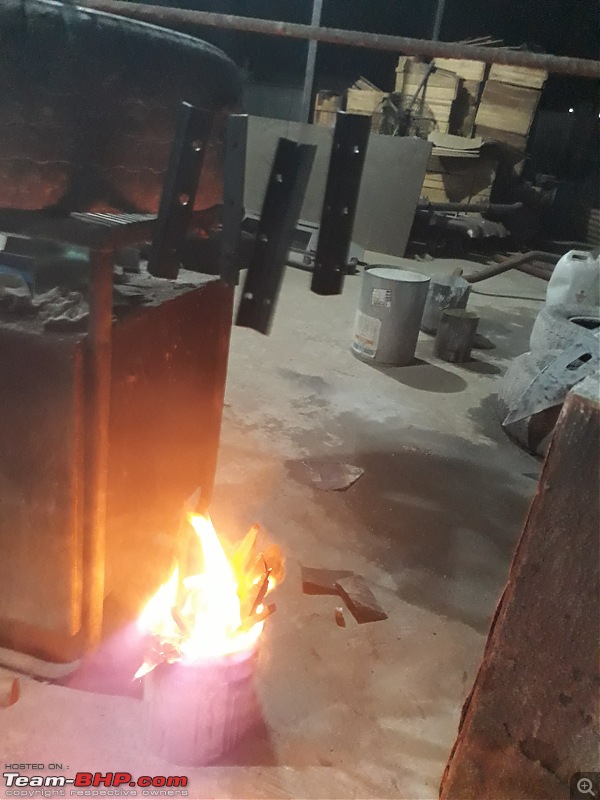
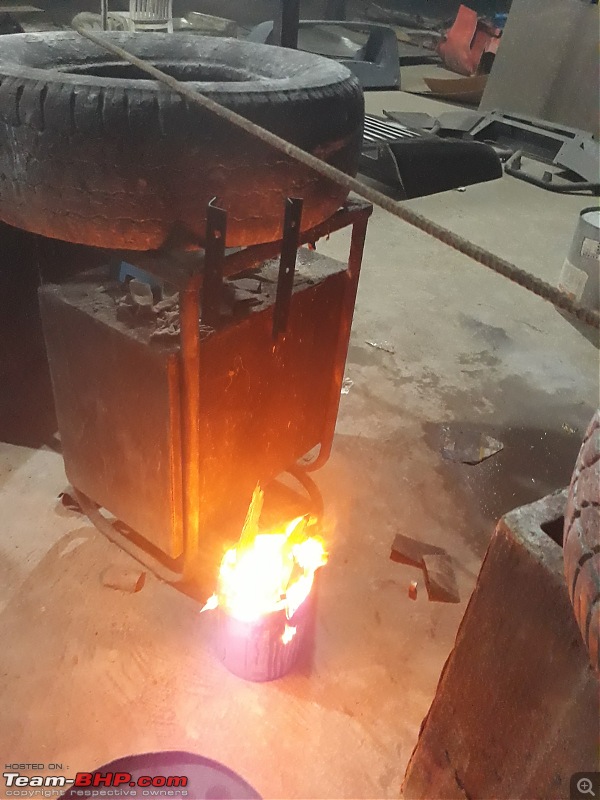
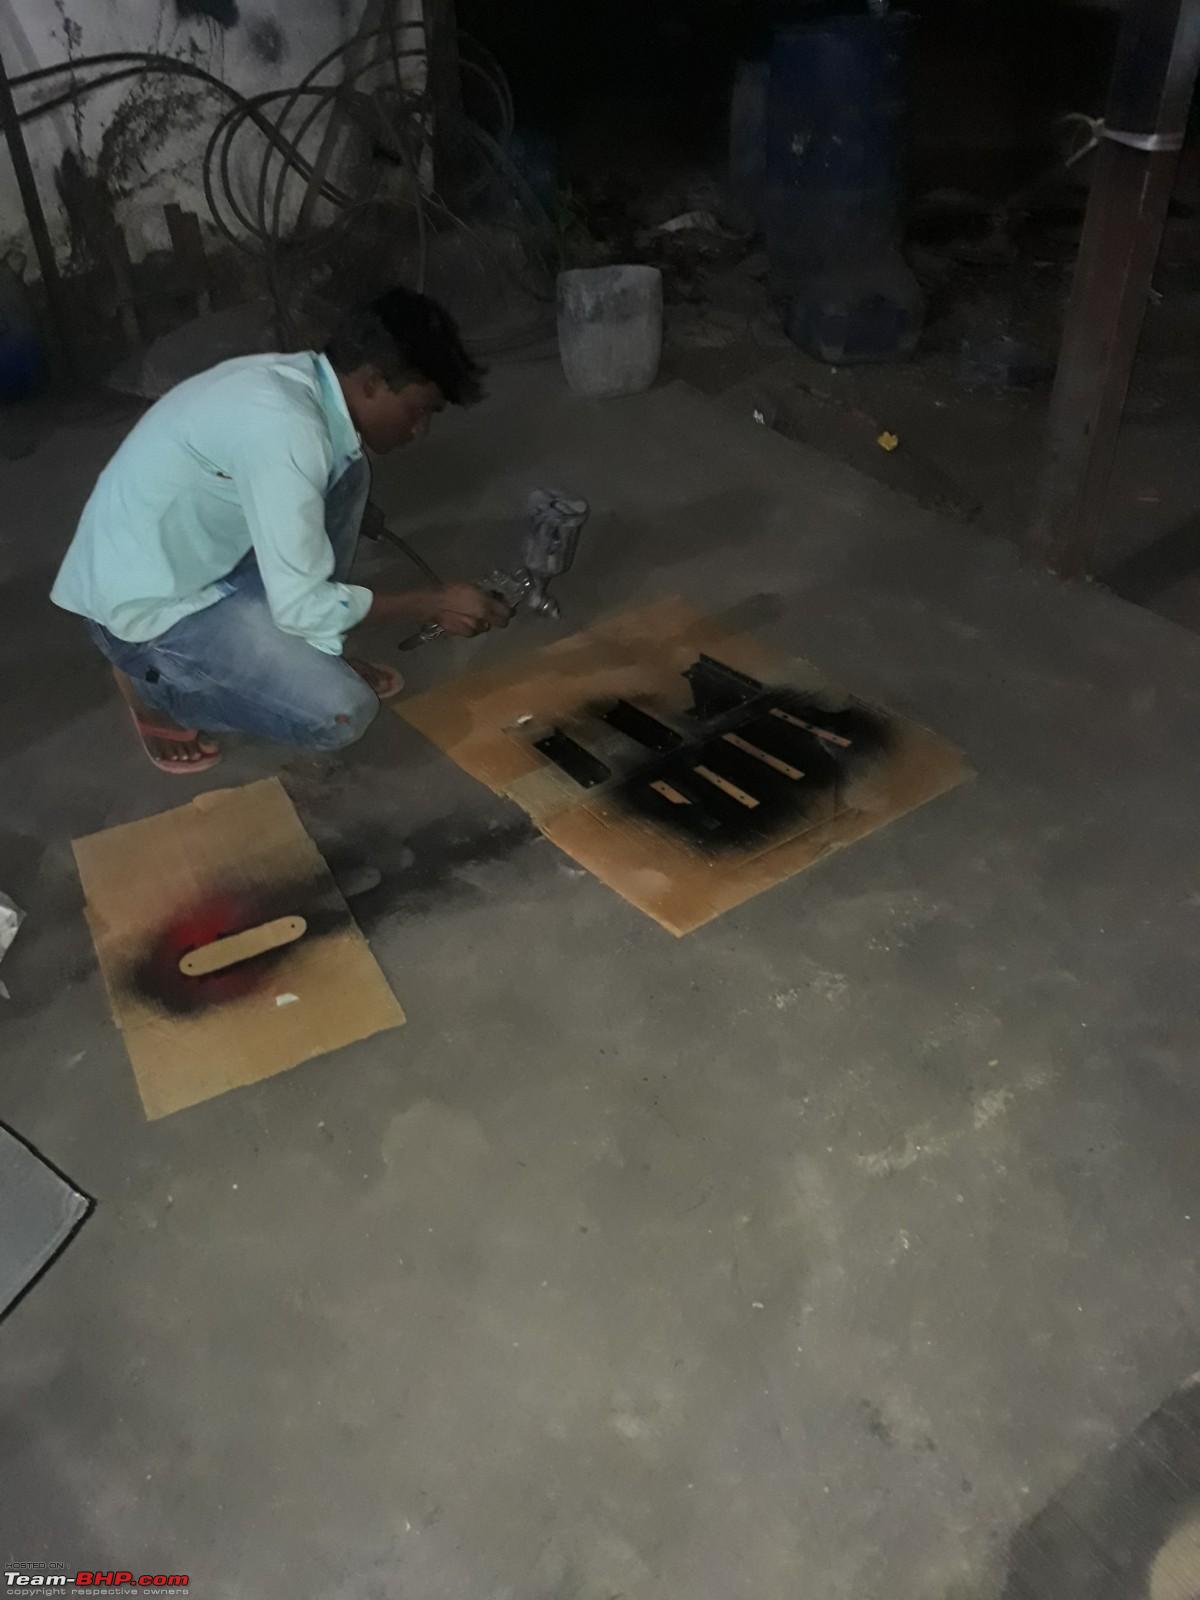
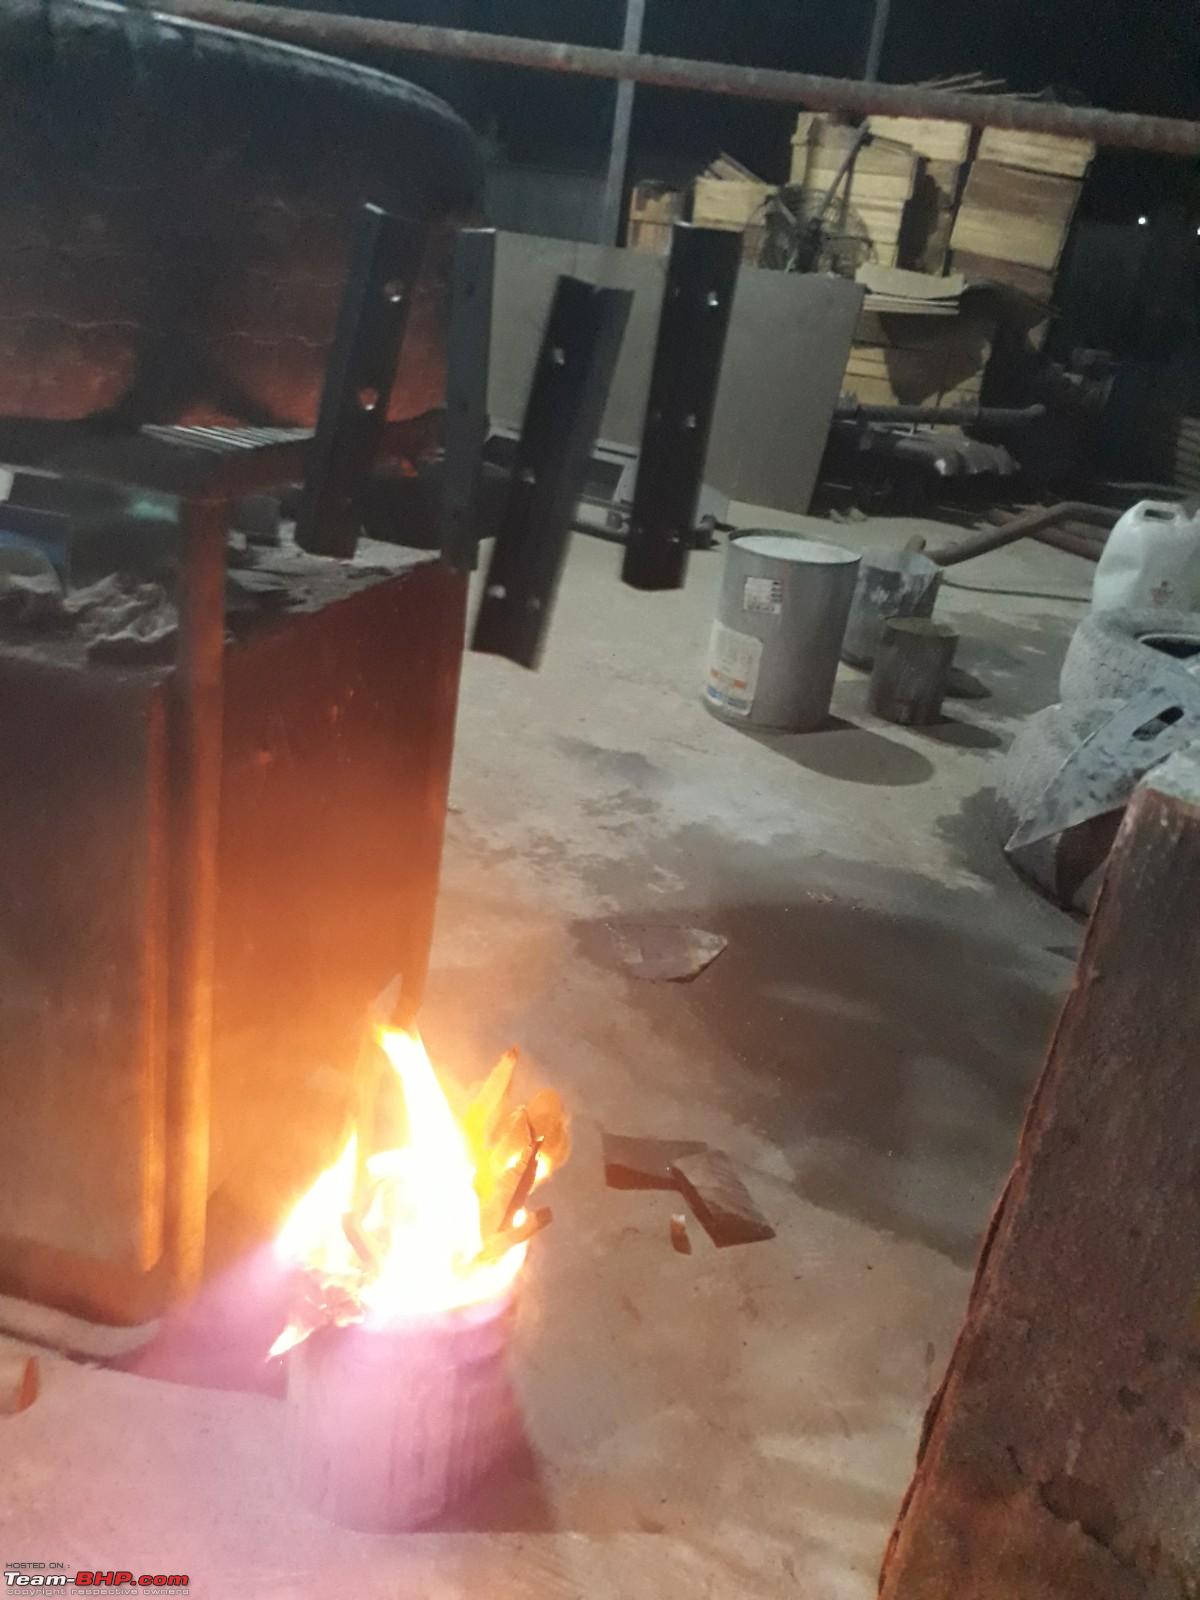
Step 5 - paintshop - powder coating and fire drying(to speed up the process).
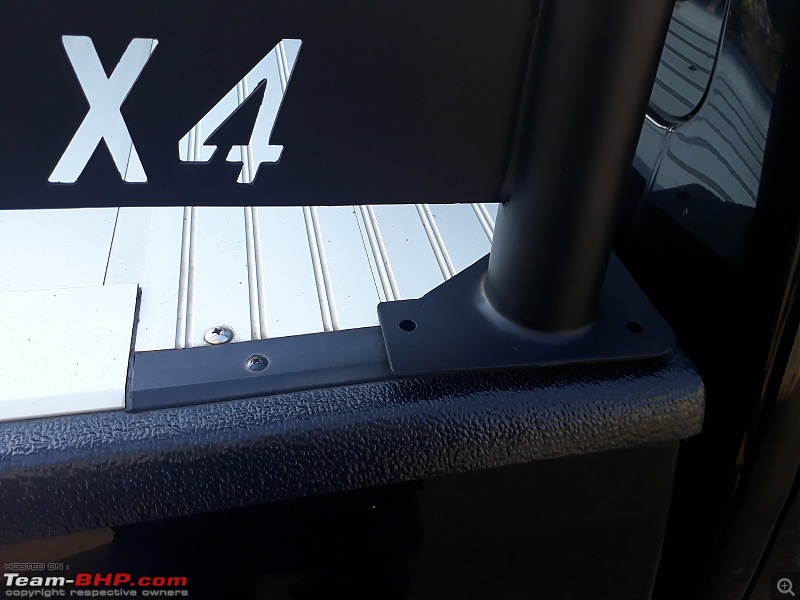
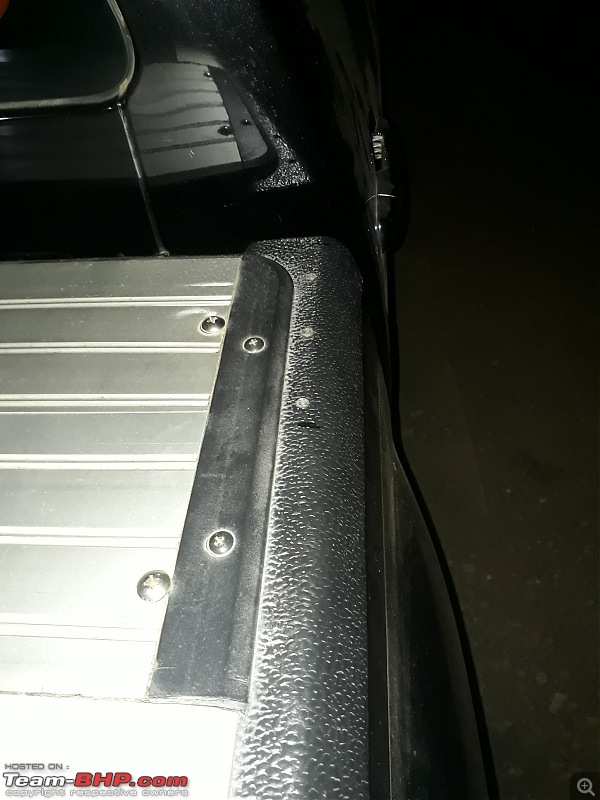
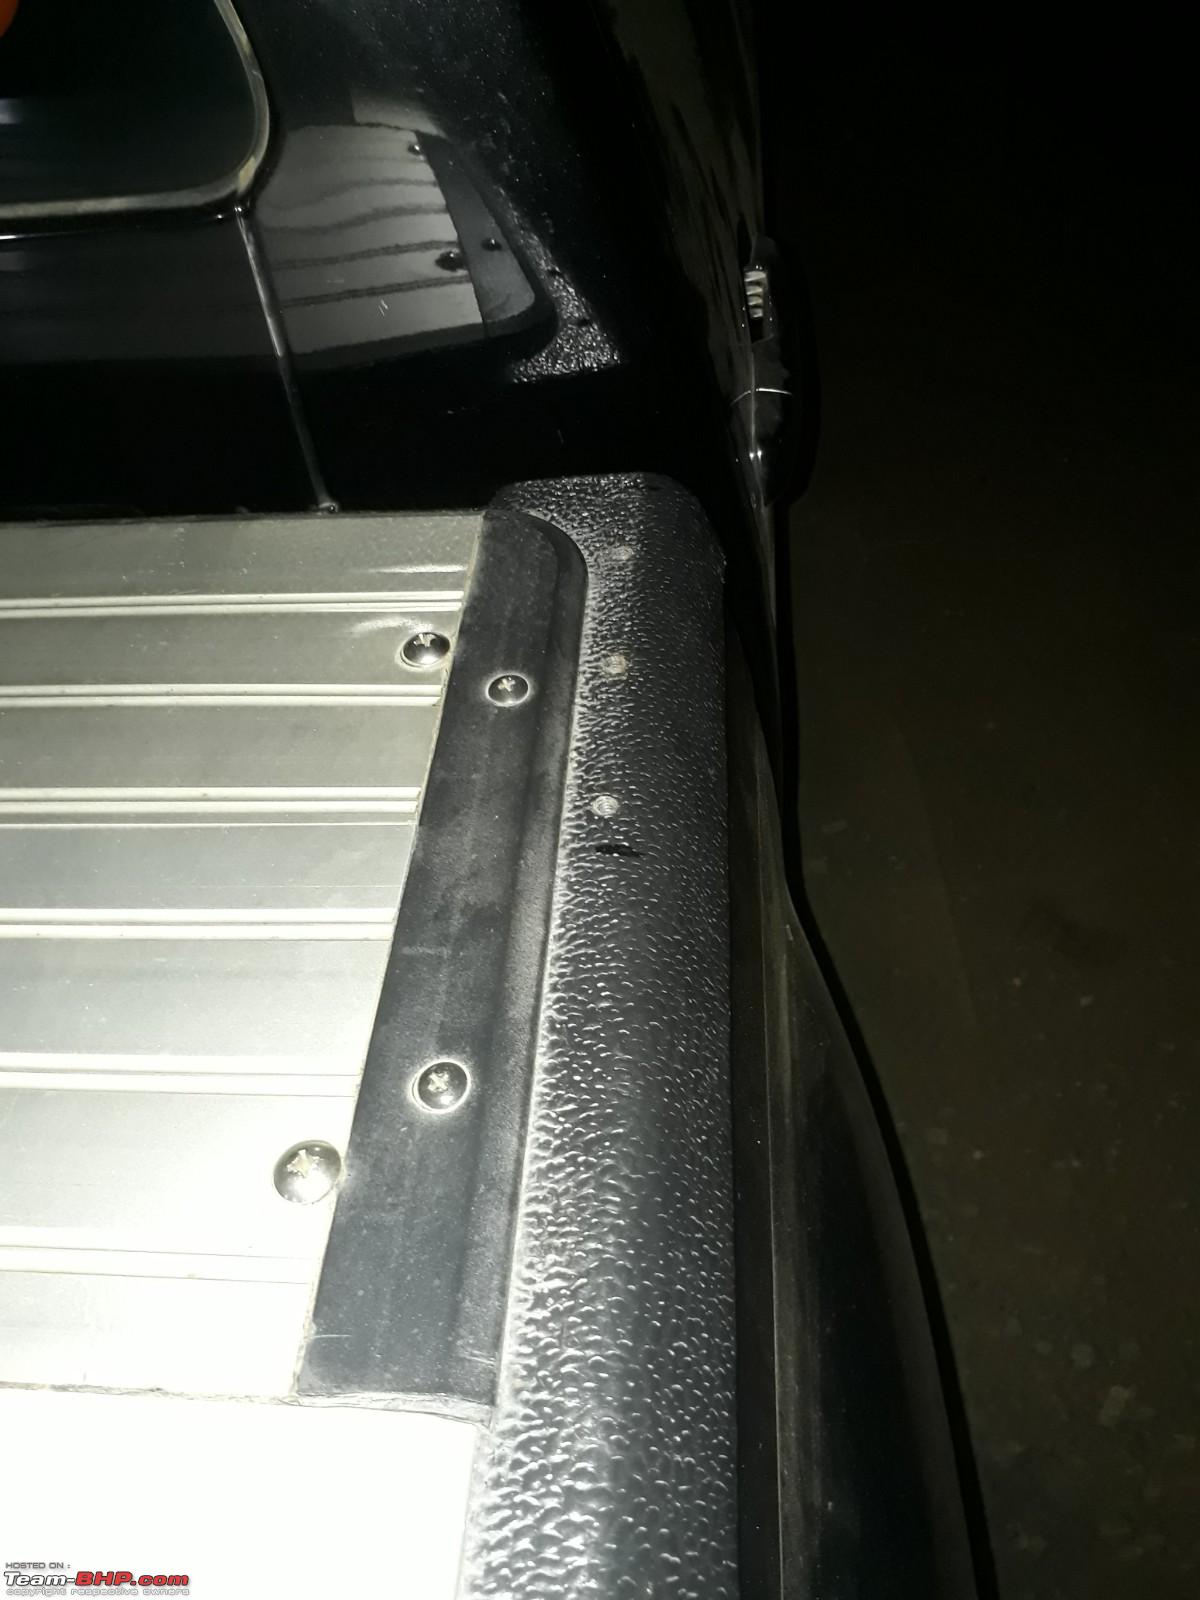
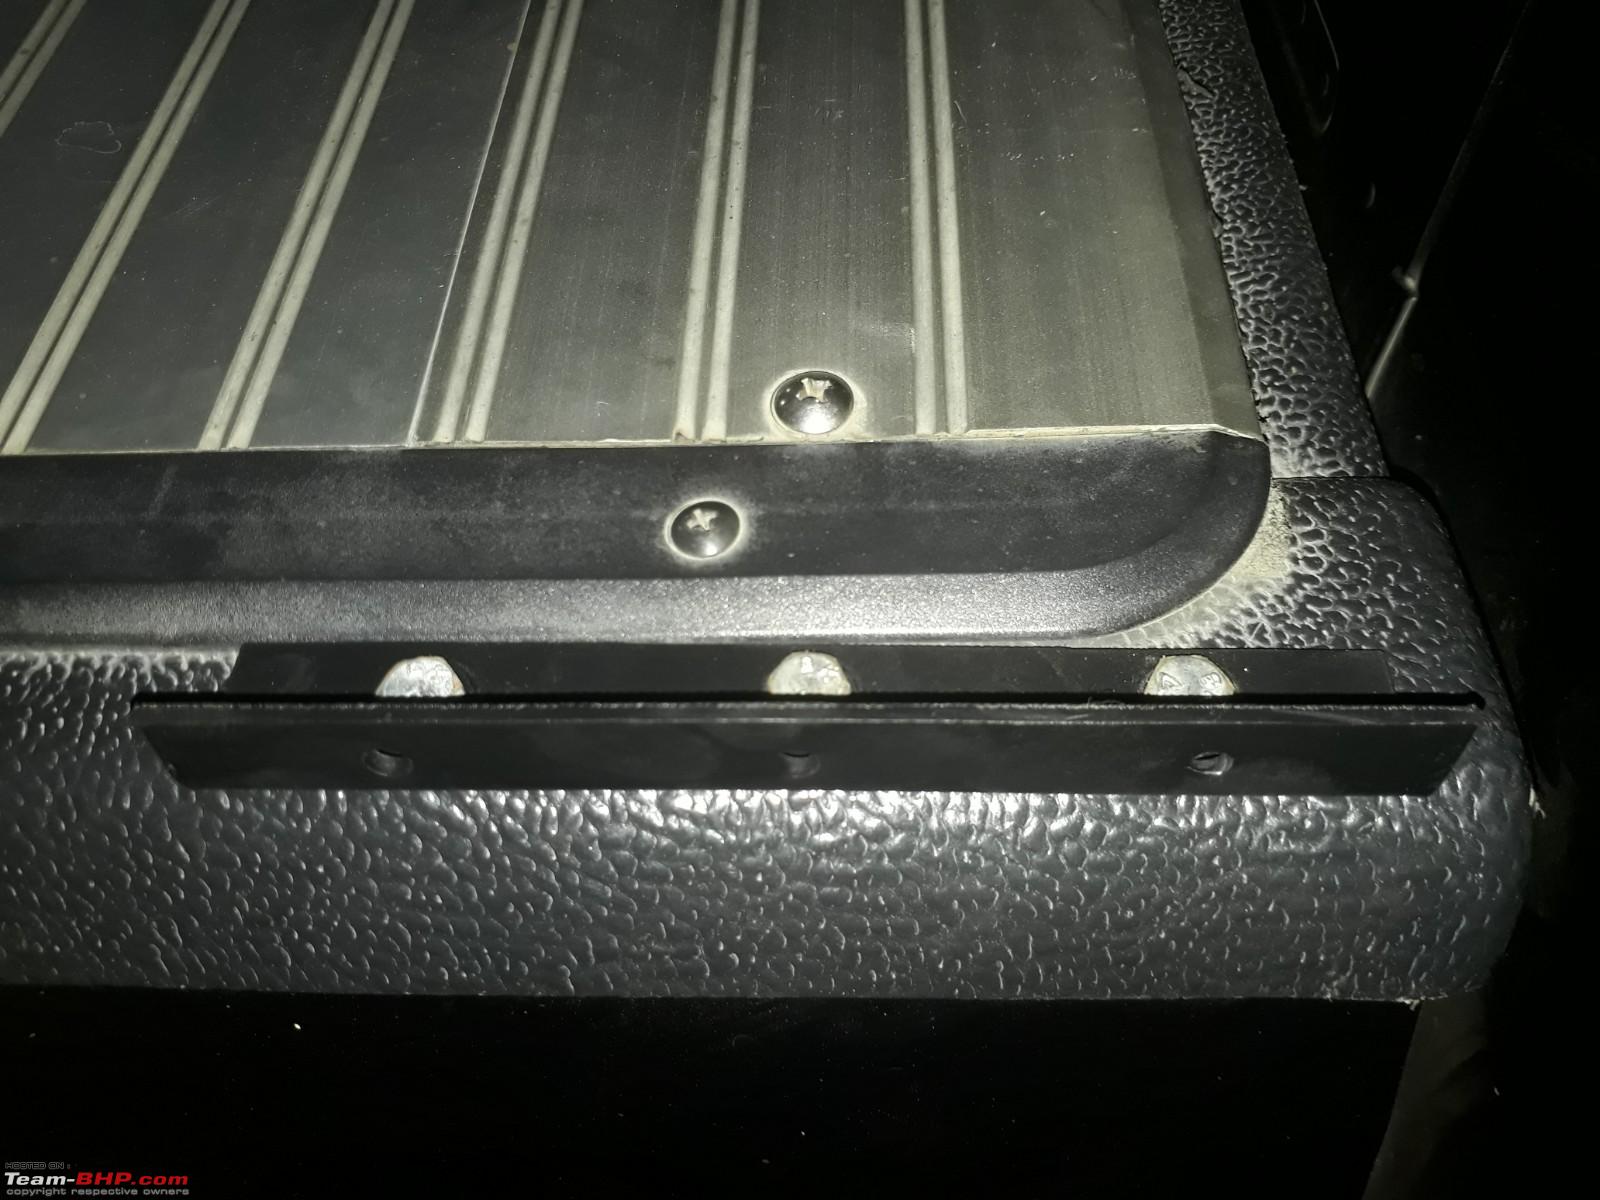
Step 6 - mounting post paintwork
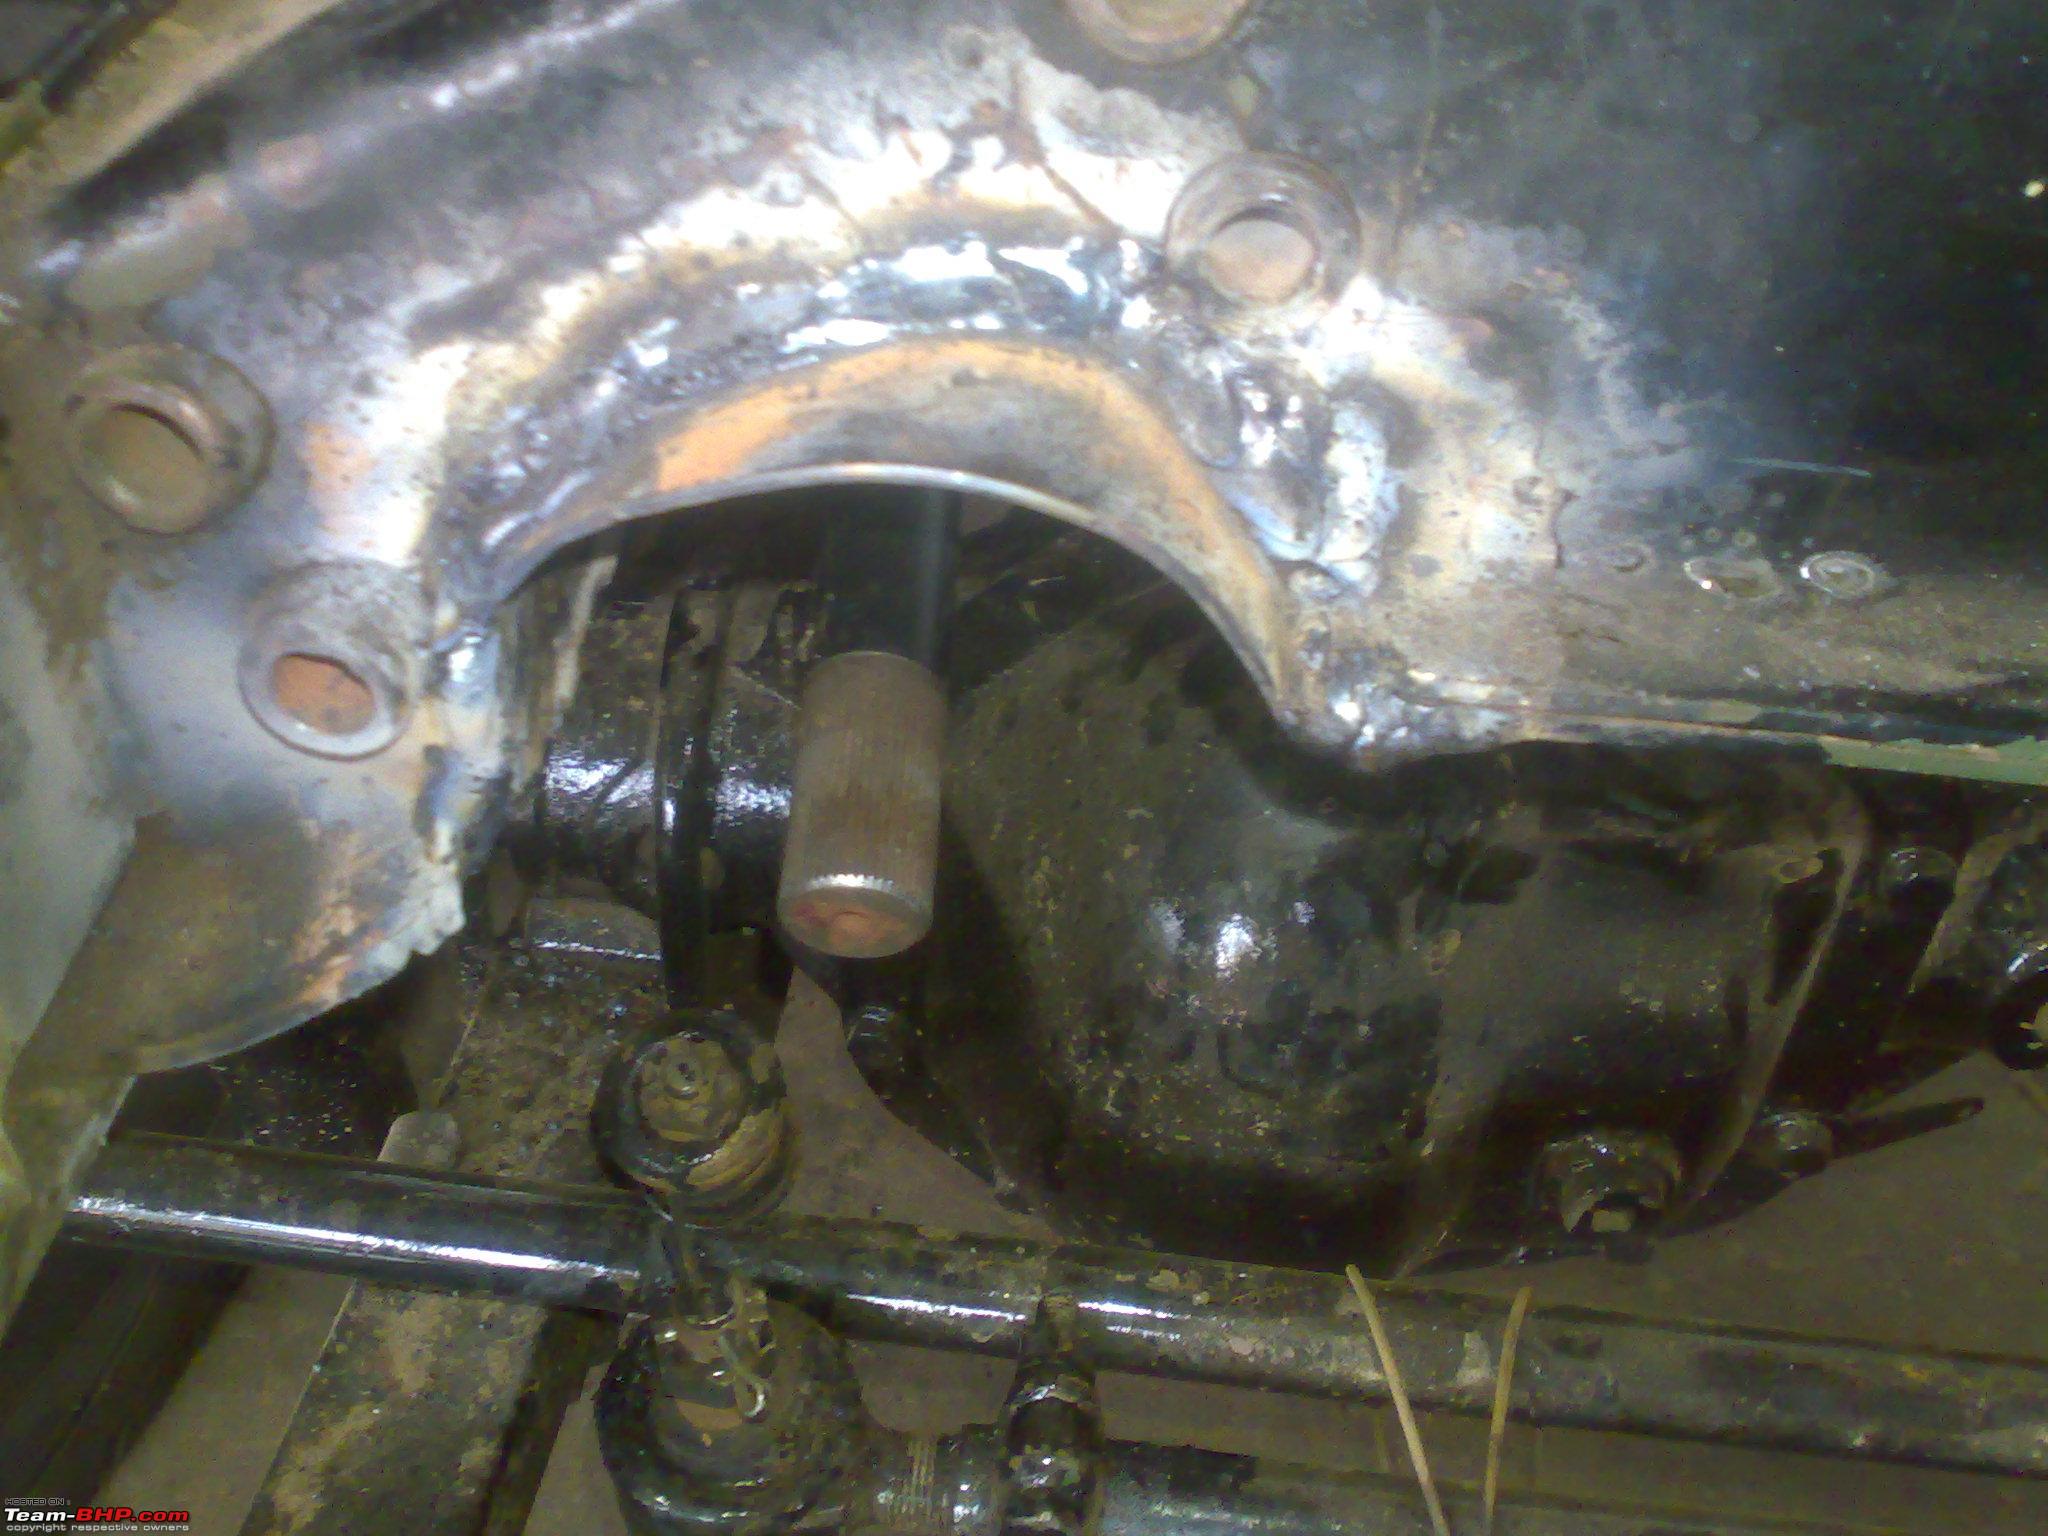
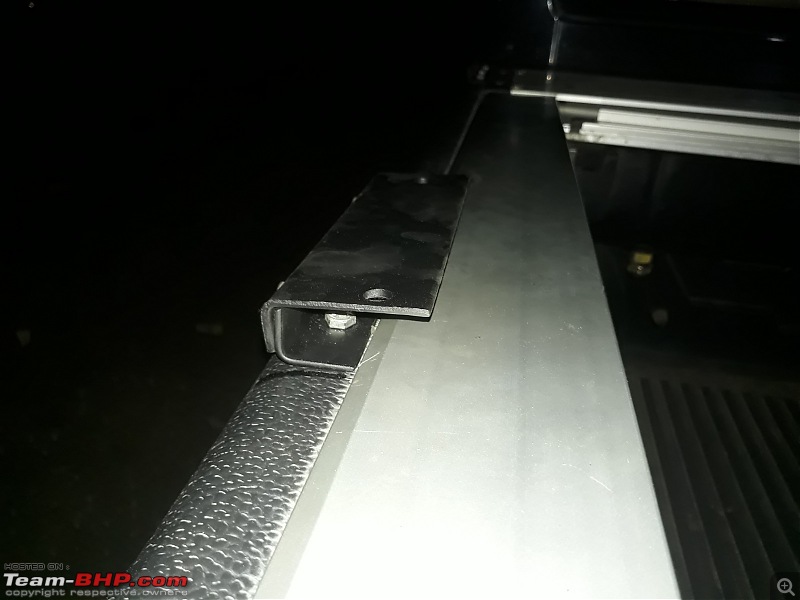
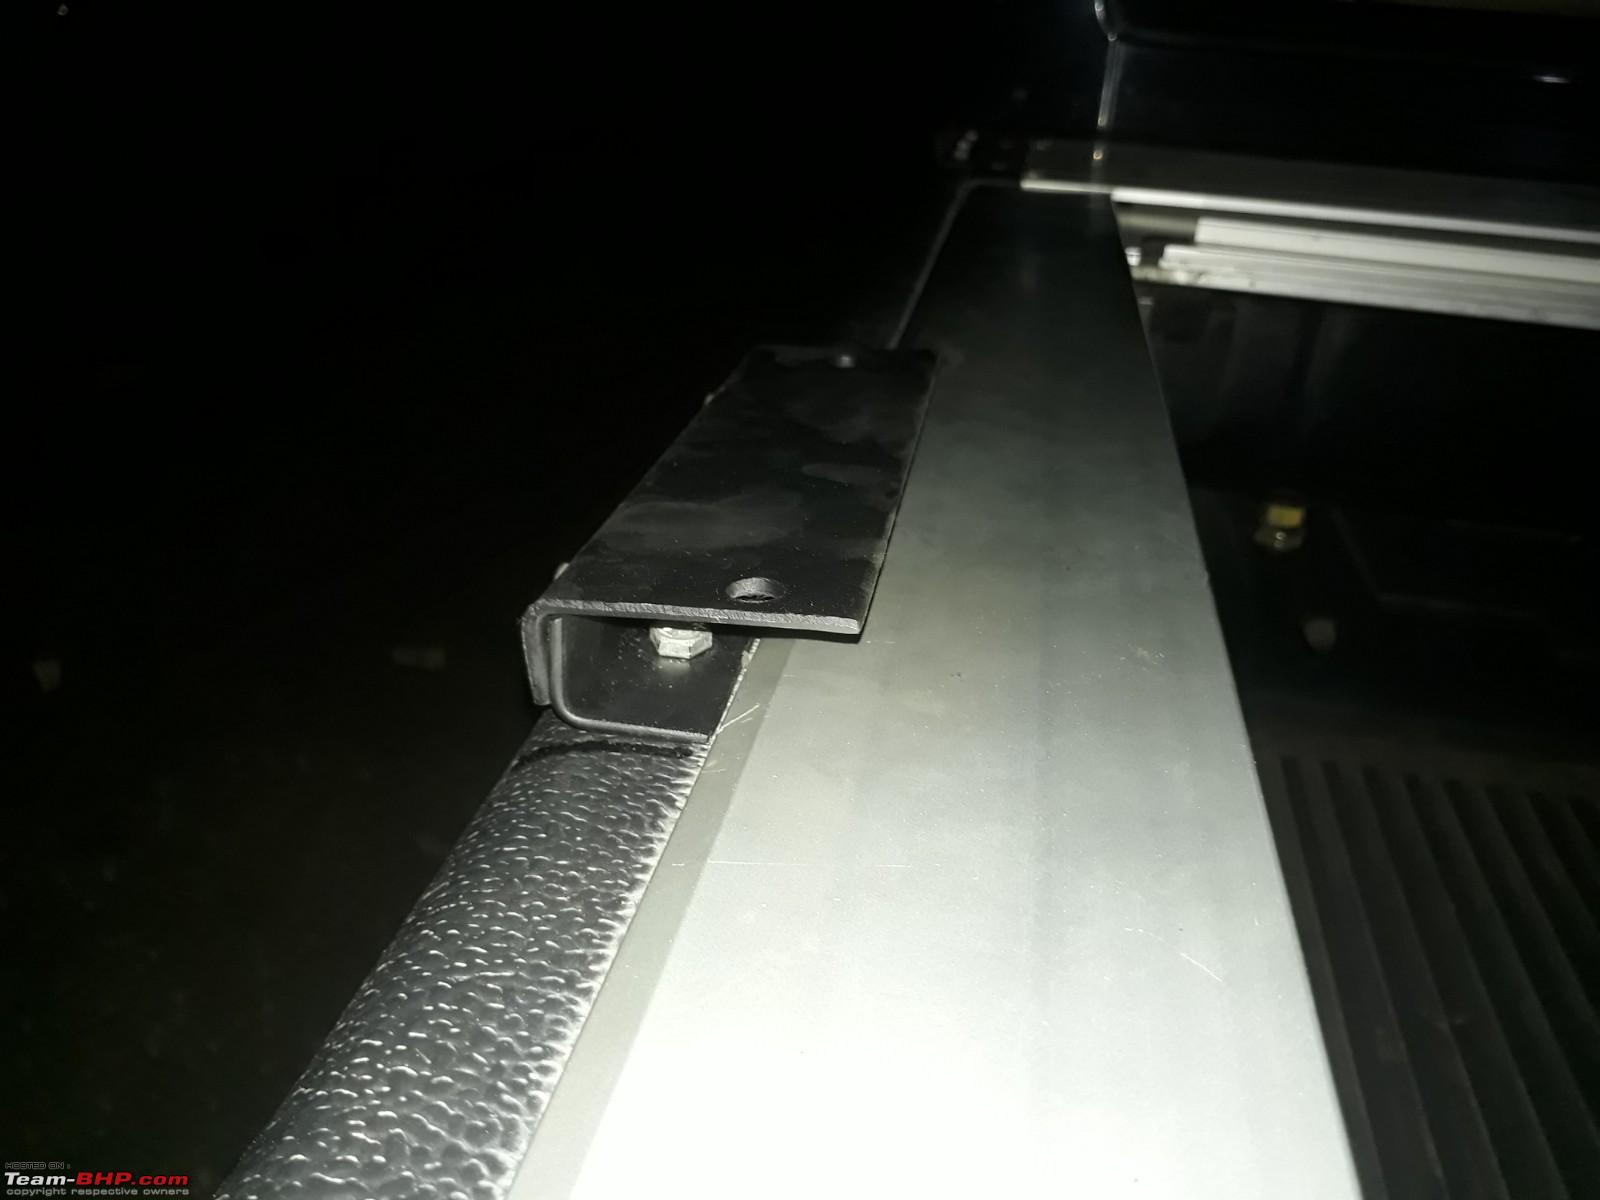
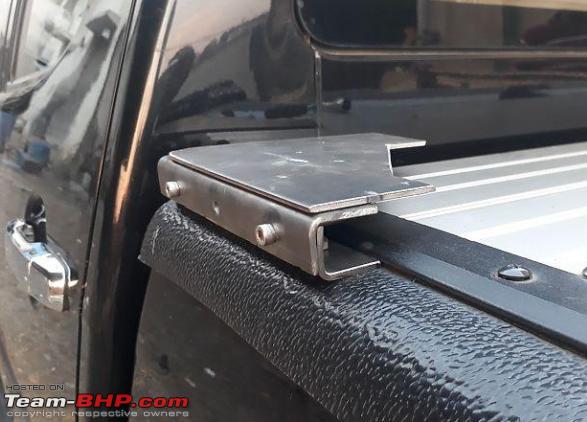
Front bracket mounted (before bolting the holder on top)
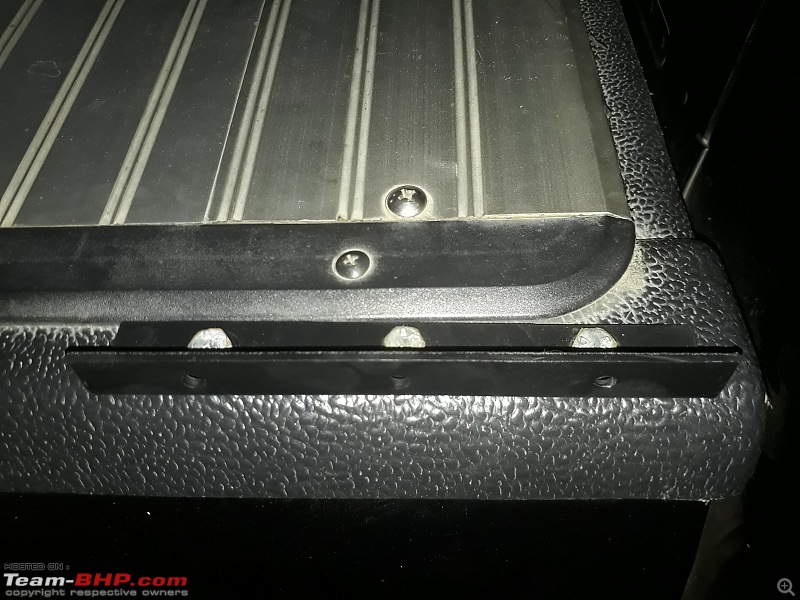
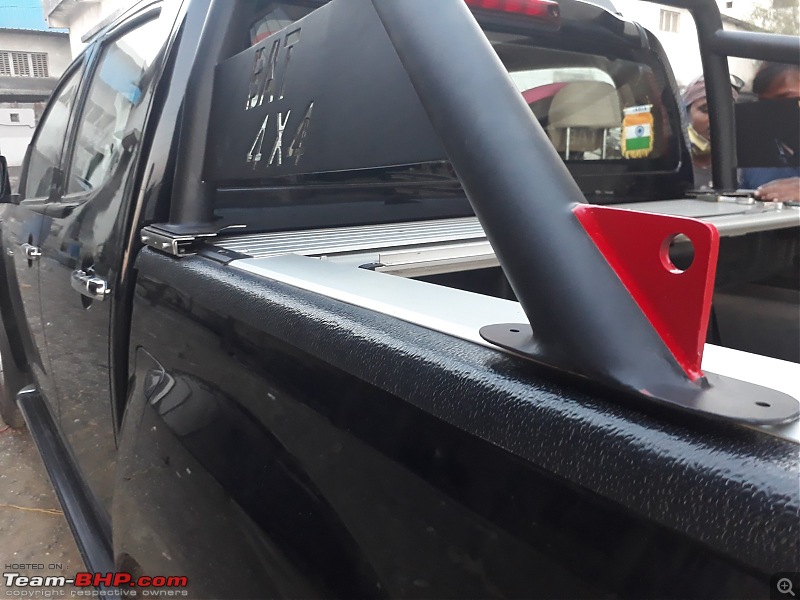
Rear bracket and holder mounted
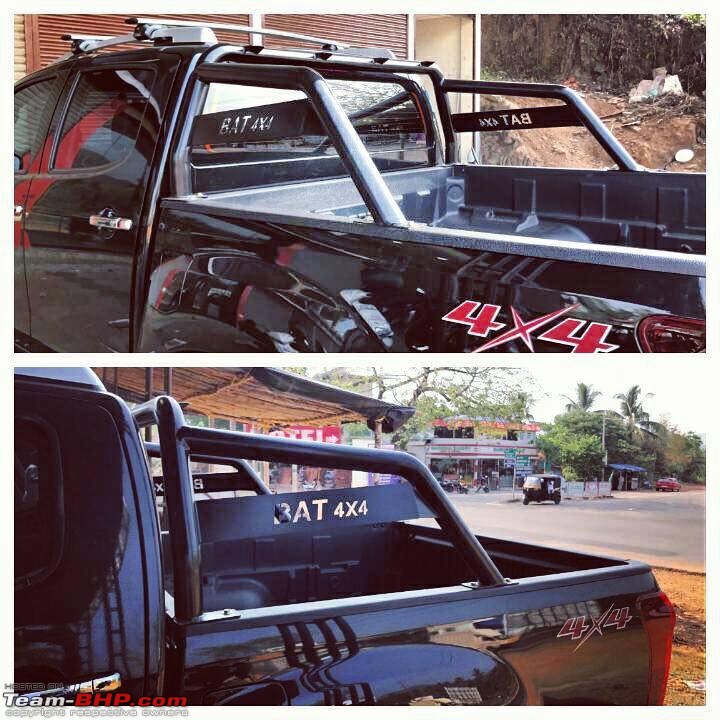
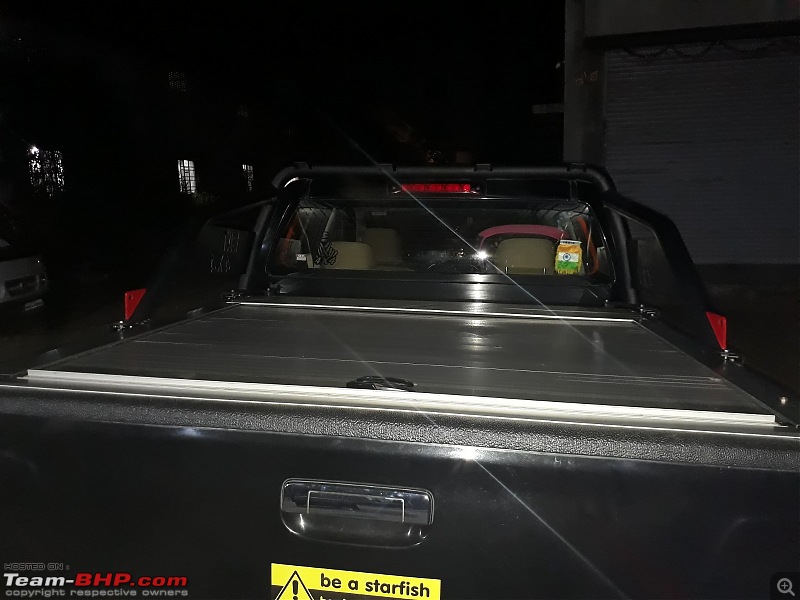
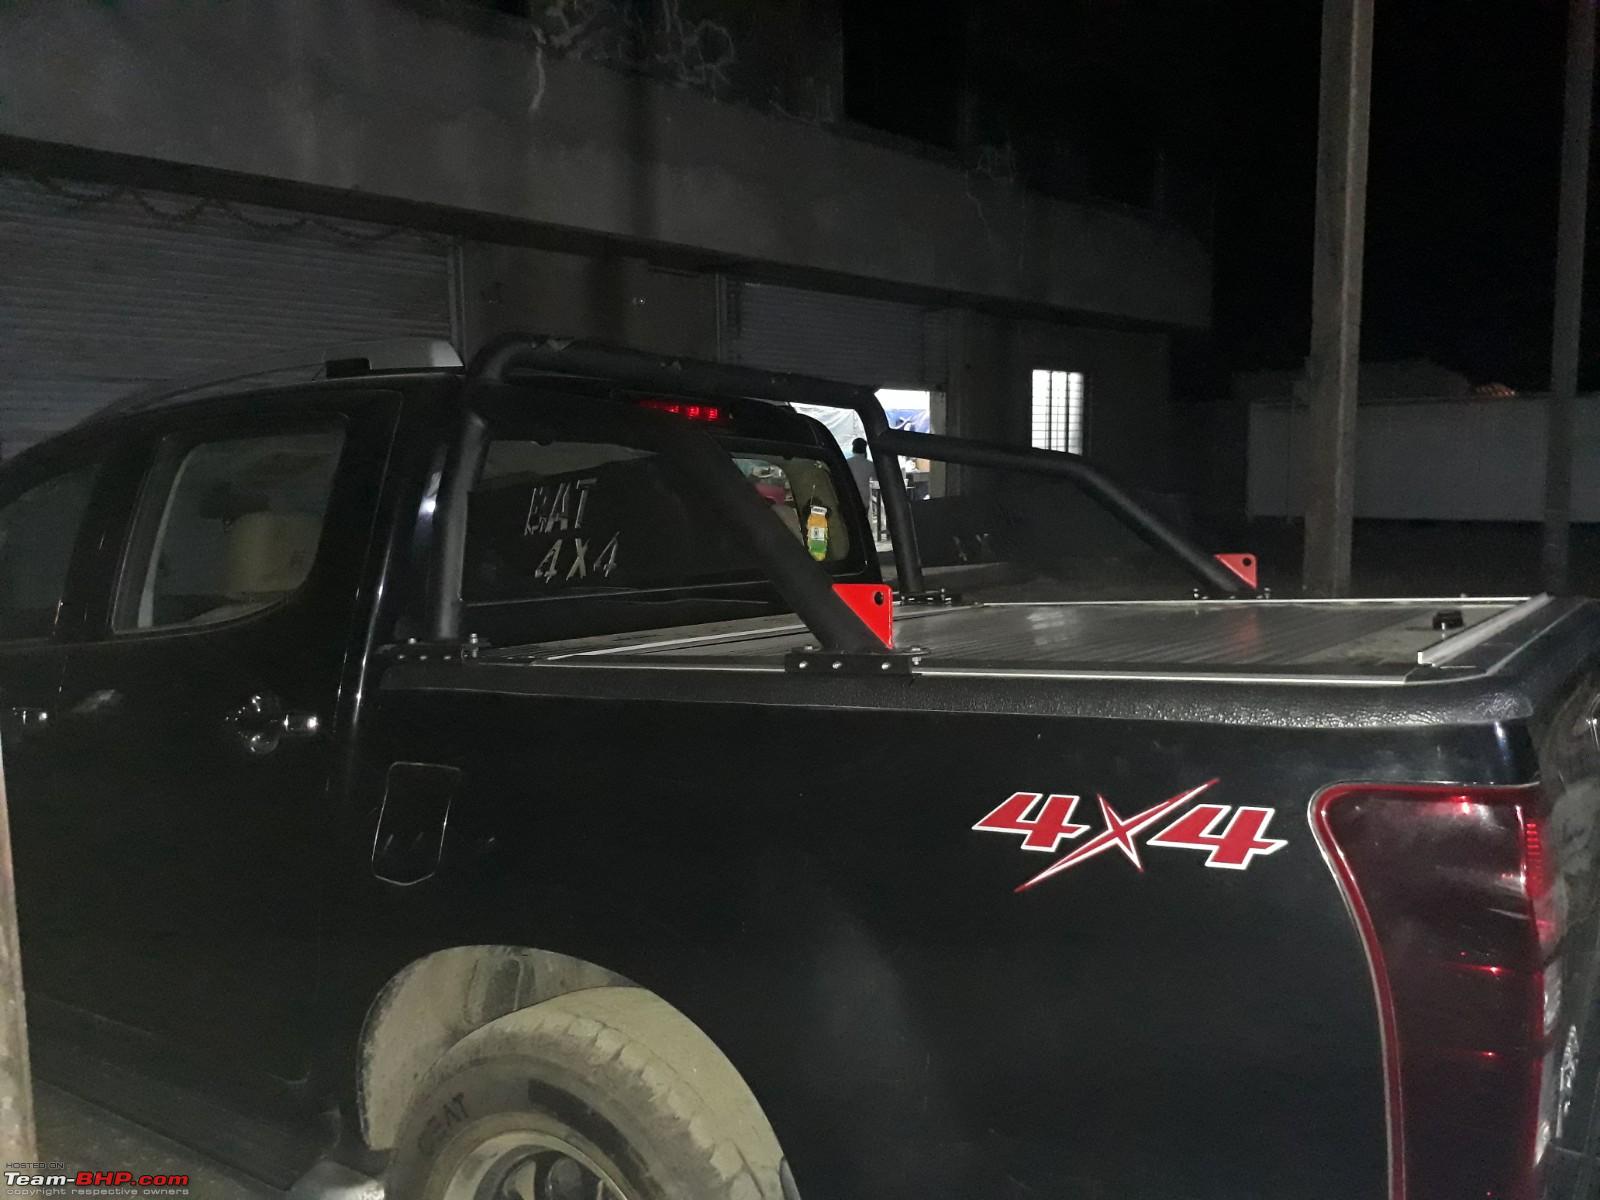
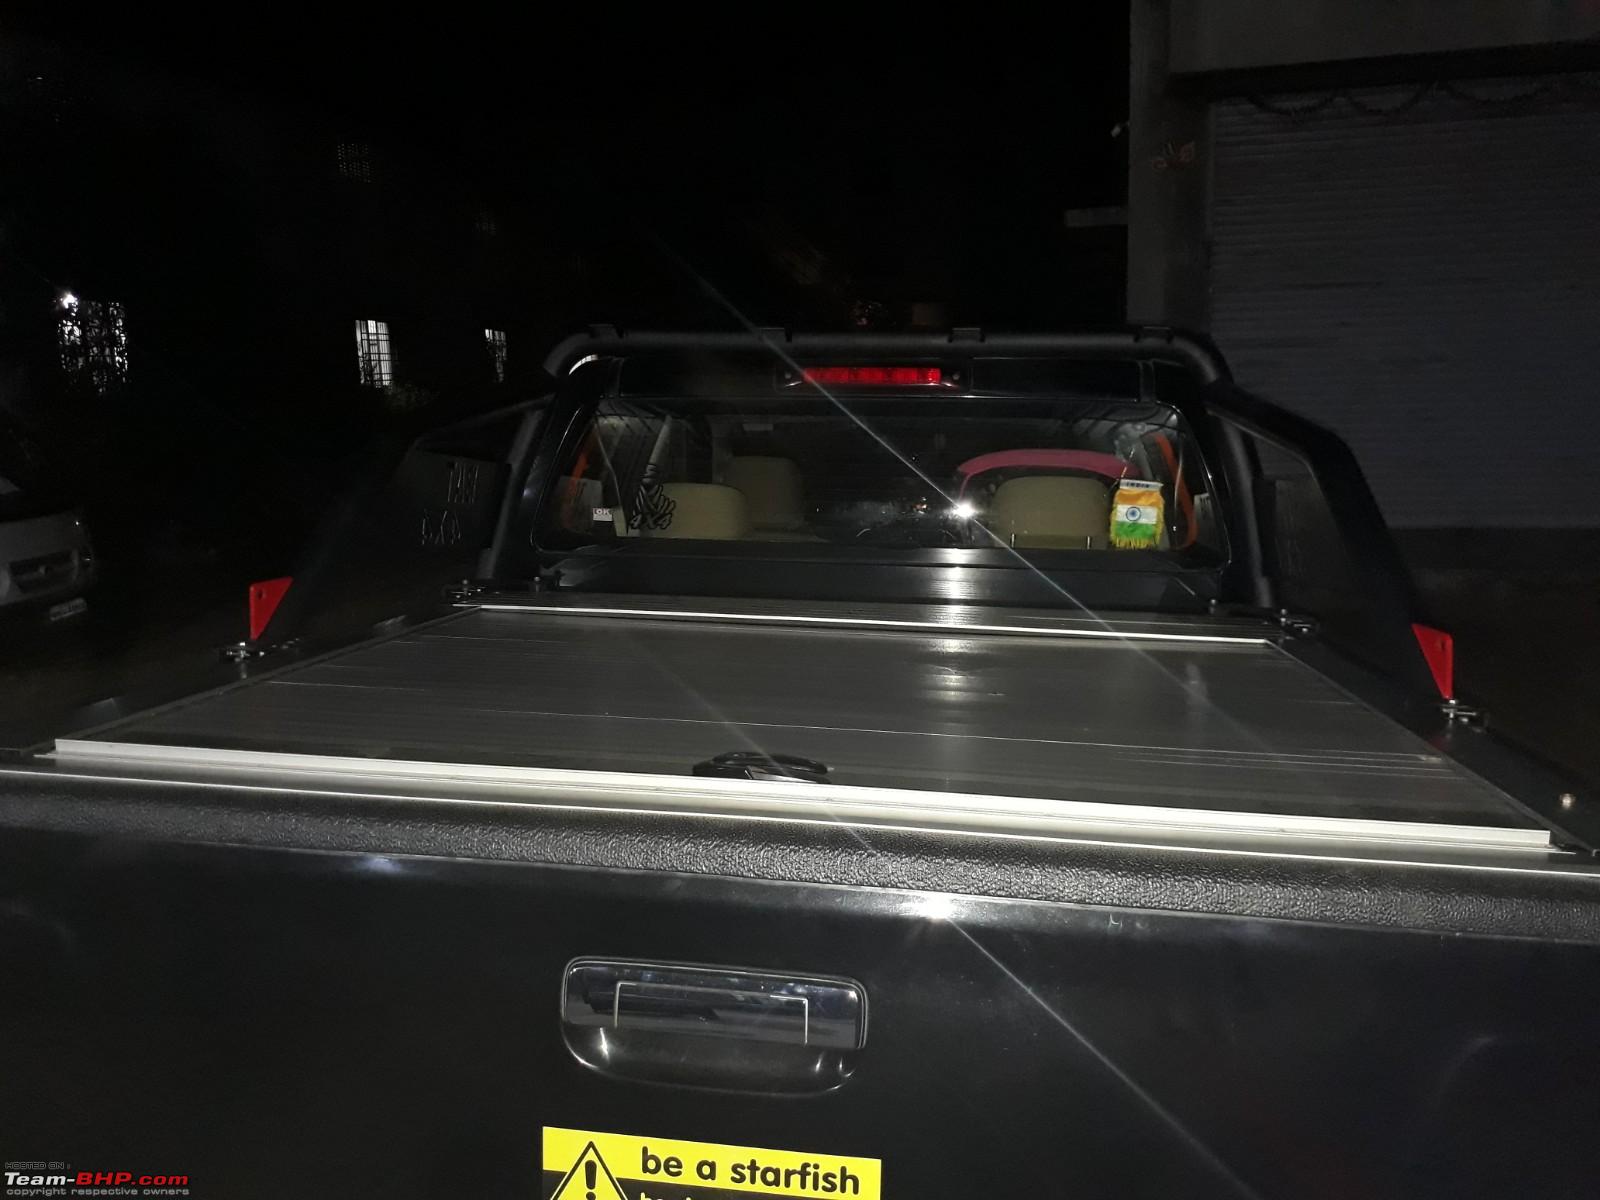
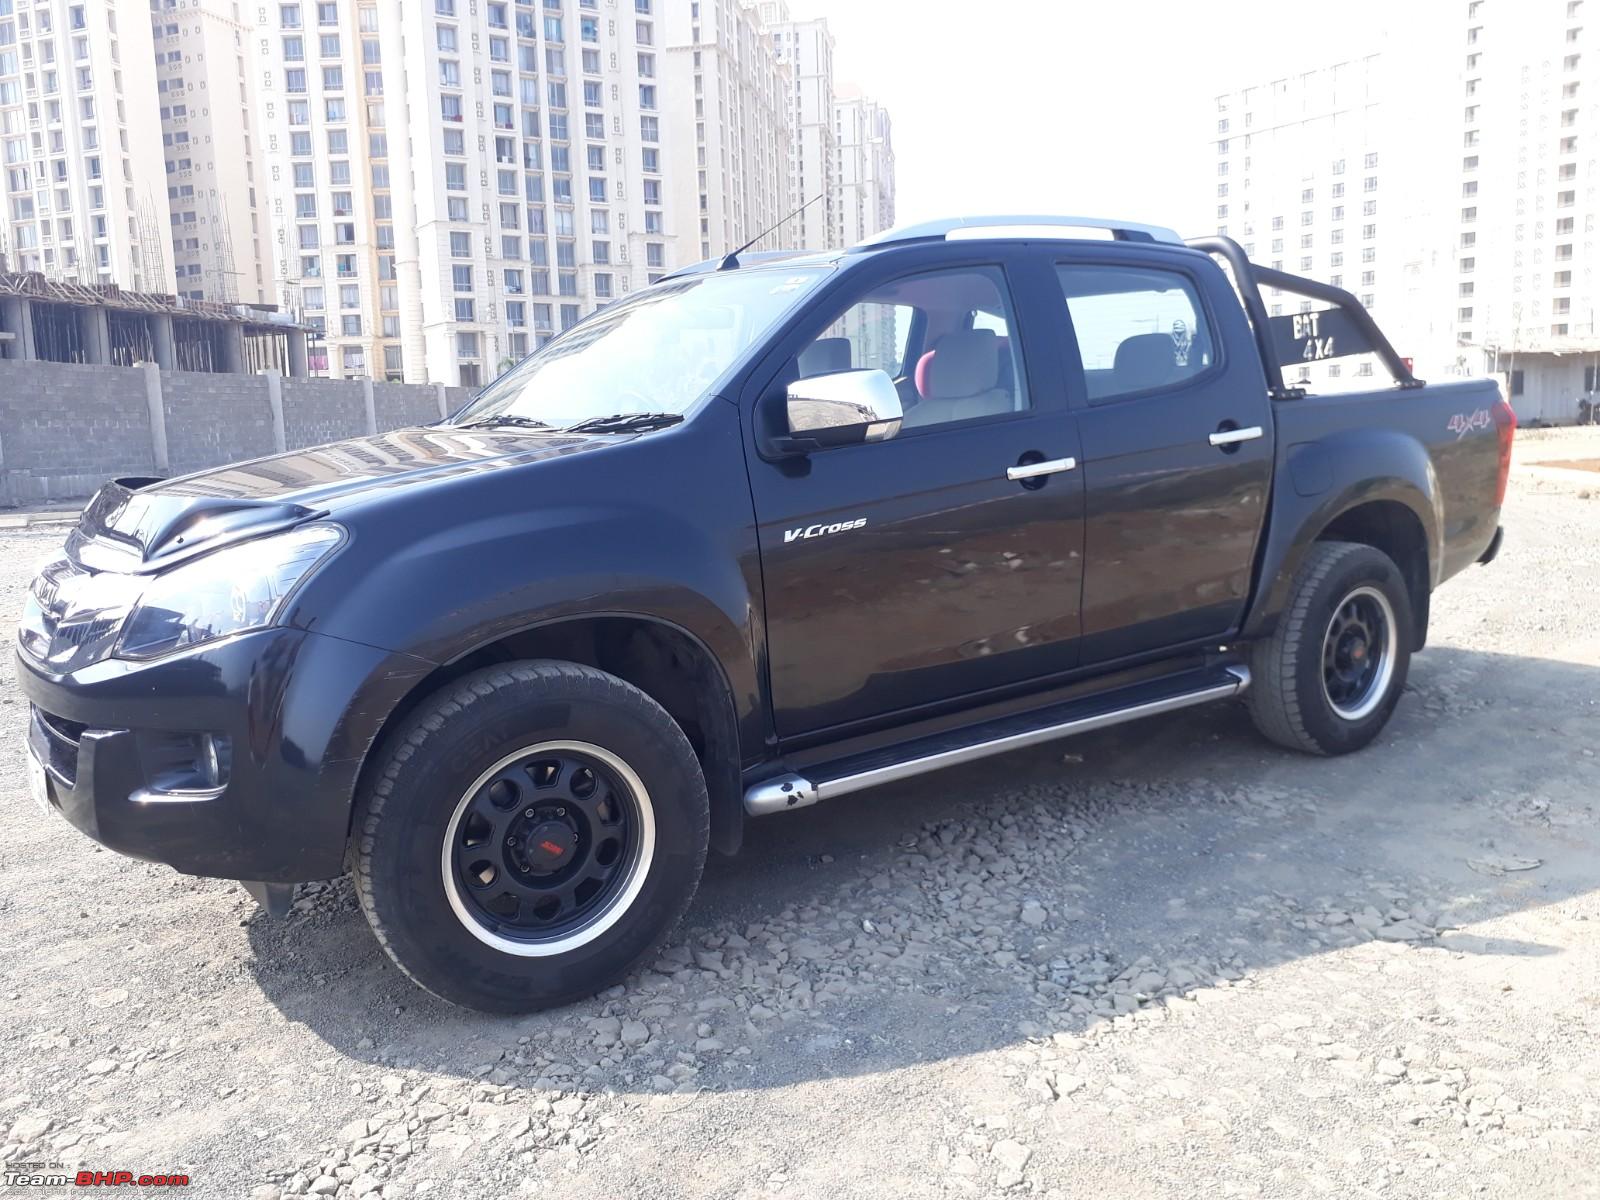
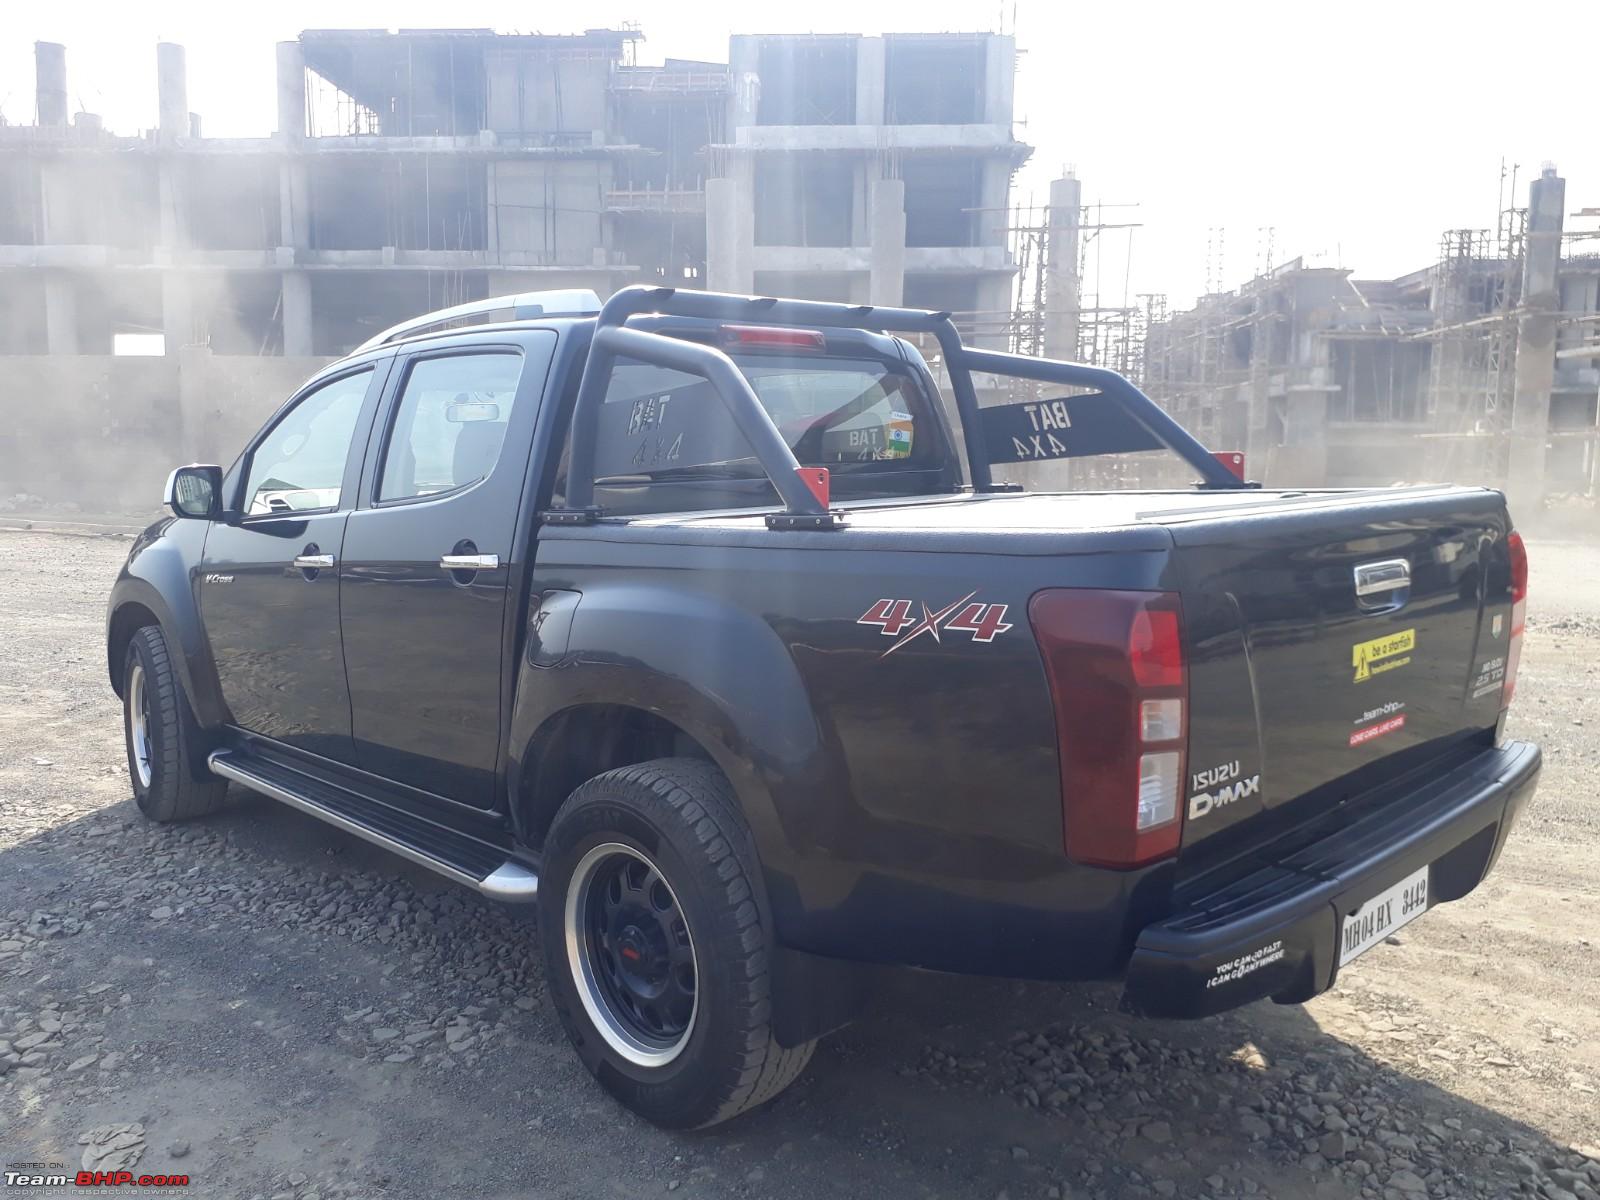
Fully mounted at last... Case study in how to (or not) spend your day off!
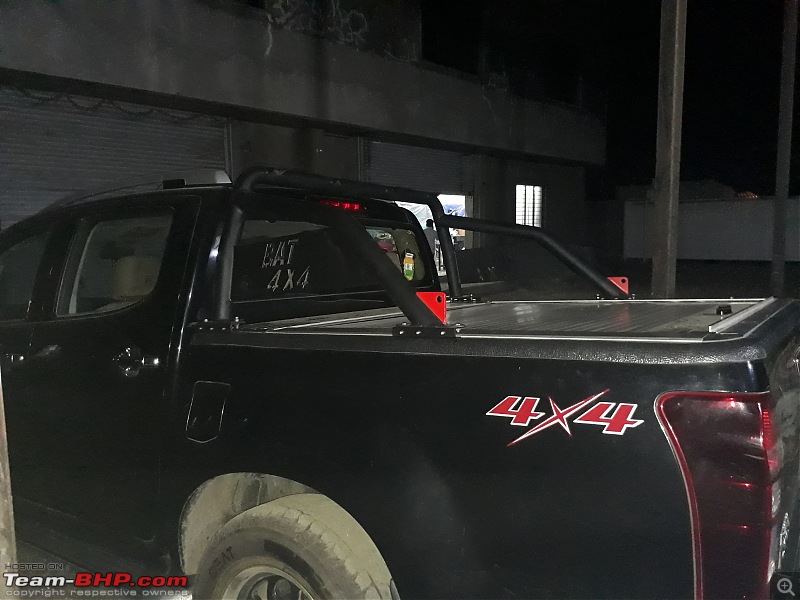
The team that made it happen for me, posing at 9.45 pm, after nearly 6 hours of passionate work. Hats' off to these guys, they could have easily asked to push the job forward another day, but did not even question once. Looks like a good team, and I had some great conversations with their manager Dhiraj. They saved the day for me.
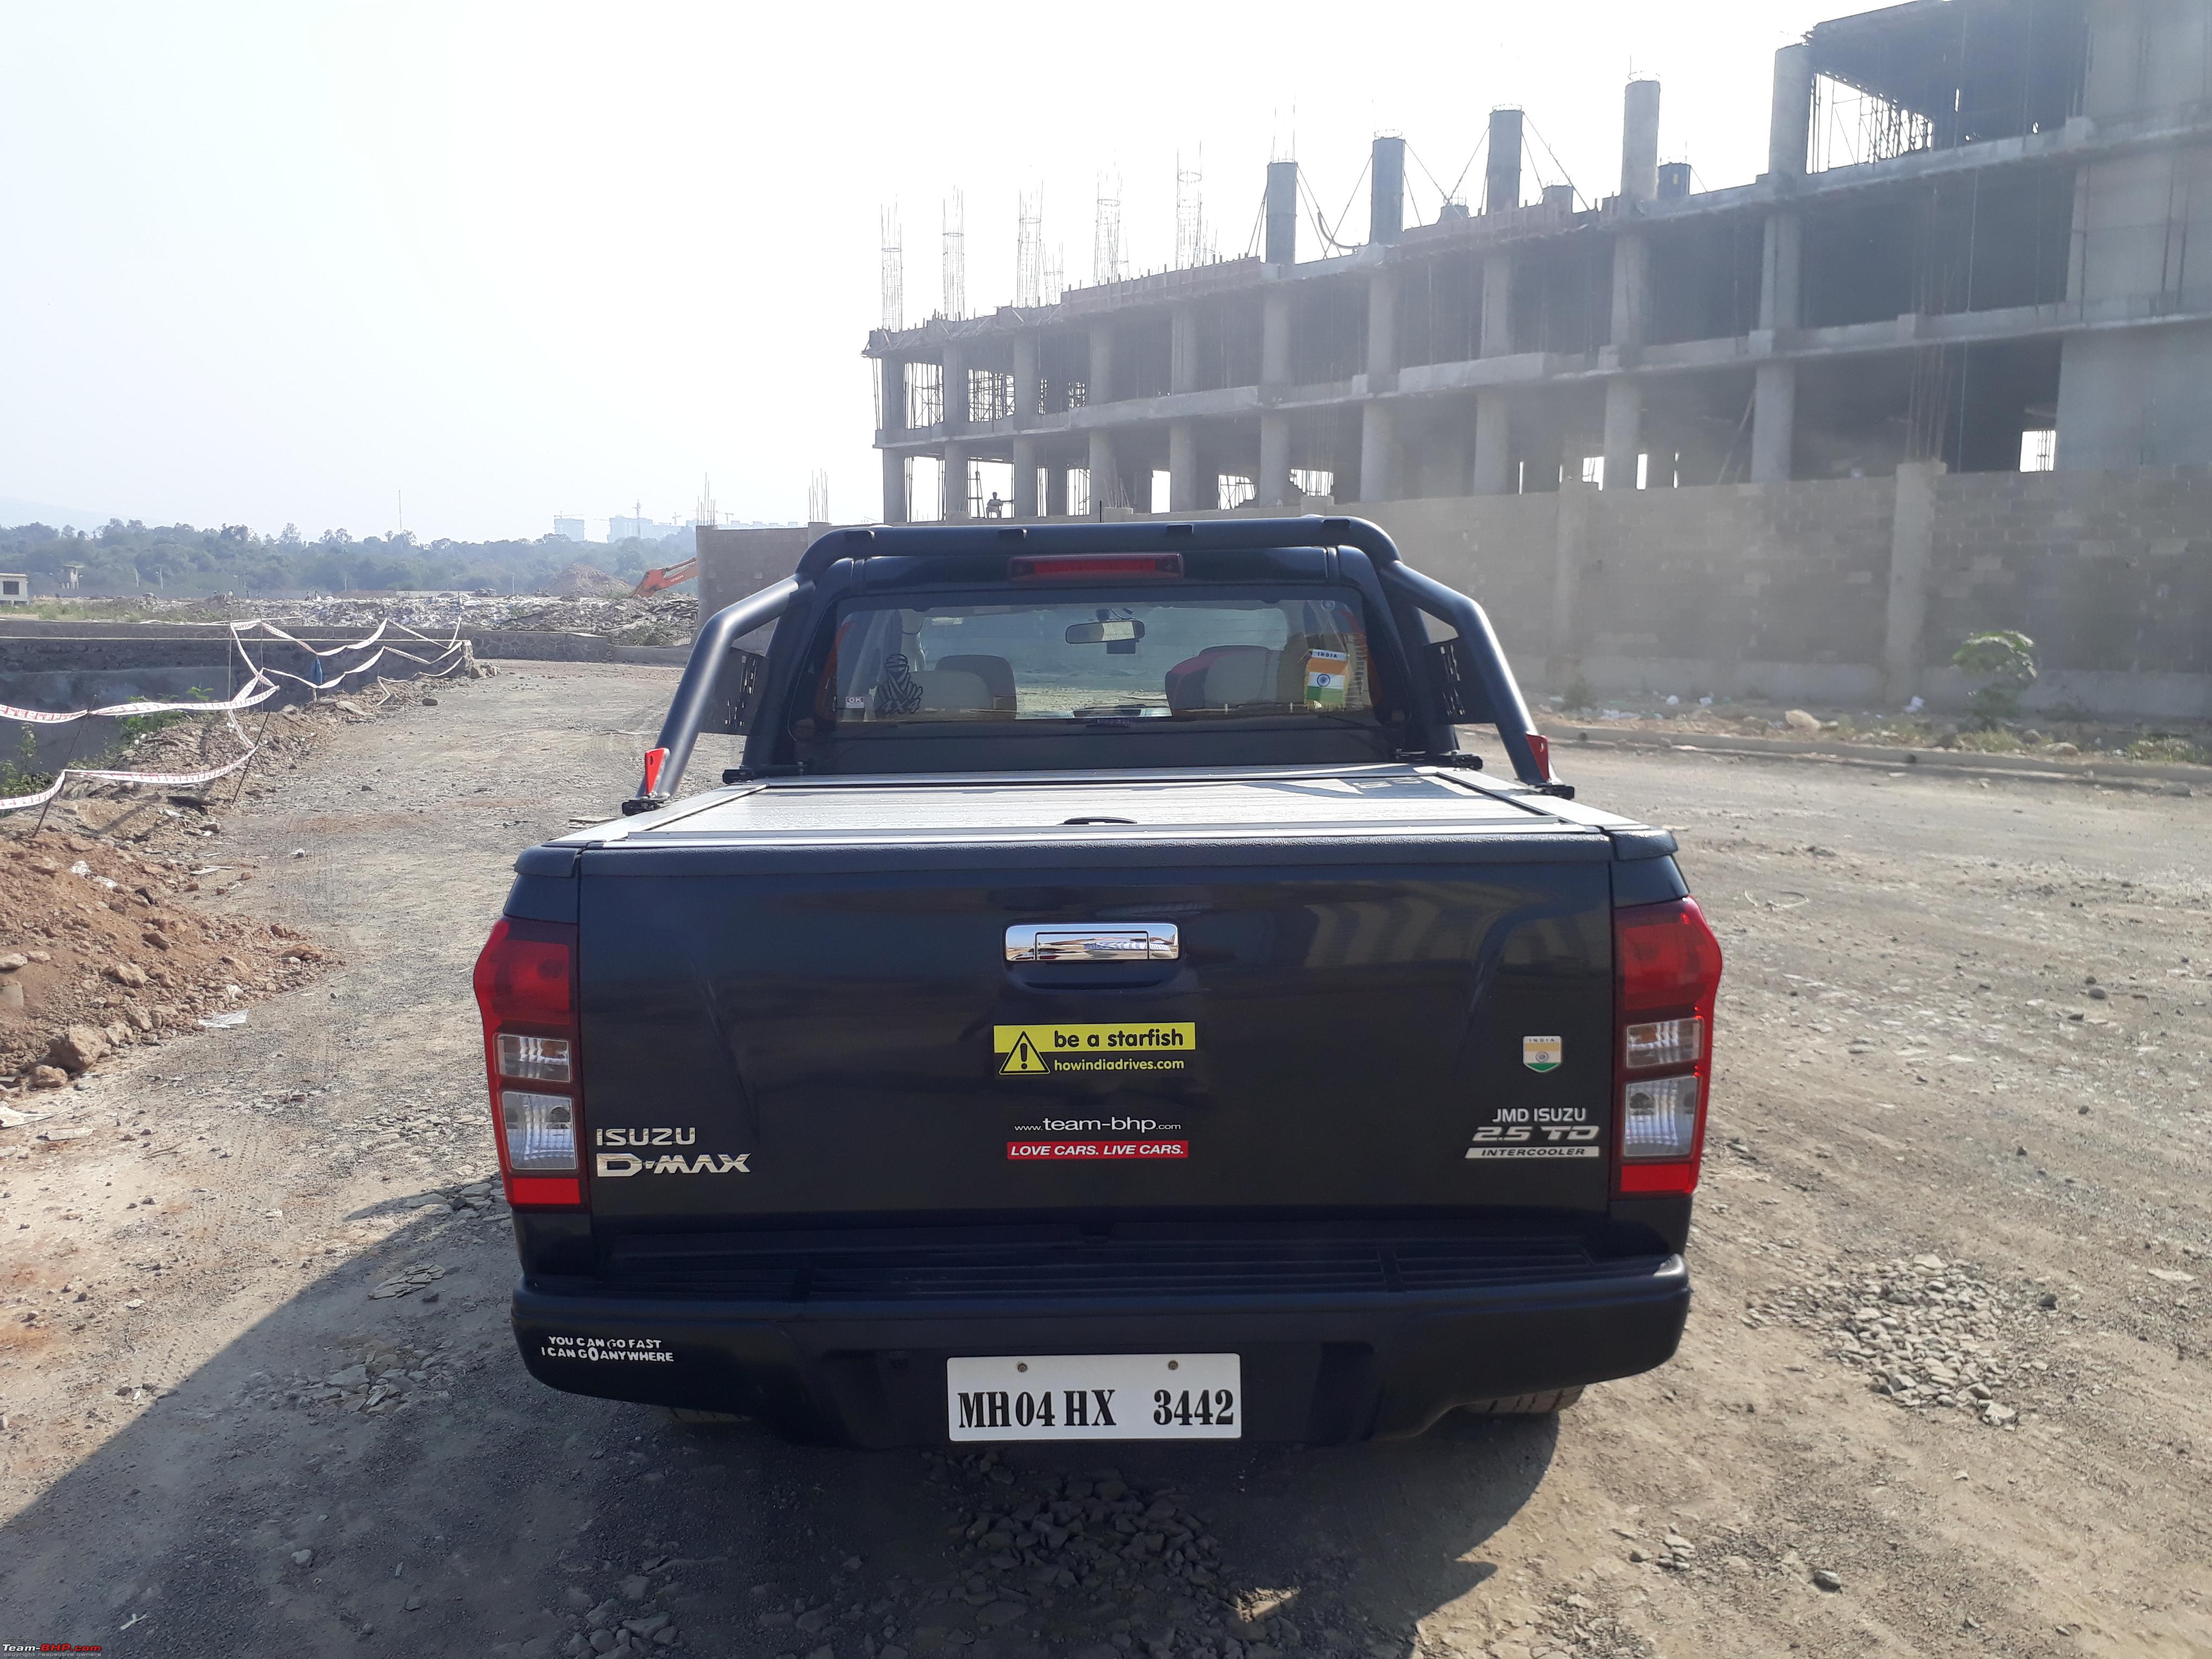
Will post some pics of the setup in better lighting soon. For now, just loving the feel - and can't help stealing glances in the side mirrors every now and then


 15th February 2018, 15:22

 (16)
Thanks
(16)
Thanks


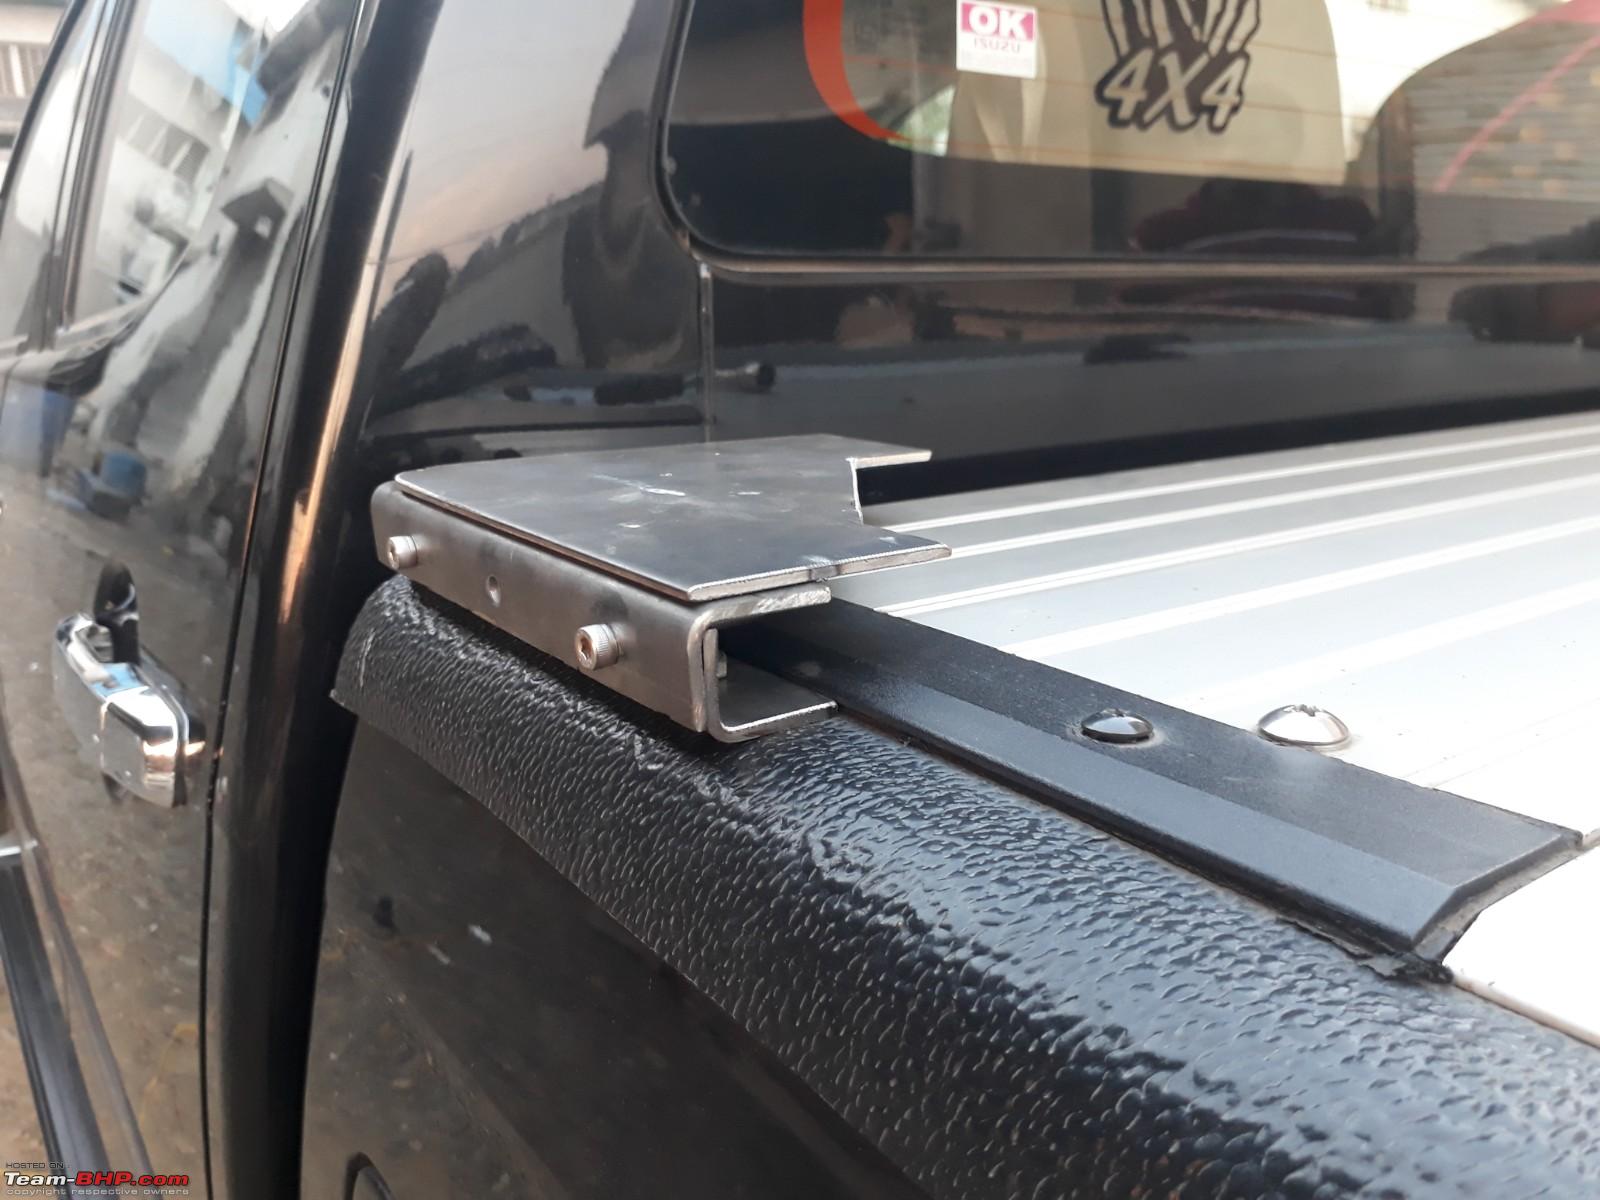


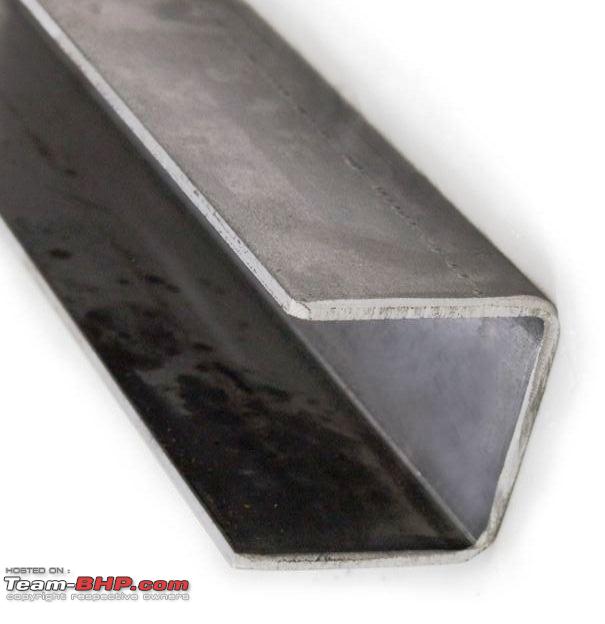
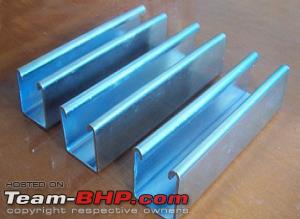
 The channel beam you've suggested will definitely work, and bolting can be done vertically (top to bottom) instead of crosswise as I did. We also thought that the holder (panel which mounts to the bar) could be merged with the upper bracket, so it's all 1-piece. This setup can become a template for future truckers with a roller lid, who still want a proper roll bar.