| |||||||

| Search Forums |
| Advanced Search |
| Go to Page... |
 |
| Search this Thread |  26,355 views |
 18th November 2018, 20:44
| #1 |
| BHPian Join Date: Apr 2016 Location: Bangalore
Posts: 99
Thanked: 408 Times
| 4-step Detailing by an apartment dweller Mods, kindly move this to appropriate category if required.  Recently decided to do a DIY detailing on my ride(S-Cross). This is the first time I have tried any form of paint protection or detailing. There is no dearth of information online and much of the workflow is common knowledge nowadays. Here is a recount of my experience & some gyaan!  There is no limit to variety and quality of surface treatments in the detailing world. It all depends on how much one can spend and the quality of the paint job on the car. For a daily driver like my car, it cannot keep looking like a showcar at all times. Scratches, swirls and waterspots will happen. But with some effort I want to minimise this, keep the car looking fresh and attractive without spending a bomb. But fresh and attractive are subjective terms. Some folks get paranoid everytime a crow takes a dump on their car or a curbside bush touches the paint. Some folks are totally cool with swirl marks getting deeper and deeper everyday- love marks they say. I am probably on middle ground here. But please avoid handing over the keys of your car to a random guy who cleans cars in your apartment society and tell him- yaar jara kapda maar dena! That guy is going to rub the car with a raggedy piece of cloth with a vengeance you may have never seen. Probably he is trying see if the paint surface starts to glow and tell his future. The brown shade on my car is difficult to maintain. Maybe not as much as a blue or black shade. When the car came home, my choices for detailing and paint protection were-
I started taking the car to a car wash whenever there was heavy dirt and mud to be removed. Otherwise every 3-4 weeks I would wash the car on my own in the basement parking(3-4 buckets water, shampoo). For mild dust I was also using a Waterless wash from Ultima. For the interiors I have been detailing on my own since the beginning. Many times I thought of taking the car to 3M but wasn't sure. I want to make it clear that I believe 3M provides excellent set of services with great looking results. It's proven. My only hurdle is maintenance of paint protection through out the year and the cost incurred from multiple detailing sessions. So after toying with the idea for a few days, I decided to do it myself. Planning Once the decision was made, spent some time planning what treatments the car really needed based on the surface condition and how I might carry it out in the basement parking. There was some trepidation of course but I believed I had a plan that could work. I was trying this for the first time. Add to that the lack of any electrical appliances- no DA/rotary buffers, pressure washers etc. There is no electrical oulet in the basement. Detailing by hand may not get consistent results like a buffing machine and also it is a pretty tiring process. Detailing isn't rocket science but as a first timer it would be foolish to underrate the skills required. The car needed a pressure wash to begin with as there was heavy dirt and mud all over. The surface was rough and with swirls and scratches- so claying and compounding. For the final pop in the paint finish- polish and then protection with a synthetic wax/sealent. This was roughly the plan. Few things I was not sure about- - is compounding really necessary? as the swirl marks were not too heavy and polishes can take care of that with mild cutting ability, also the hardwater spots might go away with just claying and polishing. - how hard or soft is the clear coat surface on S-cross? I didn't want to buff too much and scrub away clear coat unnecessarily. What is the thickness of the clearcoat?- impossible to tell without a paint thickness measurement gauge. Manufacturers put different thickness of clear coats on different panels. For eg: hood will have more thickness than the door jambs. - Do I do each step on the entire car and then proceed to the next step or go panel by panel? I decided to take a call on these above unknowns once I started the process by sampling on some small patches. I wanted to finish the detailing before a road trip that was coming up in 10 days. It was time to order stuff. Products Used My main criteria while ordering the products was to stay within 10K mark budget wise. This would roughly put the expenditure in the same(infact quite a bit less) league as one single session at 3M for same number of treatments I was planning to do. But the beauty of buying this stuff once is they can be easily reused for 2-3 more comprehensive detailing sessions. I guarantee you, the wax I ordered can be used for atleast 20 cars(I read someone claiming 50, but that is just ludicrous  ). Well most paste waxes last long. I plan to use this wax as a reload to maintain the protection between regular washes till the next detailing session happens. ). Well most paste waxes last long. I plan to use this wax as a reload to maintain the protection between regular washes till the next detailing session happens.I went for Meguiars for all items related to paint detailing and protection. All my experience was from reading and watching videos online. Meguiars has a large user base and online community which has answers for almost all questions for noobs like me. This is partly because Meguiars makes good quality consumer grade products and partly their excellent promotion and advertising. Everyone has a favorite product/brand- collinite, turtle wax etc. And I am not trying to prove any one product is better or worse but my comfort level with Meguiars had increased due to the large amount of information available on usage of their products. Ordering Meguiars was tough thing- online sellers were all over the place with the pricing. Some were charging two to three times the actual MRP. Also I wasn't sure I would get them on time. The Meguiars distribution & sales is handled by 3M in India. Called 3M customer care, got routed to a local 3M sales executive, then to a Meguiars sales executive, then to a Meguiars supplier in BLR. The person was a very reasonable gentleman. Sent him my requirements over whatsapp, and next day he replied with the pricing. He got them delivered to a car accessory shop close to where I live. Picked them up and got a nice discount too. Way cheaper than buying online. I had to skim on a few things- like meguiars glass cleaner, plastic restorer, dashboard protectant to keep the cost down. I went for cheaper brands like 3M and armorall for these. The total cost of all the products stands at 9.6k. Some of the major items-
The Ultimate series of detailing products is top of the line consumer grade from Meguiars. They claim good results even with hand application. I went for the paste wax because I felt it would be easier to apply on the paint with hand and can be reused more times compared to liquid wax. Beware though- paste wax will turn any black plastic cladding white for a long long time. To avoid the spots, I got some 3M masking tape to mask the cladding on S-cross. I also got Meguiars foam applicator pads as I was not sure about the quality of some cheap applicators I had sourced locally. The Meguiars applicators are expensive. Unfortunately I ended up using all of them since I kept dropping them on the floor. I also got some microfibre applicator pads. But while detailing I found they are really difficult to operate with for compounding/polishing and at the same time do not yield good results. A bunch of microfibre(MF) towels of different sizes and GSM were also ordered. Also borrowed a few thick paint brushes from my wife to clean emblems and such. A quick word about Resqtech 12V washer. Some friends had purchased this and mentioned good things. After buying one myself I felt It did a decent job of a wash at home. Enough pressure to wash off a shampooed car or loose dirt. I liked what it achieved but not at the price point. I paid 5k+ if I remember(some have got it at discount). I returned it after using once. Want to explore means to get an electrical point in the basement and then maybe invest in a pressure washer. The process All products were home by Fri. I planned to start early morning on Sat and finish by Sun late evening. But as usual some other priorities took precedence and could only start by 3:30 in the afternoon. THE 4 STEPS- WASH, SURFACE PREP, POLISH, PROTECT 1) Wash I took the car for a pressure wash and vaccum outside. All heavy mud and dirt was removed. Interiors were only vaccumed. Made sure all the seat crevasses were thoroughly cleaned. After getting home, washed the car with shampoo to make sure all dirt was gone and the surface was squeaky clean. Dried the car and inspected the paint. Checked for severity of swirls and scratches. Some scratches revealed only after washing the car. Made a note of as many as I could. Swirls did not look very bad. This was because I had been doing the wash and dry on my own most of the time. Scratches were not major except a couple. One on the hood that looked like a large lasso(someone mush have dropped something on the hood). And one on the rear bumper(happened while taking out luggage). These would definitely need compounding. The paint surface felt rough. Lot of contaminants sticking to the clear coat. Some of the bug splatters just refuse to budge with regular washes. There was a smattering of hardwater spots too.  Swirl Marks up close Some Pictures of the scratches  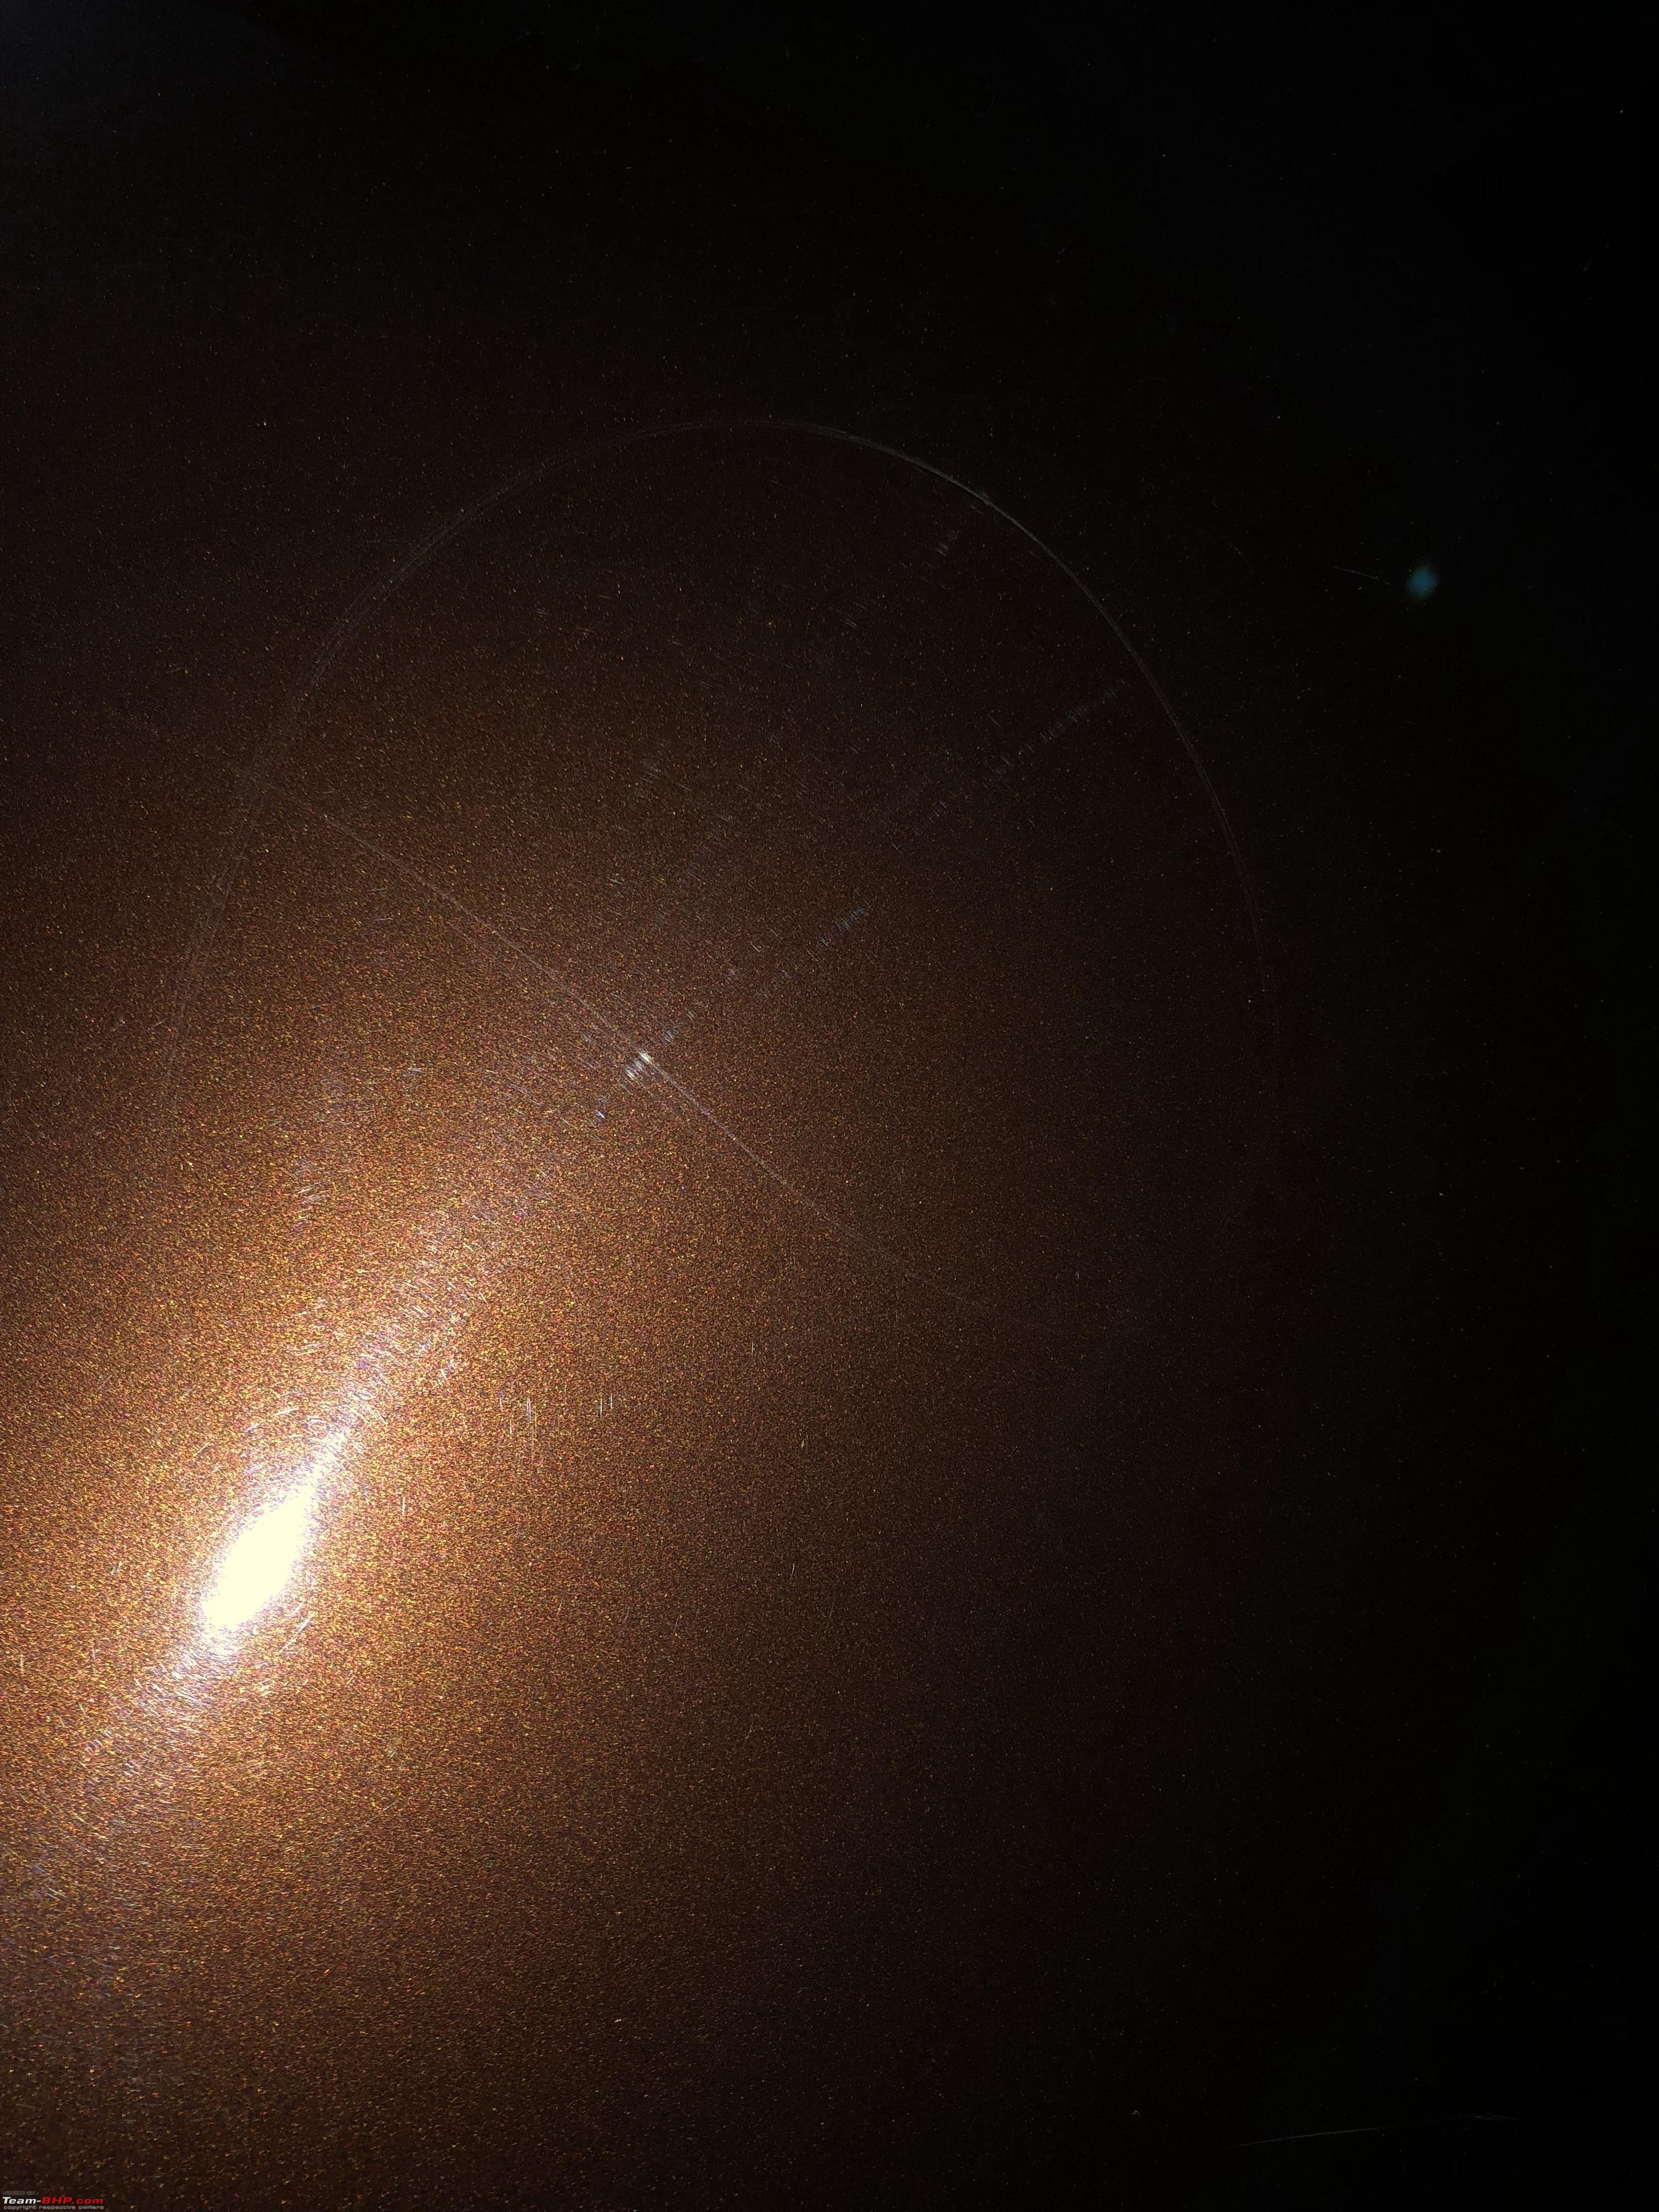 lasso shaped scratch  bumper scratch With the inspection done, it was time to move to Surface prep 2) Surface Prep CLAYING- Detailing is all about surface prep, be it wax protection or ceramic coating. And I feel claying is the most important step in surface prep if you really want a smooth clean surface to start with. It also removes some hard water spots(for better results with hard water spots compunding can take care of that). Most importantly Claying will pick out the dirt and grime and leave you an absolute smooth surface to work on. The final result is a mirror like finish that I am not sure can be achieved just by washing with a specialized decontamination product like IronX. Many suggest using clay and ironx one after the other. The difference is immediate when you touch the surface after claying. Hand will just glide on it. The Meguiars clay kit comes with a spray bottle of quik detailer which acts as lubricant for the clay( diluted shampoo and water solution can also be used). It has two clay bars. I broke off a 1/3rd from one clay bar- the size of a laddoo or golf ball and that was enough for the entire car. Spread it out into a wafer, sprayed some lubricant on the paint and started claying. Worked in small patches of no bigger than 2ft by 2ft. I also clayed the windscreens to decon in the same step. Inspected the paint surface after claying. Mirror smooth. Water spots had also disappeared considerably. While claying I realized- doing one step at a time on the entire car will not work. Although I was in a covered area, dust was gathering pretty quickly on the paint surface. Decided to finish claying for the entire car and then remaining steps will complete panel by panel. So compounding, polishing and wax was be done for one panel entirely before moving on to the next panel. Any dust that had gathered after claying was removed by gently wiping with a MF damped with quik detailer. Moving on, the real trial by fire step was next- scratch and swirl removal. COMPOUNDING- Meguiars Ultimate Compound a has a lot more cutting ability compared to the others in the consumer grade product lineup. It stands second right after the ultra cut compound in aggressiveness. I wanted to be very sure that compounding was really necessary on the car. Partly because I didn't understand the clear coat quality and also the swirls weren't too bad. So I taped out a section on the hood which had the lasso shaped scratch and first tried rubbing with the polish. The polish has very mild cutting agents and it did remove the swirls to an extent but the scratch wasn't going anywhere. That was enough to give me an idea that compounding was indeed necessary. Compounding removed the scratch entirely. The swirls of course were gone. And no matter how hard or soft the clear coat was, I was sure I won't harm it with hand application. Confidence level jacked up a few notches. Went home and finished dinner. After dinner I started with the hood and compounded it. Again working in small patches. Can't let the compound dry for long. Wiped it off clean and removed any haze immediately after rubbing was done. Compounding requires a bit more hand pressure and time to work with compared to the other steps. Finished the hood, inspected the surface and was happy to see the results. The finish was flawless. Swirls, water spots, scratches disappeared.   swirls and scratch gone. 3) Polishing Polish is an optional detailing step really. Many light colours like silver or white colour cars may not need it at all. If the surface prep is good then directly move to the sealent/wax protection stage. Polish helps in giving some extra shine and pop to dark colour paints. The process is not much different from compounding. But again worked in small patches, wiping it off immediately. Polish will also help remove any residual haze from the compounding stage. Polished the hood and moved on to the final stage. 4) Protect This was probably the easiest step as the paste wax went on real easy like makkhaan!. Applied a very thin layer on the entire hood. Let it dry for some time. Using a gentle finger swipe checked if the wax smears or comes off clean. If it comes off clean it is ready to be wiped off. This was the last action of the day and by the time I finished the hood and went home it was midnight. The Meguiar's Ultimate wax is a synthetic wax that provides longer protection compared to carnuba based wax. I had planned to put two coats of wax on the entire body and 3 coats on the hood. Multiple coats are useful for hand application as it ensures an even coating. The duration between application of each coat is a very hot topic of discussion in detailing forums. But what I gathered was- best results are achieved if the duration is anywhere between 12-24 hours as all waxes need some time to harden. So this is how I did it: SAT night- one coat on the hood SUN Morning- second coat on the hood SUN Evening- One coat on rest of the Car Mon Morning- Before leaving for office 3rd coat on the hood and second coat on the rest of the car. Started early on Sunday morning with a second coat of wax for the hood. Cleaned the dust on remaining panels using a MF and quik detailer. Then repeated all steps panel by panel- roof, front bumper and fenders, doors and pillars, rear fenders and bumper. I skipped compounding the roof as the swirls were way less compared to the rest of the car and there were no visible scratches as well. The windscreens were already decontaminated so cleaned them with glass cleaner and put a coat of wax. I also taped up the cladding all around the car including radio antenna and orvm to avoid wax over application. S-cross has a fair bit of cladding and reduces some of the scrubbing and buffing.  black claddings taped up to avoid wax over application By Sunday evening exterior detailing was complete sans the cladding and wheels. Monday morning another coat of wax was applied and also interior detailing was addressed. I used the 3M dashboard dresser as a temp solution for the plastic claddings too. Interior Detailing I didn't have too many things planned for the interior. But main concern were seats. They were real dirty. I had seen the 3M germkleen foam in action before and really liked the product. Sprayed directly on the seats, left for 15 minutes, scrubbed and wiped down with damp MF. Afterwards applied the Meguiars leather cleaner and conditioner. Rest of the interior was regular dashboard dresser and glass cleaner. Carpets had been vaccumed already at the car wash. That was it. I didn't have anymore time left for detailing. Things that I missed- - detailing wheels - Final finishing and cleaning of residual wax etc from edges and emblems - Wanted to do a better decon of the windscreens But I am glad to say that Meguiars performed just as they advertised. Will have to see the long term effects. I tried following their instructions down to a tee. A word of advice if you want to try this too- be ready to experience pain. Detailing by hand can help you build muscles  . It's like going to the gym and lifting weights for the first time. You don't have control over your muscle spasms. For a couch potato like me it was even worse. On a serious note it took me a little extra effort and time since I was doing it for the first time and doing it alone. With another set of helping hands and experience of having done once, I can finish it much faster now. . It's like going to the gym and lifting weights for the first time. You don't have control over your muscle spasms. For a couch potato like me it was even worse. On a serious note it took me a little extra effort and time since I was doing it for the first time and doing it alone. With another set of helping hands and experience of having done once, I can finish it much faster now.Results I wanted to achieve two goals when I set out with the detailing-
I feel I have achieved goal no. 1. Considering the fact that I can do another 2 detailing sessions with the products I bought(barring things like wax, clay, glass cleaner, MFs, shampoo which will run for way longer) cost of this single session of DIY detailing is approx.- 2.3K. As for the results of exterior detailing- better than the local detailer? I am pretty sure it is. As good as 3M or other pro shops? Not entirely there. The final finishing and cleaning touches are absent. I tried to be as consistent as possible with the applications by hand but electric buffer would have been nice. I am happy with the outcome of the surface treatement but doesn't make sense to gloat without feedback from folks examining it up close. The best compliment I got was from another detailer after my road trip- he asked if I had just got the car from showroom.    It is difficult to capture the surface especially with the brown colour. These are pictures I took about 15 days after the detailing. Hope this is useful to some folks. Thanks. Last edited by Aditya : 20th November 2018 at 06:53. Reason: Deleting extra smileys |

|  (72)
Thanks (72)
Thanks
 |
| The following 72 BHPians Thank jaunthead for this useful post: | --gKrish--, Acharya, Ashir, audioholic, avis4398, BigBrad, blackasta, blackwasp, daretodream, digitalnirvana, Ertigiat, francis_vaz, FrodoOfTheShire, GM6James, govigov, GTO, harry10, hmansari, InControl, IndigoXLGrandDi, Jeevith, JithinR, Keynote, KK_HakunaMatata, Klub Class, KMT, kpzen, ksameer1234, Lalvaz, Leoshashi, manjunag, Mistakenguy, motorpsycho, mpksuhas, Nazzy, neerajdan, NPV, paragsachania, PraNeel, psispace, punterccrx8s, R-Six, R2D2, Raj_RD, Rshrey22, sainyamk95, samaspire, Samba, seedyk, Shanksta, sharktale, shipnil, Shubhendra, skn1980, snaseer, SnS_12, Sophomore, spd_tkt, spindoc, sudeepg, sukiwa, tharian, theexperthand, The_Outsider!, Turbanator, Turbohead, tweaker, unk9ja, Varun_HexaGuy, vigsom, Viju, yajaman99 |
| |
|
19th November 2018, 07:27
| #2 |
| Team-BHP Support  | re: 4-step Detailing by an apartment dweller Many thanks for sharing! Two related threads: Simple guide to a shiny car (Simplified: The Idiot's Guide to keeping your car clean & shiny) A hilarious account (Confessions of a novice trying to imitate a Detailer!) |
|
| (7)
Thanks
|
| The following 7 BHPians Thank GTO for this useful post: | digitalnirvana, hmansari, jaunthead, SnS_12, spd_tkt, Varun_HexaGuy, virgopal |
|
19th November 2018, 08:20
| #3 |
| Senior - BHPian Join Date: Feb 2005 Location: Melbourne
Posts: 4,377
Thanked: 5,105 Times
| re: 4-step Detailing by an apartment dweller Excellent results. I can see some swirl marks on my black Infiniti Q50 and was looking for such a guide. Thanks for sharing. |

| (1)
Thanks
|
| The following BHPian Thanks extreme_torque for this useful post: | jaunthead |
|
19th November 2018, 09:54
| #4 |
| BHPian Join Date: Nov 2017 Location: Belagavi
Posts: 77
Thanked: 135 Times
| Re: 4-step Detailing by an apartment dweller Remarkable outcome! Thanks for listing out the things, was confused about which products to use on my black ecosport. Could you share the Meguiars contact in Bangalore? |
|
| (1)
Thanks
|
| The following BHPian Thanks Dramitn for this useful post: | jaunthead |
|
19th November 2018, 12:26
| #5 | |
| BHPian Join Date: Apr 2016 Location: Bangalore
Posts: 99
Thanked: 408 Times
| Re: 4-step Detailing by an apartment dweller Quote:
Sujoy- 9845091161 | |
|
| (3)
Thanks
|

| The following 3 BHPians Thank jaunthead for this useful post: | digitalnirvana, Dramitn, manjunag |
|
19th November 2018, 12:32
| #6 |
| Senior - BHPian | Re: 4-step Detailing by an apartment dweller Great narration & equally good results to show for. As you have done everything by hand without help of any rotary / DA, do also let us know what medication you are taking now for the arm, back and leg aches  |
|
| (4)
Thanks
|
| The following 4 BHPians Thank blackasta for this useful post: | digitalnirvana, hmansari, jaunthead, Varun_HexaGuy |
|
19th November 2018, 14:48
| #7 |
| Senior - BHPian Join Date: Apr 2018 Location: Bangalore
Posts: 1,549
Thanked: 17,366 Times
| Re: 4-step Detailing by an apartment dweller Thanks for sharing this extremely useful thread. My brown Ritz is now 8 years old and has seen a fair share of scratches. I was considering detailing and paint protection for the car but budget constraints have prevented me from carrying these out. Looks like a DIY is the cheapest way out, and looking at your results, I think I should try it out. Hats off to you though for doing the entire process by hand. I am not willing to try that. Your efforts show in the final result. Well done  . . |
|
| (4)
Thanks
|
| The following 4 BHPians Thank ChiragM for this useful post: | Ashir, jaunthead, roby_dk, Varun_HexaGuy |
|
19th November 2018, 14:50
| #8 | |
| BHPian Join Date: Apr 2016 Location: Bangalore
Posts: 99
Thanked: 408 Times
| Re: 4-step Detailing by an apartment dweller Quote:
A day later I drove to Goa- beer and the beach was great therapy. But then the therapy costs more than the detailing  . . | |
|
| (1)
Thanks
|
| The following BHPian Thanks jaunthead for this useful post: | hmansari |
|
19th November 2018, 17:30
| #9 |
| BHPian Join Date: Feb 2006 Location: Bangalore
Posts: 813
Thanked: 2,455 Times
| Re: 4-step Detailing by an apartment dweller Brilliant Results Jaunthead. I think you perfectly achieved what you set out to do. Although laborious, the end results in my opinion are outstanding! Compounding and the extent from what I saw depends on amount of defect and the quality of paint. I believe a rotary polisher will save you some energy and time. I am also particularly interested in the 3M Interior cleaner foam. It's about time that I applied it for my car. Do you know: 1. If it can be used for seats and roof liners? 2. What about steering leather cleaning? Does it work there? Should we mask the switches? I have used Collinite 845 for my previous car, a honda city. It's very difficult to work with, but it lasts a long time as well as gives the car (especially dark colours) an excellent shine. Again, great job. I'll PM you for some details.  |
|
| (3)
Thanks
|
| The following 3 BHPians Thank sudeepg for this useful post: | digitalnirvana, jaunthead, samaspire |
|
19th November 2018, 19:20
| #10 | |
| BHPian Join Date: Apr 2016 Location: Bangalore
Posts: 99
Thanked: 408 Times
| Re: 4-step Detailing by an apartment dweller Quote:
Germikleen- from what I read on the instructions- made for leather, vinyl, plastics. Roof liner too I believe but not sure. Yep collinite 845 durability is well known. We should try collinite and meguiars both together, split it on the hood in two sections. | |
|
| (2)
Thanks
|
| The following 2 BHPians Thank jaunthead for this useful post: | digitalnirvana, roby_dk |
|
19th November 2018, 19:51
| #11 |
| Distinguished - BHPian  Join Date: Oct 2008 Location: Pune
Posts: 3,231
Thanked: 5,742 Times
| Re: 4-step Detailing by an apartment dweller Great detailing work there. Car looks lovely. Just remember to get a nice car cover to protect it after all the hard work. And don't ever, ever, let a watchman, maid etc wash the car. |
|
| (2)
Thanks
|
| The following 2 BHPians Thank R2D2 for this useful post: | jaunthead, roby_dk |
| |
|
20th November 2018, 20:48
| #12 | |
| BHPian Join Date: Jan 2006 Location: delhi
Posts: 380
Thanked: 295 Times
| Re: 4-step Detailing by an apartment dweller Quote:
Even I faced issue while ordering Meguiars products, would you be able to share details of the distributor with us. Would be helpful for everyone. I had procured Meguiars Ultimate Polish but did not have courage to use this by hand. My parking lot does not have provision for power outlet hence getting a rotary polisher is ruled out. I have tried using Ultimate polish once on minor swirl marks but did not get good results. I am not sure if I should apply more polish on the applicator pad or try to target even smaller area. After looking at results shared by you I have got encouragement to try one more time. Regards. | |
|
| (1)
Thanks
|
| The following BHPian Thanks antardaksh for this useful post: | jaunthead |
|
21st November 2018, 07:43
| #13 | |
| BHPian Join Date: Apr 2016 Location: Bangalore
Posts: 99
Thanked: 408 Times
| Re: 4-step Detailing by an apartment dweller Quote:
| |
|
| (1)
Thanks
|
| The following BHPian Thanks jaunthead for this useful post: | antardaksh |
|
23rd November 2018, 21:28
| #14 |
| BHPian | Re: 4-step Detailing by an apartment dweller Excellent thread Jaunthead! And very well written indeed! My 5 month old EcoSport is also similar colour and I was planning to have it professionally detailed once every 6-8 months. But I just might give this DIY method a try. One question though - you have mentioned that the products you bought will be good for another 2 sessions, so I am guessing you'll need to store it for maybe a year. Are there chances of it going bad somehow? |
|
| (1)
Thanks
|
| The following BHPian Thanks FrodoOfTheShire for this useful post: | jaunthead |
|
24th November 2018, 17:56
| #15 | |
| BHPian Join Date: Apr 2016 Location: Bangalore
Posts: 99
Thanked: 408 Times
| Re: 4-step Detailing by an apartment dweller Quote:
| |
|
| (1)
Thanks
|
| The following BHPian Thanks jaunthead for this useful post: | FrodoOfTheShire |
|