News
Fixing multiple parts on my Jeep Cherokee to get it back on the road


While I was waiting for the radiator isolators, I installed the new transmission line & also filled up the cooling system.
BHPian Jeroen recently shared this with other enthusiasts.
Last Monday I got a call: My new transmission line had arrived. I found another Jeep part supplier, again close to my home, Tiel. About a twenty-minute drive.
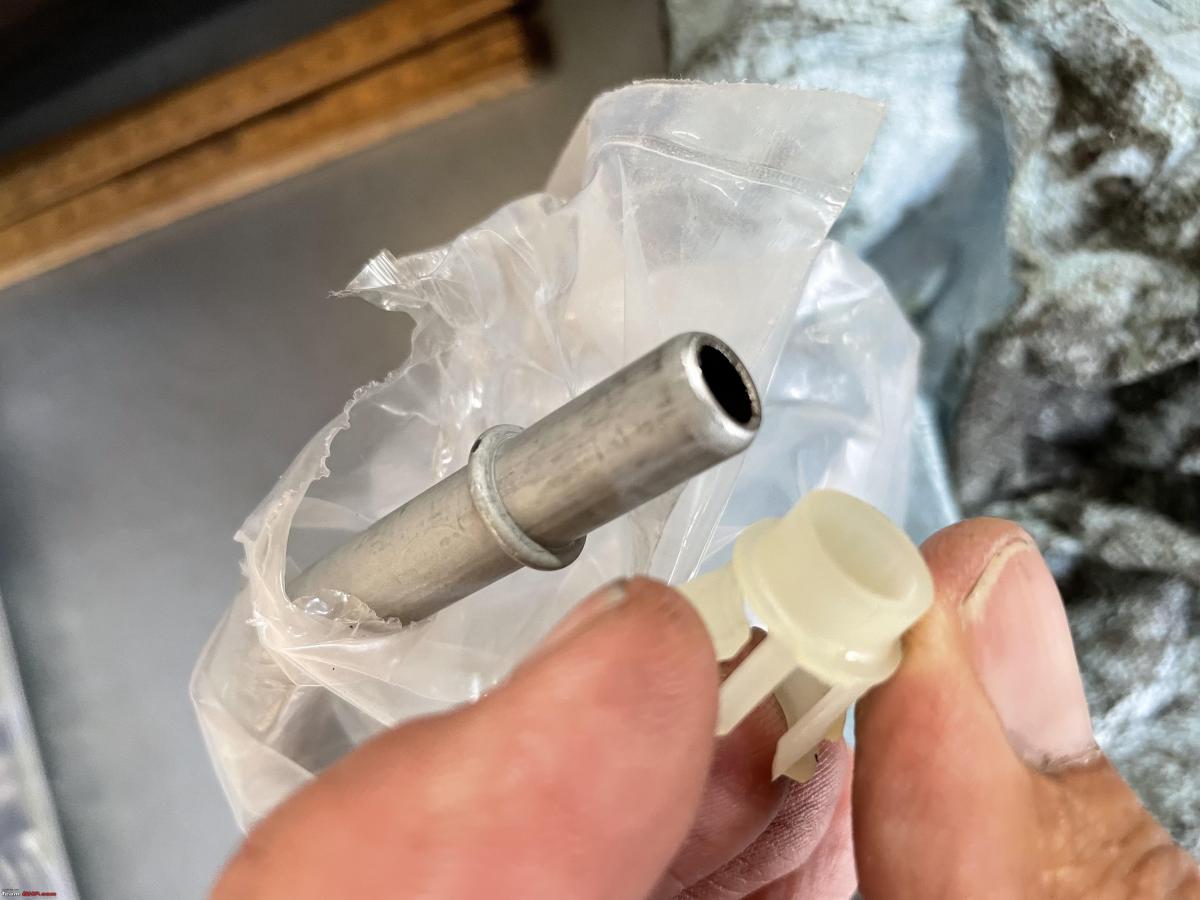
So I went over to pick it up. Also got some new wipers and I discussed these plastic inserts at length. He gave me one to try out.

Shame, it did not fit either.
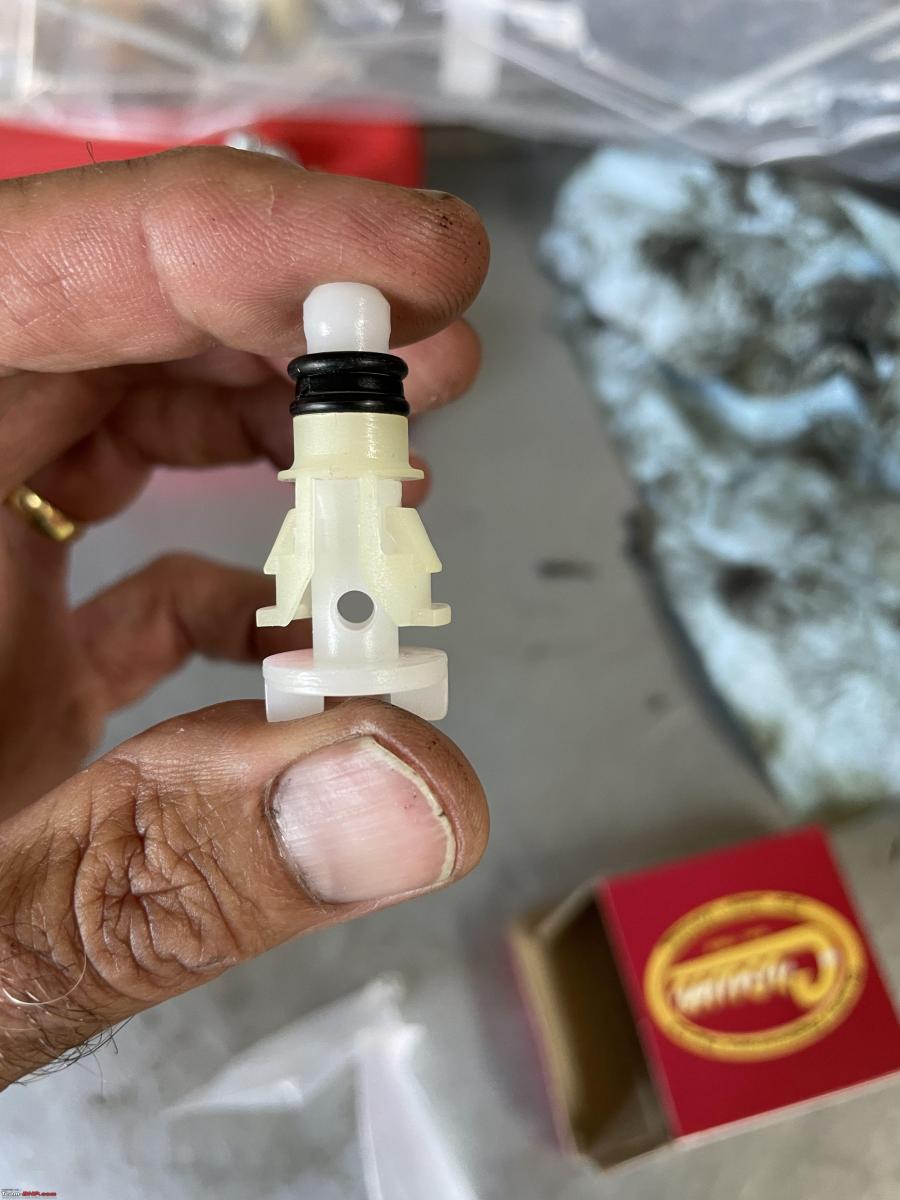
In the end, I decided to just try the old one. If worst came to the worst I could always order the complete connector fitted to the tranny. That comes equipped with the plastic insert too.
Here you can see that connector on the tranny and the little plastic insert. It's that plastic insert that keeps that whole line tight! It sits right behind the flange on the tube as shown in the image above.

Putting the new transmission line in place went pretty smoothly. It took me a while to get the old one from underneath the Jeep. Very peculiar shape. Somehow I managed to put the new one into position within seconds. Both quick connectors went on without any problems too.
You just pinch the two halves together, wiggle the line a bit and out it pops! That is the theory and for once, it worked for me!
I was still waiting for the two isolators for the radiator to arrive. According to the postal tracker, they would arrive on Thursday between 11.00 and 13.00. So I decided I would start this morning and hopefully, I would be able to complete everything.
Put the belt back on, and checked my diagram carefully. You need to get this right! Tightened up the belt. Jeep drive belts are very very tight. You can’t over-tighten them, they say. I had actually taken a measurement before releasing the tightener, so I just put it back into its original position.
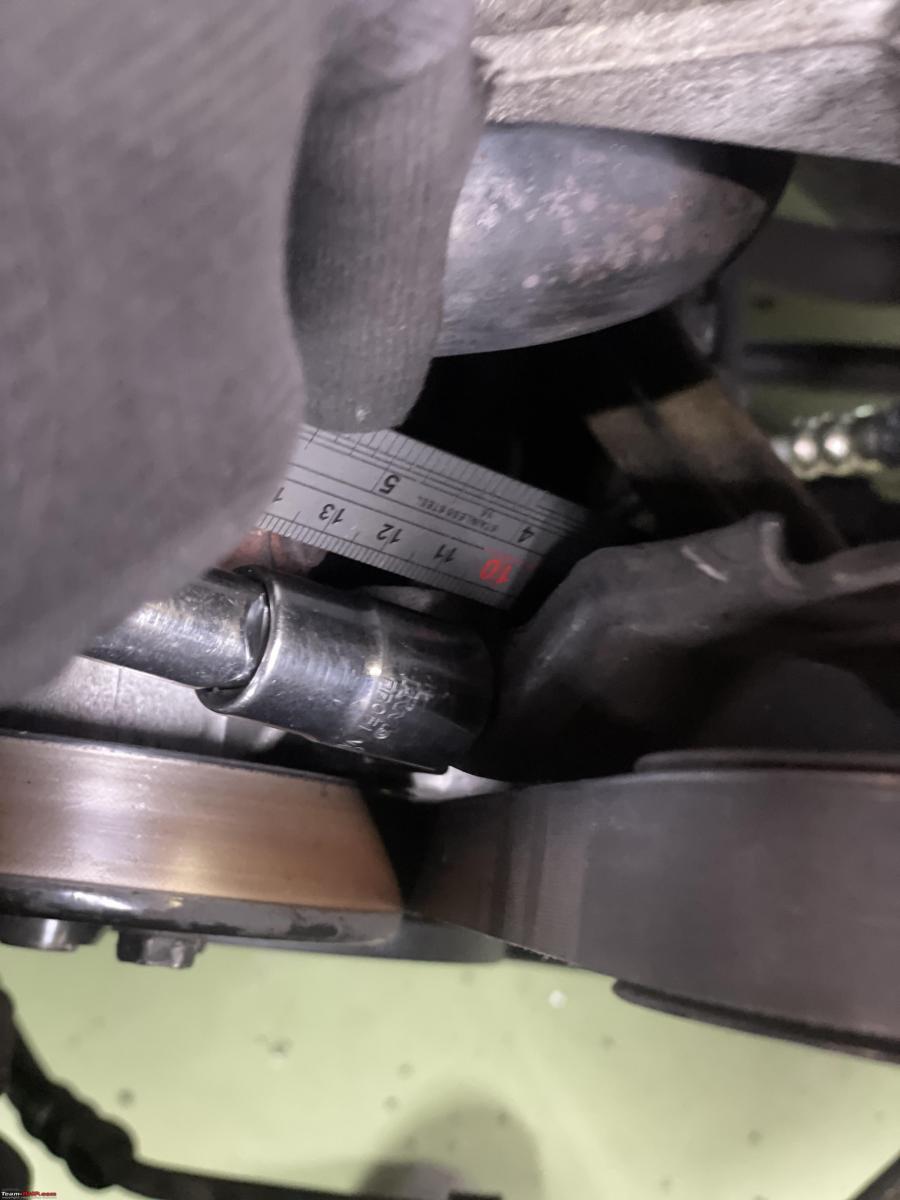
With the drive belt back in place and tightened, I could now torque the four water pump pulley bolts correctly.

By now I was waiting for the isolators to arrive. So in order to kill some time, I just fitted the support to see if everything was installed fine.
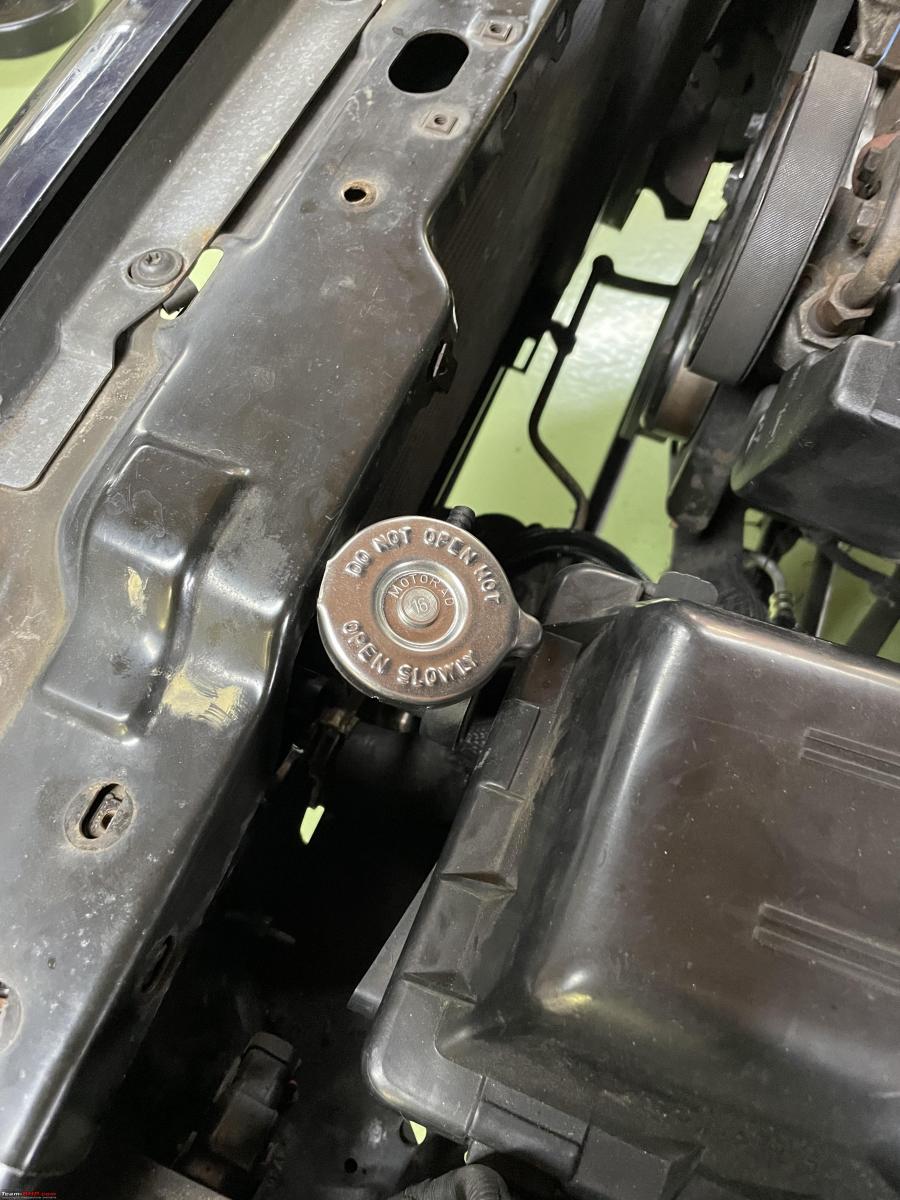
Well, the new radiator gap was a problem! I could not undo it with the support in place.
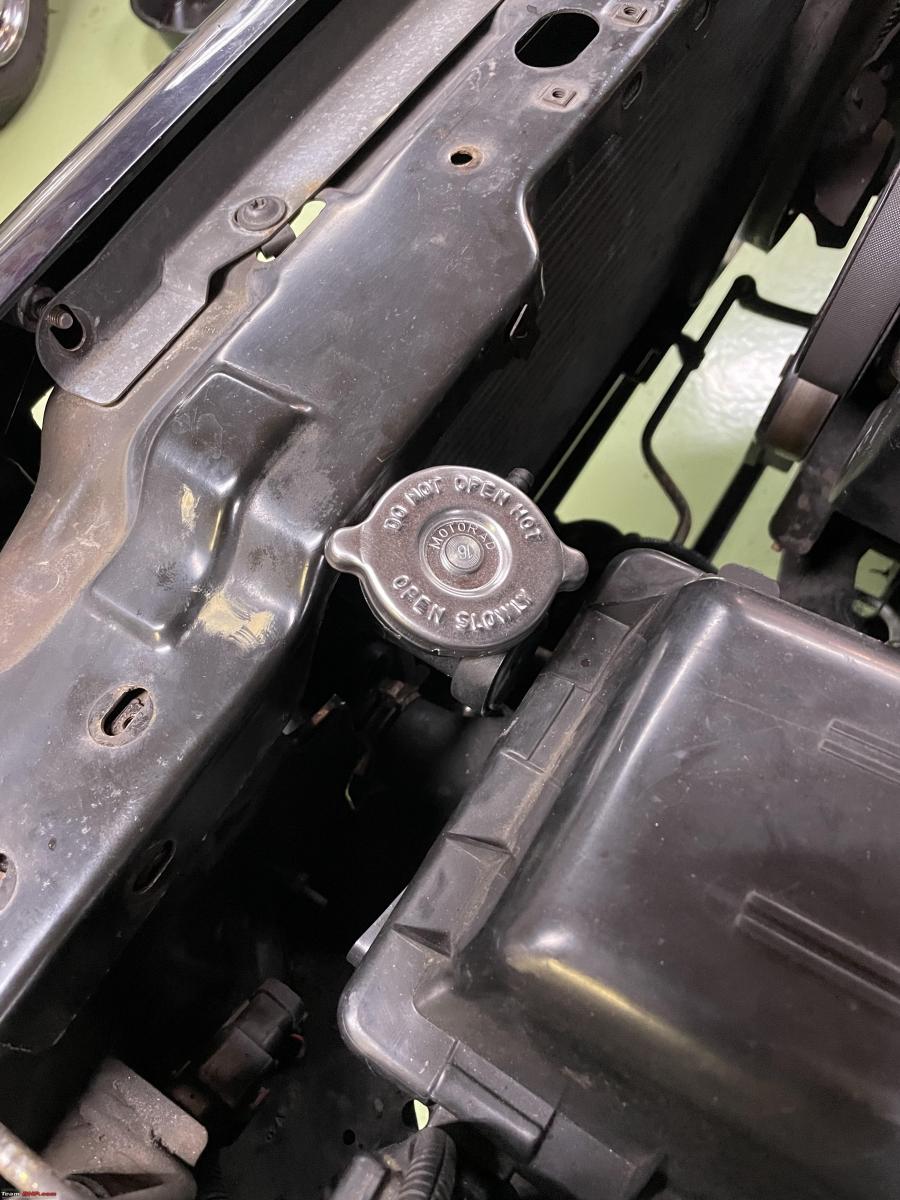
The reason it has these two “ears” is for easier handling than the old one. But there is not enough room for those!
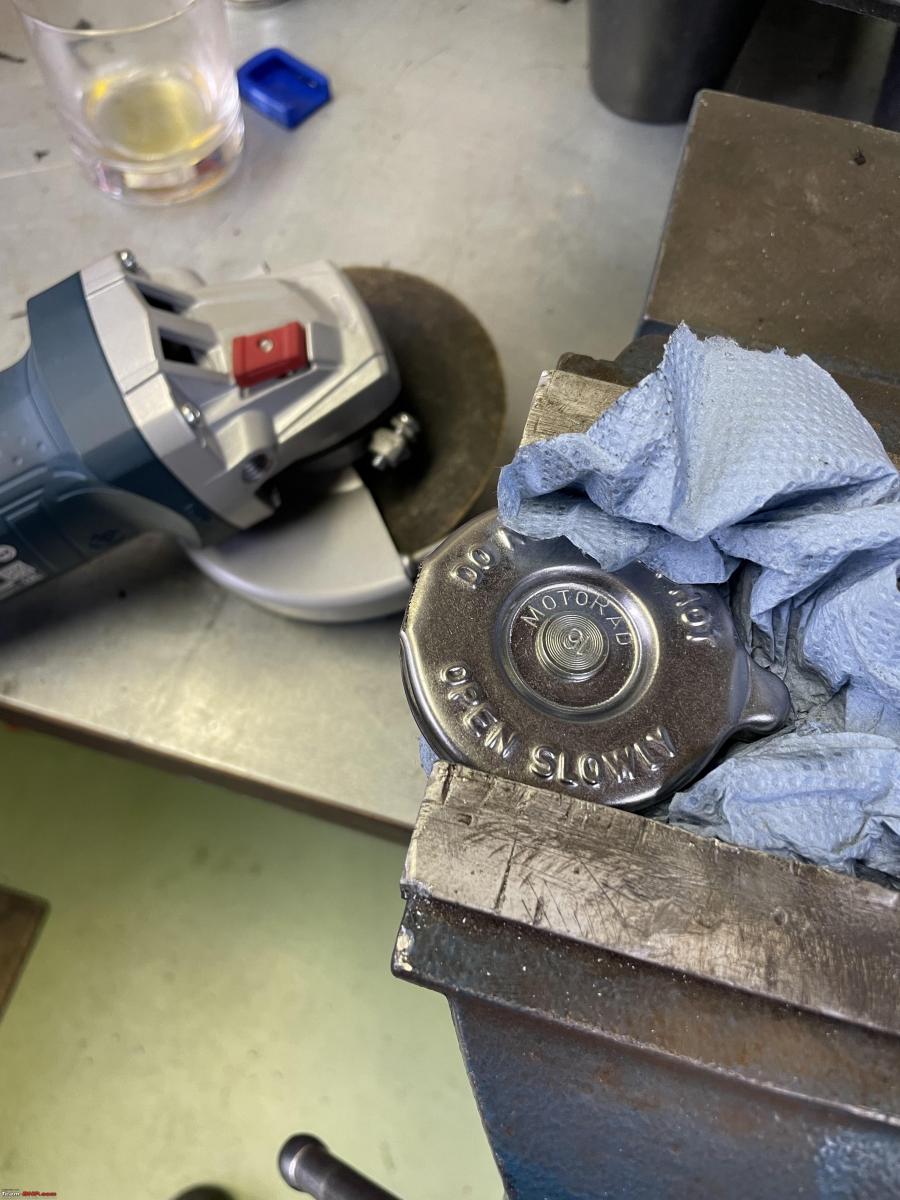
Quickly took out my trusted Bosch angle saw and solved it in ten seconds if that!
Whilst waiting for the isolators I decided I might as well fill up the cooling system.
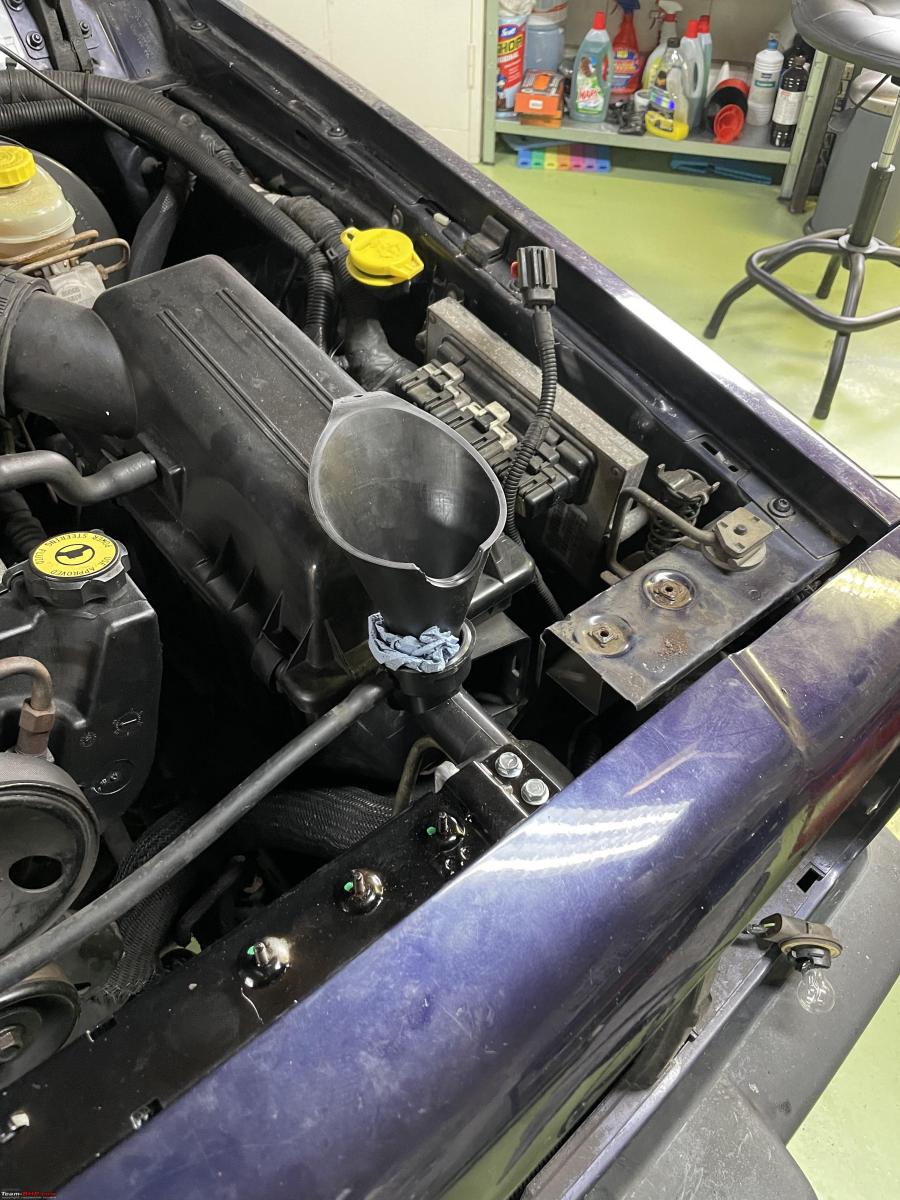
I filled the system first via the radiator. When that was full, I undid the return from the cabin heater core. Poured in some coolant till it came out of the thermostat assembly. I was a bit concerned about not having the correct thermostat with the bleed valve. I have read some horror stories about bleeding this particular 4.0L Jeep engine.
But it all looked ok. With the front support still missing I decided to start the engine and see how everything holds and performs.
This is with the engine just started from cold. You can hear the piston slap.
I wanted the engine to warm sufficiently so the thermostat would open. So I tried to create a load by switching on the cabin fan and the AC to the max, also the rear window heater. Sure within about 10-12 minutes, the thermostat opened. This one opens at exactly 195-degree F as per specification. The old one, although a 195-degree C thermostat as well, opened at 210-degree F. We will see if it affects fuel efficiency.
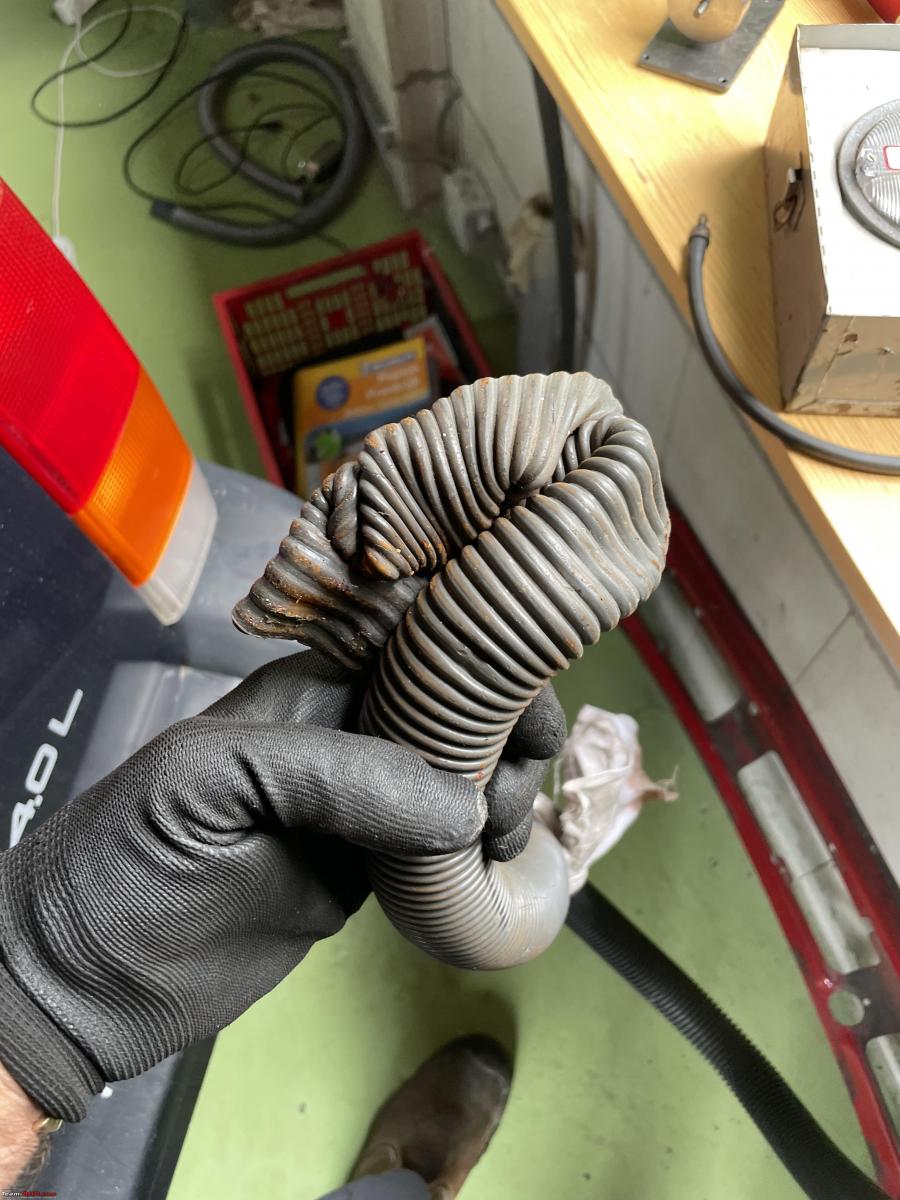
Everything looked fine, with no apparent leaks. Topped up the coolant a bit afterwards. Had a bit of a problem with my special exhaust hose I have been using when I run my cars in my garage. I shove this hoover pipe into the exhaust, the other side goes out of the window. Must have shoved it in too far this time. It melted!!
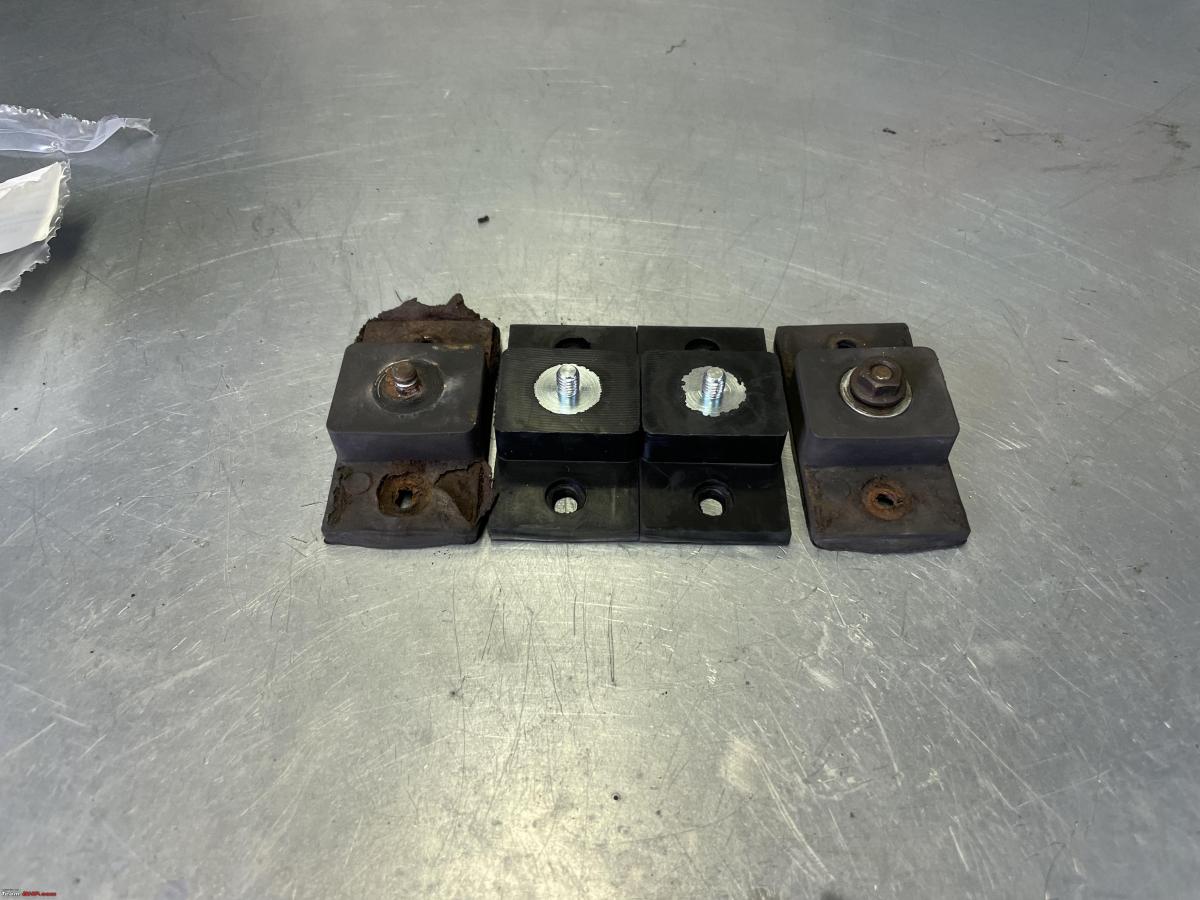
Just as I was done, the little Postal van rocked up in front of our house. Delivery of my two isolators. Packaging from the USA is always fun!!

The old versus the new. Note, I had repaired the one that had broken, just in case.
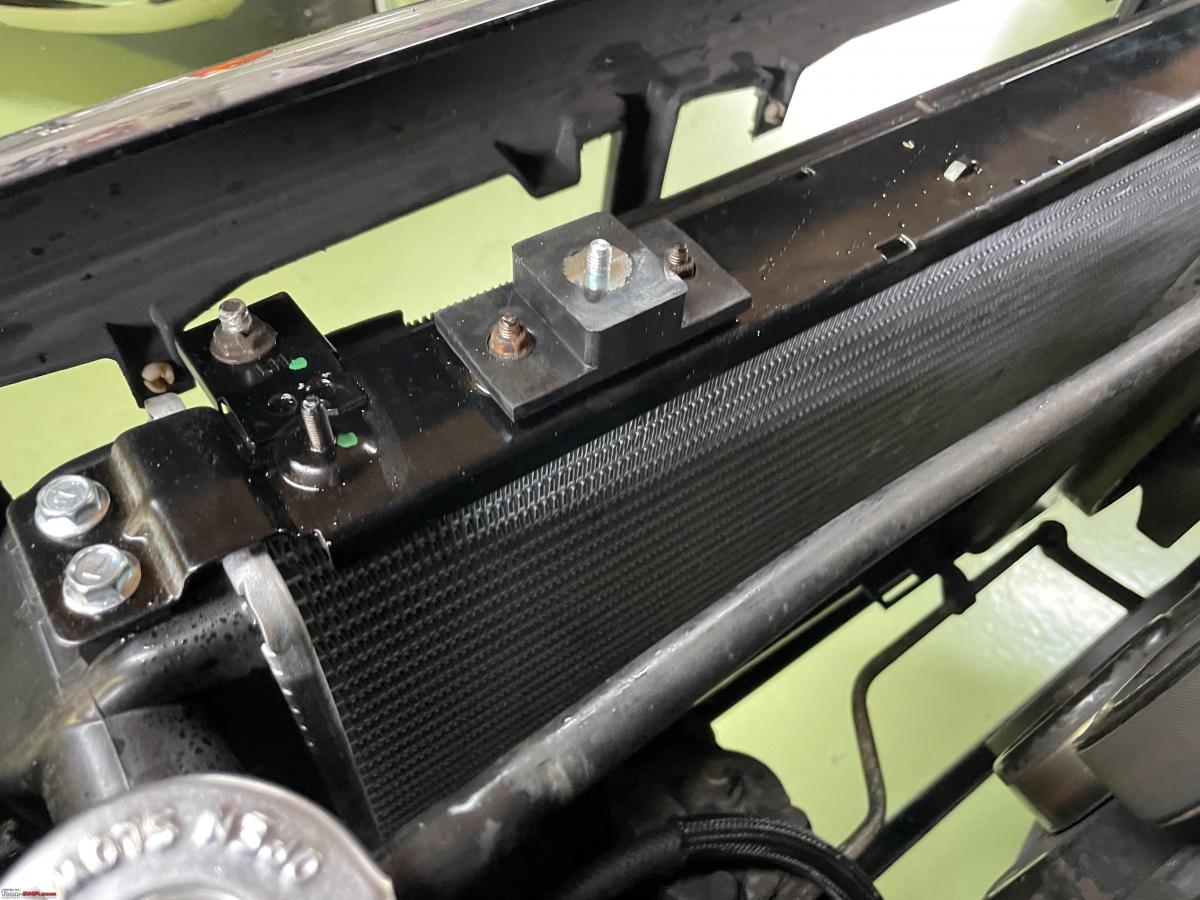
This is how they get fitted to the top of the radiator.
I re-installed the top support and next was the grill and light mounts. Before bolting everything down, I decided I had better check if all the lights still work. You never know, with all this work I might have pulled on some wires, a bulb might have broken. Better check now whilst I still have easy access. Sure enough, one of the indicator bulbs was not working.
I checked and it looked like corrosion on the contacts for the bulb.


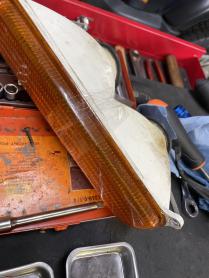
The indicator lens cap was actually partly split along a seam. Water had gotten into the unit. So I just added some glue along the seam.

These plastic glues take a long time to harden out. I did not want to wait another 24 hours or so. So I just wrapped some tape around the whole unit. I installed it with the tape in place. Tomorrow I can just cut away the tape and nobody will be the wiser.

I took the Jeep for a 30-minute test drive. Filled her up as well. Look like my fuel efficiency has improved. I did almost 1:9.5 which is pretty good for this car/engine.
So job well done. I will check for leaks in the next few days. It will be interesting to see whether I have solved the oil leaking from the front crankcase seal as well.
Although it all went relatively smoothly it still took the best part of the whole day to finish. Then another hour to mop and clean my garage floor. Ready for the next job. Not sure what I will do next, or on what car. We will see.
Check out BHPian comments for more insights and information.
Find Car News
Just News


About Us


Buy & Sell
USED CARS