News
Working on my Mini One: New engine oil, air filter and AC cabin filter


This car doesn't have an oil pressure meter so I just left the engine idle for about 20-25 seconds before driving away.
BHPian Jeroen recently shared this with other enthusiasts.
With all the brake work done, it's time to remove the axle stands and torque up the lug nuts.

With the Mini horizontal, I added the new engine oil. Very carefully. The Mini has a stupid little dipstick, very difficult to read. So I poured in 3 litres, waited 15 minutes, checked the dipstick and added a quarter litre till I had reached the maximum level at the dipstick.
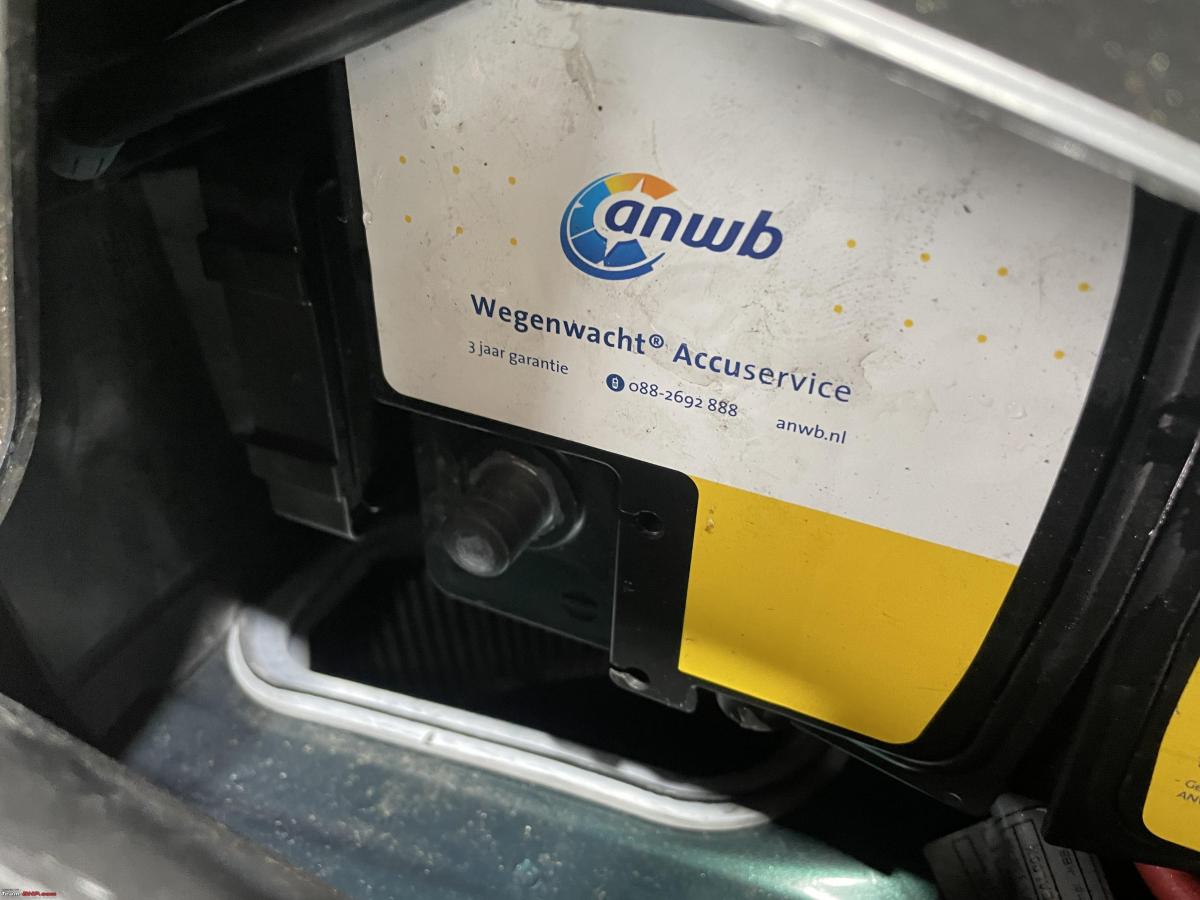
While doing so I started the next job. Which meant fiddling with the engine, always a good idea to disconnect the battery!
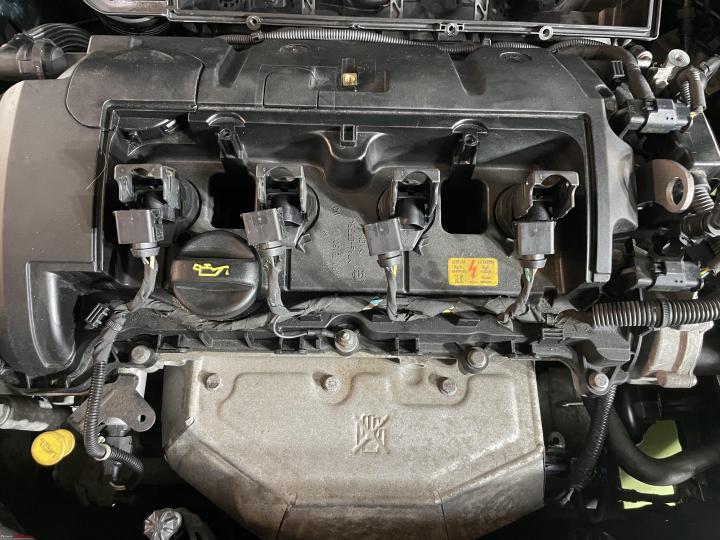
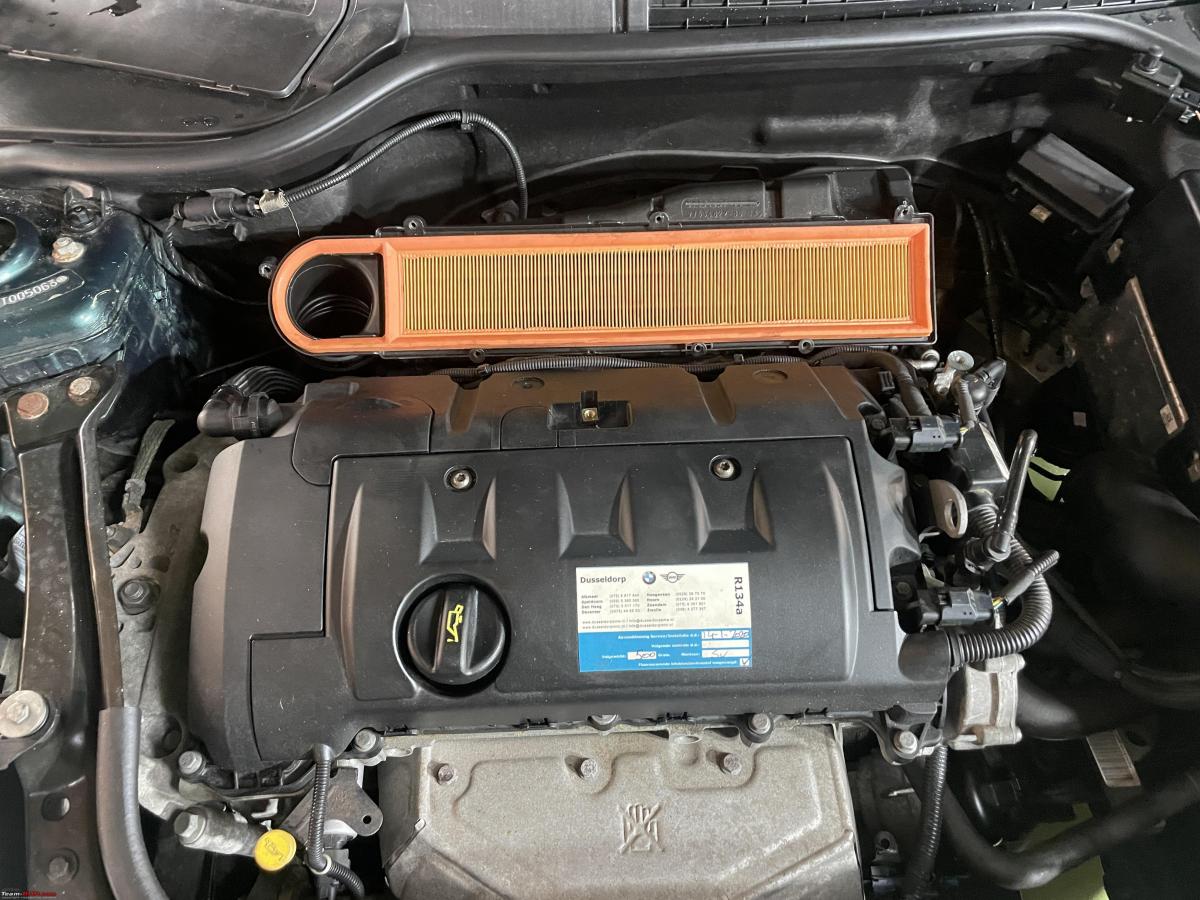
I started by removing the air filter housing. Only to discover there were three loose bolts at the bottom!
All of this air filter is made of plastic and again, easy to damage when you overtighten the various screws and bolts.
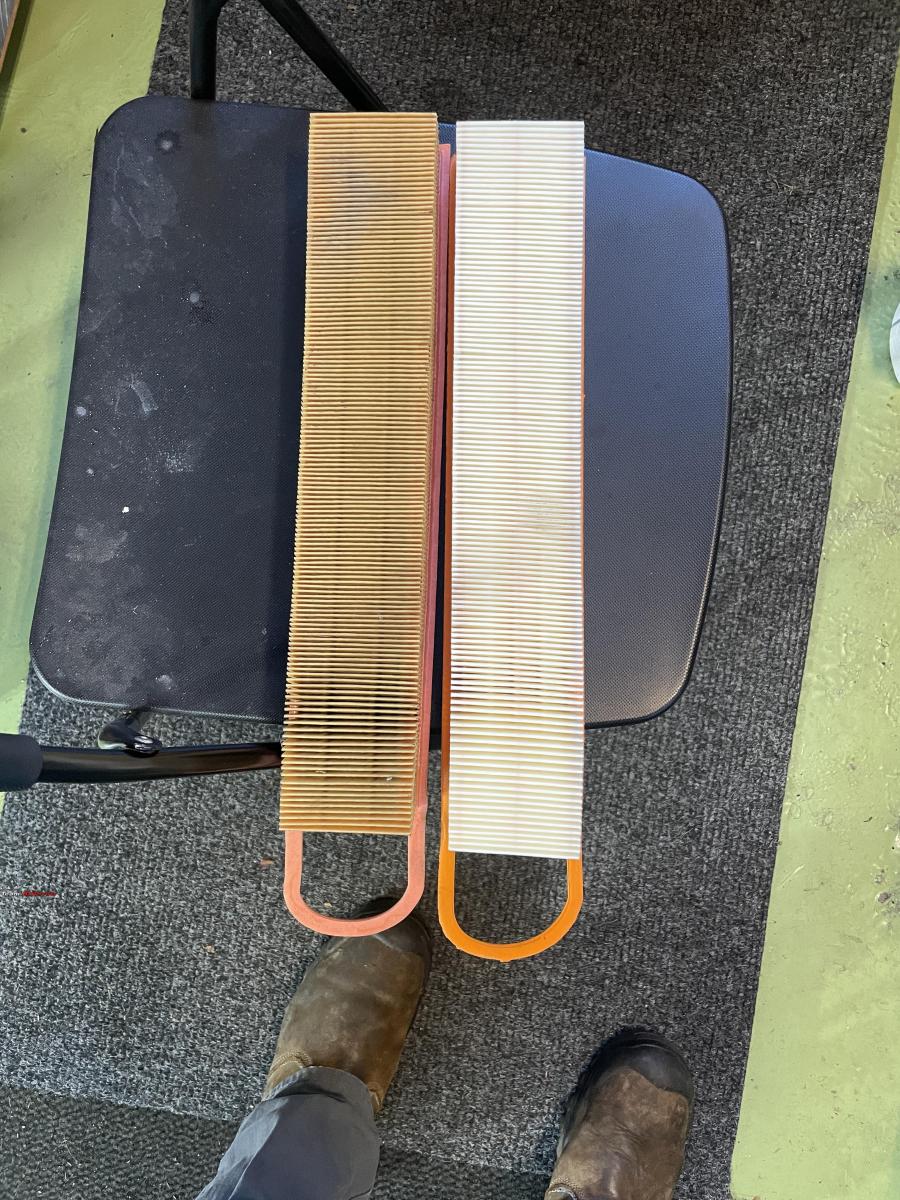
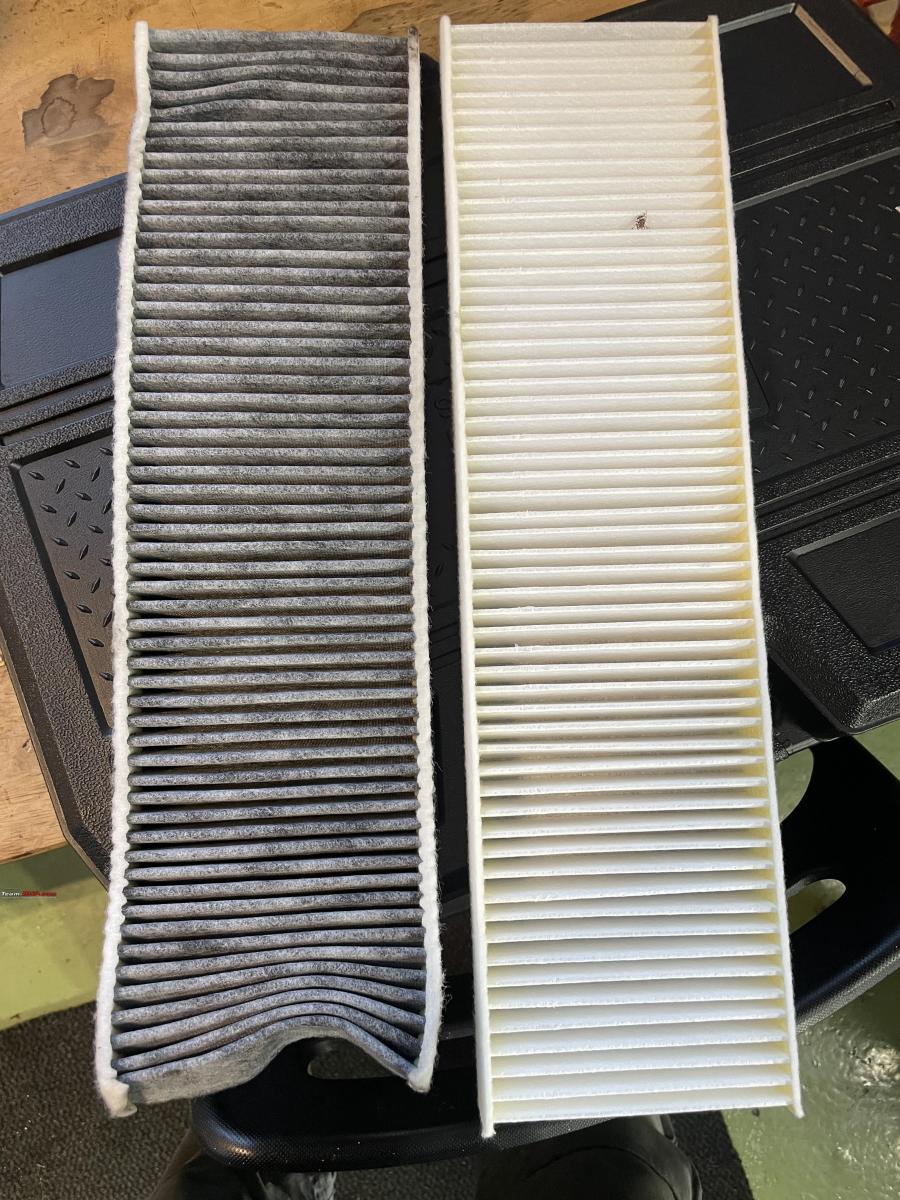
Doesn't look too bad. That is until you put a new one next to it.
Next, I removed another piece of plastic (Modern engines seem to have more plastic bits than metal these days)
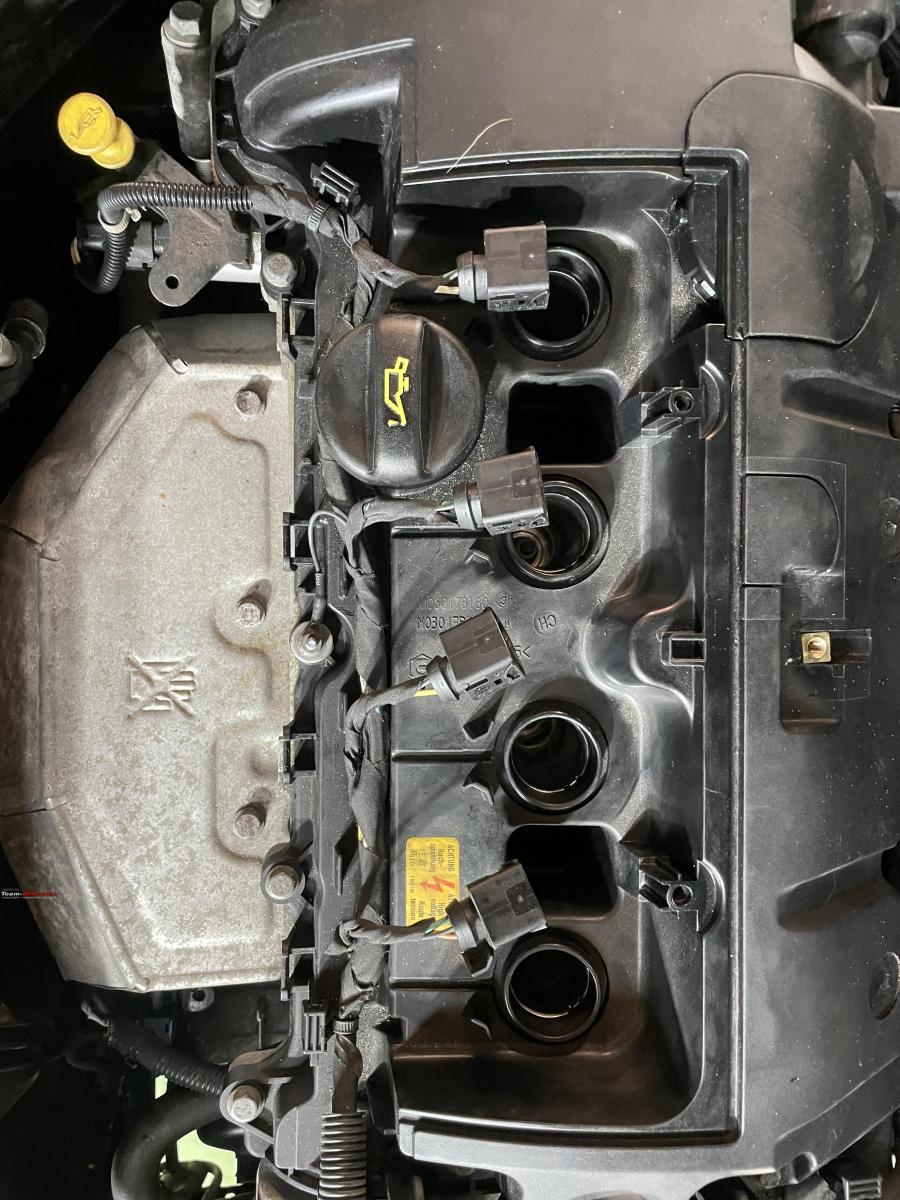
This got me access to the coils and the spark plugs. Notice the engine oil filler cap. It is very easy to leave the cap off whilst you are still adding quarts of oil. But if you accidentally drop anything in the engine, that will be a disaster. Make it part of your routine to never leave the cap off! Add oil and re-install the cap.

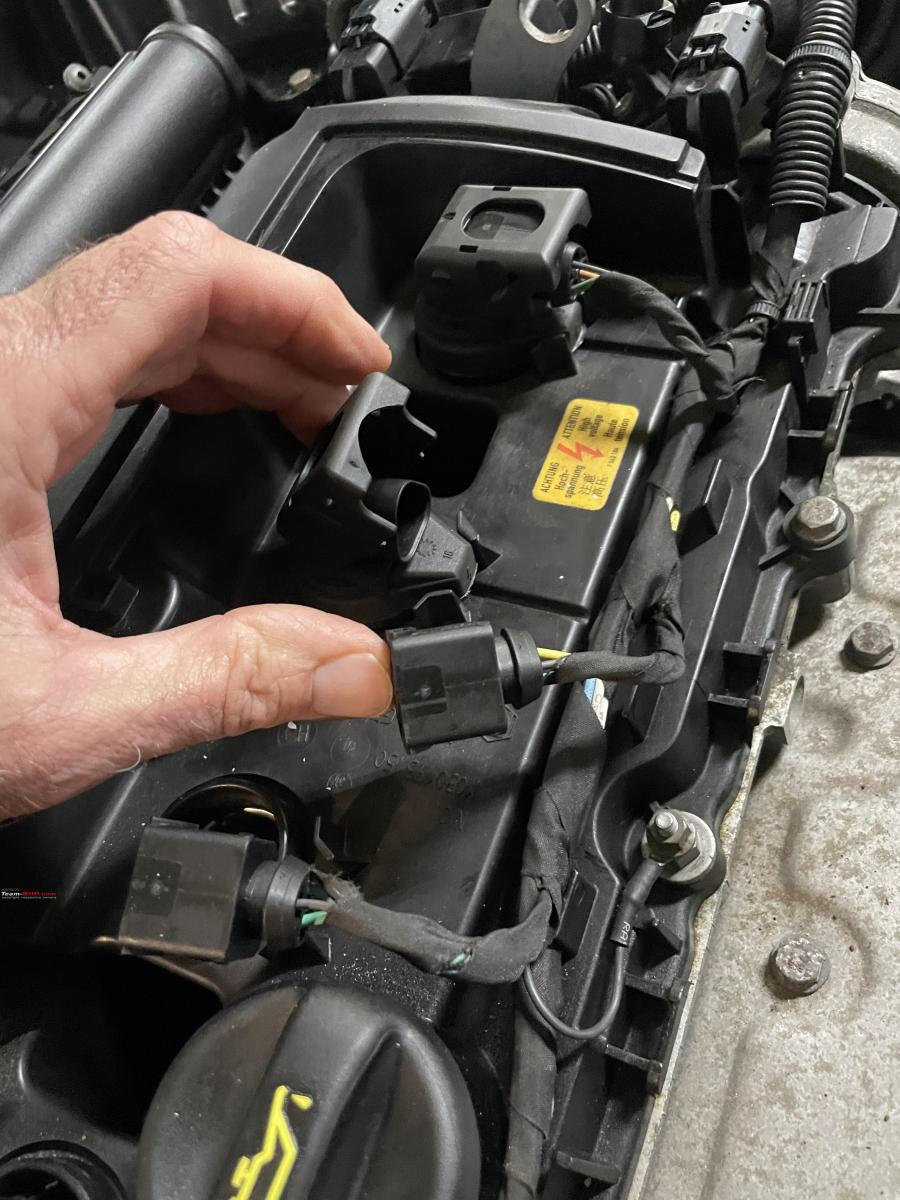
The electrical plugs come off easily by tipping them upwards.

Next, you have to pry out the coils. Can be quite difficult. They are just held in place by the suction/friction of the rubber boots. Took me about half an hour to get all four off.
Always inspect them carefully for any visual signs of damage. These were all fine.

With the coils removed you have access to the spark plugs. Deep inside these plug holes. It is good practice to make sure all dirt and grime is cleaned off the top and blow some compressed air into the holes before removing the spark plugs.
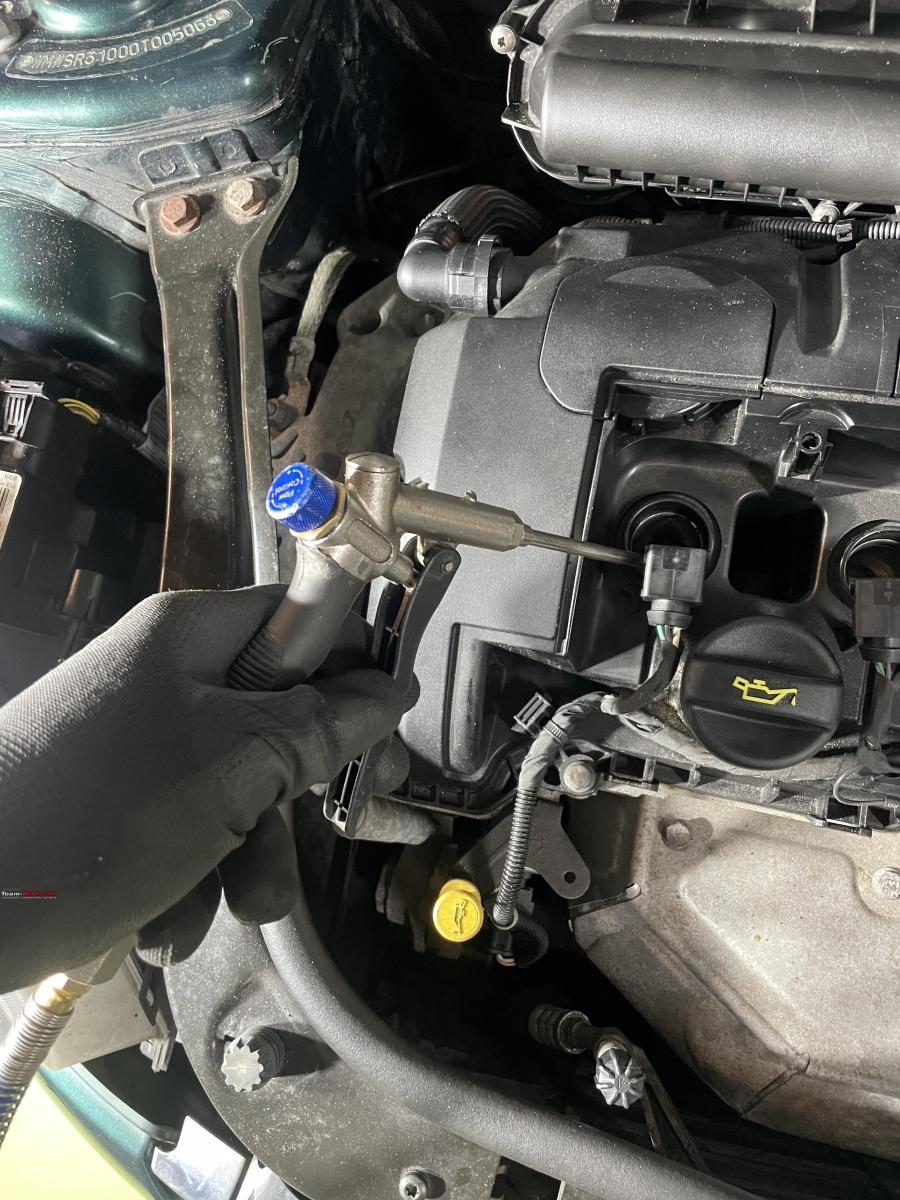
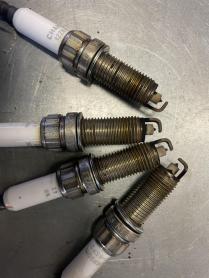
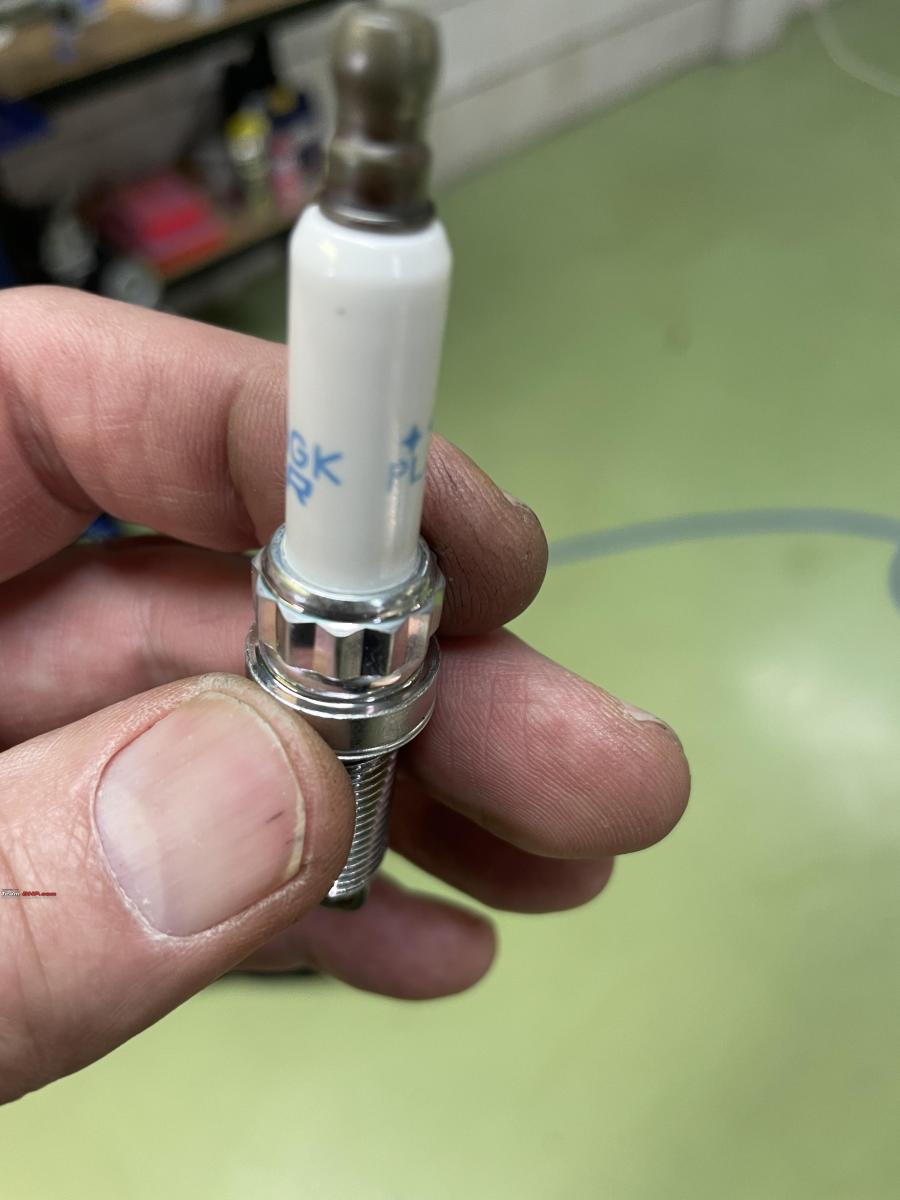
I checked the new Spark plugs to see what socket to use. Would you believe it, I must have at least 4-5 different sizes but not this one!
This was New Year's Day, so all the shops were closed. So I decided to press ahead and do the other jobs first. I pressed on with the suspected leak on the newly installed thermostat housing. My initial thoughts had been that the bleed valve was damaged. I had tried to tighten it earlier, but I felt it was twisted. I had secured it with a bit of heat shrink.
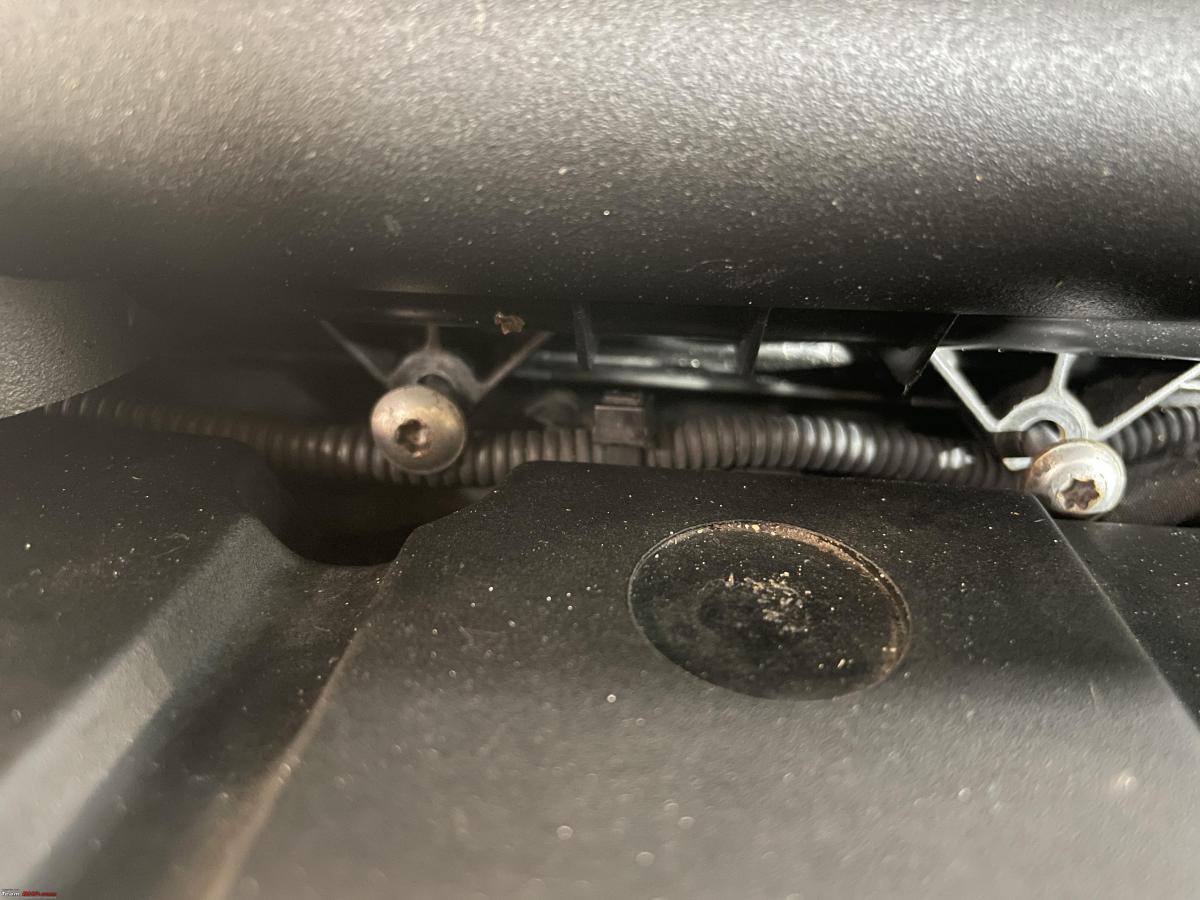
In order to get access I had to remove a lot of wiring, mostly just unplugging stuff. It is very difficult to see in an image, but you can just spot the bleed valve here.

With better access, I checked again. My conclusion was the bleed valve was not twisted, but just not tightened properly. I checked with the old thermostat housing. In the end, I managed to turn it almost 3/4 of a turn and it did not feel twisted, it locked properly.
Cleaned up all the spilled cooling liquid residue, so I could spot any drops immediately.
I also replaced the AC cabin filter. It is located in the passenger footwell, underneath the glove compartment. Comes out easily.
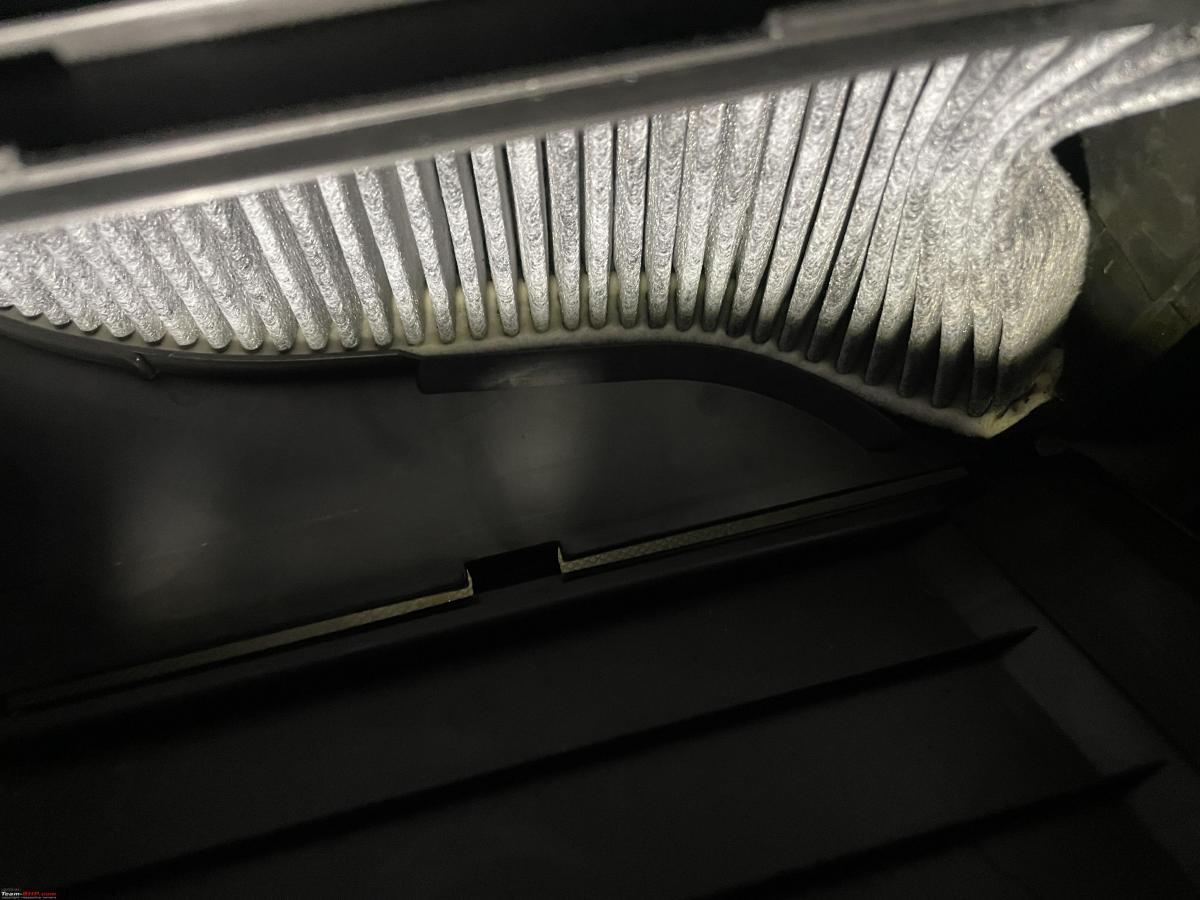
No award for telling which is the new and which is the old cabin filter!
This morning, January 2nd, I left home at 0745 and was back at 0815 with a brand new Spark plug Socket.

Very nice one too, it has a built-in magnet to hold the spark plug. Much better than those sockets that have a built-in rubber ring that is supposed to hold the spark plug. My experience is those things don't last.

With the correct tool, it is very easy to remove the spark plugs. Just be careful to keep the socket completely perpendicular to the cylinder head. If you wobble too much, you might break the spark plug.

All spark plugs looked okay, although I do think the cap was a little large. This could be due to the electrode being worn.

With the spark plugs removed, blow plenty of compressed air through the recess to clean out any and all dirt, grime bits etc.
When fitting the new spark plugs make sure they screw in almost all the way, by just using your fingers. If it doesn't, more cleaning is in order. And of course, if there is one part that needs tightening with a torque wrench it is the spark plugs! (23Nm in this case)
Re-insert the coils carefully and push them in place carefully.

Re-attach the connectors
Finally, close up the engine and the air filter, double check all the connectors are re-tightened and re-install the air filter housing.

Almost done. I have these two leak trays. I shove them underneath the engine when working on anything in the engine compartment. I have found it to be extremely useful. Anything that you drop and fall to the floor will be caught. Anything that drops off the engine and hits a concrete floor is never to be found again.

Reconnect the battery and go for a test run. When you start the first time, give the engine some time to build oil pressure. The Mini doesn't have an oil pressure gauge as such, but I just left the engine idle for about 20-25 seconds before I drove away.
I also reset the oil and brake service indicators on the dashboard.
I have already done some 50 kilometres. The brakes feel fine, not running hot, no engine oil leaks and no cooling liquid leaks! Fingers crossed!
Check out BHPian comments for more insights and information.
Find Car News
Just News


About Us


Buy & Sell
USED CARS