News
Exhaust & brakes upgrade on my Yamaha R1 WGP 50th Anniversary Edition
The bike really isn't that loud at all from a 3rd person's perspective. But for the rider, you really do feel quite a bit of difference in the sound you get to hear and feel.
BHPian krishnaprasadgg recently shared this with other enthusiasts.
Bags packed and ready to roll:
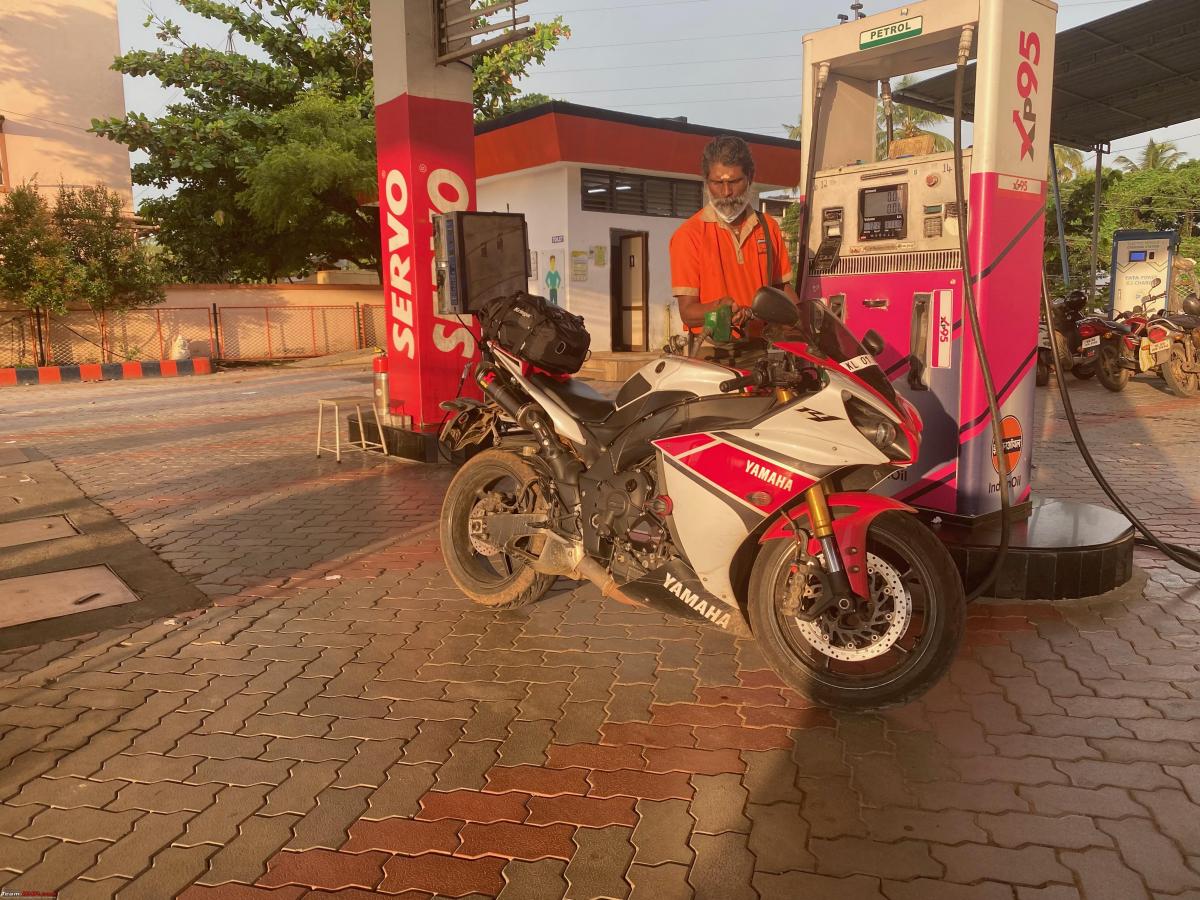
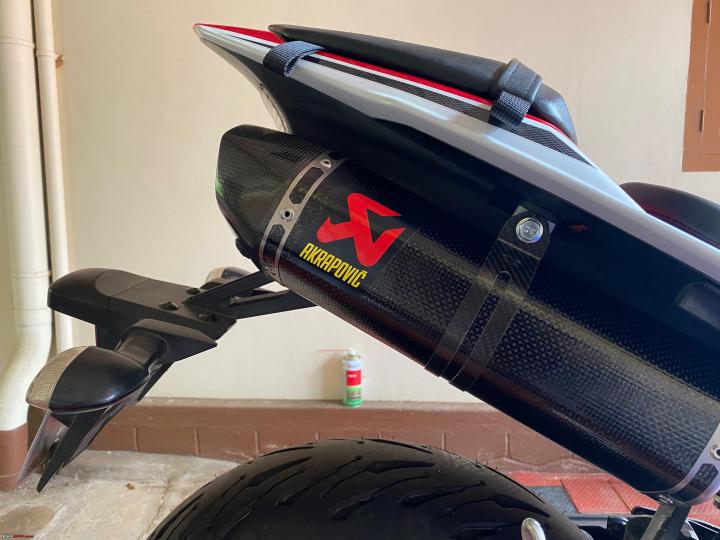
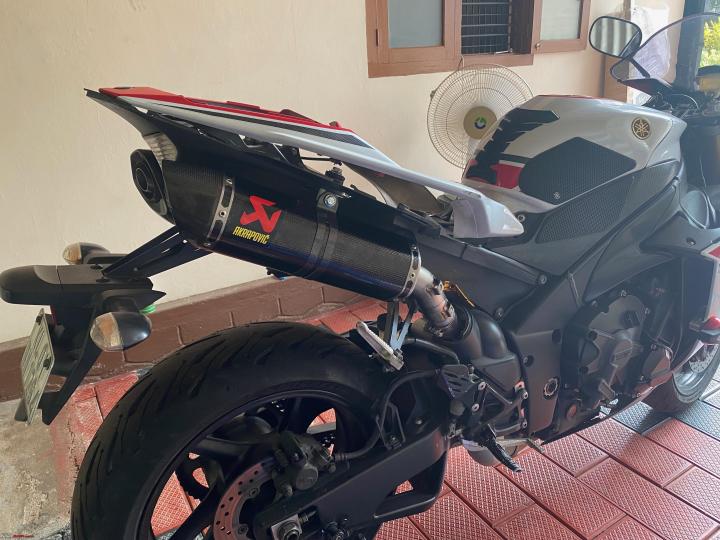
Finally, after 2-3 weeks of no riding, I'm back to riding the R1 and this time it was special because it was the first time I was taking the bike out, post the installation of the Akrapovic exhaust and let me just tell you what an epic experience it is riding the bike now, don't get me wrong riding the R1 is always an epic adventure but throw in the sound from the Akra and it is just something else altogether.
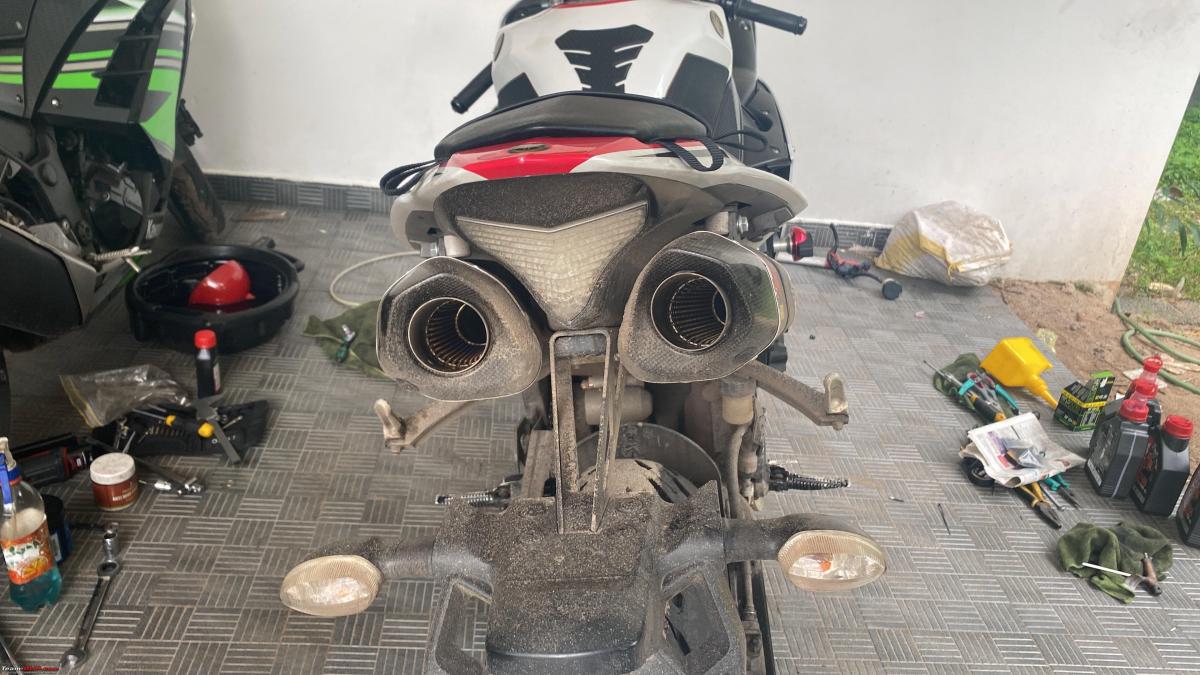
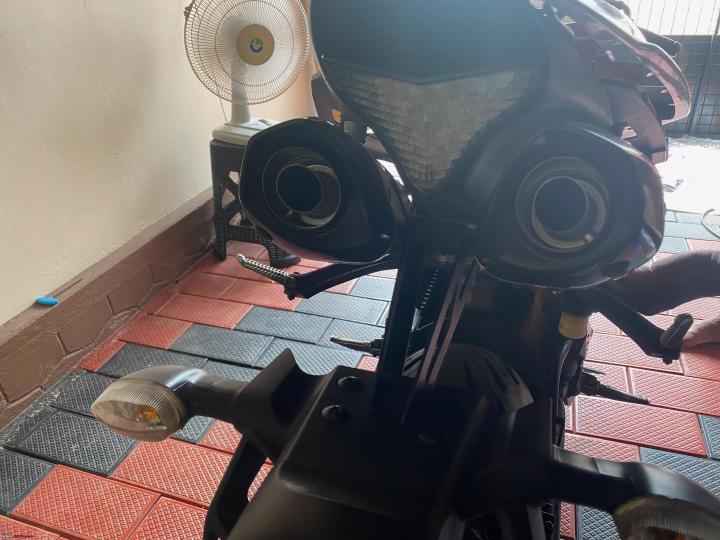
The bike really isn't that loud at all from a 3rd person's perspective. But for the rider, you really do feel quite a bit of difference in the sound you get to hear and feel. I was a bit apprehensive about running the bike without the DB killer installed but post some 600 plus covered in total with the Akra I have changed my mind. Rode through numerous police checkpoints and routine checks and passed through without being stopped once, even when the cops did notice me approaching, now apart from the non-obnoxious sound that the Akra produces under 6k rpm it also helps if you are riding decently without creating a ruckus/ doing any sort of attention-grabbing stunts in general. I mean for sure this goes without saying but still thought I'd mention it.
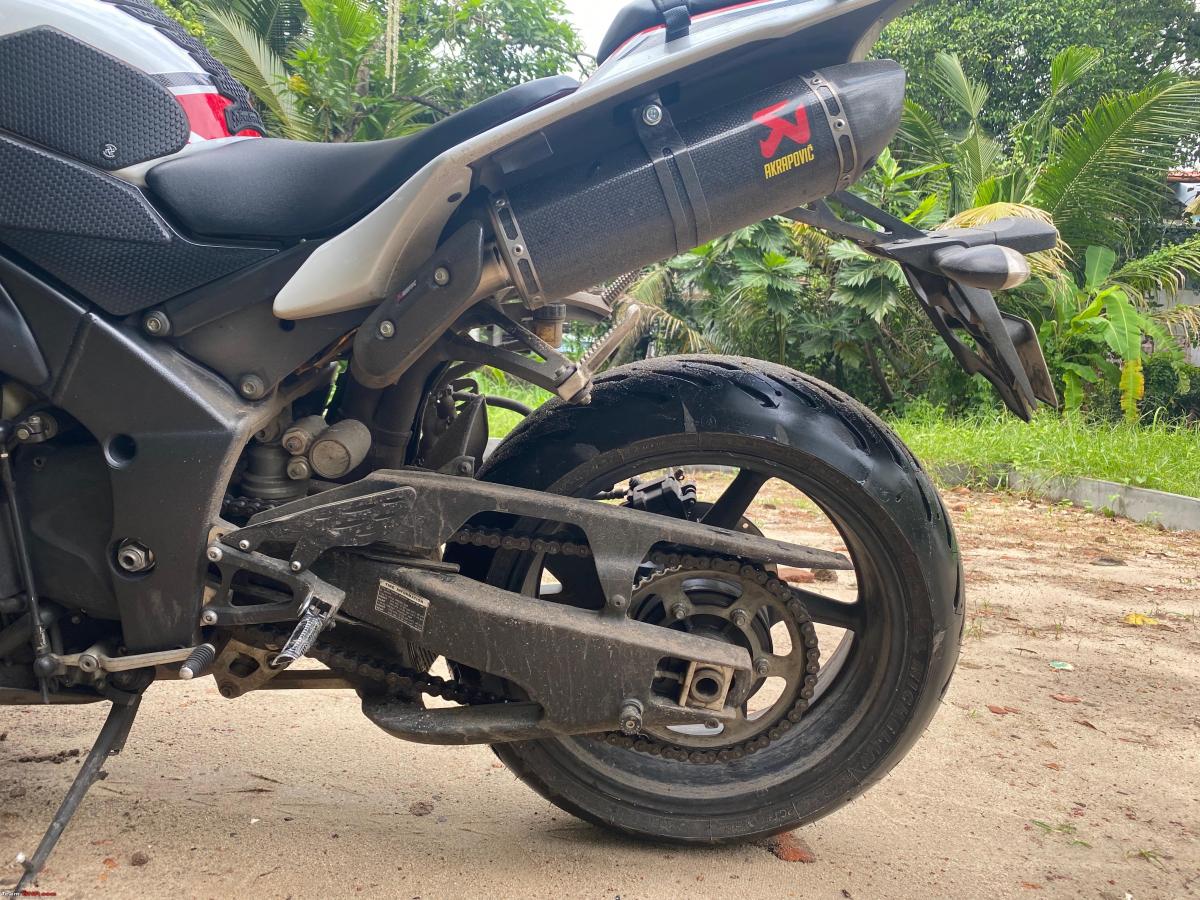
Now above 6k rpm it's a different story, that's when the actual audio experience starts, the bike just screams and oh what a beautiful symphony it is to take in. Words are not enough, I'll try to include an audio clip soon to try and communicate what I get to experience with the current exhaust setup. The next best part is the burbles or as I like to call it "the growls and grumble" the bike creates when decelerating, this is not something new that has started post the Akra addition, it has always been there in the bike, it is part of the AIS system that's there in most modern bikes and it's mainly present to control emissions, simply put what it does is that it injects air into the exhaust system to help burn unburnt fuel vapors in the exhaust pipe and this causes burbles or cracks which is also referred to as backfiring. It happens on the stock system too when the bike gets to temp and is more pronounced with an aftermarket exhaust system. A lot of people get Block off plates that delete the AIS system which usually makes the burbles go away. For me I like it, adds some extra drama to the experience of riding the bike.
Ok, so now that we have that out of the way let's get into the meaty part of the update. about 2 weeks back I received a bunch of parts that I had ordered over a year back. It has been a long wait but finally, the day is here. After the Exhaust system, this is probably the biggest mod I have been looking forward to which is upgrading the braking system of the R1. The Brembo RCS19 Corsa Corta has finally reached my hands and in this post, we are going to cover the installation and initial review after about approximately 500kms of riding post the mod. Along with this I also got the Lightech chain adjusters and the ASV clutch lever installed and also got did some suspension tuning and an oil change done too.
The goodies waiting to go in:
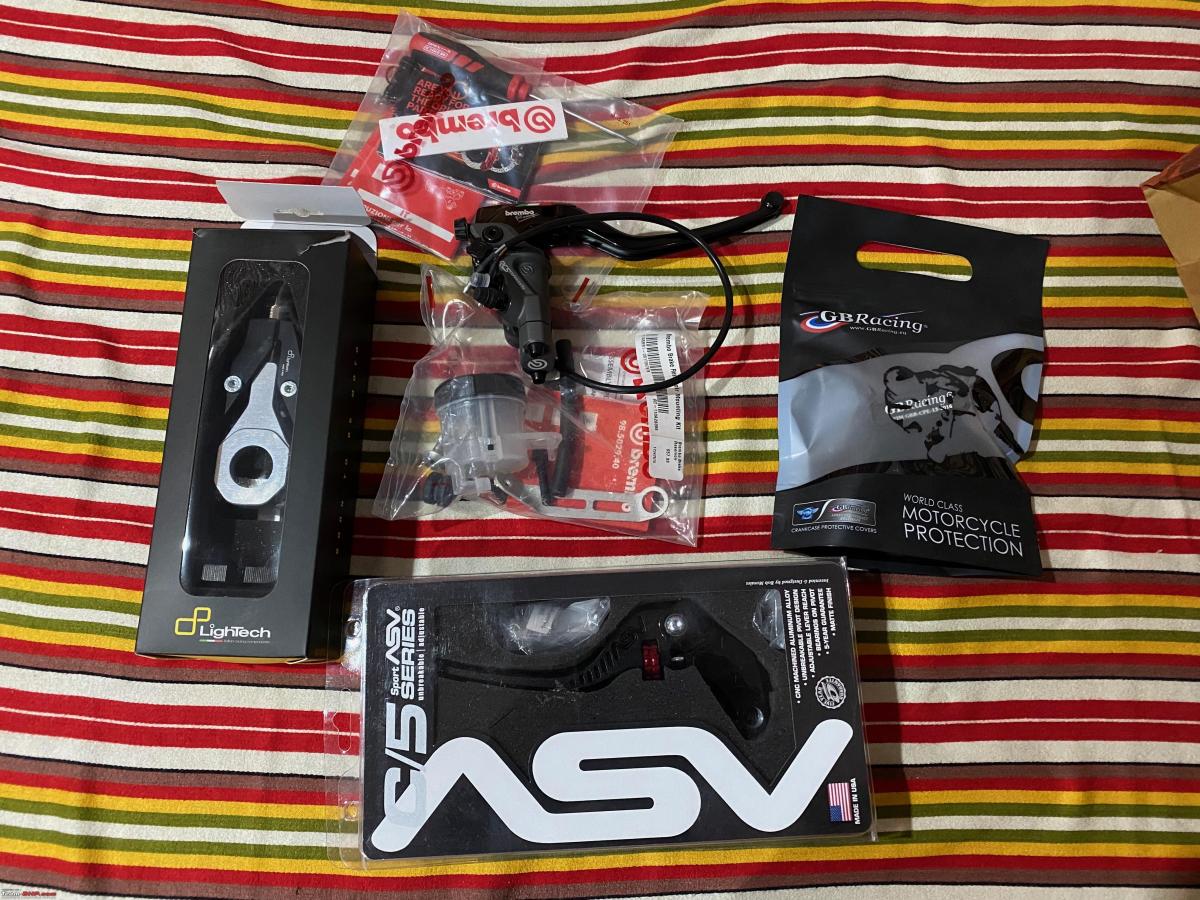
Brembo RCS 19 Corsa Corta upgrade:
Well, it's no secret that I feel the stock braking prowess of the R1 is something I am not happy about. The bike does on most occasions and as inevitable as it is on our roads there have been plenty of occasions where I have been left wanting with more bite and at many times more stability from the braking system. In short, I wanted to change the behavior of the bike's braking to something that's more communicative of what the system is doing while being stable and stopping at a dime with a more aggressive bite!
Obviously, the first step anyone would think of will be steel braided brake lines, alas the bike already comes with a very good quality Spiegler steel braided brake lines, so yeah, I wanted more, the next step would be better brake fluids, I tried a variety of fluid from Liqui Moly Dot 5.1 to Maxima race fluids and with progressive and positive results but nothing that was a change I would say substantial.
So what next, logic dictates, get better brake pads, yes, so I go and get the EBC double sintered pads for the bike, I made the purchase and have been sitting on these for over a year, why haven't I changed it yet you may ask, well, the OEM brake pads still have a ton of life to it, I did not want to waste the OEM pads by just swapping it out for the EBC right away.
The next step in the braking system upgrade would be better master cylinders and I did that too, did a lot of research, and decided to pull the plug on the best Brembo had to offer, the RCS 19 Corsa Corta, last year on my birthday I was feeling generous and decided to splurge and gift myself the Corsa Corta and I had also ordered the EBC pads on the same day thinking it would be a good mod to combine in one go.
Anyways, here we are over a year later, I finally got the MC in my hand but I decided not to go for the EBC pad swap just yet, there are 2 reasons for this, firstly, again the OEM pads still have plenty of life in them. Secondly and more importantly I want to be able to experience what just an MC upgrade would do for the brake upgrade plan and then later see how much of a difference a better set of pads can add to the system, you know, step by step upgrade and experimentation.
Ok, that was a lot of ranting, now let's get to the brass tacks, all the stuff had been laid out and we were ready to get started with the MC upgrade and we hit an unexpected roadblock!
The problematic Banjo:
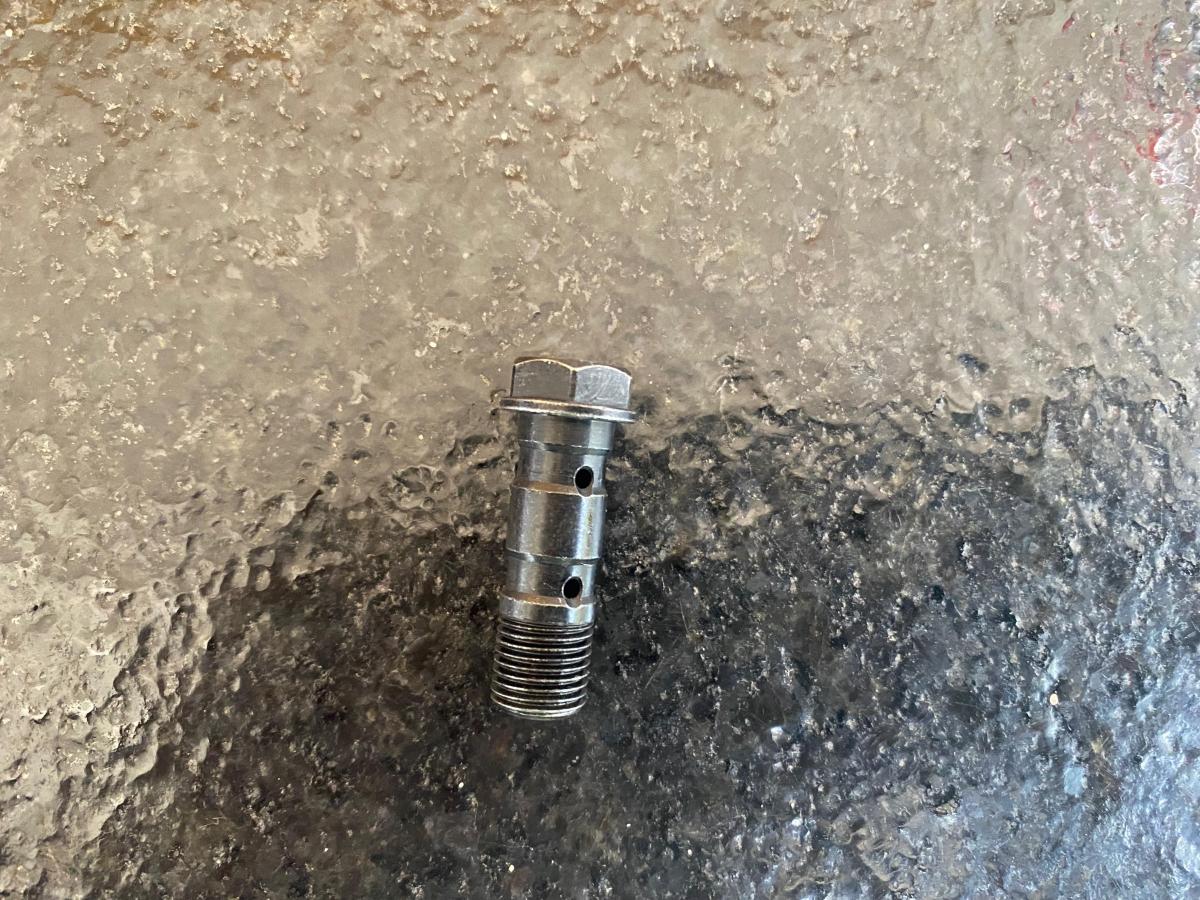
The current kit came with the banjo bolt that accepts 2 banjo bolts directly to the MC, but the current brake lines have only 1 banjo bolt that comes and feeds into the MC. The reason is that the Spiegler lines are a bit different as opposed to the independent lines that you find with many other brand solutions where there are independent brake lines that run from the mc directly to each caliper. For the Spiegler, it's a single unit that has 1 line that feeds the fluid from the MC, and about halfway it splits into 2 lines via a T junction and makes its way into the 2 calipers.
The T junction that is the root cause of the issue:
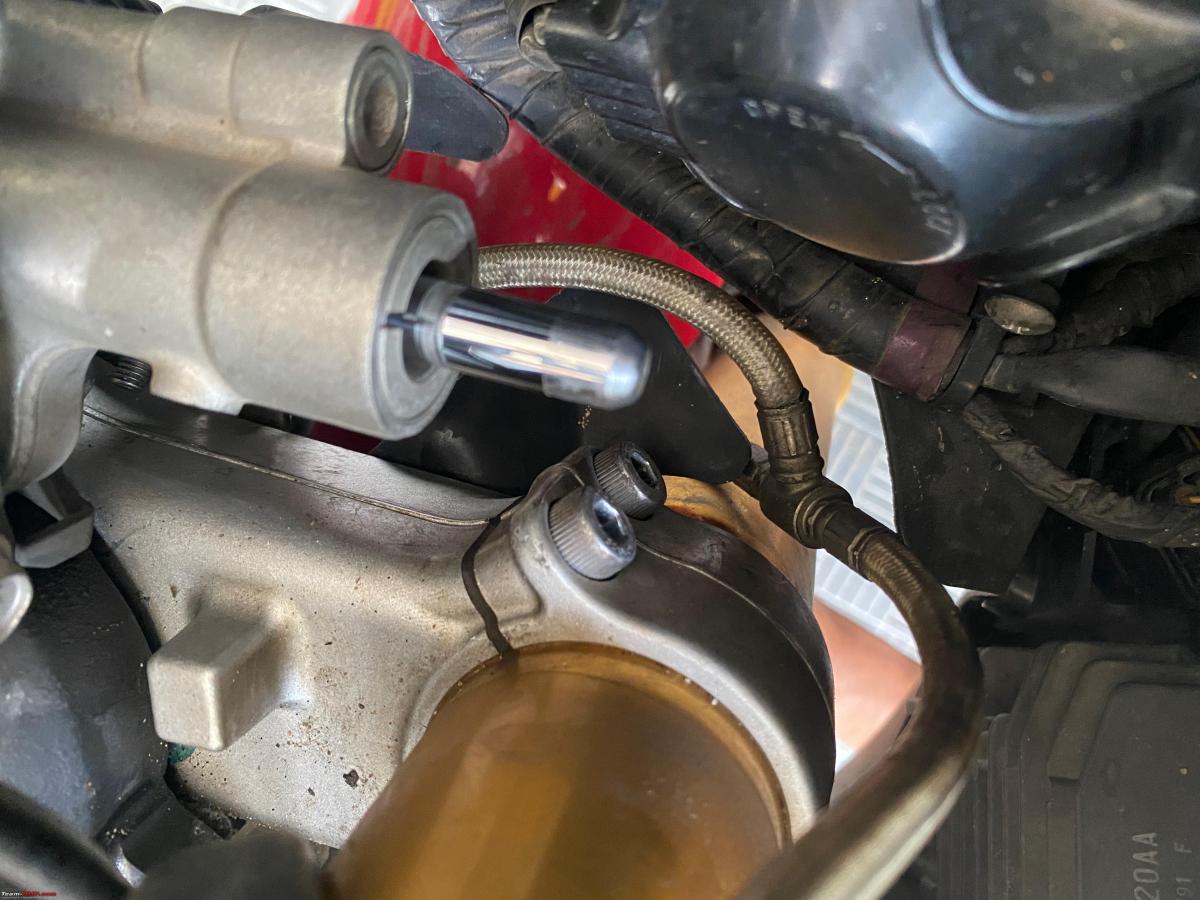
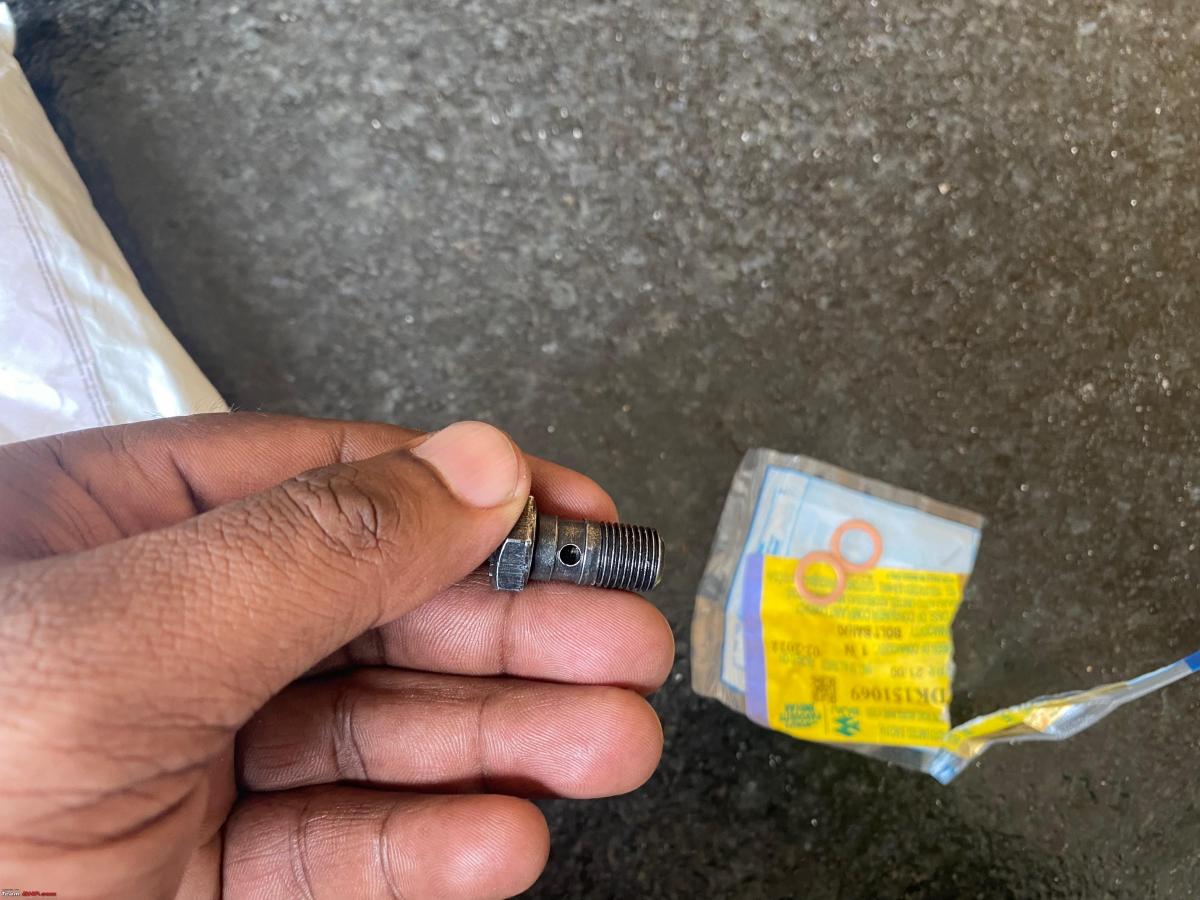
So immediately we had a red flag, I guess my research wasn't as thorough as I thought. But then I thought not to worry, I'll just use the banjo bolt off of the current system and that should be fine, right? But no, If history shows us anything it's that in my case it can't be something that simple, the current Spiegler banjo bolt does not fit into the Corsa Corta because the pitch of the thread on the Banjo bolts is different. The Brembo MC accepts a 1mm pitch while the OE MC (which is also made by Brembo back in 2013) accepts only a 1.25mm pitch. So yet again we had to find a solution to this problem, so I set about looking at RevZilla and sportbiketrackgear, and many other websites to see how fast I can ship out a banjo bolt that would solve my problem. But then suddenly we realized that maybe just maybe there are some bikes sold here that might be using a 1mm pitch Banjo bolt in their braking systems, most of the bike here run on bybre systems which is a sister company of Brembo anyways and a banjo bolt at the end of the day is, well, a banjo bolt. It serves the same purpose no matter what MC it goes into.
The solution:
The saviour:
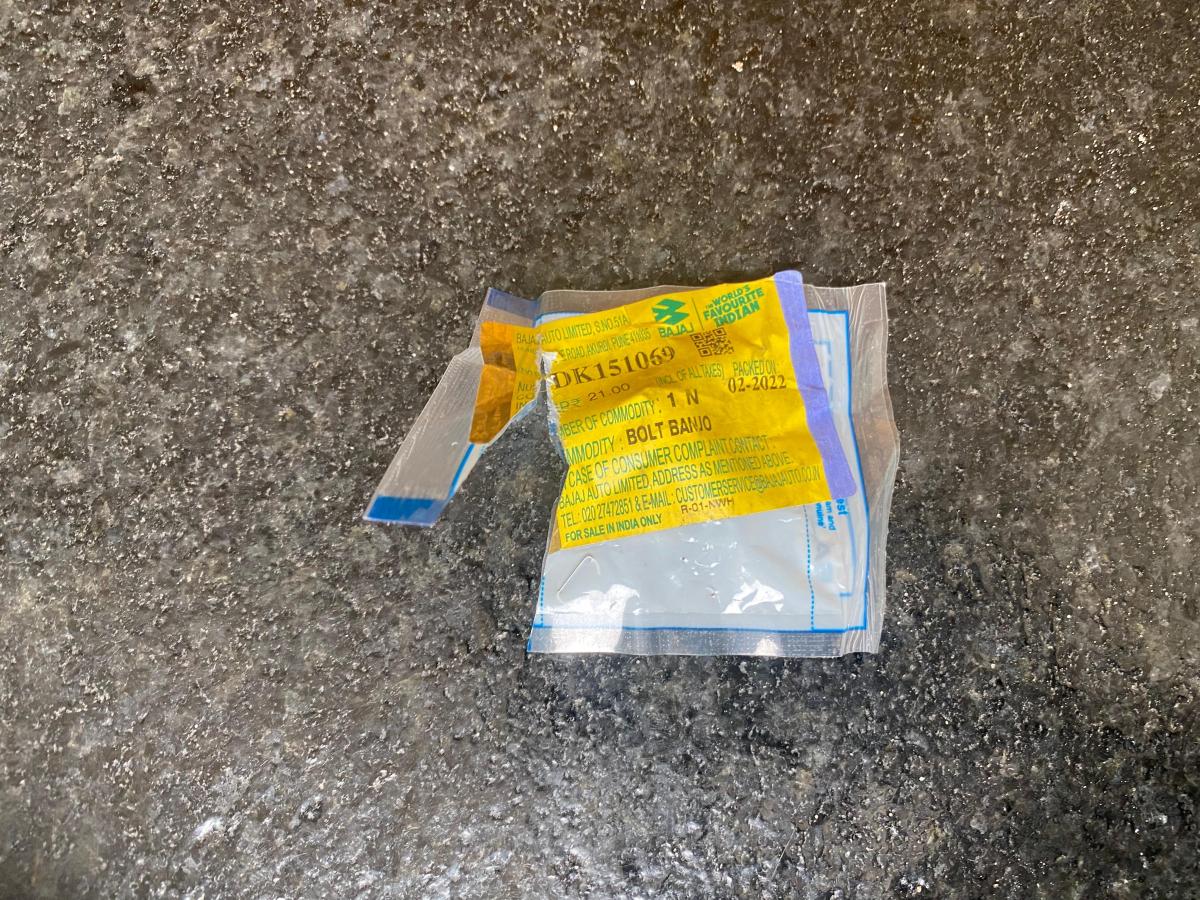
And that's how we find out that the Bajaj 200NS MC uses a 1mm pitch Banjo bolt for its front brake MC, and as you'd imagine we immediately jumped on the bike and went to the nearest Bajaj dealership and bought the Banjo bolt in question.
Quick drop in at Bajaj:
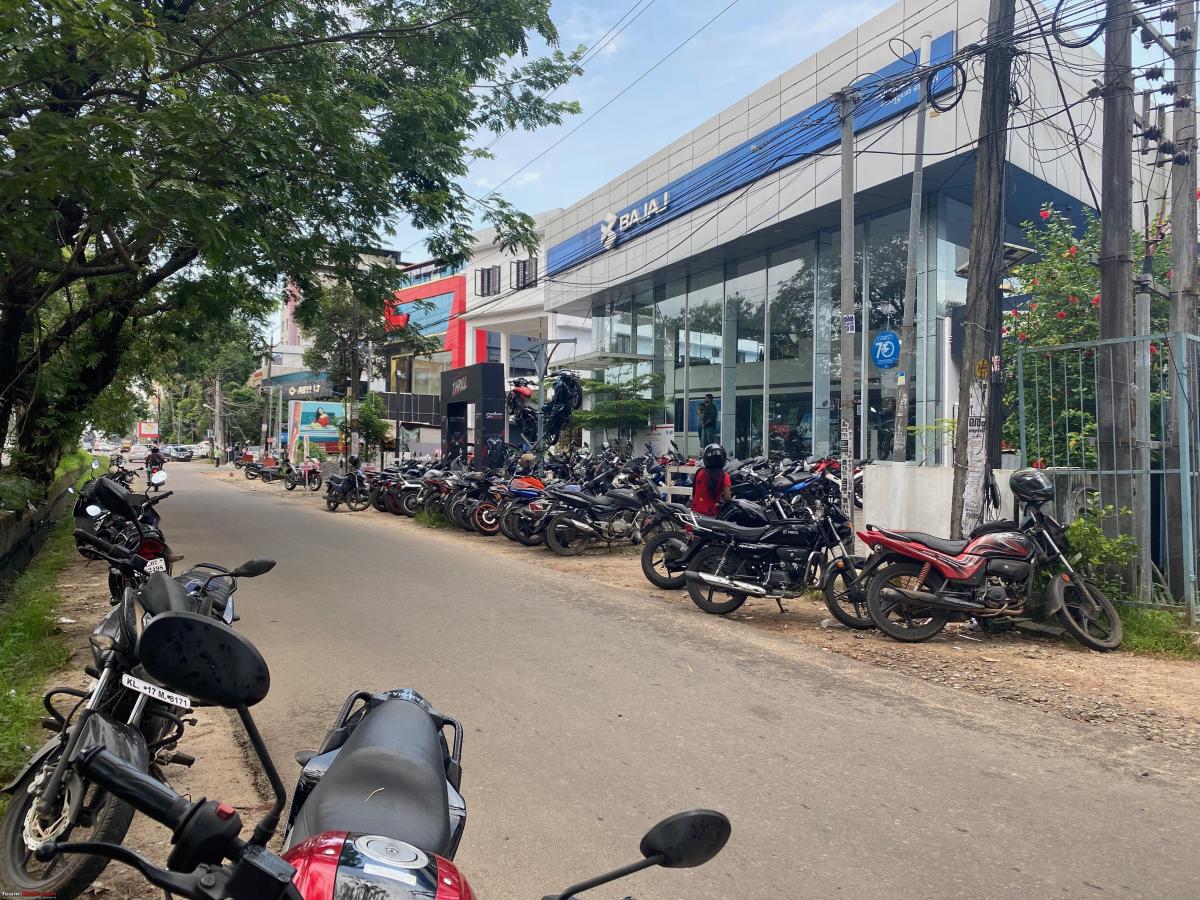
We made sure to carry the MC along with us to do a test fit and make sure that the bolt fits correctly and as expected fits like a glove.
Notice the difference in pitch in the Banjos. The red bolt being the Spiegler Banjo:
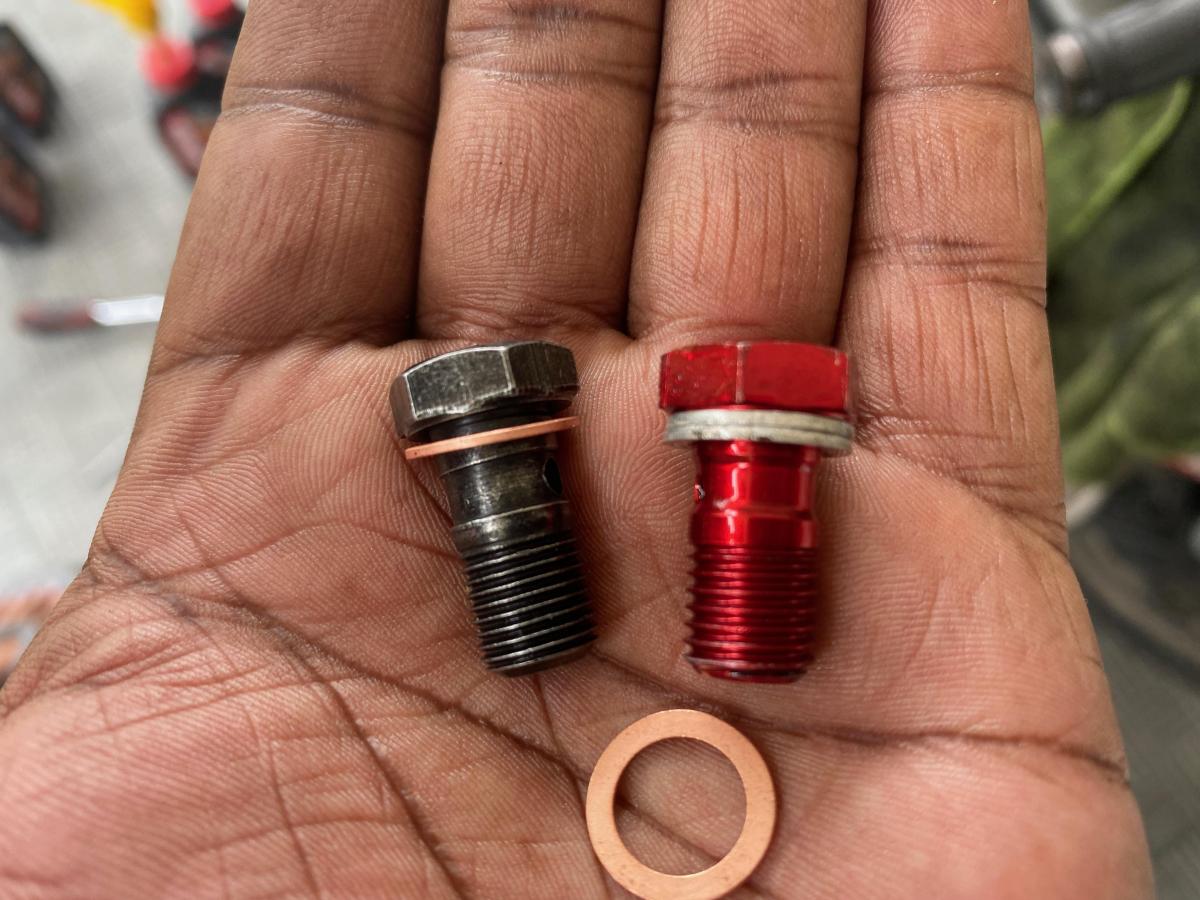
And the best part, how much did it cost us to solve this problem? A huge sum of Rs.21/- including taxes and there I was trying to buy a Banjo bolt from the US for 15 dollars . Sometimes buying local is the best solution.
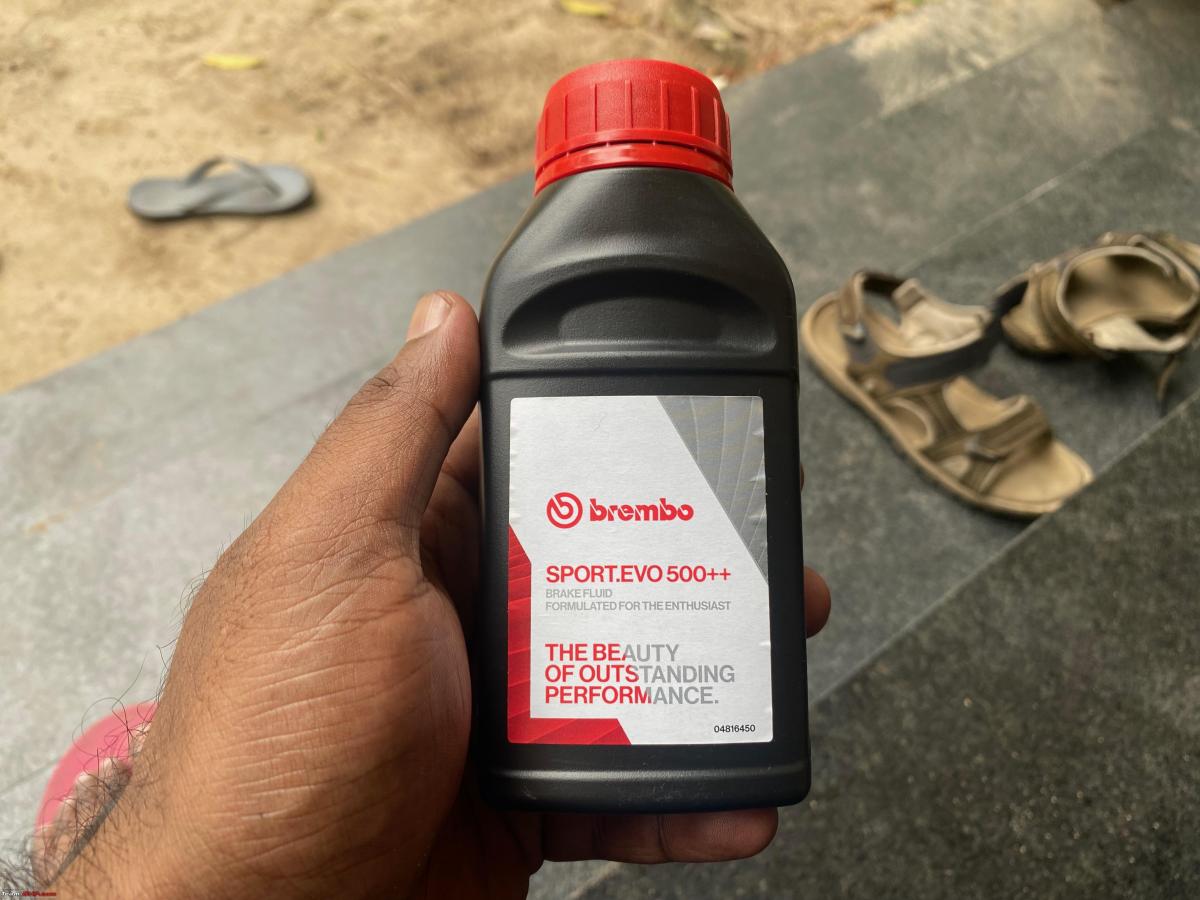
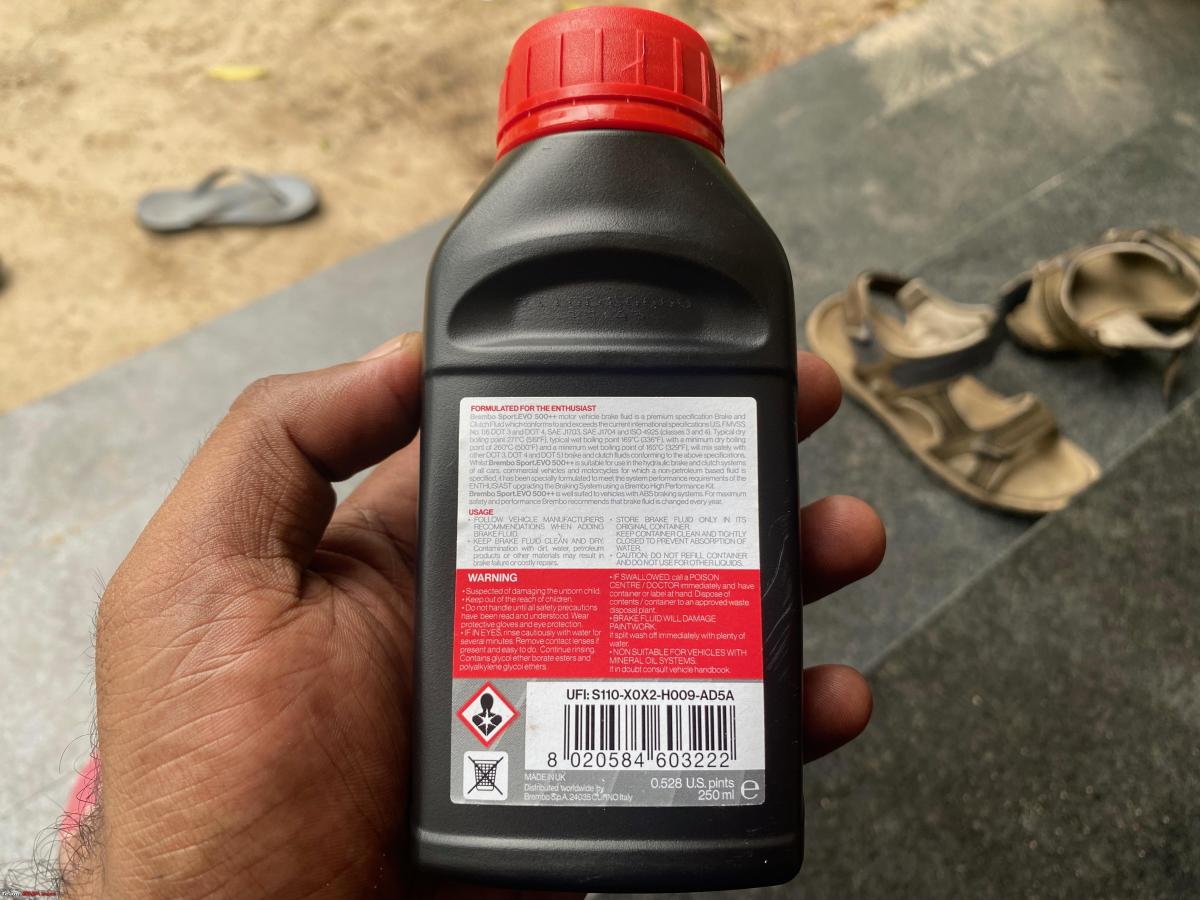
While we were out we also went ahead and bought 4L of Motul 7100 10W40 and also HiFlo filter that I usually use for the oil change I also decided to try out the Brembo Brake fluid to go along with the MC upgrade.
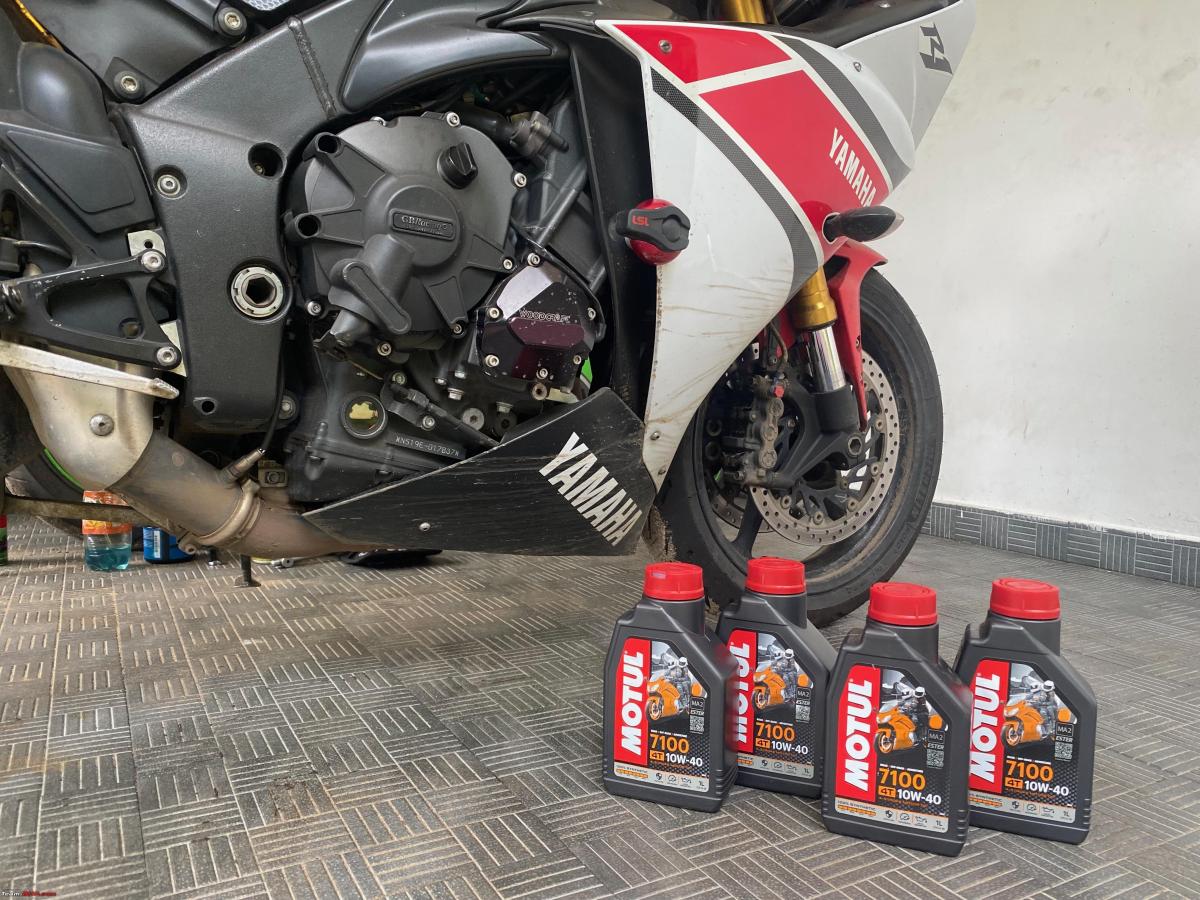
Once all the required items for the change were collected we got cracking, we were tackling the MC change and the Oil change together as the oil change is pretty much a low maintenance job that just takes time and our attention from time to time.

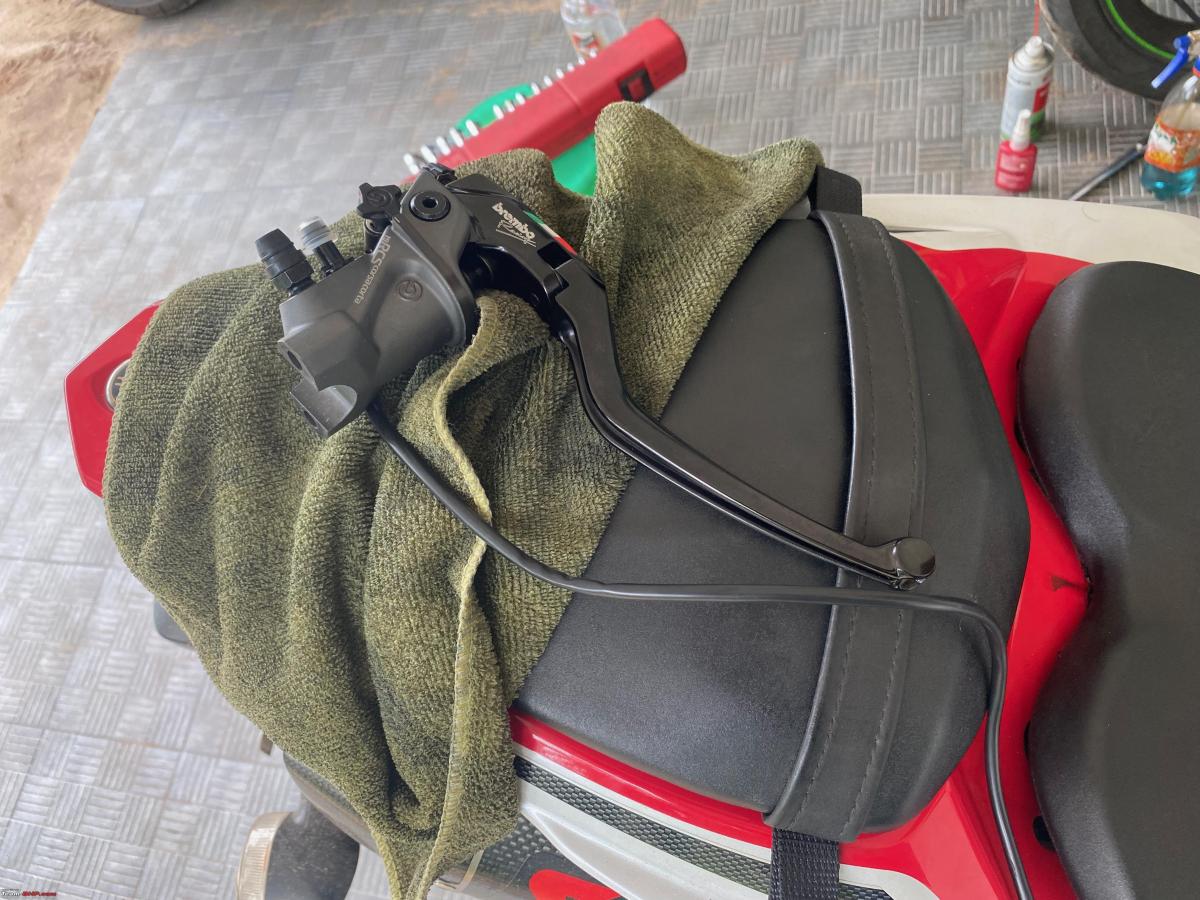
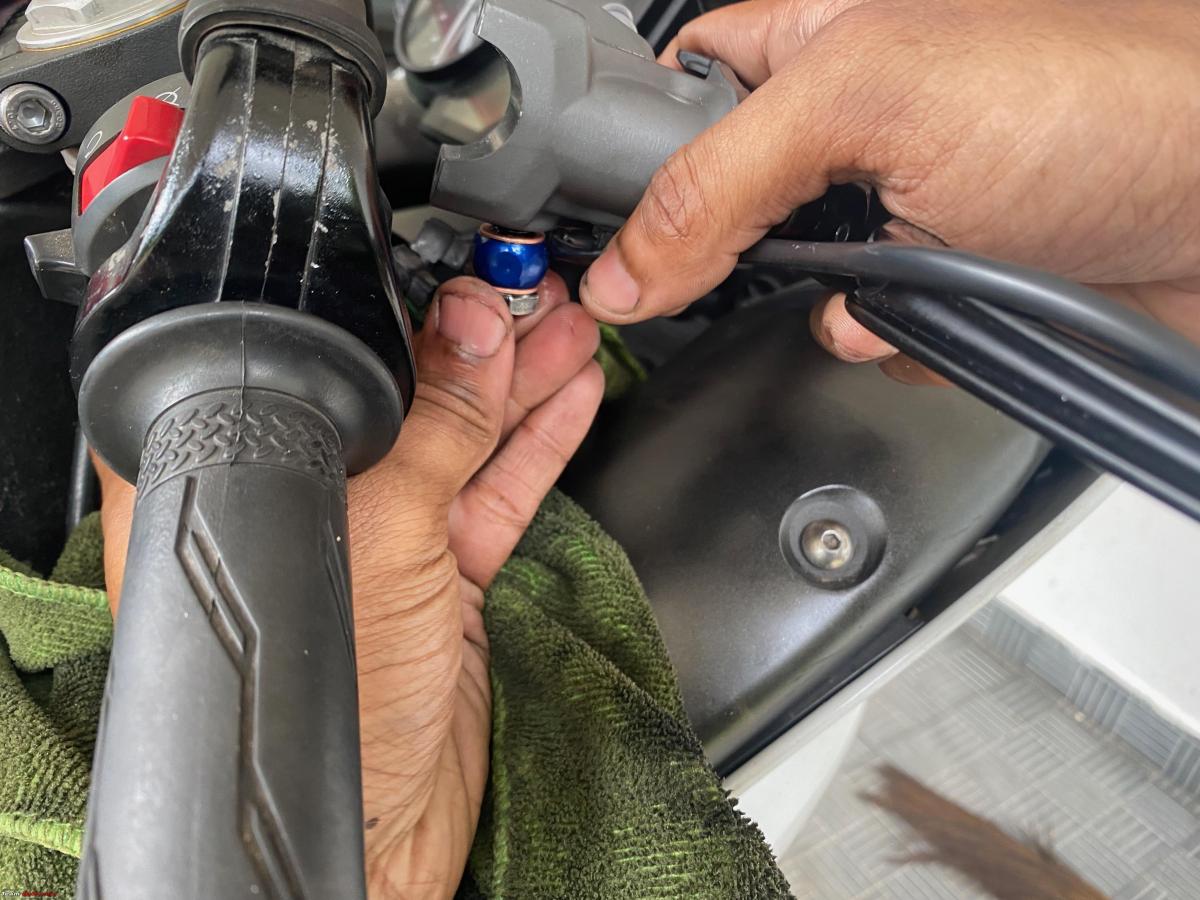
Anyways, we began by making sure we did have all the parts that were required to complete the installation of the new MC and did a test fit, the reservoir and the feed line were plumbed onto the MC and were made ready so that we can attach it as a single unit onto the handlebars which makes it so much easy to work with. Then we started by disconnecting the banjo from underneath the OE MC and freeing the brake line from it and then we removed the cover off of the old fluid reservoir and drained as much fluid as we could before removing the whole unit as one piece from the handlebars.
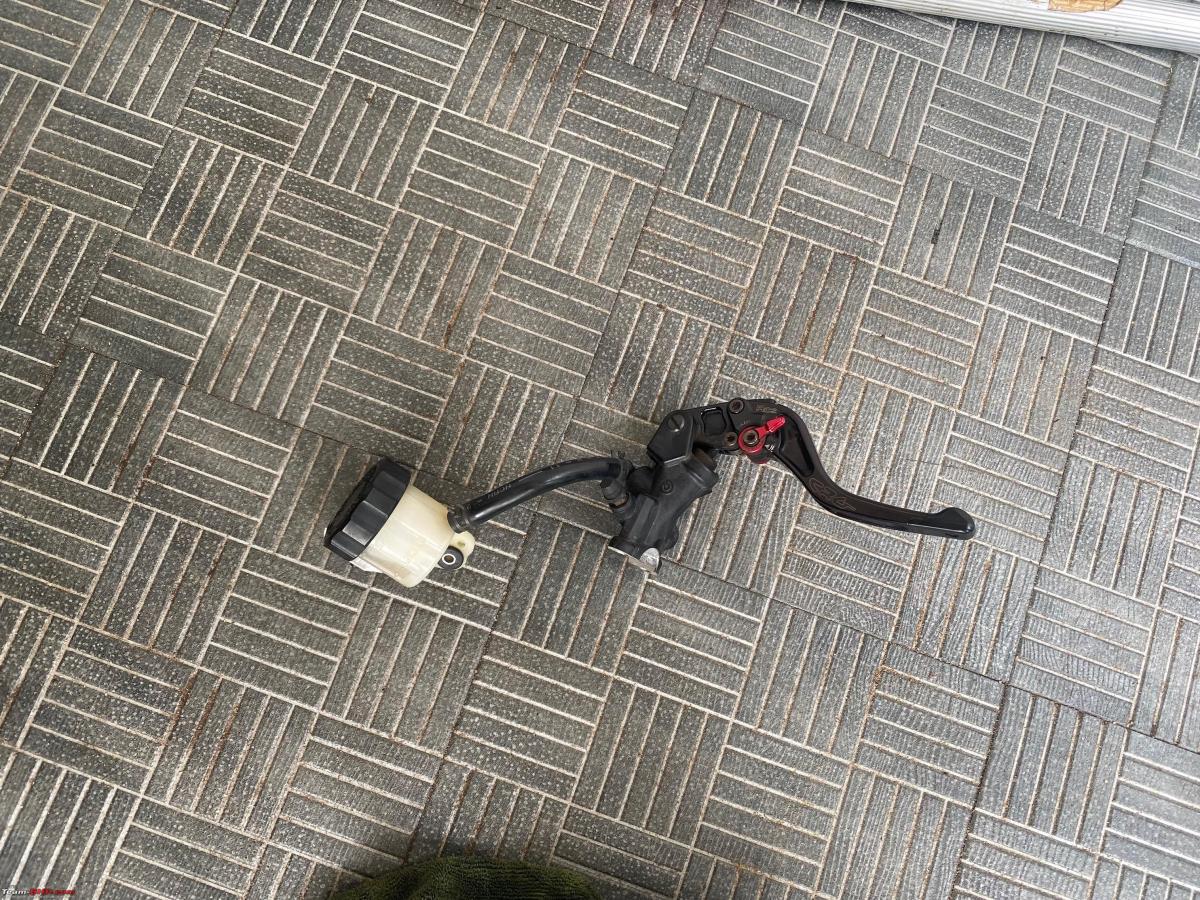

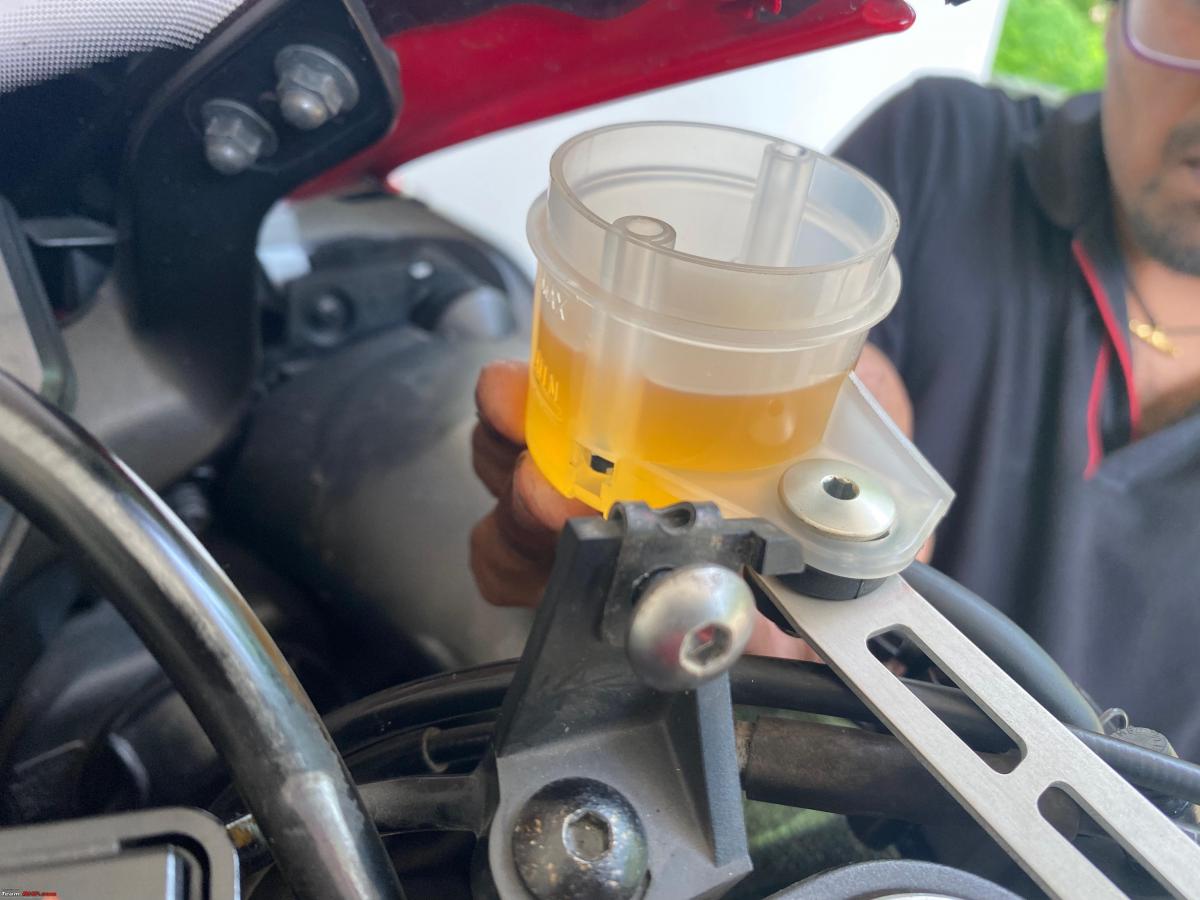
And we then immediately mounted the new kit onto the handlebars and connected the brake line onto the new MC using the new Banjobolt we purchased from Bajaj and voila we were ready to bleed the system. Yeah, it's as simple as that if you do the prep work just right. Because of the way we removed the line from the OE MC we did not introduce a lot of air into the system from the brake lines to the calipers. So the bleeding process we did was only required to drain any air out of the system that's in the new MC, which was not a lot and we were done within 15 mins, but we went ahead and bled the braking system at all 3 spots, first at the MC bleeder, then at the left and right calipers also. All in all the most time-consuming part of this exercise was the bleeding and that took about 30 minutes in itself(we wanted to be thorough).


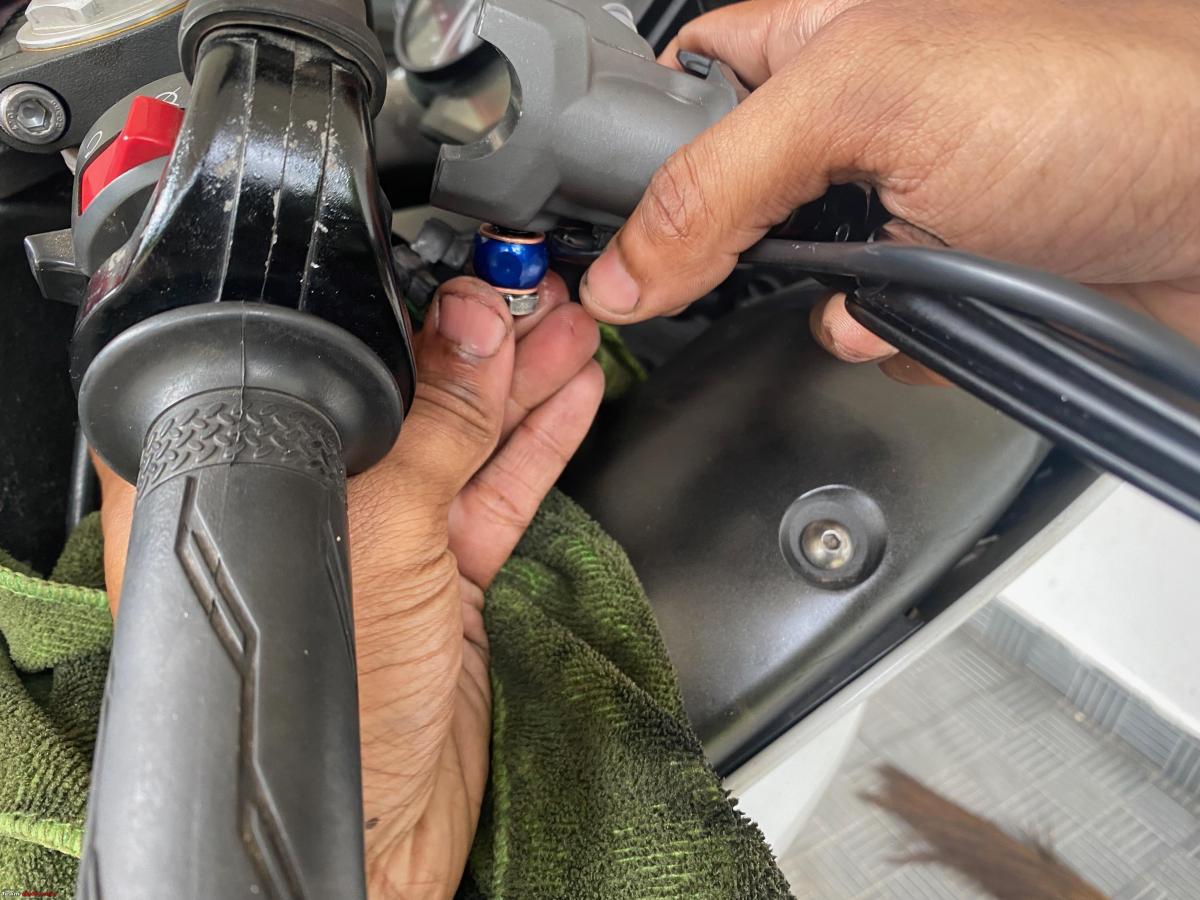
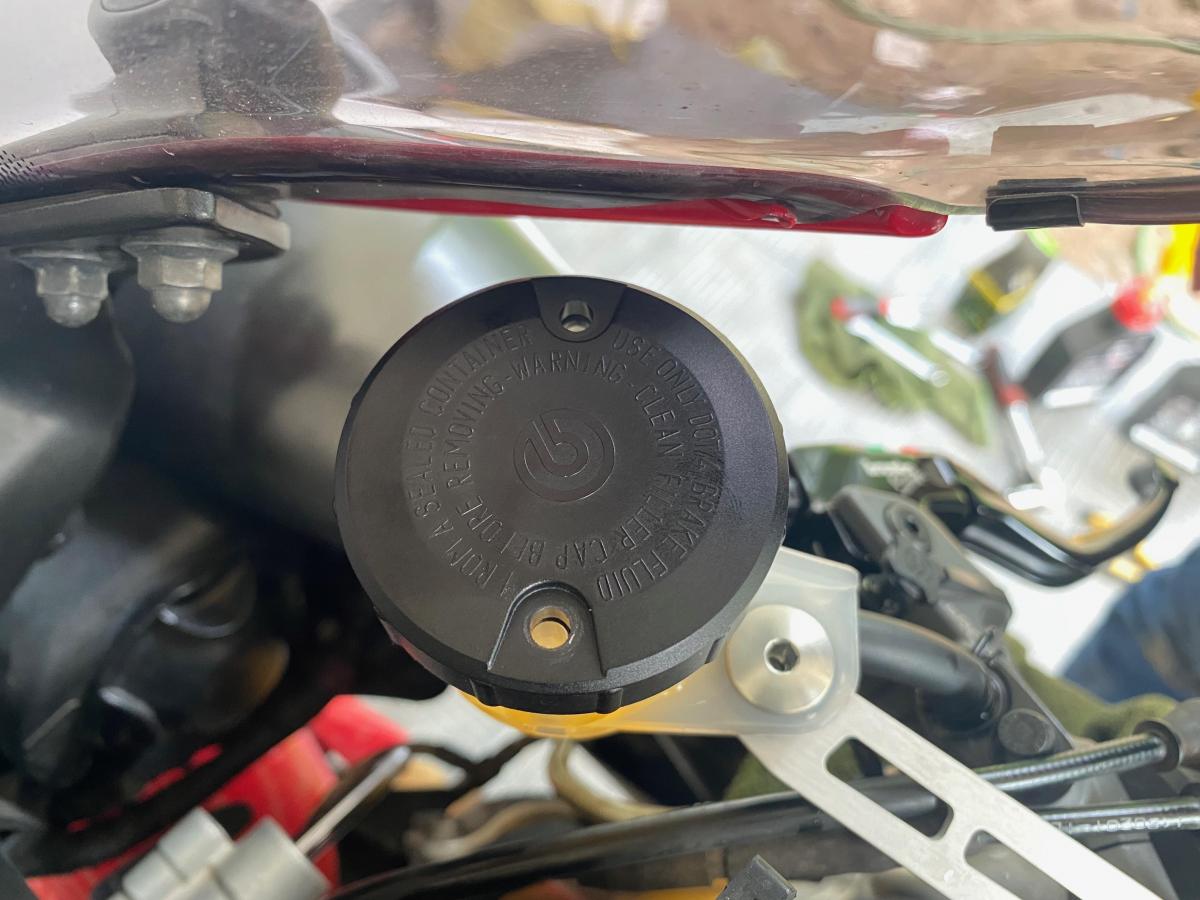
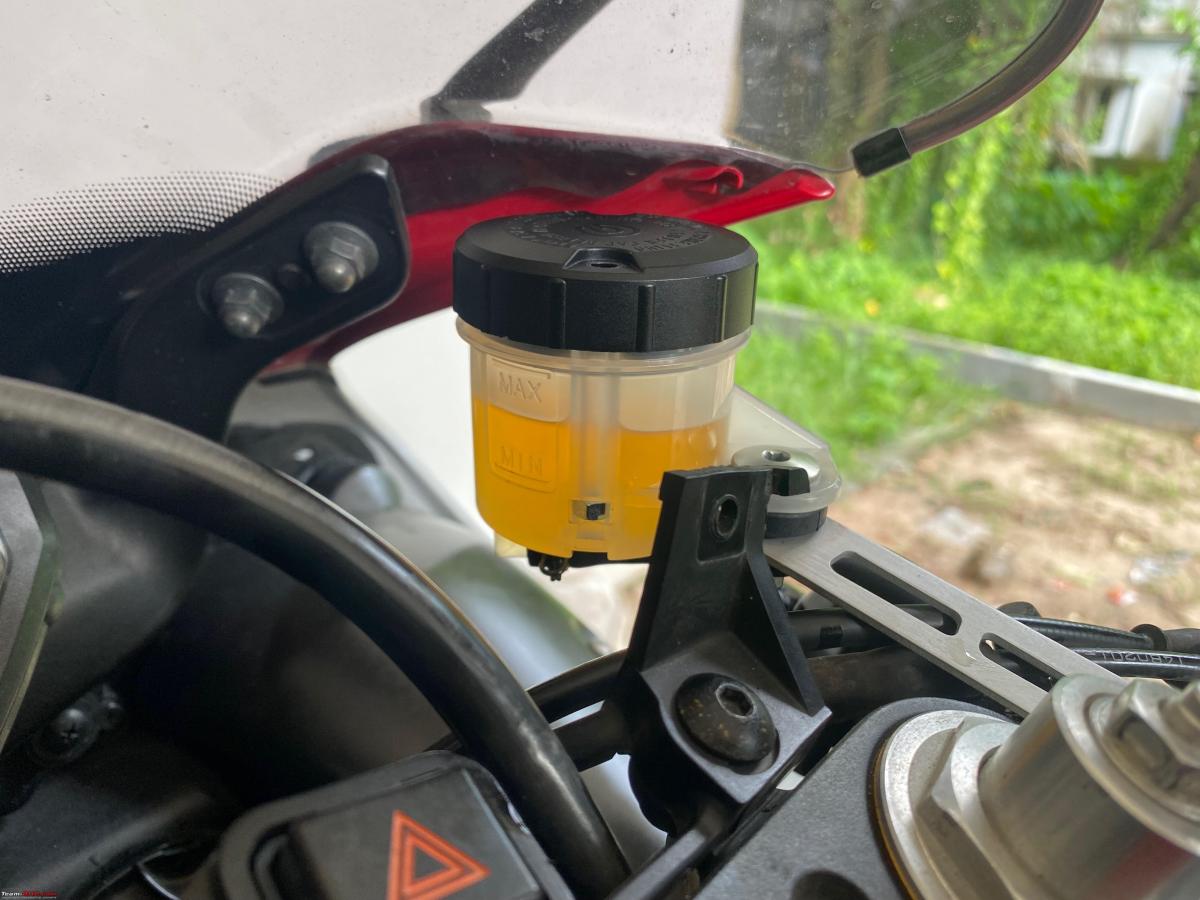
Now the next step was to figure out how to mount the reservoir, as the OE mounting points are now unusable.
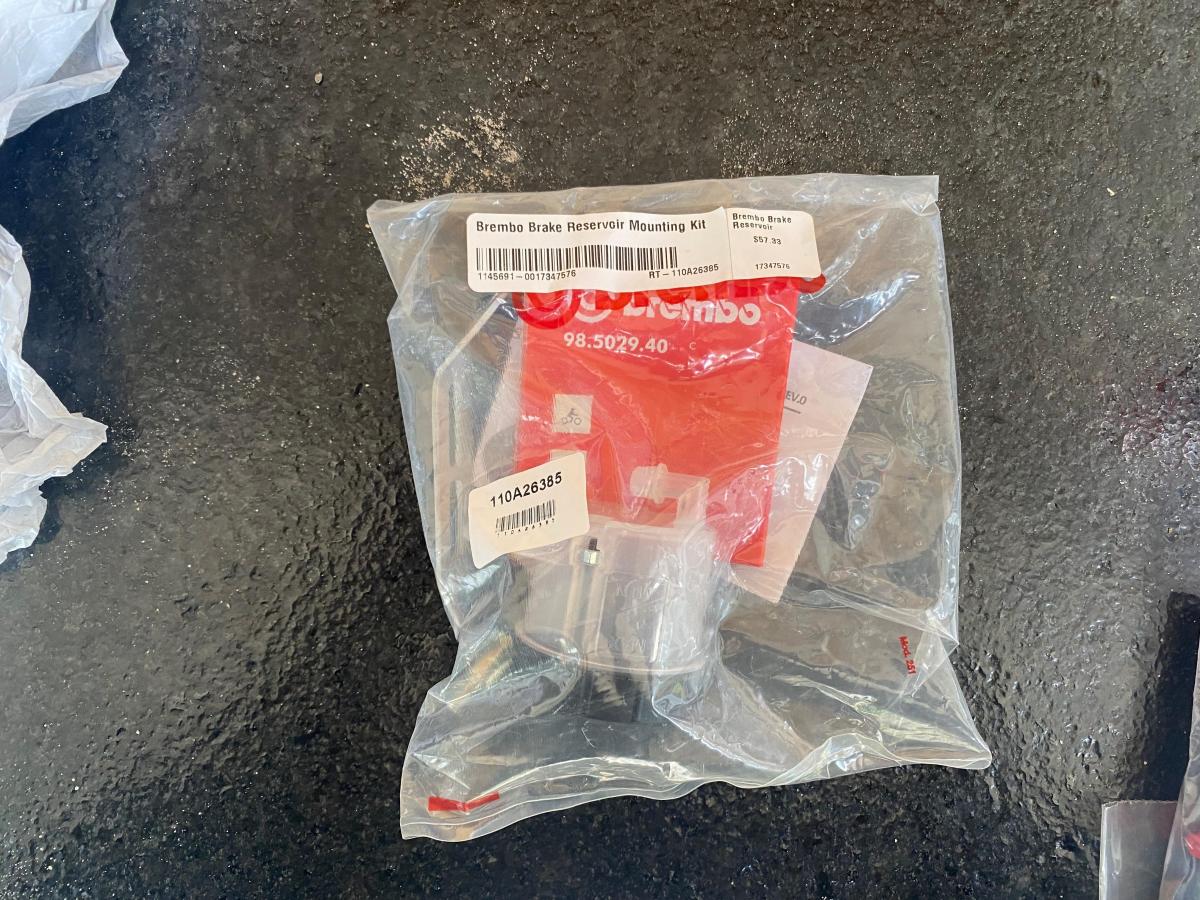
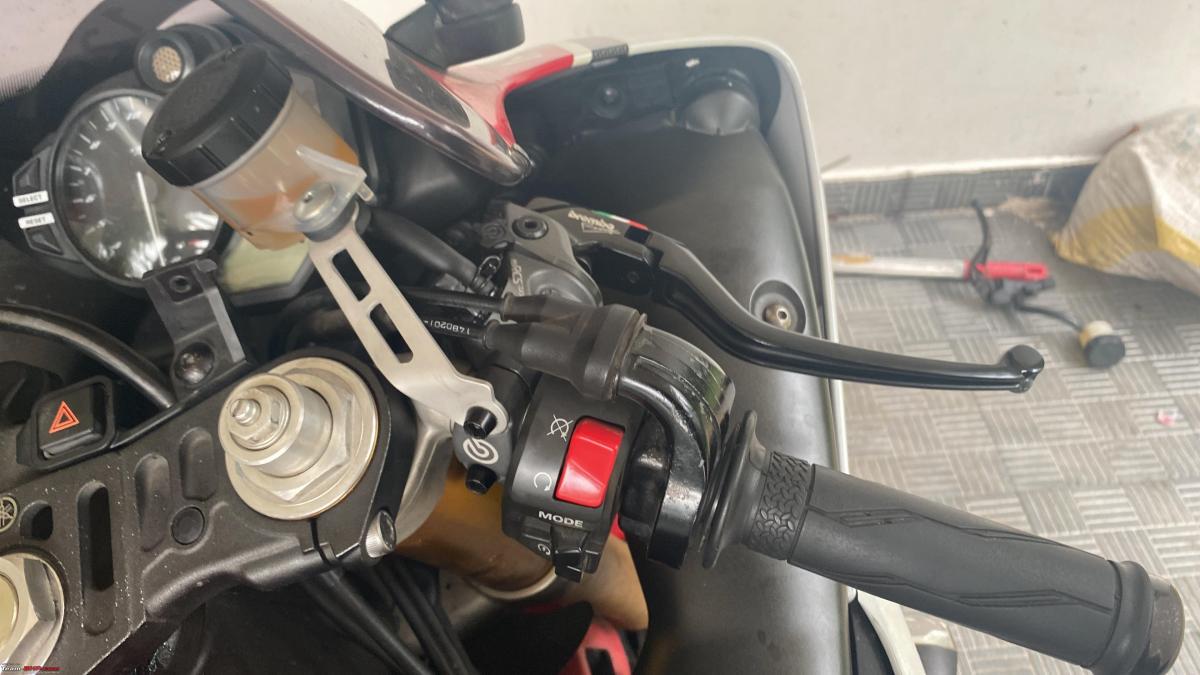
I had also purchased a reservoir with the mounting kit along with the MC as I knew that using the OE Reservoir was not an option, and the kit came in handy, it had a bracket that attaches the reservoir to the top bolt of the MC mounting clamp to the handlebars, the clamp is flexible enough to allow you micro-adjustment as needed for different bikes and we spent barely 2 minutes before we got a position which was good enough to clear the fairings from coming in contact with the reservoir in full handle lock left to right.
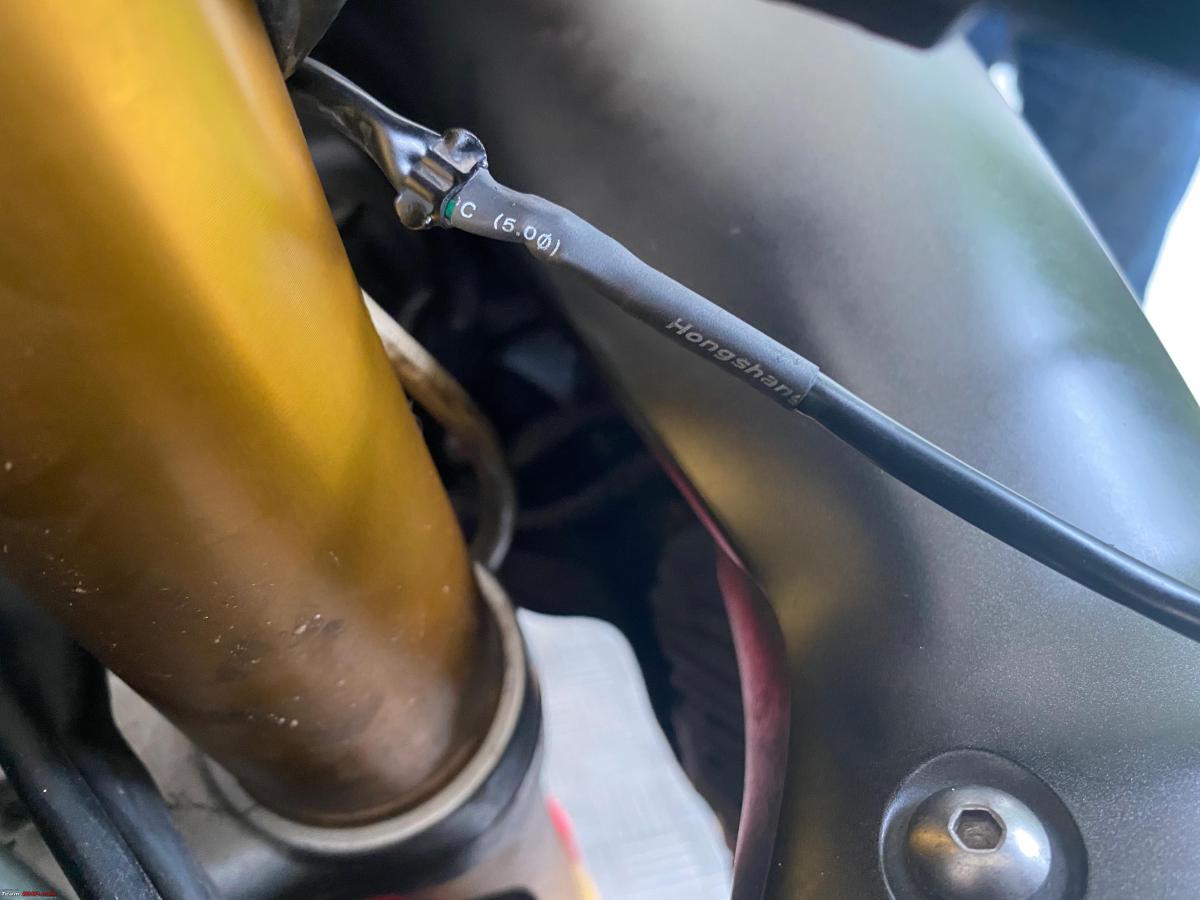
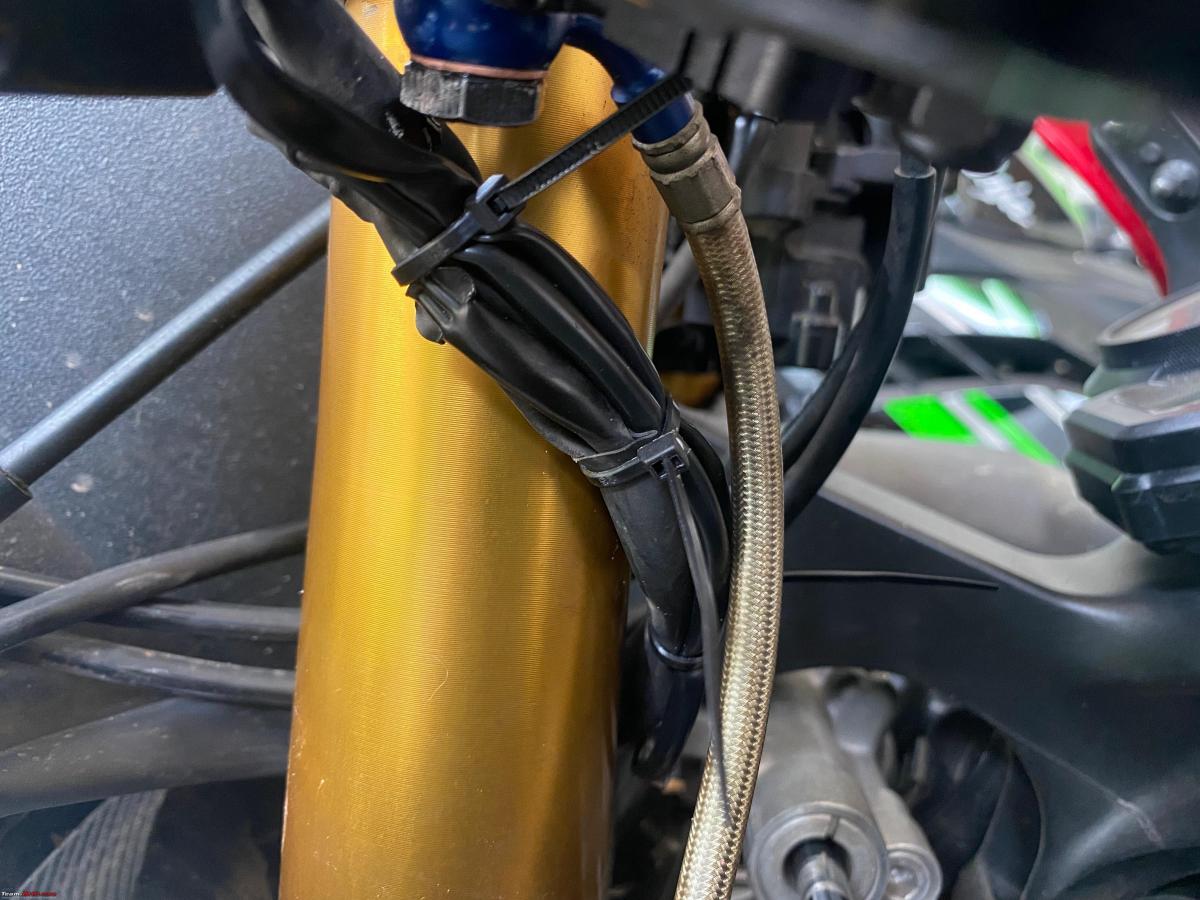
Now since that was done let's talk about the difference now shall we, if I have to use 1 word to describe it it would be "Stability". Oh boy what a difference this change has made, I am not exaggerating or messing around when I say this has made a night and day difference in the way the bike stops. The lever feel has 0 sponginess to it, it's very very direct and precise! There are 3 different modes in which you can set the feedback and that's labeled as S, N, and R. I am currently in N which I think stands for Neutral (Not sure need to check) with S being the most aggressive I am yet to try. The pedal feel is just something else, it's very direct and communicative, you get to feel exactly how much pressure is being applied onto the pistons in the calipers and all it takes is 1 finger to bring the bike to a halt no matter what speeds you are doing and it does this with no drama at all, you don't need to guess at what point the wheels are going to lock up(No ABS on this bike!) because they feel from the levers is just enough you know where the limit is! In the 500 plus km I rode with this I have covered it in multiple scenarios, I rode it in the dry, in the wet, during an active heavy rainfall, and tried it at different speeds varying from city crawling speed to highway cruising and WOT to standstill drills as well and I am just blown away from what the product has to offer.
I cannot express how happy I am for what I have got out of this one single upgrade. Worth every single penny I spent on it and worth every single day I waited for it too. No regrets whatsoever. I will be covering the range of adjustability the Corsa Corta has to offer (which is huge) in another post once I have put a few thousand km of riding behind with all the different settings and will post my finding here, until then what I have already typed up should serve as an initial experience/review.
Current setup:
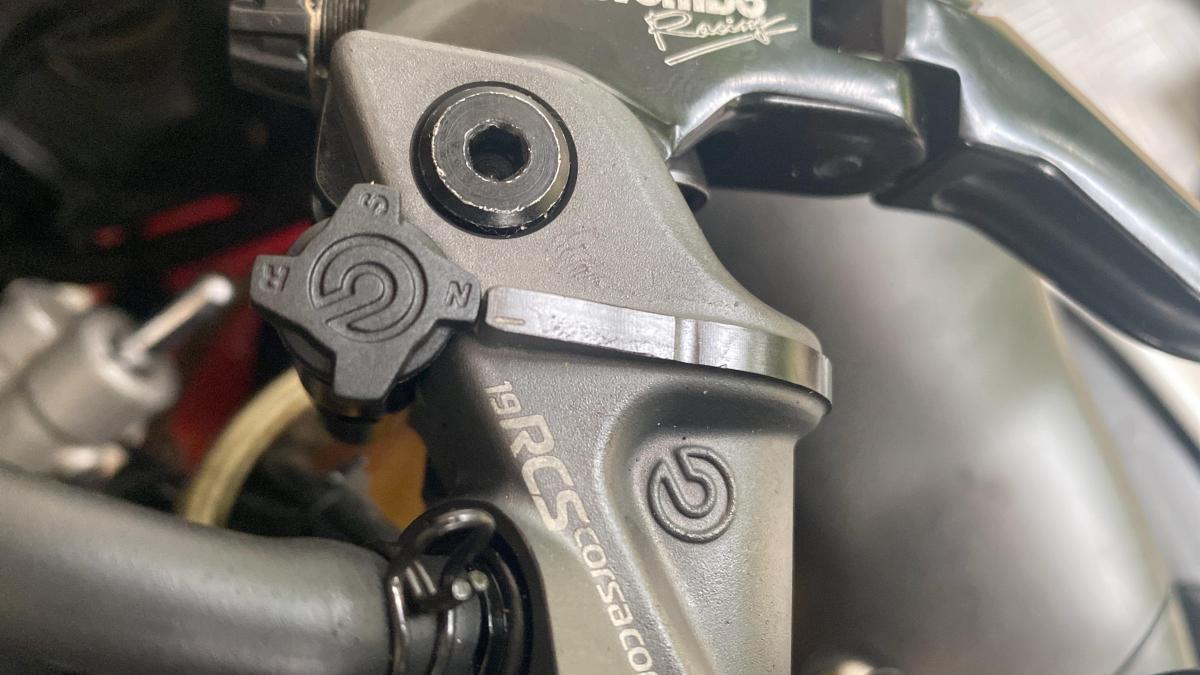
Final look post install:
Cheers,
Krishna.
Check out BHPian comments for more insights and information.
News
Installed Akrapovic slip-on exhaust on my Yamaha R1: Likes & dislikes
Installation took all of the 15mins and everything was finger-tightened and ready for a startup to check for any leaks or any other issues.
BHPian krishnaprasadgg recently shared this with other enthusiasts.
A long lime dream has been realized.
The TL;RD version of it is:
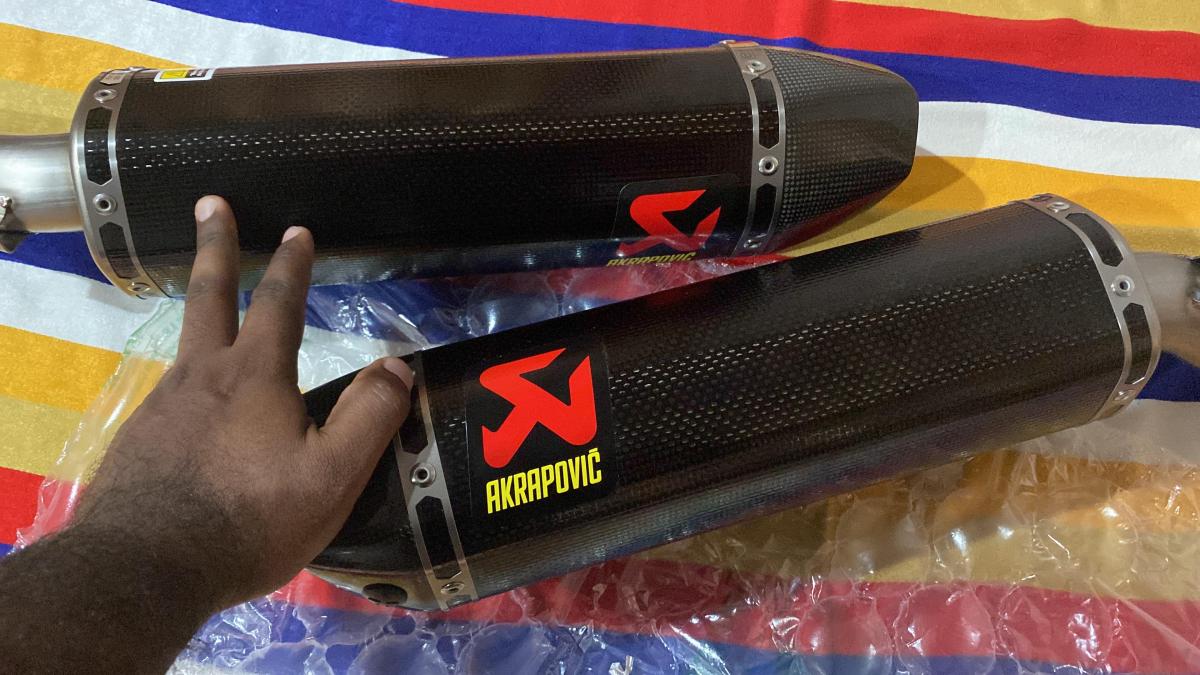
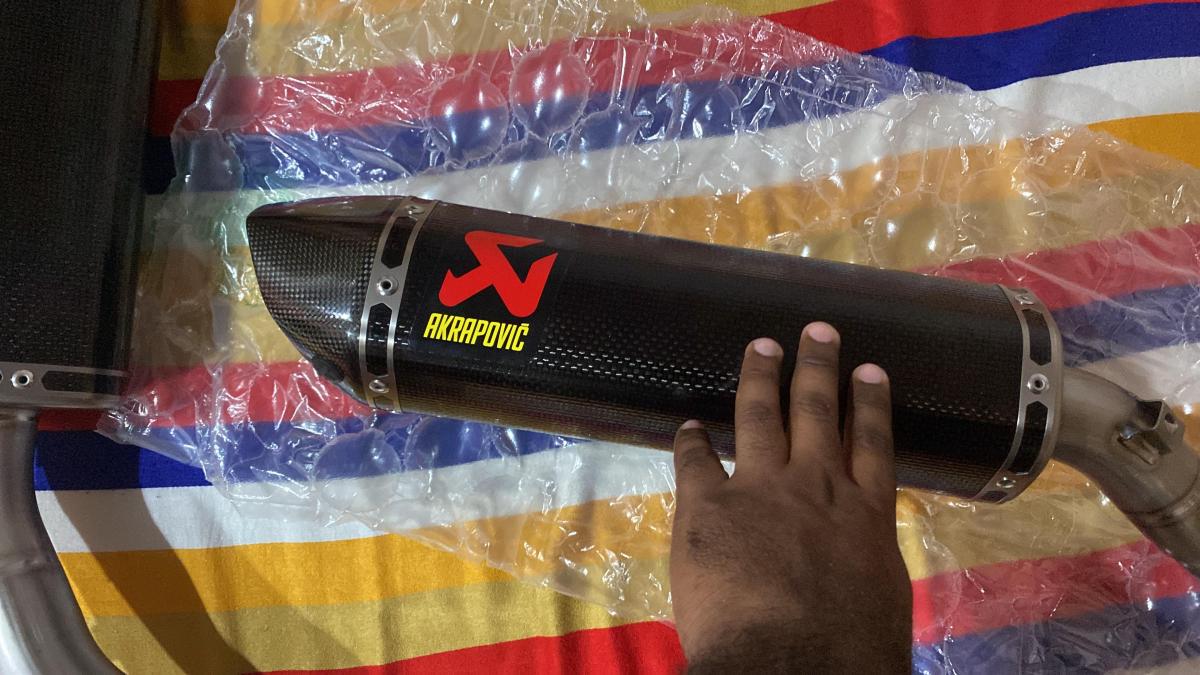
After years of searching high and low and drooling over it in photos, I have finally managed to get myself a brand new Akrapovic Carbon Slip-on! And I cannot wait to get it fitted on!
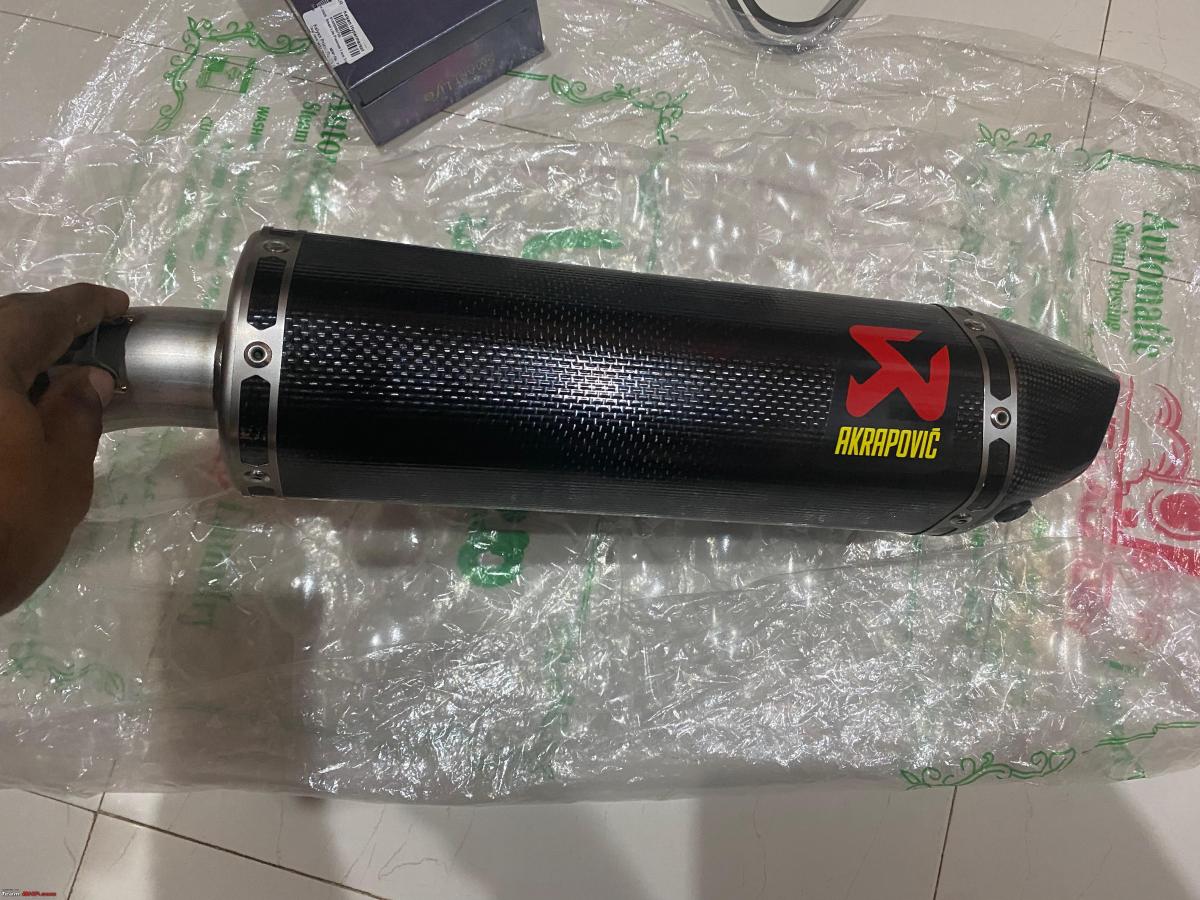
A thing of beauty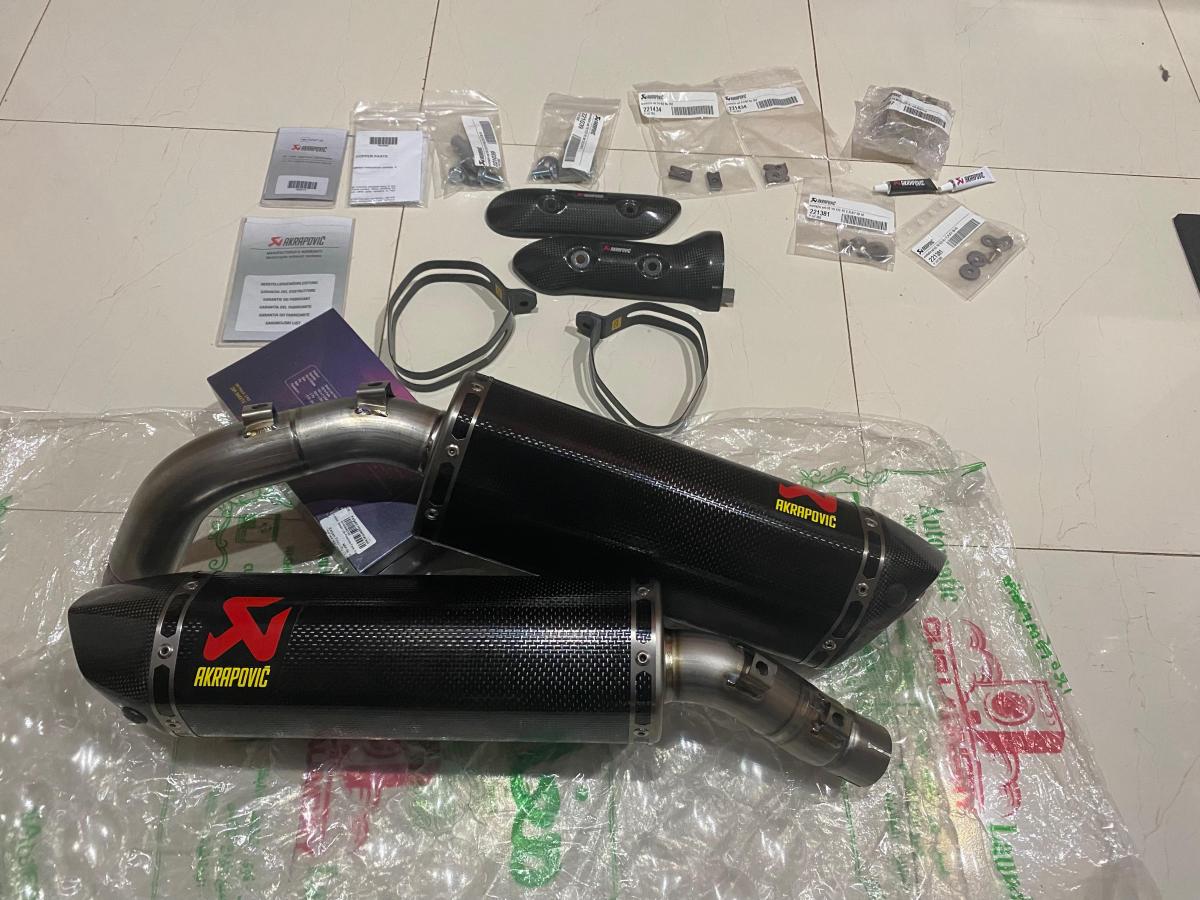
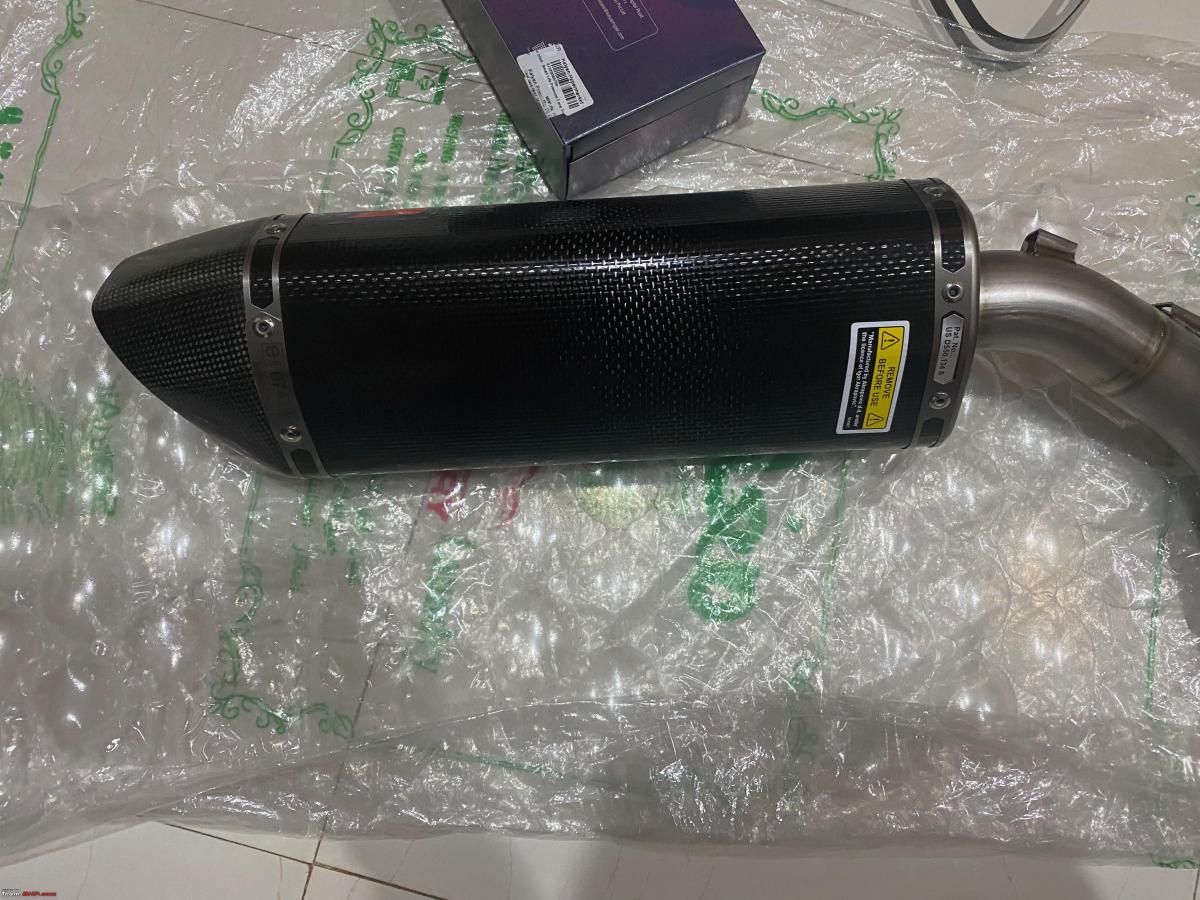
Here it is, in all its glory. and for those who want a glimpse into the technical specs side of things. Here you go
Tech Specs
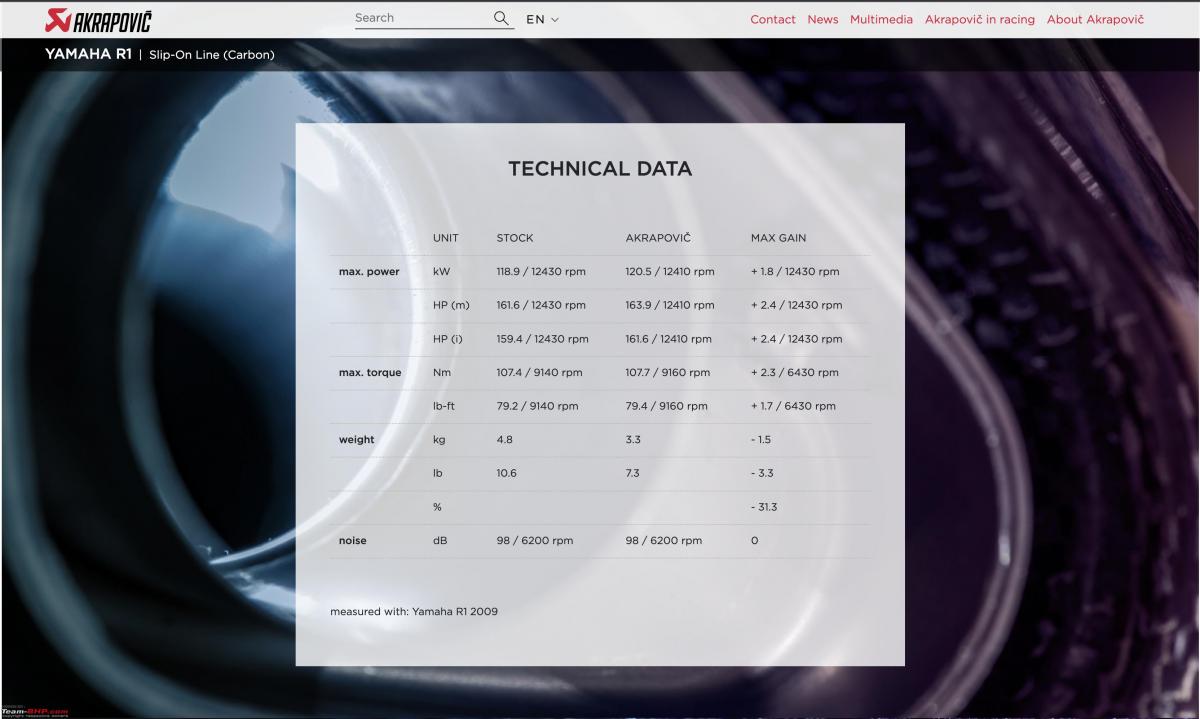
Now for those who are interested in the big story behind it, here's how it goes.
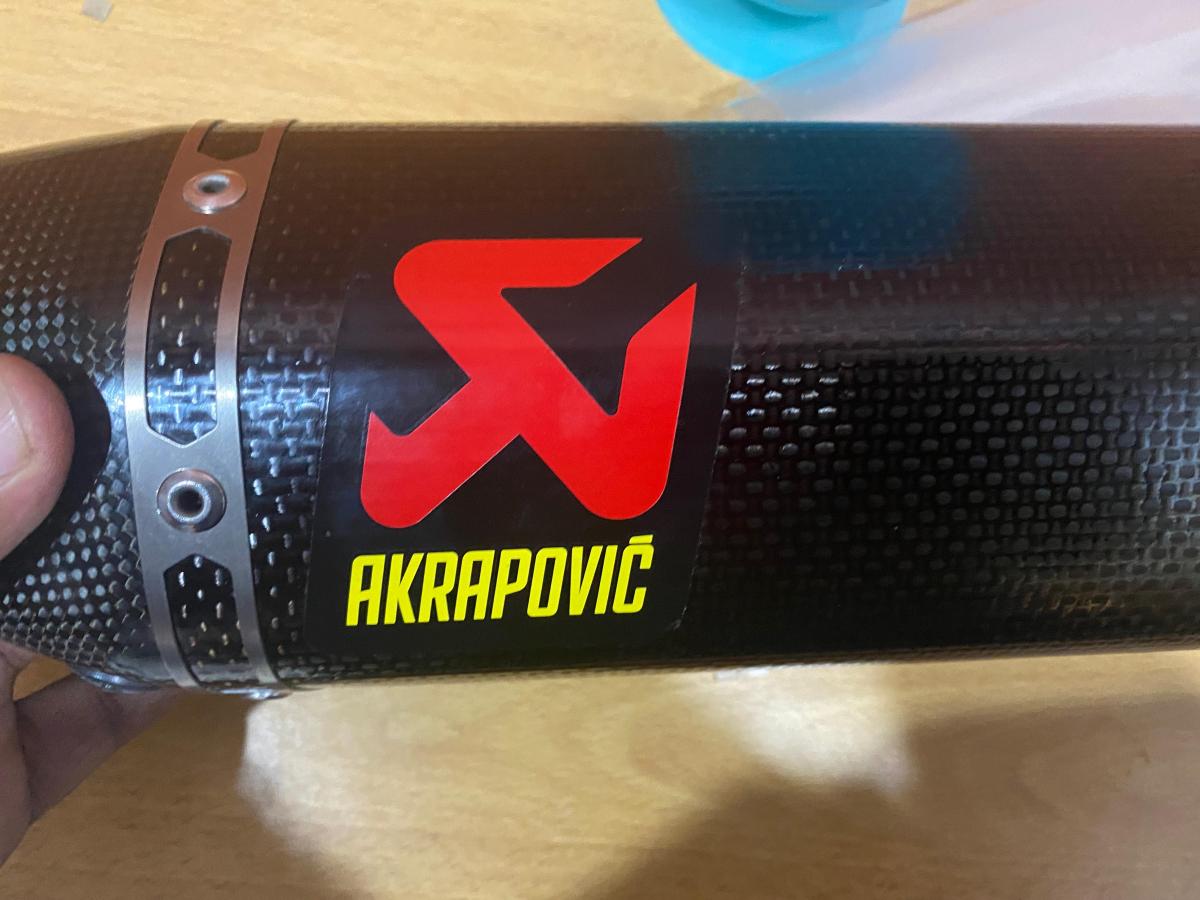
Those who know me know how big a fanboy I am of the Akrapovic exhaust system and also how much I have been yapping nonstop for over 2 years about getting an Akra system for the R1 because it's just not right not having an R1 without an Akrapovic exhaust.
Well, along with all that yapping I have also been complaining about how no shops are interested in getting one, and usually, all of them quote an arm and a leg when I pester them enough.
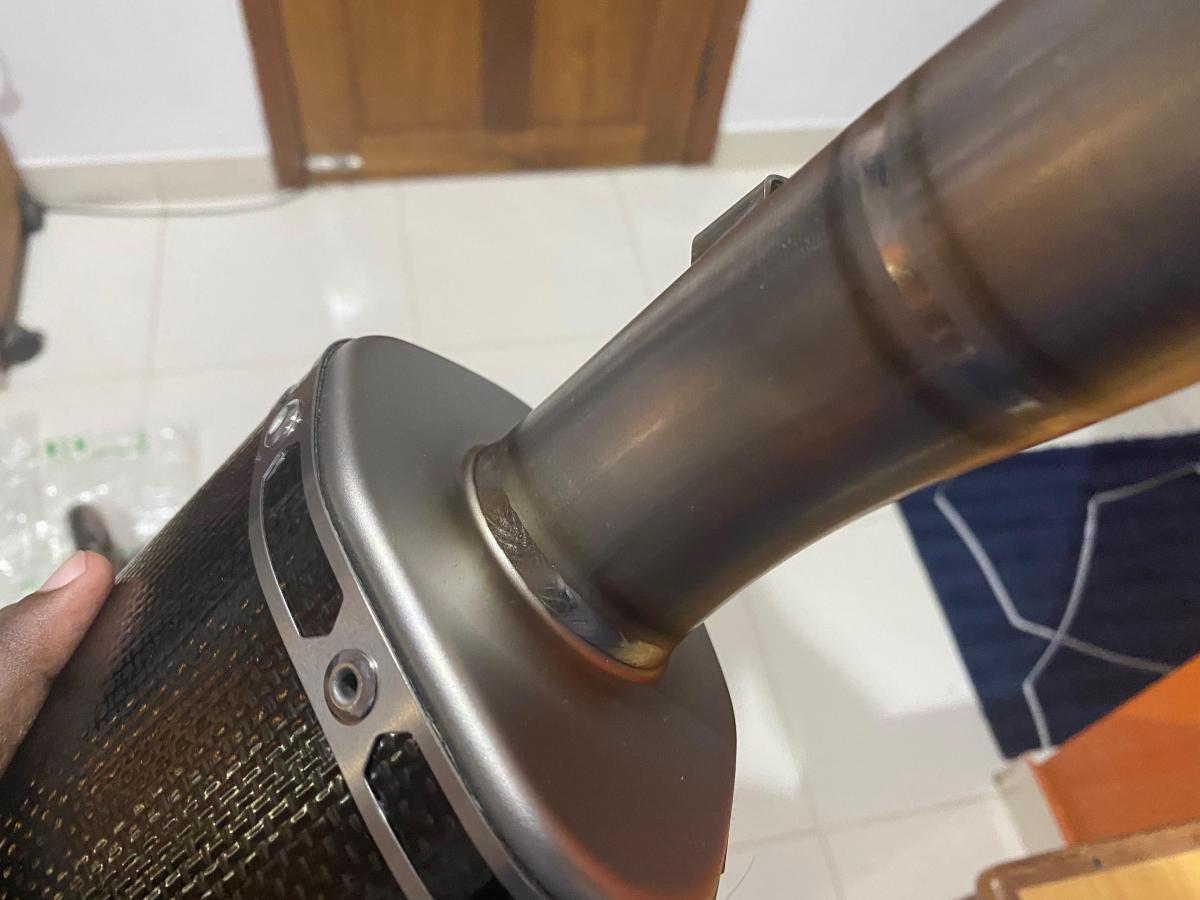
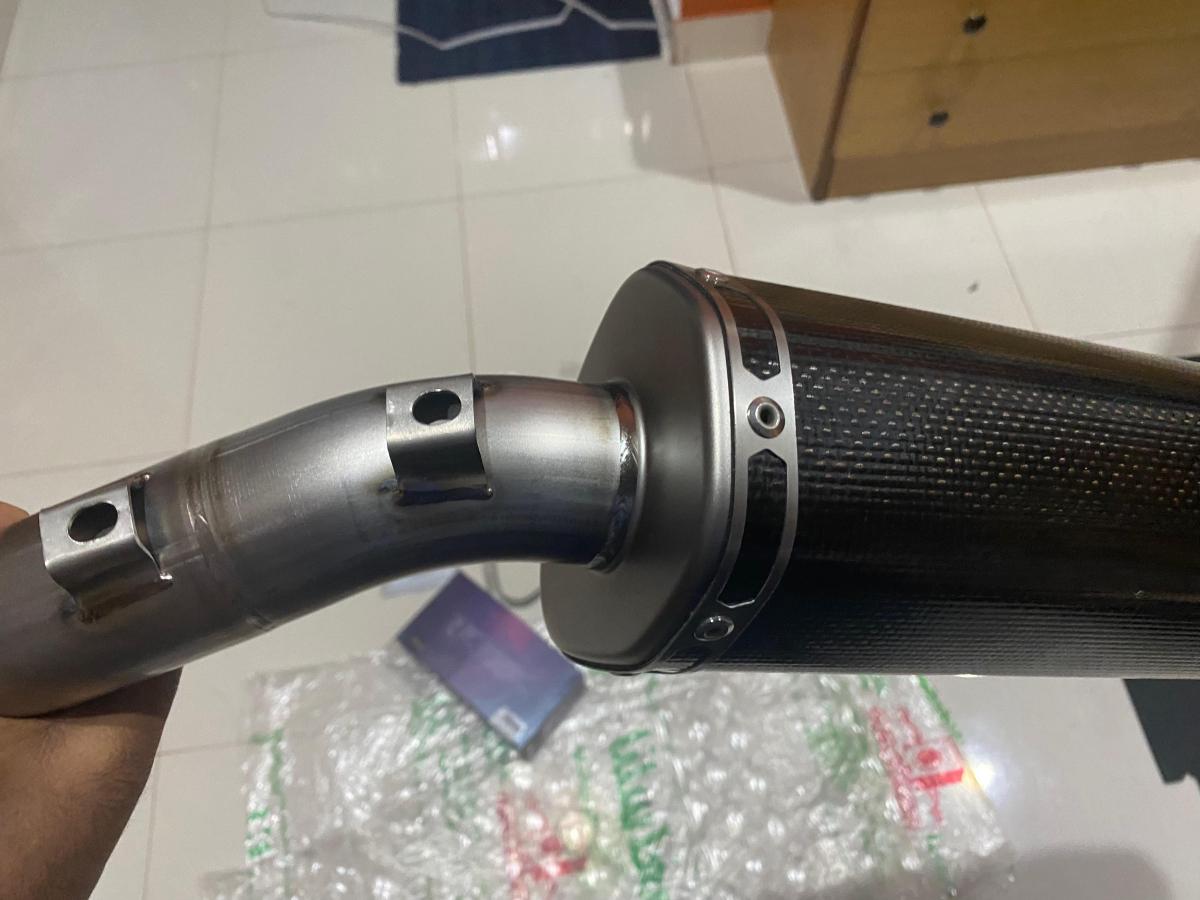
Just look at those clean welds
Well, along with all that yapping I have also been complaining about how no shops are interested in getting one, and usually, all of them quote an arm and a leg when I pester them enough)
Just look at those clean welds
Regardless, I did not lose hope. Kept scouring the market for used sets as well, but unfortunately what I wanted was a hot commodity and in very high demand, and while there were a number of bikes for sale which had the Akra fitted on them none wanted to sell the exhaust separately, which I kind of understand but I was deeply disappointed about it from a more selfish point of view.
DB-Killer
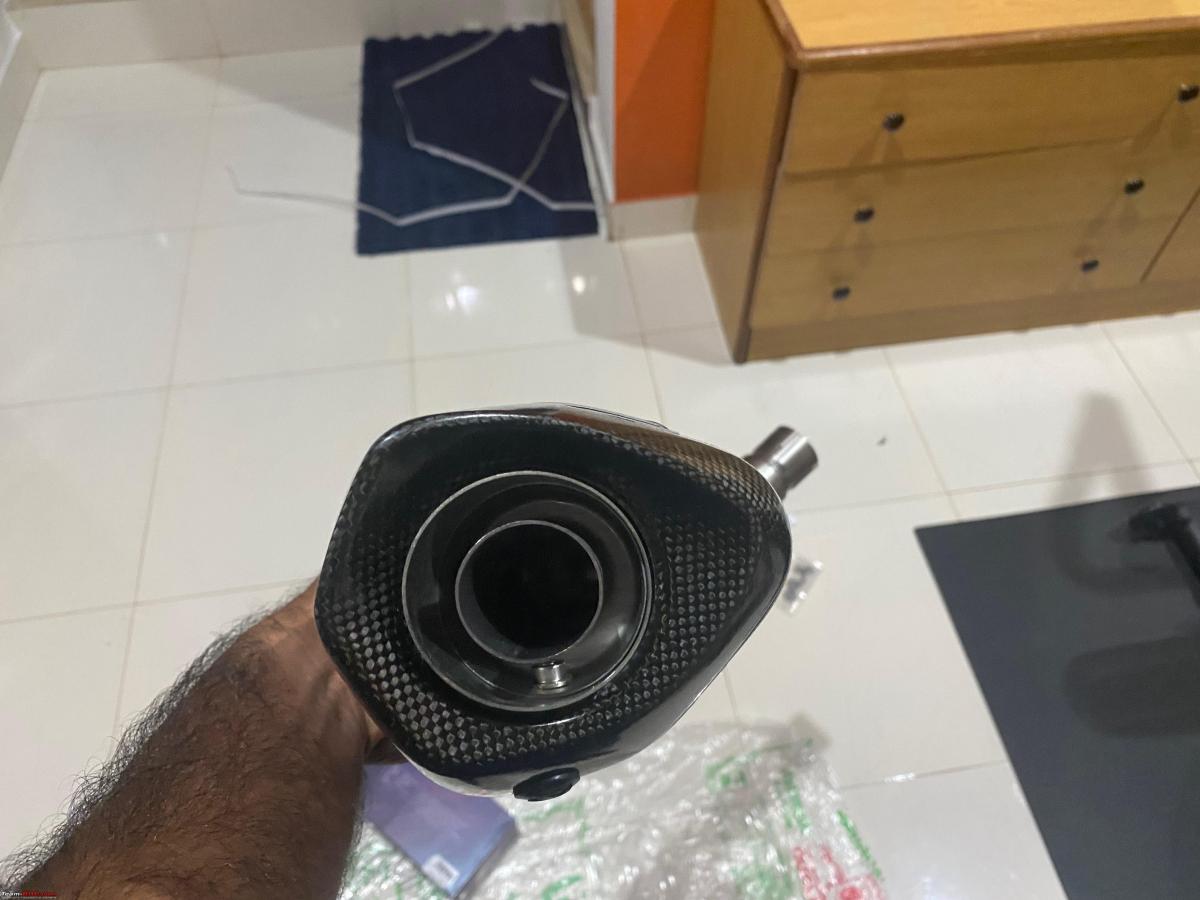
So, after almost 2 years of looking for used sets or finding a shop here in India that could help me in arranging a set for a decent price, I finally made up my mind to go for a new set.
Anyways, it was a few months back that I got talking to a shop in Dubai, they are official importers/distributors of quite a few big-name brands and Akrapovic was one of them, initially, they would not respond to my inquiries or messages but then one fine day they did (I guess they were bored that day) and we got talking, as usual, part is not in stock and they weren't much interested in taking it forward, but I consistently kept pinging them asking if pre-order was possible and how much advance payment was required and all that jazz. Finally, the ice broke, I guess they could say that I was serious about it. After a few days of back and forth, they were finally able to confirm with the Akrapovic factory that the model number I wanted is out of stock currently but still in production.
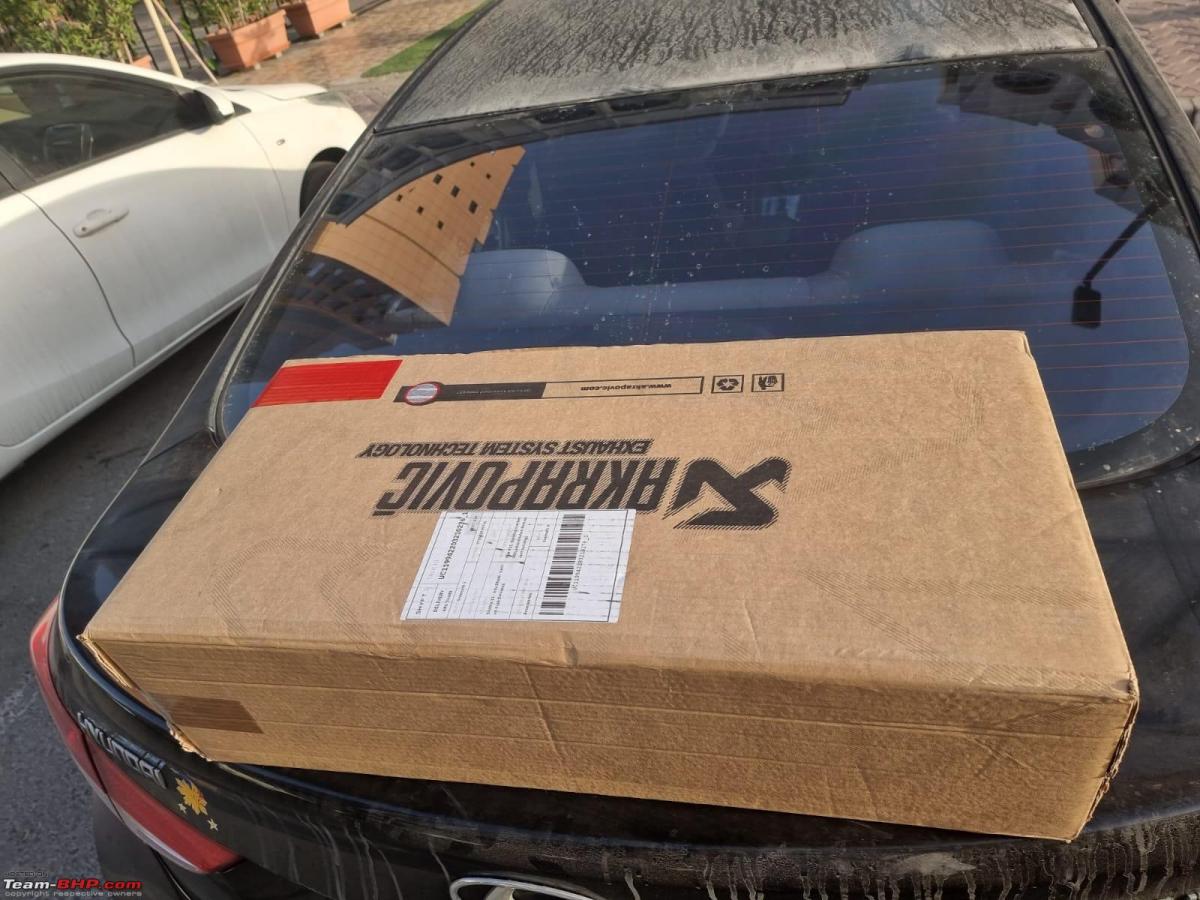
So finally a token amount was sent to them and the pre-order was set in. They promised me a turnaround of about 1 month from the date of the pre-order being placed and they delivered. And they kept their word and 1 month later the exhaust reached their shop. They were kind enough to deliver it to my friend's house and then finally my months of torture started yet again in waiting for the part to get to my hands, finally after 2-3 months of waiting I received it yesterday!
Touchdown
I just can't stop admiring the quality/craftsmanship of the products that they put out. It lives up to everything you hear about them from others and more!! Every single weld on the exhaust is just so clean and beautiful in the carbon finish is just exquisite, to say the least.
CF everything!
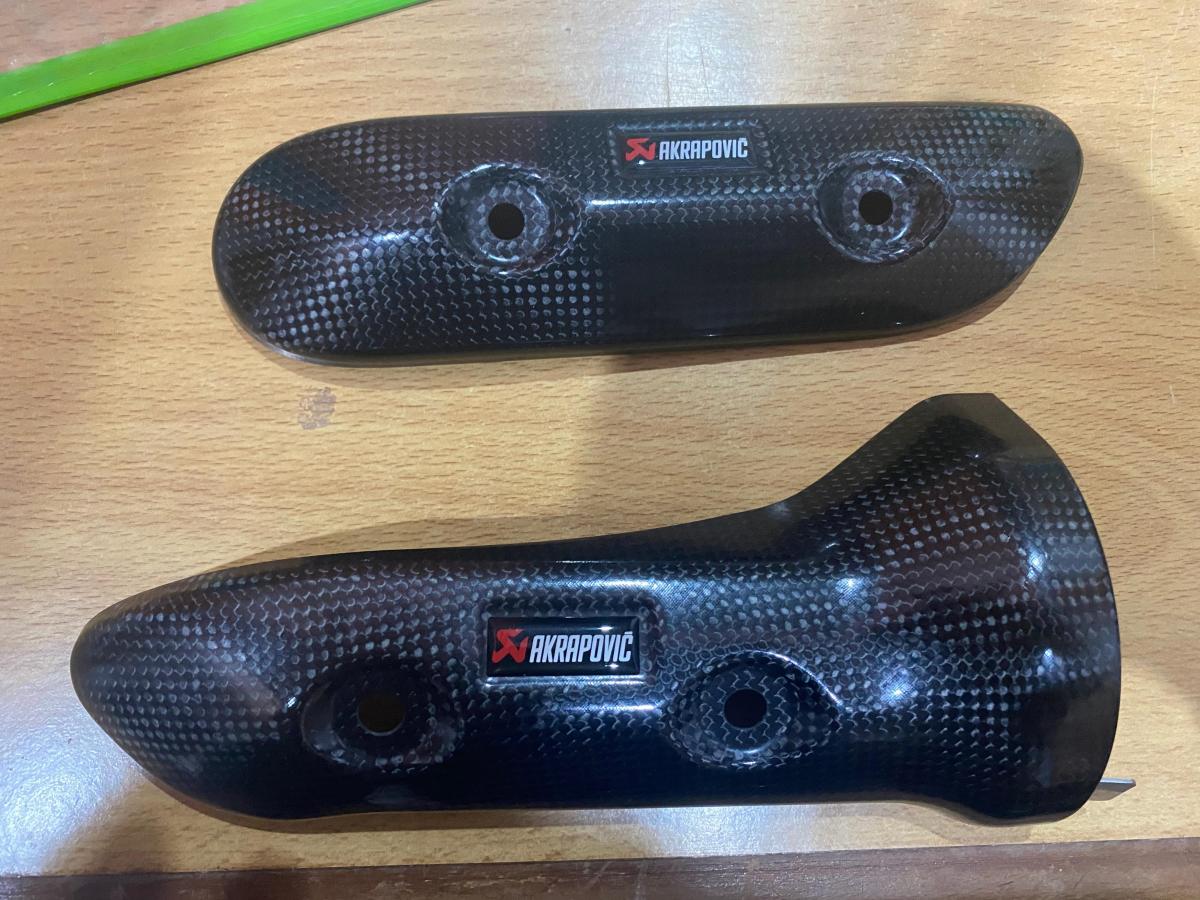
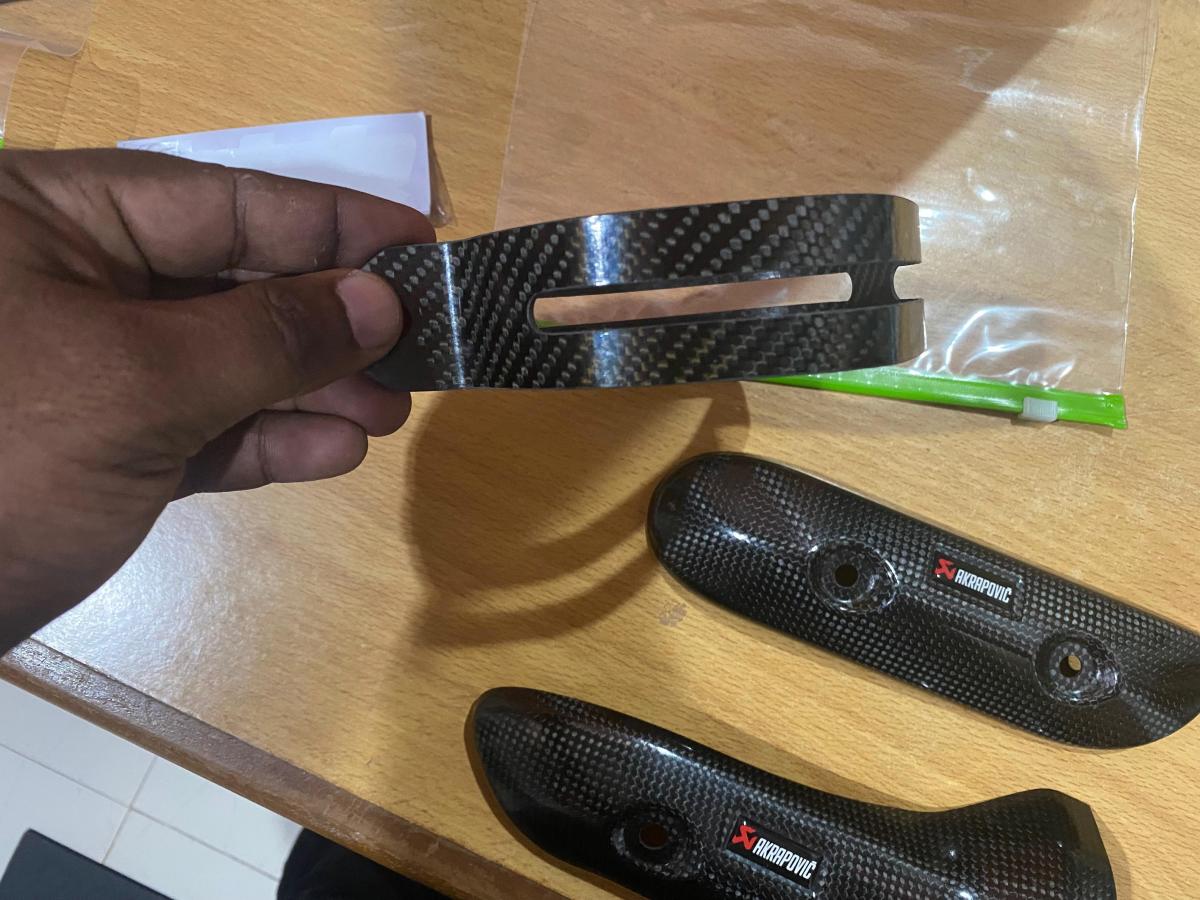
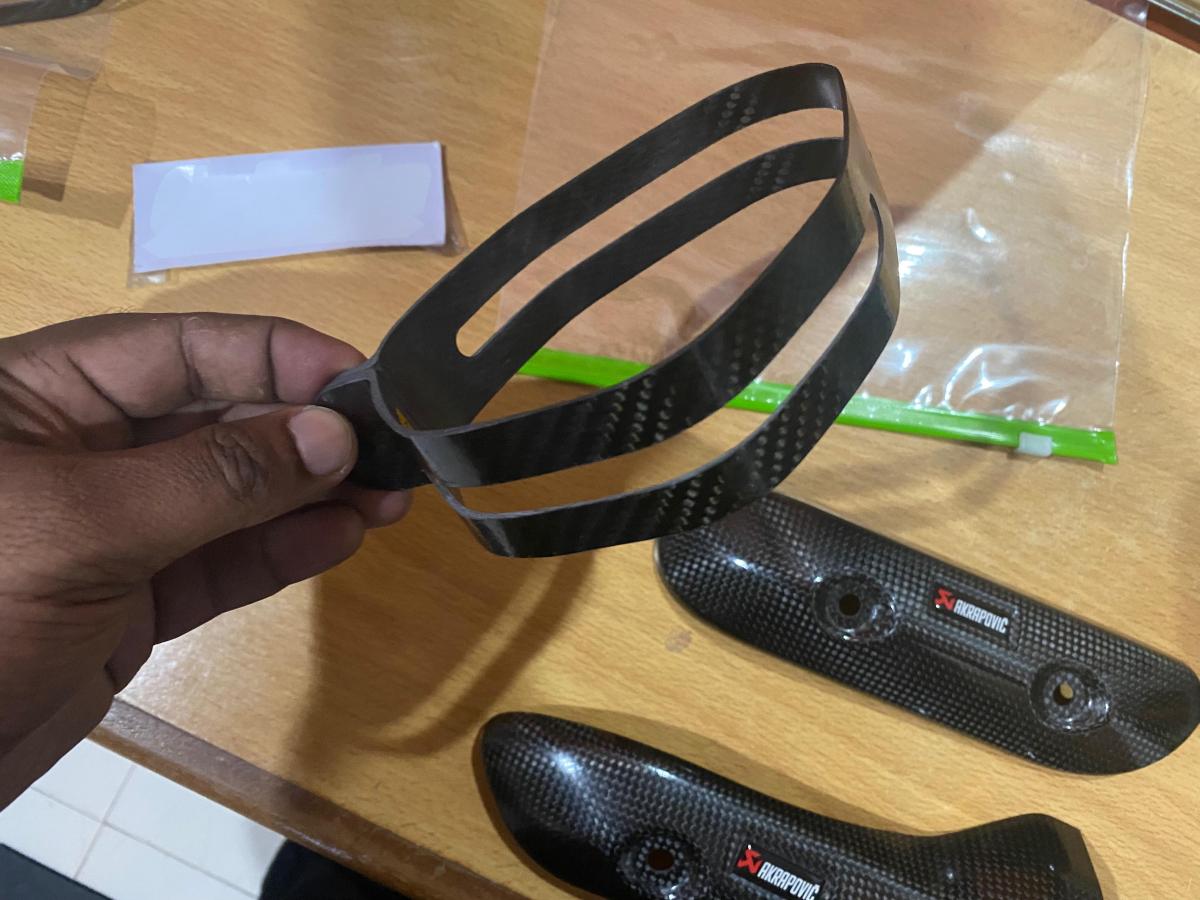
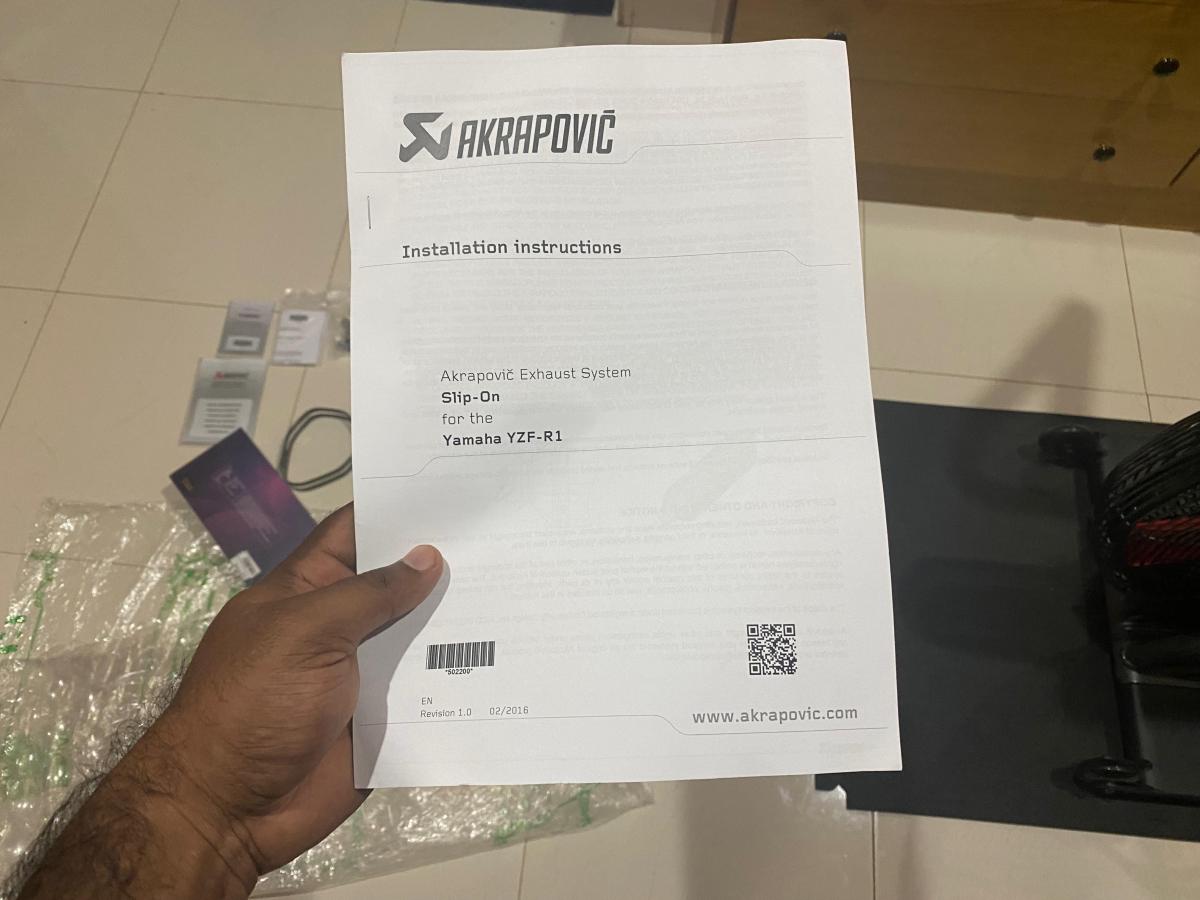
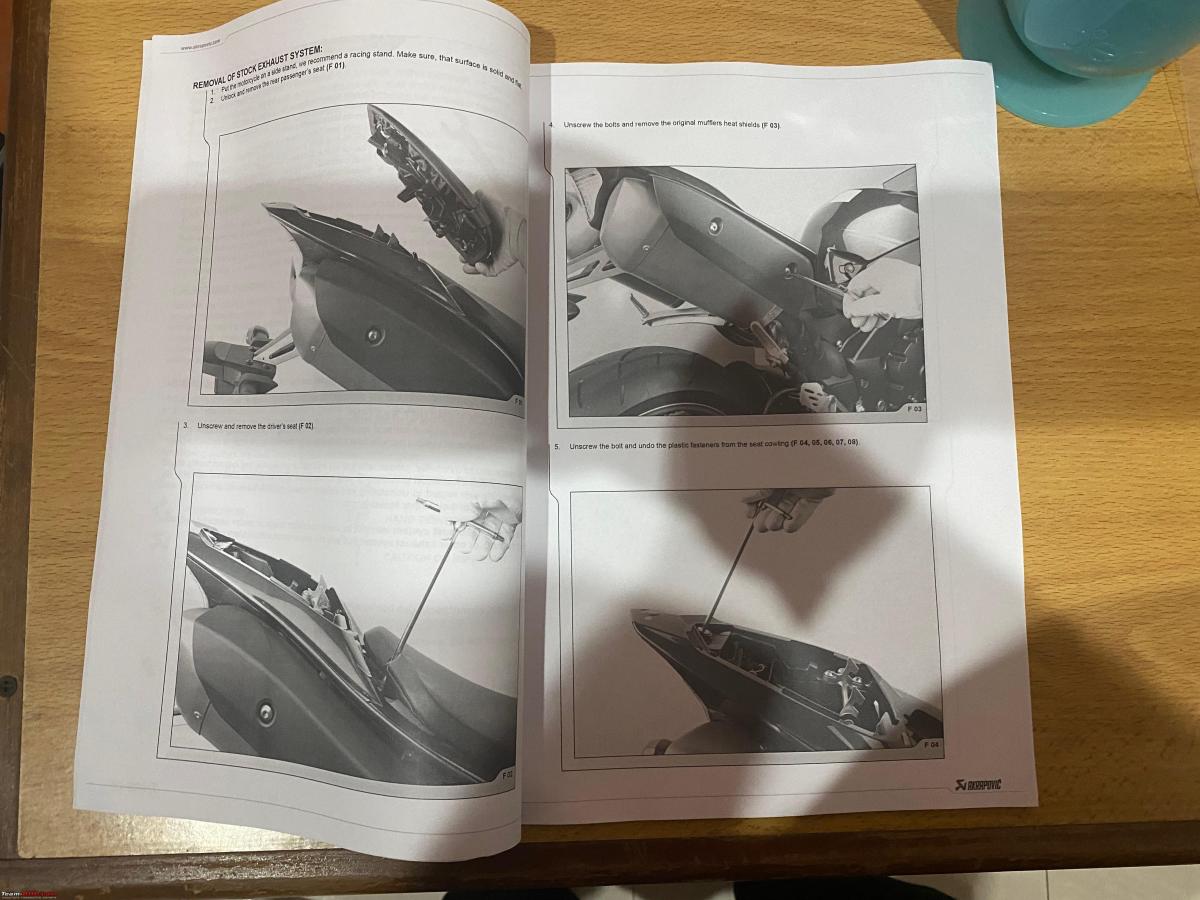
The attention to detail for every single part is noteworthy and each and every piece of hardware comes well packaged and with the relevant part no(things like this just nerd me out!) and also comes with a proper instruction booklet and documentation(TUV certificates and such) required too.
Instruction booklet
Installation
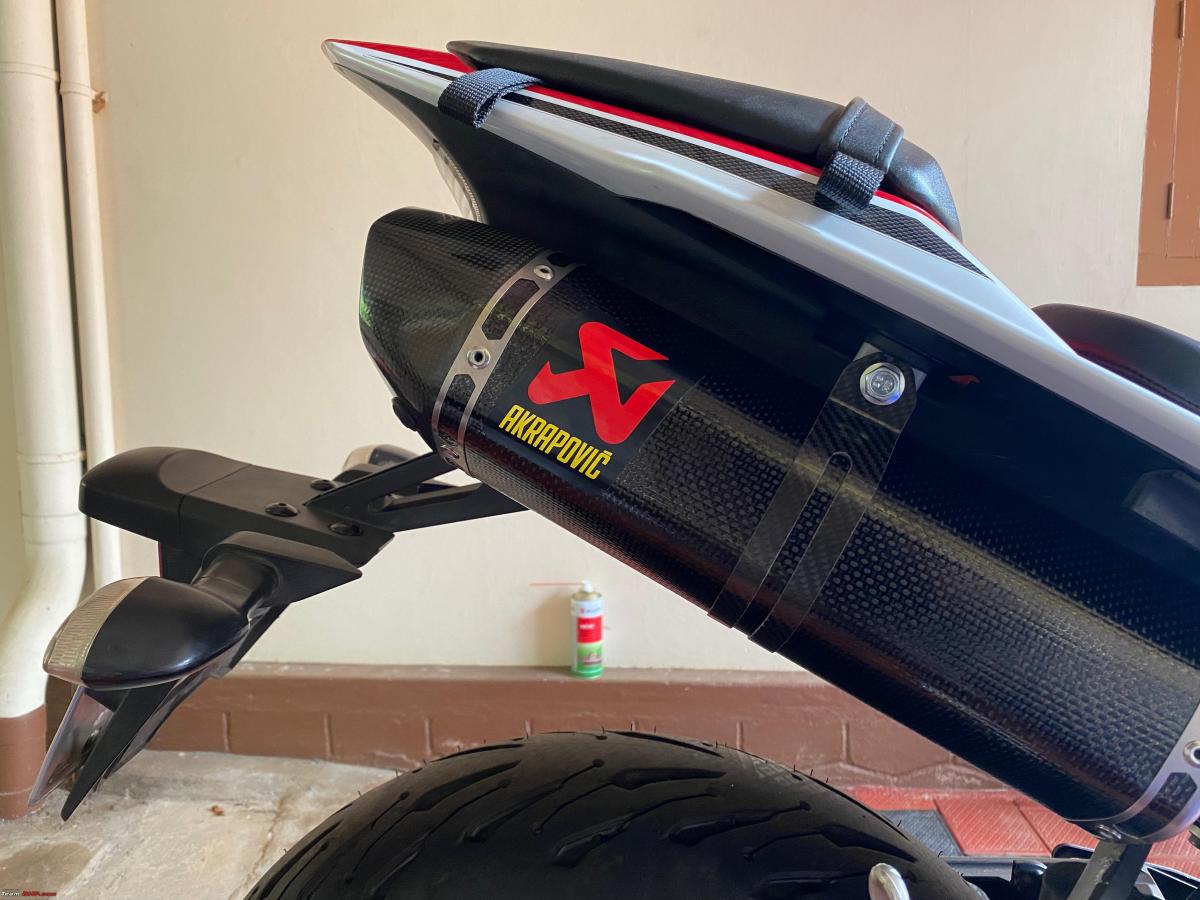
And just like that, the Akrapovic install is done. It only took me about 2 weeks to finally get on with it.
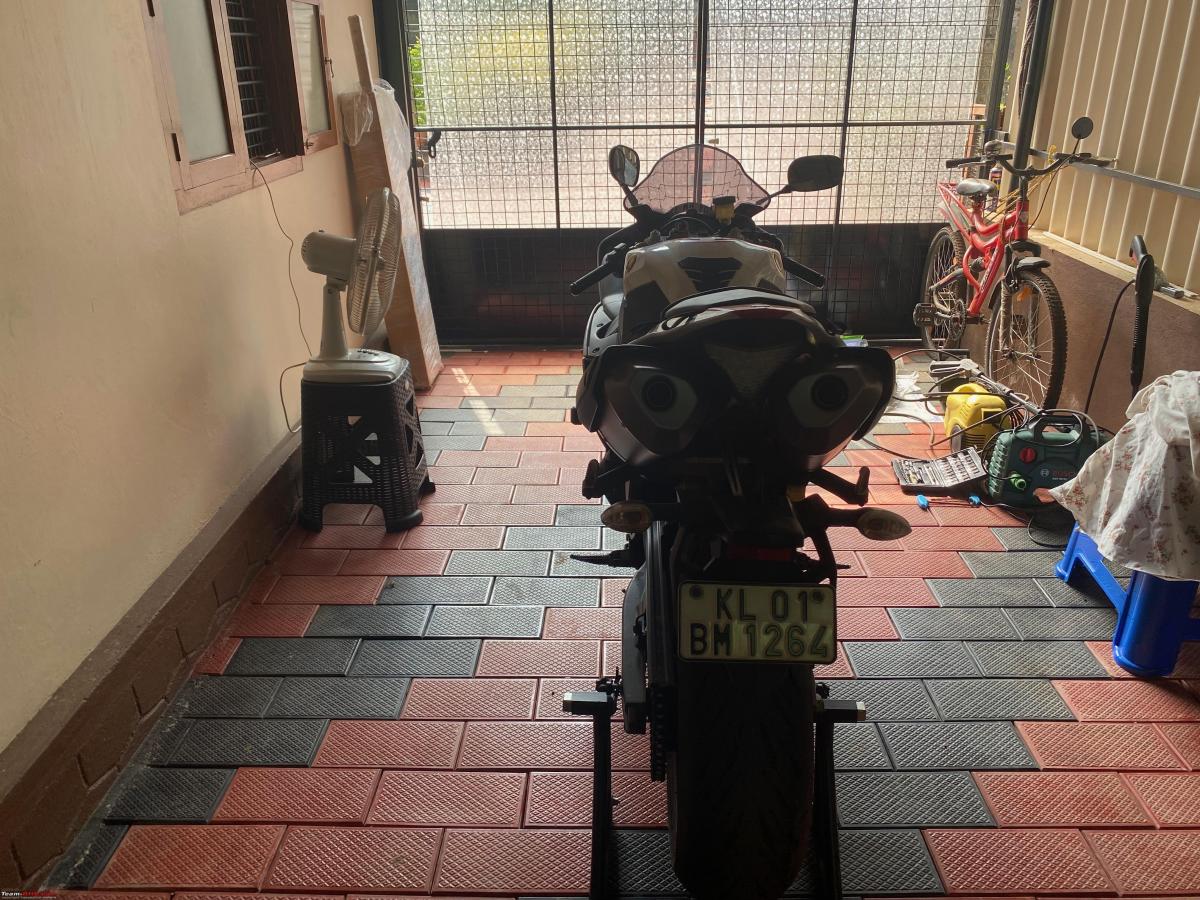
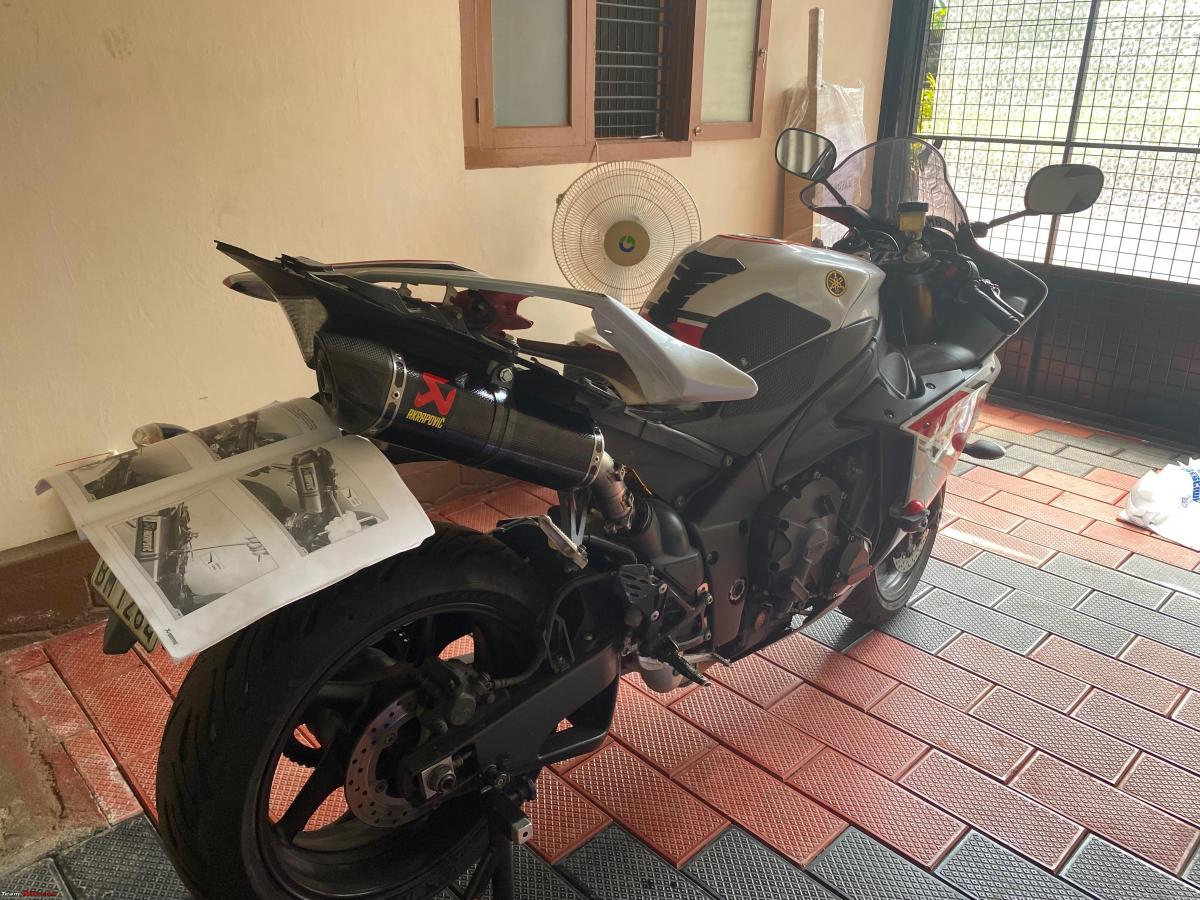
Well, I am not going to focus on the uninstallation/installation of the exhausts, it's already been covered here and the process is no different with the Akrapovic exhausts so did not document any of that. However, something I'd like to bring to light w.r.t the LV system I had vs the Akrapovic system is the quality of the hardware used, and what a difference it is. Everything fits exactly the way you'd expect it to and everything lines up just right and there are little to no adjustments required to fit things in place.
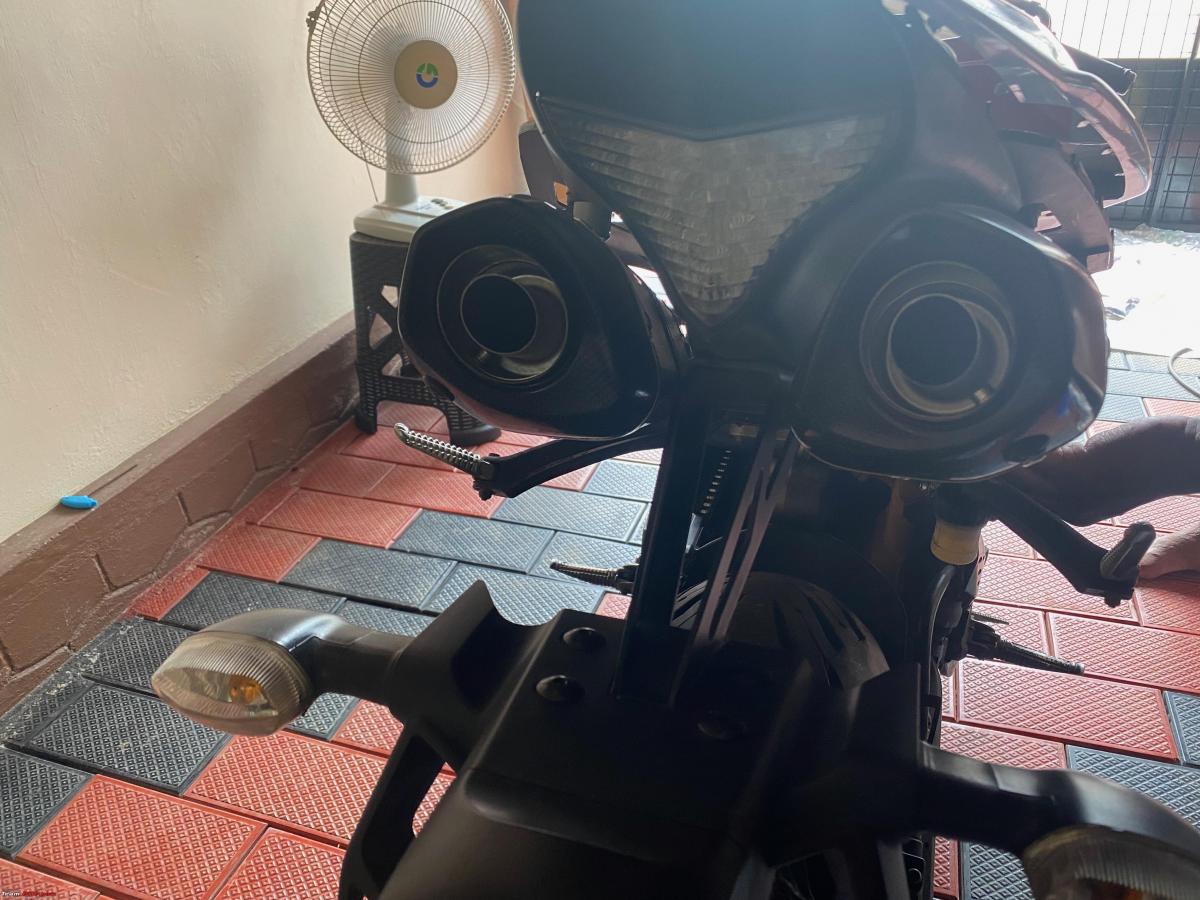
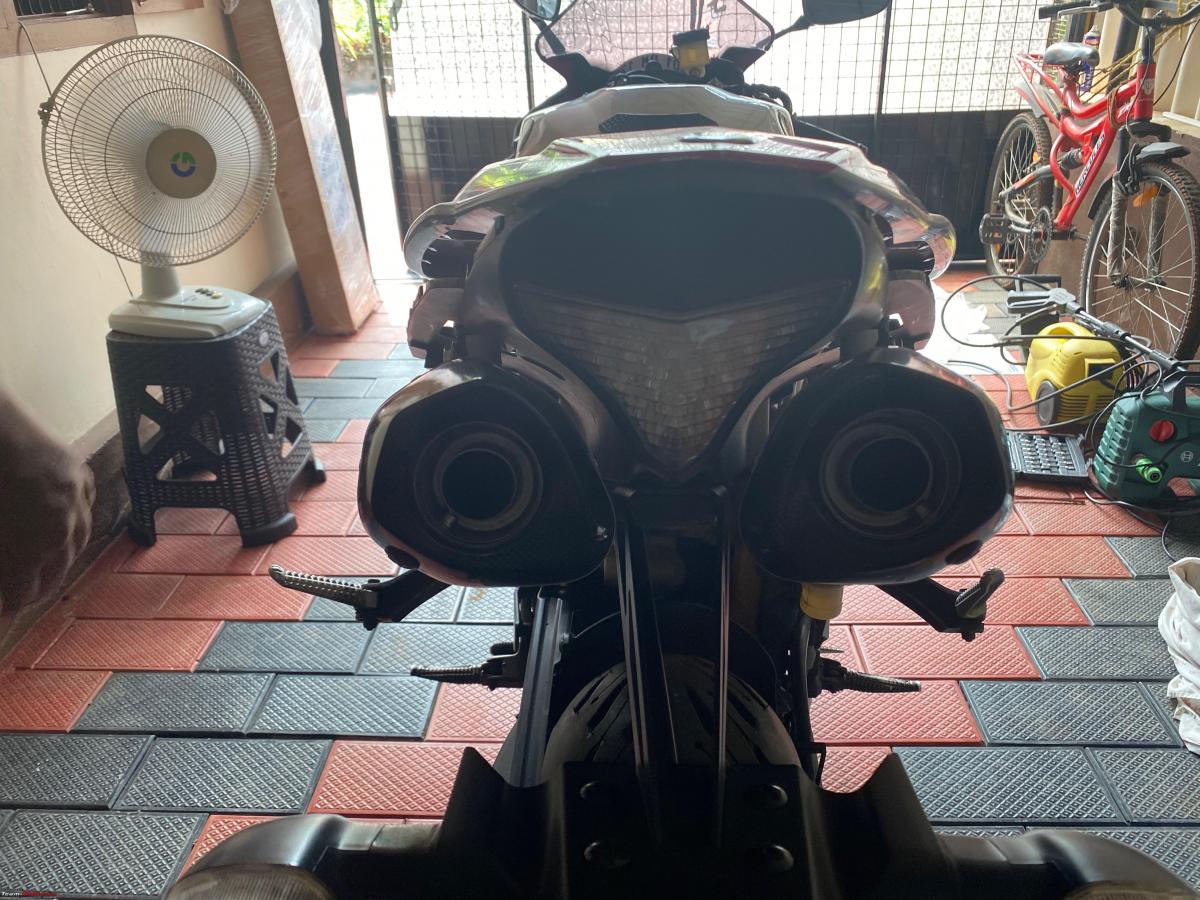
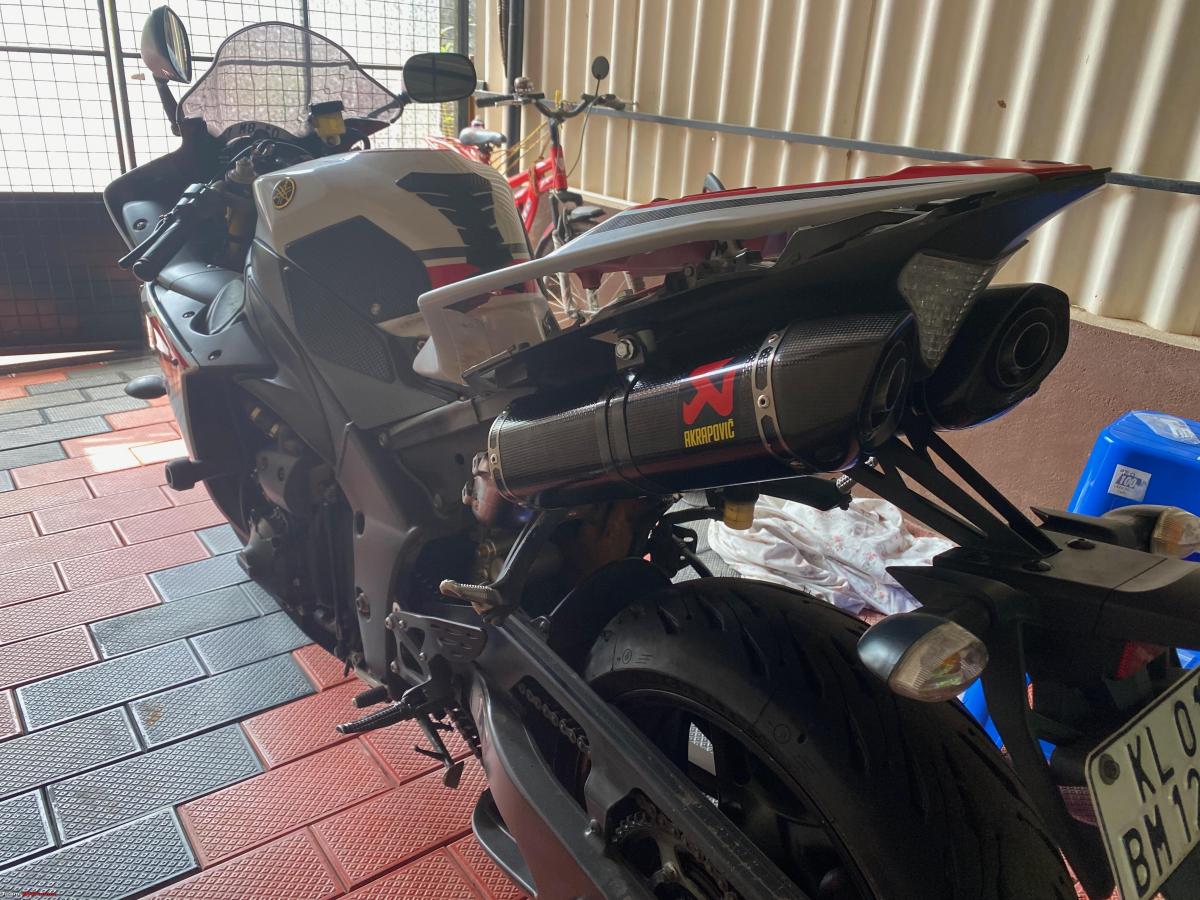
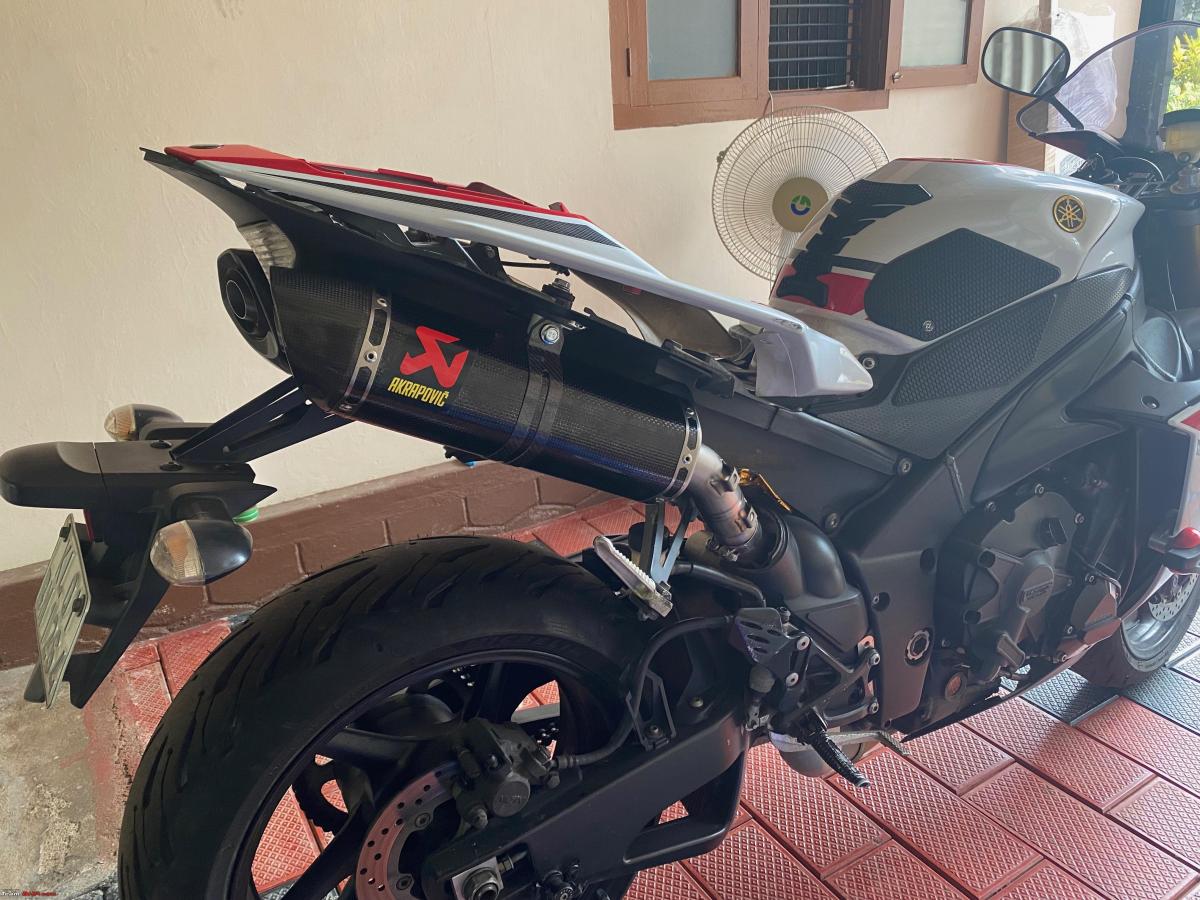
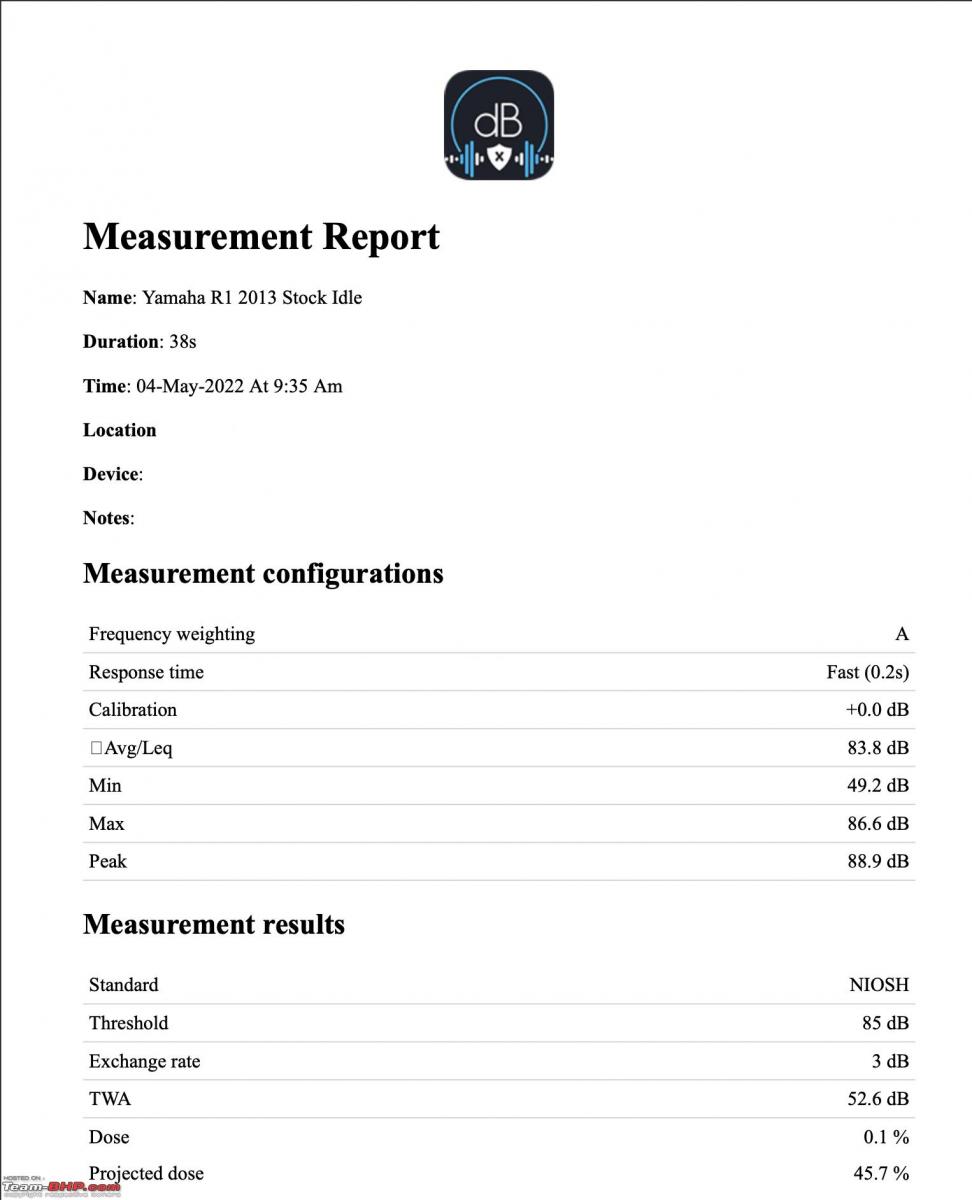
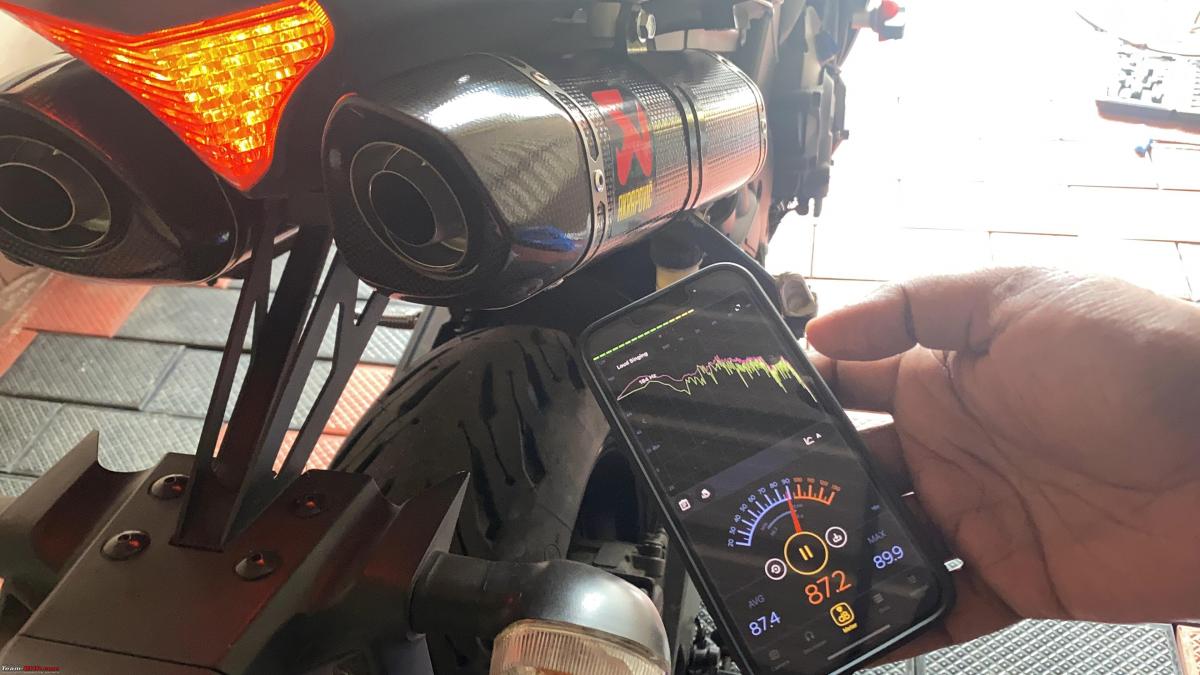
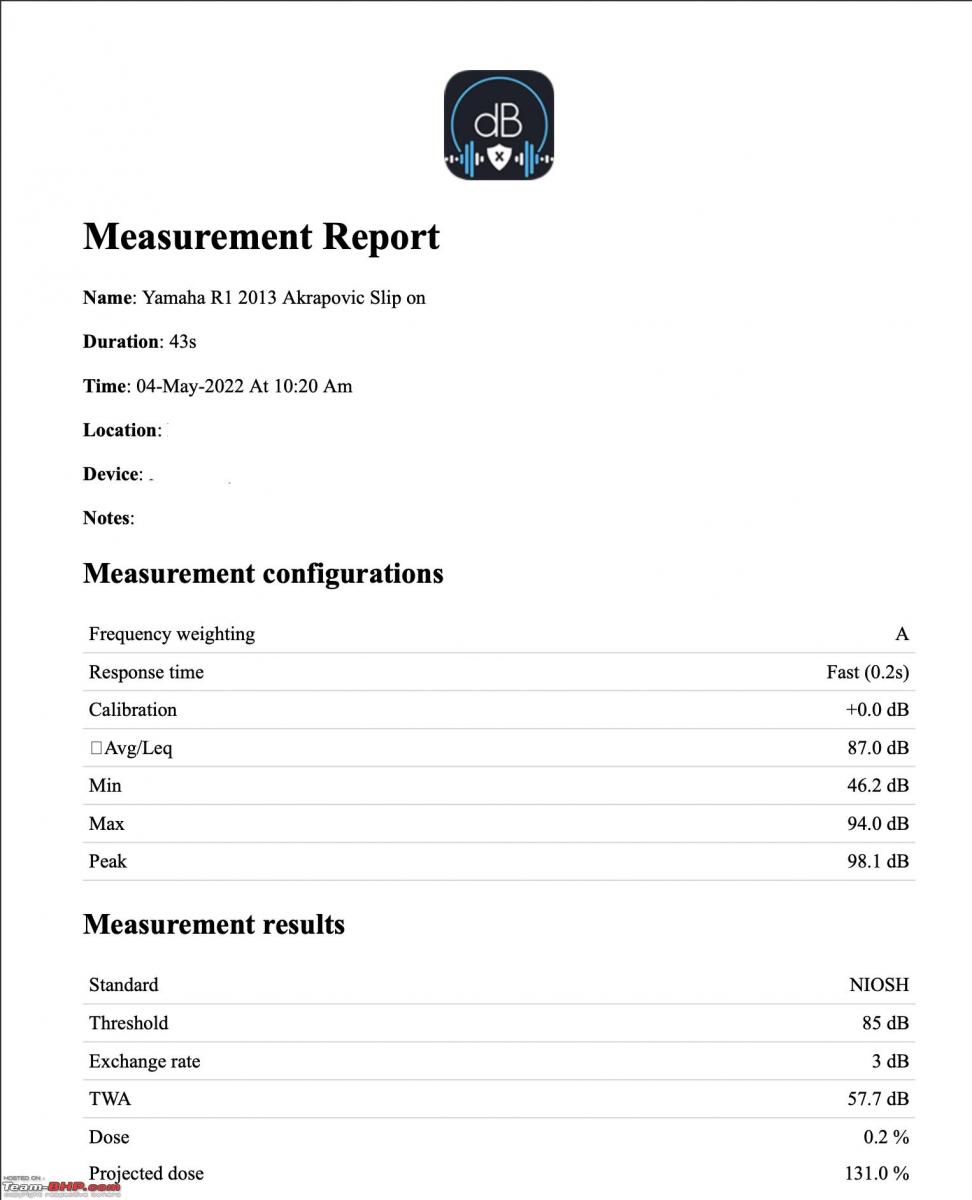
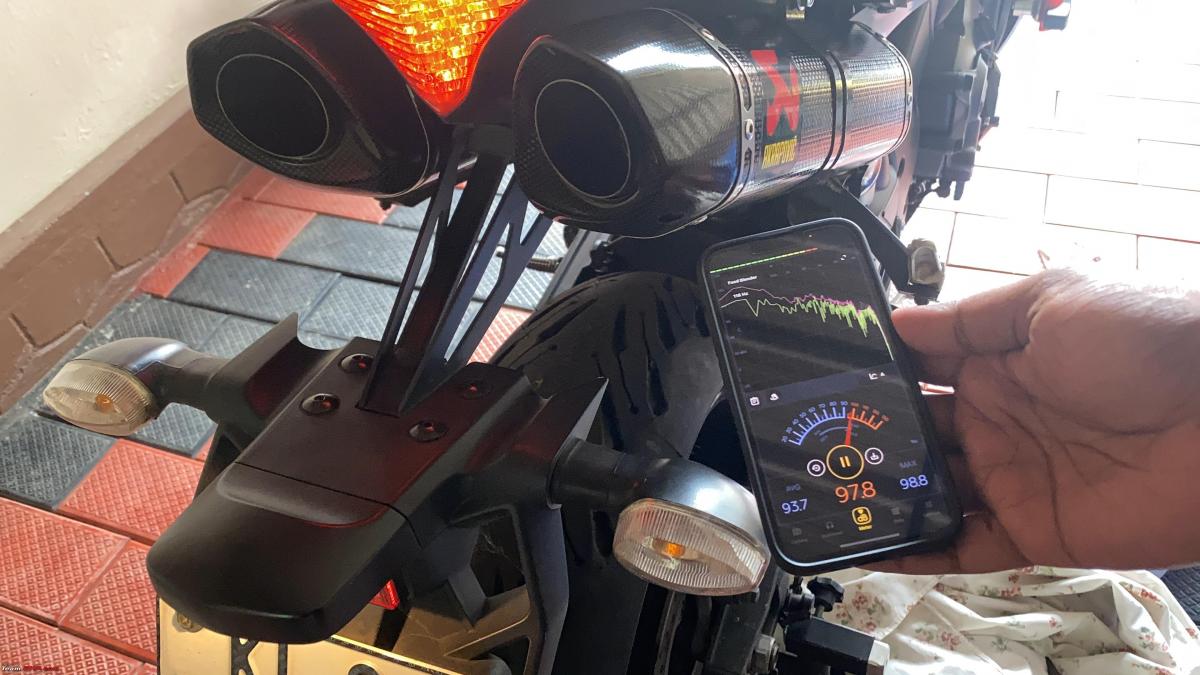
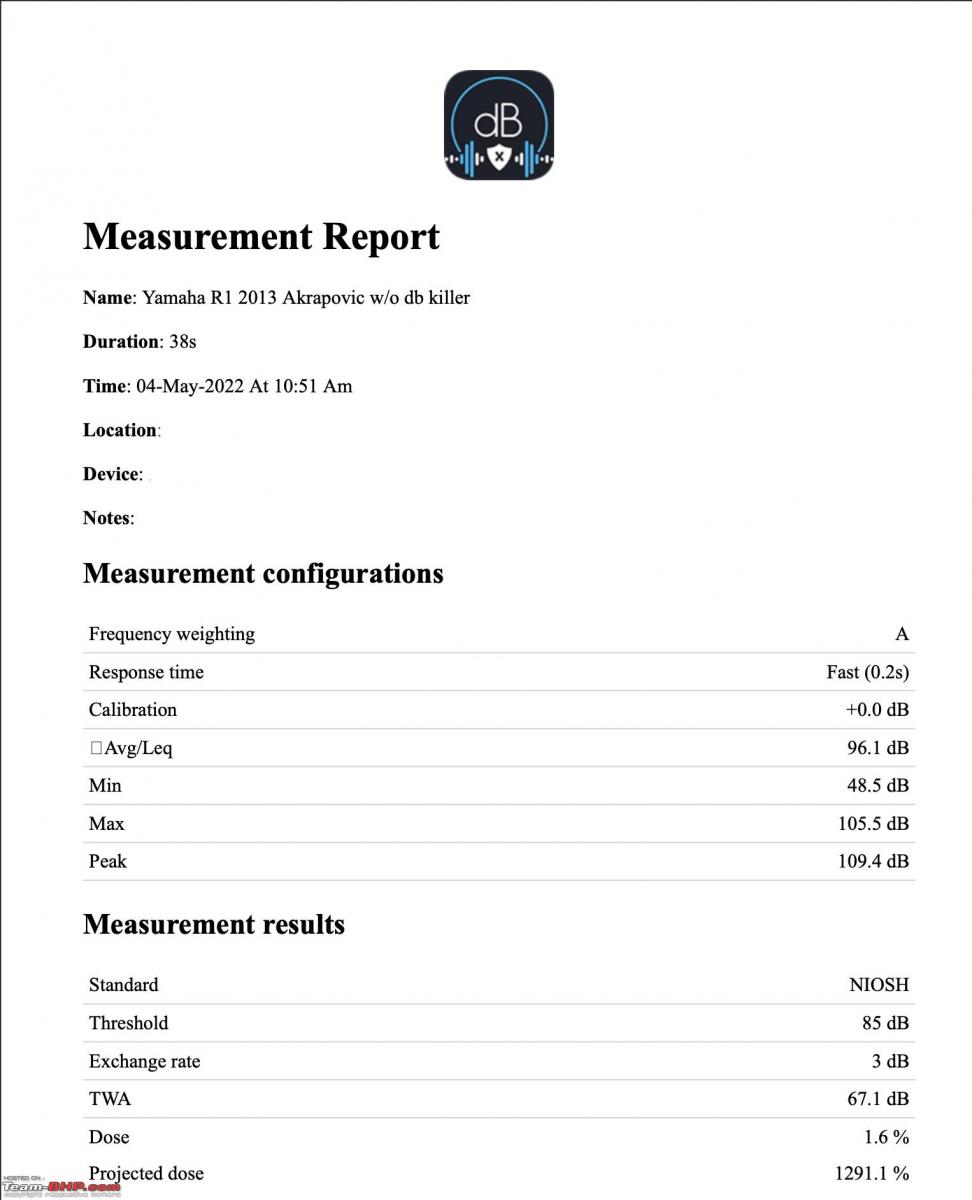
Installation took all of the 15mins and everything was finger-tightened and ready for a startup to check for any leaks or any other issues. I made sure to take the help of my brother to measure the DB levels of the exhaust b/w 3 different tests. First, one being OEM with a (cold), Akra with the DB killer on(Cold), and then finally without the DB killer (on a relatively cold engine).
So here are the DB levels recorded with all 3 setups and video clips of the same. I'd suggest using a pair of earphones/headphones and crank the video quality to 4k to get the best quality output closest to IRL.
Of course, it won't be. post of mine without some goof-up happening even for a pretty straightforward install. So for hearing how the bike sounds without the DB killer I was using the size 4 Allen to get the bolt undone and assuming once the bolt was off it would stick on the Allen head I simply just pulled the Allen T out and the bolt fell off the head and got lost inside the end can cover. Tried my best to fish it out but it just did not work. In the end, I ended up having the remove the full left side slip on again in order to shake the bolt and the washer out of the end can. Lesson learned, invest in some magnetic tip Allen heads or a magnetic fishing rod thingy while removing the DB killers for the Akrapovic.
Rubber plugs that go onto cover the access cutout for the db killer bolt
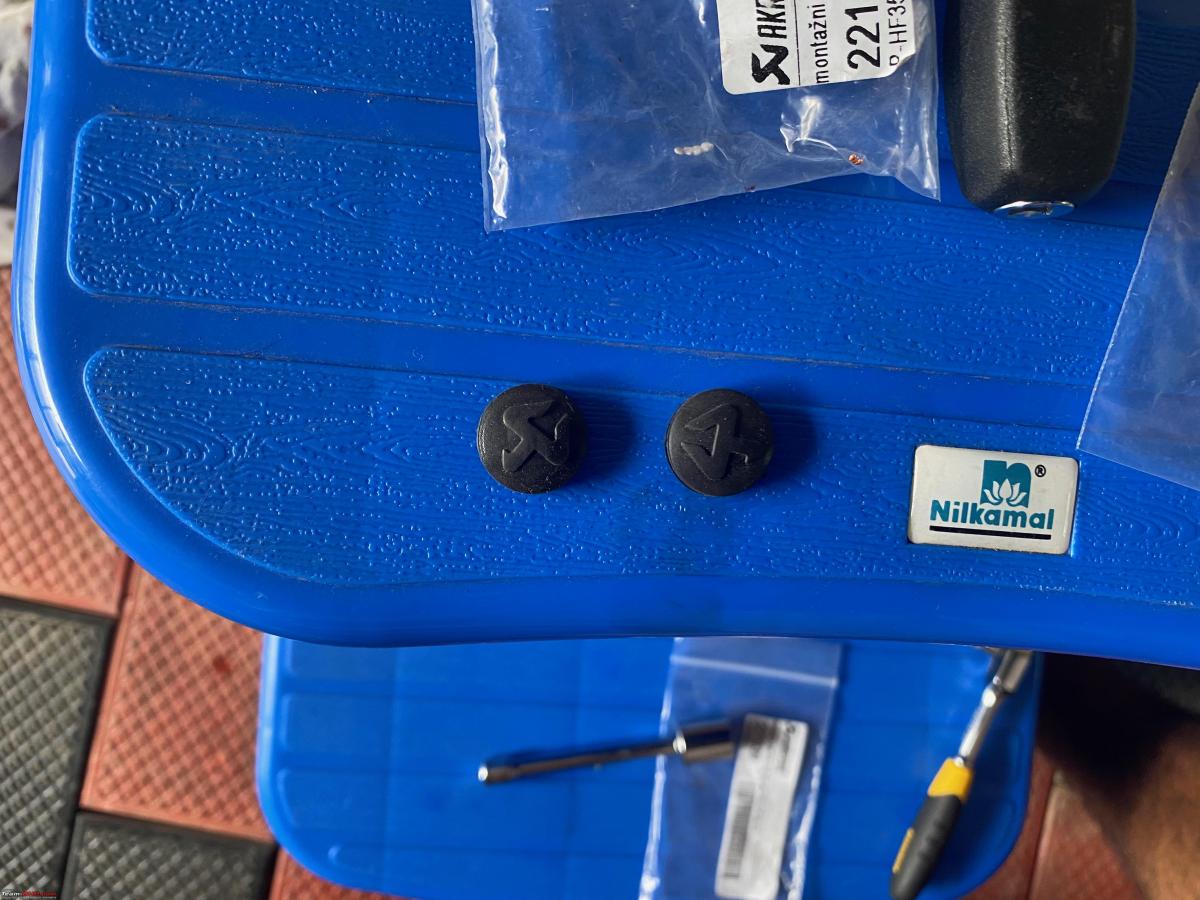
Let me also take this chance to say the only thing that I did not like about the endcans. The cutout access hole for the DB killer bolt. The finish around the edges of the cutout is very rough and flimsy. I mean I get it, it's just a sheet of carbon fiber and it will be as such but you have very little room for error if you are not careful you'll end up cracking the end can cover and you definitely don't want to be doing that.
OEM
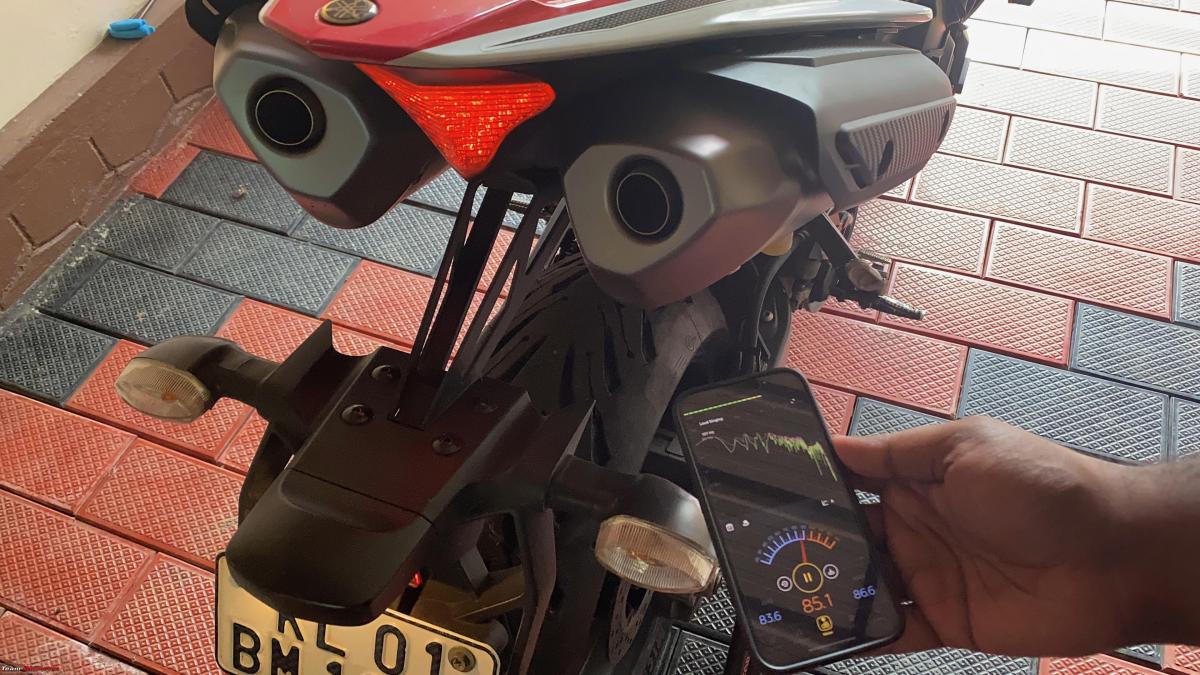
Akrapovic with DB killer
Akrapovic without DB killer
Akrapovic Slip-on without DB-killer
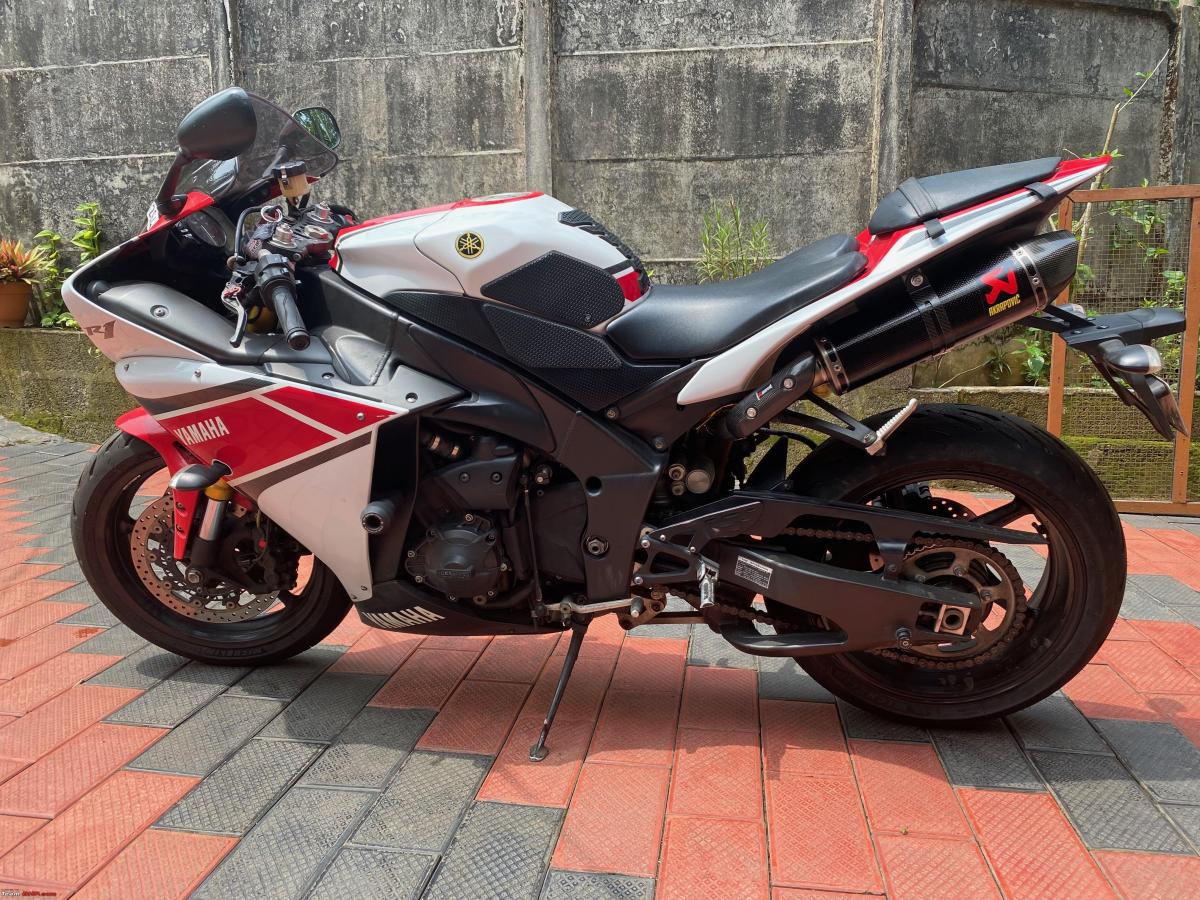
I hope this covers in a good way the change the slip-on has brought out. With this mod done a huge part of how I want the bike to be has been sorted out.
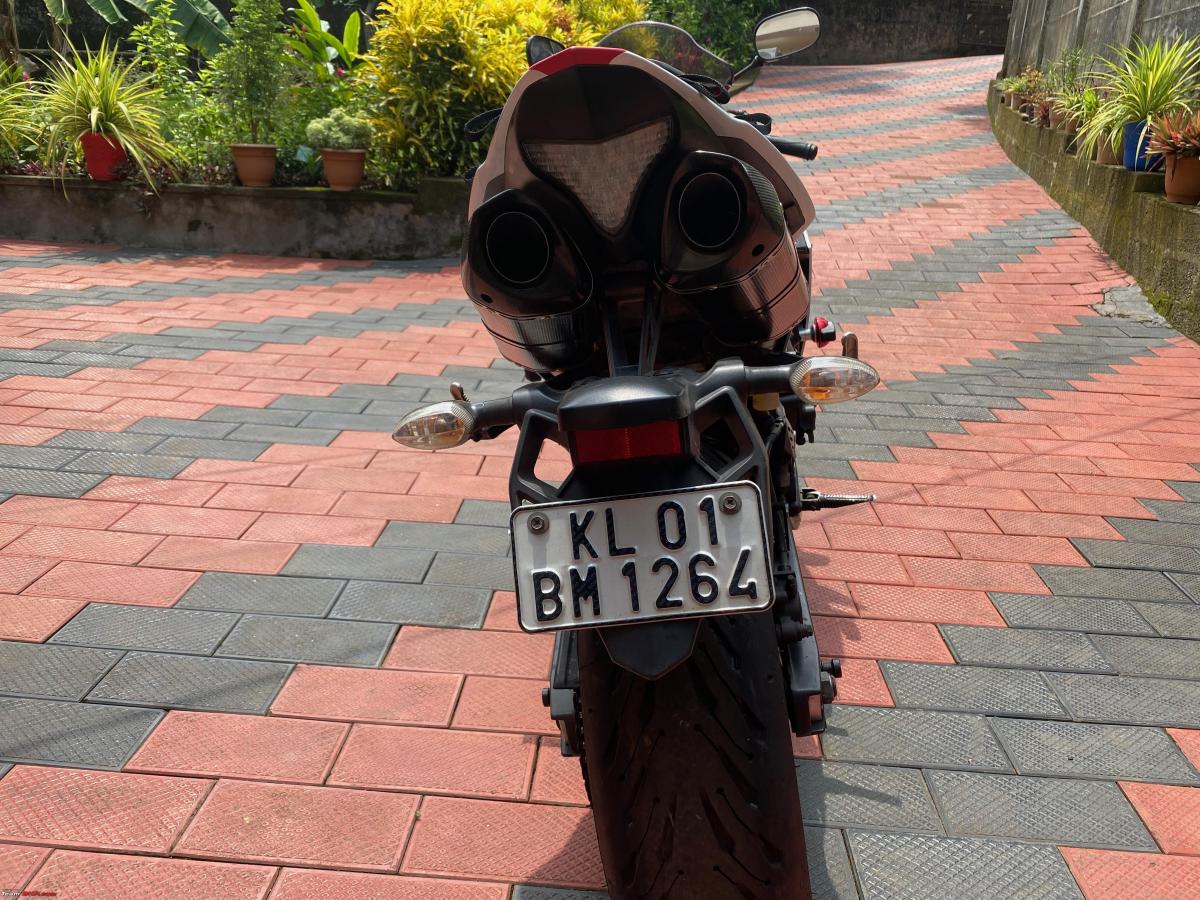
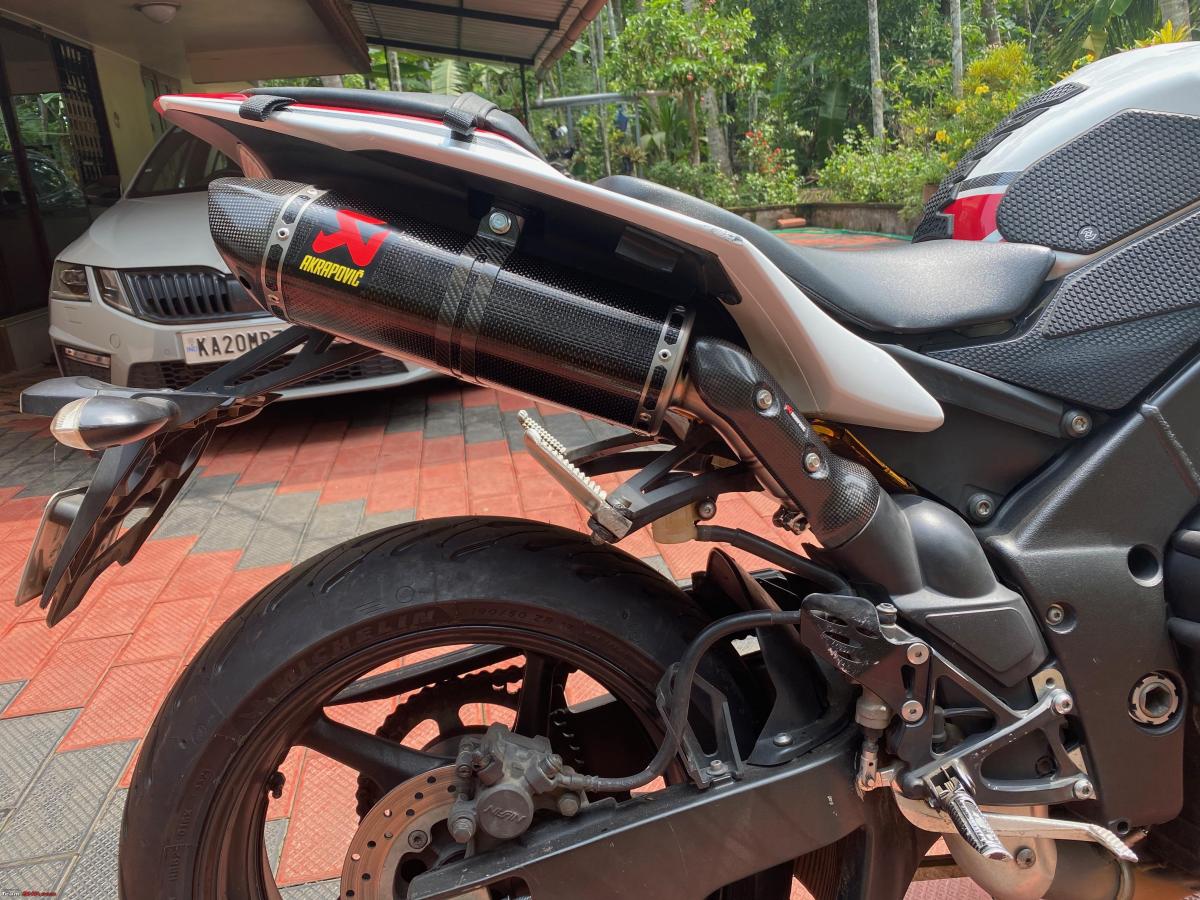
I haven't taken the bike out for a ride yet. With the ongoing heatwave, I am not in the mood to ride under the scorching sun anyways. But I am not sure how long I can wait with the exhaust now installed. I will try to get a sound clip while riding both with and without the DB killer and see if the quality is good enough to post here. That's it for now, lots more work coming up on the bike, hopefully in the next few weeks.
Read BHPian comments for more insights and information.
- Tags:
- Indian
- Yamaha
- R1
- akrapovic exhaust


