Team-BHP
(
https://www.team-bhp.com/forum/)
The Need:
With the cabin light being located in the center but the sort of dim lighting never illuminated the whole cabin as required making me use the flashlight of my mobile to find things inside or if I needed to read anything. Worst parts effected were the glove box, rear seat area as the front seatback used to deteriorate the vision further.
It was getting a bit painful to the eyes frowning to search stuff in the car. Looked up websites for a cabin lamp LED changeover for a brighter output without killing the battery / electricals.
------------------------------------------------------------------------
The Enlightenment:
One fine day while browsing, came across an LED light by Speedwav on Snapdeal specifically for cabin lights so I ordered the product right away.
The wait begins for the product…
Brand: Speedwav
Source: Snapdeal
Price: ₹318
http://www.snapdeal.com/product/spee...wav%2024%20SMD The Packaging: 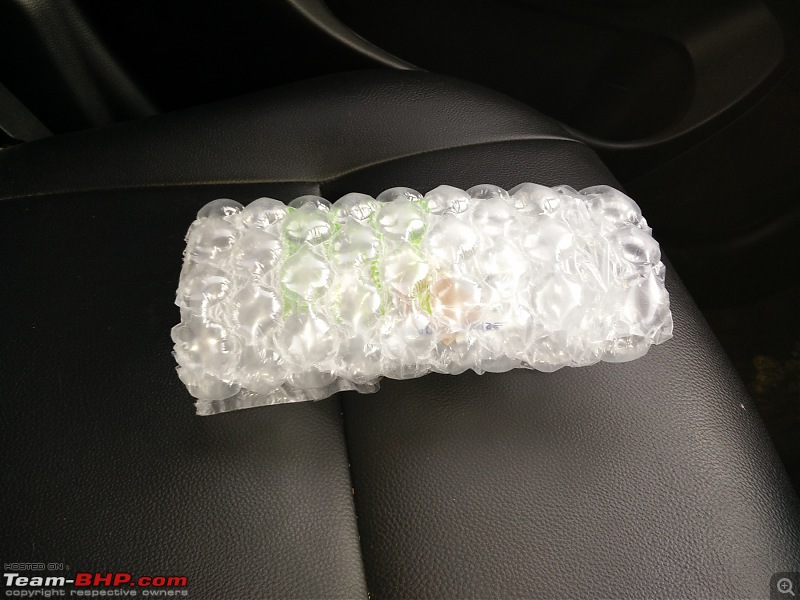
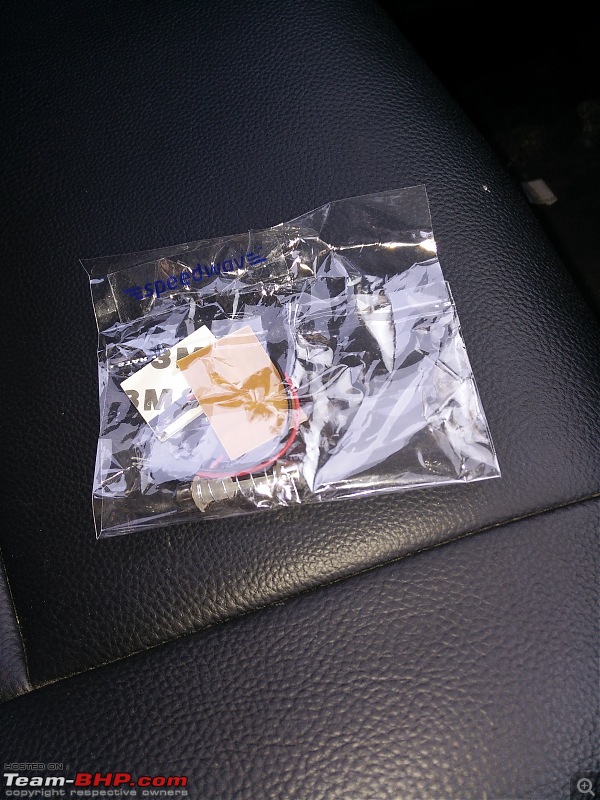 The Contents
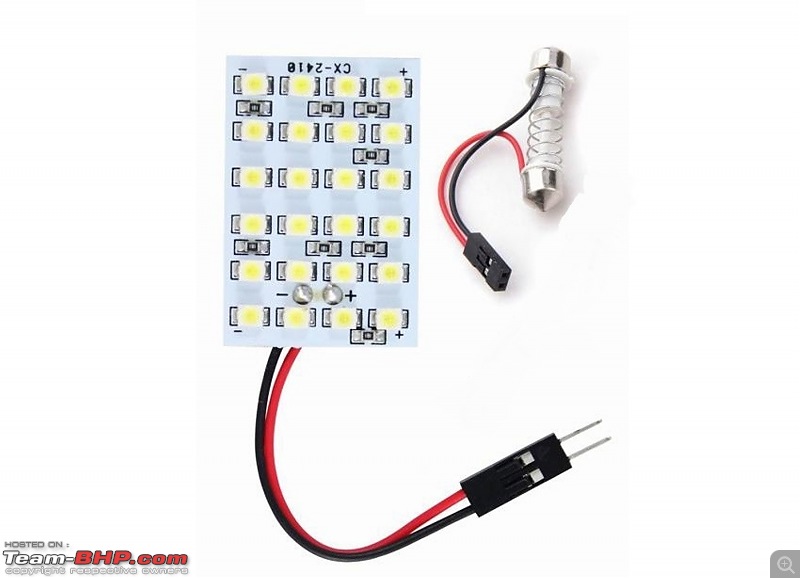
Source: Google
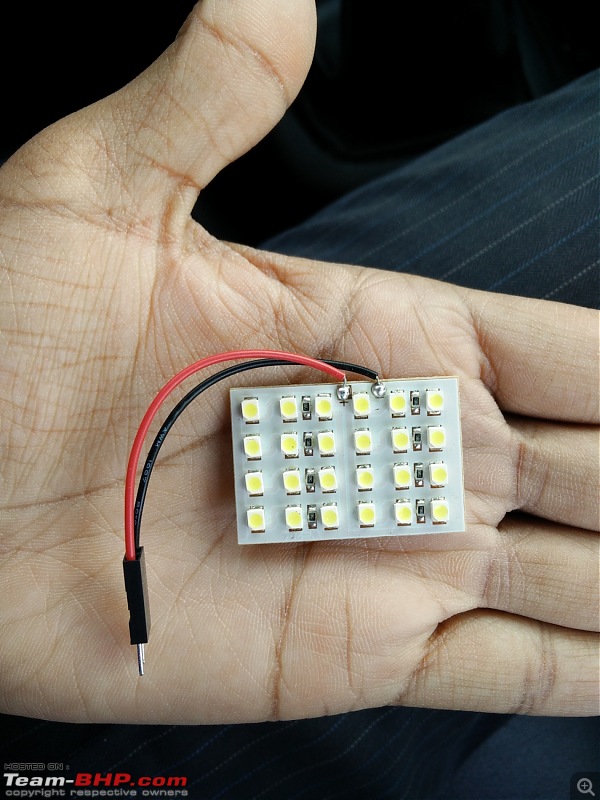
- 1 x 24 SMD LED with dual connectors
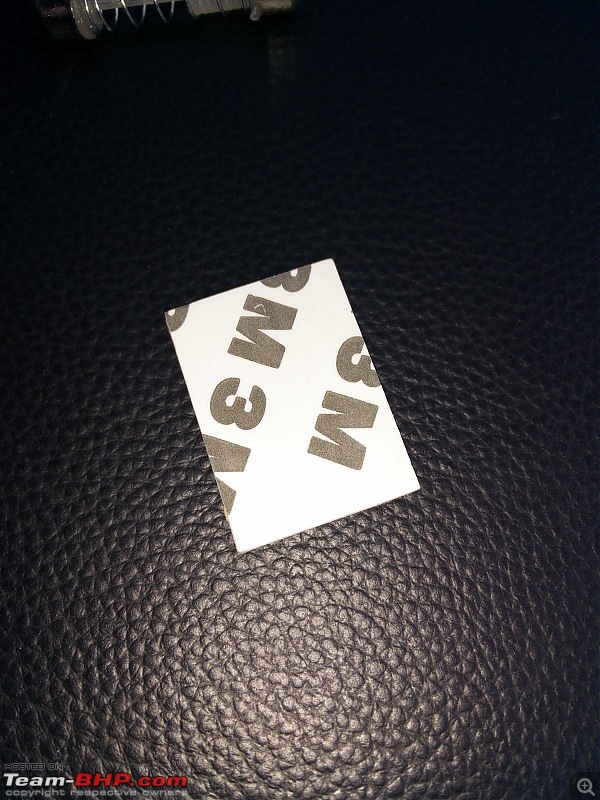
- 1 x 3M double sided tape for securing the LED strip
Disclaimer: I have just given the link to the purchase site for easy go and have no connection whatsoever with Snapdeal or Speedwav
Tools required: - A flat head screwdriver OR an ATM / loyalty card
Installation Procedure: - Open the transparent plastic cover;
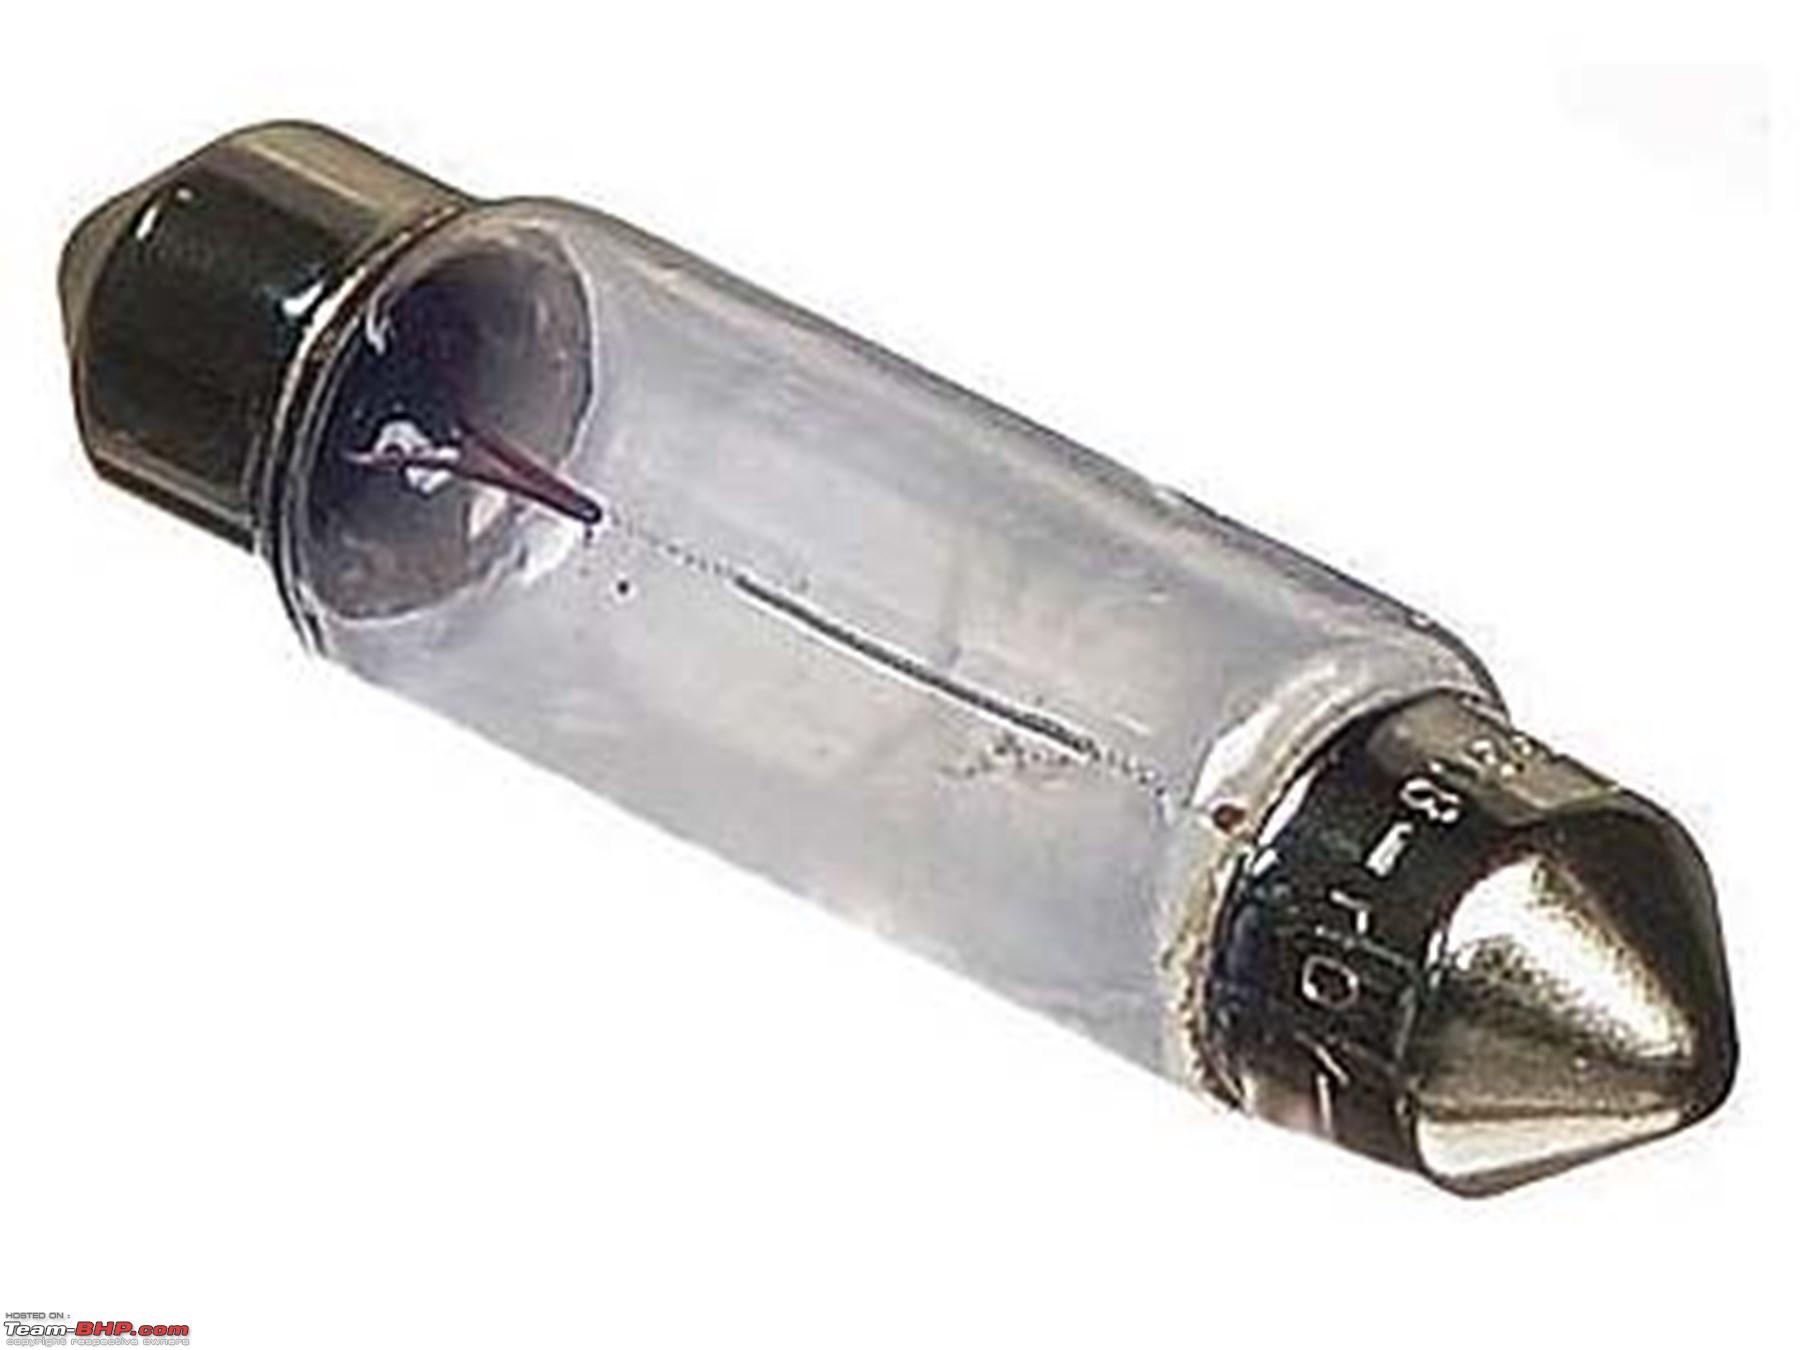
- Remove the OEM festoon bulb from its holder;
- Clean the area with a brush;
- Replace the OEM festoon bulb with the spring loaded connector;
- Route the wiring into the grooves;
- Connect the 24 SMD LED strip and test;
- Use 3M double sided tape and secure the LED strip and
- Re-fix the transparent plastic cover.
Time taken for the DIY: <30 minutes
I did search the market for LED bulbs as a replacement for the cabin lights but none seemed durable and trustworthy. Many shops were selling some vague looking LED strips that were made by some amateur and I didn't want to risk the electricals at the end of the day. Thanks to Snapdeal, I found this LED unit as an replacement.
In the following post I'll be giving the details along with the pictures for better understanding.
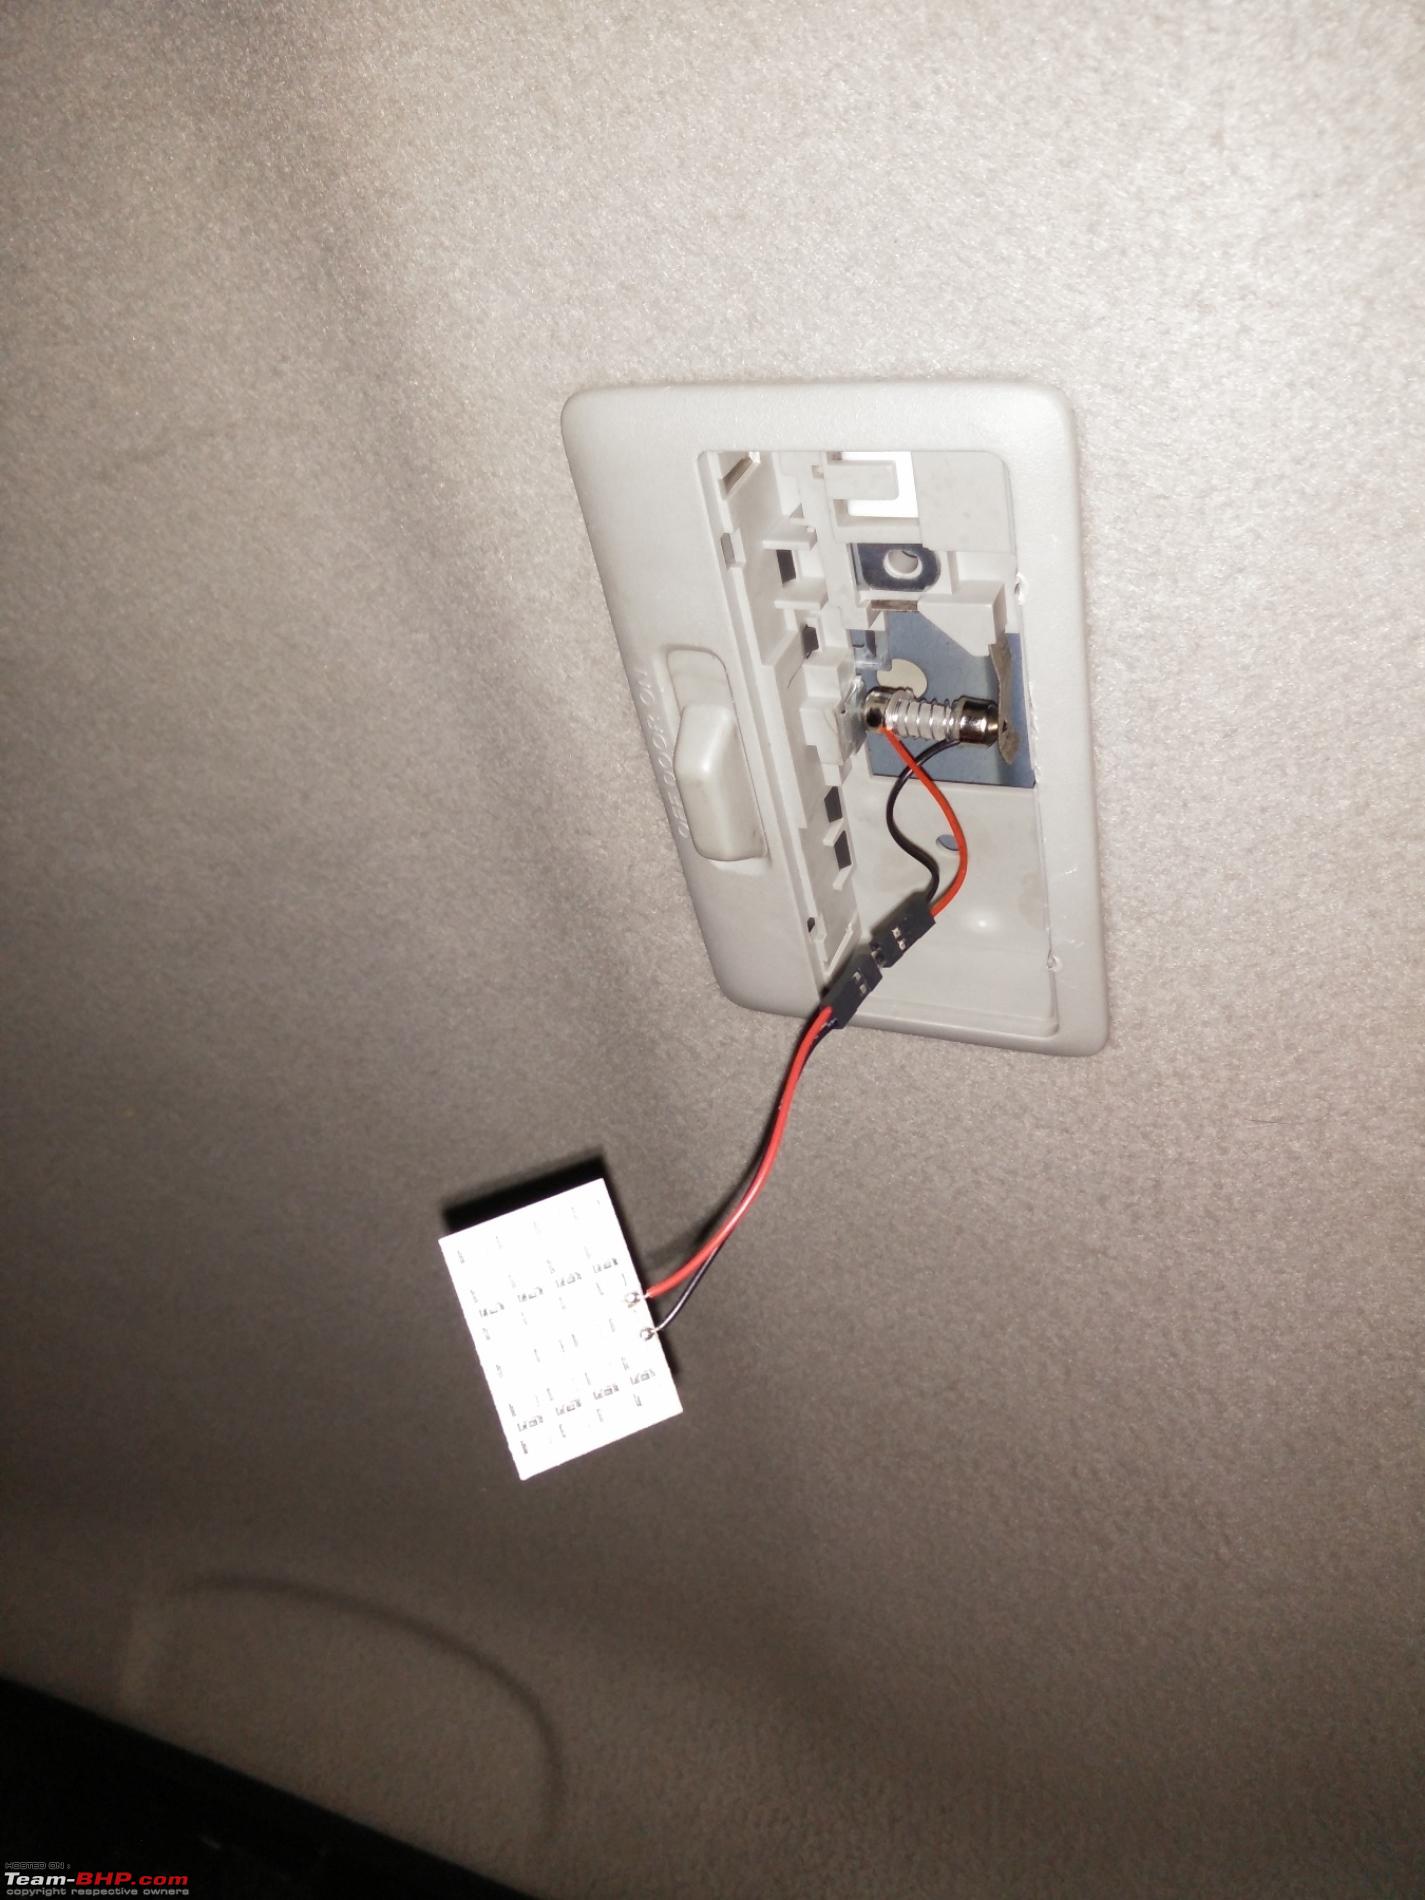
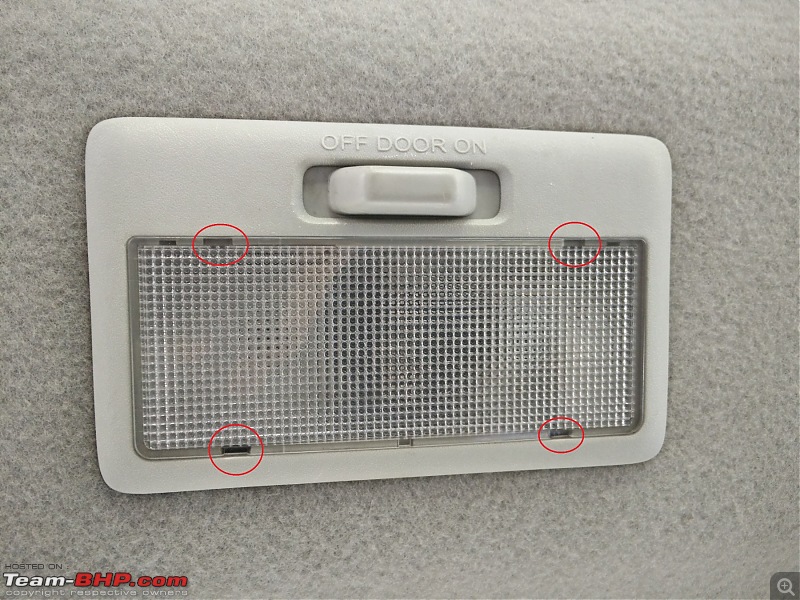
1. Open the transparent plastic cover;
-- Using the flat head screw driver open the cover by inserting it in the circled places (Refer image):
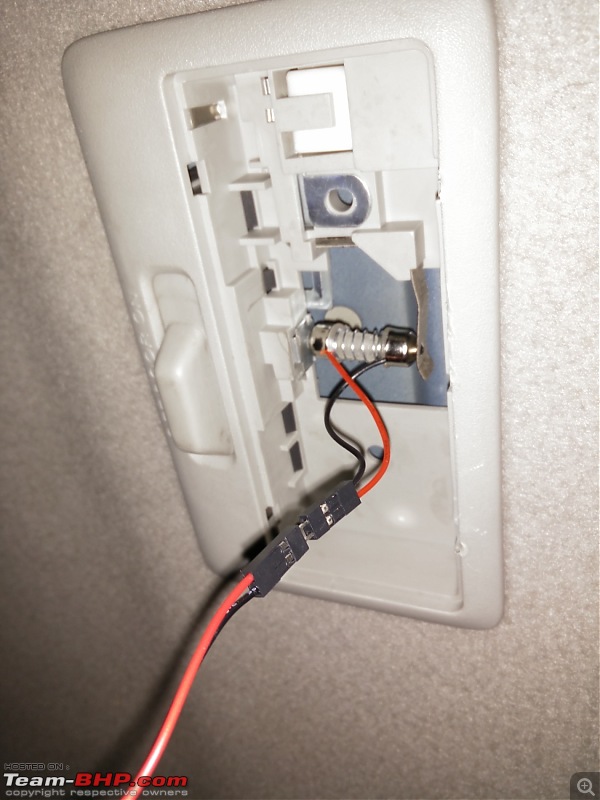
 2. Remove the OEM festoon bulb from its holder;
 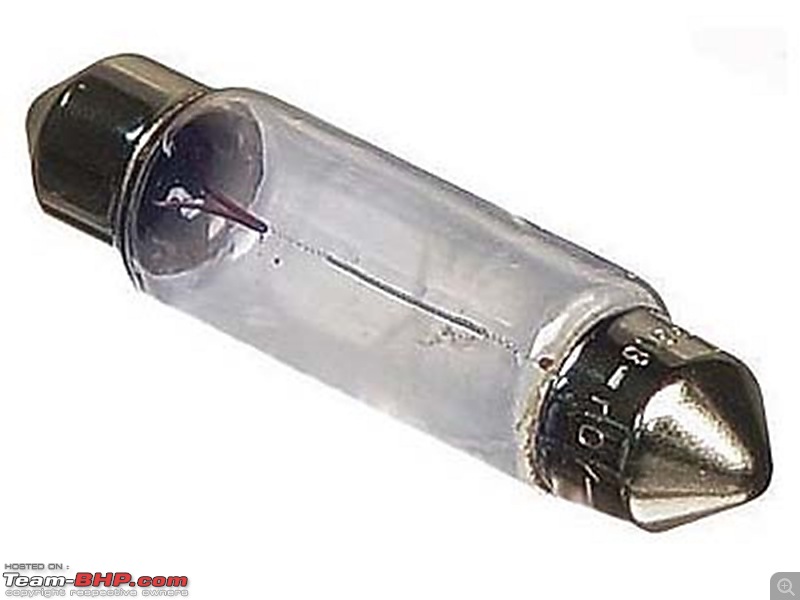 3. Replace the OEM festoon bulb with the spring loaded connector;
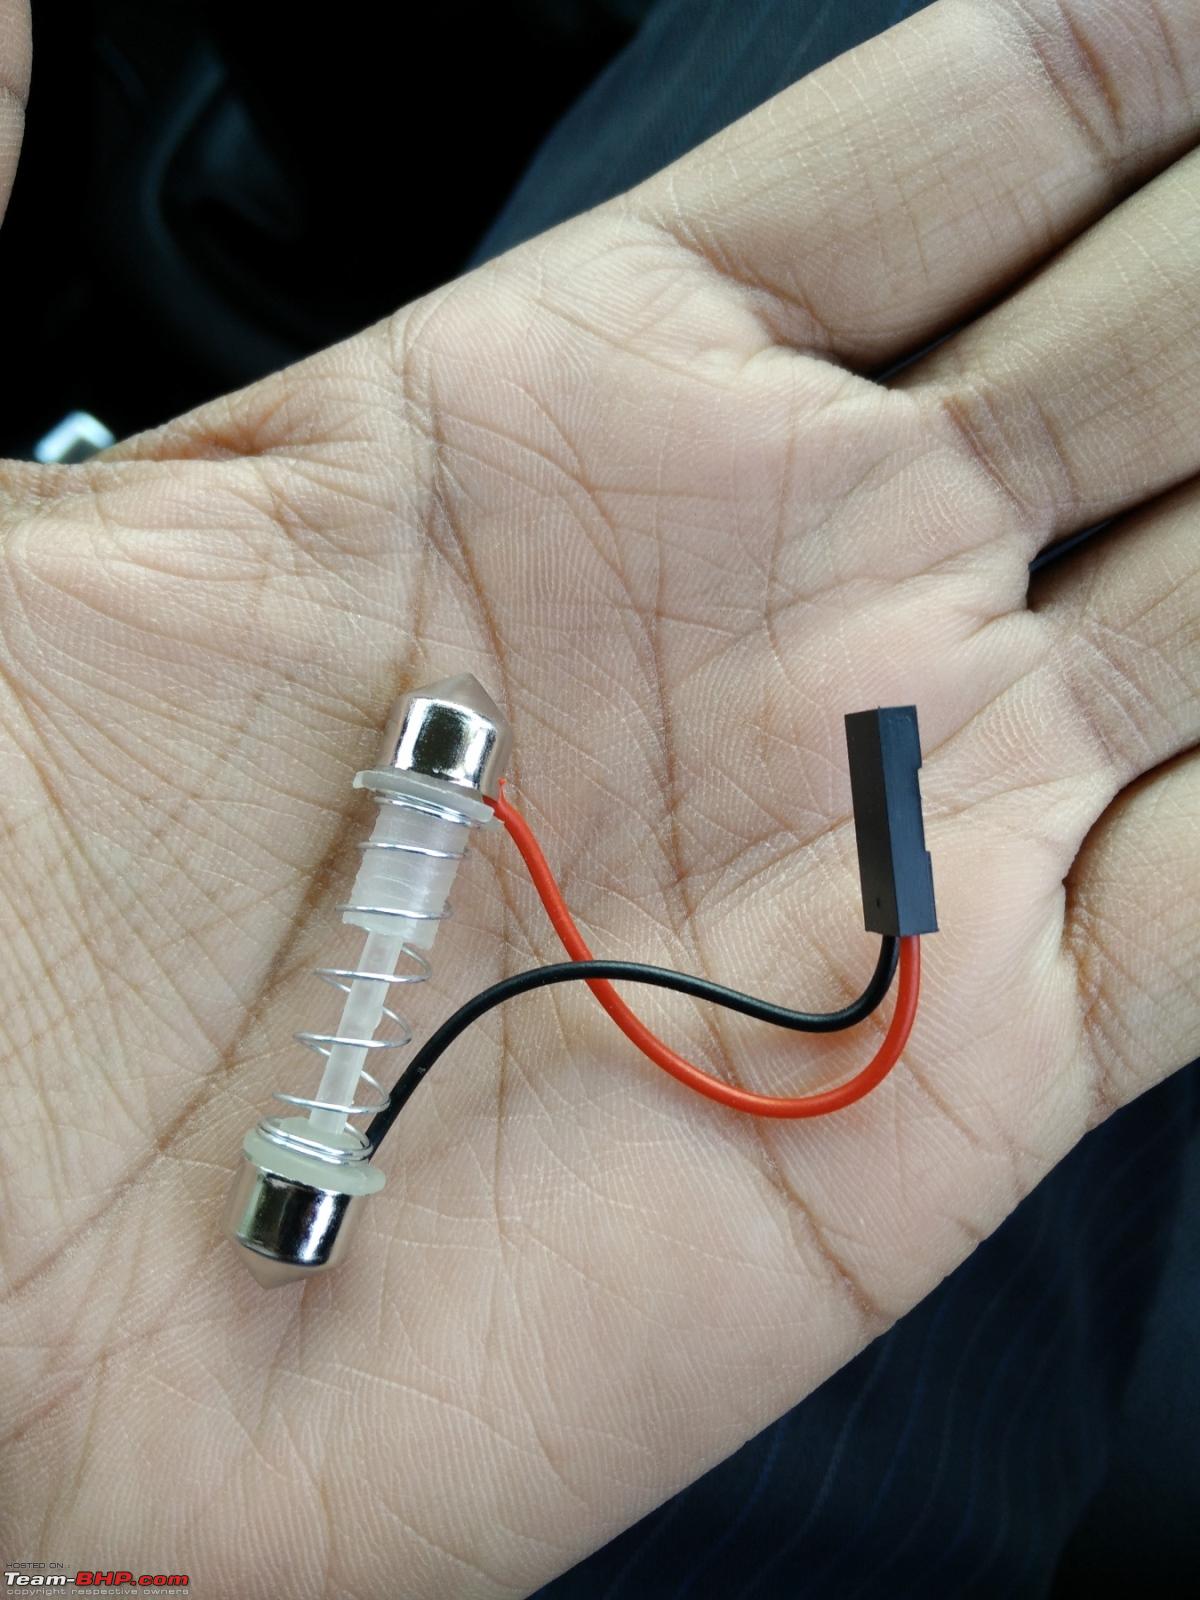
-- Once the OEM bulb is removed, place the festoon spring loaded connector in the terminal.
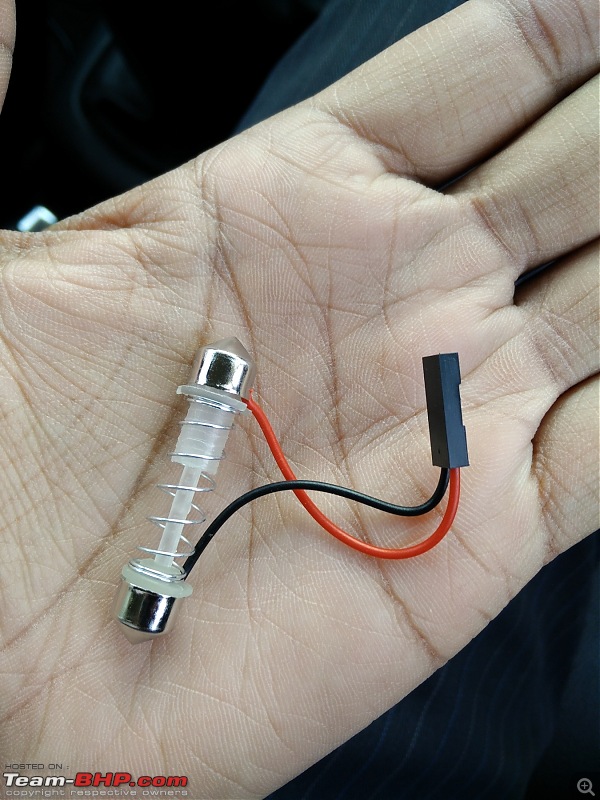
-- Connector in place:
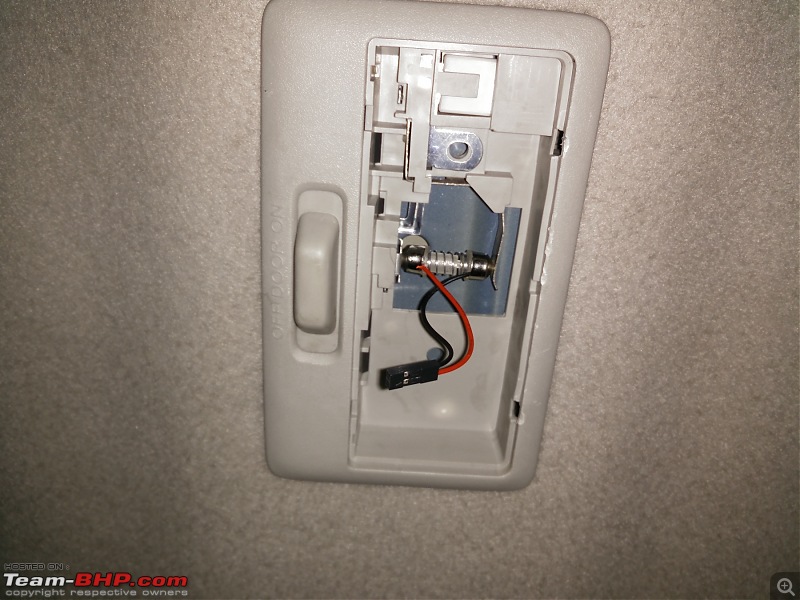 4. Connect the 24 SMD LED strip and test for functioning;
-- 24 SMD LED Strip:
-- Festoon connected to the LED Strip:
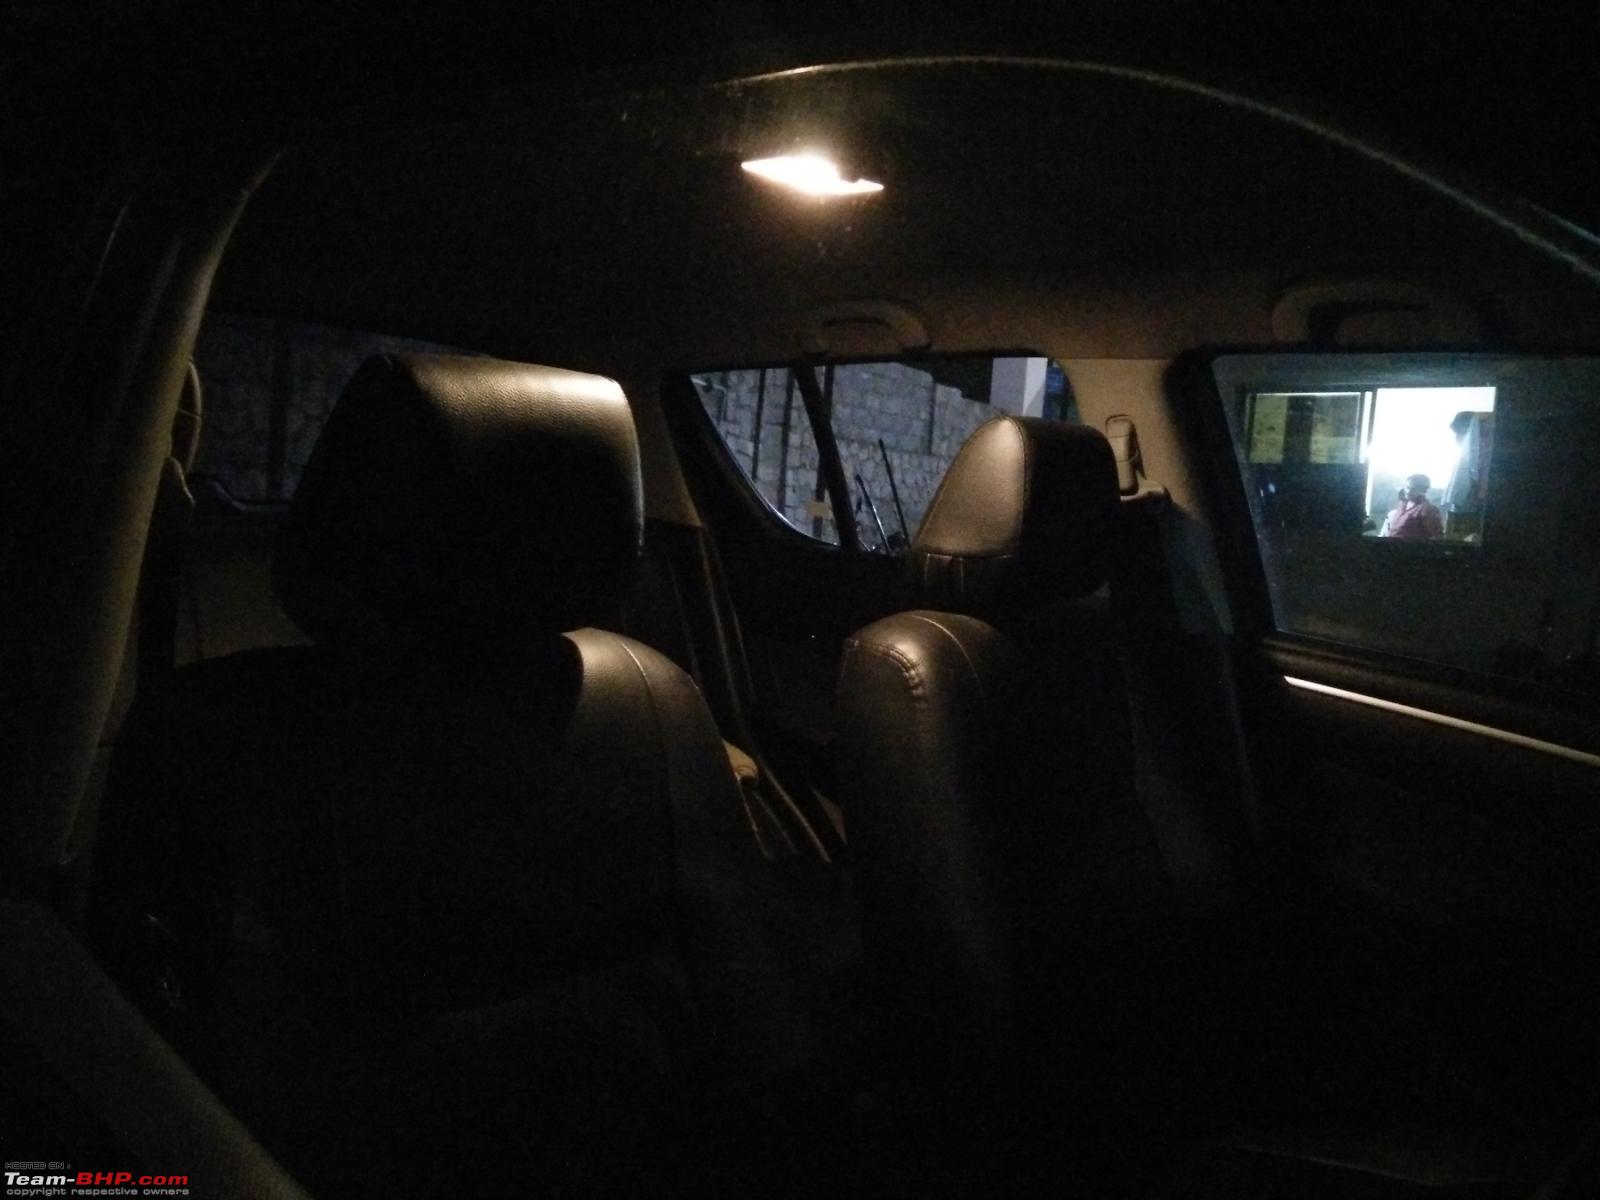
 The Test shot
 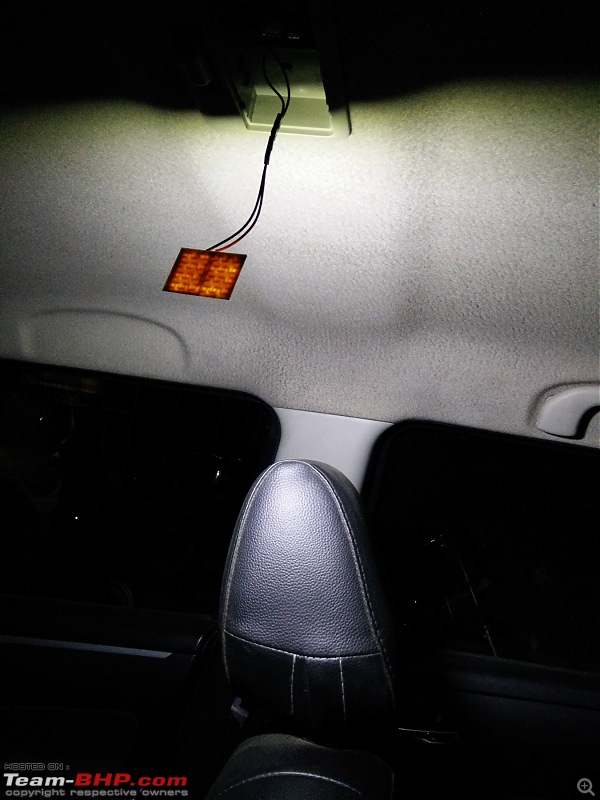 6. Use 3M double sided tape to secure the LED strip and re-fix the transparent cover:
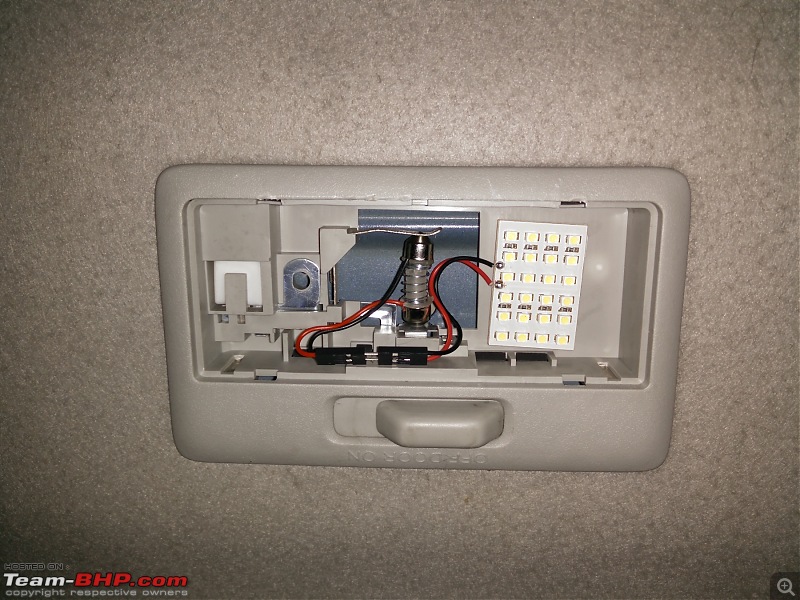
---------------------------------------------------------------------------------------------------------------------------------------------------------
Lighting Shots: A) Old bulbs: 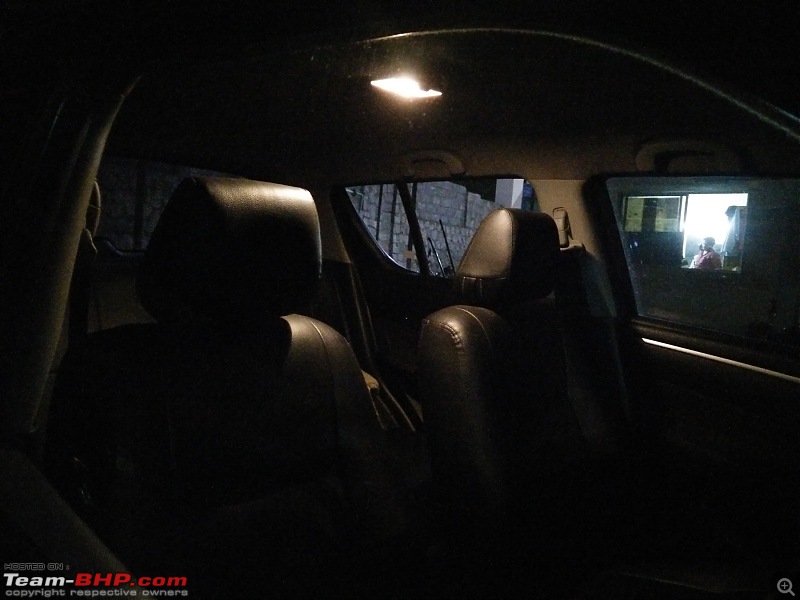 LED View:
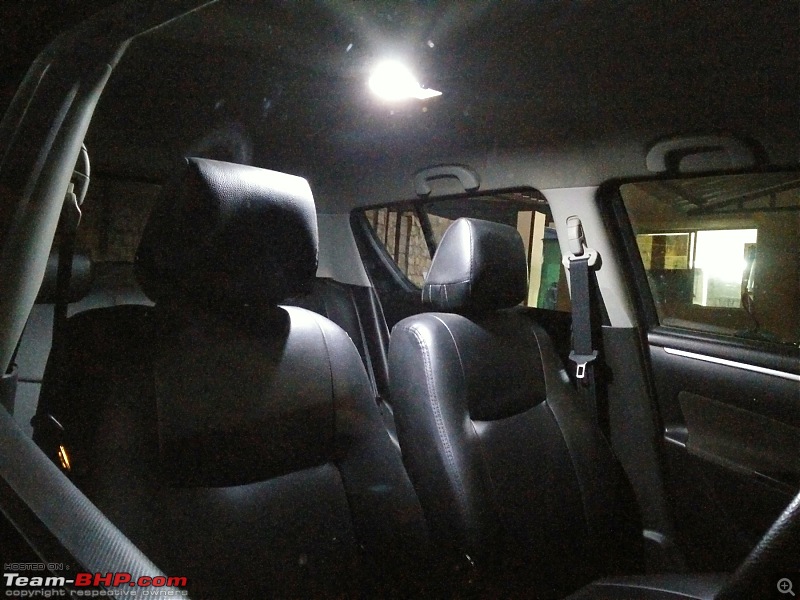
--> There is a marked difference and it feels like having replaced the OEM bulb with some kind of CFL. With black interiors it feels
bright, I'm just thinking how would it be if the same is done for a beige or a lighter colour interior car, Dazzling I must say. Next step is to do the same for the Ertiga.
Thanks for reading guys. :)
Thread moved from the Assembly Line to Modification & Accessories.
Thanks for sharing!
Nice upgrade, the Parag style. I know many people whom Parag has helped doing this DIY, in the same way he has done in his Ertiga and WagonR. A much needed mod in Classic cars, to save on the energy. :thumbs up
Quote:
Originally Posted by FordDodo
(Post 3695464)
Nice upgrade, the Parag style. I know many people whom Parag has helped doing this DIY. A much needed mod in Classic cars, to save on the energy. :thumbs up
|
Lol ya.. I am one of the lucky people. :D
The Mod is mainly for visibility and power conservation.
Next is to get into replacement of OEM bulbs of tail lights, indicators, parking lights into LED's.
I too was planning this for my swift, and now, will certainly do it; thanks to your nice and clean DIY.
I also want to add similar LED in boot ( Mine is vxi ), Any pointers for that?
Quote:
Originally Posted by INJAXN
(Post 3695480)
.
I also want to add similar LED in boot ( Mine is vxi ), Any pointers for that?
|
Oh thanks for reminding me that there is a boot light too that needs conversion. :D
Shall explore the options and PM you soon. For a VXI you'll need to get the wiring, boot cladding changed to seat the lighting unit.
Hi Anurag,
The light looks quite powerful. Does it hamper the external visibility if you are driving in the night?
A very common thing that most people nowadays do. Had done it on some of my cars. On my Palio, Parag did it for me well as installing the FIAT projection light for both doors.
Quote:
Originally Posted by HeisenBerg
(Post 3695497)
Hi Anurag,
The light looks quite powerful. Does it hamper the external visibility if you are driving in the night?
|
It is powerful indeed. There are 16, 24, 42 SMD LED's too.
No issues with visibility during night time though.
Guys, some cars have a dimming effect when the door is closed, ie the light dims and switches off slowly, instead of switching off instantly.
Will that dimming effect still be there if I use these?
Great DIY, thanks for sharing Anurag!
Quote:
Originally Posted by a4anurag
(Post 3695471)
The Mod is mainly for visibility and power conservation.
|
Quote:
Originally Posted by FordDodo
(Post 3695464)
A much needed mod in Classic cars, to save on the energy.
|
Come on, you guys do it for the looks, brightness & functionality :D. What power conservation? The cabin lights are on for barely a couple of seconds in a car's daily routine. It would have zero effect on the battery.
Tried the same mod in figo 2 years ago by ordering the stuff from aliexpress in 1.2 dollars including shipping. The result was bright but the color temperature felt harsh on eyes and the led kept glowing little bit even in off position. The bulbs started to flicker in 2-3 weeks and created an irritating disco. Replaced it with the OEM bulb.
Hope this is the better of better quality and serve you for long period of time.
Oh yes- the bootlight. I was not blessed with a car which had a functional bootlight. So what did I do? I had one of my DRLs conked off, and had both replaced. The working one was put to use in the boot, with a connection from the rear parking light. I plan to install a switch soon, to have the connection from the boot door itself :)
| All times are GMT +5.5. The time now is 13:47. | |