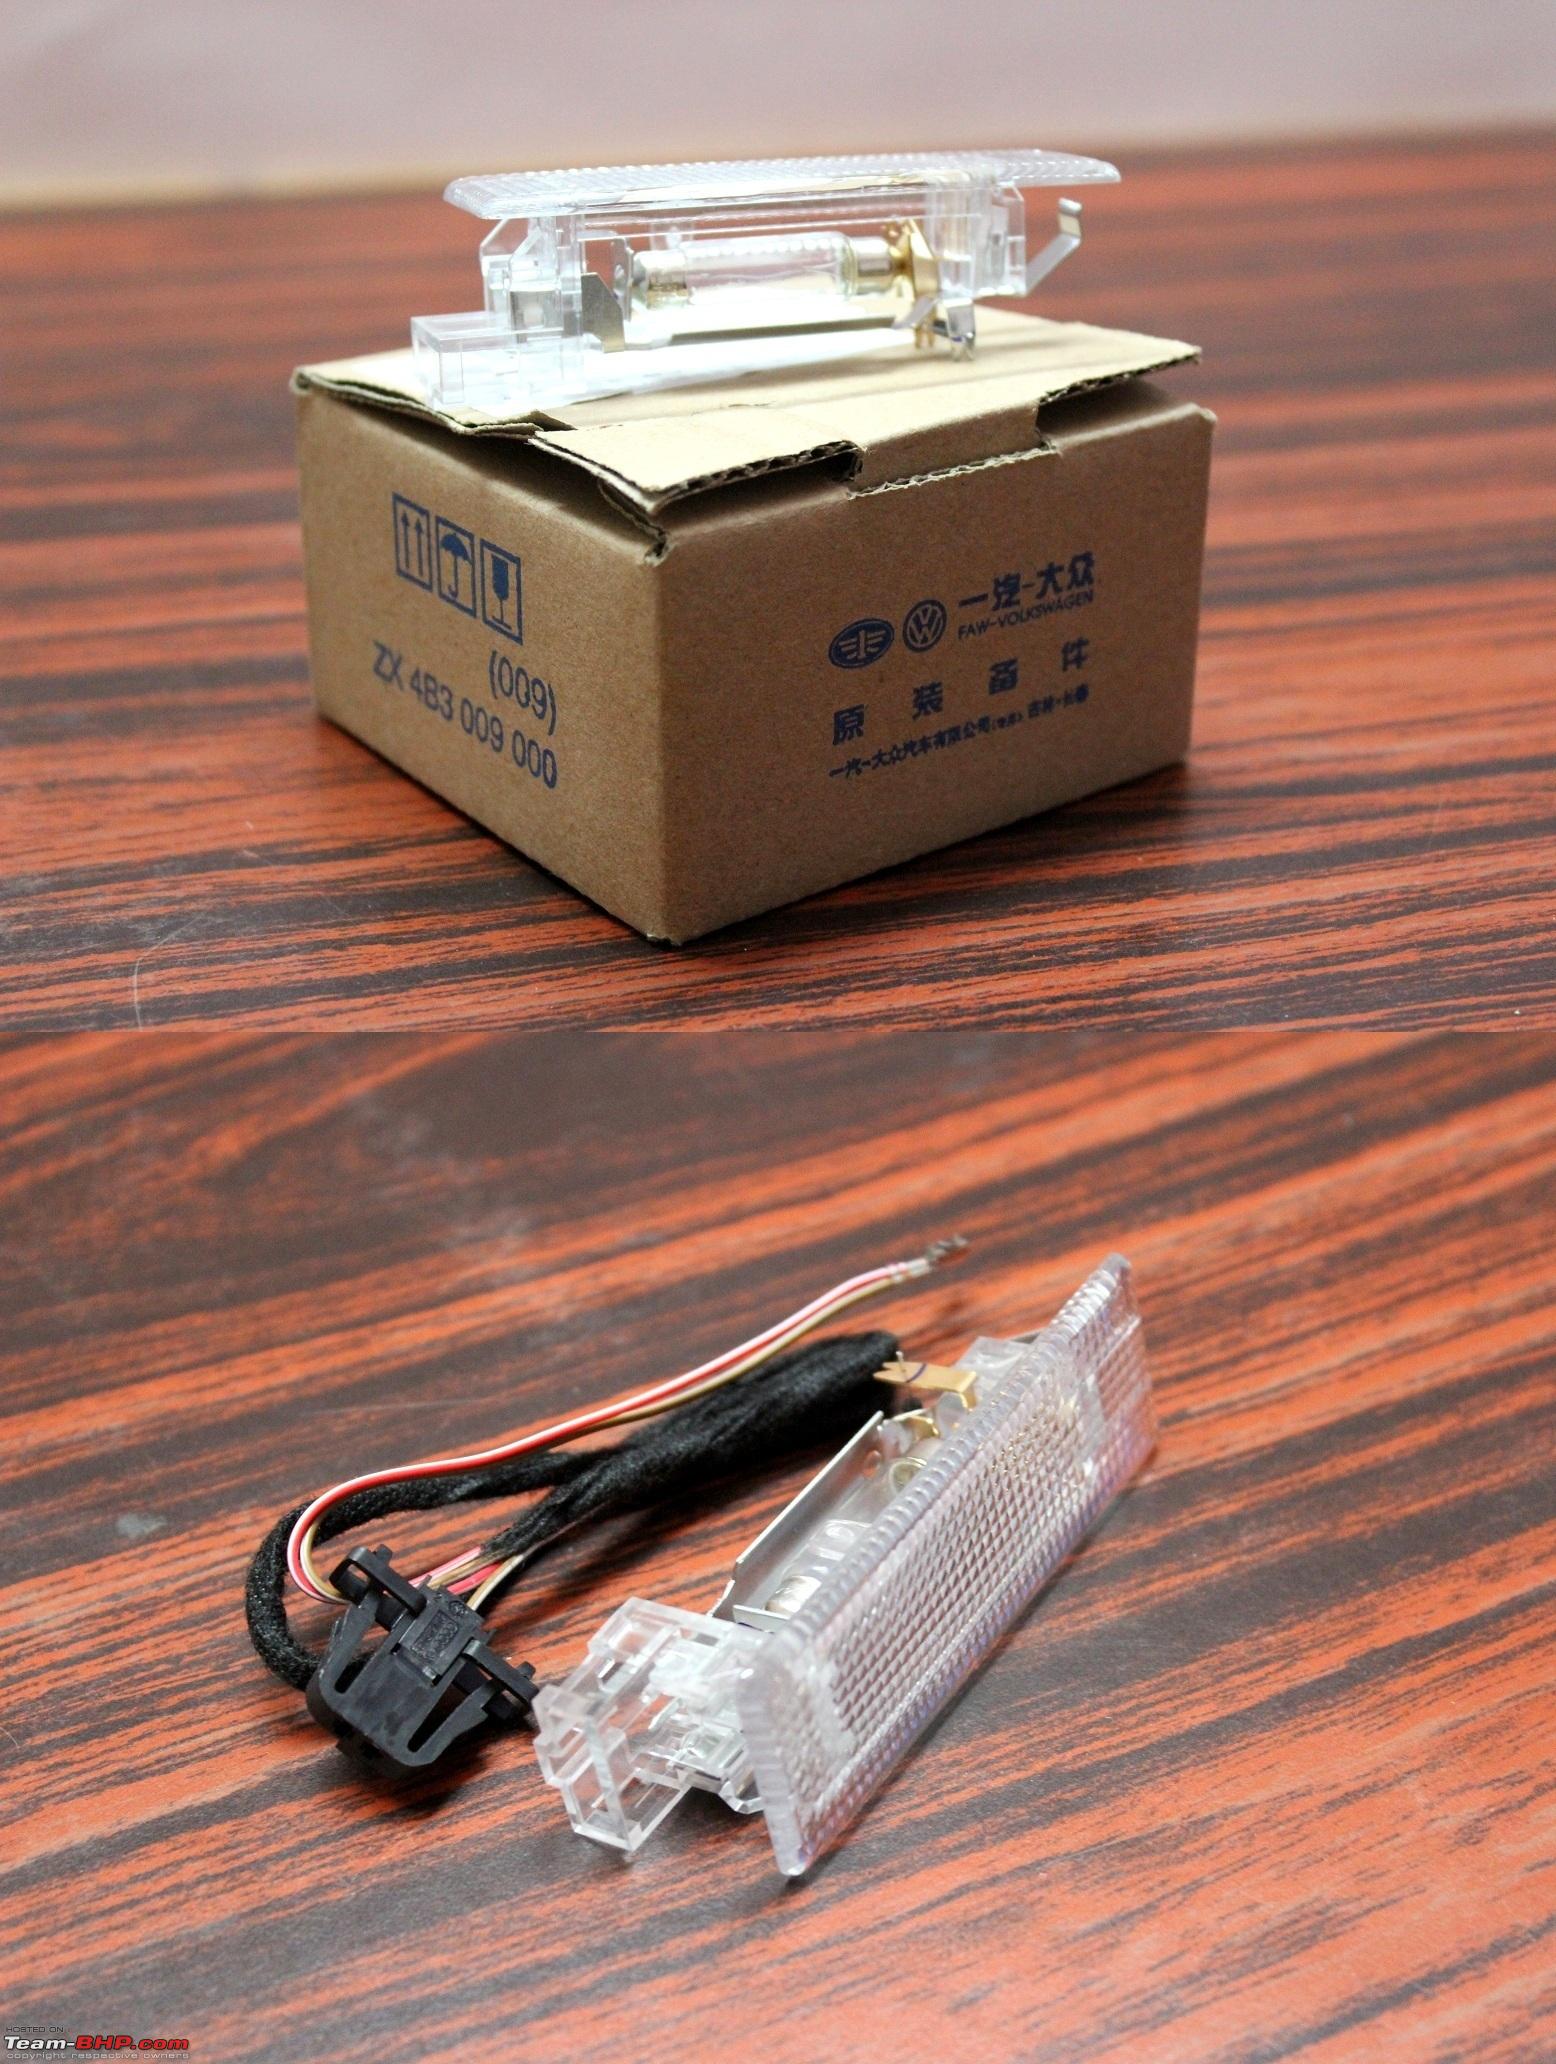
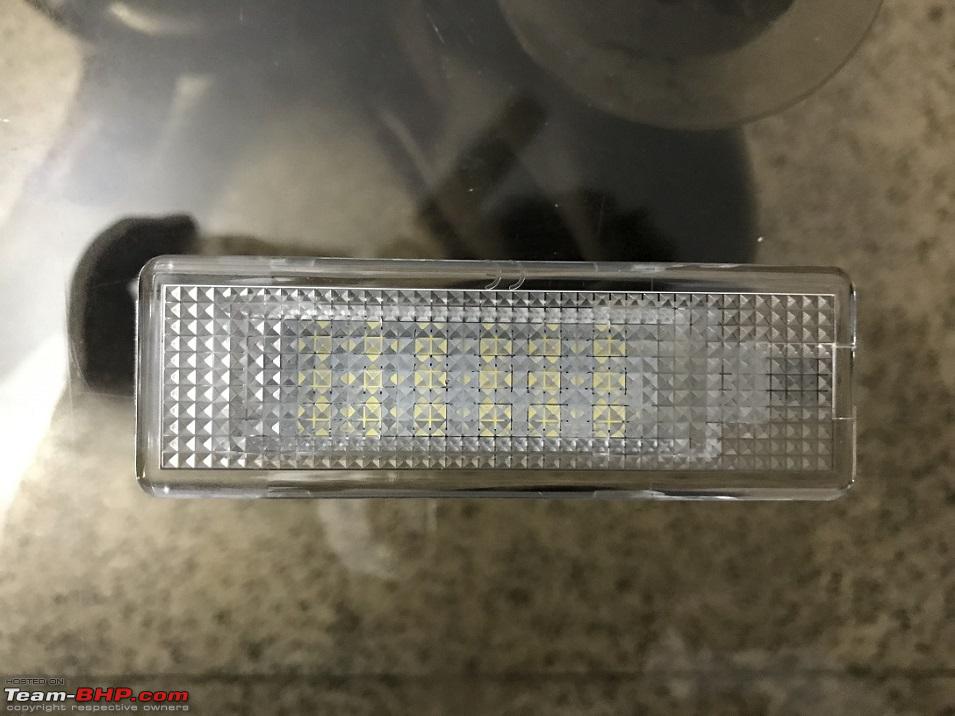
1. Boot light - 1KD 947 101A - 1 no.Tools Required:
The light ships with a 43 mm festoon bulb. I replaced it with an equivalent festoon LED.
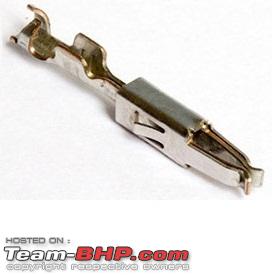
2. Terminal - 000 979 131 - 2 nos.
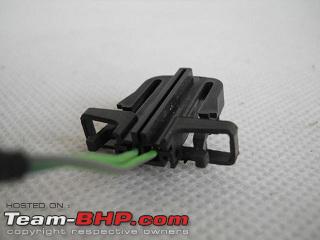
3. Connector - 3B0 972 702 - 1 no.
4. Wire - 1.25 sq. mm, Qty - 6 m
OR
Just get the harness from Aliexpress (they sell 4 for 10 USD or so) - cheaper than the individual components and saves time from crimping.
5. Heat shrink sleeve - 2 mm, Qty - 2 m.
6. Flexible metal cable - 3 m, Qty - 1 no. Available at hardware stores, this flexible cable is used to pull the harness and route it through the headliner and plastic trims.
1. Dremel/rotary tool with the plastic cut-off wheel.Wiring schematic:
2. T20 Allen key/hex bit or equivalent Torx. bit.
3. Heat gun.
4. Soldering iron.
5. Utlity knife like the Stanley 10-175 (image).
6. Solder.
7. Flux.
8. Crimping tool (if the components are purchased separately).
9. Safety goggles (must-have during the cutting operation!).
1. We need to prepare the harness before heading to the car.Results:
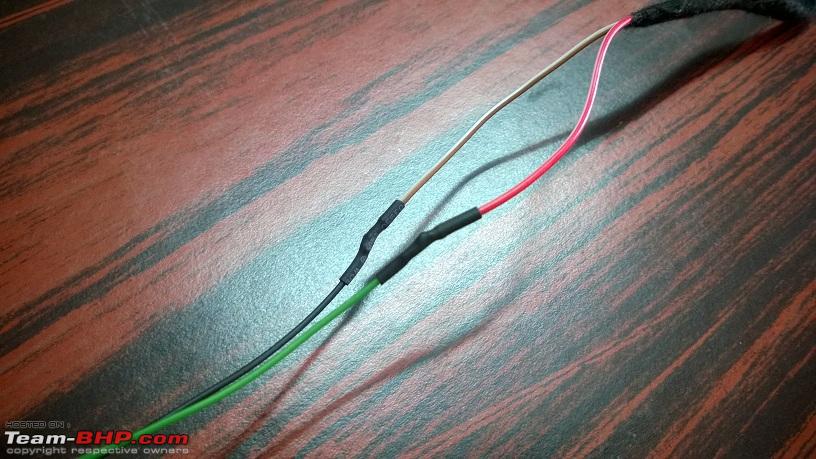
a. If the components (terminals, connector and wire) were sourced separately, crimp the terminal with the wire (each wire cut into 2 pieces of 3 m length) and insert them into the 2 slots of the connector.
b. If the ready-made harness was purchased from Aliexpress, simply extend the 2 ends by soldering the wires and heat-shrink the soldered joints.
To keep the 2 independent long cables together, use pieces of heatshrink tubing at definite pitches.
2. Head to the car with the necessary tools, boot light and the harness. Pry open the cabin light's diffuser lens and undo the 2 T20 Torx screws. Pull the cabin light down. Refer this link for details.
I had swapped the stock cabin light with the one having 2 reading lights, a central festoon light and the mic slot. I had also soldered 3 cables to the copper traces on the lamp to tap 12V for the footwell lights (door open signal) and auto-dimming mirror (permanent 12V signal).
3. Tie the harness with the flexible metal cable to route it. For the 2 free ends of the harness, simply wrap it with the cable and make a knot. Tie the connector end as shown below:
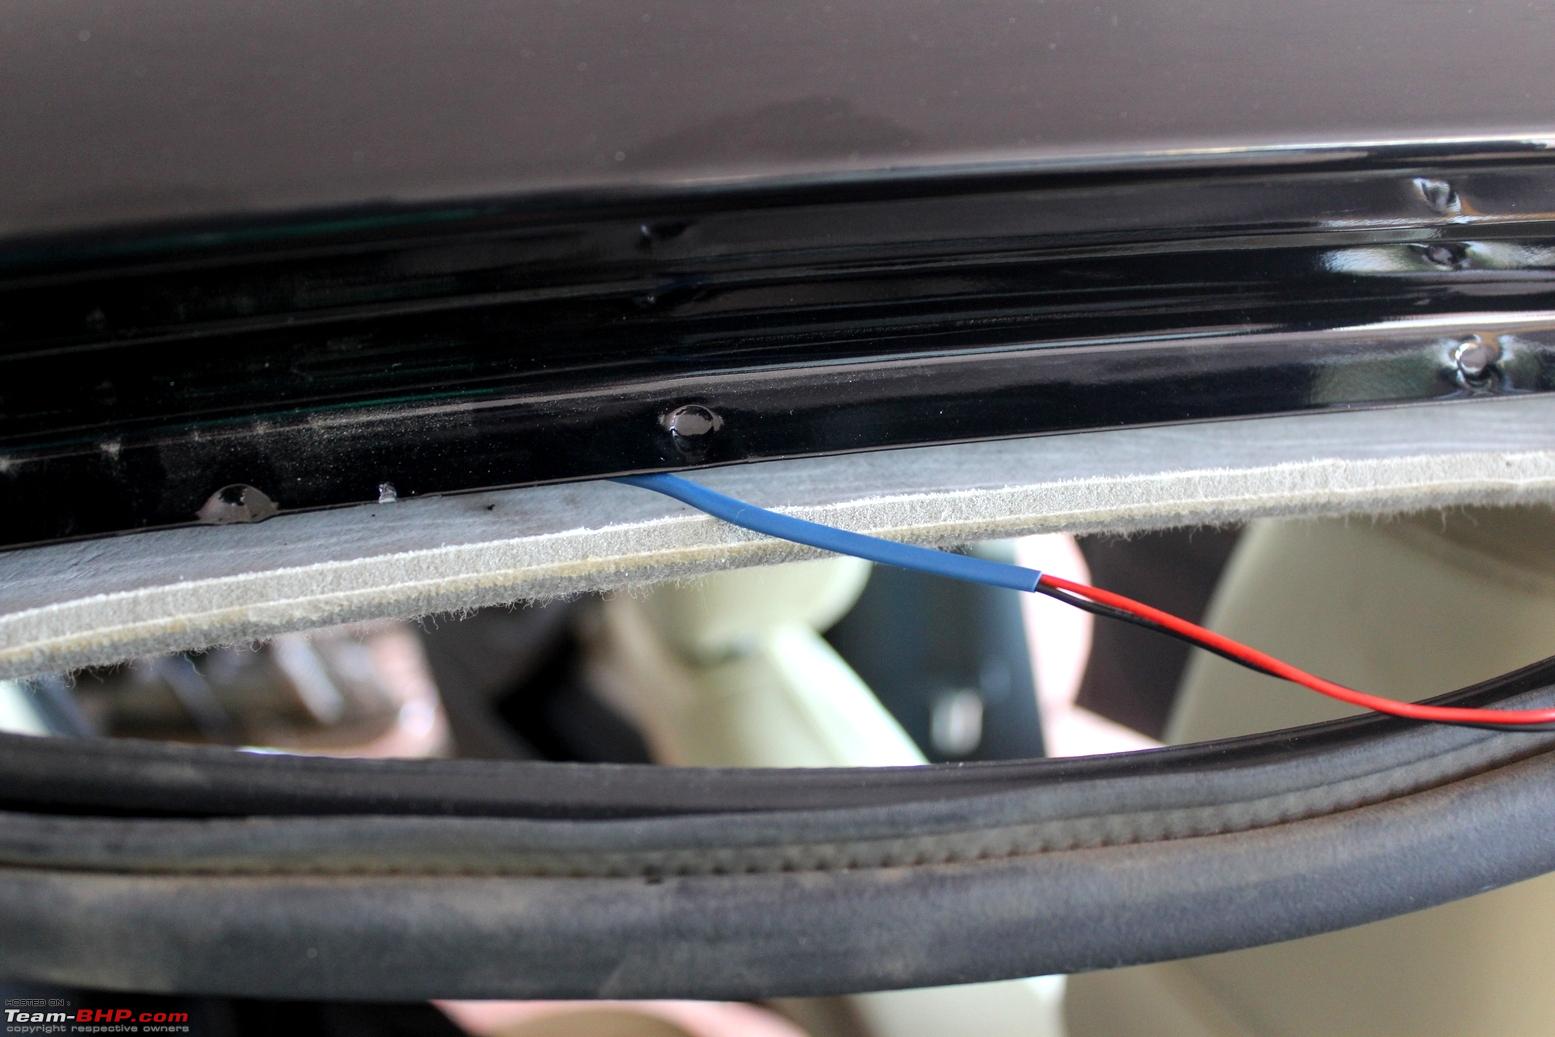
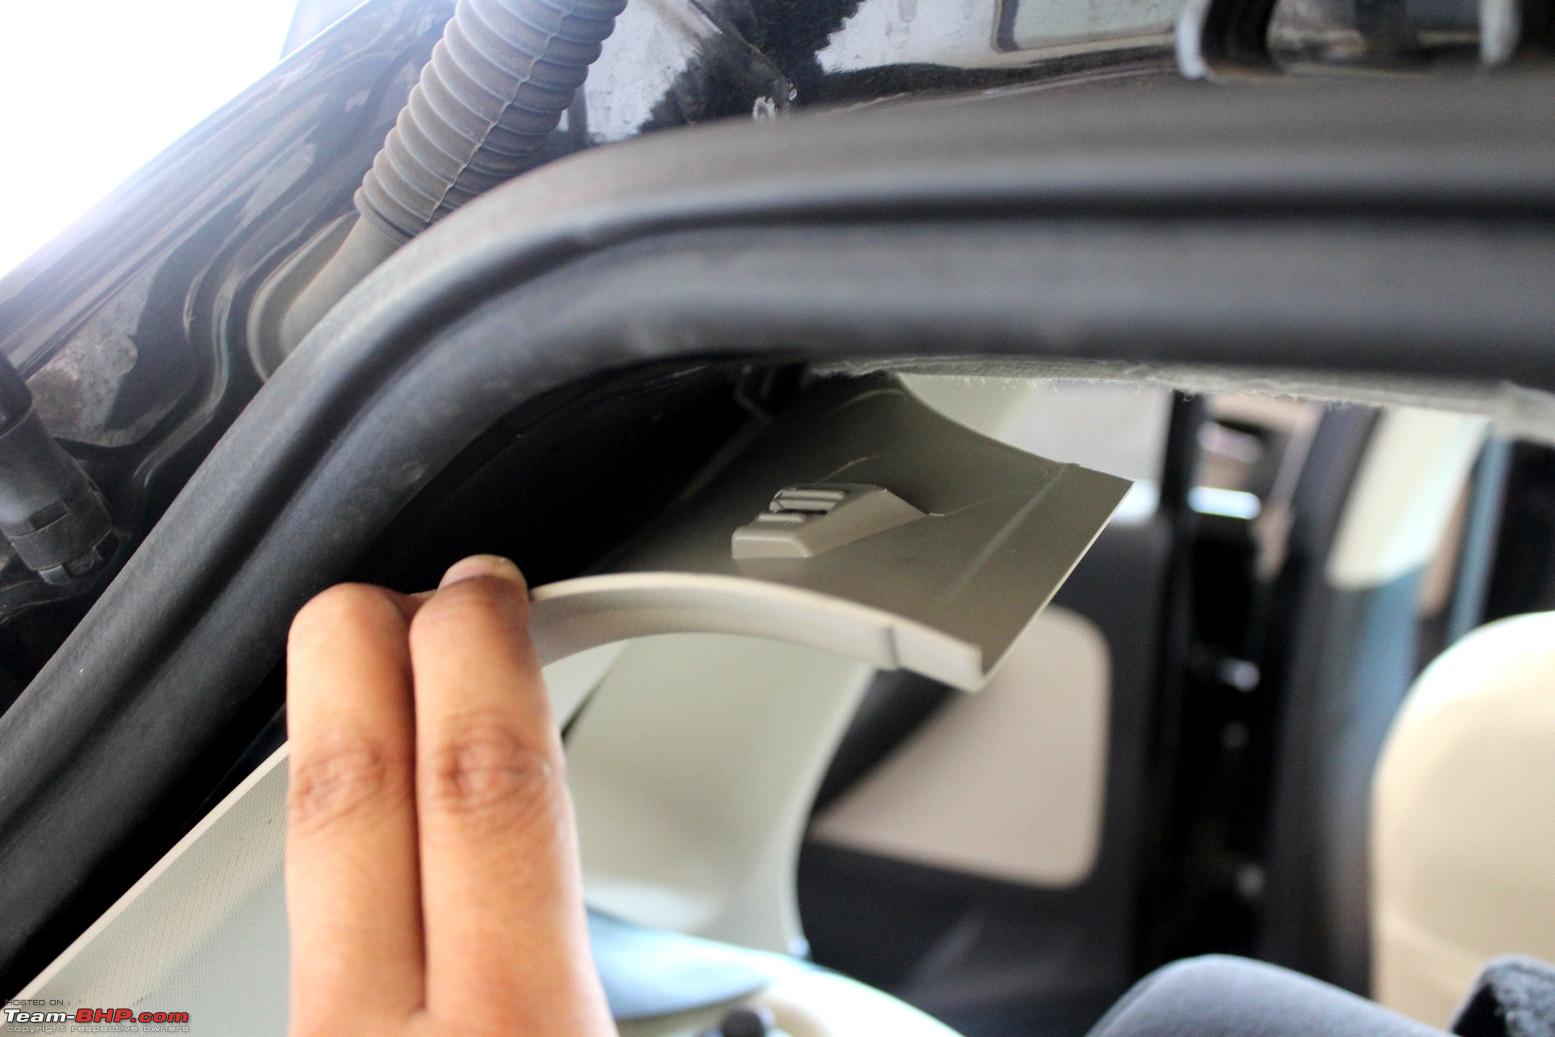
4. Open the driver side door and pull the rubber beading at the top.
(Image shown above is of the rear right door)
The beading exposes a small gap between the headliner and the ceiling. Push the knot-end of the harness through this gap and pull it through the cabin light slot. The connections can be done later.
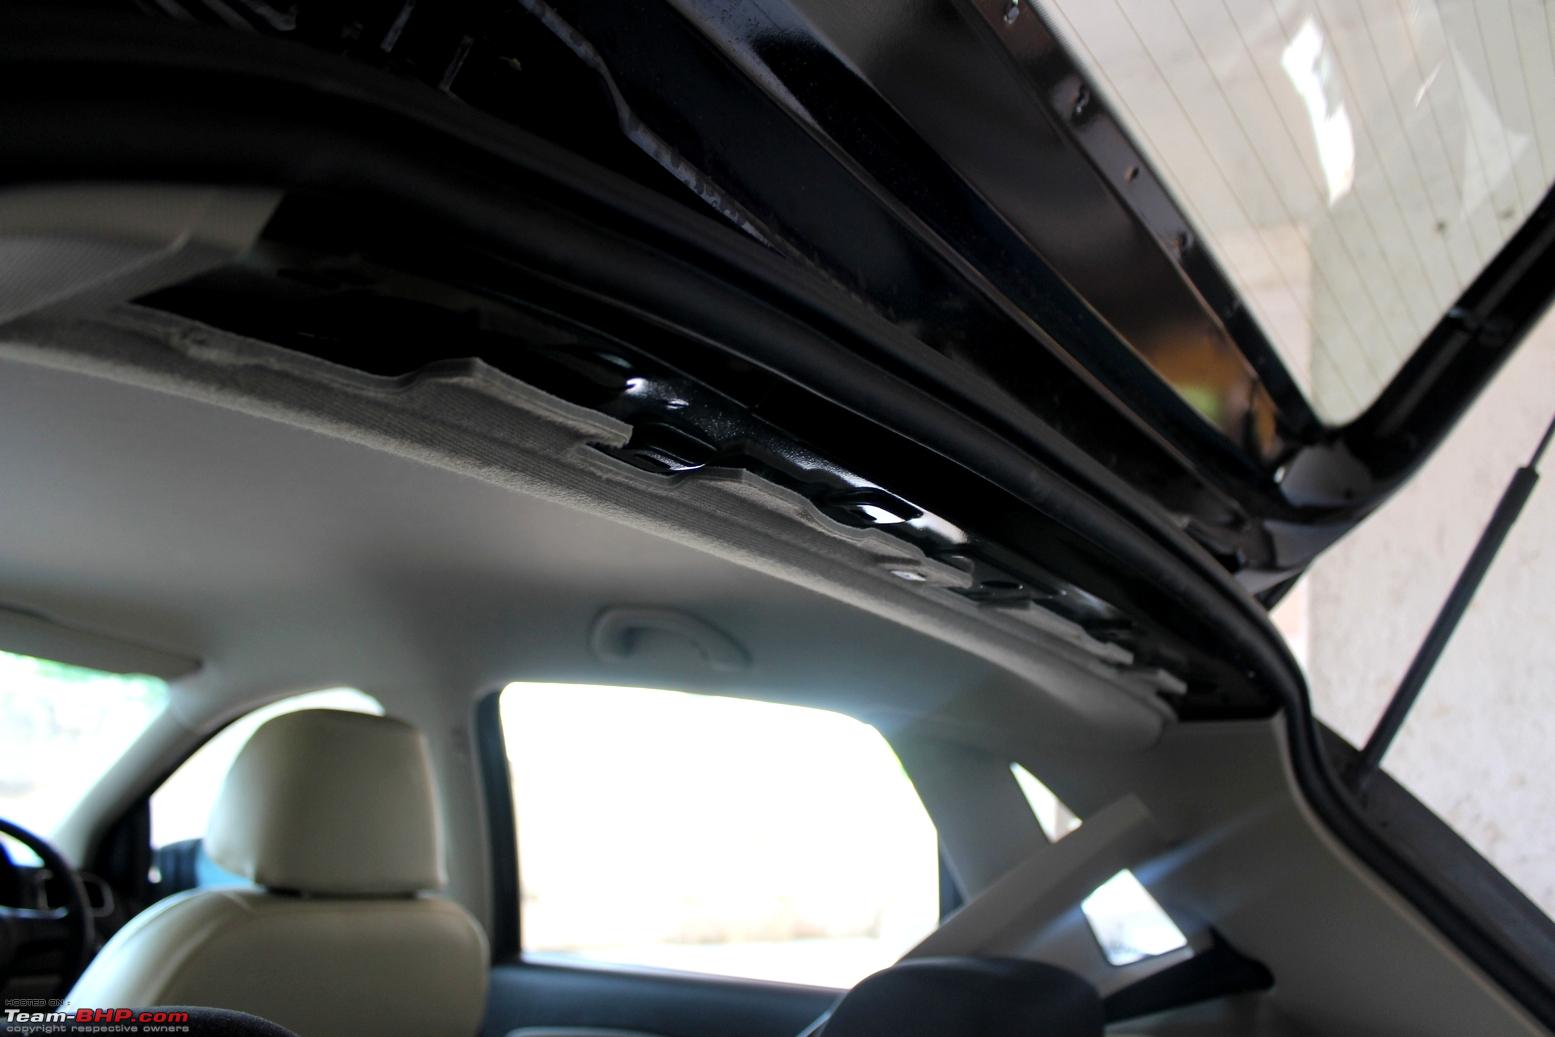
5. Open the door behind the driver-side and pull out the beading at the top. Push the connector-end of the harness from the driver-side to the passenger-side and pull it out.
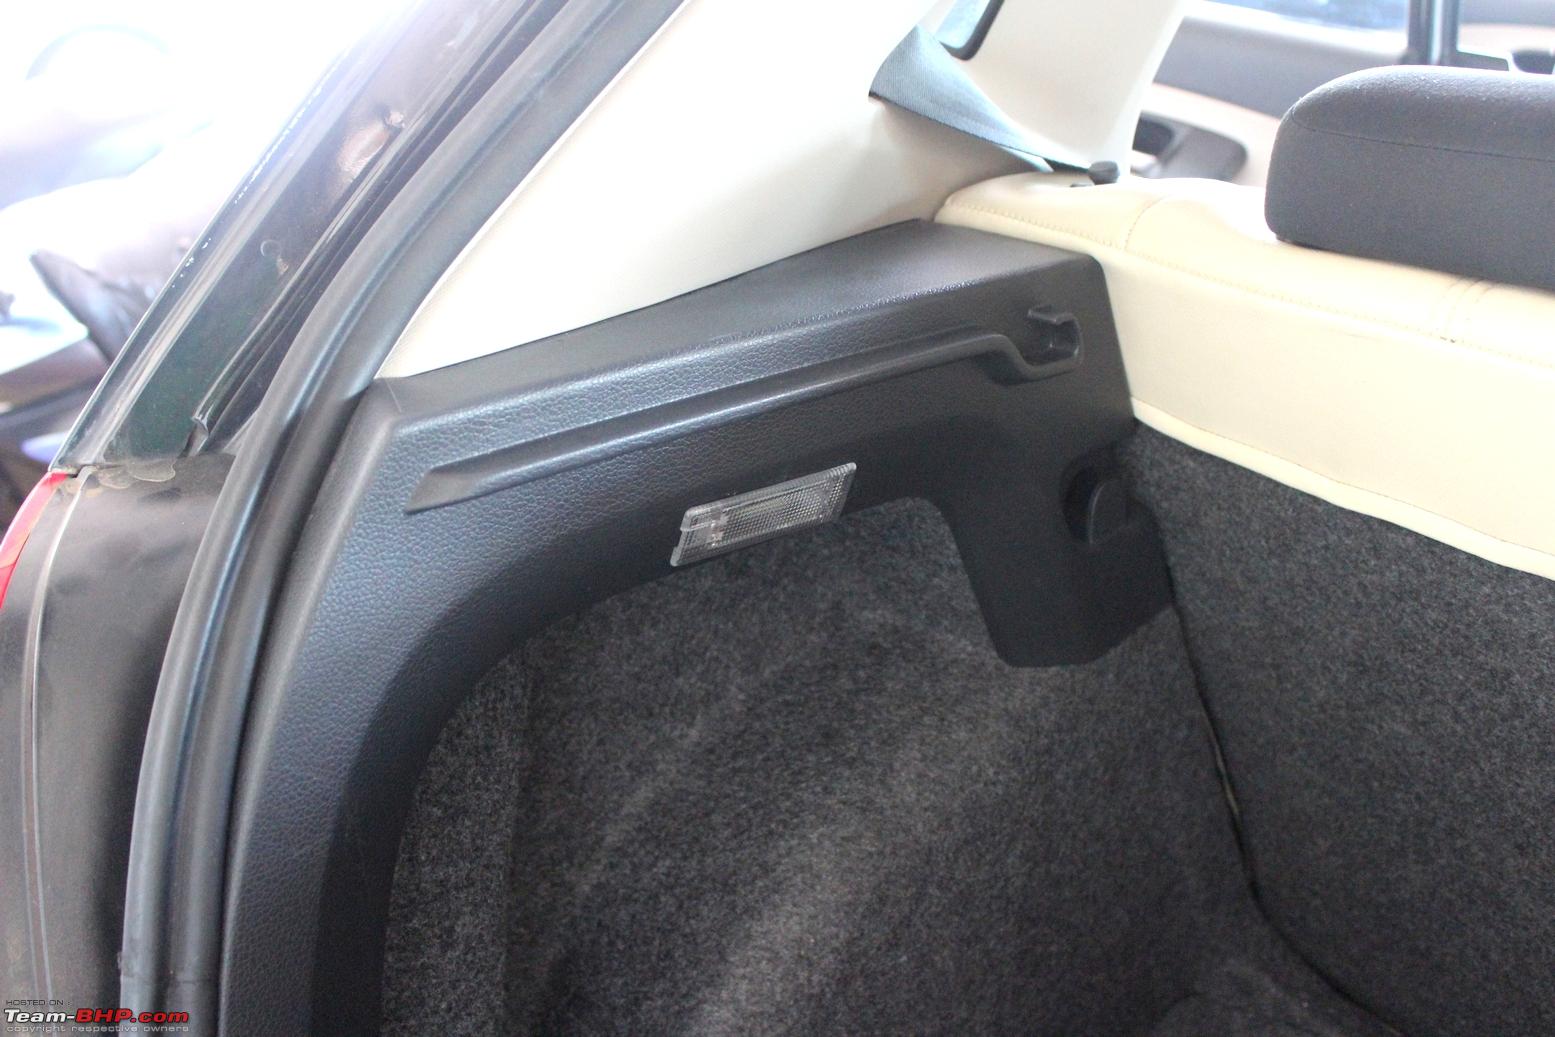
6. Open the boot and pull out the headliner trim. It comes off with bare hands - no prying tools needed.
Push the connector-end from the passenger-side door beading gap, towards the rear-trim gap and pull it out.
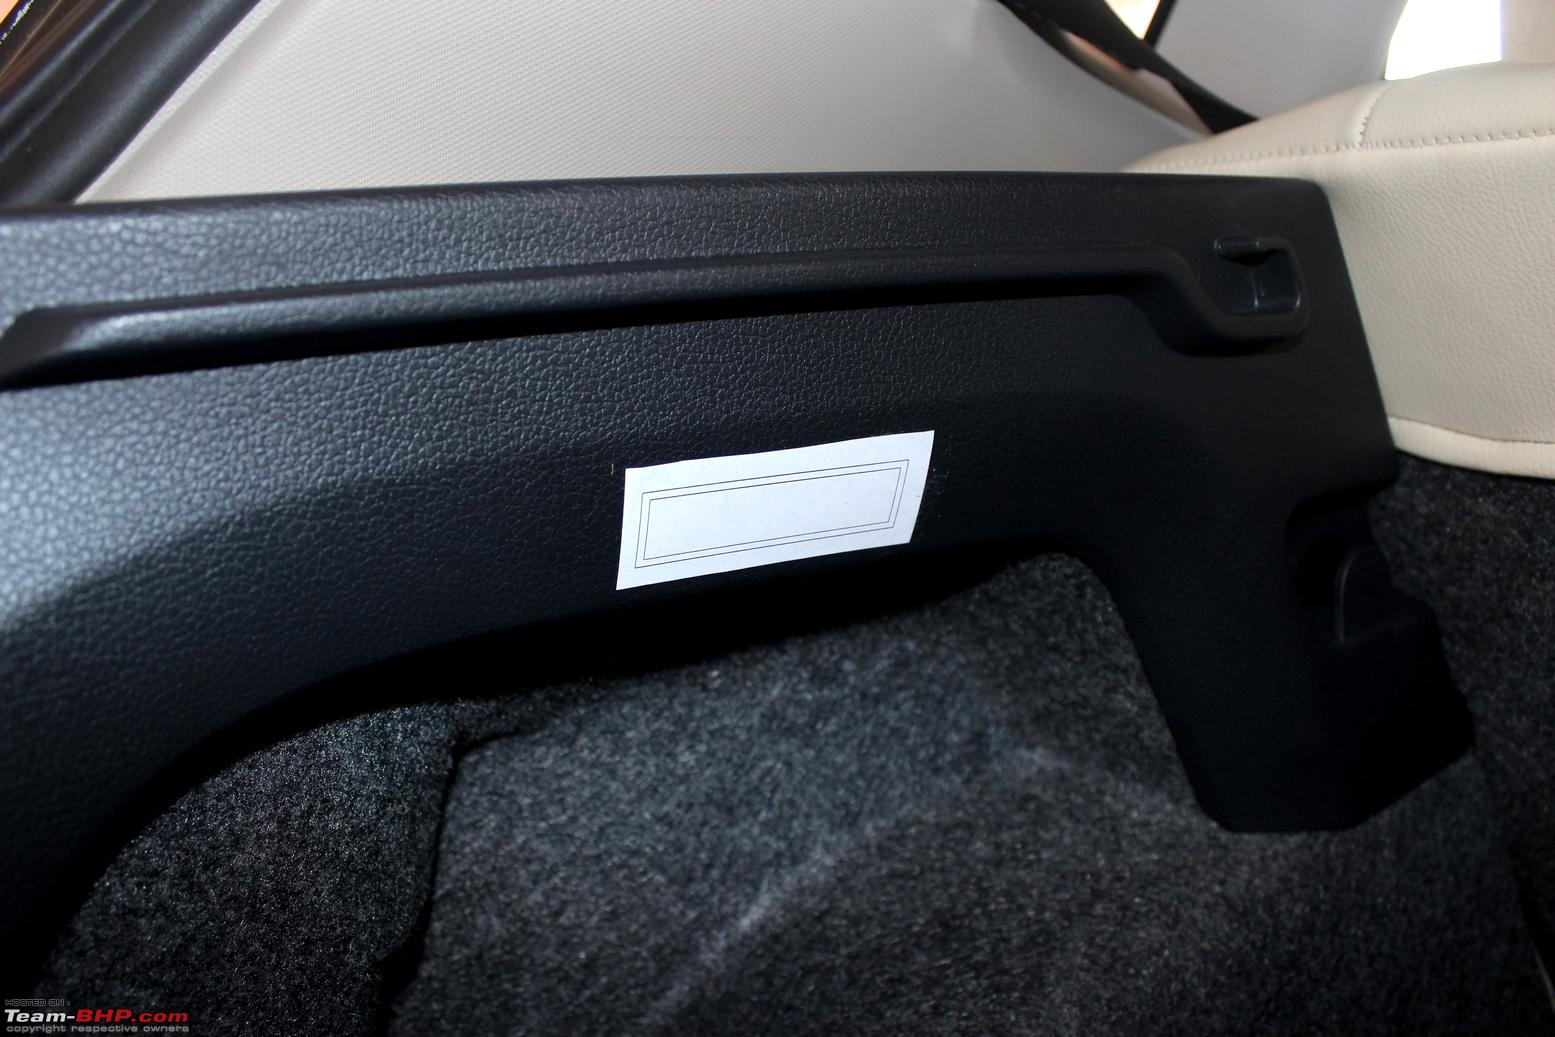
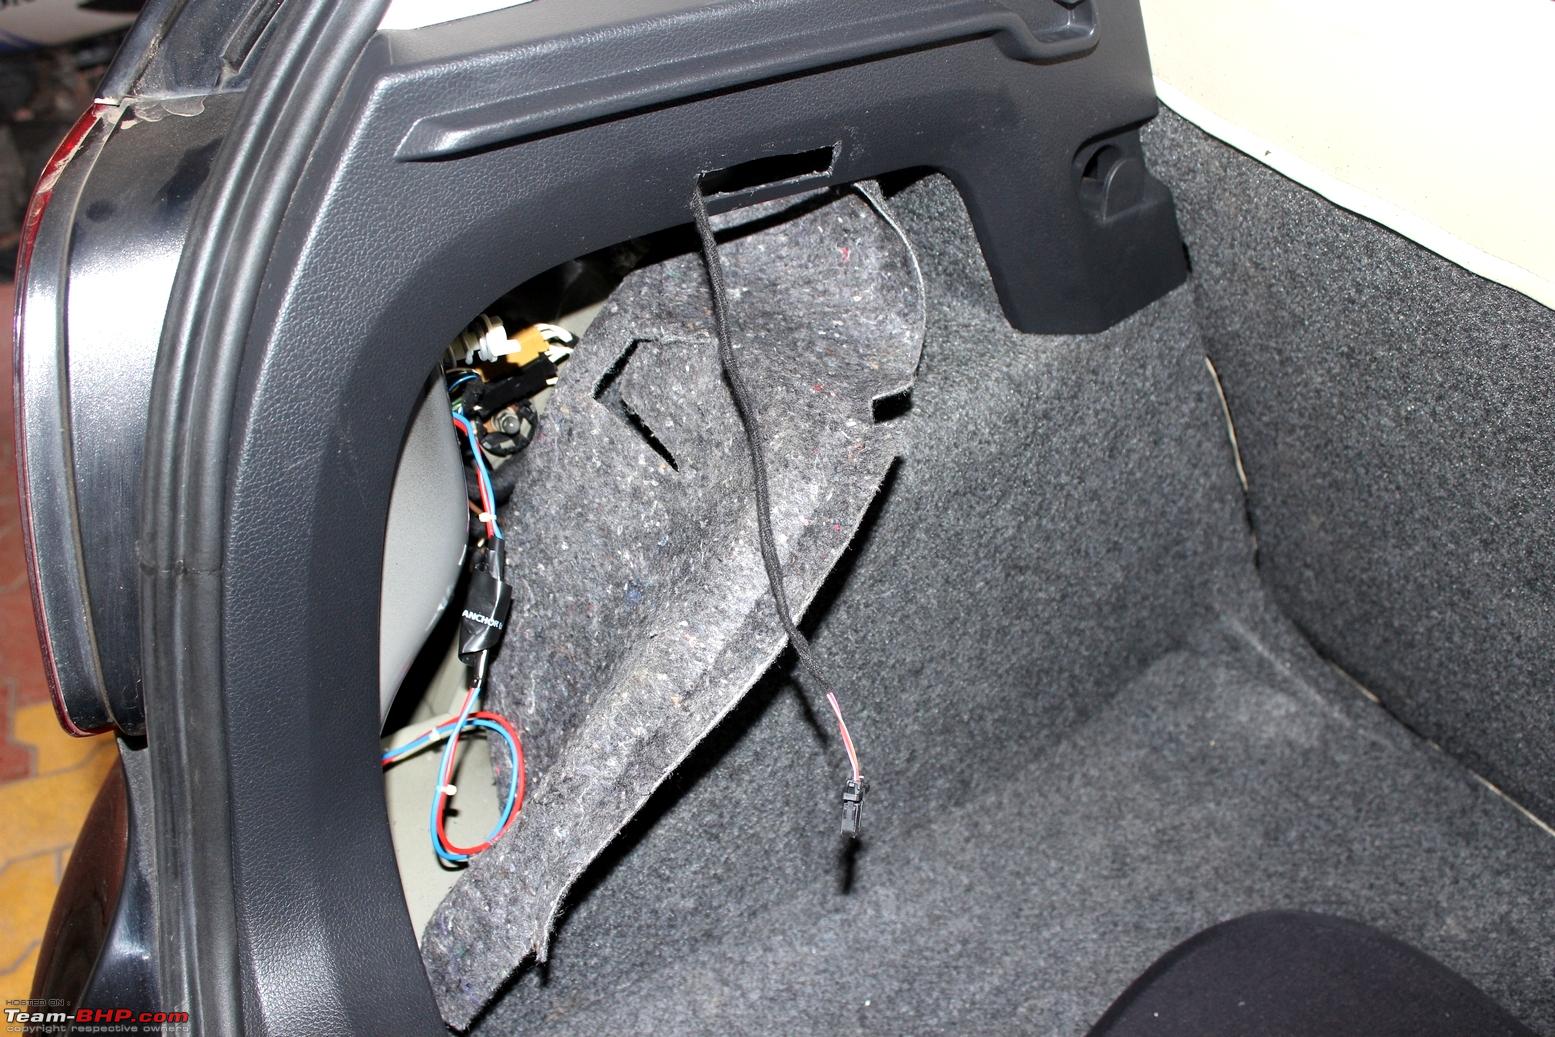
7. Using a 1:1 template of the required cutout (dimensions - 72 mm x 20 mm) on a printed paper, paste the cut template on the C-pillar bottom trim:
Note that there is a 2 mm offset on the cutout which is where we intend to use the cut-off wheel to permit some clearance for the final touches.
8. Pull out the boot lining below the trim before beginning the cutting process.
Use the Dremel/rotary tool with the plastic cut-off wheel to make the cutout. I used the 35000 rpm mode on the Dremel and it cut through the plastic like a hot knife through butter, but it was throwing the plastic bits all over the place so please wear safety goggles while attempting this. The utility knife can be used but is a time consuming process - I'd recommend the knife to finish/smoothen the cut edges.
Insert the lamp and check if the cutout is adequate. A tight fit is perfect but a larger cutout and the lamp will not sit perfectly and will begin moving around! Exercise caution while cutting and do it S-L-O-W-L-Y, one step at a time.
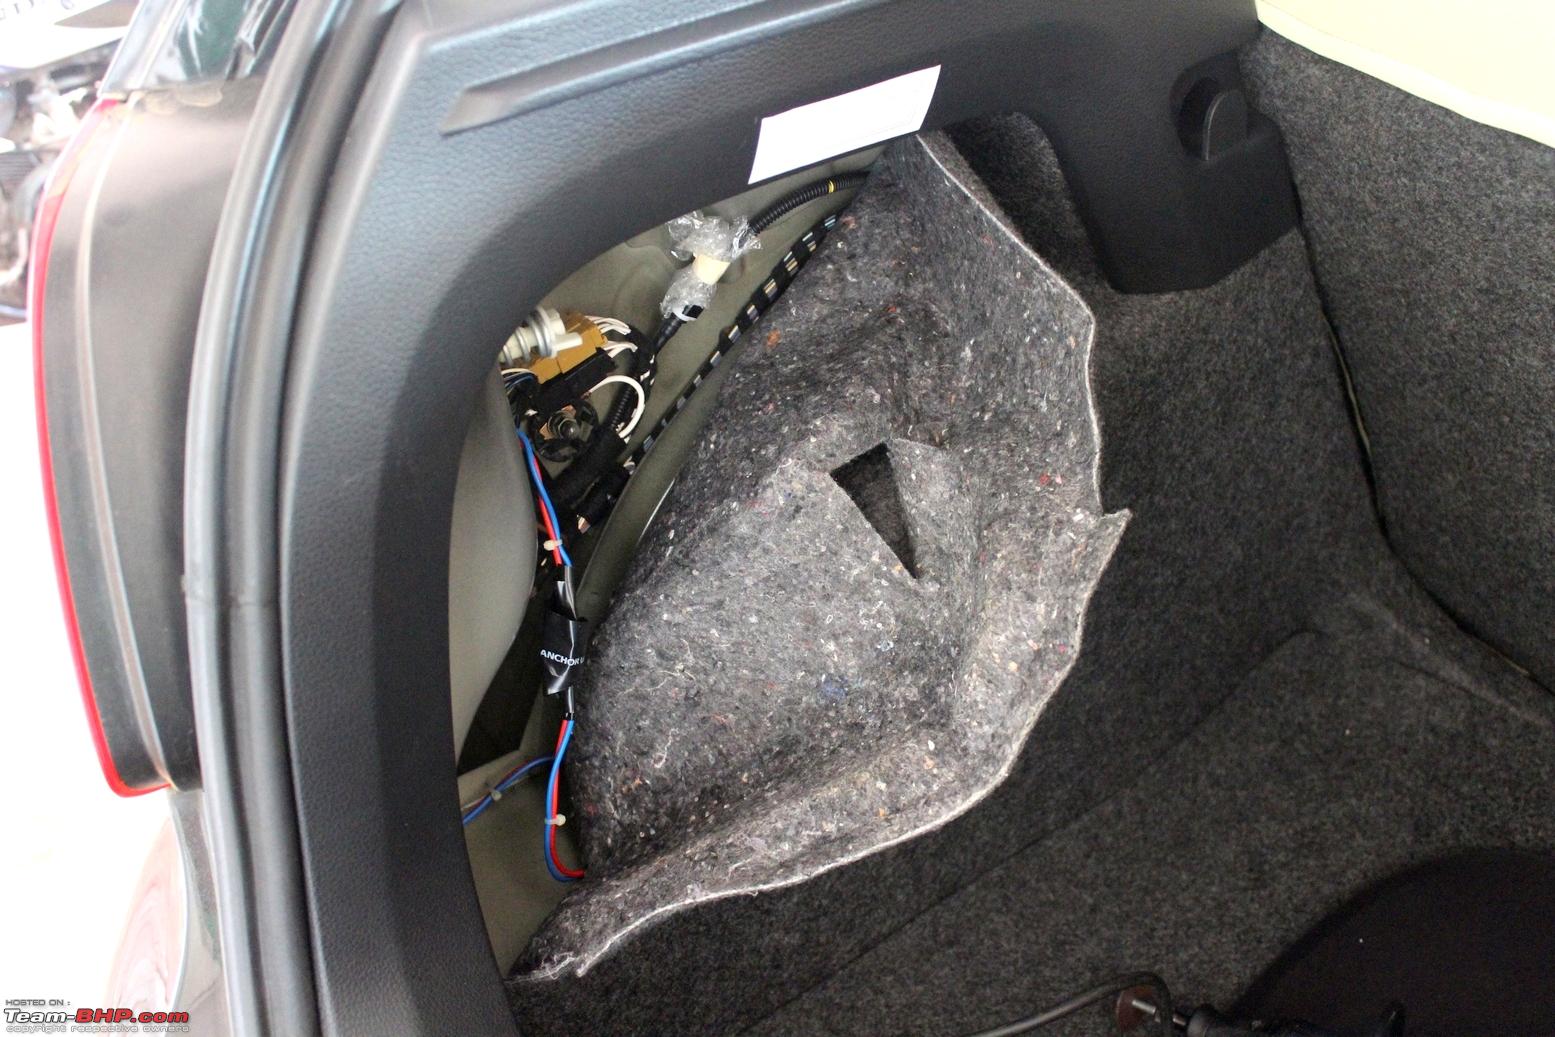
9. Pry open the C-pillar trim using the hand at the top - there's no need to pull it out completely!
Push the connector-end of the harness to the gap between the body and the C-pillar, and route it towards the trim where the cutout was made.
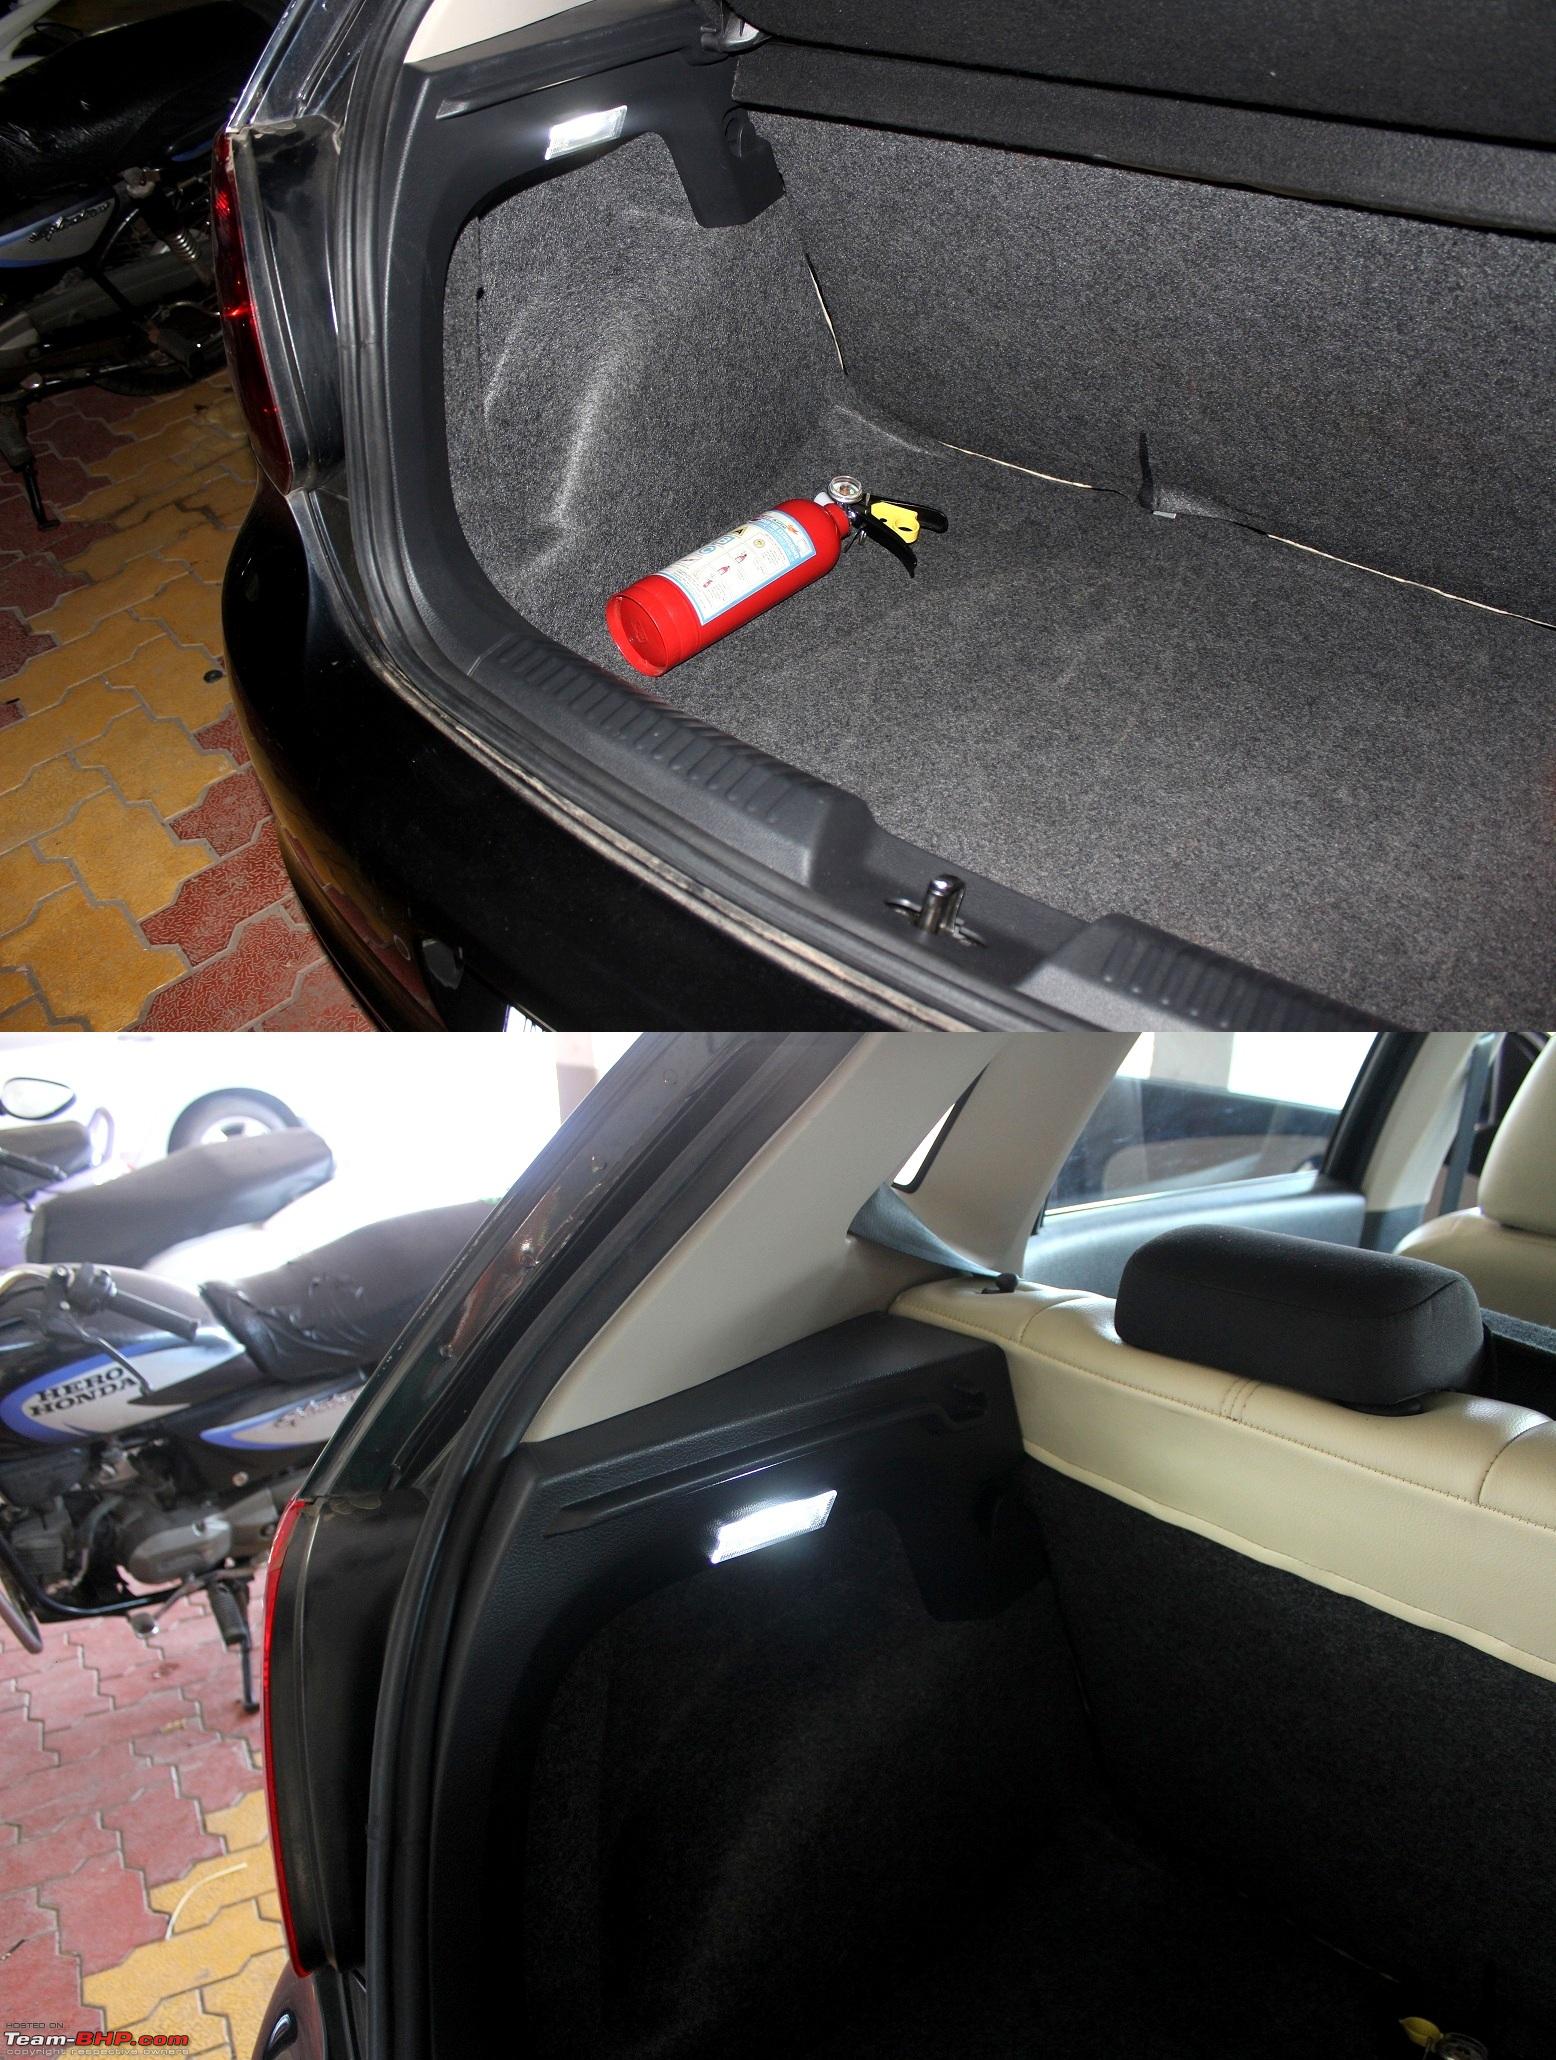
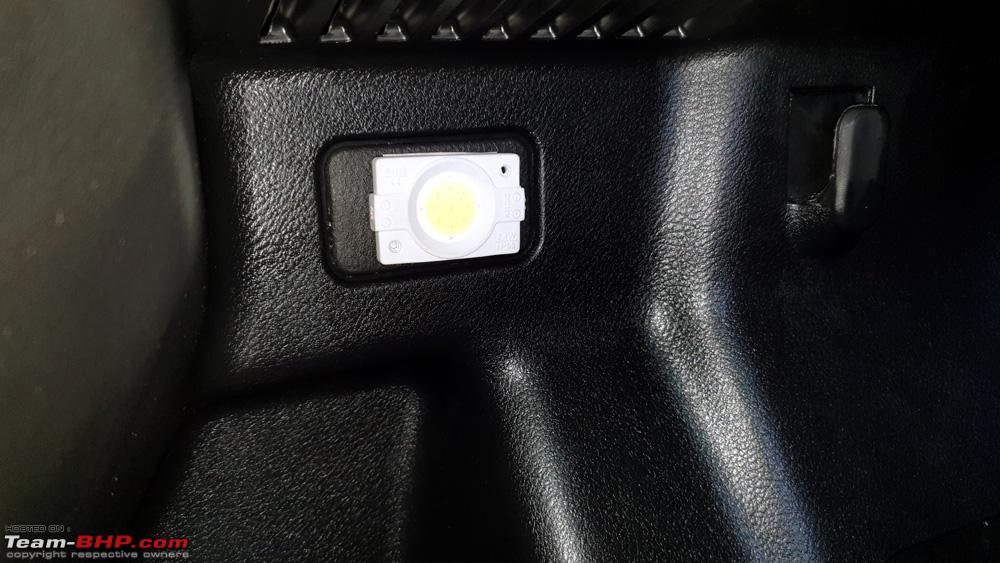
10. Plug the connector to the lamp and insert it into the slot.
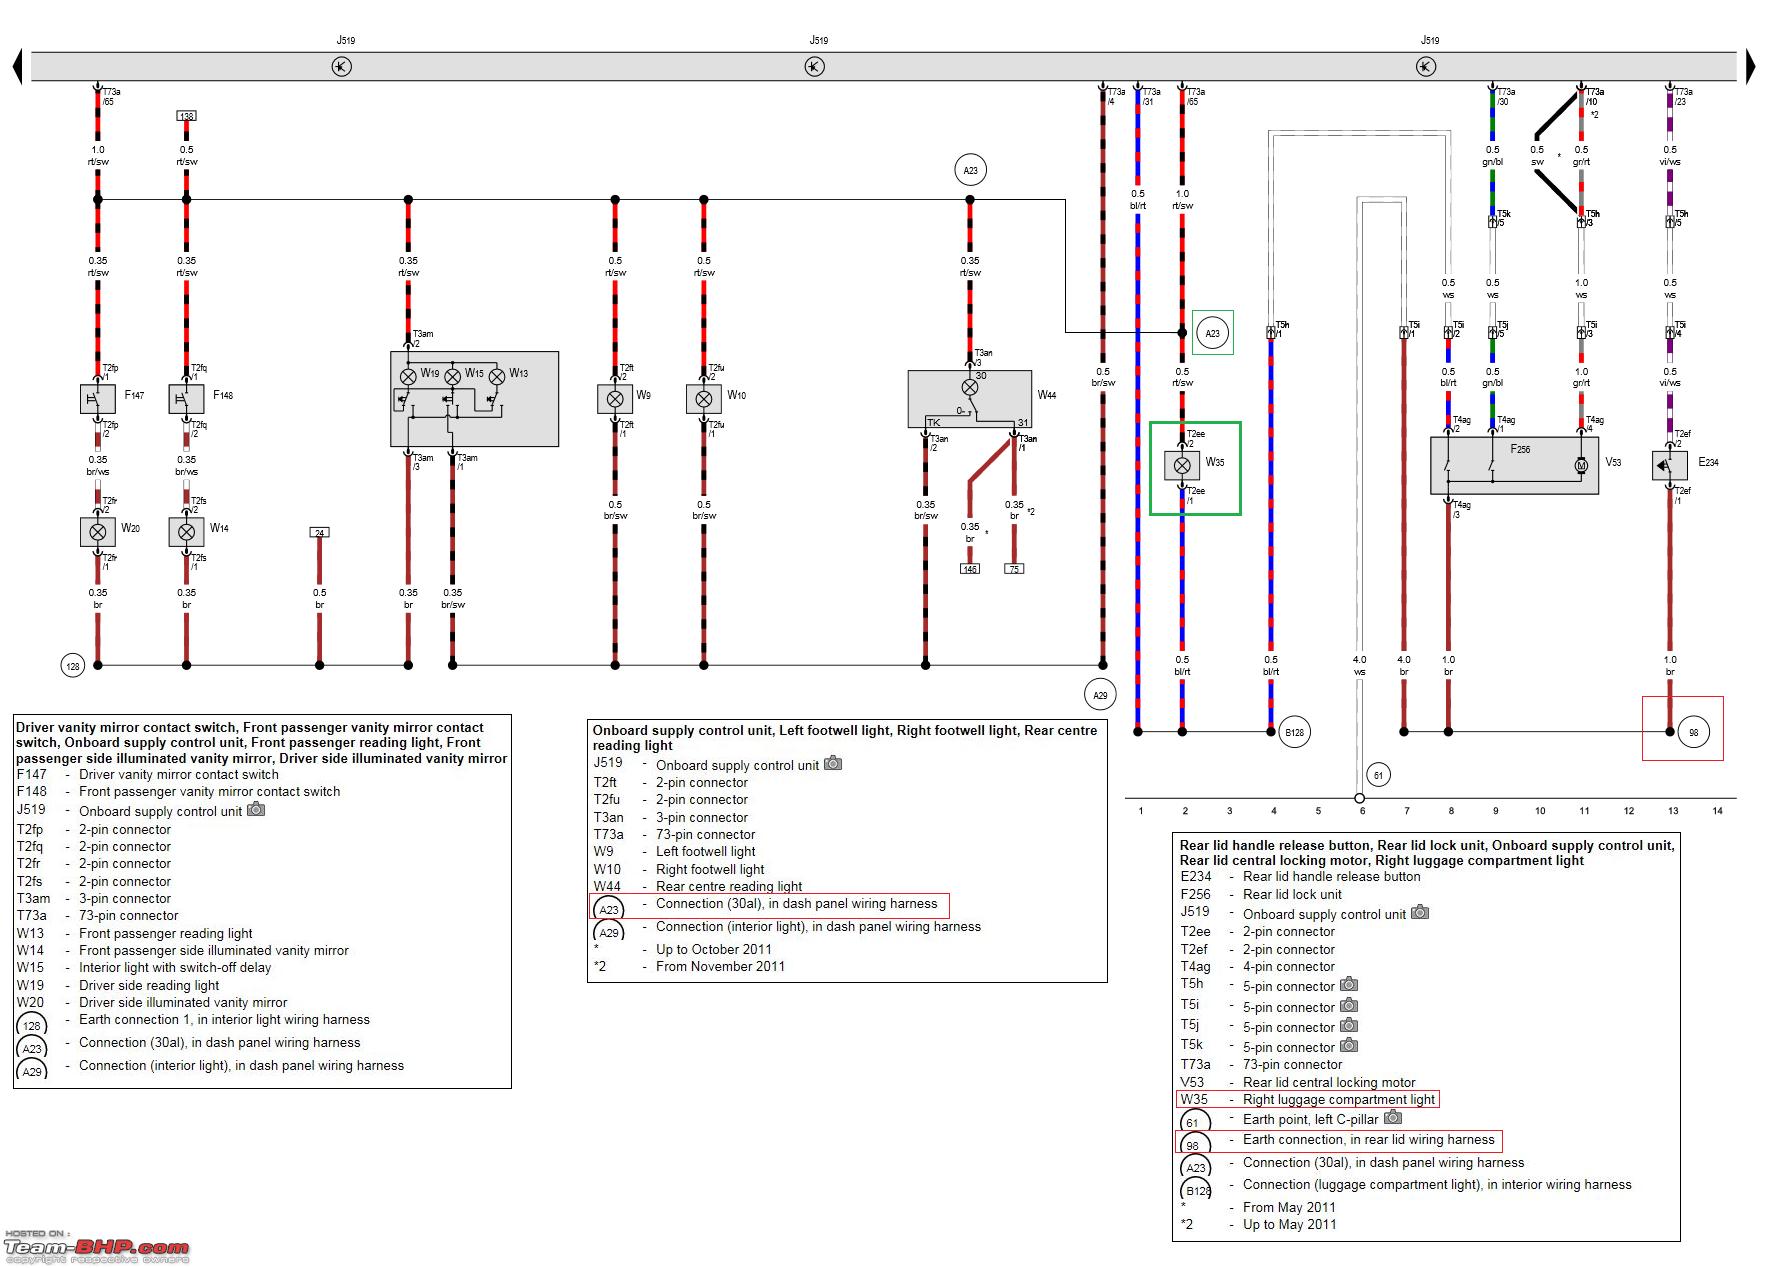
11. Connect the 2 bare ends to the luster terminal where the door-open signals trigger the cabin lamp.
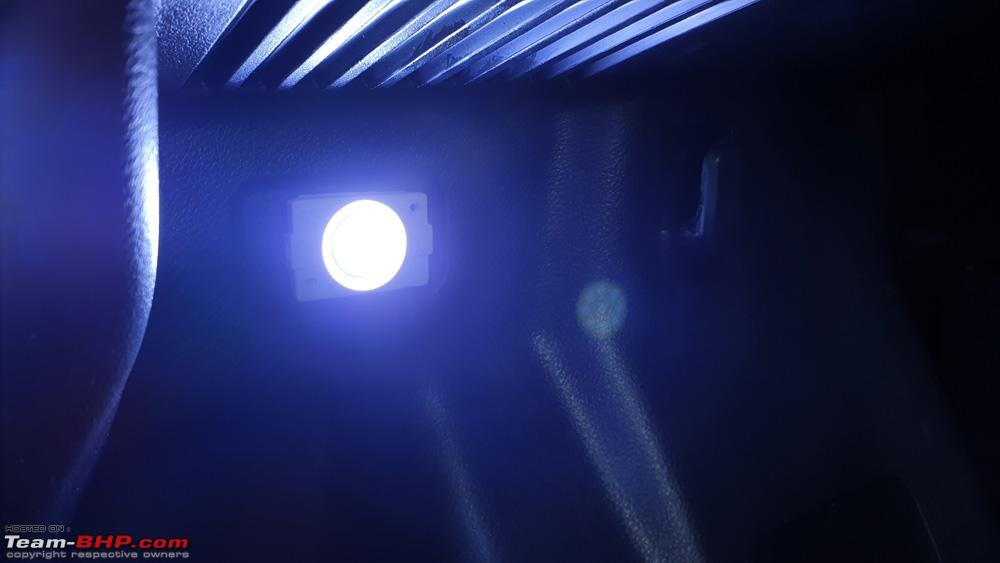
Check if the boot lamp lights up. If it's a bulb, polarities do not matter. Else you may have to reverse the festoon LED at the lamp OR reverse the terminals of the harness.
12. Replace the C-pillar trim, the boot trim at the top and the rubber beadings of the doors. None of these need any tools whatsoever. Just give the trims a solid knock once they are in place to ensure the V-clips lock in their respective slots. Screw the cabin light back in place and replace the diffuser lens. Test the light by locking the car and unlocking the door and the boot using the keyfob.
|
Originally Posted by Gannu_1
(Post 3741188)
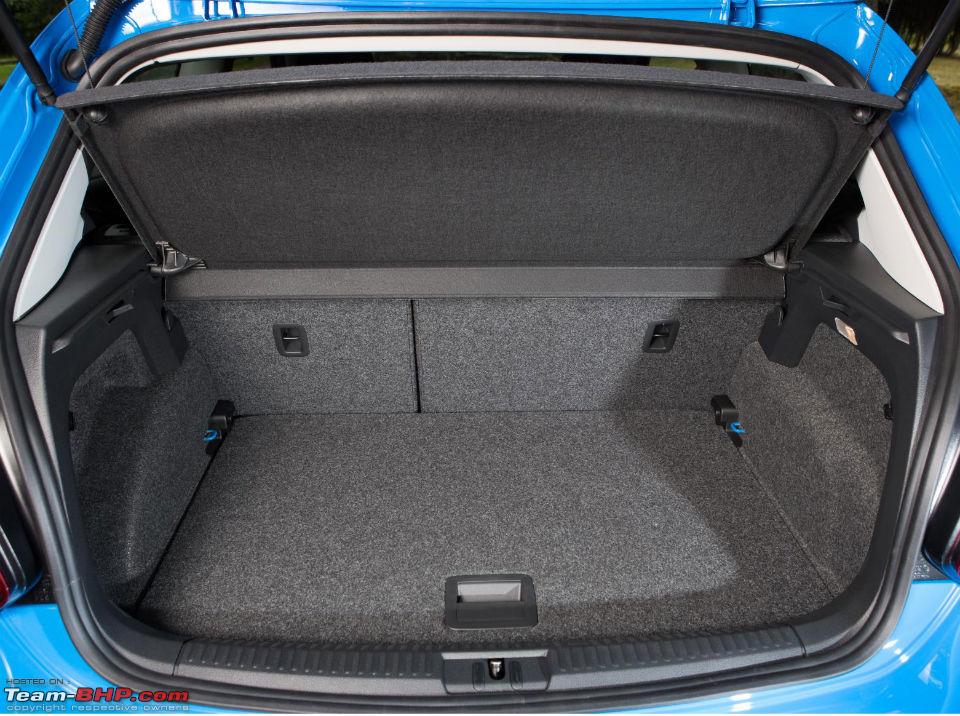
The VW Polo sold in India lacks a lamp in the boot whereas the one sold overseas gets one. Cost cutting? You bet! Thank you for reading! |
|
Originally Posted by Gannu_1
(Post 3741188)
The light ships with a 43 mm festoon bulb. I replaced it with an equivalent festoon LED. |
|
Originally Posted by sunilsoft
(Post 4540088)
Just wanted to know that the power wire will come from T73a/65 pin. |
|
Originally Posted by sunilsoft
(Post 4540088)
For Ground wire can we use any nut or metal contact point? |
|
Originally Posted by sunilsoft
(Post 4540088)
Where is connection 98 rear lid located. |


| All times are GMT +5.5. The time now is 20:24. |