Team-BHP
(
https://www.team-bhp.com/forum/)
Sharing a pic of my Debadged Freestyle.

Tjet. Now a sleeper.
De-badged my new ride, Skoda Rapid TSI MT Monte Carlo. As the car is one month old, it was very easy to remove the badges. Each letter is seperate, removed each one using a thread and washed with water. No residues remained after removing the badges.


Note: ignore the scratches on number plate, it is a gift from a cow.
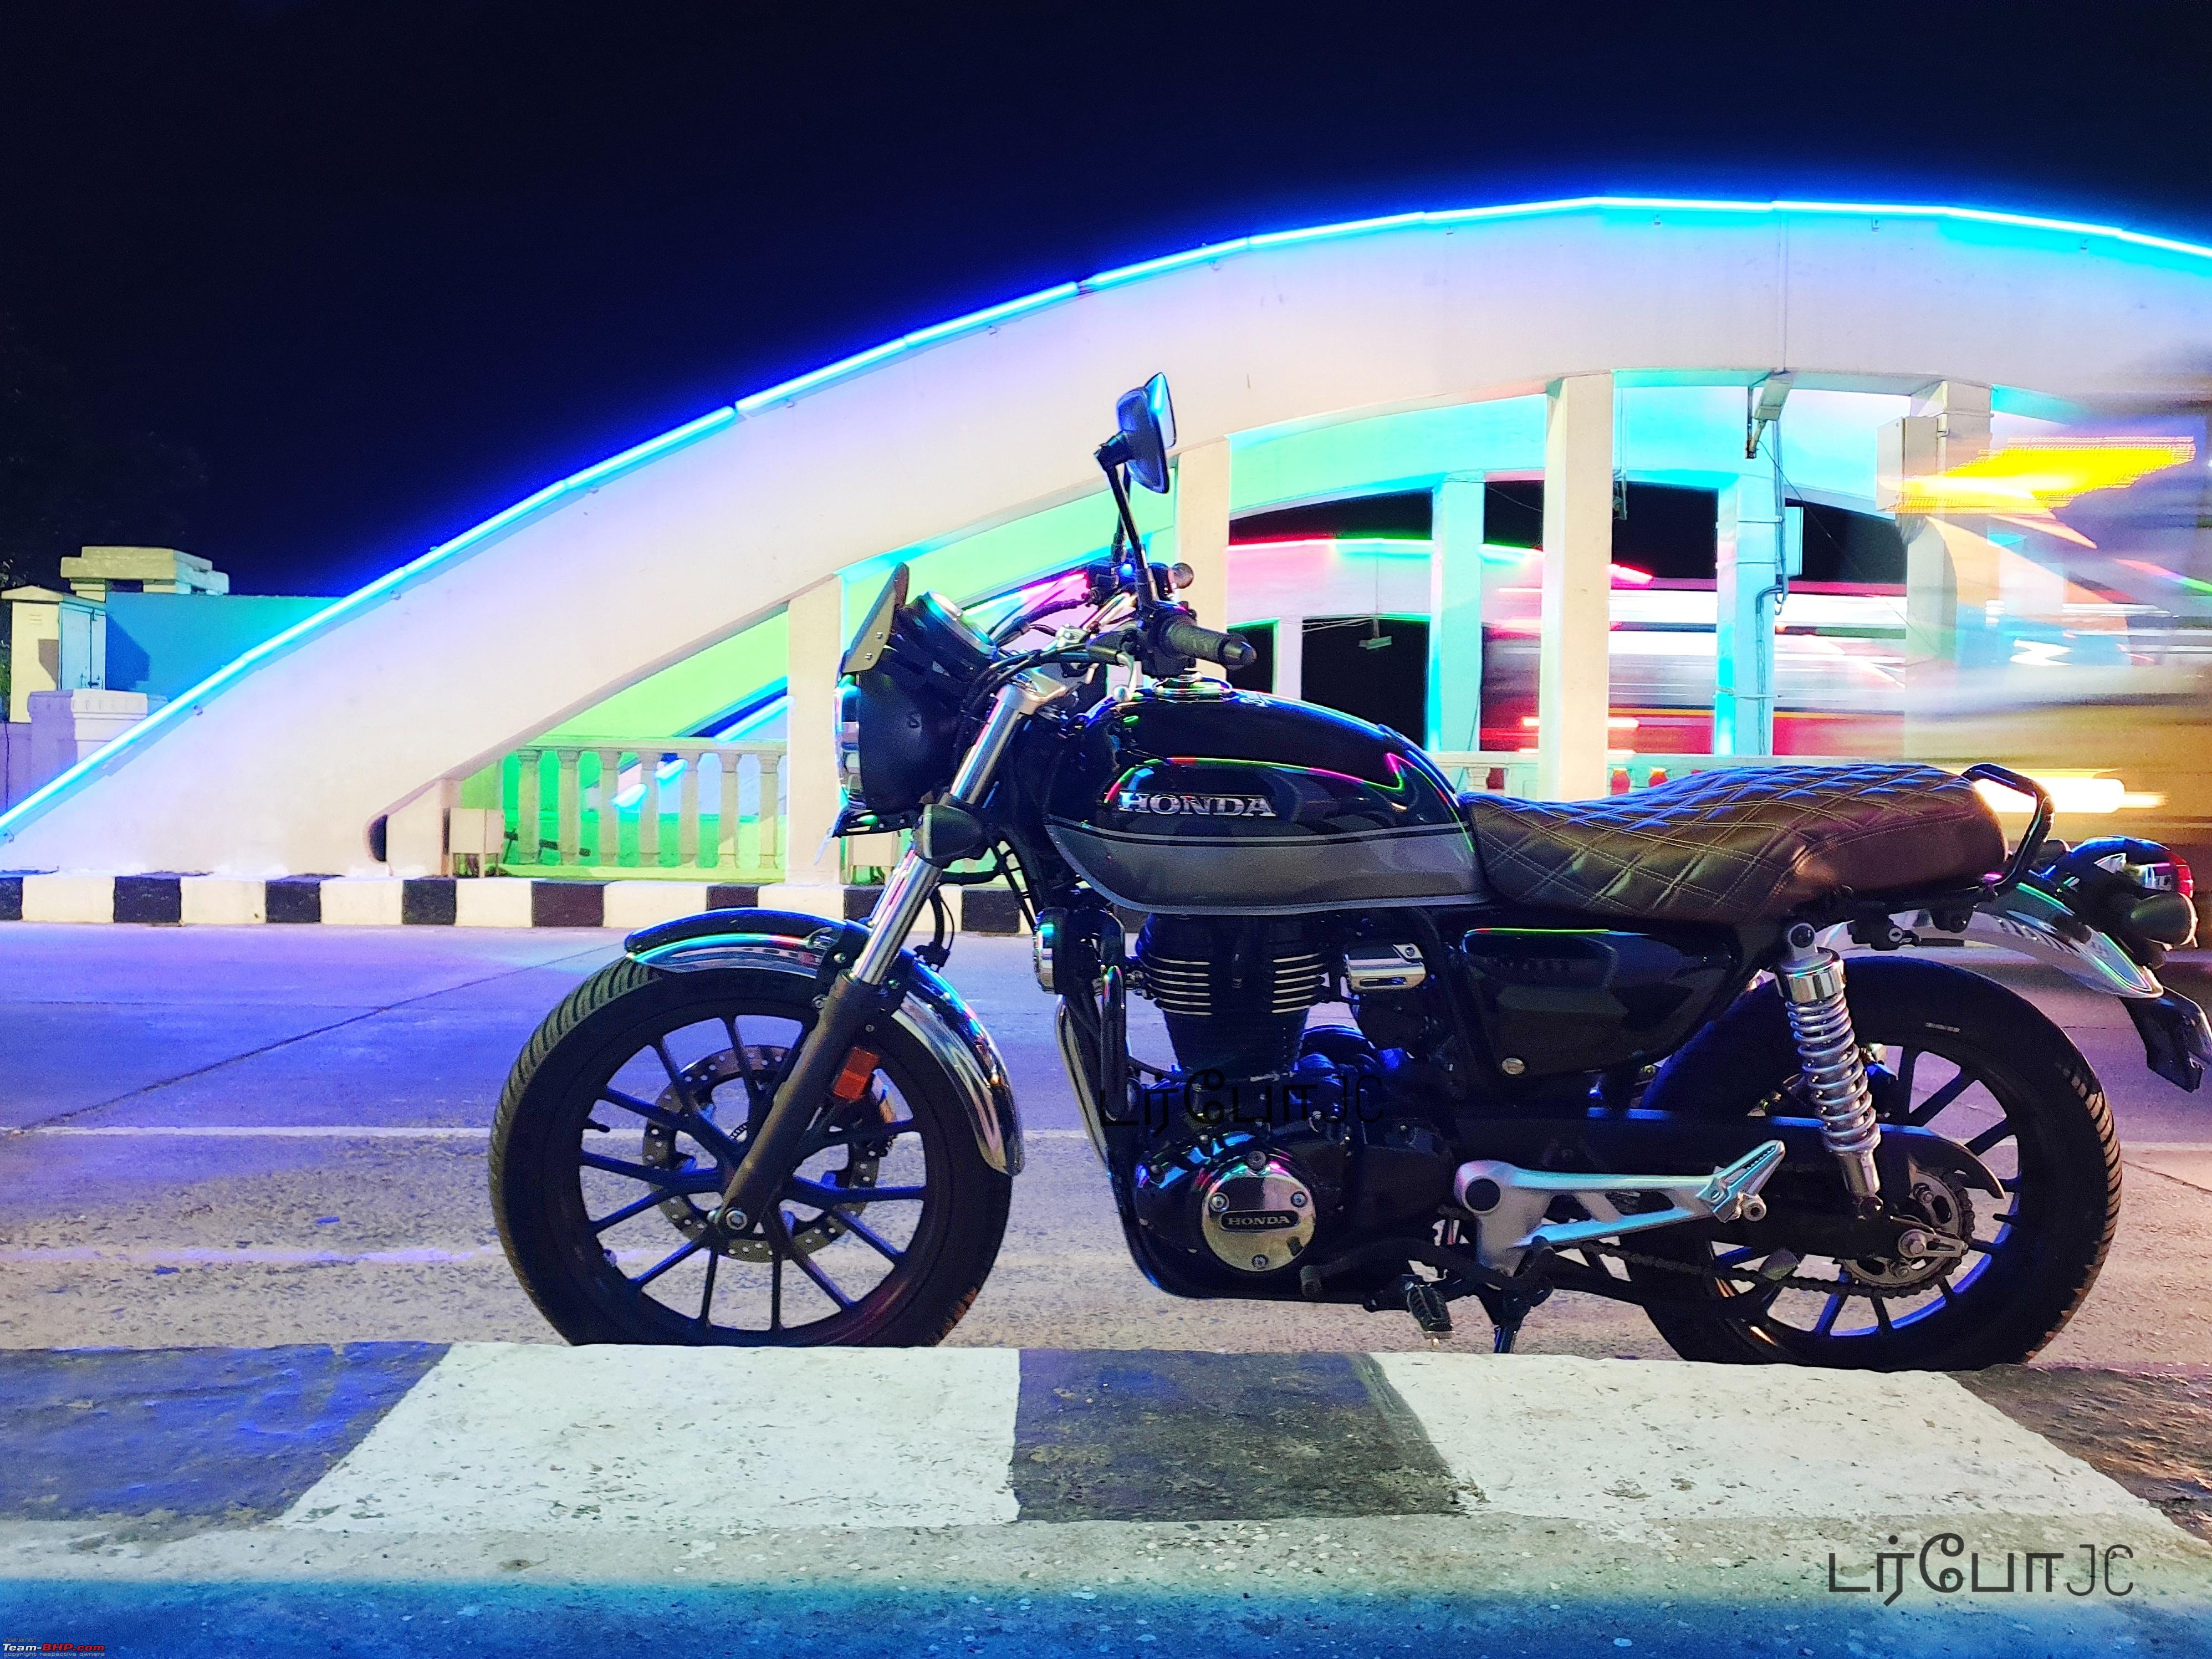
Hi everyone! I I recently debadged my Honda Highness CB350. Here's how I did it:
Materials/tools used:
Hair dryer
Dental floss
Microfiber cloth and cotton rags
Allen key to remove RH side panel
Time and patience :p
The process was pretty straightforward - I removed the side panels, applied heat on the inside, and worked my way through the adhesive underneath the badge with the dental floss. However, given that it's a relatively large emblem, there's a lot of adhesive to work with, and that takes a considerable amount of time.
It is easier to work with the side panels off the bike:  I applied heat from the inside, rather than on the painted surface:
  The LH side panel, post flossing (not the dance move :D) :
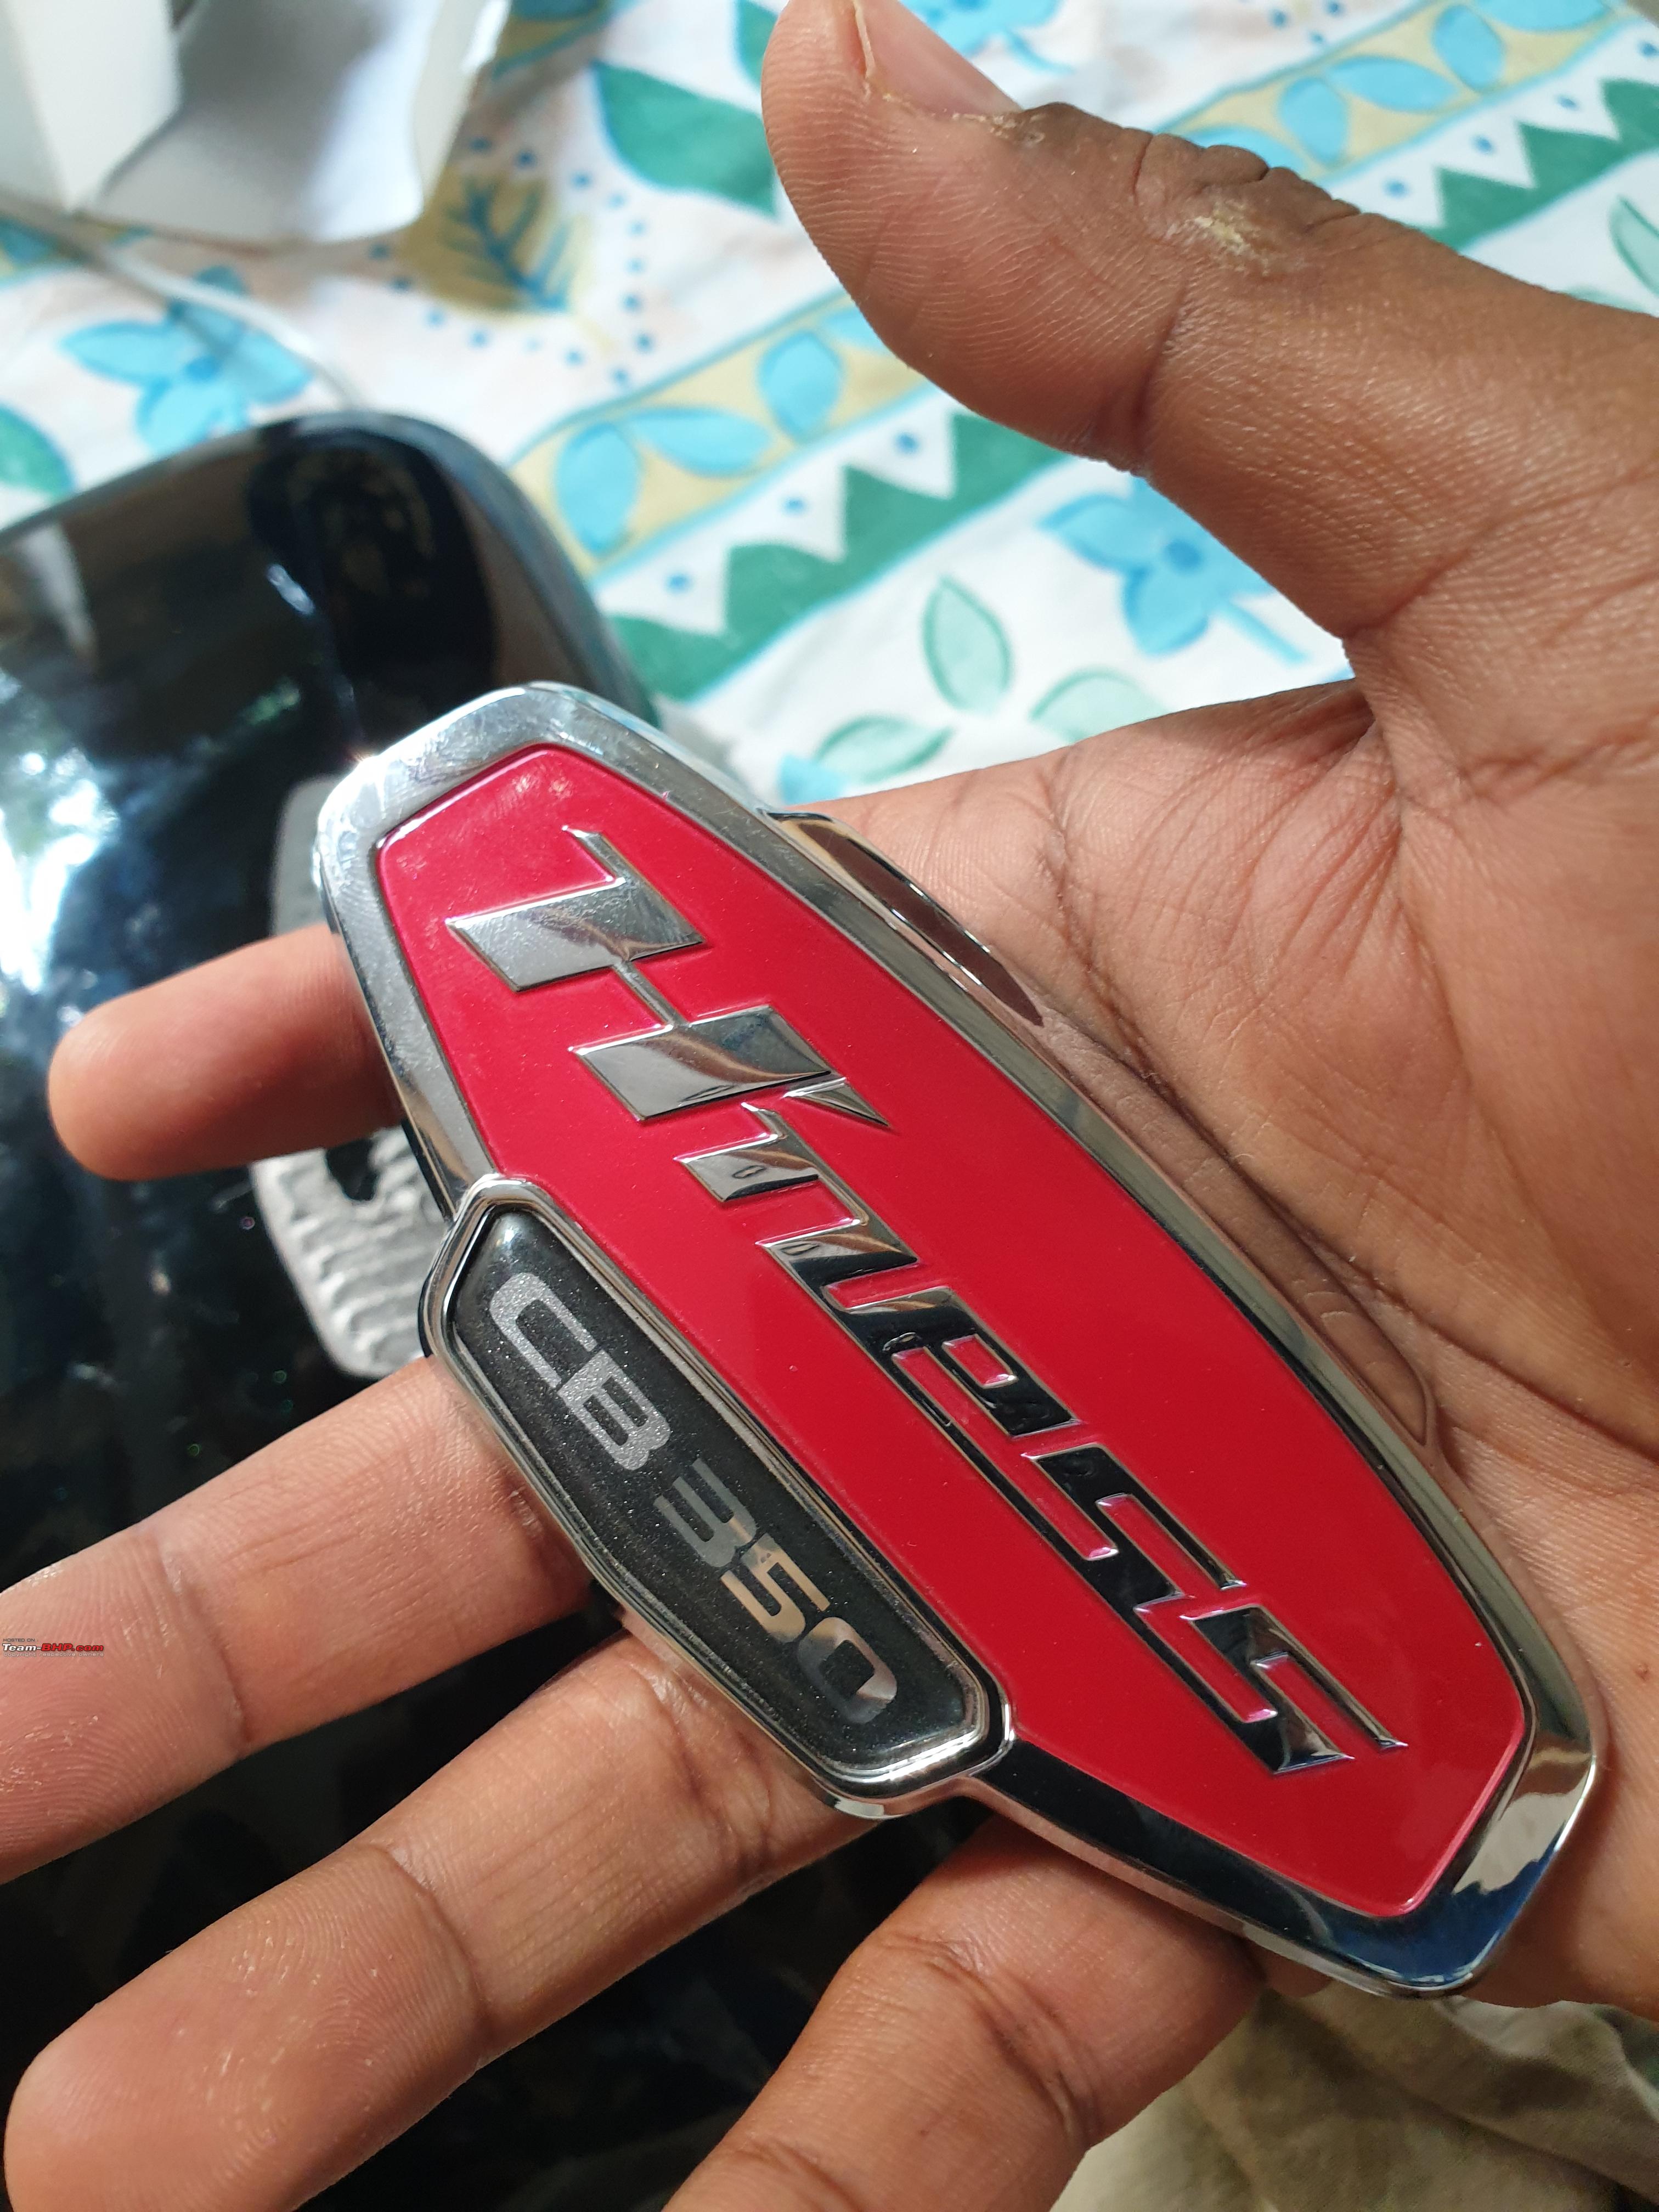
  One down, one more to go:
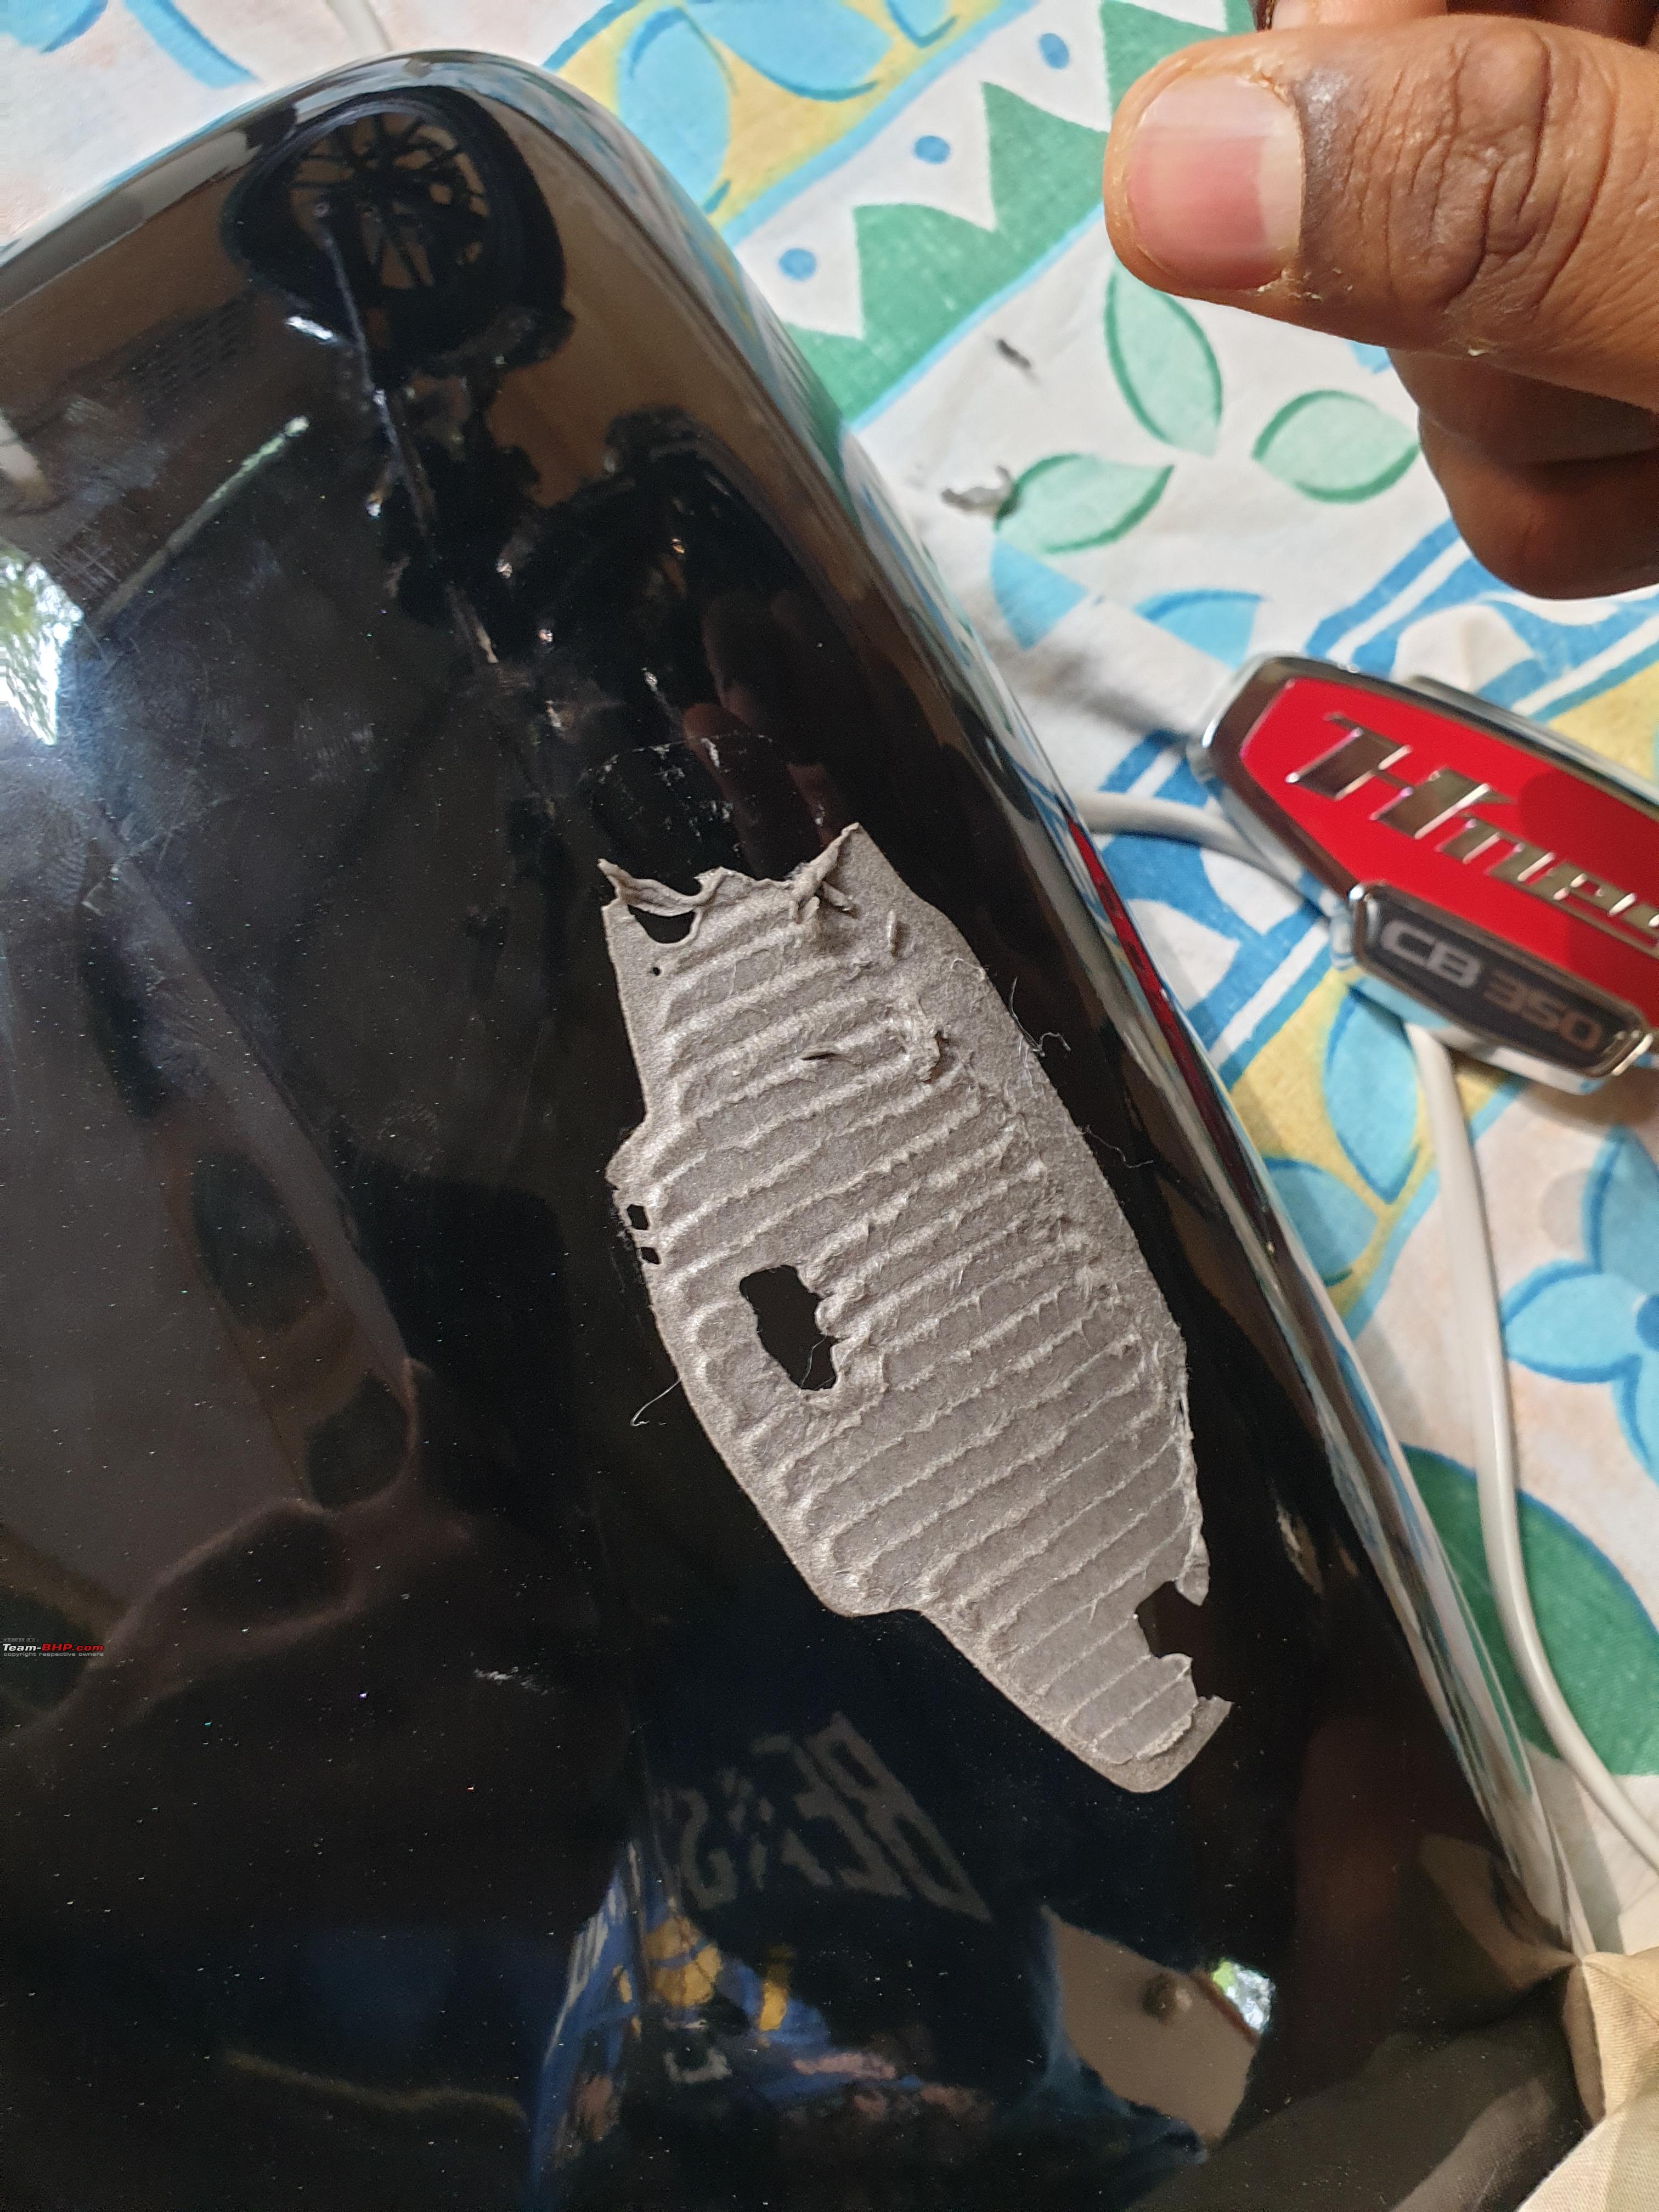
 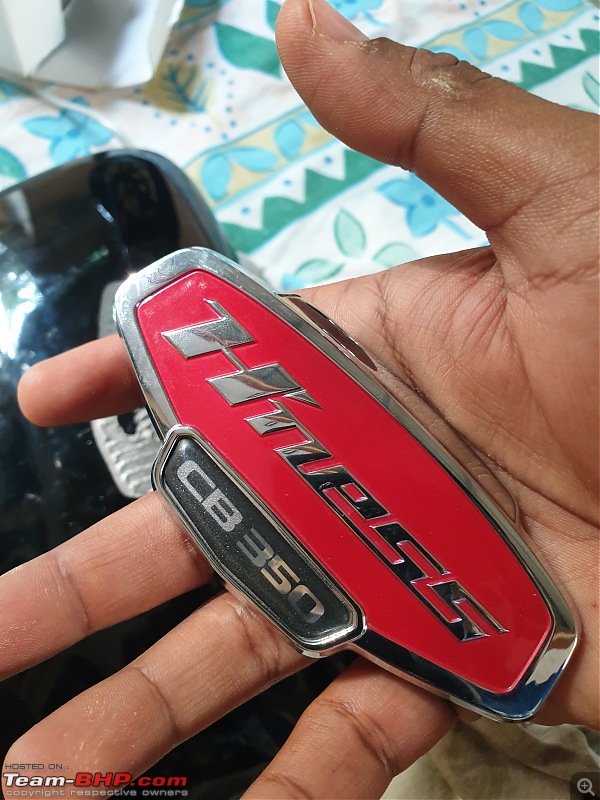 This is what the inside of the badge looks like:
Once the badge comes off, you'll be left with a large patch of adhesive to remove. The adhesive from the left-side panel came off quite easily, but the one on the right took me close to an hour of coaxing and cajoling with heat, soapy water, and cotton rags to get rid of. The entire process took two-and-a-half hours to finish.
Parts of the adhesive could be removed like a vinyl sticker, after applying a bit of heat:  The bike, prior to debadging:
  And here's what it looks like now:
Cheers!
| All times are GMT +5.5. The time now is 10:24. | |