Team-BHP
(
https://www.team-bhp.com/forum/)
Quote:
Originally Posted by ank_bhp
(Post 4589653)
My De-badged Tiago
|
Looks
HOT! Love the rims too. You should get a blackened roof.
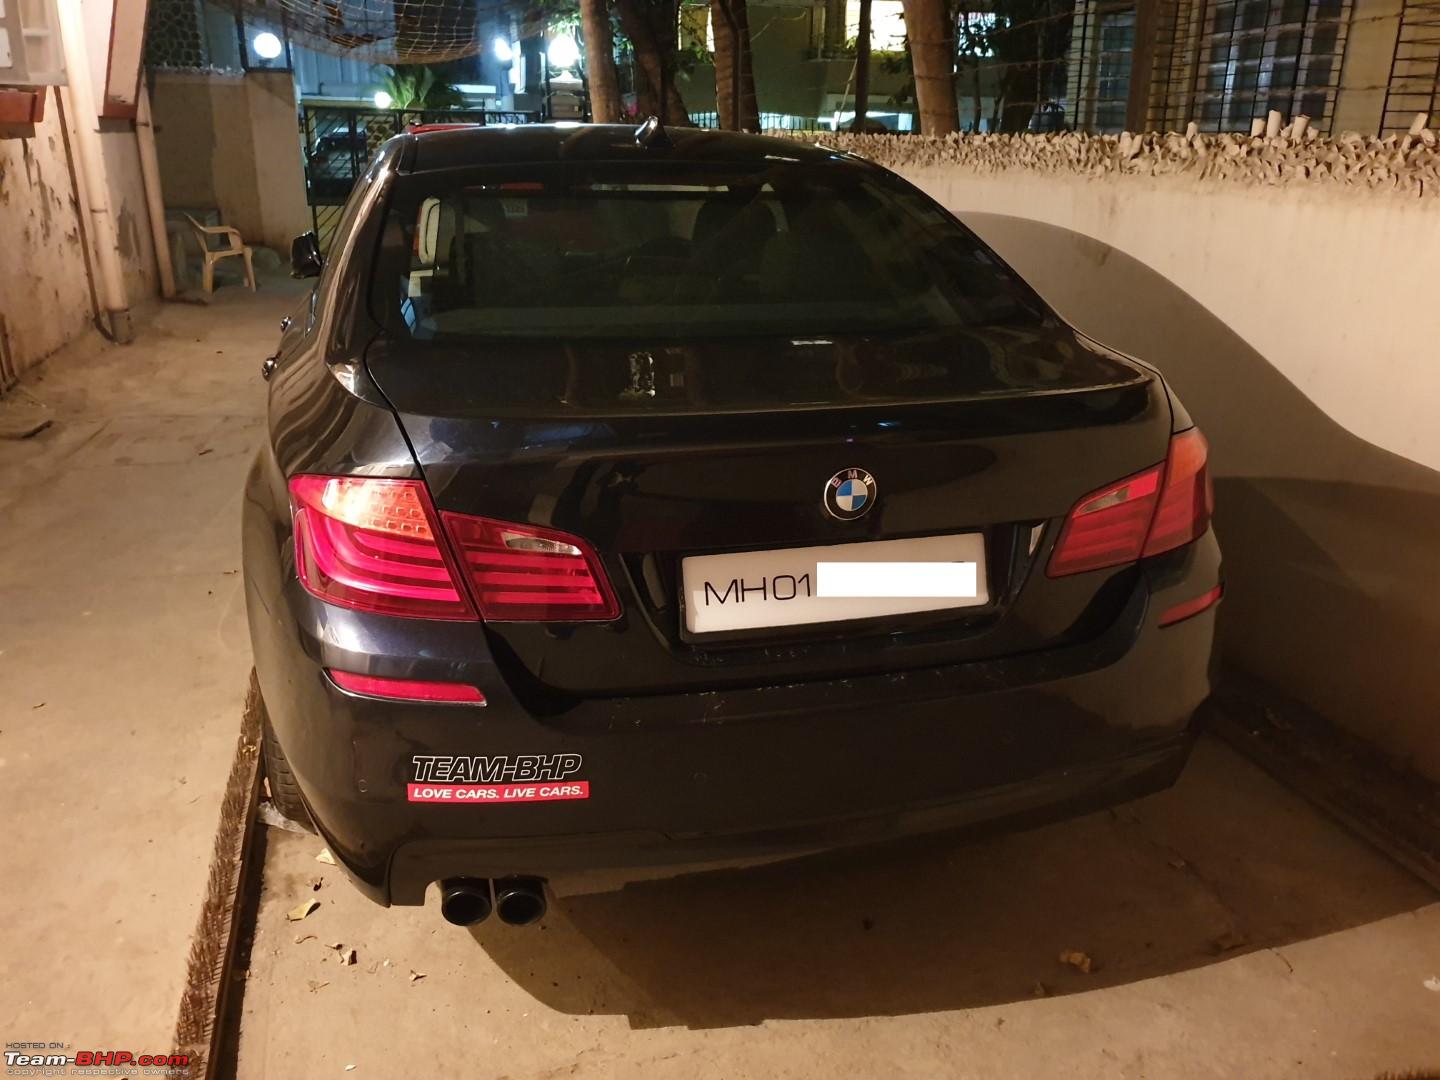
Sharing a pic of my debadged rides :thumbs up


Almost de-badged back of my car and one when it was new with too many badges. With the 'S' badge, it would have been just too crowded.
Quote:
Originally Posted by GTO
(Post 4590188)
|
Thanku! I had it earlier. But I removed it to get full coat through 3M.
Sharing my ride's images (semi de-badged)
Before  After
After 
Quote:
Originally Posted by tharian
(Post 4590200)
Almost de-badged back of my car and one when it was new with too many badges. With the 'S' badge, it would have been just too crowded.
|
The de-badged Aspire does looks better than the stock condition. I personally feel that the rear of the Aspire is really crowded and will myself go the debadging route soon.
Just a slight observation. Isn't the 'Aspire' badge too far from the corner? Personally I would like it to be at a little left, maybe where the 'Figo' badge was placed.
Quote:
Originally Posted by a4anurag
(Post 4613590)
|
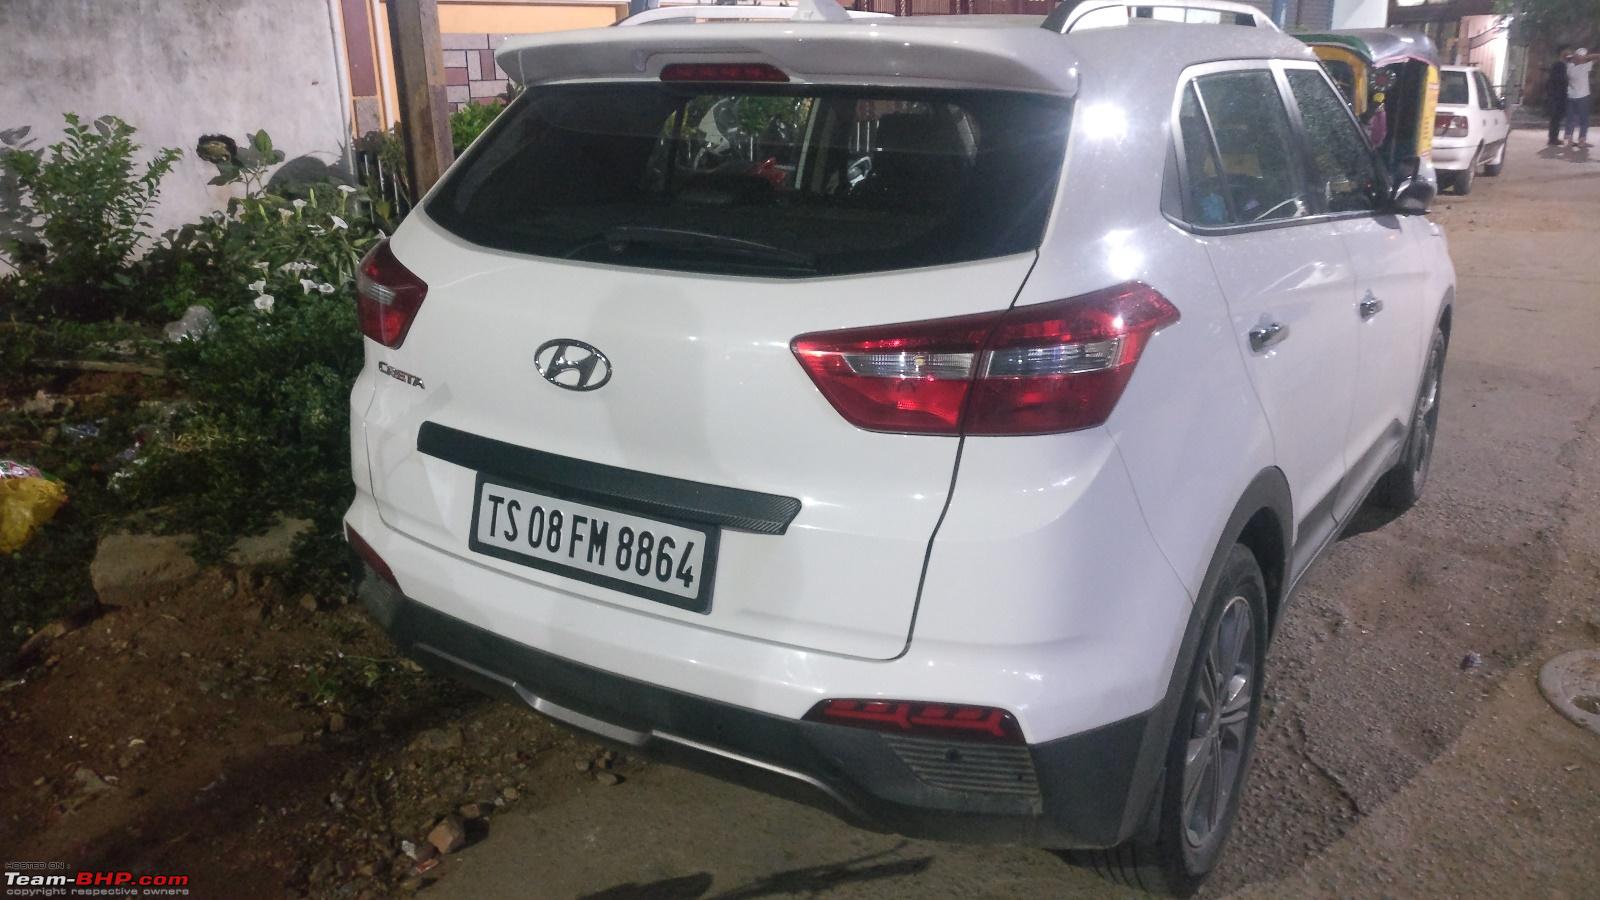
Sir, your Creta looks dope and after the removal of those extra badges, it does look sleek. :thumbs up
On a side note, how difficult is it to remove the left over glue from the paint if we plan to do it ourselves? I was planning to use WD-40 to get rid of the glue residue after I take off the badges.
Quote:
Originally Posted by MrBeast
(Post 4613602)
Sir, your Creta looks dope and after the removal of those extra badges, it does look sleek.
|
Thank you, sir. :)
Quote:
Originally Posted by MrBeast
(Post 4613602)
On a side note, how difficult is it to remove the leftover glue from the paint if we plan to do it ourselves? I was planning to use WD-40 to get rid of the glue residue after I take off the badges.
|
Once the badges were removed, we used the heat gun to loosen out the glue from the surface and used a bit of 100% Iso Propyl Alcohol (IPA) to further loosen the glue & a bit of Abro Bug & Tar remover spray to get rid of the glue from the body surface.
WD-40 didn't work as good as IPA in my case. Maybe in a 'new car', the situation would be different.
Honda City completely debadged, lending a clean and sporty look.
DIY Steps:
- Soften the glue using hot steaming (not boiling) water.
- Insert dental floss, tucked between index fingers and apply sawing motion.
- After the emblem is removed, wet the area with soapy water.
- Use a plastic object to remove residual glue, keep adding water as the area dries.
- Rub the area with thinner.
- Apply wax polish and let dry.
- Wipe off wax polish.
Quote:
Originally Posted by ank_bhp
(Post 4589653)
My De-badged Tiago
|
Hey that looks neat. Cool choice of alloys too I must say. I'm sorry I'm awfully late but just stumbled on the thread.
If I may ask - your's seems to be a trim below the XZ/XZA etc (assuming since there is no rear wiper). Yet - you seem to have a very useful rear fog-lamp. Did you install that after-market? How have you wired it? Is it tapped into some existing wiring at the back? Or you have done a a separate wiring harness? If yes, would you mind telling where you have run the wiring for that from towards the engine bay? Thanks!
Quote:
Originally Posted by Reinhard
(Post 4678822)
Hey that looks neat. Cool choice of alloys too I must say. I'm sorry I'm awfully late but just stumbled on the thread.
If I may ask - your's seems to be a trim below the XZ/XZA etc (assuming since there is no rear wiper). Yet - you seem to have a very useful rear fog-lamp. Did you install that after-market? How have you wired it? Is it tapped into some existing wiring at the back? Or you have done a a separate wiring harness? If yes, would you mind telling where you have run the wiring for that from towards the engine bay? Thanks!
|
Yes, my vehicle trim is XT
The wiring is attached to number plate light.
Joined the debadged bandwagon.
Love how clean and macho my mojo loves now :)
A car audio guy put a few badges on the back of our car after an install hoping to impress us I guess.
They looked bad and moreover Our Safari is a 4x2 vx.
So that didnt make sense..
Heres a before and after.:OT
Not a debadging by any means,
Just made some space for some teamBHP stickers.
lol:
Here is pic of my debadged Octavia. The debadging was done for a clean PPF install and after checking this clean look I decided to keep it that way

I am a huge fan of de-badged cars.
It is a big thing where i live and almost 80 percent of German cars here are de-badged and most of them have a chrome delete as well. Looks super sexy IMHO.
Sharing a picture of my de-badged ride below. A full chrome delete is in the pipeline.

Never been a fan of the current trend with car names written with huge gap between them, I decided to remove the 'V E N U E' and 'SX' badge and keep the 'Hyundai logo' and the 'Turbo' badge. Heated it first and then removed it with a thread and as it was a new car it wasn't too difficult, but getting the gum off completely without a scratch needs patience.
For quite some time, I had the plans for debadging my ride. But I kept on postponing it due to my laziness.
:D
But, recently when my i10 was parked in town, some miscreants had stolen one of the badges and broken another one into half while removing.
:Frustrati
So, I went ahead and removed the remaining badges and it's residues by following the process mentioned in this thread.
Before: (A old pic from 2019)
 After:
Additionally,
Satisfied with the outcome, I took the plunge and debadged my 7 months old Duster as well.
Before:  After:
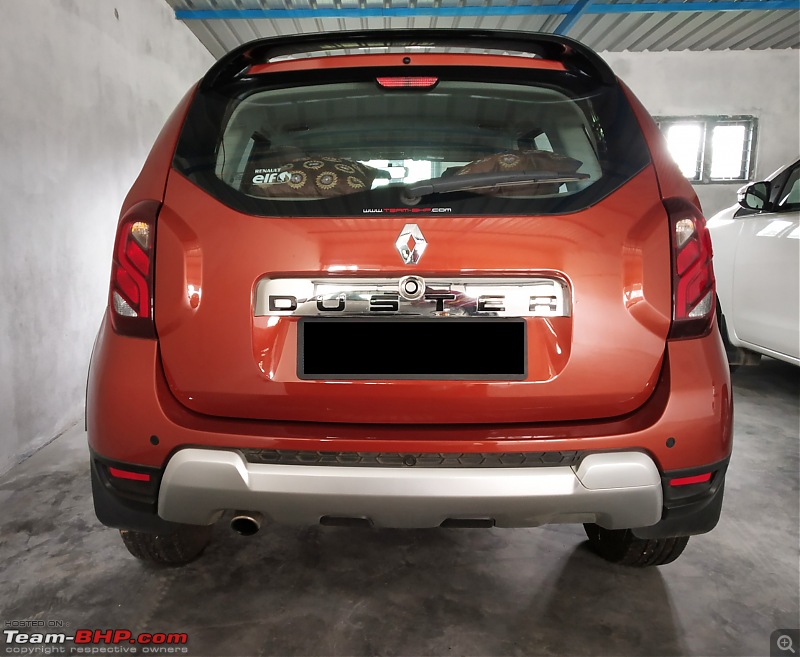
| All times are GMT +5.5. The time now is 23:36. | |