Hi Everyone,
During the past few months, I have been concerned quite a lot about safety and security, especially since we live in Gurgaon, and the Delhi NCR region is really becoming notorious and no amount of security is enough. We live in an independent house, inside a gated colony with security guards, but I just don't feel safe enough with that.
So, I decided to secure my home on our own and with this thread, I am going to try to share my learning experience with everyone so that if they also wish to do so, they can implement the same techniques in their homes.
The scope of these security improvements covers:
1) Electronic surveillance
2) Intrusion alarms
3) Motion sensors and security lighting
These are the three main technologies that I have used to secure my home and I will try to explain the basics and the installation details for each of these!
1)
Electronic surveillance
This basically means viewing (Through Cameras and screens) remotely the happenings in any given surroundings where the cameras are installed and also recording for future view, if the DVR has a HDD for storage.
These are available in many different video protocols and typically for home/ small office use H.264 is the most popular , while for commercial applications, like hotels , airports etc, MPEG is the standard, as it also allows still capture.
Electronic surveillance also can be done real-time (without recording), where you have security watching all the time all the areas, or could also have the added feature of Digital Video recording (DVR) with a HDD, which typically records continuously the feed from all the cameras and stores it (depending on the size of the HDD).
(Pic Courtesy: homesecurity361.com)
Cameras are also available in different technologies, Analogue, Digital, IP Cameras, PTZ Cameras (Pan-Tilt-Zoom)
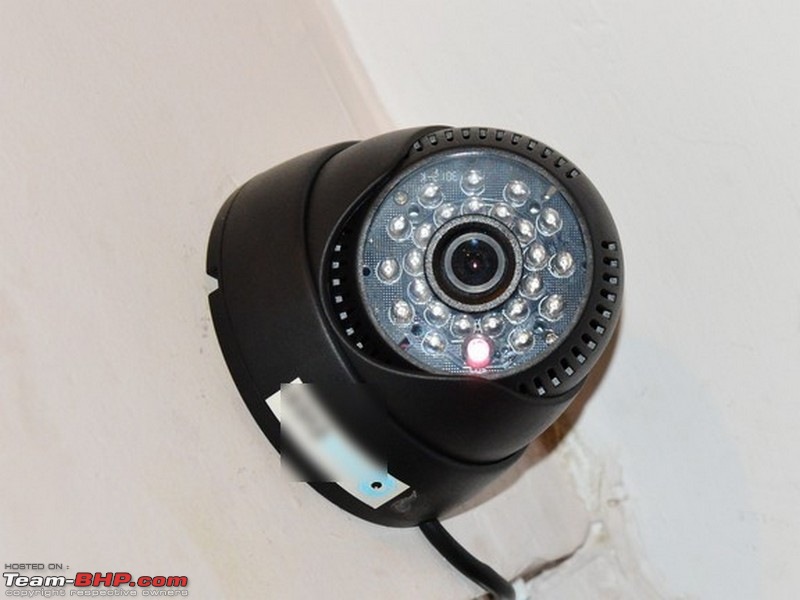
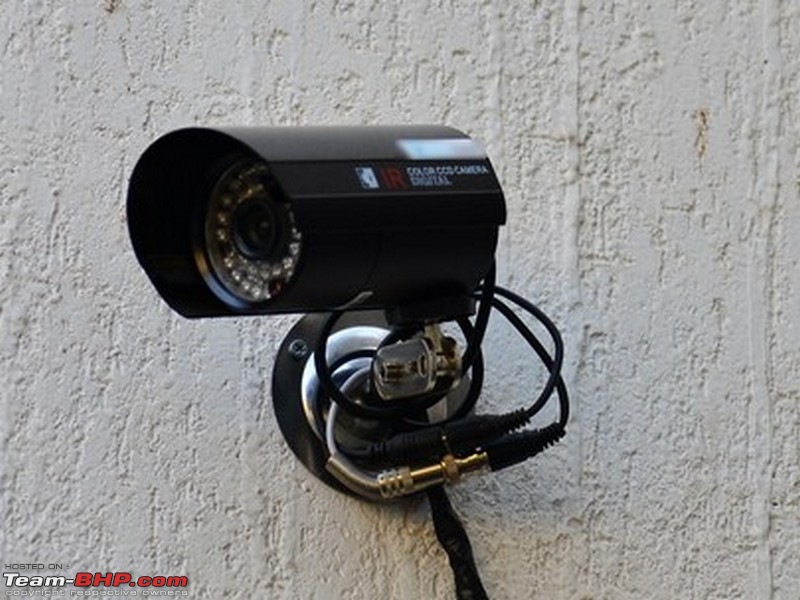
Analogue cameras are the cheapest and also available with Night vision capabilities and as Indoor and Outdoor versions. Indoor cameras are mostly Dome cameras and outdoor cameras come with a special weatherproof housing to protect them from rain and dust.
Indoor Analogue cameras are available ranging from 1000-3000 Rupees, depending on the quality (Generic Chinese makes), while outdoor cameras are available ranging from 1500-4000.
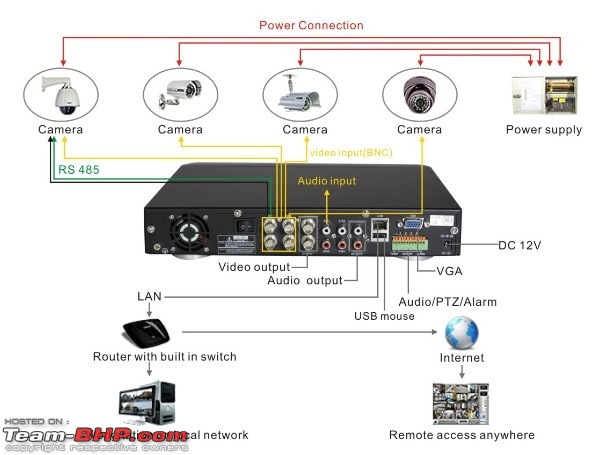
The heart of the system is the DVR unit, which takes the feeds from the cameras and displays it, and if it has a HDD, it records all the feeds. Typical 4 Channel DVRs come in the range of 5-10K. Add to this the cost of a 500GB HDD (SATA) which is normally available in the range of 4.5K. DVRs are typically available with 4/8/16/32 channels.

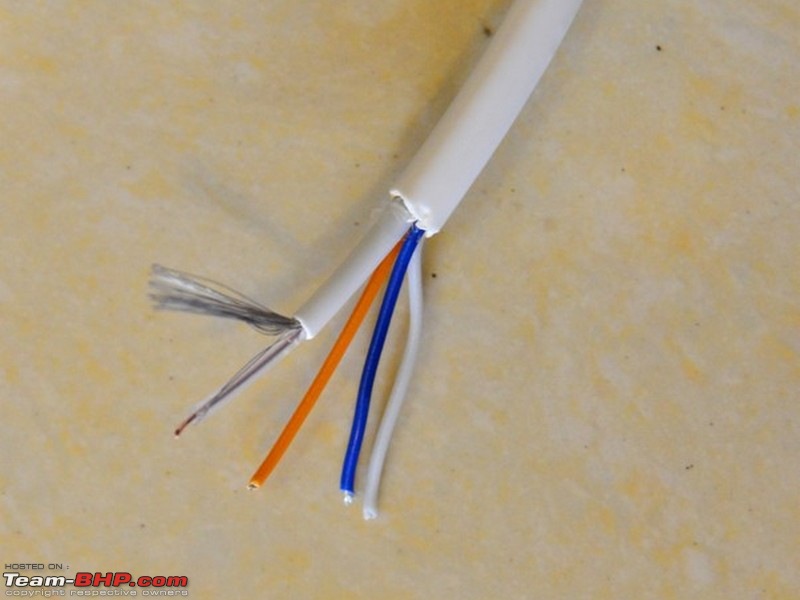
Next comes the cabling and the connectors which are required for this setup. CCTV cameras need a special cable - which has one core Coaxial cable and three cores copper cable in the same jacket.
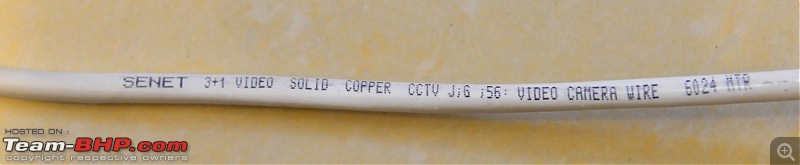
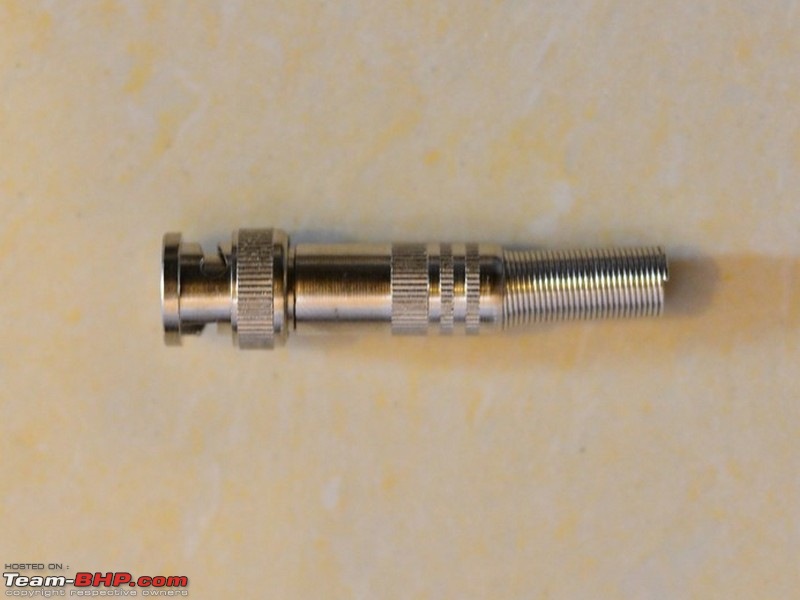
The Video is sent over the coaxial cable and the power for the cameras comes from the single core copper cable. Also, special connectors called as BNC connectors are used for connecting the video cables to the cameras and the DVRs
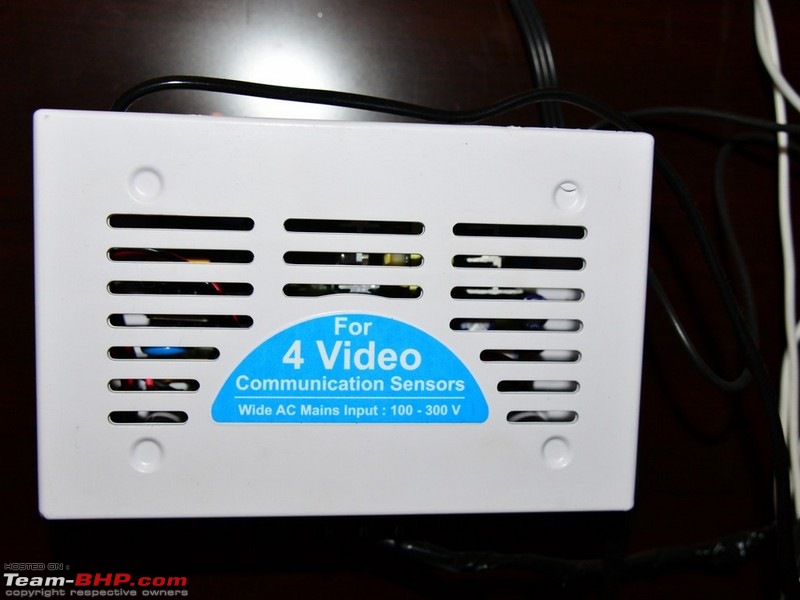
There is also a power supply required for the camera, which is typically 12V DC and power supply units can power 4/8/12 cameras depending on their power capacity.
The typical BOQ that you will need to setup a 4 channel Home surveillance system will be (along with Typical cost of each I could get in Delhi)
1) 4 Ch DVR with Power supply -5500
2) 500 GB HDD (to be installed in the DVR) - 4400
3) 4 cameras - 1 Indoor + 2 Outdoor (or as per your requirements) - 8000
4) CCTV Cabling (Typically avl in 80m rolls) and should be enough for a home installation - 1200
5) BNC connectors (8#) + 2# extra (some DVRs also need a BNC for connection to TV monitors) + power connector for Camera - 200
6) A TV / Monitor to watch the feed and setup the DVR - I already had a small 7' monitor lying unused. Typical 14" LCD monitors are available for 5-8K.
7) Power supply for the cameras (capacity depending on the number of cameras) - available around 1K
8) UPS for the DVR - 2.2-3K
In all the total setup for the above should come for around 25K (including the Monitor). You may be able to get better rates for lower quality products, but it is better to buy mid-range products rather than the cheapest available.
(I am currently using only 3 channels as I needed only three cameras)
Now coming to the installation:
You will need some basic tools for the installation - An electric drill, Screwdriver set, Insulation tape, Cutting and crimping tools (or pliers) and plastic wire clips (6mm) - 100#
The first step is to identify the location where you would install your cameras. For indoor cameras - please install only in open circulation areas where privacy of anyone is not violated! I have installed my Indoor cam in the entrance lobby and it also has a view of my drawing and dining areas.
Outdoor cameras have to be installed preferably in a place where there is an overhang above to shield them from direct rain and sunlight. Also one must be careful that direct sunlight must never enter the camera as it will spoil the sensor and render it useless.
After you have selected the locations (in your mind!) , you need to think about the wire routing. You may need to drill holes through walls to route the cables. Basically each cable from the camera will go back to the DVR. This same cable will carry the power for the camera as well as the video signal to the DVR.
Once you have a good idea on the location on the cameras and the cable routing, you can get started with the installation of the cameras.
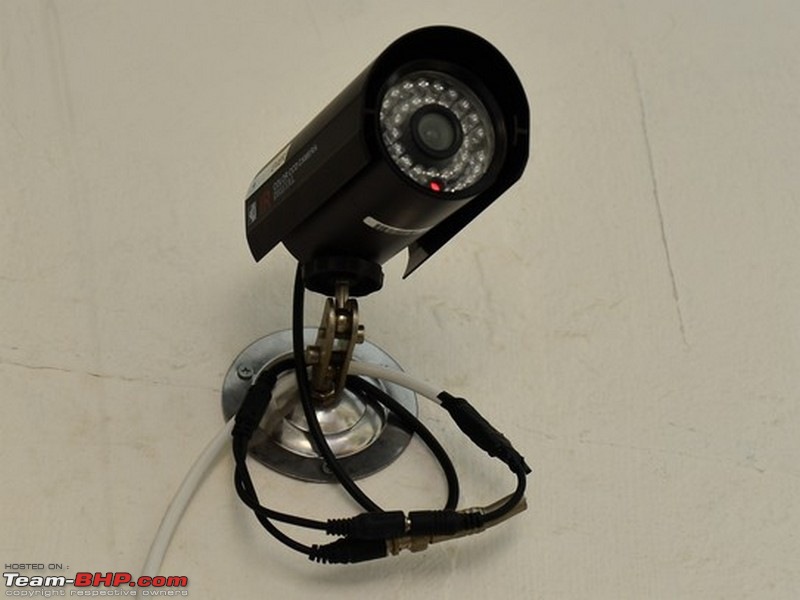
First fix the brackets of the cameras on the wall/ ceiling and then fix the cameras to the brackets. Also, fix the BNC connectors to the Coaxial part of the cable and the Red and Black cables to the power connector of the camera. There is also a white cable in CCTV cabling , which is used only for PTZ cameras. With fixed cameras, leave it free.
After you have finished installing the cameras and the cabling (running the cables till a common point where the DVR will be installed), it is now time to install the DVR.
For the DVR, if you are going to use with recording, you need to install the HDD in the DVR. This is a fairly simple job, but you need to do it carefully as the HDD is susceptible to damage from static electricity and shocks.
Open up the DVR (typically there will be 4-5 screws) and look for two connectors - one is for the Power to the HDD and the other is for the Data. The connecting cables come with the DVRs and the interface used is SATA (do reverify this when you buy your DVR).
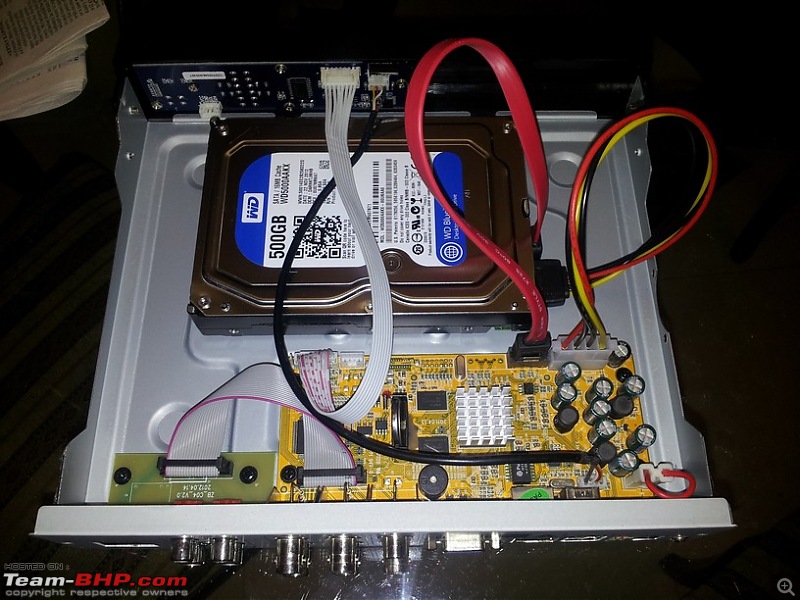
Fix the HDD connector cables and then fix the HDD to the housing with 4 screws and close the DVR.
For HDD size requirements, you can calculate the size of the HDD required as below:
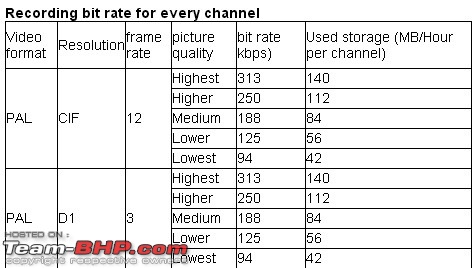
Total Recording capacity =Used Space Per Hour (MB/h) × recording time (hour) ×channel numbers
For instance, if one sets resolution to CIF, video quality to Lower, frame rate to 12 fps and enabling total 4 channels and he wants the unit to record continuously in a month, Below is the calculation:
Total Recording capacity required =56.4 (mb/h) X 24(hours/day) X30(days) X 4(channels) = 162,432(MB)or ~ 160 GB HDD.
After this, connect the BNC connectors to the Incoming cables and the power supply to the power cables from the cameras. The power supply unit and the DVR need to be kept close to each other as the same camera cables will be split into two parts - coaxial part to the DVR and the power to the power supply unit. Then connect the LCD monitor to the DVR.
Then connect the power supply of the DVR, camera power supply unit and the LCD monitor to the UPS (It is important to have a UPS, as power failures can cause HDD failures).
Now the system is good to go and if all the connections have been done properly, you should be able to see the feed from all the cameras on the Monitor. Most DVRs also come with a Mouse to control their menu navigation which you can use to change the settings in the DVR. Most DVRs are also Internet capable, which means that you can also view the feed remotely over the internet from the cameras (I am still working on this part and will share the details once I set it up!)
2)
Intrusion alarms
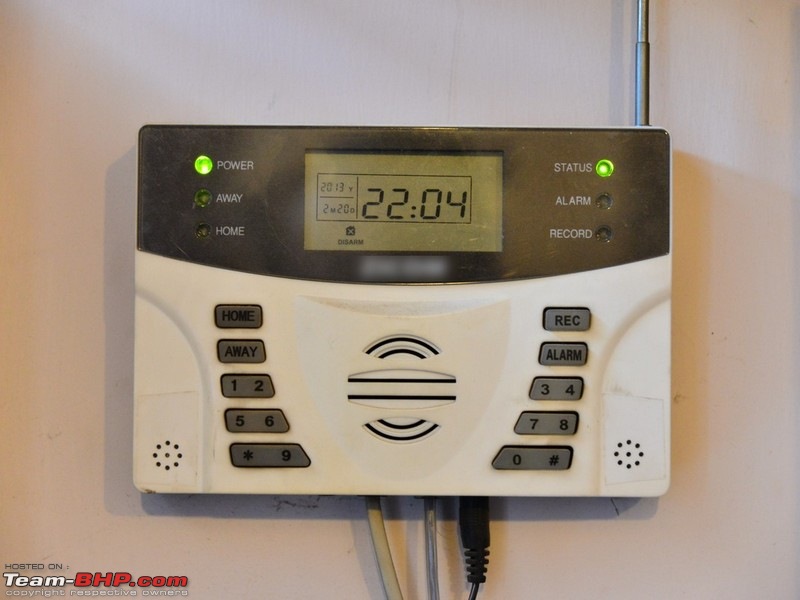
These are simple home security systems that rely on different sensors installed in different areas to check for intrusion and then raise an alarm.
Home security systems typically use PIR sensors (passive Infrared sensors) for motion detection. These PIR sensors don't emit any waves and rely only on Infrared emission from our bodies on account of different temperatures from Surroundings. If it sees any movements in the infrared picture, it triggers the alarm.
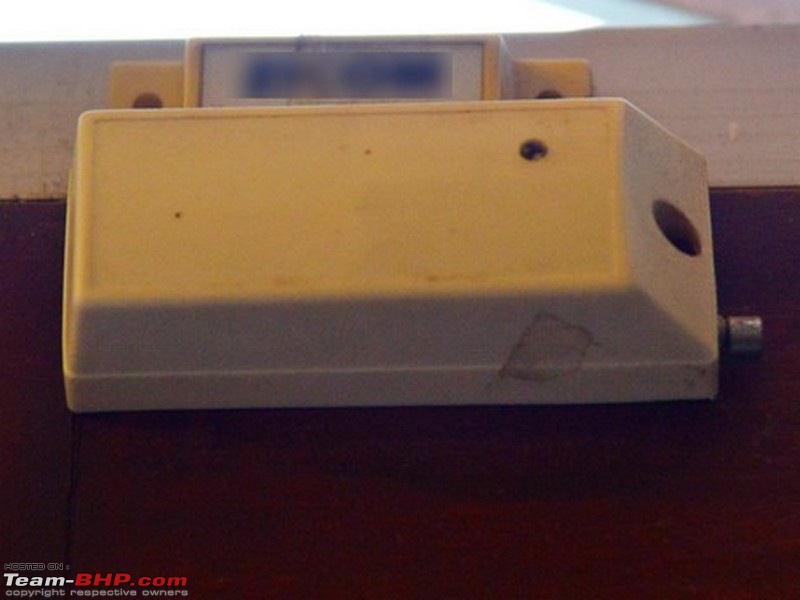
The other sensors used are Magnetic door and window contacts. When a door/ window is opened the contact is broken and the alarm is triggered.
Some systems also come with a Gas leak sensor which can help in detecting Gas leaks (LPG) in the kitchen. LPG is a heavy gas and these should be installed near the floor level.
Most commonly available systems use RF communication for the sensors, so you don't need to run any cables from the sensors to the control panel and the sensors run on batteries which last upto two years.
How the system works is that it depends on the sensors to detect intrusion when the system is armed - which can be done with the remote arming/ disarming keys or via the panel.
Once the system is armed, it continuously monitors all the sensors and if an intrusion is detected, it raises an alarm.
This system can also be connected to the telephone line to inform you automatically that an intrusion has occurred. Most companies in India typically configure this to call their call centre after which they will call you and they tend to charge a hefty service fee for this.
3)
Motion sensors and Security lighting
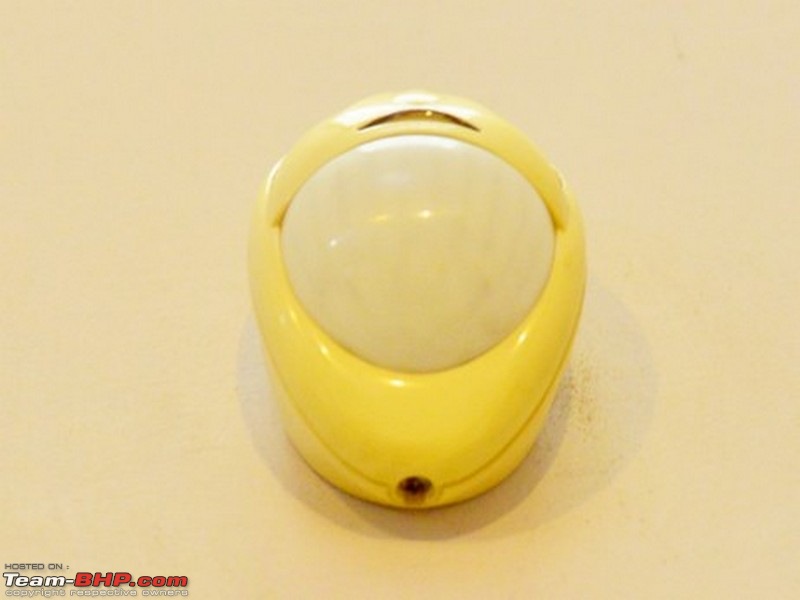
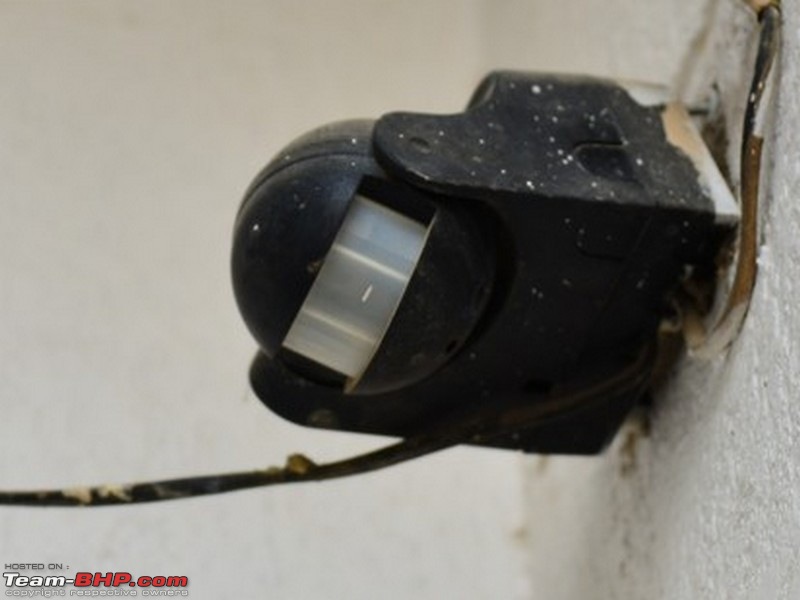
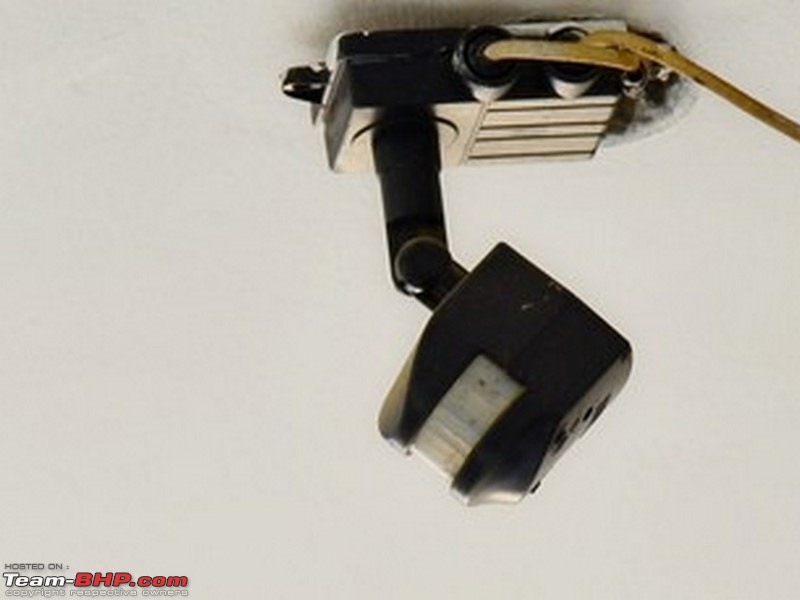
These are very simple and effective devices which act as deterrents to intrusion. Motions sensors are available based on different technologies - PIR , Microwave and Ultrasonic - the PIR ones are the simplest and cheapest. Microwave and Ultrasonic are used in more professional applications.
The motion sensors combine a PIR sensor with an electrical relay and when motion is detected, they trigger the relay, which will switch on the lights (if it is dark, as they also have an inbuilt photocell to detect ambient light levels)
The main application of these is in Garden areas and Driveways, where the lights will come on automatically when anyone enter the area. For homeowners, it adds to the convenience as lights will come on automatically when they enter and switch off automatically when they leave the area (after a settable time delay setting ranging from 10 sec- 15 Min).
This serves as a deterrent to intruders as they take advantage of darkness and if the lights come on automatically, they can be seen and caught.
Motion sensors are available quite easily in electrical markets in the range of 800-2000, depending on their application area. They are available in both indoor versions and outdoor versions (Protected)
Security lighting also works on the same principle and combines a Floodlight with the sensor and whenever an intrusion is detected, the light will switch on automatically. Though I have not seen too many products available yet in this category, there are many products available in other countries available from Rs 1500-3500.
Hope that this information will be helpful for everyone!
Regards,
Behemoth


 11th January 2013, 13:33


 (3)
Thanks
(3)
Thanks


