Sharing the settings that I have done for making the WA3002 G4 modem provided by BSNL DataOne to work with Airtel broadband.
My seach over here and various other forums gave me information in bits and pieces and hence this attempt to have a consolidated post. And since we are well indexed by Google, a right search will bring them here.
History: I have a Airtel broadband and was given a Beetel 220BX modem. I got a BSNL DataOne WA3002 G4 modem (this is a modem & wireless router combined unit) on a long term loan. Since this one has a modem, I have no use of the Beetel modem, so that got retired. And, with a desktop and a laptop, going wireless for the laptop was a hard to resist temptation.
Desktop is with XP SP3 and laptop is with Vista Home Premium edition.
So this is how I went about doing.
First thing - make a back up of the current configuration. This can be done by going into the 'Management' menu and clicking on the 'Backup Setting' button on the right frame.
Next thing to do is to reset the modem. This I did because I found that regardless of me going and deleting the existing setting, they alway found their way back (along with few more) when I rebooted the modem.
The reset switch is placed below the WLAN light. When you flip and look at the downside of the mode, you can find only one circle (just behind the front right base leg). All the other holes are square in shape and placed in neat rows. This single round one is the odd one out. Keep this pressed with a blunt object (aka pen tip) for 5+ seconds (I did for 15 second!).
Once done, connect the ethernet cable to the computer and type in 192.168.1.1 which is the address of the modem. You will be asked for the username and password which is usually 'admin' & 'admin' (my Beetel modem had username as 'admin' and password as 'password' so if 'admin' doesn't work, try 'password'; if this also fails call support)
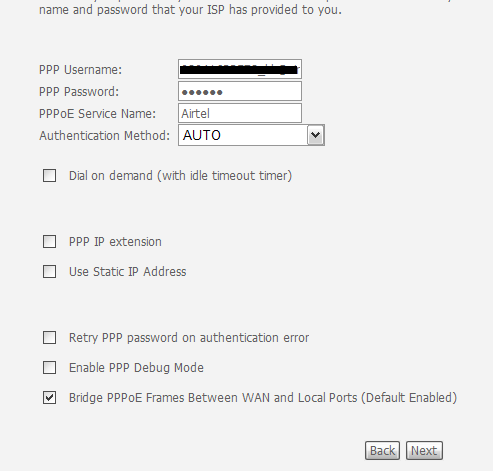
Once you log into the page give the setting as given below. Do note that I have changed the setting for Airtel Bangalore, but I reckon most of these setting are generic, so they should work.
On the menu, select 'Advanced Setup' and click on 'WAN'. Click on the 'Add' button and give the following values as shown in the screen shots below:

Picture above:The VPI and VPC are Airtel specific. So they need to be given as this. Similarly 'UBR without PCR'. No idea what it does, but it works.


And finally you will get the summary screen as below:
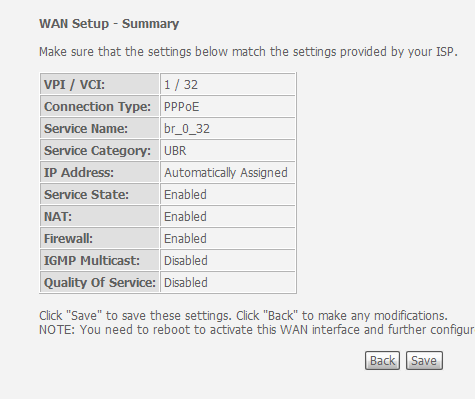
Click on the 'Save' button and you should get this screen (provided you have nothing else already present; if present, go ahead and remove them).

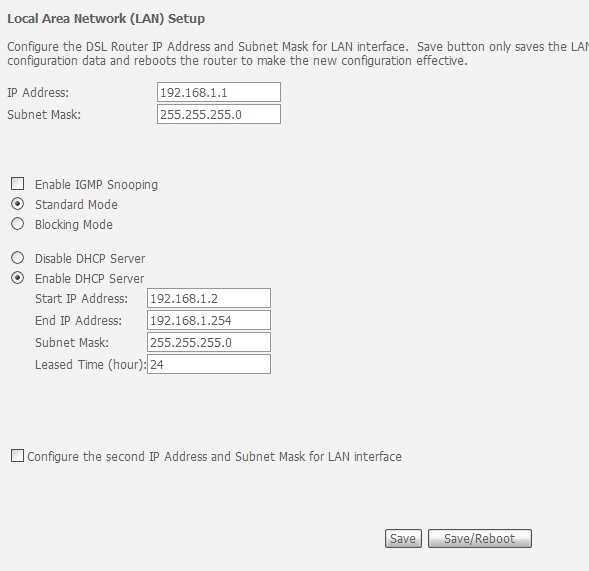
Next click on 'LAN' under the 'Advanced Setup' option and give in the address as given below. These are standard settings, so nothing much to change here.
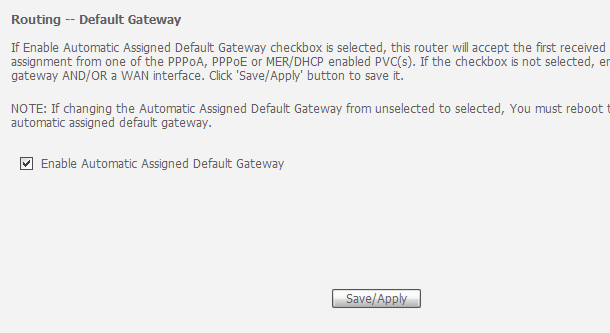
This is my setting in 'Routing - Default Gateway' option. Did not do any change. Left it to default.
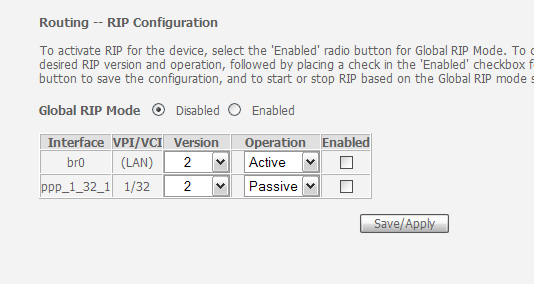
I have this under 'Routing - RIP'. I did not put it there, and the available values both have 'Disabled' set, so goes no harm, either way.
Under 'DNS', left the value as default, as shown below.

IPv6 has not been enabled.
The DSL Settings:

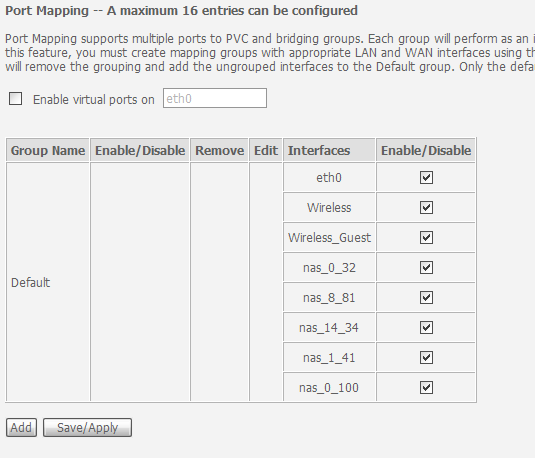
I have this under 'Port Mapping'. I did not put it there, and the virtual post is not enables, so goes no harm, either way.
These should get you up and running if accessing with ethernet cable. Do note that we do not change anything in the PC, none of the IP settings at all. All these changes are only on the modem.
Now for wireless to be enabled, this is what I ended up doing.
Setting in 'Wireless - Basic' menu:

Under 'Security'. Maybe the guru's over here can give me some better way to set this up. But this is workable. But this one atleast asks for a passkey when a system tries to connect.

This is where you set the MAC address of your wireless device to connect. With 'Disabled' any system can connect, so better to select the 'Allow' option and then click on 'Add' button and give exclusive access. I have just one device connected, as shown below.
Note: For those who know MAC as I do - to find MAC address, type "IPCONFIG /ALL" in the command prompt; in the values that gets displayed, scroll down to your network card, which will be your wireless card, and note down the value under the 'Physical Address' label. This is your MAC address and this need to be entered here. And you need to space the value with a colon ( : ). I didn't know this and did spend some becuase I gave hypen ( - ) and it was getting rejected!!! 
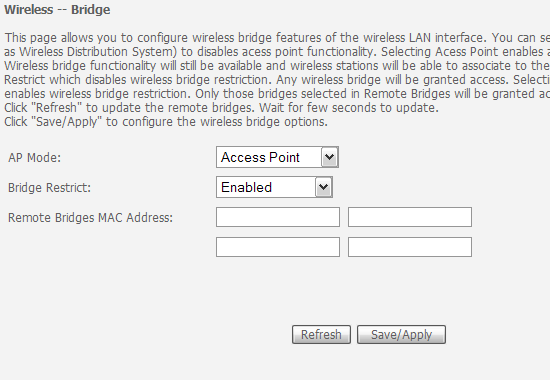
Wireless Bridge values as shown below. Any other option did not let me connect.
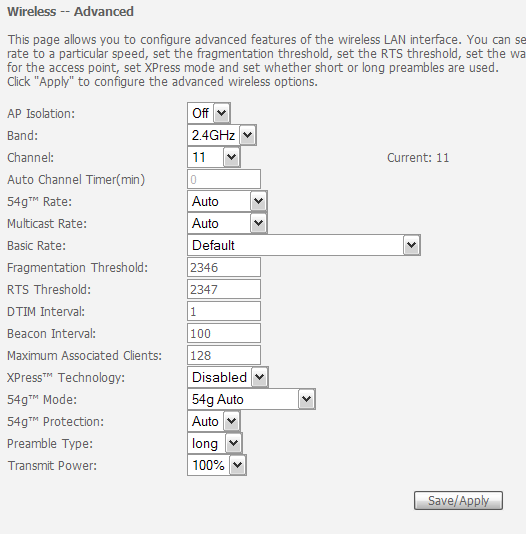
'Advanced' settings. I did not change any of these values since I did not get any info about what they are and also I found no reason to change them. Again, request the guru's to say if any changes required here.
And finally, the 'Station Info' as shown in the screen shot below. If you device is connected, you will get the MAC id shown here.

And that's it!
The laptop took some time to get the network detected but then when it did, all I had to do was give the passkey. It did not connect the first time but then a restart did the trick. The whole of today, I was able to just switch on and start using. So guess the setup is working fine.


 14th August 2008, 23:09


