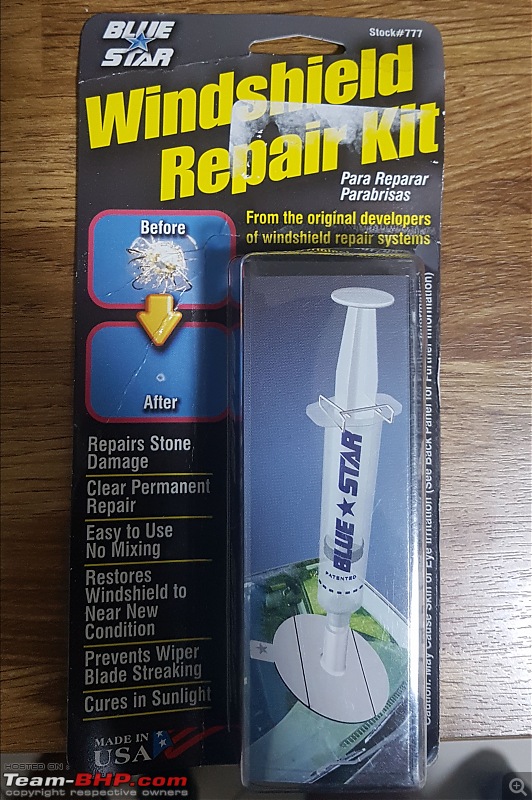
The joys of owning a car! I do not know when this happened but post my drive to Kanyakumari I noticed a stone chip on the windshield. It was at the bottom centre of the windshield so was not in my line of sight but still an irritant.
Option 1: Leave as is.My only concern was what if it started expanding (weather or another stone can do that)
Option 2: Take it to a third party windshield repair company
Option 3: Try to fix it myself
Taking it to Audi and getting it fixed never crossed my mind as this was too minute a chip to warrant a replacement of the windshield. So searched our forum and found a thread on how to fix chips at home.
Placed an order on Amazon and received the kit. Total cost - Rs1,435.

Things needed, the kit (obviously), shade and direct sunlight. Let me try to explain the science and the process as briefly as I can but there are some really good youtube videos that explain in detail.
The science: As most of you already know our windshields are laminated, which means there are 3 layers, a laminate sandwiched between two layers of glass. A chip occurs when the external layer is broken thereby allowing air to enter and this is what causes the black spot (refraction).
So the goal is to remove the air completely and replace it with a resin. Do note: Not all chips can be repaired and the location of the chip plays a major role in deciding if it can be fixed or the windshield has to be replaced. If its in your direct line of vision filling a resin in the glass will create distortion so use your discretion.
The steps: Everything except the cleaning material is included in the kit
Step1: Park your car in the shade and clean the windshield
Step2: Using the pin to clean the chip and remove any lose debris
Step3: Stick the base sticker so the hole aligns over the chip
Step4: Remove the top layer off the base sticker and stick the Injector holder over it
Step5: Pour the resin into the plastic holder (NOT the syringe). This step is not as easy as it looks on youtube. The resin does not seem to want to go in and tries to flow out. Hence please make sure you cover the surrounding areas with a cloth.
Step6: Place the syringe fully depressed into the holder and then pull it the plunger up and lock it in place with the clip provided.
Step7: Wait 10 minutes. So during this time what is expected to happen is the air is being sucked out and the resin is flowing in the chip.
Step8: Take the syringe out, let air in the holder and then again place the syringe in the holder and pull the plunger out and lock it in the second position and wait for 20 minutes.
Some people say tapping the glass around the area helps the air escape and the resin settle in.
Step9: Remove everything and then clean the area again.
Step10:Now place a drop of the resin over the chip and place the clear plastic provided over it like a band aid and park the car in direct sunlight for 15 minutes. This step is to ensure you do not have any divots in the glass otherwise when you use the wiper it will leave streaks when it passes over it.
Step11: Remove the plastic and then scrap off the excess dried up resin with the blade provided. This step is not as hard as it sounds.
In hindsight I should have taken step by step pictures but I was more concerned about not spilling resin on the paint that I completely forgot.
Overall I was happy with the procedure though the results were not 100%. The reason for that is, like filling any hole (Tyre puncture, Tooth filling) the cavity/chip has to be drilled so the resin can flow in freely. I skipped this step for 2 reasons. A)I do not have a tiny drill, B)I do not have the guts to drill a hole in my windshield even if its only on the outer layer(Caution: Do not drill through the laminate).