News
Carrying out routine maintenance of my Yamaha R1

The superbike was nearing the 1-year mark since its last maintenance.
BHPian krishnaprasadgg recently shared this with other enthusiasts.
It was time for some Routine maintenance on the R1, last oil change was creeping up on the 1-year mark even though the bike had run only 3.xx K odd km since the change, the bike was in need of an air filter clean, and the regular chain tightening and other checks and inspection to make sure the bike is running in top mechanical condition. The only complaint I had was that during the last ride I felt the gear shifts to be rather clunky than usual, so I attributed it to the oil going bad as the 3.xx K km that it had run was in Kerala road conditions which are not easy on the motor or the bike or the rider, to say the least.
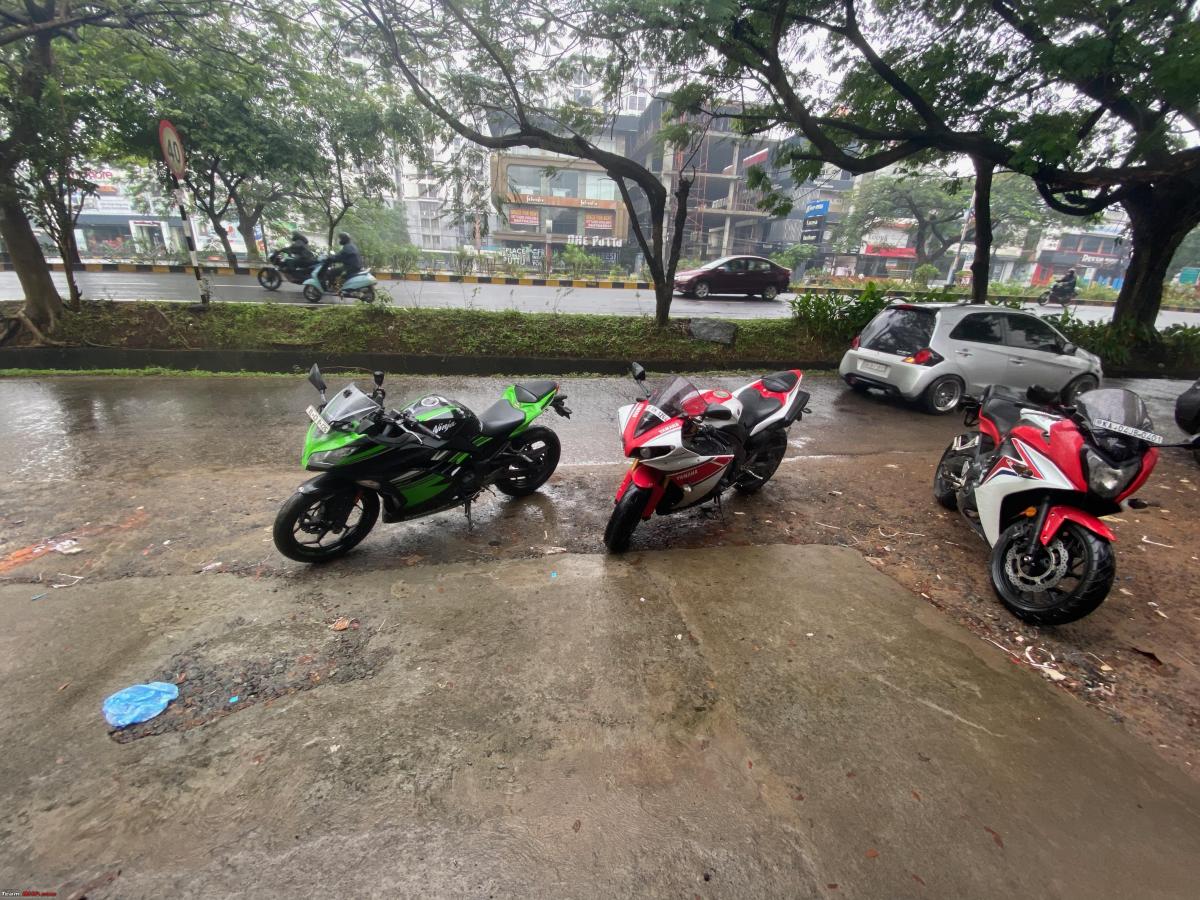
Incidentally, Xaos636 was due a much-needed tyre change for his 650F and some chain master link related work was needed to be carried out so we decided to ride out to Cochin to get the tyre swapped and head to our friend Sanju's place where we got the rest of job done along with Sanju. As I keep saying the next best thing to riding with your friends is working on bikes with your friends.

It's almost mid-November and we are still getting hit by rain in batches, and as expected this was a rainy ride, to say the least. The more irritating part was that it wasn't a proper rain ride where you get fully drenched and you are okay with it. this was more of a gloomy overcast for the most part and makes you think you got away with it, but then it rains just the right amount for water to seep into your jacket and boots and get you uncomfortable enough and then stops and as if on cue comes back right at the moment you get somewhat dry, and how can it be complete without getting semi-drenched when you are just 2-3 km away from your destination? Well, we were lucky enough to get that too.
Anyways, we reached the tire shop about 30-45 minutes prior to their opening time as we had also booked an appointment for the same and waited for them to start work.


Our friend Sanju joined us for the company as he had a good relationship with the shop, so it all worked out as smoothly as it can be.
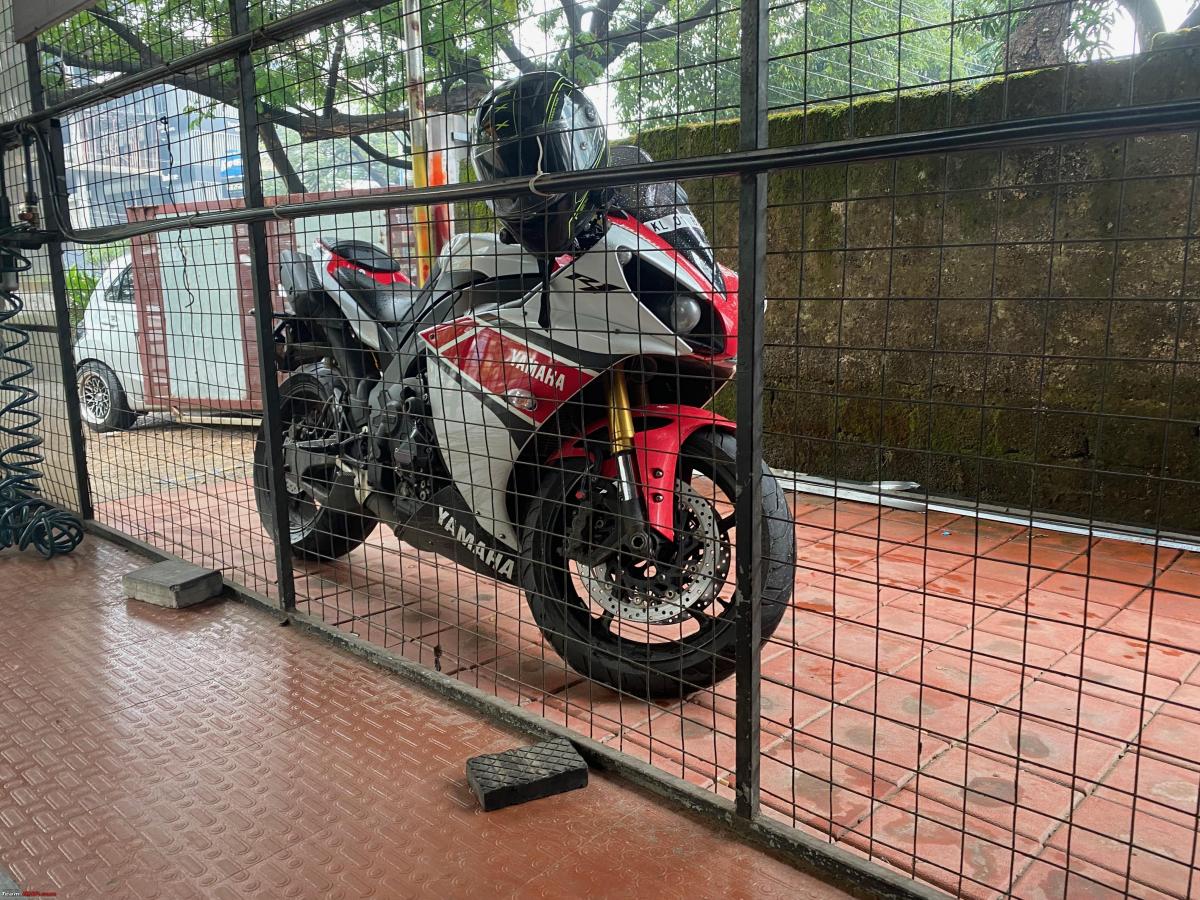
While Sanjuand Xaos636 got working on Xaos636's 650F I got cracking on the R1. The first line of business was getting the oil drained. Plonked her onto the paddock and started by removing the lower fairing piece, giving proper access to the drain plug and somewhat of access to the oil filter.
I hate the oil filter placement for the R1 as it is just behind the header/downpipe and for someone with stubby fingers and fatter hands removing it can be a bit of a hassle, more so when the bike isn't fully cold yet. Had to make use of Sanju's thinner hands to get the oil filter out, luckily as opposed to last time we did not have to struggle much to crack it loose, the nut on the filter made things so much easy.


Anyway, with the drain plug removed the oil was being drained, removed the oil filler cap too to make the oil drain faster, then as mentioned above removed the oil filter too and let gravity do its thing to get all the oil out from the bike.
While that was happening I moved on to the next job in hand that was the air filter, the air filter hadn't cleaned since the last oil change so that's about 1 year or 3.xx K km and I was expecting the filter to be absolutely filthy, but to my surprise, it wasn't too bad, the airbox outer side(pre-filtered side was pretty dusty though),

Cleaning and recharging the filter was done with the K&N Air filter recharger kit I had with me.
The filter once removed was given a healthy done K&N air filter cleaner fluid and left to settle for about 5-10 mins and then the filter was cleaned thoroughly with a slow but steady stream of running water and it was left out to dry for a few hours.
While that was happening the oil dripping from the drain hole and the oil filter point had dried out. So took the bike off the paddock and with the help of another person tilted the bike a bit to the left and right side and put her on the side stand and that did the trick to get out the remaining of the oil that would not come out while on the paddock.

This is something that is pretty commonly overlooked while doing an oil change. You'd be surprised by the amount of oil that gets retained even when you think you've drained it out fully if you are only using a paddock or main stand for draining the oil.
Anyway, I left the bike for another 30-40mins for it to fully drain out while I went over to help Sanju and Xaos636 work on the 650F post which the drain plug was fitted back with a new crush washer.
Have a look here at how the old crush washer looks as opposed to a new one.

The crush washer we used is actually a Suzuki Hayabusa OEM crush washer, they are easily available and dirt cheap too, and do the job without a single drop of leakage or seepage.
It's pretty clear from the pics as to why it is important to never reuse a crush washer as if the name wasn't self-explanatory you can see how the washer gets crushed to form an air-tight seal. It's almost tough to comprehend for me as to how some people/shops actually re-use crush washers and are surprised when they find it leaking at a later point in time.

Anyways since that was done the new oil filter was taken out and filled with fresh oil and rotated well to make sure it had proper oil seepage into the filter material, we made sure to not fill the filter to the brim as this is a horizontally mounted filter and filling it up would mean you spill oil while mounting the filter onto the block and creating a mess and unwanted wastage of fresh oil so we used enough to get the filter cartridge properly wet with fresh oil and stopped there.


We also gave the rubber seal on the filter a good healthy dab of oil to make sure it does not seize in place once mounted.
As for the oil, I went with the Motul 7100 10W40 this time. I actually wanted to try the Maxima oil as it had good reviews and fellow Bhpian Odeen had also advised me to go with it but unfortunately, I could not procure enough stock for my usage and timeline so went with the much easily available Motul oil for this oil change. Will move over the Maxima for the next change and review the changes.
As usual, while filling the oil too it's not as simple as filling it shut it, and off you go, doing it properly means you fill the oil up to the halfway mark b/w min and max in the oil inspection window, run the engine up until it gets to operational temperature, switch the bike off, let it the oil settle into the sump again for about 15-20 mins and then top up to the midway b/w the min and max in the oil level inspection window. This ensures that you have the right amount of oil available for the engine in the oil sump at all times.

Anyways, all this time was enough for the air filter to be fully dry and ready for the recharging fluid to be applied. Do make sure that you do not over apply the filter element oil, yeah that is a thing, you can and it's very easy to go overboard with it, usually following the instructions on the box on how to recharge the filter element should keep you on the right side of the limit so nothing to worry there.
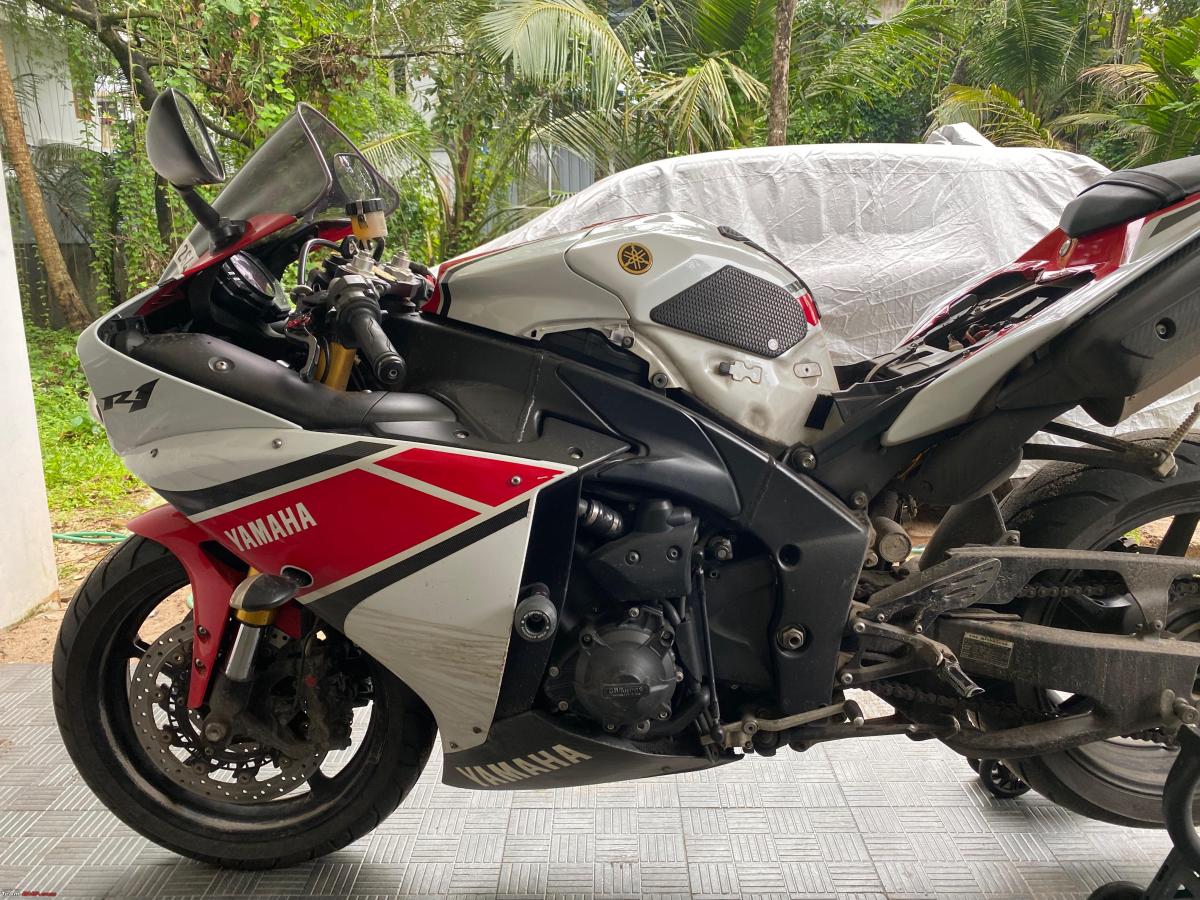
Once that was done got the bike all buttoned up back again and then proceeded to get the drive chain slack adjusted, even after 3.xx K km of use there was just a slight extra slack that had come into the drive chain system, quickly tightened it back to spec and moved onto cleaning the front and rear brake calipers.

Did not click a lot of pics and as I have already posted a very intricate detailed DIY post in this thread on how that is done so we just got on with it. Much to my surprise, there was a lot of dust hidden inside the pads which weren't visible outside. Anyways, cleaned it all out, applied some copper grease onto the backside of the pads, doused the caliper bolts in anti-seize grease, and torqued it all down to spec as per the manual. Next was just greasing the clutch cable points and a few other spots with a waterproof grease and the work is all done.
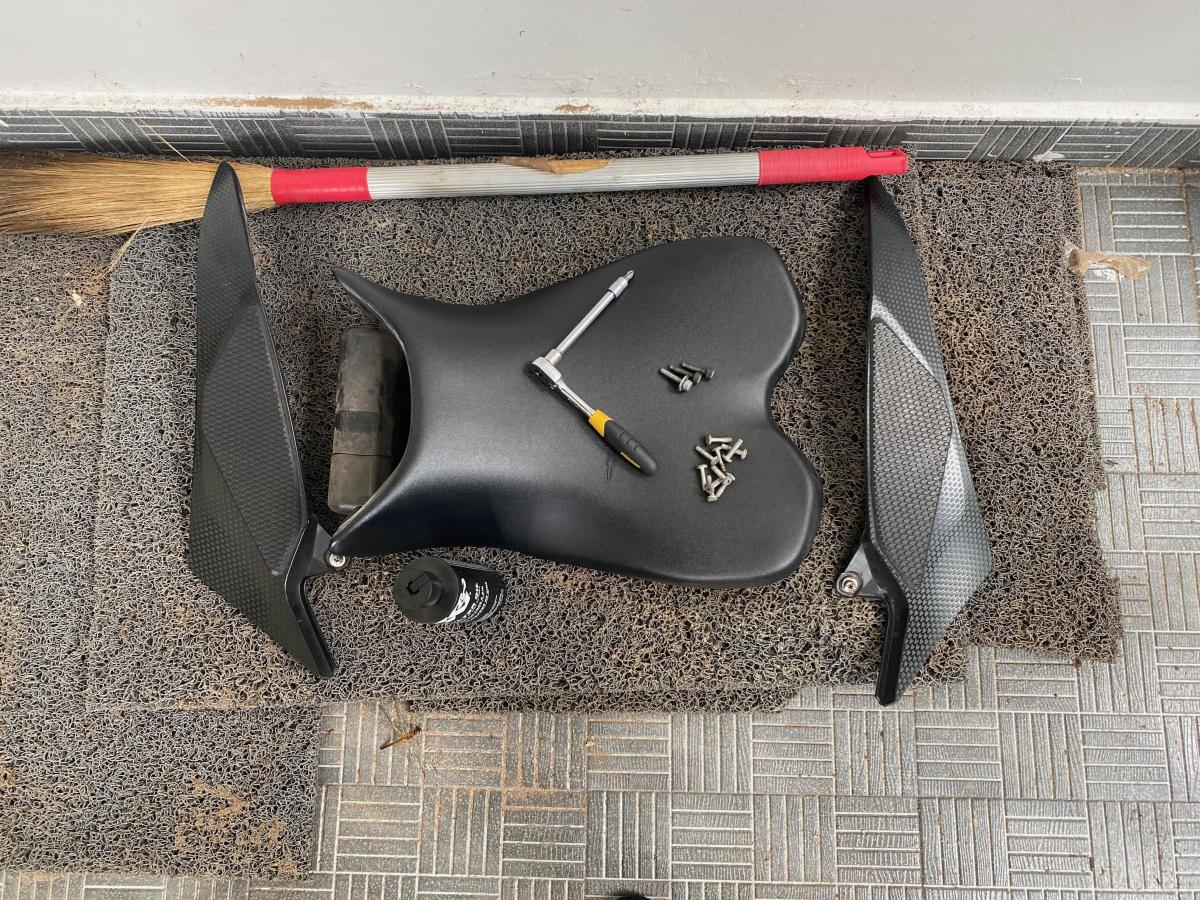
By now it was lunchtime, I wanted to get the new set of grips, bar ends and brake protector levers fitted today too, but since we had to rush back home the same day itself decided to do it next time.
As for the expense:
- Hi-Flo Oil Filter X2 (Part No HF204RC): Rs.1500/-
- Engine Oil (Motul 7100 10W40 4Ltrs): Rs.3280/-
- Labour charge: Rs.0/- (DIY)
Continue reading BHPian krishnaprasadgg's R1maintenance for more insights & information.
Find Car News
Just News


.png)


About Us


Buy & Sell
USED CARS