News
DIY: Performed a coolant change on my Ertiga petrol

The car always went to a dealer owned workshop for servicing and in my last 2 service bills I was only charged for what seemed to be just a coolant top up.
BHPian shandilyapiyush recently shared this with other enthusiasts.
Hey! I was not sure as to when the car's coolant was completely drained and refilled. The car always went to a dealer owned workshop for servicing and in my last 2 service bills I was only charged for what seemed to be just a coolant top up. The change interval as per the user manual is 20,000km/2 years. Since I had time to spare I decided do a complete flush and fill in new coolant.
Huge thanks to dbhpian vigsom and bhpian Ashtoncastelino for extending their advice and help. This was my first major DIY and all went well thanks to both of their inputs.
Car - 2013 Ertiga (petrol)
Tools and parts used-
- A 12mm ring spanner
- A pair of pliers
- Flathead screwdriver
- Coolant (premix) - Part number: 99000M24120-965

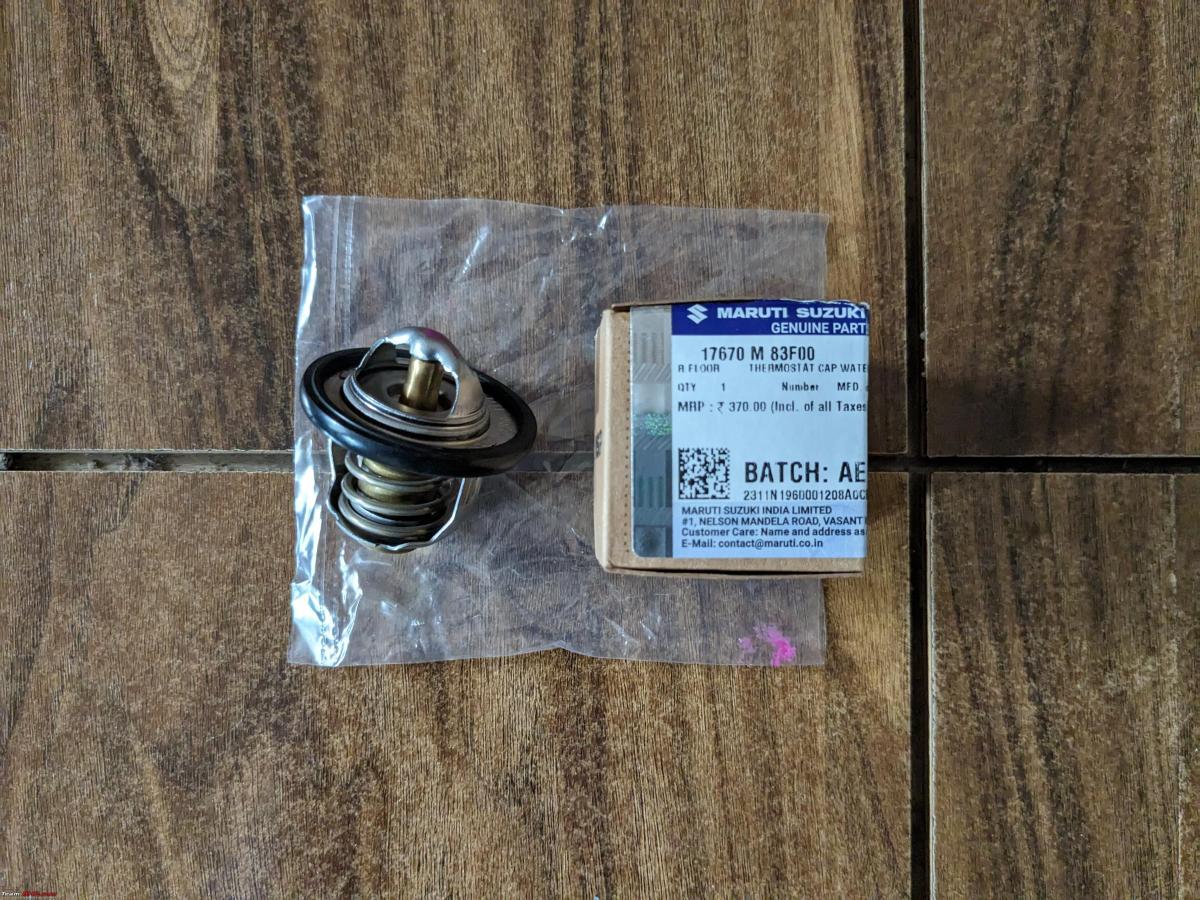
Thermostat valve - Part number: 1760M83F00
Thermostat valve housing/elbow - Part number - 17561M68K00

15-20L of distilled water
Step 1
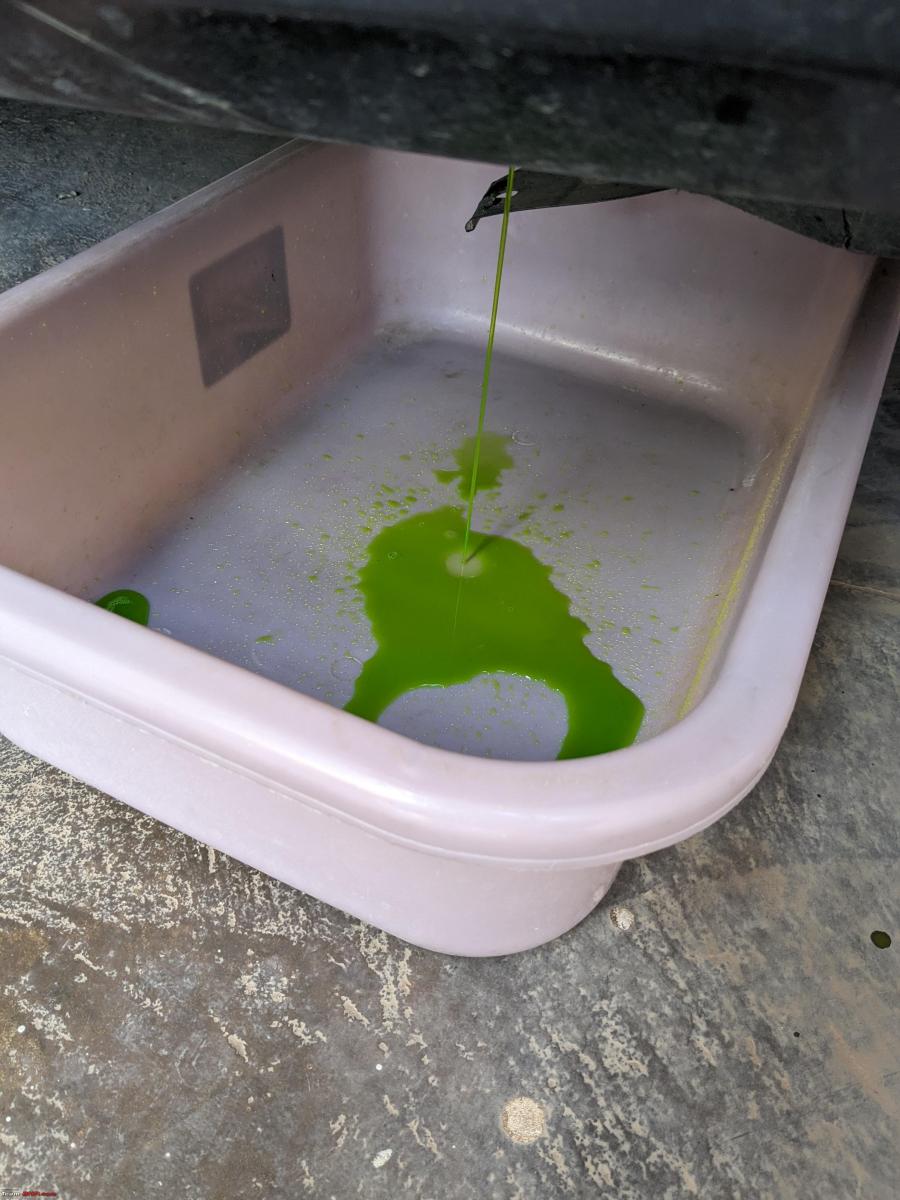
The radiator drain plug was located and undone to remove existing coolant from the radiator. This plug is located on the bottom left of the radiator. Opening the radiator cap aids in faster flow of the existing coolant from the radiator. Collected this coolant in a small tub to ensure proper disposal. Wait for a while until the radiator is empty and the coolant stops dripping out.

Step 2
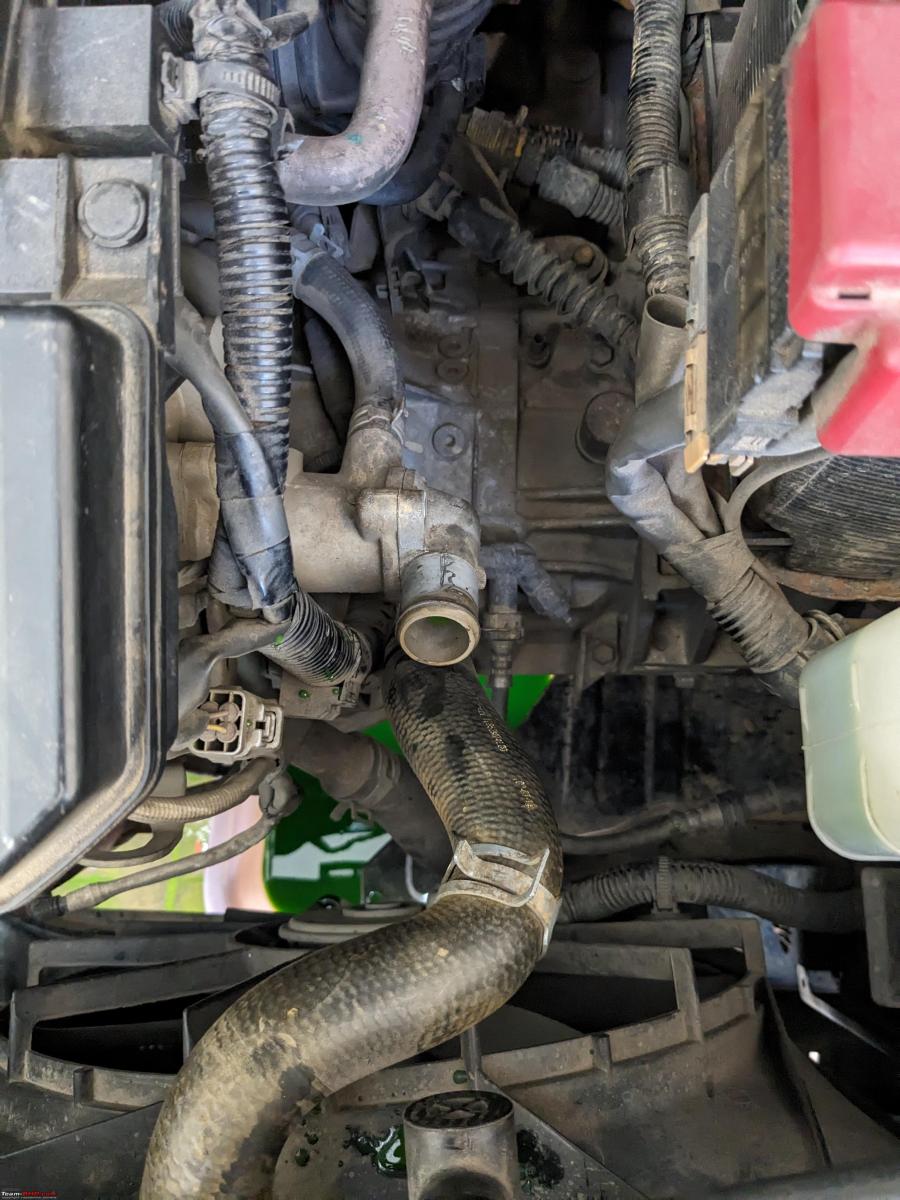
Undo the upper radiator hose. I used a pair of pliers to undo the hose clamp on the thermostat housing and then proceeded to remove the hose. The hose was super tight hence I used a flathead screw driver through the end and slowly tried to pry out open making sure I'd not damage the hose and that worked.
Step 3
Removal of the thermostat housing and thermostat. The thermostat housing has 2 12mm bolts, one at the top and one on the bottom. Using a ring spanner undo both these bolts and remove the thermostat housing. Next, proceed to remove the thermostat valve. Do remember how it was installed to able to put it back the correct way.


Step 4
Rinse the radiator with clean water to remove whatever coolant is left behind. I did so by using a pipe and introducing water from the radiator cap with the drain plug open until the water coming out was clean and colorless. Once colorless water begins to flow out, stop the water flow and wait for the water to completely drip out. Close the radiator drain plug.

Continue reading BHPian shandilyapiyush's review for more insights and information.
Find Car News
Just News


.jpg)


About Us


Buy & Sell
USED CARS