News
Installing new Bilstein shock absorbers on my 1986 Alfa Romeo Spider


It is not that difficult to mount these new shocks but the thing is, you need to depress them fully before inserting them in.
BHPian Jeroen recently shared this with other enthusiasts.
Very wet, rainy and windy weather here. Perfect day for playing in my garage. I spend most of the morning working on my Scuderi Model Engine. Almost all parts are finished and I am now working on fine-tuning everything.
Around noon a big box arrived!

New shocks and a new rubber for the window guide!

Developed on the Nurburgring, can you imagine what that will do for the performance of the Spider!


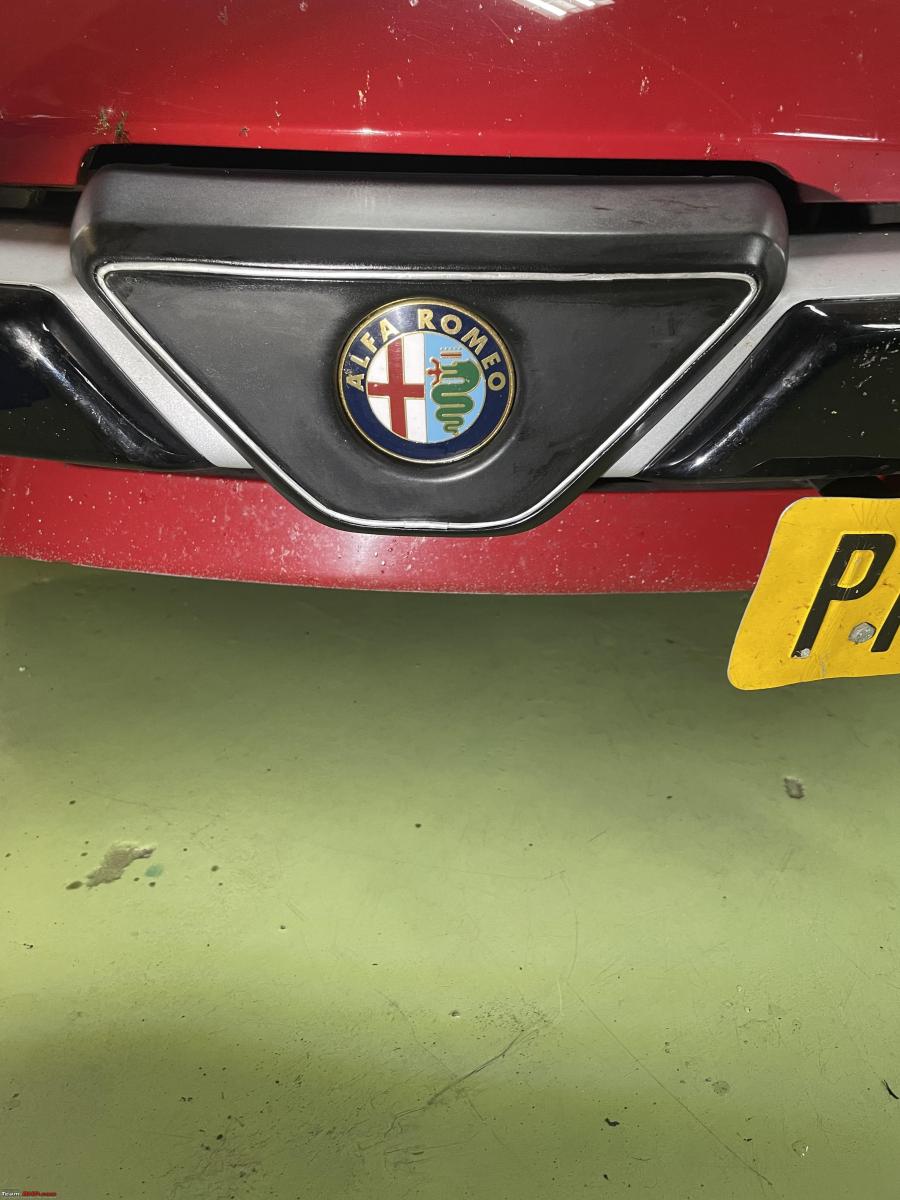
I decided to do one small job first. The front of the Spider has a very special Alfa emblem, set in black with a nice piece of metal trim around it. When I bought the Spider some 30 years ago, that metal trim was missing. One of the first jobs I did, was to make my own. You can't get this piece of trim anymore. So I went to a model-hobby shop and bought some aluminium tubing. Next I bent it in the exact shape and glued it in place. After thirty years it had become loose.
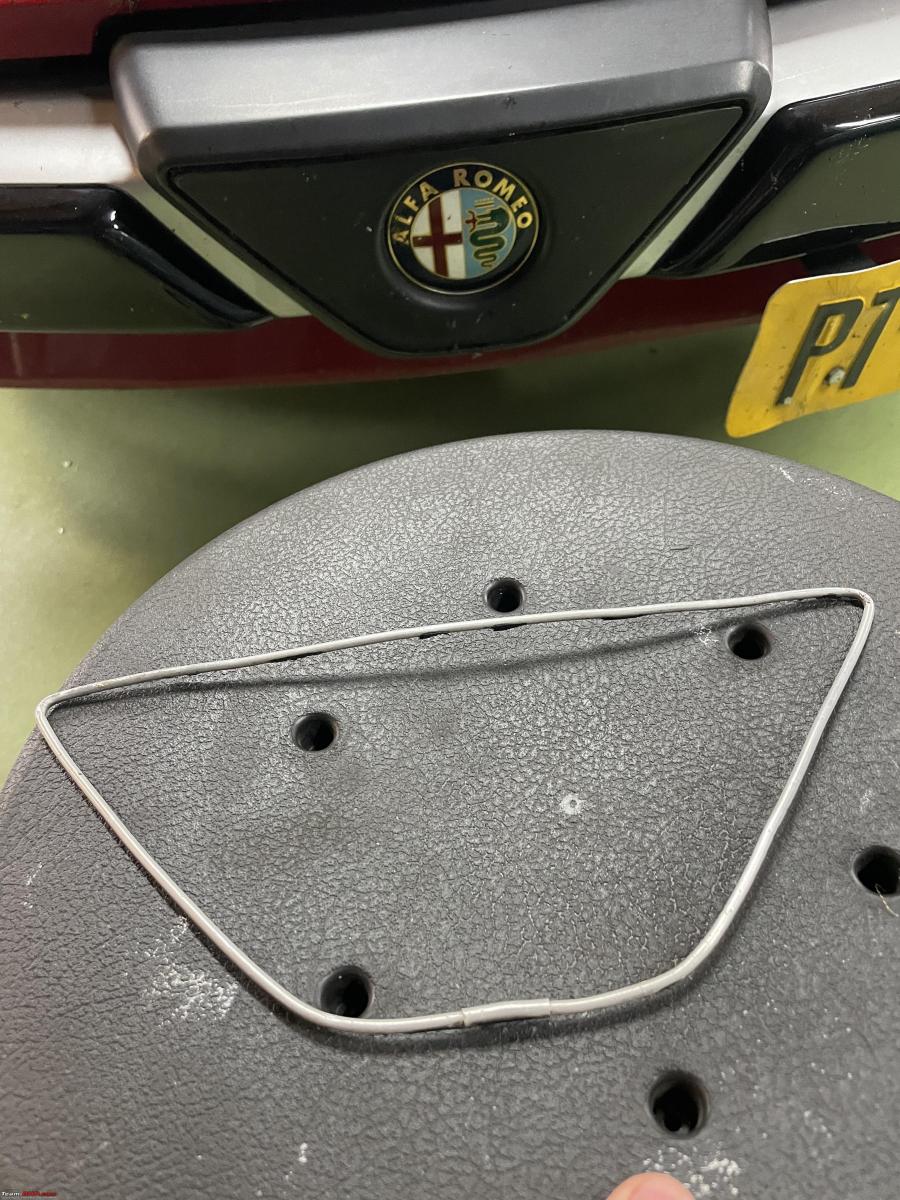
First thing is to clean everything very very thoroughly. And bent it back into shape.


All fixed looks great once again. I hope it holds for yet another thirty years!
Next, I went to work on the window guide rail. In order to mount the new seal I wanted to clean it first. But a good inspection showed it needed a bit more than just cleaning. I spent about an hour and a half with various pneumatic tools and wire brushes, cleaning this small part. Lots of work.

With these wire brushed in the pneumatic tools it is safety first!

There is a saying in the classic car restoration work: The difference between good restorers and swindlers is the difference in the amount of time they spend on parts you will never ever see!
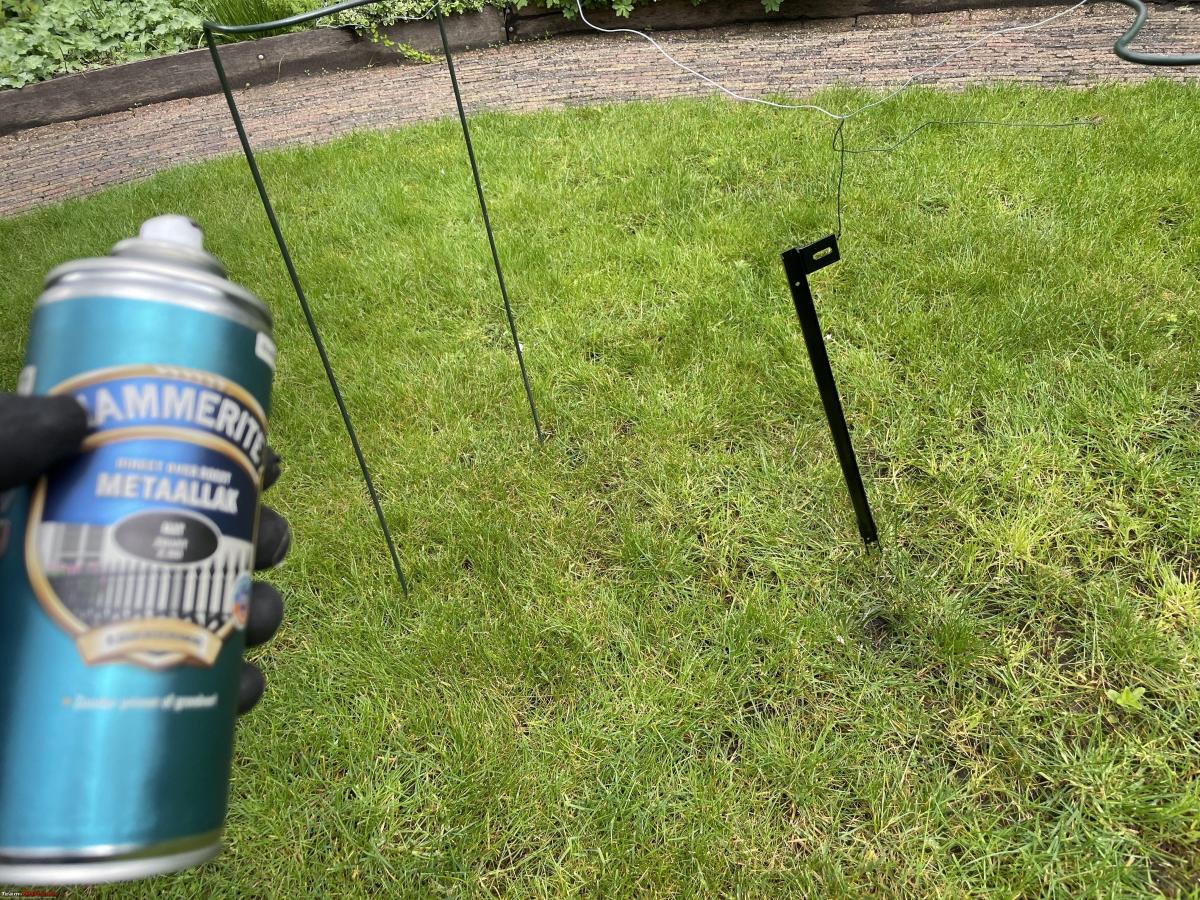
After I had cleaned the guide rail I degreased it. Also drilled out some rivets that held the seal in place. Next, I put three layers of my special super Black Spray paint on.
Now for the shocks!
My usual comparison of old and new parts. Checking that they will fit, same dimension, checking the various new bushes, rings, nuts etc.
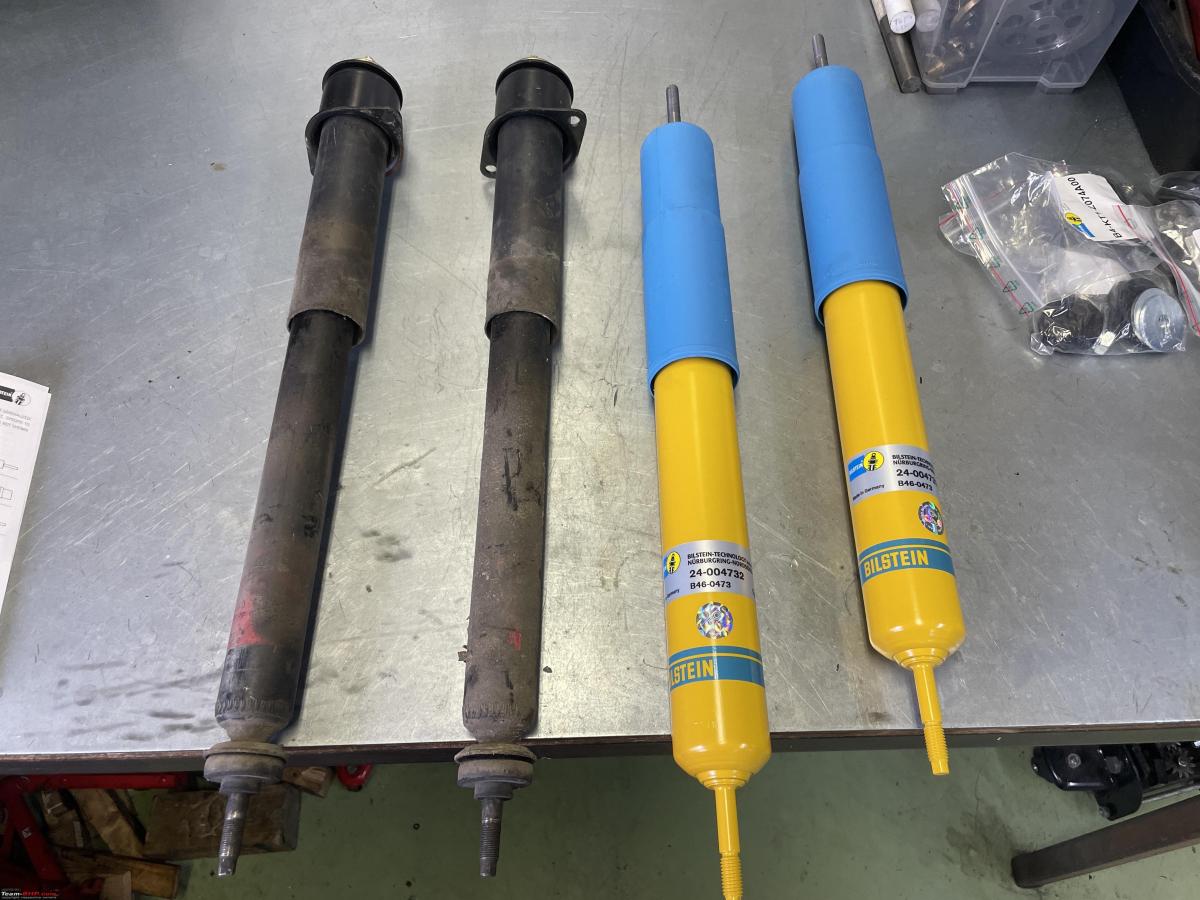
I took the mounting flanges of the old ones and put them on the new shocks.

Everything looked fine, so I decided to fit them right away.
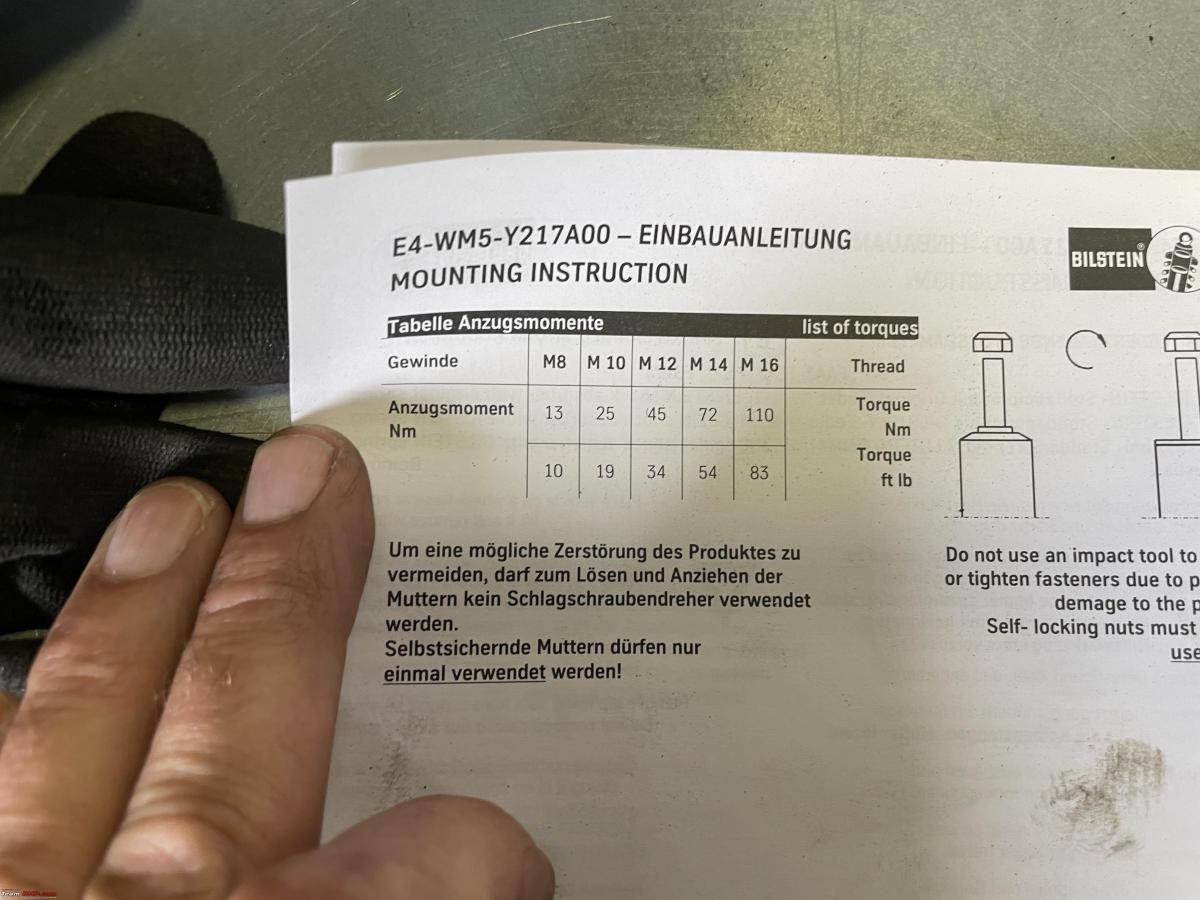
These shocks come with detailed instructions, including how to torque them.
Started on the right rear one, so jacked up the Spider, axle stands underneath, and front wheels choked as per my SOP

It is not that difficult to mount these new shocks. Apart from one thing. You need to depress them fully before inserting them, through the little panel at the back of the cockpit. These shocks always expand. It takes quite a bit of force to push them in. As soon as you let go they start expanding again, slowly but surely. The problem is when you insert the shock whilst it is expanding it will get stuck and it will be very difficult to remove it again.
So I have a little trick; I put the shock in my vice, compress them and put a clamp on it. Next I tie some thin metal wire around it to hold it in place whilst compressed.

Works really well, you just need to remember to extract all bits of metal wire afterwards. But as long as you haven't tied the nuts and bolts down on the shock fairly easy.
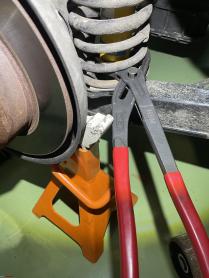
My BIG plier came in handy too. When tightening the nut underneath the trailing arm the shocks start to turn. I could easily clamp it with my pliers. Make sure you don't damage the shock's outer casing, you must clamp on the weld on the outer case!

Shock-mounted as seen through the little panel.

The final touch, re-positioned the rubber protective boot!
All done. I still need to fit the interior trim a bit better. I will do that tomorrow. The fresh paint on the window guide will be hardened tomorrow as well. So I can glue the new seal in and let it dry for another day.

Check out BHPian comments for more insights and information.
Find Car News
Just News


.jpeg)

_7.jpg)


About Us


Buy & Sell
USED CARS