News
First day of 2024: Spent most of it working on our Mini One


I wanted to change the engine oil, oil filter, spark plugs, AC cabin filter, both front discs and brake pads.
BHPian Jeroen recently shared this with other enthusiasts.
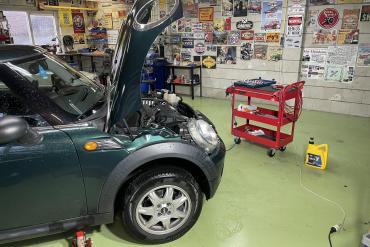
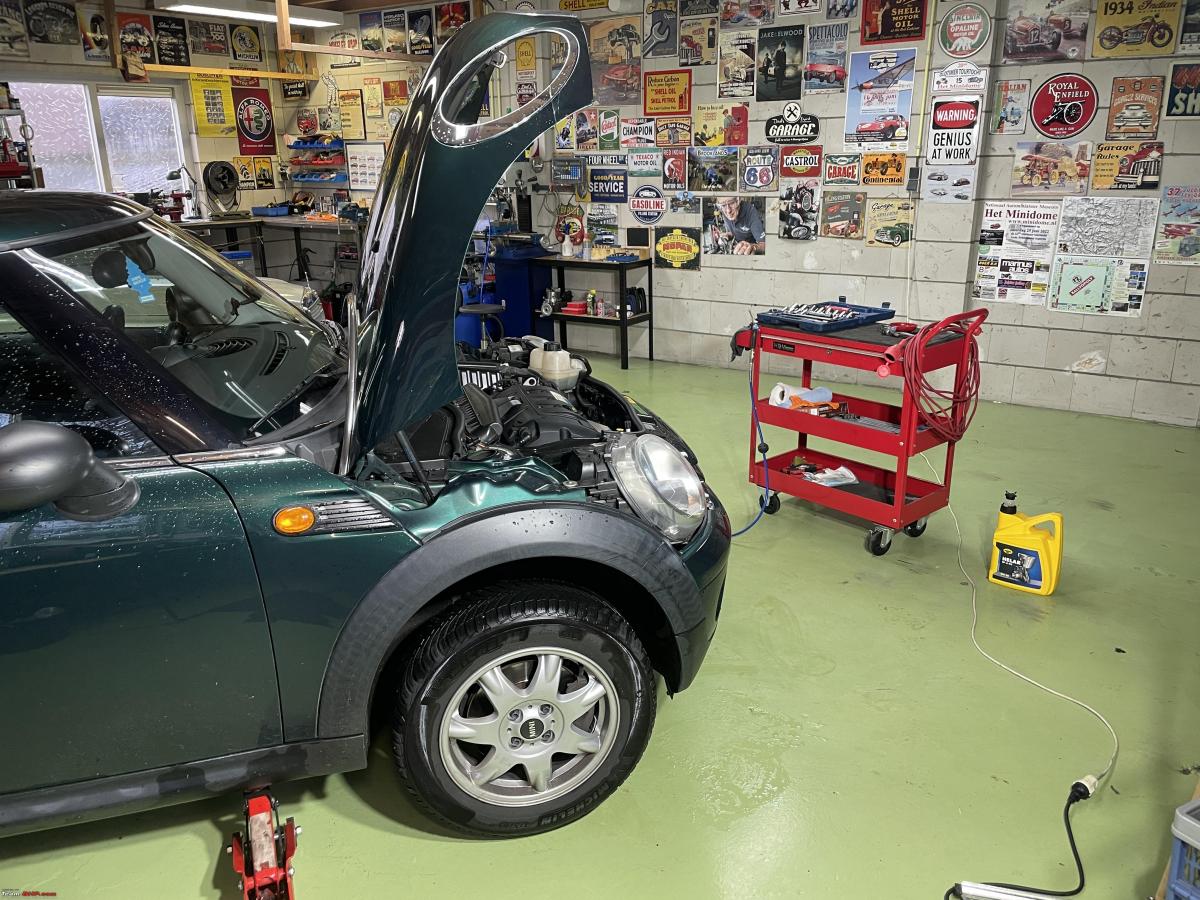
I spent most of the first day of the new year, 01-01-2024, working on the Mini.
As this was the first time I did these jobs on the Mini, I have detailed it some more than usual. Makes for good reference for the next time. Most of these jobs are very similar to other brands/models.
I have the luxury of a large garage to work in. Even so, due to how the garage door is situated, two cars are always blocked by the third car. It also means that whenever I work on my cars, usually move the car to work on, in one of the two positions close without direct access to the garage door. Just in case I can't finish a particular job, it means the car can remain in place and I can still get the other two cars, if need be out of the garage.
With my Alfa Romeo Spider still, with Marc, the Mini goes into its space. The Spider is not a big car, by any means, but the Mini is even smaller, certainly length-wise.

These were the jobs I wanted to do:
- Oil and oil filter change
- Change Spark Plugs
- Change the AC air cabin filter
- Change both front discs, brake pads and wear sensor
- Check the thermostat housing for possible leaks
If you have followed this thread you might have seen me changing the oil on all my other cars. I usually park the car in the door opening with the front sticking out, and the front wheel on the edge of the garage door threshold. That allows me a bit more room to undo the oil plug and catch the old oil with one of my oil drain canisters.
The engine needs to be warmed up properly (which means driving for at least 15 minutes) and the car needs to be positioned horizontally for all the oil to drain.
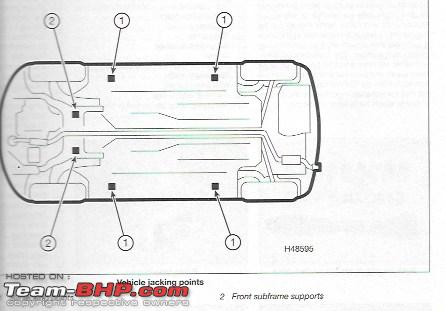
However, the Mini is simply too low. I checked some drawings and found out that the engine oil drain plug is situated at the rear of the sump. So when lifting the oil will still drain properly. So I decided to jack up my Mini. I also needed it jacked up in order to work on both front brakes.
I looked up the jacking and support points. I have both the original BMW Mini Workshop Manual and the Haynes manual. The original Mini Workshop manual is very good. But it is only available in a digital format. It is essentially the exact same software that runs on BMW/Mini Diagnostic equipment. I can run it on my MacBook, but printing, whilst possible is a bit complex. So I always check the official manual first on my computer whilst I keep the Haynes manual next to it.
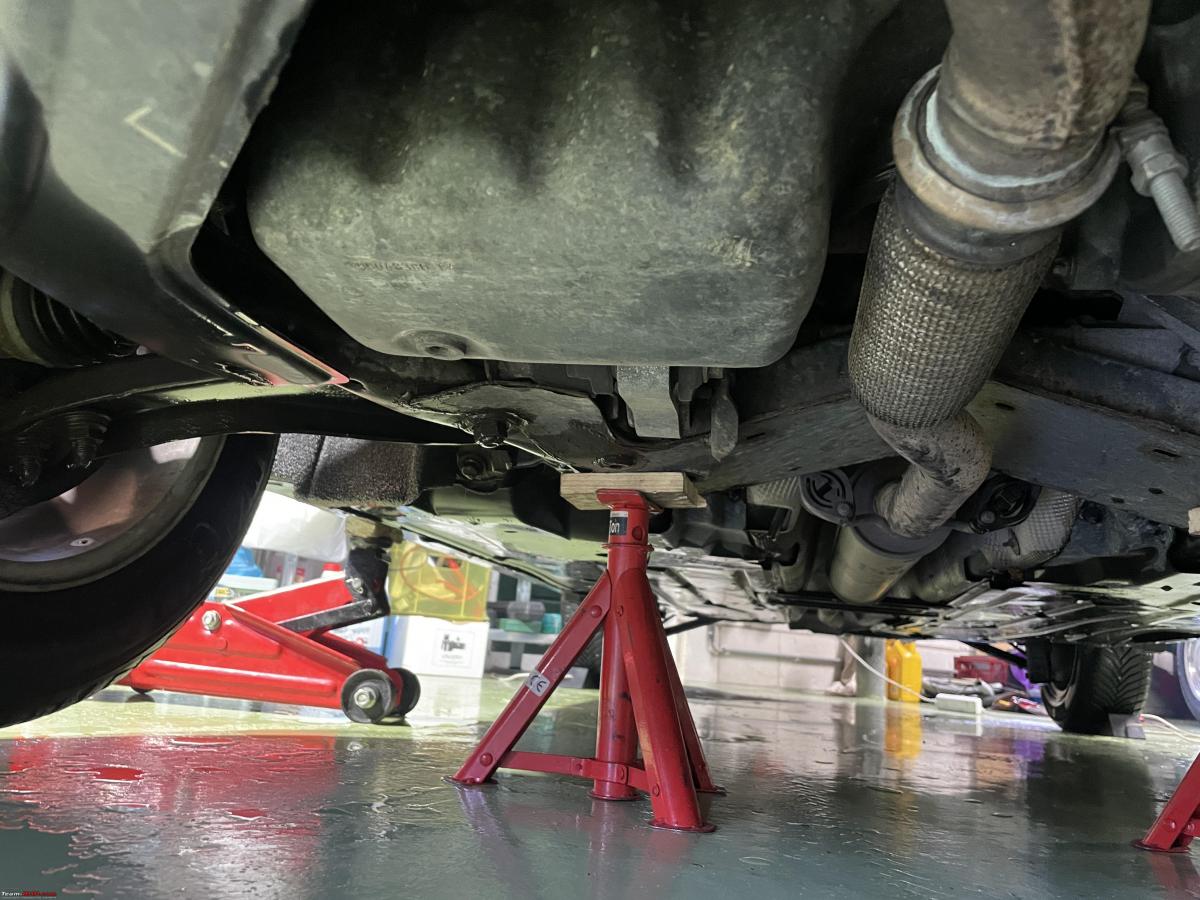
I have made two small wooden blocks that will fit into the spaces of the jacking points. You have to make sure you get something in there, as you will damage the plastic bit around the bottom of the sill. Next, I jack up the Mini with my two floor jacks and place axle stands underneath it. I will let most of the weight sit on the axle stands, but I will still keep a bit of weight on the jacks too.
I undid the sump lug. Always make sure you use the correct size tool. Sometimes these plugs can seize up. And if your tool slips once, it will damage it and then it is a real problem getting it off, especially if you don't have a car lift.
Before unscrewing the drain plug I position the oil drain canister underneath it. Pours straight into it.
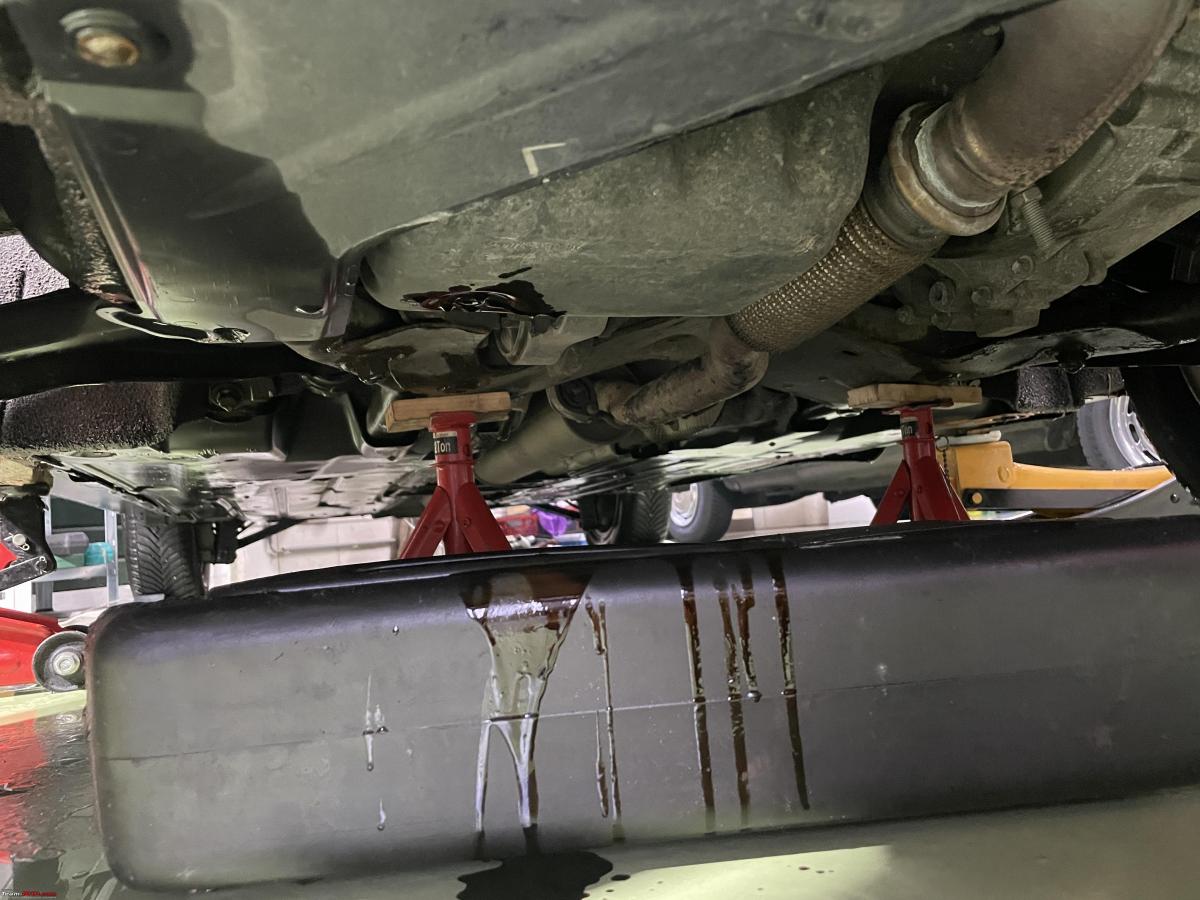
It is good practice to let the oil drain for several minutes, just to get as much of the old oil out as possible. Meanwhile, I looked for the oil filter. It is hidden on the left-hand side of the engine towards the front.

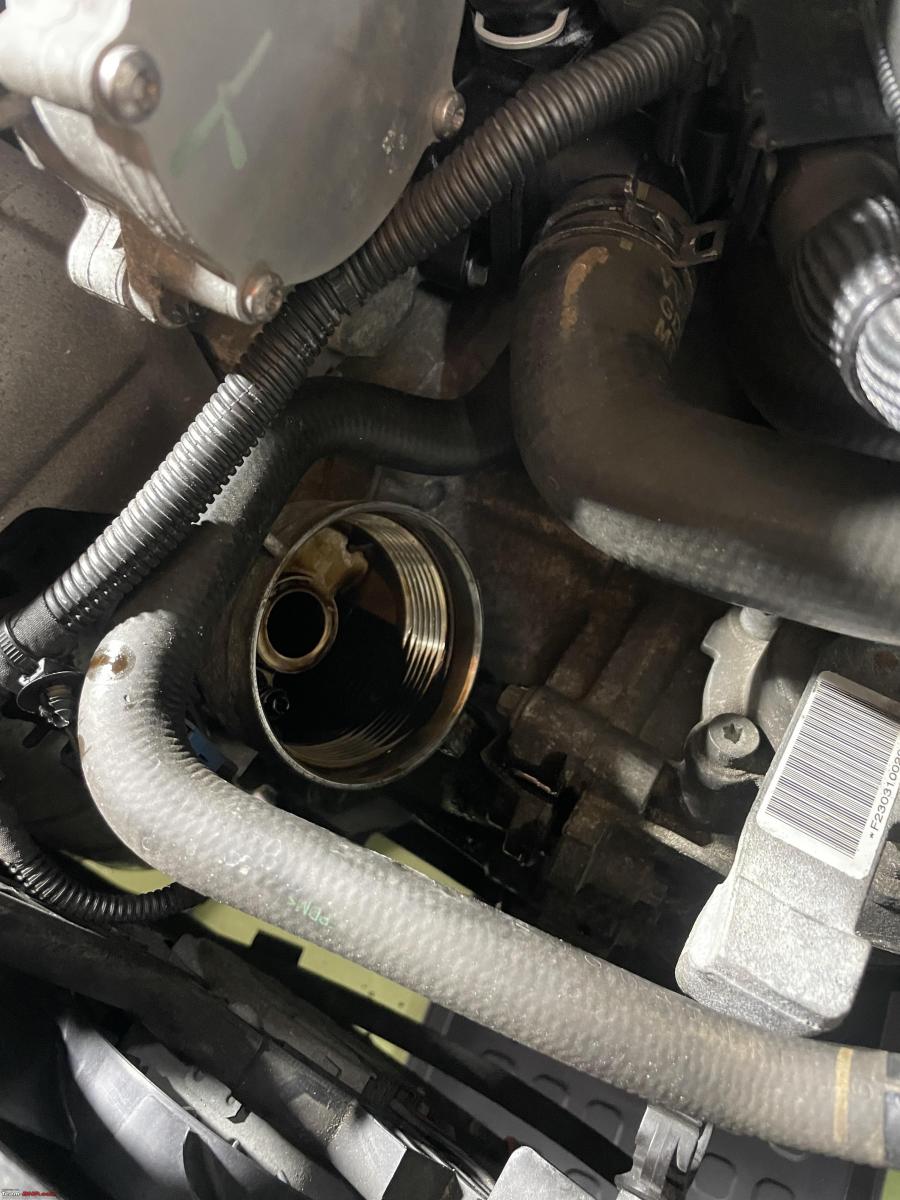
I decided to remove the cooling liquid expansion tank to get easier access. I knew I had to move it also because I would be inspecting the thermostat housing later on. It's very easy, just one large screw and you can remove it. All hoses still attached.

Unscrewed the cap of the oil filter and pulled it out with the old oil filter still attached.
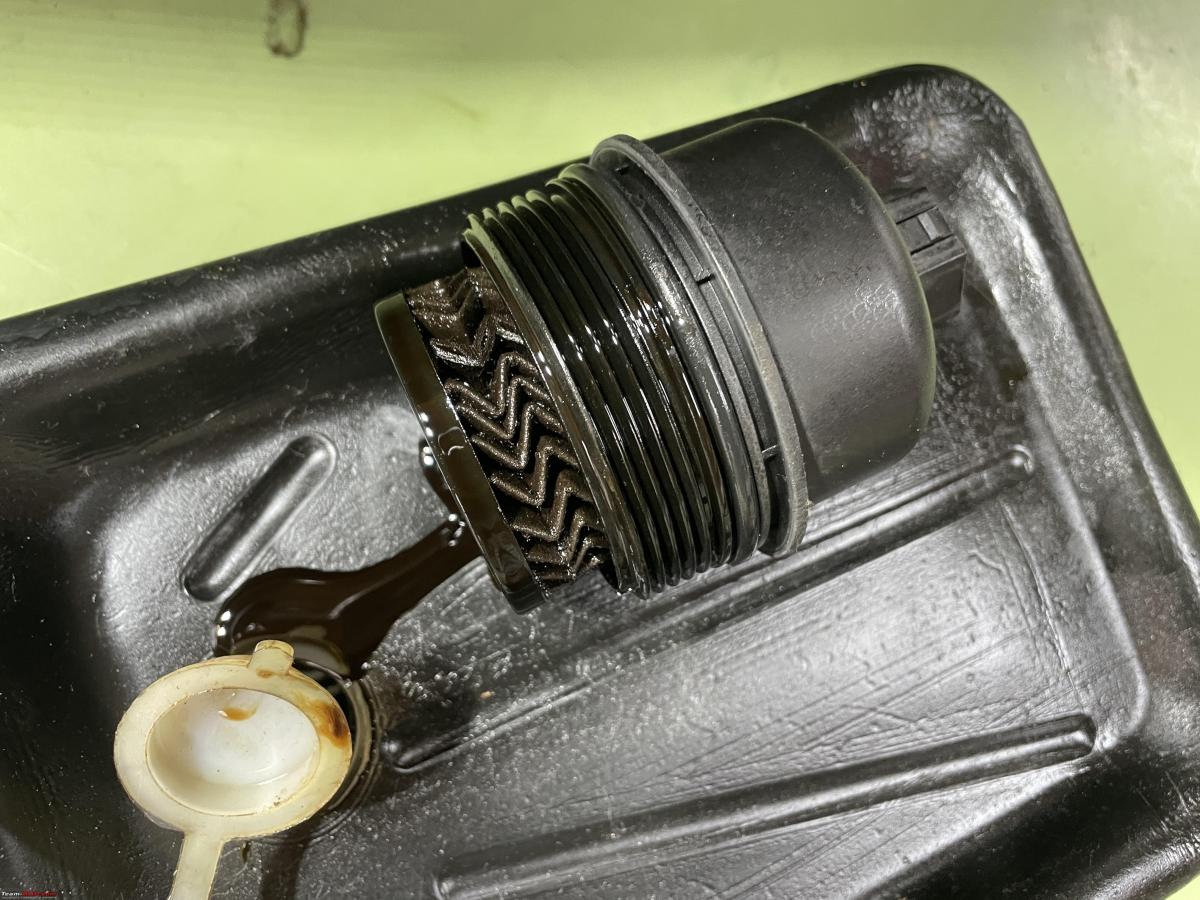
Here you see the inside of the oil filter housing. I drained the remaining oil and wiped it all clean of course.
The new filter comes with a new O-ring for the filter cap

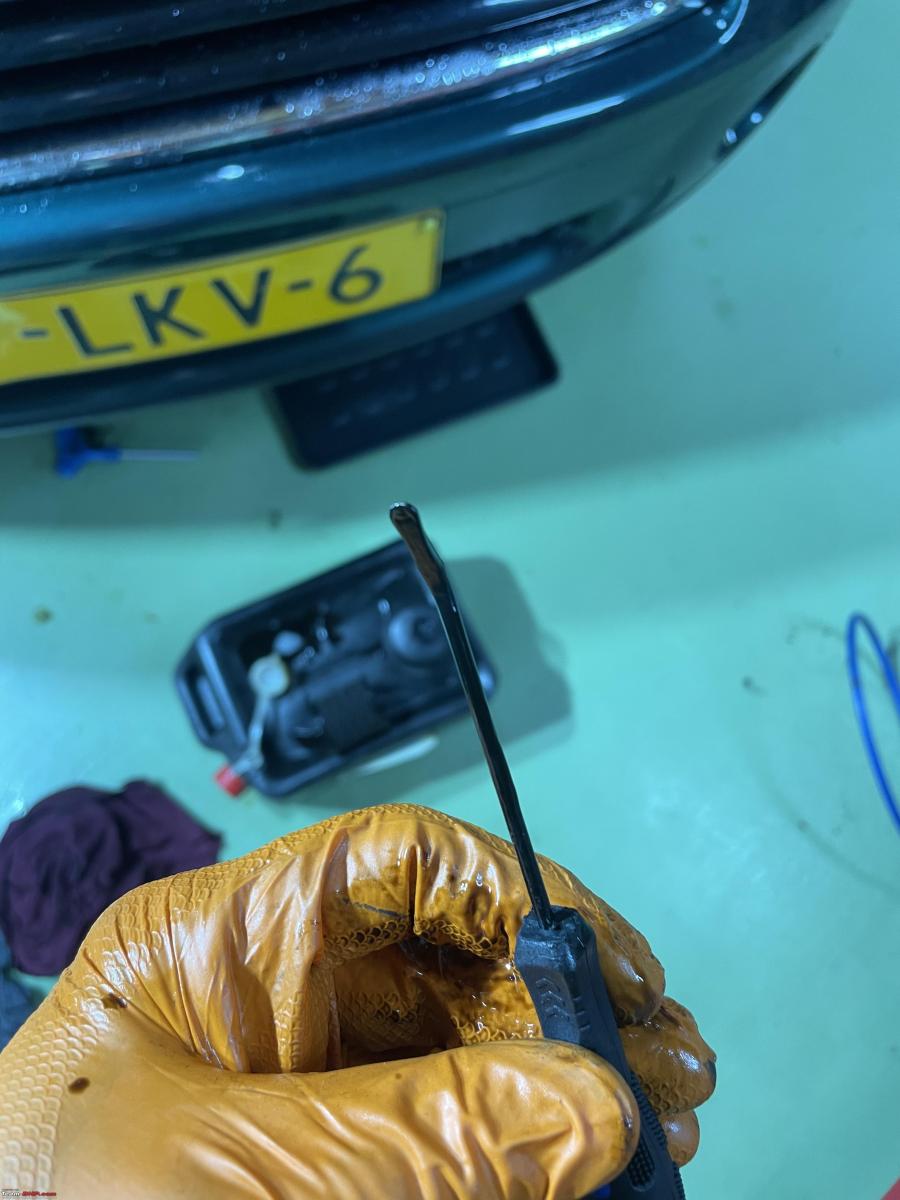
In order to put the new O-ring on, you need to pry the old one off. I bought some nifty tools for this very purpose. These are like little shoe horns.
New filter installed, new O-ring installed, screwed the filter cap back on. Tightened it with my torque wrench. It is good practice to make use of torque wrenches as much as possible. It is especially relevant when working on these modern cars with all plastic bits. The complete oil filter housing assembly is all plastic. You want to make sure it is tight enough, but not too tight as you might break the plastic! Hence, always use a torque wrench. The Haynes manual has all the torque specifications for every part listed.

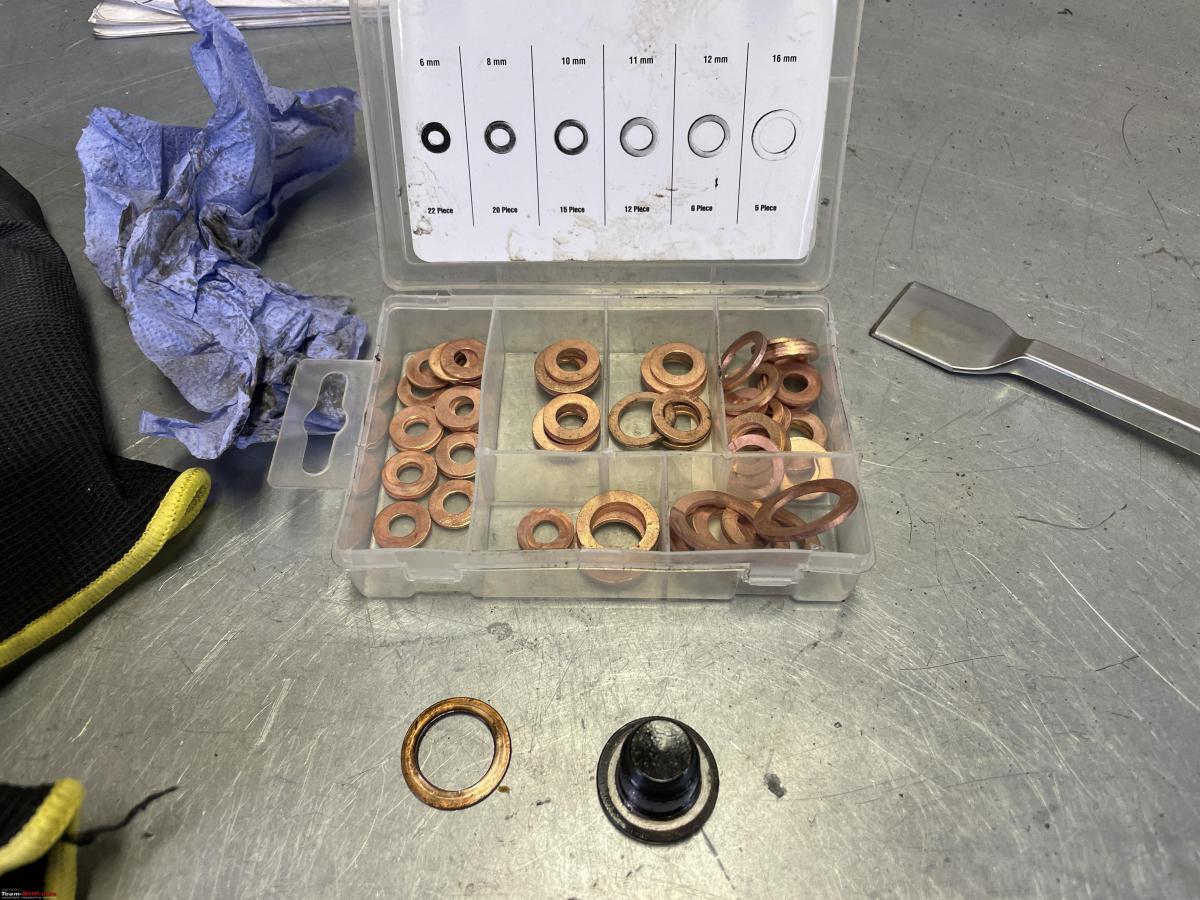
On nearly all oil sump plugs the sealing is done by means of a copper ring. You will have seen me, re-using the old copper rings often. But only after I softened it, by heating it till it's red hot and quenching it. Works very well. However, this copper ring looked bad, so I decided to shell out for a new one. Luckily, I have a box full of copper O-rings.
And of course, you always, and I mean always use a torque wrench to re-install and tighten the oil sump plug.

I poured the old oil, from my oil drain canister into an old canister. When this is full I will take it to the council tip to be environmentally friendly disposed of.
As you can see I collected about 2.75L of old oil. Now, the Mini was low on oil to start with. The total oil capacity of the engine is 4.25l. My oil was at the low end of the dipstick which means it is about 0.5l less. Still quite a bit of difference between what I drained and what goes in. Partly because these old oils are very sticky and stick to the drain canister, but also partly because even when warm not all oil will drain.

I did not fill the engine with oil yet. I decided with the Mini still sitting on the axle stands, I would do the front brakes first.
Of course, I made a mistake! It is nearly impossible to undo wheel nuts with the wheels off the ground. Even my very fancy electrical impact wrench could not.
So I had to take the axle stands away and lower the Mini's wheels to the ground. Just so I could undo the four lug nuts with my breaker bar.

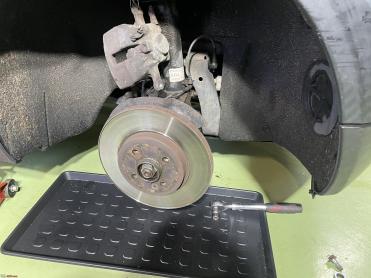
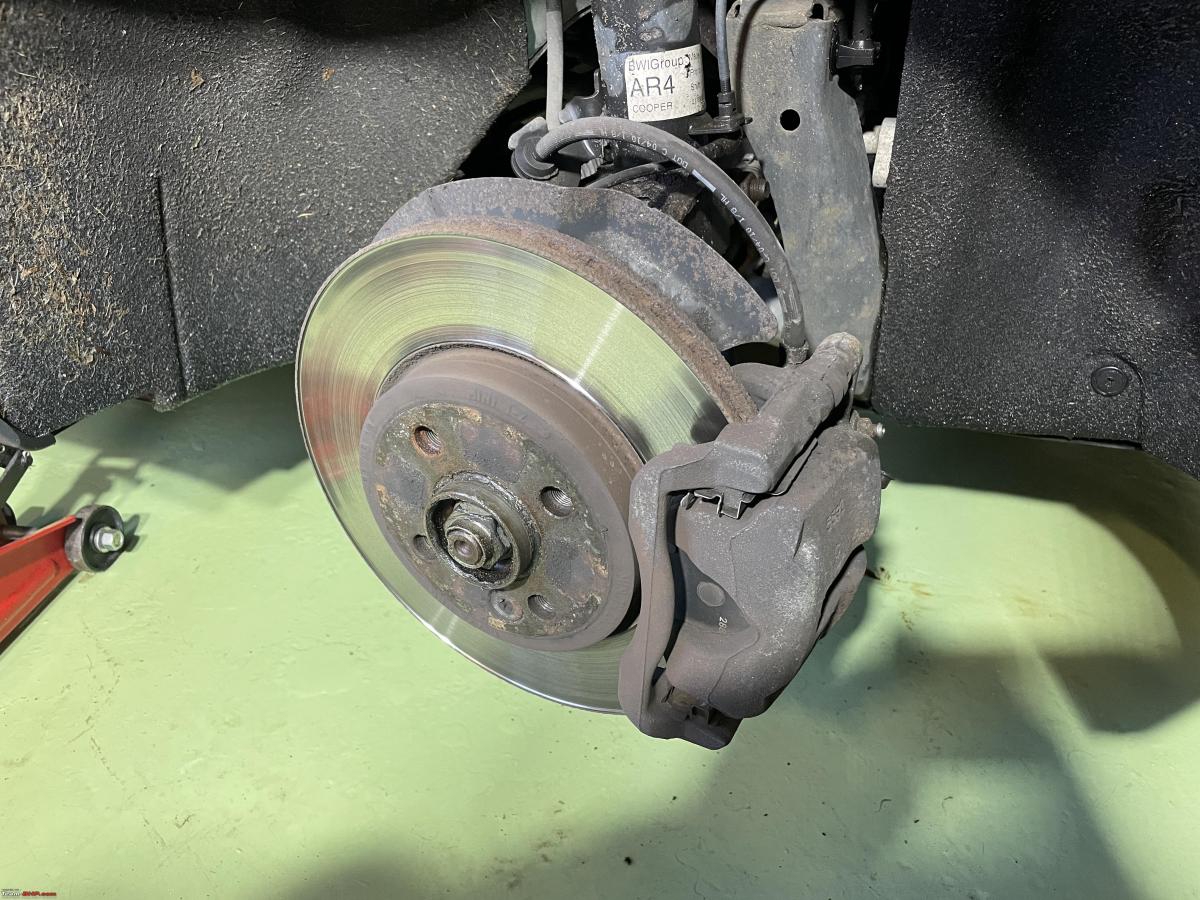
This is what a typical disc brake set-up looks like with the wheel removed.
For easy reference, I found this diagram:

In theory, you can remove the complete brake assembly with the brake pad still inside the mounting racket. But these discs were pretty worn. Which usually means there is a substantial ridge on the outer edge of the disc. The brake pads will get stuck if you try to pull everything off. So the best thing to do is to depress the piston of the caliper. I have this huge plier that works well. I was also very pleased to notice that I could move the piston very easily. Always a good sign!

Here I have undone the two main bolts of the main caliper body. I have strapped it to the top of the main suspension sprung using some metal wire. It needs to be out of the way, but it is still connected to the brake system with a flexible hose. You don't want to be loosening those brake hoses, because it means you will need to refill and bleed the system. There is no need for when replacing discs and or pads.

Here you can see the two brake pads, sitting inside the mounting bracket. They look pretty worn!

Time to get started on the disc. Here you can you see the main caliper body still dangling inside the wheel arch. These discs tend to be pretty easy to remove. At least in theory.

The disc is kept in place by means of this retainer screw.

If that retainer screw was installed properly (everything clean and properly torqued) it should come out easily. Luckily it did!! Notice the pickle fork tool stuck into the disc? It's because you will have a similar problem with this screw as with the wheel nuts. So I used the pickle fork to prevent the disc from turning. I have had to use an impact screwdriver on some of these in the past.
Next, the disc came off just like that. Sometimes you might have to tap it a bit from the rear with a steel hammer. This car has always been maintained by a BMW/Mini Dealer. Which means everything was done by the book. And it will always show when working on a car!
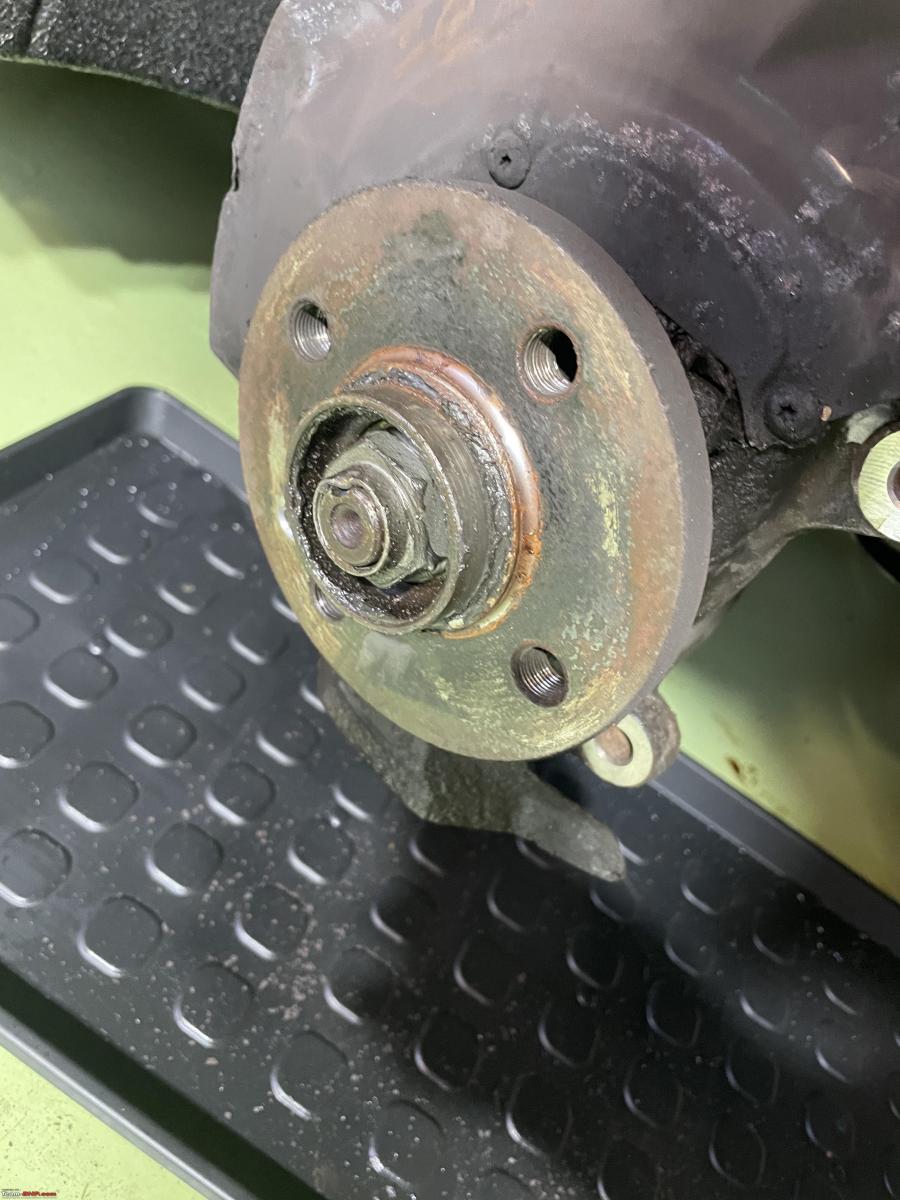
Here you see the hub of the front right axle. The wheel bearing is right behind that large nut. All it needed was a bit of cleaning. I use a pneumatic wire brush. Very effective. But you have to cover up the bearing space and yourself!

Continue reading about Jeroen's work on the Mini One for BHPian comments, insights and more information
Find Car News
Just News


About Us


Buy & Sell
USED CARS