News
Modifications to my Honda Civic: Rs. 3.7L audio setup & a bodykit


In the Civic, I wanted a more immersive experience. Something similar to that in the Harrier with the 10 speaker JBL system but, with a little bit better sound quality.
BHPian NTO recently shared this with other enthusiasts.
3 Years with a used Civic AT and a mid-life make over
It has been 3 years and around 28000 km with the Civic. The current odo reading stands at ~78000 km. The overall running has reduced significantly owing to Covid lockdown and restrictions. However, I managed to do 11000 kms since my last year's update. During this period, I contemplated a lateral upgrade to a used Jetta or Octavia or moving to the SUV route. However, every time I sit in the car and drive it, the thought process changes completely. Even today, a well maintained Civic is a head turner and a conversation starter when among the car enthusiast community.
Likes and Dislikes after 3 years
Likes:
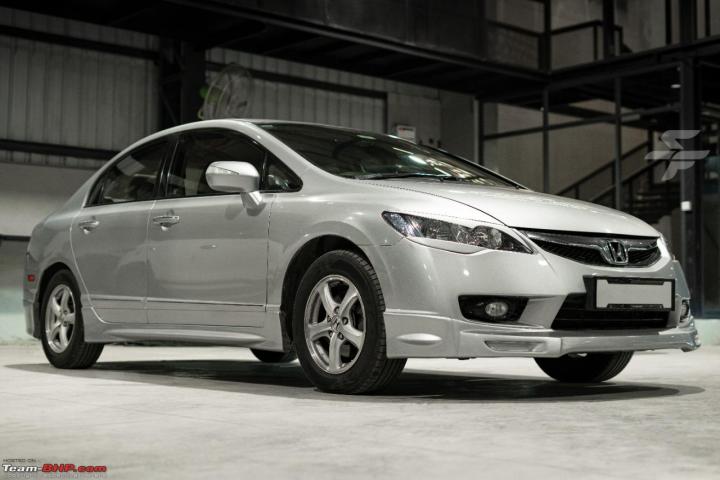
1. The look of the car is simply unmatched. Even today it is a head turner.
2. The engine and its performance are simply mind blowing.
3. The gearbox (plus the paddles) compensates and keeps the enthusiast in me satisfied.
4. The handling is phenomenal and among the best cars out there.
5. The AC, seats and all other necessary aspects of creature comfort are well taken care of.
6. Very reliable and very light on the pocket to maintain.
Dislikes:
1. The ground clearance has proven to be a major issue in two distinct incidents.
2. The NVH levels and sound output felt weak, especially after the audio upgrade on Vento.
An upgrade from the Civic was contemplated as I mentioned earlier but later realized that the upgrade from the Civic was also not an easy one. Hence, to satisfy the craving for something new and to sort the dislikes to some extent, decided to give the Civic a midlife make over. These are the things I planned for.
1. Mechanical fixes wherever it was necessary
2. A new audio setup, a mid to high end one to satisfy the audiophile in me
3. A cosmetic mod with new wheels and tyres
4. A complete car detailing
Mechanical Fixes
I started to hear sounds from the front end of the car. I was sure the suspension or a few components of it were nearing the end of their life. Hence I sent the car to Jai Prakash for an inspection. The following components were replaced as per his advice.
1. Lower arm ball joint set
2. Lower arm bush set
3. Steering ball joint set
4. Tie rod end set
5. Stabilizer rod end rod set
6. Stabilizer rod bush set
7. Power steering oil flush and replacement
Once the car came back from this service, I realized that car’s alignment was not done properly. I took it to BM lal and got the alignment fixed. The car felt new, and both the ride quality and the handling had improved significantly. Jai Prakash is a magic man when it comes to cars, and he is truly a trustworthy person who will neither allow you to overspend nor try to cheat. I can vouch for his service over the last three years. Also, many of my friends have started to avail his services on my recommendation and all of them are happy.
Audio upgrade along with sound damping
Speedfreaks has become my go to destination for all audio related needs. Extremely satisfied with the audio quality in Vento and enjoying thousands of kilometers behind the wheel accompanied by a sweet sounding audio, I wanted to do something more in my Civic.
On one lazy Saturday, I scheduled an appointment and met with Karthikk Raj, the proprietor of Speedfreaks in their swanky new place opposite to Sundaram Mercedes, in Ambattur. We focused the sound stage of the Vento majorly to the front seats. In Civic, I wanted a more immersive experience. Something similar to that in the Harrier with the 10 speaker JBL system but, with a little bit better sound quality.
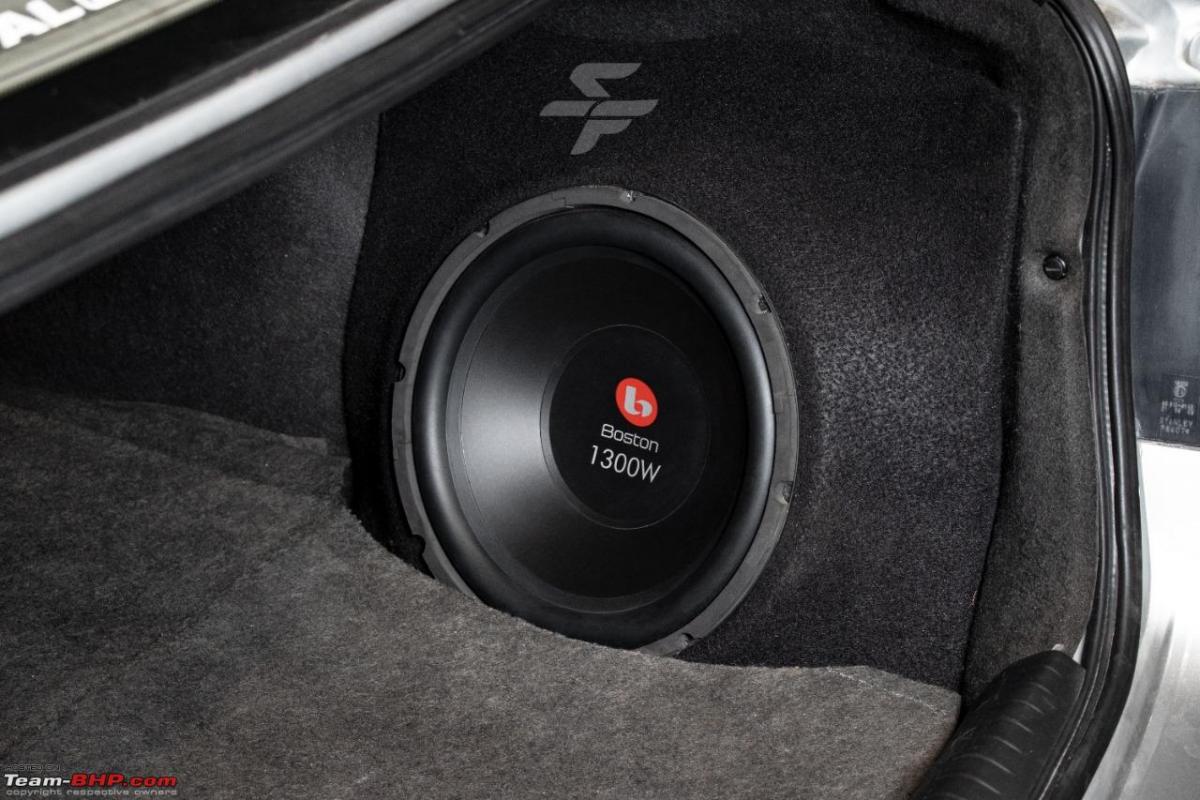
I had three audio components with me. A 4 channel Brazzo Amplifier, a single channel/ mono Amplifier from Infinity and a Sub woofer from Boston Acoustics. I also requested Karthikk to re-use the components in the best possible way. Also, one mistake in Vento was to use the box sub-woofer which ate into the boot space. I wanted to incorporate the sub-woofer in the Civic without compromising on the boot space.
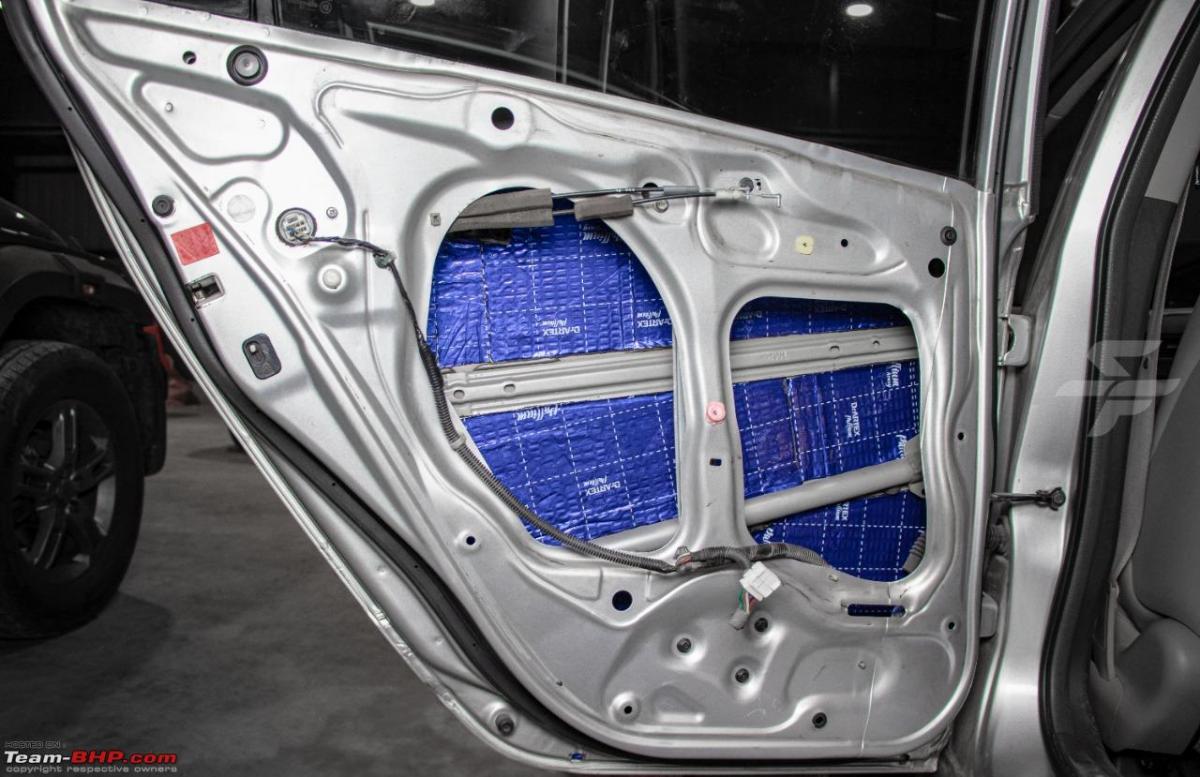
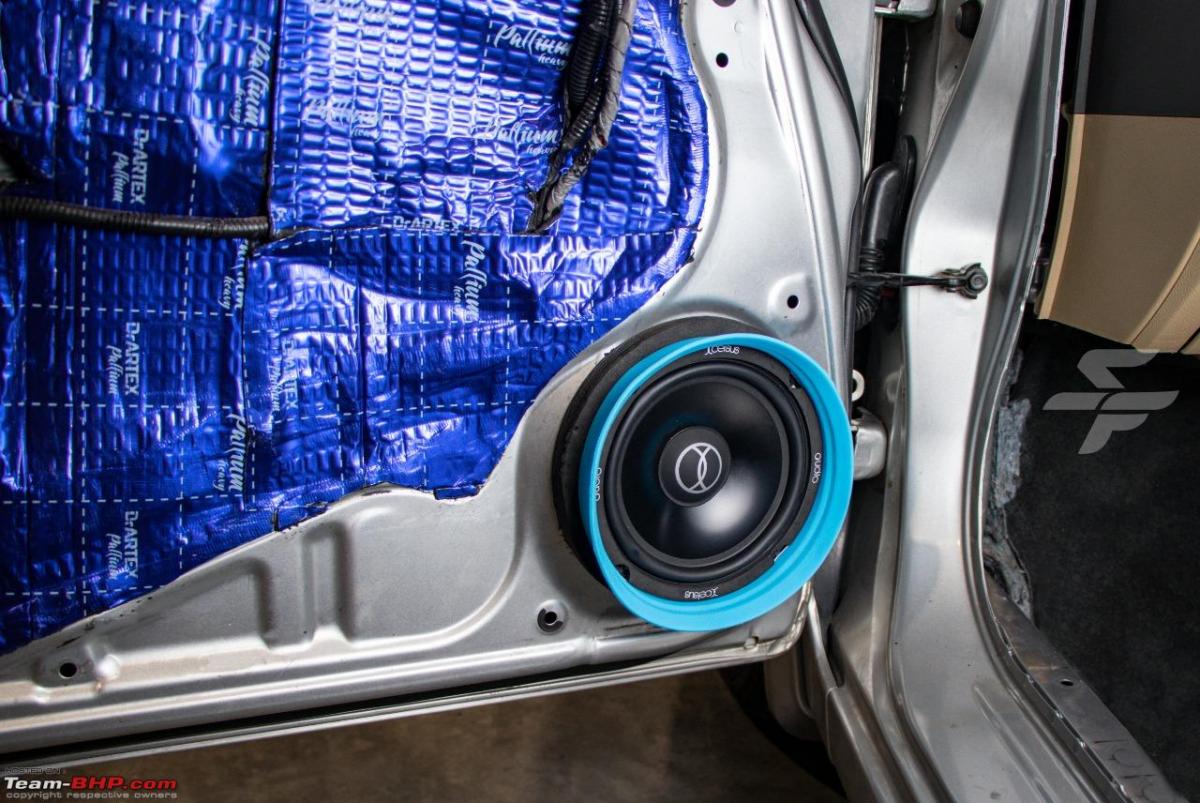
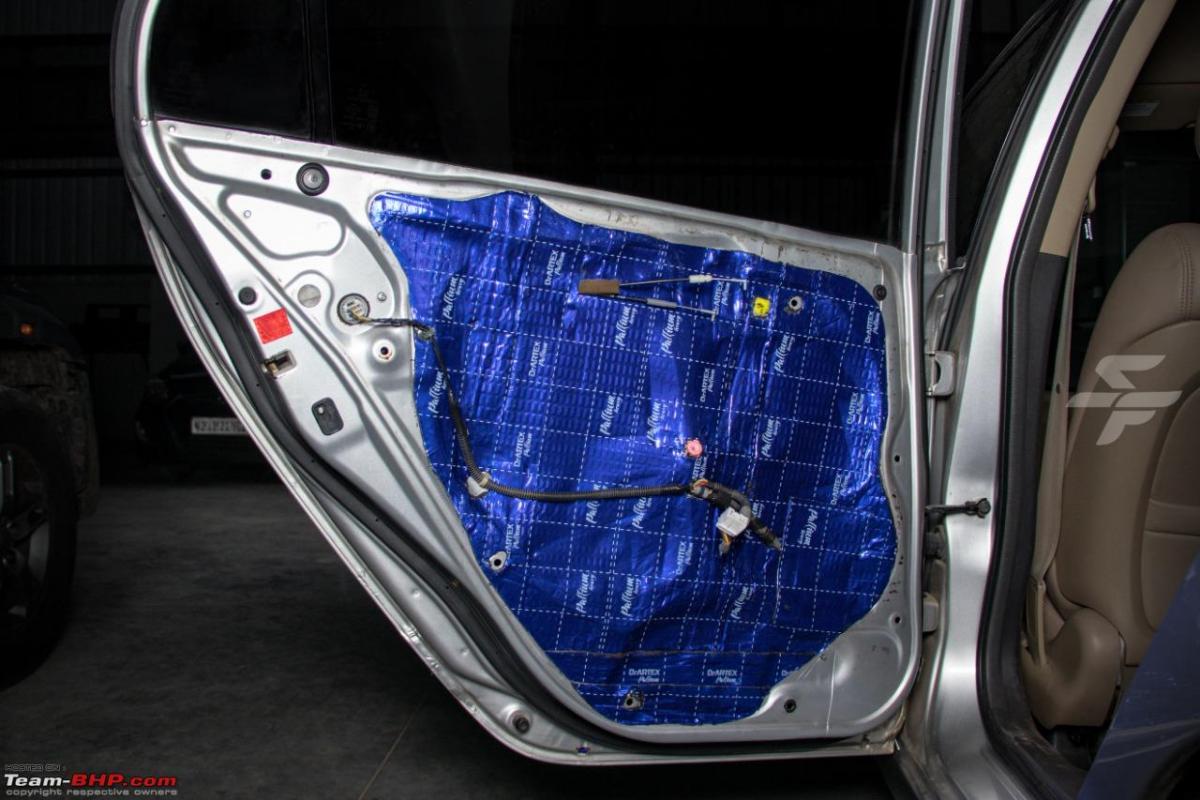
The sound damping work on the Civic started immediately but, I was waiting for Karthikk to come back with the best audio setup for the Civic. Sound damping was done to the four doors, boot, hood and the floor. We did not touch the roof.
Few clicks of the sound damping in progress.
Karthikk came back with the following suggestions
Two potential options

I chose the second option as it was less complex with lesser number of audio components. Cost wise, both were almost the same.
This required fabrication in three places
1. To mount the sub-woofer in the corner of the boot to save space
2. To mount the 2.5" wide channel speakers on the door with a OE finish
3. To mount the DRC controller in the centre of the dashboard.
We cannot put a price to the above three elements as they require significant workmanship and customized to one's car. No two cars will have a similar setup. Kudos to the great job and the integration work.
Here are the audio components installed. Let me start from the front
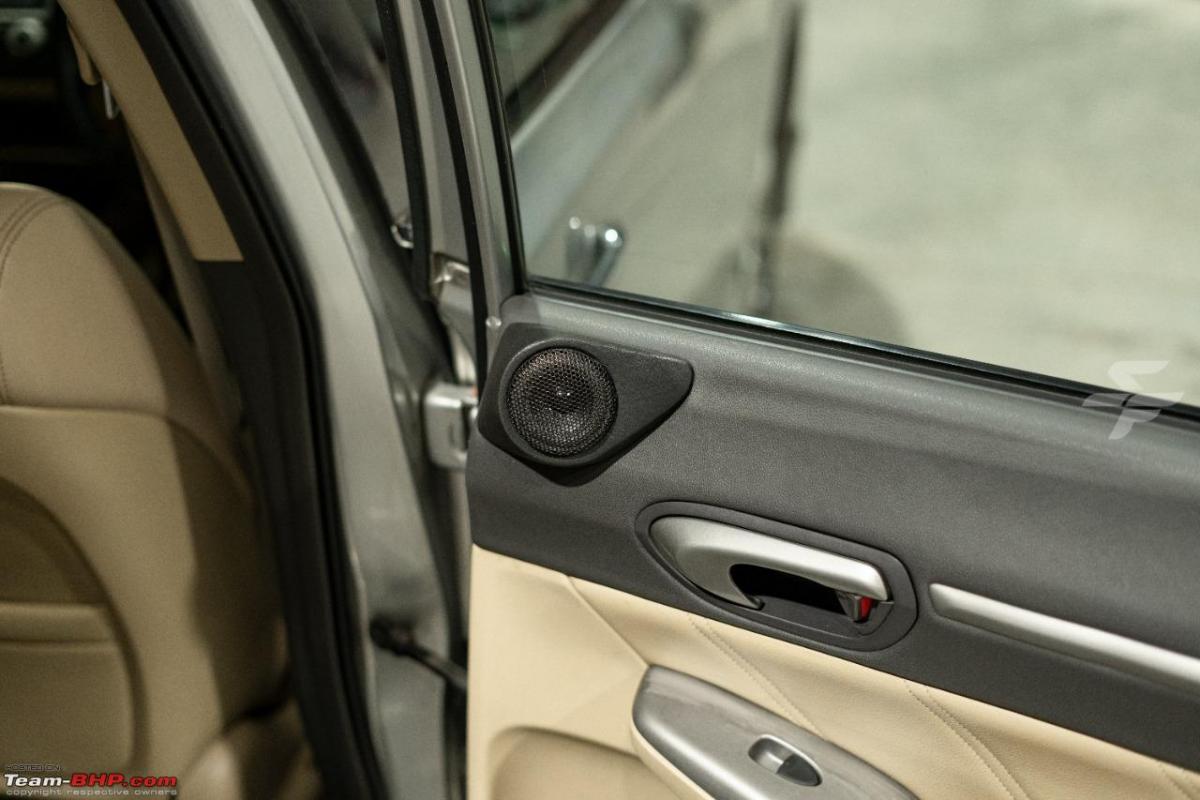
1. Xcelsus 6.2U component speakers with tweeters in the front.

2. Steering mounted audio controls

3. DRC Controller: The DRC controller has the option to switch between different sources like Head Unit, Direct Bluetooth connection to the DSP, USB connection to the DSP. The centre volume knob can be used to control the volume and also the Sub woofer level. And finally 4-preset listening position configuration with preset tune.

4. Speakers with customized fabrication on the rear door: Since the car is long, I wanted to have a simple speaker setup in the rear door, which is almost the centre point of listening in the car. This will avoid the perceived void between the front and the rear sound stage.
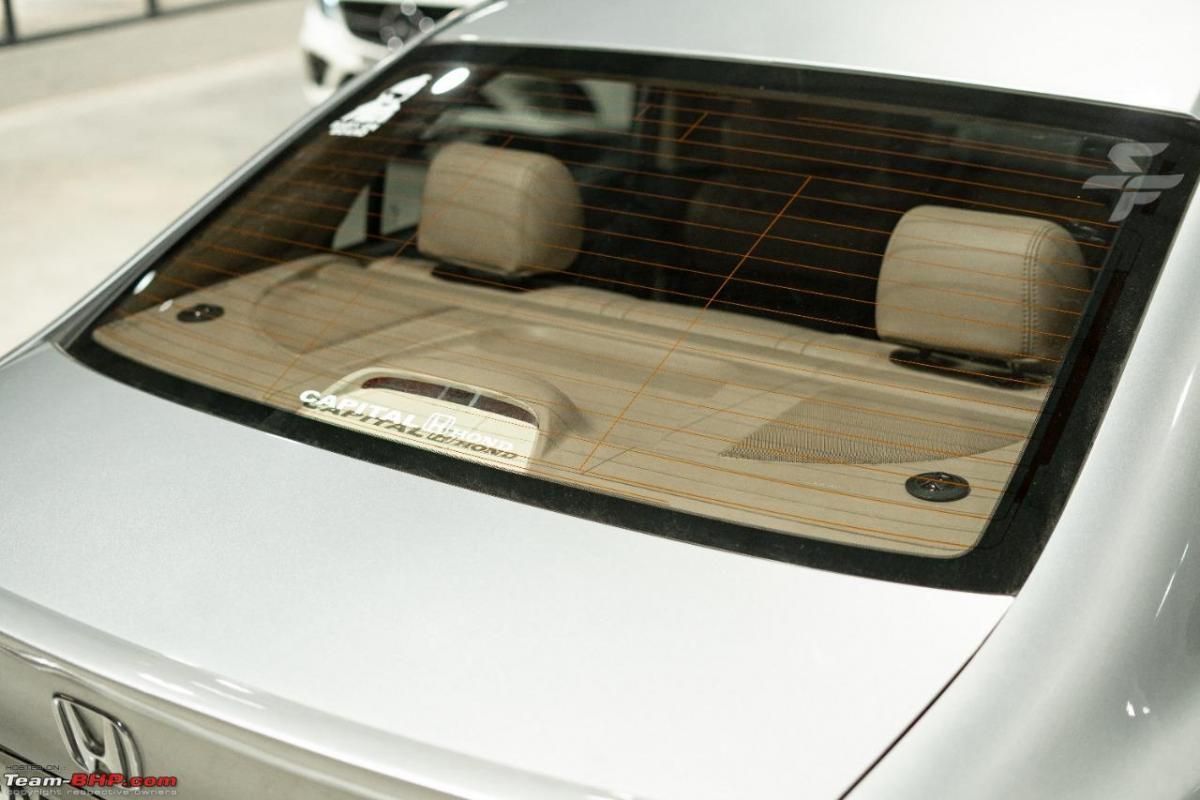
5. Xcelsus 6.2 B component speakers in the rear parcel shelf.
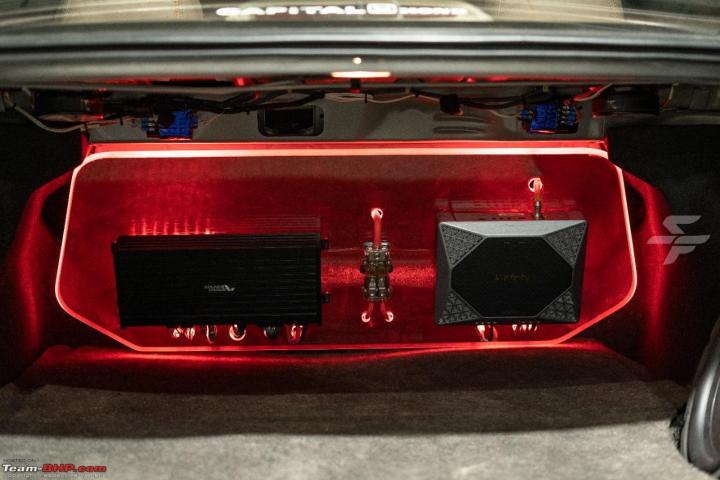
6. 8 Channel DSP with inbuilt 6 channer amplifier from Sound Magus and Infinity Mono Amplifier mounted on a custom fabricated illuminated fibre glass pad. Look at the attention to detail and the cleanliness of the install

7. Custom fabricated woofer enclosure with the sub woofer
All these took close to a month to complete and Karthikk finally did his magical tuning. The car audio is simply phenomenal. We gave some time for the speakers to bed in and now, the audio output is sublime. I look forward to driving the Civic everyday just to listen to the audio. Such is the finesse and the output is comparable to luxury cars with high end audio systems. The key here is to understand the sound the tuning it right to be pleasant on the ear. I realize new sounds from multiple songs that I have heard over many years.
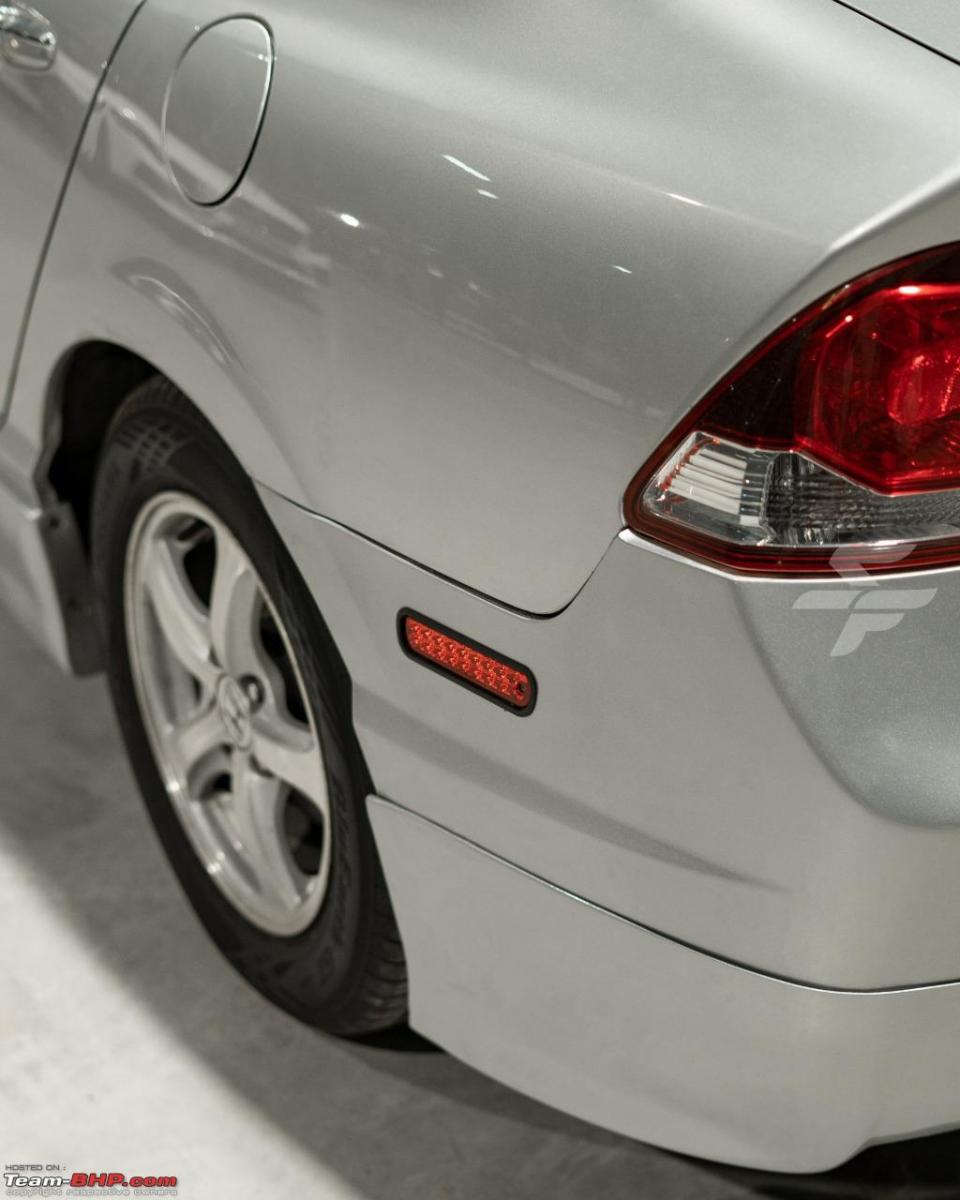
In addition to this, Karthikk had a few components for the Civic in his inventory for a long period of time and asked me to take a look at these and if I may like any. I picked up the body kits, mugen door sills, mugen engine cover, mugen oil filler cap, market lights on the rear bumper etc. from the inventory. He got his inventory cleared and I got these at a very good discount. Here are a few clicks of the car's exterior.
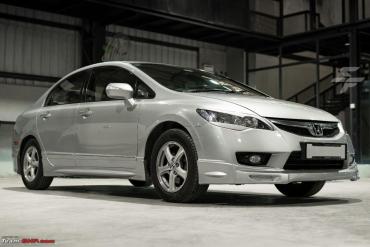
Front Angle 1

Front Angle 2

Marker Lights
Rear Angle
 \
\
Side body kits

A special mention to MMR motors, who helped in painting and mounting of the body kits. They did a phenomenal job in color matching and mounting them well.
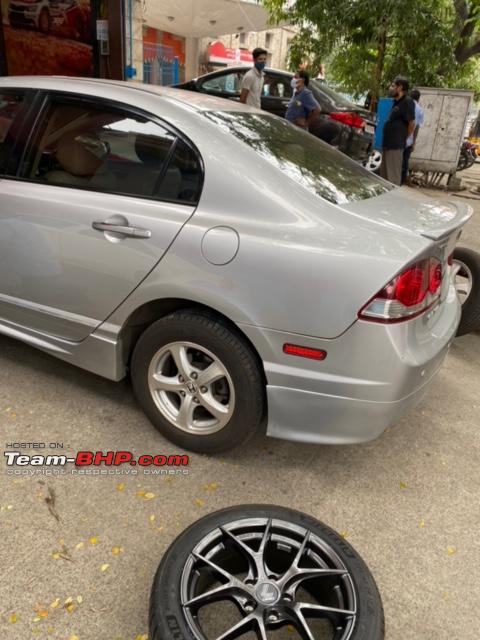
Wheel and Tyre change
Once all the above changes were done, it was time for a final cosmetic upgrade for the wheels and tyres. Fixed an appointment with BM lal, spent a few hours at their store and finalized Lenso Jager Dyna alloy wheels of 17" size and Pilot Sport 4 tyres from Michelin, 225/45/17 dimension.
Before the wheel change
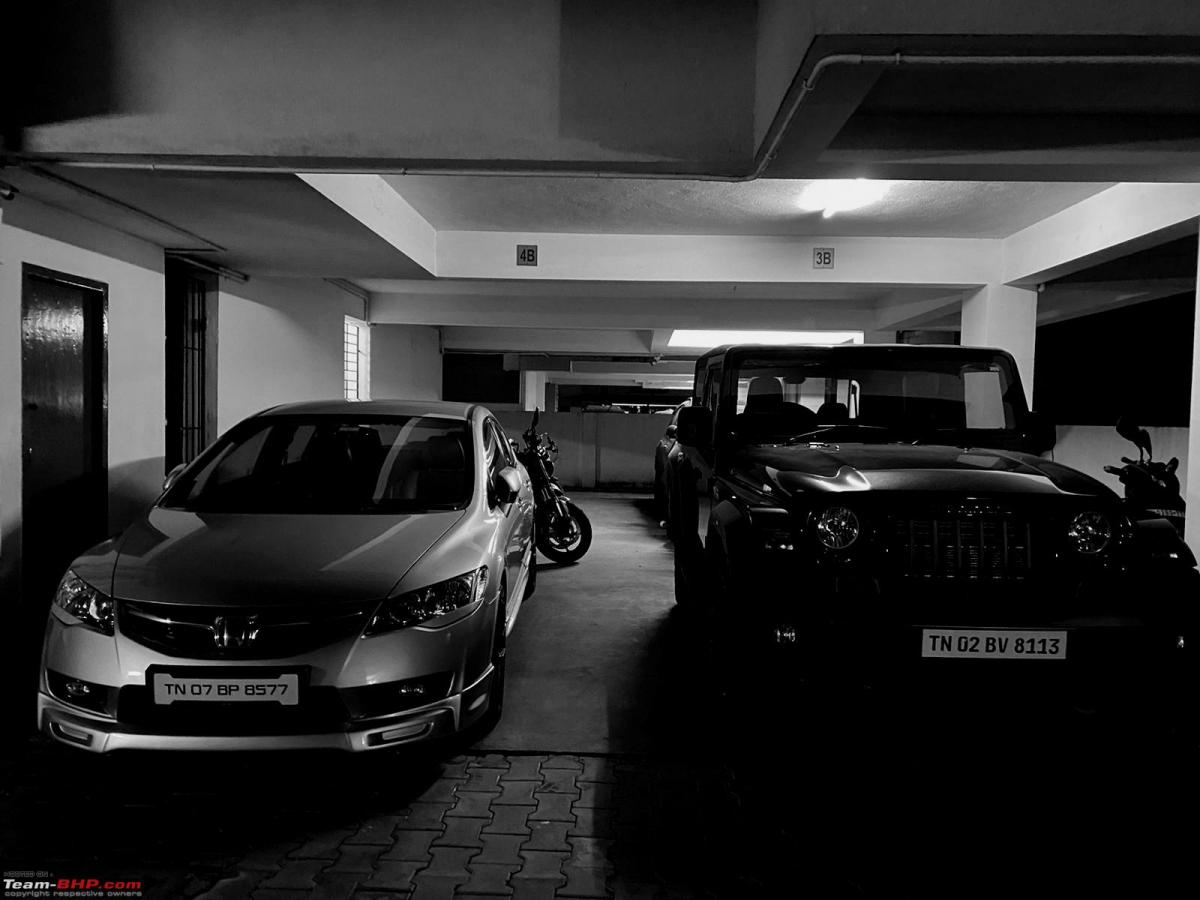
After the wheel change


Ending the post with a teaser to a new ownership thread
Read BHPian comments for more insights and information.
Find Car News
Just News


.jpg)


About Us


Buy & Sell
USED CARS