Team-BHP > In-Car Entertainment
Register New Topics New Posts Top Thanked Team-BHP FAQ


Reply
  Search this Thread
145,243 views
Old 31st July 2014, 17:24   #1
Distinguished - BHPian
 
paragsachania's Avatar
 
Join Date: Nov 2007
Location: Belur/Bangalore
Posts: 7,148
Thanked: 27,140 Times
Ertiga DIY: Installing a 2-DIN Stereo with Bluetooth

THE NECESSITY:
Some buy cars for features, some with features and few like me don’t pay much attention to features. Maruti Suzuki is (in)famous for not providing Stereo with Bluetooth connectivity and this often put me in tight spots managing cell-phone calls while on the move. I hated wearing the wired or the Bluetooth hands-free and even if I wore the former, by the time I plugged to my ears, I would have missed that call due to the tangled wires!

OPTIONS SHORTLISTED:
  • Bluetooth Hands-free for ears – Ruled this out as it was painful for me to hook something to my ears and drive for 1.5 hours each way. Plus, the Audio clarity was not something I would love
  • Car Bluetooth Kit – Evaluated quite a few models but the fact that it is a separate unit that fits on the sun visor, may not mute the Audio during calls, will require me to charge it on regular (if not frequent) basis moved me away from it
  • After-market Head Unit with Bluetooth – This was a close contender that would tick all the boxes of my requirement for the functionality and features it offers. Plus, I don’t need to bother about this like any additional device in the car like others
WHAT I PICKED:
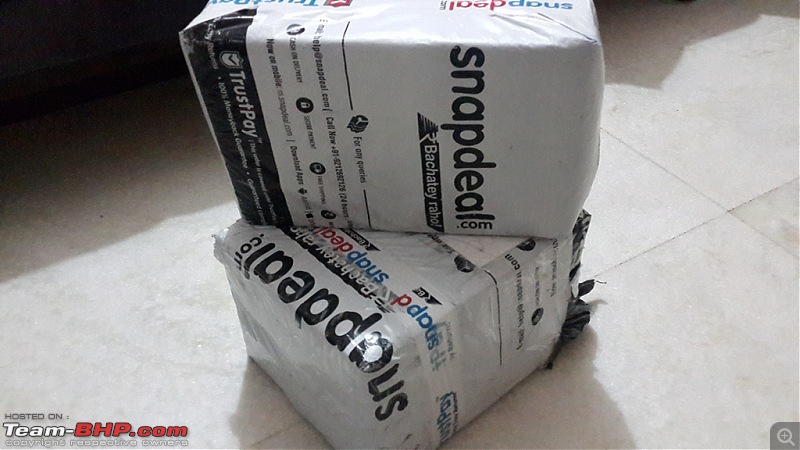
Double DIN-Bluetooth-Non Touch-3 Pairs of RCAs – These were the only 3 parameters and I looked at Pioneer, JVC & Kenwood and found the Kenwood DPX-U5130BT do my job with a reasonable price tag of Rs. 11,XXX after a 15% Cashback from Snapdeal.

Accessories applicable and ordered for this D-I-Y Project:
  • Kenwood DPX-U5130BT – Snapdeal.com – 11,XXX/-
  • Heat Shrink Tube – Ebay.in – 128/-
  • Car Stereo Wiring Harness Connector/Coupler - Ebay.in – 600/-
  • Car Stereo Antenna Pin Connector/Coupler - Ebay.in – 350/-
  • 2 DIN Fascia/Dash Kit – Accessory shop on JC Road – 1150/-
Ertiga DIY: Installing a 2-DIN Stereo with Bluetooth-kenwood_unboxing_01.jpg
paragsachania is offline   (23) Thanks
Old 31st July 2014, 17:27   #2
Distinguished - BHPian
 
paragsachania's Avatar
 
Join Date: Nov 2007
Location: Belur/Bangalore
Posts: 7,148
Thanked: 27,140 Times
re: Ertiga DIY: Installing a 2-DIN Stereo with Bluetooth

How I killed my weekend:

Ertiga DIY: Installing a 2-DIN Stereo with Bluetooth-schematic.jpg
To make things understandable in terms of installation basics, I have pictorially represented above on how I will approach this DIY and where will various connectors come into Picture.
  • The OE Head Unit will have 2 connectors on its Rear – Stereo Connector and the Antenna Connector
  • The Aftermarket Head Unit will also have 2 connectors/sockets on its Rear – One for Stereo Connector and the other for Antenna
  • The OE Stereo connector has 8 wires for 4 speakers, 3 for Power and Ground and 1 for Backlight illuminations of the Head Unit when Parking lights are turned on
  • The Aftermarket Stereo connector has 8 wires for 4 speakers, 3 for Power and Ground and a couple of more for Turning on the Amplifier, Mute line and etc
  • The OE Headunit has a rectangular socket for Antenna whereas the Aftermarket unit has a Round Pin for the Antenna

Interface for the Head Unit:
  1. Remove OE Head Unit connector from the back of the Stereo – Female socket
  2. Connect Aftermarket Stereo connector to this Female socket
  3. Plug the Aftermarket stereo connector to the back of the Kenwood HU
  4. Connect wires from both the connectors (2) & (3) correspondingly
Interface for the Antenna:
  1. Remove the OE Antenna Plug – Female socket
  2. Connect Aftermarket Antenna connector to this Female socket

Last edited by paragsachania : 31st July 2014 at 17:29.
paragsachania is offline   (18) Thanks
Old 31st July 2014, 17:33   #3
Distinguished - BHPian
 
paragsachania's Avatar
 
Join Date: Nov 2007
Location: Belur/Bangalore
Posts: 7,148
Thanked: 27,140 Times
re: Ertiga DIY: Installing a 2-DIN Stereo with Bluetooth

Now, let me connect the above statements to the images below:

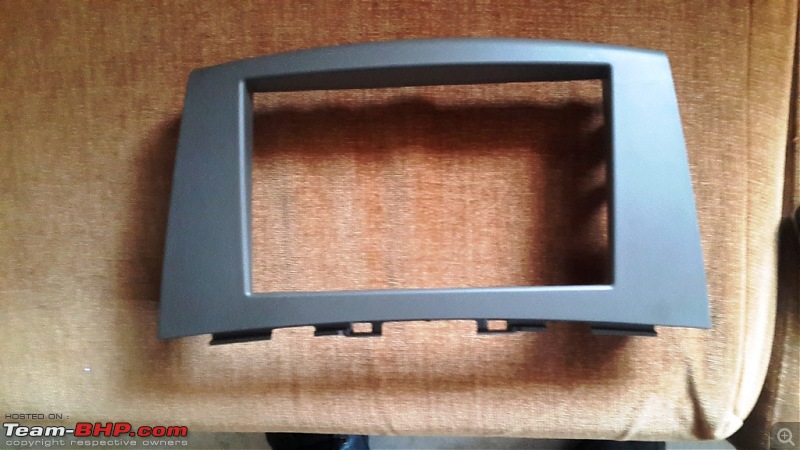
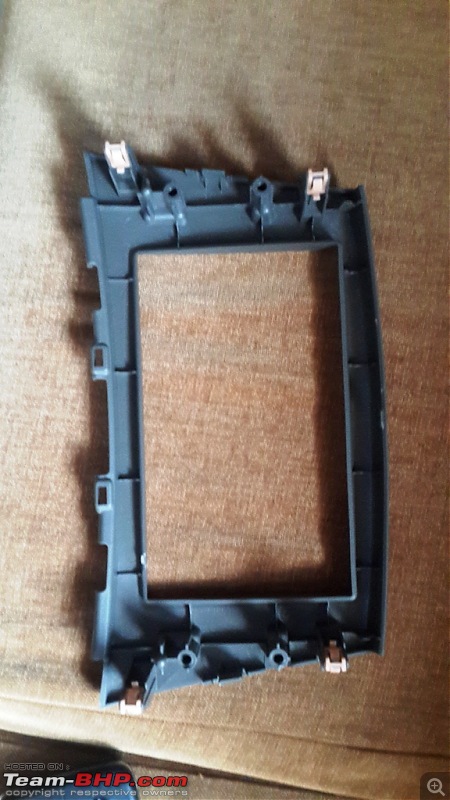
The Double DIN Fascia/Dash Kit on how it looks on both sides
Ertiga DIY: Installing a 2-DIN Stereo with Bluetooth-dashkitfront.jpgErtiga DIY: Installing a 2-DIN Stereo with Bluetooth-dashkit_back.jpg

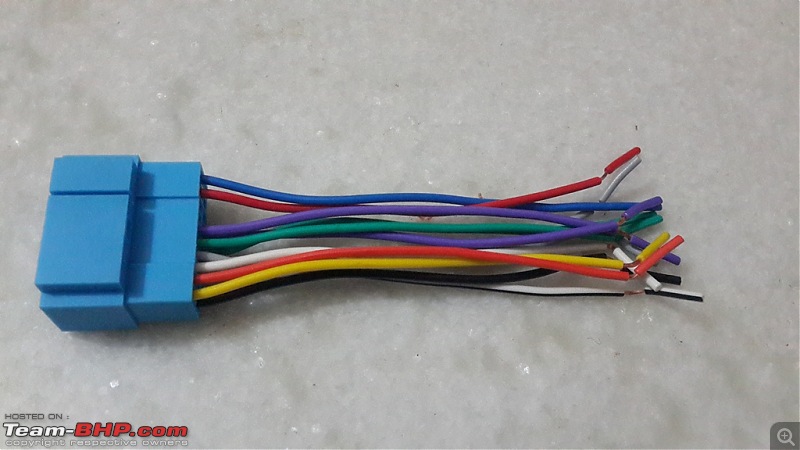
Stereo Interface Connector
Ertiga DIY: Installing a 2-DIN Stereo with Bluetooth-connector_stereo.jpg

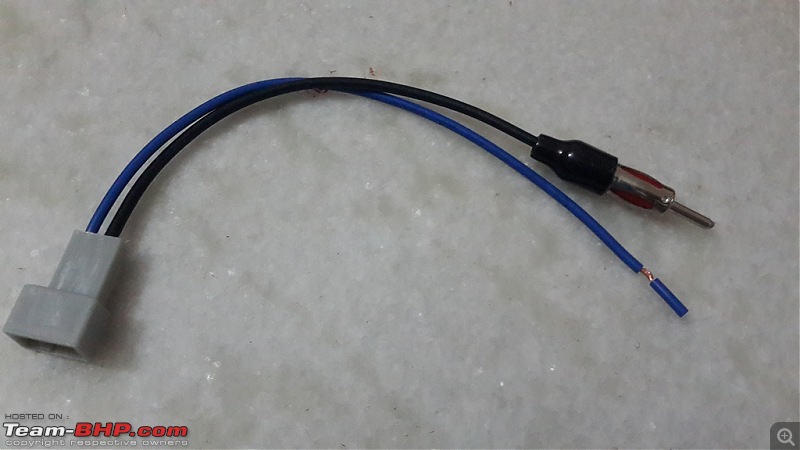
Antenna Interface Connector
Ertiga DIY: Installing a 2-DIN Stereo with Bluetooth-connector_antenna.jpg

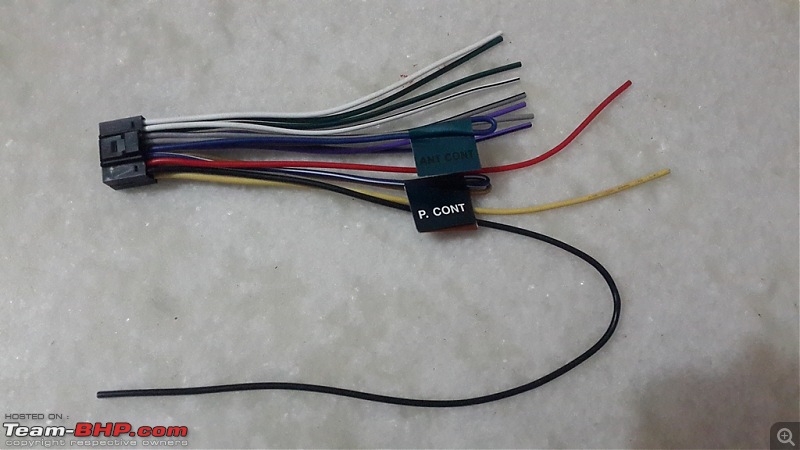
Kenwood Stereo’s OE Connector
Ertiga DIY: Installing a 2-DIN Stereo with Bluetooth-connector_kenwood.jpg

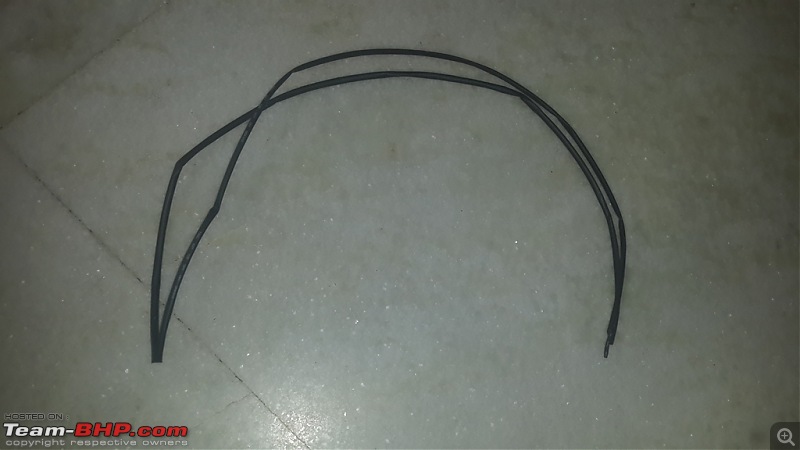
Heat Shrink Tubes for a cleaner execution

Ertiga DIY: Installing a 2-DIN Stereo with Bluetooth-heat-shrink-sleeves.jpg
paragsachania is offline   (18) Thanks
Old 31st July 2014, 17:43   #4
Distinguished - BHPian
 
paragsachania's Avatar
 
Join Date: Nov 2007
Location: Belur/Bangalore
Posts: 7,148
Thanked: 27,140 Times
re: Ertiga DIY: Installing a 2-DIN Stereo with Bluetooth

Joining the wires for Speakers:

Stereo Interface Connector & the Kenwood Stereo’s OE Connector both have loose ends that needs to be connected to each other to create a single unit so that:
  • One end of this simply hooks to the Ertiga’s OE Stereo connector
  • Other end will plug at the back of the Kenwood Head Unit
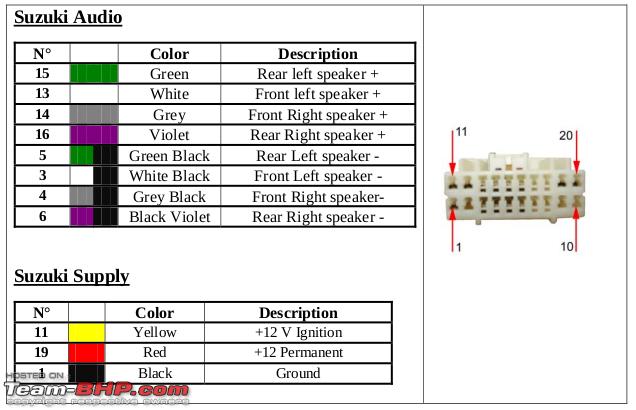
Standard Color Codes for wiring the speakers(Below picture is for the Swift) :
Name:  Color Code.png
Views: 74157
Size:  65.9 KB
(Pic Courtesy: Google Search)
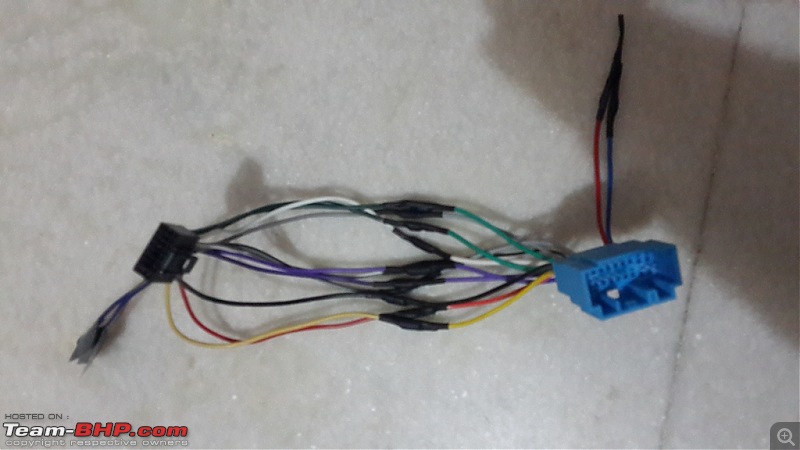
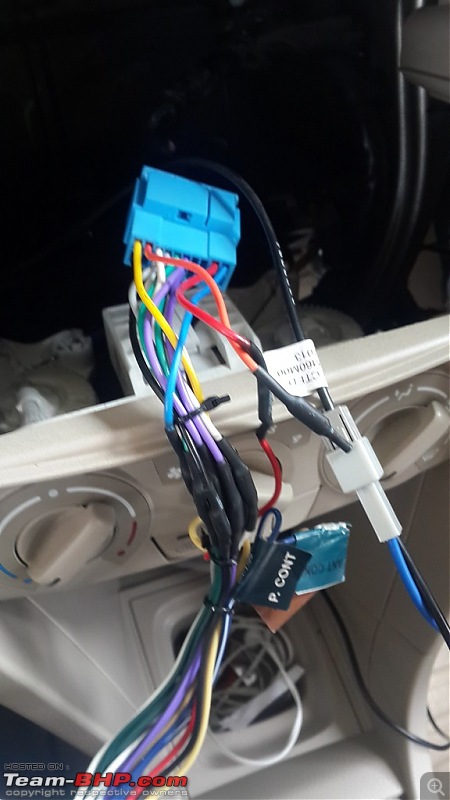
The Kenwood Stereo connector also has wires with the same colors and I merely had to pair both ends for 4 speakers:Ertiga DIY: Installing a 2-DIN Stereo with Bluetooth-connectors_joined_01.jpg

Wiring for Power:

Basically, the Stereo will require 3 wires for powering up:
  • 12 Volt supply which is permanent – This is probably to retain the user settings and memory
  • 12 Volt supply when the Key is in ACC Position – This will ensure the system can be turned on only when the Key is in ACC Position
  • Ground – We don’t need explanation for this when we talk about devices using DC Power, do we
  • Kenwood – Black <--------------> Interface connector – Black (Ground)
  • Kenwood – Yellow <--------------> Interface connector – Yellow (ACC 12V)
  • Kenwood – Red <--------------> Interface connector – Red (Permanent 12V)

2 Connectors, wires joined, 1 Harness:
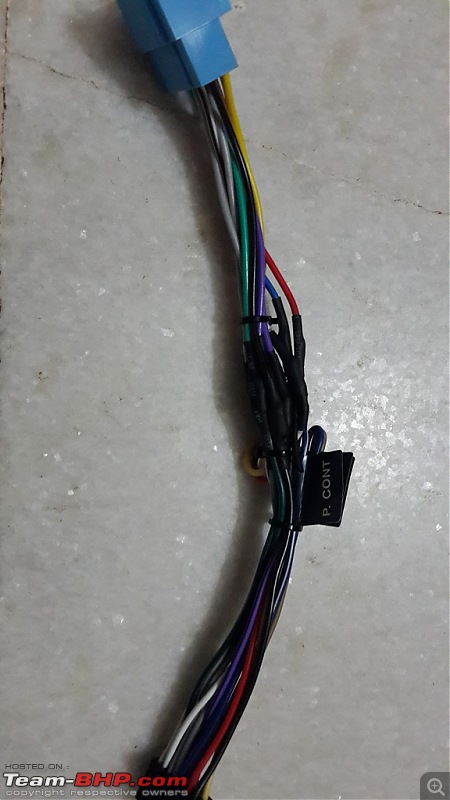
After joining the speaker wires and for the power, insulating it with shrinkable heat sleeves and tying them securely with plastic ties, here is how the final harness looks like:
Ertiga DIY: Installing a 2-DIN Stereo with Bluetooth-connectors_joined_02.jpg

Last edited by paragsachania : 31st July 2014 at 18:16.
paragsachania is offline   (16) Thanks
Old 31st July 2014, 17:51   #5
Distinguished - BHPian
 
paragsachania's Avatar
 
Join Date: Nov 2007
Location: Belur/Bangalore
Posts: 7,148
Thanked: 27,140 Times
re: Ertiga DIY: Installing a 2-DIN Stereo with Bluetooth

Removal of the OE Head Unit & fitting the Kenwood Head Unit:
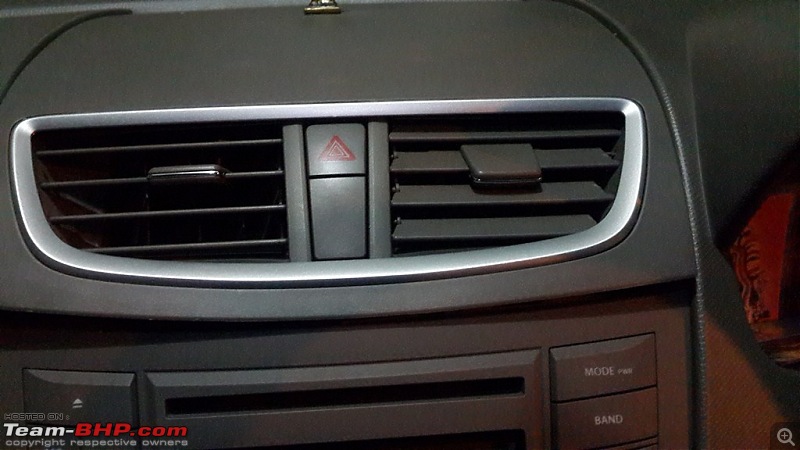
  • Remove the Center AC Vent Cover
  • Loosen the 2 screws holding the OE Head Unit Bracket
  • Pull out the OE Head Unit
  • Disconnect the Stereo and Antenna plug at the back of the OE Head Unit
  • Remove the Aluminium brackets on both the sides of the OE Head Unit
  • Fix these Brackets on both sides of the Kenwood Head Unit
  • Fix the above unit (Kenwood fixed to the bracket) to the 2 DIN Fascia
  • Connect the 2 couplers (Stereo and Antenna) to the OE sockets
  • Connect the other end to the back of the Kenwood Head Unit
  • Push the Kenwood HU (attached to the Fascia) into its slot on the Dashboard
  • Tighten the 2 screws on the Bracket to the Dashboard
  • Push the AC Vent plastic back to its place
Details with images:

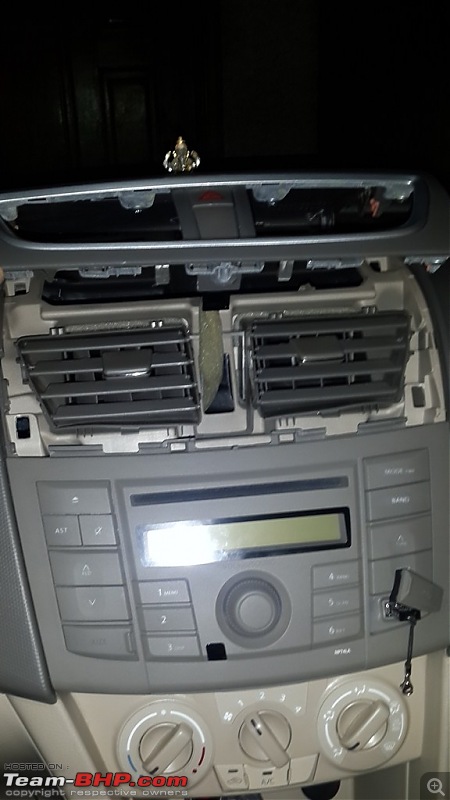
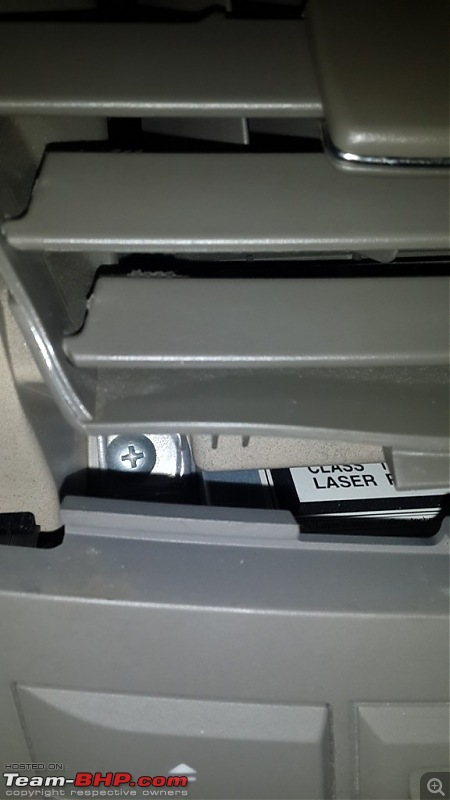
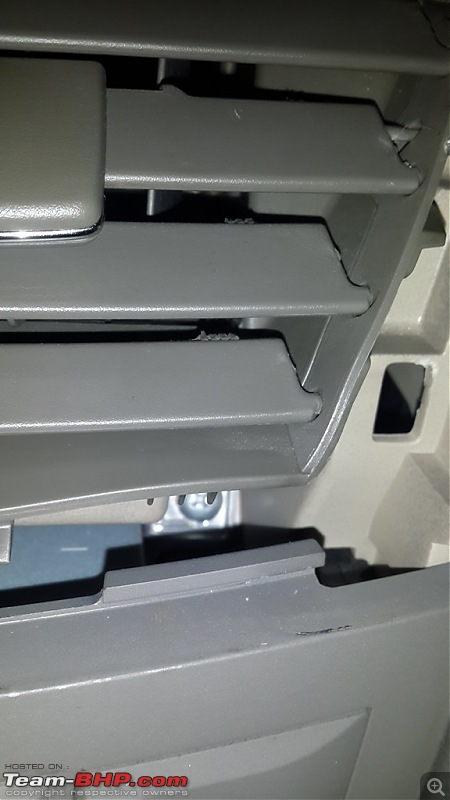
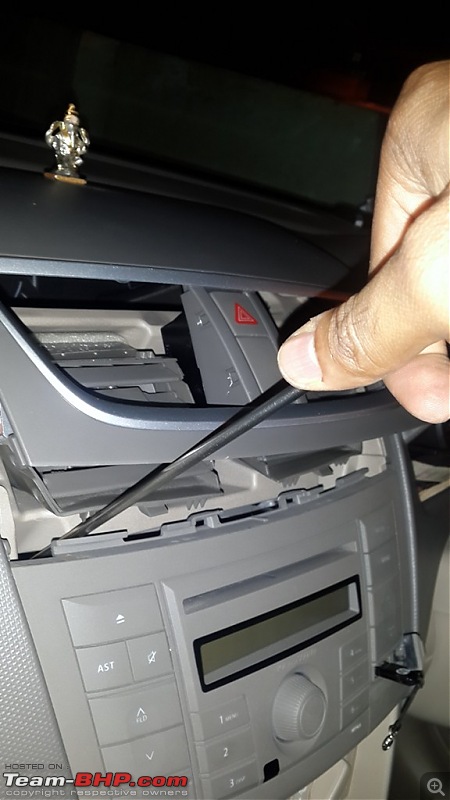
You can use a stainless steel ruler & insert between the gaps and twist a bit to hear the clips unlock. Then you simply use bare hands to lift thisErtiga DIY: Installing a 2-DIN Stereo with Bluetooth-hu-removal01.jpg

Now, it makes life easier to access the 2 screws that are holding the stock head unit
Ertiga DIY: Installing a 2-DIN Stereo with Bluetooth-hu-removal02.jpg

There are 2 screws holding this complete unit situated on Top left and Top right corners right behind the frame of the Head Unit
Ertiga DIY: Installing a 2-DIN Stereo with Bluetooth-hu-removal03.jpg
Ertiga DIY: Installing a 2-DIN Stereo with Bluetooth-hu-removal04.jpg

Using a Philips Screw driver, loosen these 2 completely
Ertiga DIY: Installing a 2-DIN Stereo with Bluetooth-hu-removal05.jpg

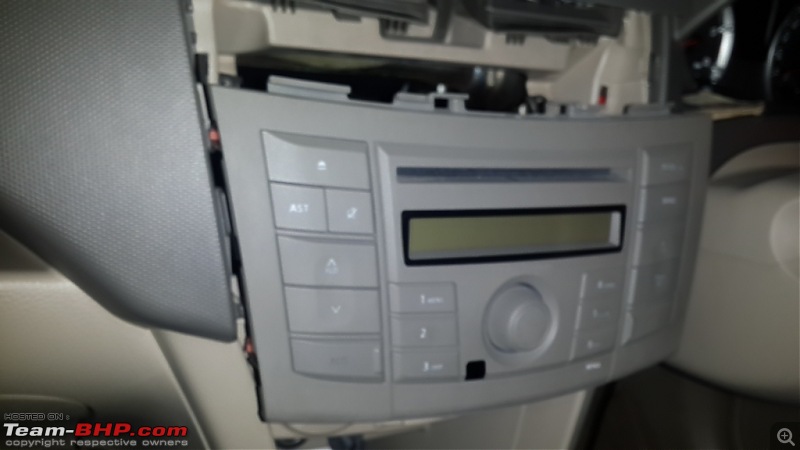
Again insert the stainless steel scale below the Head unit and twist a bit to unlock the clips and you can use bare hands again to pull the unit out
Ertiga DIY: Installing a 2-DIN Stereo with Bluetooth-hu-removal06.jpg

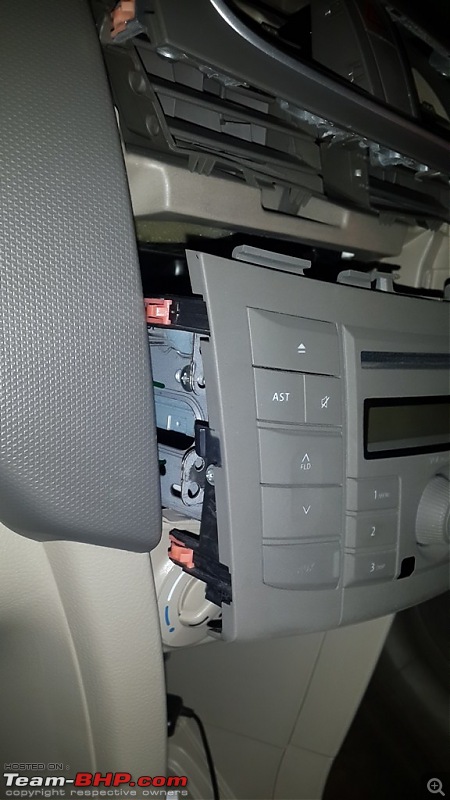
You can notice those orange clips on the left side by means of which the unit is secured on the other side as well apart from the 2 screws that I loosened in the above pictures
Ertiga DIY: Installing a 2-DIN Stereo with Bluetooth-hu-removal07.jpg

Carefully pull out the 2 connectors at the back of the Headunit and now you have the OE stereo in your hands & independent:
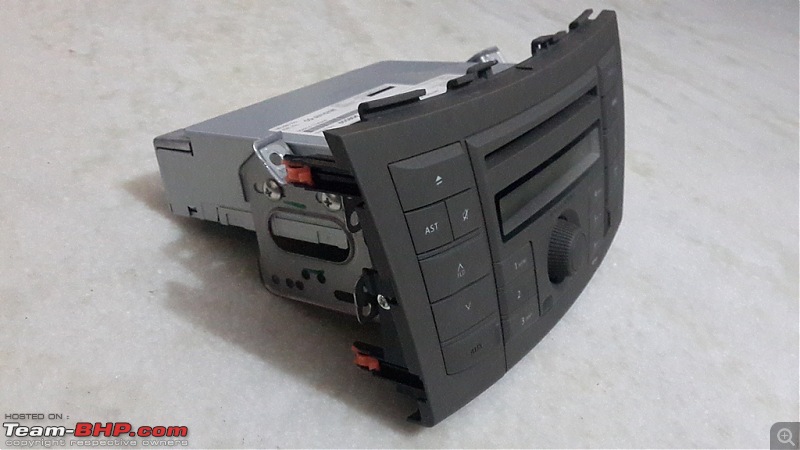
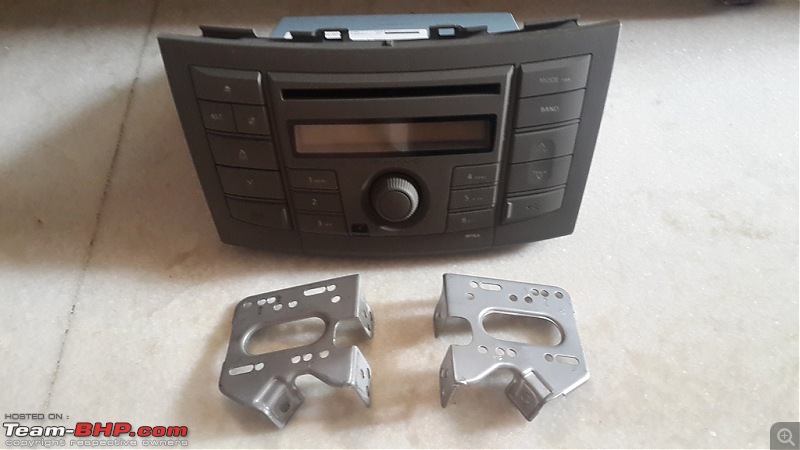
Ertiga DIY: Installing a 2-DIN Stereo with Bluetooth-hu-removed01.jpg

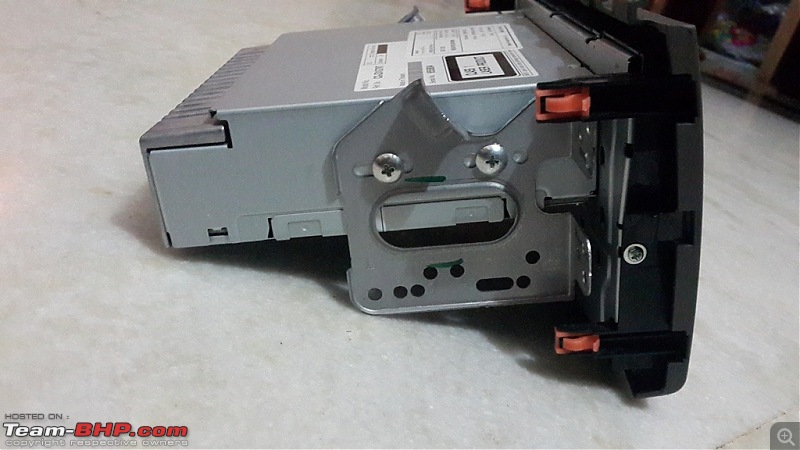
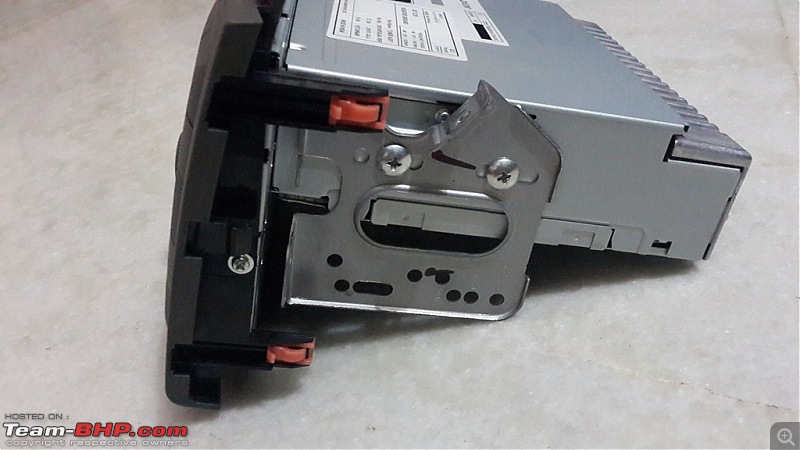
The below 2 pictures represent the metal brackets that hold the unit to the dashboard. The same brackets have to be removed as we will need them to fit on the sides of the Kenwood Head Unit
Ertiga DIY: Installing a 2-DIN Stereo with Bluetooth-hu-removed02.jpg
Ertiga DIY: Installing a 2-DIN Stereo with Bluetooth-hu-removed03.jpg

Removed the brackets from both sides with the help of a screw driver:
Ertiga DIY: Installing a 2-DIN Stereo with Bluetooth-hu-brackets-removed.jpg

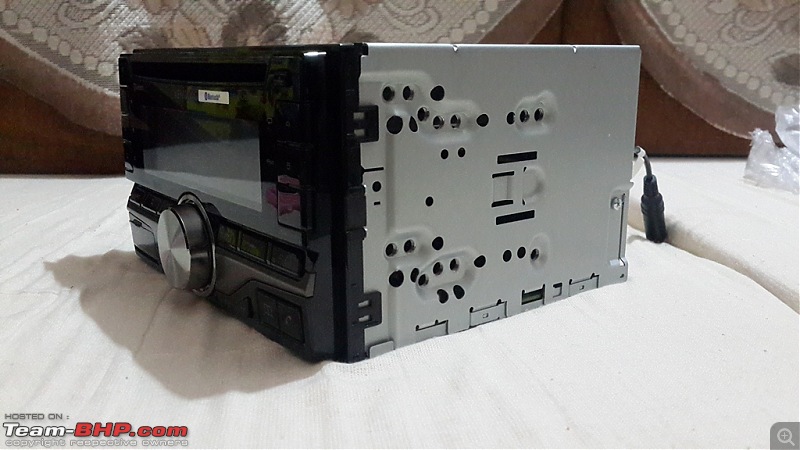
The brackets will now be fitted on the sides of the Kenwood Unit. Note that there are enough matching holes to fit these brackets on the side of the Head Unit
Ertiga DIY: Installing a 2-DIN Stereo with Bluetooth-kenwood_side.jpg

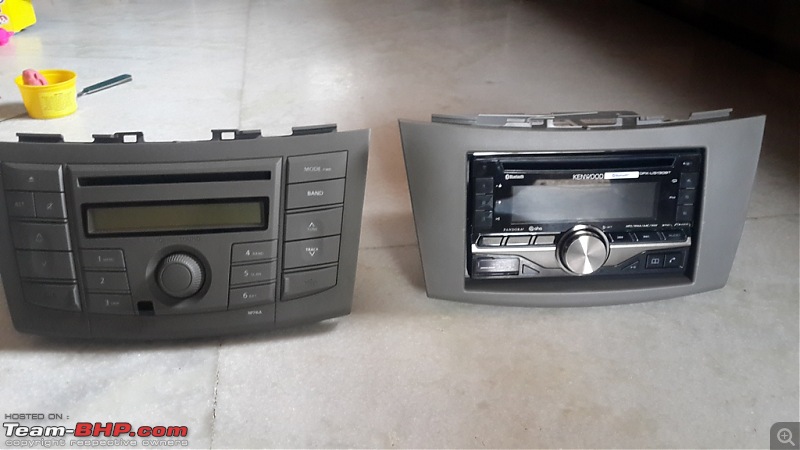
After fitting the brackets on the side, and securing the 2 DIN Fascia to the Head unit, we are almost ready. Here is how the outgoing and the incoming counterparts looks:
Ertiga DIY: Installing a 2-DIN Stereo with Bluetooth-hus-side-side.jpg

Last edited by n_aditya : 1st August 2014 at 10:07. Reason: edited as requested
paragsachania is offline   (18) Thanks
Old 31st July 2014, 18:09   #6
Distinguished - BHPian
 
paragsachania's Avatar
 
Join Date: Nov 2007
Location: Belur/Bangalore
Posts: 7,148
Thanked: 27,140 Times
re: Ertiga DIY: Installing a 2-DIN Stereo with Bluetooth

Wiring the Microphone cable:

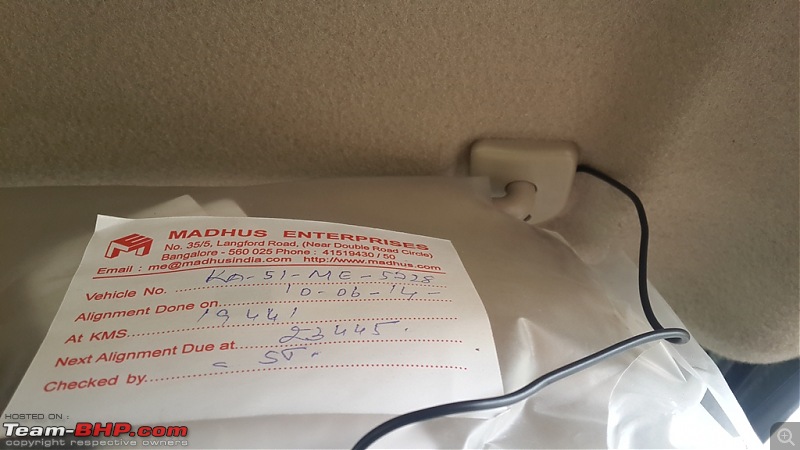
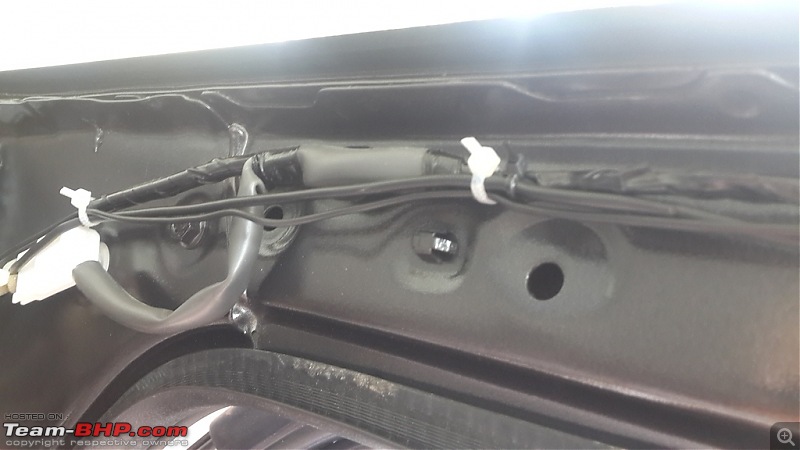
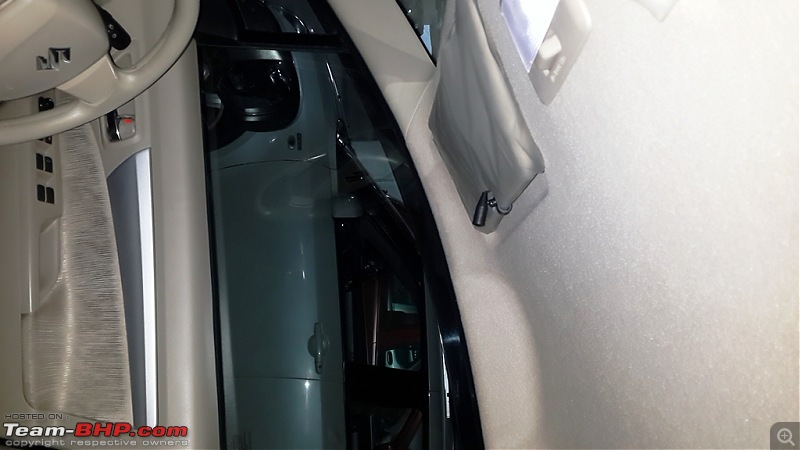
Since I am the only one who would drive and the necessity was primarily for me, I chose the driver side Sun Visor as an ideal location to fix the microphone. The next few pictures will give you details on the how I routed the wire of this microphone so that it’s not visible as an eyesore.

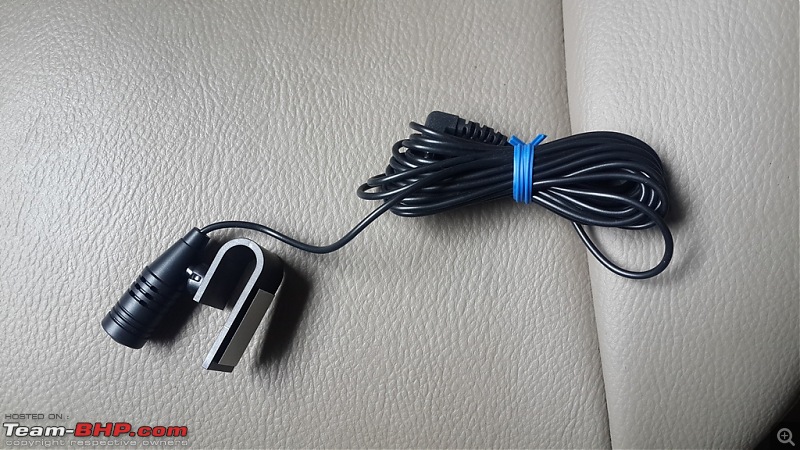
The Microphone Unit:
Ertiga DIY: Installing a 2-DIN Stereo with Bluetooth-mic.jpg

Removed the A-Pillar Trim:
Ertiga DIY: Installing a 2-DIN Stereo with Bluetooth-mic-routing-01.jpg

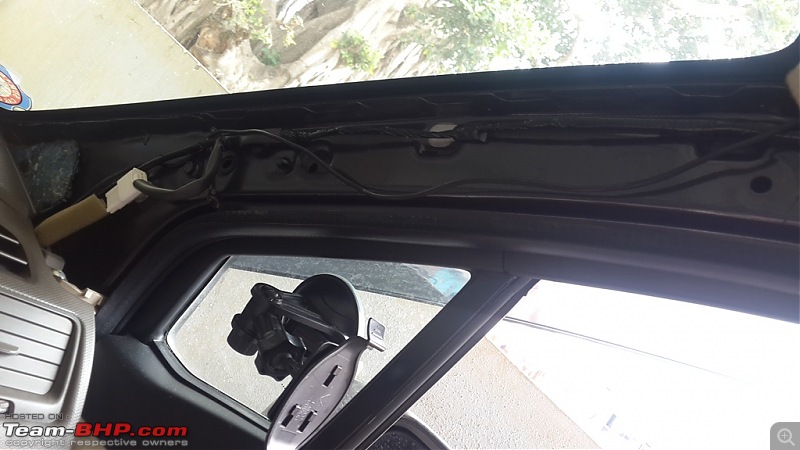
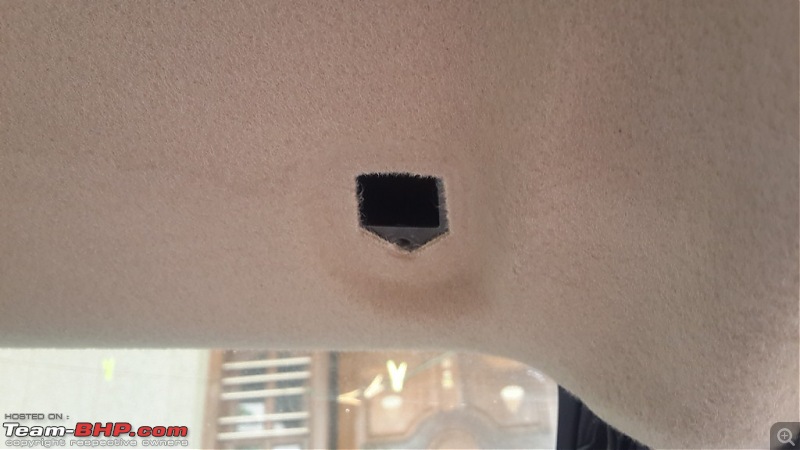
Loosened the screw securing the driver side Sun Visor and pulled out the visor. This huge hole was good enough for me to pass the microphone wire behind the roof line and route it through the A Pillar
Ertiga DIY: Installing a 2-DIN Stereo with Bluetooth-mic-routing-02.jpg

There goes the wire behind the roof lining:
Ertiga DIY: Installing a 2-DIN Stereo with Bluetooth-mic-routing-03.jpg

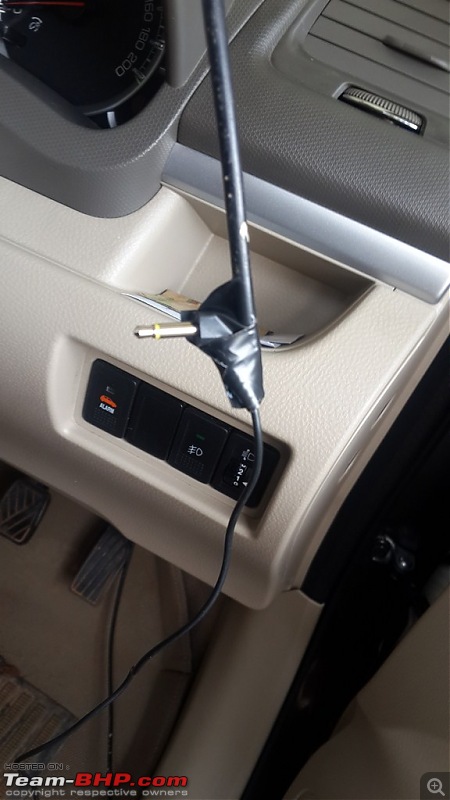
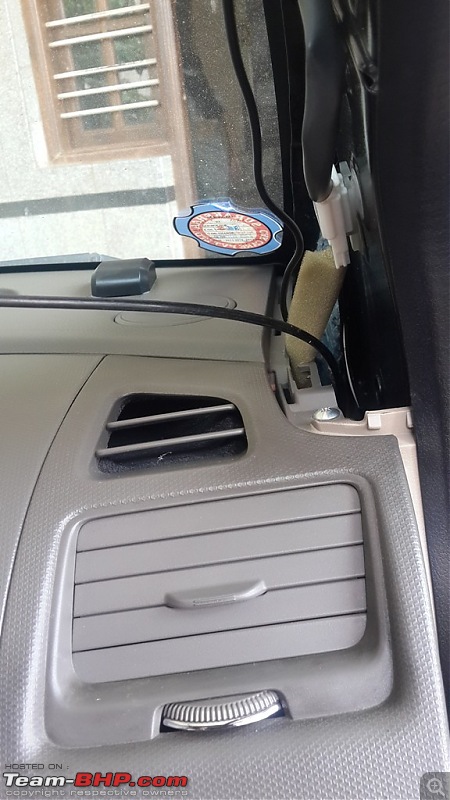
The Microphone wire was not stiff that I could easily push this through the smaller gaps at the back of the dashboard. Hence, used a Thicker & stiffer cable, passed it through the gap, attached the microphone wire with a temporary insulation tape and merely pulled the thick cable from below the dashboard to route the microphone wire as desired:

Ertiga DIY: Installing a 2-DIN Stereo with Bluetooth-mic-routing-04.jpg
Ertiga DIY: Installing a 2-DIN Stereo with Bluetooth-mic-routing-05.jpg

Secured the Microphone wire with plastic ties:
Ertiga DIY: Installing a 2-DIN Stereo with Bluetooth-mic-routing-06.jpg
Connected the Microphone at the back of the Kenwood Head Unit along with the Stereo and Antenna connectors:
Ertiga DIY: Installing a 2-DIN Stereo with Bluetooth-stereo-pairing.jpg

Last edited by paragsachania : 31st July 2014 at 18:15.
paragsachania is offline   (14) Thanks
Old 31st July 2014, 18:18   #7
Distinguished - BHPian
 
paragsachania's Avatar
 
Join Date: Nov 2007
Location: Belur/Bangalore
Posts: 7,148
Thanked: 27,140 Times
re: Ertiga DIY: Installing a 2-DIN Stereo with Bluetooth

Final tasks:

1. Connect all the plugs – Stereo, Antenna & Microphone
2. Push the Unit, tighten the screws and refit the AC vent cover on the Dash
3. Fix the Microphone to the desired location

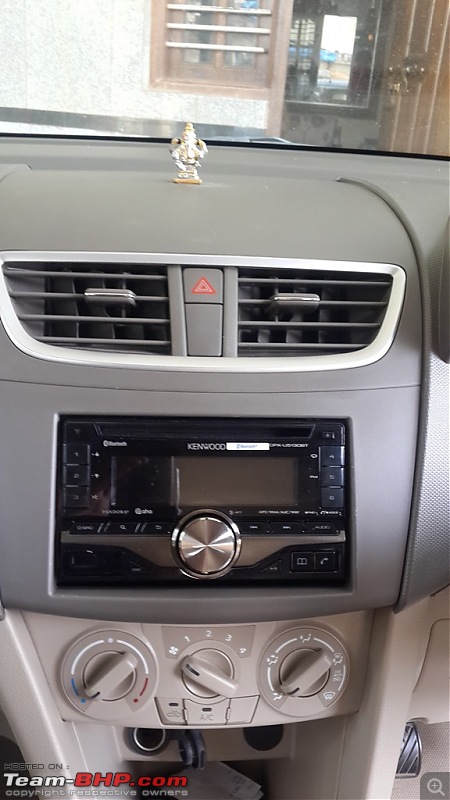
Here is how the Dashboard looks after the complete job:
Ertiga DIY: Installing a 2-DIN Stereo with Bluetooth-kenwood-day.jpg

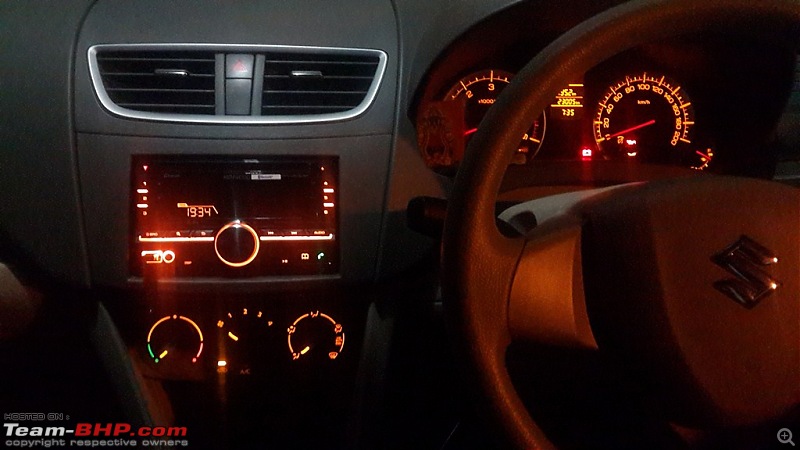
And this is how it looks when I turned the unit on adjusting the illumination to match the Dash illumination at night:
Ertiga DIY: Installing a 2-DIN Stereo with Bluetooth-kenwood-night.jpg


The Microphone in its final desired location:
Ertiga DIY: Installing a 2-DIN Stereo with Bluetooth-mic-fixed.jpg

Last edited by paragsachania : 31st July 2014 at 19:12.
paragsachania is offline   (39) Thanks
Old 31st July 2014, 19:17   #8
Team-BHP Support
 
Rudra Sen's Avatar
 
Join Date: Apr 2004
Location: Bangalore
Posts: 11,590
Thanked: 6,532 Times
re: Ertiga DIY: Installing a 2-DIN Stereo with Bluetooth

Mod note: Thread moved from Assembly Line to DIY - Do it yourself. Thanks for sharing.
Rudra Sen is offline   (1) Thanks
Old 1st August 2014, 00:21   #9
BHPian
 
Join Date: Sep 2013
Location: Hyderabad
Posts: 993
Thanked: 479 Times
re: Ertiga DIY: Installing a 2-DIN Stereo with Bluetooth

Parag Bhai,

You are on a DYI spree.

Awesome and clean job there. You really have a lot of patience, as these DYIs are not so easy.

Well done and any more DYIs coming up on your Ertiga?
JoseVijay is offline   (1) Thanks
Old 1st August 2014, 06:46   #10
BHPian
 
batterylow's Avatar
 
Join Date: May 2014
Location: TN38/KL11/KL58
Posts: 643
Thanked: 954 Times
re: Ertiga DIY: Installing a 2-DIN Stereo with Bluetooth

Great work Parag

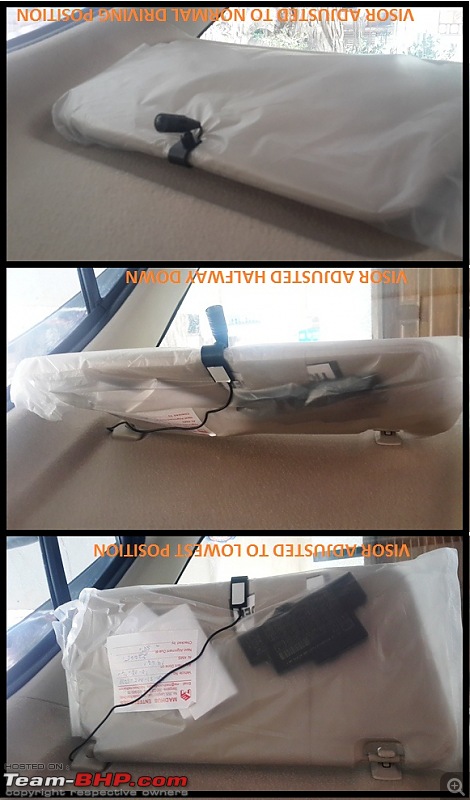
I hope you have accounted for the extra length of wire that is needed for the microphone when the sun visor is flipped down?
batterylow is offline   (1) Thanks
Old 1st August 2014, 07:56   #11
Senior - BHPian
 
phamilyman's Avatar
 
Join Date: Jul 2007
Location: Gurgaon
Posts: 5,968
Thanked: 4,642 Times
re: Ertiga DIY: Installing a 2-DIN Stereo with Bluetooth

This is epic stuff man. Really nicely done.

Your passion shines through. Most of us would just have paid some 250-500 bucks for the job to the installer, sit in a corner with a soft drink, and browsed the internet on the phone!
phamilyman is offline   (3) Thanks
Old 1st August 2014, 09:06   #12
Distinguished - BHPian
 
paragsachania's Avatar
 
Join Date: Nov 2007
Location: Belur/Bangalore
Posts: 7,148
Thanked: 27,140 Times
re: Ertiga DIY: Installing a 2-DIN Stereo with Bluetooth

Quote:
Originally Posted by JoseVijay View Post
Well done and any more DYIs coming up on your Ertiga?
They will keep happening. As a matter of fact, there were lot of stuff that I did on the WagonR but was never captured or documented thinking its too basic stuff. But now I realize I should have. For the Ertiga, have quite a few lined up but will only tell when I share that here through a post

Quote:
Originally Posted by batterylow View Post
I hope you have accounted for the extra length of wire that is needed for the microphone when the sun visor is flipped down?
Absolutely yes batterylow. Here's a single picture depicting various positions of the visor and how lengthy is that extra length of the Mic cable that I factored.
Ertiga DIY: Installing a 2-DIN Stereo with Bluetooth-20140801_082152.jpg
I will tell you another secret- In both my cars I never fold the Sun visor no matter how harsh the sun is. Not just mine, even the co-driver doesn't get to fold it. I am 6'3" and when I am driving, a folded down sun visor irritates me as It creates a blind spot on the left side in such a way that I cannot make proper judgement.

Quote:
Originally Posted by phamilyman View Post
This is epic stuff man. Really nicely done.

Your passion shines through. Most of us would just have paid some 250-500 bucks for the job to the installer, sit in a corner with a soft drink, and browsed the internet on the phone!
Tell me about it! The satisfaction derived out of such DIY jobs is always highest. Cleaner execution usually has been the primary motto behind all this. Rarest of the rare case would an installer be gentle on your car.


Thank you all for the appreciation. It means a lot.
paragsachania is offline   (7) Thanks
Old 1st August 2014, 09:12   #13
Senior - BHPian
 
ghodlur's Avatar
 
Join Date: Sep 2009
Location: Thane
Posts: 6,011
Thanked: 4,207 Times
re: Ertiga DIY: Installing a 2-DIN Stereo with Bluetooth

Parag,

Great DIY supported perfectly by self explaining pics. Great eye to every details required for the job. Was there any video which guided you through the steps?

So how does the new HU sound in comparison to the OEM HU since you havent changed the speakers?
ghodlur is online now   (1) Thanks
Old 1st August 2014, 09:21   #14
Distinguished - BHPian
 
paragsachania's Avatar
 
Join Date: Nov 2007
Location: Belur/Bangalore
Posts: 7,148
Thanked: 27,140 Times
re: Ertiga DIY: Installing a 2-DIN Stereo with Bluetooth

Quote:
Originally Posted by ghodlur View Post
Parag,

Great DIY supported perfectly by self explaining pics. Great eye to every details required for the job. Was there any video which guided you through the steps?
Thanks ghodlur! There was no video that I searched for this but I did google for the wiring to know about various connectors/couplers as I didn't want to cut or skin any wires.
In fact, I called the ebay seller as well before placing the order for the Stereo and Antenna couplers explaining my intent and that I am not ordering a wrong part. Alas!! Everything was just perfect.
Second challenge was to know how to remove the Original Head Unit from the Dashboard. For this, I merely referred the parts catalog of Ertiga from my known ASC which had pictorial representation of various elements of the Dashboard. This have me lot of hints on how to approach this DIY.
Quote:
So how does the new HU sound in comparison to the OEM HU since you havent changed the speakers?
Low Volumes are more flat even with all the settings adjusted but the high volumes are clearer than the OE Head Unit. I am still fiddling with the settings to get the most optimal sound quality.
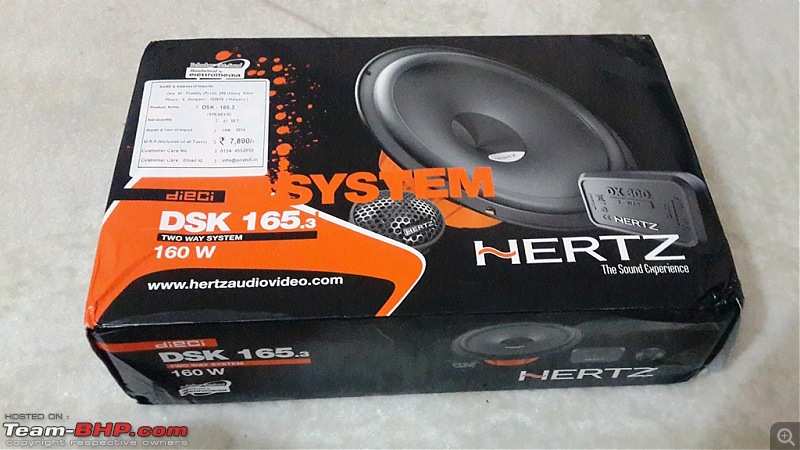
Apart from that, this DIY is still incomplete only for the fact that I am installing Hertz component speakers for the front along with MDF spacer rings.
Ertiga DIY: Installing a 2-DIN Stereo with Bluetooth-20140724_235926.jpg
Just that the last weekend I got busy with 2 DIYs - One was installing the armrest for the EcoSport and other was this which eventually left me in a situation that I may have got thrown out of my house by my better half.

Couple of DIYs lined up for the Linea, hopefully this weekend.

Last edited by paragsachania : 1st August 2014 at 09:28.
paragsachania is offline   (2) Thanks
Old 1st August 2014, 09:29   #15
Senior - BHPian
 
ghodlur's Avatar
 
Join Date: Sep 2009
Location: Thane
Posts: 6,011
Thanked: 4,207 Times
re: Ertiga DIY: Installing a 2-DIN Stereo with Bluetooth

Parag,

Two queries.
1) Does new HU come with remote?
2) Does it support video input?

Reason for asking is my office colleague had expressed his desire to change the HU for his Ertiga and this thread is going to be like bible to him.
ghodlur is online now  
Reply

Most Viewed

Copyright ©2000 - 2024, Team-BHP.com
Proudly powered by E2E Networks