![]() | #1 |
Distinguished - BHPian ![]() ![]() Join Date: Nov 2007 Location: Belur/Bangalore
Posts: 6,929
Thanked: 24,110 Times
| ![]() THE NECESSITY: Some buy cars for features, some with features and few like me don’t pay much attention to features. Maruti Suzuki is (in)famous for not providing Stereo with Bluetooth connectivity and this often put me in tight spots managing cell-phone calls while on the move. I hated wearing the wired or the Bluetooth hands-free and even if I wore the former, by the time I plugged to my ears, I would have missed that call due to the tangled wires!OPTIONS SHORTLISTED:
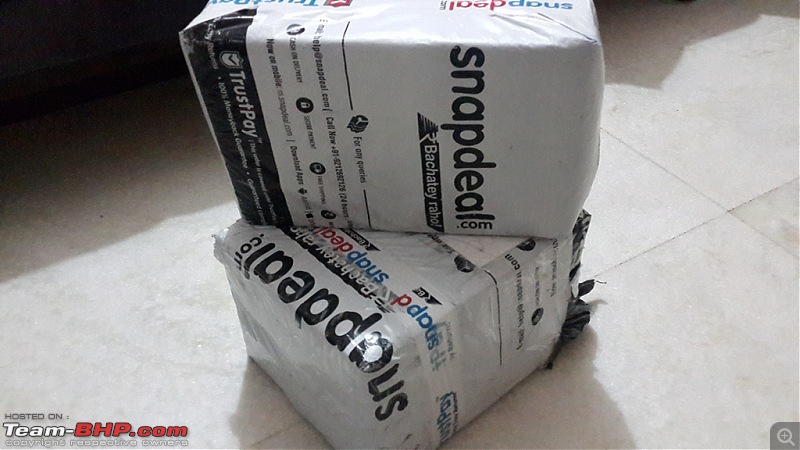
WHAT I PICKED: Double DIN-Bluetooth-Non Touch-3 Pairs of RCAs – These were the only 3 parameters and I looked at Pioneer, JVC & Kenwood and found the Kenwood DPX-U5130BT do my job with a reasonable price tag of Rs. 11,XXX after a 15% Cashback from Snapdeal.Accessories applicable and ordered for this D-I-Y Project:
|
![]() | ![]() |
|
![]() | #2 |
Distinguished - BHPian ![]() ![]() Join Date: Nov 2007 Location: Belur/Bangalore
Posts: 6,929
Thanked: 24,110 Times
| ![]() How I killed my weekend: To make things understandable in terms of installation basics, I have pictorially represented above on how I will approach this DIY and where will various connectors come into Picture.
Interface for the Head Unit:
Last edited by paragsachania : 31st July 2014 at 17:29. |
![]() | ![]() |
![]() | #3 |
Distinguished - BHPian ![]() ![]() Join Date: Nov 2007 Location: Belur/Bangalore
Posts: 6,929
Thanked: 24,110 Times
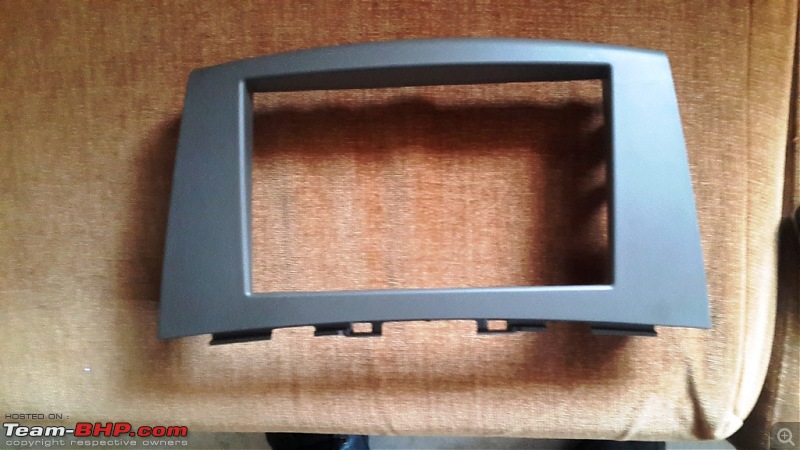
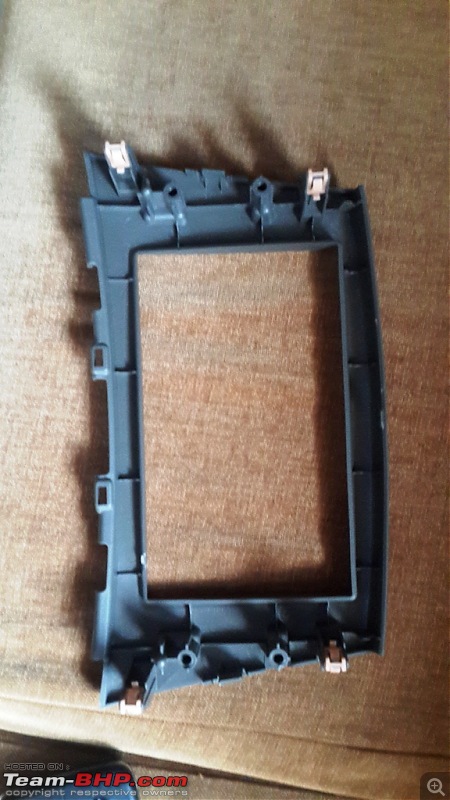
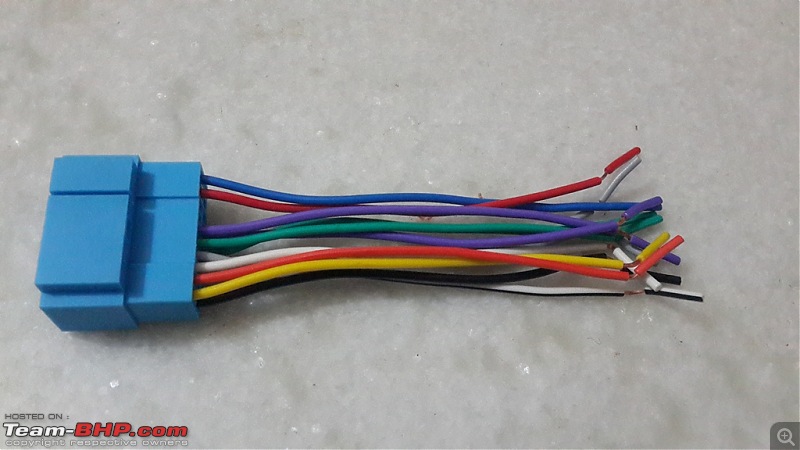
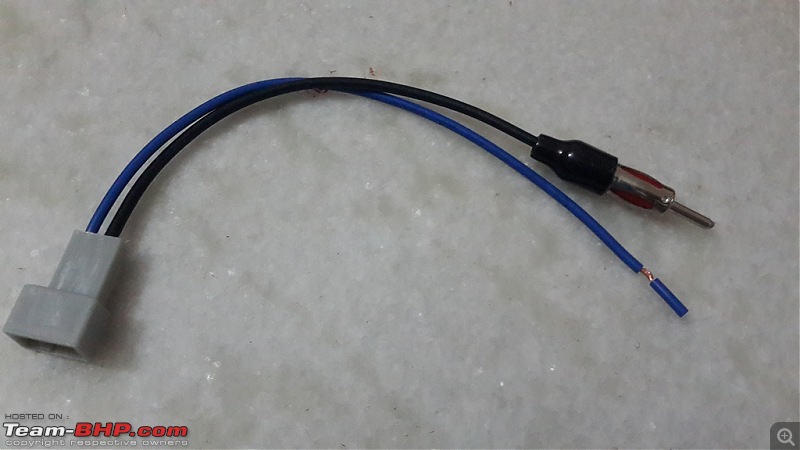
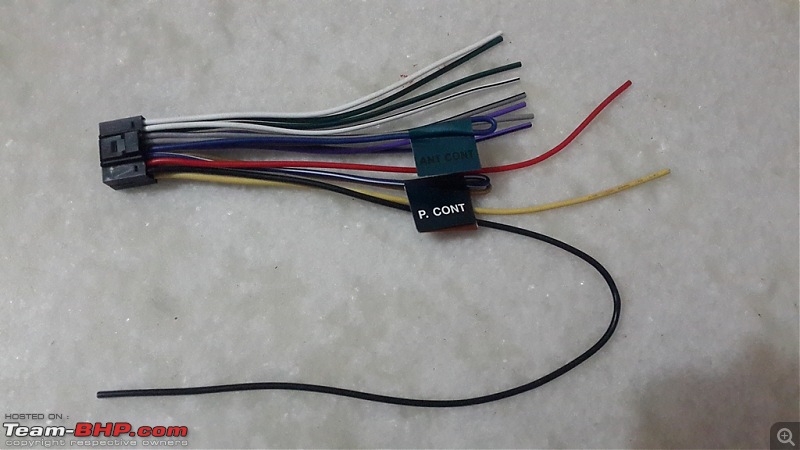
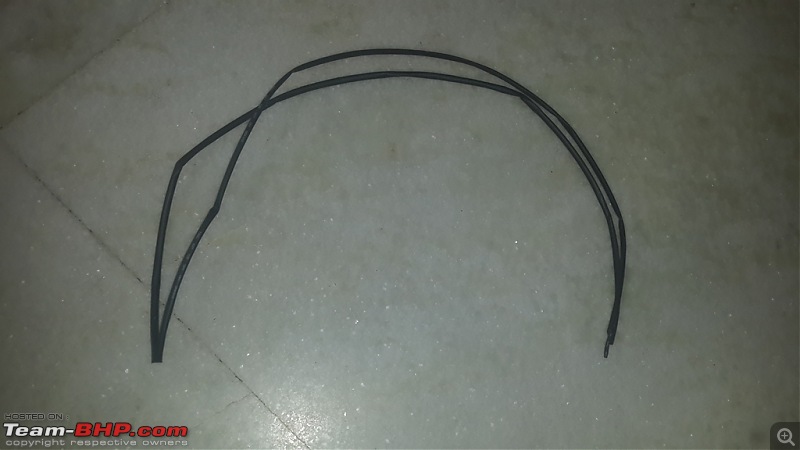
| ![]() Now, let me connect the above statements to the images below: The Double DIN Fascia/Dash Kit on how it looks on both sides Stereo Interface Connector Antenna Interface Connector Kenwood Stereo’s OE Connector Heat Shrink Tubes for a cleaner execution |
![]() | ![]() |
![]() | #4 |
Distinguished - BHPian ![]() ![]() Join Date: Nov 2007 Location: Belur/Bangalore
Posts: 6,929
Thanked: 24,110 Times
| ![]() Joining the wires for Speakers: Stereo Interface Connector & the Kenwood Stereo’s OE Connector both have loose ends that needs to be connected to each other to create a single unit so that:
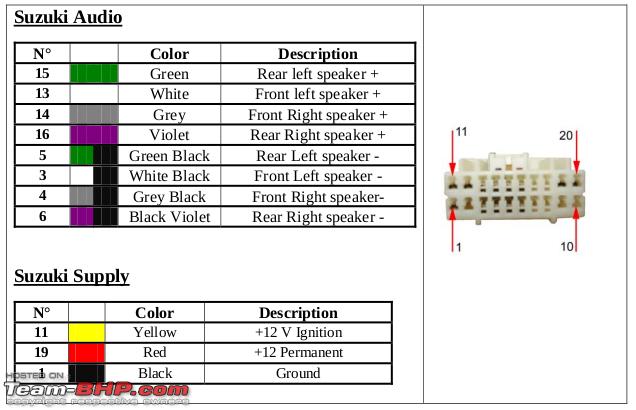
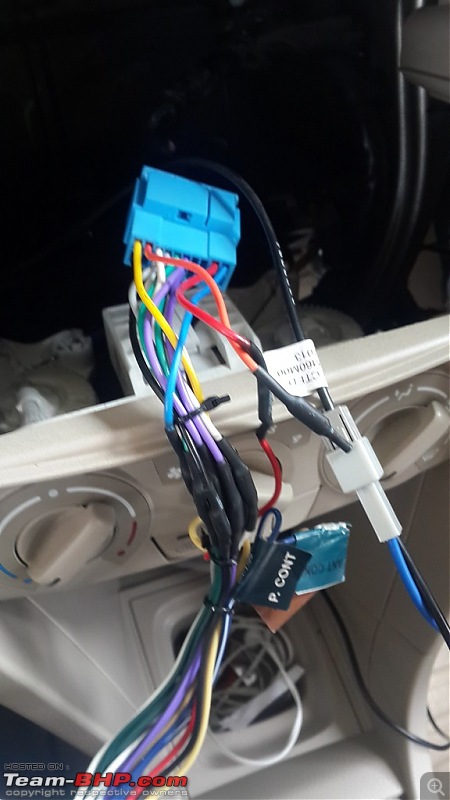
Standard Color Codes for wiring the speakers(Below picture is for the Swift) : ![]() (Pic Courtesy: Google Search) The Kenwood Stereo connector also has wires with the same colors and I merely had to pair both ends for 4 speakers: ![]() Wiring for Power: Basically, the Stereo will require 3 wires for powering up:
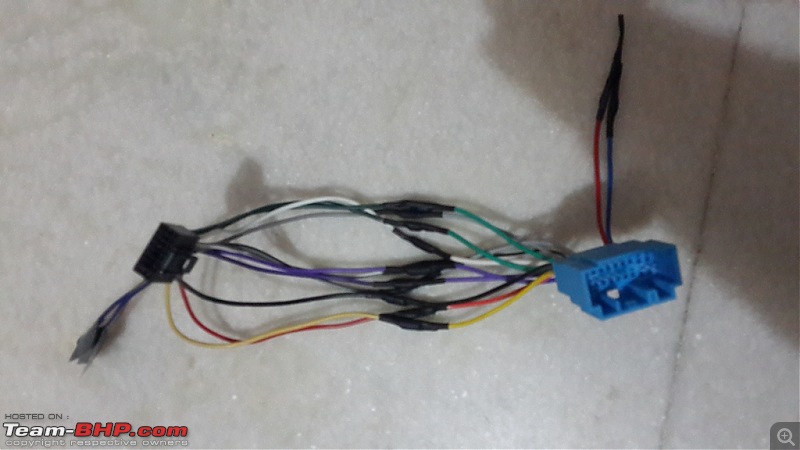
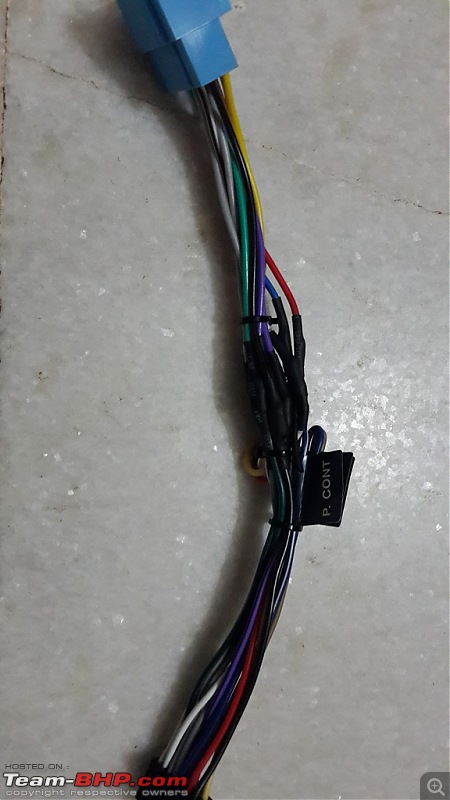
2 Connectors, wires joined, 1 Harness: After joining the speaker wires and for the power, insulating it with shrinkable heat sleeves and tying them securely with plastic ties, here is how the final harness looks like:Last edited by paragsachania : 31st July 2014 at 18:16. |
![]() | ![]() |
![]() | #5 |
Distinguished - BHPian ![]() ![]() Join Date: Nov 2007 Location: Belur/Bangalore
Posts: 6,929
Thanked: 24,110 Times
| ![]() Removal of the OE Head Unit & fitting the Kenwood Head Unit:
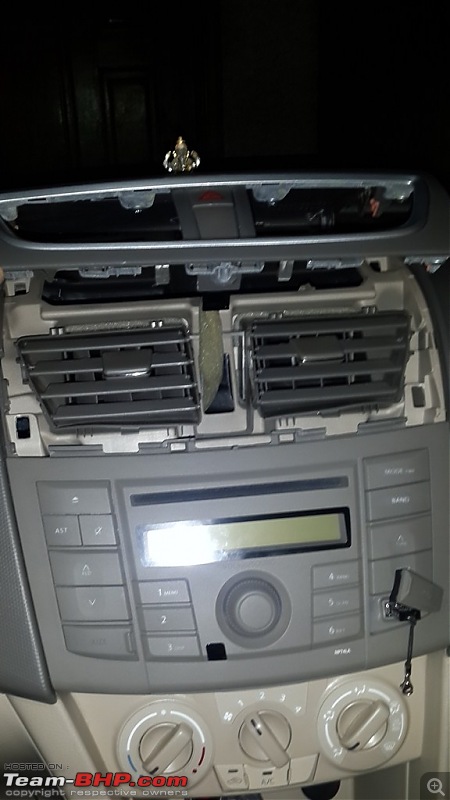
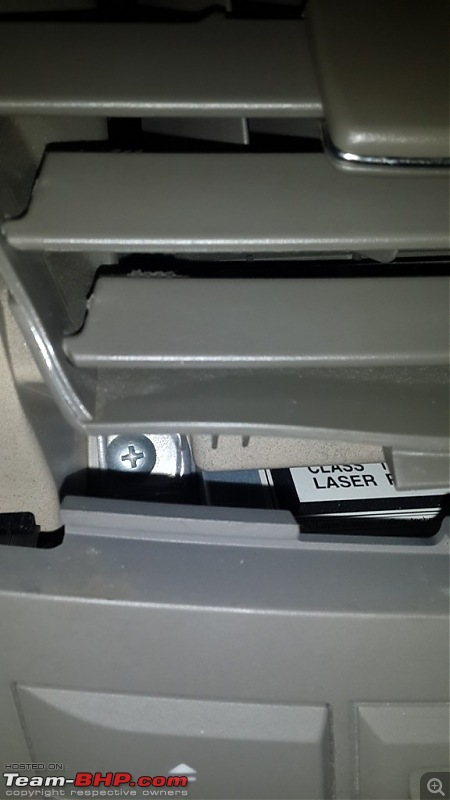
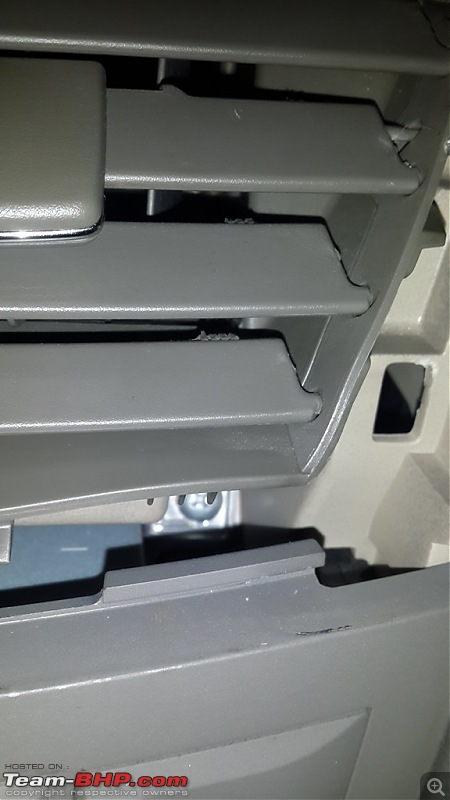
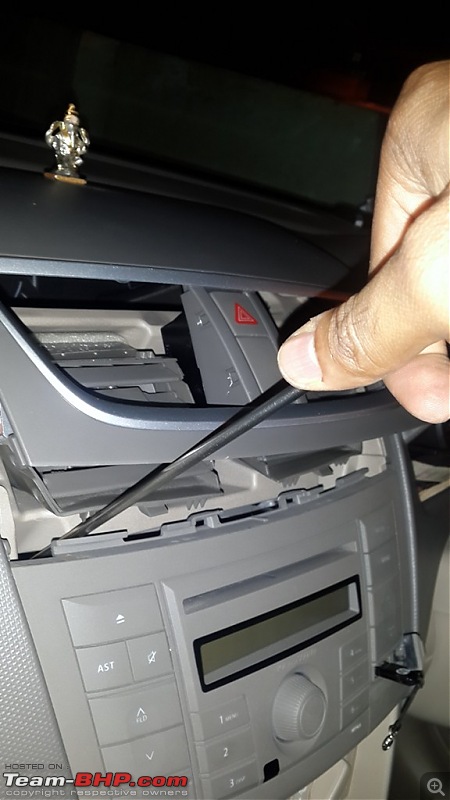
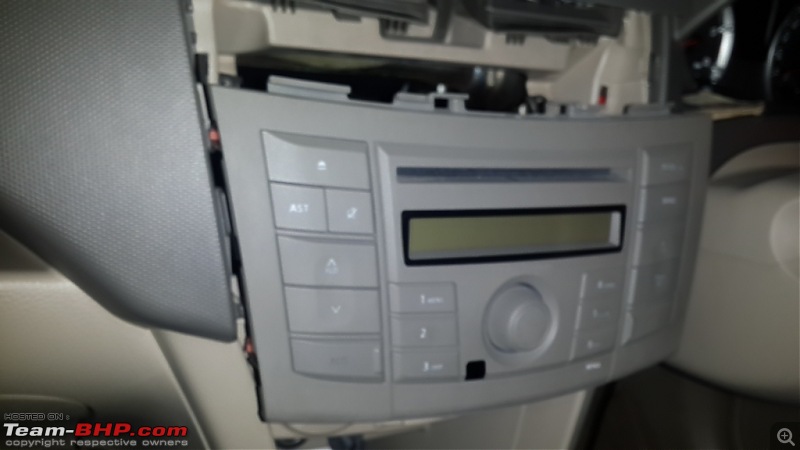
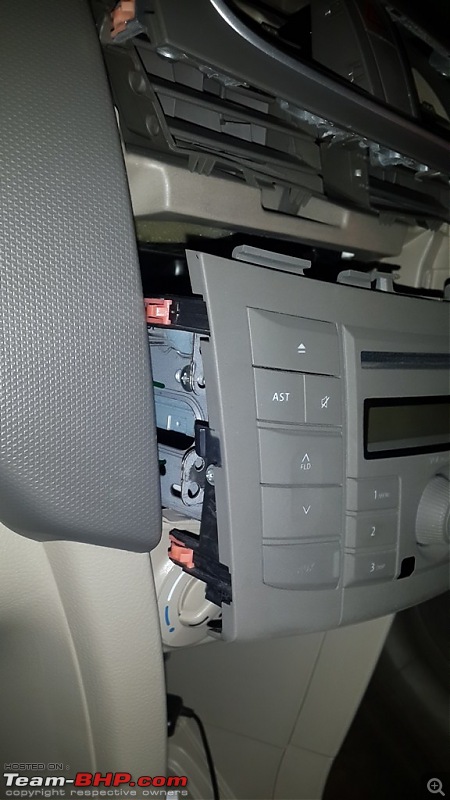
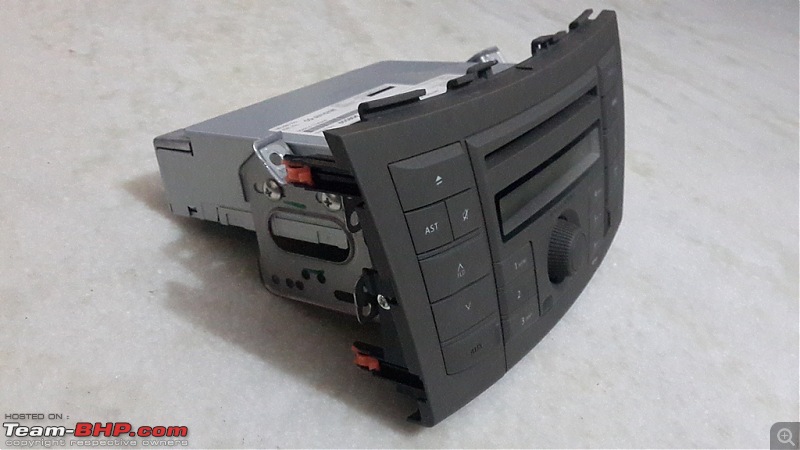
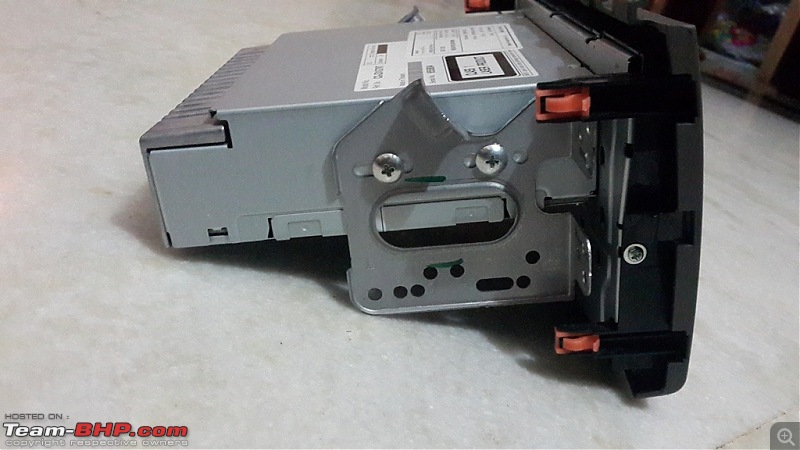
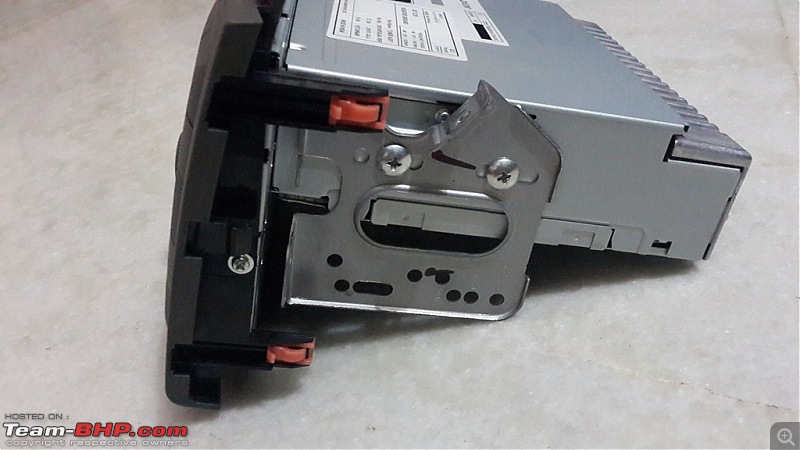
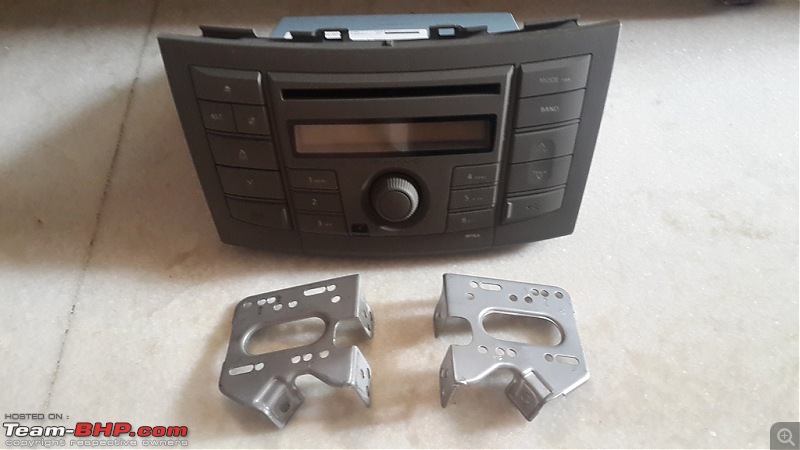
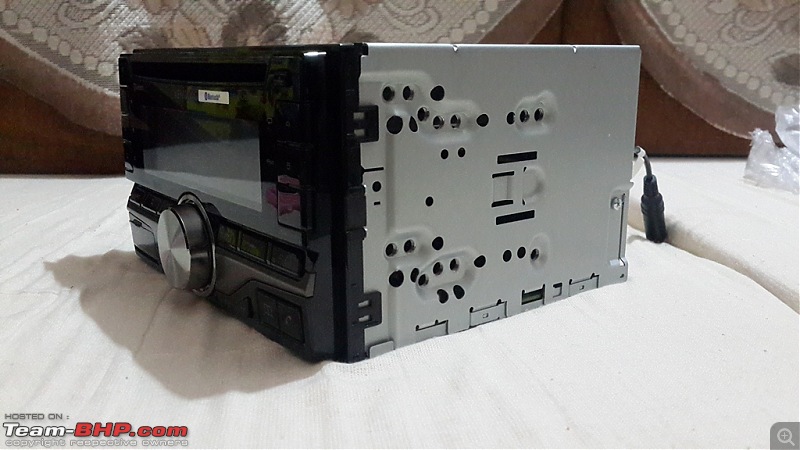
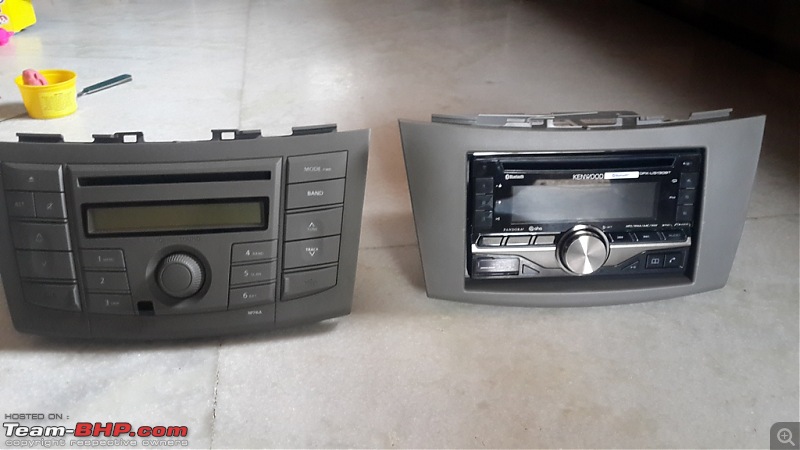
Details with images: You can use a stainless steel ruler & insert between the gaps and twist a bit to hear the clips unlock. Then you simply use bare hands to lift this ![]() Now, it makes life easier to access the 2 screws that are holding the stock head unit There are 2 screws holding this complete unit situated on Top left and Top right corners right behind the frame of the Head Unit Using a Philips Screw driver, loosen these 2 completely Again insert the stainless steel scale below the Head unit and twist a bit to unlock the clips and you can use bare hands again to pull the unit out You can notice those orange clips on the left side by means of which the unit is secured on the other side as well apart from the 2 screws that I loosened in the above pictures Carefully pull out the 2 connectors at the back of the Headunit and now you have the OE stereo in your hands & independent: The below 2 pictures represent the metal brackets that hold the unit to the dashboard. The same brackets have to be removed as we will need them to fit on the sides of the Kenwood Head Unit Removed the brackets from both sides with the help of a screw driver: The brackets will now be fitted on the sides of the Kenwood Unit. Note that there are enough matching holes to fit these brackets on the side of the Head Unit After fitting the brackets on the side, and securing the 2 DIN Fascia to the Head unit, we are almost ready. Here is how the outgoing and the incoming counterparts looks: Last edited by n_aditya : 1st August 2014 at 10:07. Reason: edited as requested |
![]() | ![]() |
![]() | #6 |
Distinguished - BHPian ![]() ![]() Join Date: Nov 2007 Location: Belur/Bangalore
Posts: 6,929
Thanked: 24,110 Times
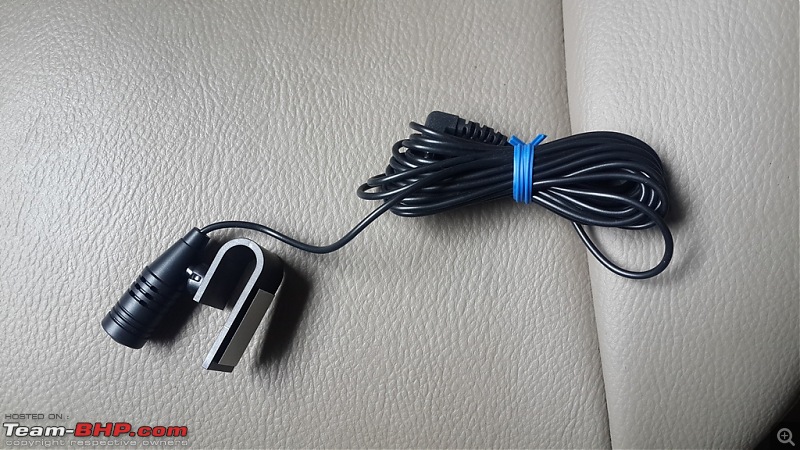
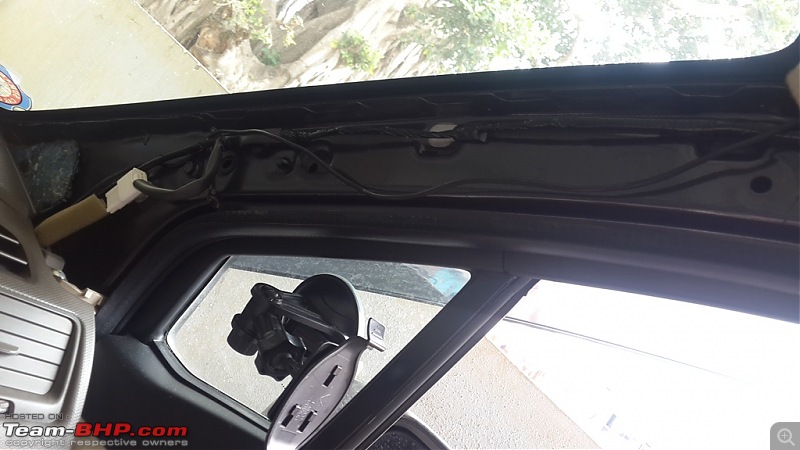
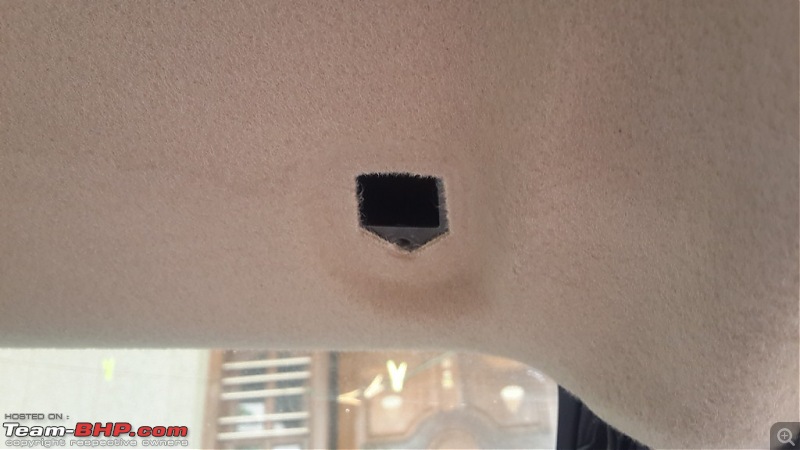
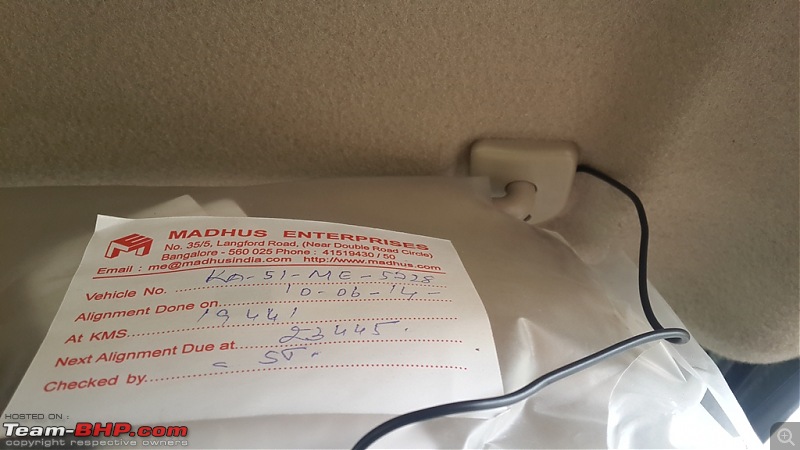
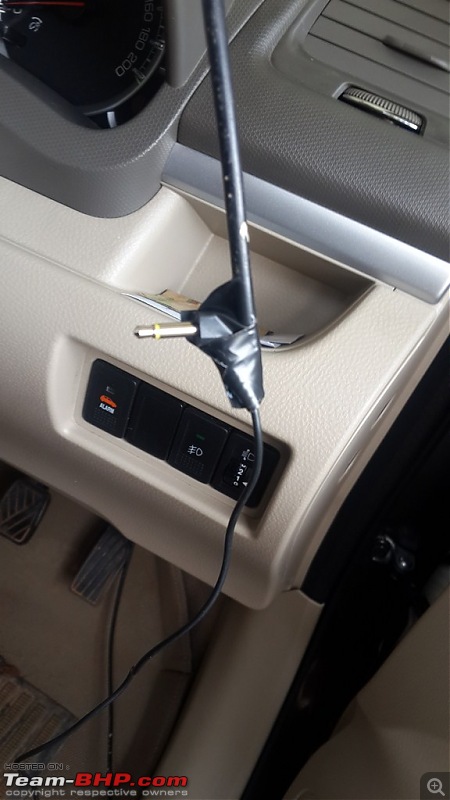
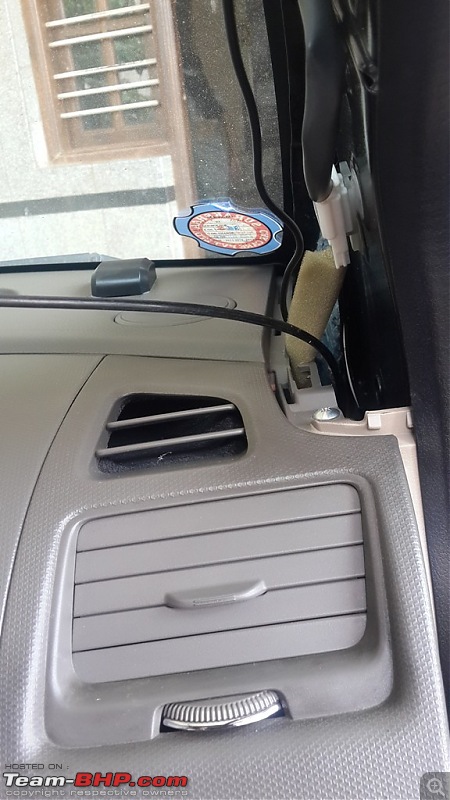
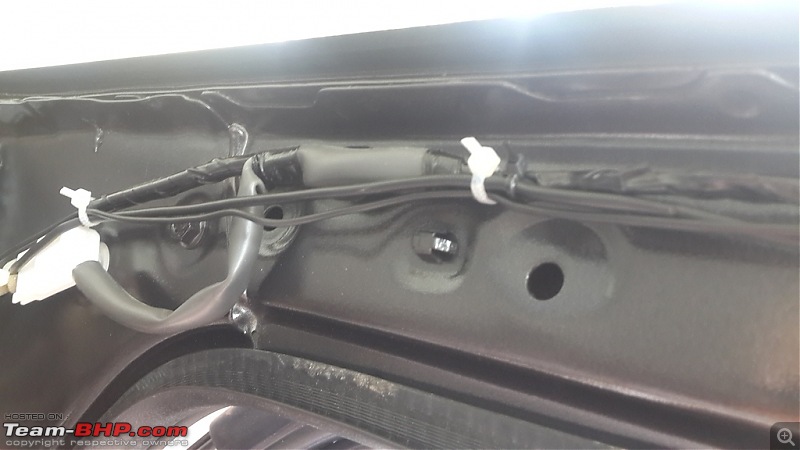
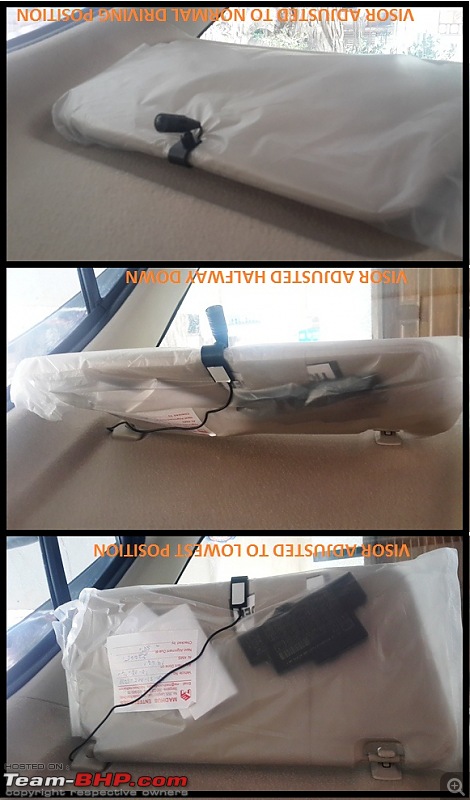
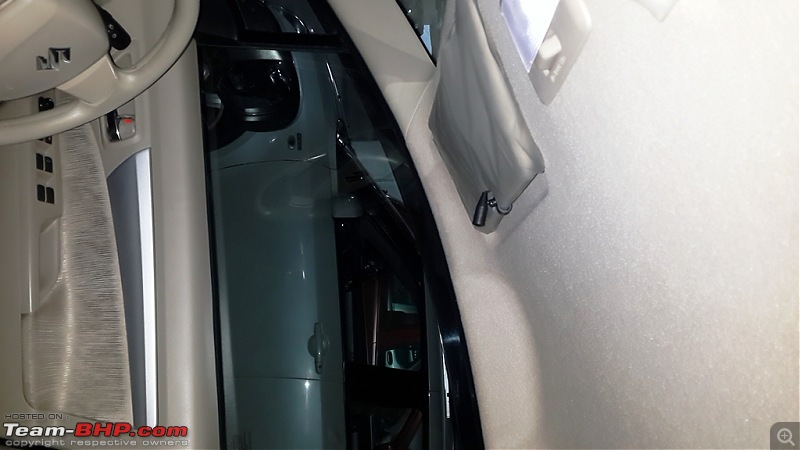
| ![]() Wiring the Microphone cable: Since I am the only one who would drive and the necessity was primarily for me, I chose the driver side Sun Visor as an ideal location to fix the microphone. The next few pictures will give you details on the how I routed the wire of this microphone so that it’s not visible as an eyesore. The Microphone Unit: Removed the A-Pillar Trim: ![]() Loosened the screw securing the driver side Sun Visor and pulled out the visor. This huge hole was good enough for me to pass the microphone wire behind the roof line and route it through the A Pillar ![]() There goes the wire behind the roof lining: ![]() The Microphone wire was not stiff that I could easily push this through the smaller gaps at the back of the dashboard. Hence, used a Thicker & stiffer cable, passed it through the gap, attached the microphone wire with a temporary insulation tape and merely pulled the thick cable from below the dashboard to route the microphone wire as desired: ![]() ![]() Secured the Microphone wire with plastic ties: Connected the Microphone at the back of the Kenwood Head Unit along with the Stereo and Antenna connectors: Last edited by paragsachania : 31st July 2014 at 18:15. |
![]() | ![]() |
![]() | #7 |
Distinguished - BHPian ![]() ![]() Join Date: Nov 2007 Location: Belur/Bangalore
Posts: 6,929
Thanked: 24,110 Times
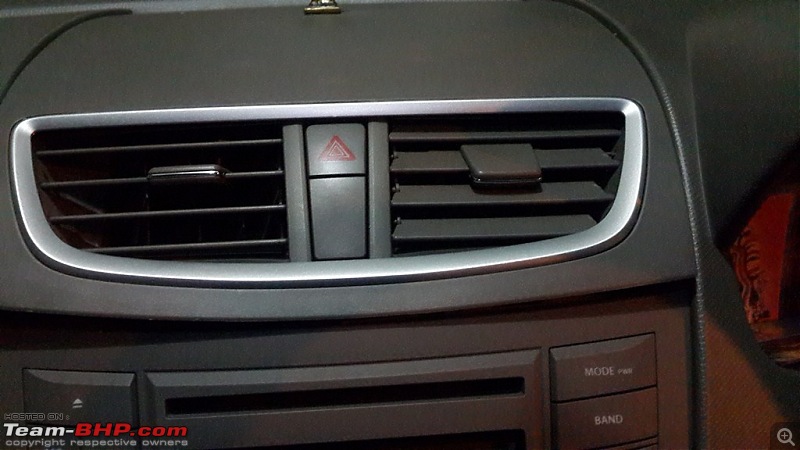
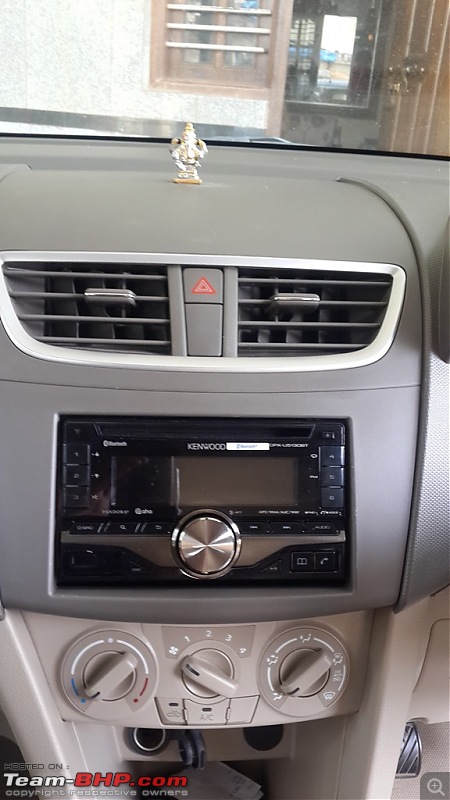
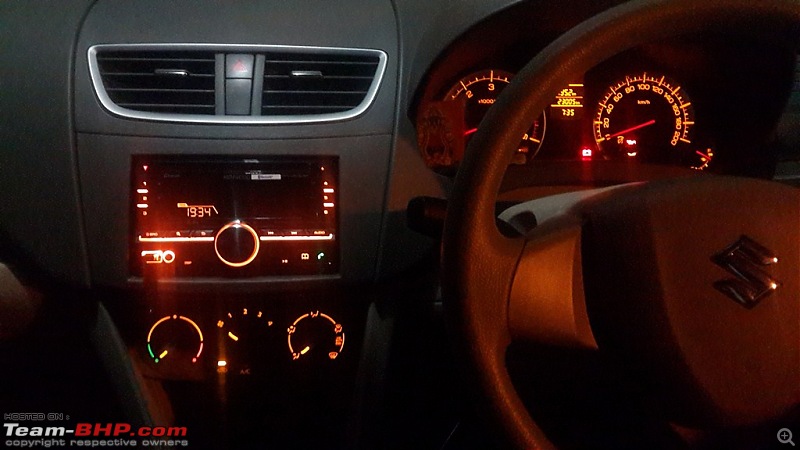
| ![]() Final tasks: 1. Connect all the plugs – Stereo, Antenna & Microphone 2. Push the Unit, tighten the screws and refit the AC vent cover on the Dash 3. Fix the Microphone to the desired location Here is how the Dashboard looks after the complete job: And this is how it looks when I turned the unit on adjusting the illumination to match the Dash illumination at night: The Microphone in its final desired location: Last edited by paragsachania : 31st July 2014 at 19:12. |
![]() | ![]() |
![]() | #8 |
Team-BHP Support ![]() ![]() | ![]() Mod note: Thread moved from Assembly Line to DIY - Do it yourself. Thanks for sharing. |
![]() | ![]() |
![]() | #9 |
BHPian Join Date: Sep 2013 Location: Hyderabad
Posts: 991
Thanked: 477 Times
| ![]() Parag Bhai, You are on a DYI spree ![]() Awesome and clean job there ![]() Well done and any more DYIs coming up on your Ertiga? |
![]() | ![]() |
![]() | #10 |
BHPian ![]() Join Date: May 2014 Location: TN38/KL11/KL58
Posts: 616
Thanked: 849 Times
| ![]() Great work Parag ![]() I hope you have accounted for the extra length of wire that is needed for the microphone when the sun visor is flipped down? |
![]() | ![]() |
![]() | #11 |
Senior - BHPian ![]() Join Date: Jul 2007 Location: Gurgaon
Posts: 5,957
Thanked: 4,543 Times
| ![]() This is epic stuff man. Really nicely done. Your passion shines through. Most of us would just have paid some 250-500 bucks for the job to the installer, sit in a corner with a soft drink, and browsed the internet on the phone! ![]() |
![]() | ![]() |
|
![]() | #12 | ||
Distinguished - BHPian ![]() ![]() Join Date: Nov 2007 Location: Belur/Bangalore
Posts: 6,929
Thanked: 24,110 Times
| ![]()
They will keep happening. As a matter of fact, there were lot of stuff that I did on the WagonR but was never captured or documented thinking its too basic stuff. But now I realize I should have. For the Ertiga, have quite a few lined up but will only tell when I share that here through a post ![]() Quote:
Quote:
Thank you all for the appreciation. It means a lot. | ||
![]() | ![]() |
![]() | #13 |
Senior - BHPian ![]() | ![]() Parag, Great DIY supported perfectly by self explaining pics. Great eye to every details required for the job. Was there any video which guided you through the steps? So how does the new HU sound in comparison to the OEM HU since you havent changed the speakers? |
![]() | ![]() |
![]() | #14 | ||
Distinguished - BHPian ![]() ![]() Join Date: Nov 2007 Location: Belur/Bangalore
Posts: 6,929
Thanked: 24,110 Times
| ![]() Quote:
In fact, I called the ebay seller as well before placing the order for the Stereo and Antenna couplers explaining my intent and that I am not ordering a wrong part. Alas!! Everything was just perfect. Second challenge was to know how to remove the Original Head Unit from the Dashboard. For this, I merely referred the parts catalog of Ertiga from my known ASC which had pictorial representation of various elements of the Dashboard. This have me lot of hints on how to approach this DIY. Quote:
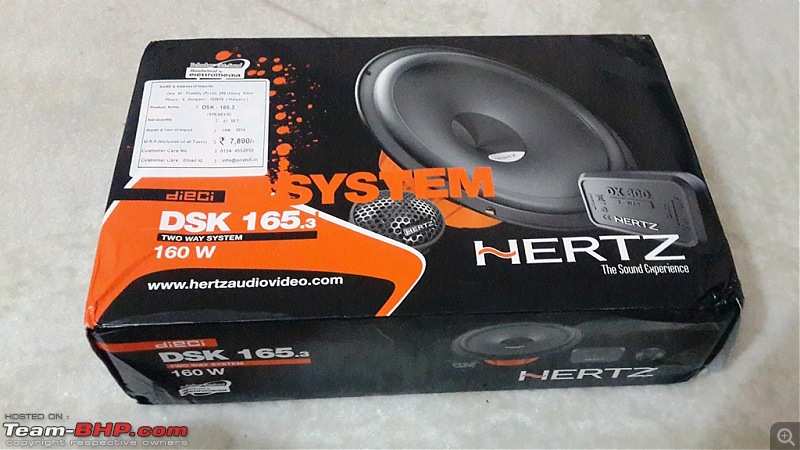
Apart from that, this DIY is still incomplete only for the fact that I am installing Hertz component speakers for the front along with MDF spacer rings. Just that the last weekend I got busy with 2 DIYs - One was installing the armrest for the EcoSport and other was this which eventually left me in a situation that I may have got thrown out of my house by my better half. Couple of DIYs lined up for the Linea, hopefully this weekend. Last edited by paragsachania : 1st August 2014 at 09:28. | ||
![]() | ![]() |
![]() | #15 |
Senior - BHPian ![]() | ![]() Parag, Two queries. 1) Does new HU come with remote? 2) Does it support video input? Reason for asking is my office colleague had expressed his desire to change the HU for his Ertiga and this thread is going to be like bible to him. |
![]() |
![]() |