On my latest DIY venture with the Punto, I explored the possibility of smoke-tinting headlamps and tail lamps for better cosmetic value.
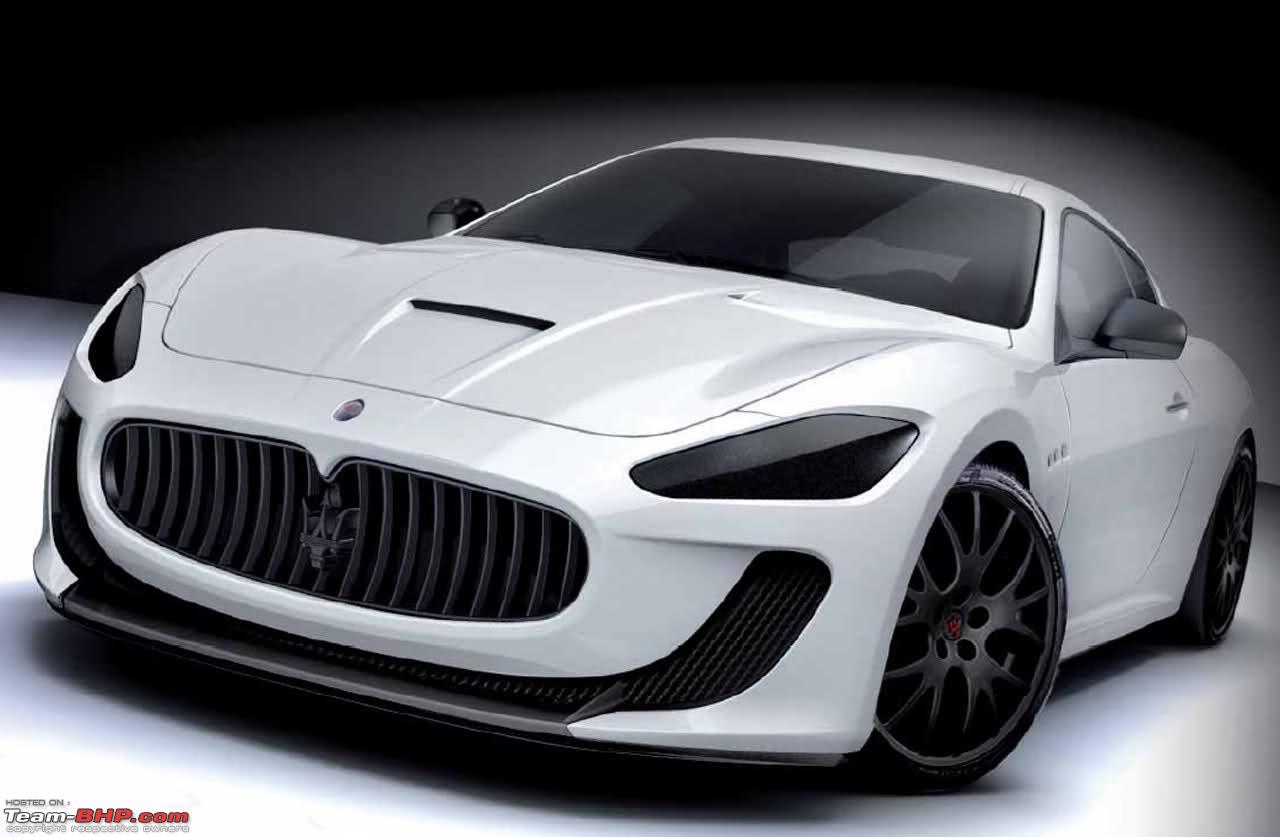
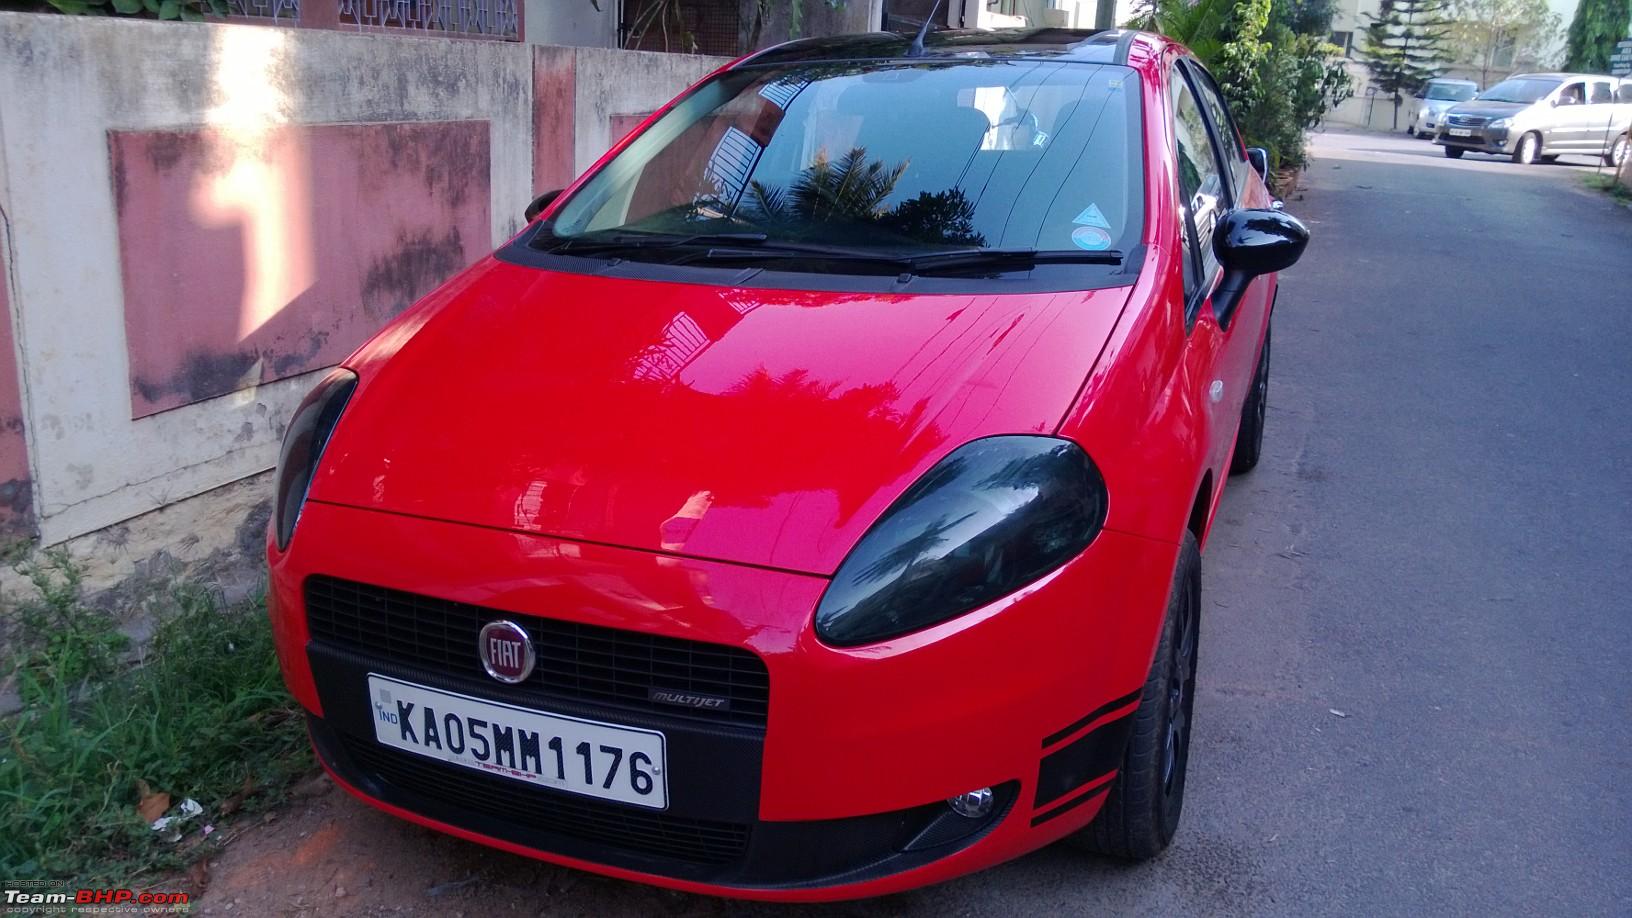
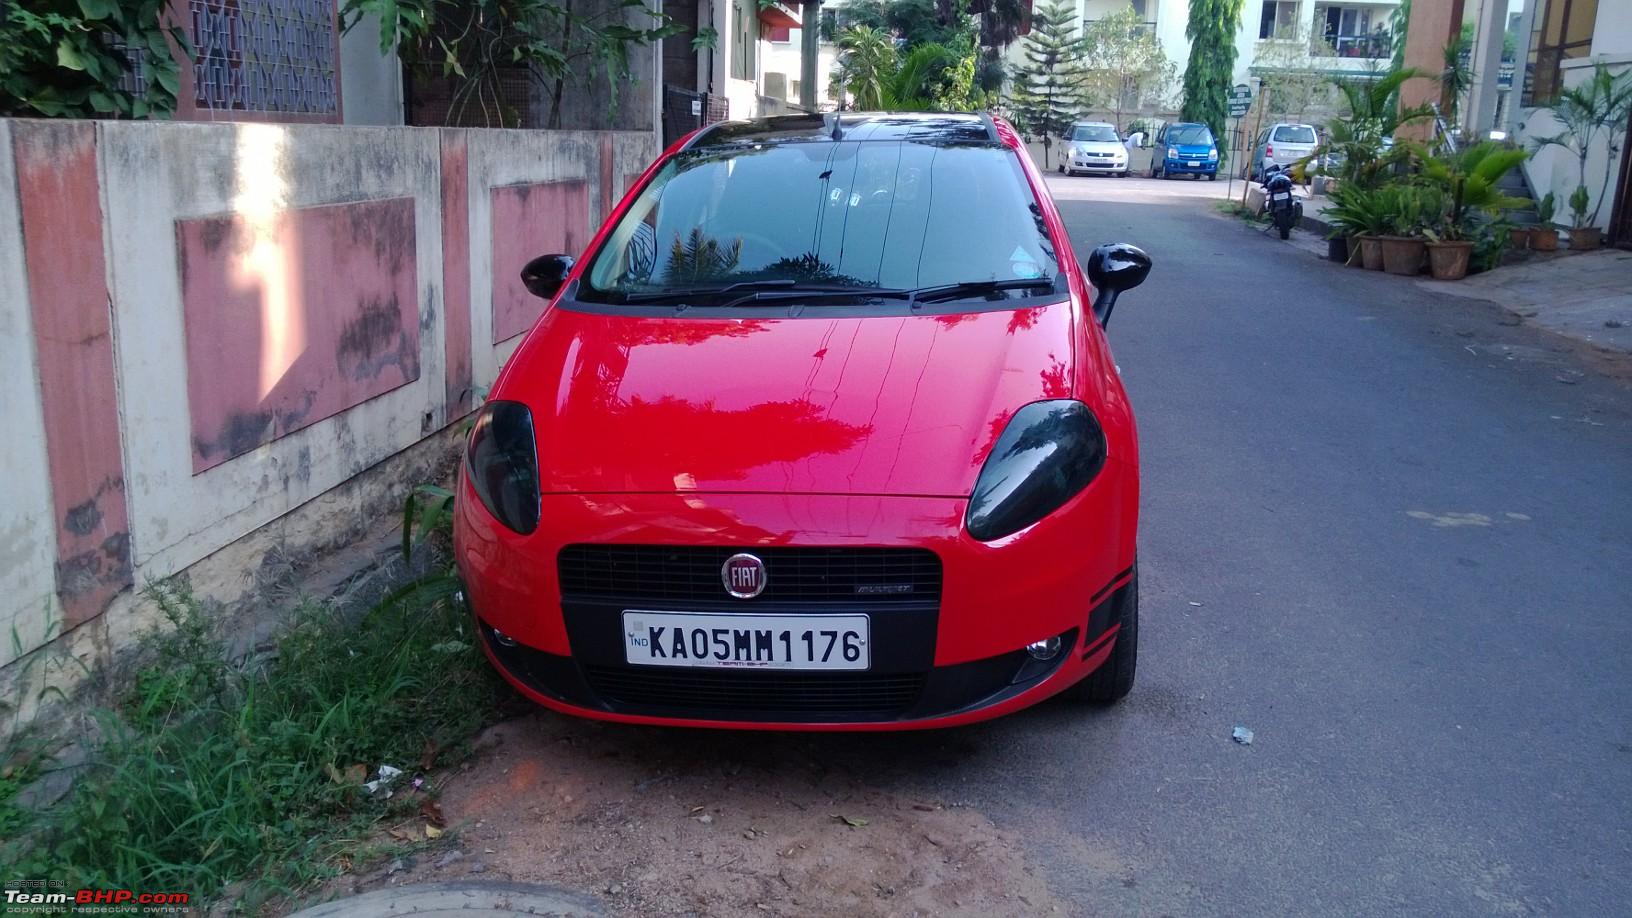
How smoked/tinted headlamps can alter the front profile of a vehicle

Going ahead, I'll structure my posts in this fashion for easy readability :
- FAQ section
- A glance at the smoke tint product
- Tools used for the application process
- Preparations before the tint application
- Applying the tints on tail lamps and headlamps
- A photo-session - How it looks after the application is complete
FAQ section: Before we get down to the actual DIY process, I thought it was good to put together a FAQ section which answers some common doubts and queries about smoked AND/OR tinted headlamps and tail lamps.
What is smoking of headlamps?
It is a complex process of blacking out the headlamp and tail lamp lens by involving heat treatment (actual smoking). Most custom smoked headlamps/tail lamps nowadays don't use smoking anymore. They instead prefer to dismantle the headlamp assembly and spray-paint the inner surfaces of the headlamps and tail lamps.
Does a smoked headlamp/tail lamp reduce visibility at night?
Fundamentally, Yes. Since the process is very similar to how a window is tinted, there will be a marked difference in night time visibility based on the intensity of smoking the outer glass. If the owner just got the inner surfaces of the headlamp painted black and left the glass alone, it will not affect visibility.
Is my warranty affected due to smoking of headlamps/tail lamps?
Since you are doing some sort of irreversible changes to the headlamps and reducing visibility, Yes.
Is there any alternative to smoking / painting the headlamps?
The reversible alternative to painting and smoking the headlamps is the option of using Smoke tint film. It gives almost the same blacked out effect of the former, but with the added advantage of being a removable film layer on top of the headlamp which doesn't require dismantling / meddling with the insides of the lamp assemblies.
What is this thread covering?
I chose the safer, reversible alternative - applying smoke tint films instead of actually smoking the lamps. This is what I will be detailing in this thread.
What are the advantages of using Smoke tint film as opposed to conventional smoking/painting the headlamps?
Smoke tints have the following advantages over conventional smoking / painting :
- Perhaps the single biggest advantage of using tint film is that the blacked effect can be reversed at any time by stripping the tints. Painting/smoking are irreversible changes.
- There is no need to dismantle the headlamp/tail lamp assembly. Hence no worries about sorting out the wiring, damaging the internals, fitting the assembly properly, etc. Everything is done on the top, and can be done by DIY method right at home
- Acts as a protective film on top of the headlamp/tail lamp glass surface. This prevents the glass from getting visible scratches, etc.
- For older vehicles with scratched / yellowed headlamp surfaces (outer glass), the age can be hidden by masking the lamps with smoke tint film.
- It is possible to choose any color of smoke tint film depending on individual taste / preference.
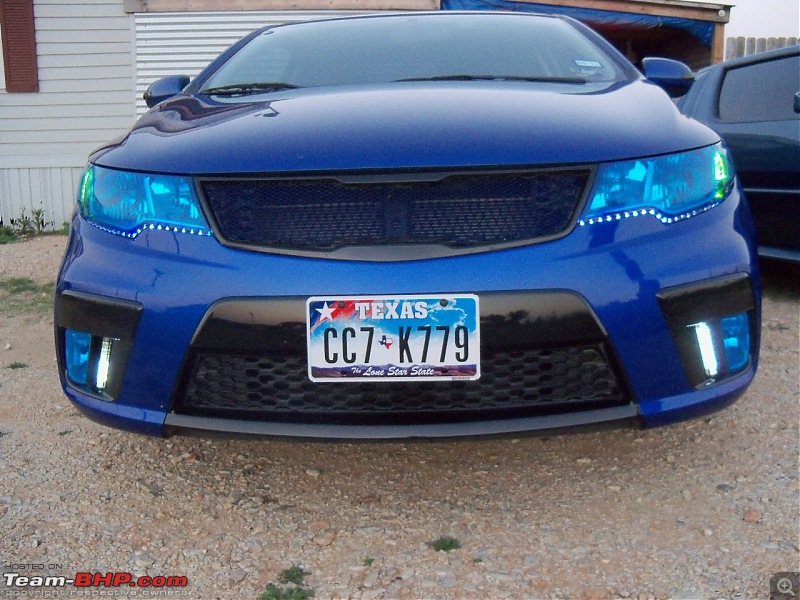
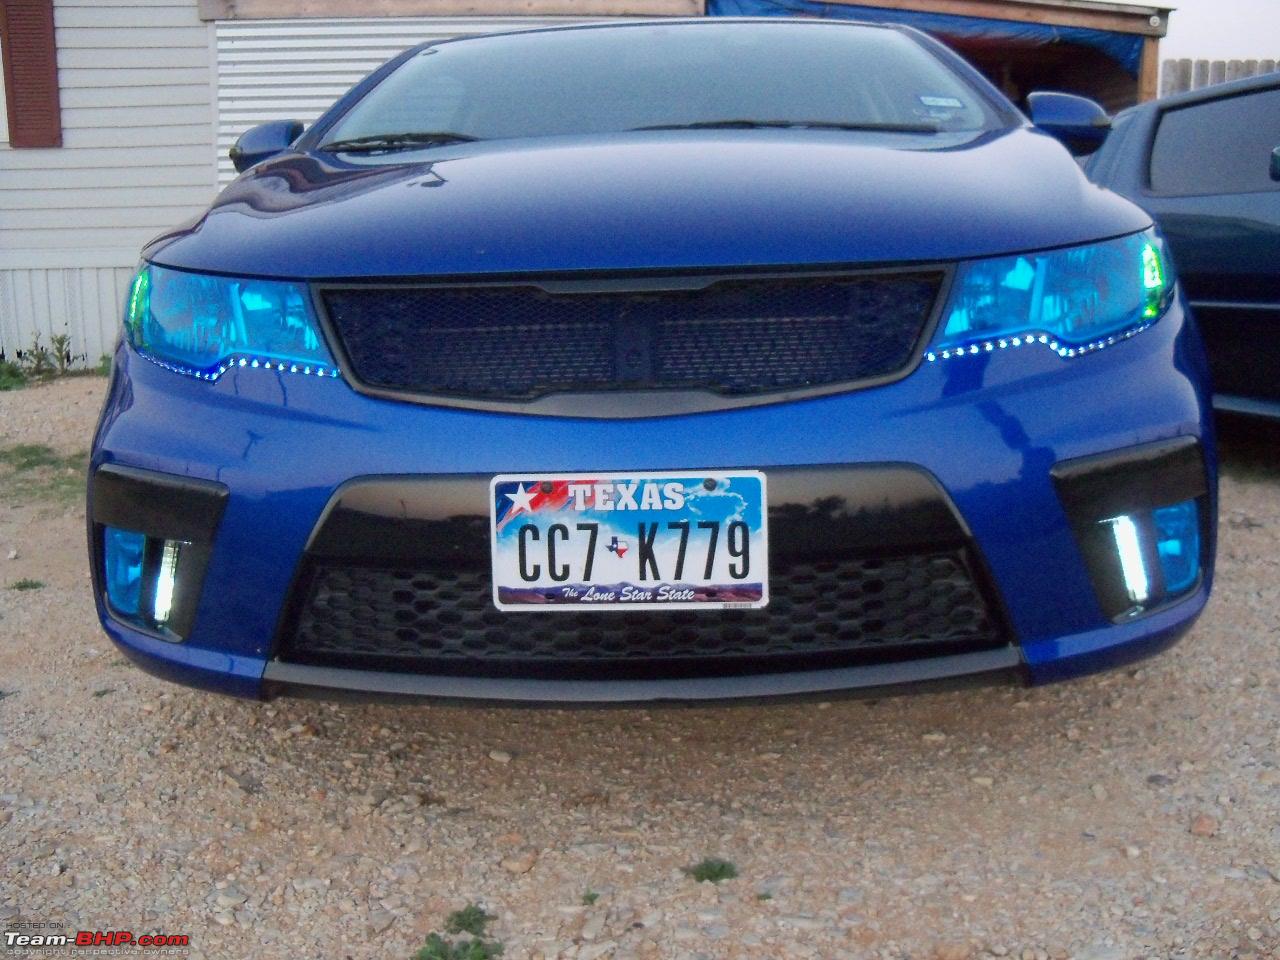
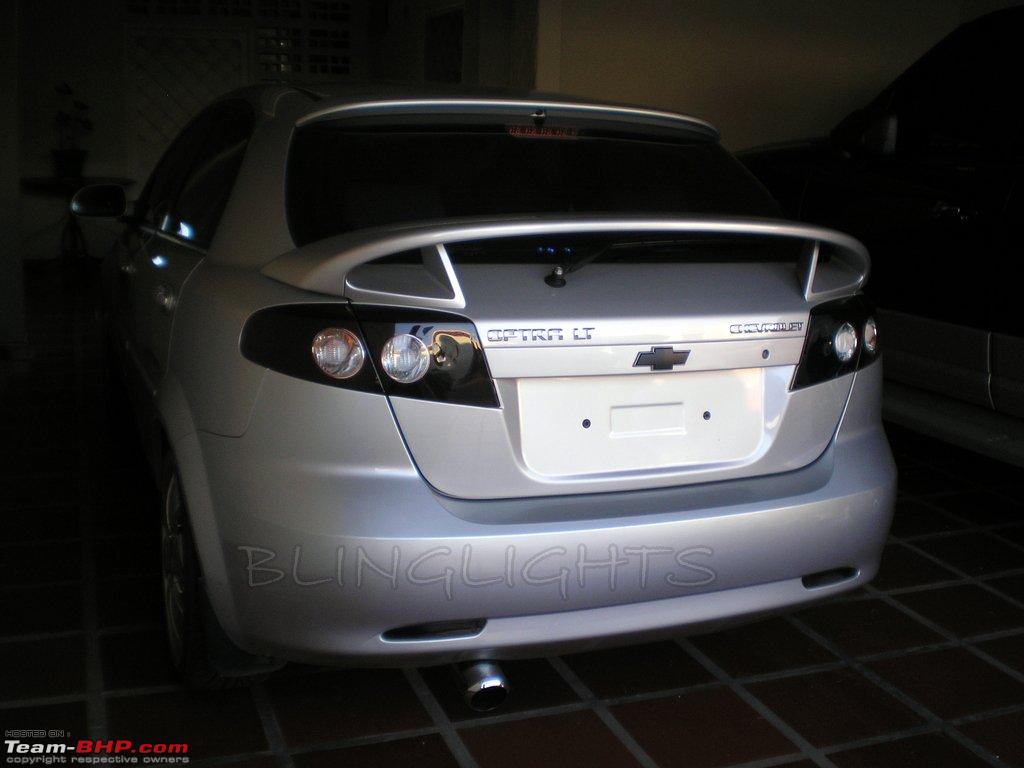
Smoke tint film can produce the same effect as painting/smoking the headlamps, as shown in this picture

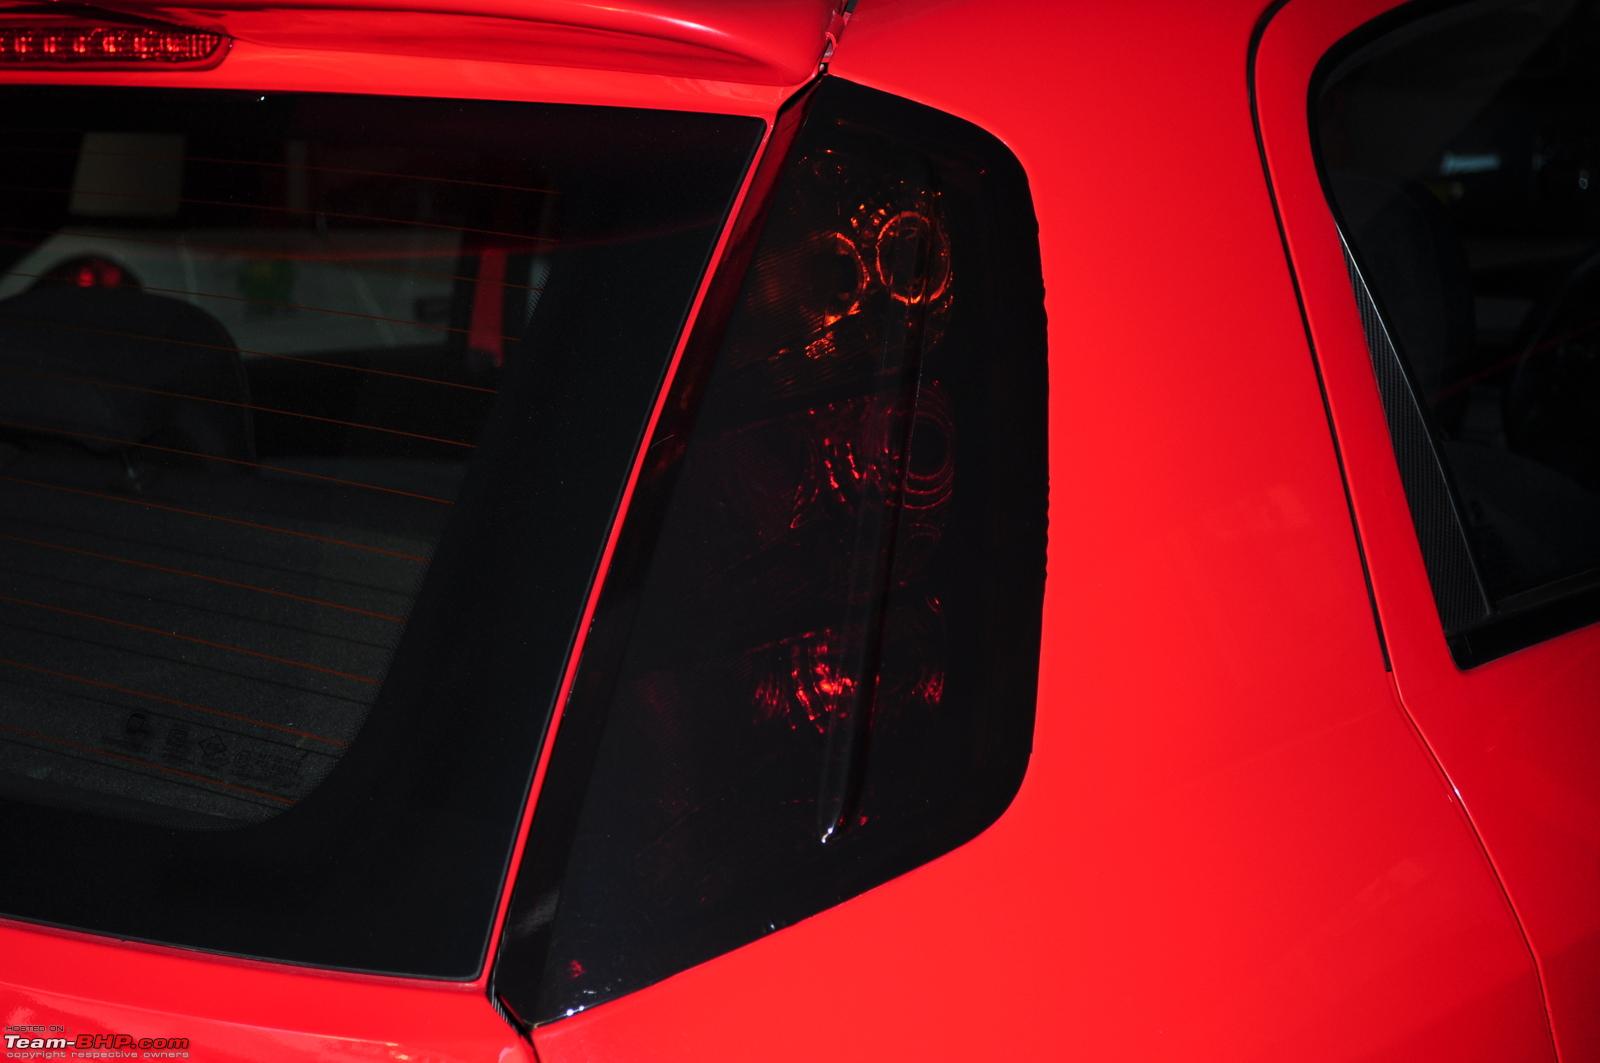
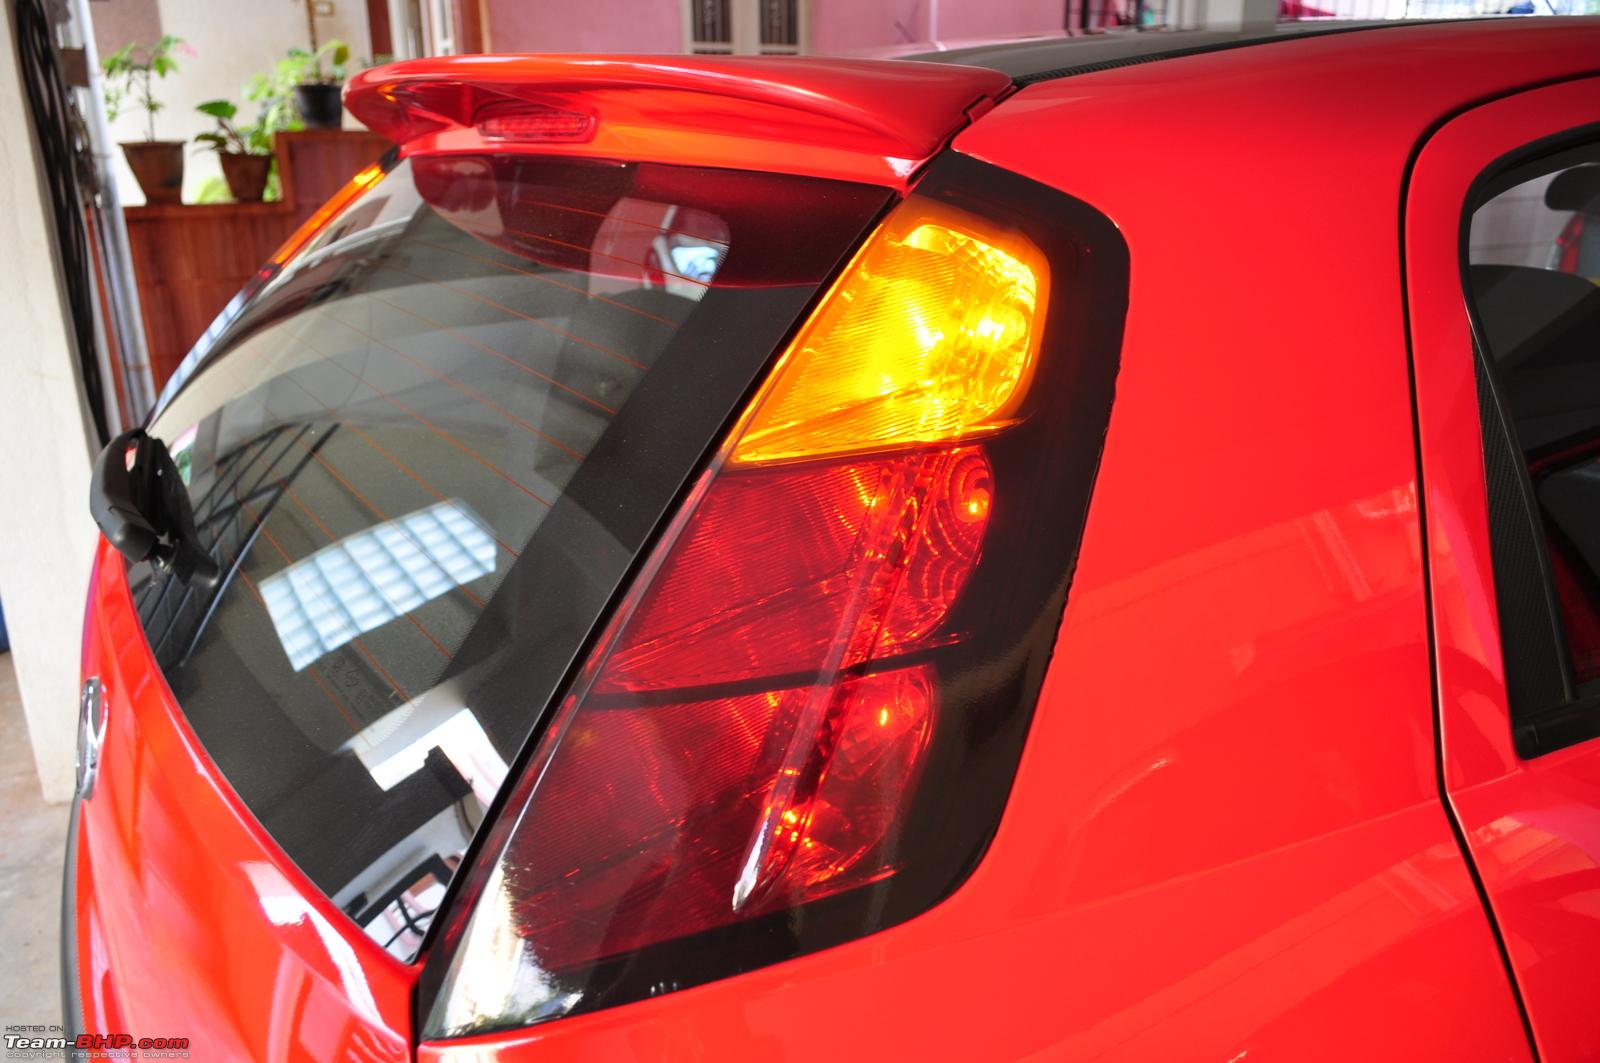
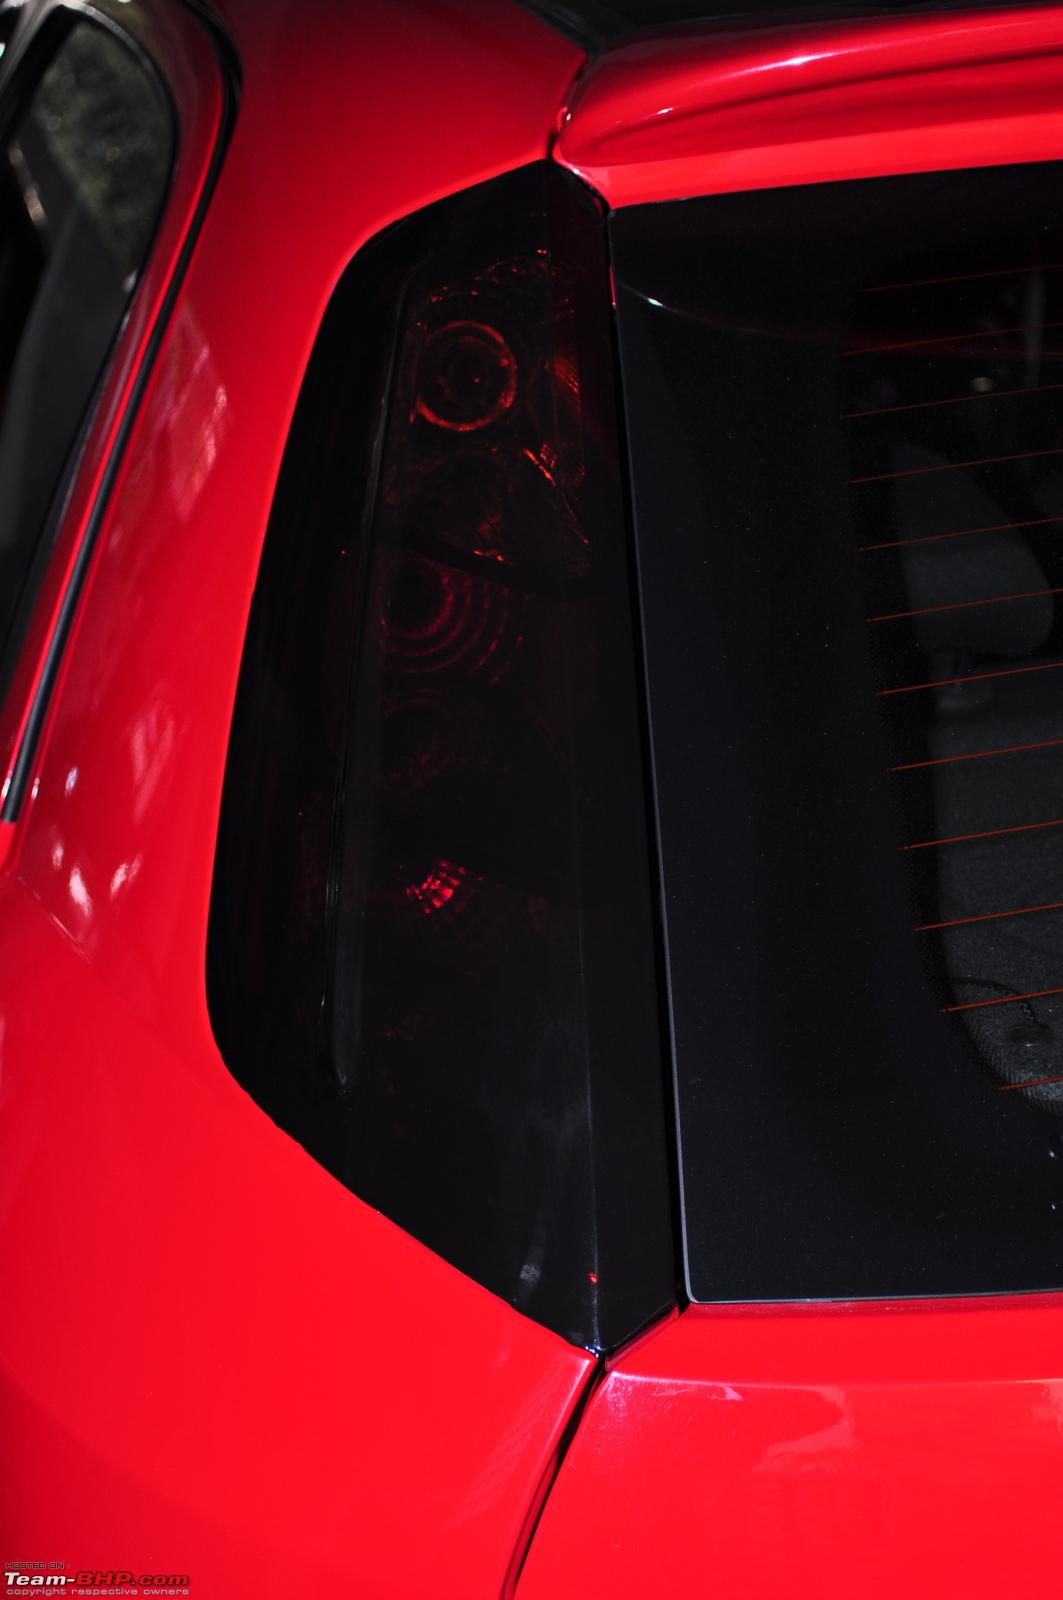
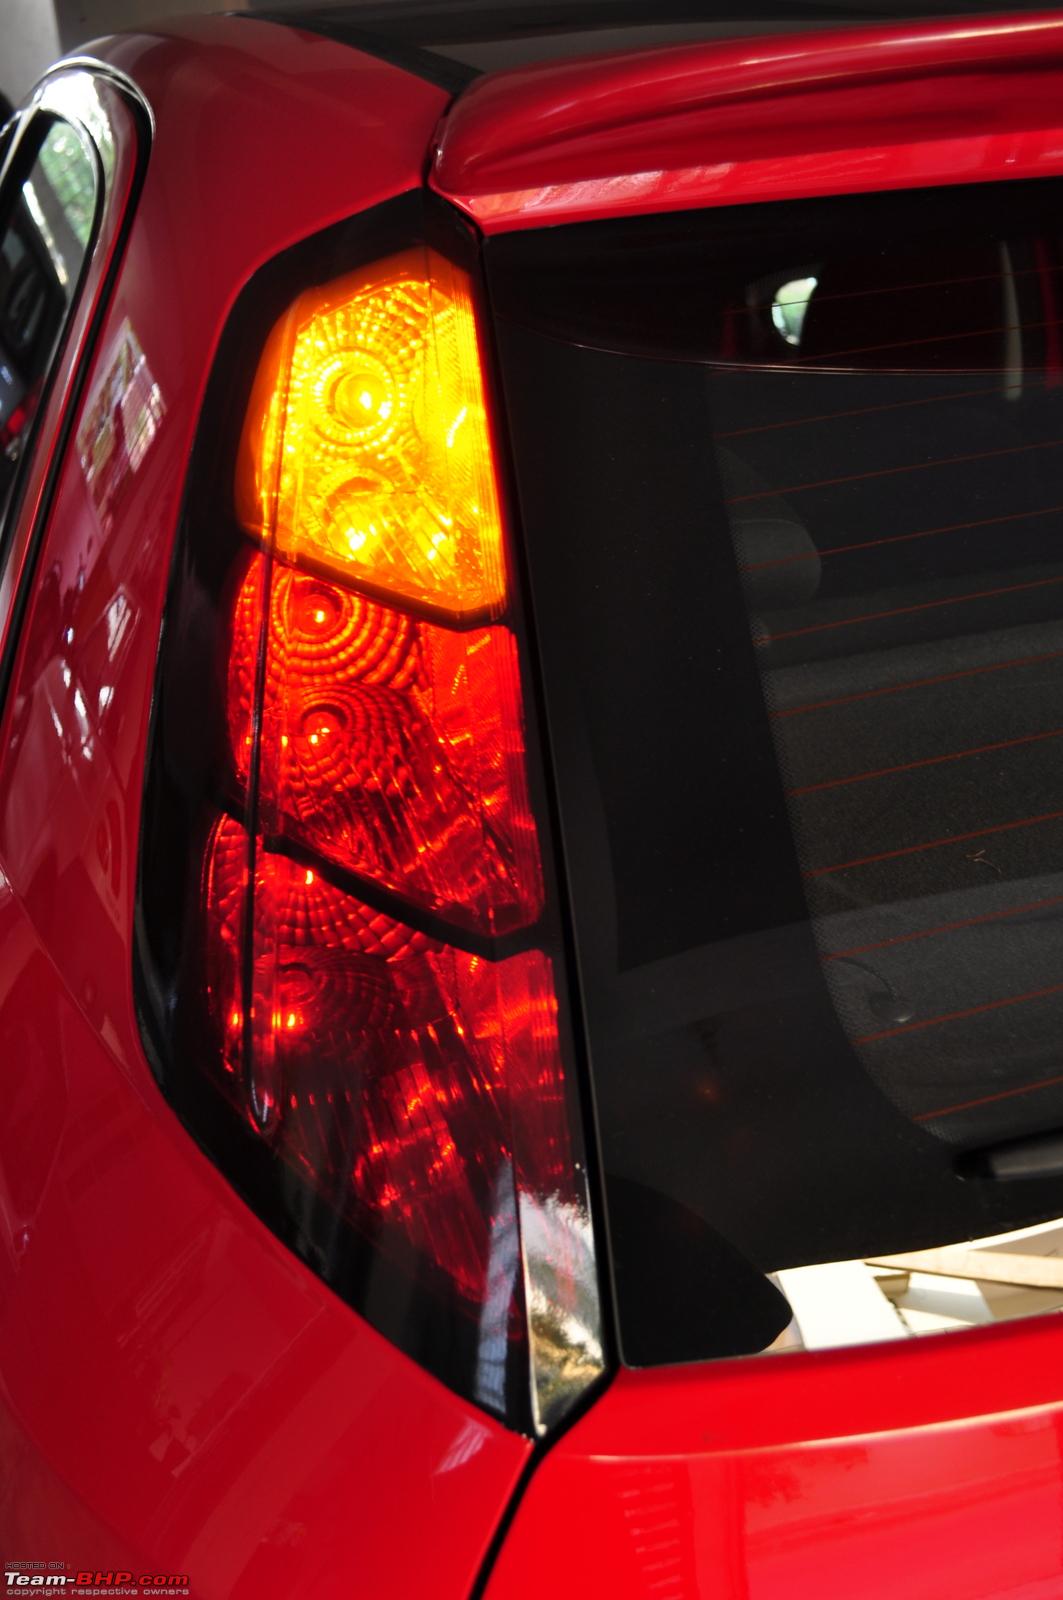
Normally, tail lamps are tinted darker than headlamps for better aesthetics. This is possible/permissible to implement because the heat produced/trapped will be lesser in tail lamps due to the lower lamp intensity, and because tail lamps don't affect the driver's visibility directly. It is advised not to go for very dark shades, because it poses a hazard of other road users not being able to see your tail lamp clearly.
An example of a tail lamp tinted with smoke film

Should I avoid any particular colors for masking headlamps and tail lamps??
Generally, as a guideline from a safety perspective, it is recommended to avoid Red and Yellow/Amber colors for headlamps and tail lamps. This is to avoid fellow road users (at night) from mistaking red headlamps for tail lamps or amber lamps for indicators. Most other colors are acceptable.
It is possible to experiment with a variety of tint shades like the blue lights on the car showed here, but it is more a matter of personal choice and taste as to which color of tint one prefers.
Will the smoke tint film cause heating and damage the headlamps under prolonged usage?
Smoke tint films themselves are designed to withstand heat and they do not trap much heat within the headlamps unless they are too dark, so the heat accumulation with light tints is minimal and negligible. If the tints are too dark and are causing any overheating, place an order with your local service centre for a spare set of headlamps!
Doesn't smoke tint film affect night time visibility too?
Yes it does, but the amount of tinting determines how much the visibility is affected. Lighter tint films will hardly produce any noticeable deterioration in headlight strength. Dark tints like the one shown in the beginning of this thread, can cause a significant loss in the headlight beam strength.
What if I want to retain dark tints and still want good night time visibility?
Welcome to the twisted maze of car modifications, where one tweak requires another series of tweaks. The easiest way to avoid being in this situation is to go for lighter tints in the first place. What most people with darker tints do is - they upgrade the headlamp bulbs to match the loss in headlight beam strength (due to the blocking by dark films). Do note that upgrading to brighter, more powerful lamps can produce increased heating, increased load on the battery and other such unwanted risks.
Can I use sunfilms to give the same effect as smoke tint films? How different are these two products?
Sunfilms can be used to produce the same effect (in fact most people are already doing it happily), but they lose out on a few aspects over smoke tints since they were never designed for this purpose.
- Sunfilms are designed to be used on the inner surfaces of glasses and windows, not outer surfaces. Owing to this, the sunfilms when used on headlamps and tail lamps will develop a high amount of scratches on the surface due to dust, heat, rain, washing, etc.
- The adhesive which comes with sunfilms is not designed to handle the heat of the headlamps or weather effects of dust, wind and rain, not to forget frequent washes too. There is no guarantee on how long they will stay intact. You might find them peeling prematurely.
- Sunfilms are by nature thick and designed for flat surfaces like windshields and windows. Headlamps and tail lamps sometimes have creases, curves and bends, which the sunfilms cannot be bent around. Smoke tint films are thinner and can be bent to accommodate any size and shape of lamps.
- Smoke tint films can be cut easily to produce customized shapes and openings in the films. Sunfilms are thick and can't be easily altered
Tint films can be cut to allow customized openings like the tail lamps shown on this Optra SRV.
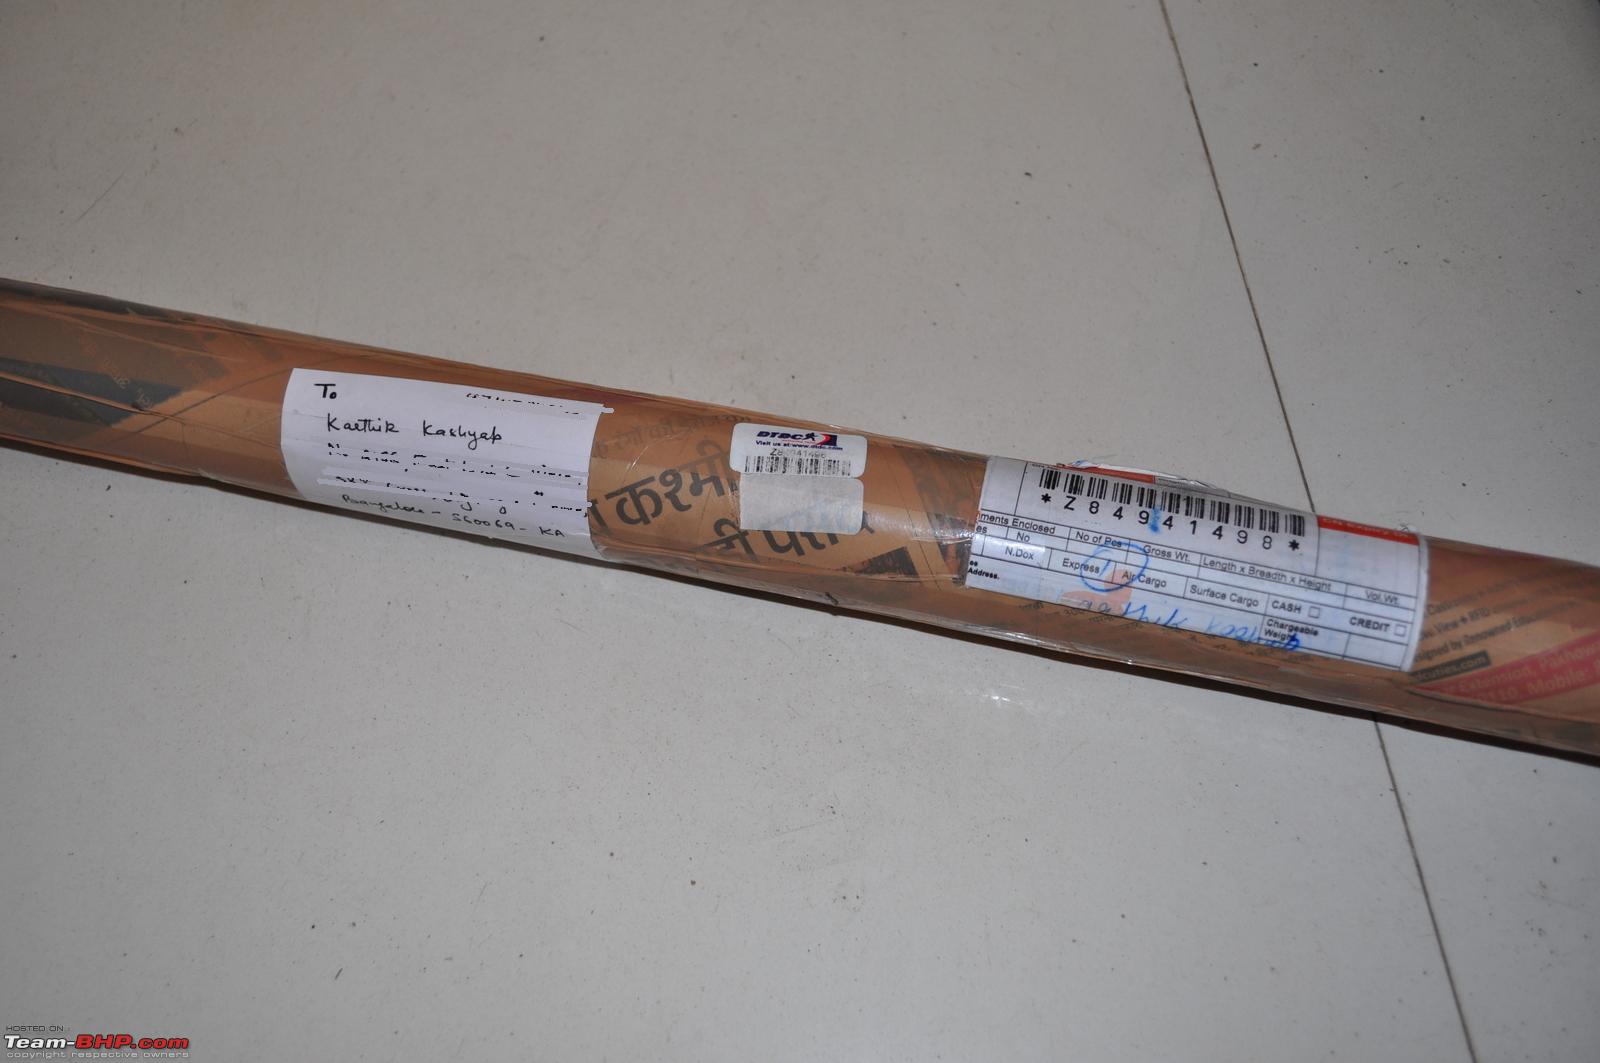
 How long does a smoke tint film take to apply on my car?
Generally, you will need 3-4 hours for a pair of headlamps and a pair of tail lamps. If you have a deft pair of hands, you could do it earlier than that too.
Can I do it at home? What tools do I need?
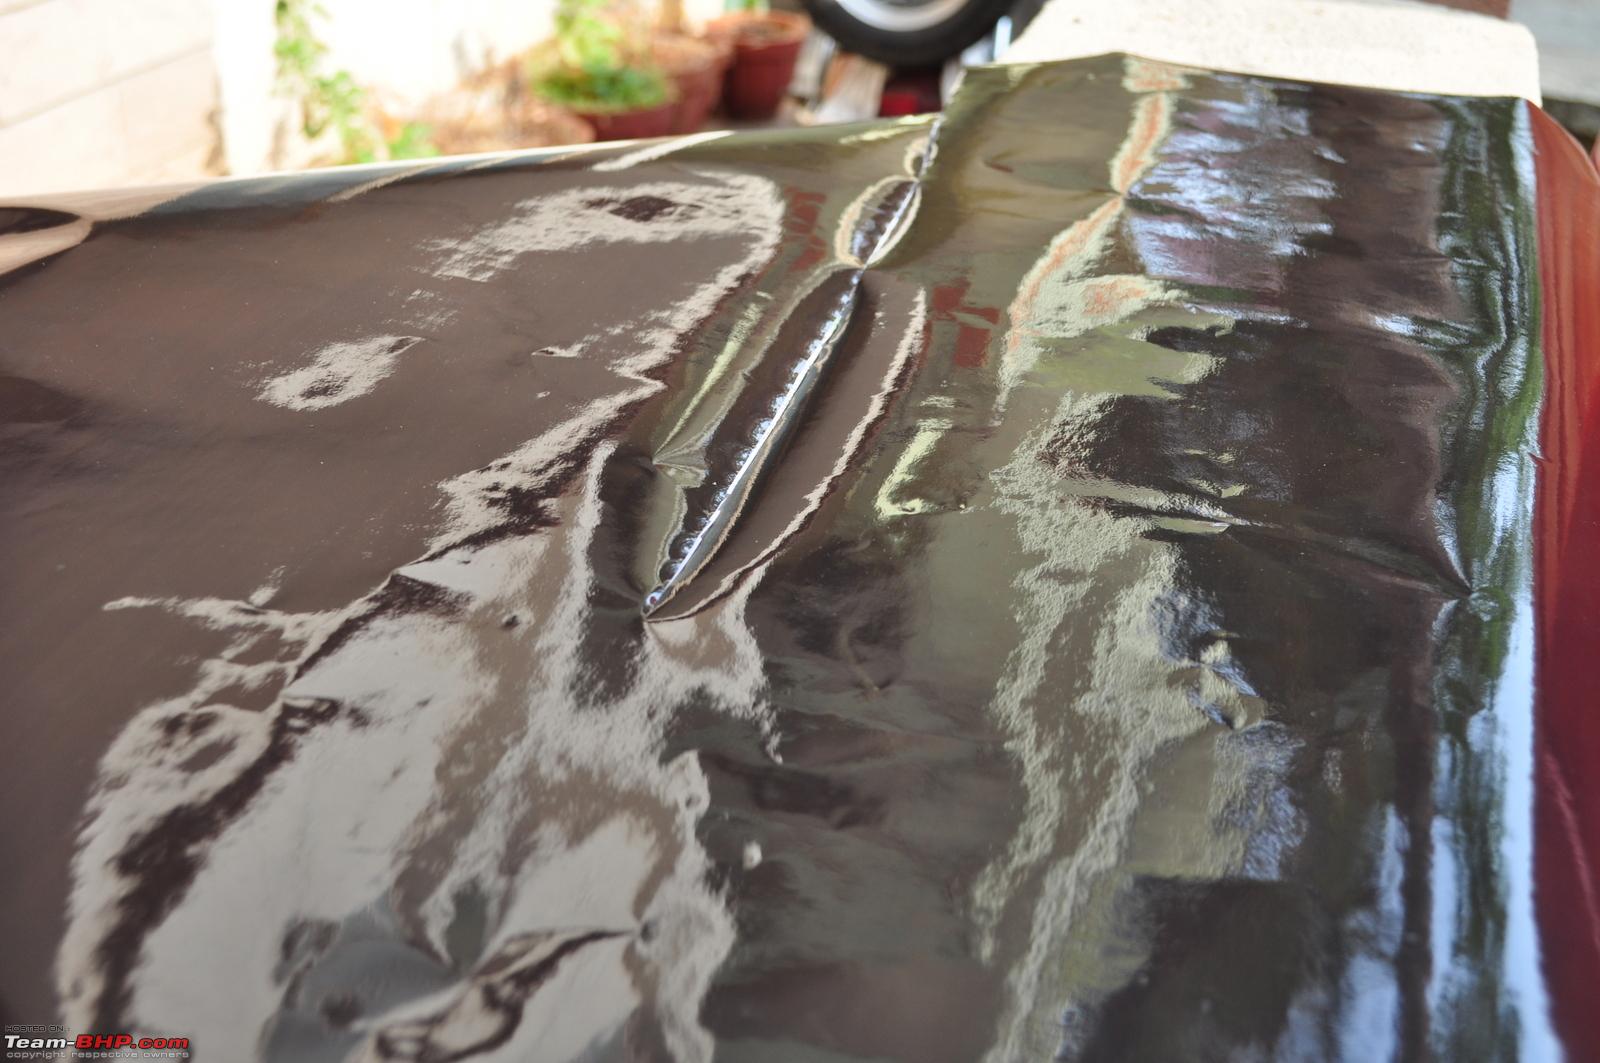
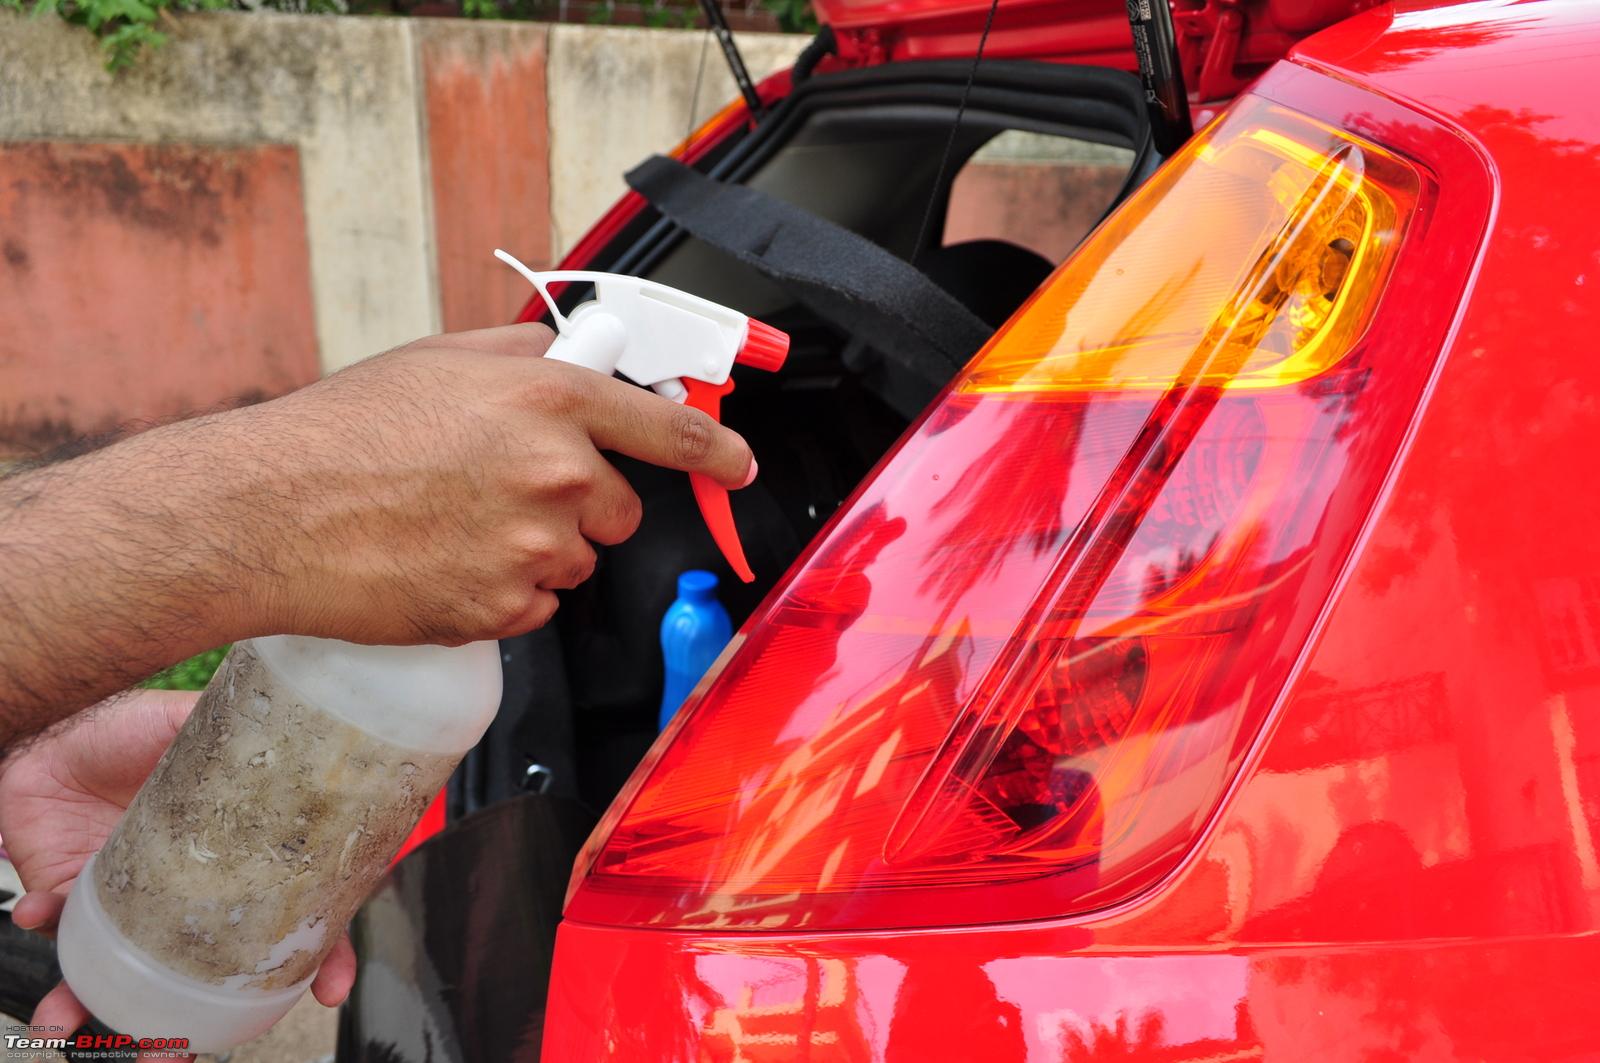
Yes, the tinting can be done right at home. You will need a set of basic tools to apply the film, and to remove air bubbles and iron out wrinkles. It is best done on a sunny day since this provides ample time and heat for the tint to dry up and settle well.
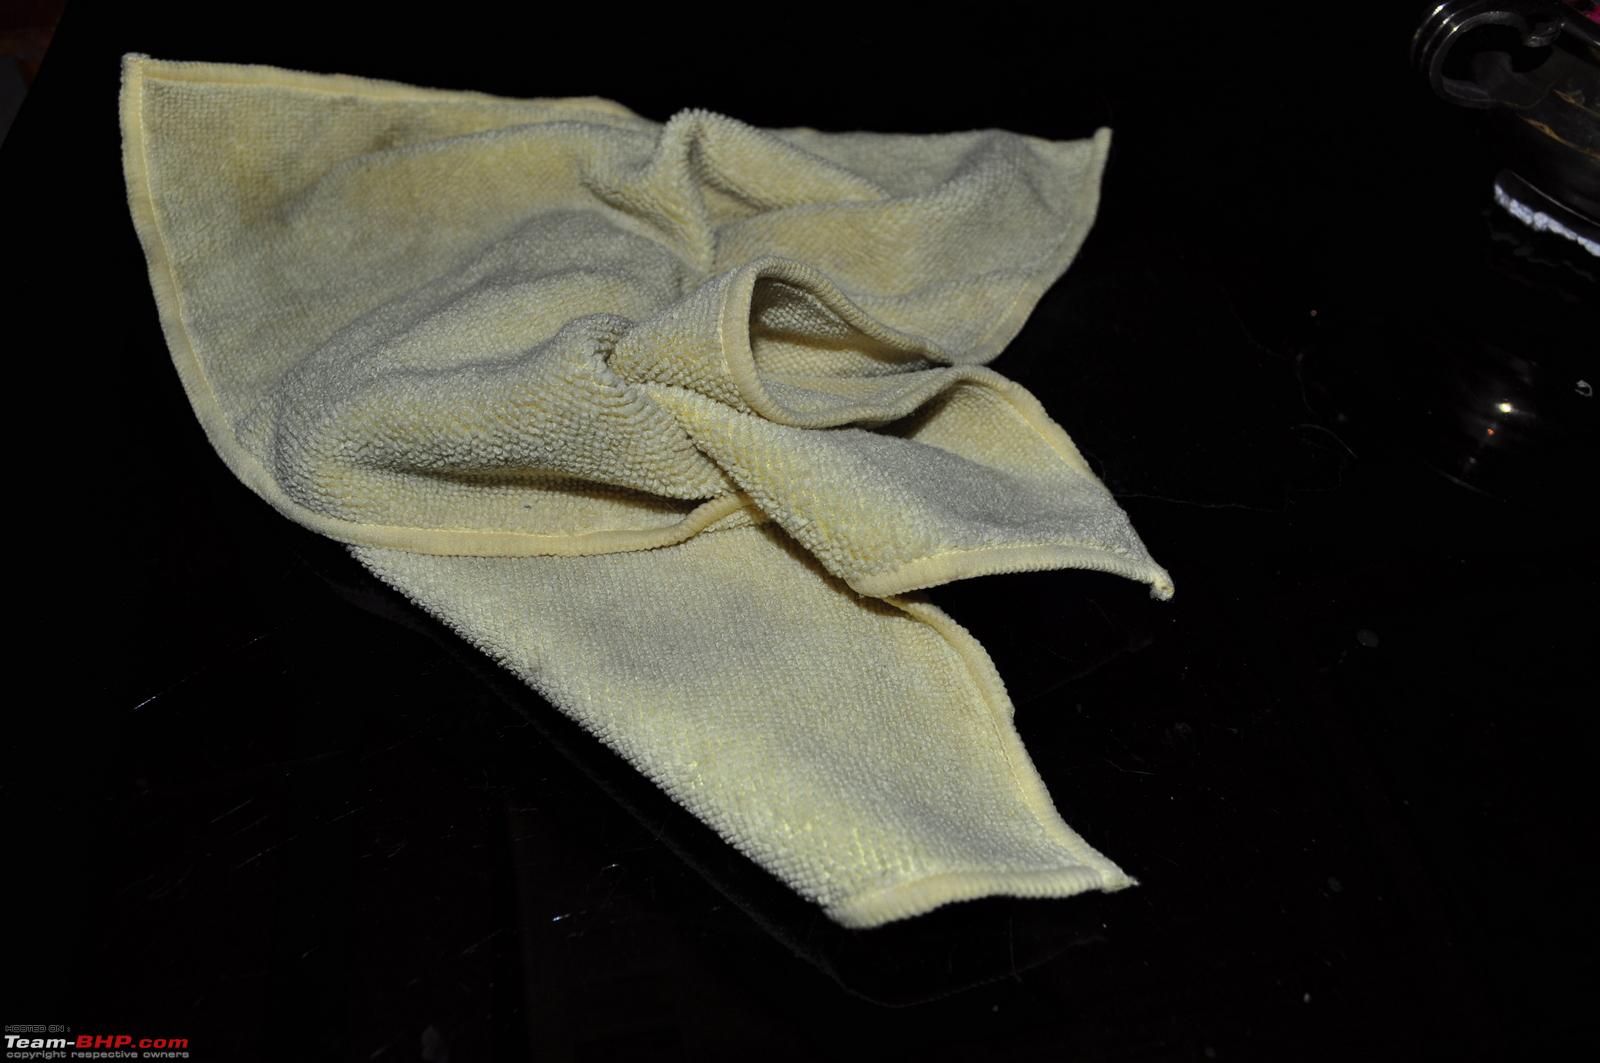
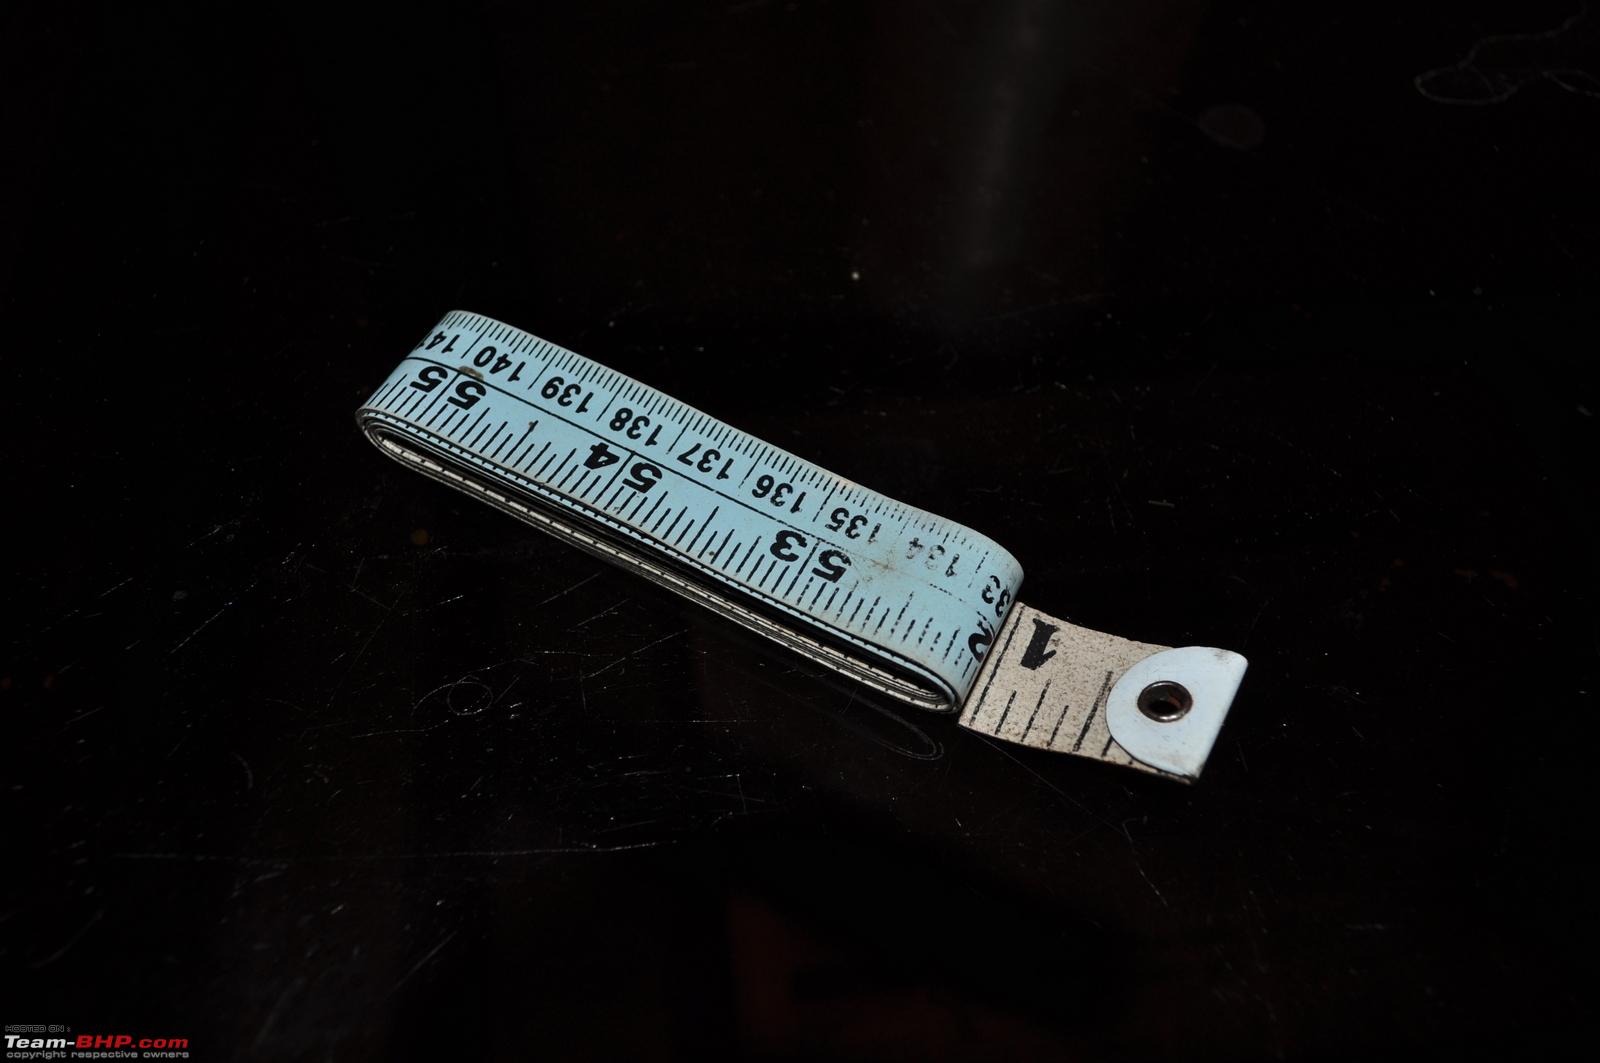
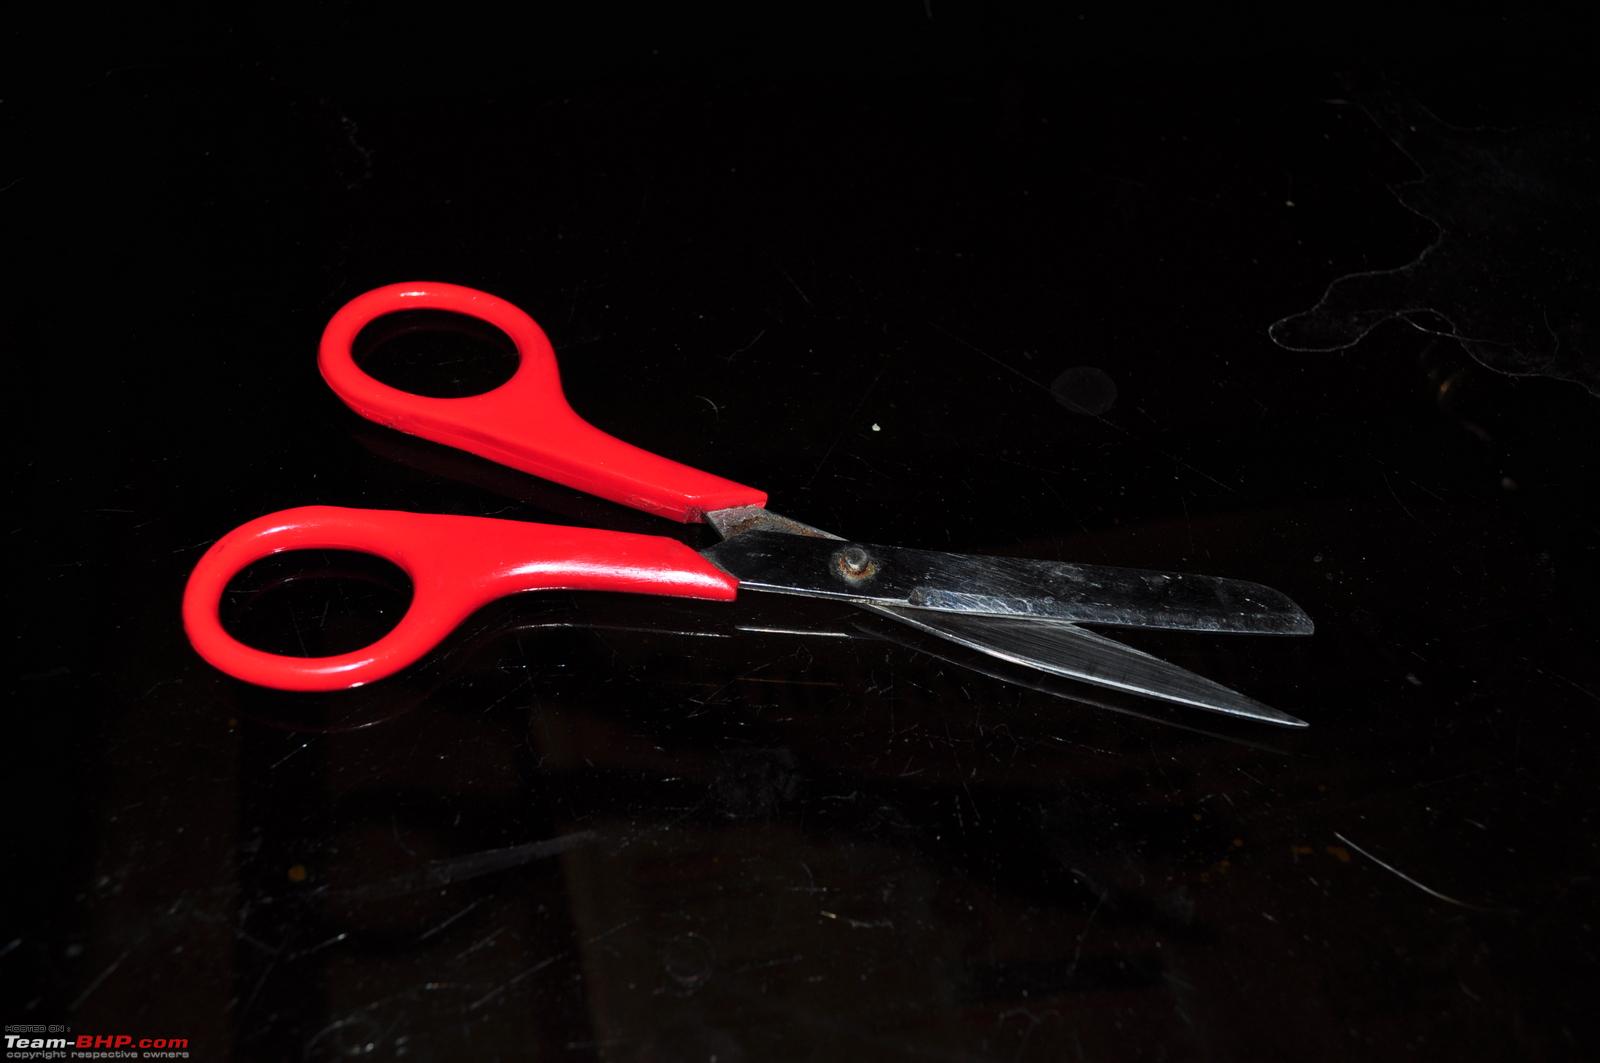
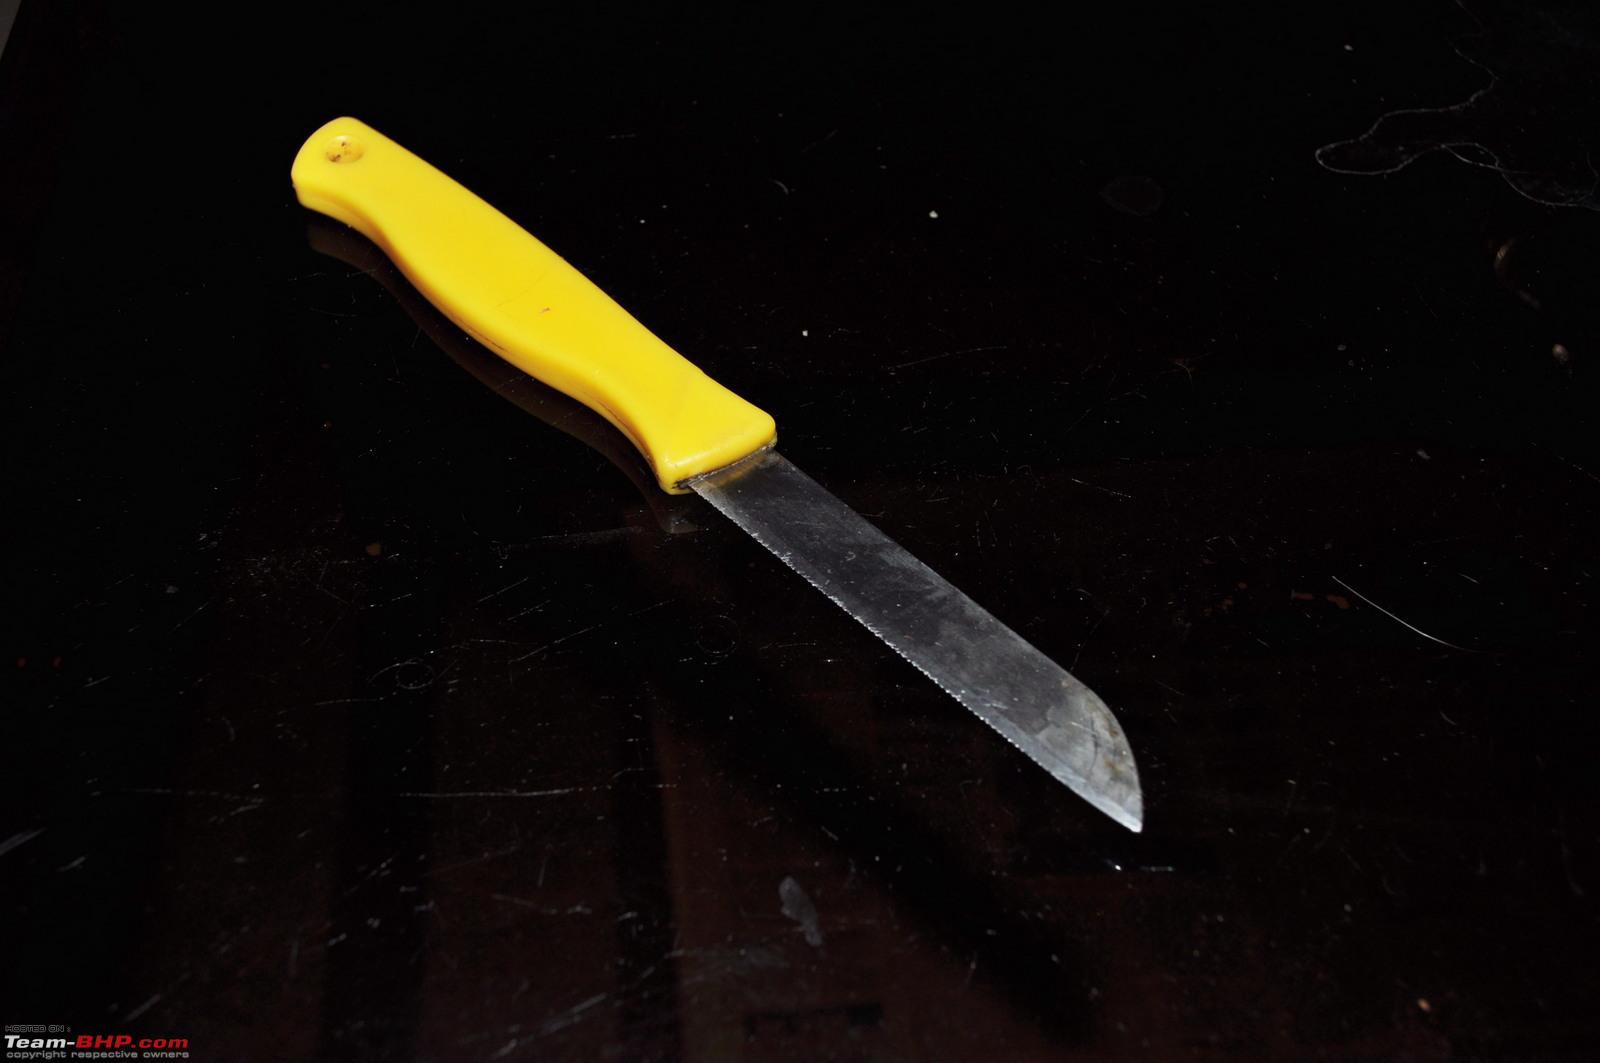
You will primarily need these tools :
- Old cloth (preferably Microfibre)
- Measuring tape (to measure headlamp and tail lamp dimensions)
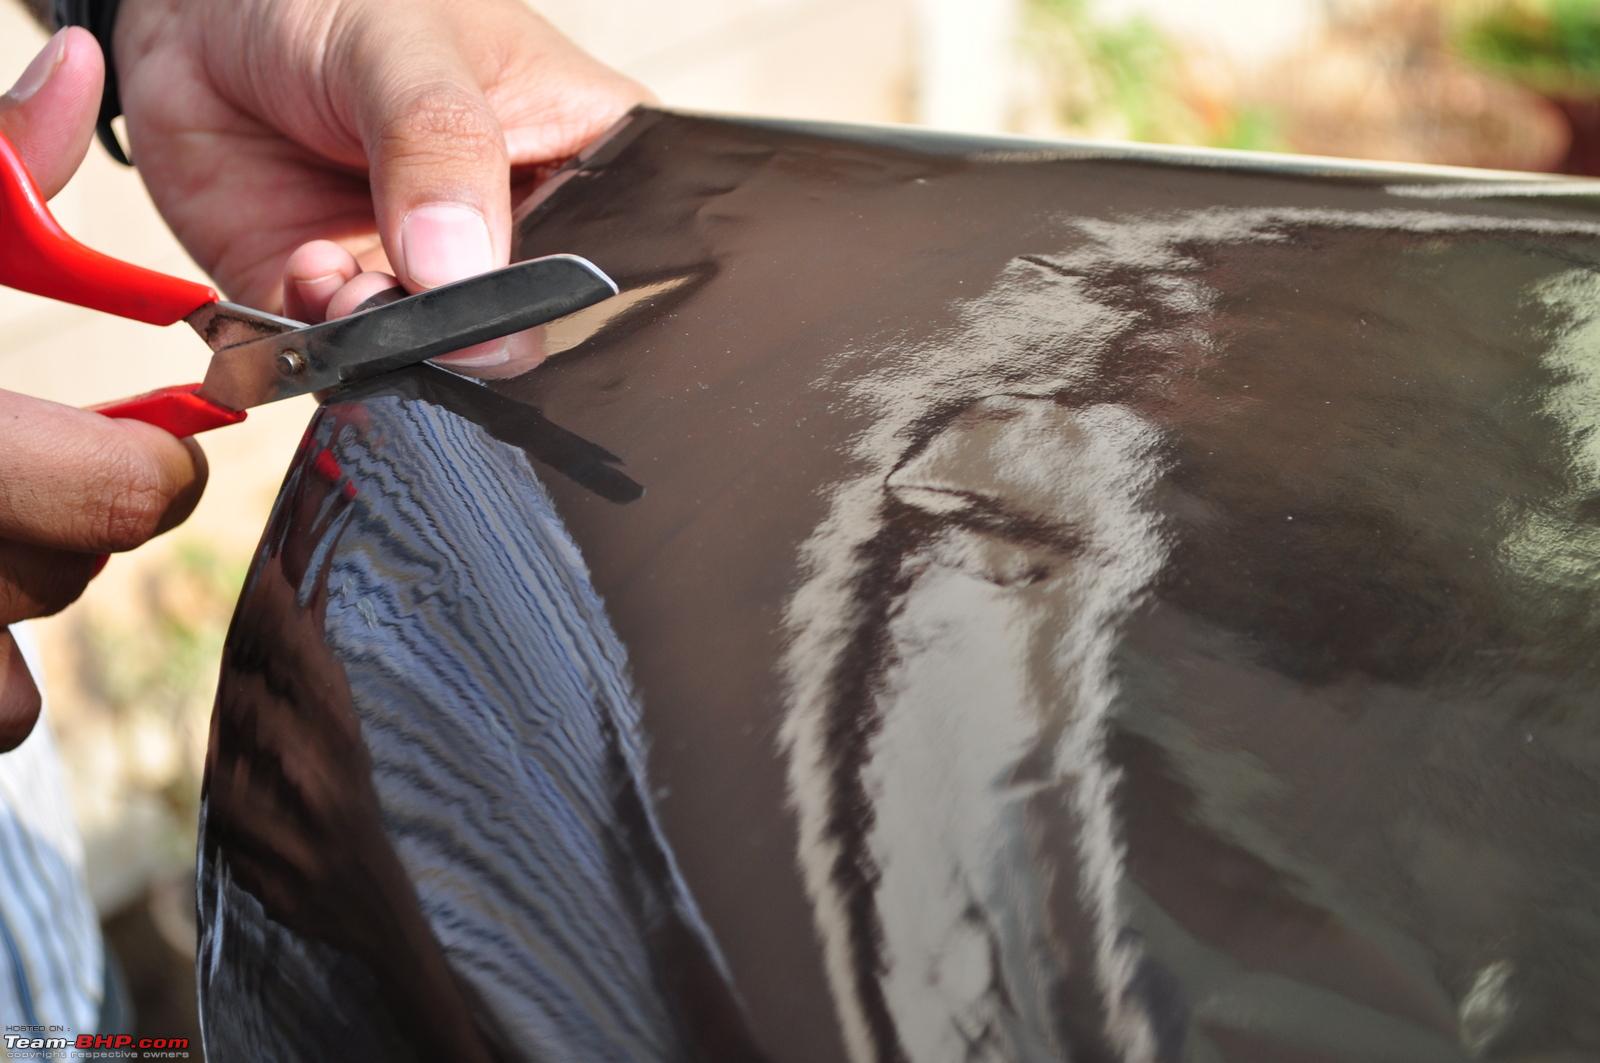
- A pair of strong scissors (to cut the film)
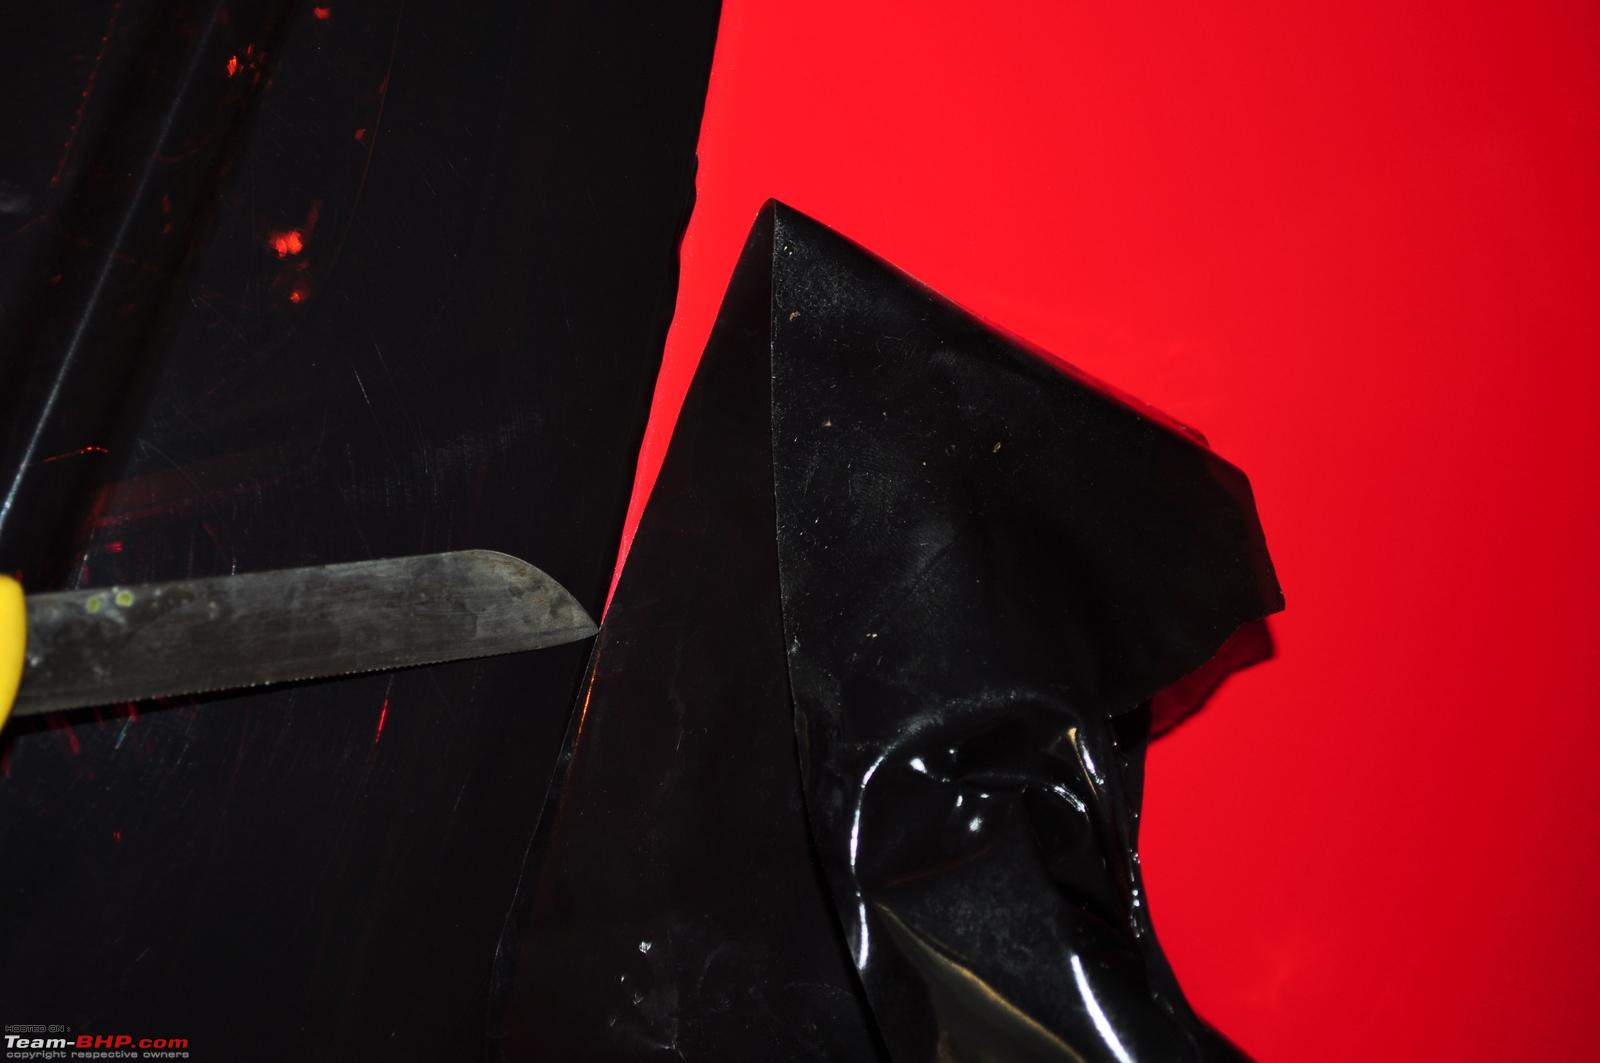
- A sharp blade, preferably of stationery use variety (to cut unwanted edges of the film and shape the film properly around the lamp assembly)
- A spray can/gun with shampoo solution (to apply the tint film and move it around)
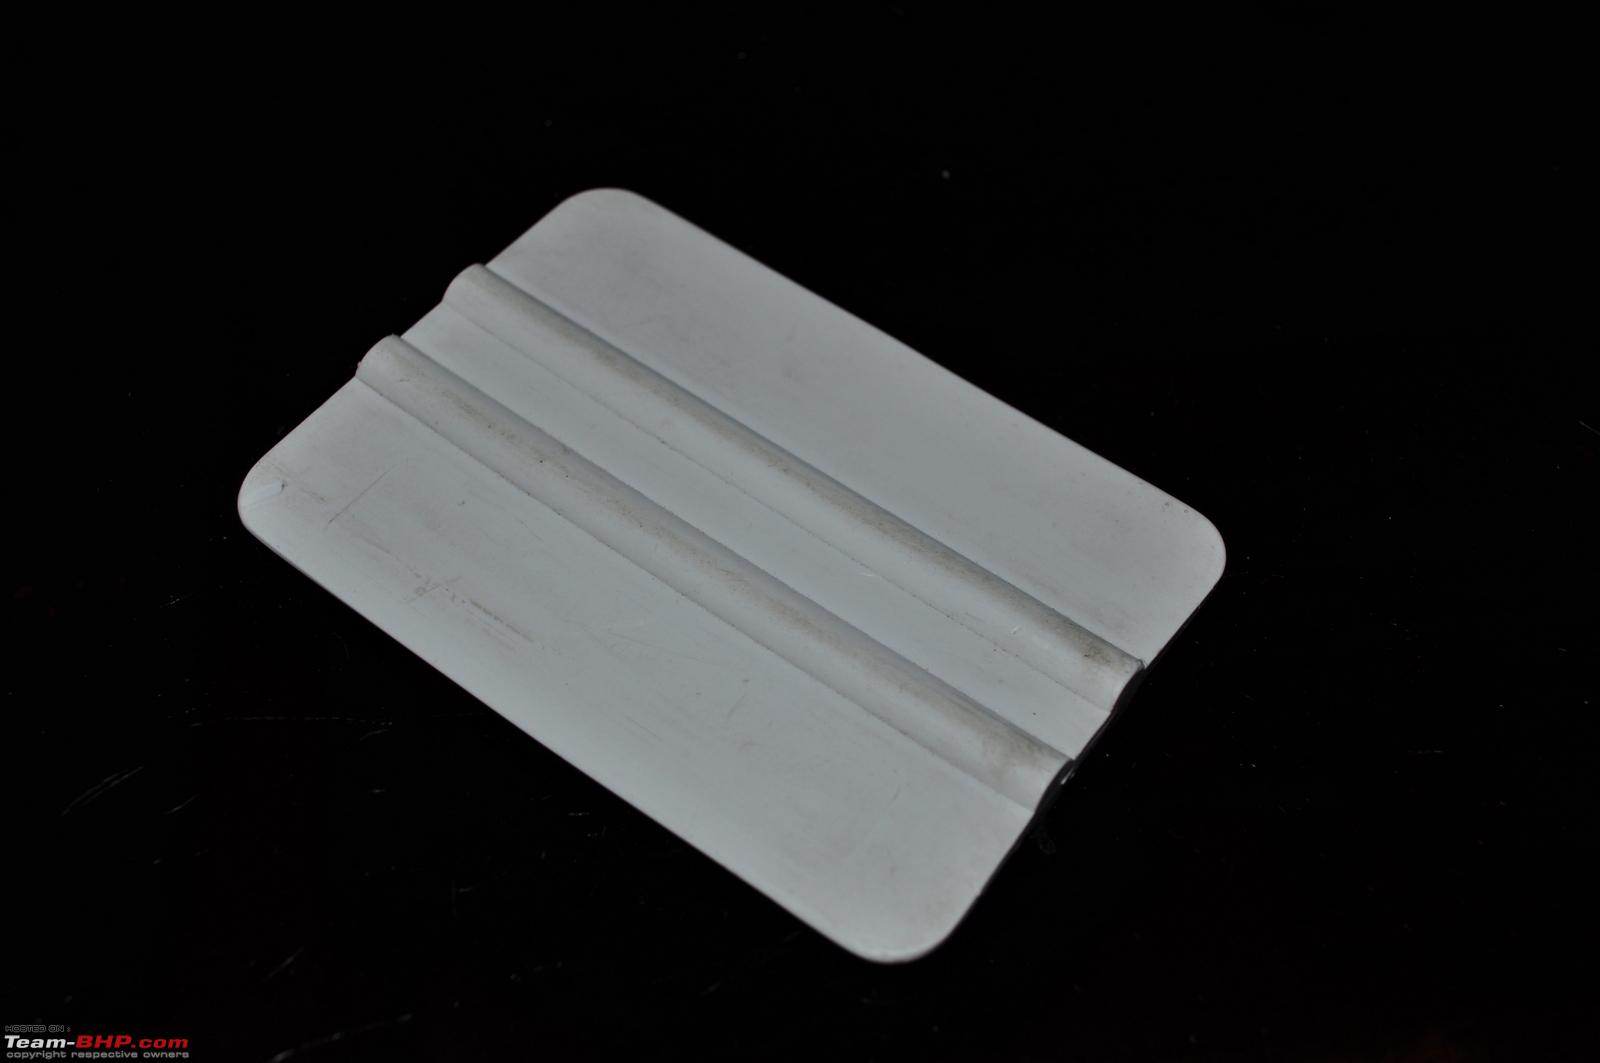
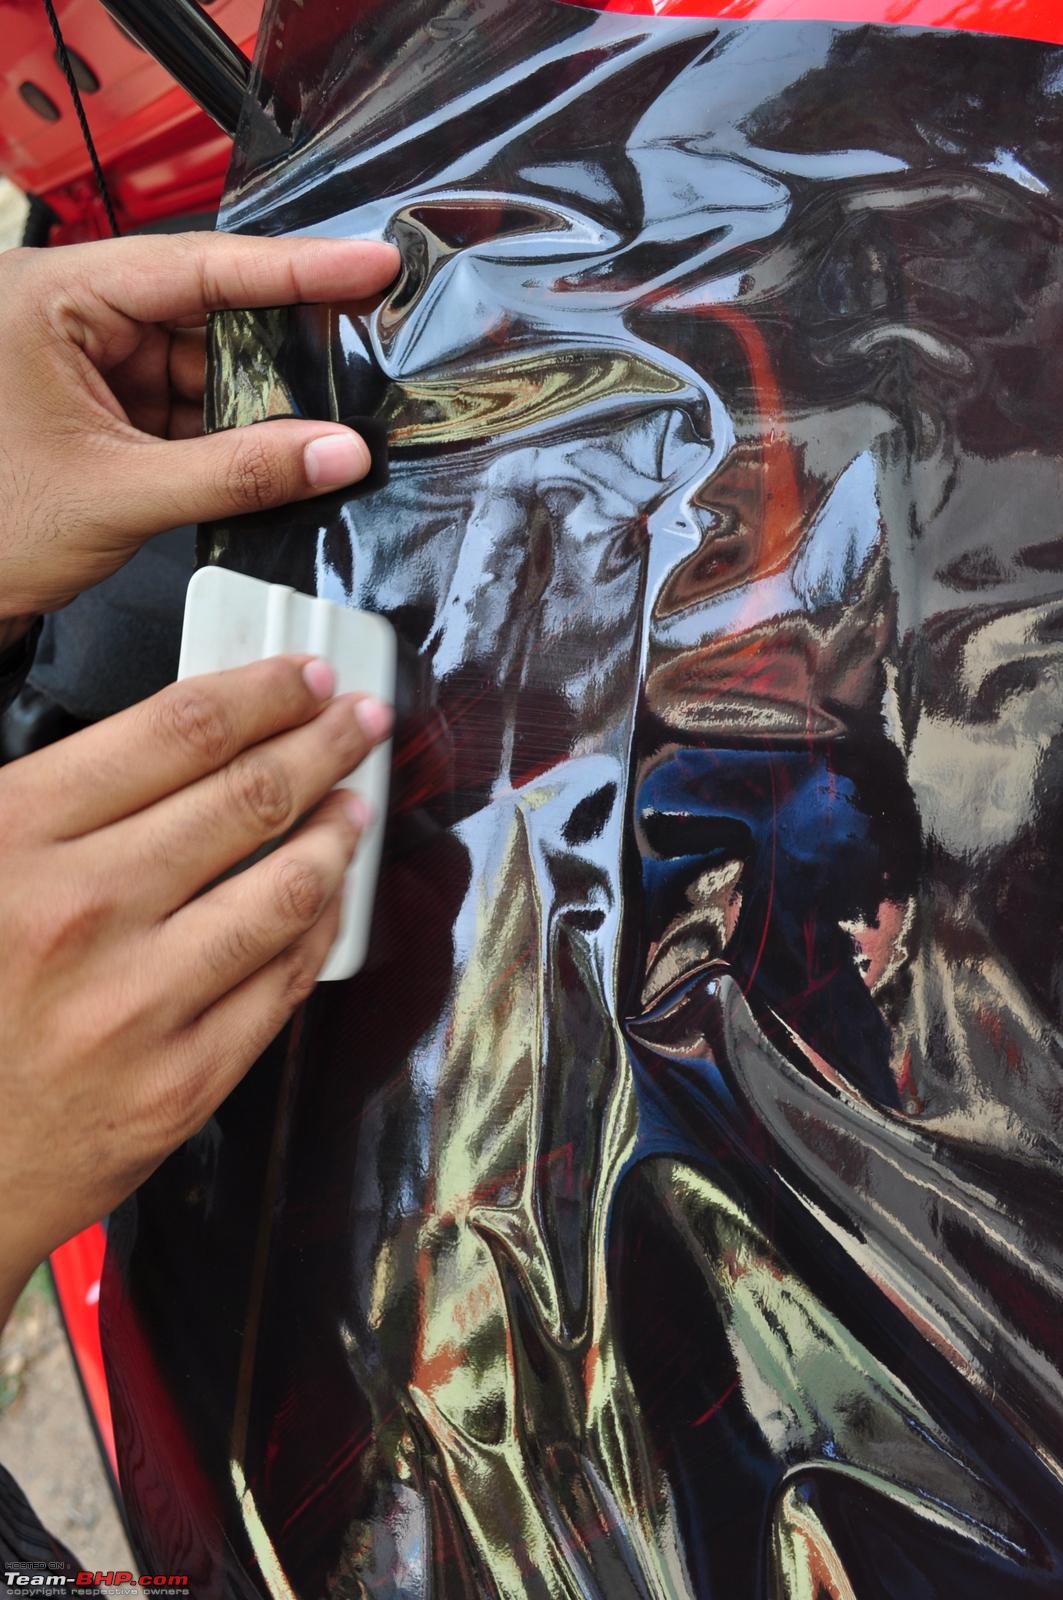
- A rubber Squeegee (to remove air bubbles and wrinkles during application)
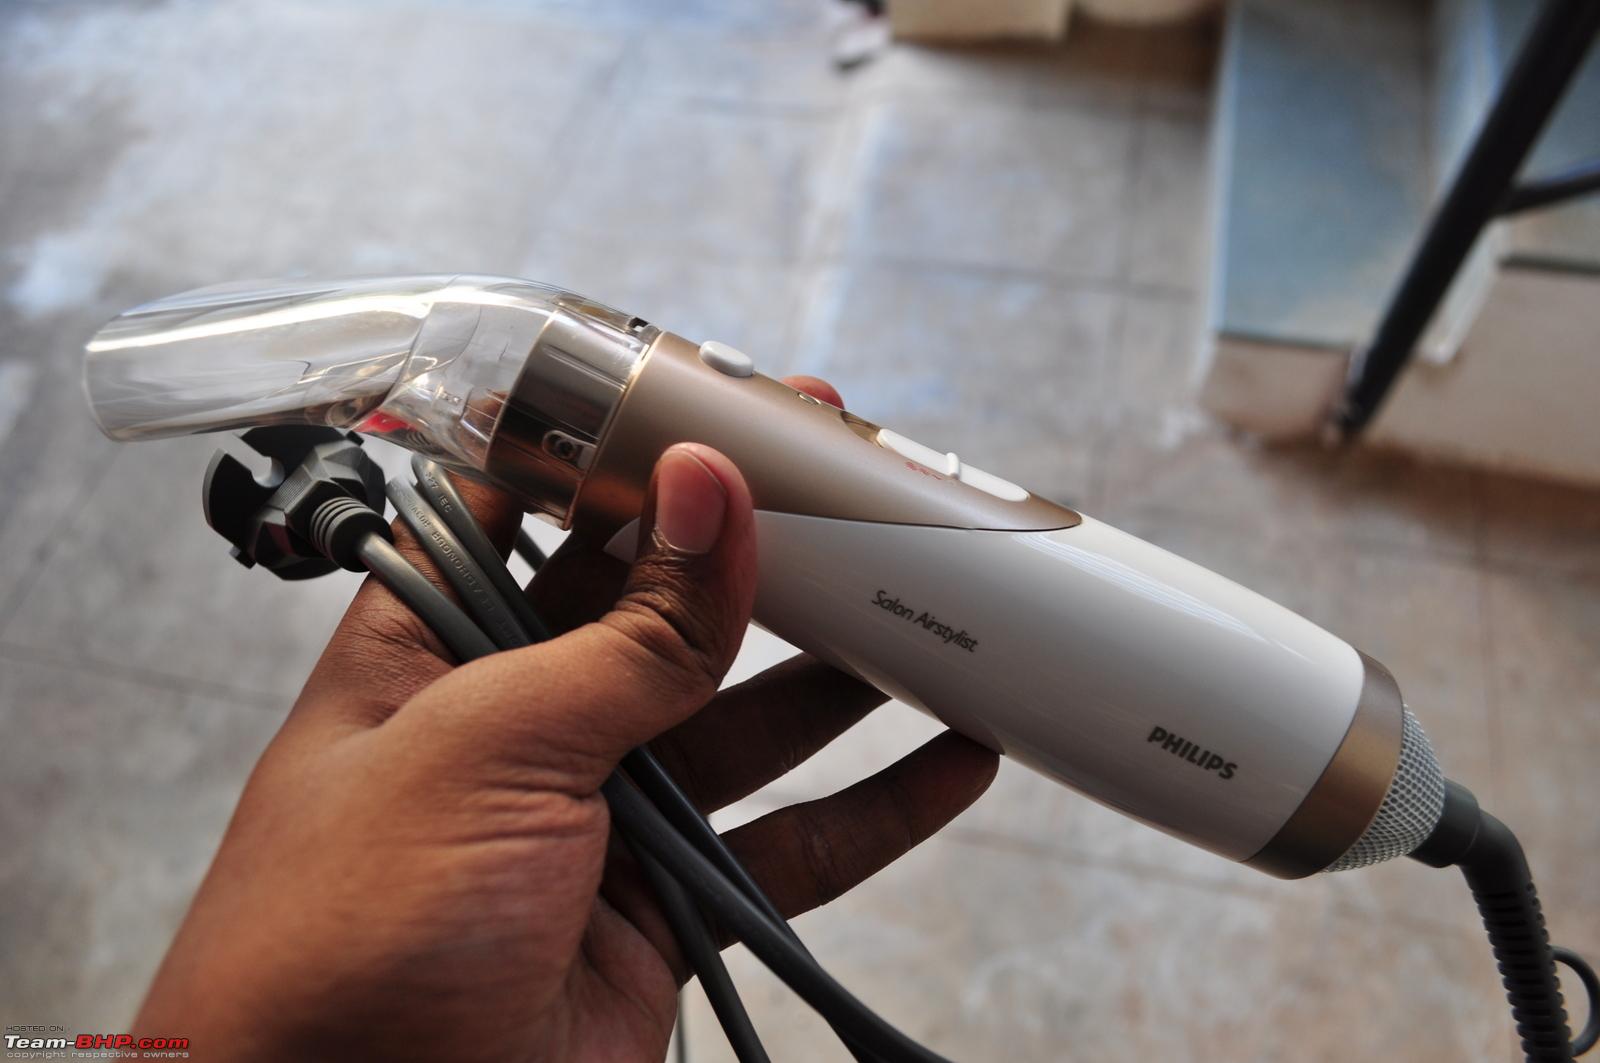
- A heat gun or its closest substitute, a hair dryer (to soften the film and heat/soften the adhesive for better seating during tint application)
- tons of patience
An image I found on google image search which illustrates how the film is cut to your headlamp's shape and size and applied separately, one after the other. We'll go to that section later.
 Where can I order smoke tint film for my vehicle?
I ordered mine from a seller on eBay. you are free to purchase better alternatives from eBay/abroad or buy from your local accessory dealer depending on what you want.
Link to headlamp tint film:
http://www.ebay.in/itm/Smoked-Headli...item35c64cdab8
Link to tail lamp tint film:
http://www.ebay.in/itm/Smoked-Tailli...item35c6623662
If I don't like the film, is it easily removable?
Yes. all you need to do is park the car under the hot sun for an hour or two, start peeling the film from one of the corners carefully. Use a hair dryer directing the hot air into the remaining film area. This will loosen the adhesive holding the film, and you should soon be able to strip the entire tint film off the lamp surface.
Disclaimer : All the images in the first post were taken from google image search results, and the images belong to the respective owners. I merely used them for illustrative purposes.


 10th April 2013, 07:51


 (26)
Thanks
(26)
Thanks


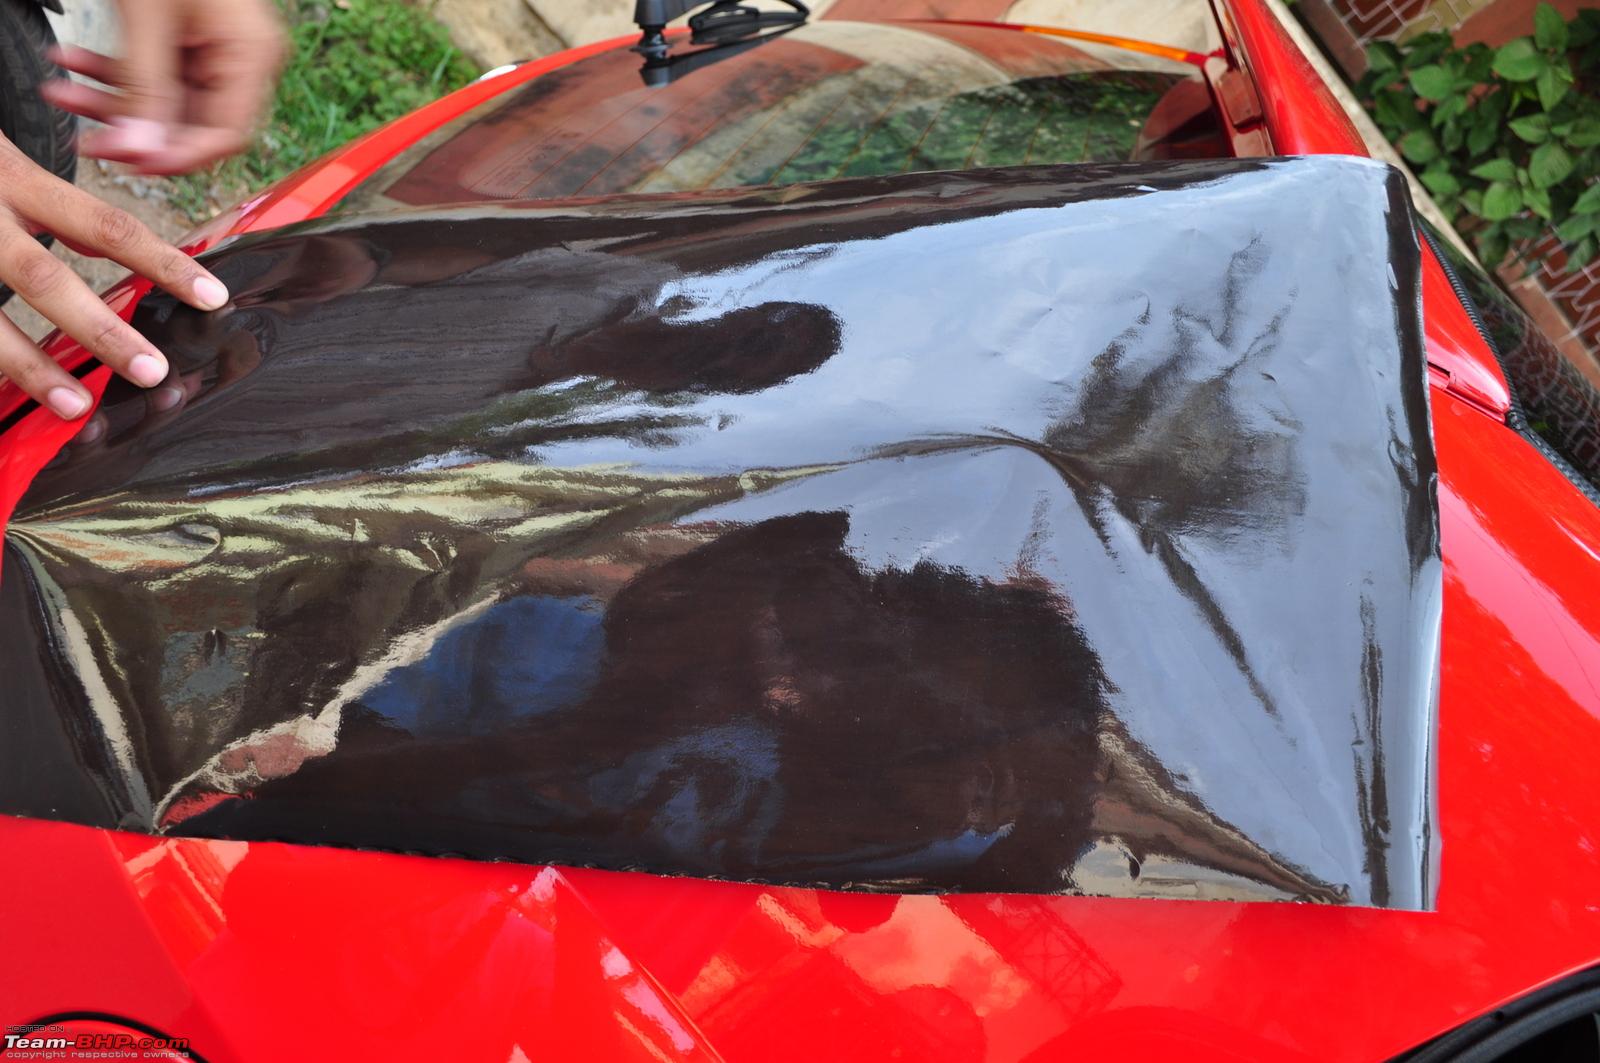

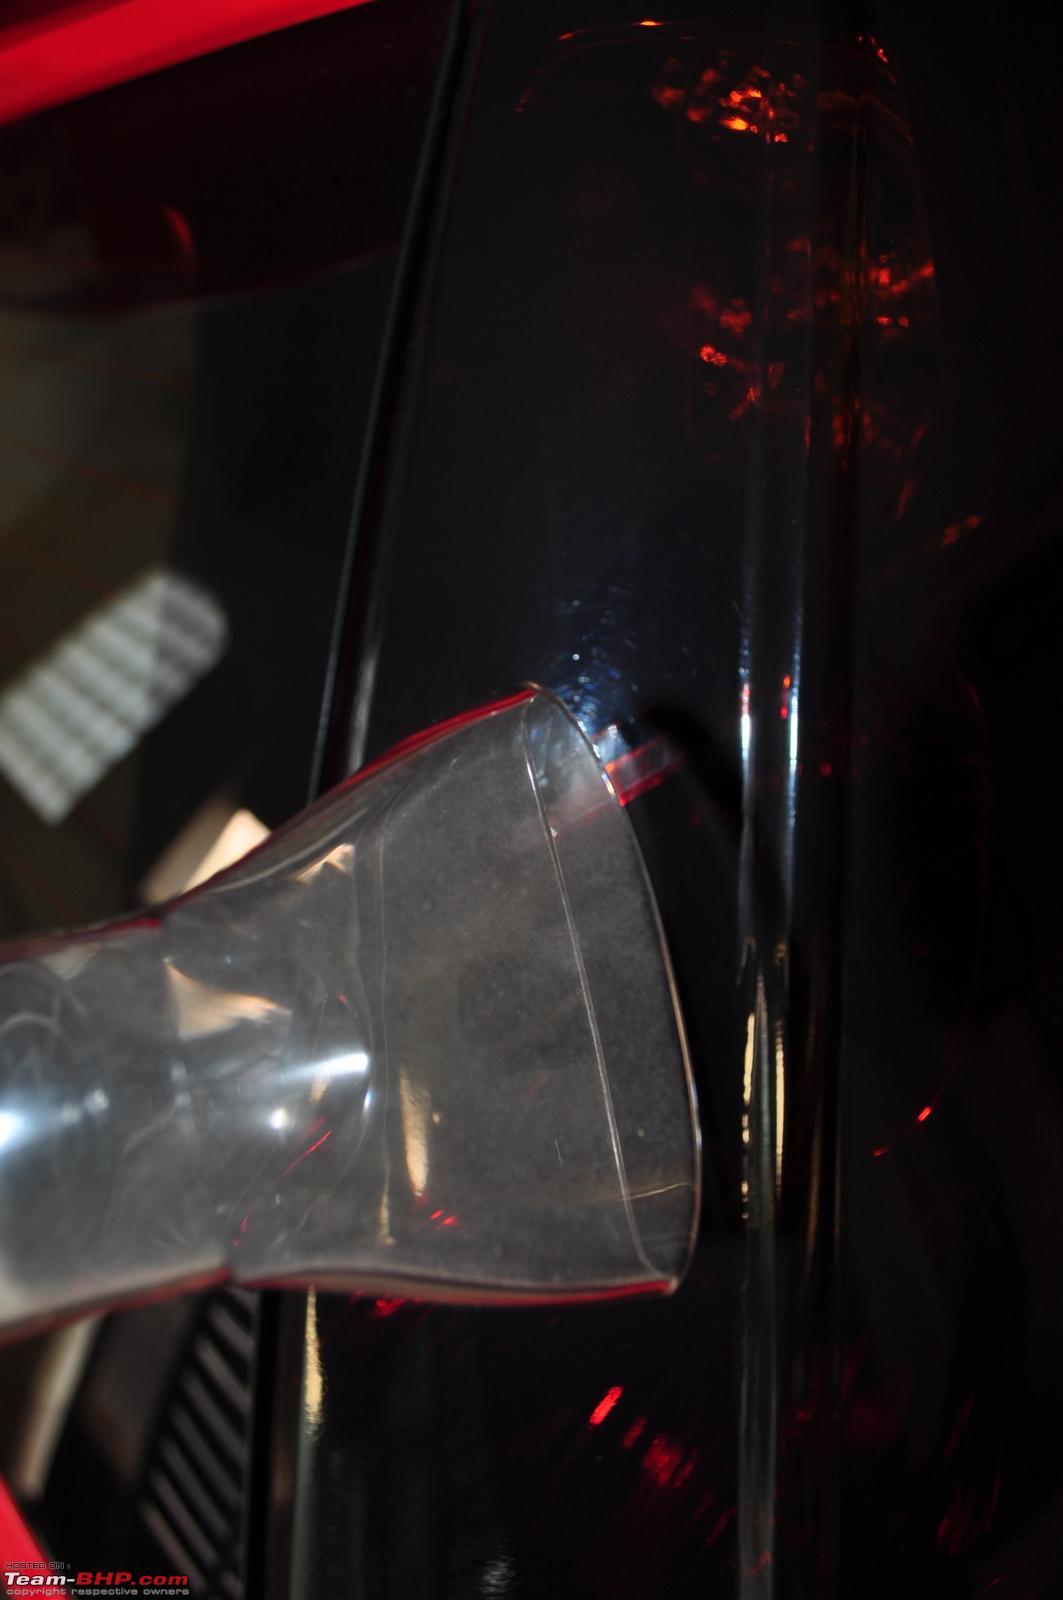
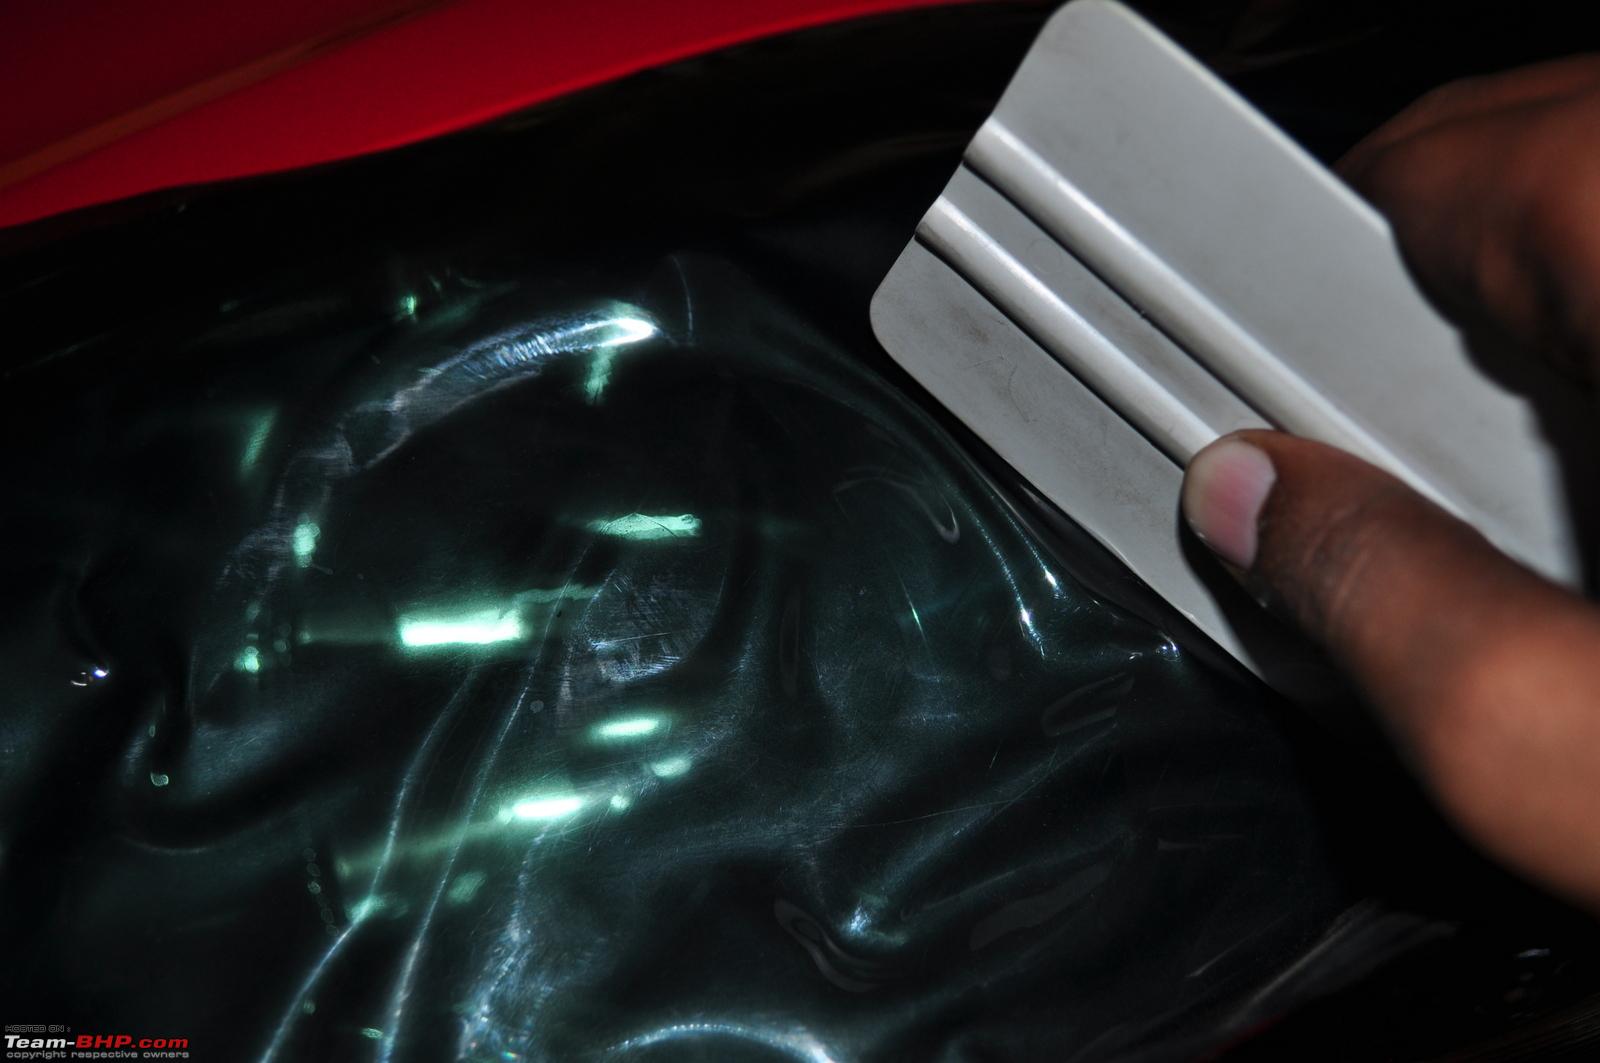
 Just the finishing touches are left. We'll need to cement it there so that it lasts long, shouldn't we?


 .
.

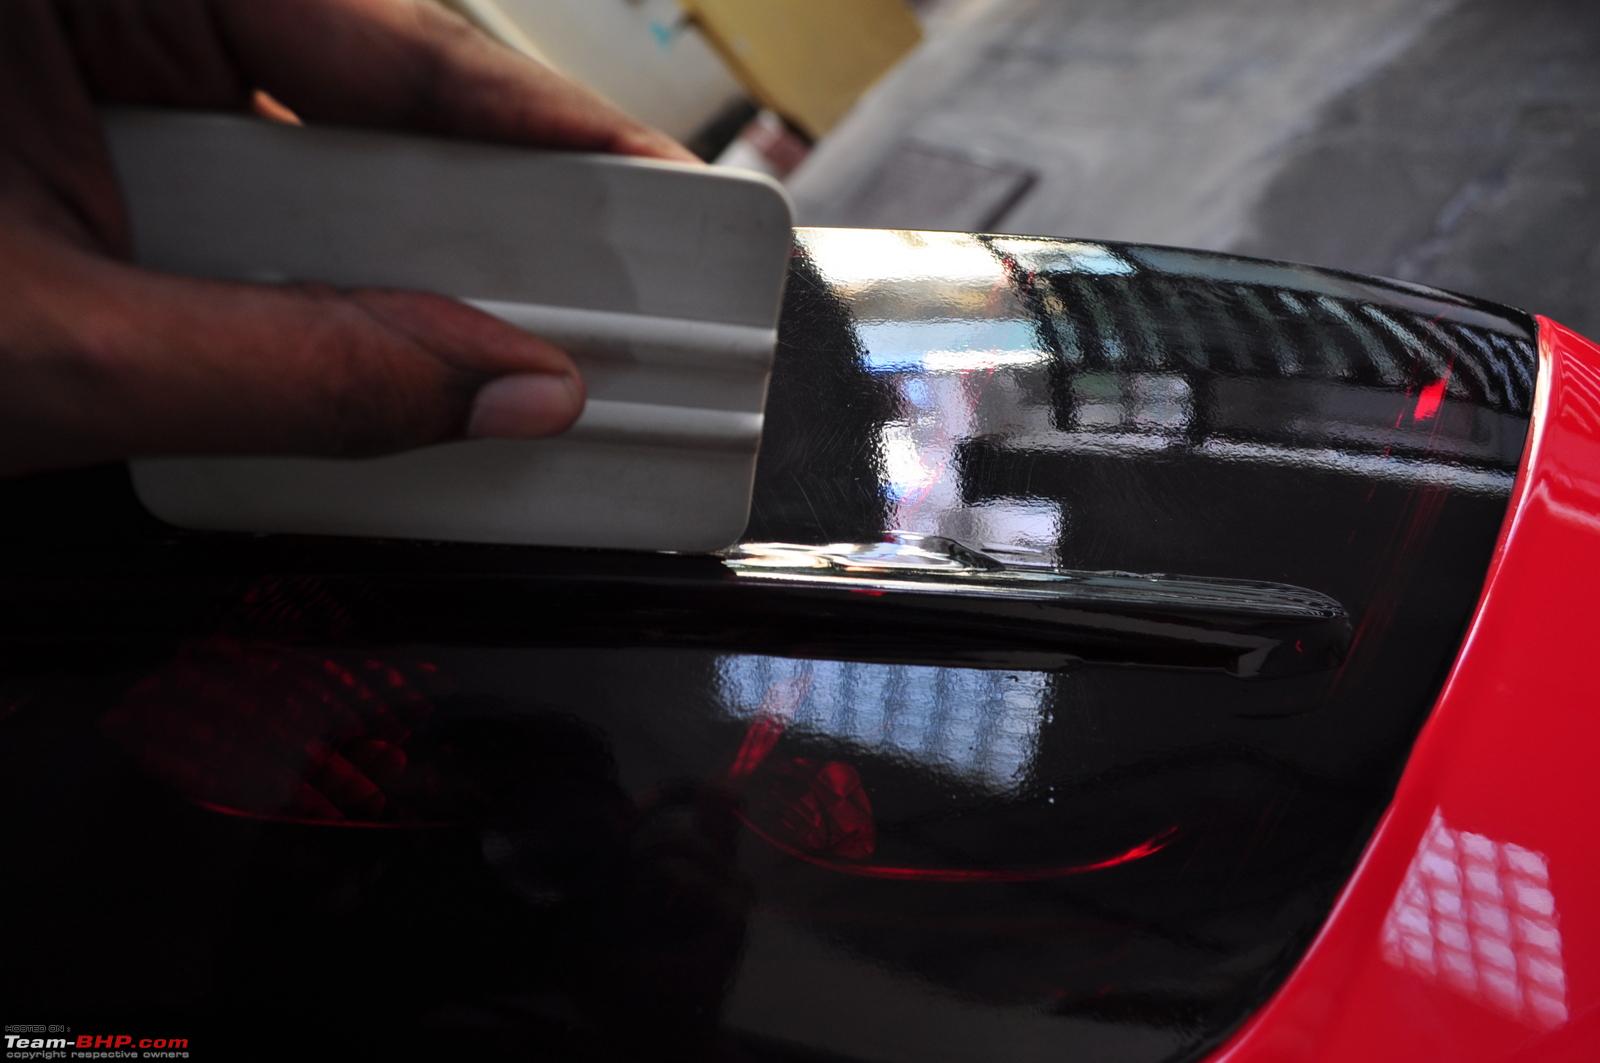
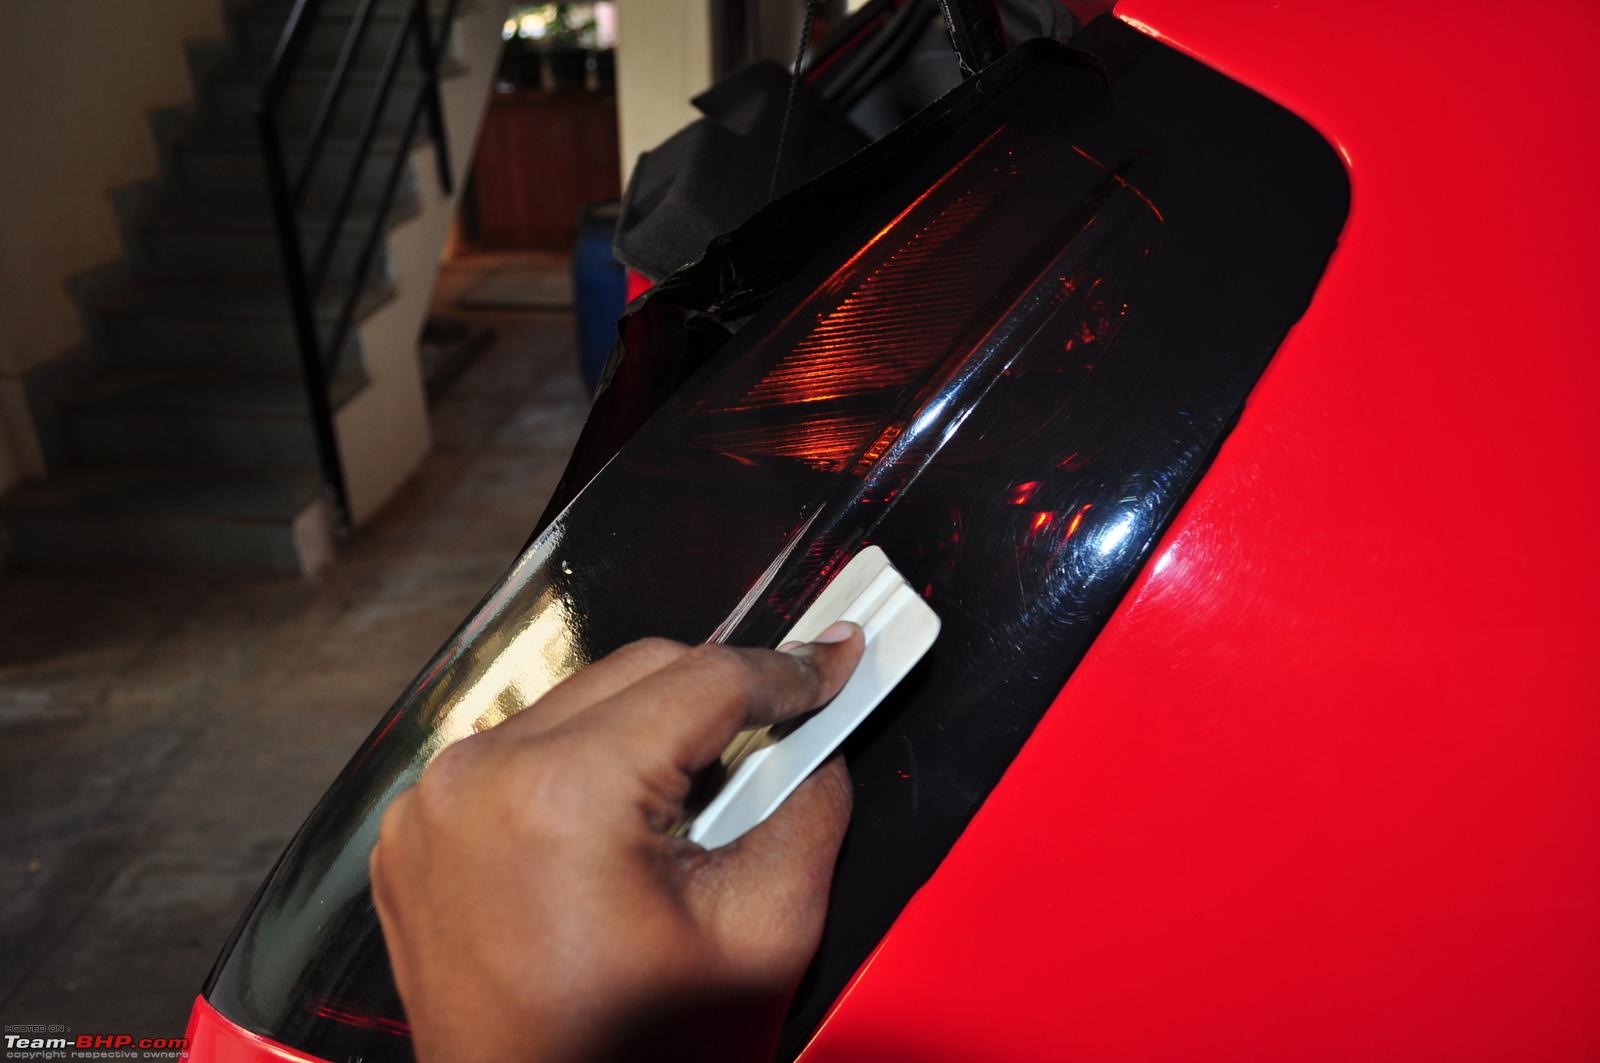
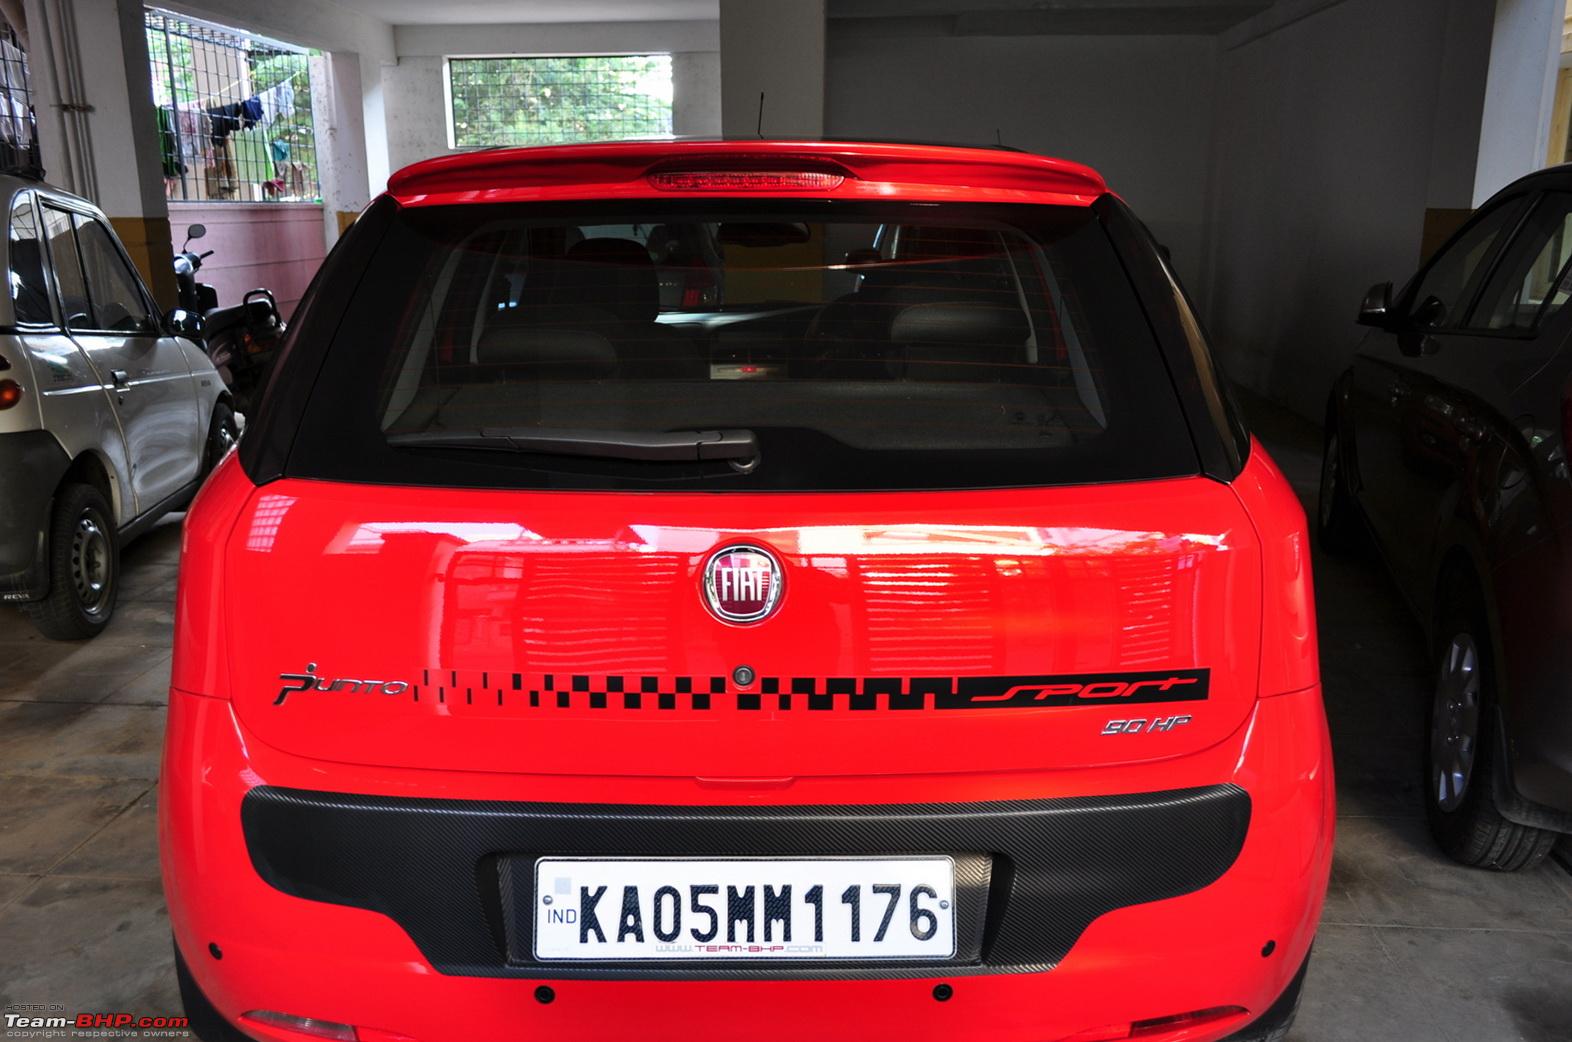
 No way I could have managed that level of cutting and finishing, hehe.

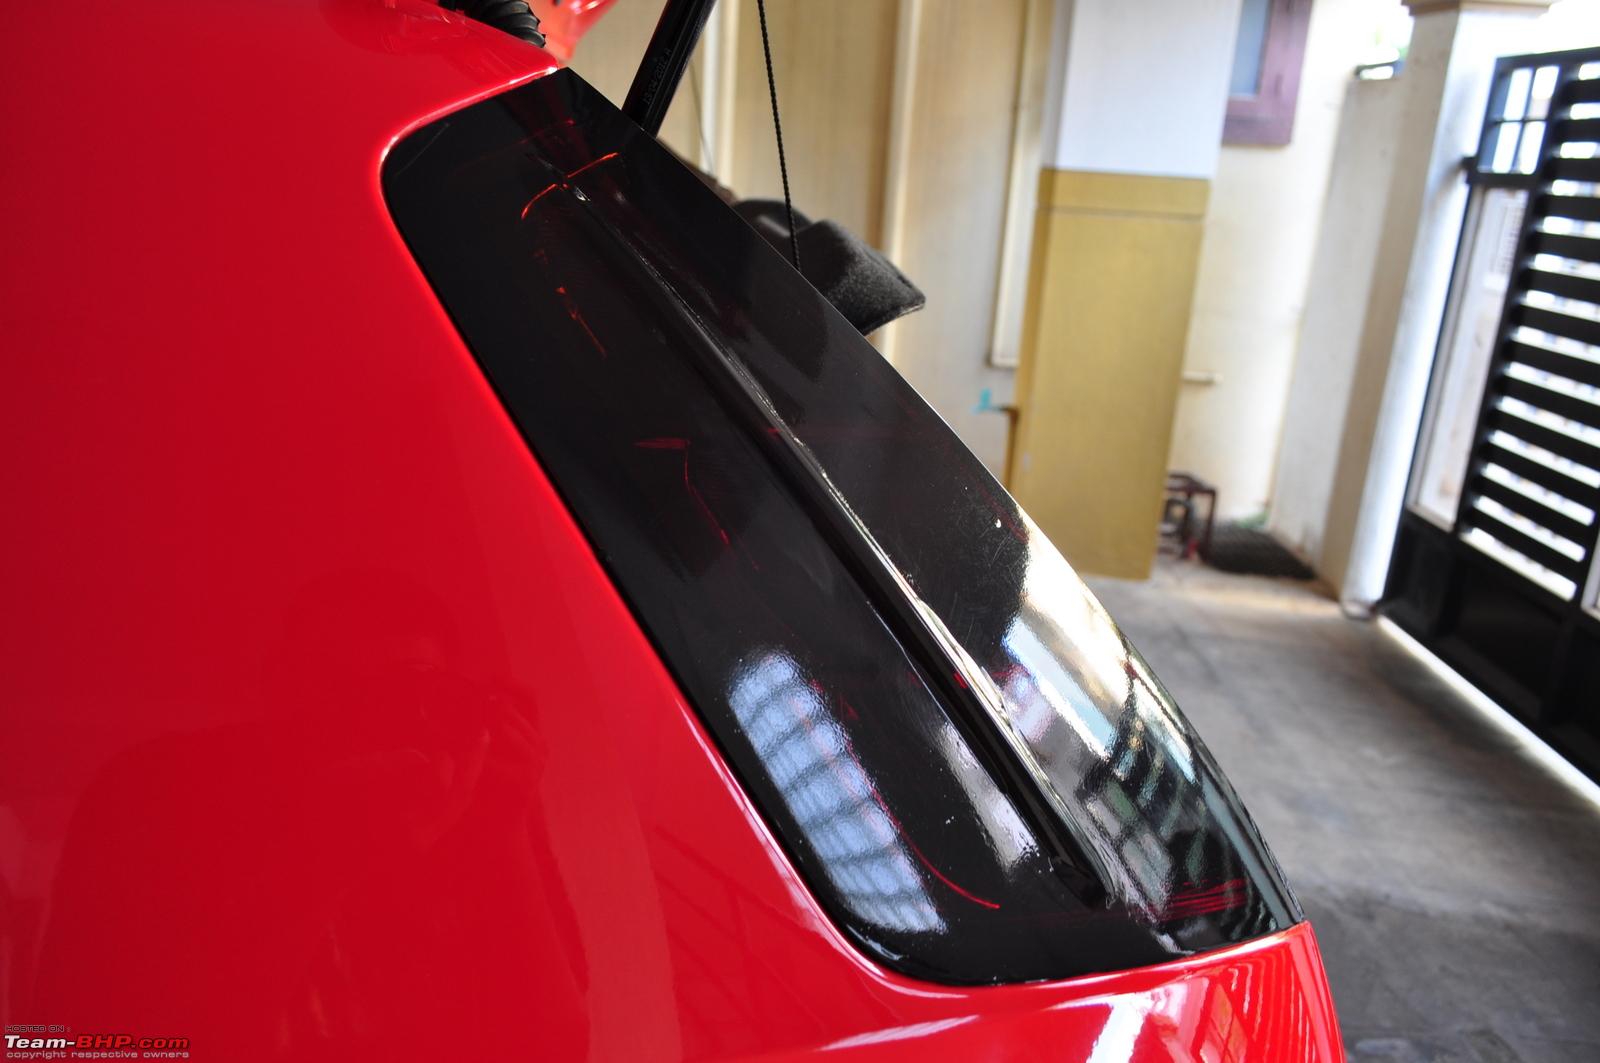
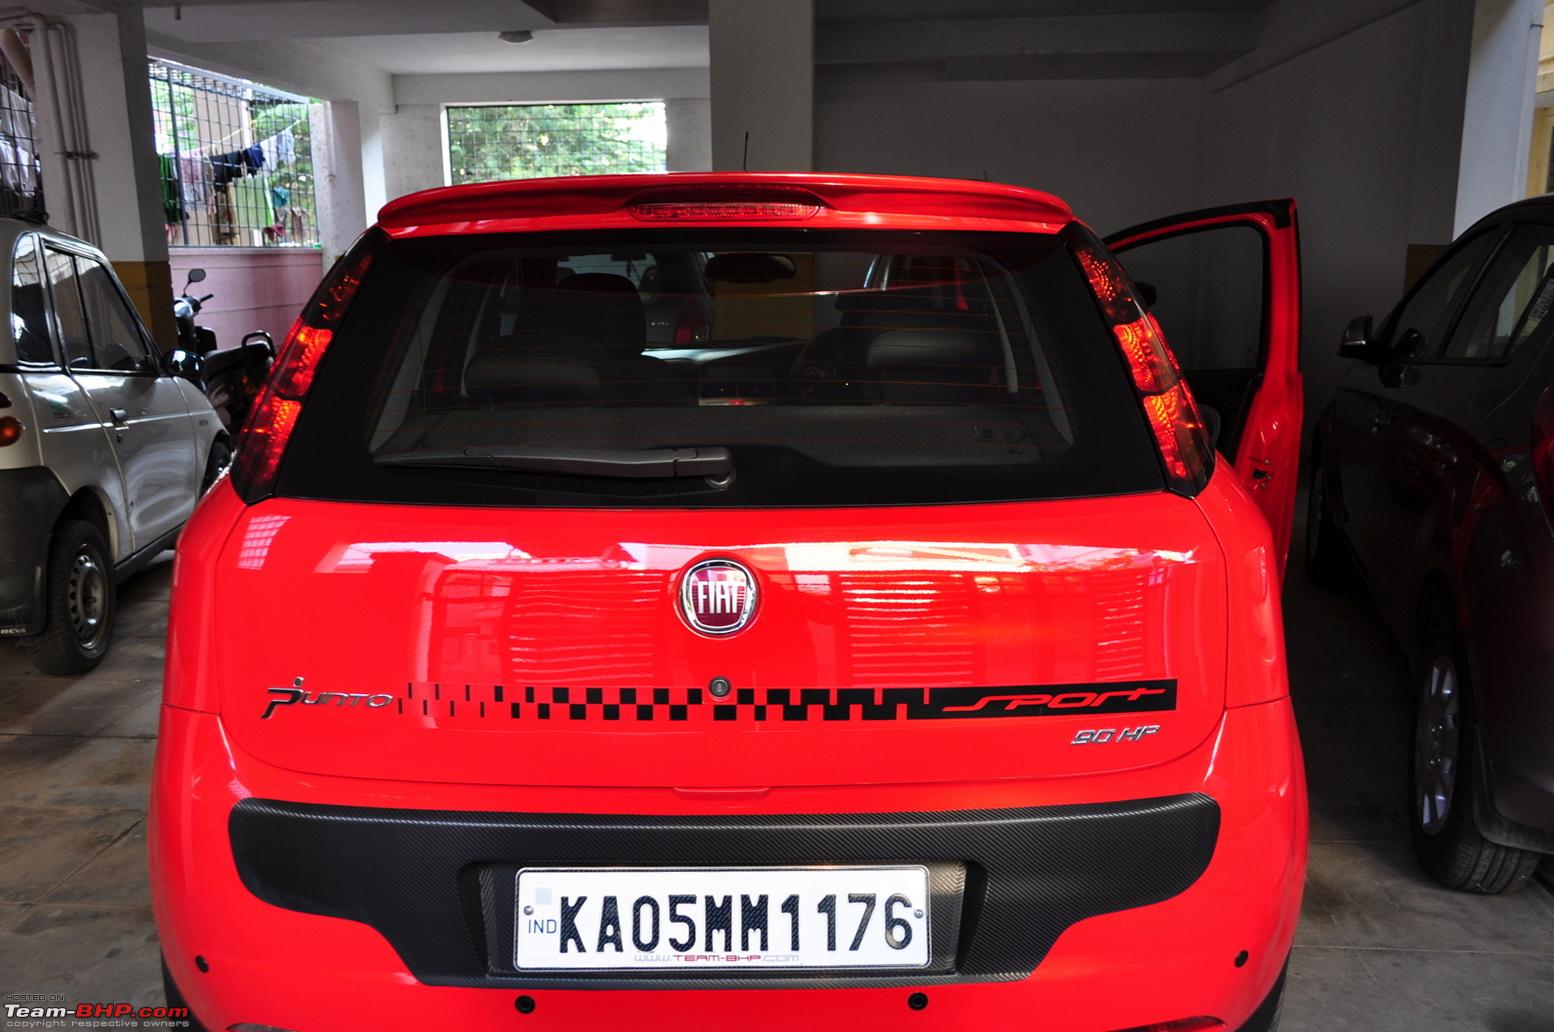
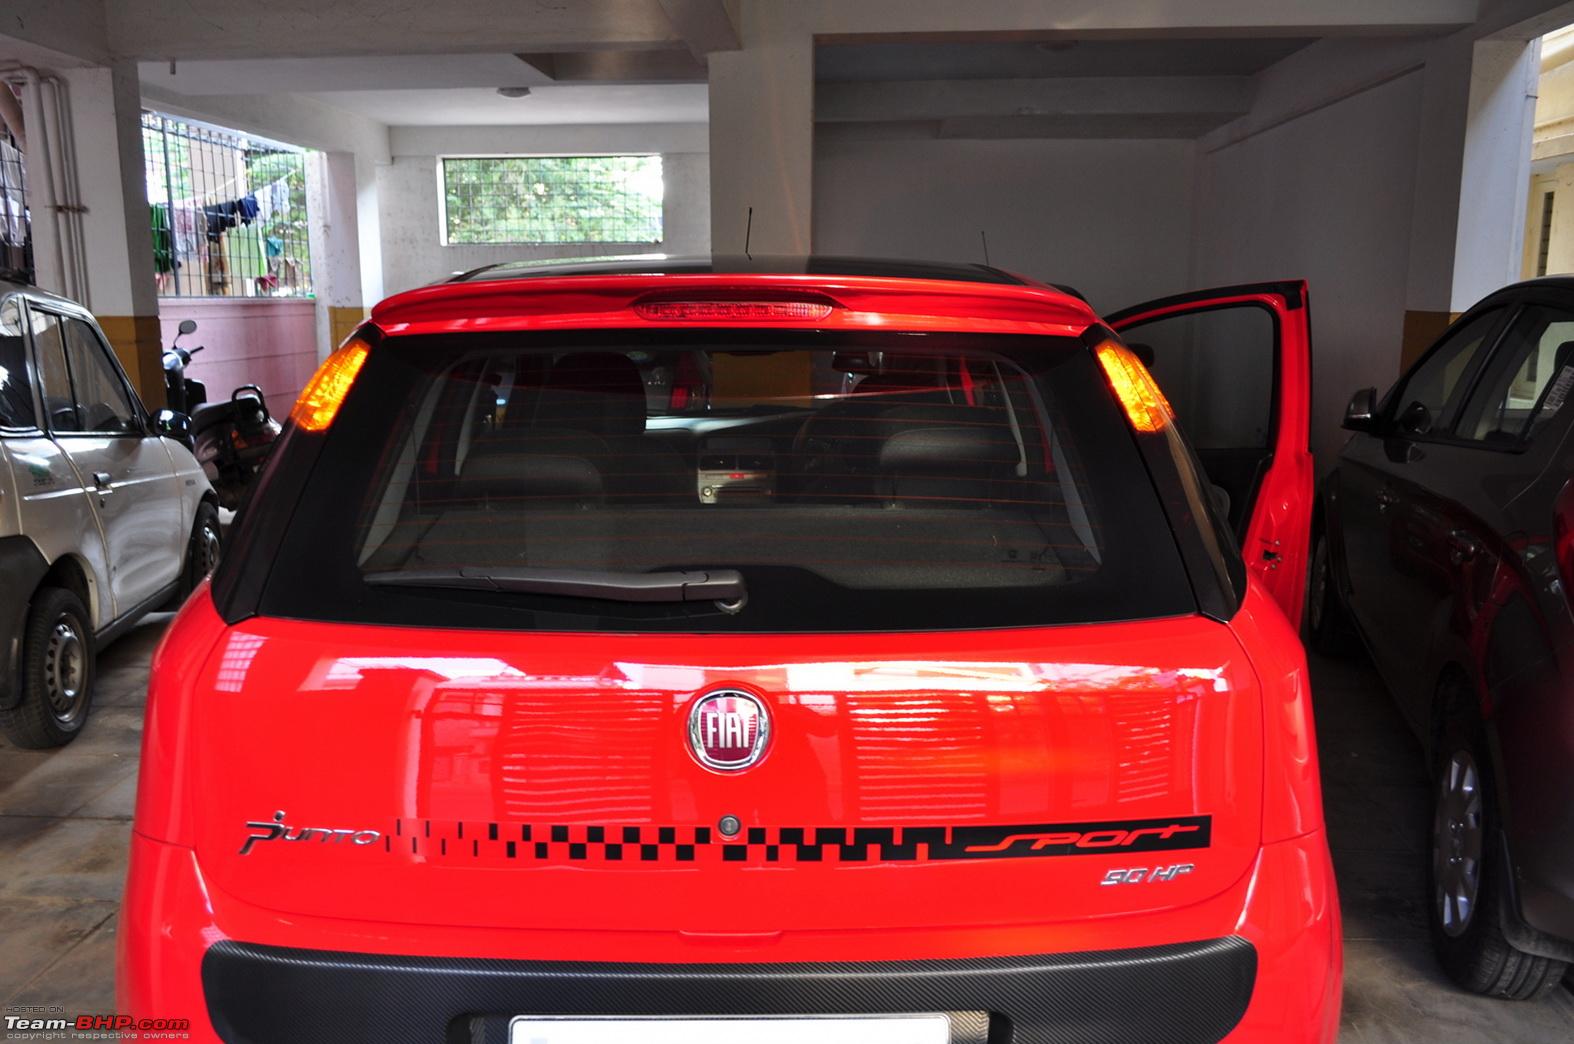
 , or maybe just shot the front look again with the rear tints in place. My bad.
