Every monsoon I always spot cars with water filled fog lamps and moisture holding up in headlight or taillight housings. It may not look like a big deal, but the water will start to corrode the reflector in two to three weeks and the dried water residue will start accumulating on the lens/ glass making it difficult or nearly impossible to clean.
I also faced this issue with my car, with the recent heavy rains, I had to drive the car through a feet deep water, and this is when the water seeped in.
I ignored it at first, thought the water will drain itself or maybe dry up with the heat from the bulbs, but it only worsened it. The reflector began rusting and I had to act quick to make sure they didn't corrode completely.
This guide is specific for Ertiga (2015 model), the older model (2012) has a different method to remove the fog lamp housing.
The previous model had screws for the housing on the inner side of the bumper, so taking the bumper out was necessary.
But in the 2015 model, the fog lamp housing can be accessed without removing the bumper.
Taking out the fog lamp housing cover:
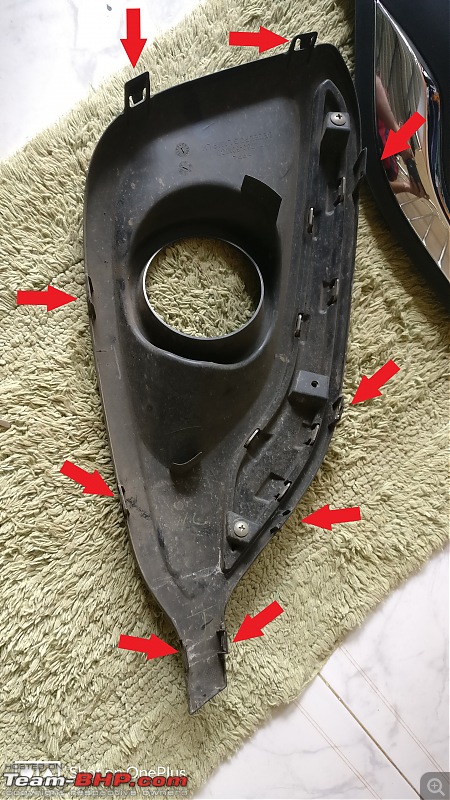
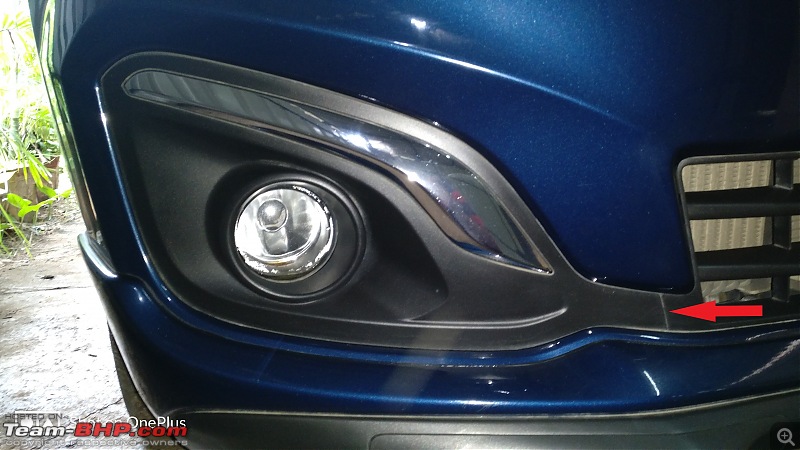
This cover is held in place by some flexible and irritating clips that do not come out easily. They bend when you try to pull them out making the work more difficult. In case you are unable to free it from the front side you will need to open the bumper from the wheel arch, and undo the clips manually. To remove the cover start prying from the area pointed by the red arrow. Use a flat head screw driver and cover it with an insulation tape to prevent it from scratching the black plastic. Once it's free from here you can slowly pull it out till the other end.
The 9 clips and their locations:
 Close up on the design of the clips:
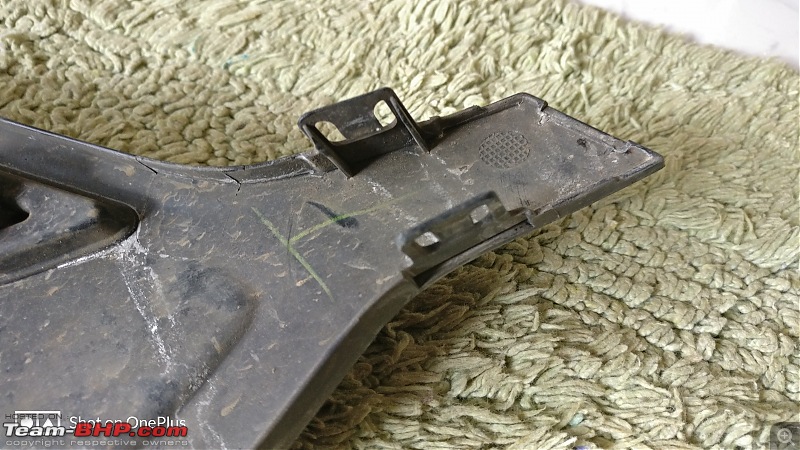
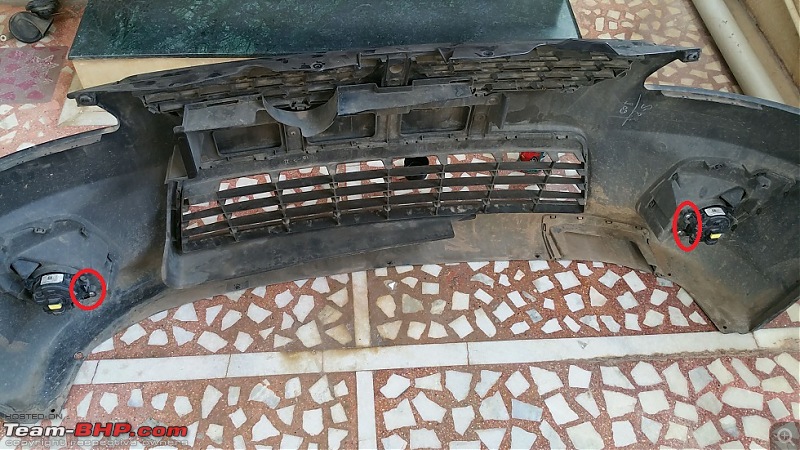
In case you are unable to free the clips like mine, take out the screw that holds the bumper in place, from the wheel arch. Then gently pull the bumper outwards, once you are able to access the fog lamp housing, you can free the clips one at a time. Since its difficult to see inside, you can turn ON your phone camera and look at the position of the clips, or better yet take a video. It work's.

Opening the bumper to access the housing: 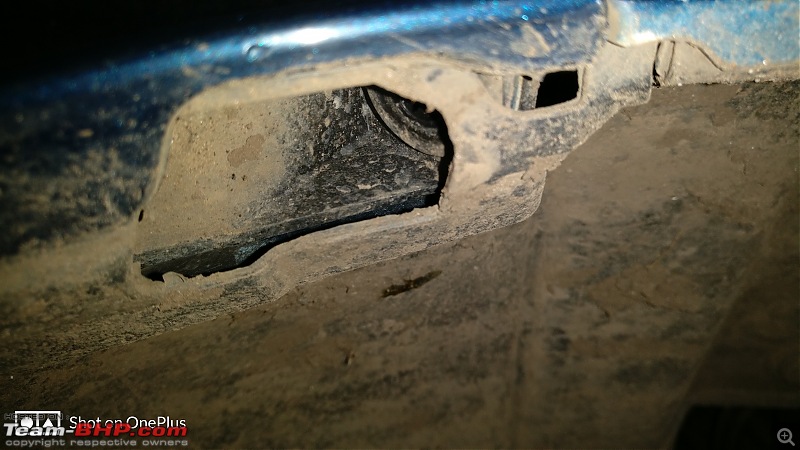


Once the cover is out you can see the housing being held by two star head screws. Take the screws out and the pull the housing out carefully.
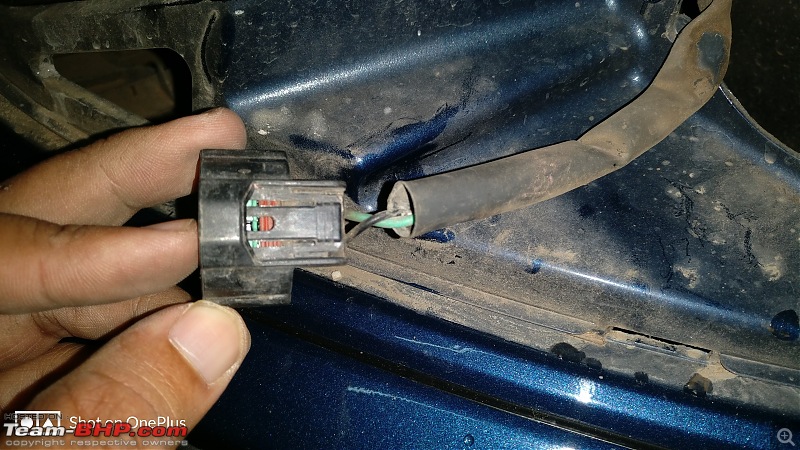
The wire and the light will be connected to the housing after taking it out, press the clip on the holder and undo it. Now the bulb and the housing will be separated from the car. To remove the bulb, press it inside and twist it in anticlockwise direction, it should pop out. If it doesn't come out try rotating it clockwise.
The housing, holder and the bulb:
Once the housing is out, hold it firmly and swing it vigorously to remove all the water accumulated inside. There is a vent to remove the moisture and water out, but it doesn't seem to work as expected.
The vent with a plastic grey cover, underneath it is a rubber cover with a mesh and below that the vent hole: 
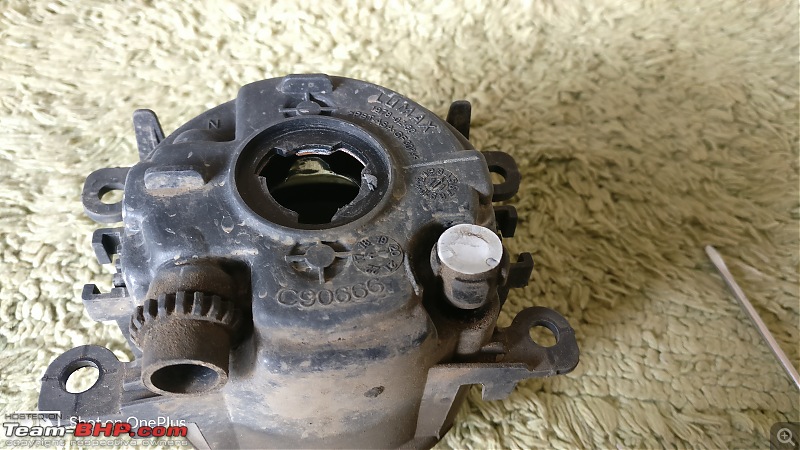

Since the swinging doesn't take out the water completely and there are some fine droplets still inside. I decided to heat the housing to ensure all the water was evaporated. Before doing so, make sure you have both the housings taken out and swung dry, so that you can reduce the heating time as much as possible.
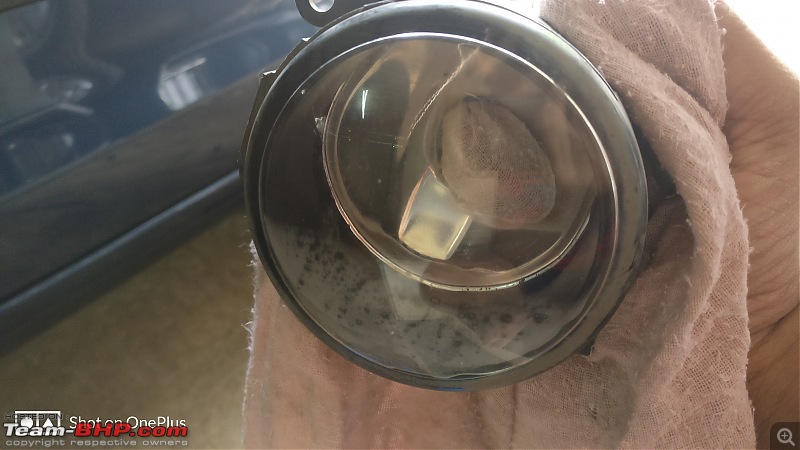
Before proceeding with the heating use a dry clean cloth and using a flat head screw driver push it inside the housing, making sure the screw driver doesn't scratch the lens. Move the cloth inside to clean the lens to remove water residue, else it will dry up on the lens itself during heating.
Cloth to remove the water:
Rusting at the bottom portion:
The fog lamps themselves generate a lot of heat, and since mine were upgraded one's(80W) they were helping a lot to evaporate the water. Before starting to heat, make sure the vent is completely open and the mesh rubber and plastic cover is removed. Install the lamps inside the housing and start the car and turn on the fog lamps. Since you need to keep the lights on for more than 15 minutes, I will recommend to keep the car ON, so that the battery doesn't drain out. Also you will need to hold the housing upright while the heating is going on. You will need to cycle between both the lamps or better yet take help of someone to hold it upright. The reason to hold it upright is to ensure water comes out from the vent hole.
The housing with the lights on and water clearing slowly from the lens: 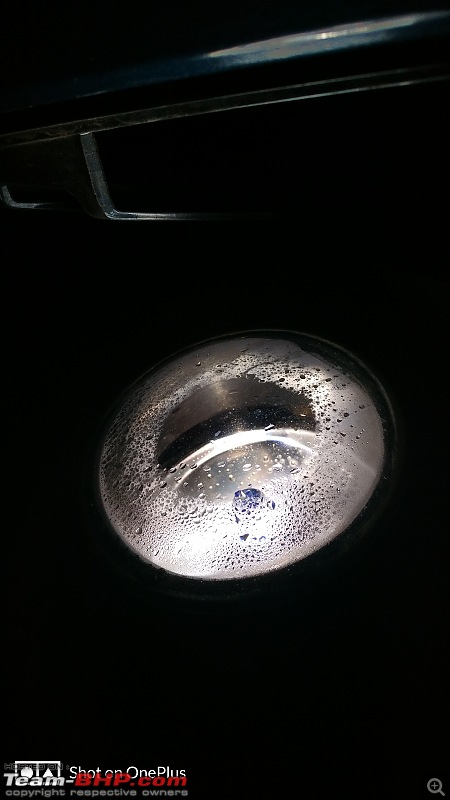

Once most of the moisture is out, you can turn off the lights and the car.
Since I had upgraded the fog lamps the rubber ring that prevents water from seeping in had become hard. It was not keeping a water tight seal. So I swapped it with the original bulbs rubber ring.
The fog lamp with the rubber ring:
Once done put everything back in place, including the vent mesh cover and plastic cover.
When putting the grey vent cover make sure to not press it completely inside but keep some free space between it, to ensure ventilation.
If at all the moisture does come back, then using a fine needle or safety pin make small holes on the mesh to increase the ventilation.
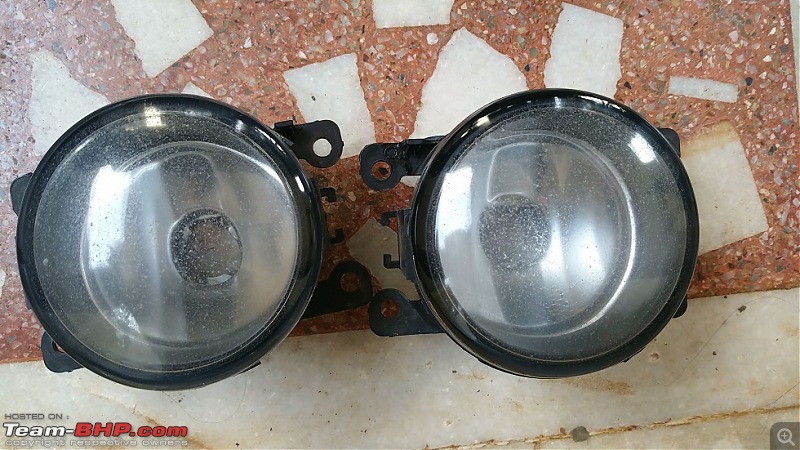
Before cleaning: 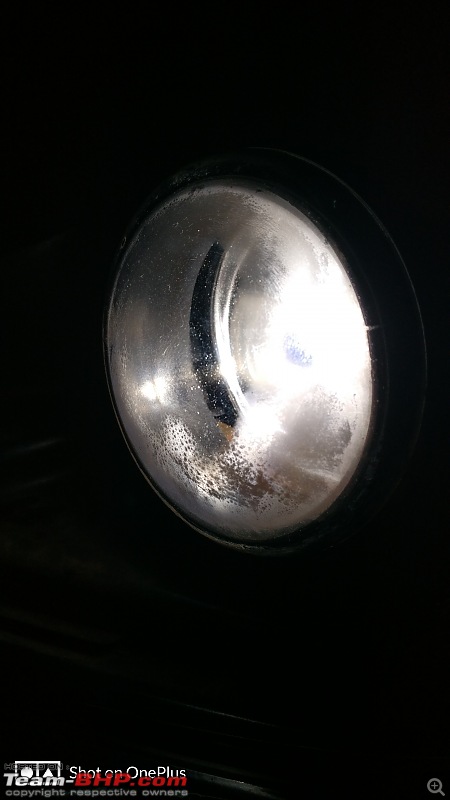
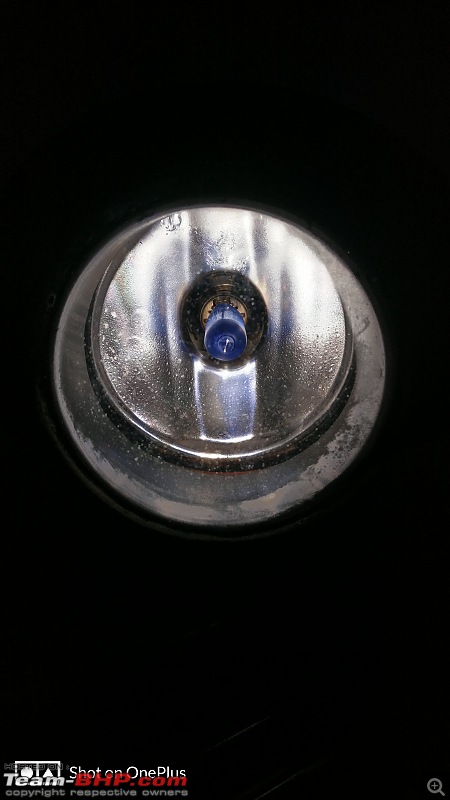 After cleaning:
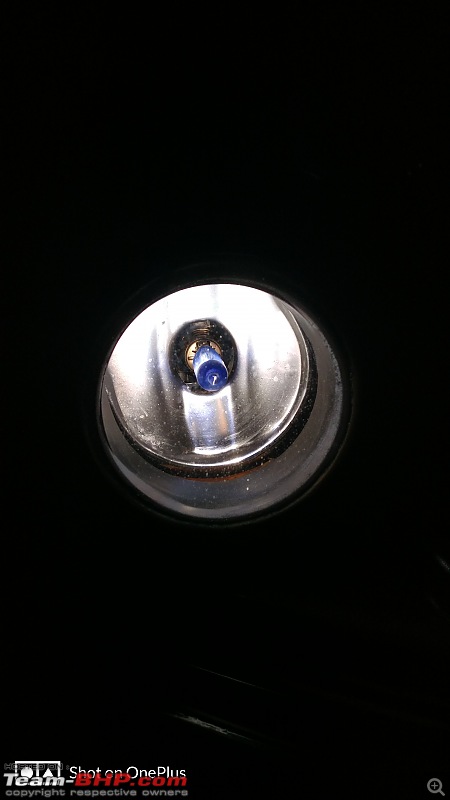
 (27)
Thanks

 (1)
Thanks

 (7)
Thanks
 (1)
Thanks
 (1)
Thanks

 (3)
Thanks

 (4)
Thanks

 (1)
Thanks










 .
.

