Rock & Roll bed.
During my work, I noticed the vans OE middle row seat in a corner gathering dust.( Its not a Recliner, its fixed). I had read about R&R bed in an other forum which is very active with VW vans. I set my mind to make one.
A week later, I started working on the design. I couldn't get any working design in terms of dimension. (Its the most important). Started studying some visuals available on the internet.
I, then, made a prototype using my old jeeps back bench seat. It operated as planned. However, a bit of correction was necessary .
Got the courage to implement the same on the van seat. If this works, I will have to remove the existing two bucket seats to make way for the R&R. The removed bucket seats will replace OE front driver & passenger seats. To avoid wastage.
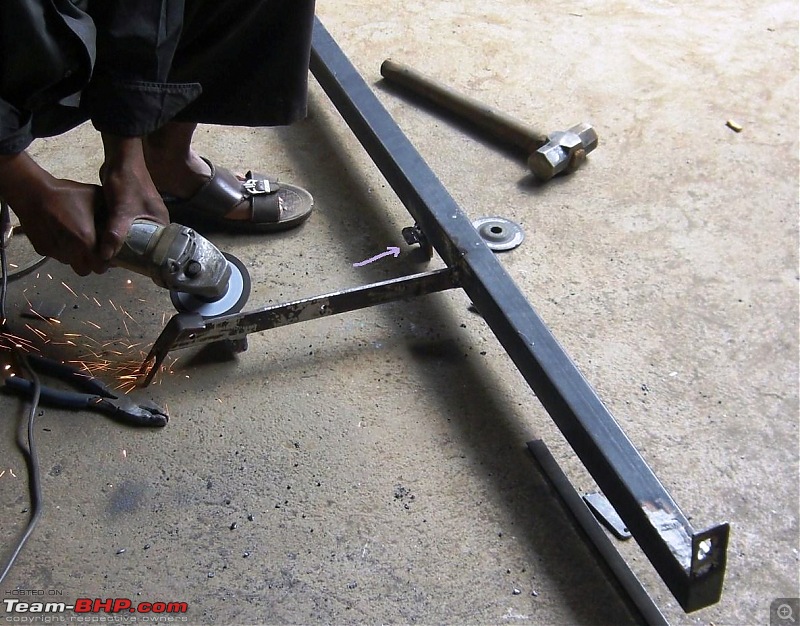
Fabrication work started. Note:-- Neither a single hole was drilled nor a single part was welded to the vans body.
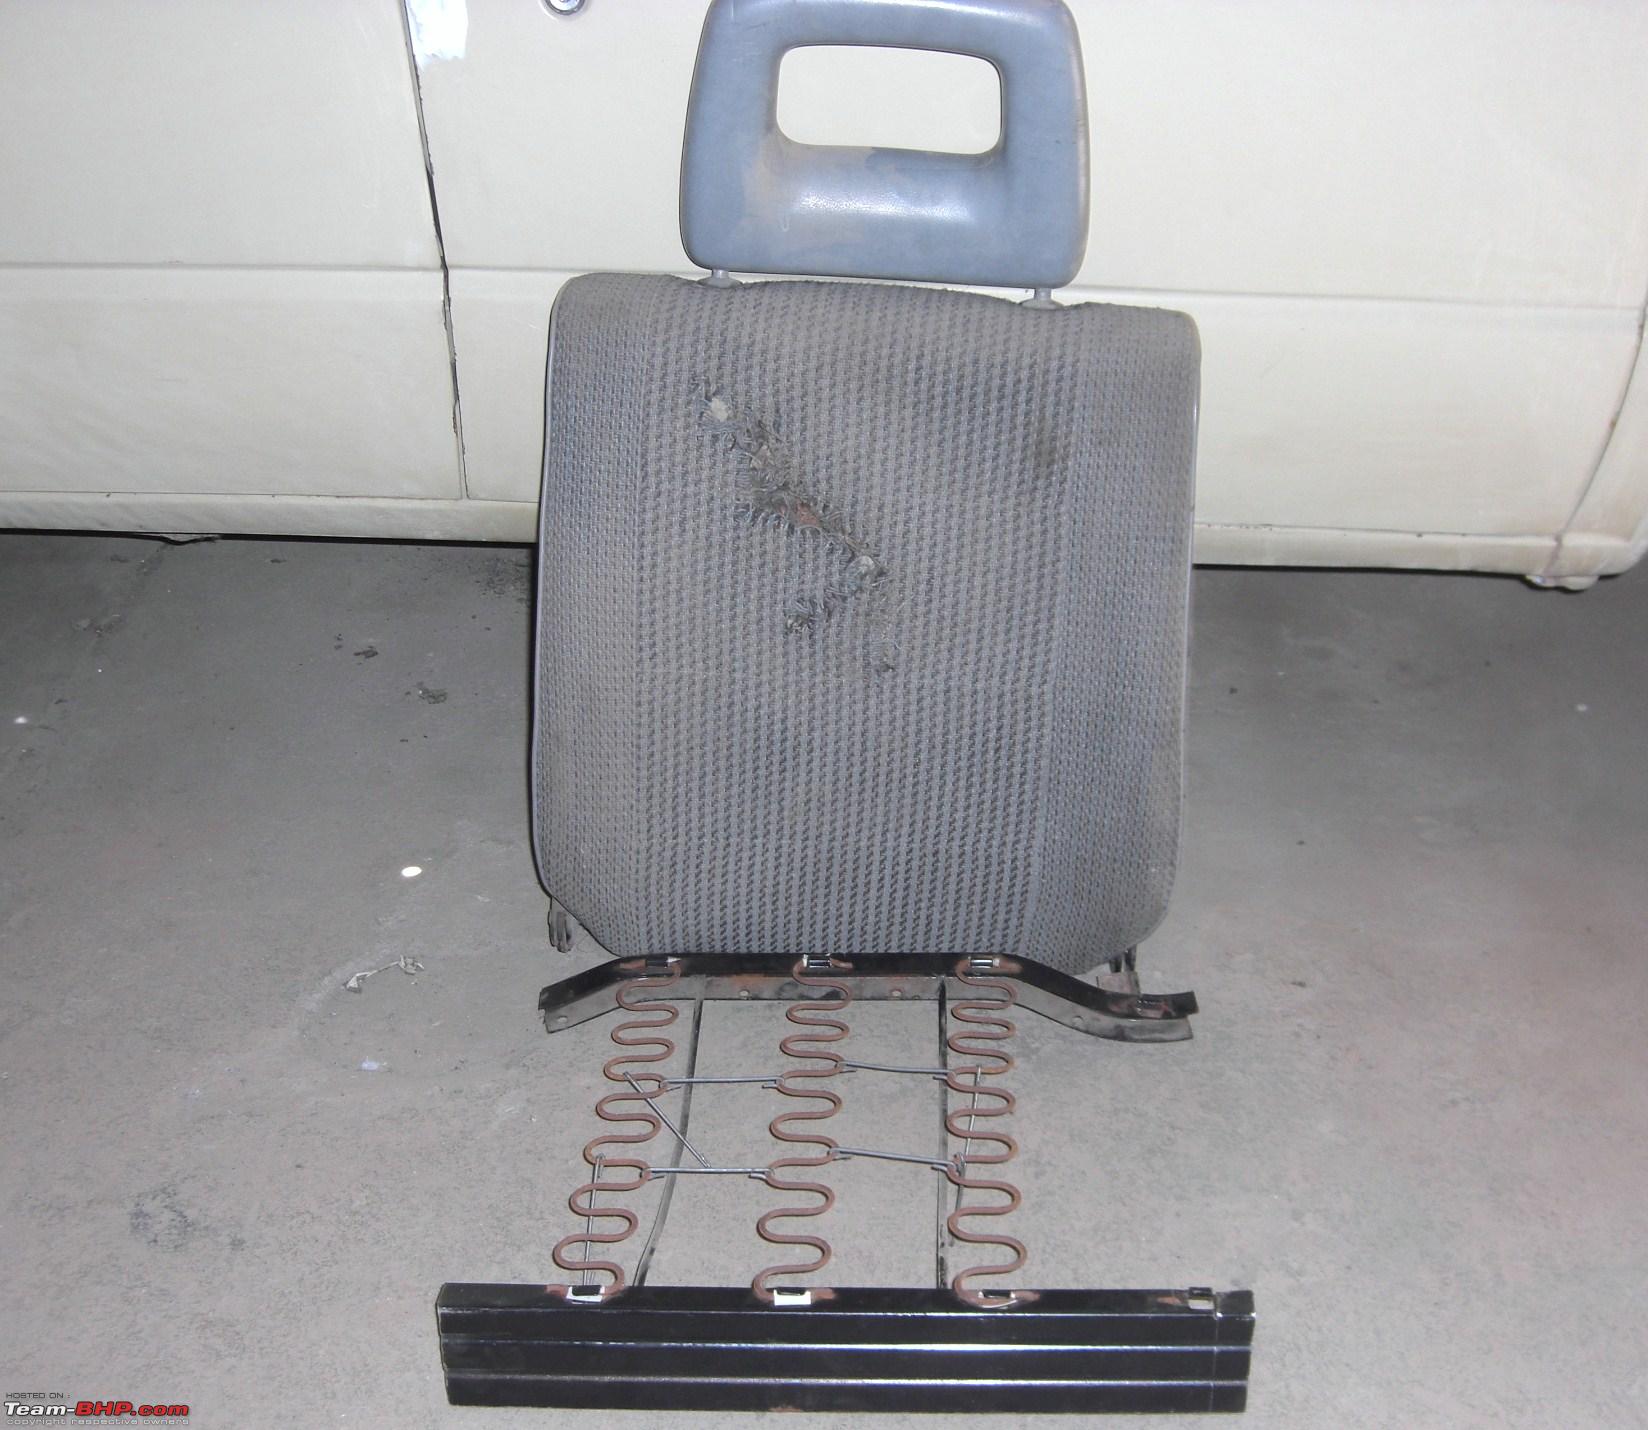
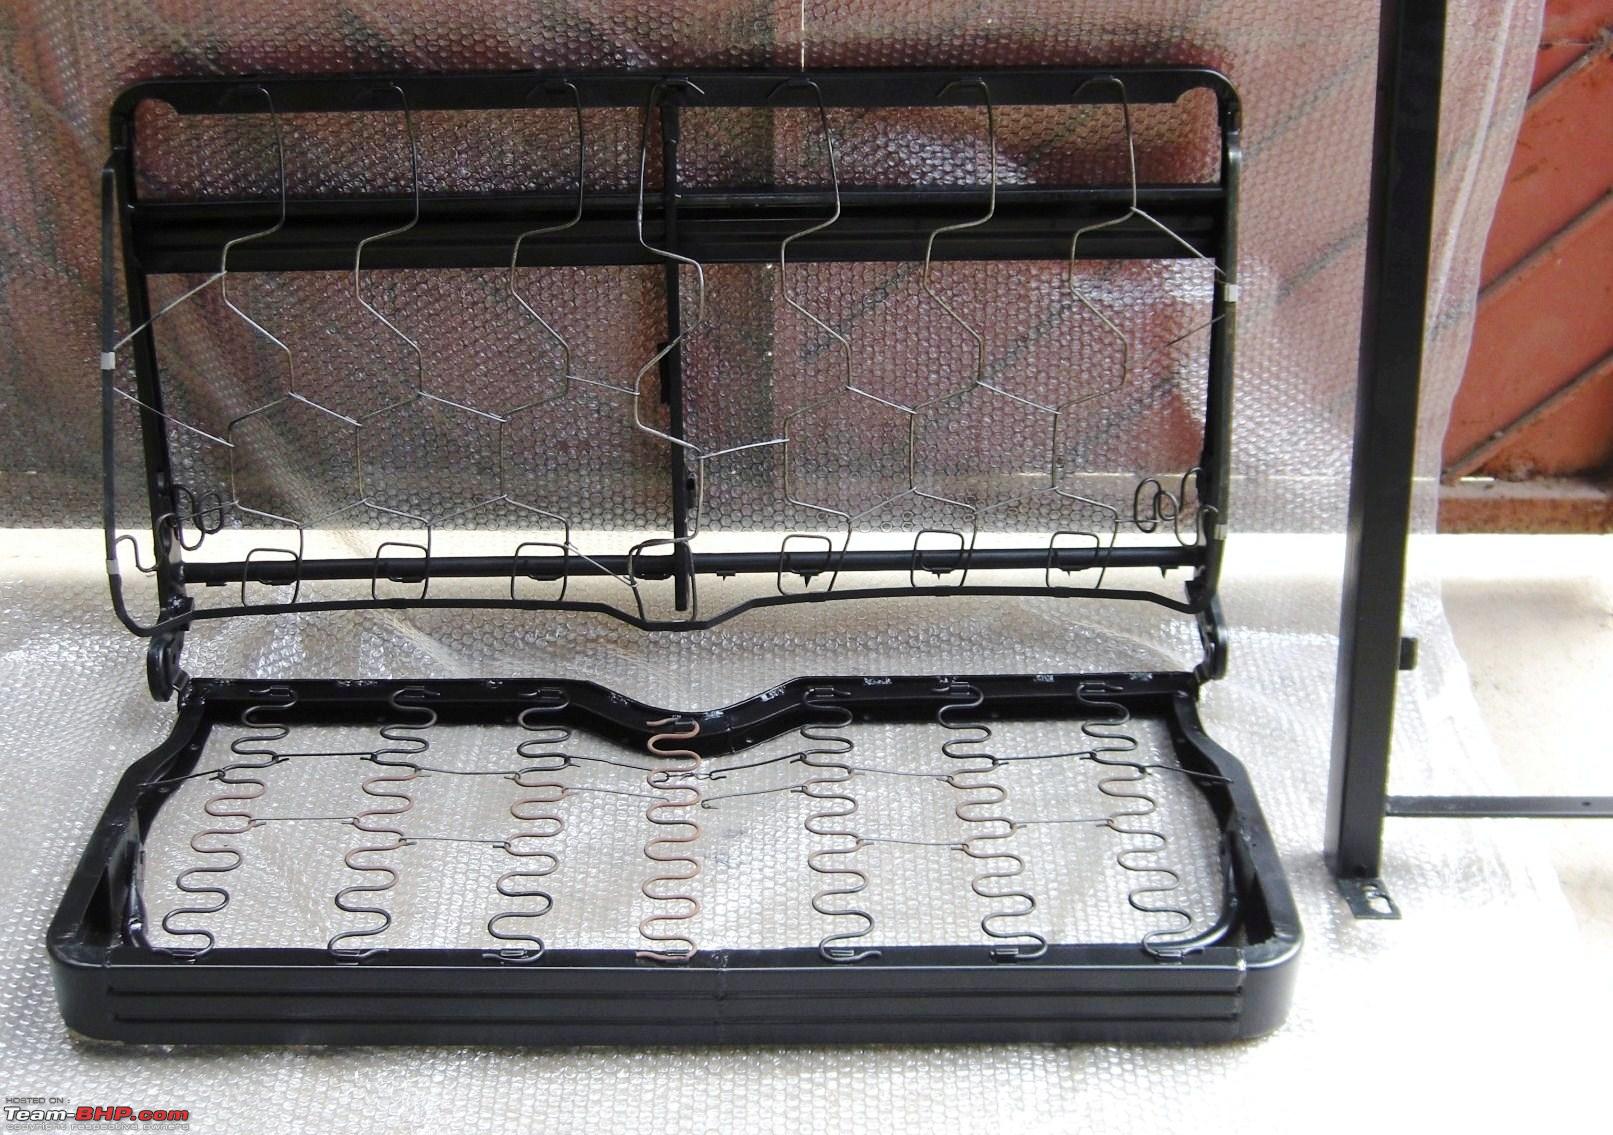
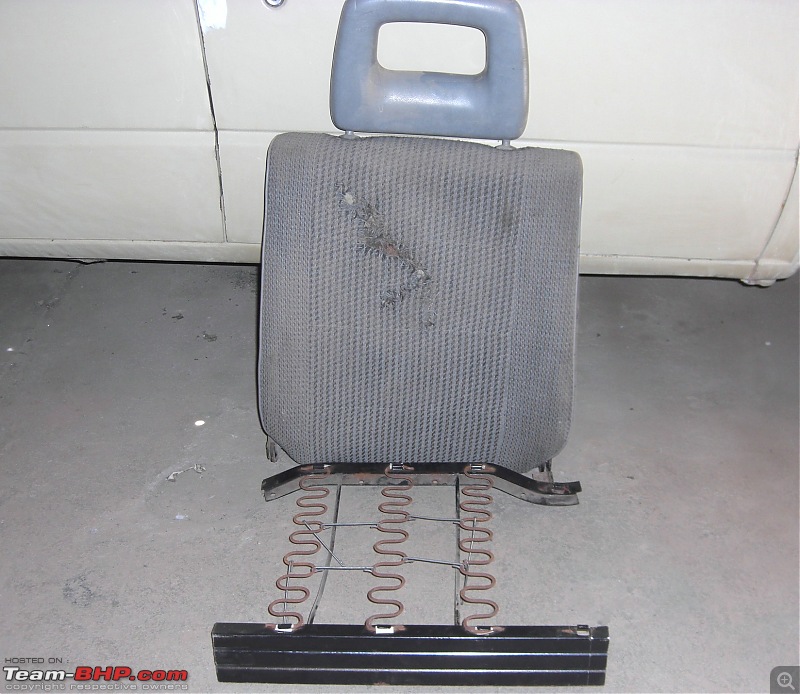
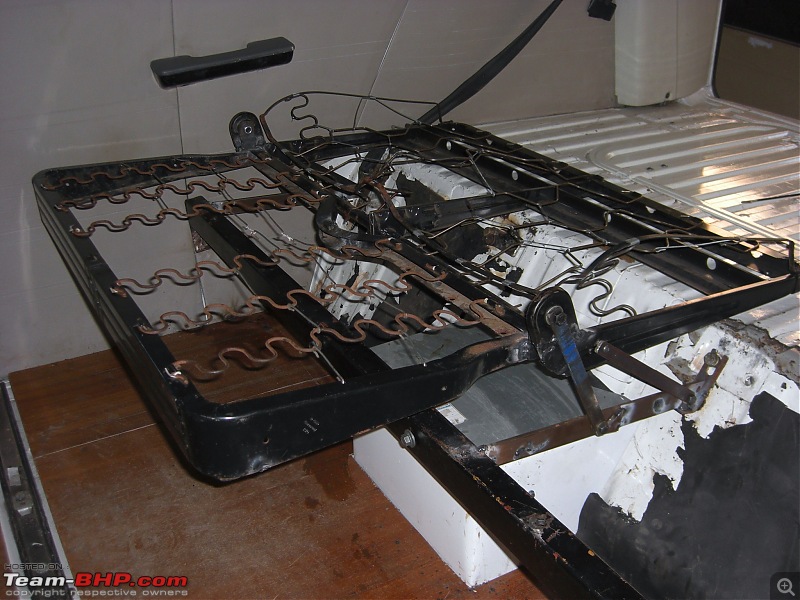
Third Seat separated. (Cover & foam removed).
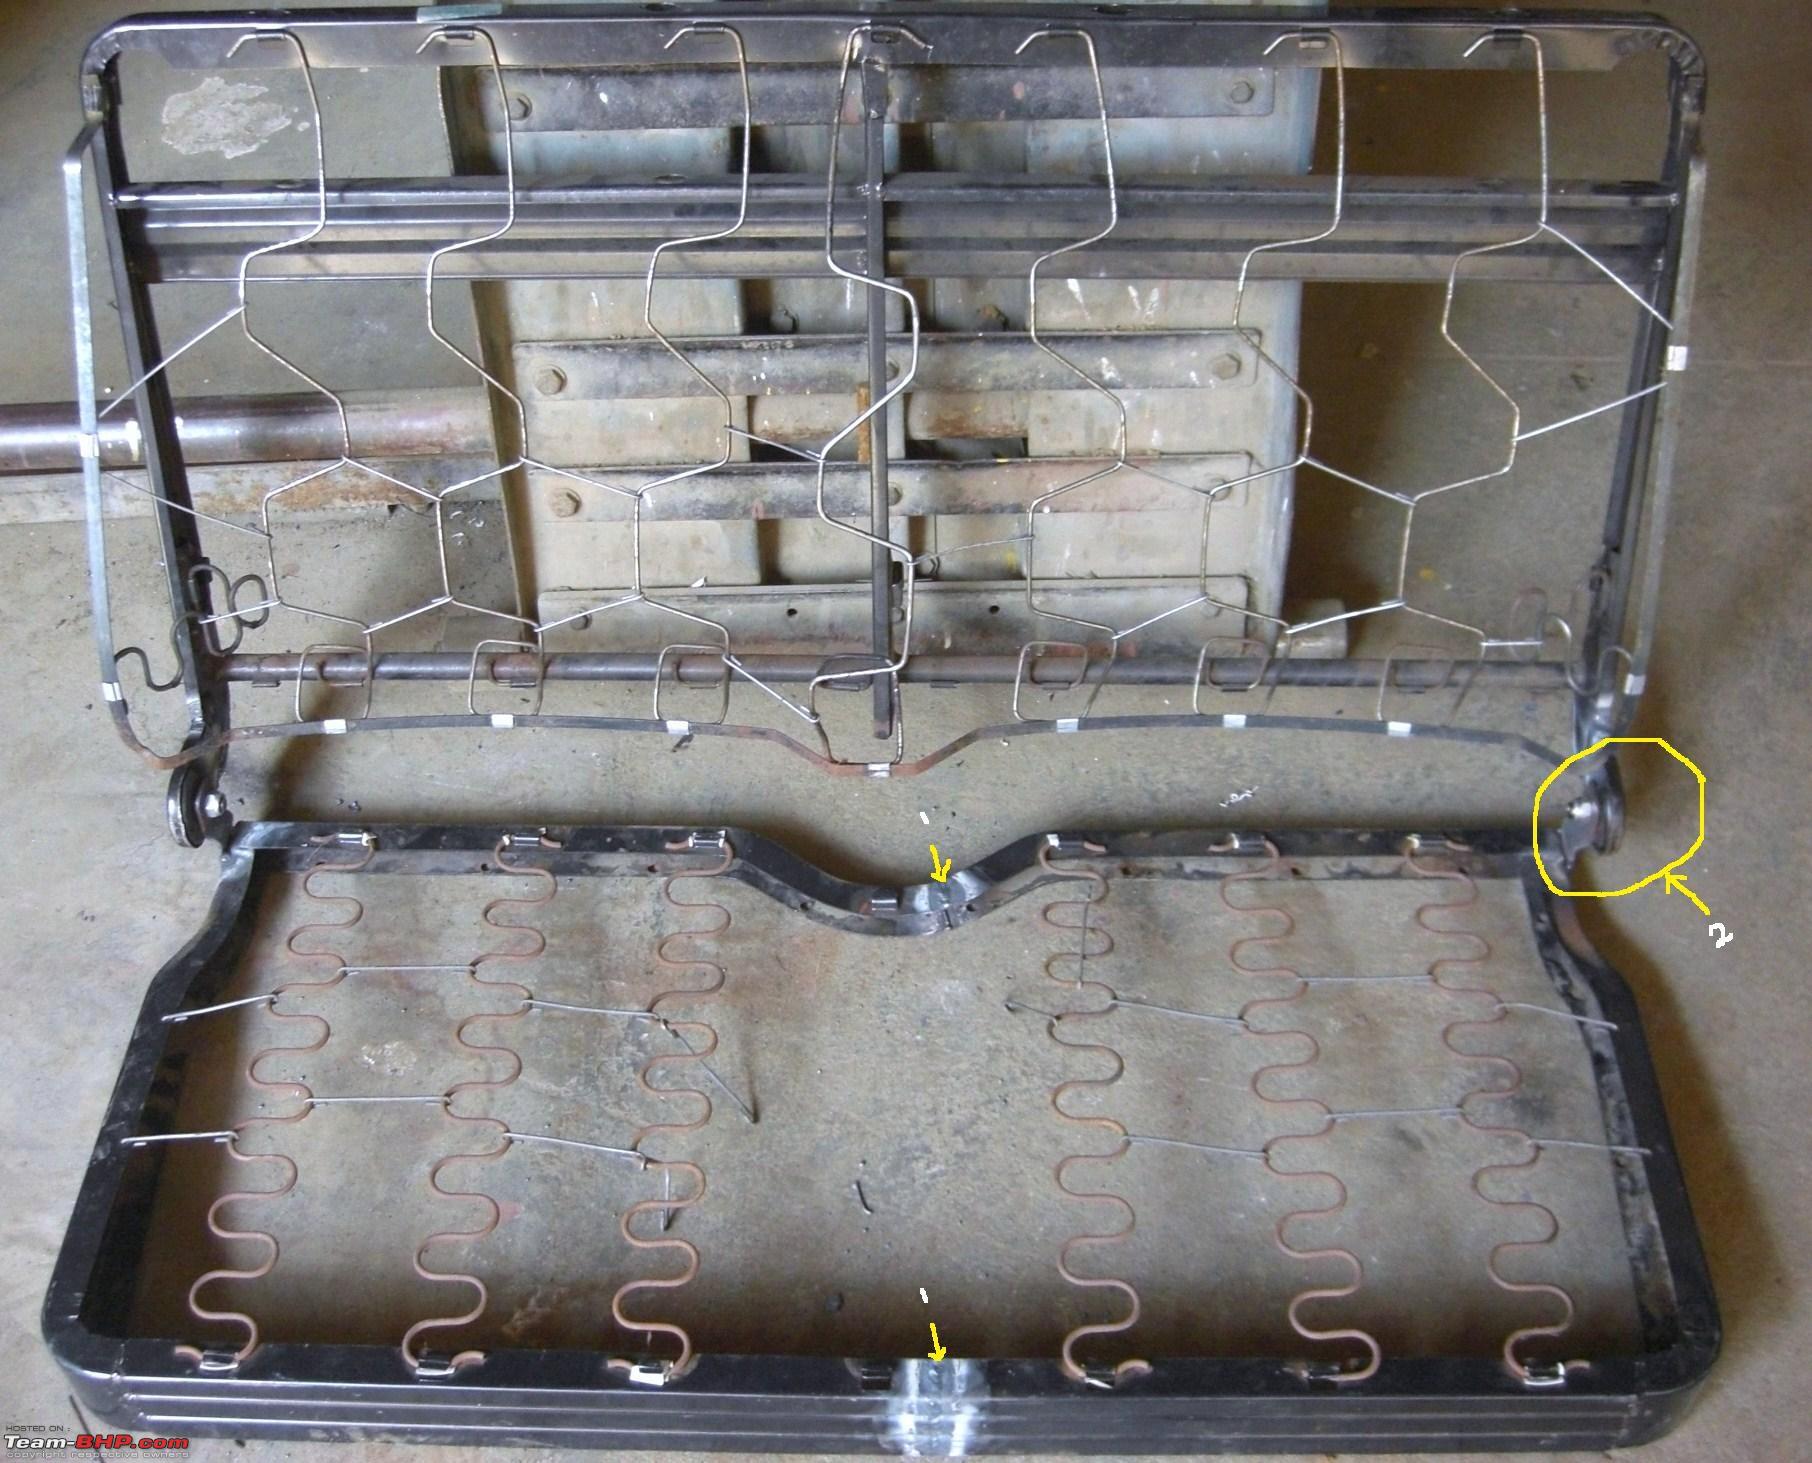
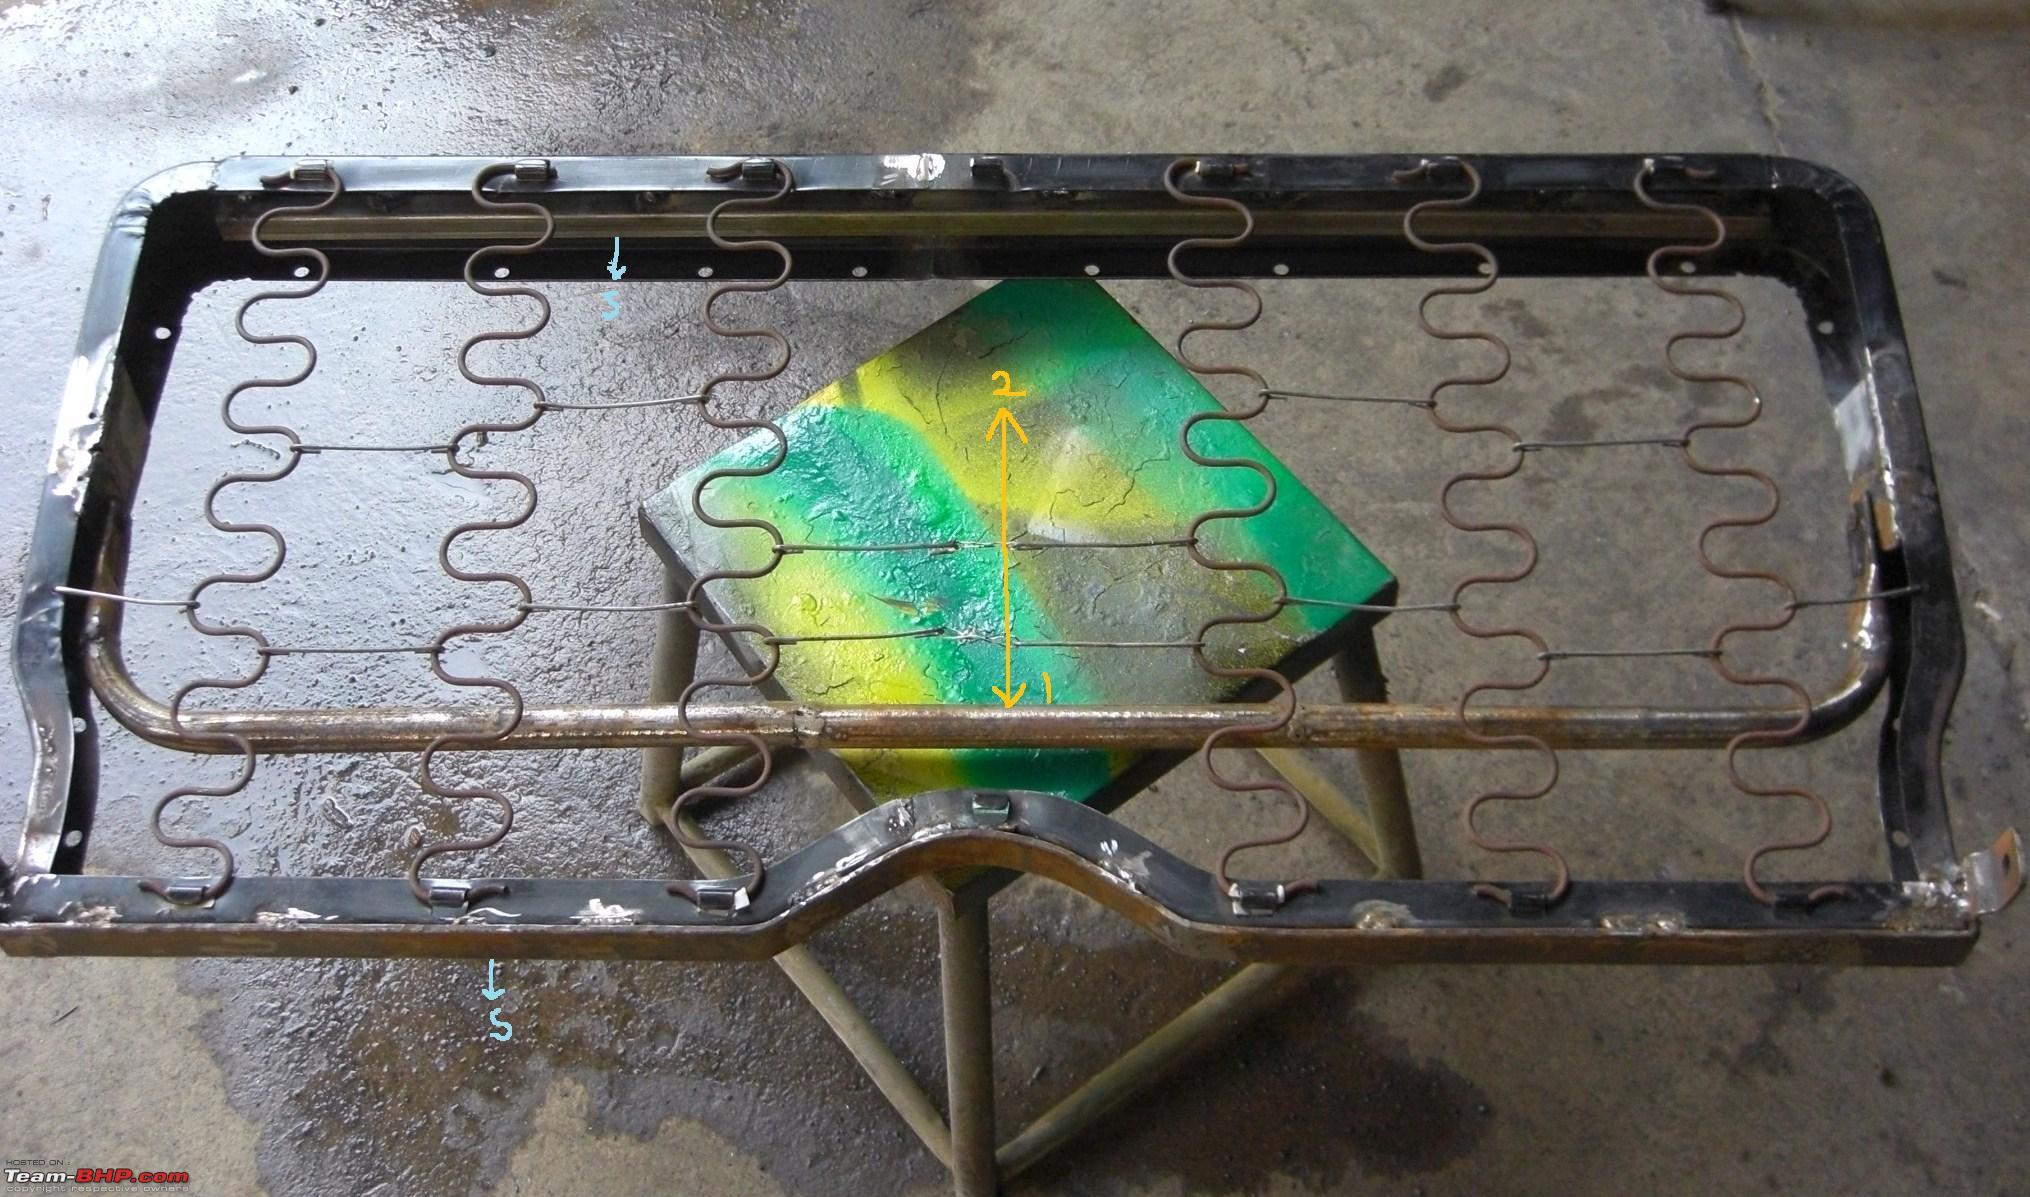
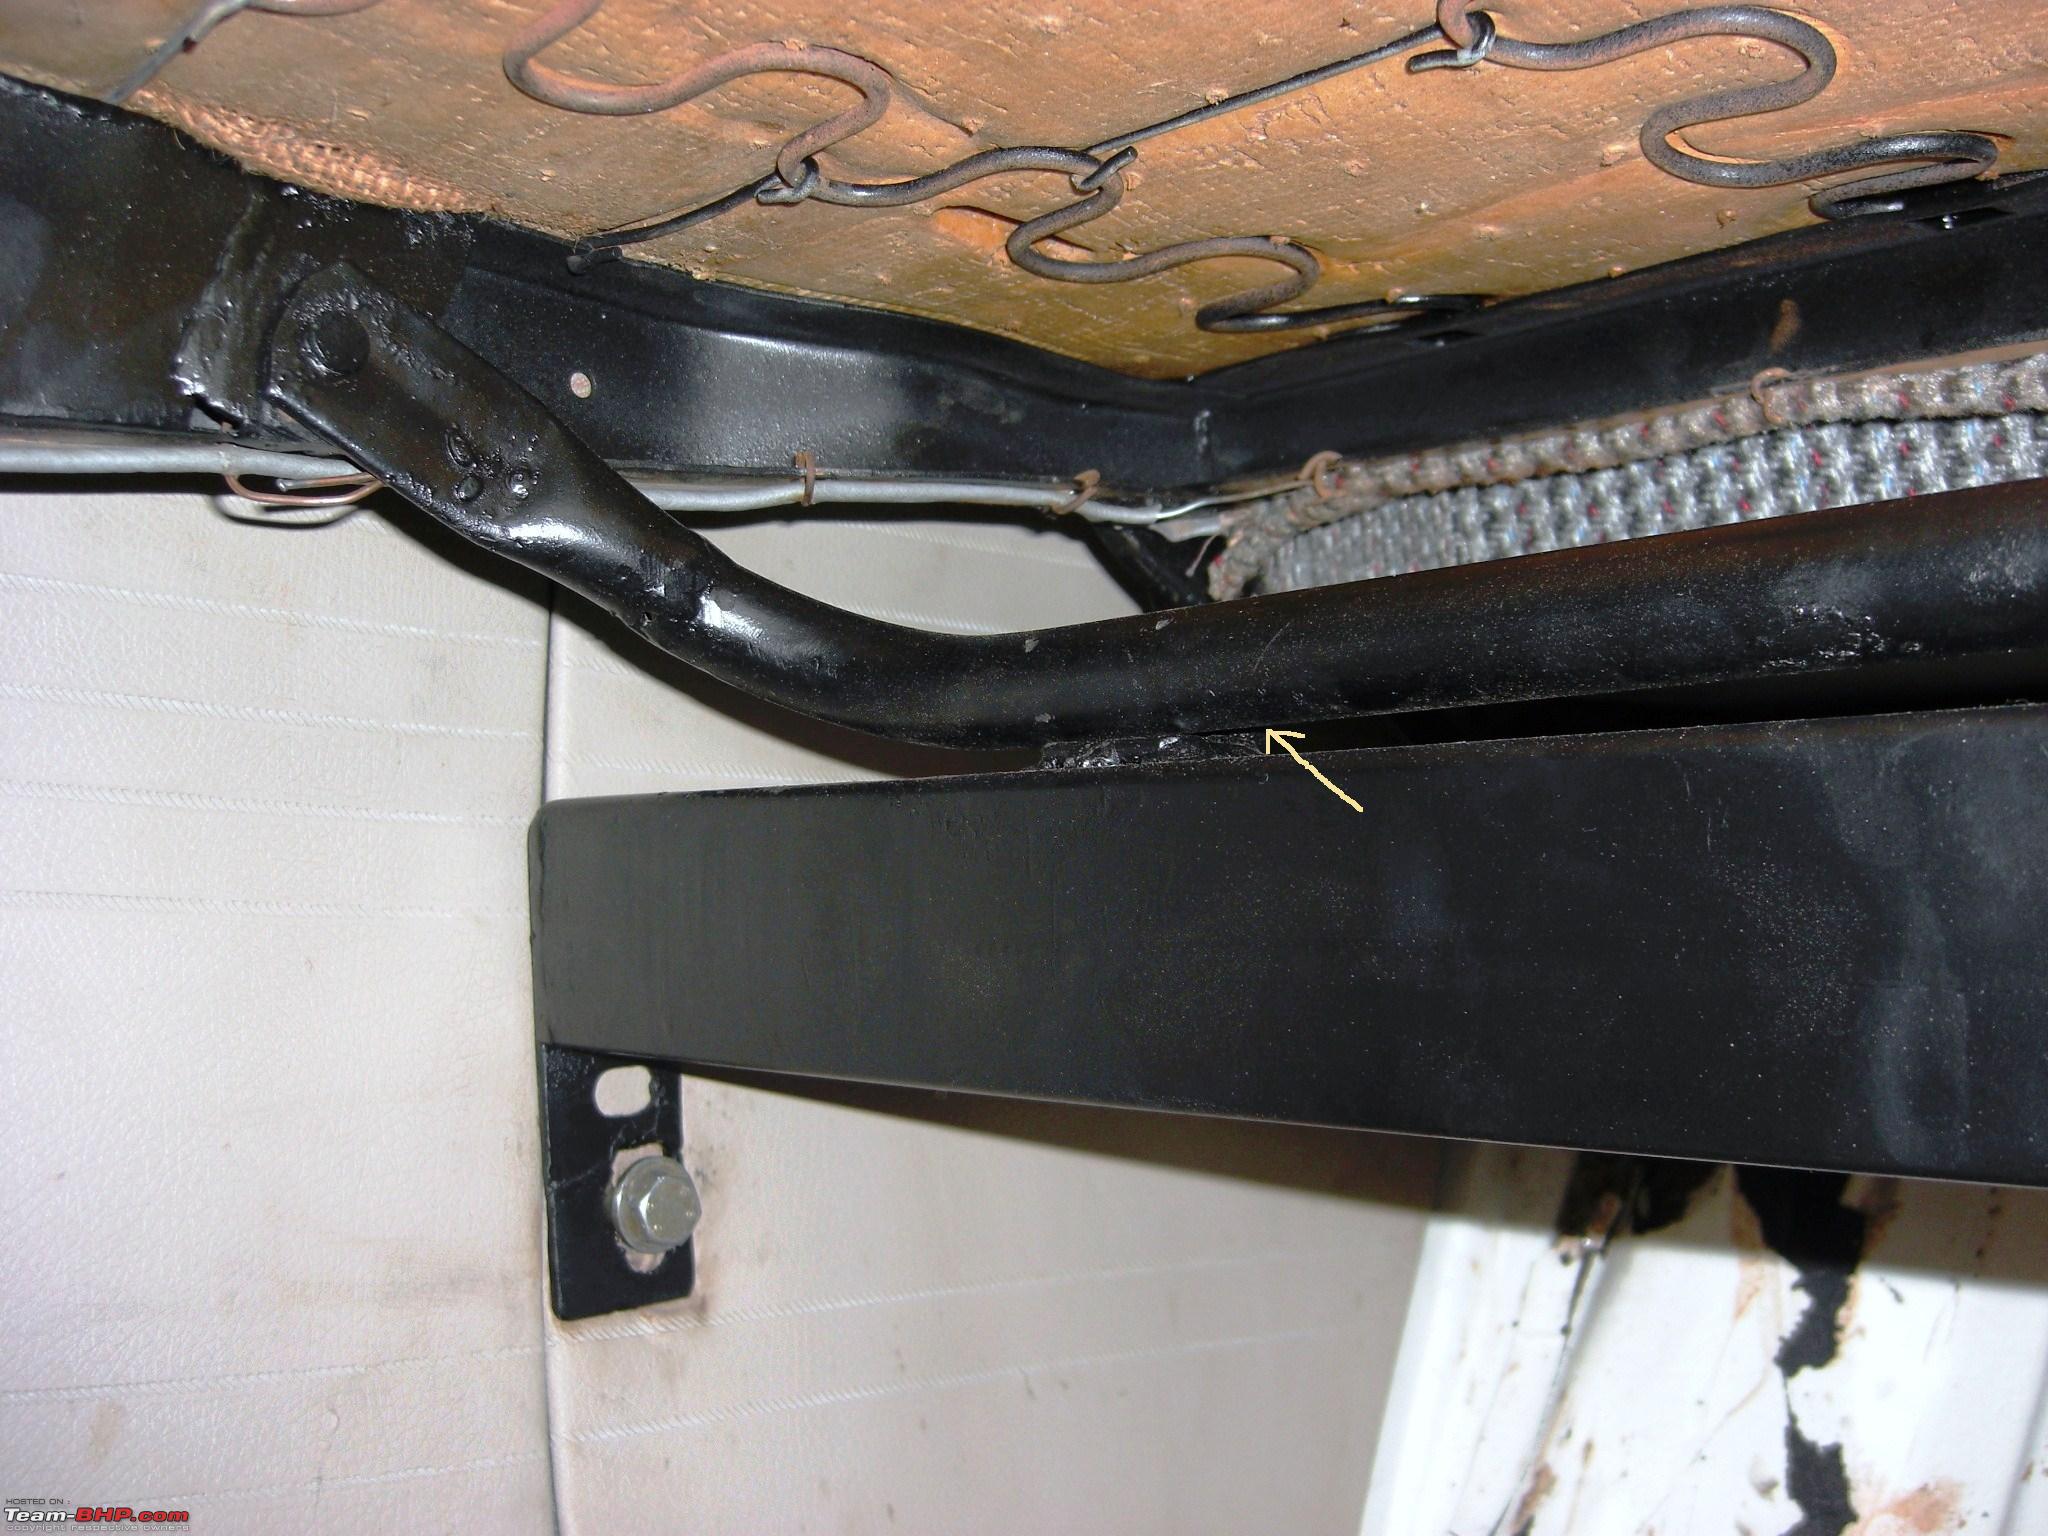
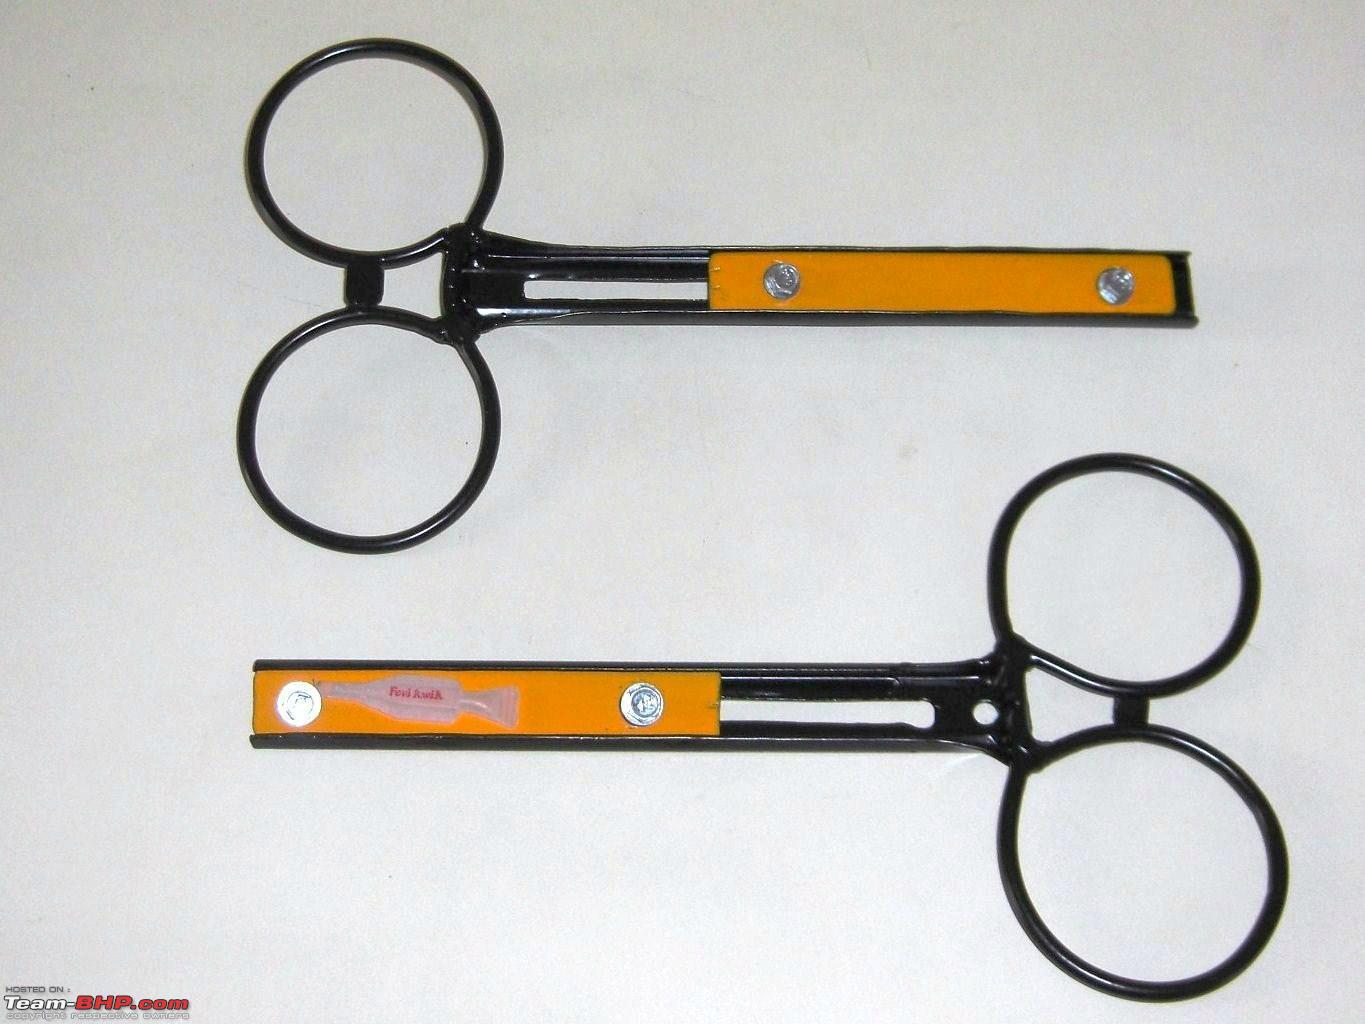
Frame was carefully matched & welded. Hinge was fabricated by using the cut material of the seat frame. Arrow shown.

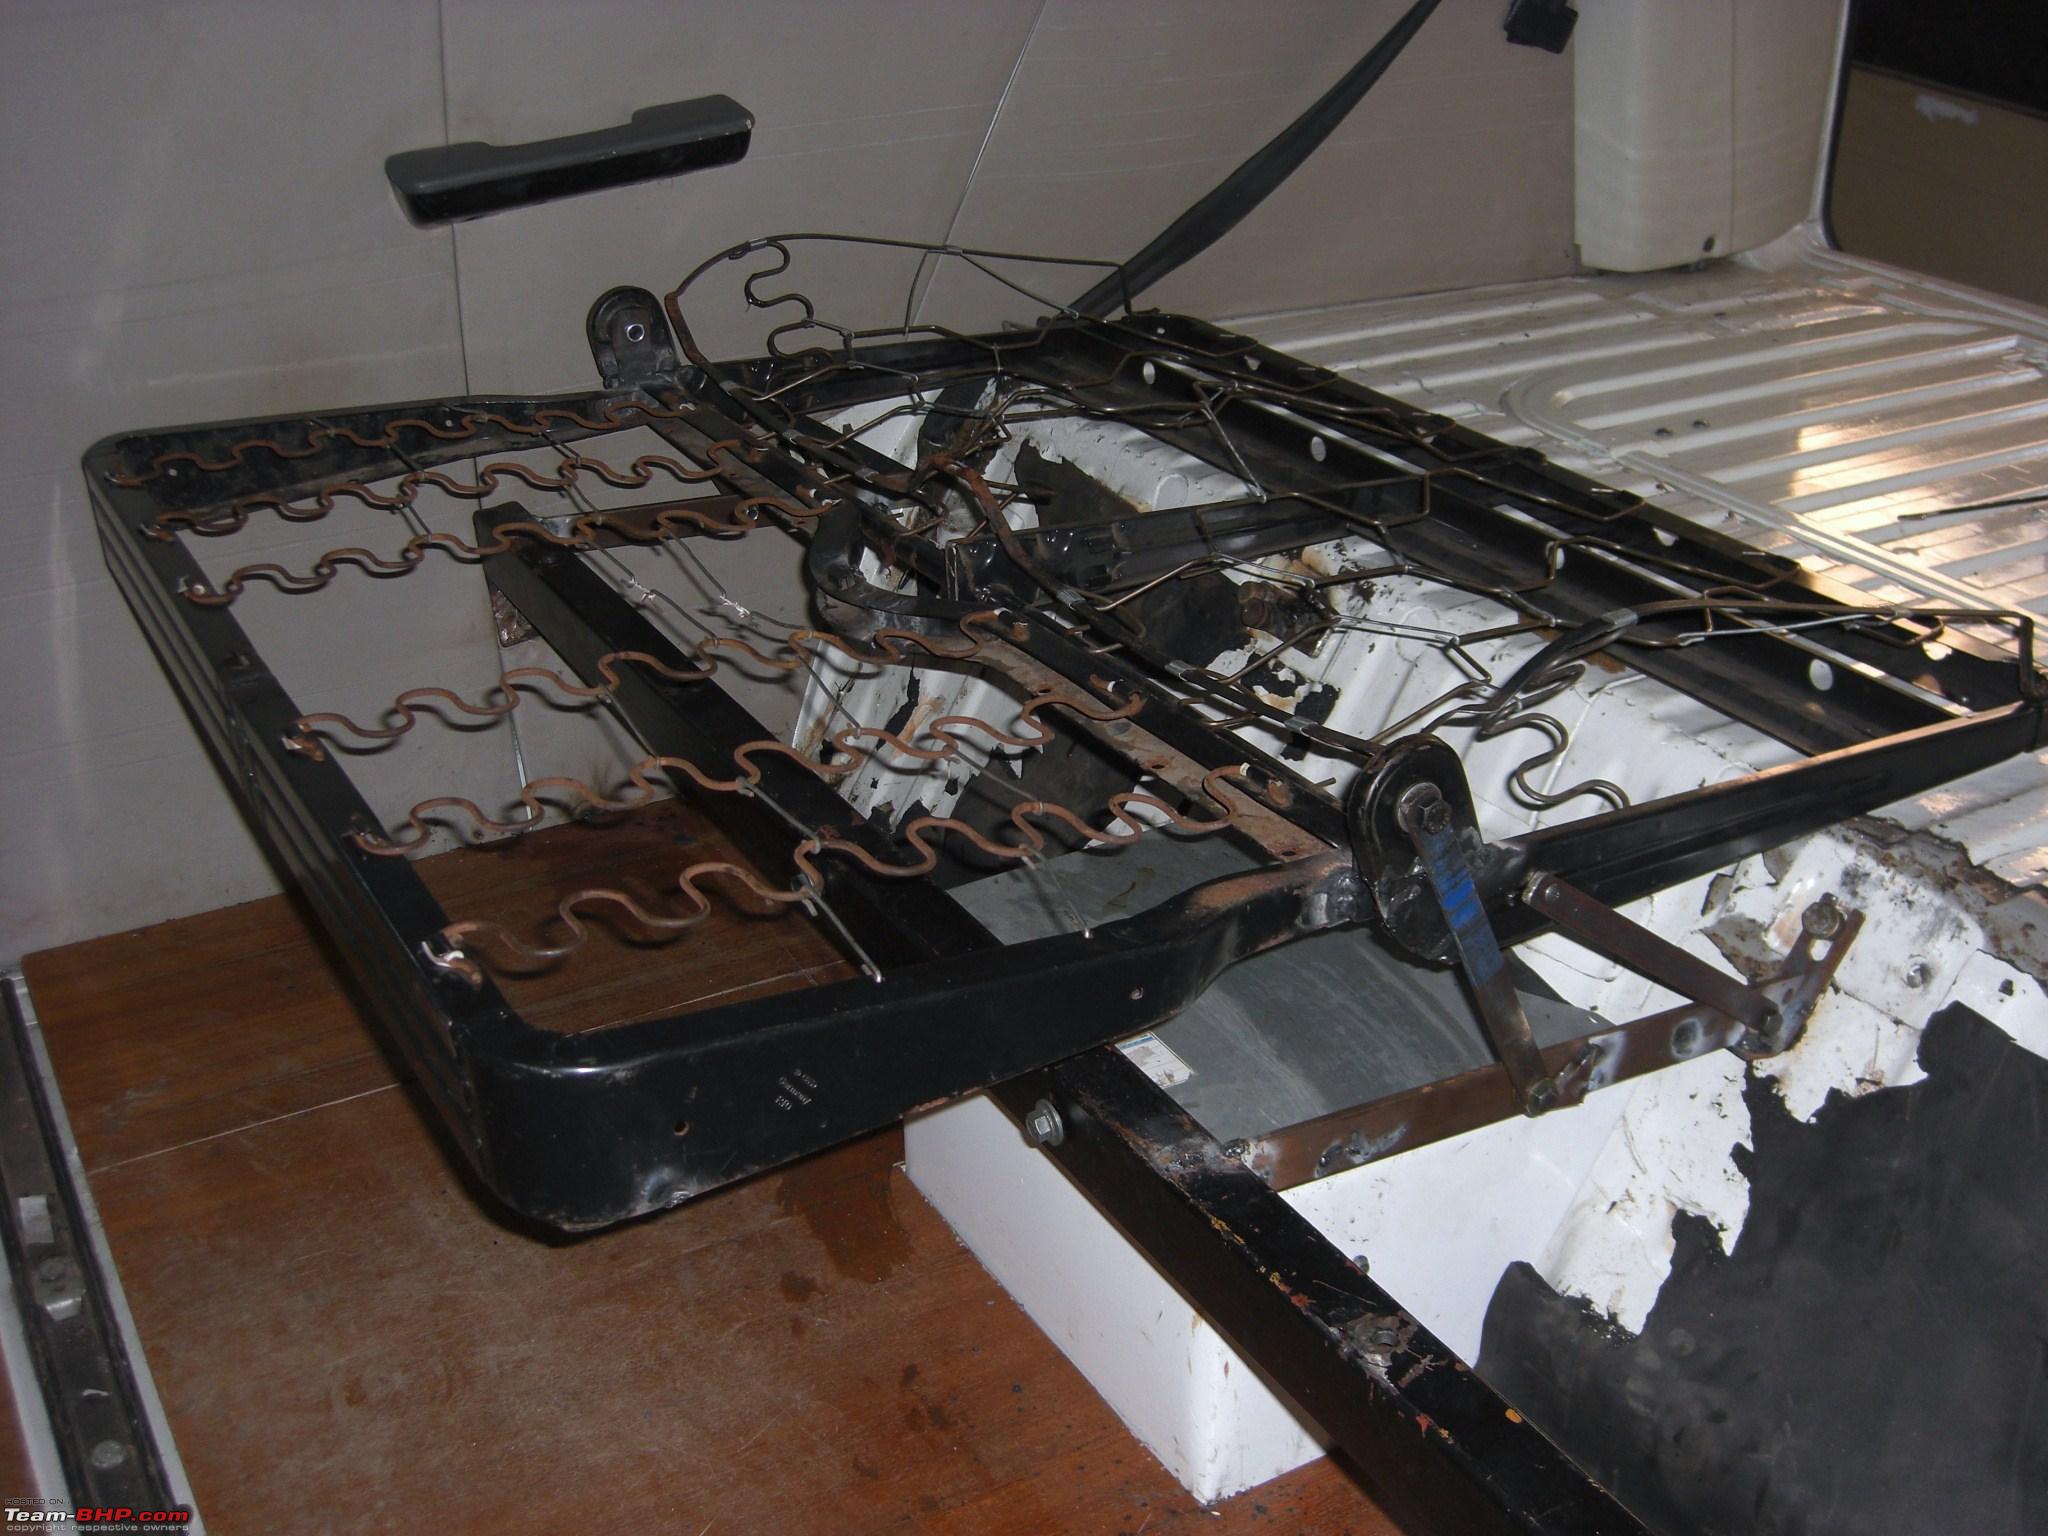
Found a sweet spot in terms of Sitting angle, Proper thigh support & Stretching length. (Under the covered plate lies ECU unit). On a side note, the wooden floor needs protection.

Almost finished. Photo does not do justice to the amount of brain work gone into it.

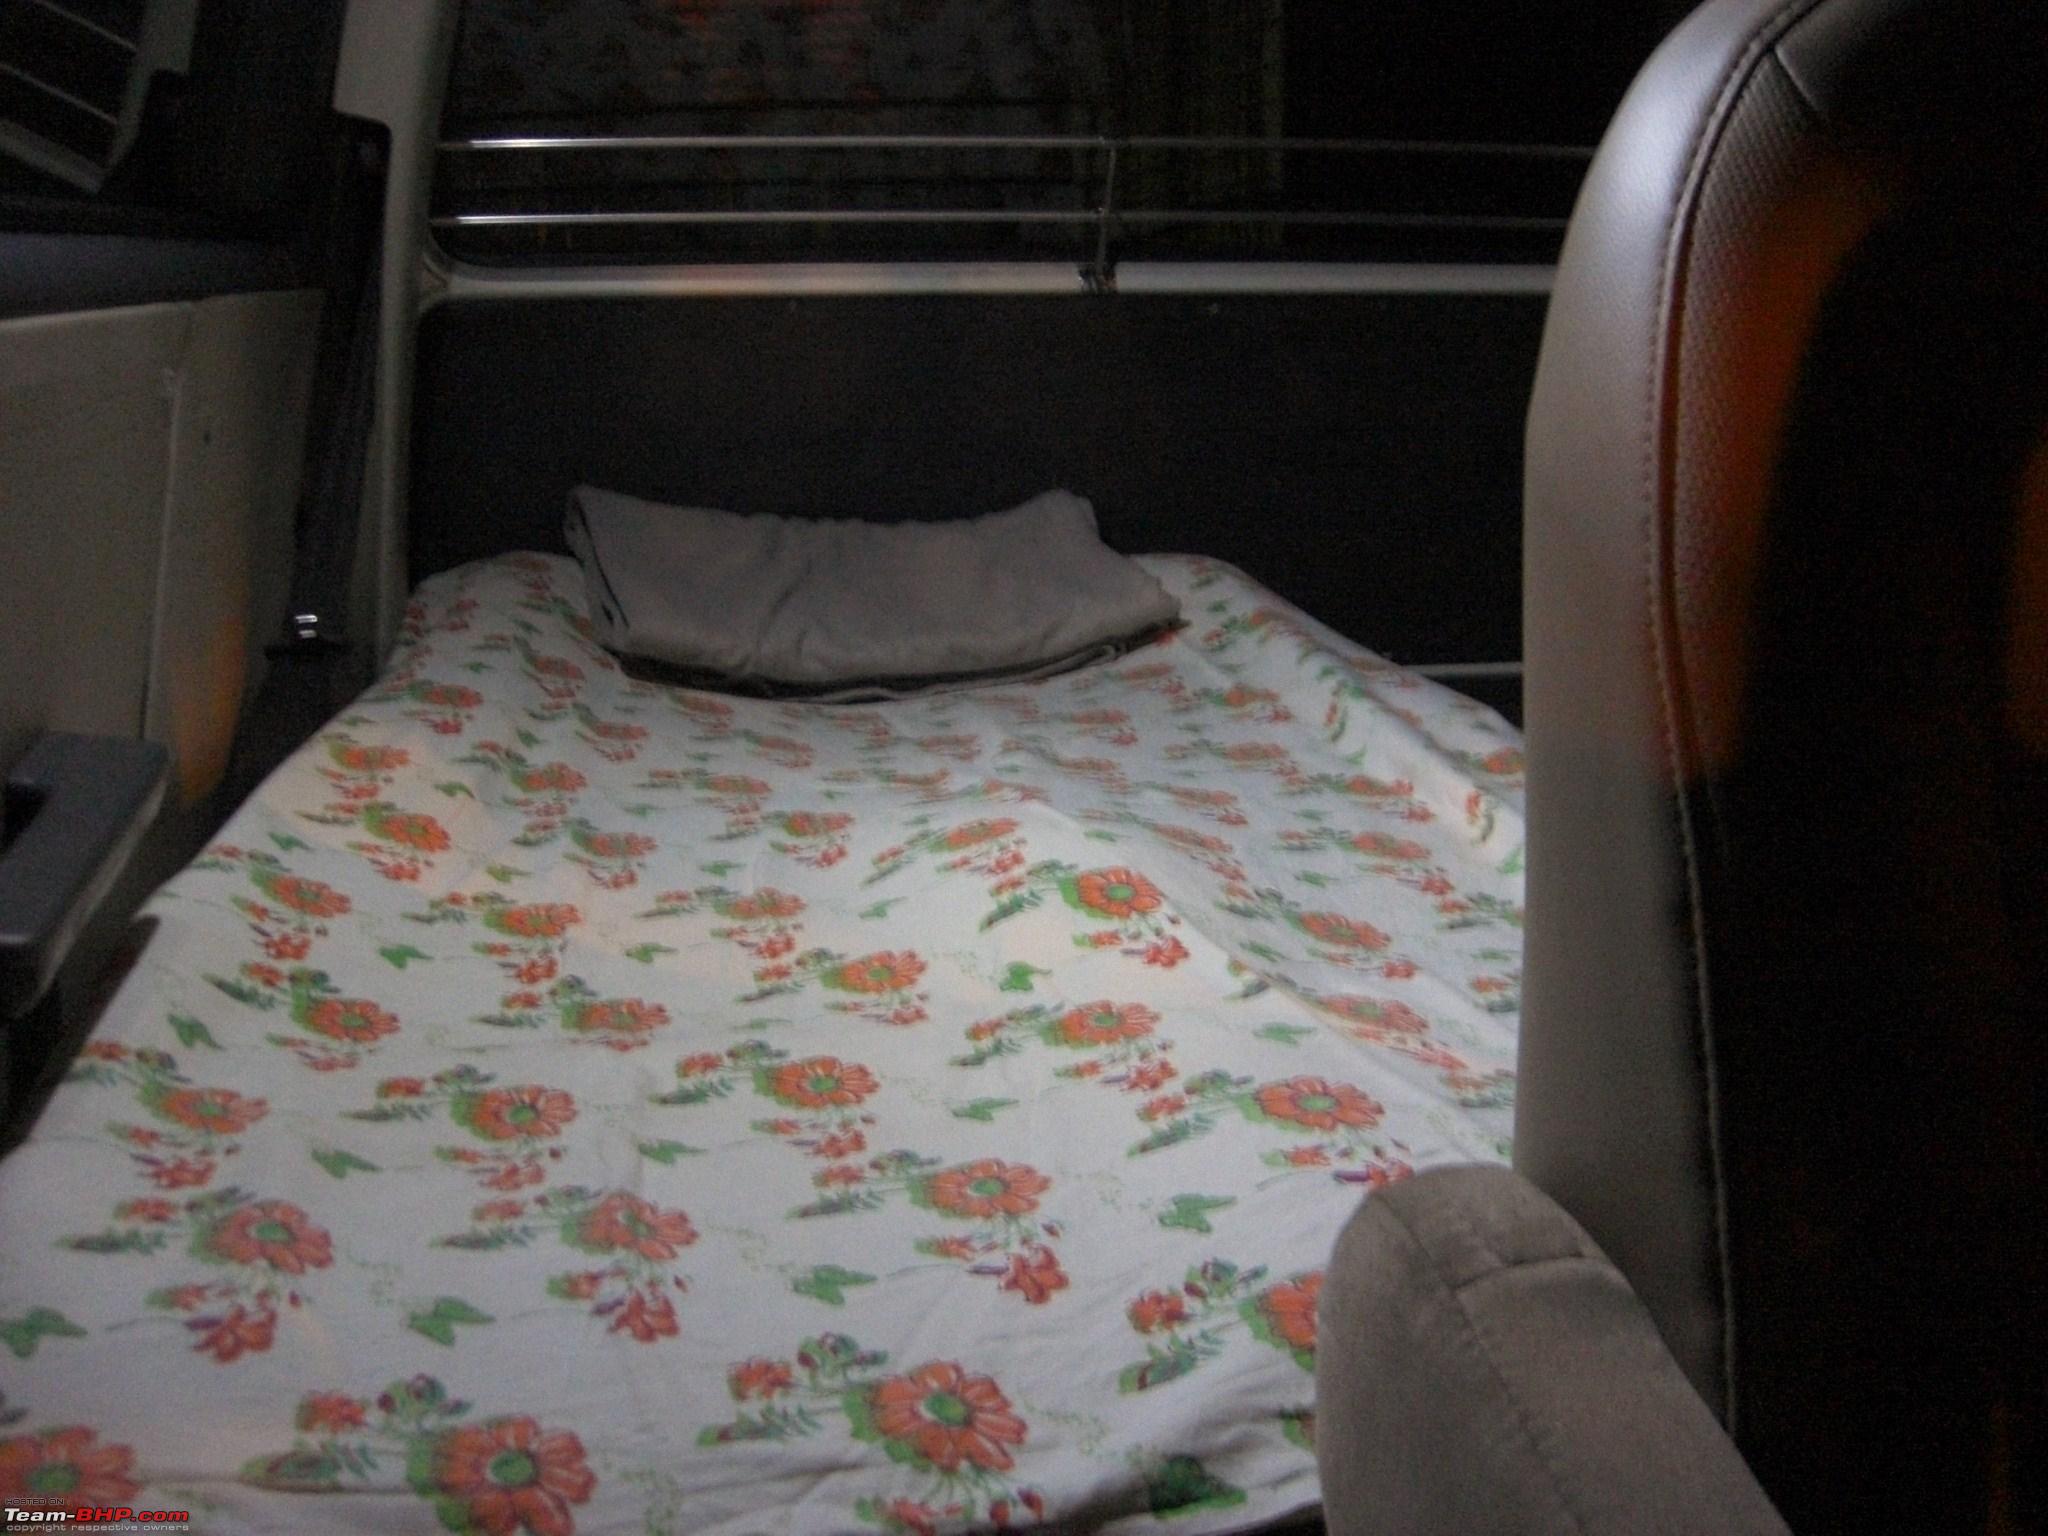
When fully stretched, available over all length measures 74. Sorry, not for someone beyond 6 foot.
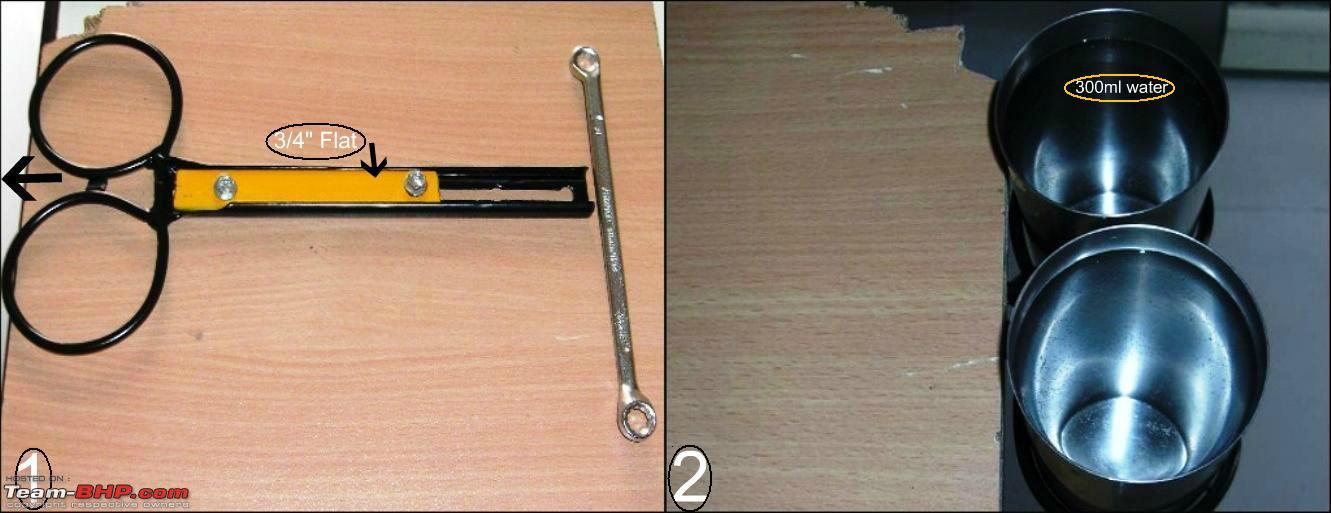
Positioning & determining the length of the lever is very important. The paired levers are not of the same length.

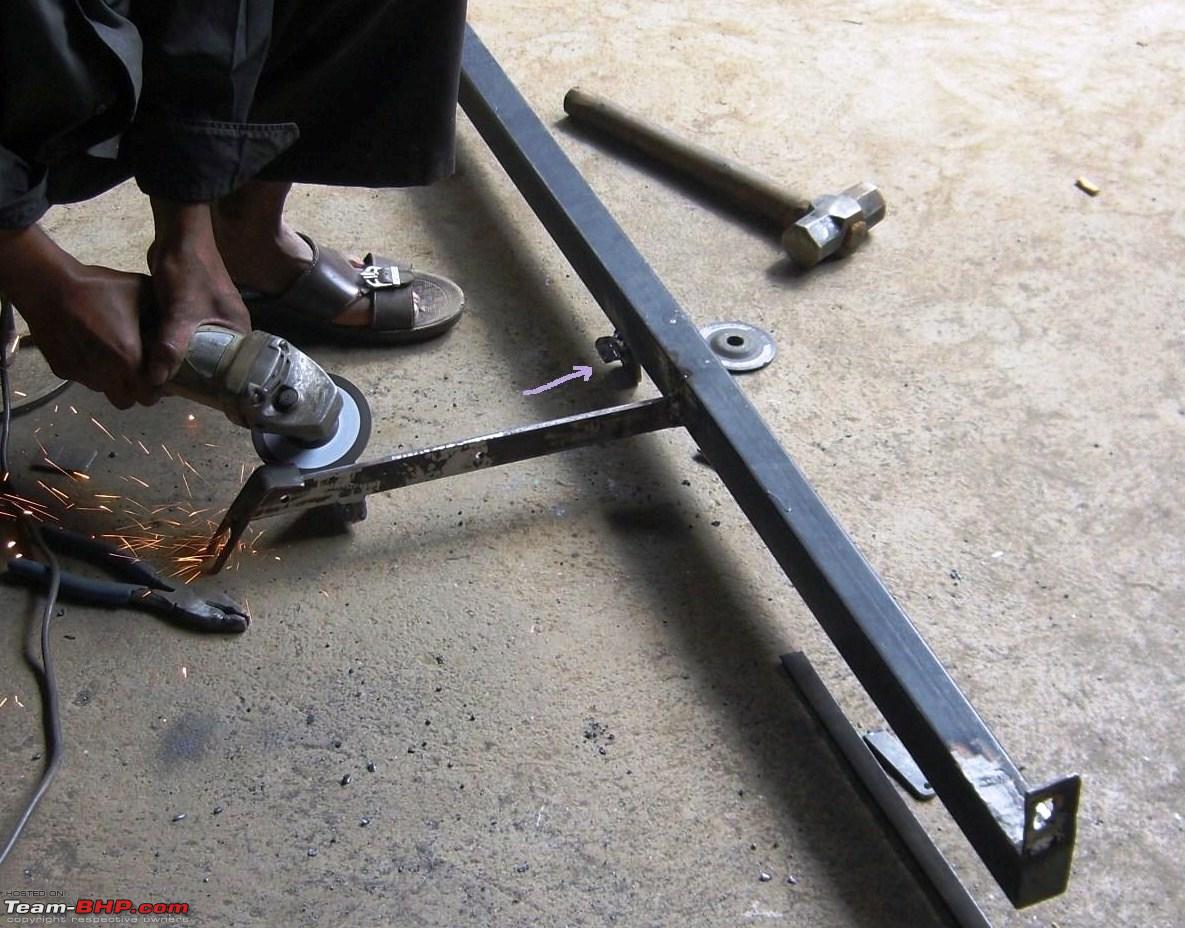
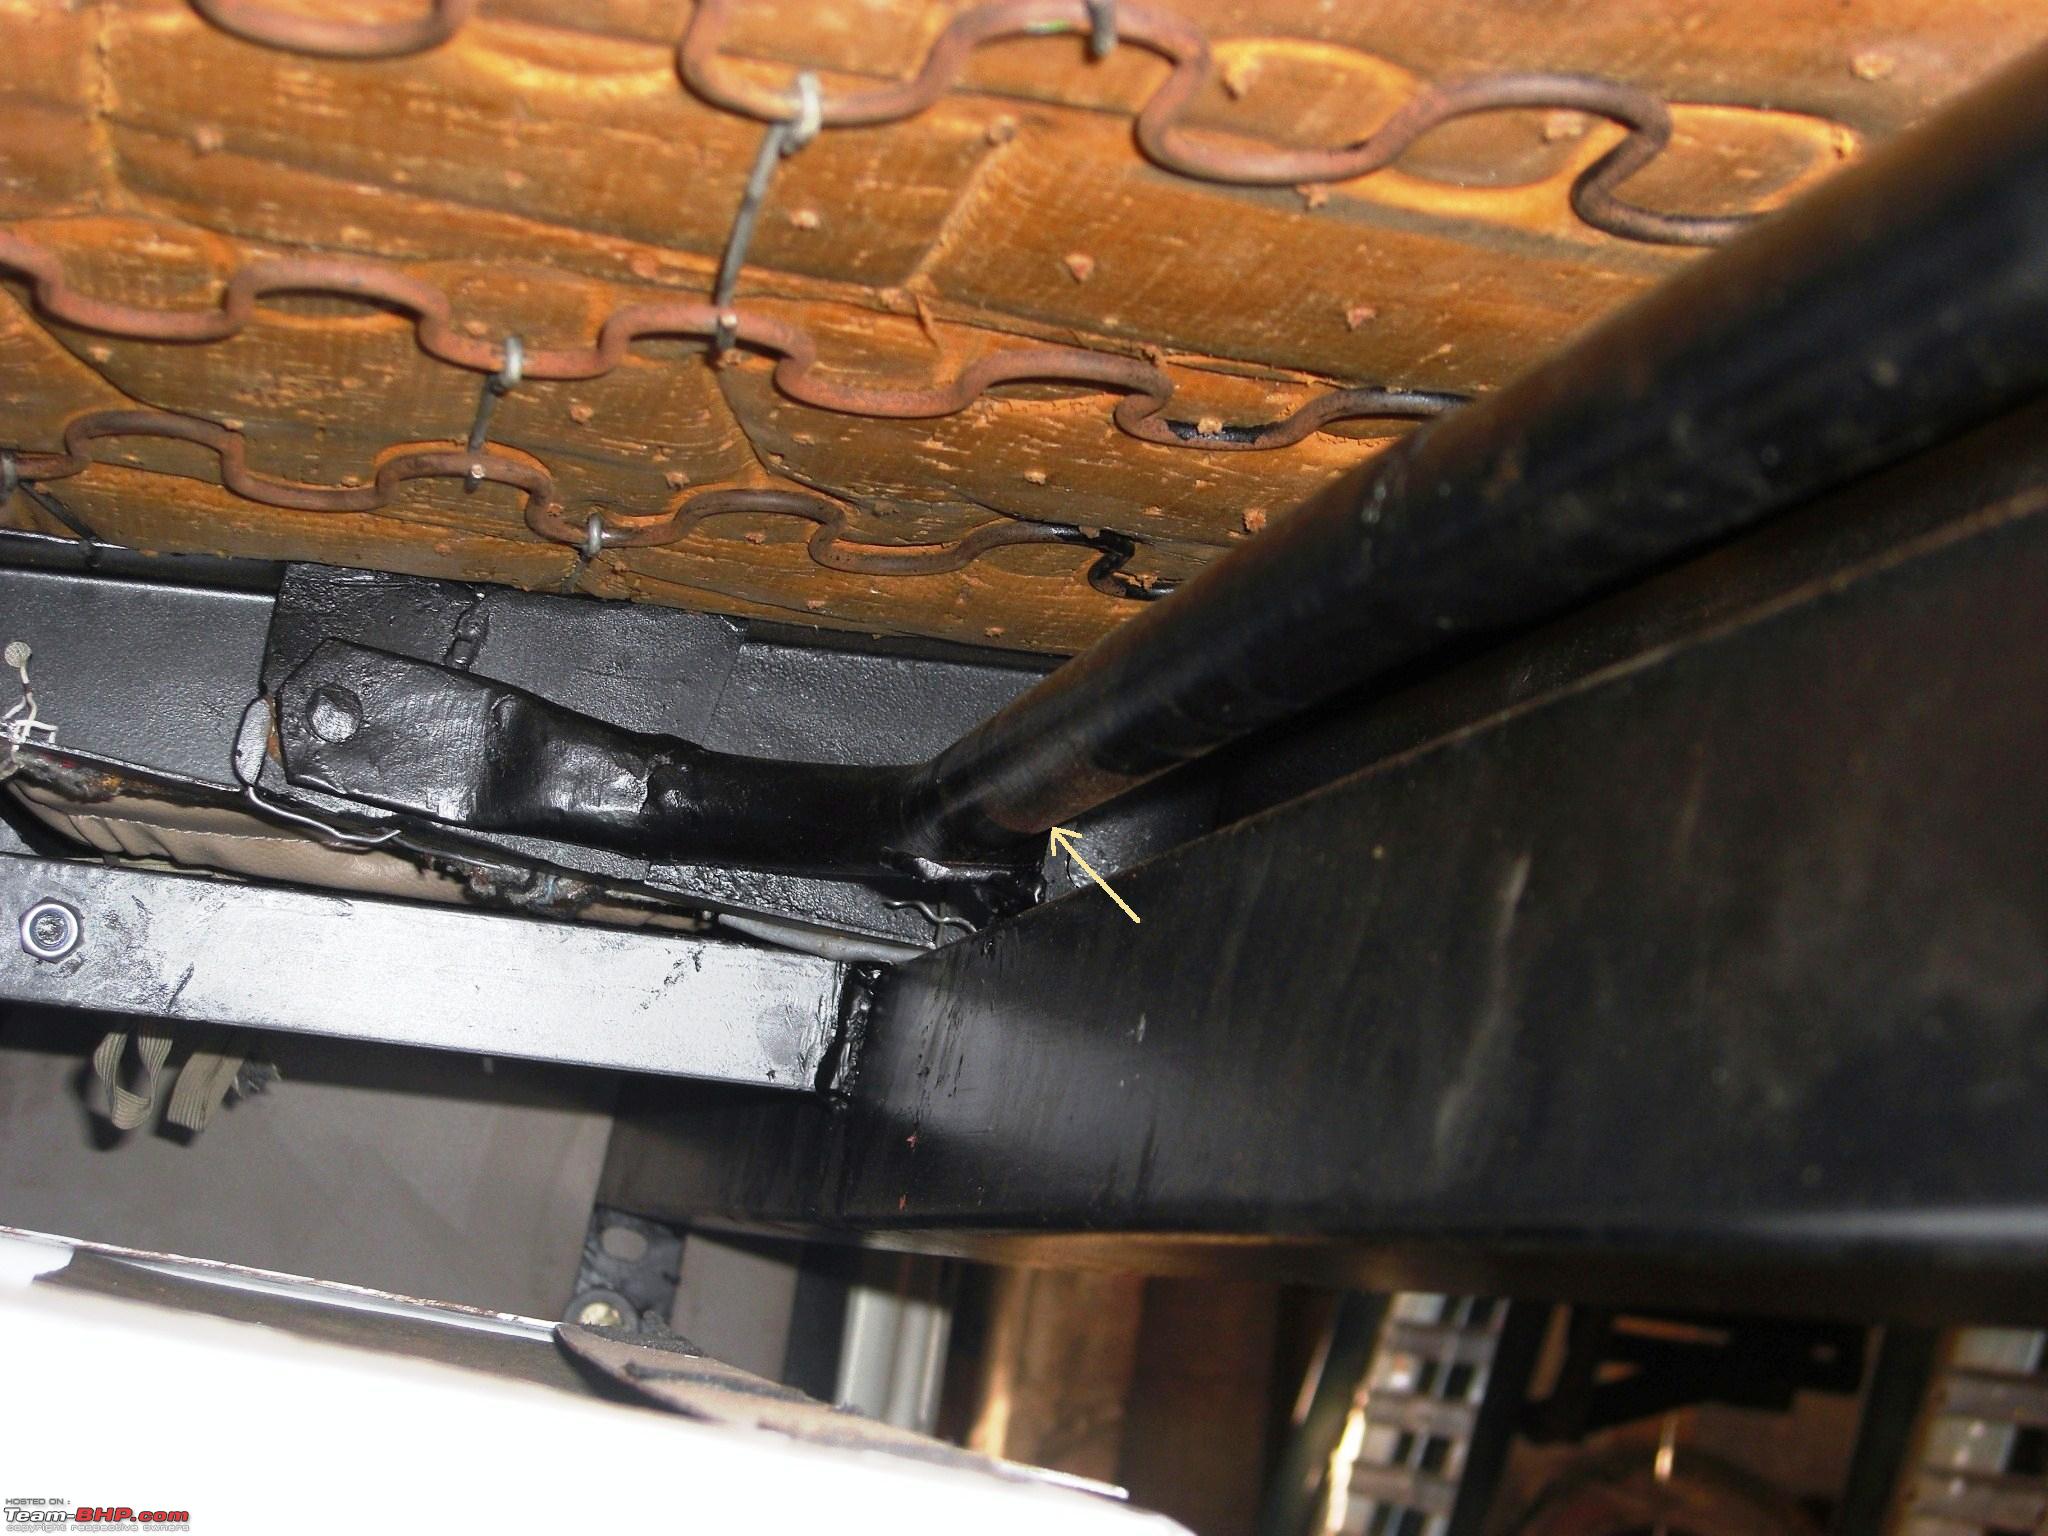
The unit was removed for final weld, grinding of rough edges & painting.(Arrow shows the Stopper & Guider for the stand.)
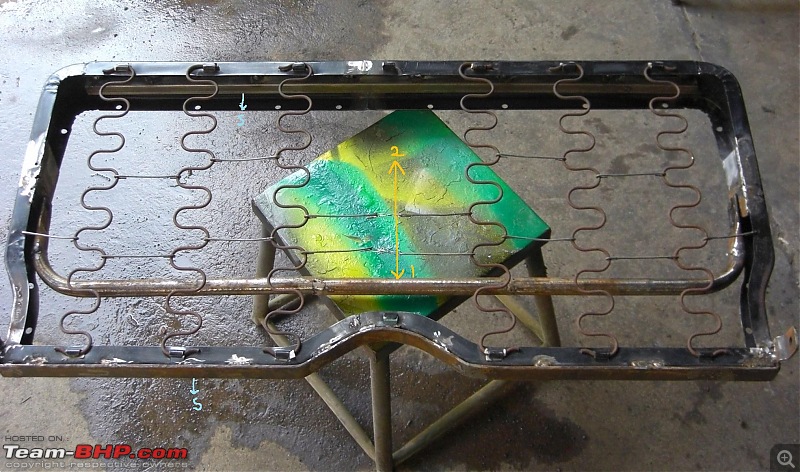
S Extra stiffeners added for strength. 1.Stand supports the seat when stretched. 2.Same stand will restrict back rest movement while in seating position.
After paint job & before assemble. Seat Mounting bracket is on the right.

Foam & Seat cover going back to their respective frame. ( Matching Seat Cover will be taken care of later.)

Assembling started. All parts were fastened by using M8 (8mm dia) half thread High tensile bolt, Self locking nut & Washers. So that theres no loose end. Special Grease used at all the moving parts.

Cleaned all the mess before fitment.

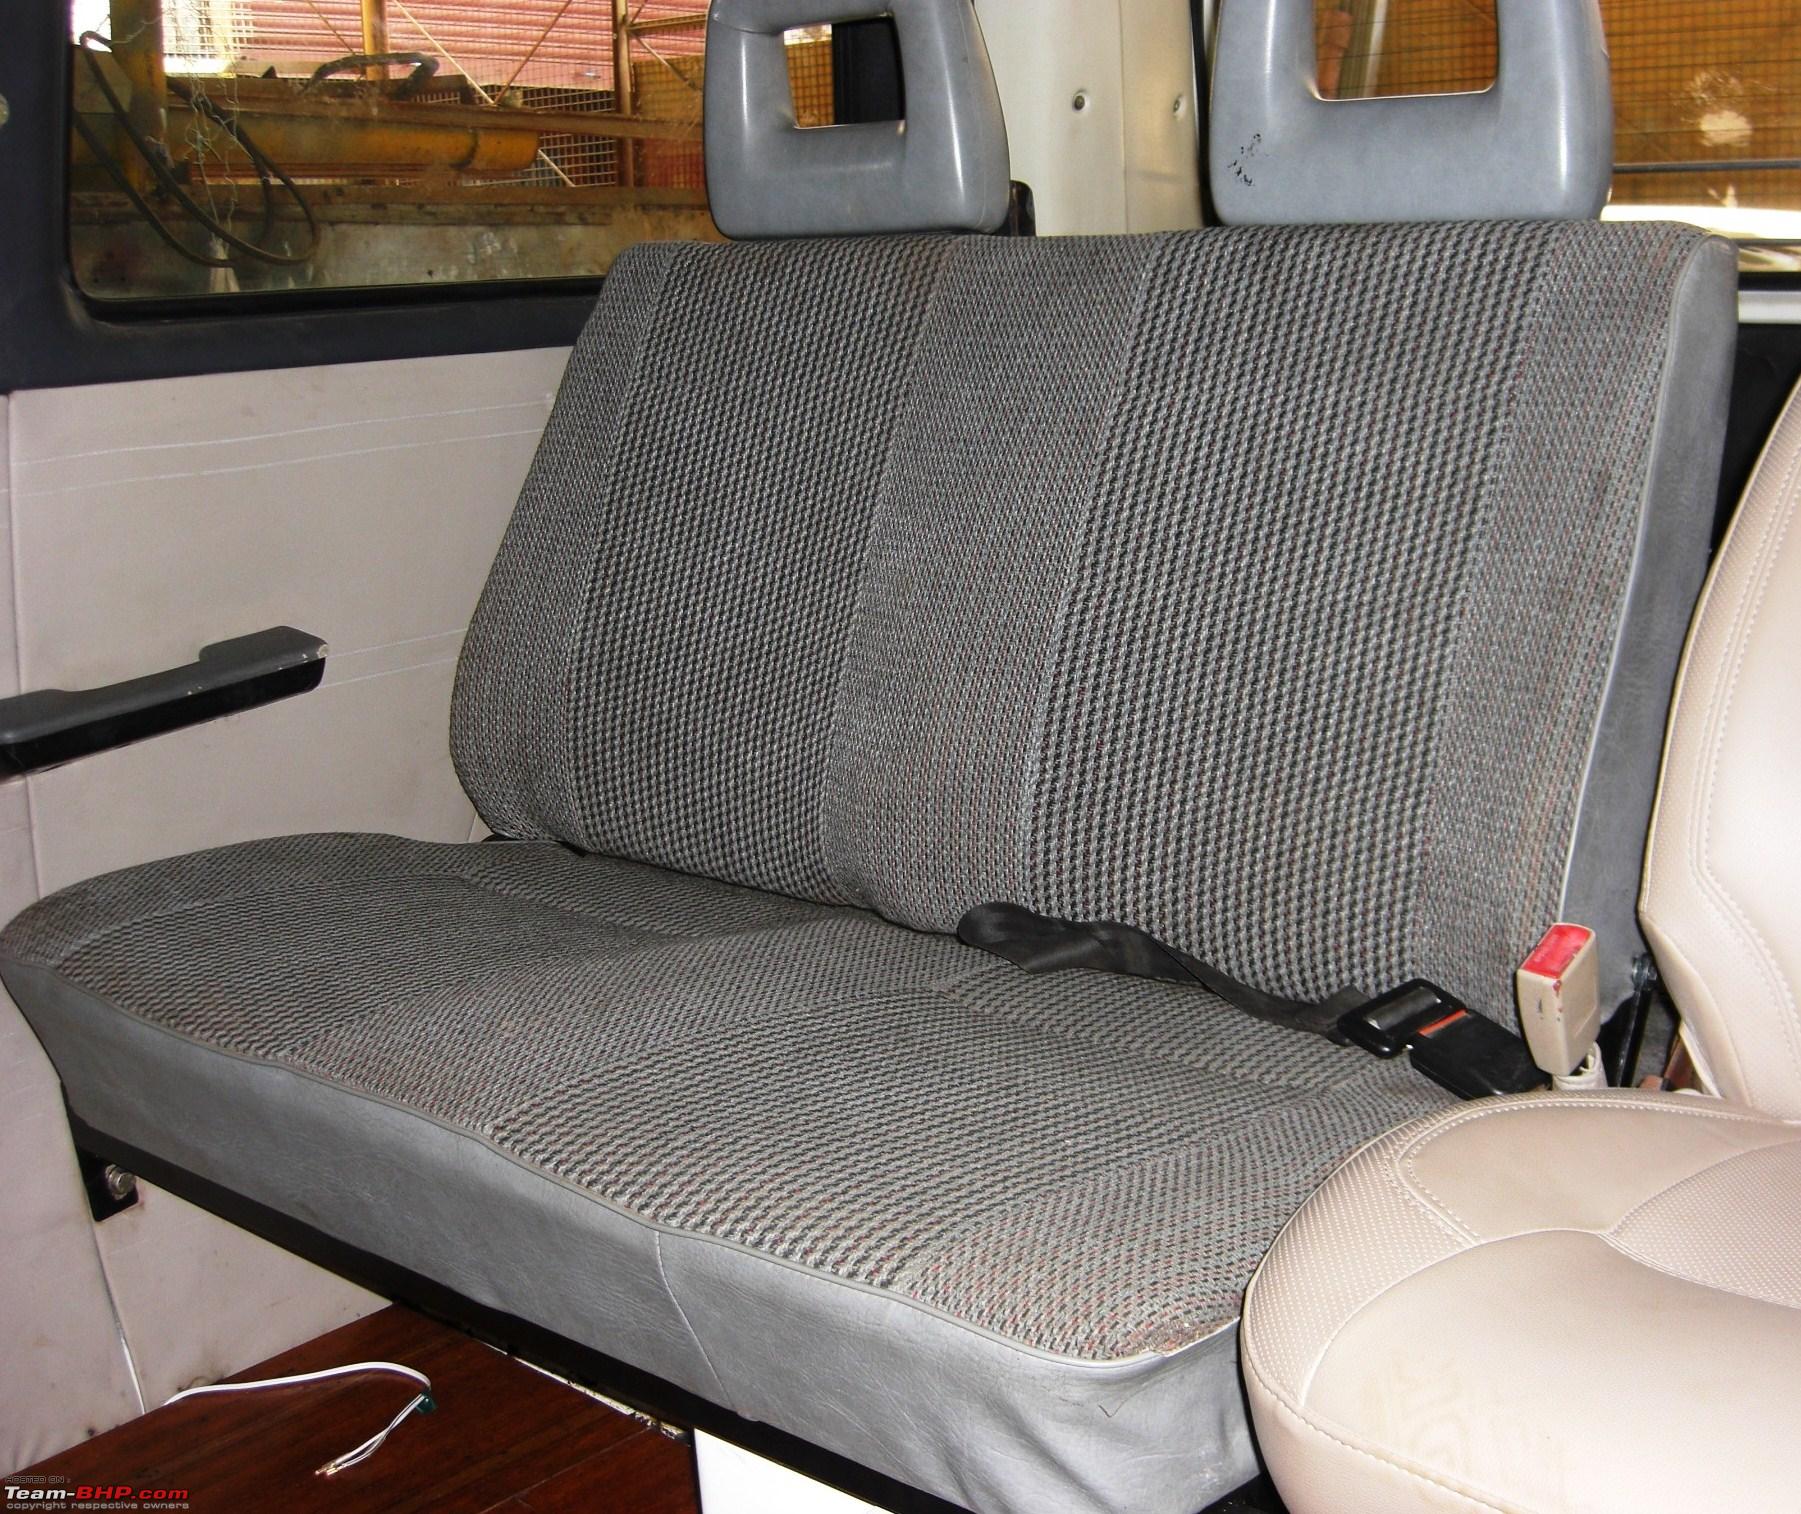
Work was then complete. Unit worked like how I imagined it.
Visual demo in sequence.
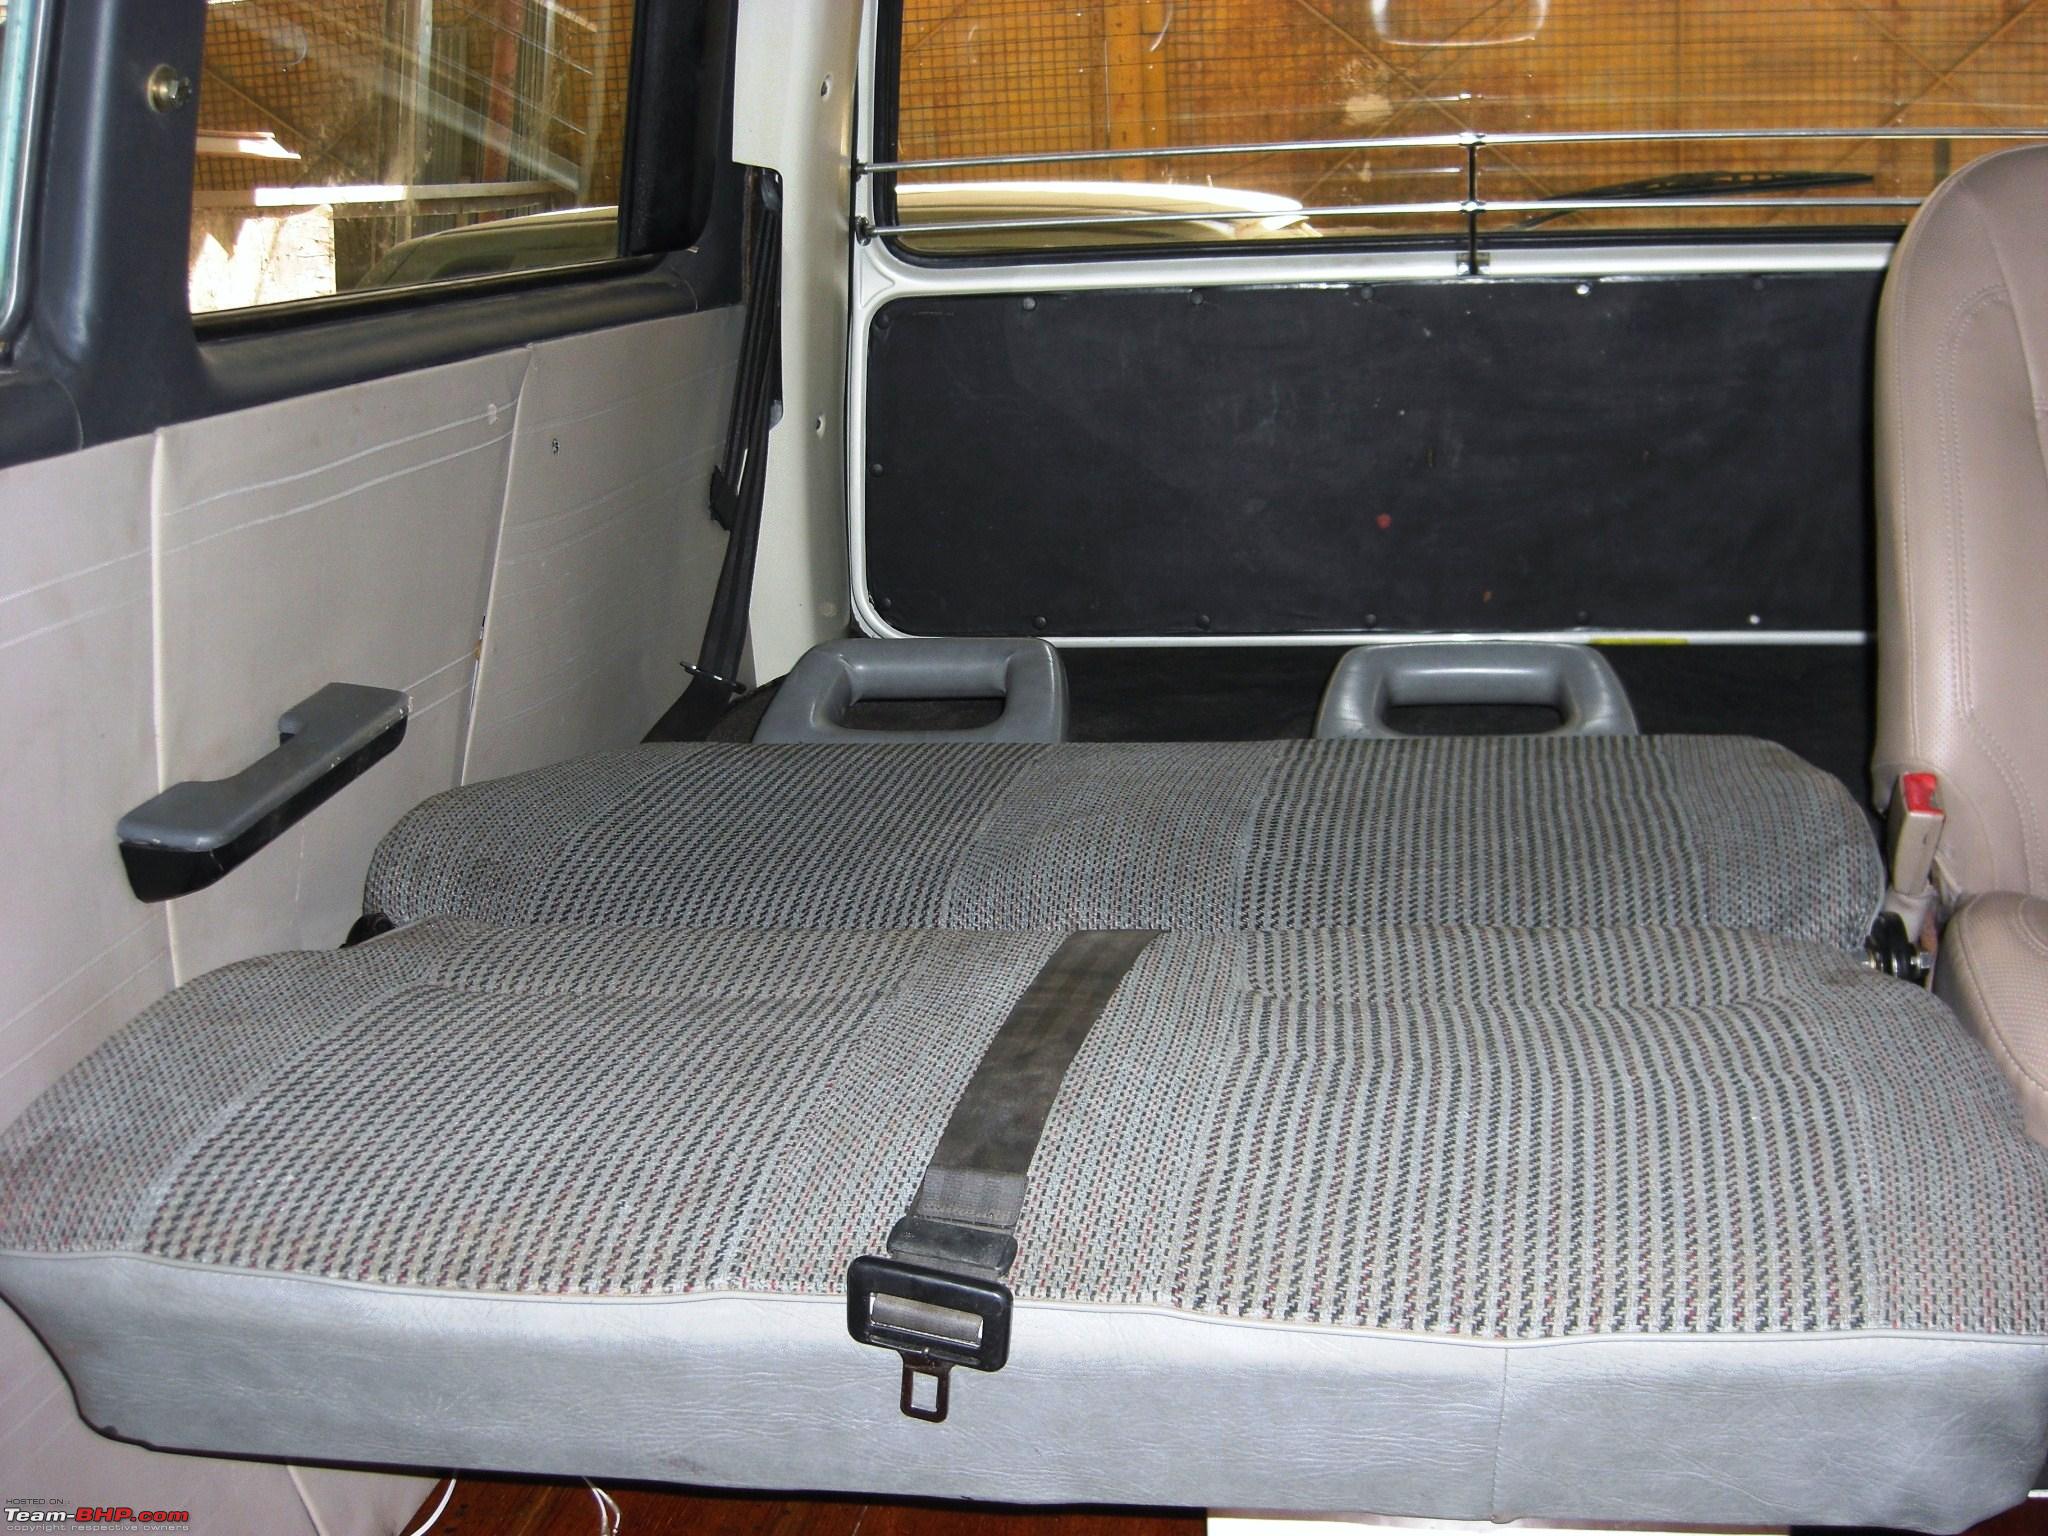
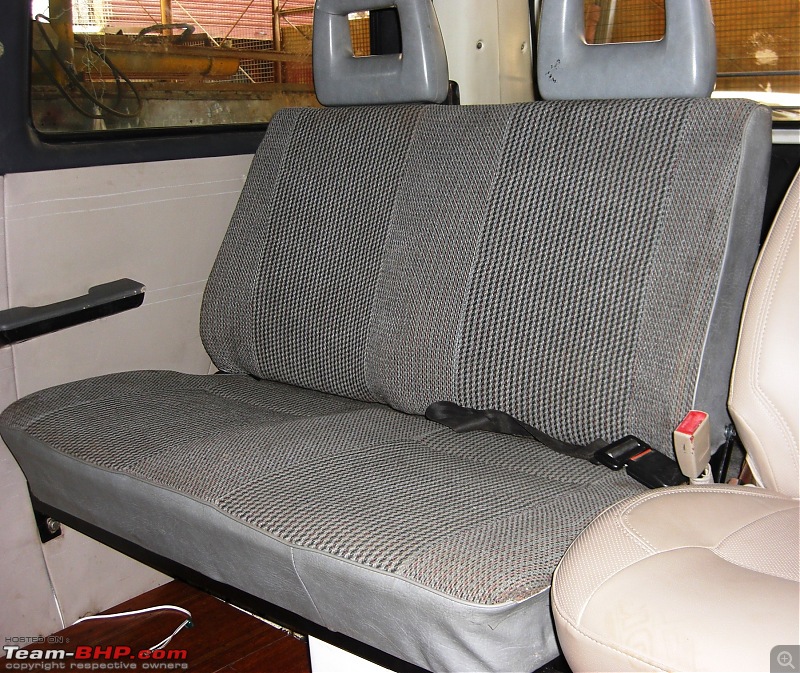
Seating position. Stand acts as a Lock & Stopper for the Back Rest. Note:-- Theres OE Seat belts for all three Occupants.

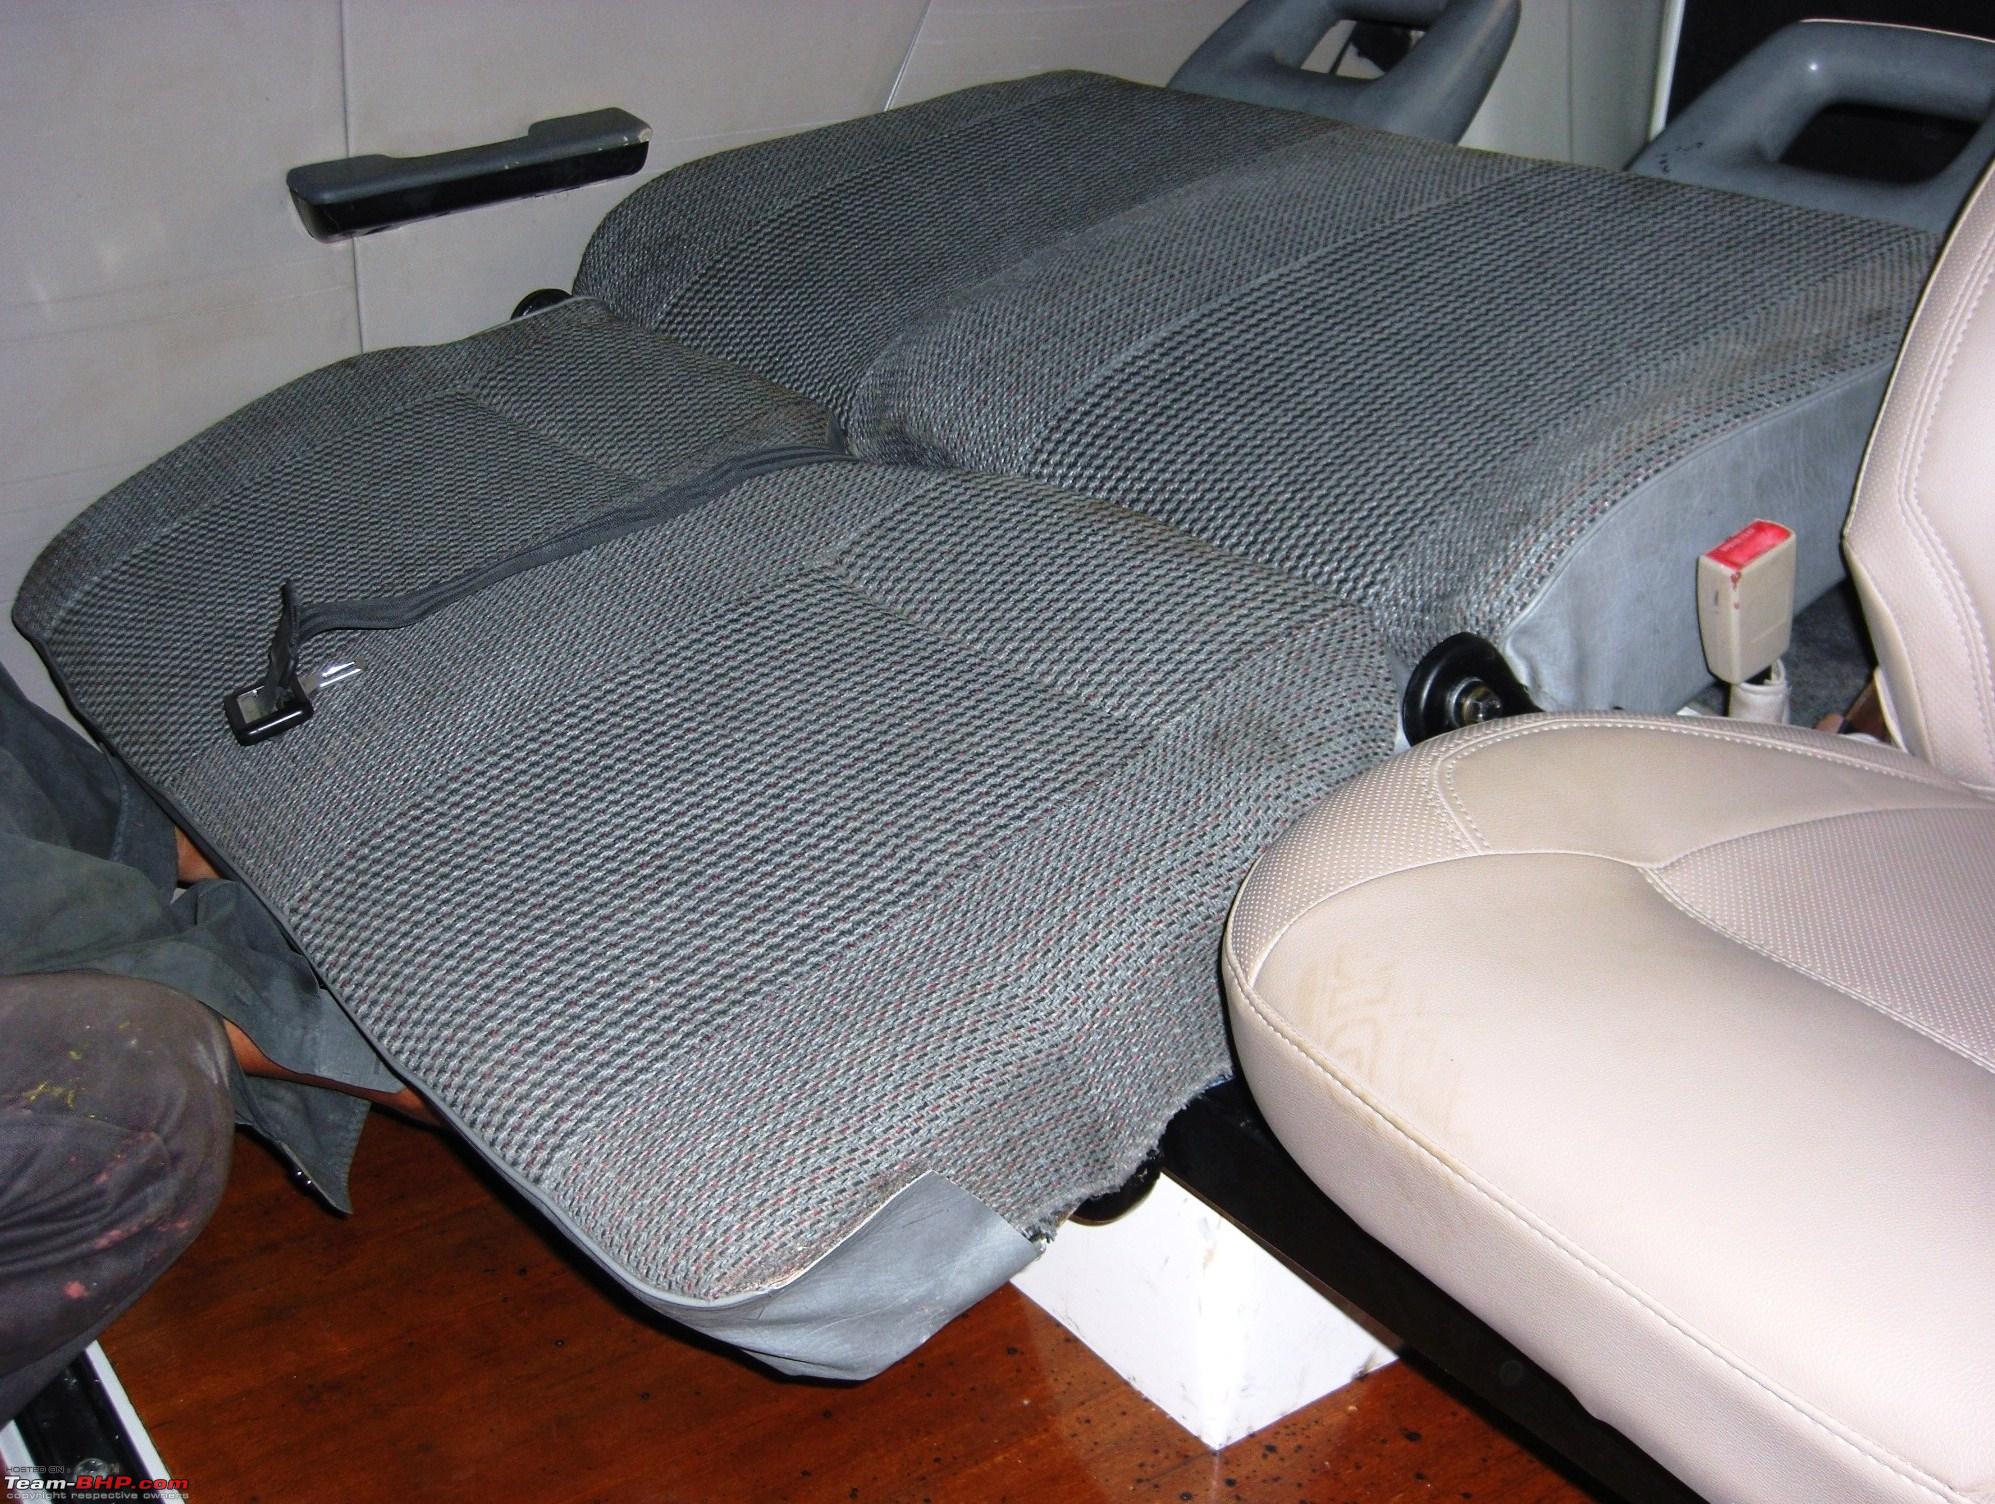
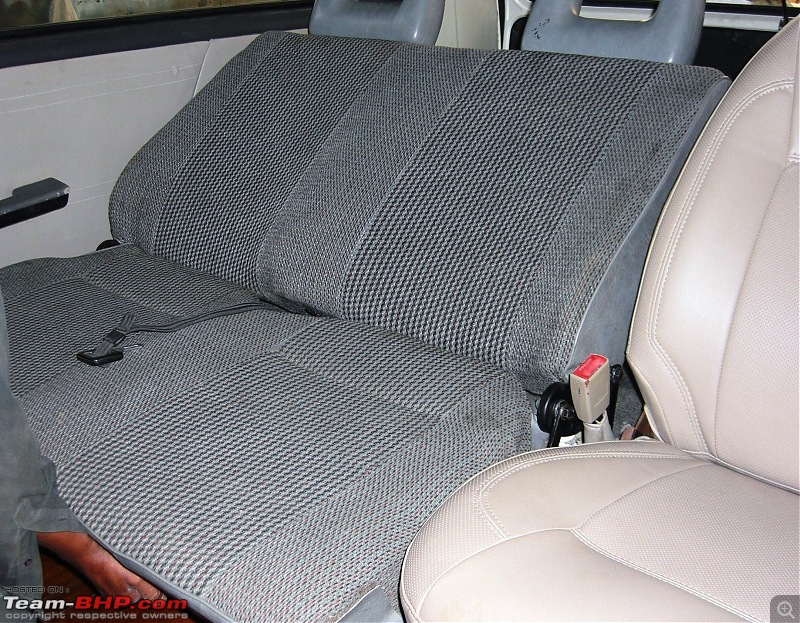
When Bottom Seat is lifted & pulled, Seat is fully stretched . When stretched same stand supports the stretched Seat.


To push back , lift the Bottom seat a bit & fold the stand. Now press the edge of the Bottom Seat as shown & start pushing it back.

The unit automatically comes to seating position & locks. The whole operation takes less than 10 sec to complete.
Important note:-- In Seating position , the Occupants weight is transferred to Mounting cross member & Rear body mount. Levers are simply used as guiders. No stress experienced by the levers.
All set for a week end trip to the mountains. Photo was taken without flash, the light is from the roof light.

Amazing, how Engineering makes things simple.
Most likely suited for the Project:-- SUV having three row seats. (Quails).
May help Jeep owners.

Thread will rest for a while. Thanks for being Pillar to this Thread..


 2nd February 2014, 11:06

 (6)
Thanks
(6)
Thanks