| |||||||

| Search Forums |
| Advanced Search |
| Go to Page... |
 |
| Search this Thread |  102,505 views |
 23rd August 2023, 20:55
| #91 | ||
| BHPian Join Date: Aug 2022 Location: Pune/Bengaluru
Posts: 215
Thanked: 532 Times
| Re: Ownership Review | KTM Adventure 250 Got the 4th service done today at 19415 ODO. The total amount was INR.3991 including the labor charges. Apart from the usual changes the coolant was also replaced. Here is the service bill.  Quote:
I have used ARBO fuel injector cleaner and the issue is gone for now. The plan will be to only use XP95 and see if the issue returns. Quote:
| ||

|  (2)
Thanks (2)
Thanks
|

| The following 2 BHPians Thank advstreak for this useful post: | KarthikK, shravansp24 |
|
31st October 2023, 00:53
| #92 | |
| BHPian Join Date: Aug 2022 Location: Pune/Bengaluru
Posts: 215
Thanked: 532 Times
| Re: Ownership Review | KTM Adventure 250 So here is the 5th service and mods update: The initial plan was to get the fifth service done after the 5200km+ desert ride of Bengaluru-Bombay-Ahemdabad-Dholavira-Jaiselmer-Jodhpur-Udaipur-Vadodra-Bombay-Bengaluru. But while doing the Vadodara-Bombay route (after 6500 km since the last service) the bike had gotten noticeably vibey. Hence I decided to get the bike serviced at 26060 km ODO in the KTM Chembur service center. The total cost of the service was 3384. Apart from the usual things, the brake oil was also changed. Surprisingly the spark plug was not changed as they did not have one in stock. Anyway, I plan to change it to an NGK Iridium spark plug in the next service.  Now coming to the mods:Wind Deflector I have continued the same setup as mentioned in the post here (Ownership Review | KTM Adventure 250) during the Bengaluru to Bombay run. Here is one more pic of the setup somewhere near Chitradurga.  Then I changed it to an almost vertical position making it a "windshield extension". This position almost gave zero wind buffeting if there were no cross winds on the roads allowing me to maintain good highway speeds. Here is a pic of the setting somewhere on the Road to Heaven in Dholavira.  So I use the flat angle setting in off-road and hot weather city usage where I want more airflow and would prefer that it wobbles less. For smooth highway runs I make the position vertical for maximal wind protection. Nylon Mesh Seat Cover Based on shravansp24 observations Quote:
I noticed during the Bombay to Ahmedabad run that the typical butt pain started way earlier (around the 300 km range). I usually have a tolerance for about 700 km on the stock KTM seat after which I need to increase my break frequency. But that did not happen in the other part of the trips in Rajasthan, cementing the fact that the pain was due to increased humidity which led to increased sweating leading to softer skin/muscle and hence the nerve endings of the bone feeling more pressure. Hence I added the nylon mesh cover at a local seat cover shop in Vadodara for Rs.150. As observed by others the nylon mesh works well. But the real test would be in the 1000 km ride from Bombay back to Bangalore. I did not feel any pain and this was the most comfortable 1000km a day ride I had done all thanks to the mesh seat cover and the windshield extender in highway position. One more benefit of the mesh cover is that the seat does not get hot when the bike is standing in the sun. But it has one downside, that it takes some time for it to dry after getting wet unless exposed to the sun directly.   Dominar Mirrors So the stock KTM mirrors used to vibrate at highway speeds, especially the right-hand side one, making it difficult to track who is behind. Dominar mirrors with their cast stem are super stiff leading to a shift in the fundamental resonant frequency. They also seem to cover more areas compared to KTM and go better with the sharp edgy design language. I had got the Dominar mirrors long back in 2020 to change them on my hornet but never really got it done as it required thread modification or a custom thread adapter which converts left-hand thread to right-hand one To fit these mirrors I got a RHS clamp while the left-hand clamp comes with the clutch lever as a single piece. One problem is that the left-hand grip is glued and it has to be taken out to change the left-hand level assembly. The grip becomes slightly loose after it is put back and can rotate when given a twist. The solution will be to stick it back with some rubber glue.  Here are some pics of the same.   Aux lamps relocation The RHS spoiler middle support stud broke randomly without any falls. Even the LHS mount has developed a crack. This prompted me to remove both of the spoilers.   I also wanted to mount the aux lamps on the now exposed metal frame to further reduce the headlight wobble which was done by cutting off the headlight aux mount clamp. That made sure the beam had enough clearance from the front plastic parts. This is still in trial and if it works well then I will repaint the clamps to prevent them from rusting further.   Tool Kit Tray Airbox Mod Based on this video I decided to remove the Tool kit tray. It did make the bike respond a little faster to throttle inputs because of the easier airflow. It was very easy to remove by just loosening three bolts. However one has to be careful about the accessory port and the relay cable while removing the tray.  Resonator Delete The pursuit to use the top end in a better way led me to install the detonator by LBS pitstop. I was also happy about reducing more than a couple of kilos. I would say that it is worth it performance-wise. The top-end pull is much cleaner. But I am not sure about the sound. I went for around 300 km breakfast ride after getting it installed and realized that the exhaust had become loud and not in a good way. It sounds to have much more treble and goes brrrrrraaaap at 6-7 K rpm which I don't prefer. I was expecting it to sound more bassy and not that loud. So I checked upon a couple of people who have deleted the resonator on their 390. Their sound was more bassy and did not become intrusive at higher rpms. After that, I went to LBS and told him about this. The owner on the phone said the 250 would be louder compared to the 390 due to different compression ratios and bore and stroke. But he asked the mechanic to tighten the clamps anyway. I noticed on the ride back that it sounds less brrraaapy in the mid-rpm. This leads me to believe that the more treble-orientated brrraaapy sound is more because the components do not fit properly. So the plan will be to see if the sound settles after some time and visit LBS again to make sure all the fit is proper. If still the sound remains the same then I might consider the option of going back to the stock resonator.  | |
|
| (5)
Thanks
|
| The following 5 BHPians Thank advstreak for this useful post: | Blue Bird, Full_Minchingu, KarthikK, rahul4321, shravansp24 |
|
18th November 2023, 01:17
| #93 | |
| BHPian Join Date: Dec 2019 Location: Chennai
Posts: 125
Thanked: 352 Times
| Re: Ownership Review | KTM Adventure 250 Quote:
Recently, I've too started experiencing the morning/cold start issue where the first start is taking 1-2 extra long cranks to start the motor and get it running successfully. After the first successful startup though, the succeeding ones are fine for the rest of the day. I've tried cleaning the throttle body, changing the fuel between xp95 and shell, and also tried injector cleaning solutions but nothing is of much help. I recall you were too facing the issue a couple of months earlier. May I know if the issue is resolved for you or steps to reduce it? Thanks! | |
|
| ()
Thanks
|
|
18th November 2023, 20:34
| #94 | |
| BHPian Join Date: Aug 2022 Location: Pune/Bengaluru
Posts: 215
Thanked: 532 Times
| Re: Ownership Review | KTM Adventure 250 Quote:
Here is my suggestion. Fill up XP95 petrol full tank. Use the whole 80 ml can of Liqui Moly 4T shooter (https://www.liqui-moly.com/en/motorb...3571.html#3824). I have tried Arbo also, but Liqui Moly works better. Go for a nice highway ride of 200 km+. Make sure to rev the range fully so that there is high fuel flow through the lines. After that fuel up again XP 95. Report back if it solves the issue. Also when was the last time your spark plug was replaced? It might also be reason for cold start issue. There are some observations that using Iridium spark plug lead to a better cold start. I plan to try that out when I change spark plug in the next service. | |
|
| (2)
Thanks
|
| The following 2 BHPians Thank advstreak for this useful post: | ebonho, shravansp24 |
|
18th November 2023, 21:22
| #95 | |
| Senior - BHPian Join Date: Feb 2010 Location: Pune
Posts: 6,761
Thanked: 11,180 Times
| Re: Ownership Review | KTM Adventure 250 Quote:
Cheers, Doc | |
|
| (2)
Thanks
|
| The following 2 BHPians Thank ebonho for this useful post: | advstreak, shravansp24 |
|
19th November 2023, 08:26
| #96 | ||
| BHPian Join Date: Dec 2019 Location: Chennai
Posts: 125
Thanked: 352 Times
| Re: Ownership Review | KTM Adventure 250 Quote:
Quote:
The spark plug was never replaced (as my odo is standing at ~15k kms) and is due to be changed in next service (coming up in 1-2 weeks). The SVC mechanic suggested the same to be replaced in next service and observe the issue Will update you guys post servicing and replacing the plugs. Thanks! Btw the ktm svc only replaces with the proprietary plug right? For Iridium plugs, we need to get it done at a third party SVC only? Last edited by shravansp24 : 19th November 2023 at 08:27. | ||
|
| ()
Thanks
|
|
19th November 2023, 17:34
| #97 | ||
| BHPian Join Date: Aug 2022 Location: Pune/Bengaluru
Posts: 215
Thanked: 532 Times
| Re: Ownership Review | KTM Adventure 250 Quote:
Quote:
| ||
|
| (1)
Thanks
|
| The following BHPian Thanks advstreak for this useful post: | shravansp24 |
|
19th November 2023, 19:36
| #98 | |
| Senior - BHPian Join Date: Feb 2010 Location: Pune
Posts: 6,761
Thanked: 11,180 Times
| Re: Ownership Review | KTM Adventure 250 Quote:
If these plugs were actually superior, why does a company like KTM not equip their bike with them in the first place? It cannot be price. Not for a bike where the front sintered disc pads cost close to 3k, whereas normal ones just 350 bucks. A spark plug in the whole scheme of things is a lot more critical to the bike. One would think that if indeed they offered any tangible benefits, KTM would not skimp. An iridium plug is how much? A thousand bucks tops? Surely for a part lasting 15,000 km that is nothing compared to 3000 buck disc pads. Its a marketing gimmick. Like standalone performance air filters. A feel-good placebo. Cheers, Doc Last edited by ebonho : 19th November 2023 at 19:48. | |
|
| (2)
Thanks
|
| The following 2 BHPians Thank ebonho for this useful post: | Shonith, shravansp24 |
|
19th November 2023, 23:02
| #99 | |
| BHPian Join Date: Aug 2022 Location: Pune/Bengaluru
Posts: 215
Thanked: 532 Times
| Re: Ownership Review | KTM Adventure 250 Quote:
I think iridium spark plugs dont offer any additional improved user experience compared to the normal plugs. Unlike using sintered brake pads which combined with premium soft compound tyres lead to segment leading braking performance on the 390 platform. The 250 uses organic ones ( I am guessing from the price of Rs. 420 as seen in the third service bill here :https://www.team-bhp.com/forum/motor...ml#post5460751 (Ownership Review | KTM Adventure 250)) which makes sense for the harder compound stock MRF tyres. As per his observation the effect was only seen in better cold starts which anyways most people wont notice if other things are working properly. The reason I am interested in changing the spark plug to iridium one is the supposed long service life. The spark plug change is little tricky to do as it requires the tank to be lifted. I would have done approx. 20k Km+ on the stock spark plug till the next upcoming service. The plan will be to run the iridium one for same and then check its condition. | |
|
| (3)
Thanks
|
| The following 3 BHPians Thank advstreak for this useful post: | b16h22, ebonho, shravansp24 |
|
19th November 2023, 23:08
| #100 | |
| Senior - BHPian Join Date: Feb 2010 Location: Pune
Posts: 6,761
Thanked: 11,180 Times
| Re: Ownership Review | KTM Adventure 250 Quote:
Cheers, Doc | |
|
| (1)
Thanks
|
| The following BHPian Thanks ebonho for this useful post: | shravansp24 |
|
22nd December 2023, 21:27
| #101 | ||
| BHPian Join Date: Dec 2019 Location: Chennai
Posts: 125
Thanked: 352 Times
| Re: Ownership Review | KTM Adventure 250 Quote:
Quote:
So, a short update on the cold start issue: Apparently the issue looks like it's completely solved for me atleast for now and the motorcycle starts as good as it was on day 1. The SVC mechanic said he replaced the spark plug and a coil that is using for earthing. He also said that the existing plug was in a very good condition, but he went forward with replacing it anyway as a precautious measure. But the earthing coil was rusted, which could also cause the issue, so he replaced that too | ||
|
| (1)
Thanks
|
| The following BHPian Thanks shravansp24 for this useful post: | advstreak |
| |
|
18th January 2024, 15:58
| #102 | |
| BHPian Join Date: Mar 2019 Location: Delhi/Calcutta
Posts: 750
Thanked: 3,719 Times
Infractions: 0/1 (7) | Re: Ownership Review | KTM Adventure 250 Quote:
| |
|
| ()
Thanks
|
|
18th January 2024, 19:32
| #103 | |
| BHPian Join Date: Aug 2022 Location: Pune/Bengaluru
Posts: 215
Thanked: 532 Times
| Re: Ownership Review | KTM Adventure 250 Quote:
The Hyperider's saddle stays and top rack are doing okay. No rust issues as such. But the mechanical dimensional tolerance needs to be improved as I had some trouble fitting them back again after taking them out once. | |
|
| ()
Thanks
|
|
18th January 2024, 20:06
| #104 | |
| BHPian Join Date: Mar 2019 Location: Delhi/Calcutta
Posts: 750
Thanked: 3,719 Times
Infractions: 0/1 (7) | Re: Ownership Review | KTM Adventure 250 Quote:
| |
|
| ()
Thanks
|
|
22nd January 2024, 13:02
| #105 | ||
| BHPian Join Date: Aug 2022 Location: Pune/Bengaluru
Posts: 215
Thanked: 532 Times
| Re: Ownership Review | KTM Adventure 250 So here are the 6th service and mods updates. They are listed in the order changes were made. Resonator delete Quote:
Rally windshield The windshield deflector broke during a minor crash on account of it being made of acrylic. At the same time, Dismotech launched its rally replica windshield made in Polycarbonate. I decided to give this one a try for the looks and somewhat mixed reviews over various platforms. The rubber nuts given with the windshield were of very low quality and the insert got separated from the rubber molding during the installation only. Hence replaced all of them with Nylock nuts with loctite-coated bolts. This will ensure that the bolts will never get loose. 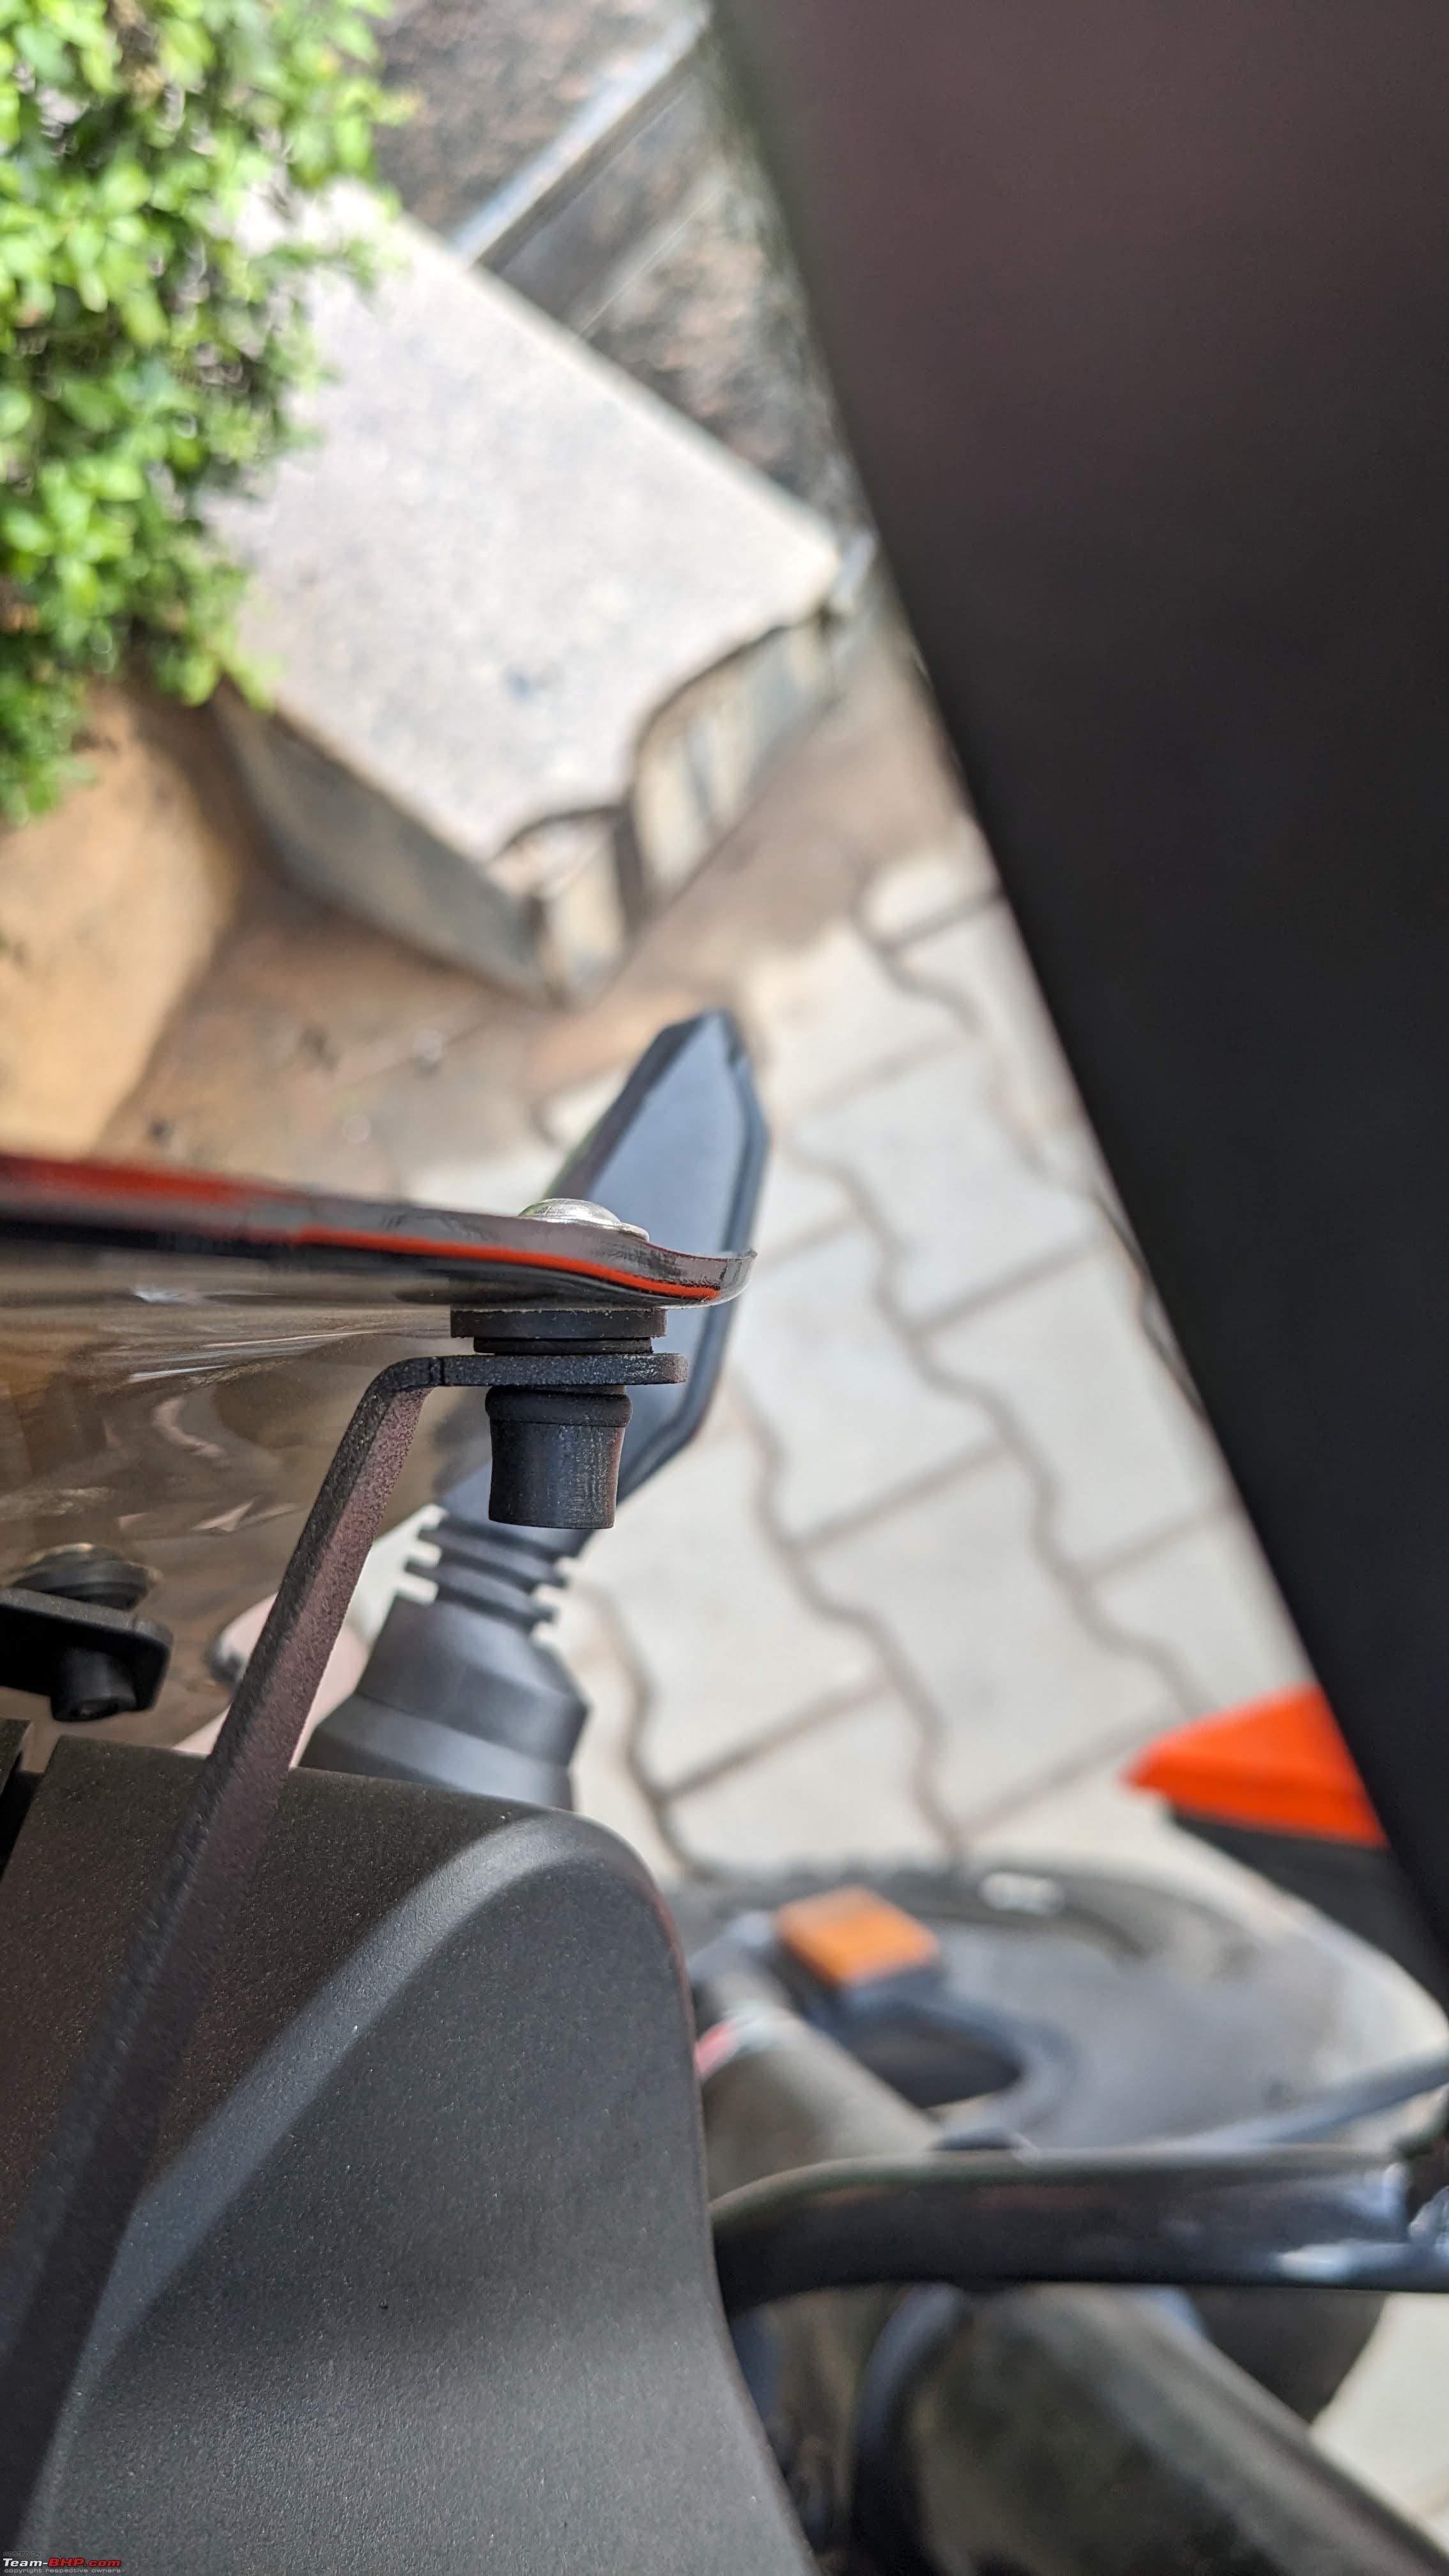  This is the how bike looks post installation:    The rally windshield due to its curved design does not flex and vibrate like the stock or most of the other aftermarket windshields. The performance is better than the stock windshield. There is barely any windblast but due to the steep angle, there is some buffeting near the helmet. To solve that I borrowed the Pro-spec extension from @Game_of_Roads. It did solve the buffeting at the center of the helmet but there was still some from the sides. For that went to the Pro-spec office and got their widest extension ie ER760. The one for the stock windshield is ER740. ER 760 took care of the side buffeting to a large extent. To give more stability to the rally windshield+extensoin I added a couple of braces using the off-the-shelf angle brackets. They are mounted using GPS mount and through a couple of drilled holes in the windshield. Here is the bike with the ER740 extension installed.  And this is with the ER760 and the support installed.  Earlier the spoilers next were removed as they had broken. This increased the airflow to the torso area. This was not a problem with the windshield deflector but with the rally windshield there was more air coming in hitting the torso and then moving up hitting the helmet leading to increased wind noise. So the spoilers had to be installed back leading to figure out an alternate way to mount the aux clamps which is discussed further. AUX LAMP MOUNT Earlier I was using a copy of the Maddog clamps which did not have a weld at the bottom like the original one. This caused the clamp to vibrate a little and the aux lights to shake. Also, the clamp itself was mounted to the number plate holding area increasing the stress on the already weak by design headlight assembly. I was thinking of mounting something to the headlight support frame but with the spoilers in place, there was going to be very little clearance with the front forks. Then after some time spending time on Google, I discovered that there are alternate styles of clamps also which use the frame mounting hole instead of the number plate hole. Here are the three options I had considered: https://www.maddog.co.in/product_details/390ADVAD https://advtribe.in/products/ktm-390...og-lamp-holder https://lluvia.in/product/foglamp-mount-ktm-adventure/ The Maddog won't did not have flanges or welds at the bend to make it stiffer. Also, it looked like it would require the number plate to be relocated which I did not want to do. The advtribe was only using one hole for mounting and to prevent rotation is used a support plate which led to getting the Lluvia one as it used both holes which aided in rotation preventation stressing the plastic headlight cover. Also both of them uses pipe which in theory should give the stiffest mount with less weight. The mount is properly stiff and did not notice an increase in headlight vibration or in the aux lamps. Here are the pics of aux lamp mount post installation:        Brembo Sintered Brake Pads Both the rear and front brake pads needed replacement and hence decided to get a Brembo sintered one to get better braking performance. Here is the condition of the stock organic brake pad   Initially, sparify.co the place where I ordered the pads had sent both left-hand side rear brake pads. After having a quick chat with the customer support they sent the correct parts.   The sintered brake pads took some time to break in properly around 500 km give or take. But once they have broken in properly there is a significant increase in braking performance and totally worth the premium they command over organic ones. Reise TourR Tyres So after 33000 km, the stock MRF meteor had been worn out to that there was less than a 1mm tread left to the TWI. Here is their condition just before replacement:   My initial plan was to get more road-based tires like the traceR as my use case is more biased towards for on-road touring and whatever trails I might go on my off-roading skills to be leveled up before getting better off-road tires. I had chosen traceR as they come in stock size. The other option I was considering was to get MRF KURVE which comes in stock on the CB350RS and the TRIUMPH SCRAMBLER 400X but decided to go against it as I heard reports of them being not so great. As the traceR was out of stock on the resie website itself and not available elsewhere in the local market I placed their order on tyremarket.com. But it had gone out of stock there also which they took their own sweet time to respond to. As I wanted to replace them worn out MRF quickly decided to go ahead with tourR. They are more focused on touring in various road conditions. The front was made in the 44th week while the rear was made in the 23rd week so they are fairly recently made. The first thing you notice in notice in tourR is much softer ride quality compared to MRF. The ride is more plush while having 29 and 31 as front and back pressure respectively. Post 200 km or so post installation I did a Kolli Hills ride to check their performance on twisties and these do better cornering than MRFs. I will be checking their off-road performance after and will update accordingly. The braking performance was also better compared to MRF due to the slightly softer compound being used for the blocks. From a touring perspective, these are very good tires for the price. Here are some pictures just after getting them installed.   ROLON BRASS CHAIN KIT I had been lubing the stock chain quite regularly using SAE 140 oil and it was showing not much extension and seemed to have reached a steady state. The rear sprocket was also not showing much signs of wear. But when the mechanic opened up to clean the front sprocket it had quite noticeably worn out and even some teeth had bent a little. As per the mechanic, the front sprocket wearing out much faster is a common thing in KTM. Here is the pic of the stock front sprocket after 33K Km:  As the chain also had developed a few tight spots decided to get some bling in the form of a brass chain kit. Now the brass chain kit is only available for the 390 Adeventure which uses a 15/45 sprocket set. The 250 Adventure uses a 14/46 sprocket combo. In order not to alter the gearing much I decided to get a new 14 teeth stock front sprocket. Now the bike is running a 14/45 combo which is slightly taller than the stock gearing. This affects the acceleration a little but it cruises at a slightly lower rpm on highways. For reference earlier, it used to be 100 kmph in 6th at 6000-6100 rpm approx. Now with the revised sprocket combo it does it at around 5900-6000 rpm. A small negligible difference which one will only notice if pointed out. The brass chain does appear to run a little quiter and smoother but its true character will only be known after a couple of thousand km of use.    PAKELO ENGINE OIL I decided to get one of the fancy oils and see if it makes a difference. Hence got the Pakelo 10W50 and it does seem to make the bike a little smoother. There are lesser vibrations all across the rev range. This could be also it just being freash oil and more concrete evidence will come after it has done more than a couple of thousand km.  Now the 6th service was done at 33204 Km and along with the thing mentioned above the usual suspects like the air filter, oil filter, fuel filter, and spark plug were replaced. The mechanic suggestion was to stick to stock spark plus as there are a lot of fakes on NGK iridium was are very hard to distinguish from the real one. Here are some pics post service:   Quote:
Both the rack and saddle stay has fitment issue. Still doable but it took some time to get everything right to fit properly. | ||
|
| (6)
Thanks
|
| The following 6 BHPians Thank advstreak for this useful post: | b16h22, Game_of_Roads, Geo_Ipe, PurpleTitanium, Red Liner, sukiwa |
|