Quote:
Originally Posted by sboddup2  I bought it on a work trip to the US. I did not have any issues with customs on my way in but that being said, I was surprised by that. I had a receipt and all that ready with me in case I had issues.
I'll post some pictures and thoughts on the system after my install this weekend. |
As promised, here's an update on the Bavsound Install + DIY Sound Deadening
What you'll need:
1.) Extra door clips: They run cheap on ebay and amazon. Buy 30 and keep them around. I broke 8 during the process and just swapped them out.
2.) Goo Gone: Any solvent like Goo Gone will help get rid of all the gunk that the dynamat (or any other sound deadening material) will inevetably leave behind on the body of the car. It's pretty tough stuff to take off
3.) Bavsound tool kit: You can pretty much take your entire car apart with what's provided in the kit. It's a good buy.
4.) Felt Tape: Works miraculously on clips and plastic on plastic rattles. I still have a little one left on the driver's side door but I will find it someday.
5.) Scissors: A high quality scissors is needed to cut through the dynamat.
6.) Time and Patience: I would say the whole project (Bavound + Sound dampening + felt lining) took about 10 hours. Be also prepared for some tired hands and fingers
Pro Tips:
I'm not a pro, but I imagine these are the things a pro would tell me had I reached out for advice on the project.
1.) This isn't as "DIY" as you would think. I honestly don't think these class of cars are built for panel removal and reinstall. They are built to last in their shipped configuration. An example of this is in the midrange driver on the dash. When I installed the BavSound version 1 screw refused to go in. The hole in the dash material wouldn't accept the screw as the hole was rendered useless after one unscrewing of the factory stock speaker. Had to let that one go and be happy with the 2 that went one in
2.) You aren't Jason Seaver: I've exchanged a couple of emails with Jason from Bavsound and his videos are great and he's very helpful. That being said the videos on youtube really oversimplify the process. For example, the front doors tend to be easy to unclip top down and the back from the bottom up. Also, don't think that you are in a rush to finish this. I did this over a course of 3 days.
3.) Work bottom up: Any dings that you leave on the doorpads are less conspicuous at the bottom. When clipping the door back, also lay on the ground and clip the bottom clips back in first. Those are the easiest to break especially if you move top down and can't really see the clips lining up.
4.) Tough love: Think about the door panels as a child that won't cooperate. You want to show the child who's boss but at the same time be gentle. The door panels do require a fair bit of effort to pull out.
5.) Keep the door panels connected: You don't need to unclip the entire door, keep it wired and rest it on a blanket or a soft material. The window trim is next to near impossible to pry out and just leaves you terrified. I did it only for one door and left the rest on while I did the process.
6.) Awareness: Be aware of your surroundings, you tend to bump your head here and there. Stay hydrated as well.
7.) Know how big the door pads are: I put dynamat in places that the doorpad didn't cover and it was really very difficult to remove.
8.) Grab handles: I would like to find the person who designed these and ask them what they were drinking when they designed these. They creak, fit poorly and are painful to put back in. Start with the bottom clip and work your way up.
Here are some pictures:
There's a little gap between the rubber and the grab handle trim that you can use to work your way through the clips
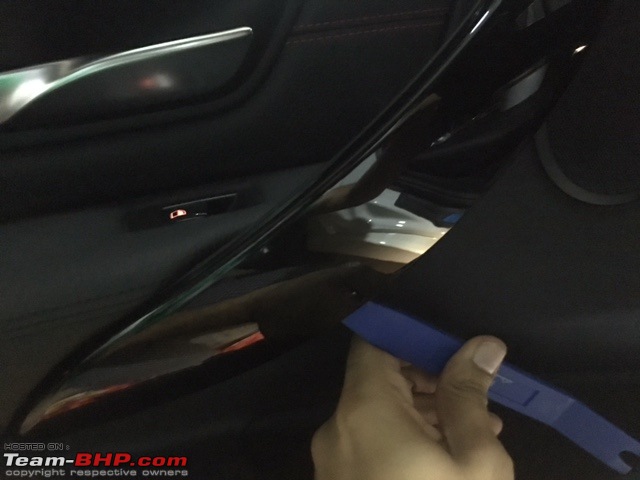
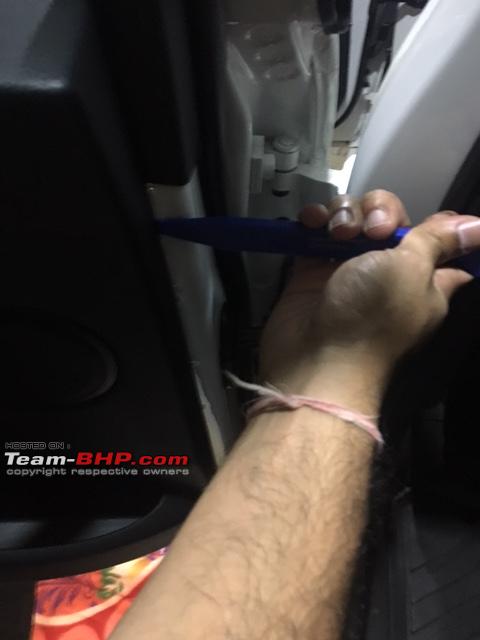
Door pad removal. Start in a location that people can't see should you put a ding on the panel. Use the PLASTIC trim tool only. Metal will just destroy the thing. I also found the rear panels much harder to remove for some reason.

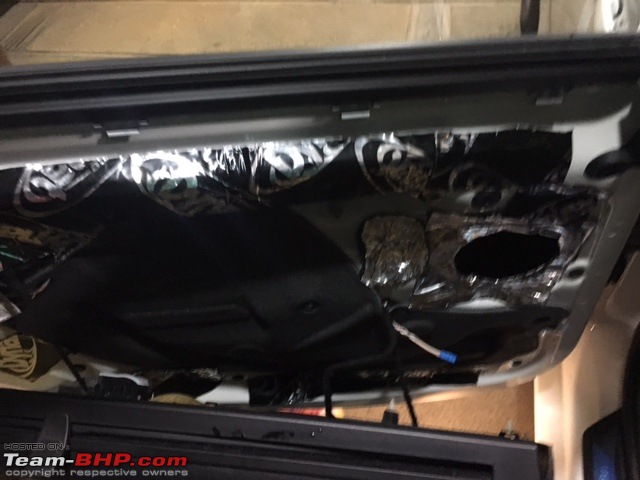
Use as much dynamat as you please, but be mindful of the door panel needing to cover it all. Also make sure the material is warmed up (I used a hairdryer) and use a roller to get on firm
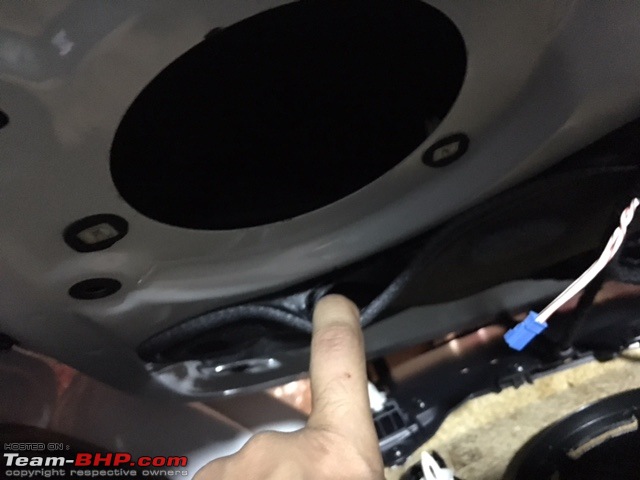
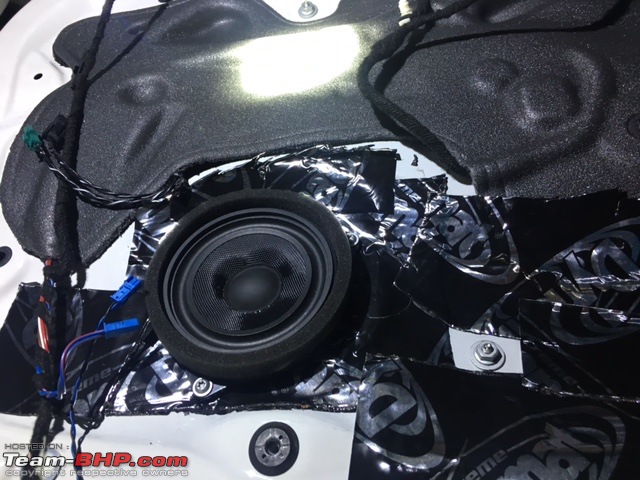
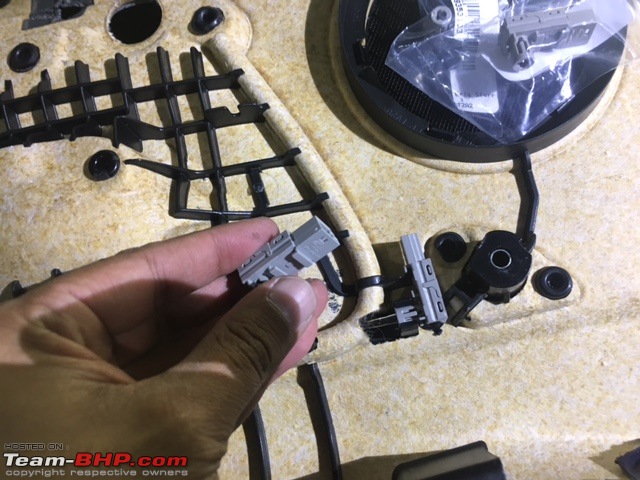
The Bavsound drivers have wires through the back (vs. the front for stock Hi-Fi) and you will need to pry a little opening between the metal and this foam to pull the wires back up.
Getting in the dynamat behind the speaker is hard. Make squares, fold a little bit and go for an area that's uncovered. Be prepared for some cuts on your fingers; the material is sharp on the edges. Make sure again to roll it all in nicely. On the outer panel, make sure that you are not covering any holes for the clips and the screws.

Door clips: Your best friend on this project

This is what I meant by making sure how much your door panel can cover. Removing these little strips was extremely painful

Some more pictures of the install:


I also did some other improvements to my car while I was at it:
Door Panel LEDs: The Pre-LCI has a really low intensity LED that runs through the glass piping on the door. They changed that with the LCI. I found out the part number and bought them online. Here's a pic of the part and swapping it out:
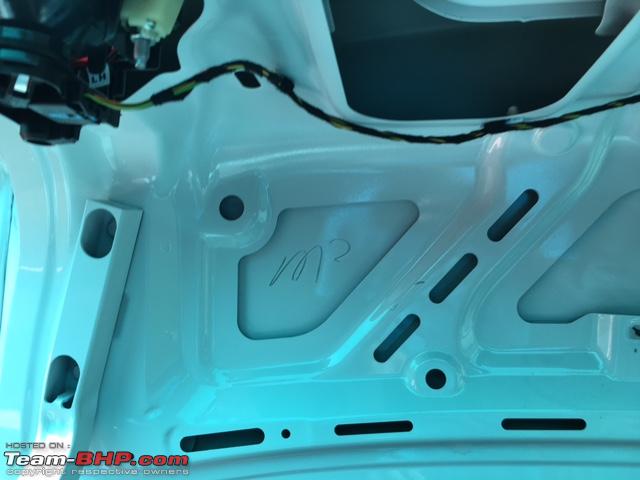
Dynamat - Trunk and Rear Seat:


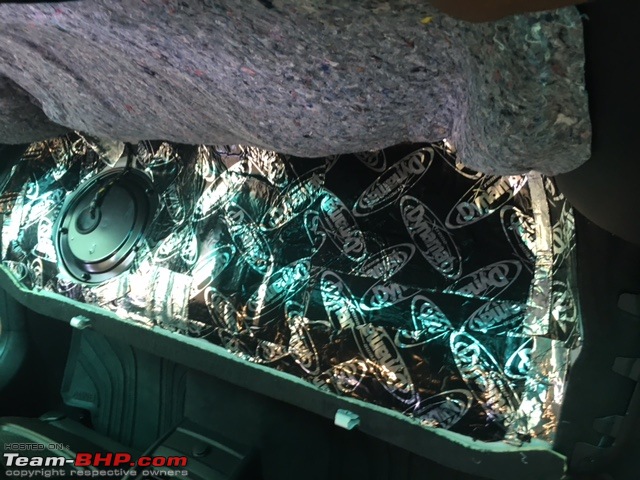

Those who know me well will tell you I'm a stickler for rattles and creaks. That being said the F30 has a ton. It's fast and fun but a quiet ride it is not. I felt lined some high creak areas and this stuff really works well.


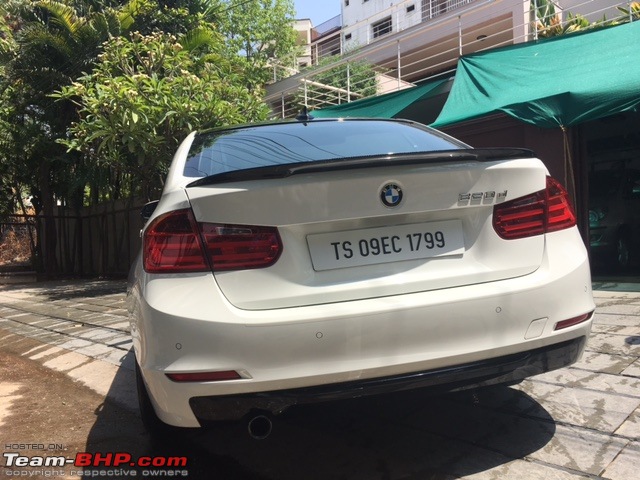
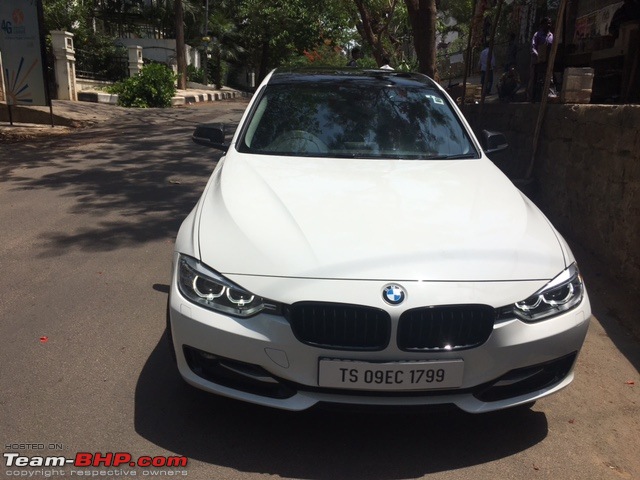
Finally, here are some pictures of the car after the roof and the diffuser wrap. The fin wasn't done well. I'm going to use an exactoknife and remove it, get it wrapped and then reattach soon:
 Verdict:
1.) Bavsound Stage One: I paid $550 for this and it was money well spent. The sound stage in the car is now just at a higher level. Of pleasant surprise was how much bass this produces considering I didn't opt for the Ghost woofer upgrade (I will next time I travel). The downside is this project definitely took a lot longer than expected and it was of a higher complexity as well. That being said, I couldn't think of anyone I could trust with my car so I decided to do it myself
2.) Dynamat: If the 3 series was economy class and the 5 business, I would say that dynamat definitely put my car somewhere inbetween. It's much better damped, quieter, and just a nicer place to be in. For $170, it's definitely worth it.
Cheers!


 8th May 2017, 16:41

 (1)
Thanks
(1)
Thanks


 that's shocking to say the least. A sub 6 second 0-100 sedan in that range was missing for a long time. Don't know why they got it in the GT before the sedan.

