News
DIY: Fixing & painting a deep scratch
They provide you with a spray paint kit which includes matching paint for your car - one would have to specify the exact color code as mentioned on car's RC Card.
BHPian somspaple recently shared this with other enthusiasts.
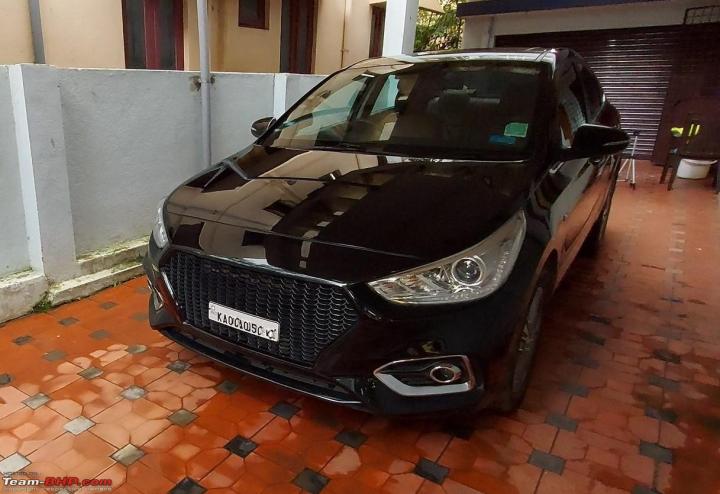
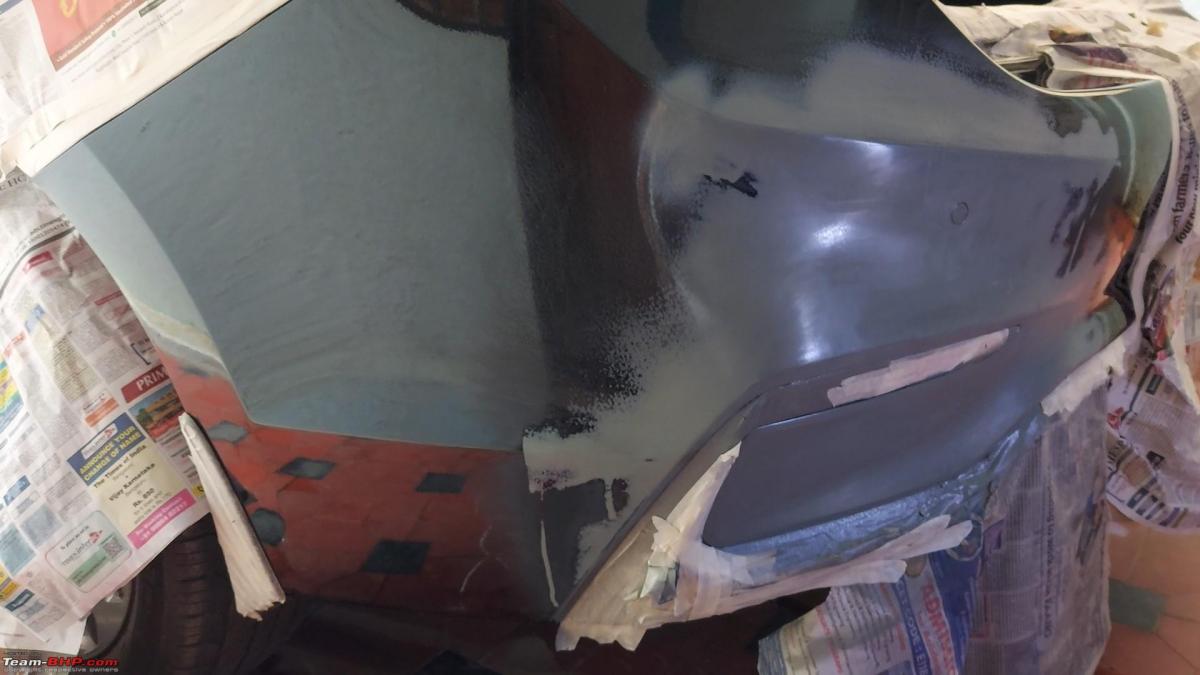
On one fine day I backed my car into a tree.. just like that! It was a closed road and absolutely no traffic or people around. Luckily nothing happened to the occupants or the tree apart from my bruised ego. And of course bruises and deep gouges on the car's bumper!!
Damage is much worse than it looks on this pic.
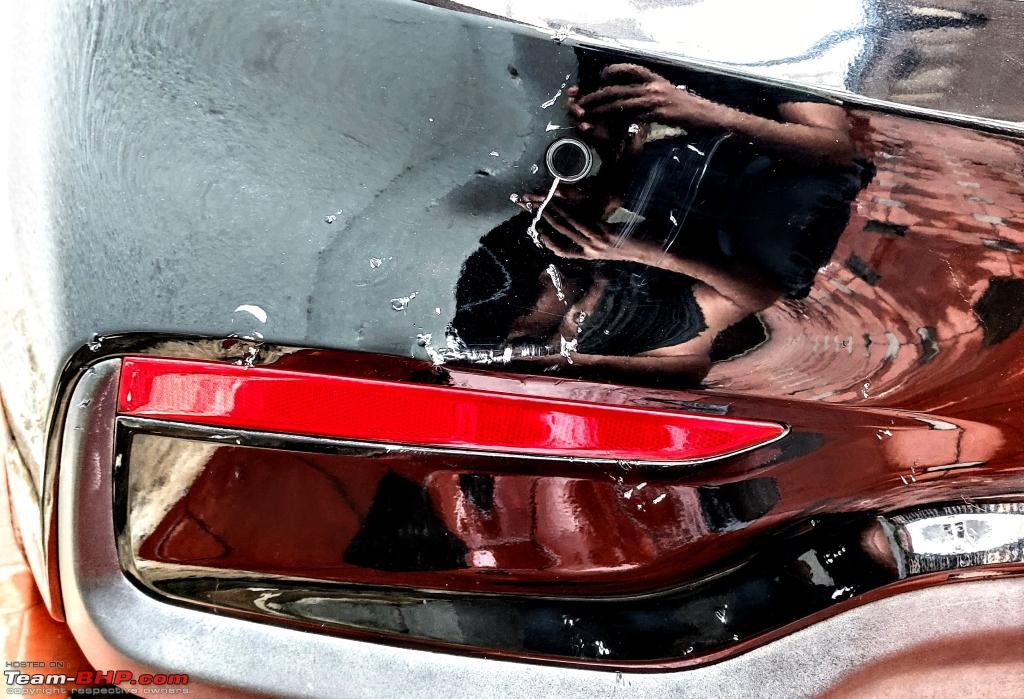
Later that day, I visited Hyundai Service Center for getting a quote for the repair. They promptly asked me to claim insurance for entire bumper repair/replacement (a small side bumper clip is also broken but it's not too bad). Since it was already evening, I returned home thinking will drop the car next day for repairs.
But I also started exploring DIY options - specifically matching paint options online and on Youtube. Luckily chanced upon Com-Paint website. They provide you with a spray paint kit which includes matching paint for your car - one would have to specify the exact color code as mentioned on car's RC Card. I placed order for my car and got the kit delivered after a week.
Prior Experience: I've experimented with wet sanding on my previous car with good results. Apart from that, only experience I've is that of preparing wooden fascias for my DIY amps which included surface preparation with sanding and spraying clear coat etc.

Painting in itself is a simple task but the steps before and after painting are crucial to get the good results. Overall steps involved in painting any surface more of less remain same but intensity/repetition of each step would vary based on each scenario. Before starting the process - I tested the paint on 3 different panels: Inside the dicky which has bare paint, part of the plastic bumper and on door sill. On all places - paint was a good match. Only after confirming this I went ahead with next steps.
I also captured most of the steps in a video. Since there are so many steps involved the video length was running into 30+ mins, I ended up editing out many of the clips to keep the length sane at around 15+ mins. Probably I should've made it into 2 part video.
Surface Preparation
Cleaning the surface: Clear the debris if any stuck to the bumper/surface.
In my case I had to take care of rough and jagged edges with the help of a blade:
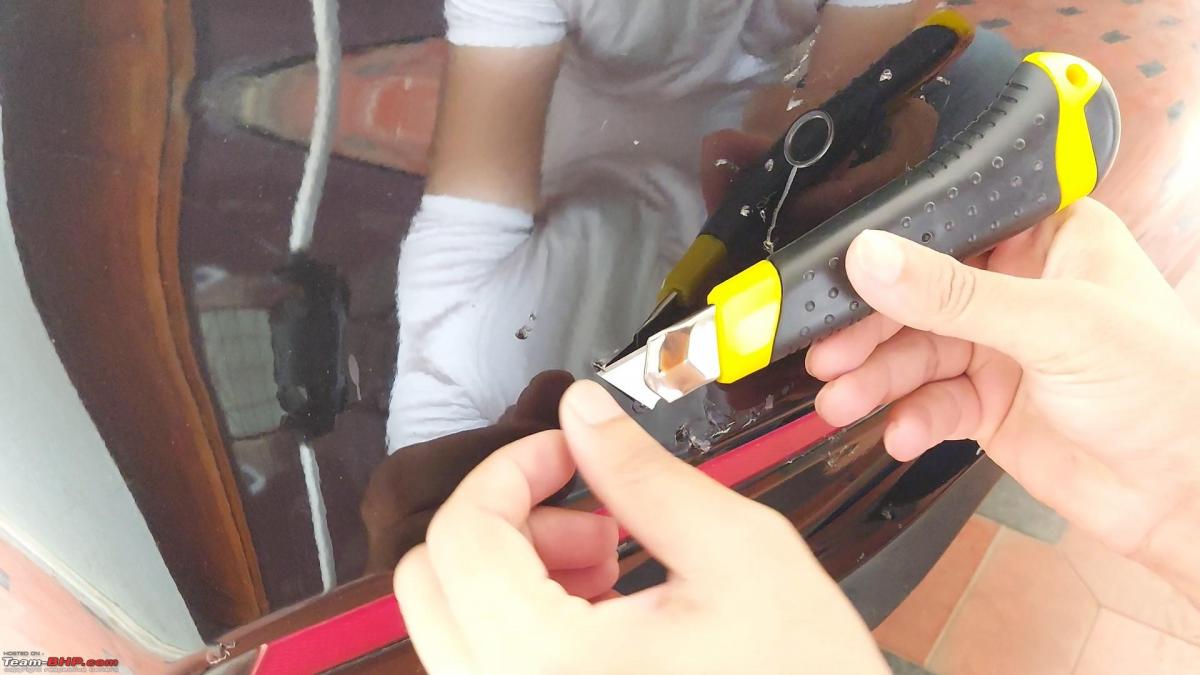
After removing most of the jagged edges of plastic:

Wet Sanding: Wet sand the area with 180 or 320 grit wet sandpaper. You would've to decide on the grit grade based on the amount of damage. This is the step where you take care of any bulges on the surface. Also need to be careful not to sand down too much so that it doesn't make the panel thin or even make a hole in it. Drying : Need to wait for the surface to be bone dry before starting with body fill.


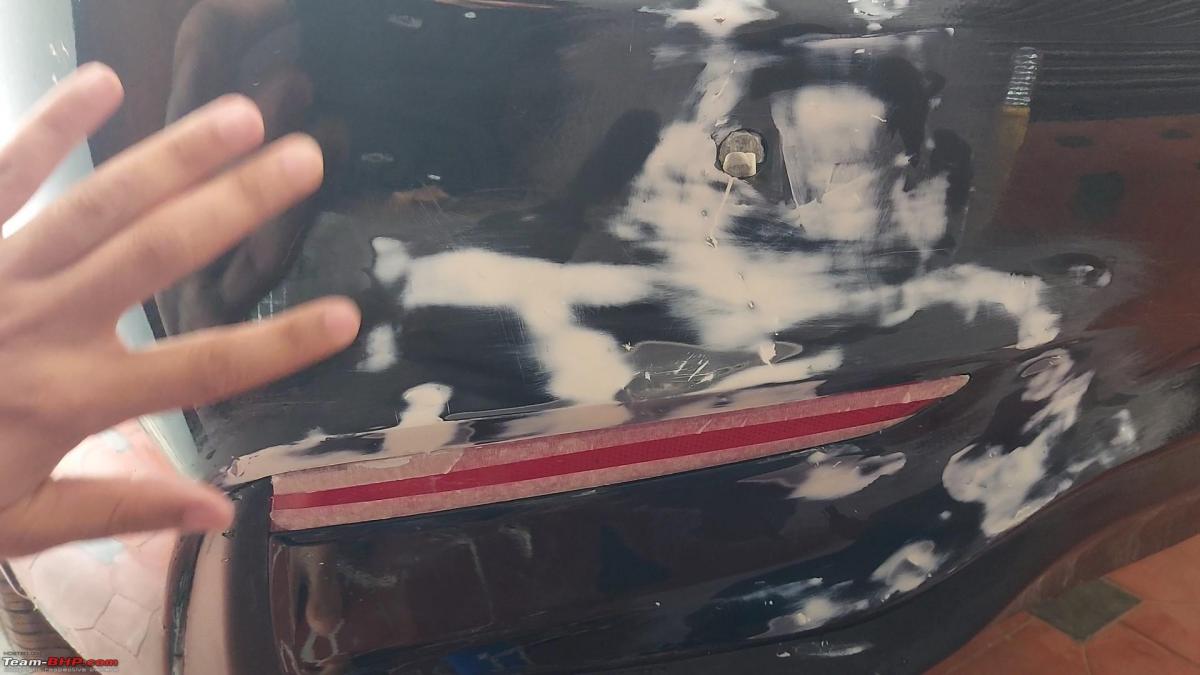
Body Fill: In this step you would have to take care of deep gouges and scratches. In my case, body fill was ready paste from Com-Paint - all I had to do was apply it with supplied applicator. While filling into deep groves make sure every piece debris is removed which otherwise make your fill unstable. Drying: Body fill need to dry before you can sand it - I waited for about 2 hours.

Sanding: Body fill can be dry sanded or wet sanded [Com-Paint suggested wet sanding] with 400 grit paper. Body filled surfaces must merge and flow into adjacent surfaces - should follow the original contours of the panel. If we don't get it right at this stage - no amount of Primer or Paint can correct this mistake.
Painting Steps
Masking tape: Masking is very important if we are painting a part of the car. Though invisible - atomized particles of primer/paint can fly all over and stick to other surfaces making it difficult to clean. In my case - I used masking tape along with multiple layers of newspapers. Also I used car cover to shield the car.


Plastic Primer: Plastic primer is an additional step I added (not suggested in Com-Paint's workflow). Since I was sanding down panels to bare plastic at few places this was required. Places with bare plastic and body fillers were covered with Primer. Primer also acts micro scratch filler (more on this on next wet sanding). Drying: Usually primer dries within couple of hours. In my case I let it dry for overnight.


Wet Sanding: Next day I wet sanded with 1000 Grit sand paper. Again similar to wet sanding body filler, we need to make sure the surface with Primer merges seamlessly with the surrounding areas. Also need to take care of any hard lines caused due to masking - I had to move the masking tapes away by few inches for this. Drying:We need to clean the surface thoroughly after wet sanding and let it dry.
Spray Paint: This is where I use the color matched paint from Com-Paint. Color was a perfect match and I added around 4 coats with 10 mins gap between each coat.
Com-Paint kit:

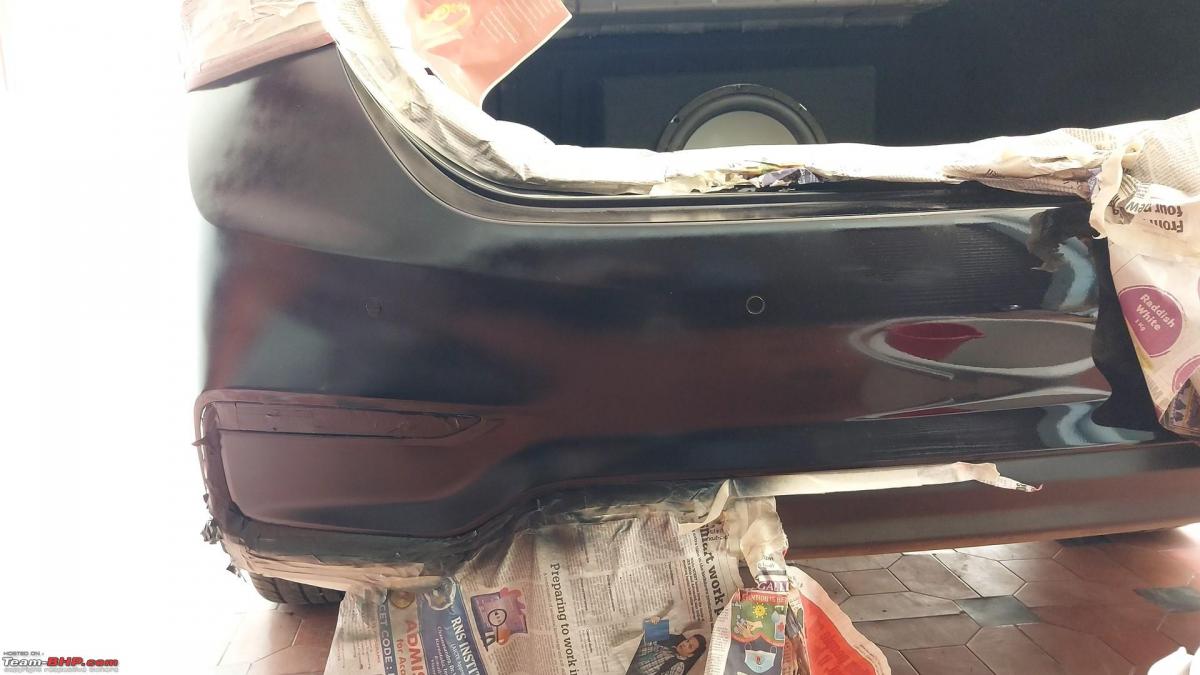
After 4 coats of paint:

Masking tape: At this point I had move the masking tape and open up the entire three quarter of the bumper - so that when I use Solvent Spray it merges with the existing paint uniformly.
Wet Sanding: Wet sanding with 2000 grit paper is required if you are using clear coat. In my case Com-Paint did not suggest this step probably the kit comes with a a Finishing Solvent instead of Clear Coat.
Clear Coat (Finishing Solvent in my case): This felt a lot lighter compared to regular clear coats I've used. Felt like a combination of clear coat and paint thinner[!?] . I added good 4+ sweeping coats covering larger areas. But I ran out of solvent - I would've like to give one more coat as area to cover in my case was much larger. At each step [from filler to clear coat] area we work up on gets increasingly bigger. This is not the case if you are painting a complete panel in full.
After Finishing Solvent:
Wet Sanding: Final round of wet sanding starting with 2000 grit and ending with 2500 grit. Uniform wet sanding helps in achieving that fine gloss after polishing.

Polishing and Protection
Polishing: I let the clear coat dry overnight [rather couple of nights as I got busy with some other work]. For polishing, I had options of TurtleWax Finishing Compound, 3M 1 Step Compound and Com-Paint's compound. After trying all 3 on different areas - felt that the TurtleWax was giving the best and quick result. But you need one more major ingredient in doing this - loads of elbow grease. This is also the most satisfying step of the entire workflow - you get to see the fruits of the hard labor!!
PS: I did try with polishing pad attachment for my hand grill - it resulted in harsh scuff marks on the paint just below the rear lights. Definitely not recommended. They are hard to get rid of.


Car Wash: It had been almost 4+ days that car was weathering intermittent showers and dust. I gave a proper wash and dried the entire car including newly painted panels.
Paint Protection and Waxing: Applied TurtleWax Seal and Shine. I couldn't follow this step up with Waxing as it started raining soon after that.


I'm happy with the results!! If planned properly entire process can be completed over a weekend including the drying time. I started the process on a Saturday late afternoon, spent most of Sunday afternoon and roughly around an hour each on next couple of days. If anybody wishes to embark on similar journey, make sure you watch enough videos on Youtube and experiment on a small panel before taking up the big task.
Check out BHPian comments for more insights and information.
- Tags:
- Indian
- Member Content
- DIY
- Painting
Find Car News
Just News


About Us