News
DIY: Installing intermittent wipers on my Hyundai Santro

The replacement wiper stalk costs less than Rs. 800 and makes monsoon drives safer & more convenient.
BHPian Gannu_1 recently shared this with other enthusiasts.
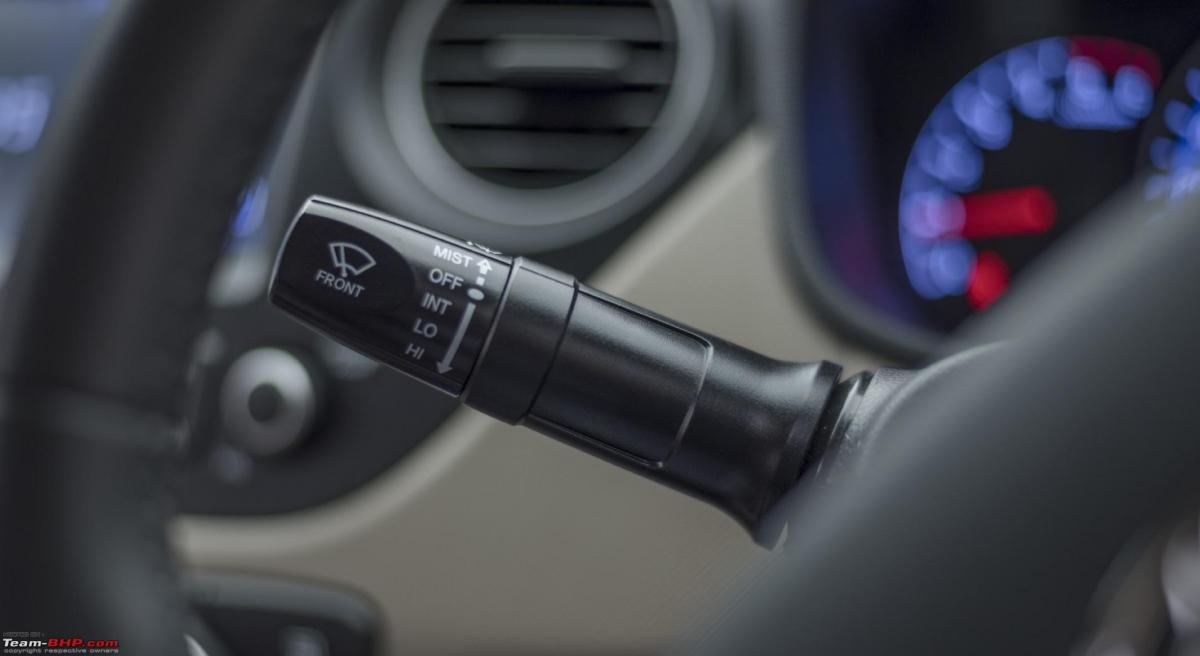
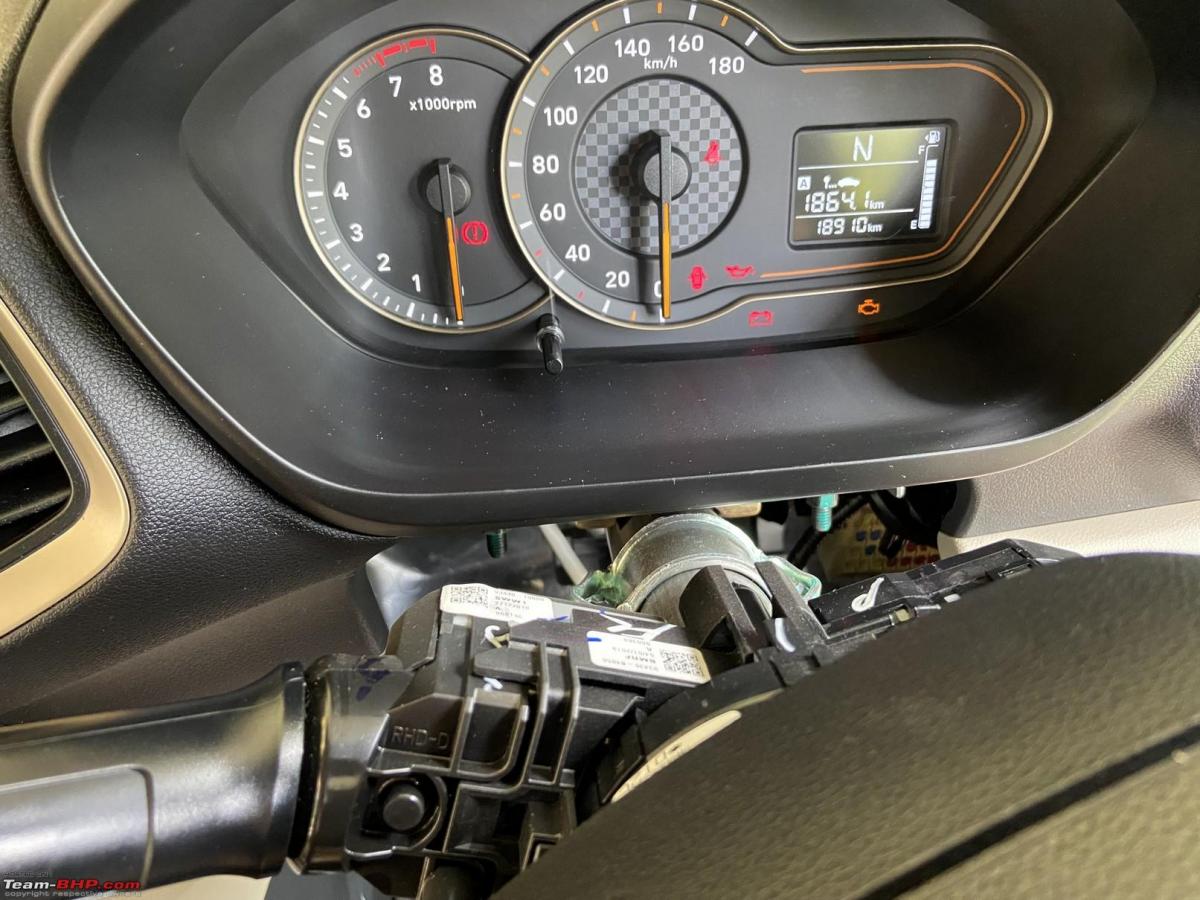
My parents use a 2018 Hyundai Santro Sportz AMT. The Santro has a wiper stalk which has a let-down - lack of the intermittent (INT) mode wherein the wiper works in breaks/pauses.

We usually engage this mode, when there's a light rain/drizzle and switch to the low speed when it starts pouring. In the Santro however, Hyundai chose to do away with the intermittent speed mode. When I visit my parents, I take the car out and during monsoons, this used to be bothersome. You've to constantly engage the wiper for that one wipe.
That’s when I decided to check the wiper stalk of the Grand i10 and Xcent which has the intermittent mode and figured that they all looked similar in construction including the electrical connector (verified from Boodmo's images).
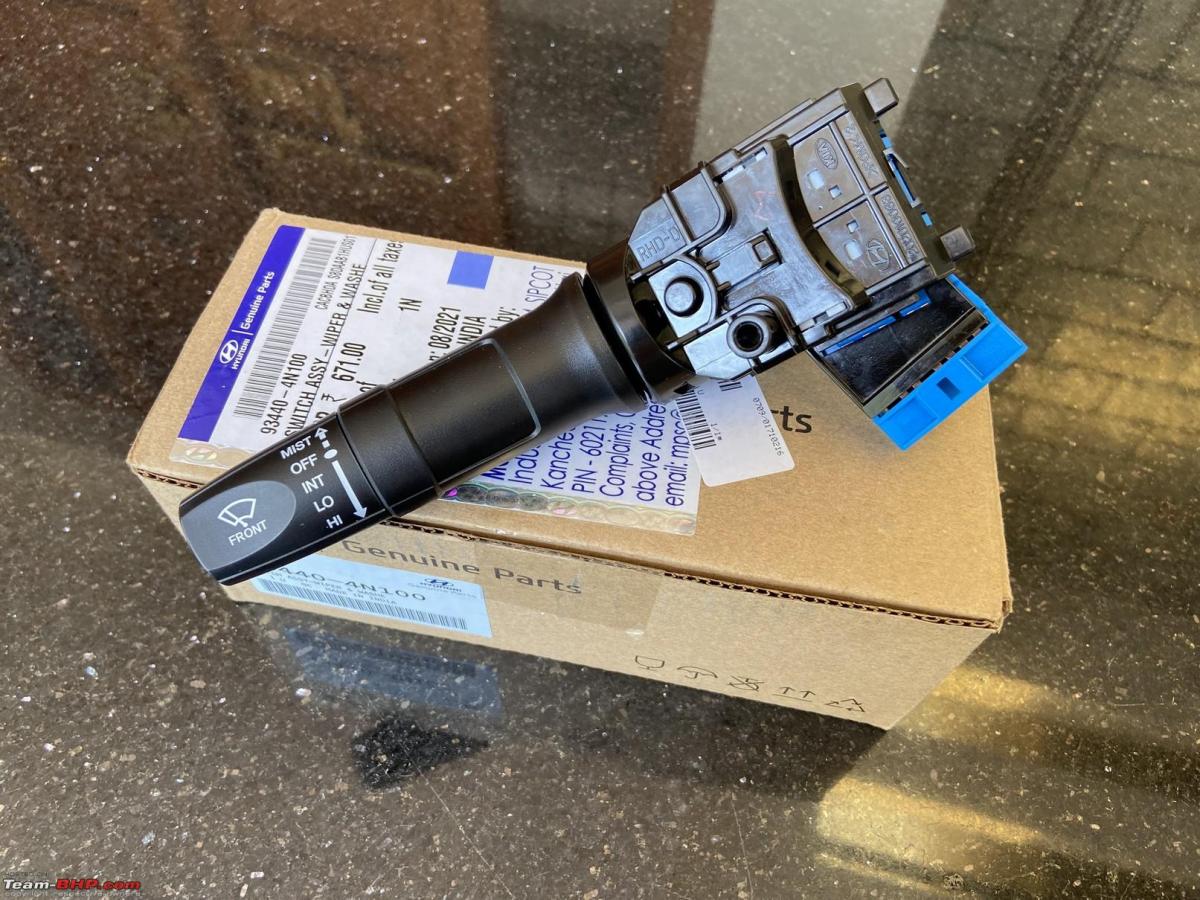
I decided to try my luck, bought a wiper stalk assy. from the Xcent off Boodmo, installed it and guess what! Not only did the intermittent mode work, as a bonus, but the wash-and-wipe feature also worked too! In the Santro, if you were to pull the wiper stalk towards the driver side, the nozzles spray the fluid on the windshield but the wipers won’t work in tandem. We have to manually turn the wiper on. This issue was sorted too which I realized during a drive later. Two birds in one shot eh?
Installation is simple and takes about 20 minutes tops. The replacement wiper stalk costs less than Rs. 800 (inclusive of shipping charges) and this upgrade is highly recommended for existing Santro owners! As always, I’ve listed down the tools required, part required, the procedure and a video as well. Santro owners who are bothered about this should definitely get the stalk replaced – makes your drive during monsoons that much more convenient.
Tools required:
- Phillips screwdriver
- Flat blade screwdriver
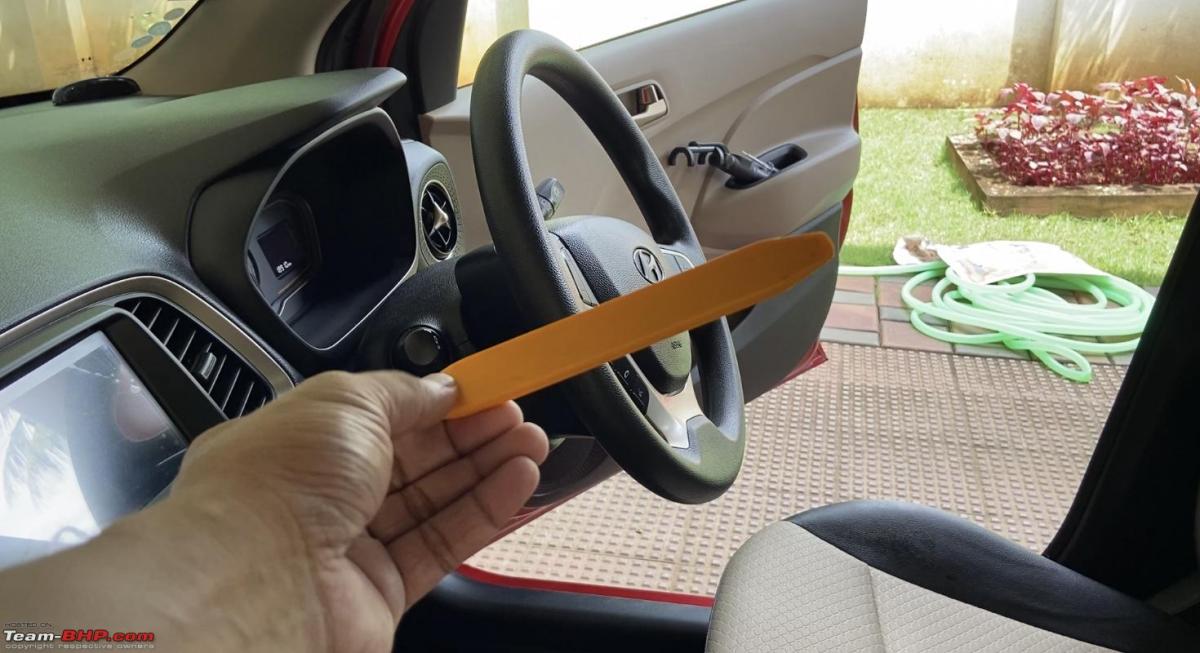
- Trim removal tool or cover the flat blade screwdriver with some masking tape
Part required:
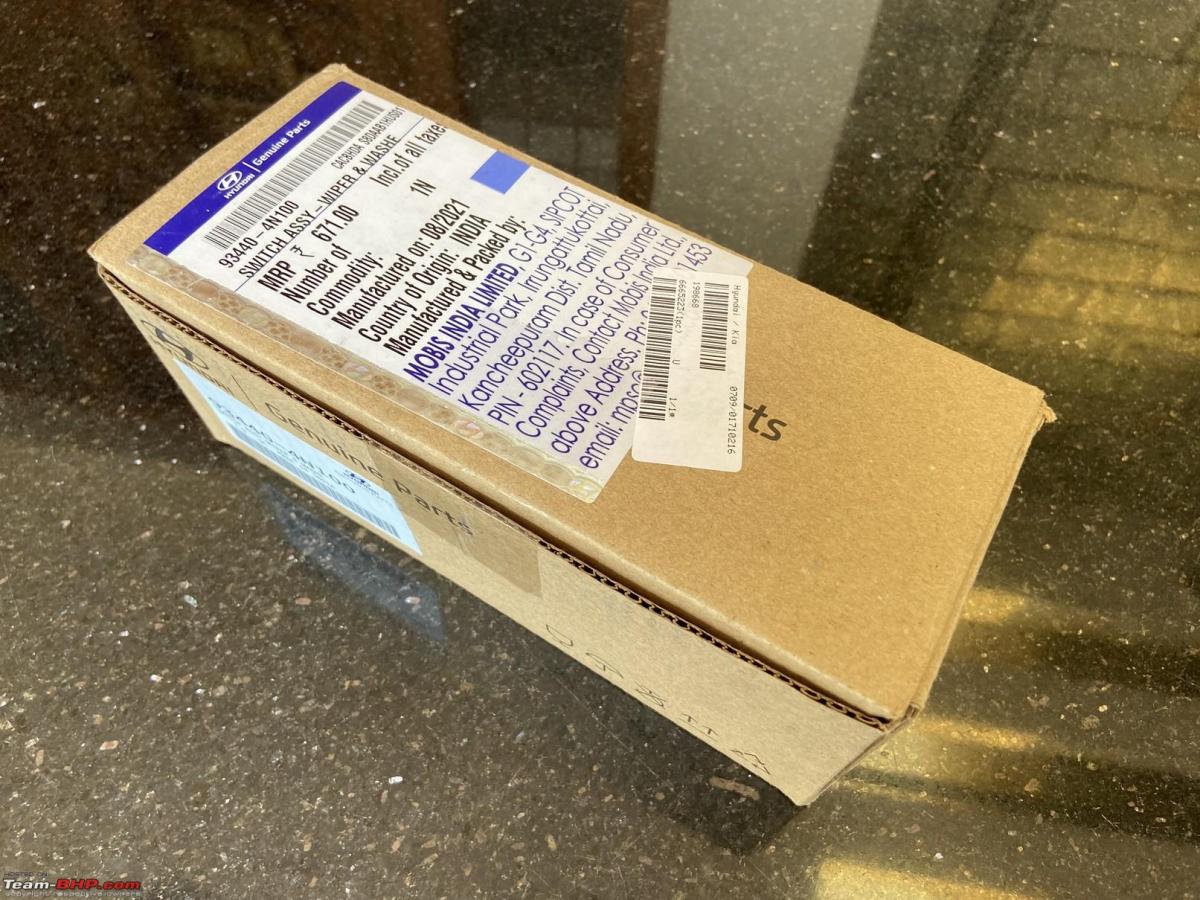
- SWITCH ASSY. - WIPER & WASHER - 93440-4N100 (Boodmo – link)
- Costs Rs. 671 (during Sep '21). Boodmo shipped the part on time and shipping charges were reasonable (Rs 76).
Procedure:
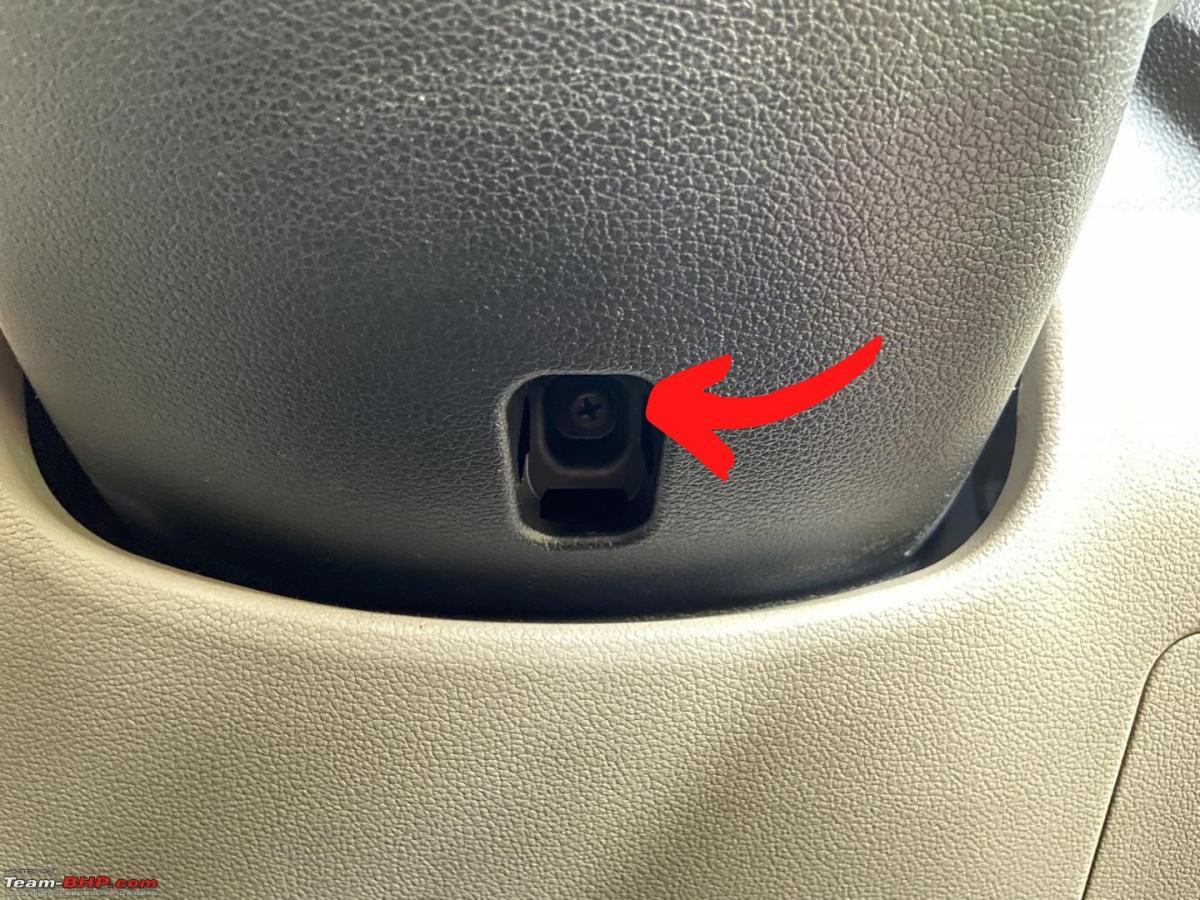
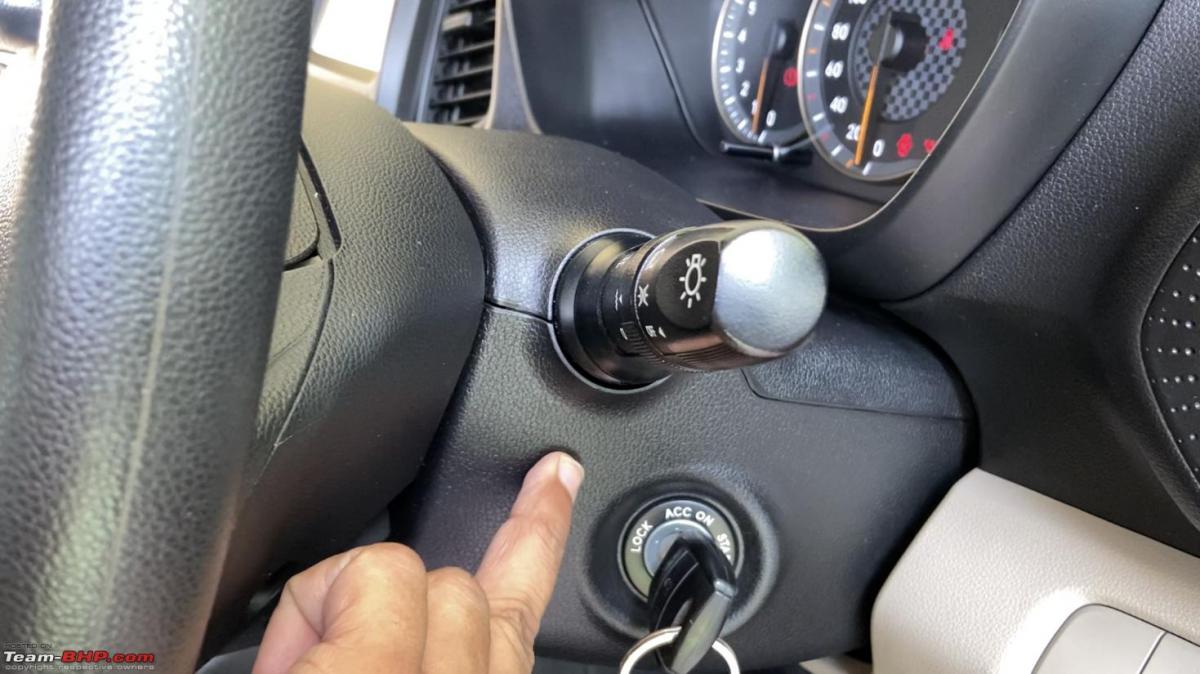
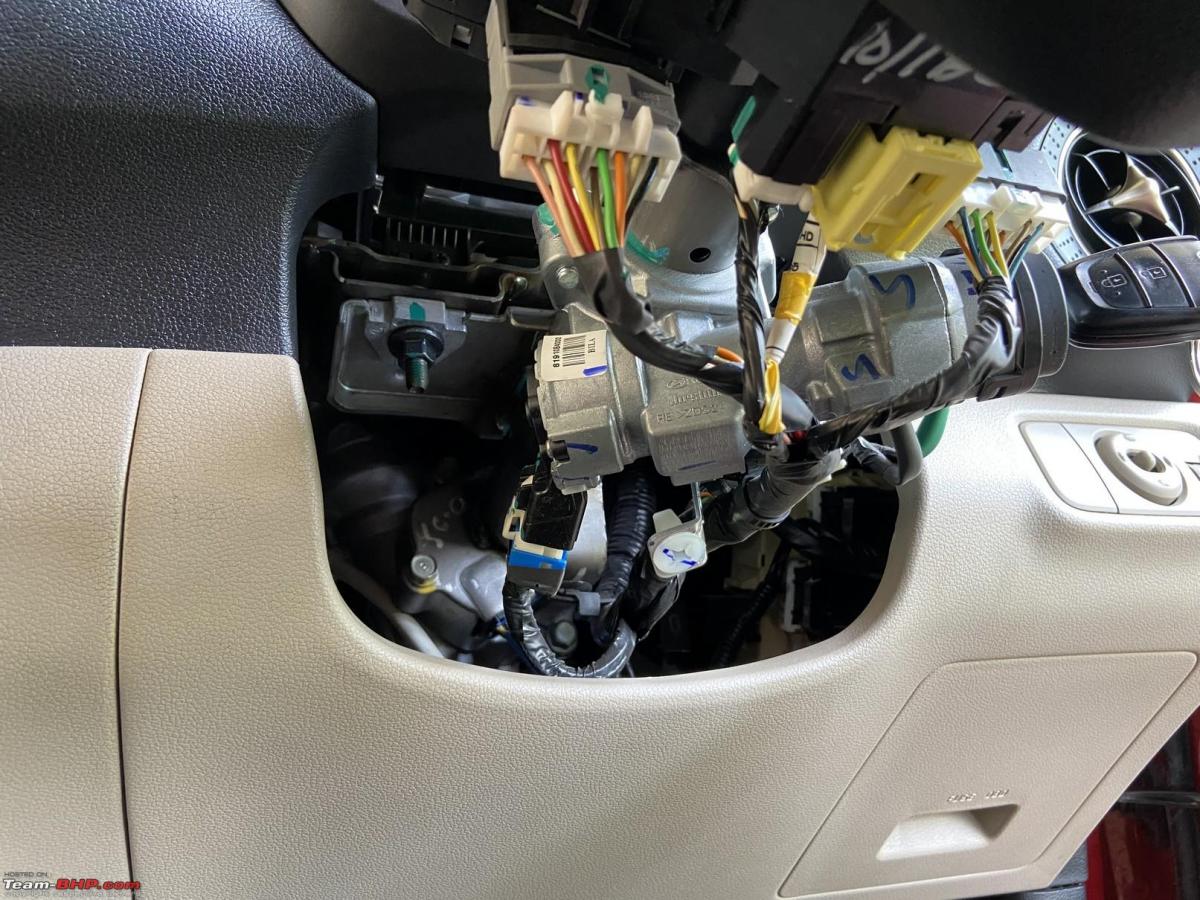
1. Undo the 3 Phillips screws holding the bottom steering cowl.
There are 2 screws on either side of the cowl:

And 1 at the bottom:
2. Use a trim removal tool (or a flat blade screwdriver covered with masking tape) to pry open the top and bottom steering column cowls.
3. Pull the top and bottom steering column cowls.
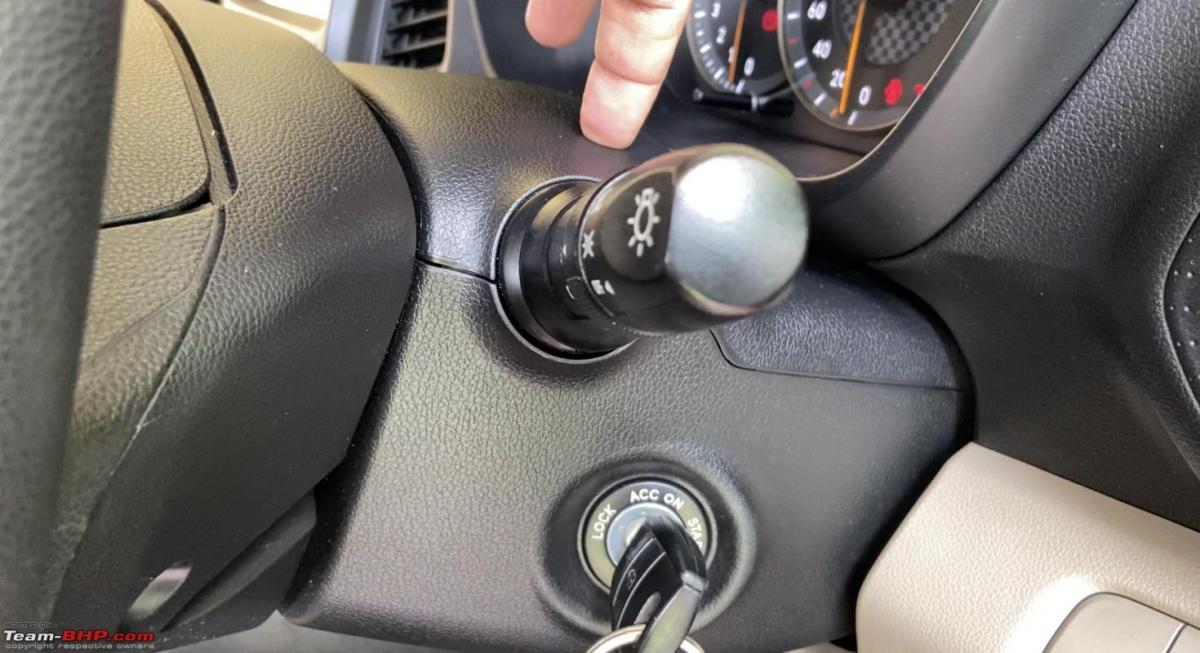
While removing the bottom cowl, you need to take it out of the ignition lock assy. carefully.
4. Press the tab on the connector of the wiper stalk and pull it off.
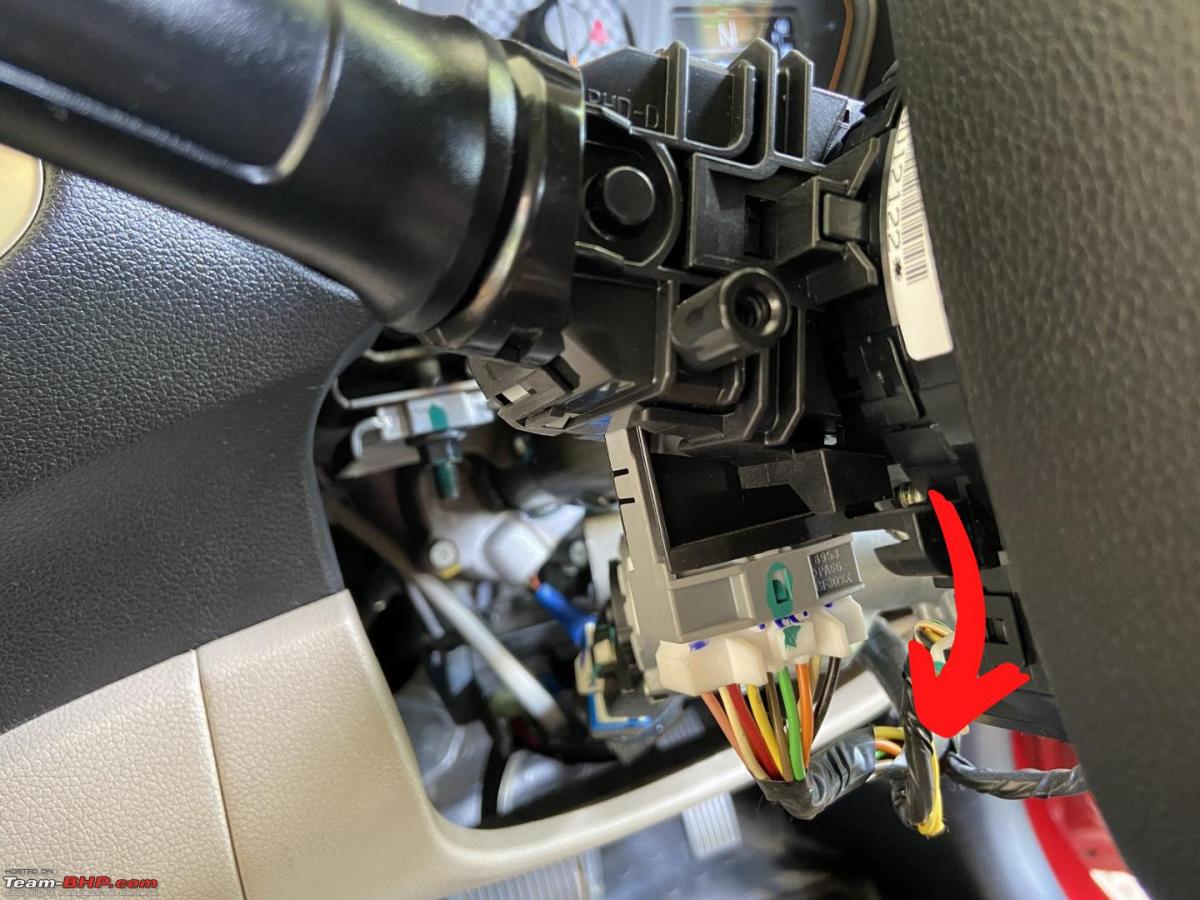
5. Use the flat blade screwdriver on the tab and that will release the stalk assembly from the slot.

Some snaps of the areas around the steering column:

The two stalks side-by-side (same size; the image is causing a perspective difference):

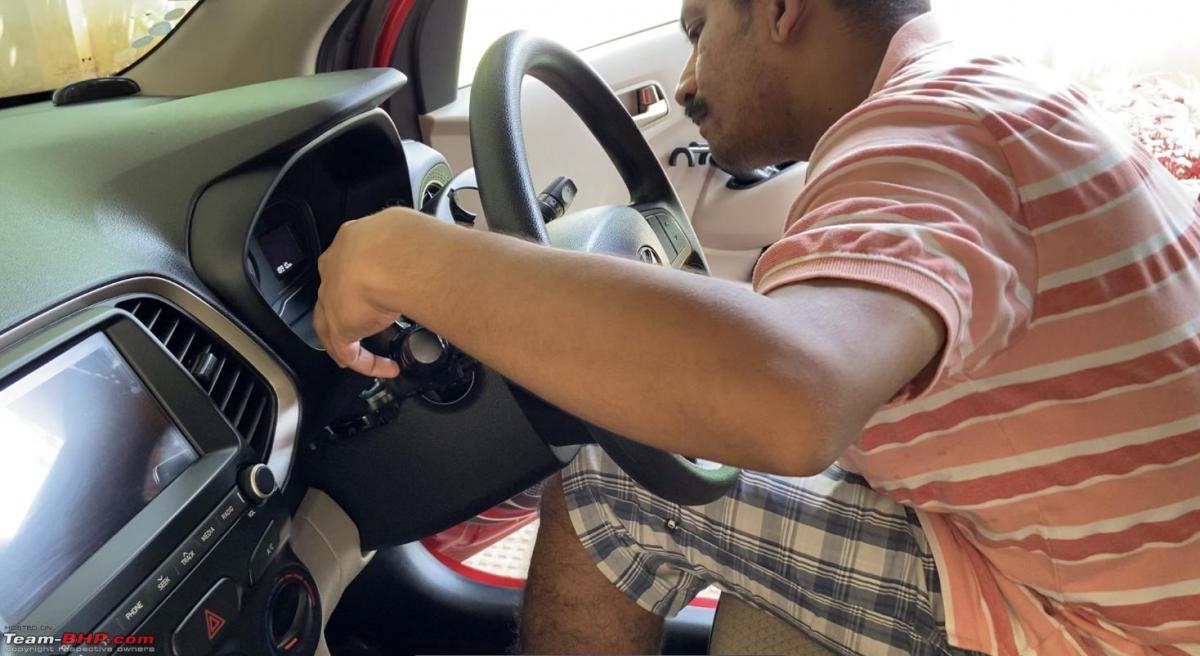
6. Reverse the steps - insert the new stalk in the slot and it will lock itself in with a firm click.

7. Plug the connector into the assy.

8. Before replacing the cowls back, test the working of the new stalk assy. just to be sure it is working fine.
9. Replace the bottom cowl and the 3 screws holding the cowl.
10. Replace the top cowl.
This is going to be a bit of a struggle as the steering column isn’t adjustable and there is limited space on top to work with. I took the most time here.
Result:

The intermittent mode works nicely now! After this was done, we went for a drive and that's when I realised the wash-and-wipe system works without the need to engage the wipers after the wiper stalk is pulled!
I've also clicked a video of the whole process for those who find videos convenient.
Check out BHPian comments for more insights and information.
- Tags:
- Indian
- Hyundai
- Member Content
- Santro
- DIY
Find Car News
Just News
_1.jpg)


_1.jpg)


About Us


Buy & Sell
USED CARS