News
DIY: Replacing the AC vents on my Mahindra Thar
The driver side installation part is fairly simple compared to the passenger side.
BHPian dr_TJ recently shared this with other enthusiasts.
The stock AC vents of the Thar happen to be quite fragile. Especially the knob present in the centre of the AC vent, which is used to adjust the Air Flow direction. We also need to use this knob to turn the vent anti-clockwise to stop the airflow.
This knob is known to break off easily, as per other Thar owners, although that does not hamper the functionality of the AC vent in any major way. Also, the black plastic top of the knob falls off.
In fact, the very next day of delivery of my Thar, I discover the glossy blacktop of the adjustment knob missing.

I ended up glueing a black plastic part on top of the knob just to make it look ok and prevent any OCD issue.
Meanwhile, I thought of getting my AC vent replaced under warranty at the service centre but was not very sure about their quality of work there. Stock AC vent is also available to buy from Boodmo or m2all but mostly out of stock.
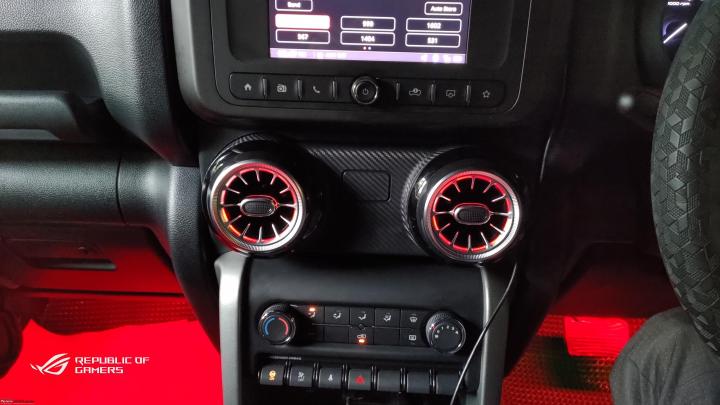
A few days after all this, I came across Mercedes-AMG styled AC vents (In Instagram) being installed on the new Thar, these vents also had App controlled LEDs. Although I am not a fan of randomly flashing RGB lighting in the car, a static colour is desirable to me.
I finally decided to go for the aftermarket AC vents to replace my stock vents. I searched around the internet for the availability of these new vents, mostly sold by the car accessories shop in and around Delhi.
These are also available on Aliexpress but have no shipping option.
Installation
Why DIY?
Now comes the hard part. Installation of these vents. I planned for a DIY installation right from the beginning because I generally have a dissatisfied feeling with the aftermarket accessories shop as well as the service centre guys' work quality here.
I asked around a few sellers who were selling those vents about the installation procedure.
To which every one of them replied "It's easy installation, Plug and Play, buy the vents, we will help you with the installation after you receive the parcel, place the order soon, high demand product"
Got the Vents
So, after lots of research and apprehension, I placed an order for these vents on carplus.in.

I received the parcel after a week. I did the unboxing and tested the LEDs for the vents with the 12V output of my 70mai jump starter power bank. The LEDs lit up and this got me excited.
I also checked out the airflow direction adjustment and the airflow control mechanism of the new vents. We can adjust the direction of the airflow easily in any direction by grabbing the centre tab. We need to rotate the vents anticlockwise to stop the airflow (Although air leakage is present) and clockwise to open up the vents for full flow. We hear a click when we get to a fully open or closed position.
Contrary to what the sellers say and I already knew, these vents are not direct plug and play cause we need to get 12V power for the LEDs. And since, I won't be messing with any stock wiring, I decided to use a fuse tap (Thar uses a Mini Low profile fuse).
Meanwhile, I decided to add LED footwell light strips as well to complete the interior lighting ambience. Got a footwell light kit from Amazon.
I wanted to add a common switch for LED AC vents and footwell lights. I don't like to have an only app or IR Remote controlled on-off functionality.
Yes, my bad, I could have got a whole kit that would work in sync with the LEDs of the vents to cause there is the option on the control module of the vents. The ones available were very expensive, so skipped them.
Coming to the switch, I decided to use the 12V power adapter of the footwell lights which have an on-off button.
Now, it was all up to the seller to fulfil his promise of help for my DIY installation process. Few pictures shared here are compiled from the seller-provided video because I was not able to click pictures of every step of my DIY installation process as I was doing it all alone and was nervous about the outcome.
After a few days, the seller sent me a video of the installation process on a new Thar. I was excited but as I got through the video, I realised, the installation is a bit complex.
The driver side installation part is fairly simple compared to the passenger side, where we have to unscrew the Passenger side airbag mount and the Passenger grab handle before we could pull off the trim. The central 2 vents are the easiest of the lot for removal and replacement.
Disclaimer: If anyone wants to do a DIY installation or replacement of the AC vents of the Thar, Do it at your own risk. Even if getting the installation done from any aftermarket shop or replacement from the service centre, Take the decision knowing it might cause damage and make things look worse than before. I shall not be liable for any damage claims. I would highly advise having the proper armamentarium and DIY skills to attempt this mod. Also, if done in the Aftermarket, make sure to have a close observation during the installation steps, as described in my thread because they might miss to re-fit stuff and very rarely do they use a fuse tap. Thank You
Armamentarium
- Plastic pry tools or trim removal tools
- Good quality tool kit
- Mini Low Profile Fuse tap and extra Mini LP fuse, 5A is good enough.
- Good quality wires
- Butt connectors (If you don't want to or can't go for soldering) and Crimper
- Ring terminal connector (Insulated is better) for grounding the circuit
- Multimeter or 12V tester
- Insulation tape or Heat-shrink insulation tube
- Zip ties
- 3M Double-sided tape
- 12V power adapter with an on-off switch or just any on-off switch suitable for the car (Just in case if you want to add a switch)
- Some Cloth gloves or some Nitrile gloves (not a must-have, but saves the hands from minor cuts from sharp plastic edges inside the dashboard trims. Don't use powdered surgical gloves as they will leave white powder marks on the interiors.

Let's get started
Driver's Side
So, I decided to start the installation process from the driver's side and kept the Passenger side for the last.
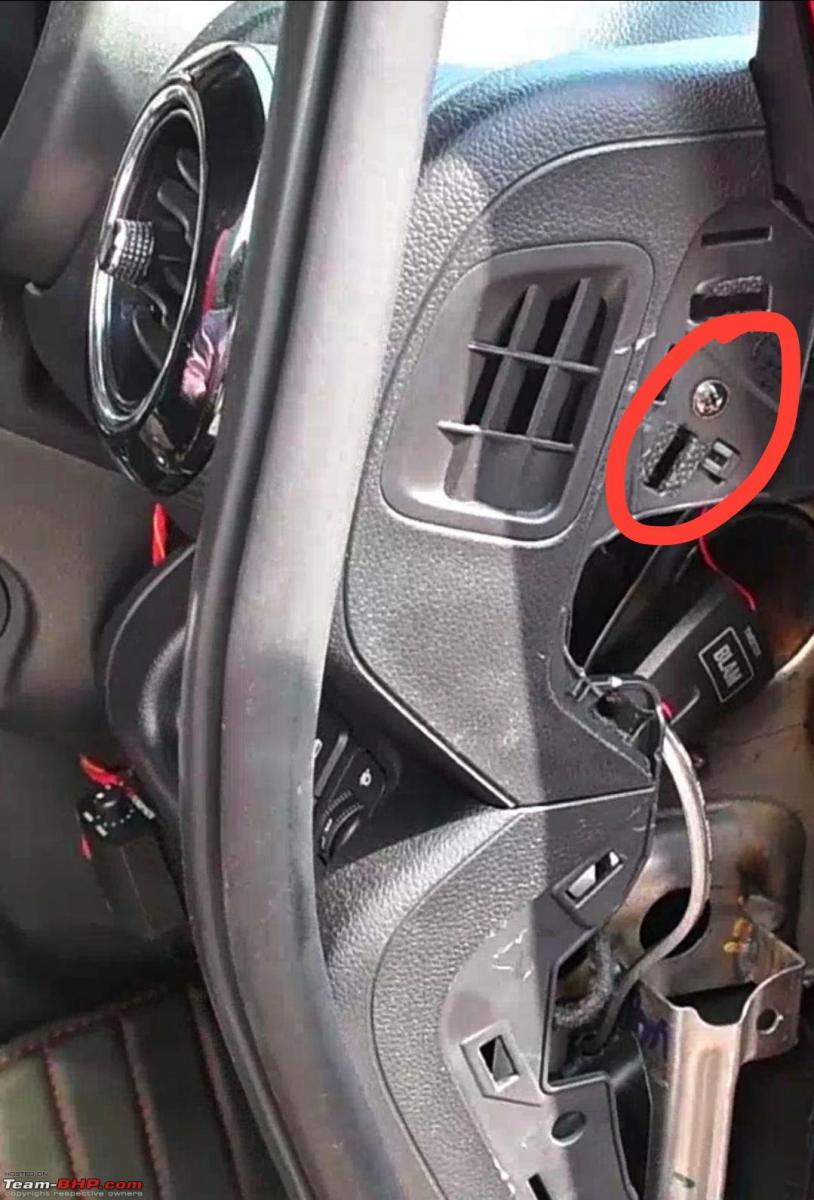
Firstly, we need to remove car door seal beading and pry out the side trim of the dashboard.

Once removed, we need to remove this screw.
Now, We need to remove the shroud over the Driver's instrument cluster. I was nervous to open up the dashboard of my new Thar. But, I mustered the courage to start this DIY.
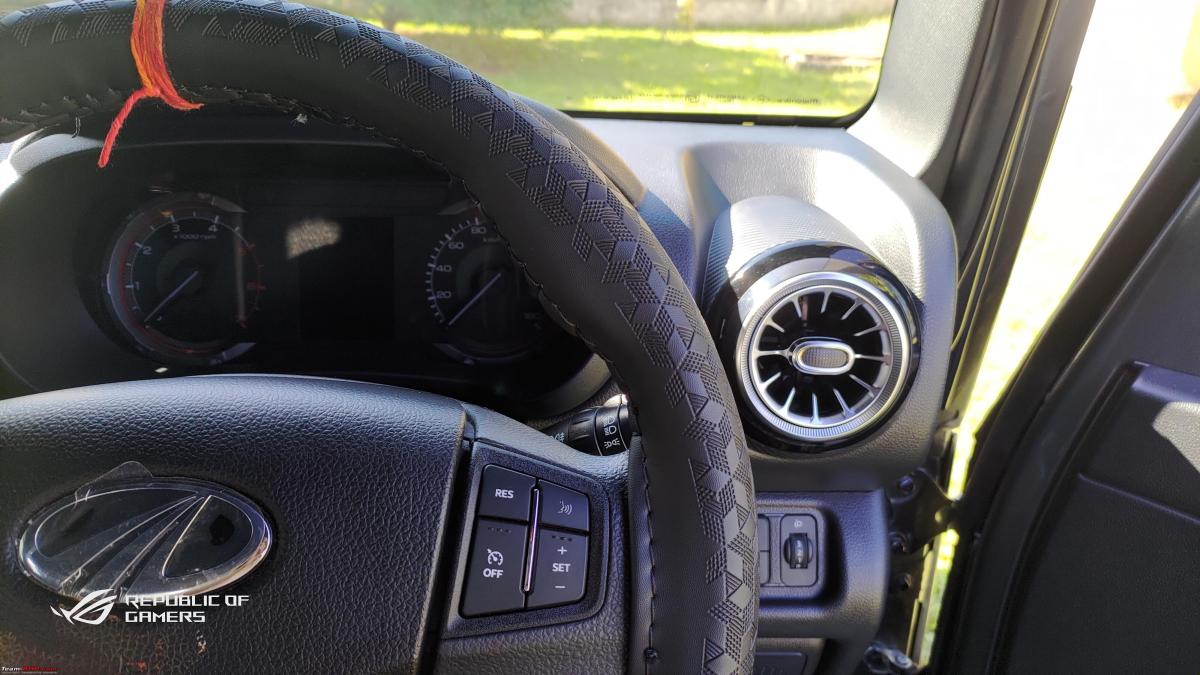
For more accessibility, adjust the steering column to the lowest height with the rake adjustment lever.
Now, we grab the shroud and apply some controlled pulling force, excessive force is not required. The shroud will come off fairly easily. It is held together with a few clips, do inspect for any fallen clips.

With the shroud removed. Now, we grab the dashboard trim around the instrument cluster and the extreme right and pull. This time, we do need to apply some more force. And the dashboard trim shall come off from the right side and followed by a slight pull required to separate the trim near the centre part.

Luckily the Thar has a modular dashboard, the passenger side and driver side have separate upper trim pieces, and a central piece that houses the HU.
So, now that the right side dashboard trim piece is removed. We need to remove the stock AC vent. AC vent is held in place by two Phillips head screws on either side at positions 8 and 4.


Now, we can install the new vents but do remember to pass the wiring required for the LED to work.
No sweats here, there is quite a lot of space behind the dashboard panels to route the wiring easily. The control module of the Led should be placed below the dashboard in the Driver's footwell. The wire length provided in the kit is good enough to reach the Passenger side vent easily. Placing the controller in this location will make it easy to get 12V power from the fuse board.
For installation of the new AC vent, we have to look for the "Top" marking on the new vent and align it accordingly so as to get proper vertical and horizontal alignment and we press it in place. No screws are present to hold the new vent in place, so for added retention, I placed a few strips of 3M double-sided tape and the fitting is firm and tight.
Do route the LED wire and plug it in place before pushing the AC vent in.
Additionally, we can salvage the foam around the stock AC vents and stick it to the new AC vent in order to prevent air leakage around the tubing.

Place the dashboard back in place but don't refit the dashboard back fully. Wait for the final test.
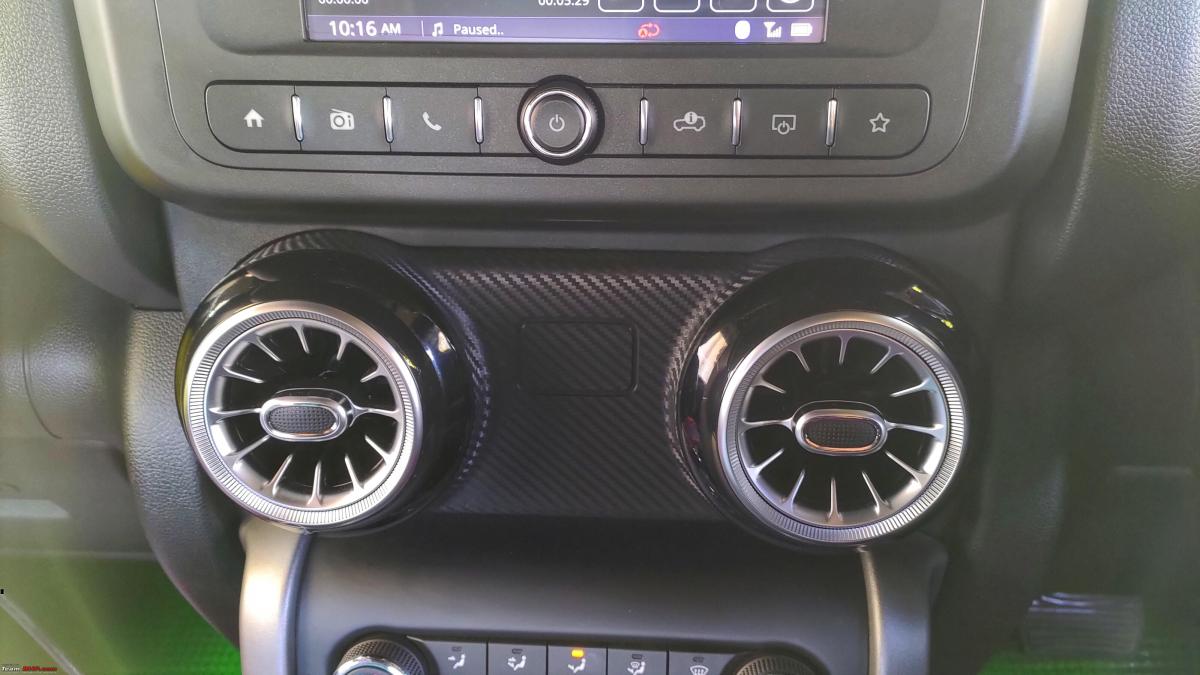
Center Vents
The Center AC vents are the easiest to replace, although it requires some brute prying force for removal. The centre two vents are housed inside this carbon fibre patterned trim piece. We need to remove the full trim piece.
Better to use two trim removal tools for added leverage.
Place the pry tool and carefully dig deep and apply some force. The trim piece shall pop out thereafter.

If applying too much force is a concern, remember, I being the owner of my fairly new Thar, I was very nervous but the aftermarket guys or even the service centre guys will be applying a lot more force in a remorseless, brute way. Few BHPians and Thar owners who have got their AC vents replaced will find some marks left on the plastic of the dashboard.

Once removed, follow the similar steps of removing the stock AC vents, unscrew and pry the vent out. Then salvage the circular black outer trim out, screw it back in place. Now, grab your new AC vents, route the wires for the LEDs and connect those. Or, you can just keep the wires ready to connect and leave the trim unattached so that we can do a final test before re-installing the trim piece back.
Continue reading BHPian dr_TJ's DIY process for more insight, comments & information
- Tags:
- Indian
- Mahindra
- Member Content
- Thar
- DIY
Find Car News
Just News


.jpg)
About Us