News
DIY: Replacing the front brake pads of my Hyundai Verna


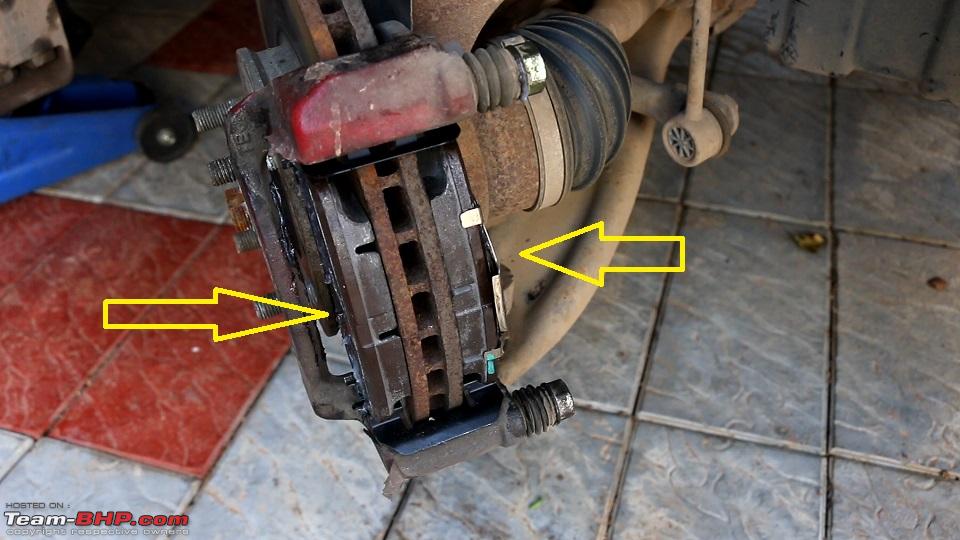
Don't let the brake caliper hang by its brake lines. Place it over the suspension arm so that there's no stress on the brake lines.
BHPian stanjohn123 recently shared this with other enthusiasts.
After 10 long years, finally replaced my Verna's Front Brake Pads which have done around 57,000 Kms. So perfect time to pen another DIY post.
Things you need for this DIY
- New Brake Pads - OEM Part # 58101-1VA00 , they come with retainer clips and shims but the aftermarket ones do not come with it. So keep that in mind.
- Brake Pad Caliper Grease - I got this brand called Fa Duca Lub which seems to be of good quality.
- 14mm Wrench or Socket Wrench - To remove Caliper Slide Pin Bolts.
- 17 mm Wrench (Only if you want to remove the caliper bracket).
- Flathead screwdriver (Regular size is enough).
- Waste cloth.
I have made a complete step by step video guide as well, so those who want can watch it here.
Now let's get to the DIY, shall we?
Step 1: Crack open the Brake Fluid reservoir cap. This is necessary because while pushing the Caliper Pistons inward, excess brake fluid will be pushed outward.

Step 2: Take your flathead screwdriver and place it in such a way that you insert it into the middle of the caliper and catch hold of the outer edge of the outer brake pad. Then gently tug the screwdriver towards you, so that the caliper piston is pushed inward.


If you can be a little careful not to damage the rotors, you could also insert the flathead screwdriver slightly between the inner brake pad and rotors and slightly push the piston inward. This is risky as the rotors could get damaged if you're not careful. Better go with the first method itself.
The important thing here is to push the caliper piston all the way inwards. If you fail in this step now, later you will struggle a lot to place the caliper over the brake pads and then it will be very difficult to push the pistons inwards (even a couple of inches in).
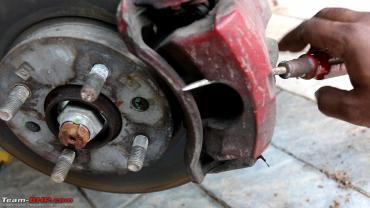
Step 3: Once the caliper has free movement. Use the 14mm socket wrench to loosen the Caliper Slide Pin bolts. Hold the caliper so it doesn't fall and place it over the suspension arm so that there is no stress on the brake lines. Don't hang the caliper by its brake lines.


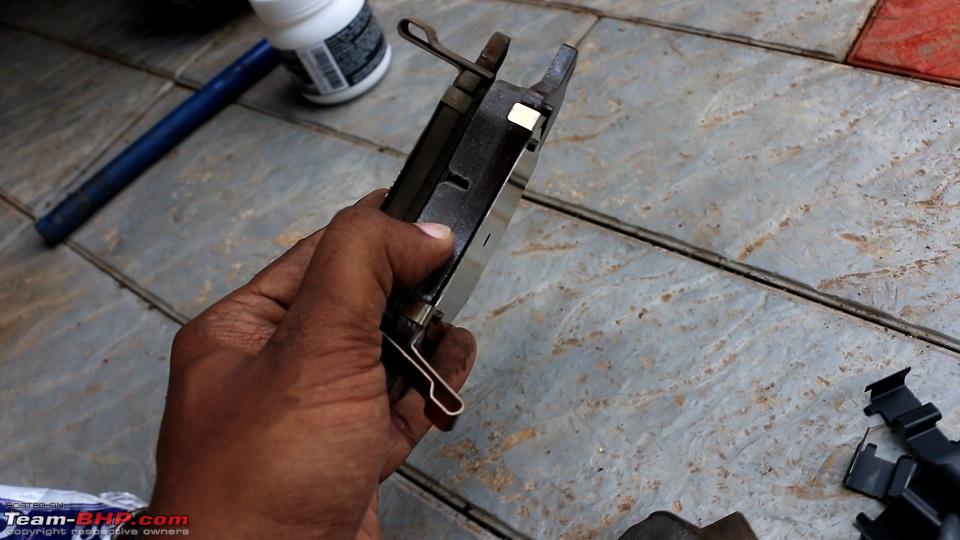
Remove the old brake pads with the help of the flathead screwdriver and remove the retainer clips as well.

You can use the 17mm wrench to remove the Caliper bracket bolts, to remove the caliper bracket if you want to clean it or replace the rotors. In my case, since it's just a brake pad job, I didn't remove it.

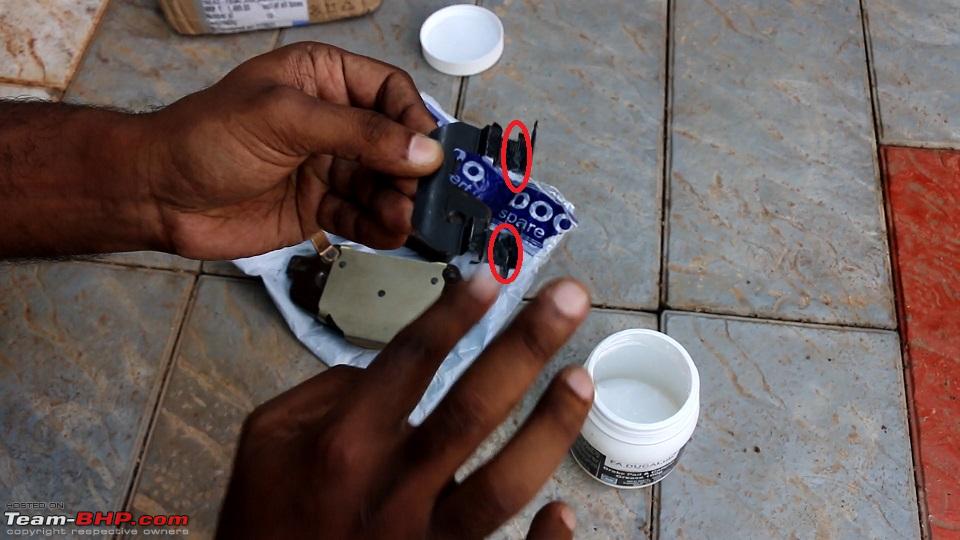
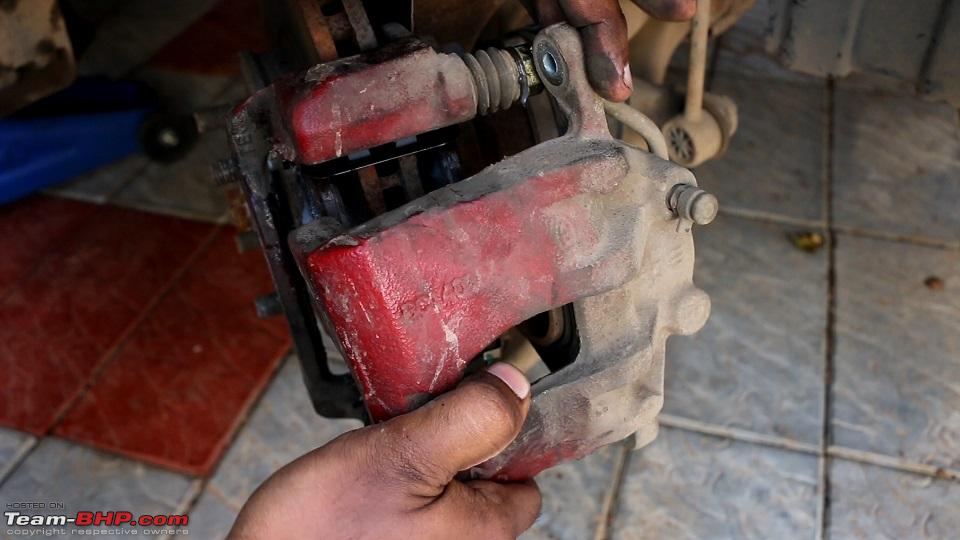
Step 4: Remove the slide pins, they just slide out when you pull them. Clean off the old grease and apply new grease on them.

Grease the retainer clips on this portion as shown in the pic.
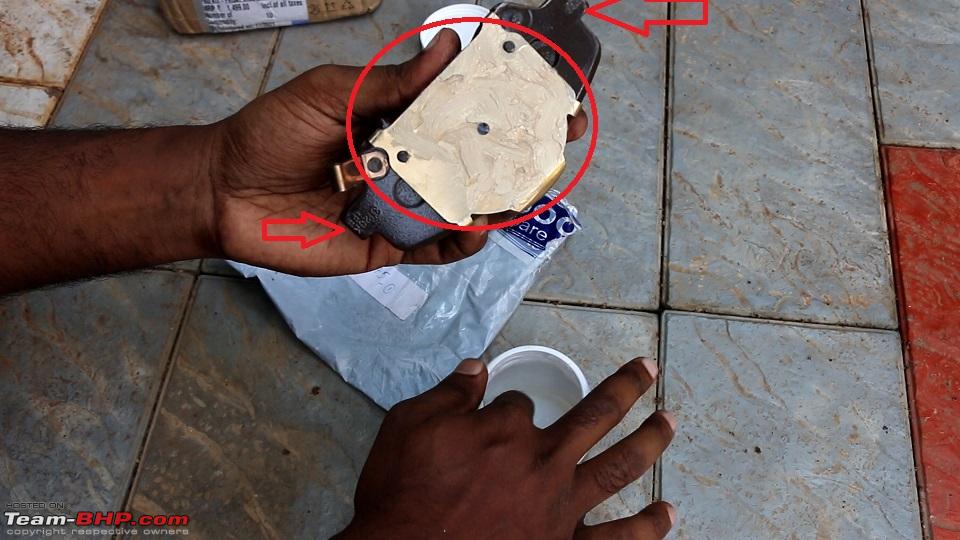
Grease the brake pads as shown in the pics below.


Comparison of old and new pads.

Step 5: Insert the retainer clips and brake pads in place. You have to insert the brake pads at a slight angle. Will be a bit difficult but after a few tries, you will get a hang of it.

If you wiped off the grease from the brake pads while doing this step, just apply a light layer of grease again.
Step 6: Take your brake caliper and put it back in place. You will have to push the sliding pins inwards while placing the brake caliper.
In case the caliper is struggling to go over the 2 brake pads, just remember you screwed up on STEP 2 as the caliper piston is not pushed all the way in. Now the only way is to either hammer in the piston or place the old brake pads with the caliper and press the piston inwards again.
If the caliper goes in place correctly. Do the same job on the opposite side as well and you're almost done.
Step 7: Start your engine and keep half-pressing the brake pedal. Keep the brake fluid reservoir cap slightly open. Don't press the brake pedal fully in as this could damage the master cylinder.
Close the brake fluid reservoir and you're done.
I hope you enjoy doing this DIY at home.
Check out BHPian comments for more insights and information.
- Tags:
- Indian
- Member Content
- Hyundai
- Verna
- DIY
Find Car News
Just News


About Us