News
Working on my 1998 Jeep Cherokee: Dismantling the front axle shafts


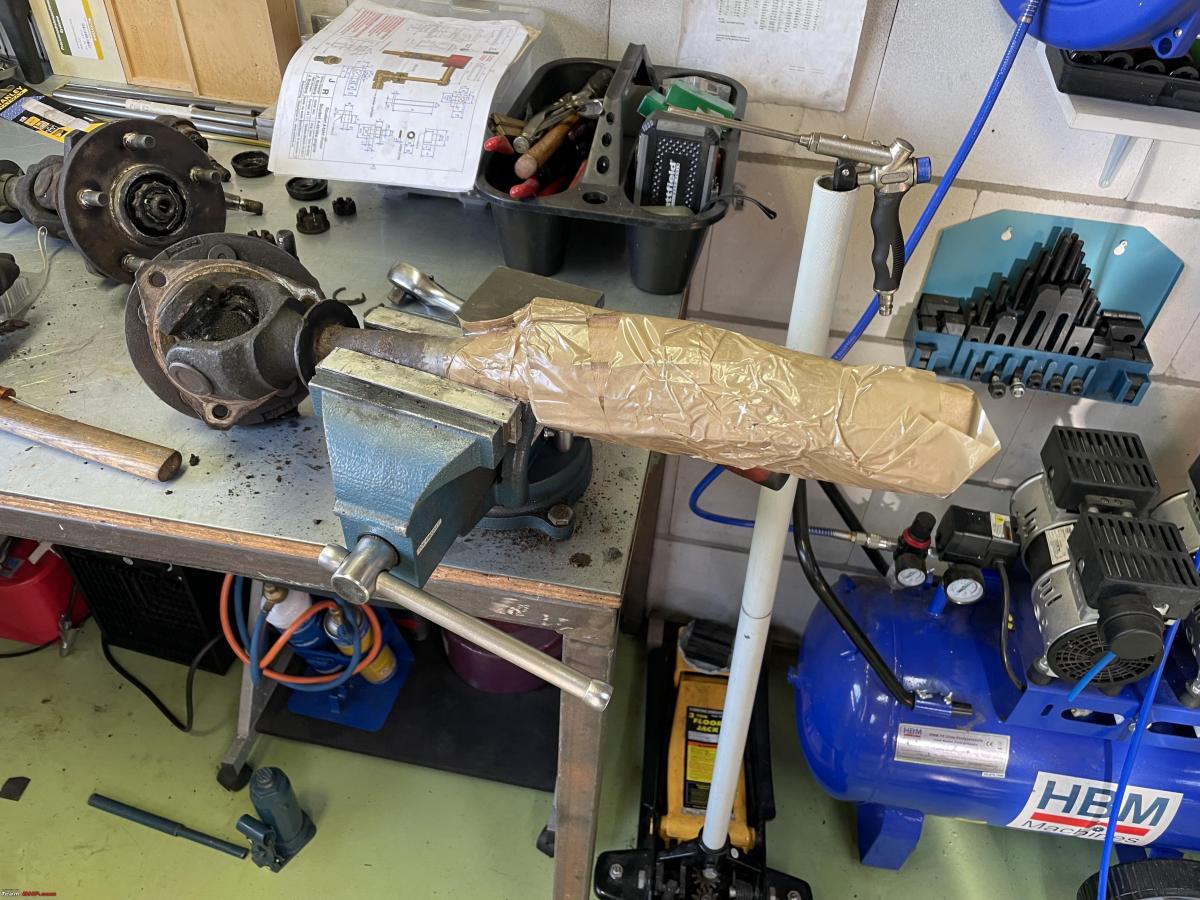
I wrapped some cardboard around the spline on the end of the shafts because on no account should these splines be damaged.
BHPian Jeroen recently shared this with other enthusiasts.
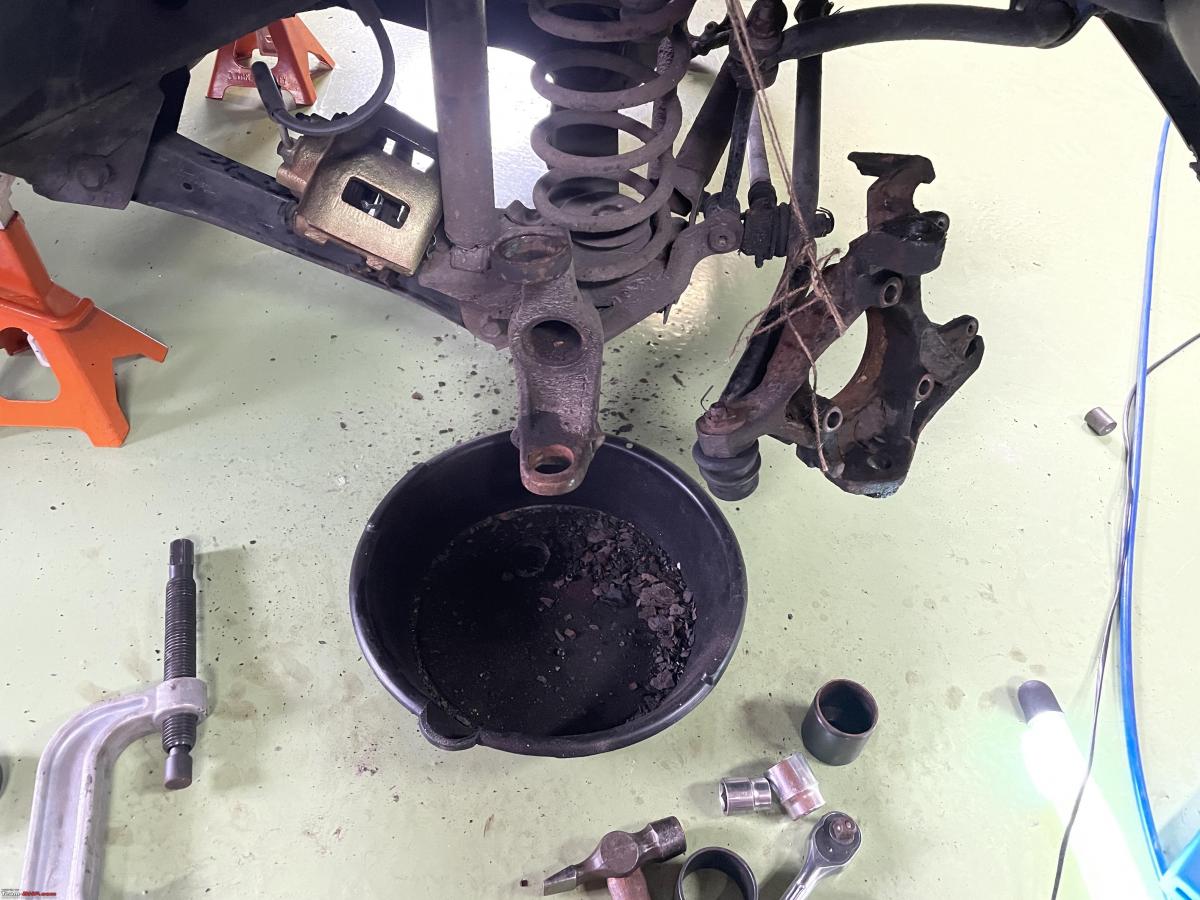
So far, I have made good progress on the Jeep. Took everything apart on the right side too. Did it in about two hours, practice makes perfect. This time I managed to deal with the cotter pins a lot quicker too. I just cut them off as near to the castle nut as I can. I don’t even attempt to pry them out anymore. I just put my socket wrench on and start wrenching. These cotter pins are pretty soft, so the nut will just cut off any remaining part that is sticking out.
Tied off the track bar and various other bits of the steering linkage, so it is out of the way.
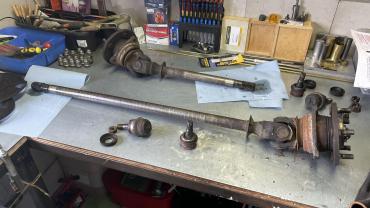
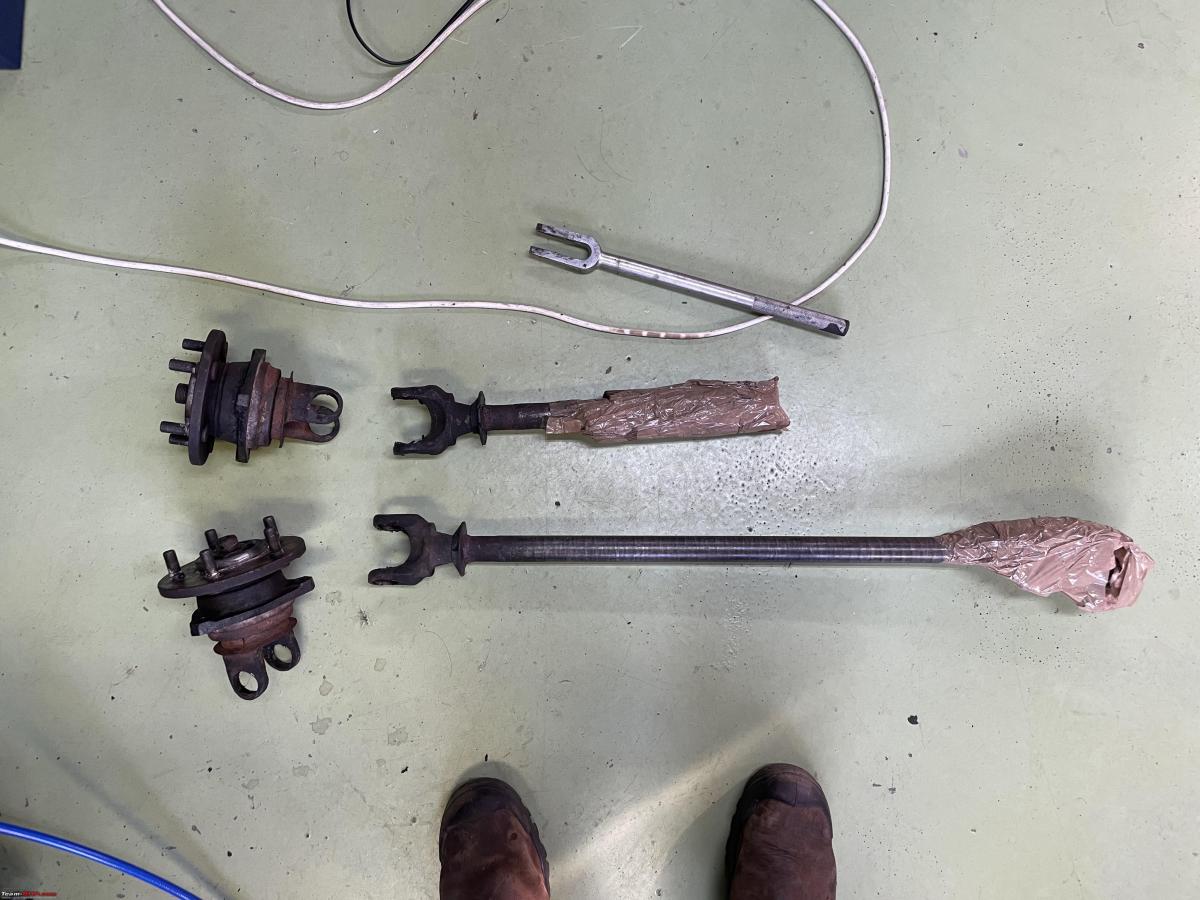
Here we are, two complete axle shafts on my workbench.
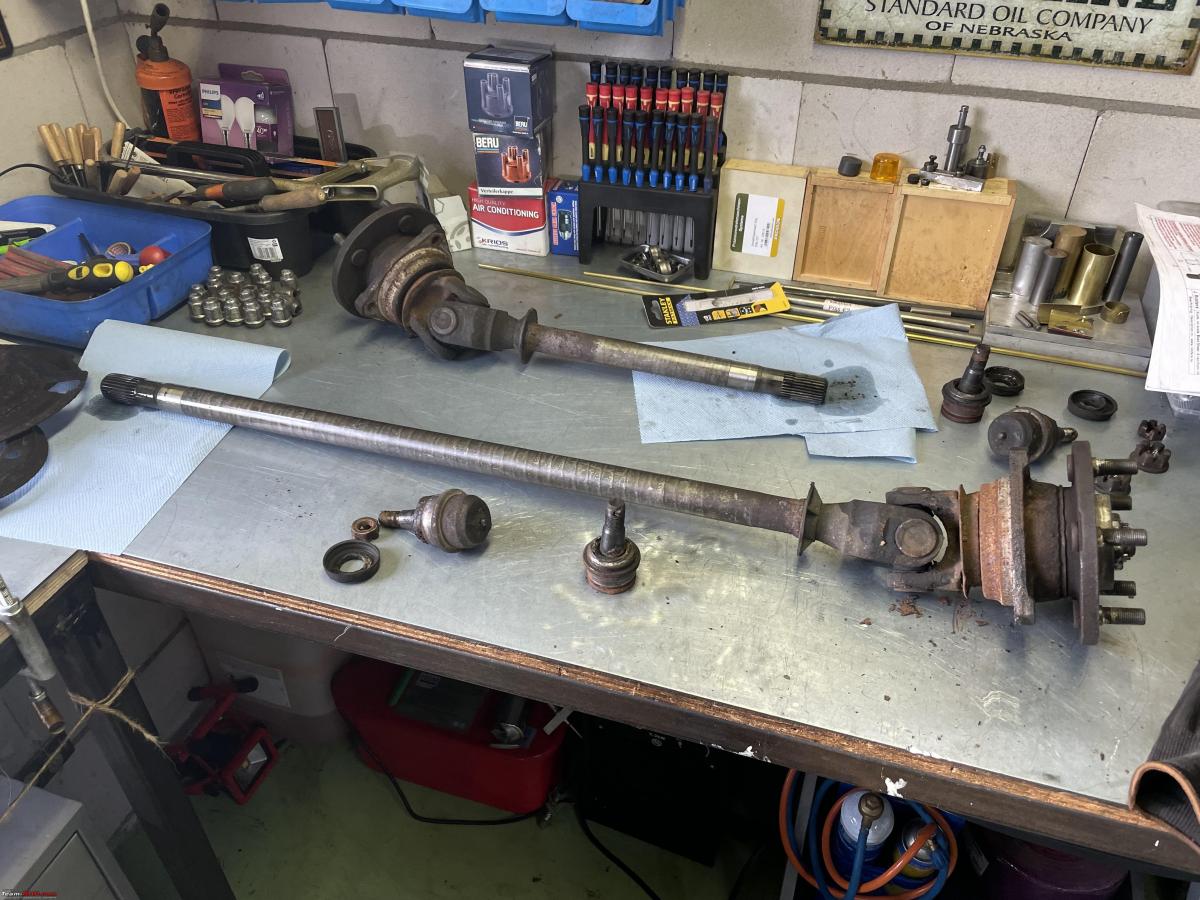
I checked how the bearing on this one felt and it was pretty bad too. So I will be replacing both bearings as well. These come as a complete bearing.
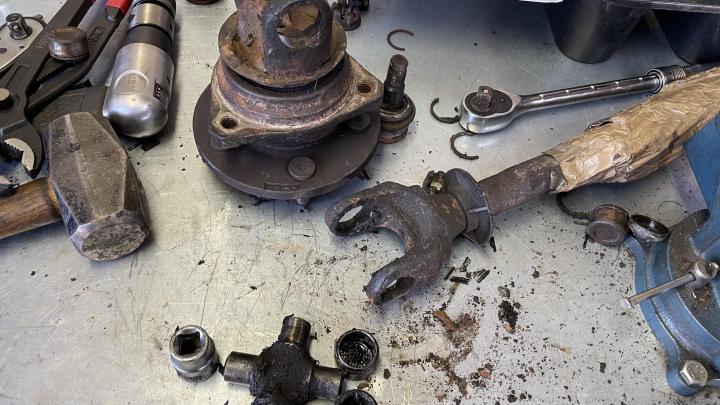
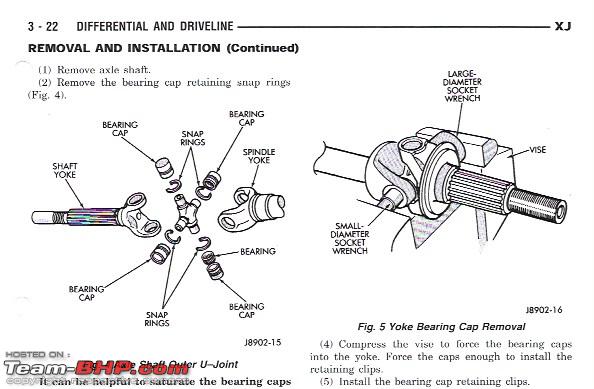
Getting them removed is in theory at least very easy. Undo the cotter pin first.
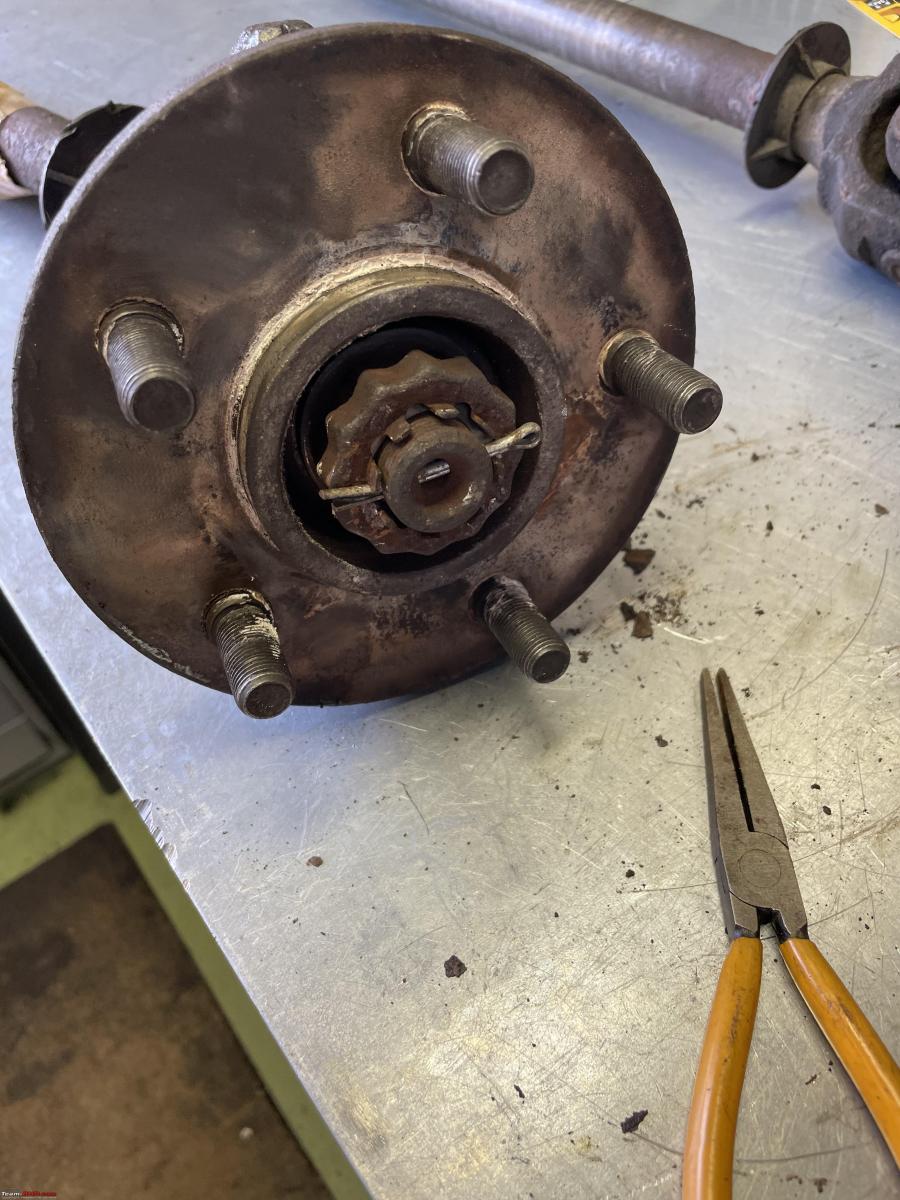
Take off the little fixture plate and spring.
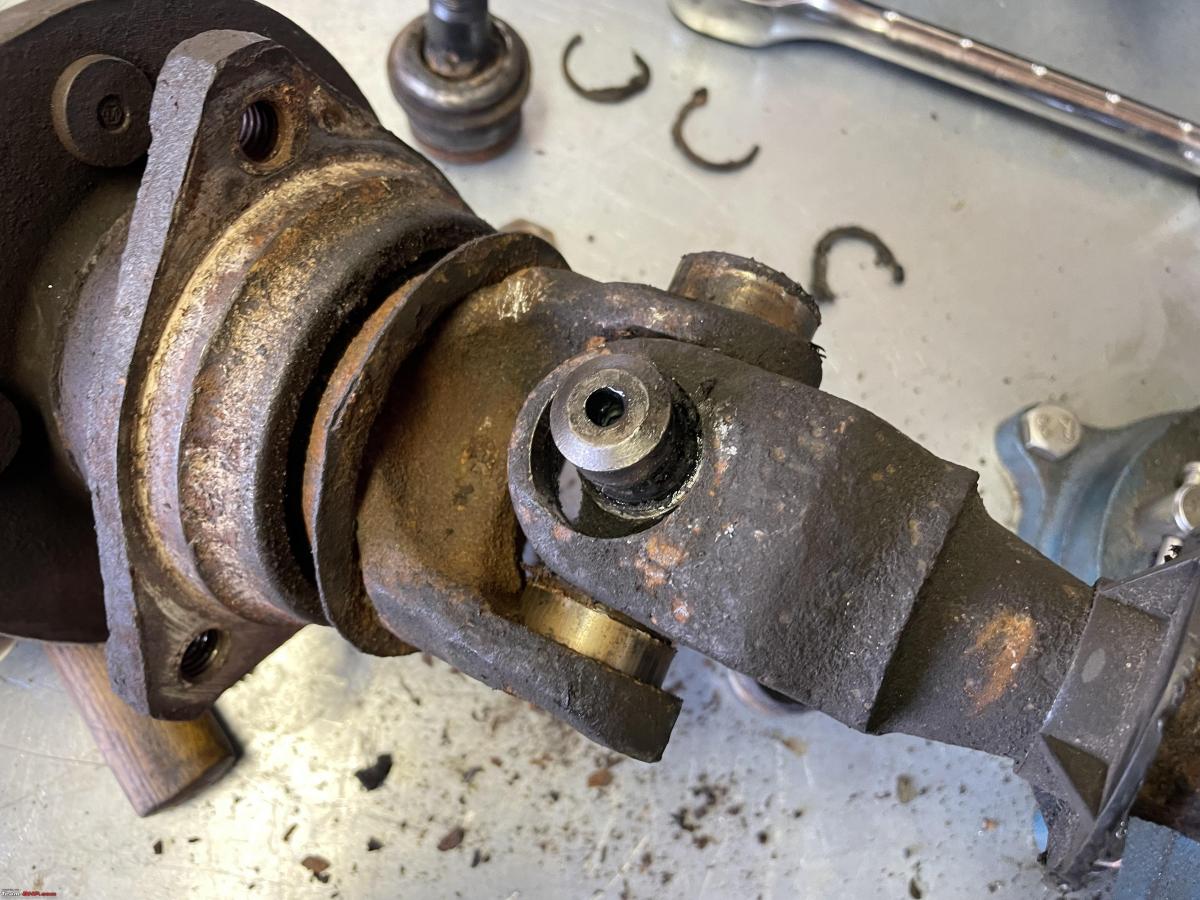
Next all you need to do is undo this nut. I decided to remove the U-joints so I could handle the assembly a bit better.
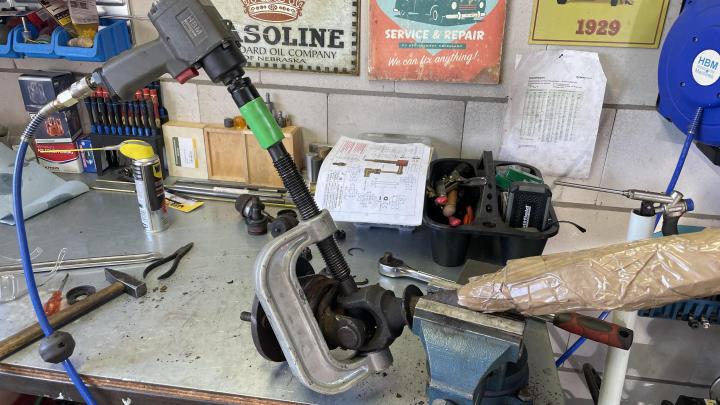
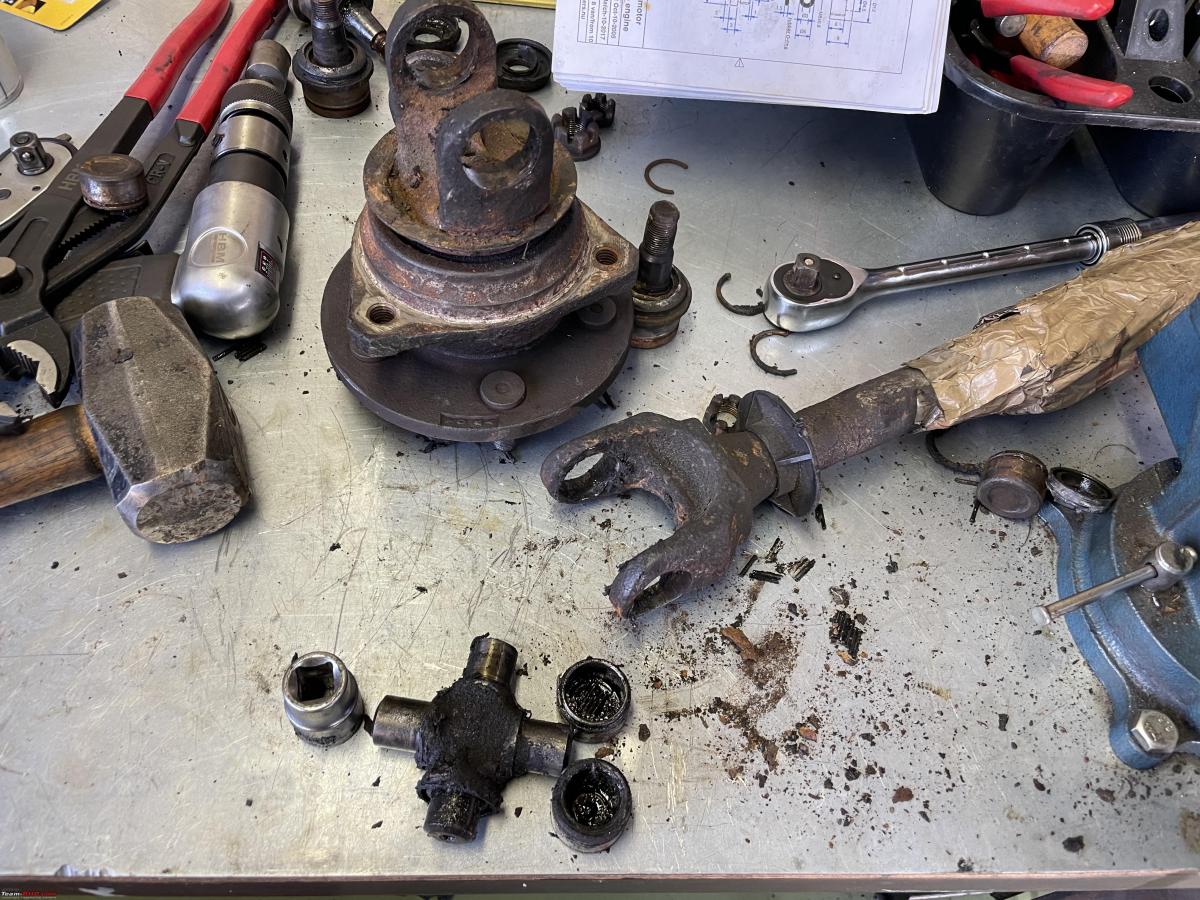
Removing U-joints is always a bit of a pain. First, you need to pry off these four sort of snap rings that are on the inside of the yokes.
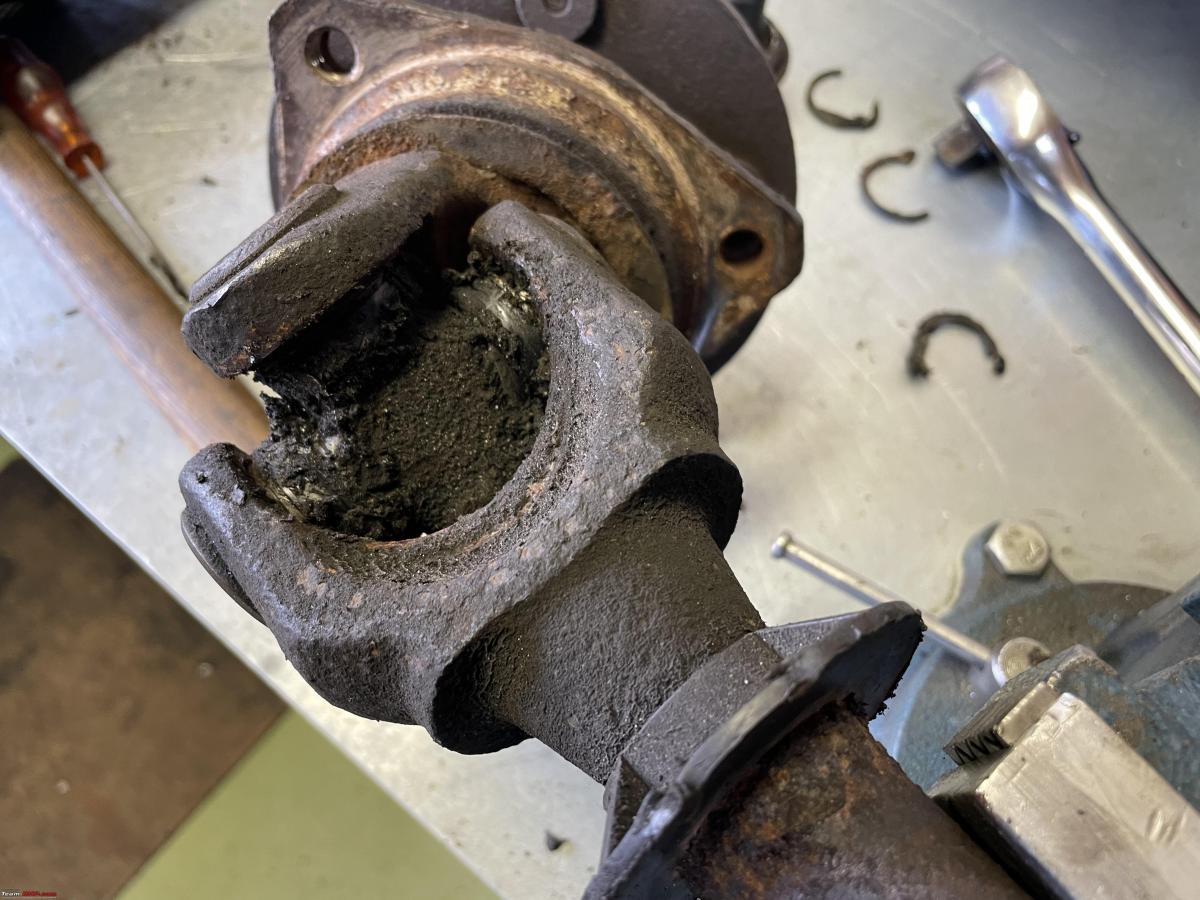
I wrapped some cardboard around the spline on the end of the shafts, because on no account should these splines be damaged.
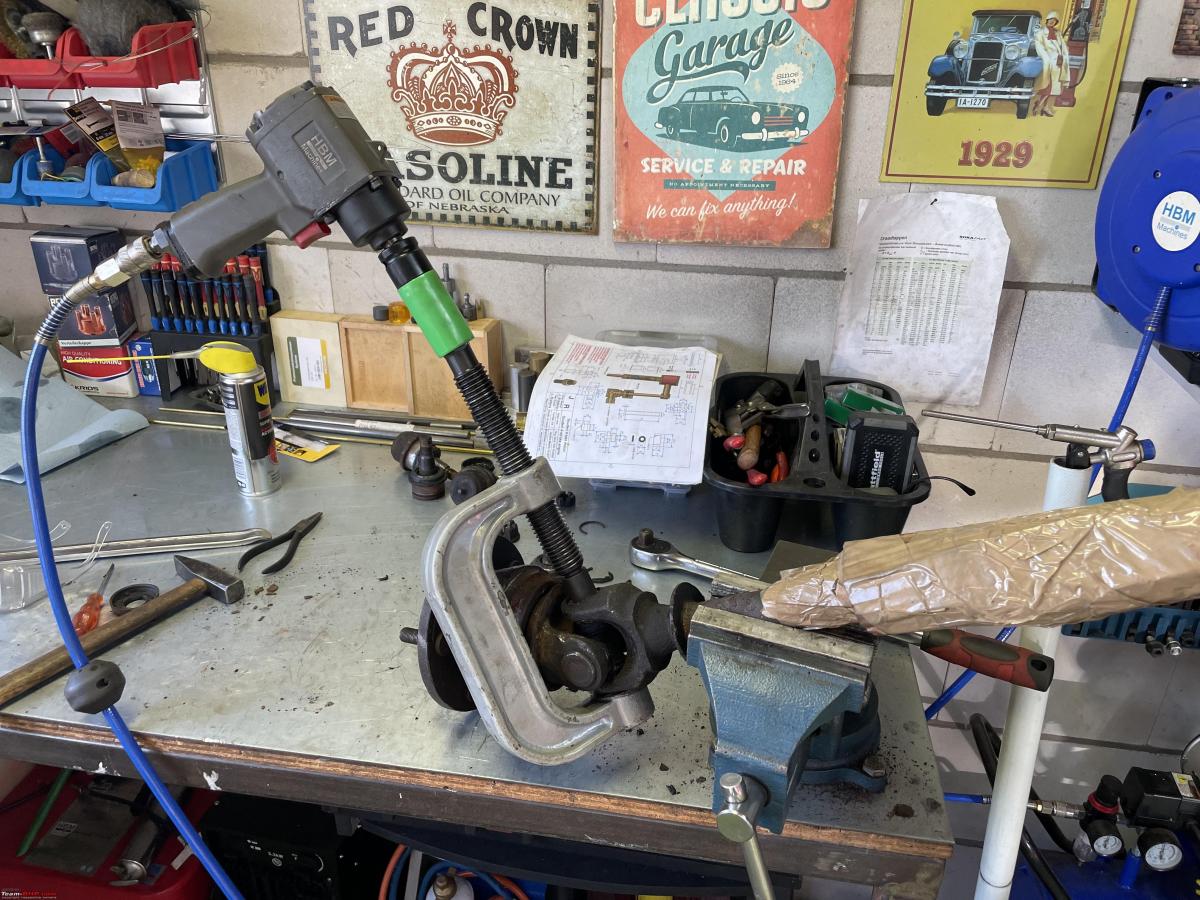
Next I used my trusted old C-clamp again to press out the bearing caps one by one. Worked really well. You can also just hammer them out, but this is a bit more controlled way of doing it.
One front axle done, one front axle to go.
All done!
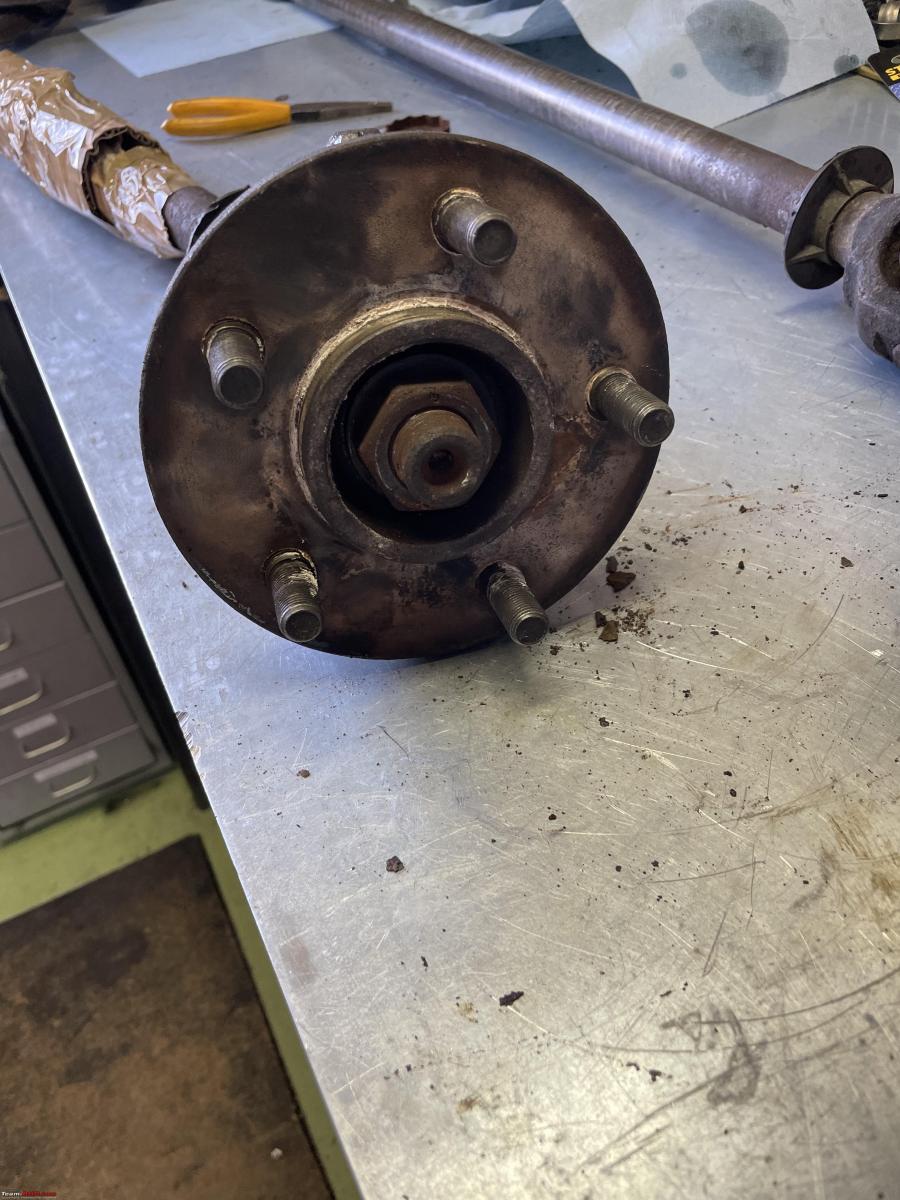
With the complete hub and bearing assembly removed from the axle, I attempted to undo the very large nut. This is an M36. I have an M36 socket, but I don’t have a breaker bar. All my tooling is really too small. I pounded away at it with my pneumatic tools, but it would not budge.
So I took the two assemblies to my local friendly Jeep Specialist Martin of Brinkman Autobedrijf in Vuren. Last year Martin helped me out a few times on some jobs on the Jeep I could not do myself. He also gave my Jeep a thorough inspection after I had bought it, so I could decide what jobs needed doing etc.
It took Martin, working a massive pneumatic torque wrench about 3-4 minutes to undo the nut on each assembly. He was surprised at how stuck they were! No wonder I could not get them undone by myself and my little DIY tooling. Very lucky to have such a friendly, helpful and knowledgeable guy so close by. I also made an appointment with him for the Jeep’s next MOT in a few months' time. Martin’s garage is always chock full with work for at least 5-6 weeks ahead of time. So you need to plan any job with him about two months in advance.
Next I drove over to Tiel to pick up all my new parts:
- 2 Hub and bearing assembly
- 2 sets of upper/lower ball stud assembly
- 2 sets of U joints
- 2 bolts
- 20 lug nuts
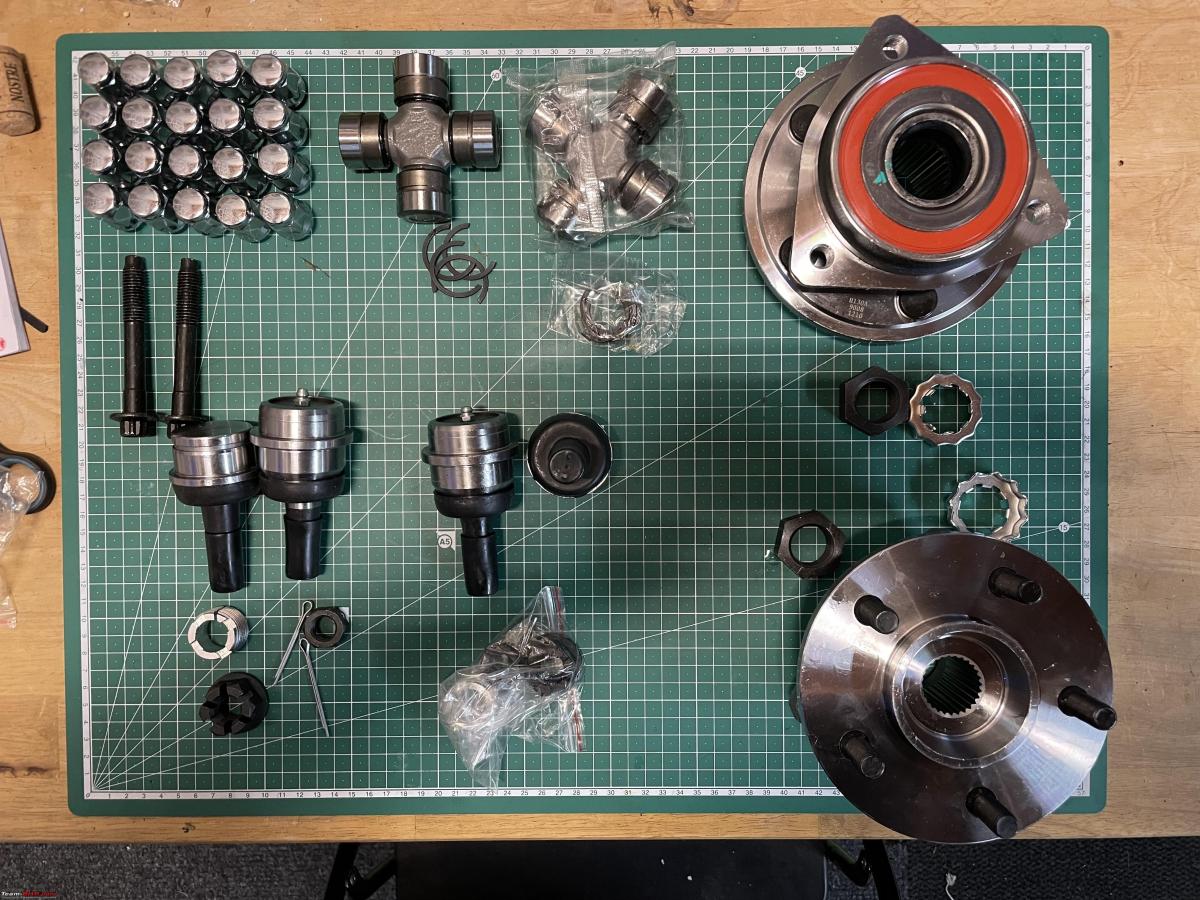
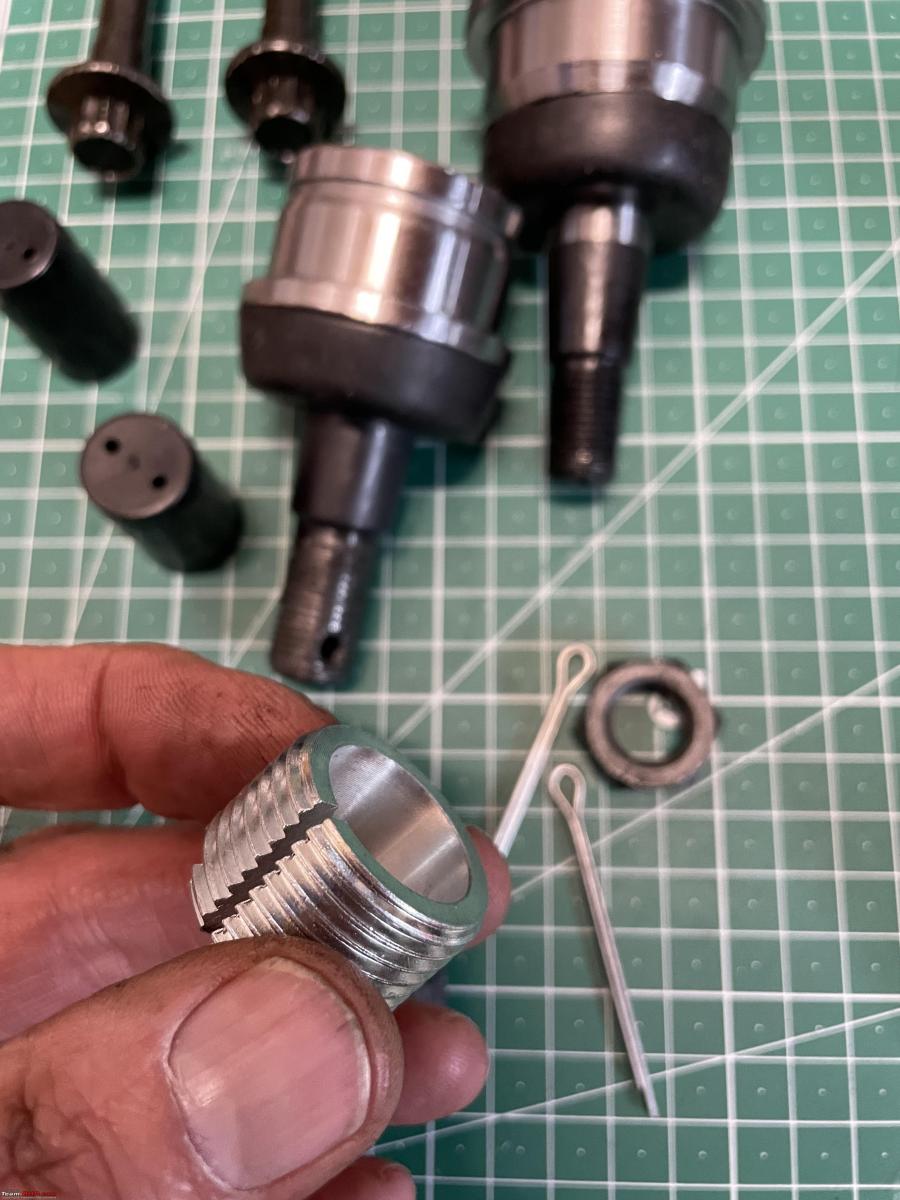
I am a bit puzzled by this piece, a sort of threaded bushing. It came with ball studs. I seem to recall having seen them in a YT video. But my old ones did not come with them, nor is it shown in the workshop manual. So I posted a question on the Jeep forum.
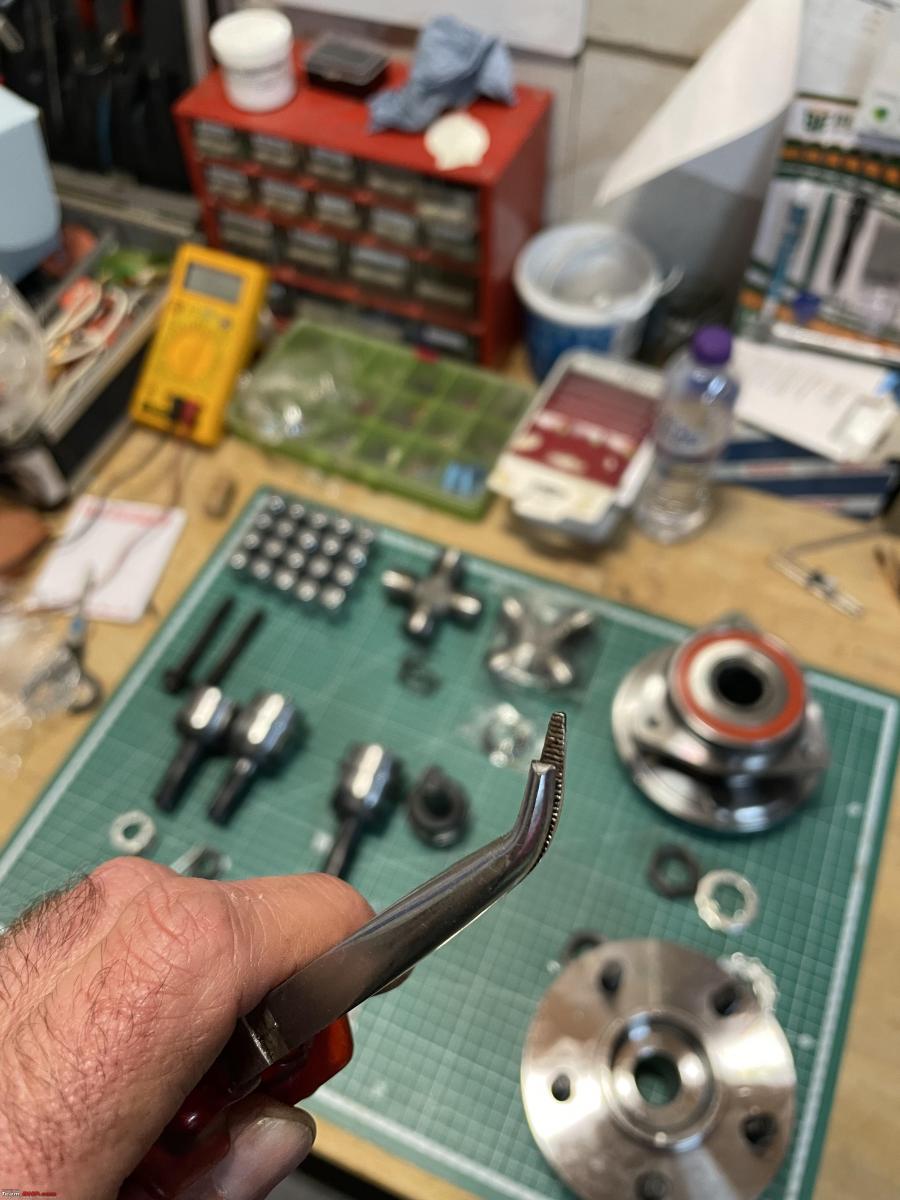
So far, only one casualty. I broke my long-nosed pliers. Very sad, I have had it for a very long time. I might grind down the other side, so it still can be used to some extent.
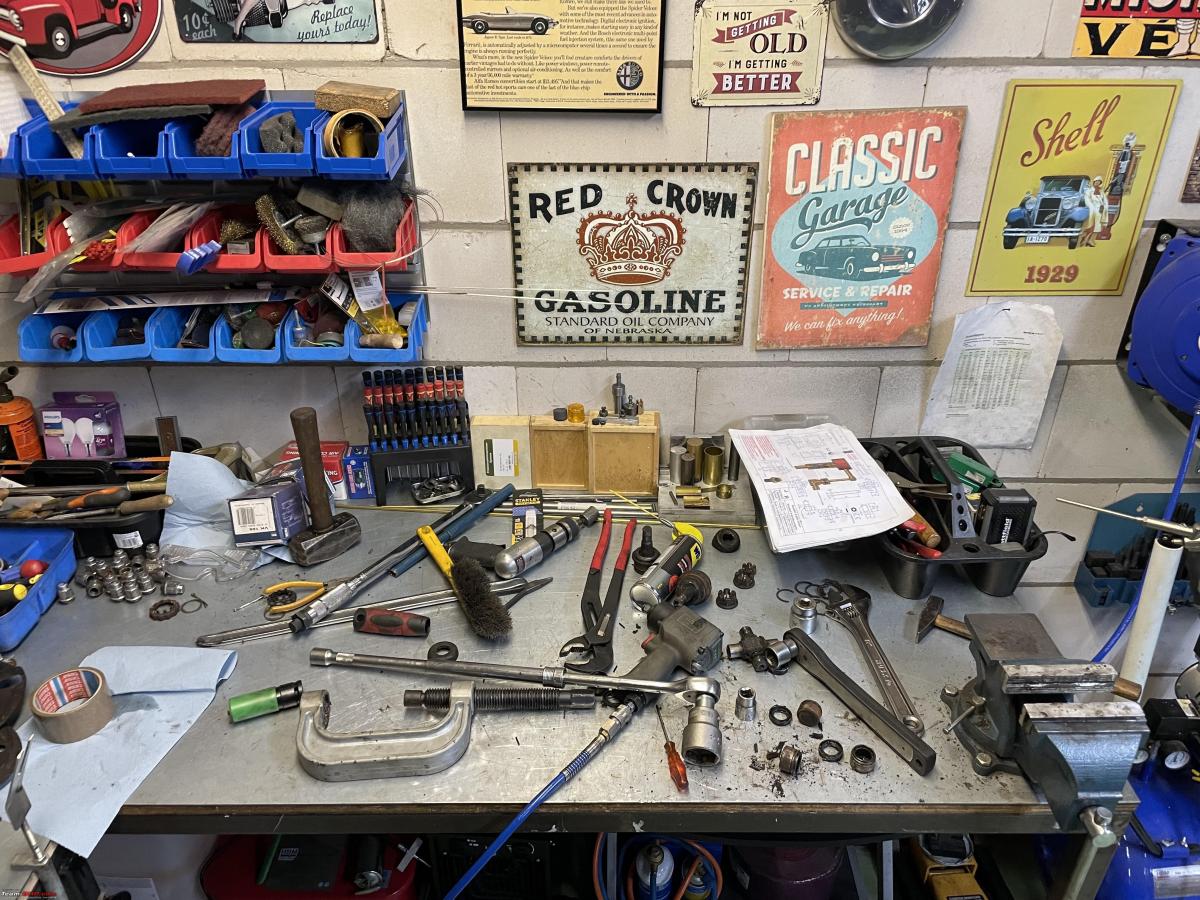
I always pride myself on working pretty cleanly, but with jobs like these everything gets very messy very quickly. I will be spending a lot of time cleaning and painting all the various parts and bits before I start the installation of the new kit.
Check out BHPian comments for more insights and information.
Find Car News
Just News


About Us