Team-BHP
(
https://www.team-bhp.com/forum/)
-
4x4 Vehicles
(
https://www.team-bhp.com/forum/4x4-vehicles/)
The last part of this DIY:
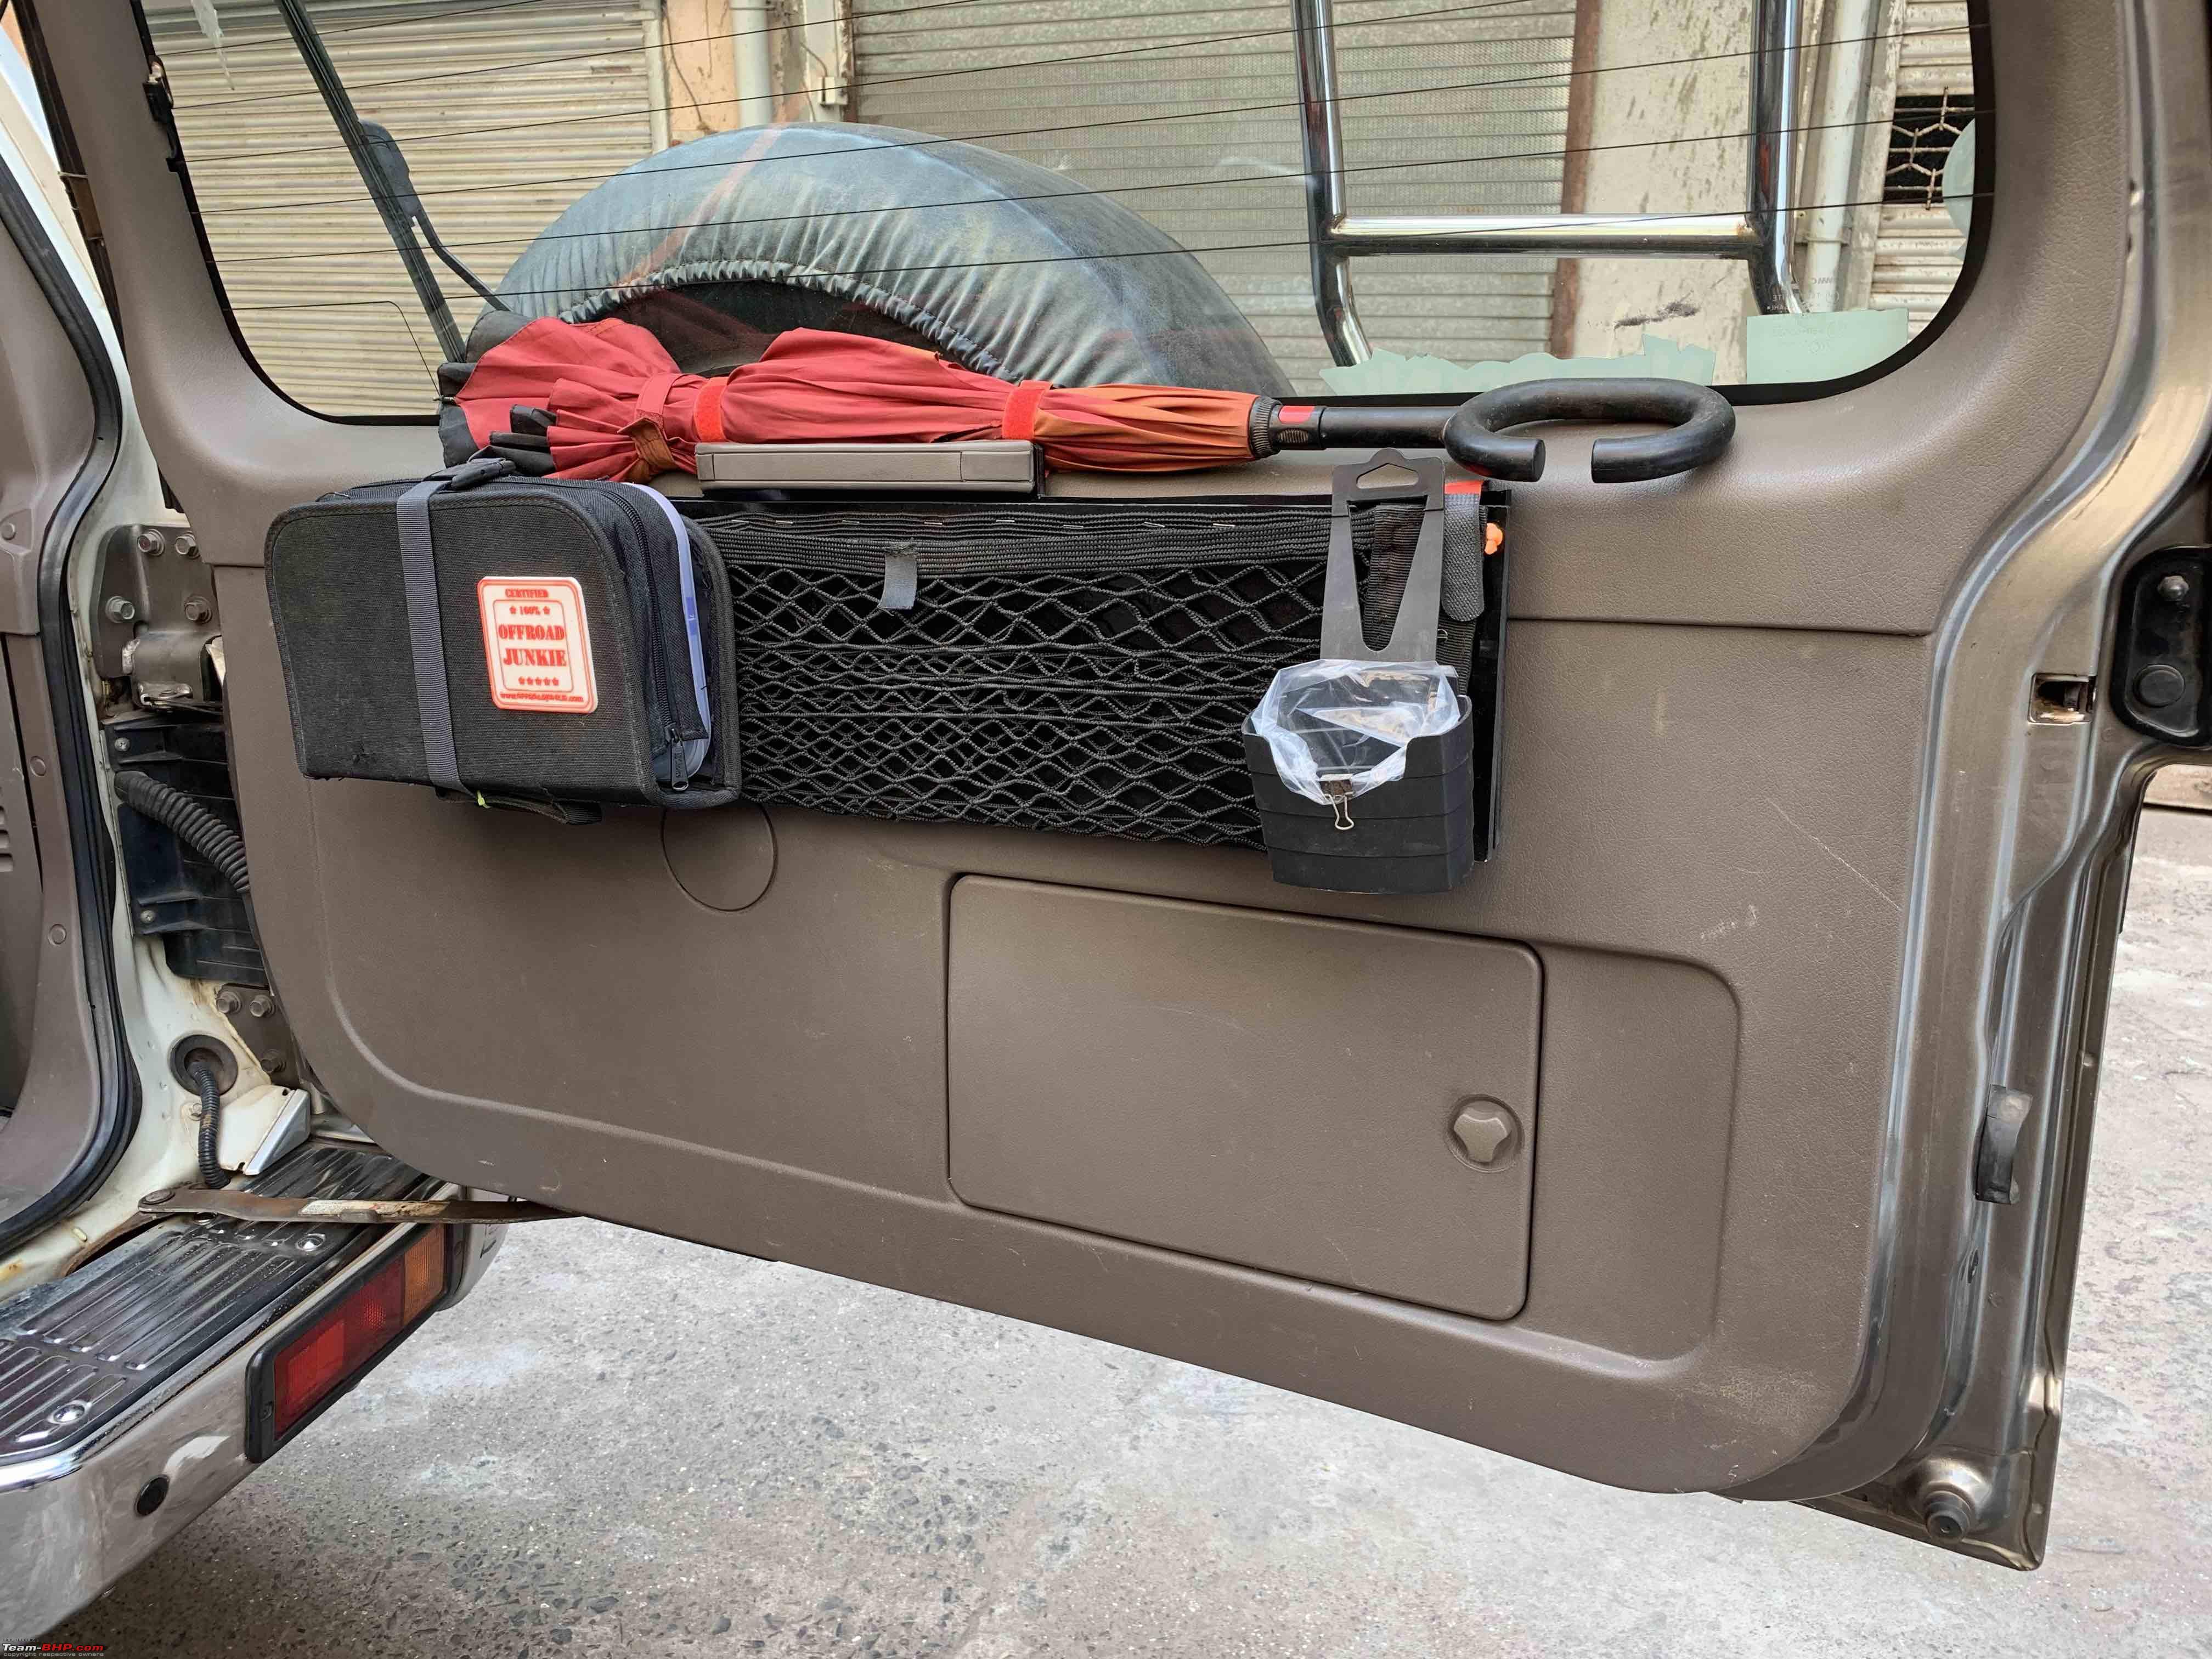
One side of the table is the coffee/tea box. I needed to utilise the other part for storage as well.
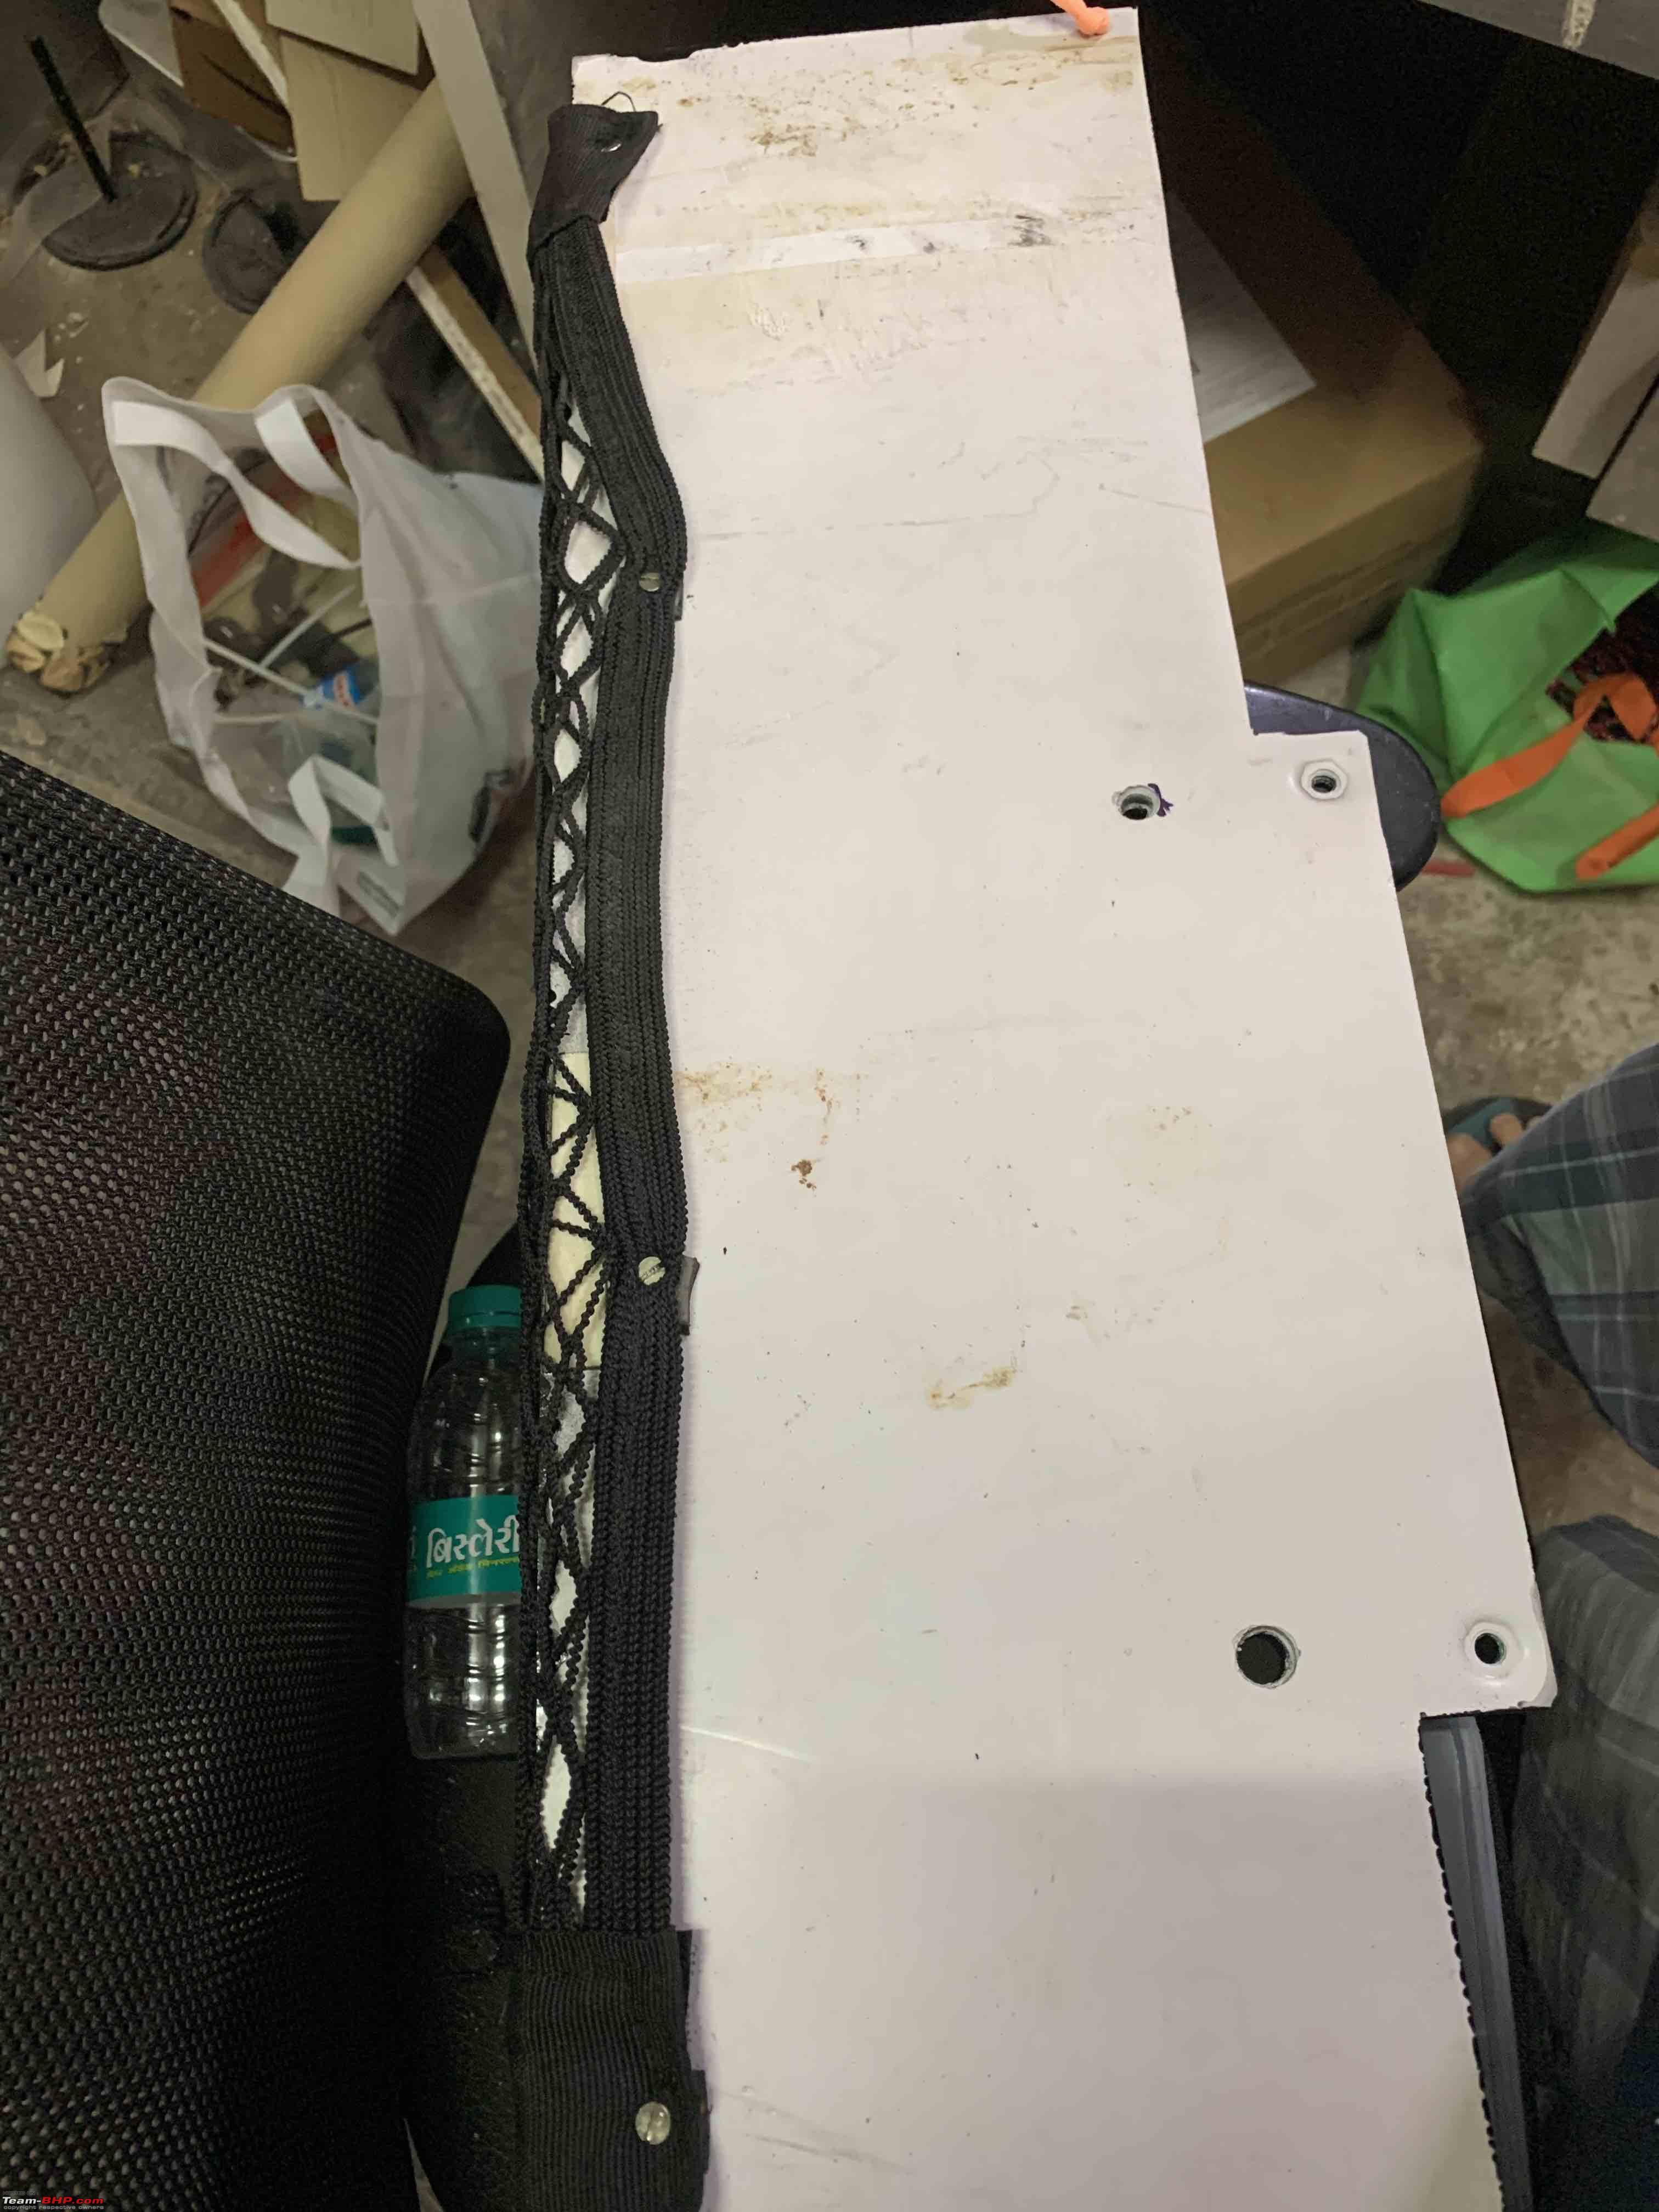
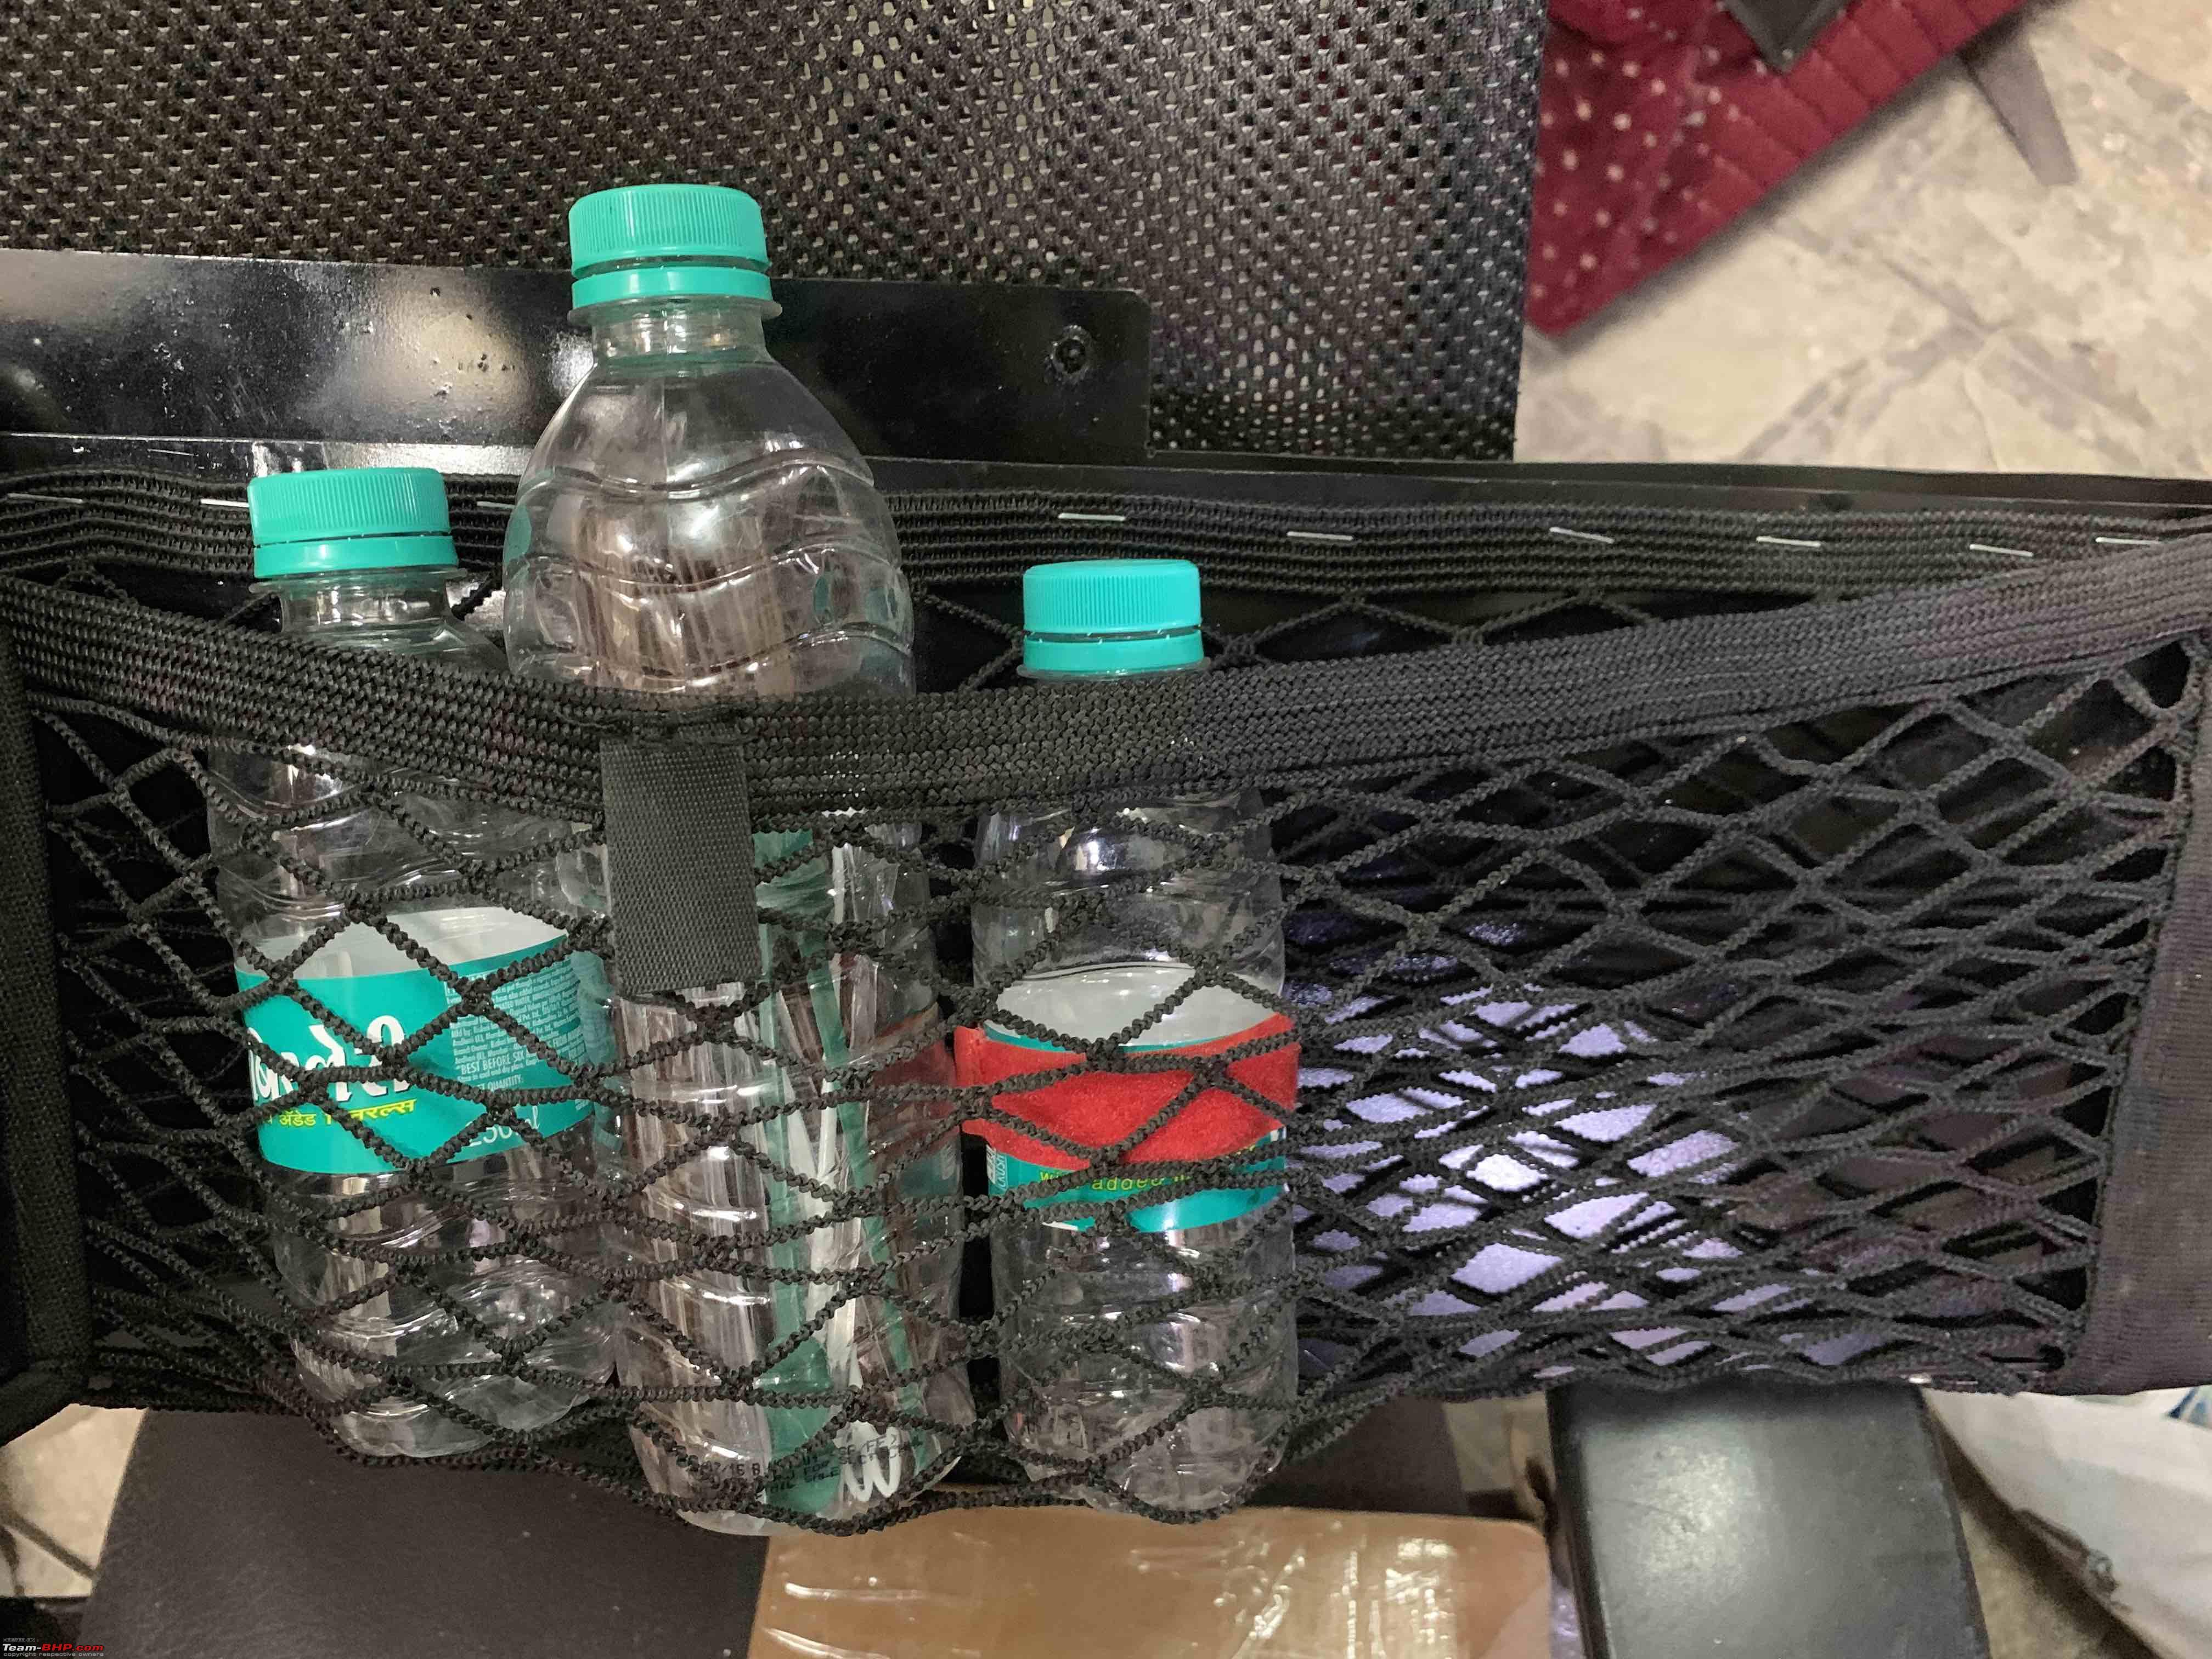
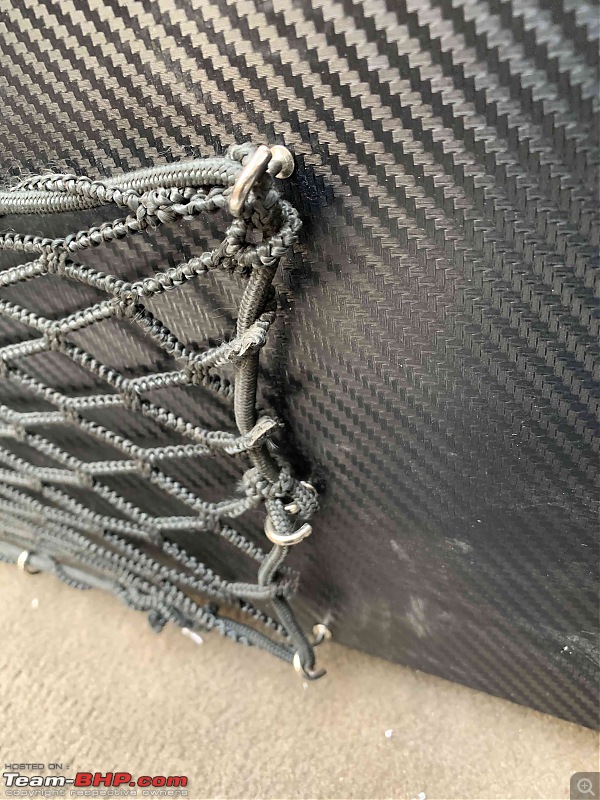
In my old skoda, I had bought a velcro stretchable net to fit in the boot for putting odds and ends and when I sold the vehicle I had taken it out. Comes in handy here:

Secured It at the back as well:

Can keep stuff easily. I also use a bottle to store stirrers that I have picked up from McDonalds, Starbucks, etc. Don't Judge Me!

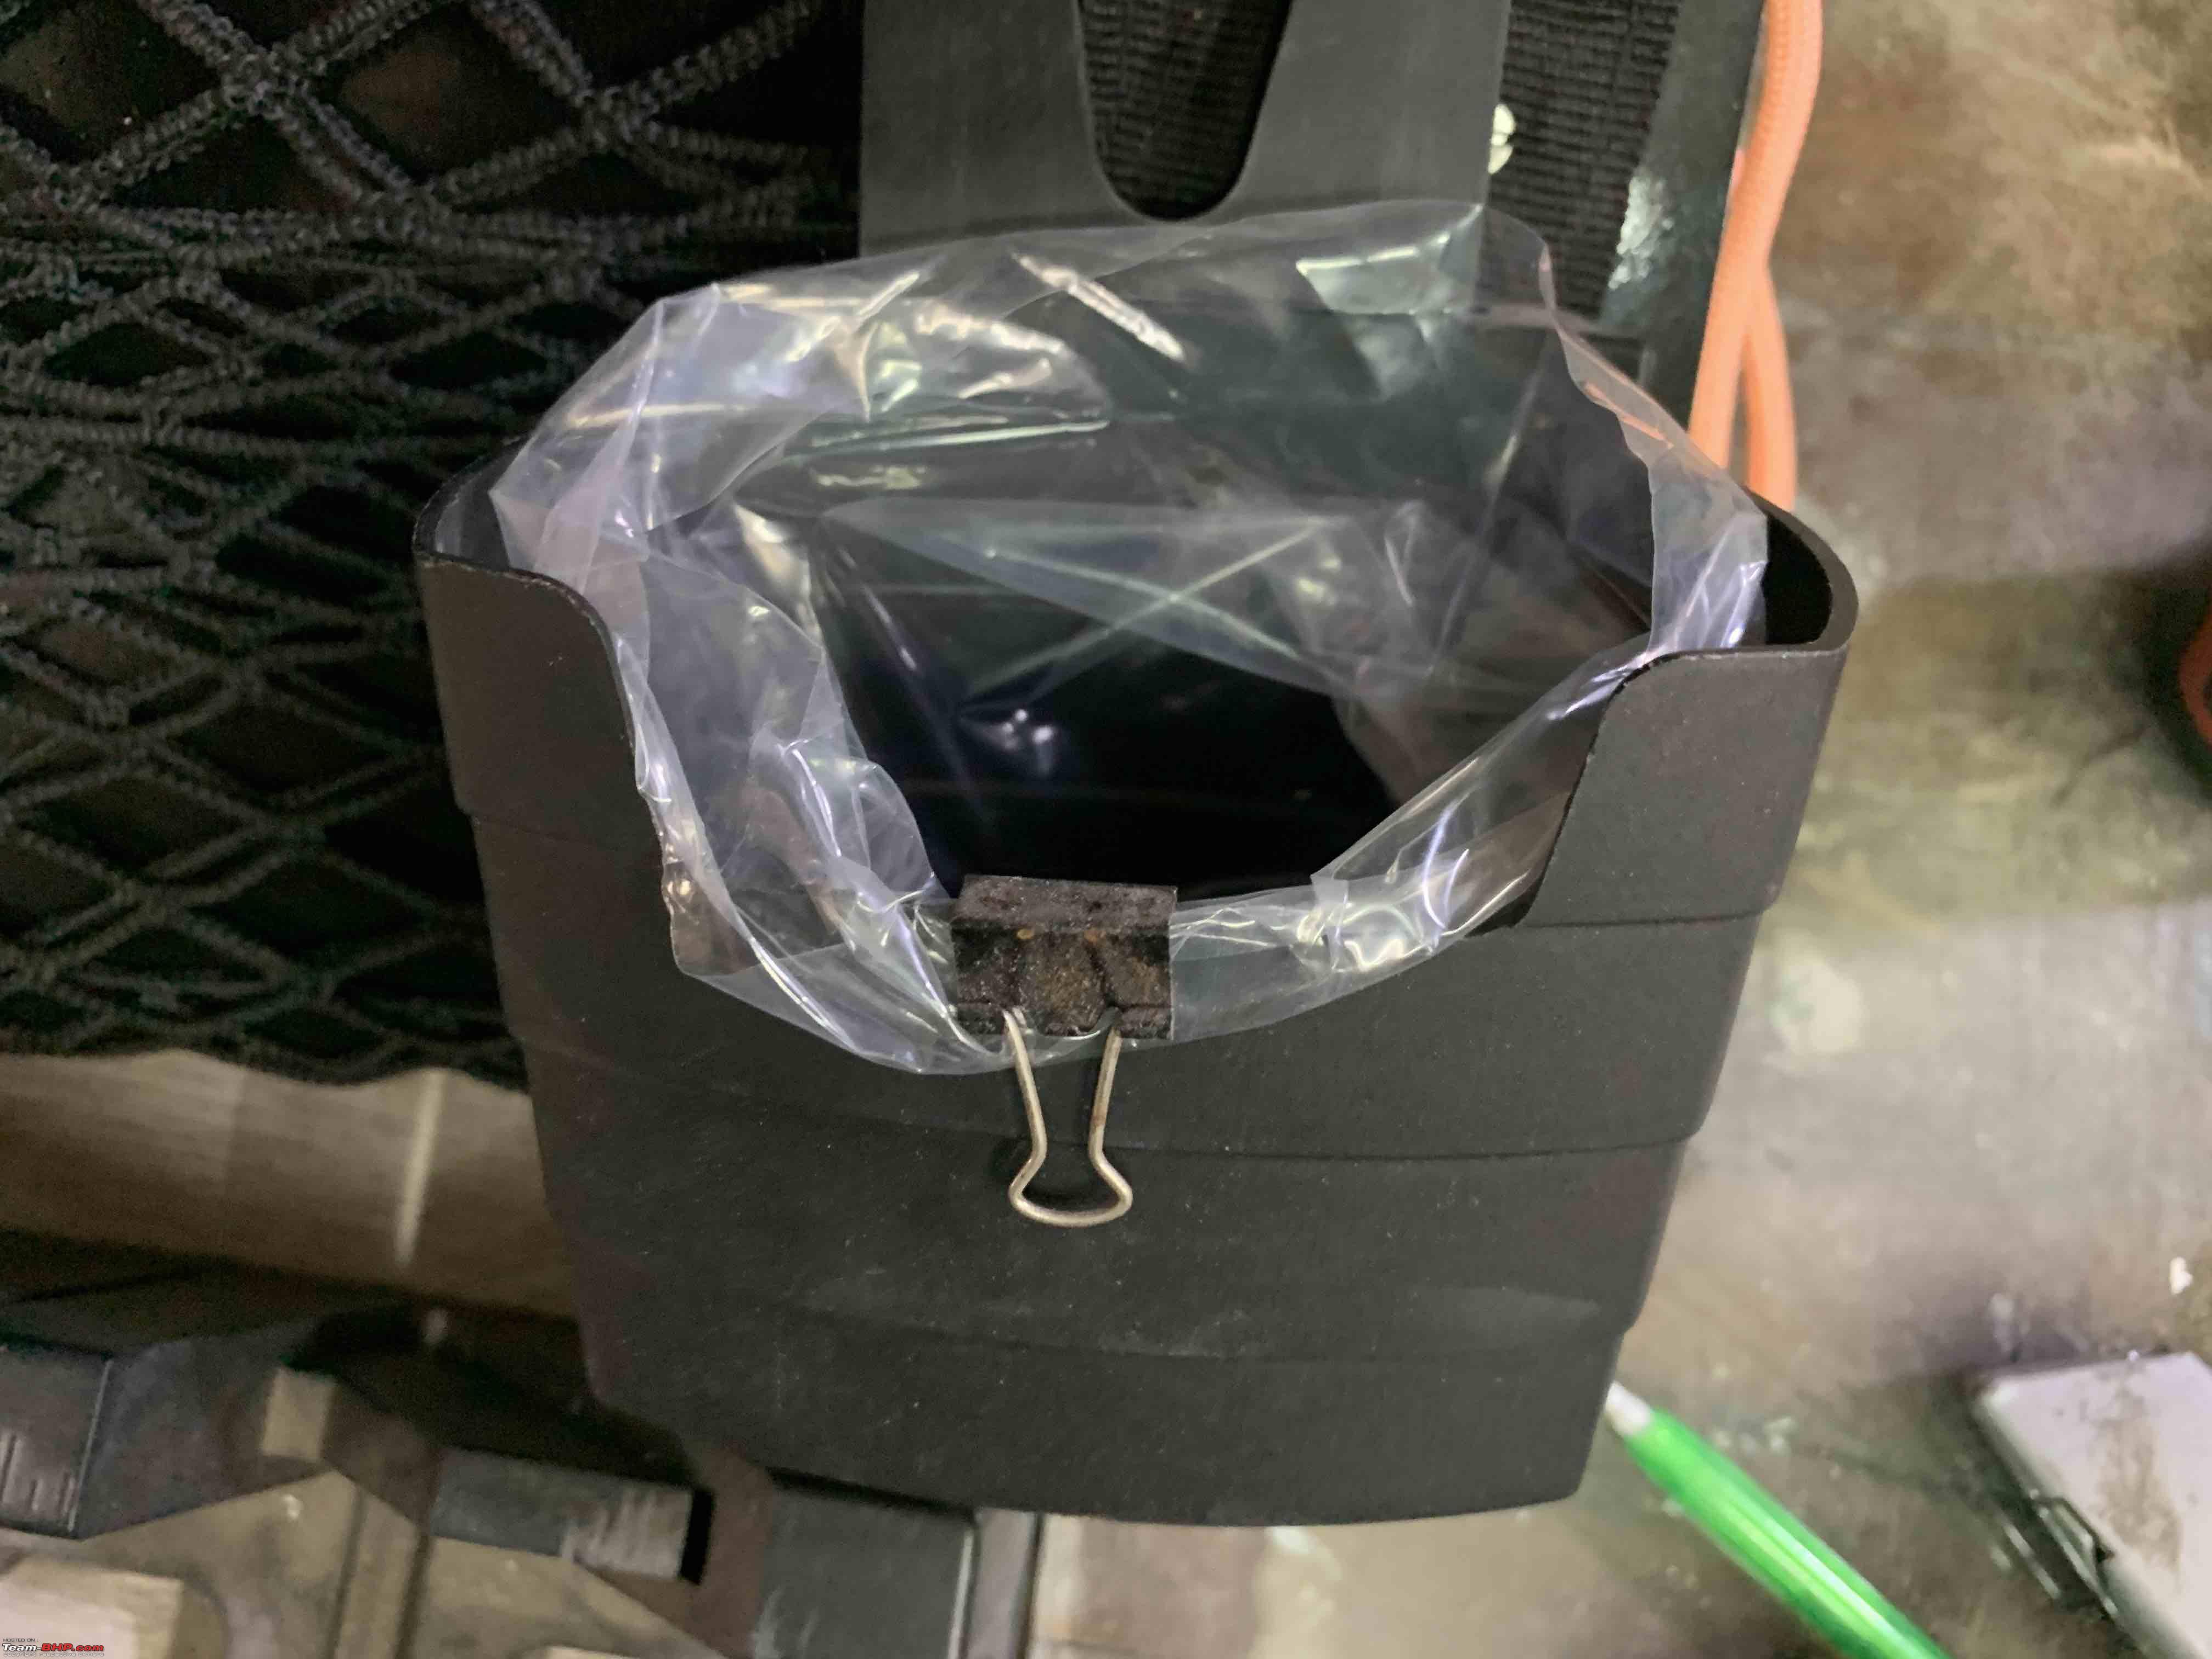
When you make tea/coffee you need to throw away the sachets.
From experience and observation, if a bin is nearby you will bin your waste or you will litter! So needed something handy and close by.
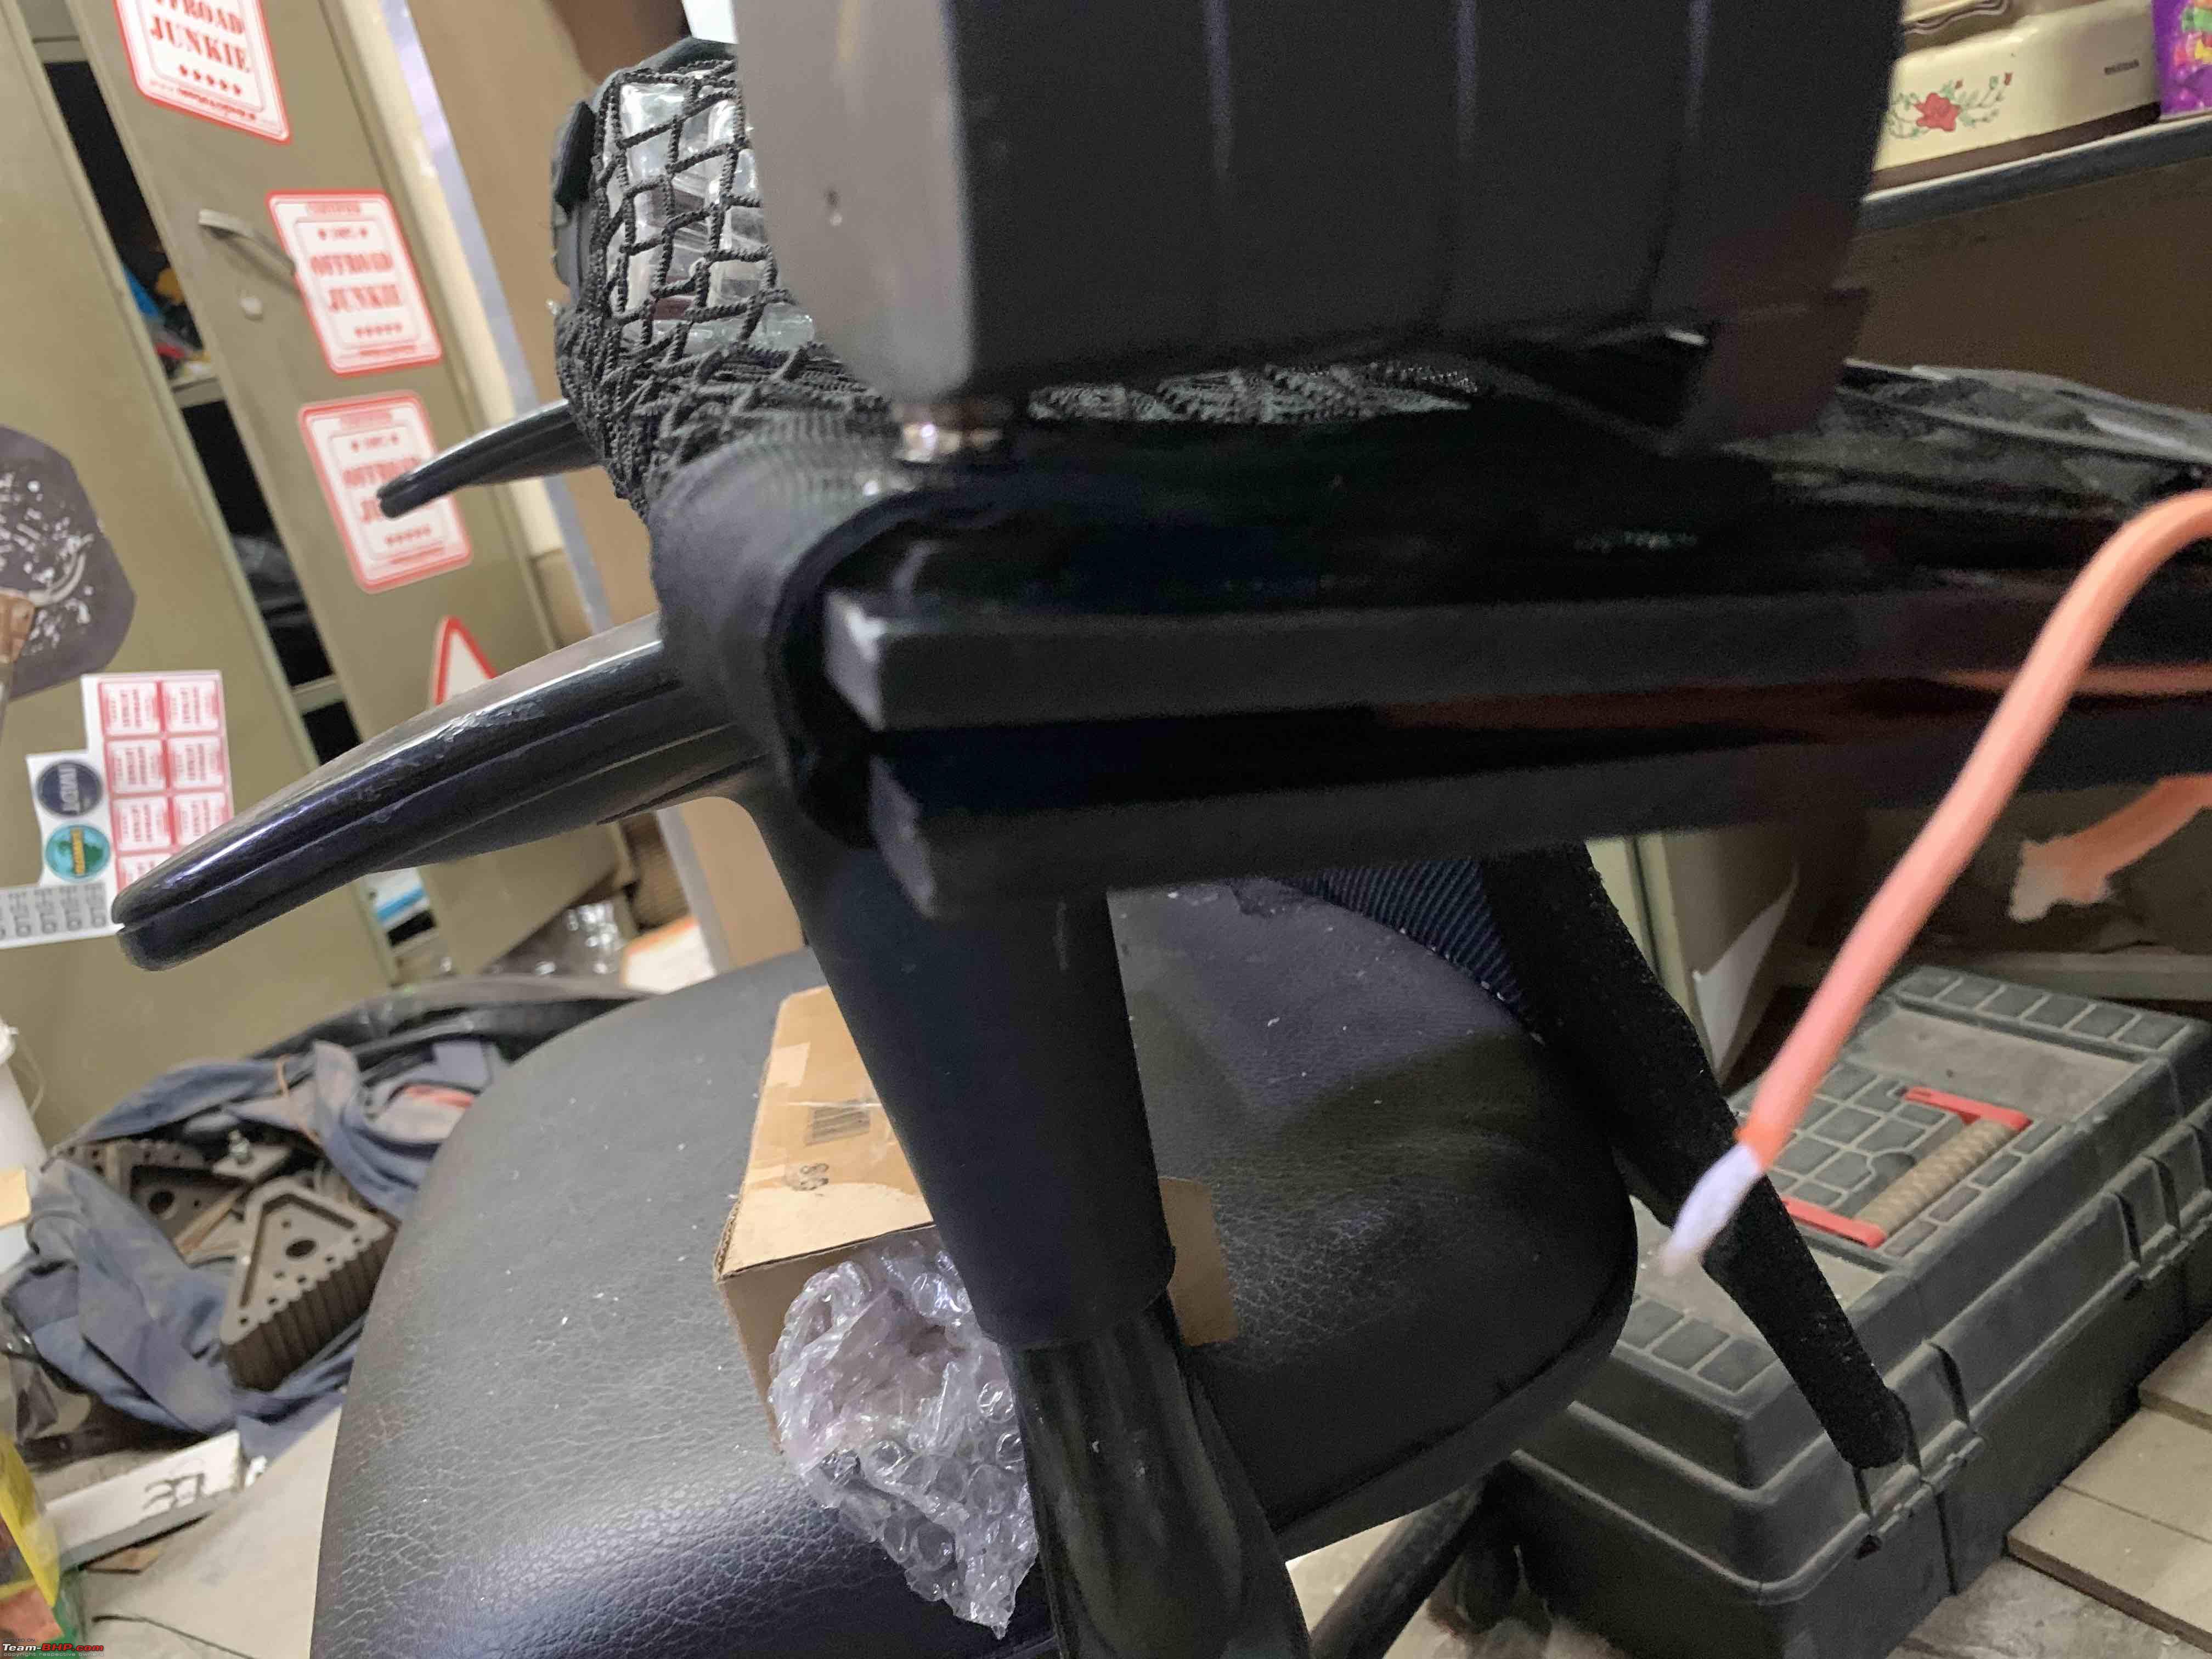
When I had my old classic, I had bought a hanging French fries holder which I never used. Comes in handy here.
The holder hangs from the net:

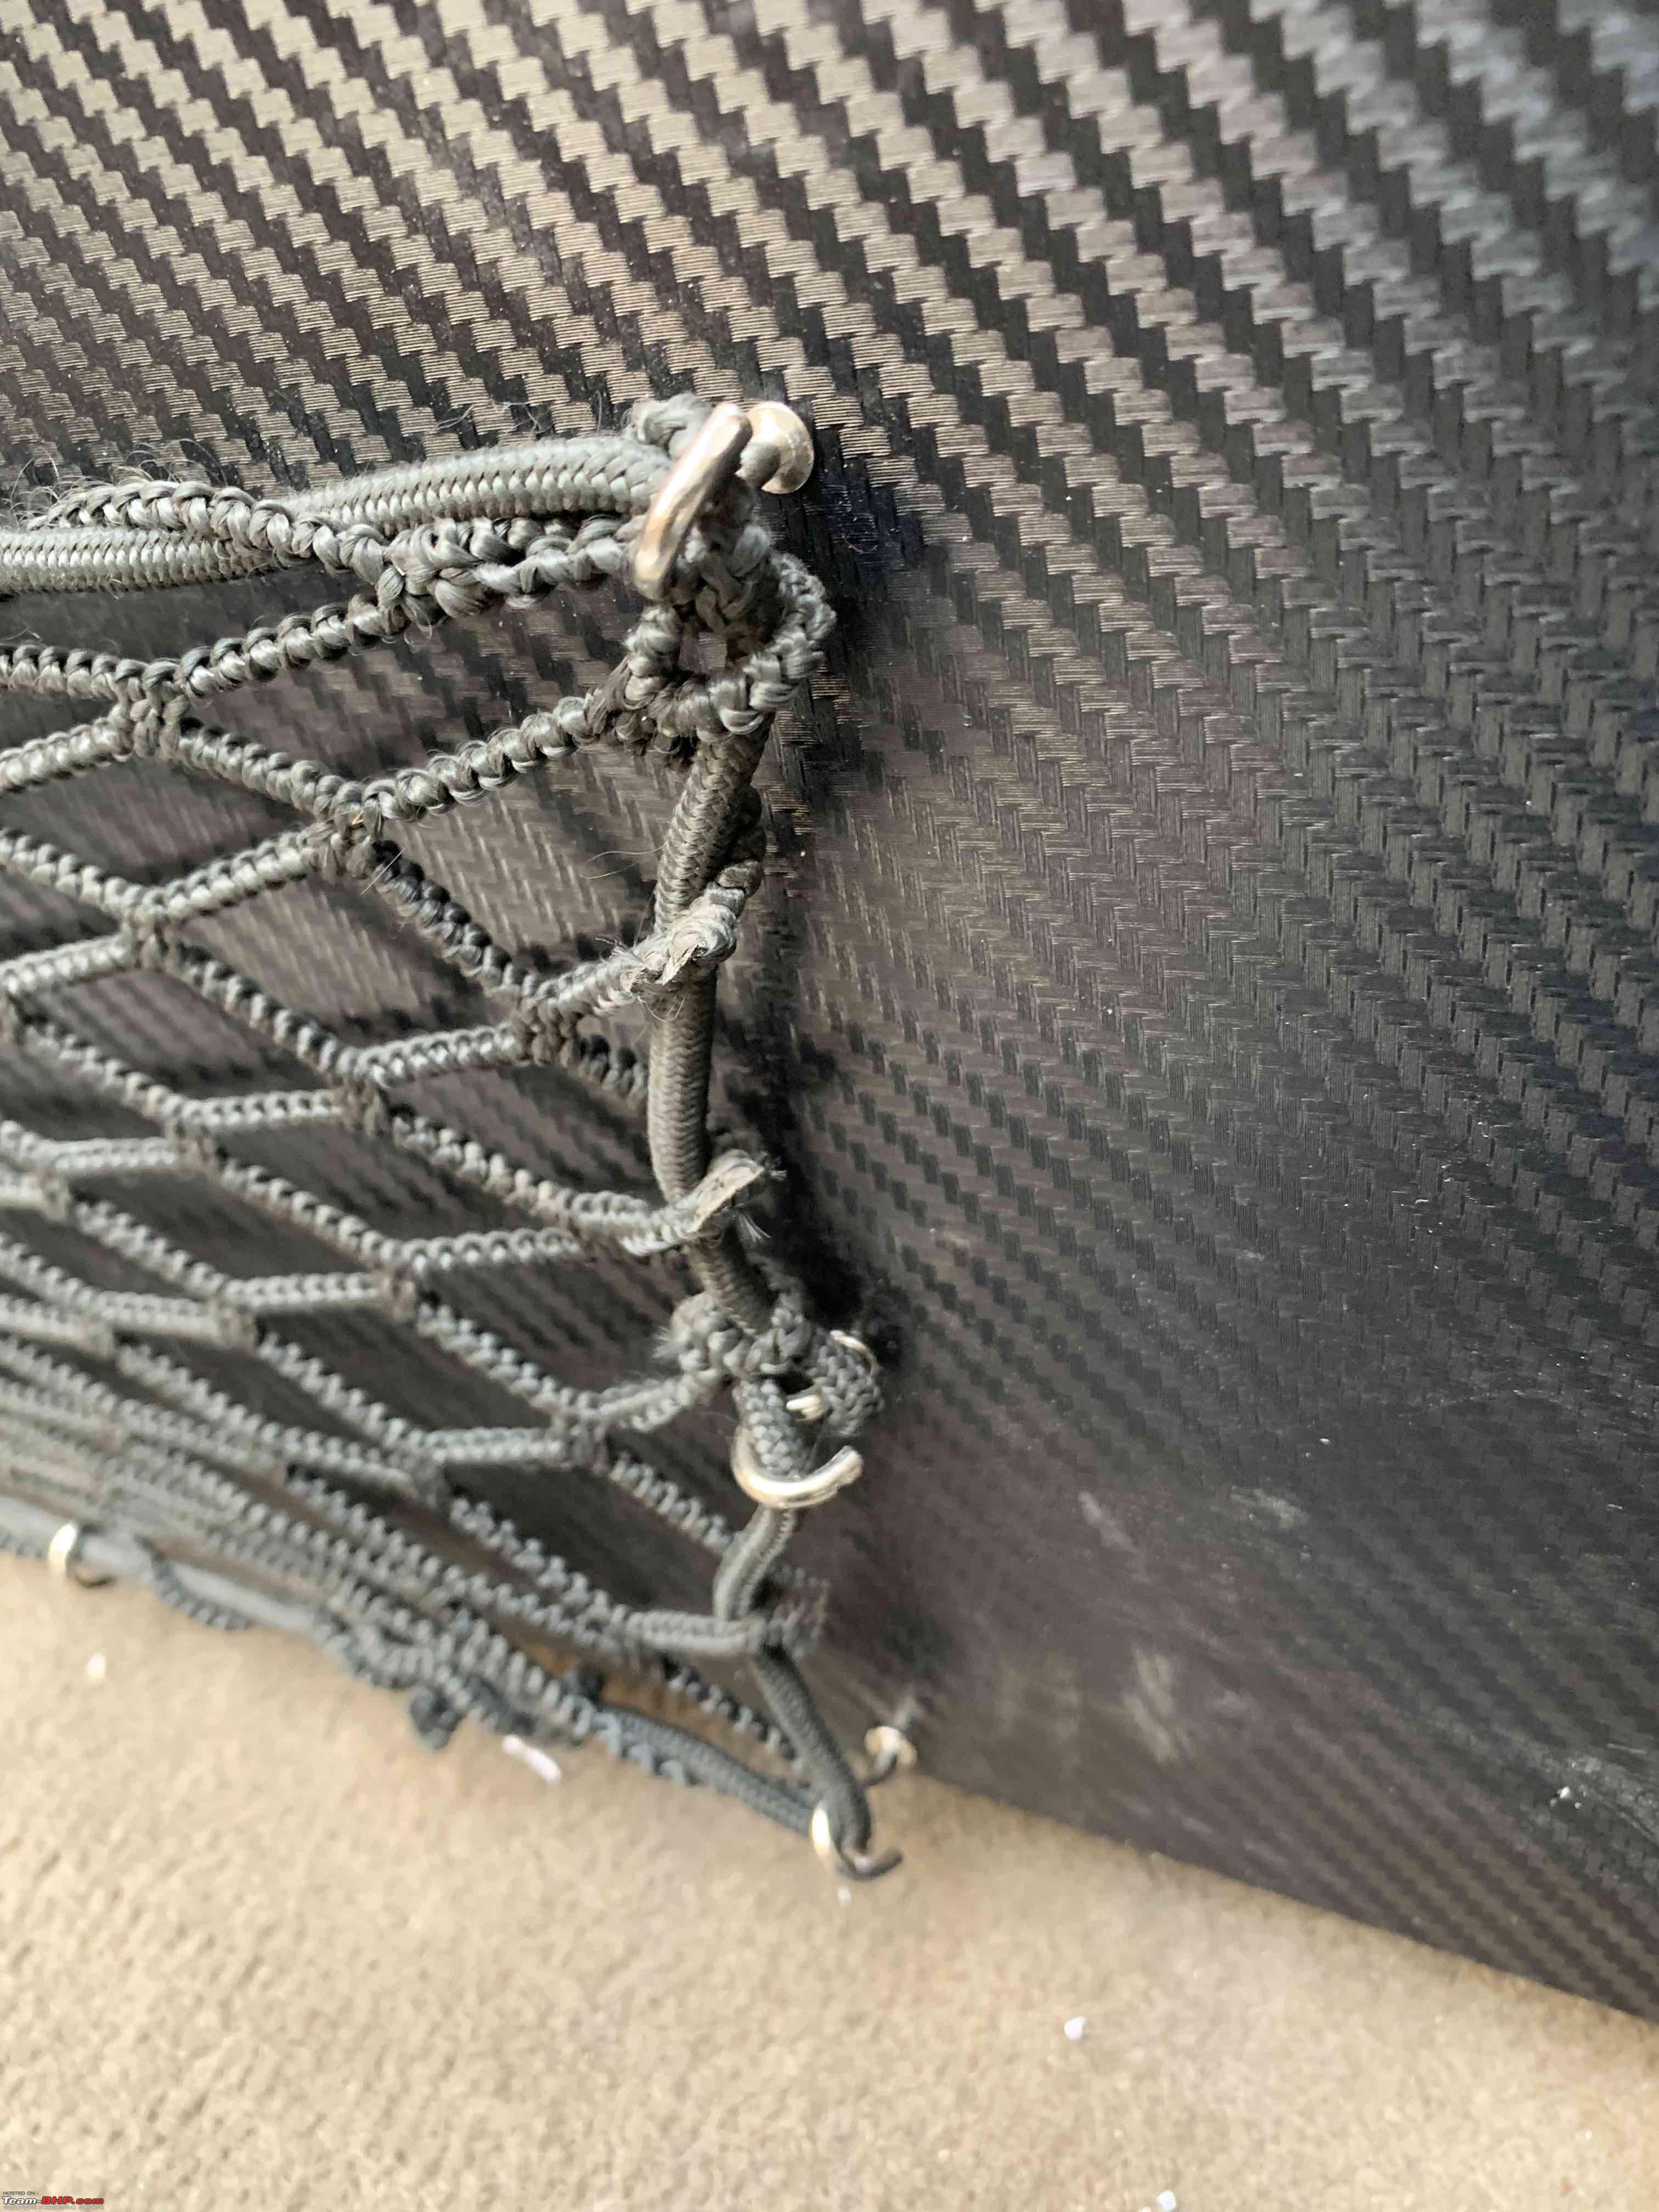
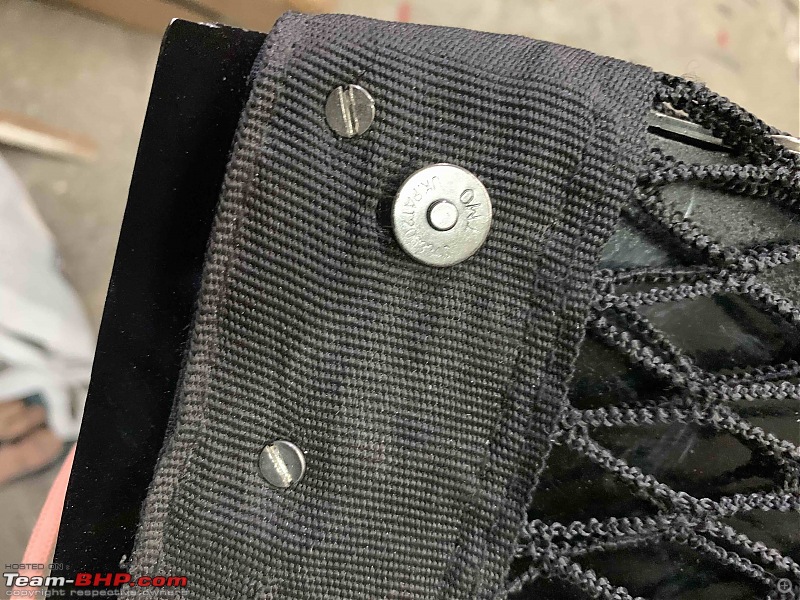
I didn't want it rattling around. Had salvaged some magnetic buttons from an old purse of my wife's and it comes in handy. Yeah I'm cheap! :D
The magnet fit on the plastic bin:

The other side on the net:
Joins nicely!:

The small plastic bags that come with stuff you buy are great to fashion into a small trash bag for this and secured with a paper clip:

This way I have everything I need to make a hot cuppa close at hand.
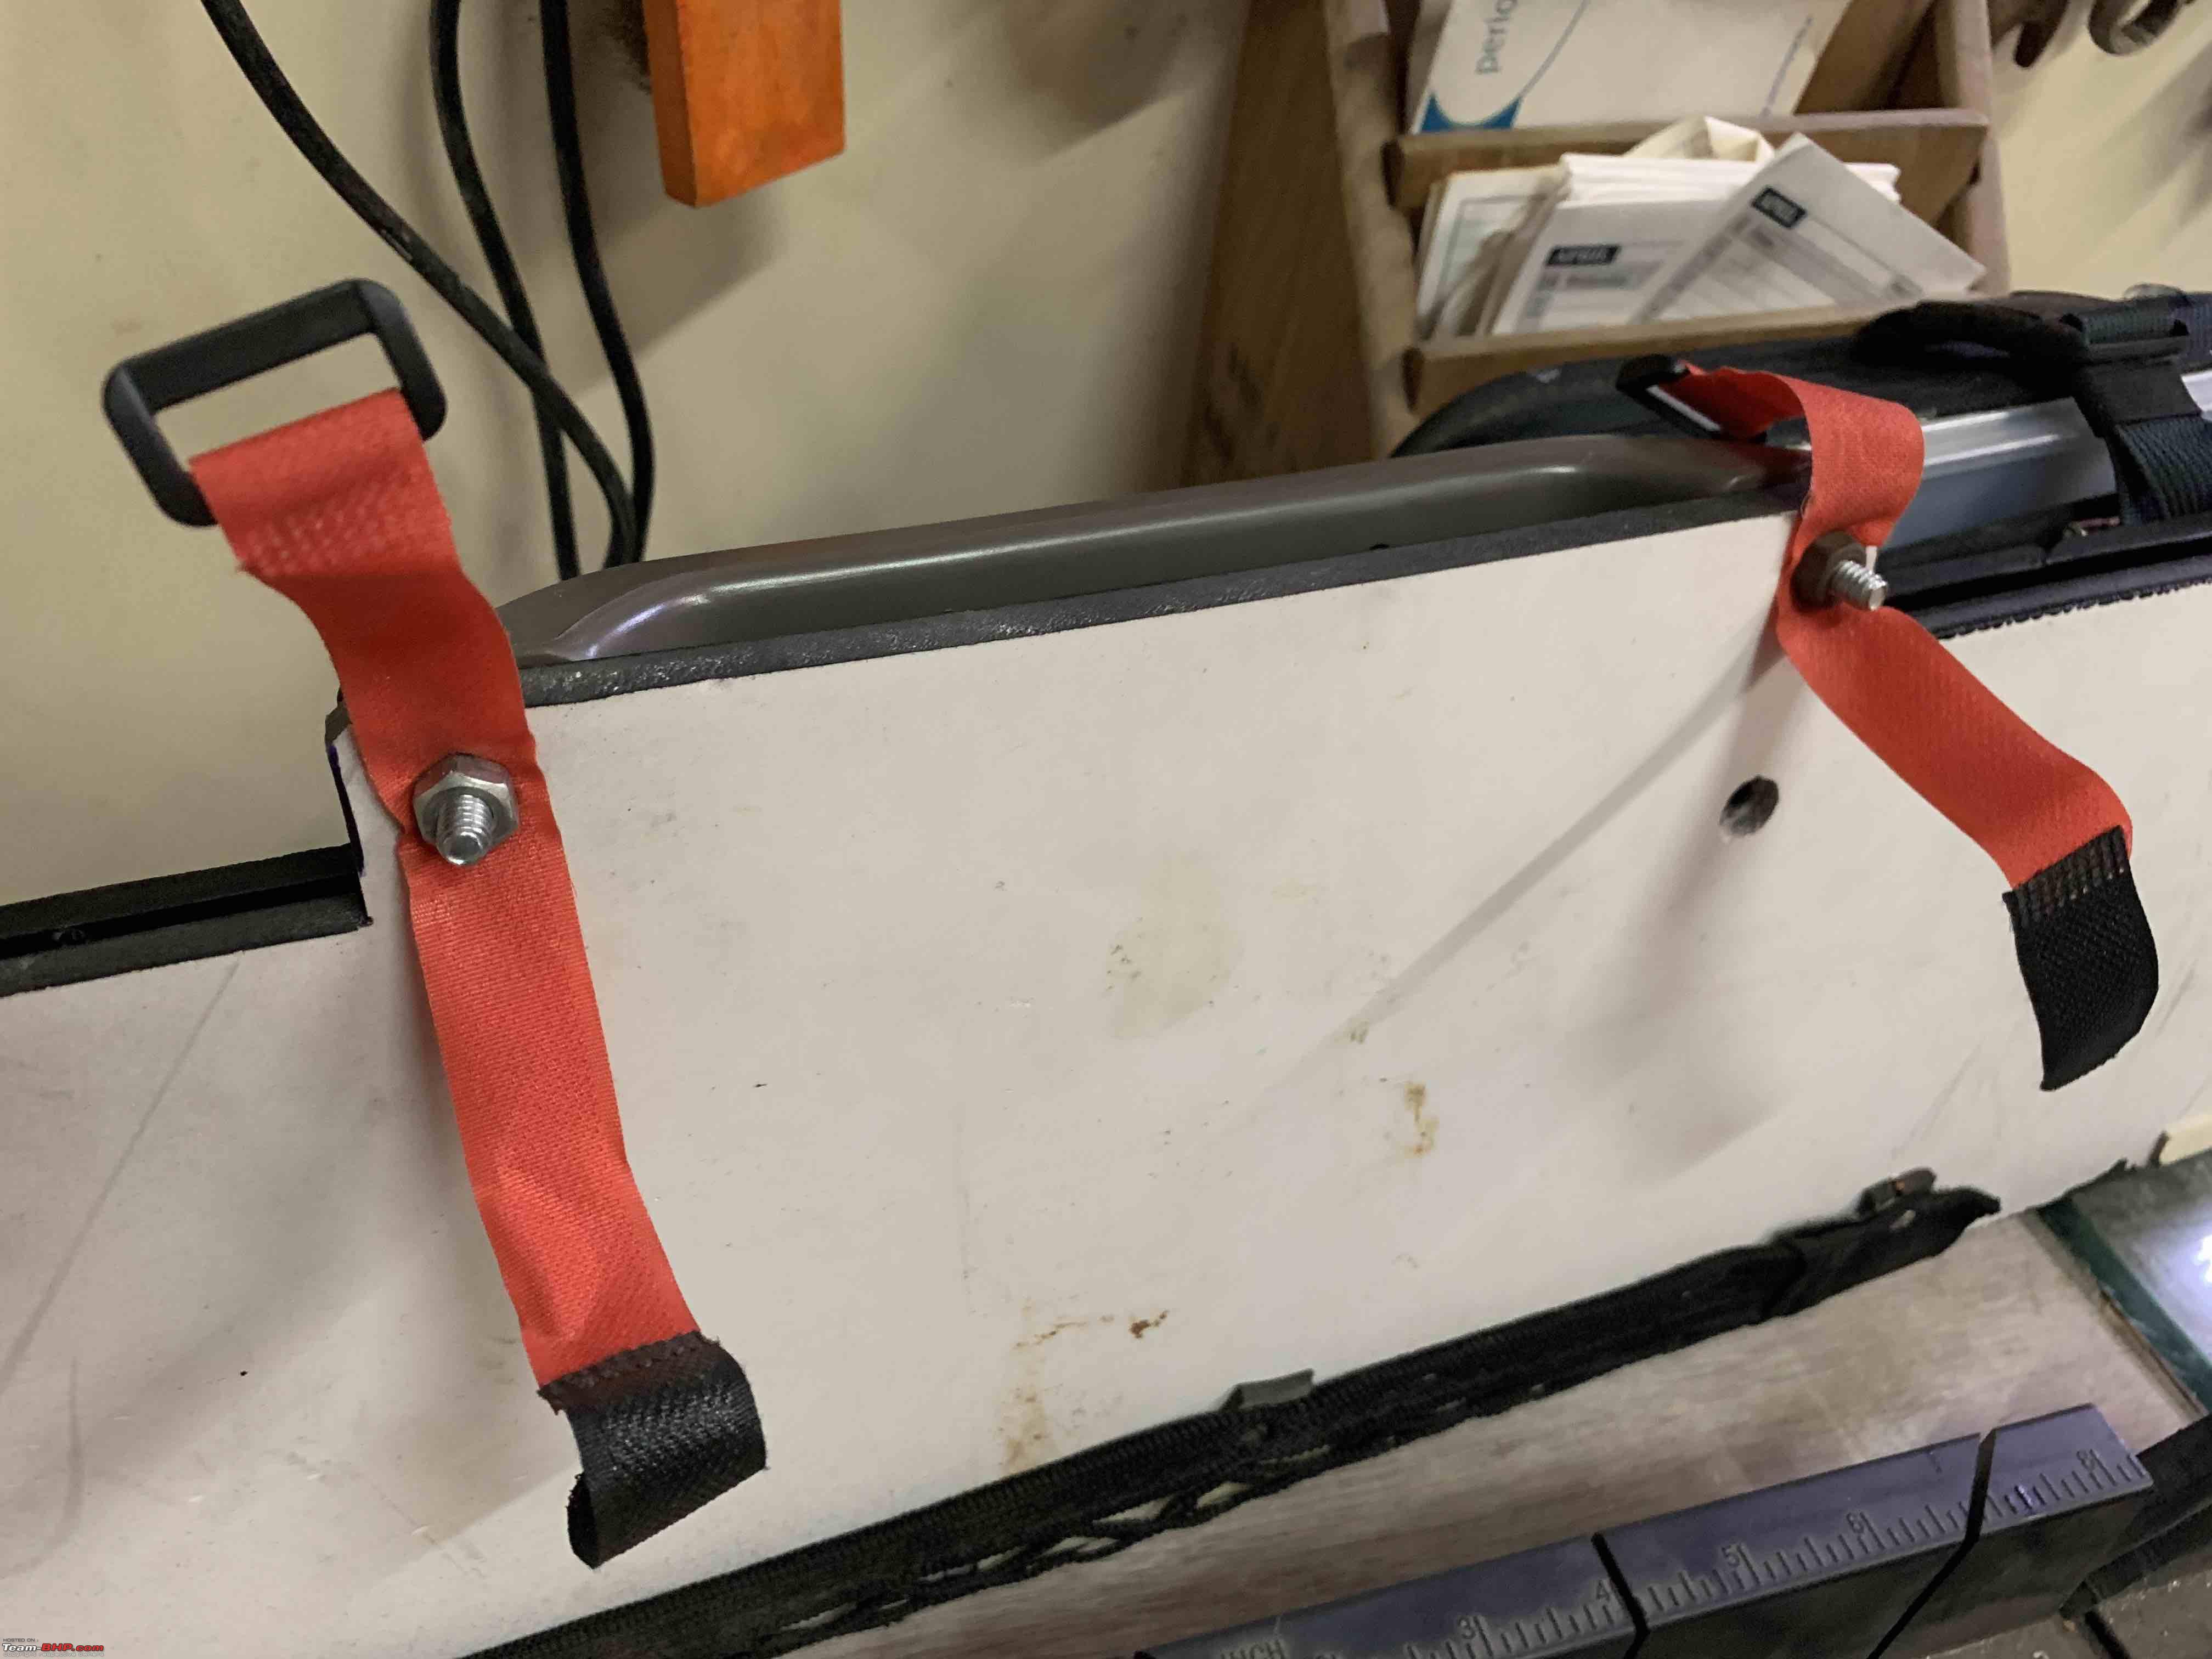
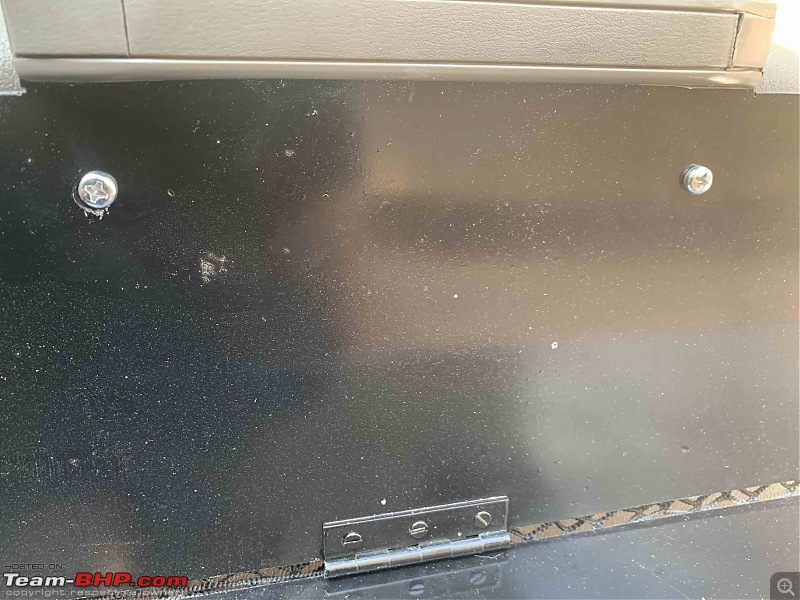
Next was to secure the "desk" in up position.
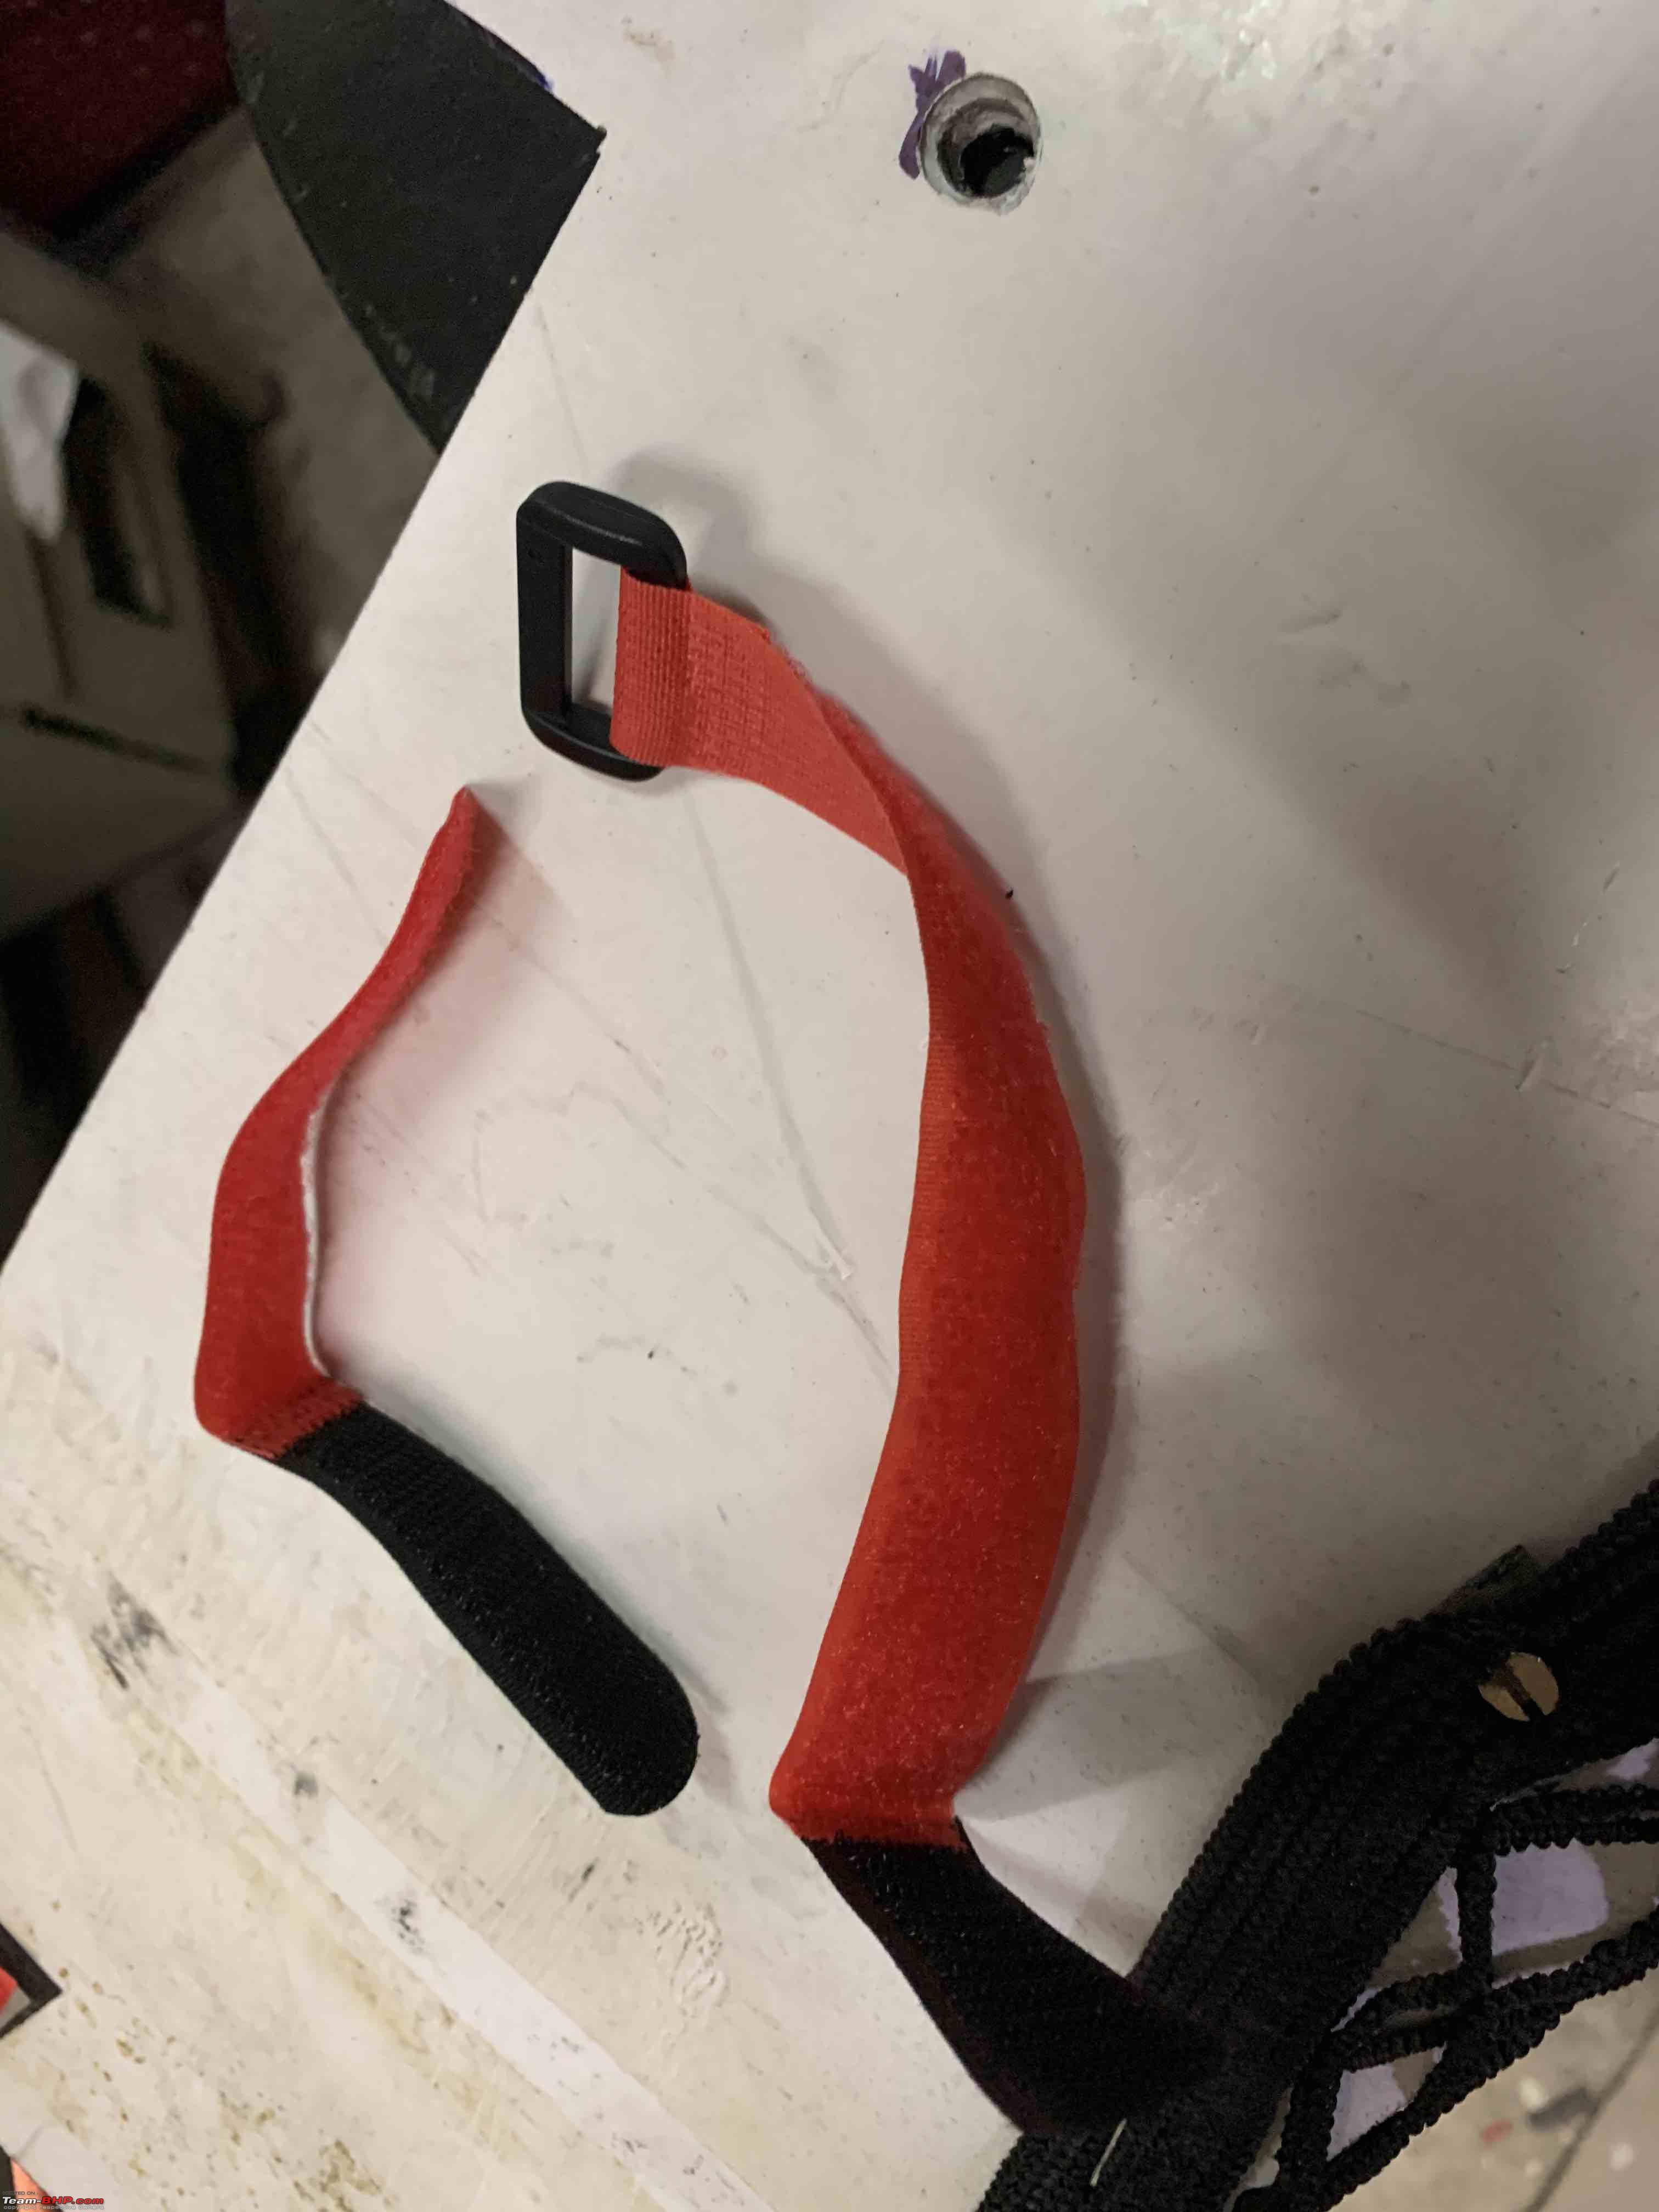
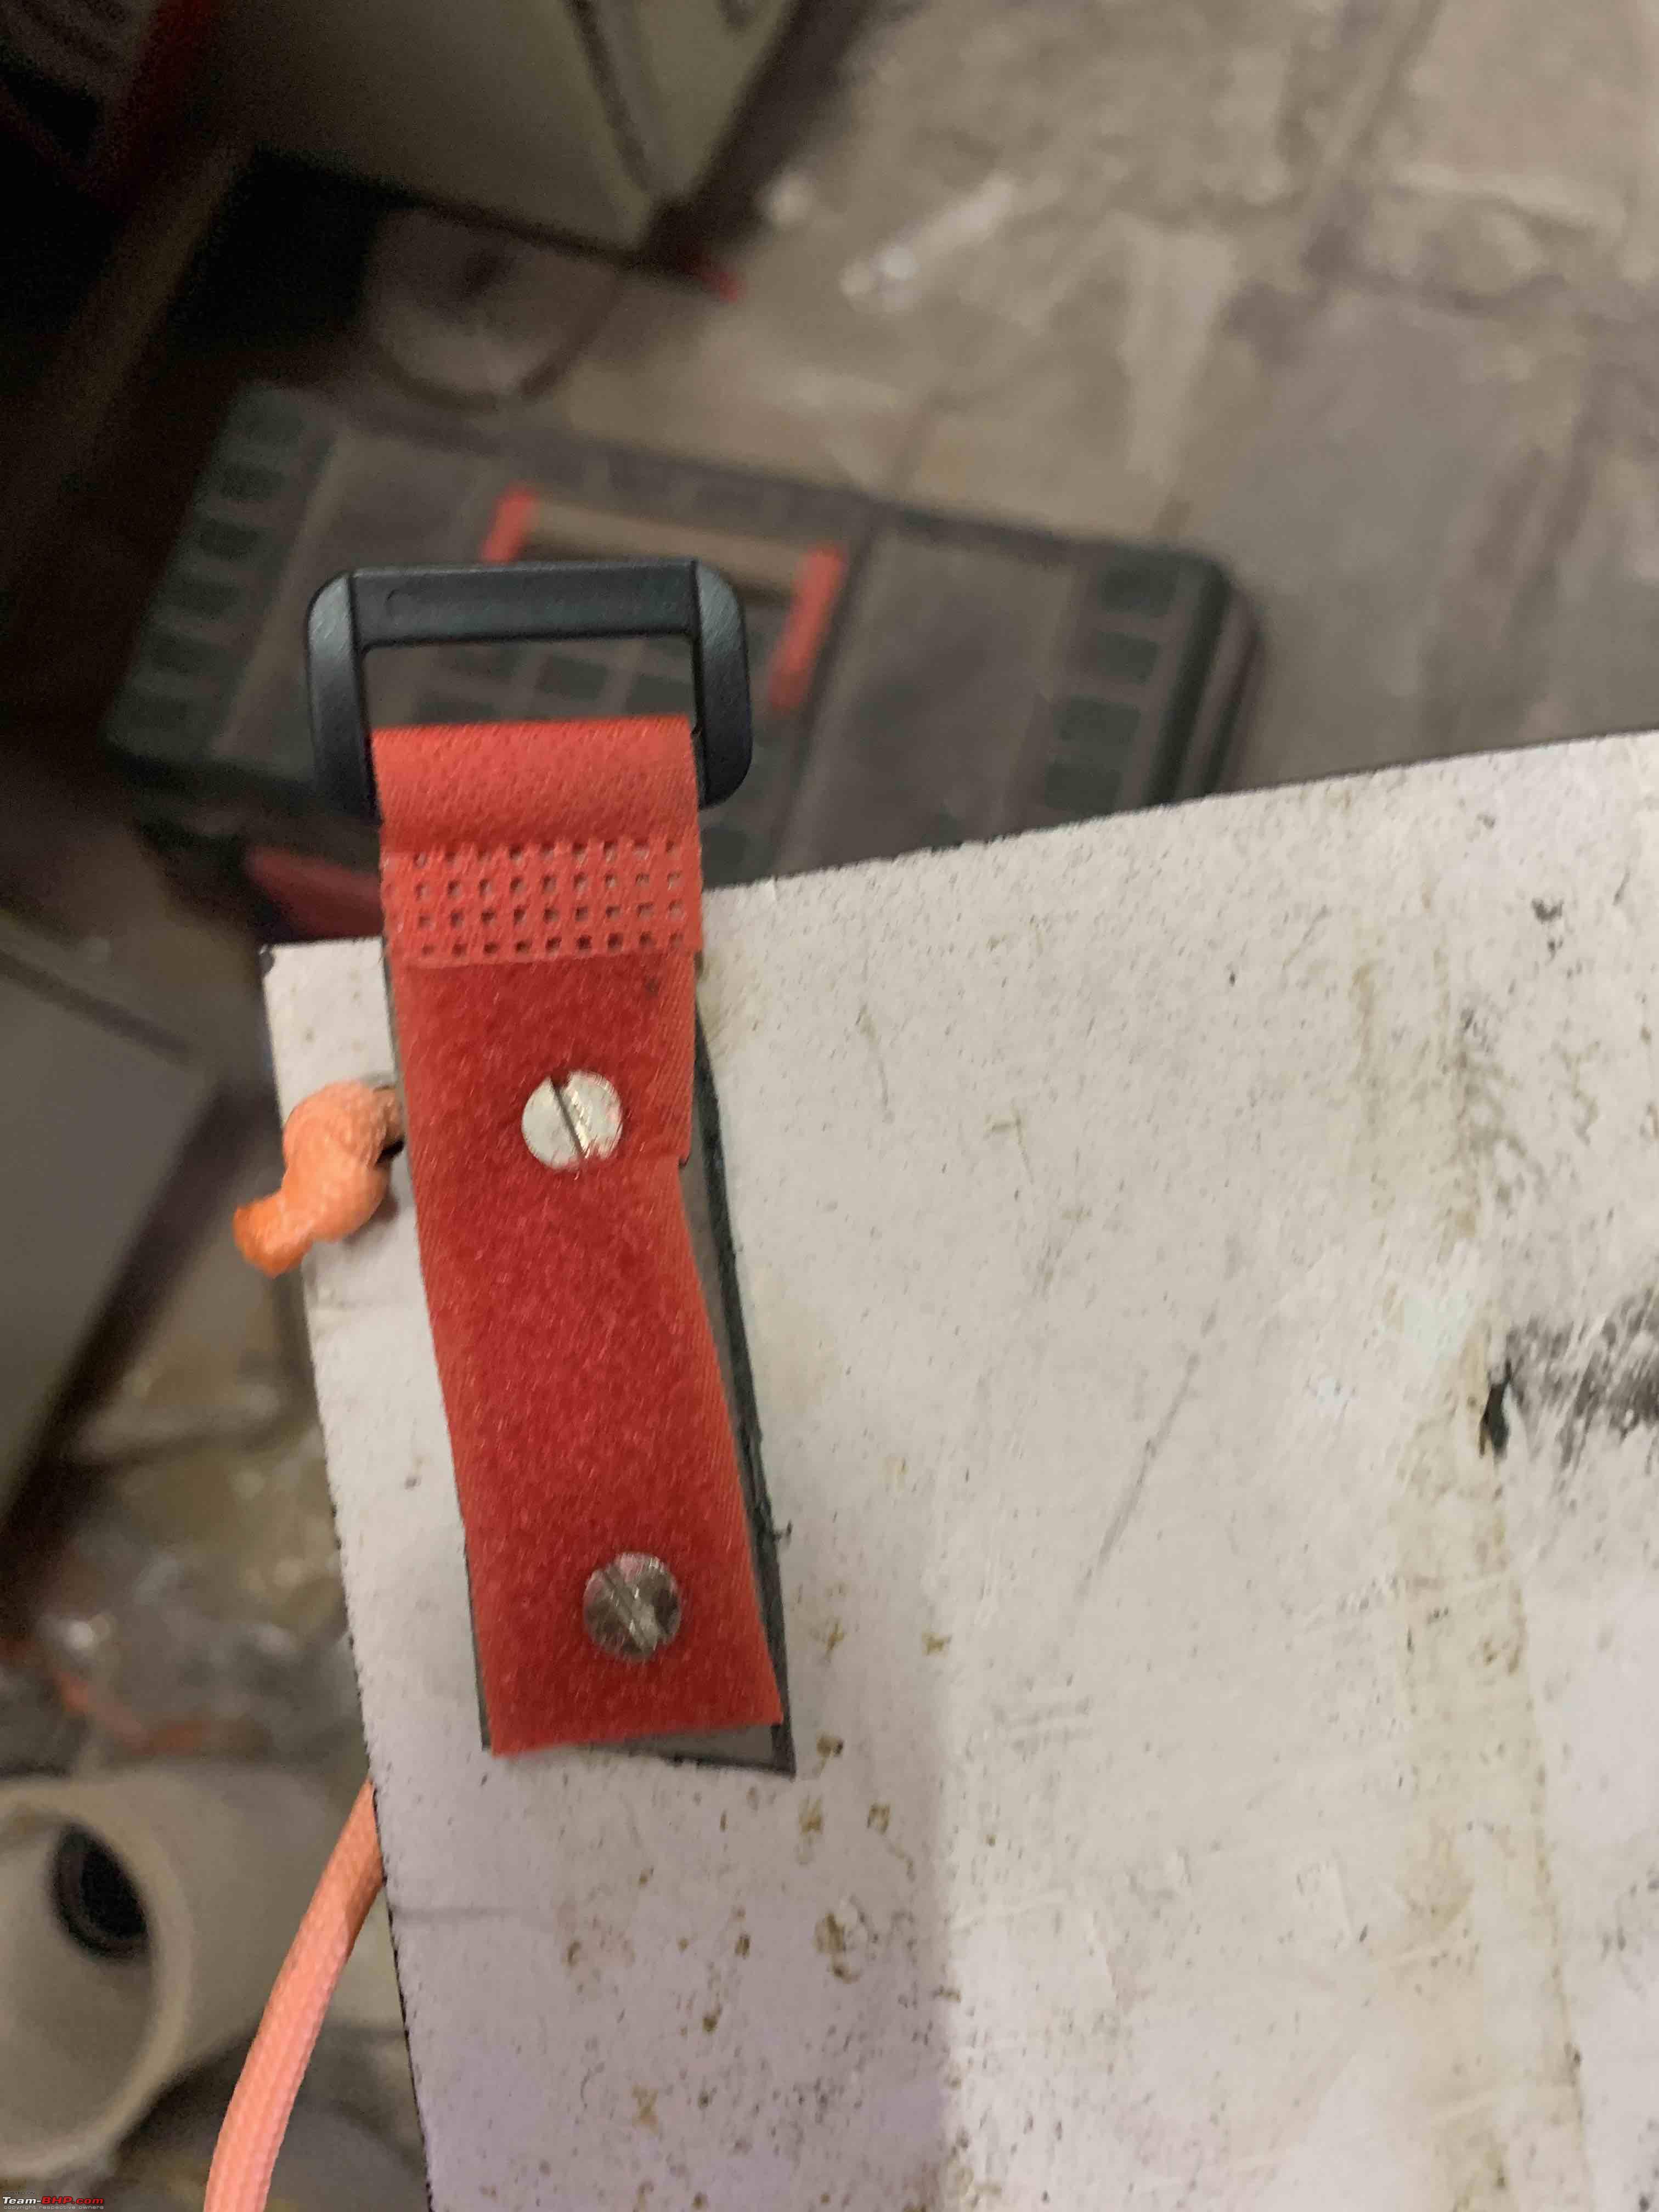
Use velcro. Cut the existing ones that I had in half:

The half with the loop goes to the back:

The other half to the front:

Did this on both sides.
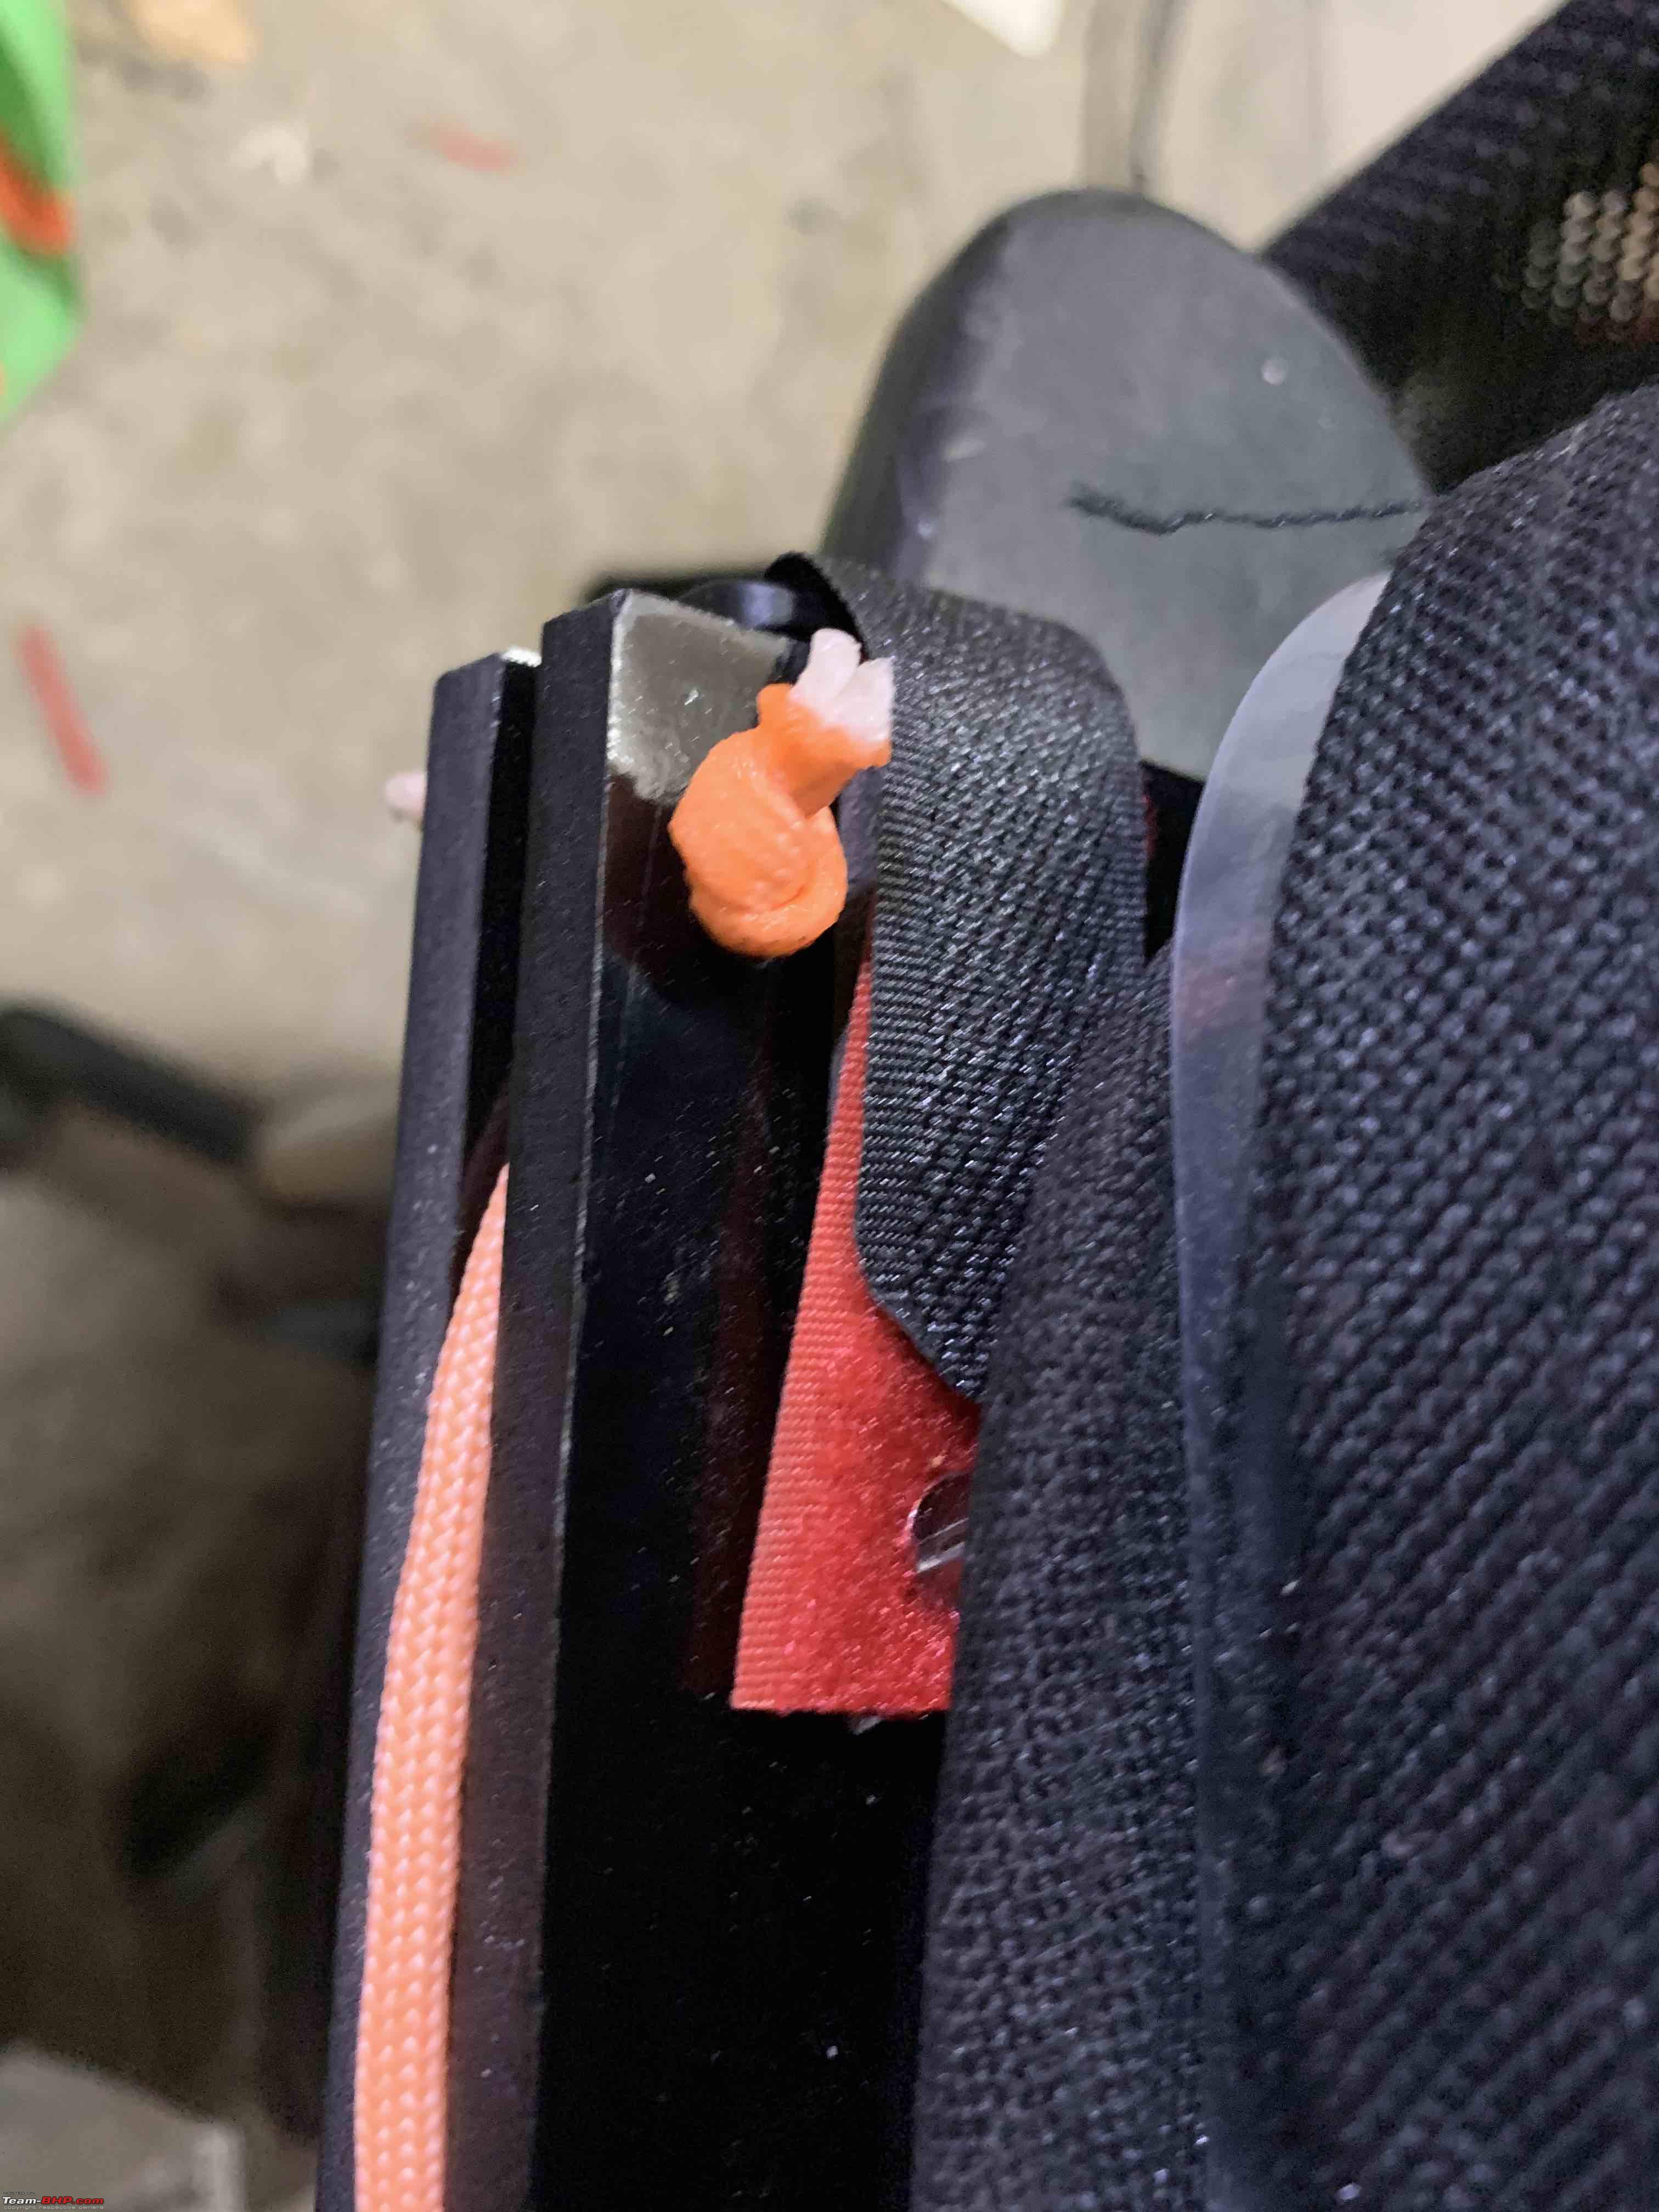
Also used a pair of velcros on the exiting bolts of the handle to attach an umbrella:

Fit the entire unit to the door:
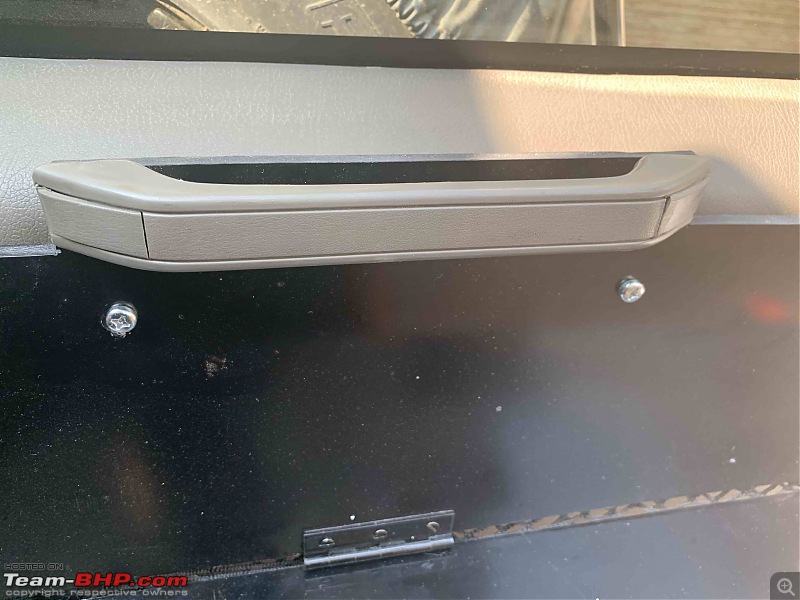
The handle:
Partially open:

With coffee/tea case open:

Closed:

Hope you had as much fun reading it, as I did making it!
Quote:
Originally Posted by blackwasp
(Post 4748624)
How's the performance at full load? Say if I have to run a 1000W vacuum off it, would it work? I'm also guessing you have to keep the engine running?
|
Never tried at full load! It should work, the reviews of the product are fantastic!
Yes, I keep the engine running wheel using it.
Quick DIY:
Had an old net that I had salvaged from my old C Class merc.
Used small hooks to fit that to the drawer system:
Fit:

Good for keeping wiping cloth, etc:

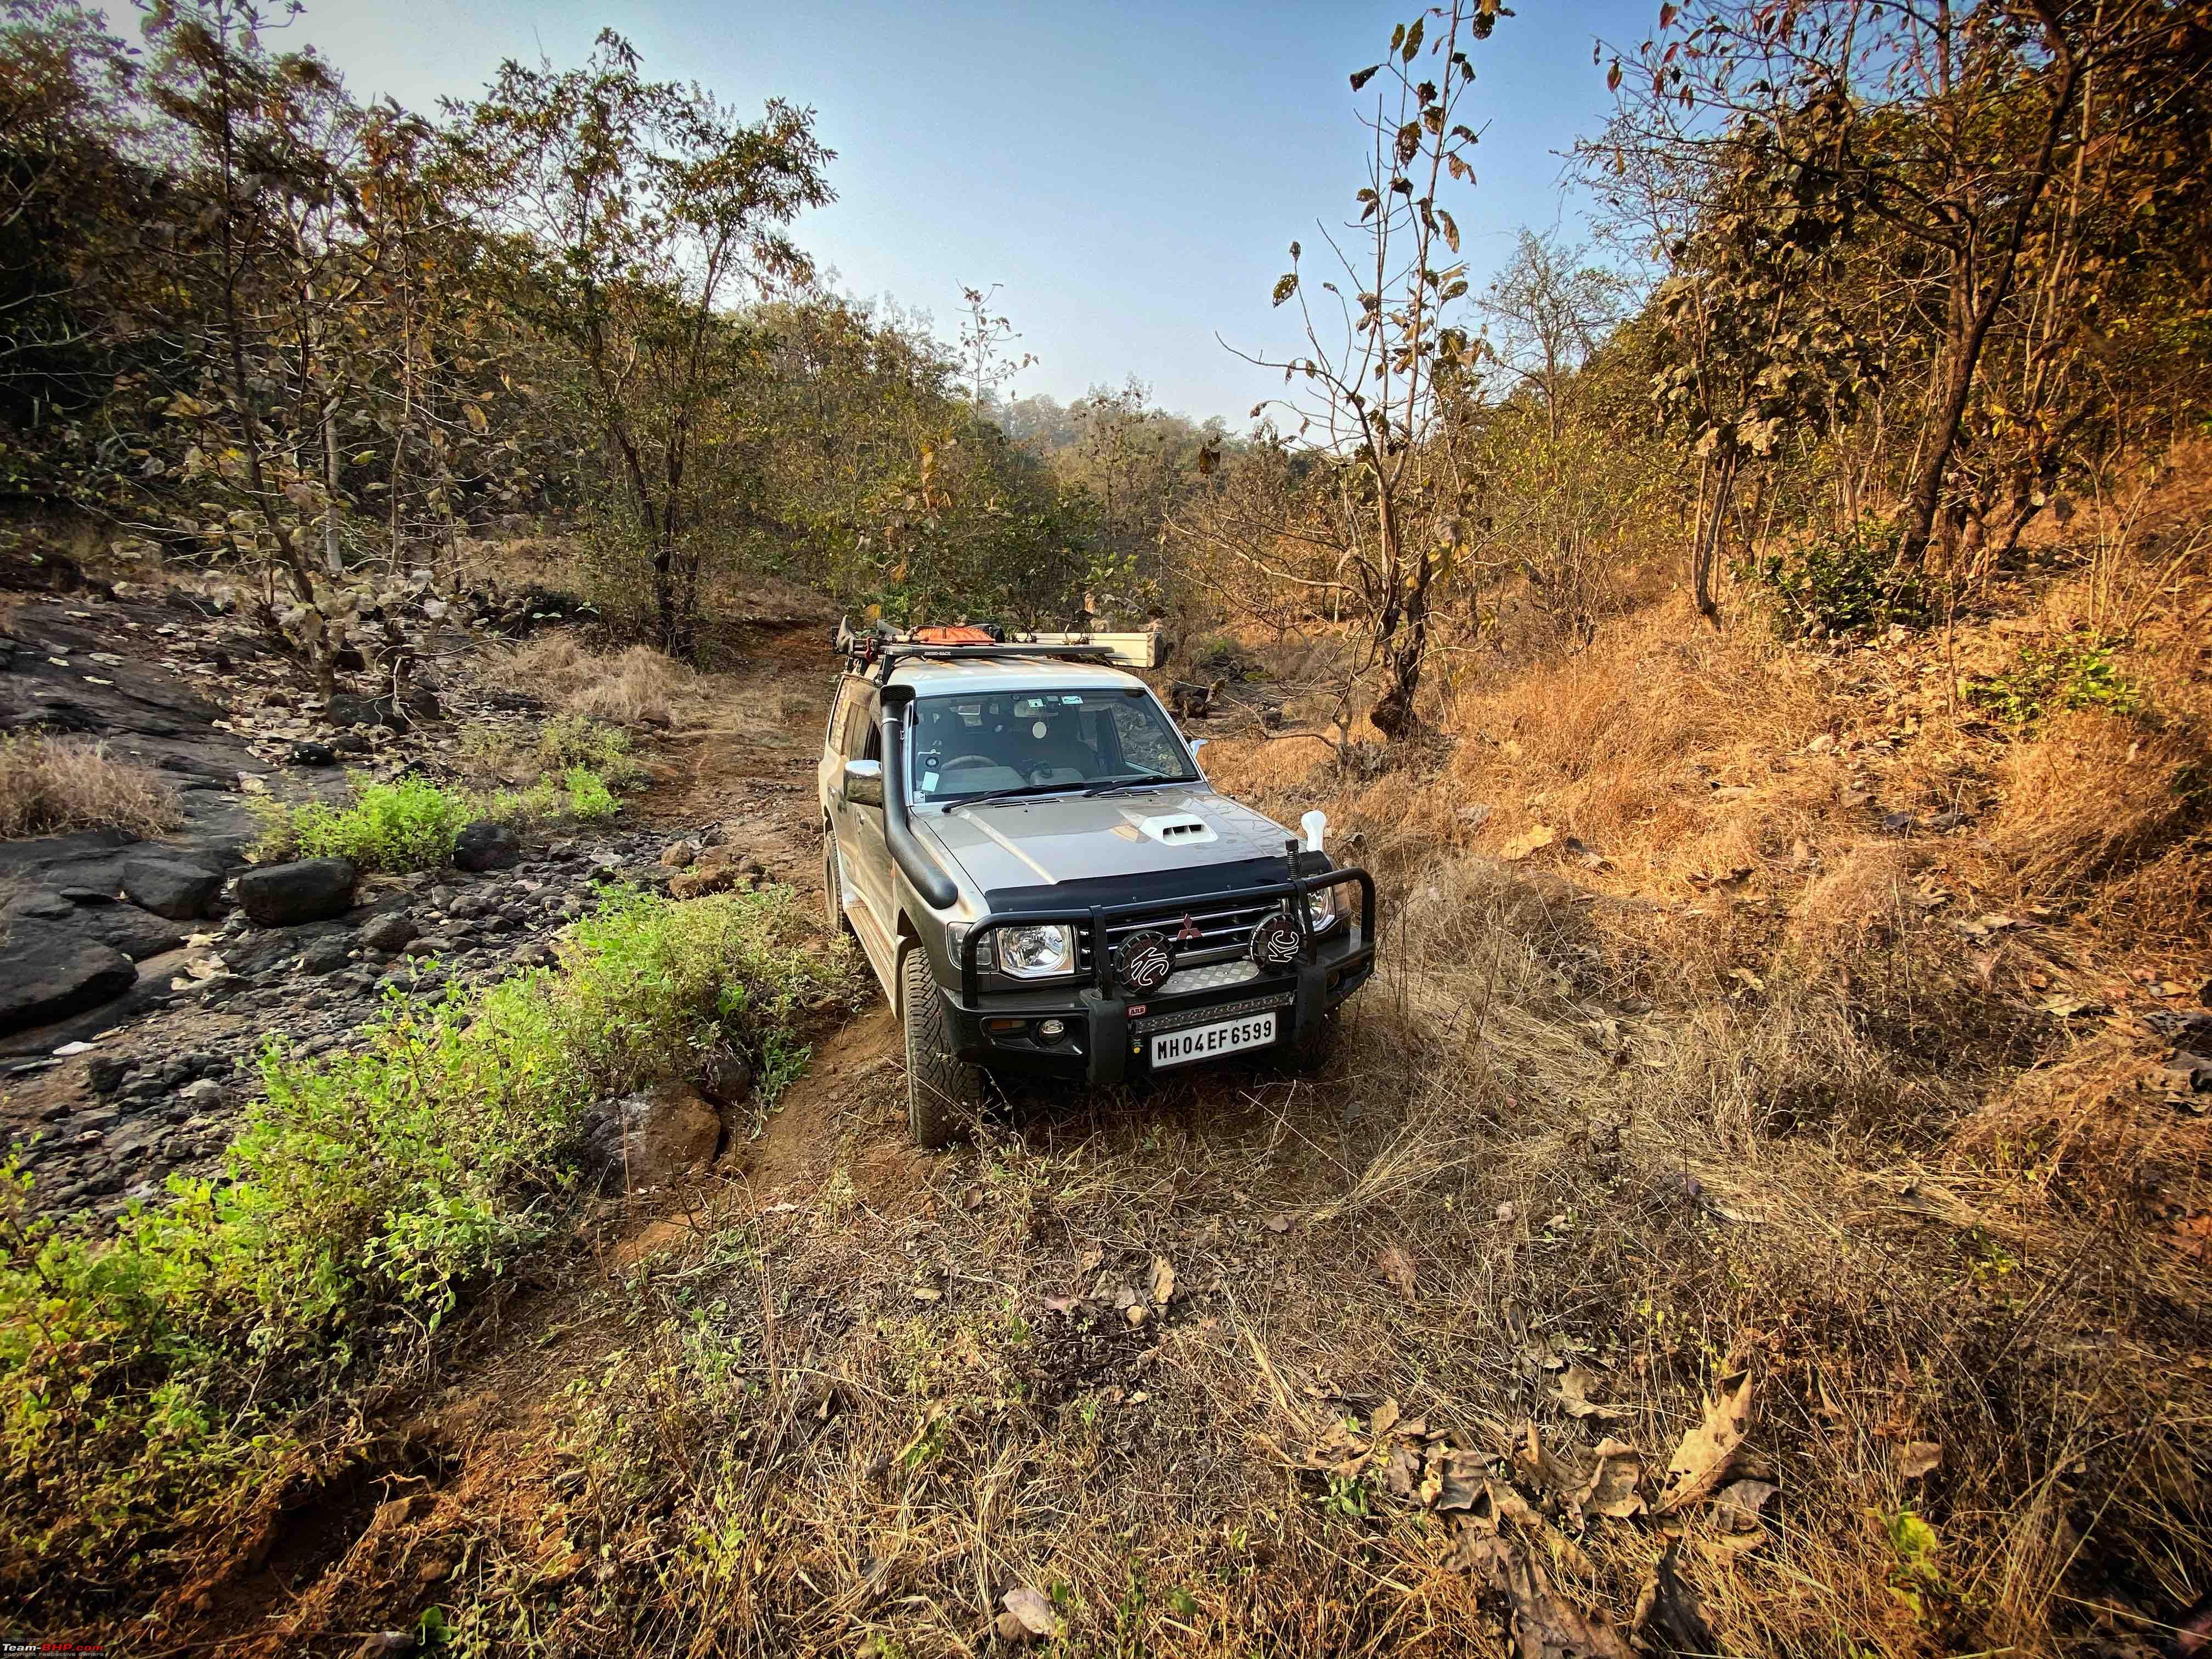
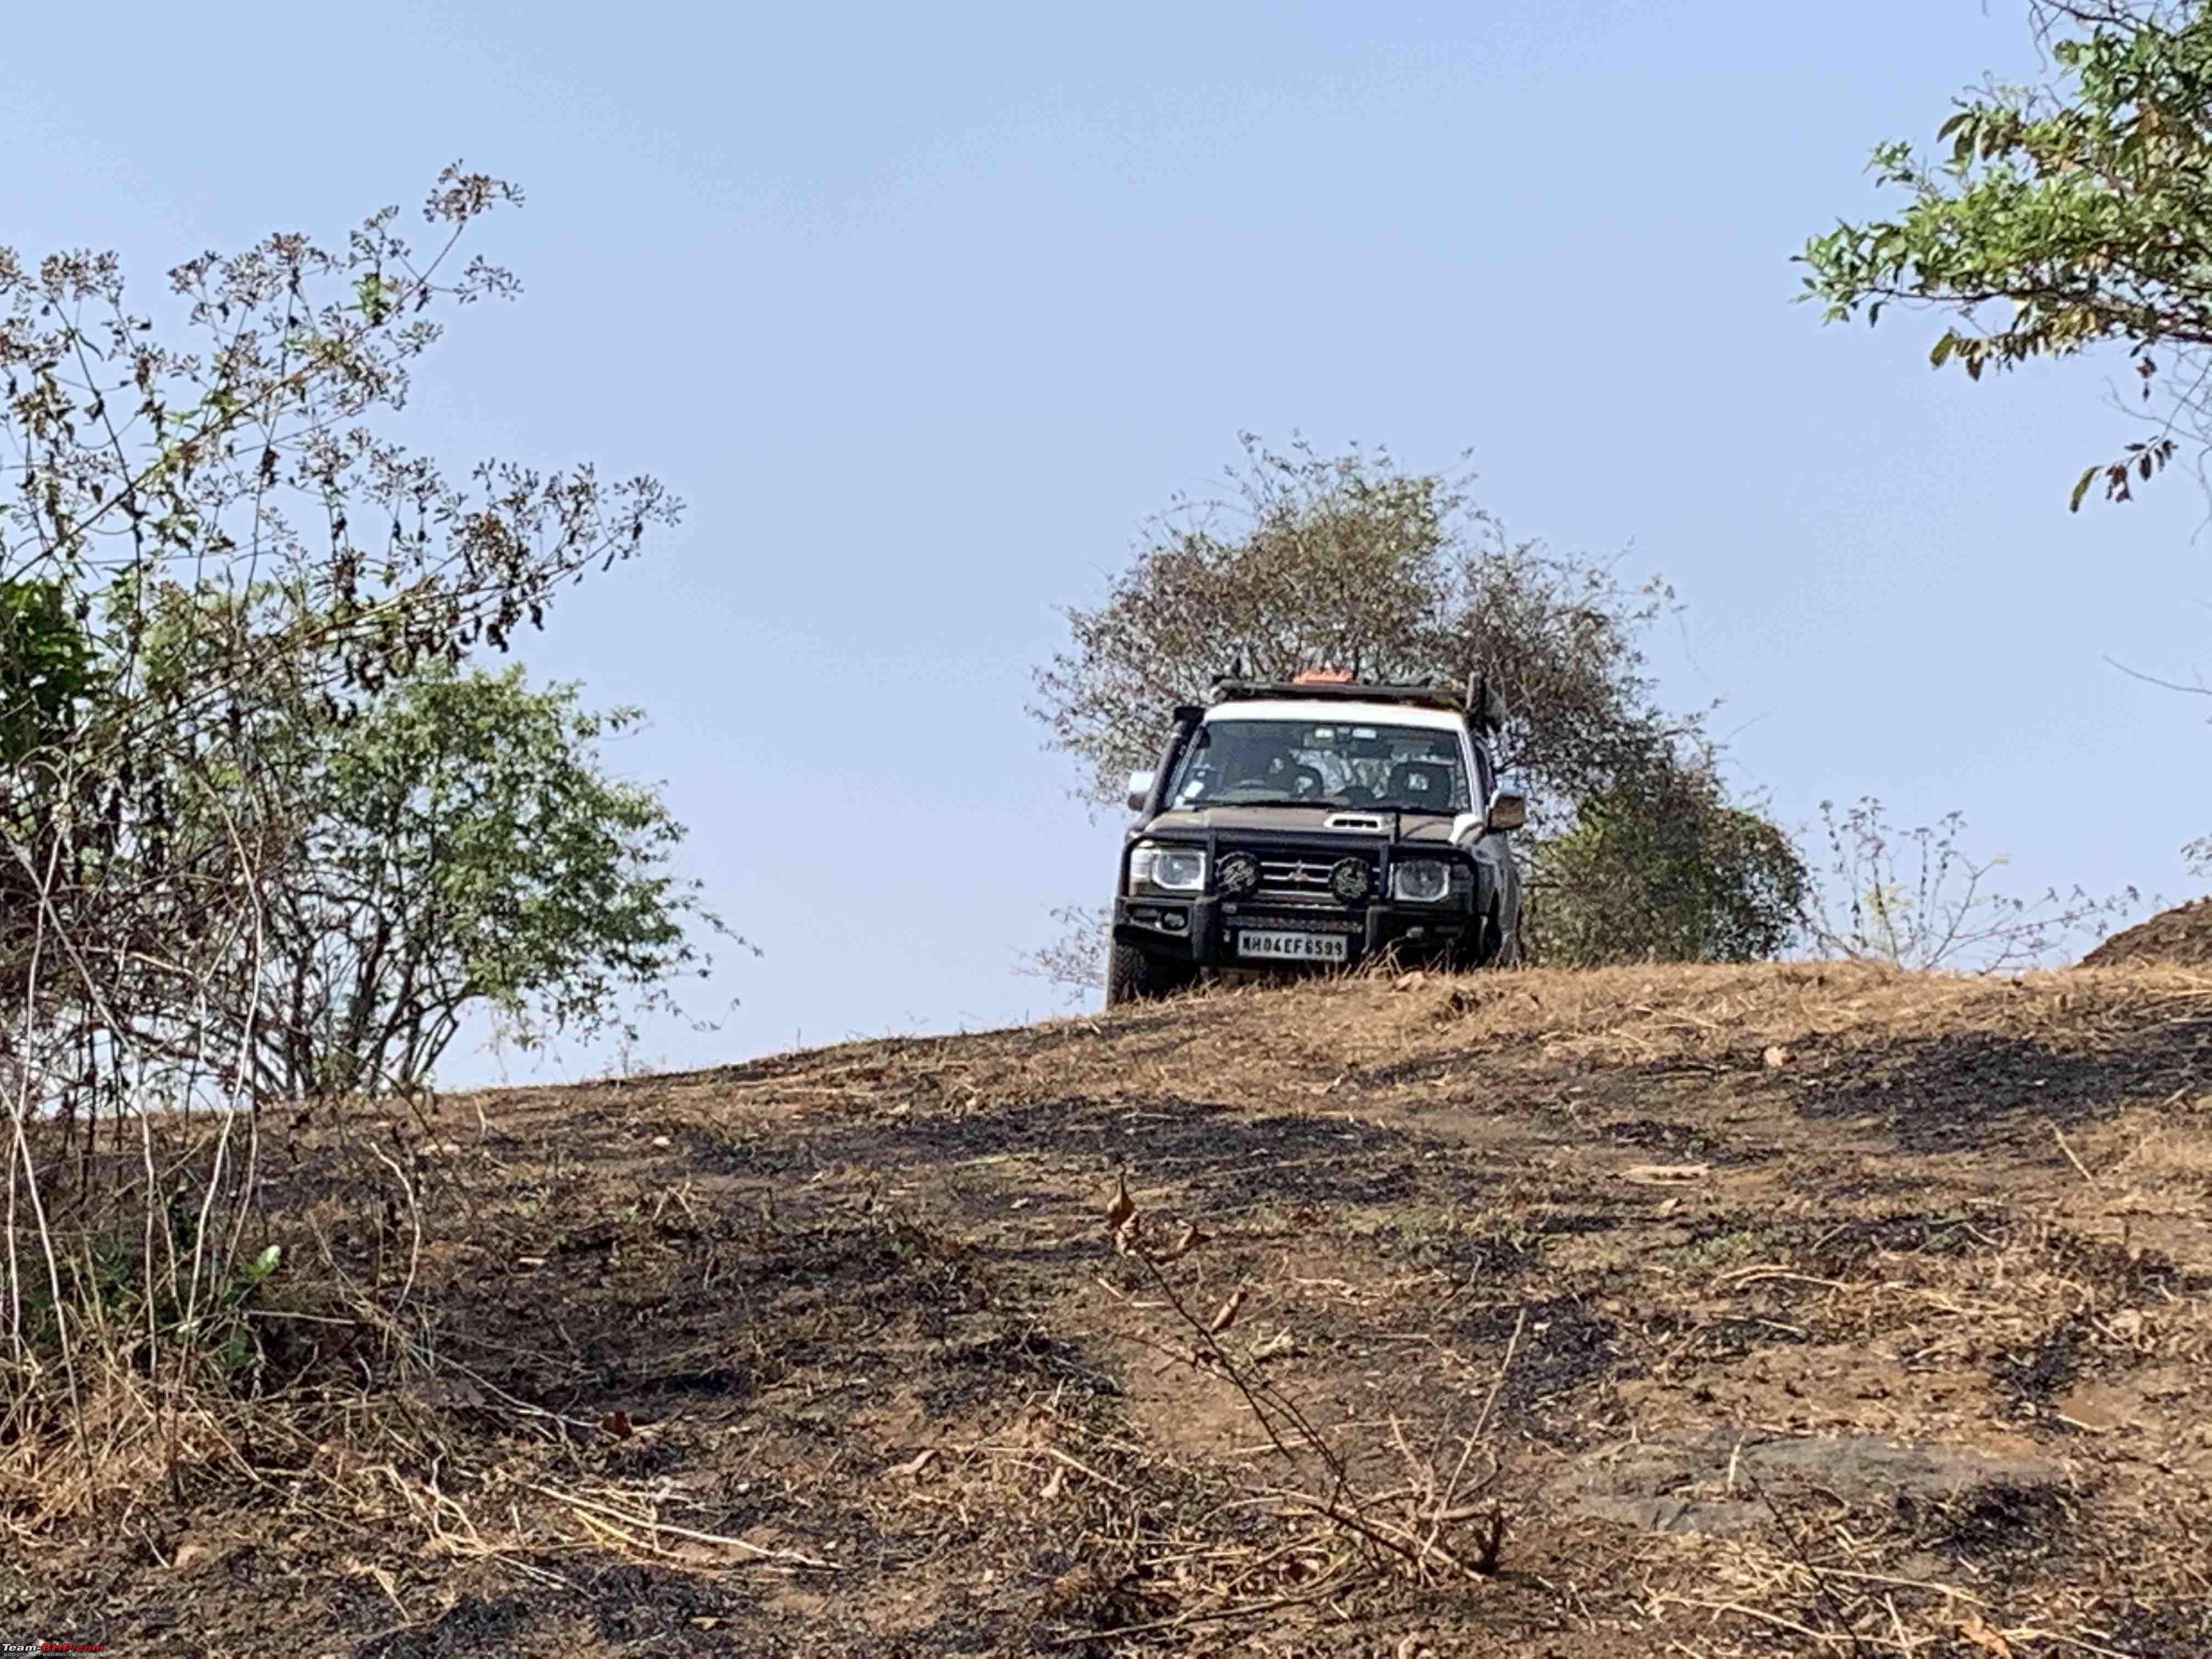
As quite a few of you readers are aware, I'm starting my Offroad School - Learn Offroad very shortly.
This entails multiple recces for finalising various trails.
So that leads to a unique problem. The Pajero has a powered radio antenna which automatically deploys when the radio is switched on.
With the OE Kenwood deck, it would only deploy (elongate) when the radio is on and not when the CD player is working. Because that deck did not support a direct USB connection to the iPhone nor did it have bluetooth, I changed the system to a Pioneer one as mentioned previously in this thread.
The problem now is that the antenna deploys everytime the music system is activated. Be it Radio, CD, USB, Bluetooth music or a phone call.
Multiple electricians have tried to figure out which wire deploys the antenna only during when radio is activated but to no avail!
So once during a recce through dense bush, I got a phone call and even though I didn't answer, the music system activated and deployed the antenna and it snagged and snapped!
The service centre quoted Rs. 2000 for a replacement antenna. The antenna has a internal plastic cable with gear teeth which engages a motor which enables it to go up and down.
Thankfully the motor wasn't damaged.
A quick search on aliexpress and I got the same antenna for Rs. 138.00 with free shipping! :Shockked:
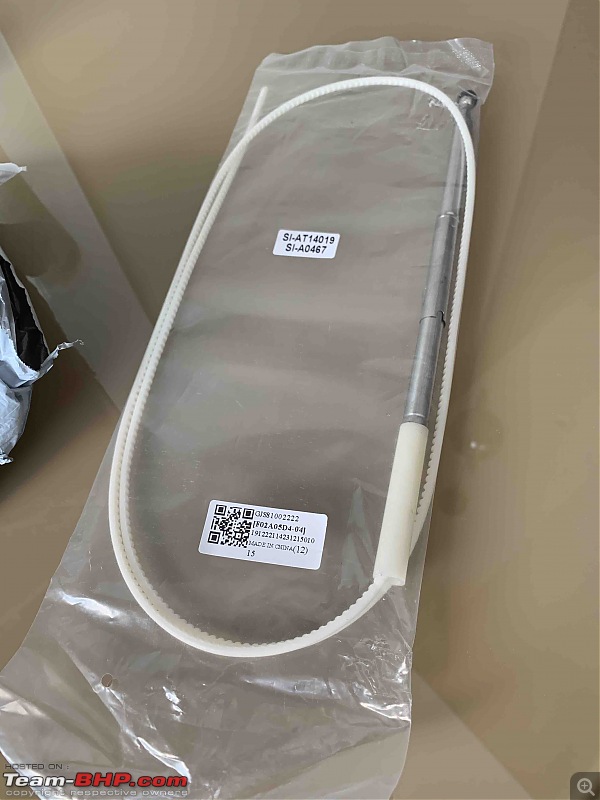
A month later the antenna arrived and I DIYed it.
Need to remove the top cap:

Remove the plastic base:

The old antenna plastic base was slightly shorter than the new one:

So cut the base of the new antenna:

Now the trick is to switch on the car and music system - that way the antenna motor will unspool. Now you need to thread the geared teeth plastic strip through the hole and switch off the deck. As soon as you switch it off, it would started to spool in. As it does so, it would engage the teeth and start pulling the cable. You need to move the antenna with that and jam the plastic into the channel. The base of the antenna has one way clips so once inserted, it will not be able to come out.
Then refit the base and screw the top cap on and your DIY is done!
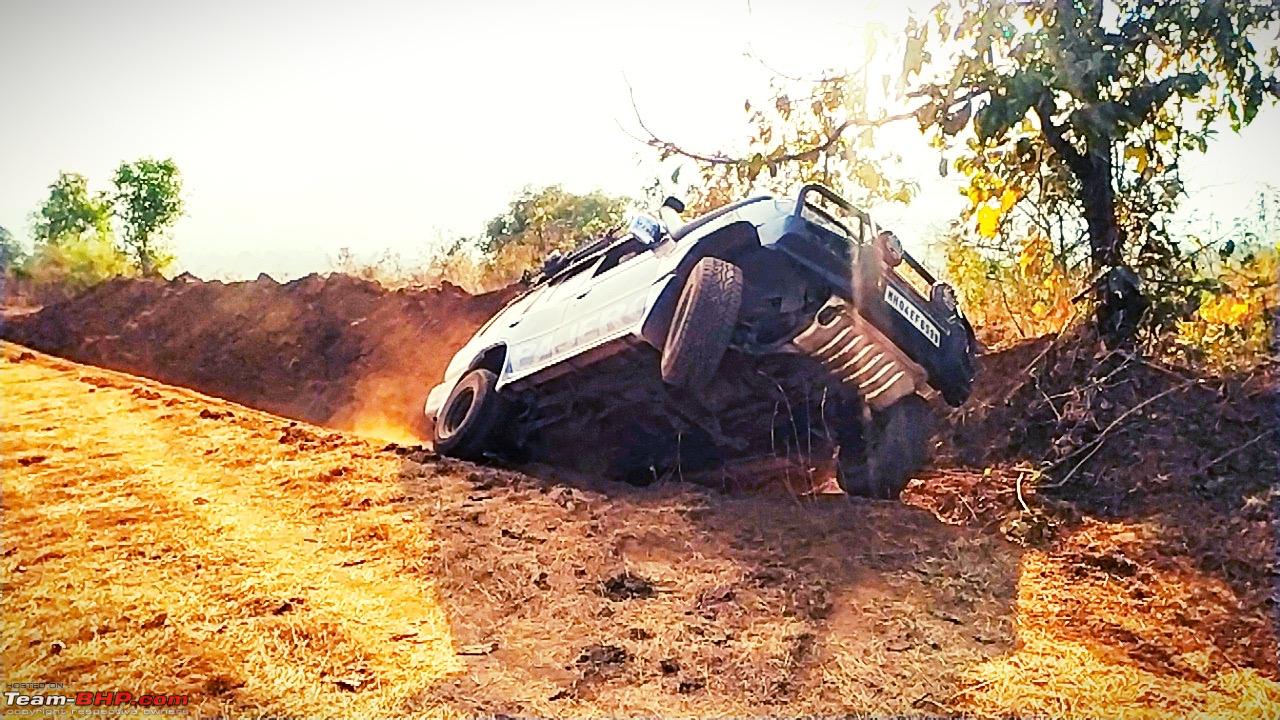
On one of my Recce, a disaster struck!
My School land is at pali and there is road works happening outside the access road.
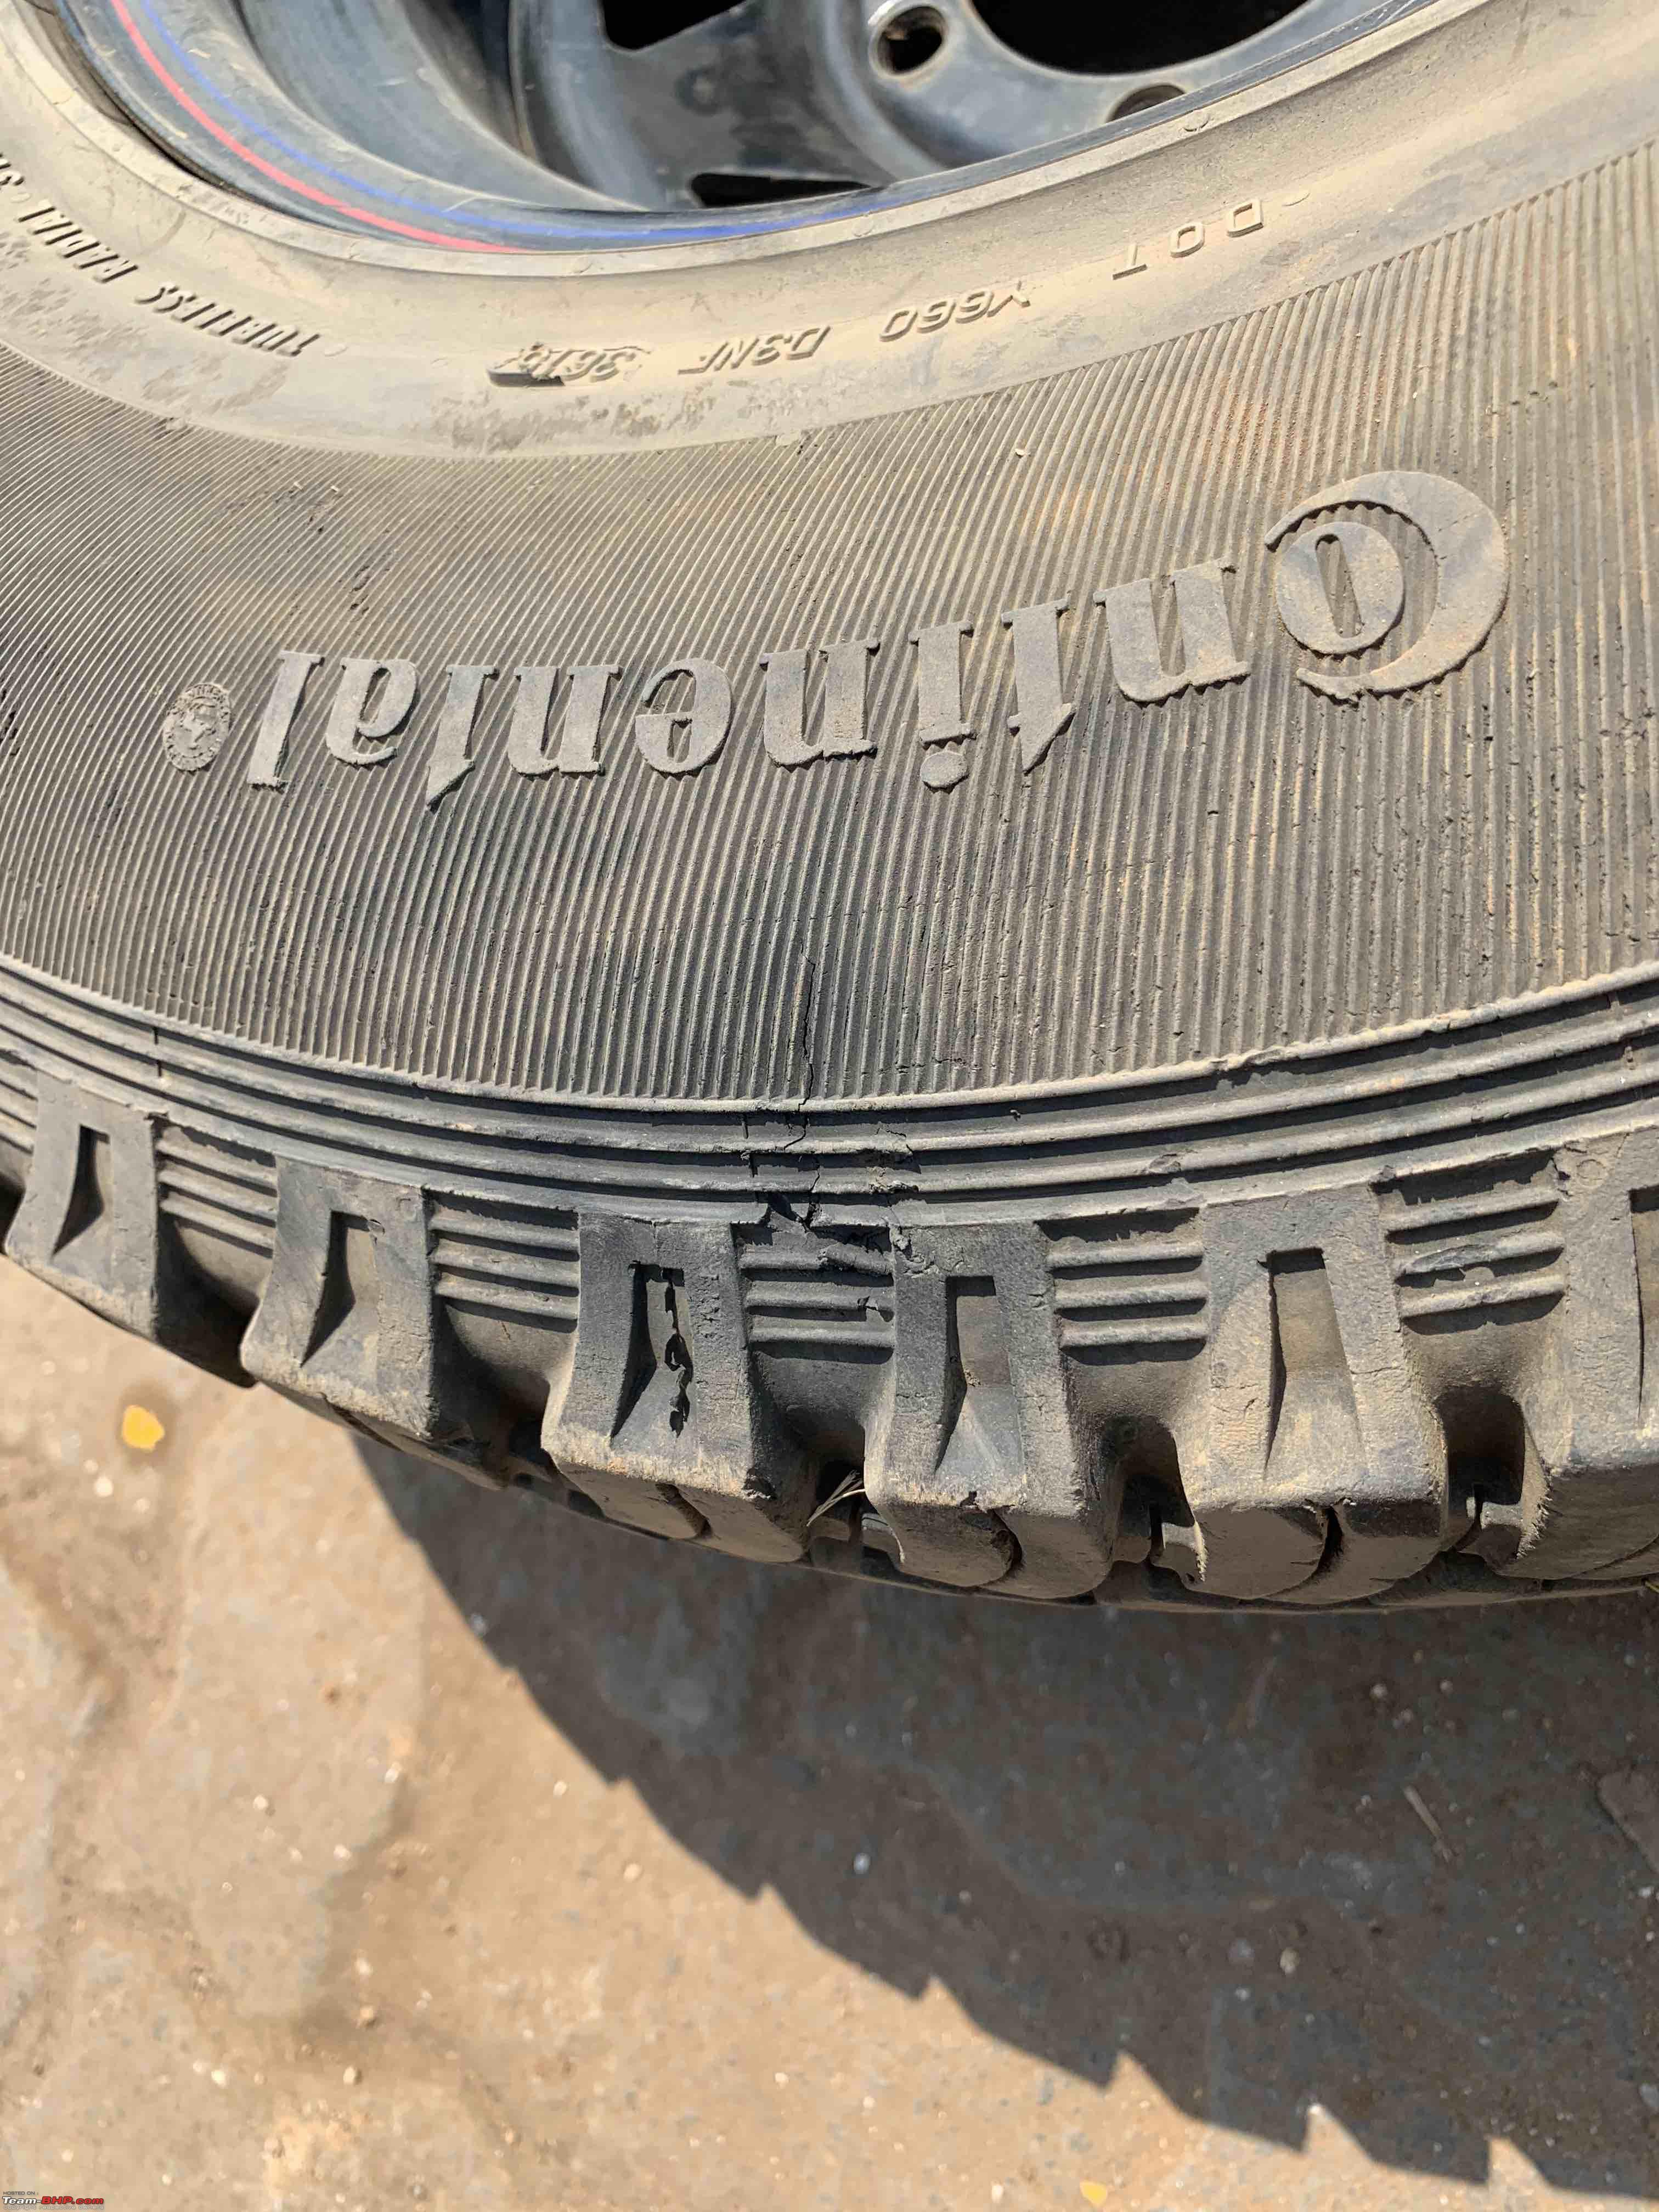
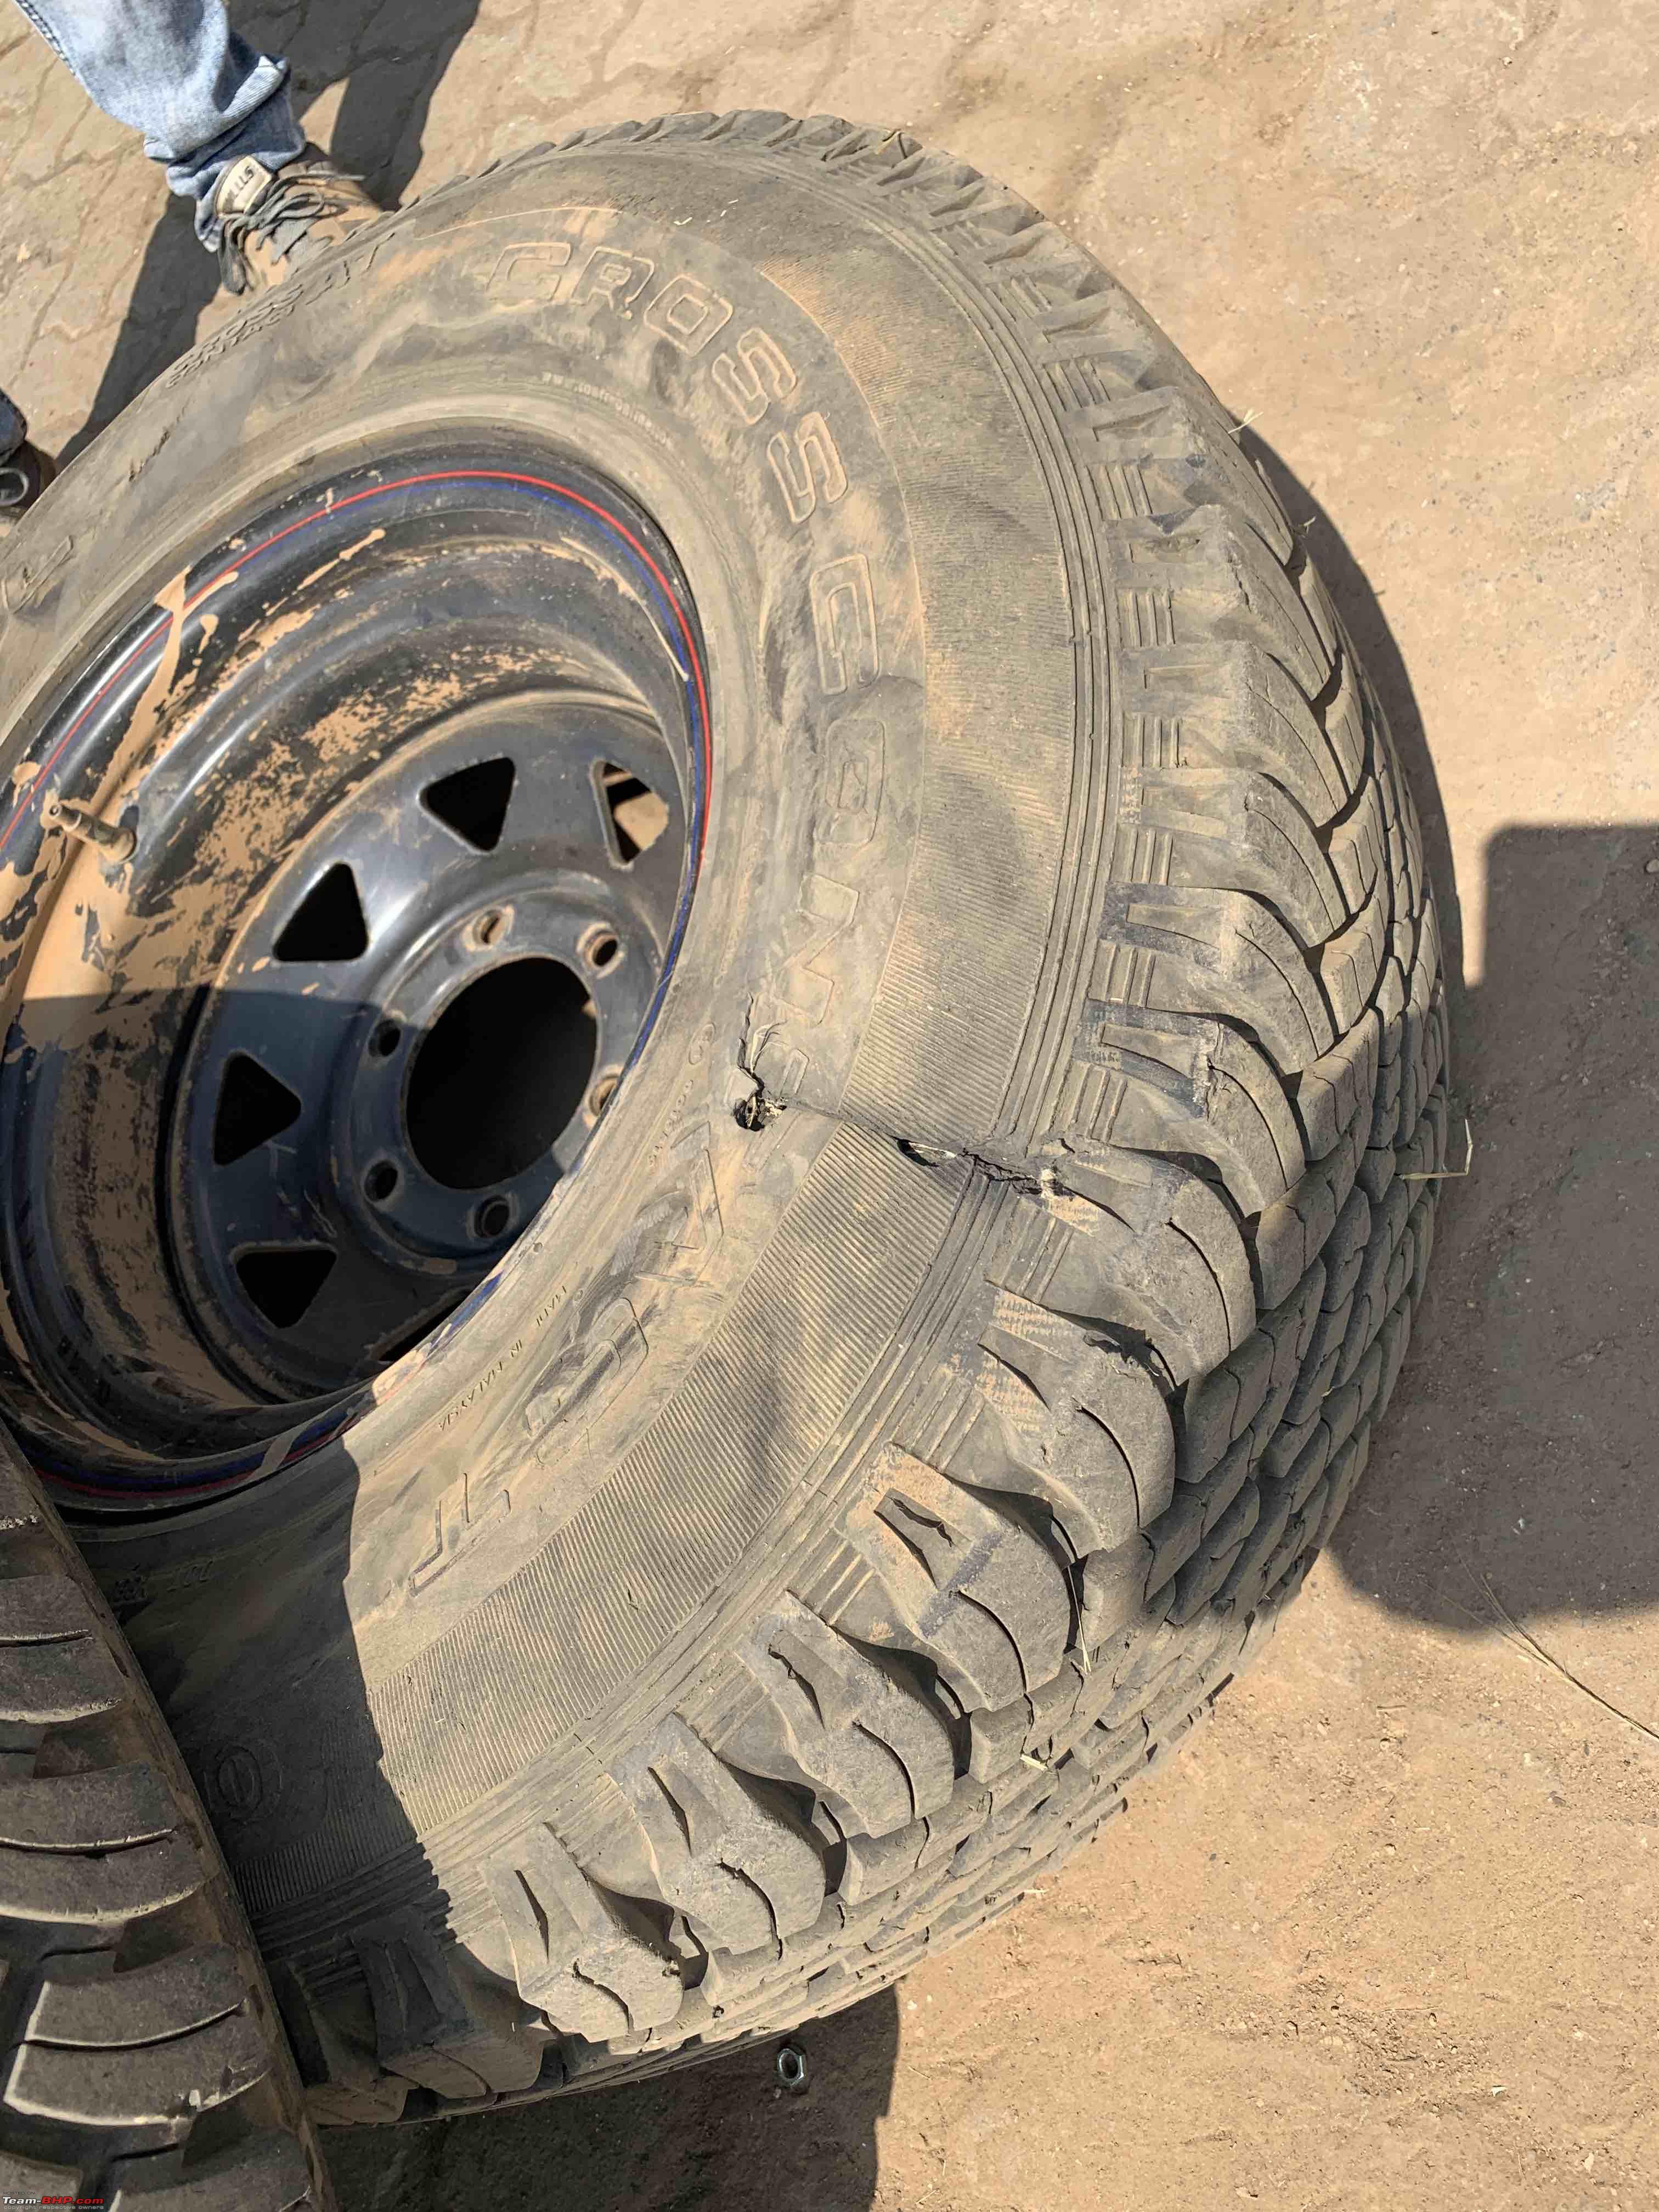
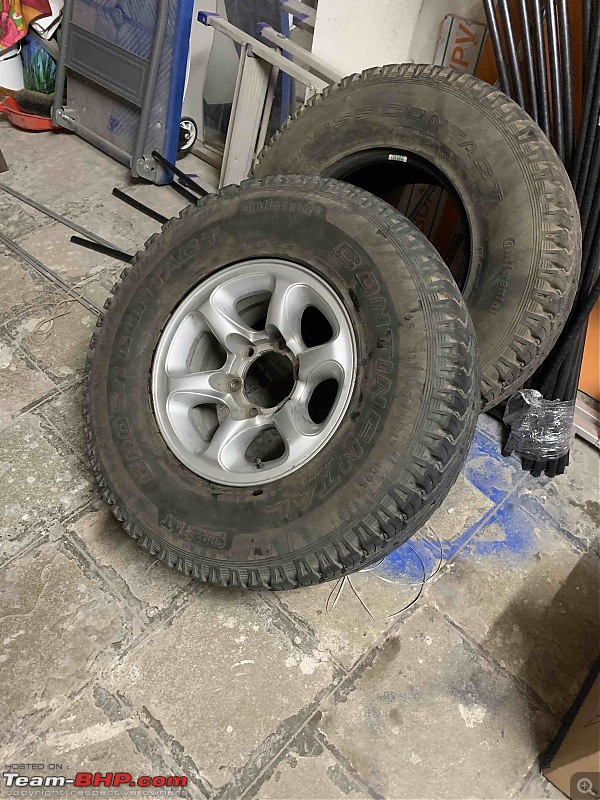
During the recce I got two side wall cuts on the passenger side - one on each tyre!
Disaster!
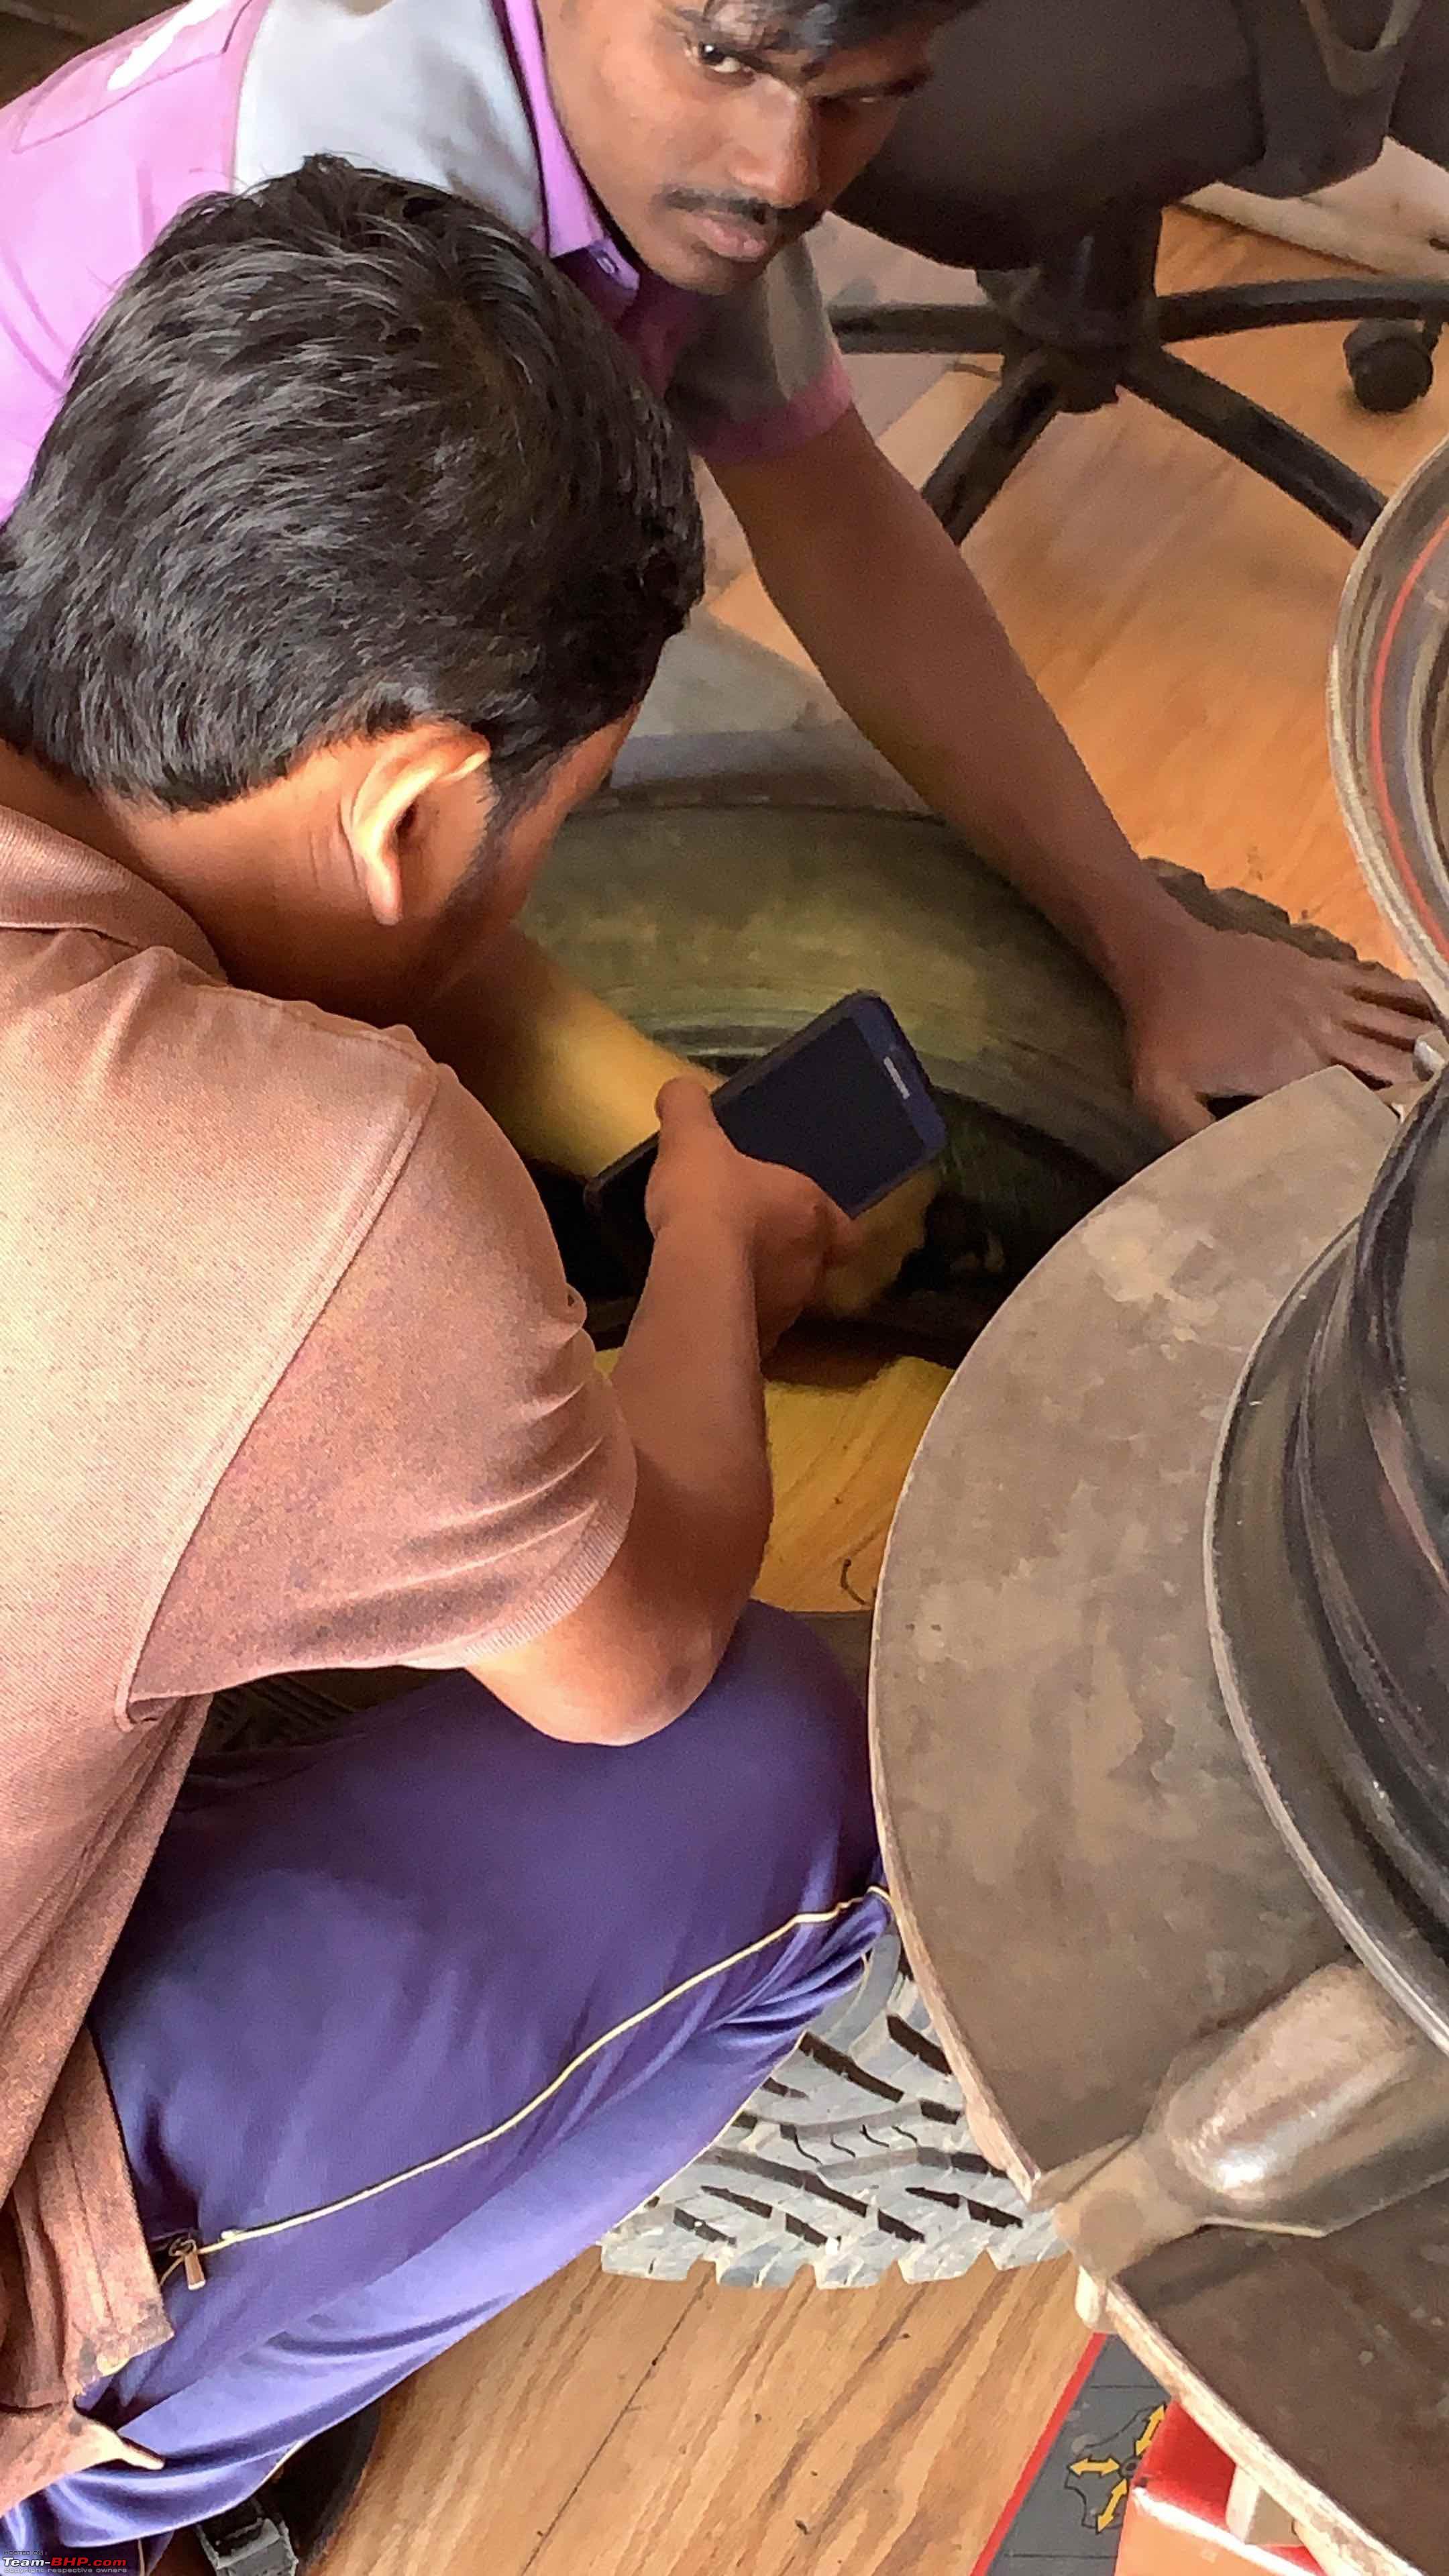
Thank fully I had a JCB working on clearing some brambles nearby! Fit one spare and used a jack stand to support the other axle to go to puncture guy with the JCB.
One tyre had a minor cut:
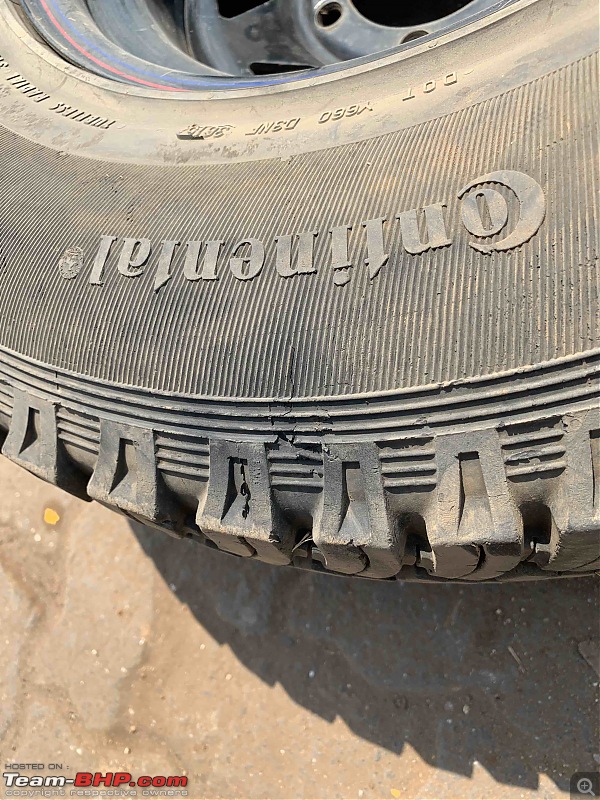
But the other tyre was destroyed and had a major cut:
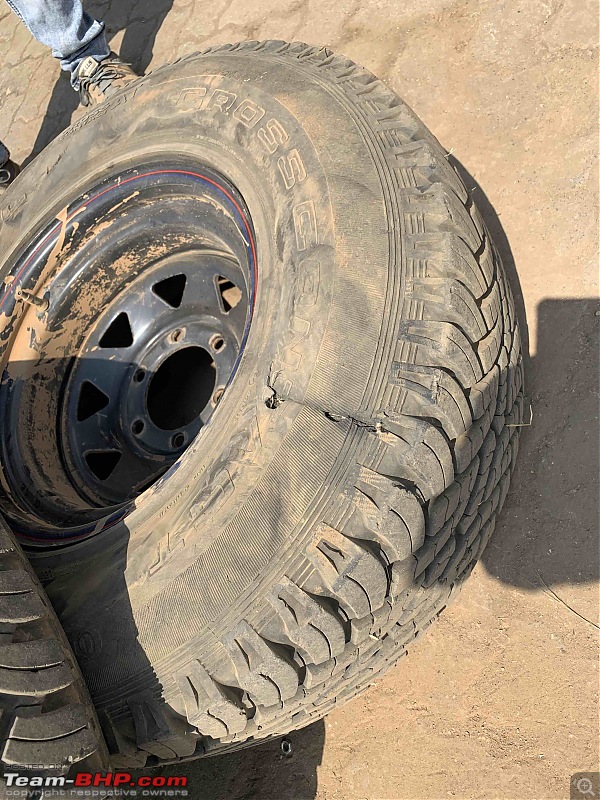
At a local puncture shop got a tube mounted in the tyre with the minor cut after getting the cut patched up from inside the tyre:
Drove back slowly and carefully.
The next issue was continental has stopped production of the cross contacts AT for some reason! Called up few dealers and a company contact and was told about it
So I was now mentally thinking I may have to change all tyres or search for a dealer with some stock!
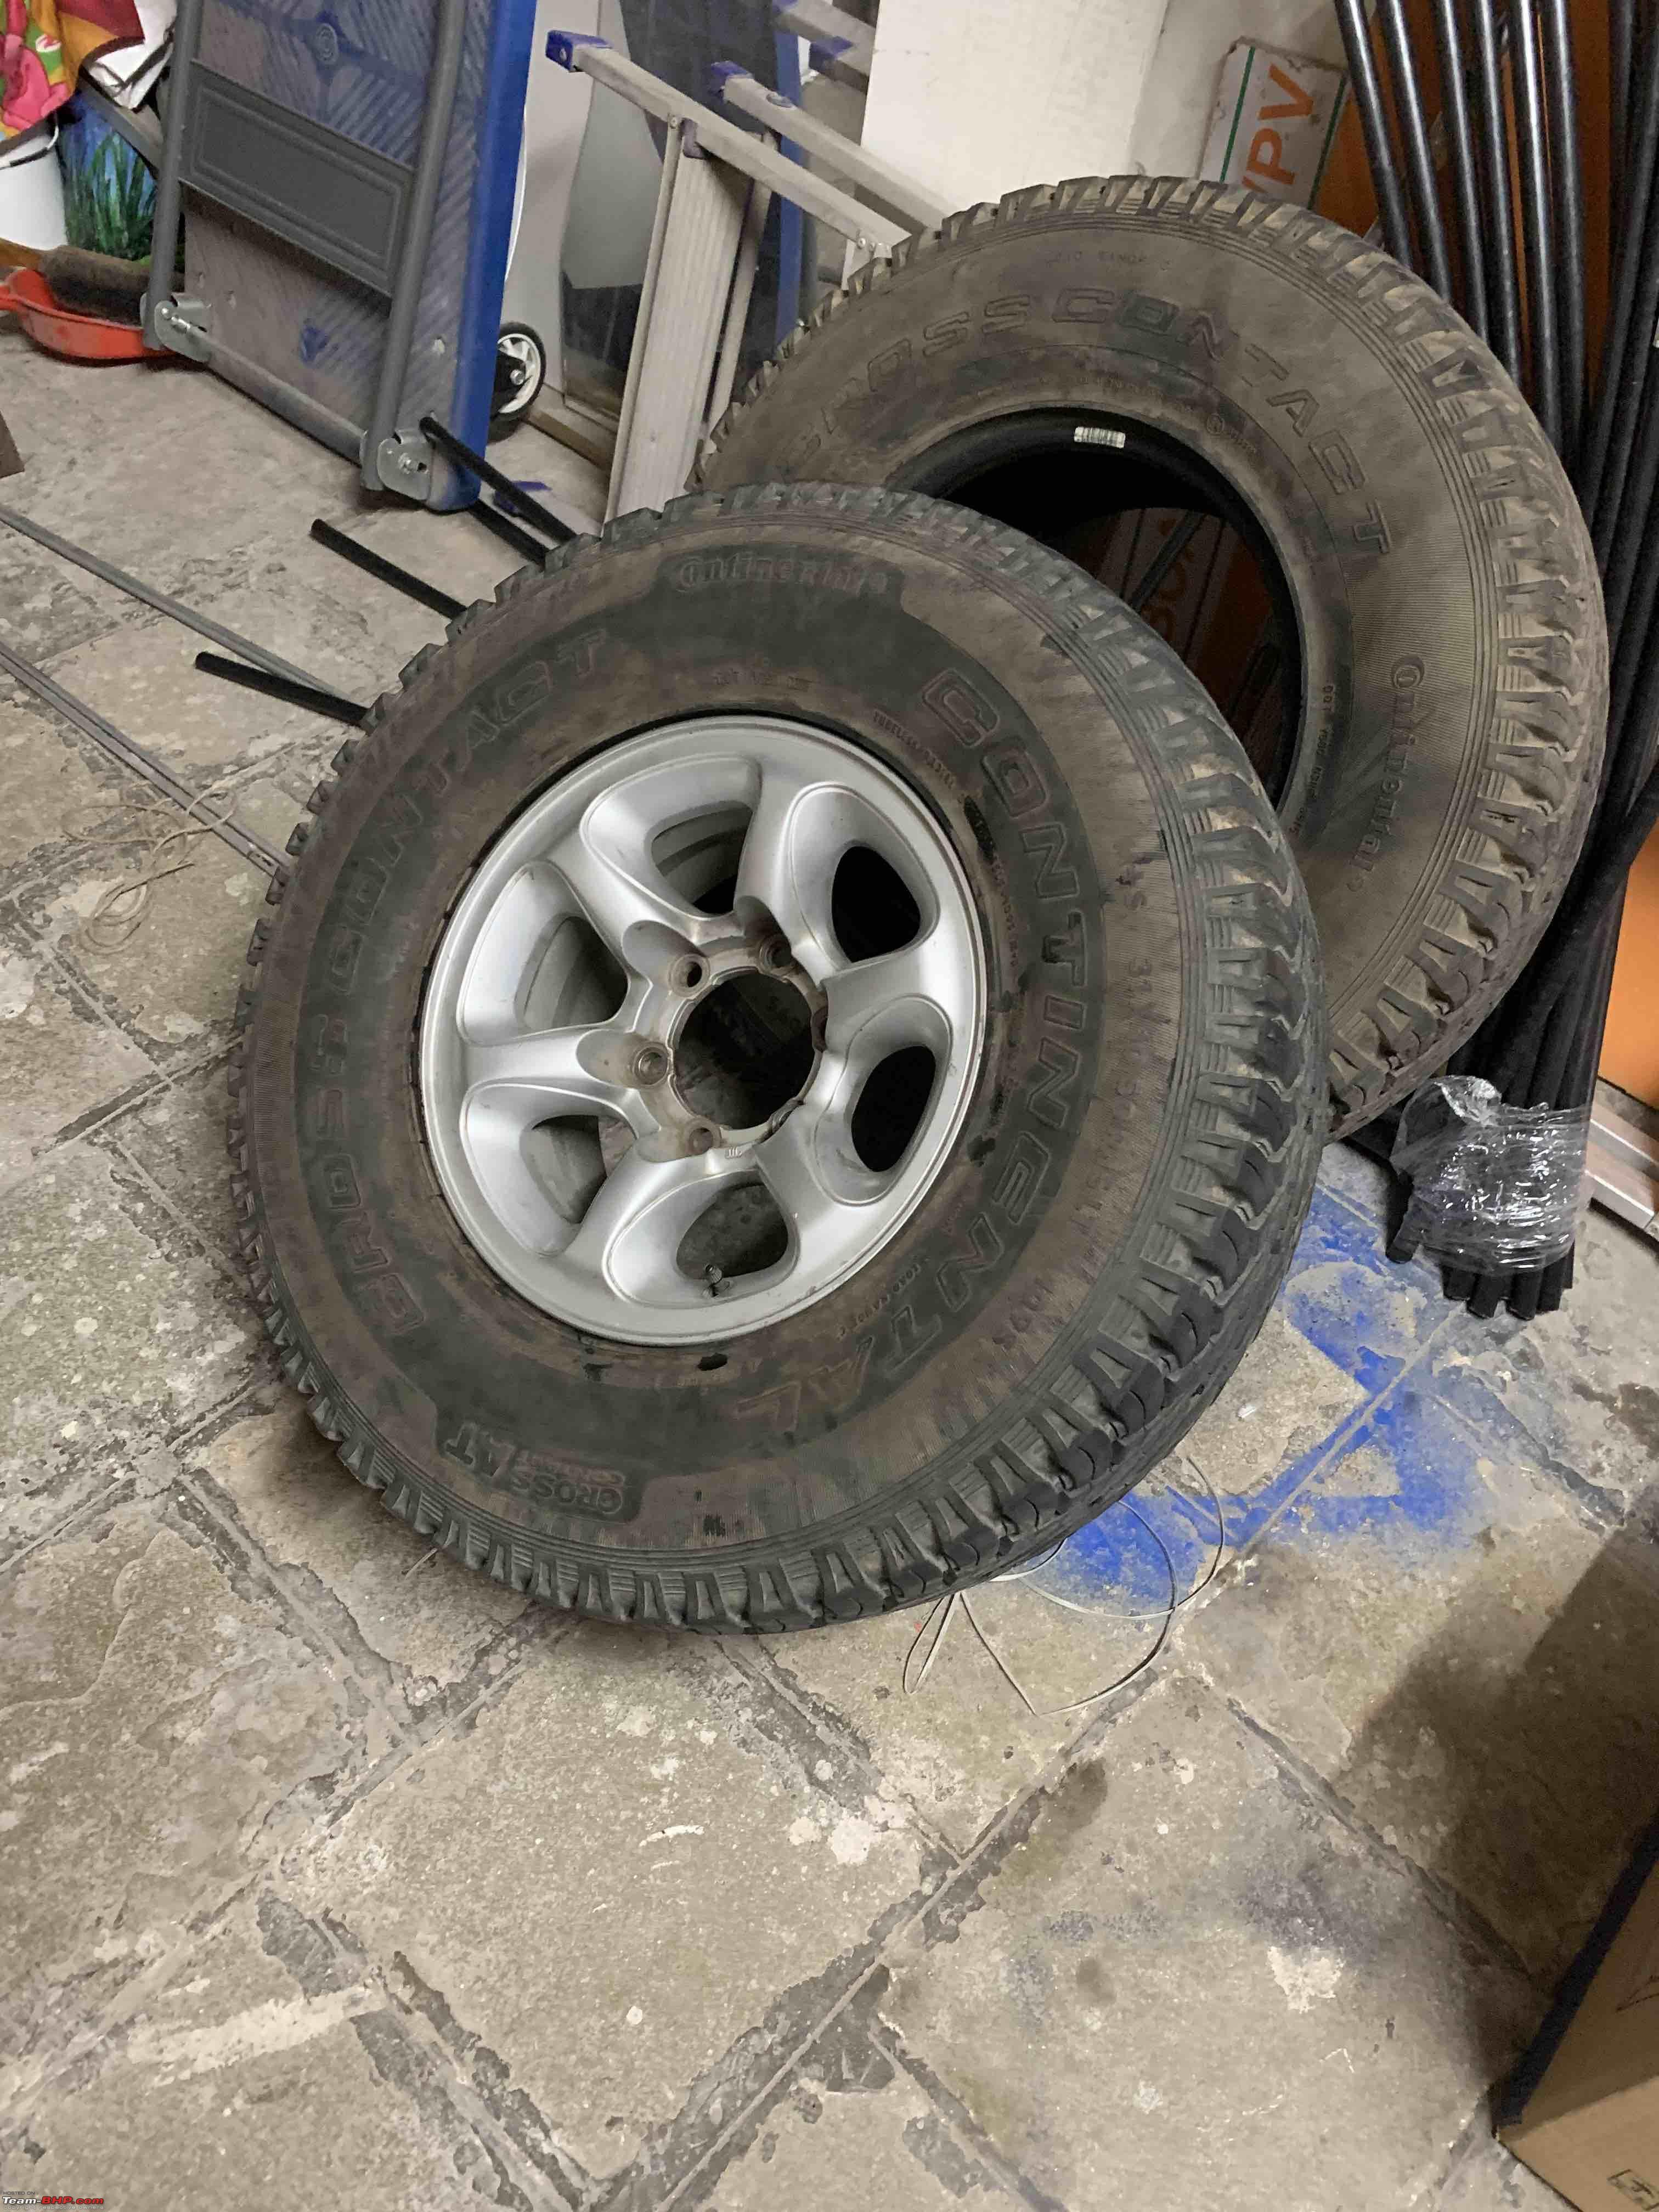
When I put my quandary on some WhatsApp groups, a friend (Prashant Bhandarkar) pinged me saying he had two CCs in my size which were run around 7k kms and were two years old.
I asked him if they were sitting for two years on a shelf? He said no. He had bought a used Pajero and his car had two new CCs and two old. So he upgraded the tyres to Maxxis AT a couple of months ago and kept the two good tyres with him. One tyre he was using as his spare and one was stored.
He was ready to give me the stored tyre. So I made a deal with him that I'll take both his tyres and in return I'll buy a Maxxis AT tyre for him (which would now match his set of 4).
He was happy and so was I!
Deal done and i got the tyres mounted on my rims. My tyres are 4.5 years old and his were in better shape and 2 years old as per the print on the tyre. Put both the new ones on the rear of the vehicle and spare went back to the boot door mount.
I also mounted the tyre with the less cut (with the tube) on the OE alloy that I had. So any new alone recce, I'll carry the 2nd spare on the roof rack! Once bitten, twice shy!
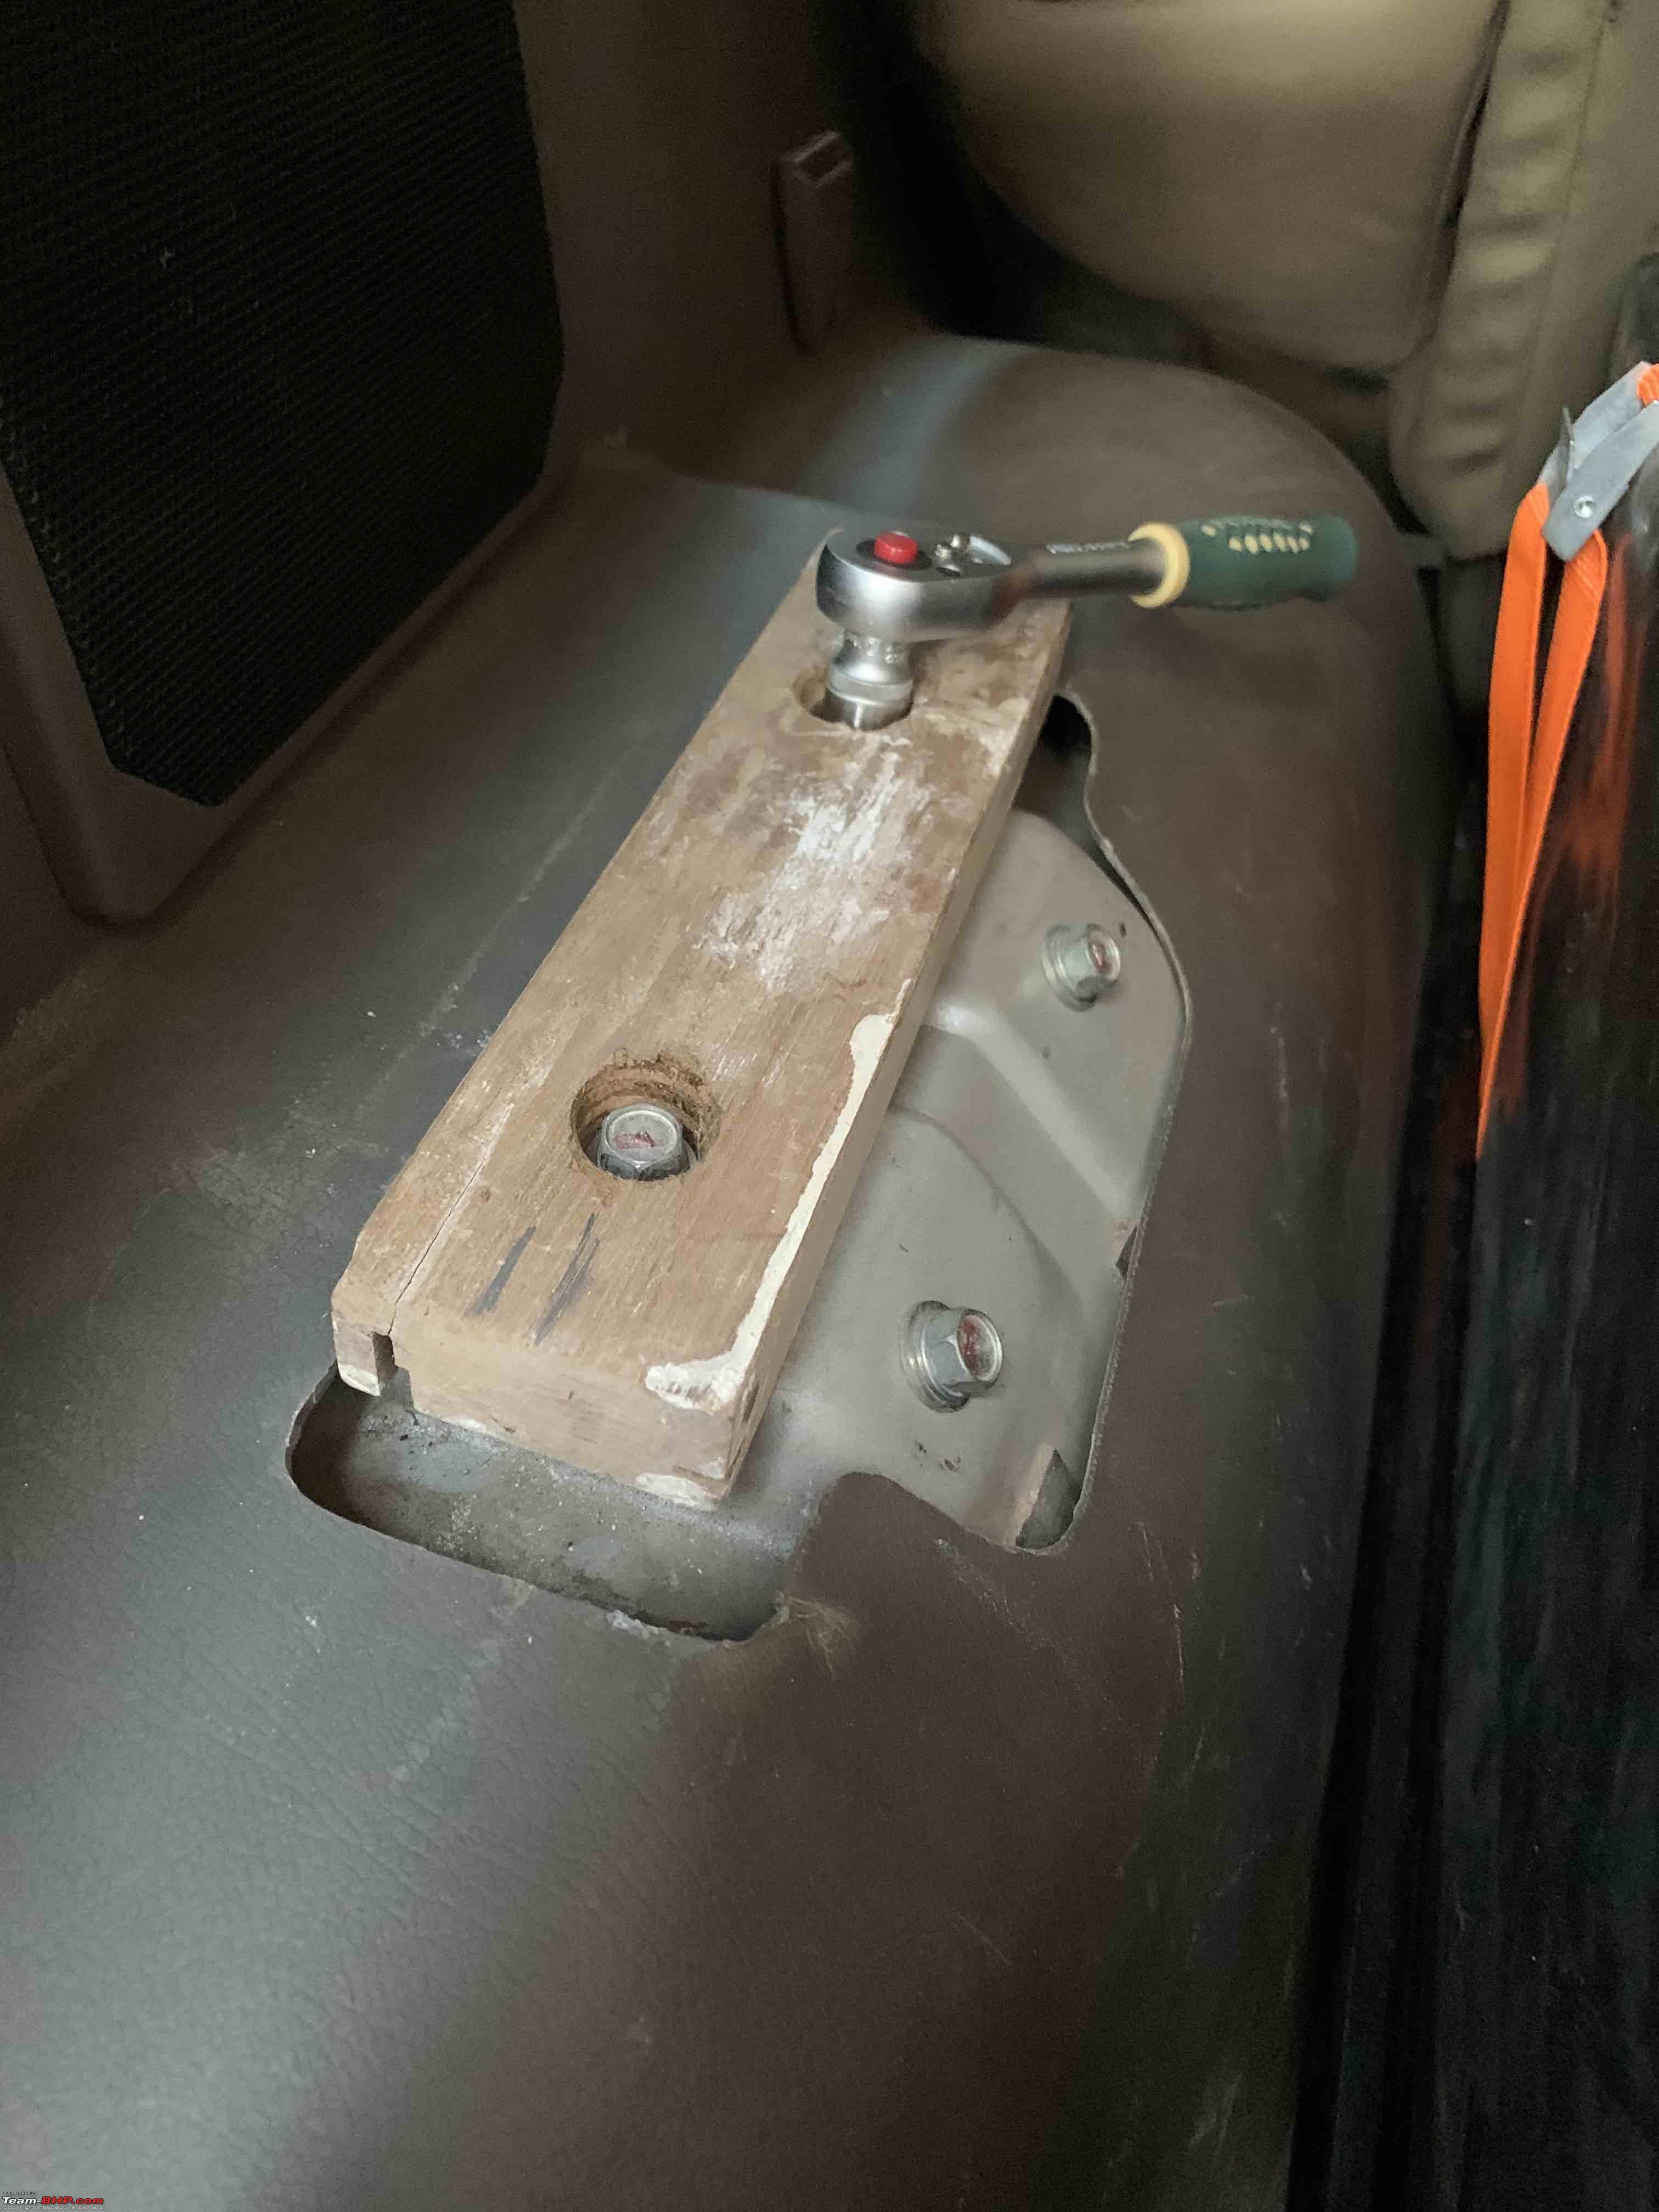
Dear Doc,
If you ever find the time, would suggest removing this bracket and grinding out the sides and rounding off the edges. The risk of gashes on the fingers or body is high with the sharp edges. I have already commented on the conversion earlier, so I don't think I need to add again as to what a dream this is!
Quote:
Originally Posted by discoverwild
(Post 4764257)
Dear Doc,
If you ever find the time, would suggest removing this bracket and grinding out the sides and rounding off the edges. The risk of gashes on the fingers or body is high with the sharp edges. I have already commented on the conversion earlier, so I don't think I need to add again as to what a dream this is!
|
Thanks will do the needful.
Planning to incorporate some additional changes, additions rather to the drawer system as well. Time is a precious commodity and hard to come by, especially because I have to manage dental practice, offroad junkie events, learn offroad track making, learn offroad back end work (like website, and marketing material, pmts, certificate designing, giveaways, etc) and most importantly family time. Thus, working on the Pajero has taken a back seat for the moment. Only the most important and priority work on the Pajero currently.
What's been in the pipeline and a must do is the separator/divider between the boot area and the rest of the passenger compartment. Ashish Gupta was kind enough to give me the frame for that from his pajero. I just need to add in a net to it and fit it behind the rear seat.
Some lockdown DIY on the Pajero:
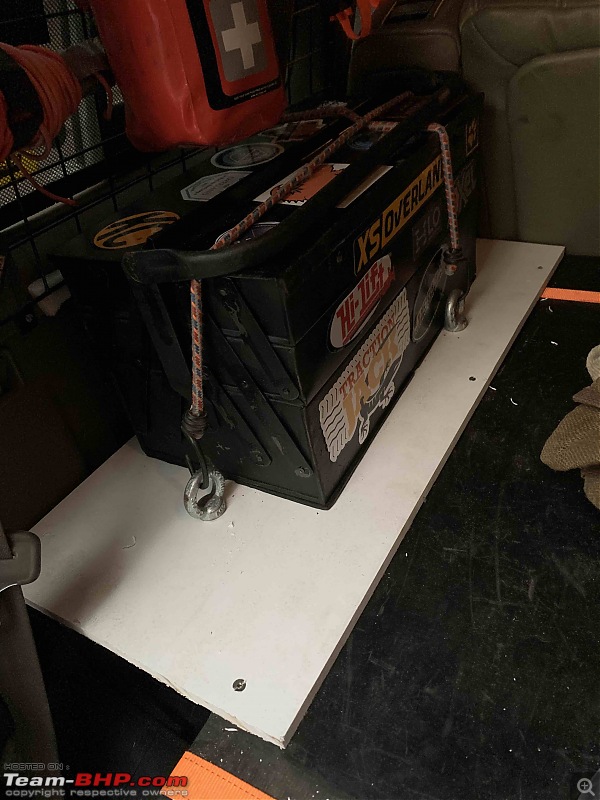
Tool box holder.
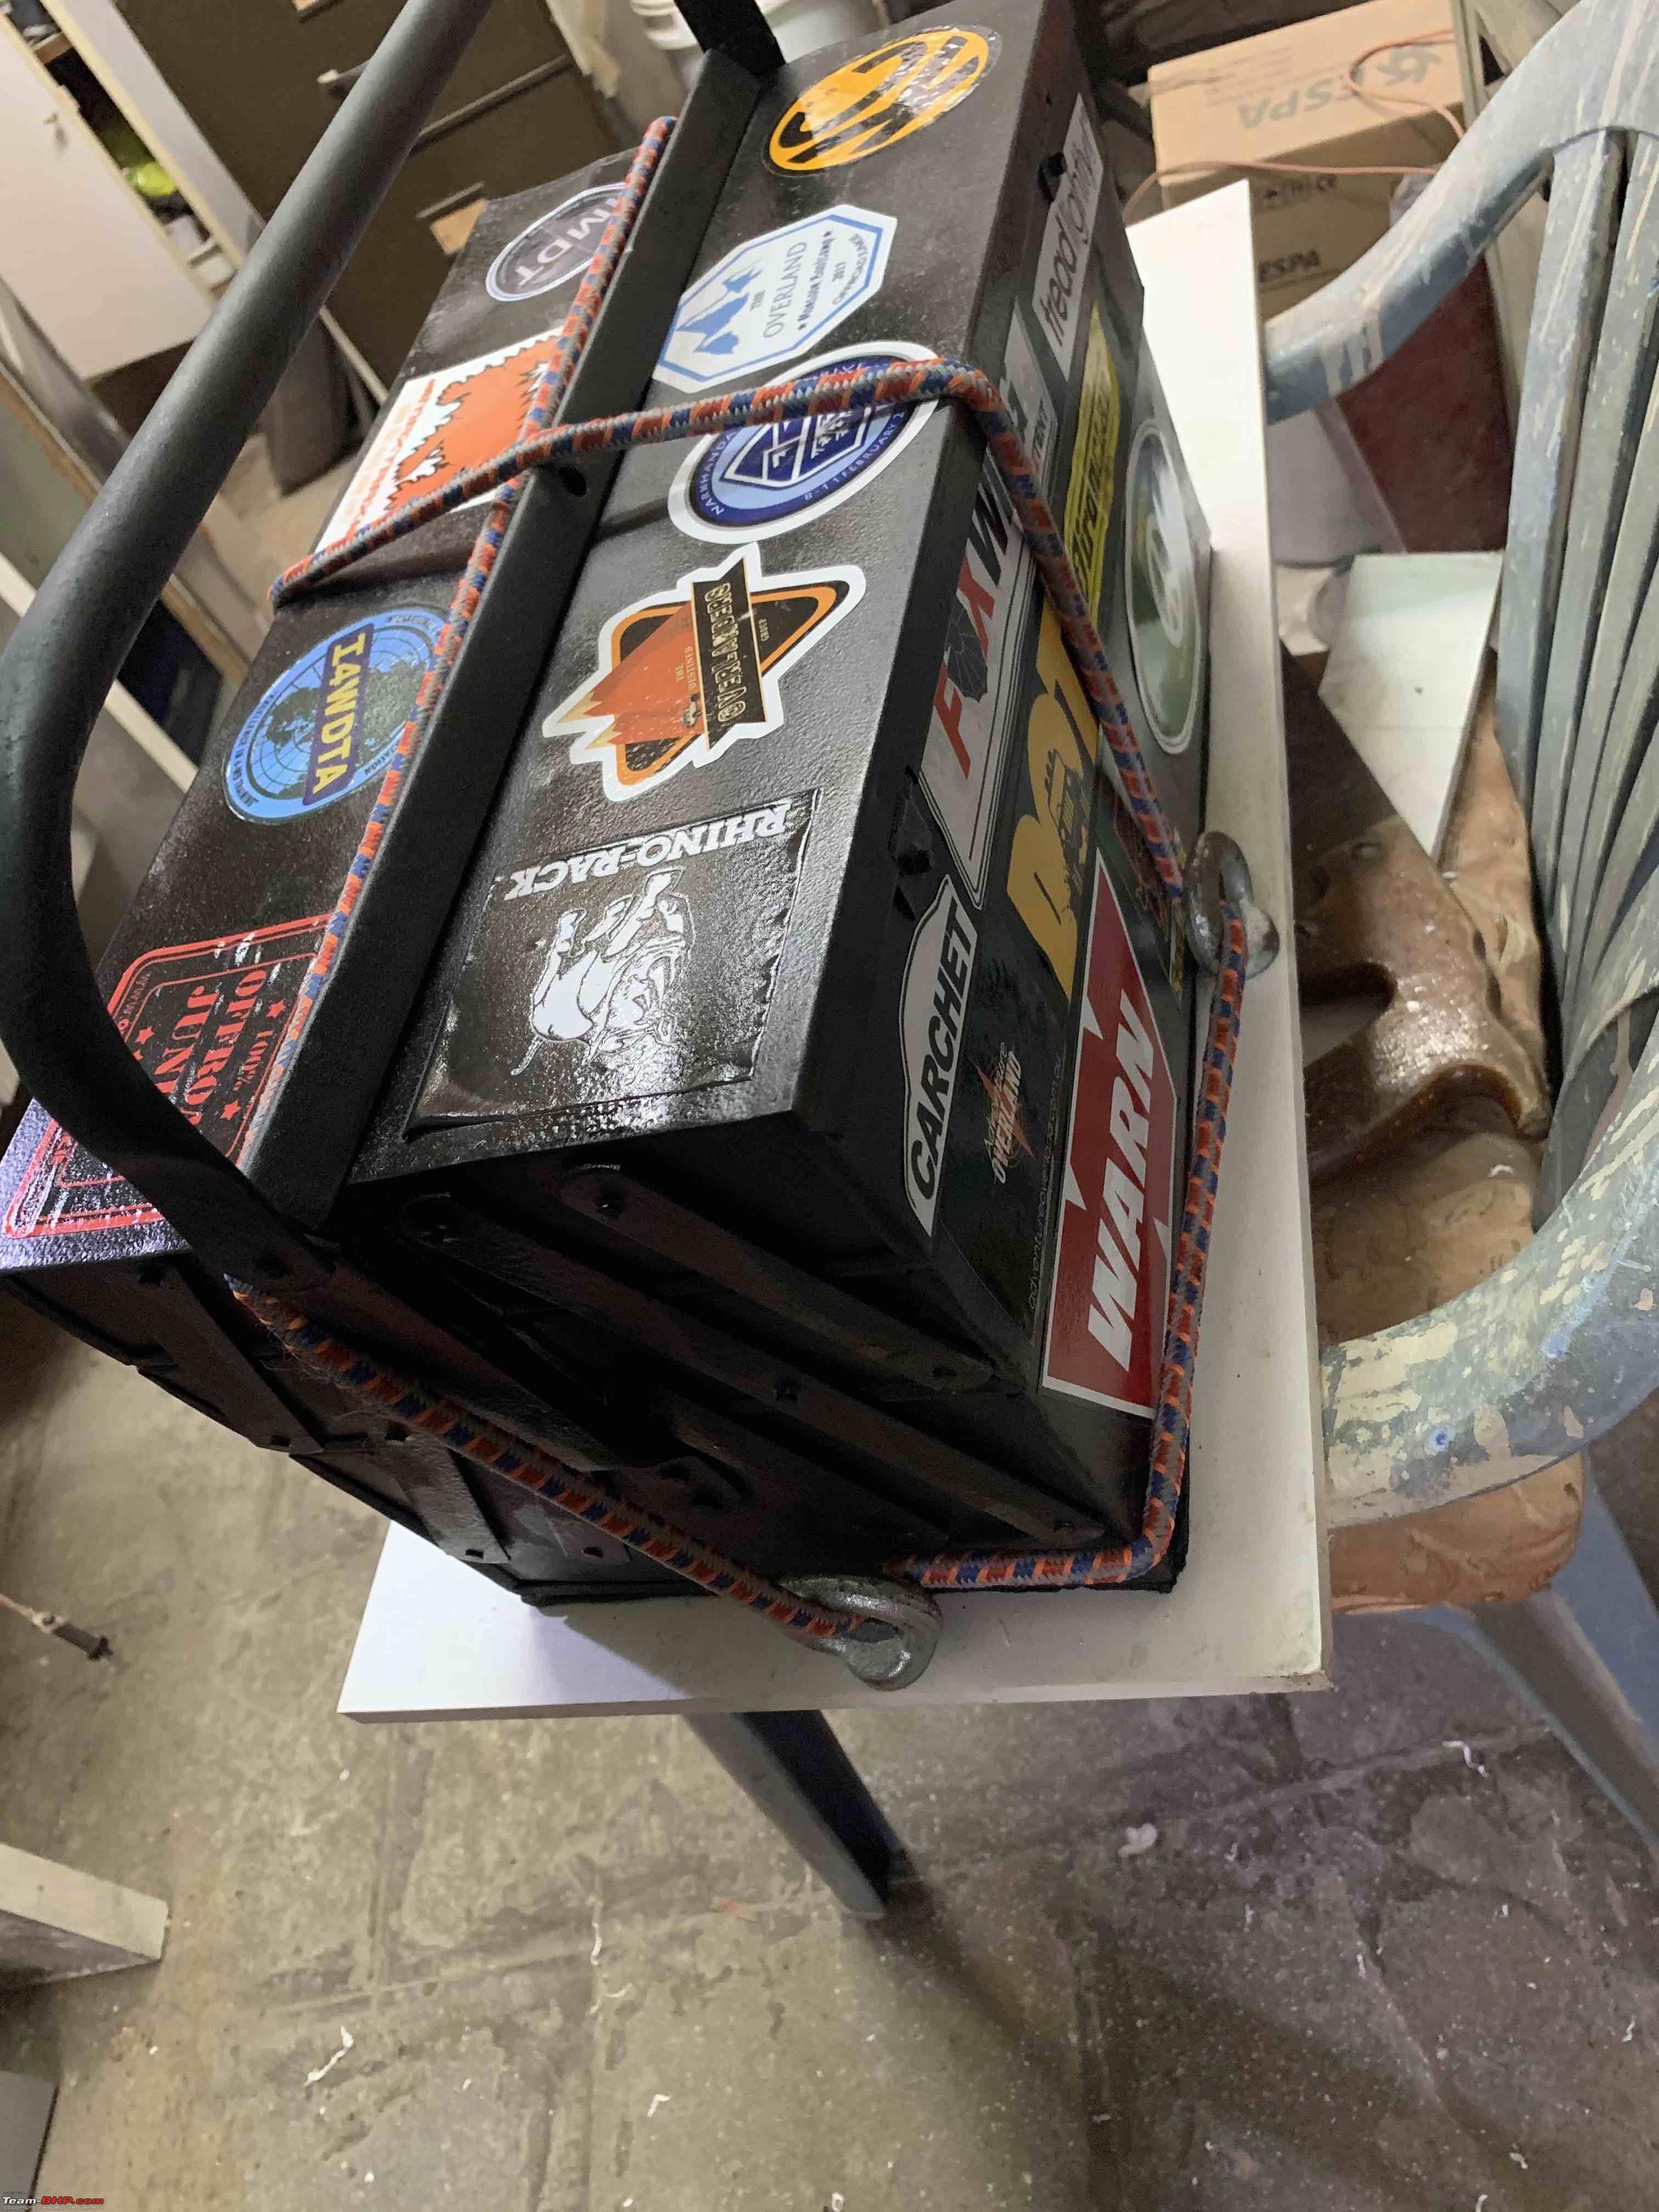
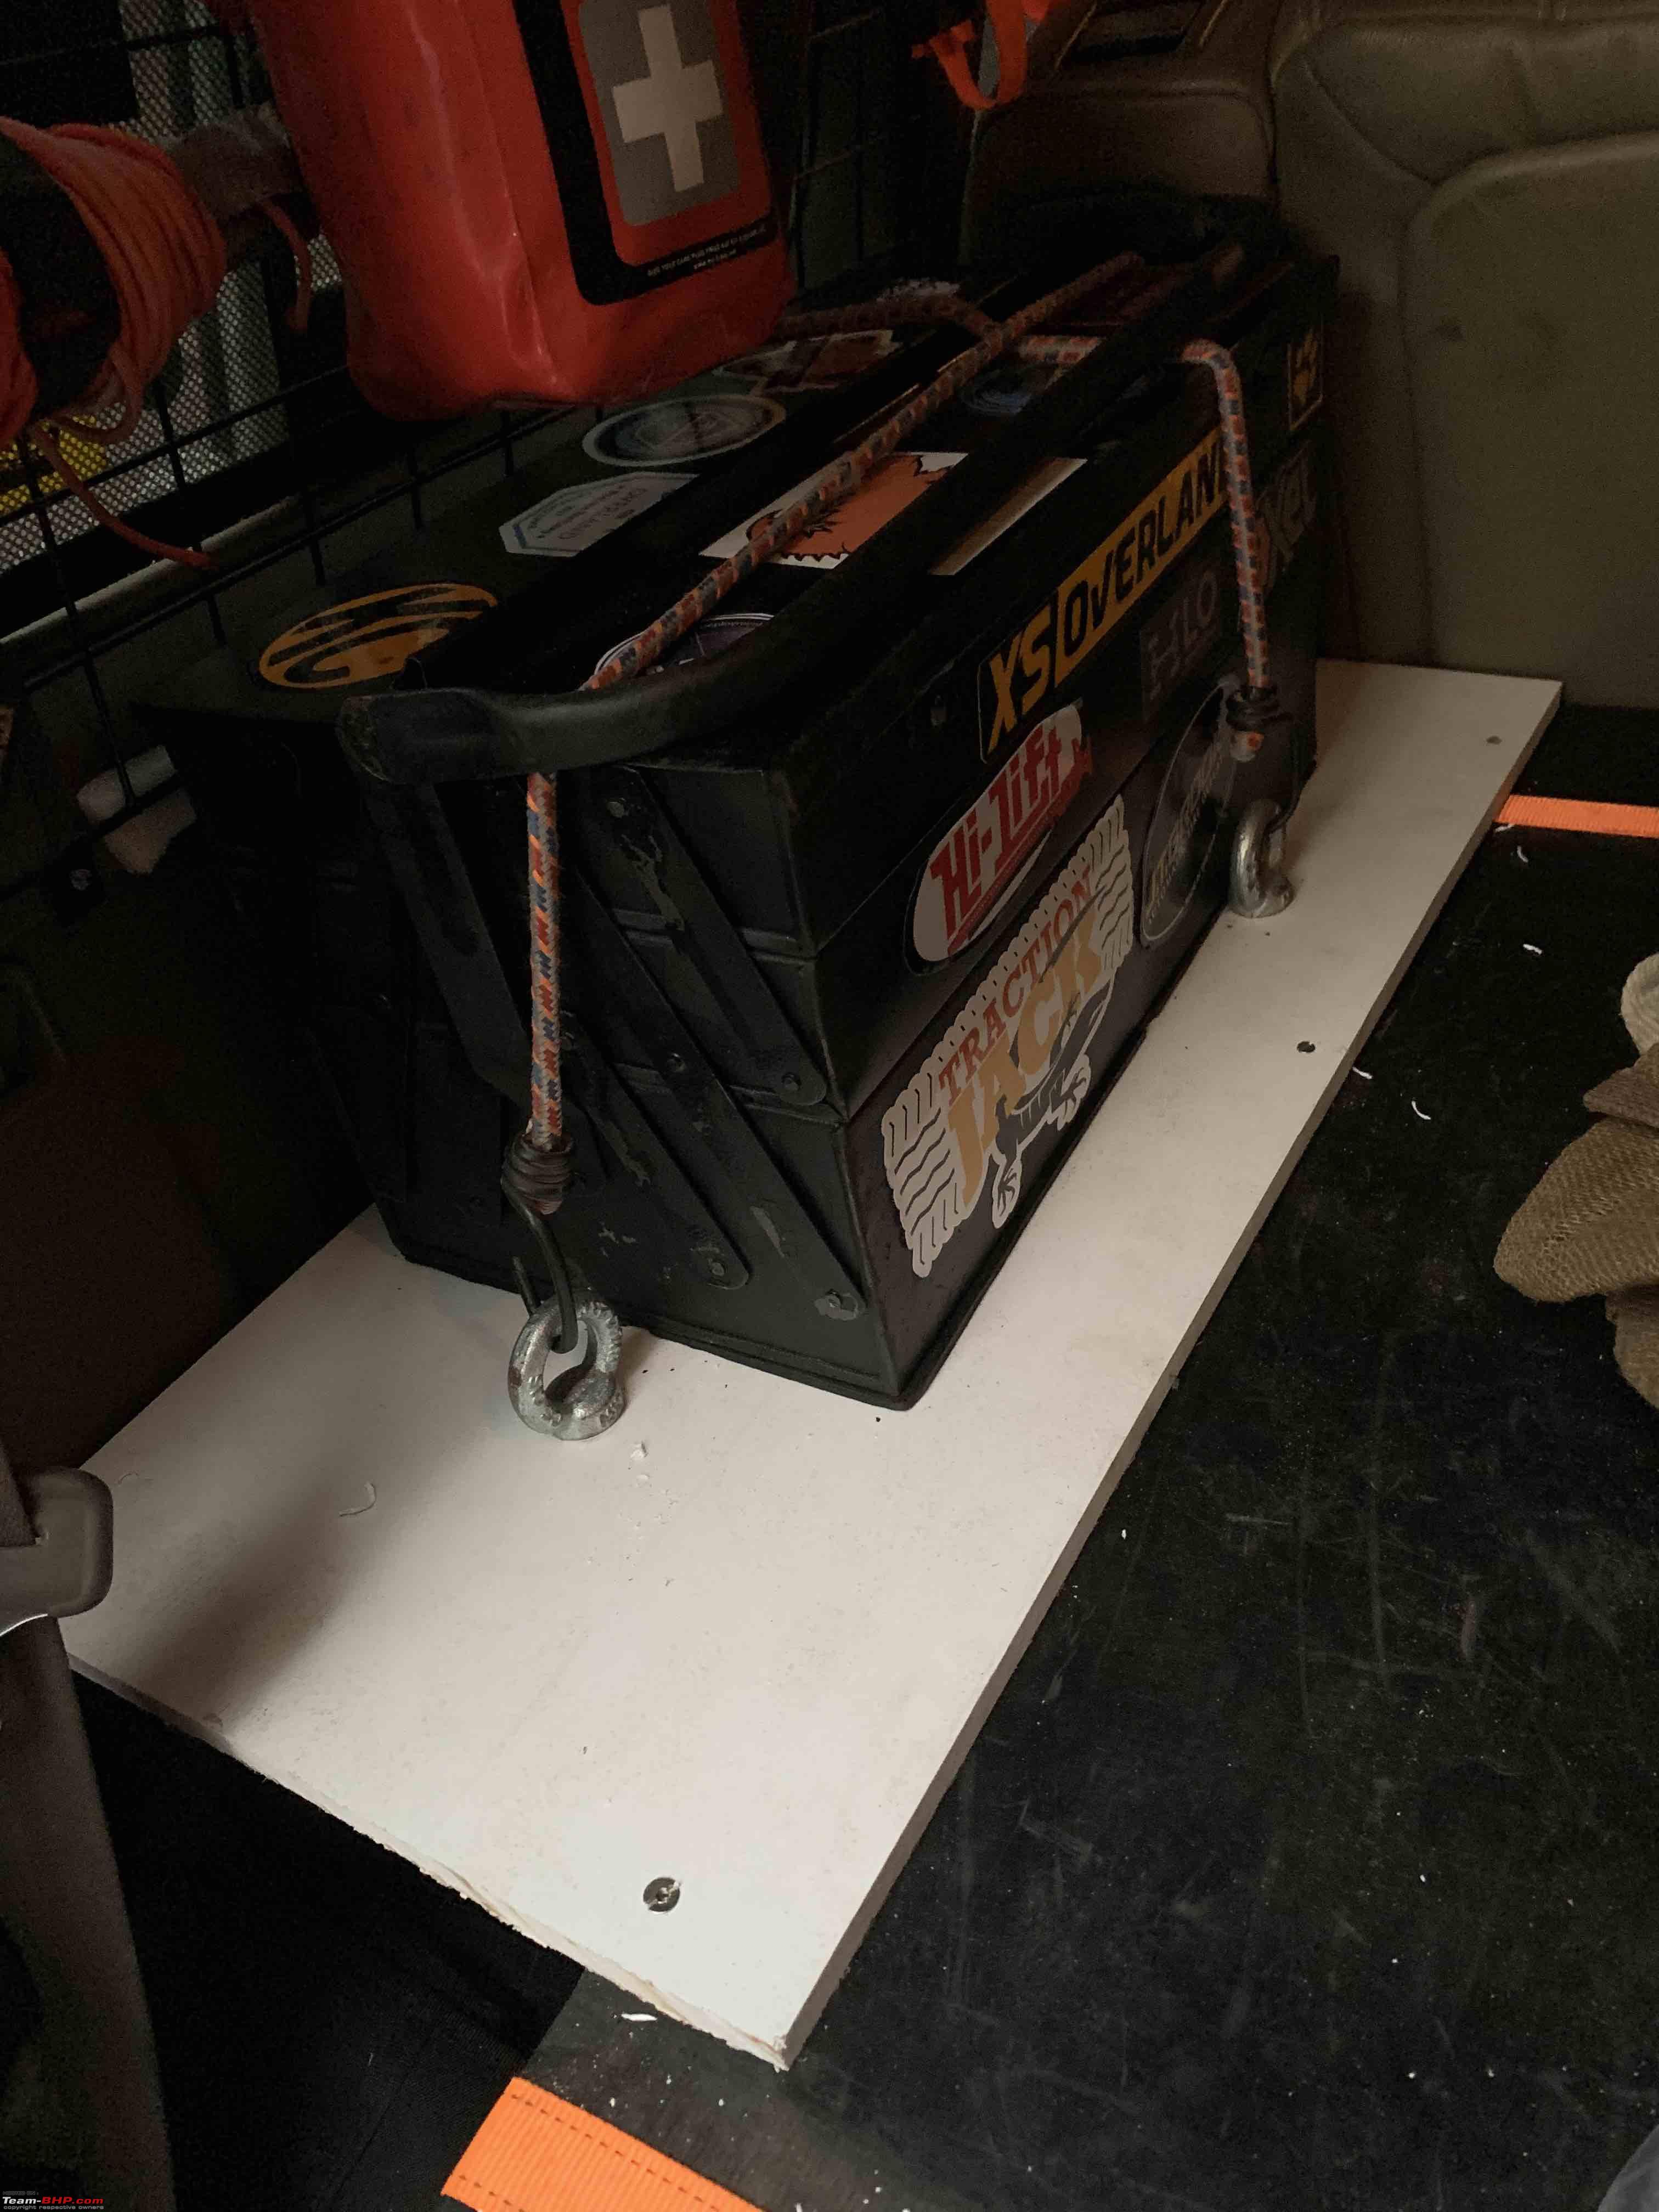
Till now I used to put the tool box in the drawer system but I need the drawers for camping stuff and the tool box a bit more accessible. Thus, decided to move it on the wheel well.
Also moved from the fancy plastic tool box back to the old school metal tool box. These scissor mechanism toolbox have better accessibility.
Again, used PVC ply for the same.
A piece of support wood fits on the wheel well where the last row seats are mounted.

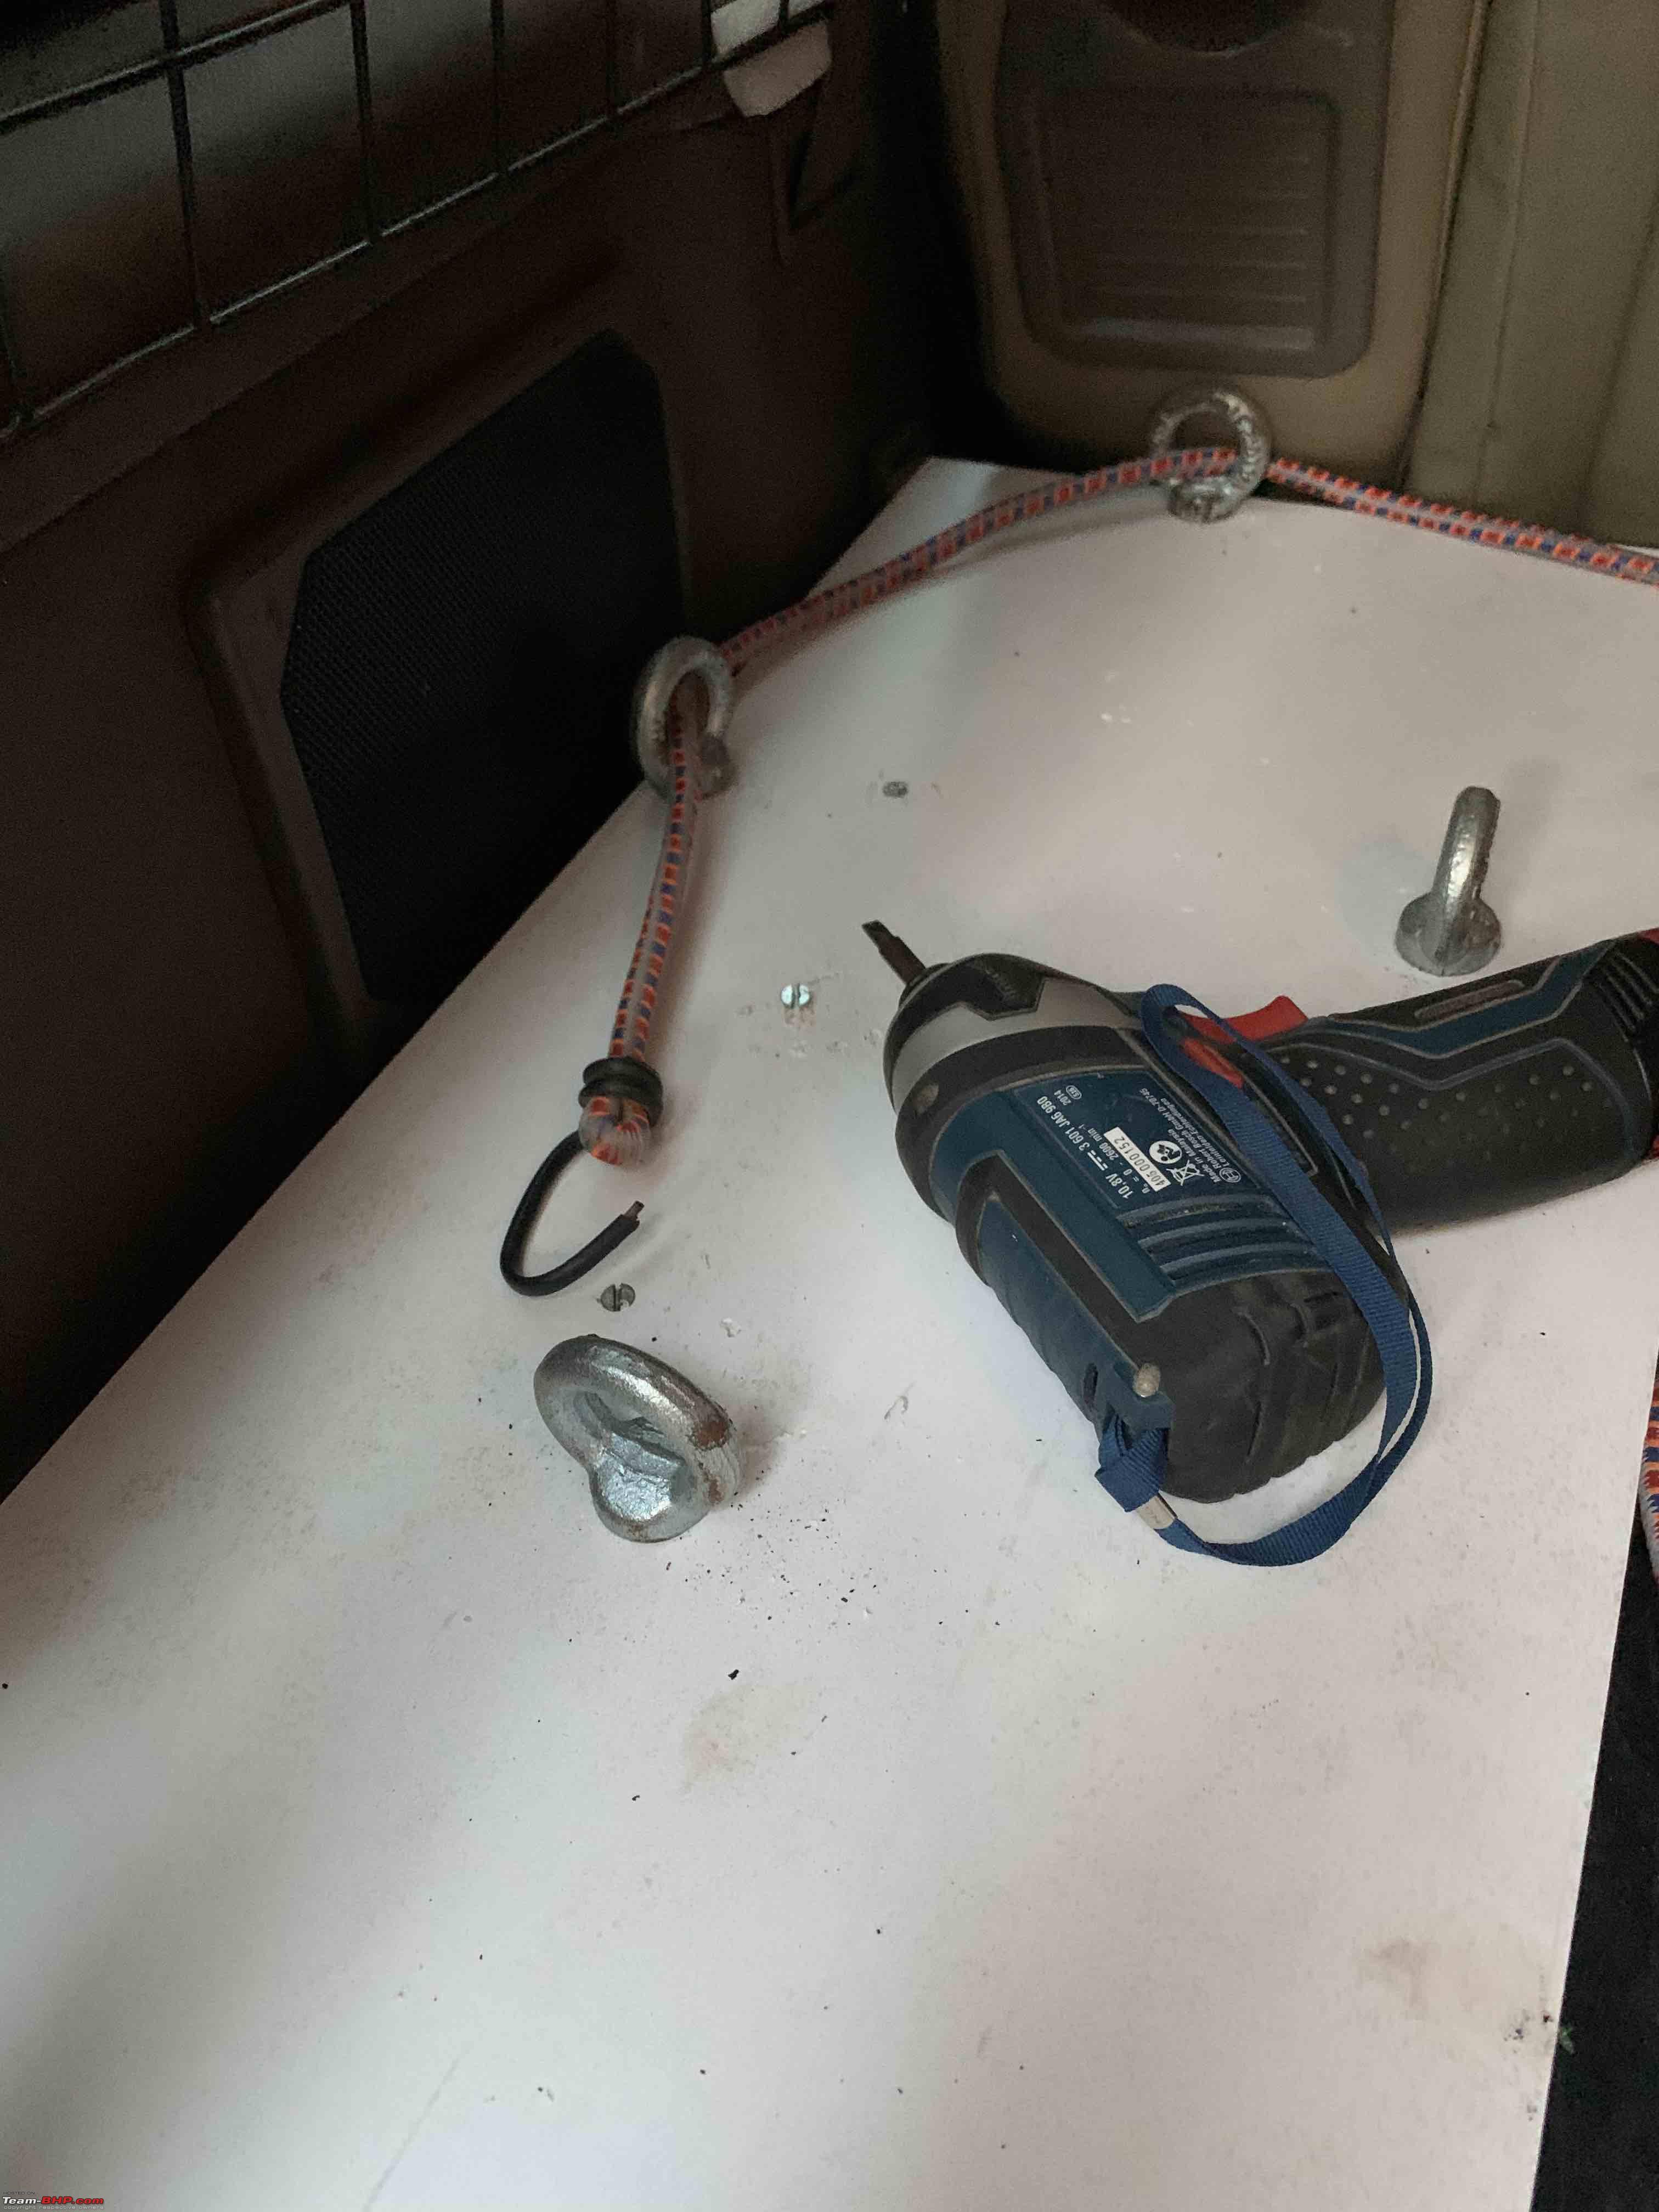
PVC cut and tie down points fit and a test fit of the toolbox in the garage:

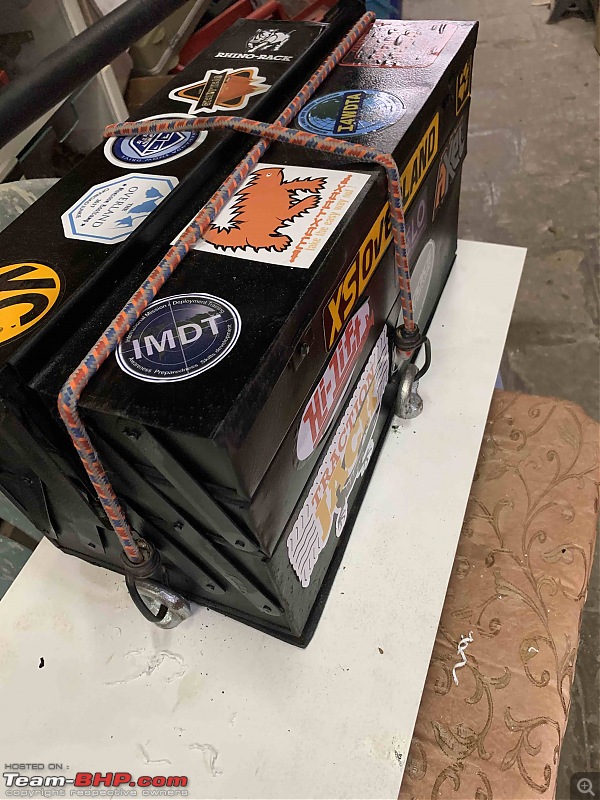
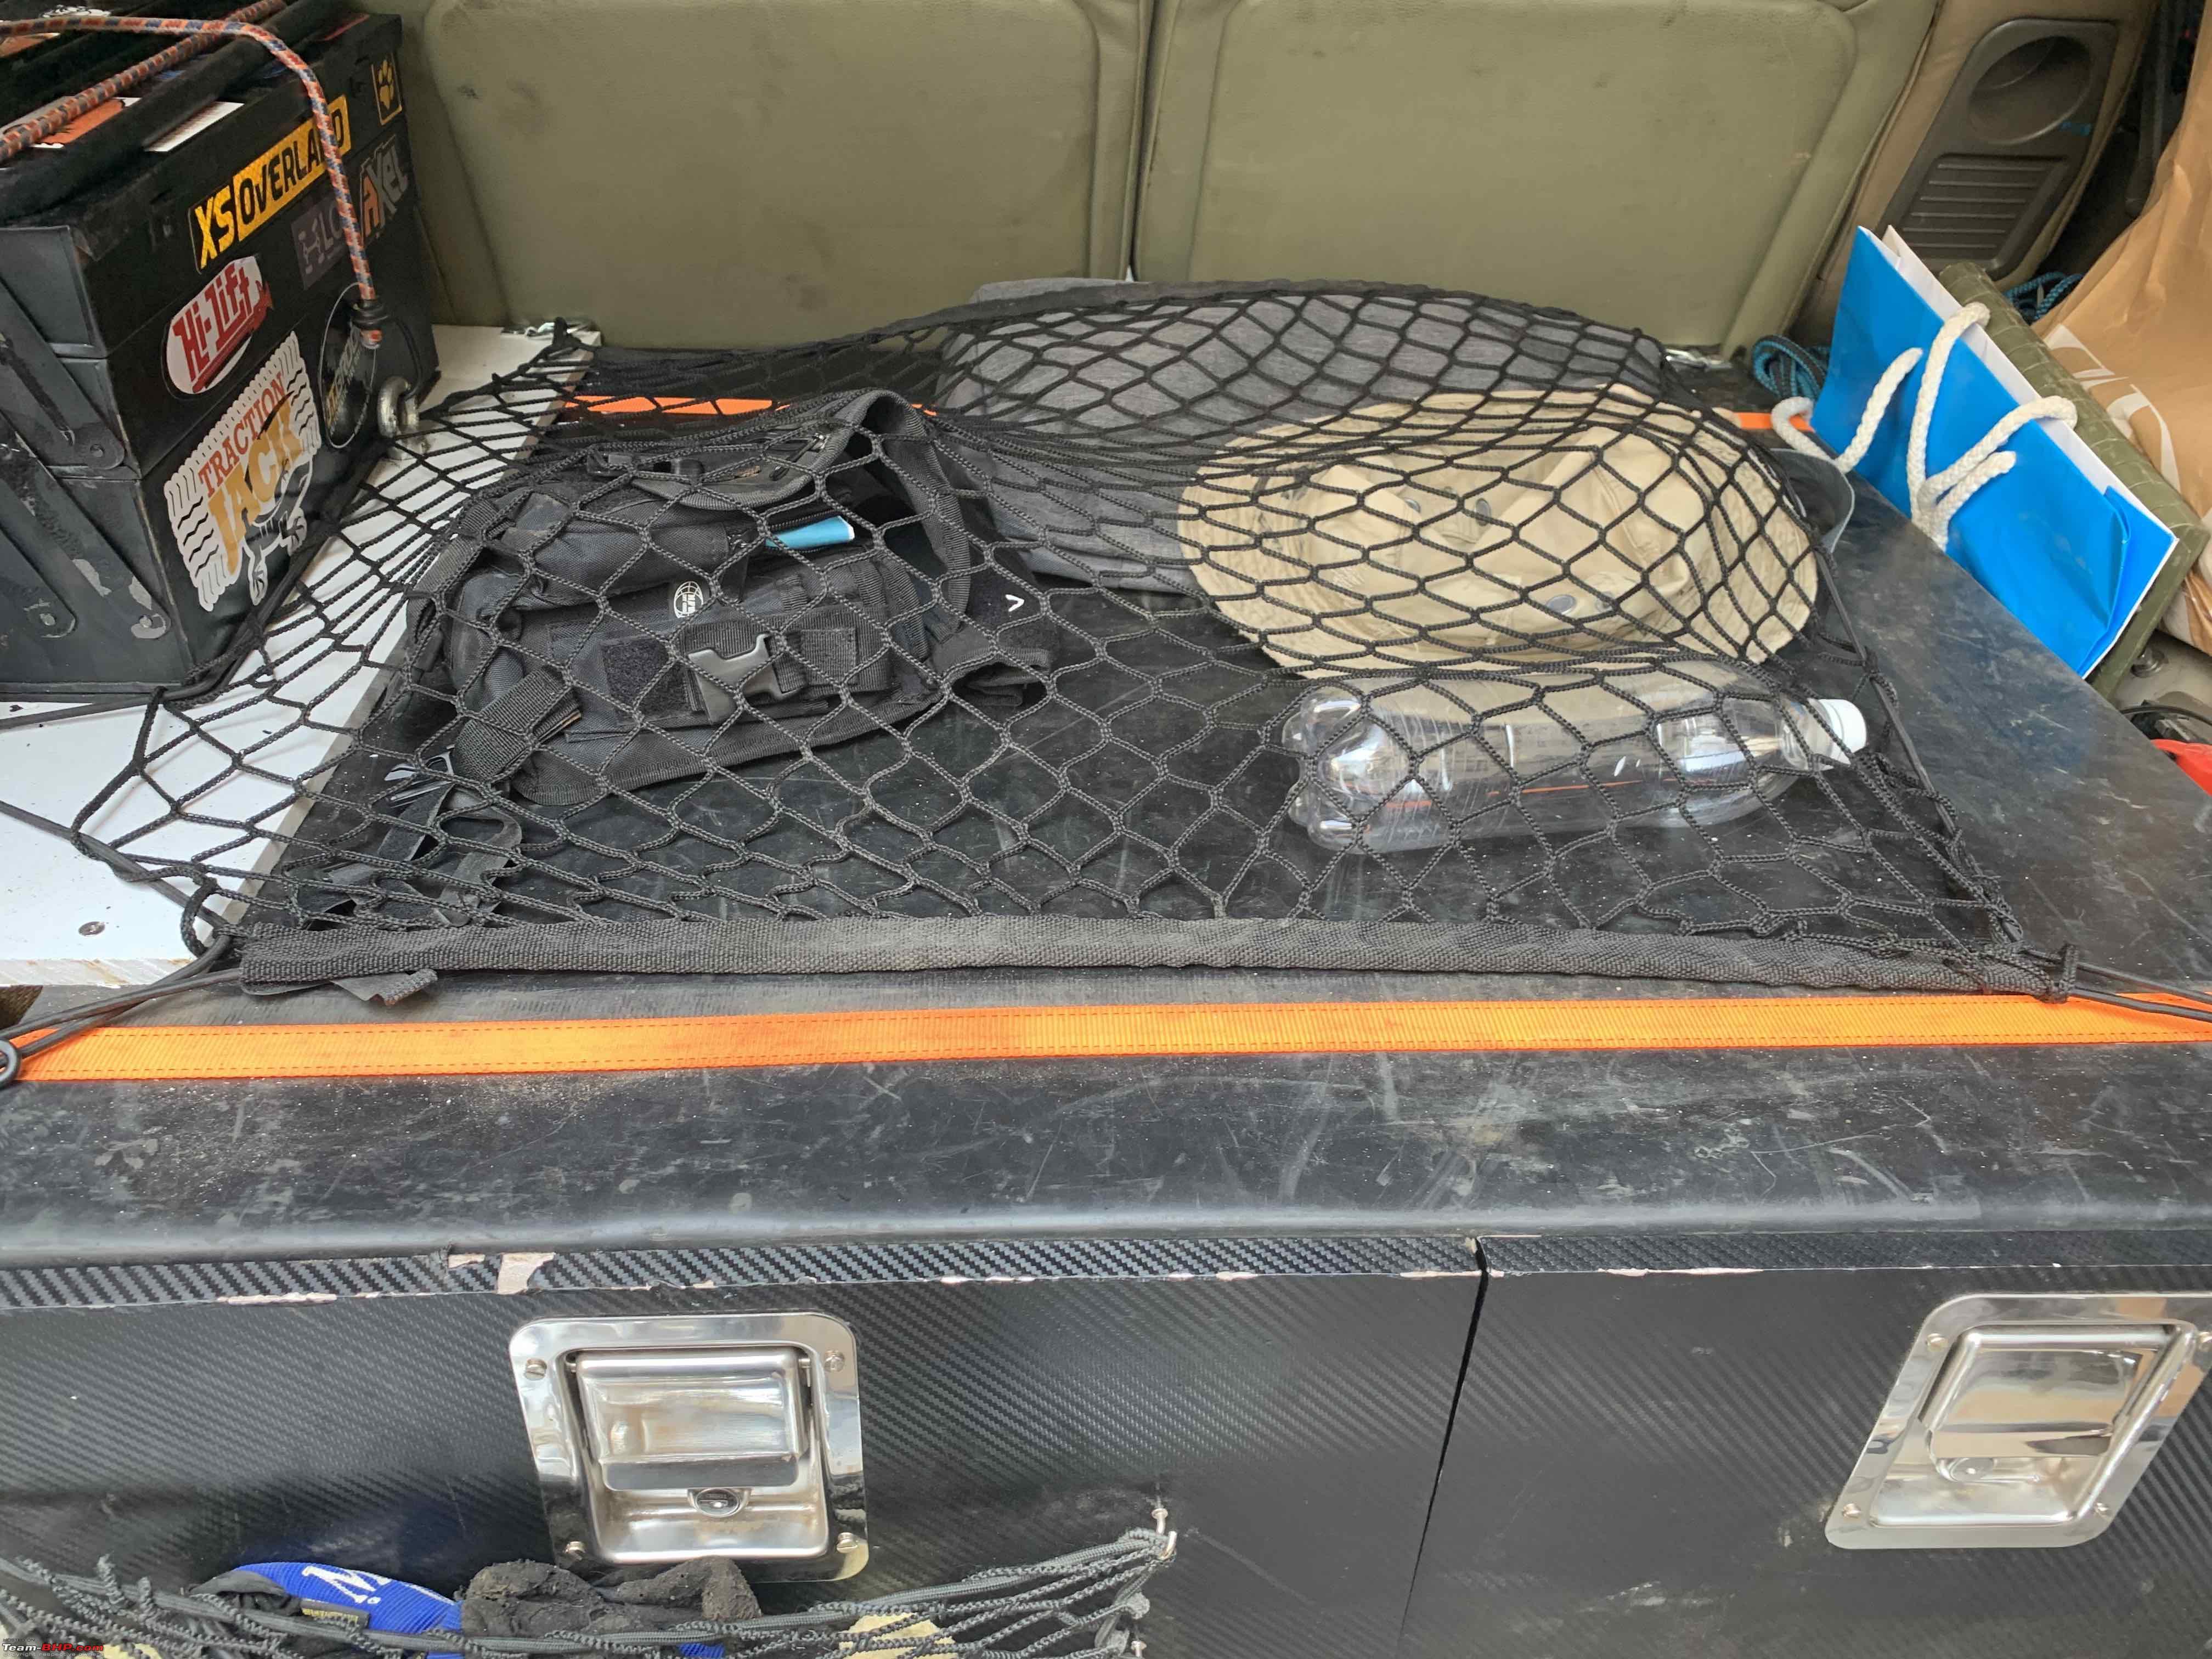
Im considering moving away from the bungee to a better tie down option. Maybe ratchet strap
The board is fit both on the wood on the wheel well and the drawer system

Final result:
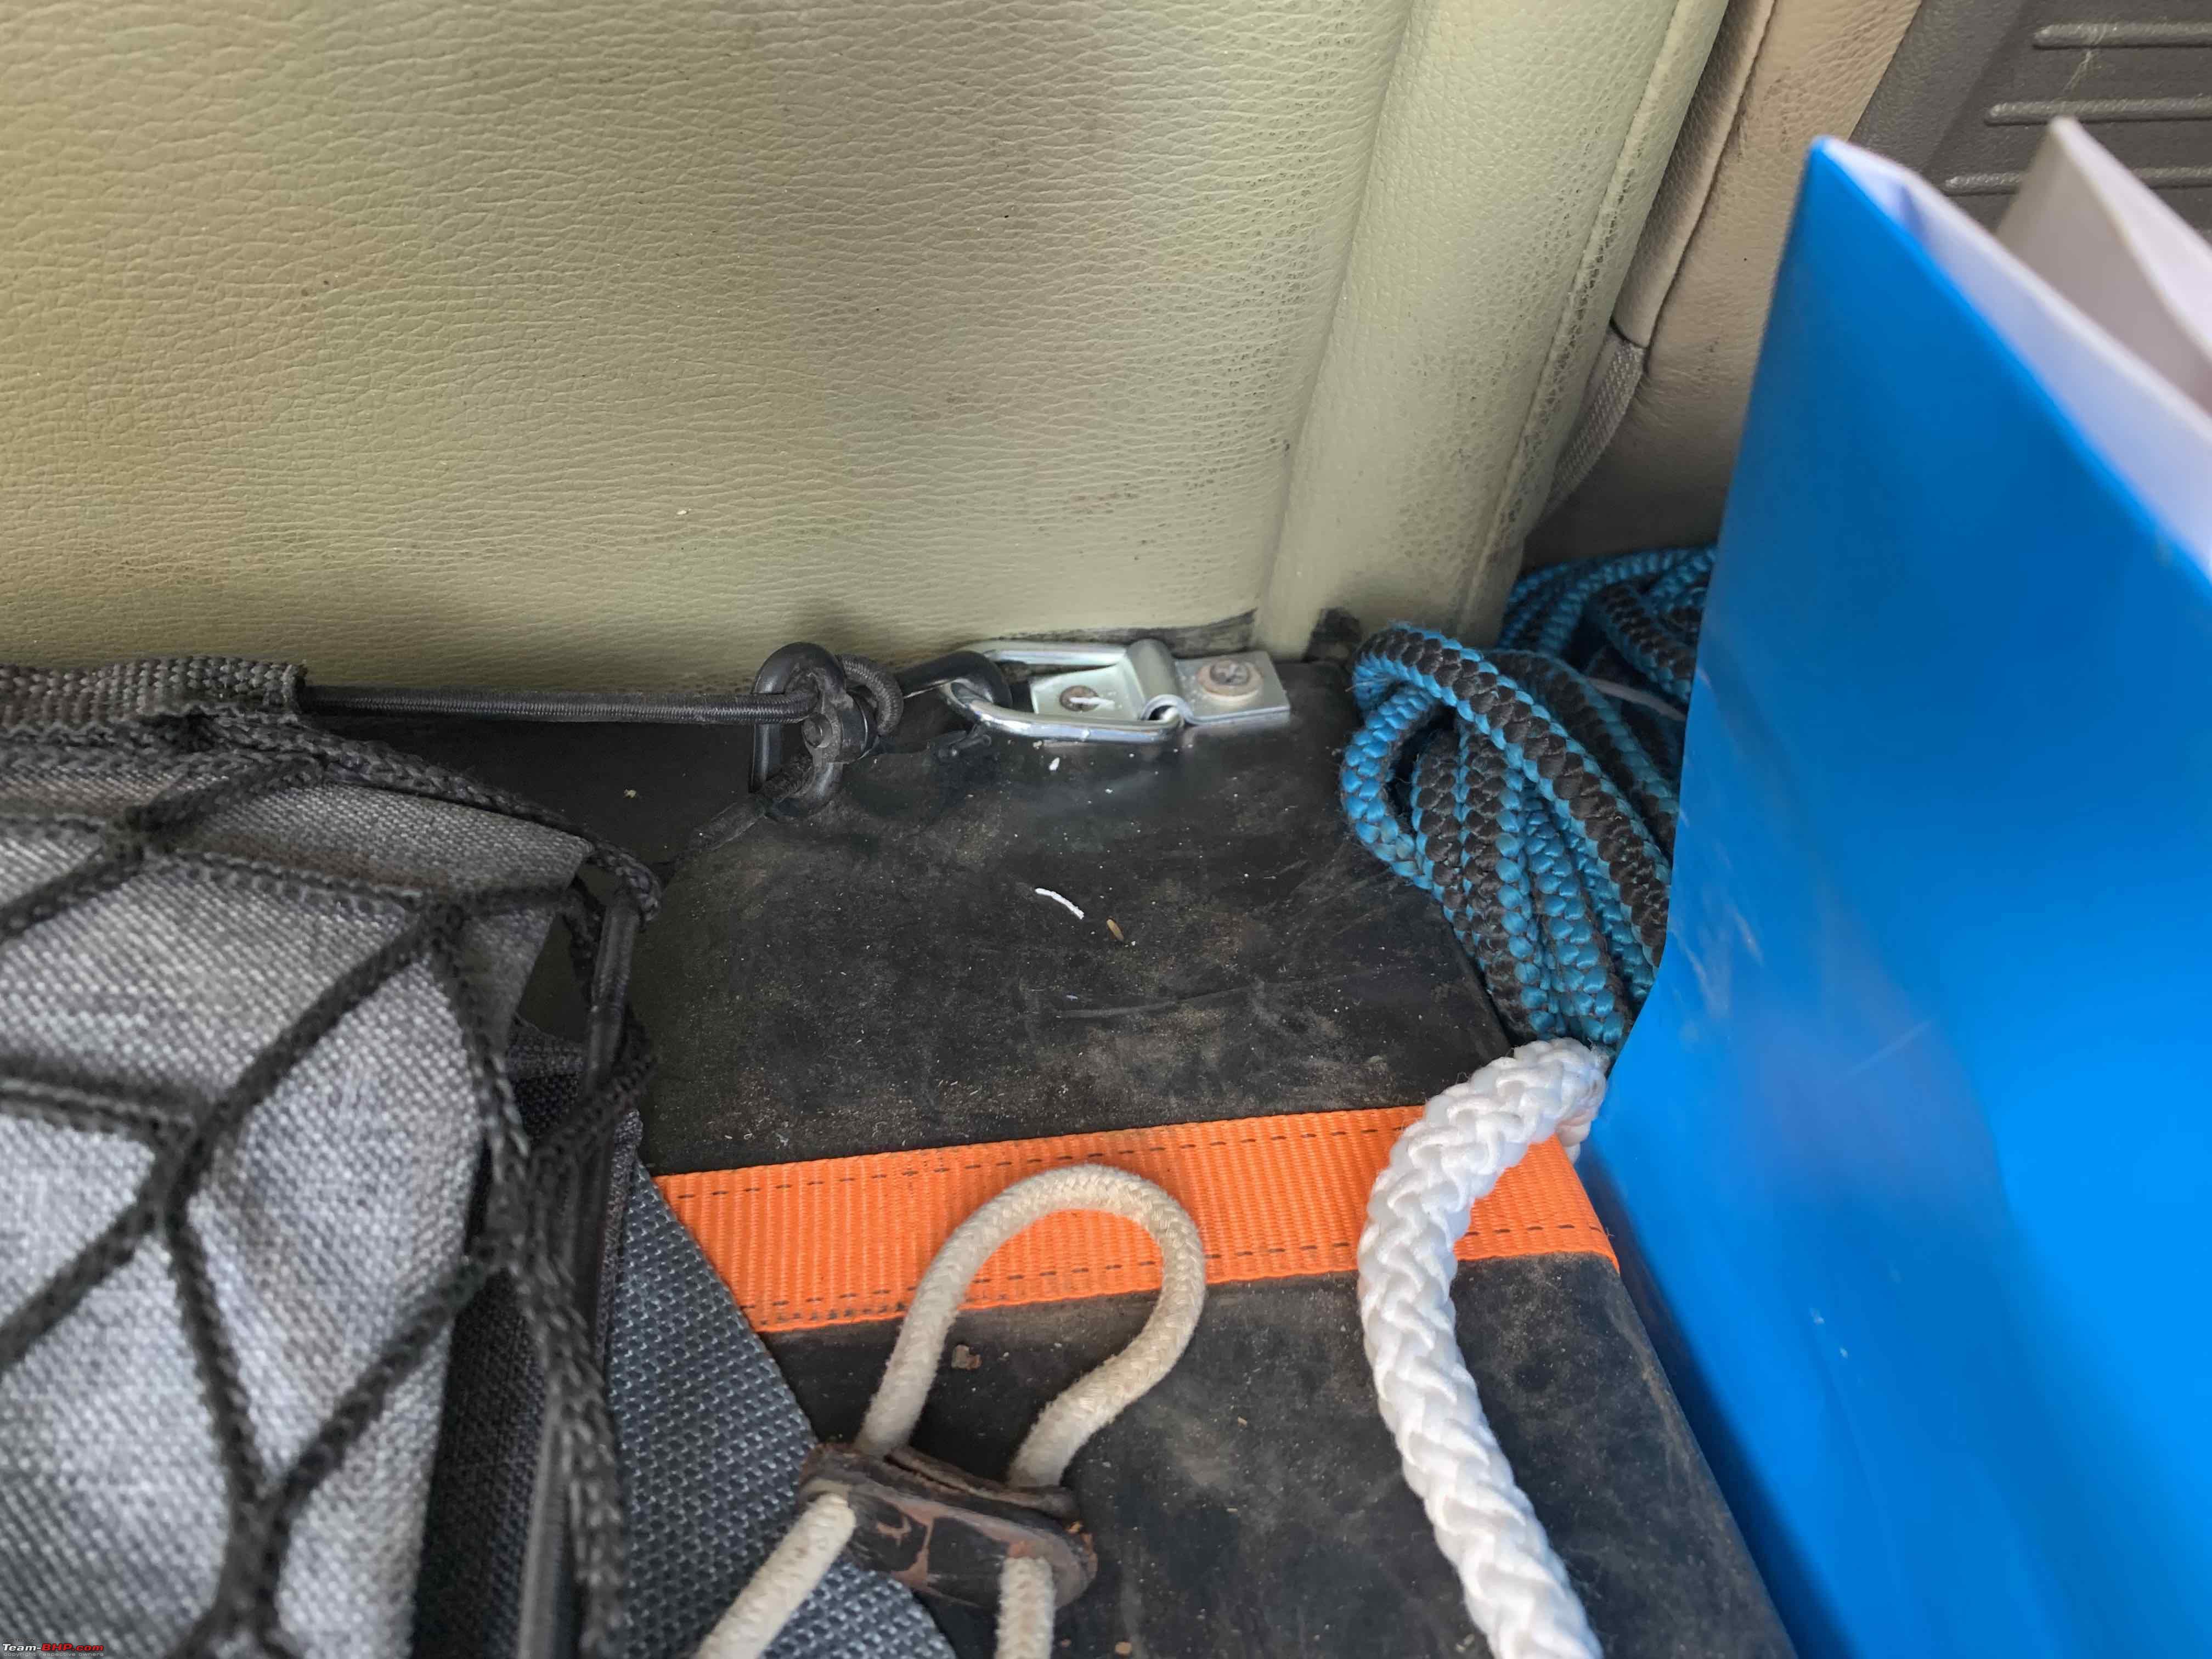
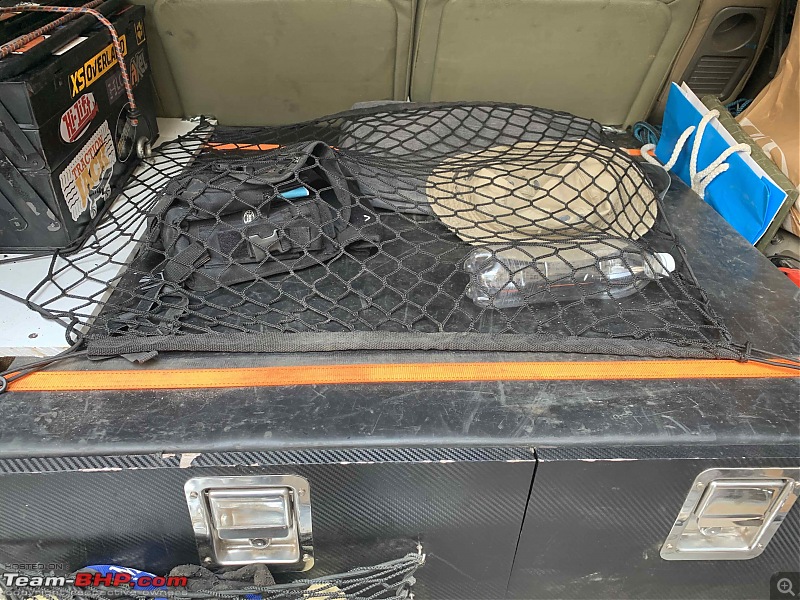
Up next, tie down points for a cargo net:
4 tie down points (had bought these years ago from South Africa - found them while cleaning my garage):


Cargo net fitted (had bought from Aliexpress years ago):
Quote:
Originally Posted by Tejas@perioimpl
(Post 4779816)
...
Im considering moving away from the bungee to a better tie down option. Maybe ratchet strap
...
|
Strongly recommended. The bungee strap is not the best one to hold things down, especially if you do not want it jumping around while off-roading.
Hi Tejas,
amazing bit of information and excellent review. thanks a lot must have read it at least 2/3 times. was contemplating to buy a pajero, wanted your opinion on the same, also what are the drawbacks in the current time to own one.
I understand that all might not be maintained up to your standard's and would have to shell out some amount to make it reliable and hassle free and prepared to spend the time and energy on the same.
your advise would be most help full in coming to a decision.
Quote:
Originally Posted by nvluv
(Post 4870245)
was contemplating to buy a pajero
|
While I am sure Tejas will share his valuable inputs soon,
here is a thread you can refer to, for additional perspective.
Quote:
Originally Posted by Tejas@perioimpl
(Post 4622543)
|
Hey Tejas, just found this thread and I have to say that's a mighty impressive piece of hardware. Always had a soft spot for these Pajeros. Have you thought about adding a 2-3 inch lift-kit and doing a running board/side step delete + adding rock sliders? I'm thinking that will make it significantly more capable and keep the underbody safer.
My apologies for not updating this thread since a while.
A lot of things have happened since the last update.
Added a winch, toppled the vehicle, fitted rocksliders, etc.
Will update in a couple of days, one by one.
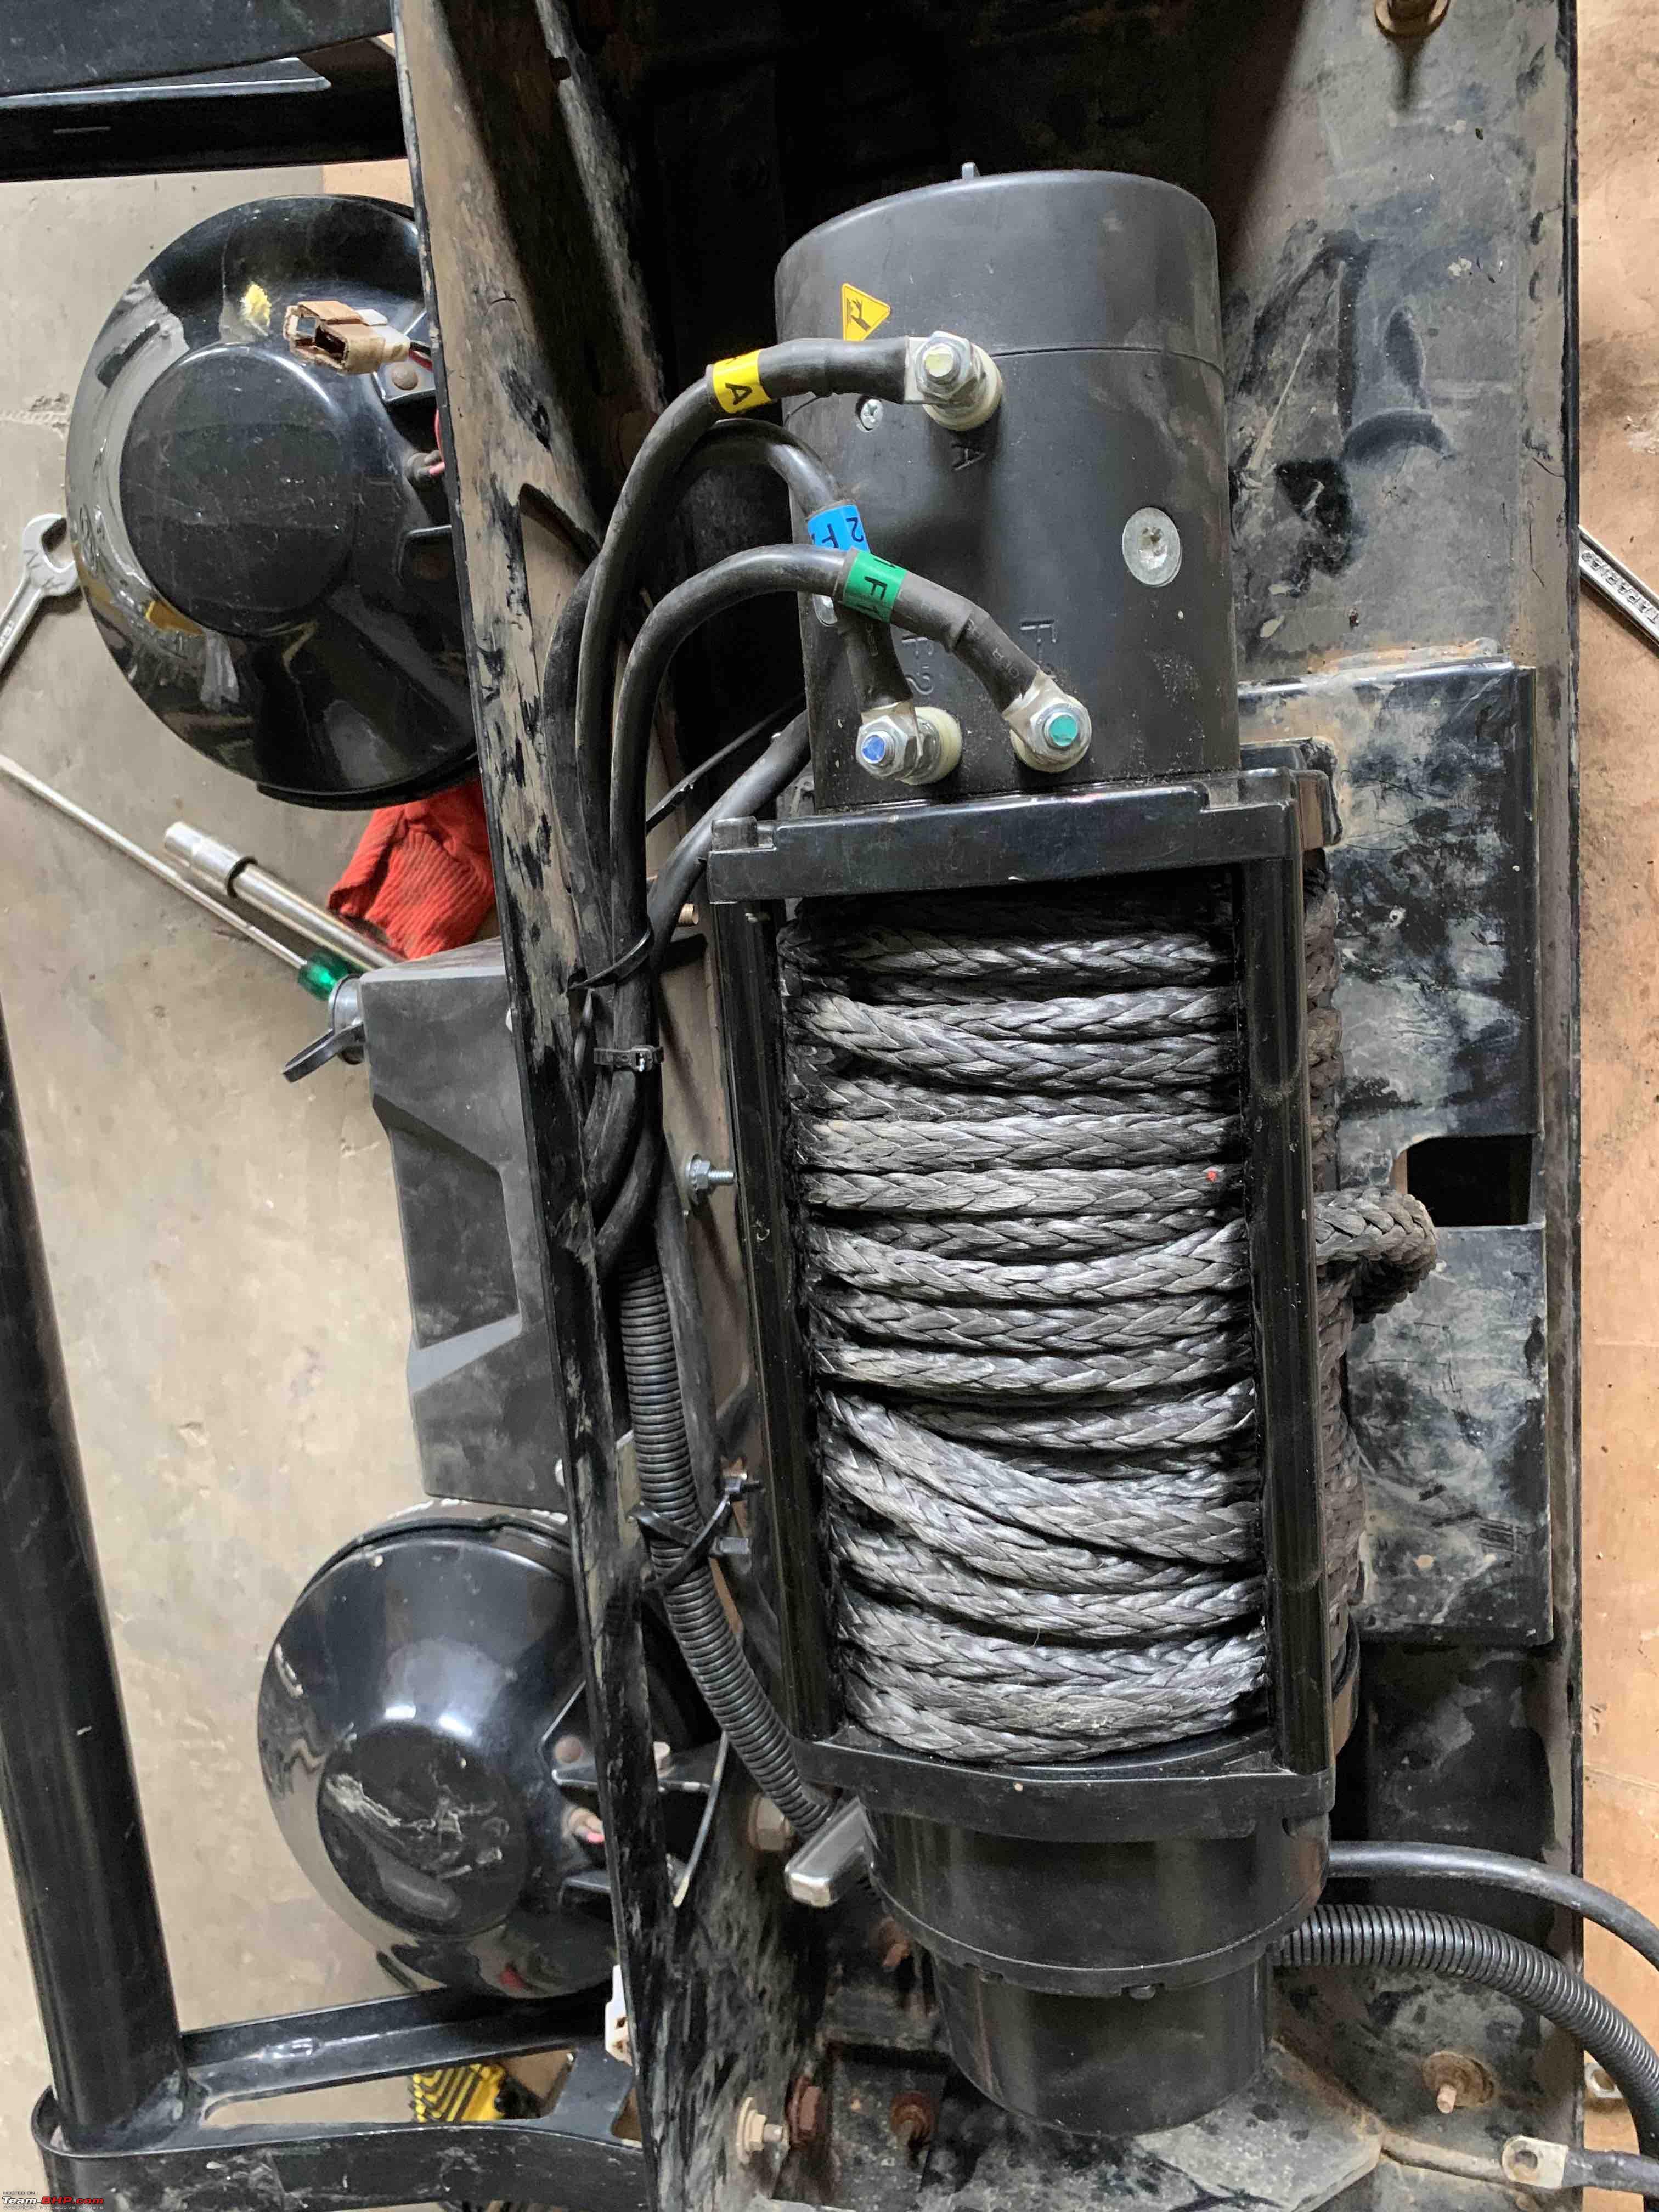
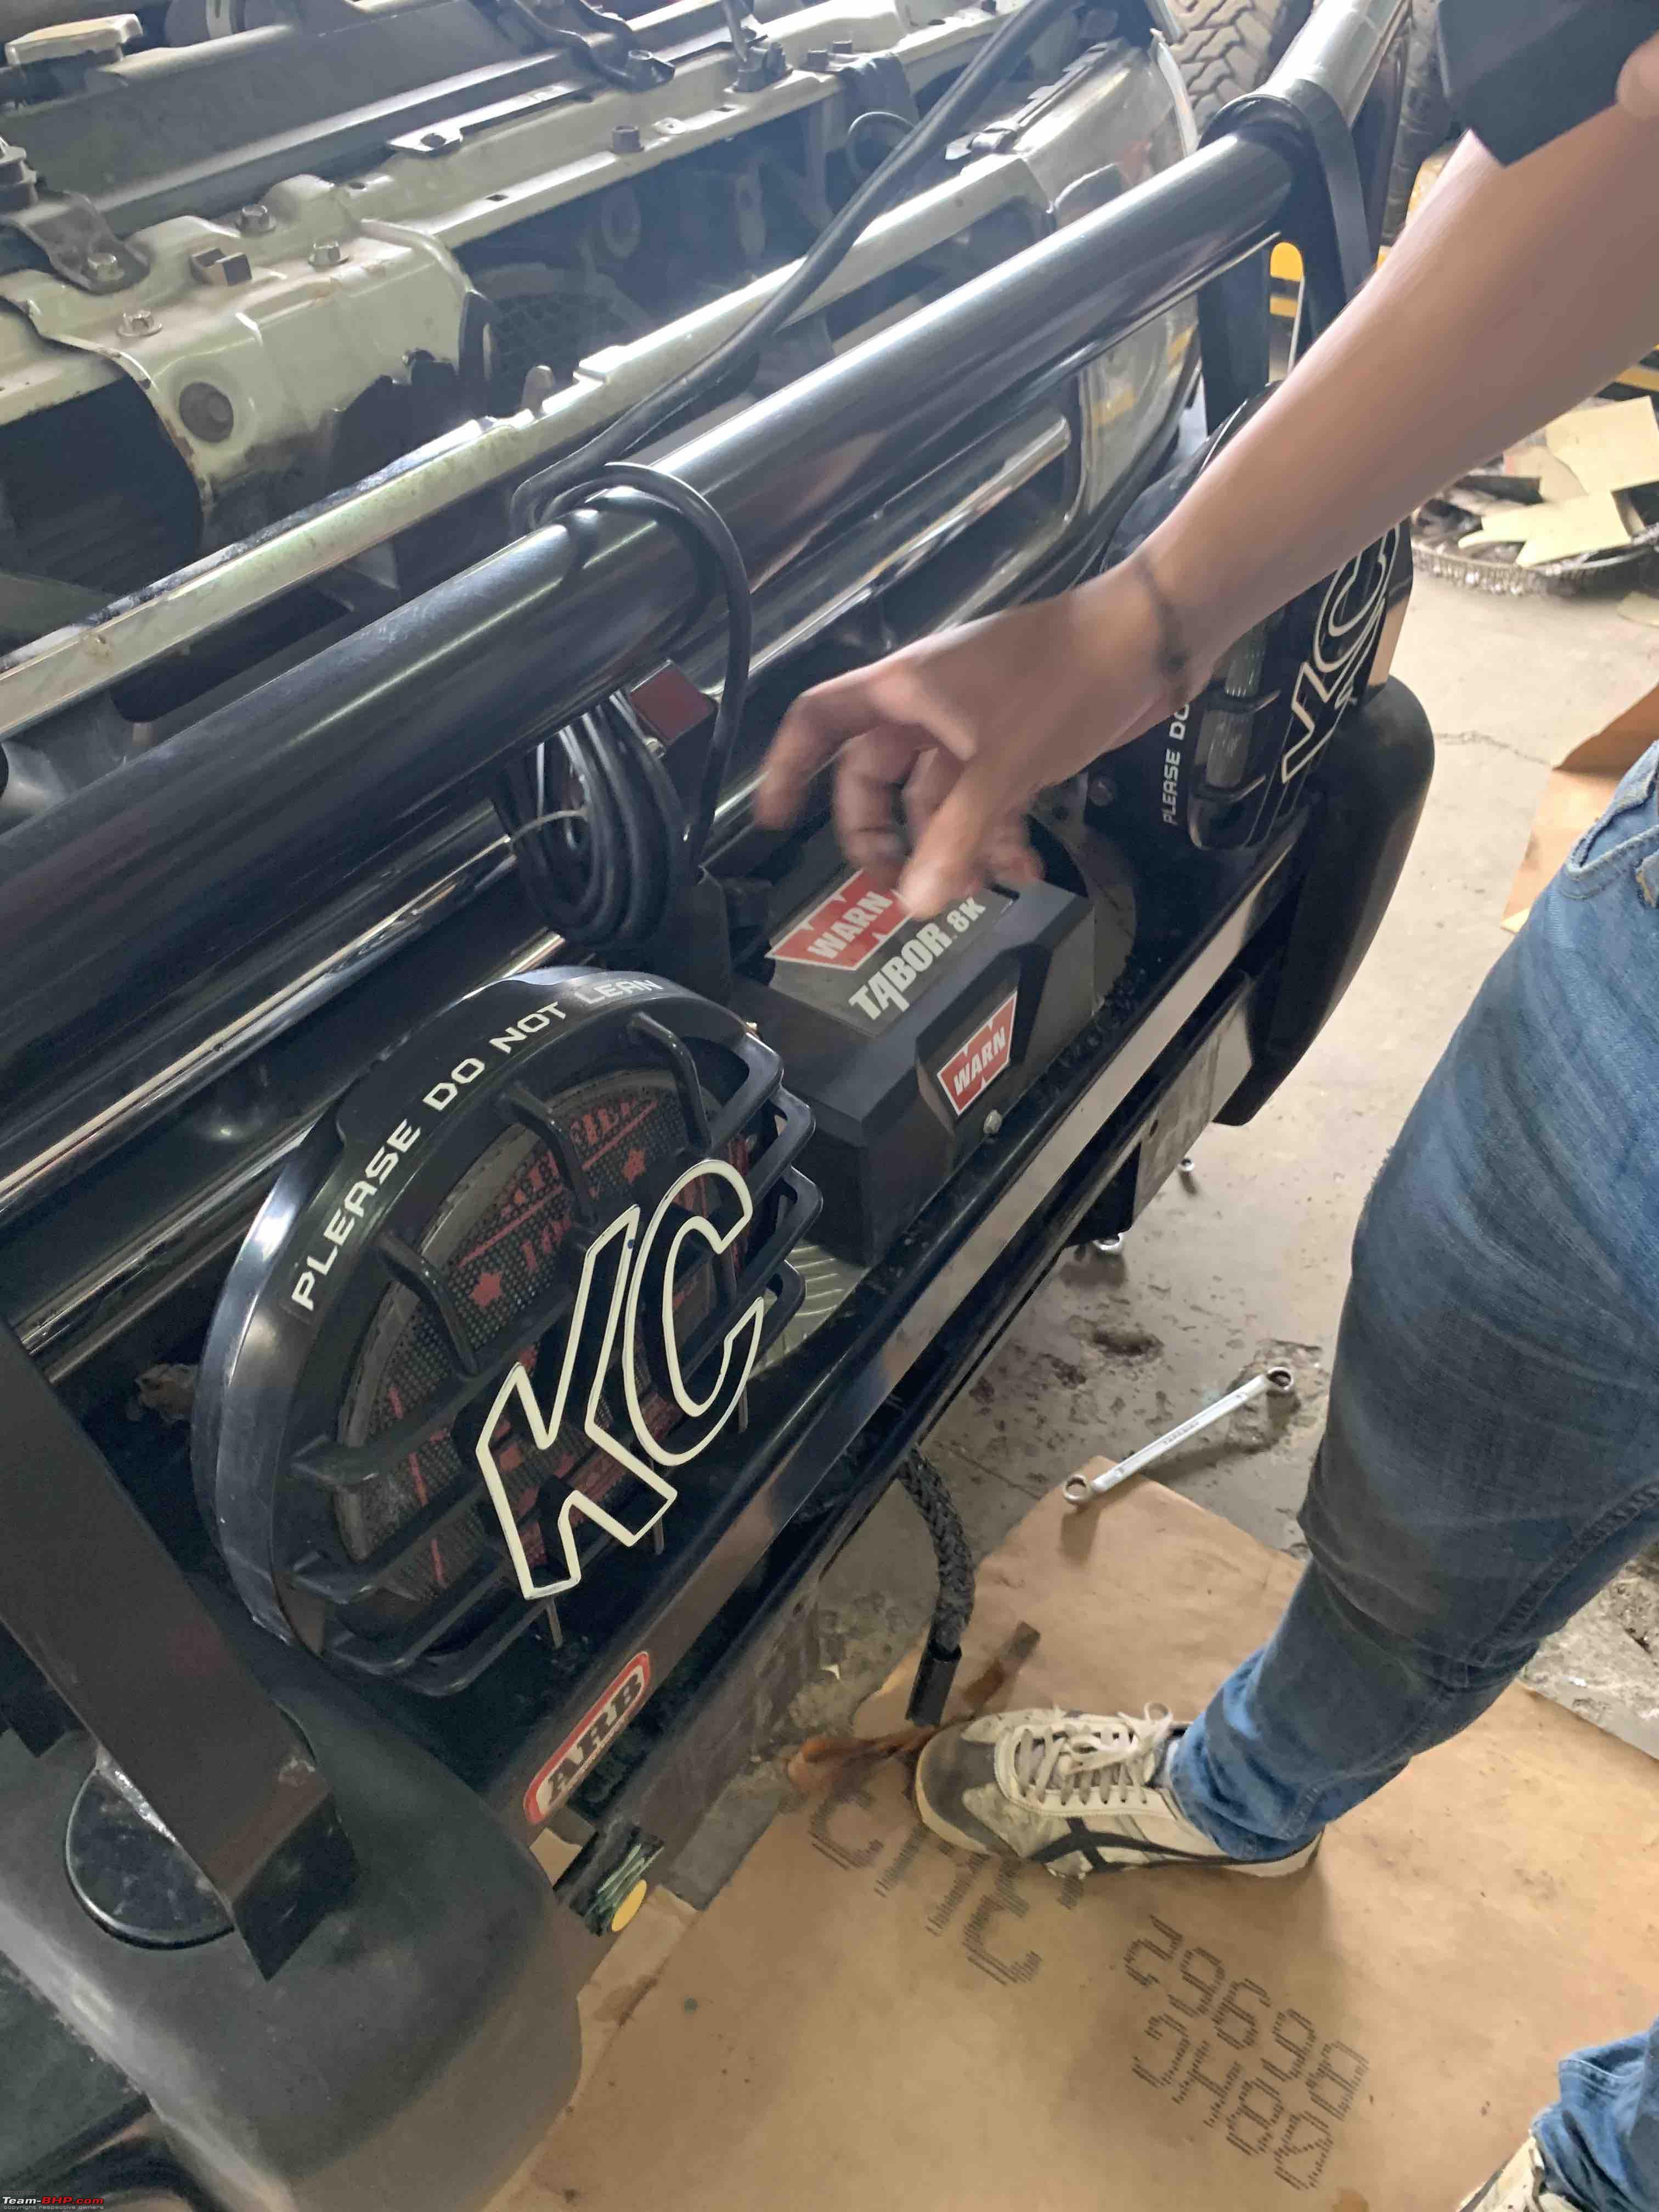
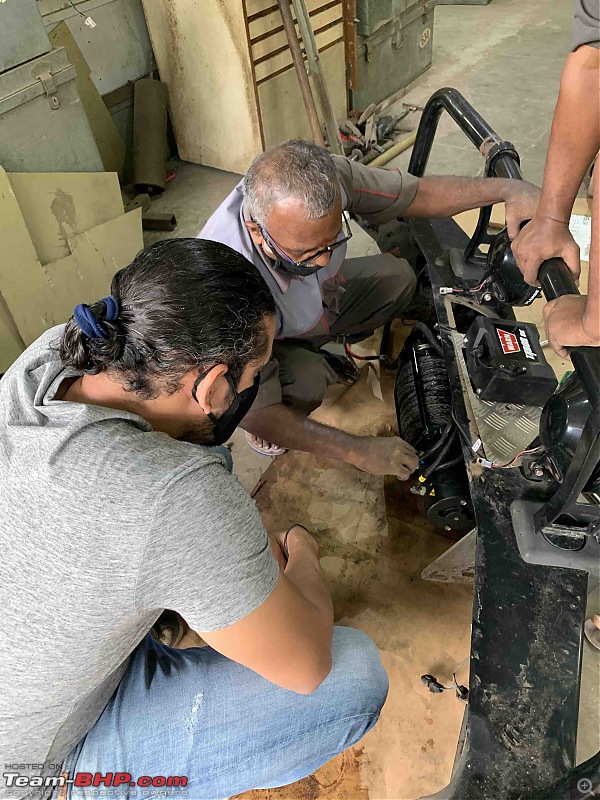
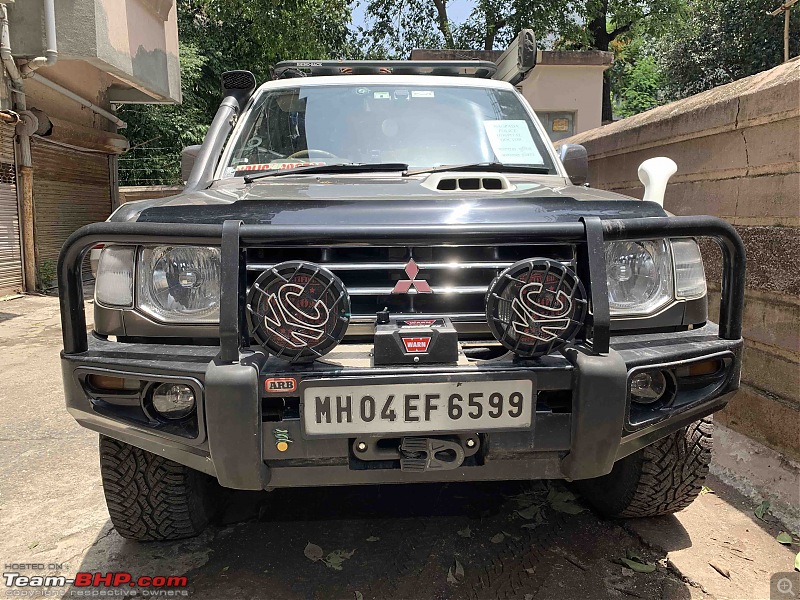
Winch Fitting
This happened 6th June 2020 when the lockdown restrictions were eased and I had also wrapped up my social service which had kept me busy and occupied the previous months.
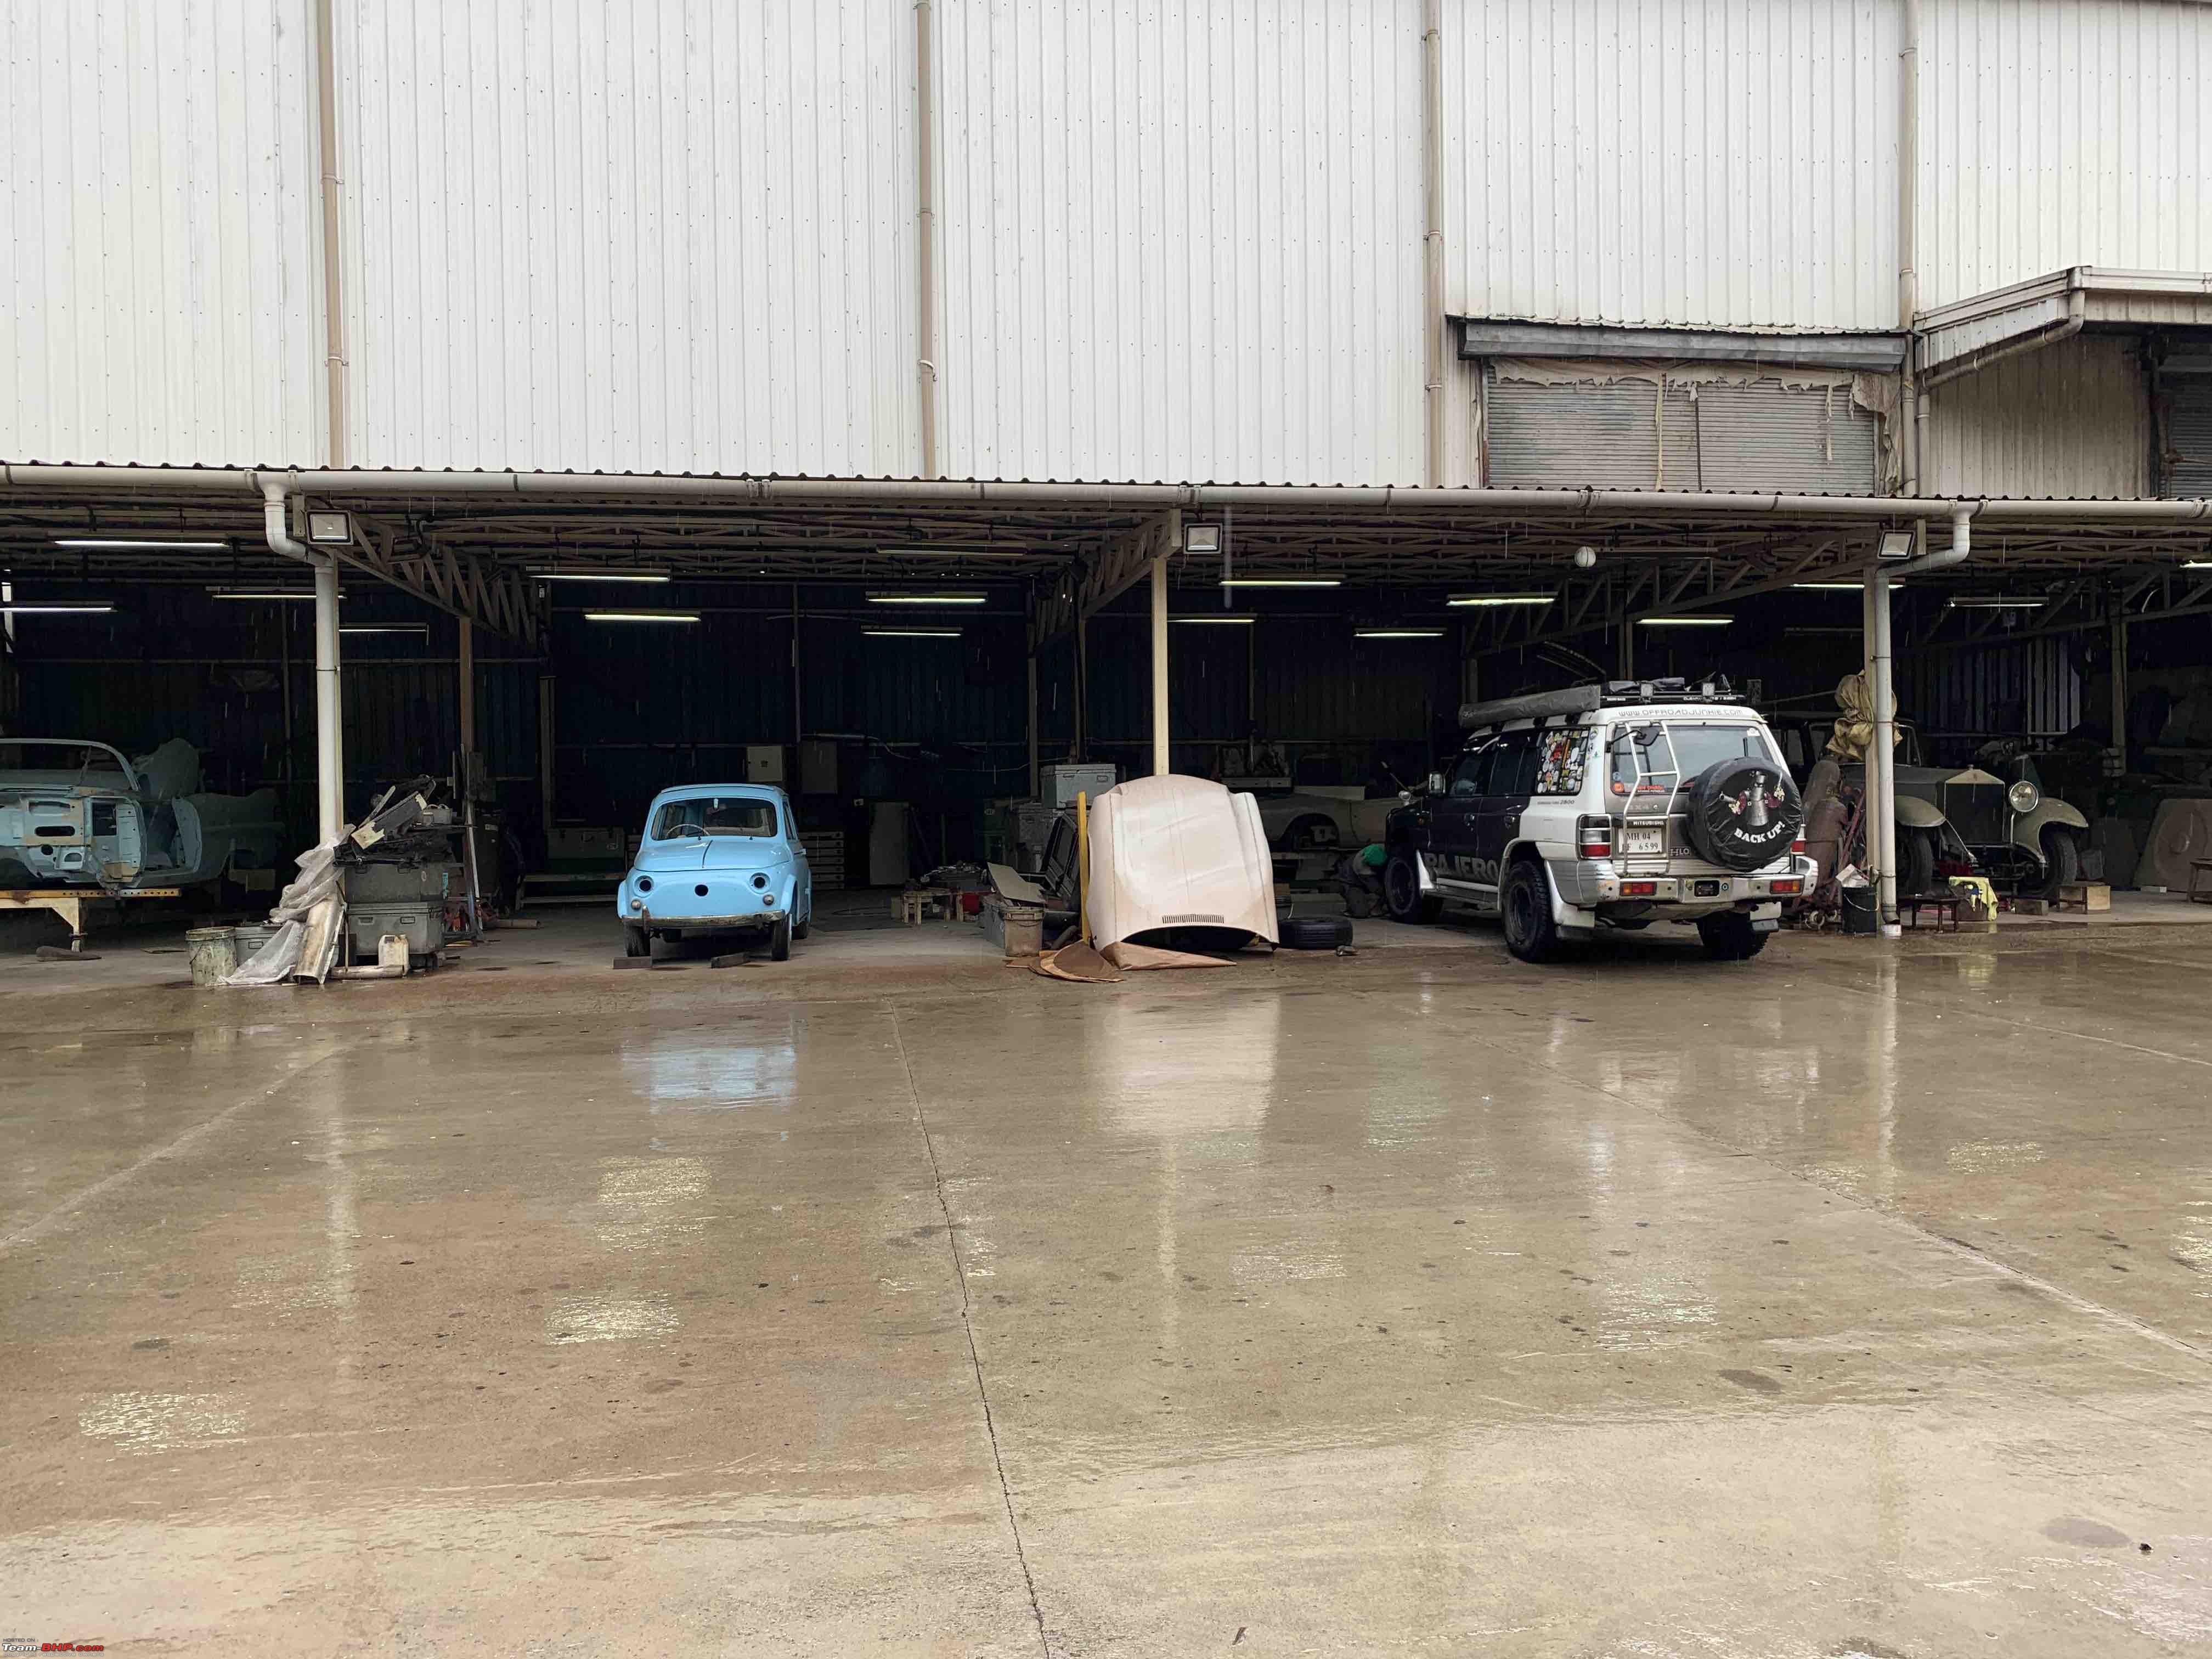
For such fittings, there is only one person I trust, Allan and promptly visited his garage.
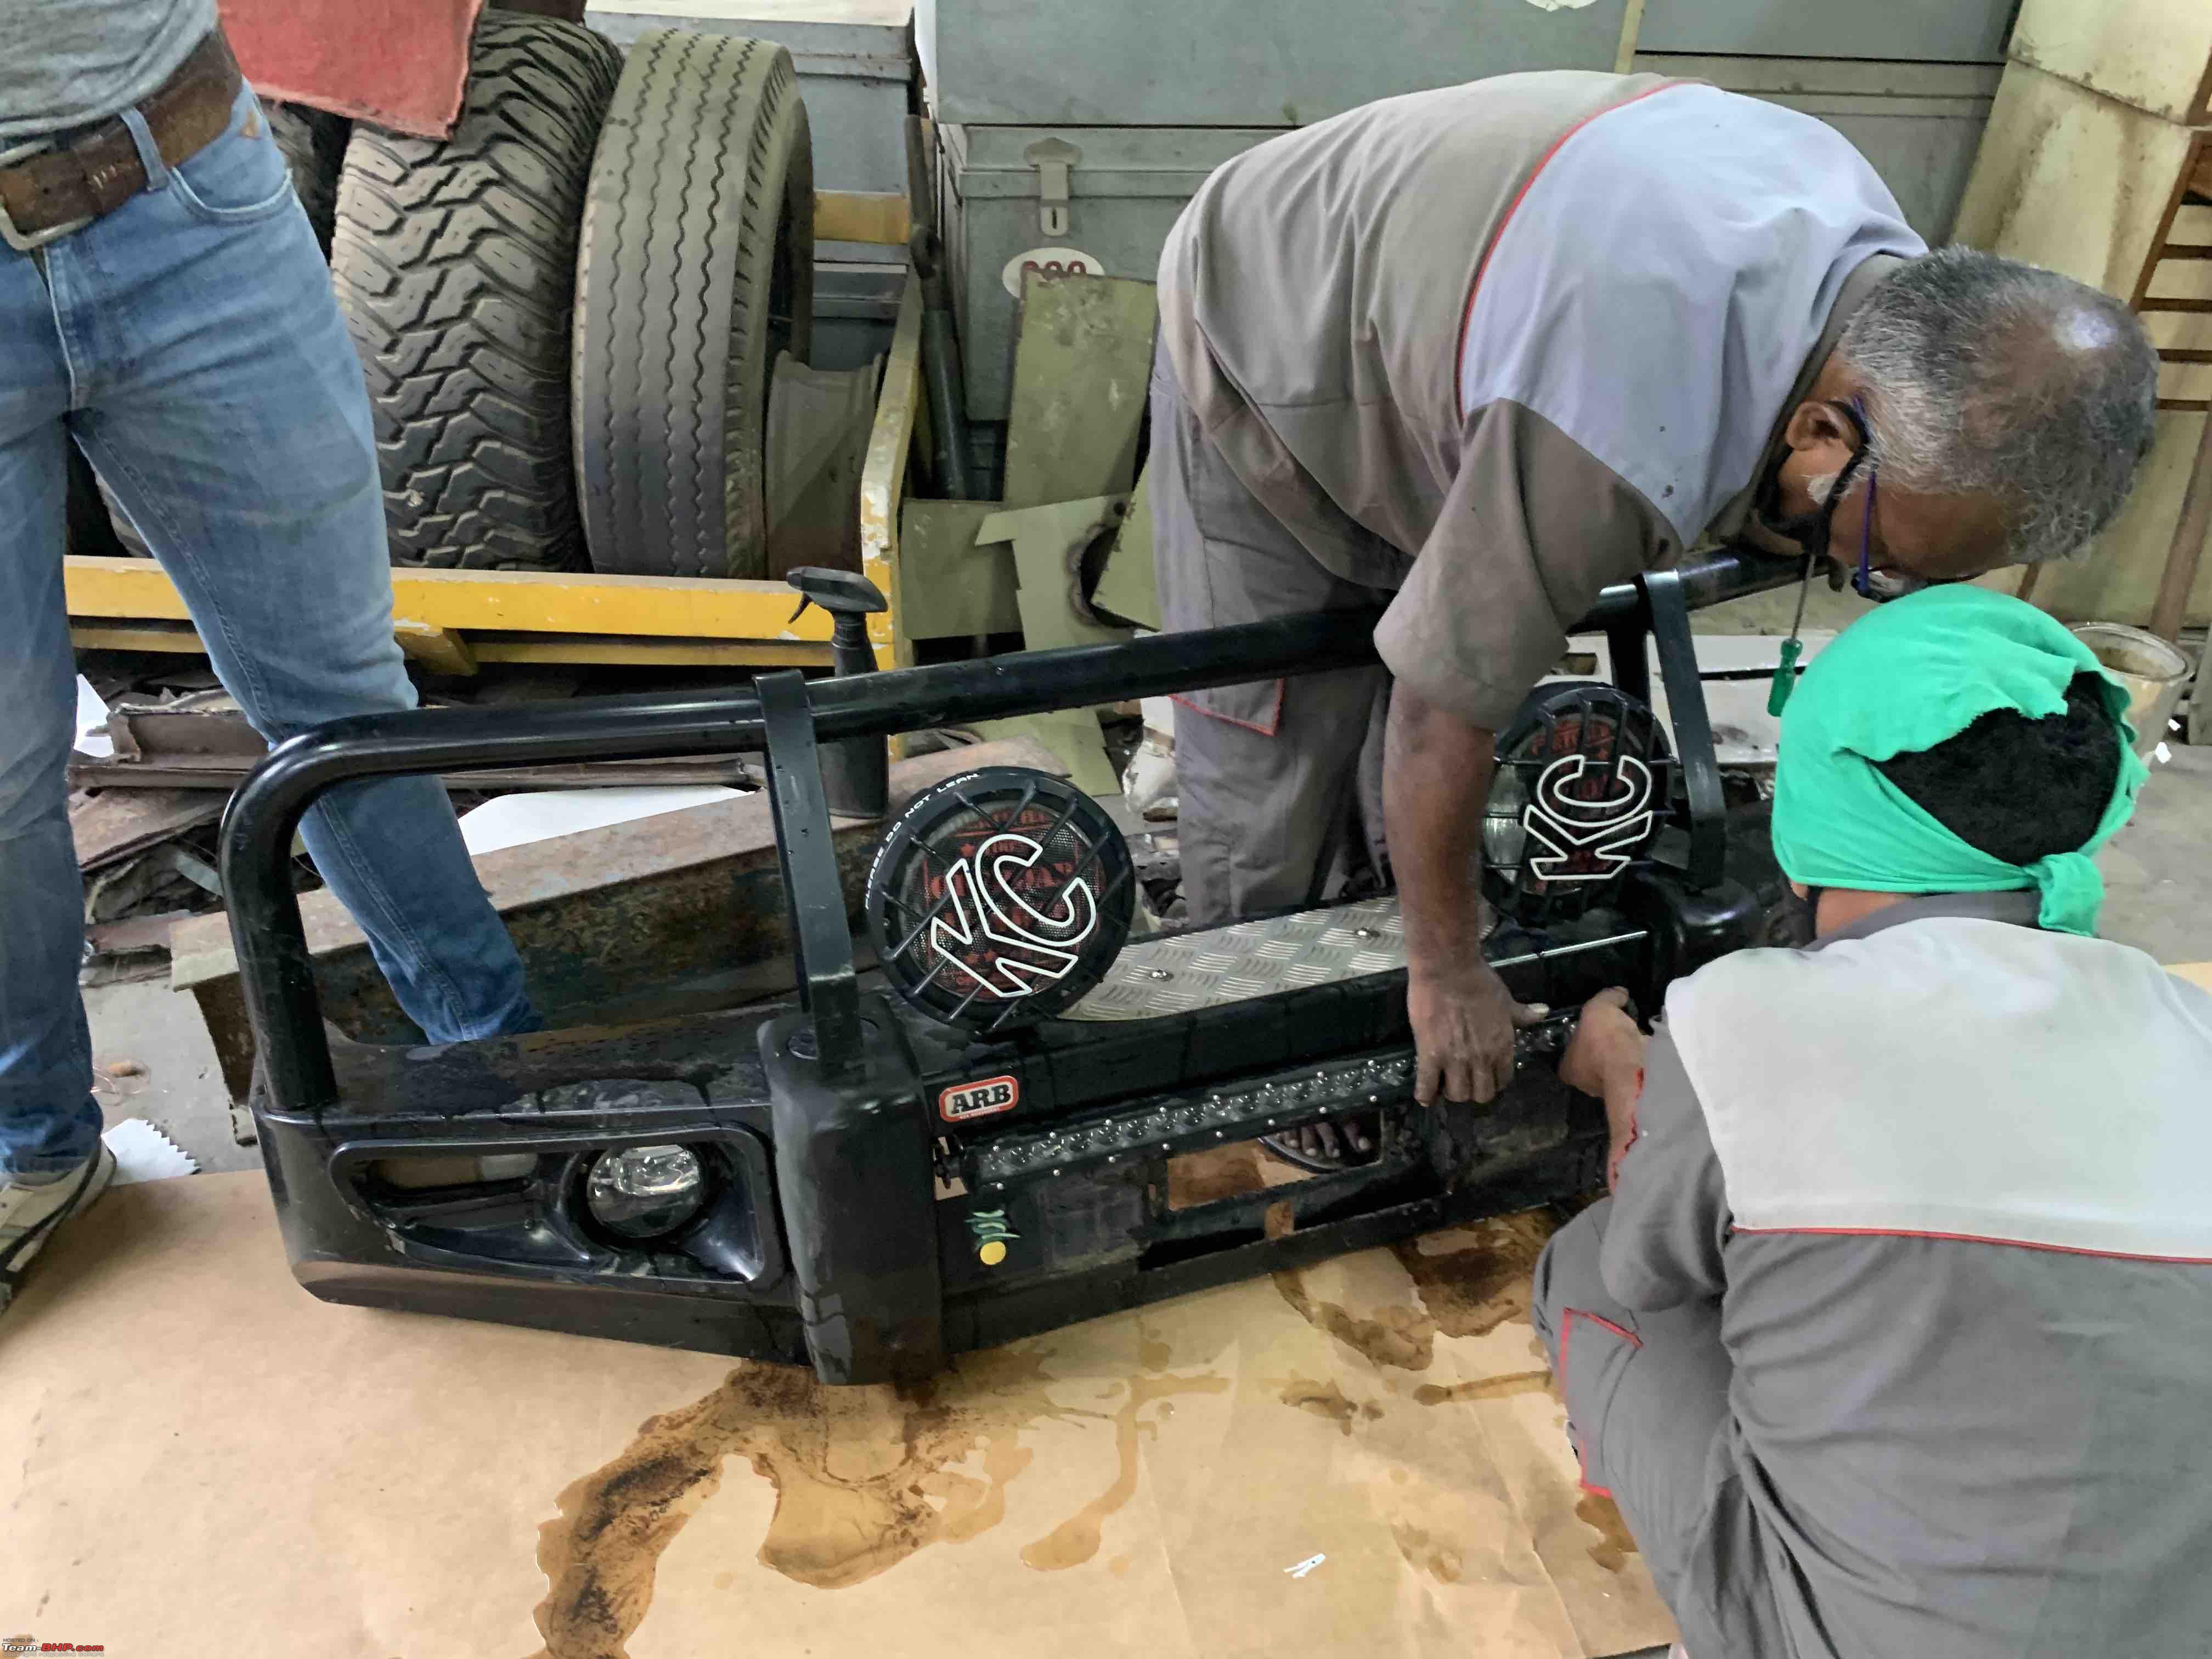
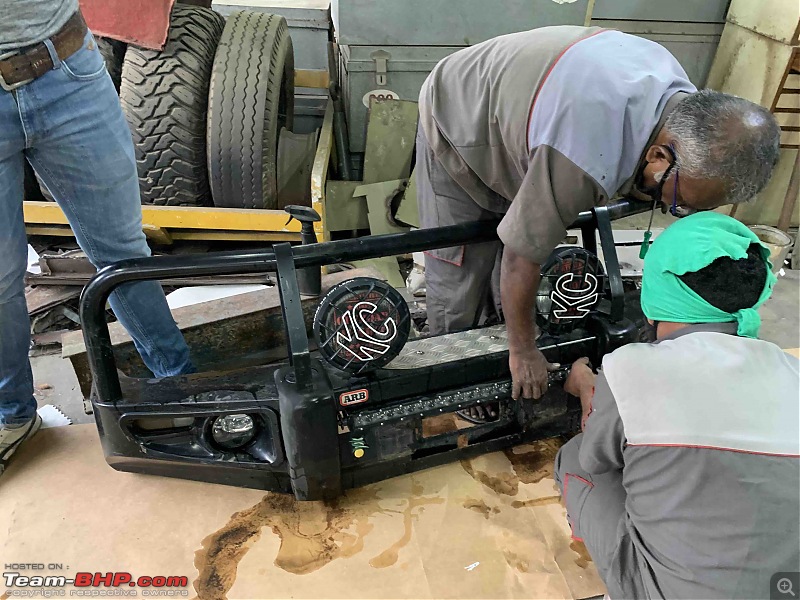
Winch is the Warn 10k source from Swastic Fabs from Bangalore with a synthetic cable. I could have done easily with a 8k winch but since I would be using my car a lot of workshops and classes, I wanted a heavy duty one. Though I will need to keep an eye on the power draw.
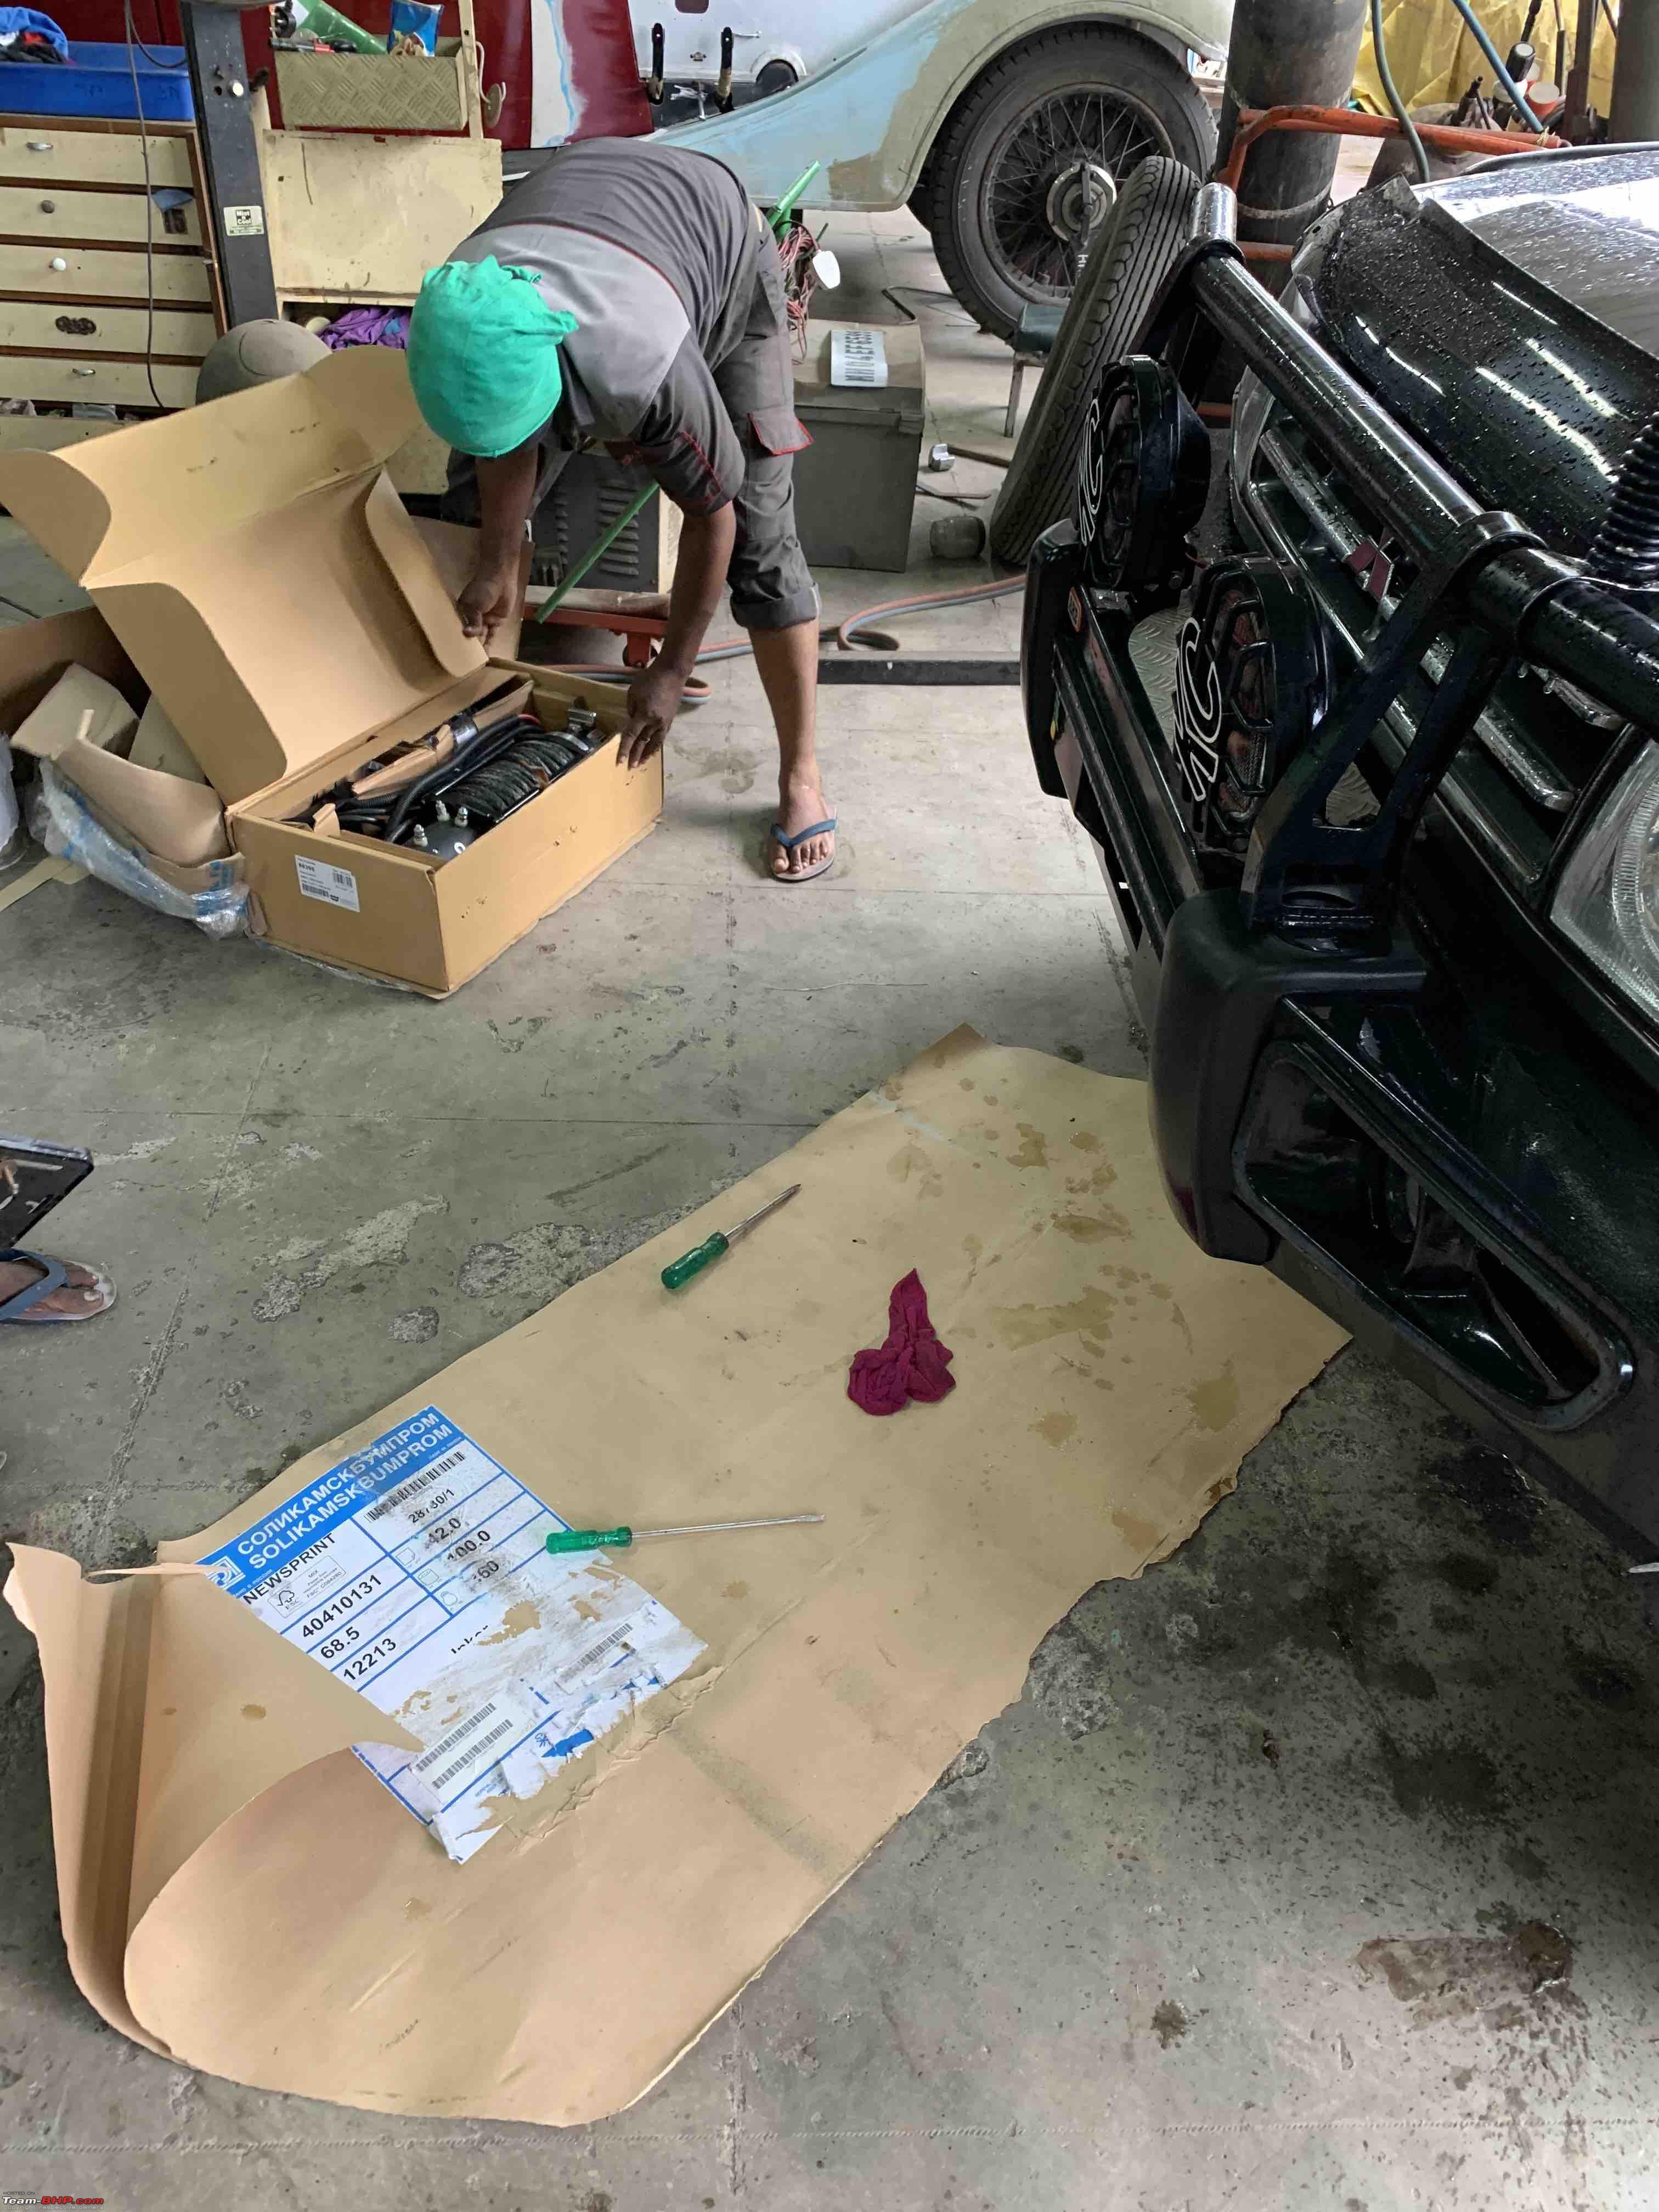
Unpacking:

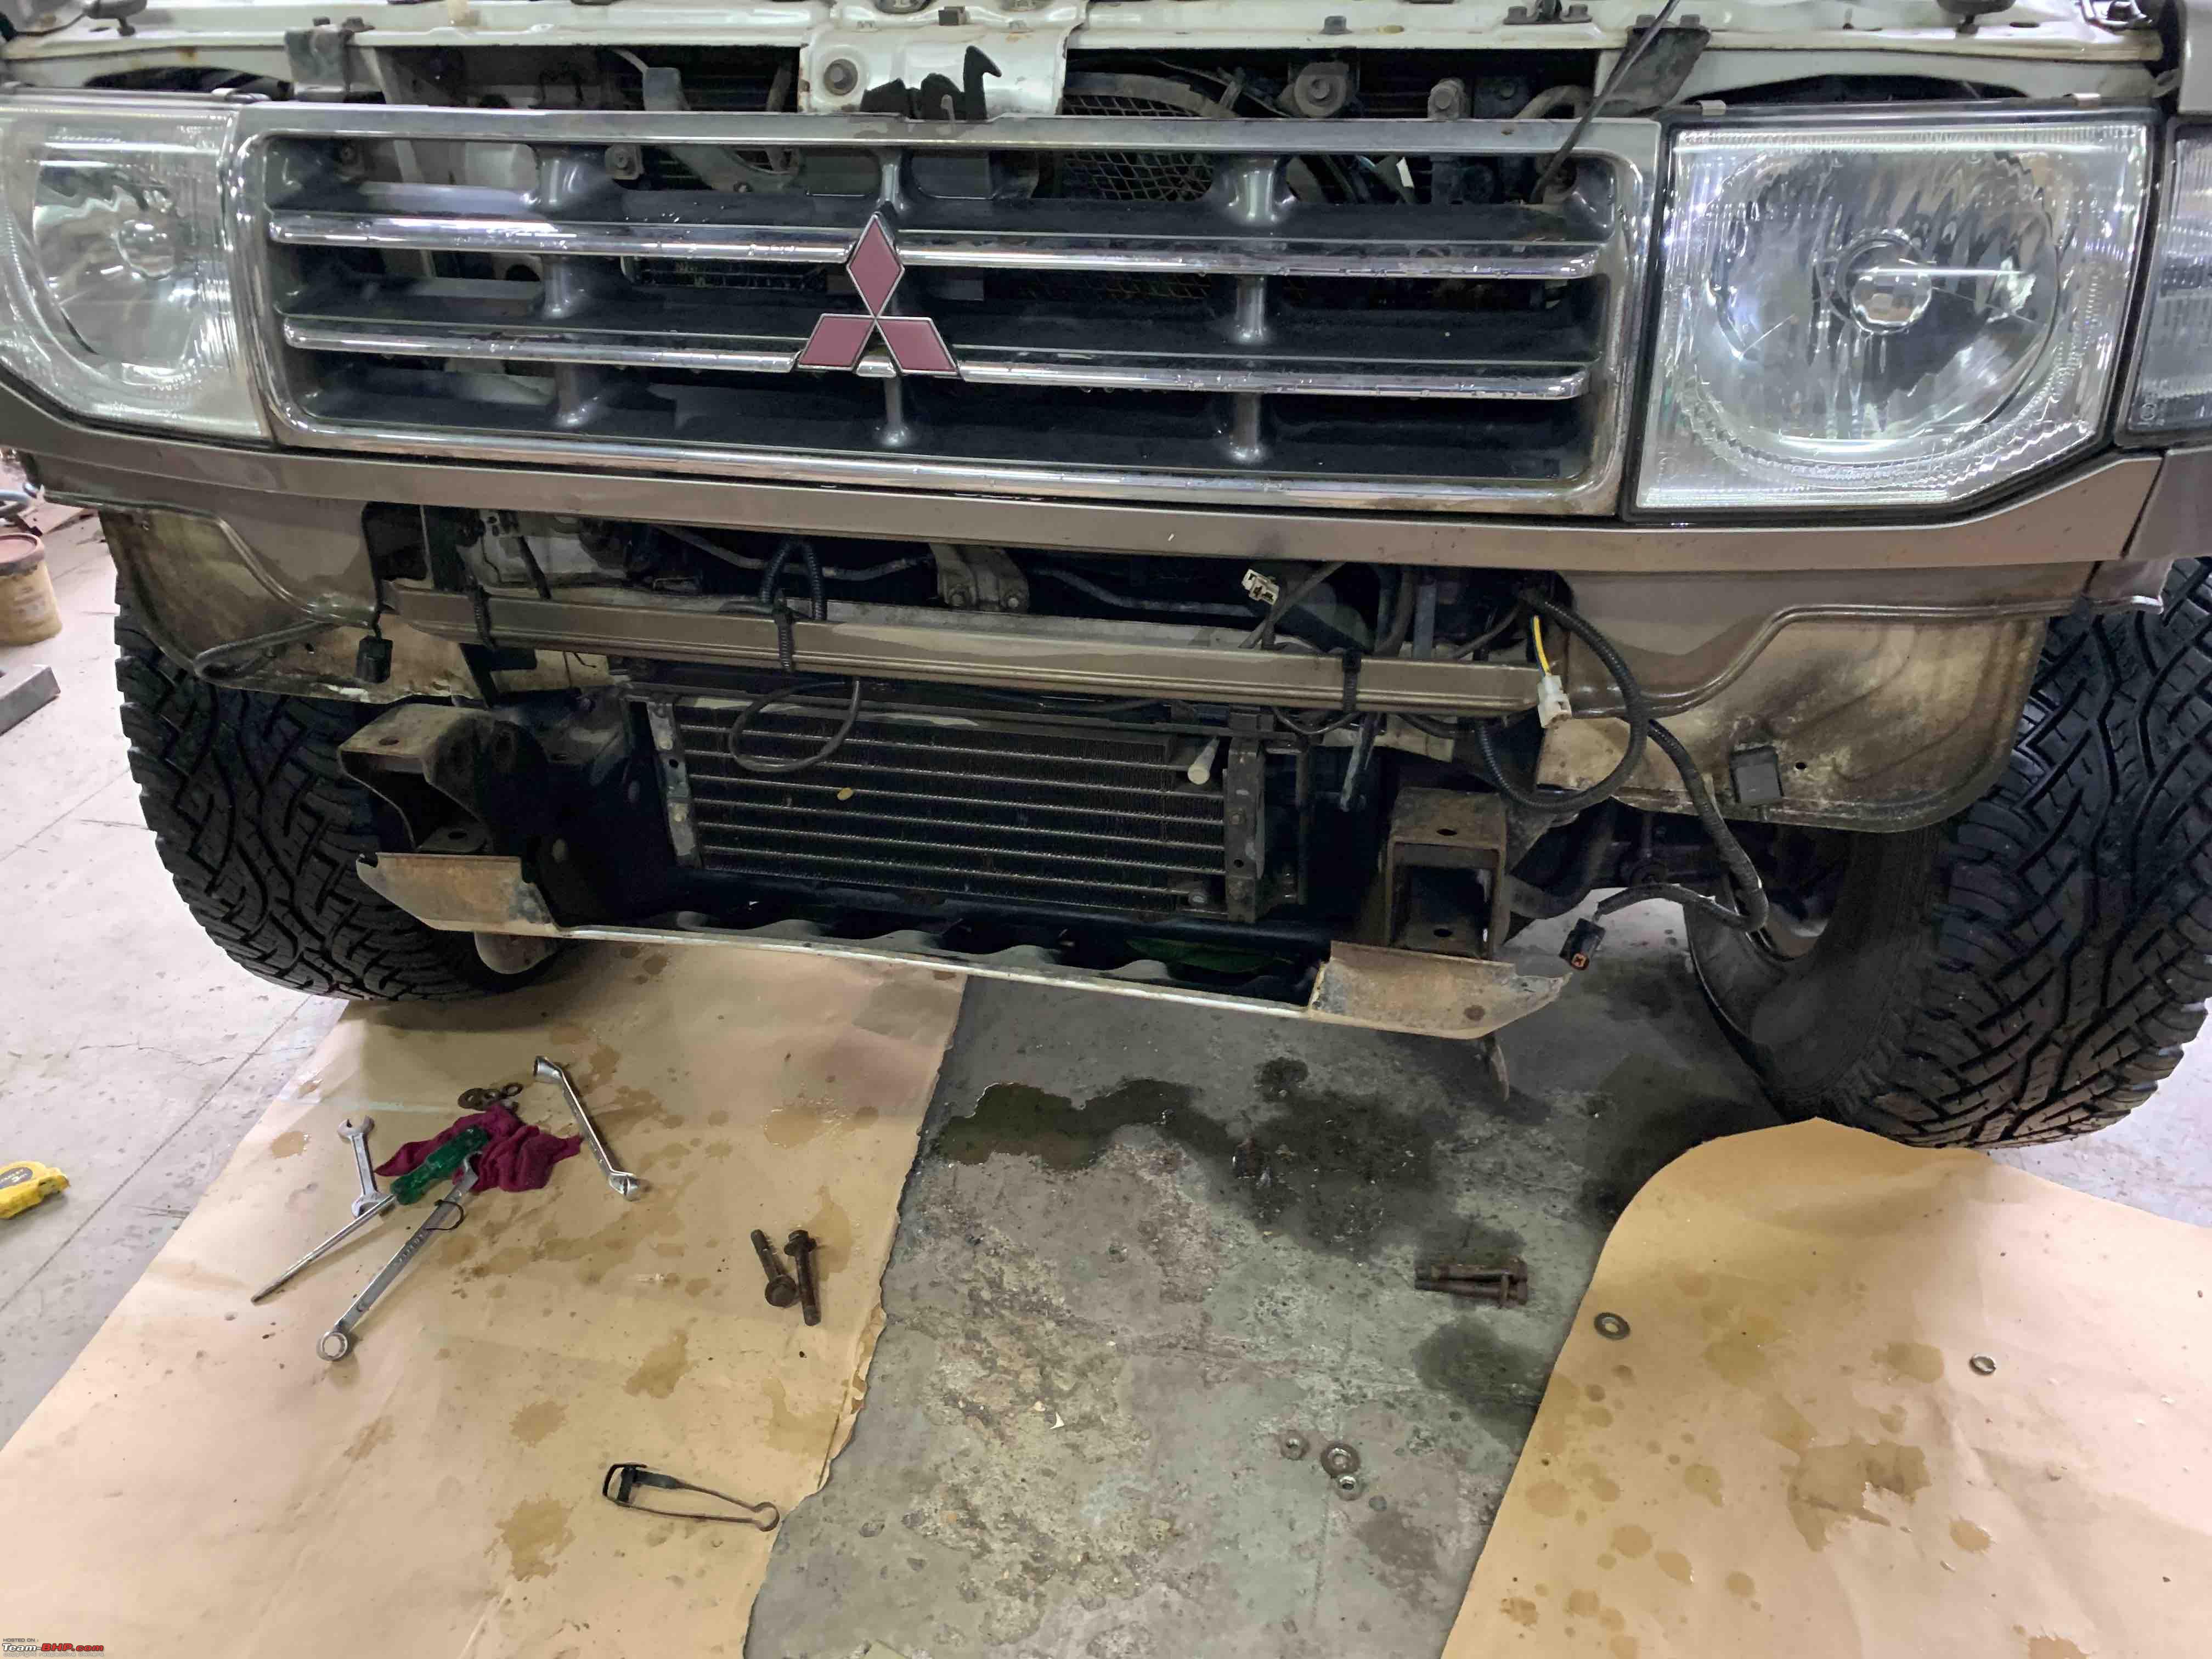
Bumper Removed:
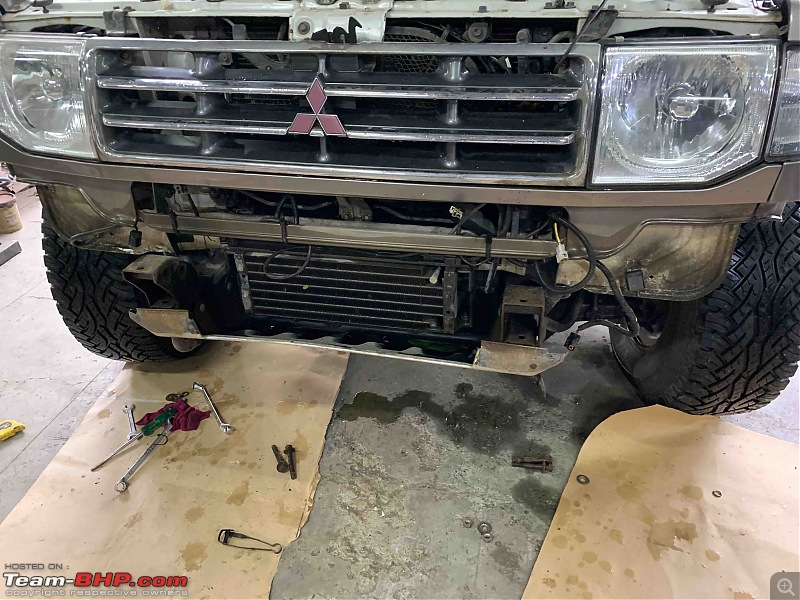
I had a cheap Chinese LED bar, got that removed:
The winch freespool knob orientation needed to be changed so that it could be accessed form the top of the bumper:

Winch fitted in bumper. The bumper has a standard winch mount. For Pajero owners you need to be careful. The clearance between the winch and the condenser is barely half and inch.
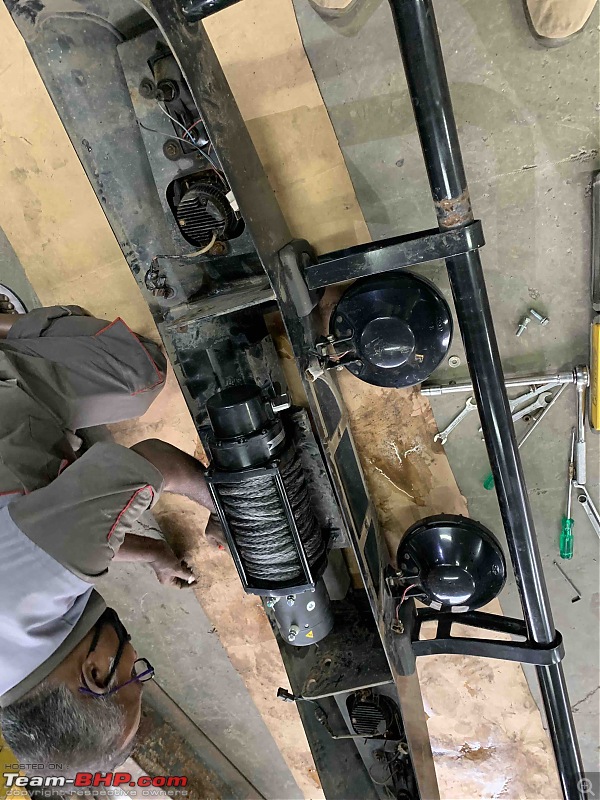

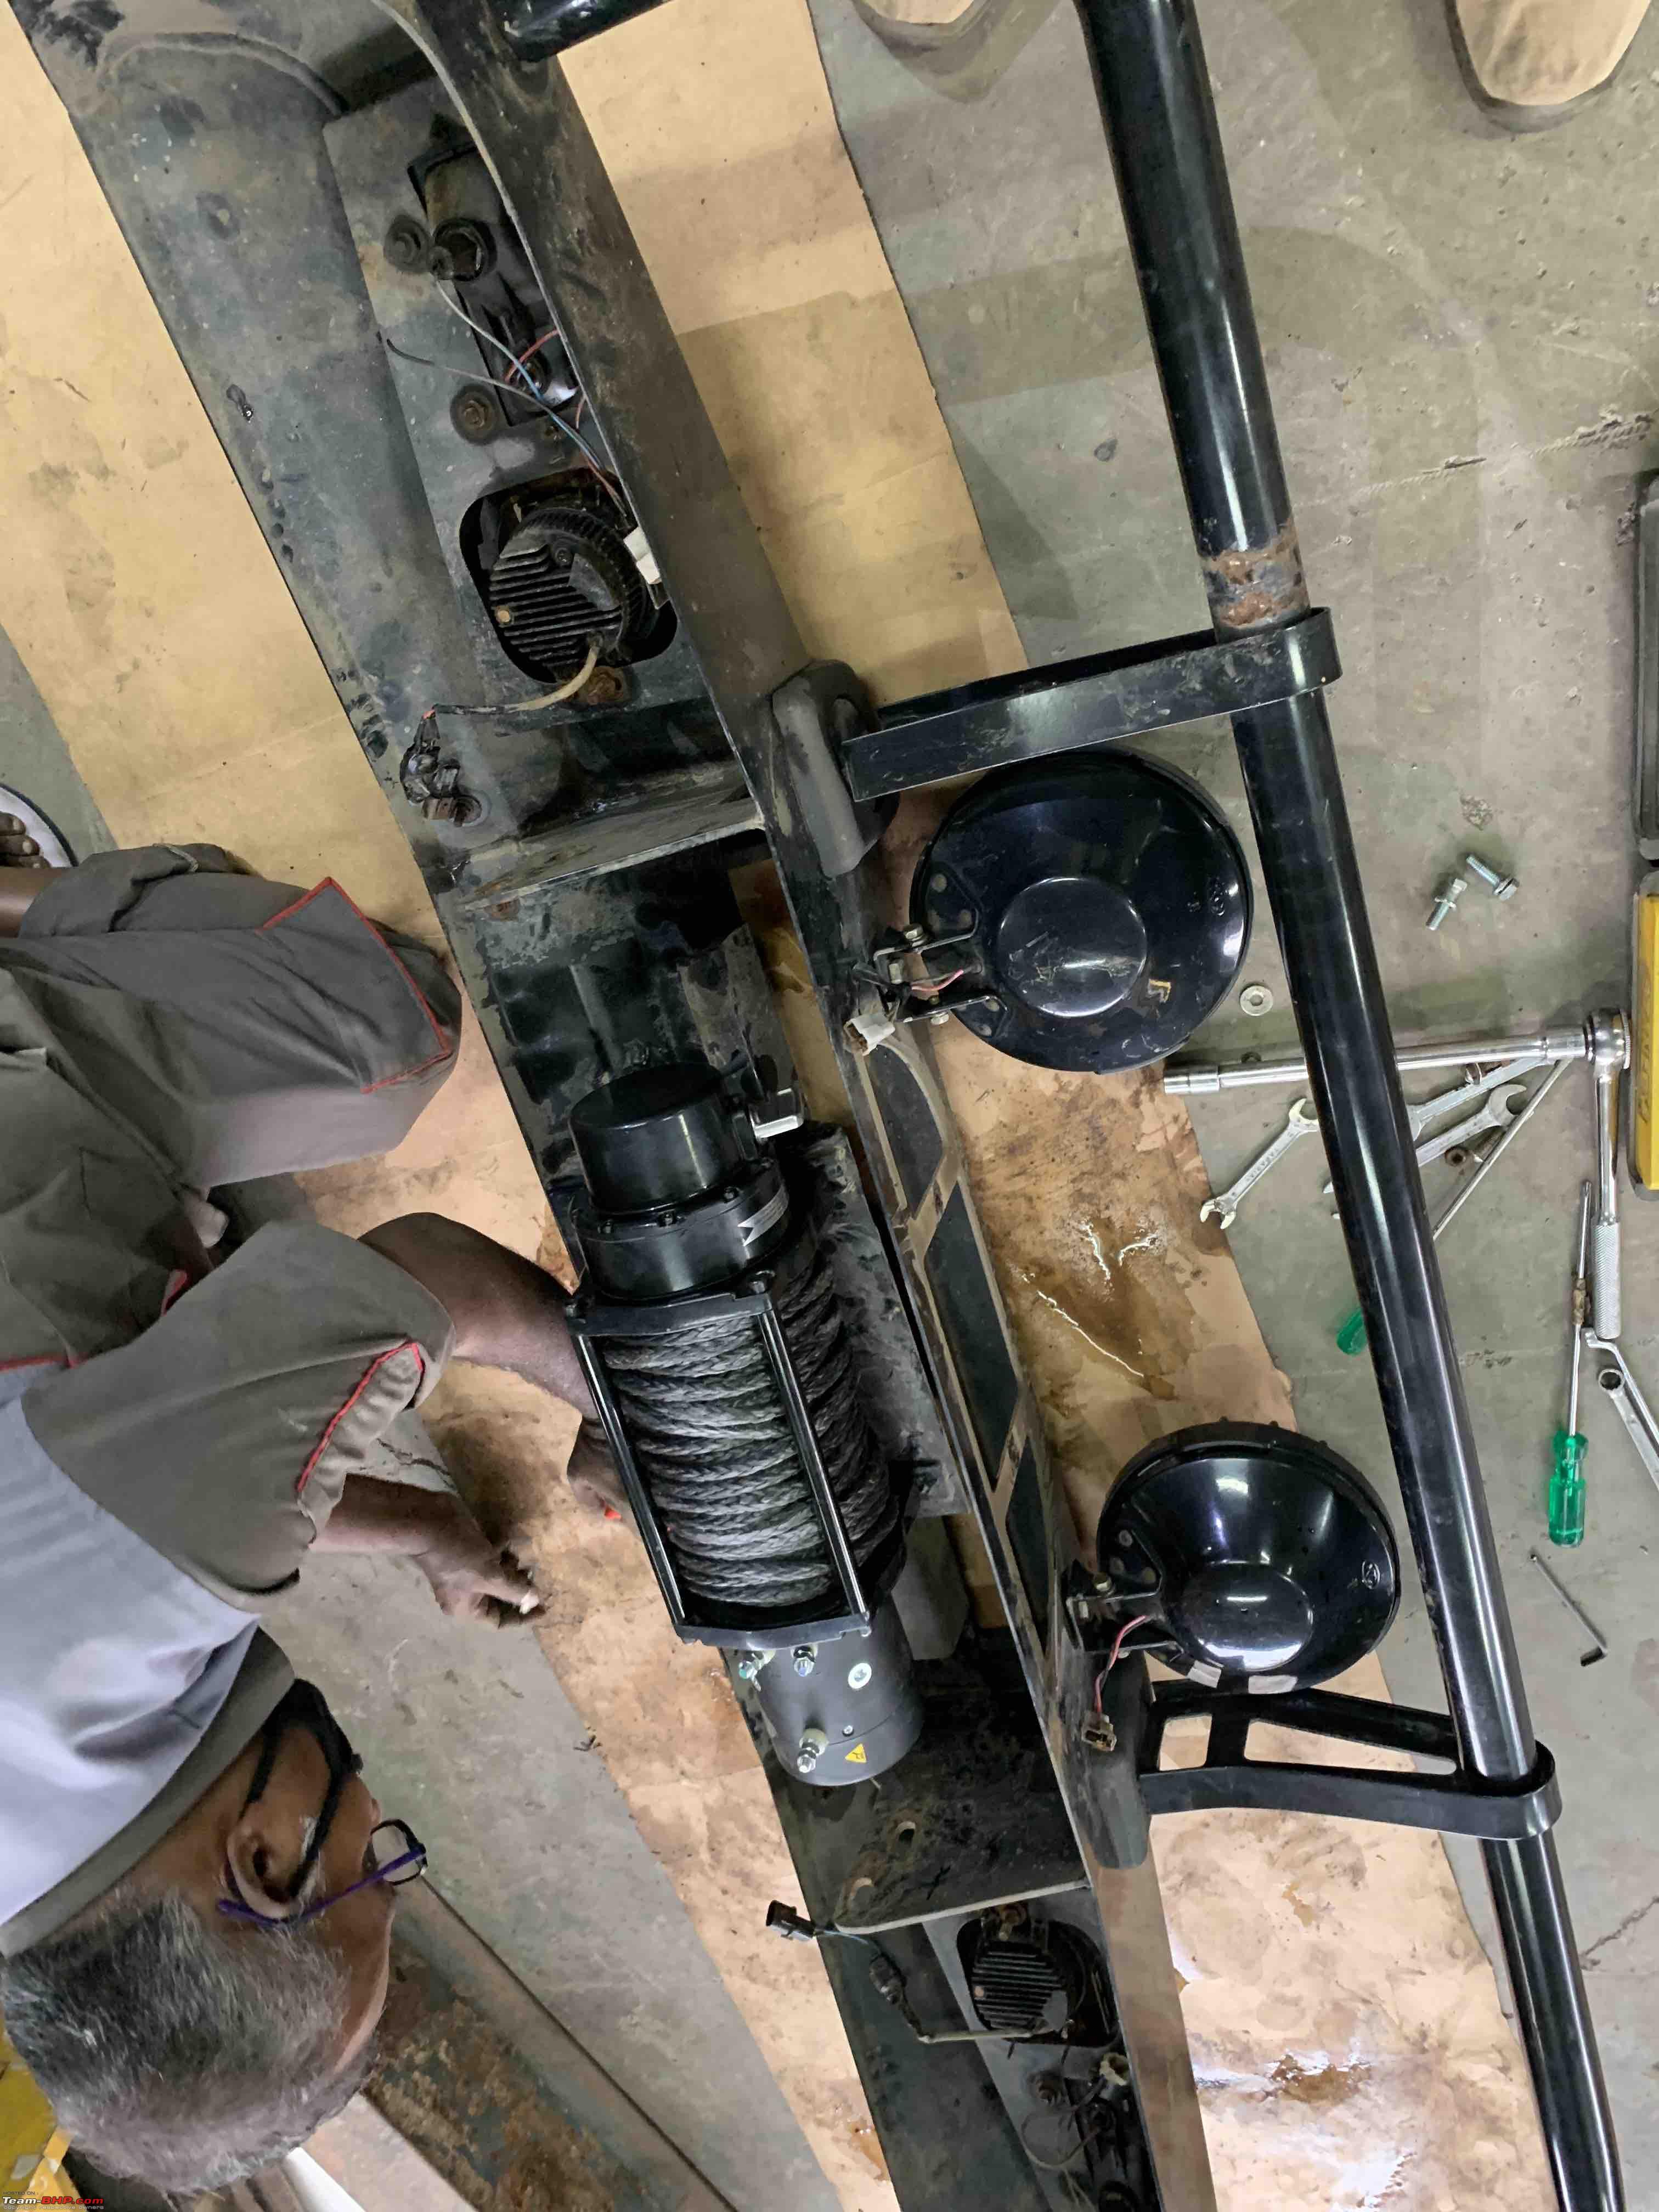
The top aluminium plated needed to be cut to access freespool knob:

I have kept the cut part, will make a hinged system later since that hole looks ugly.
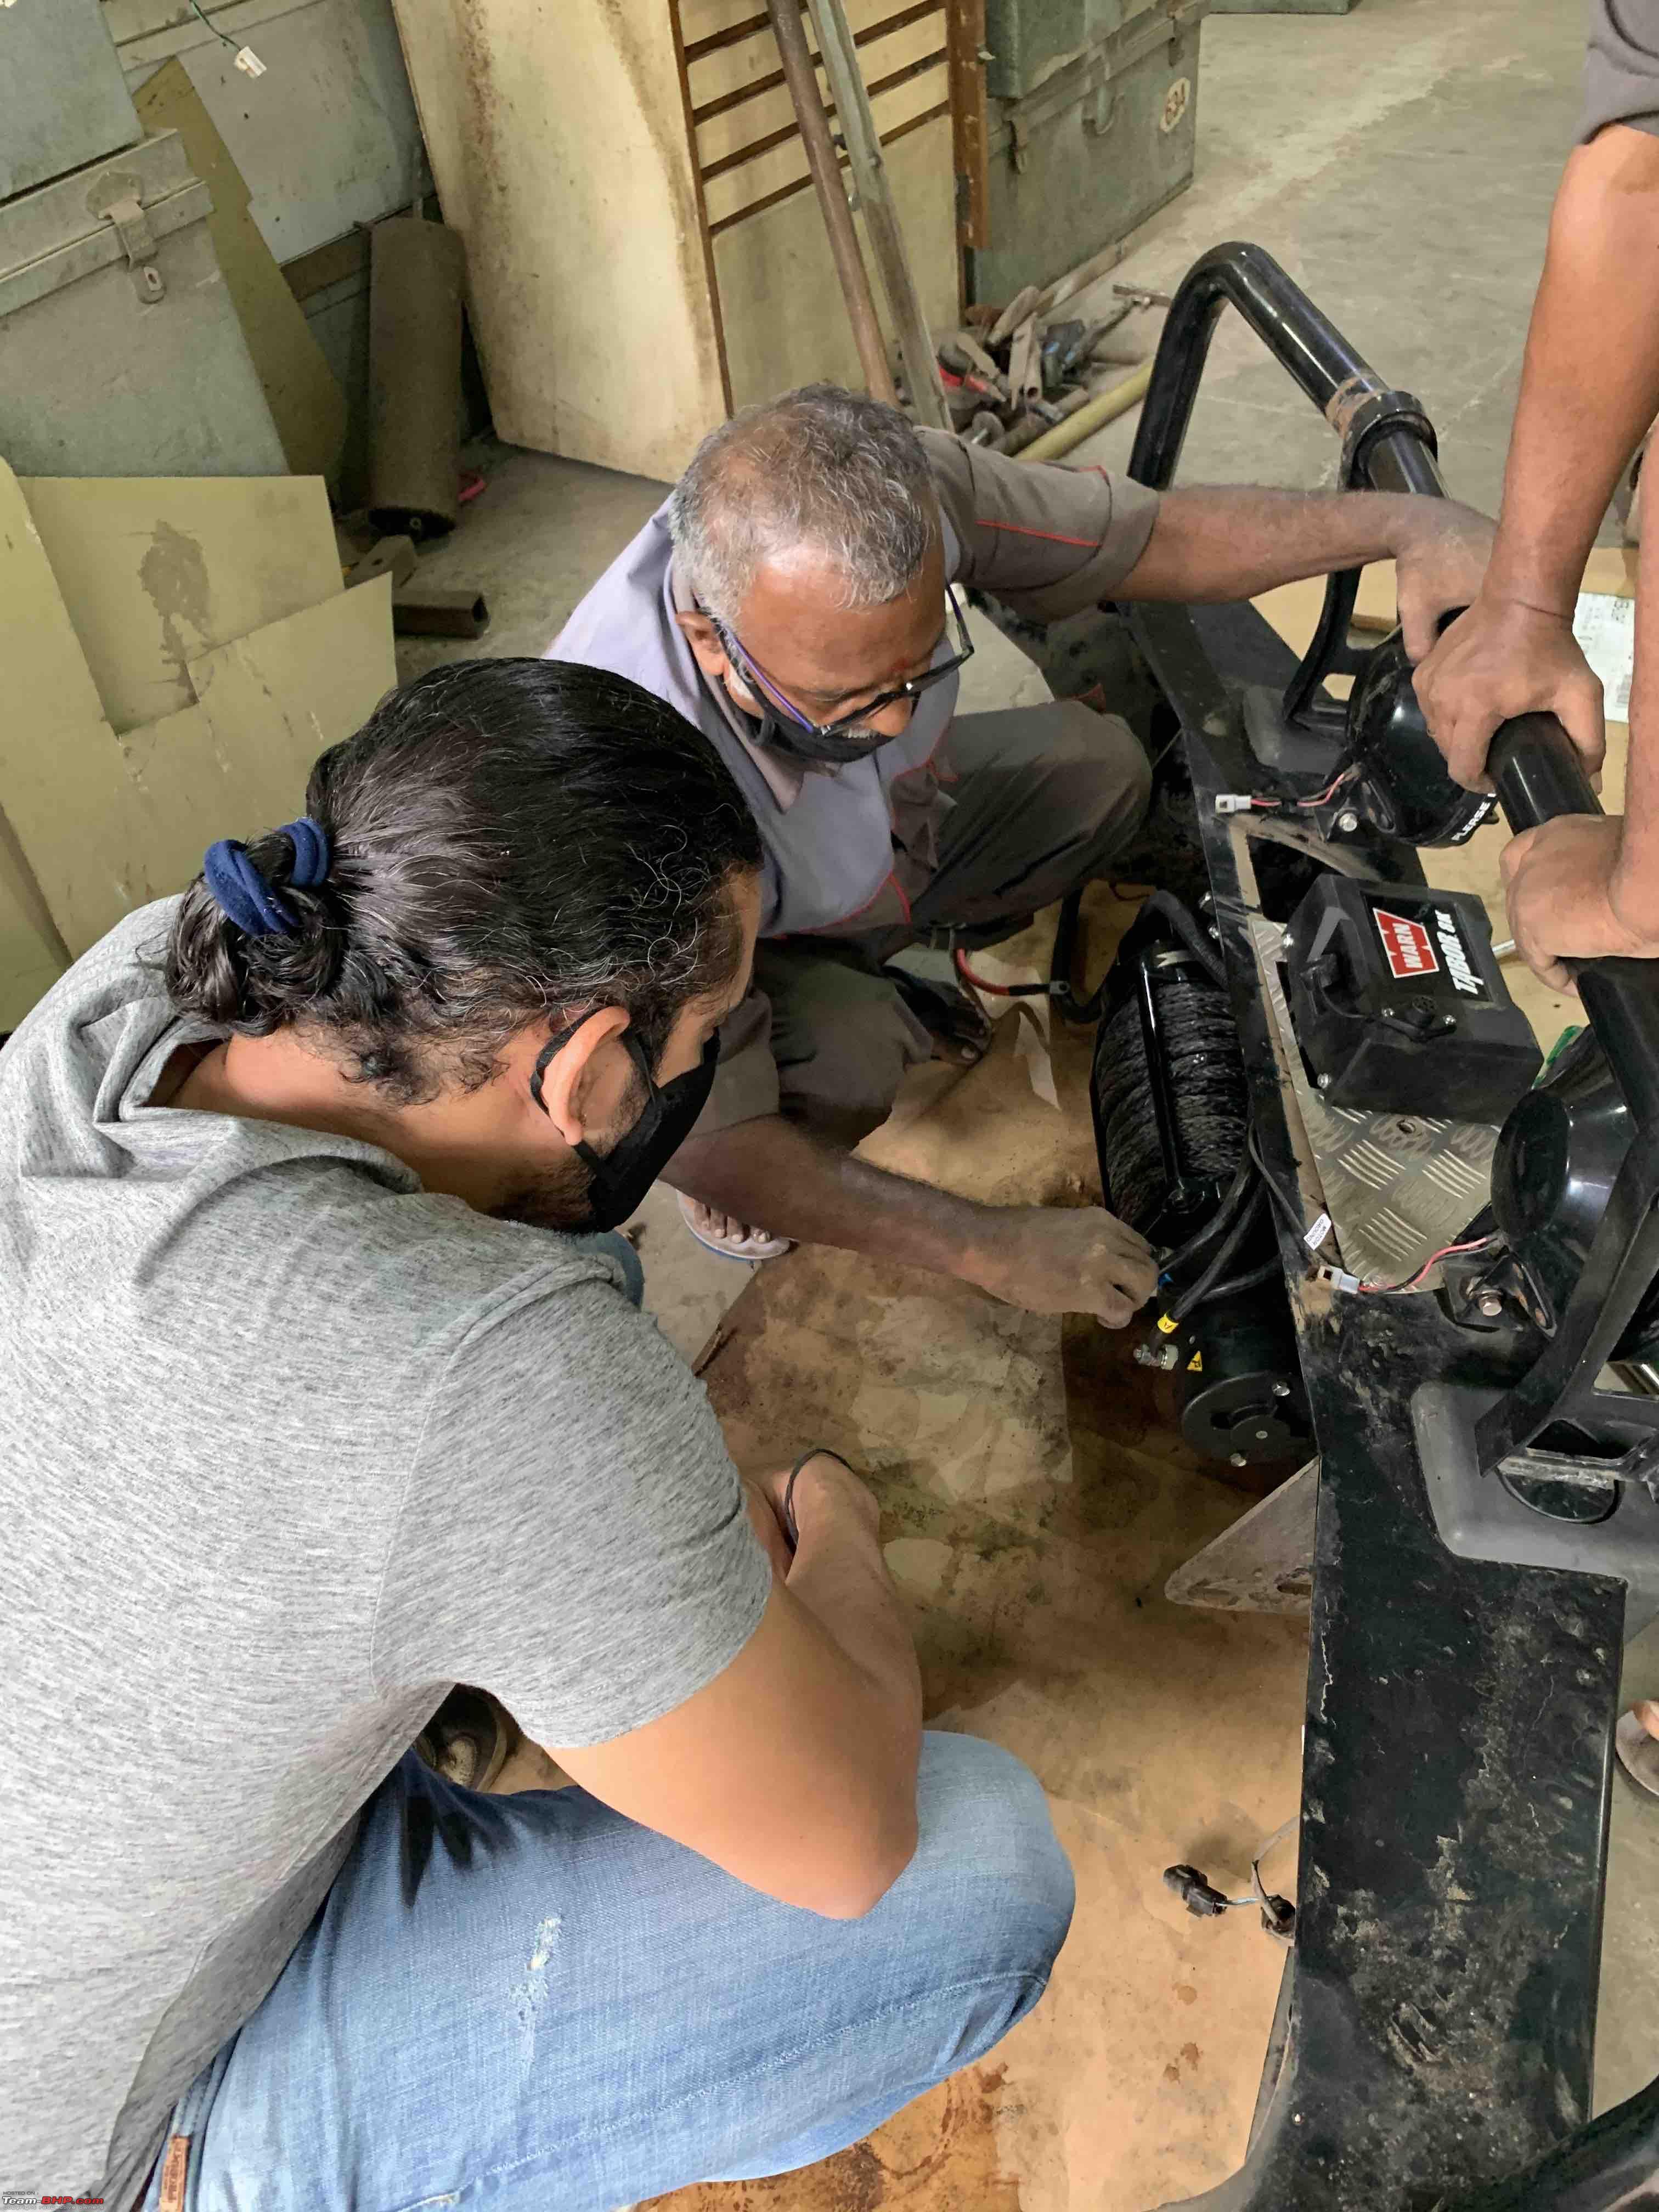
Controller being fit:


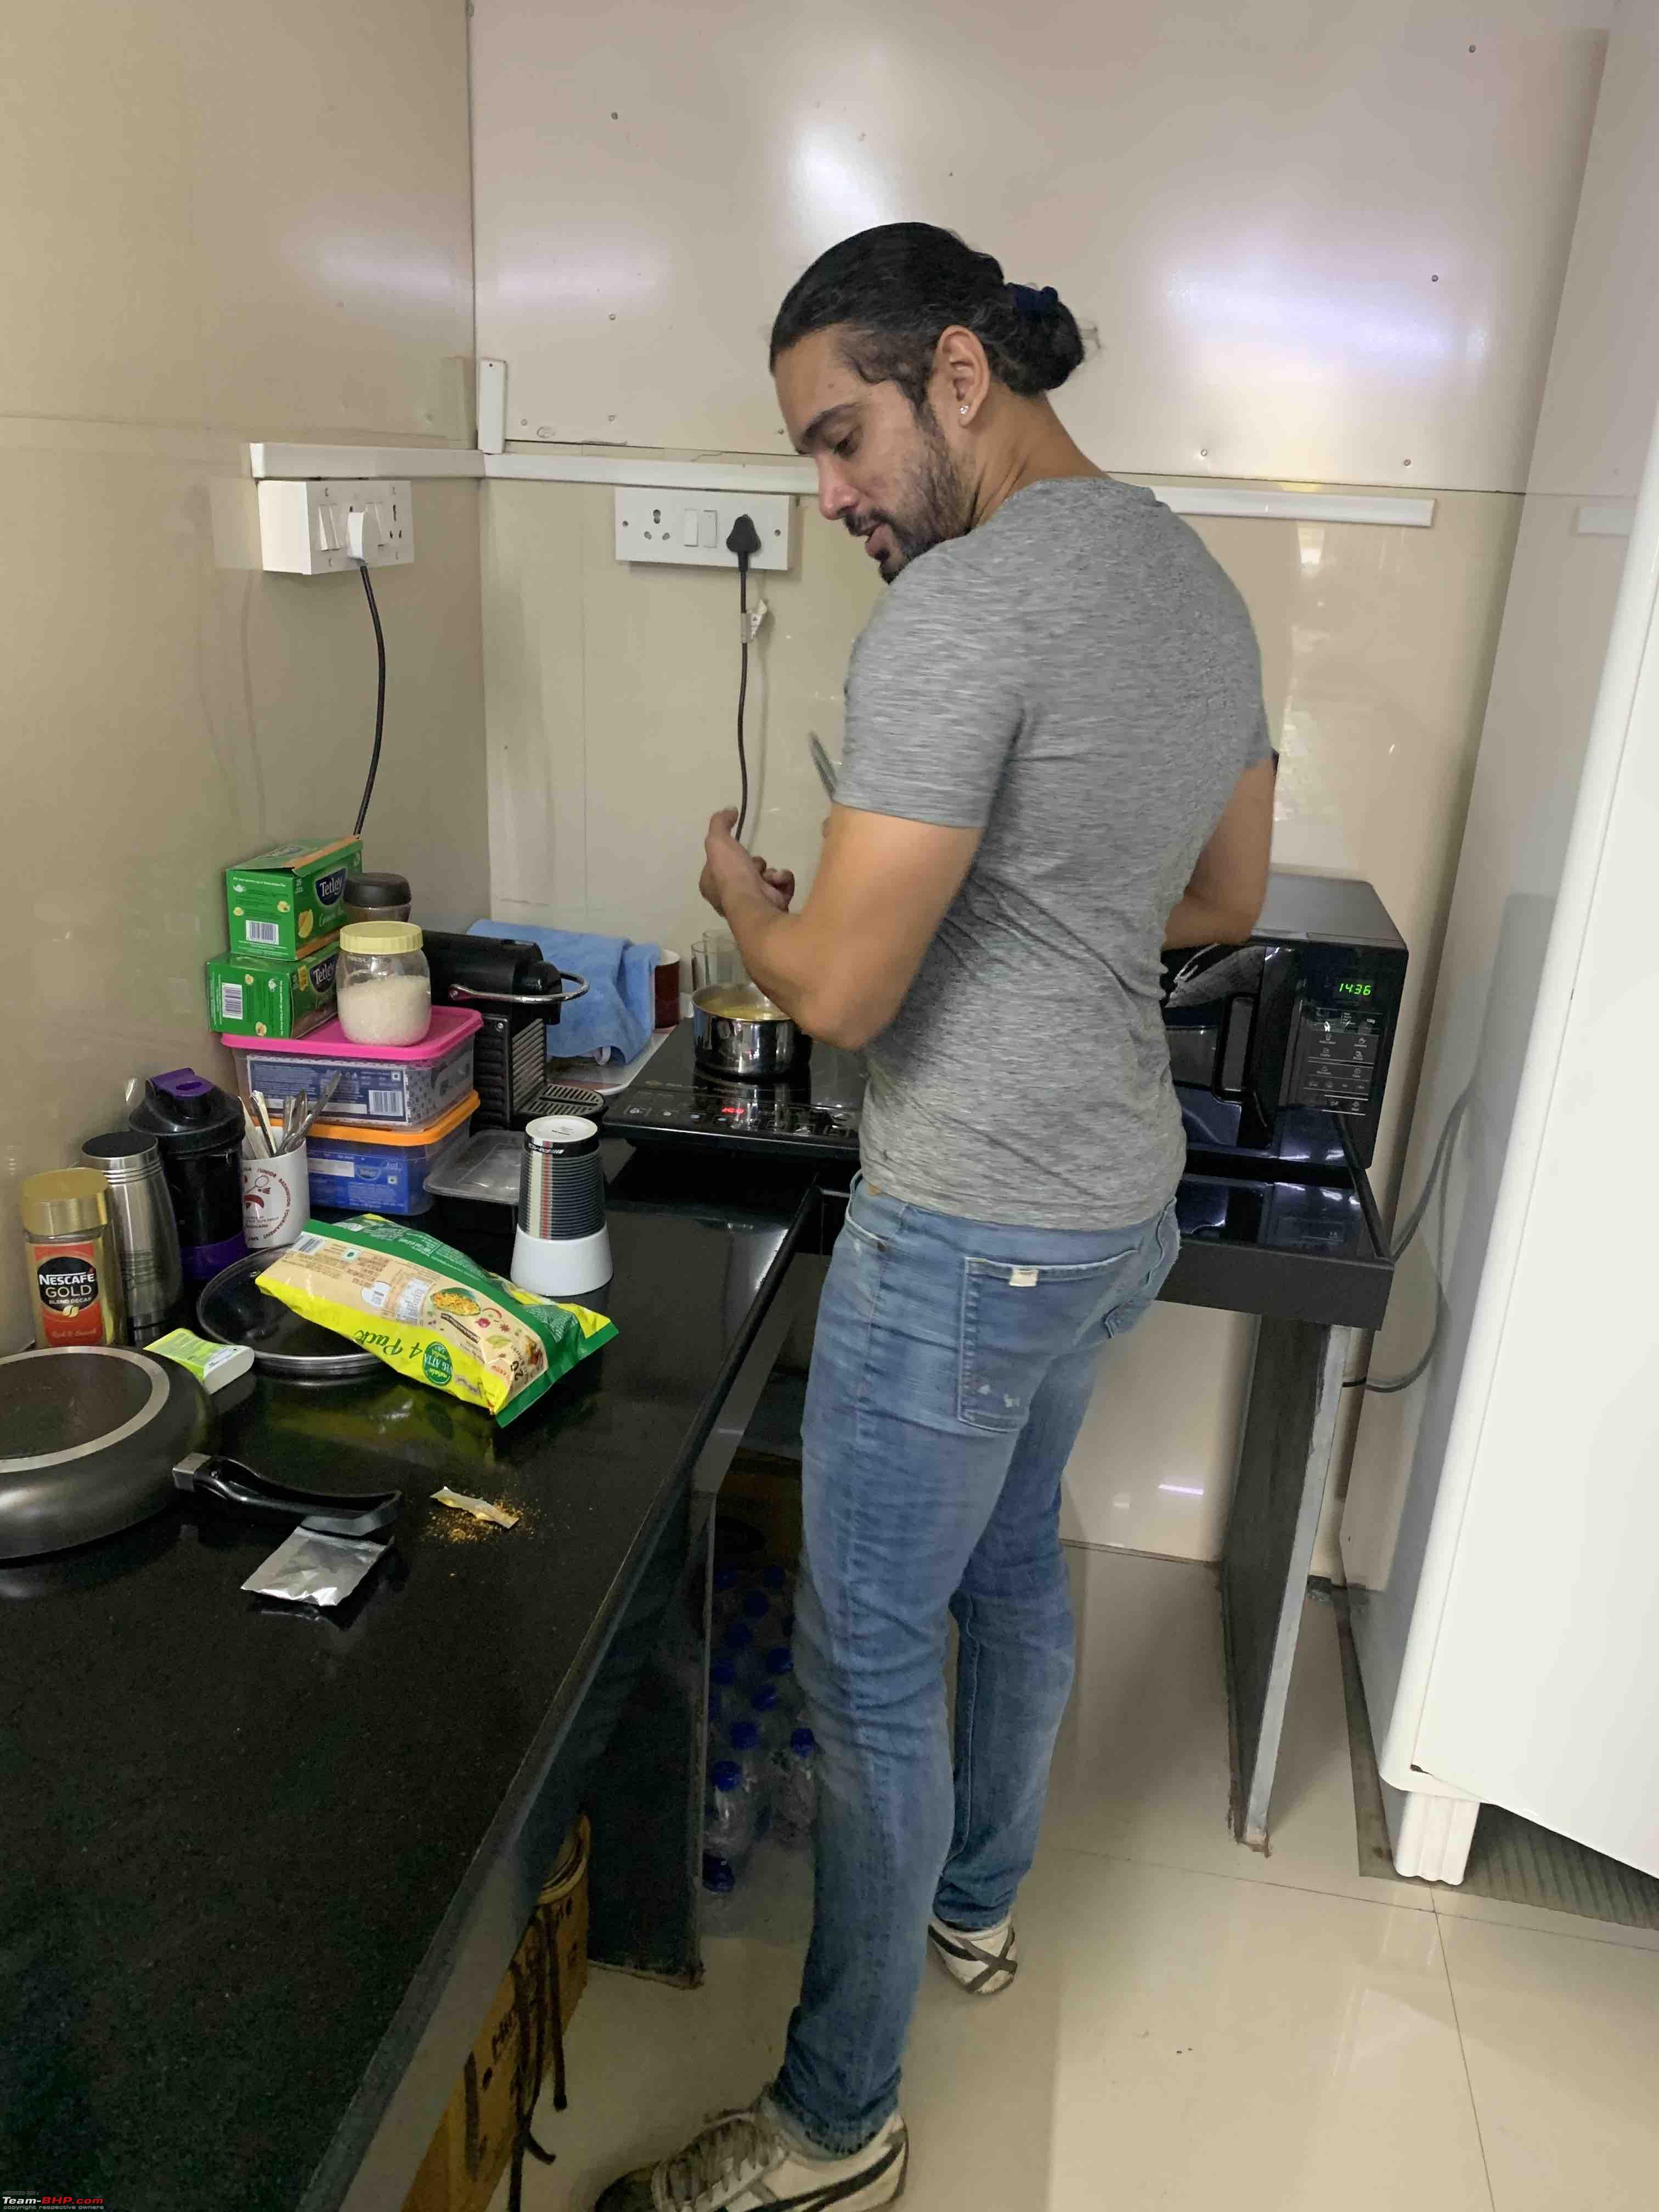
Lunch time and Allan cooks some Maggi!

Then he double checks what his staff has done:
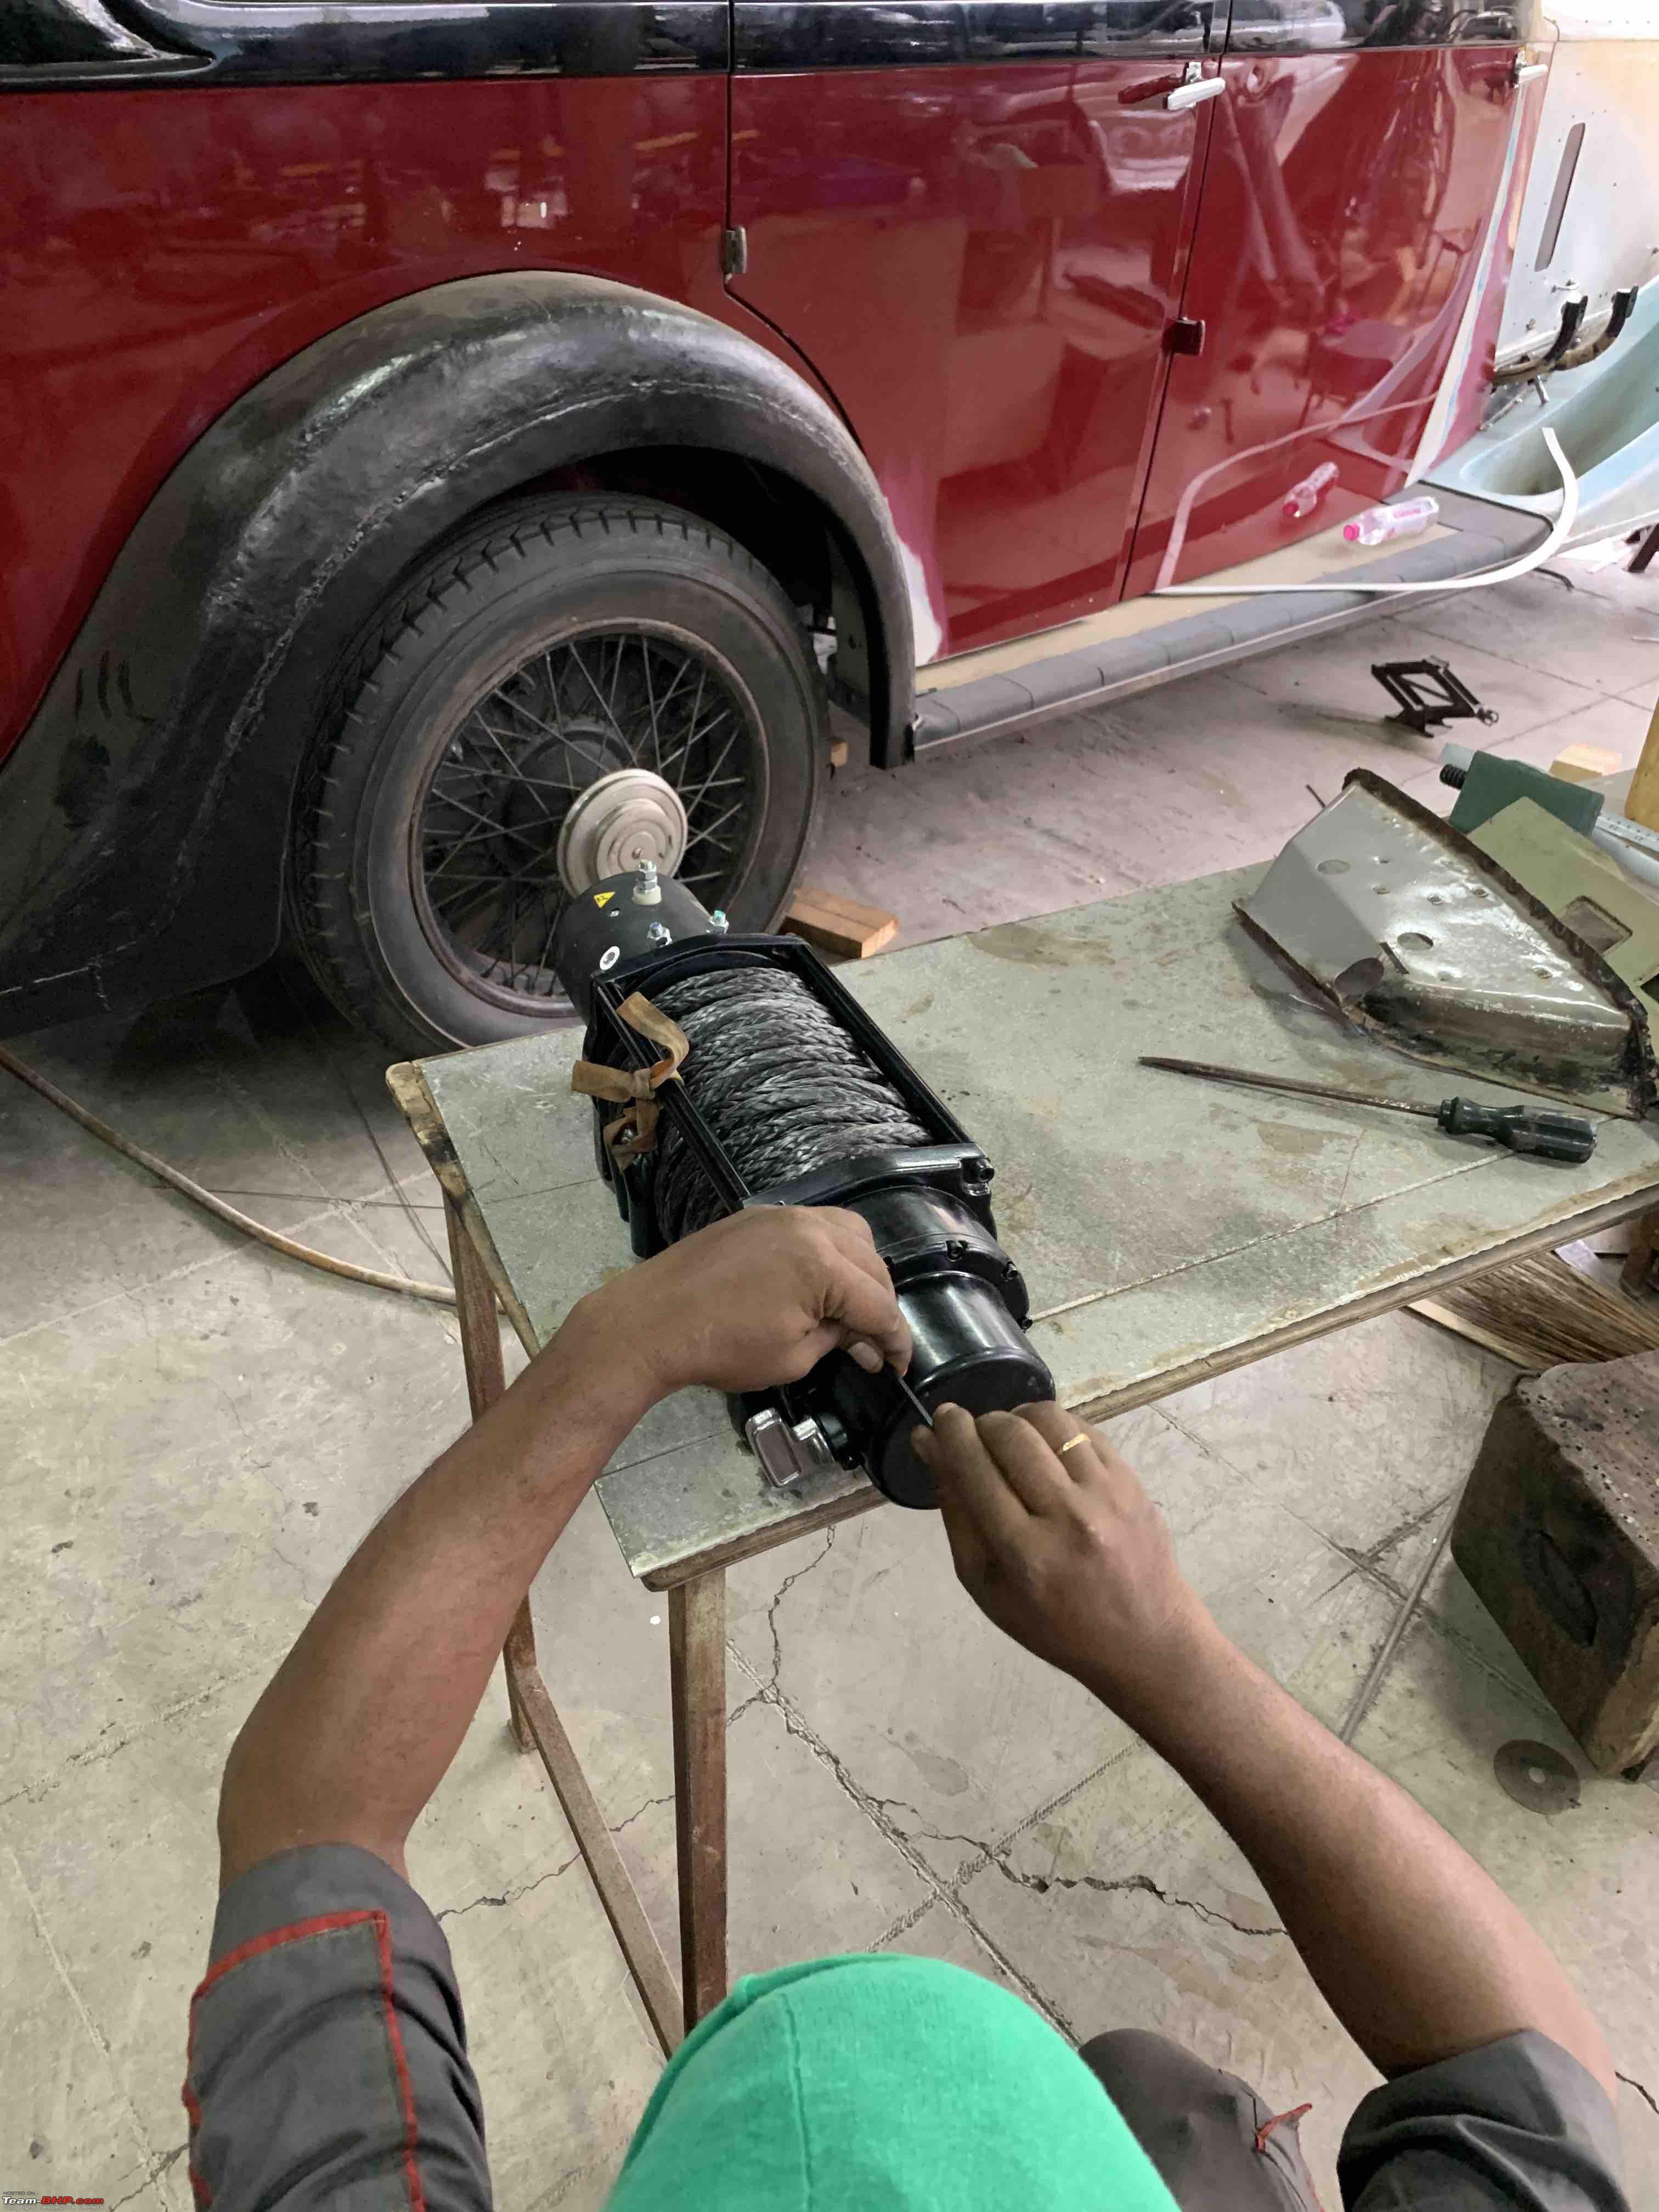
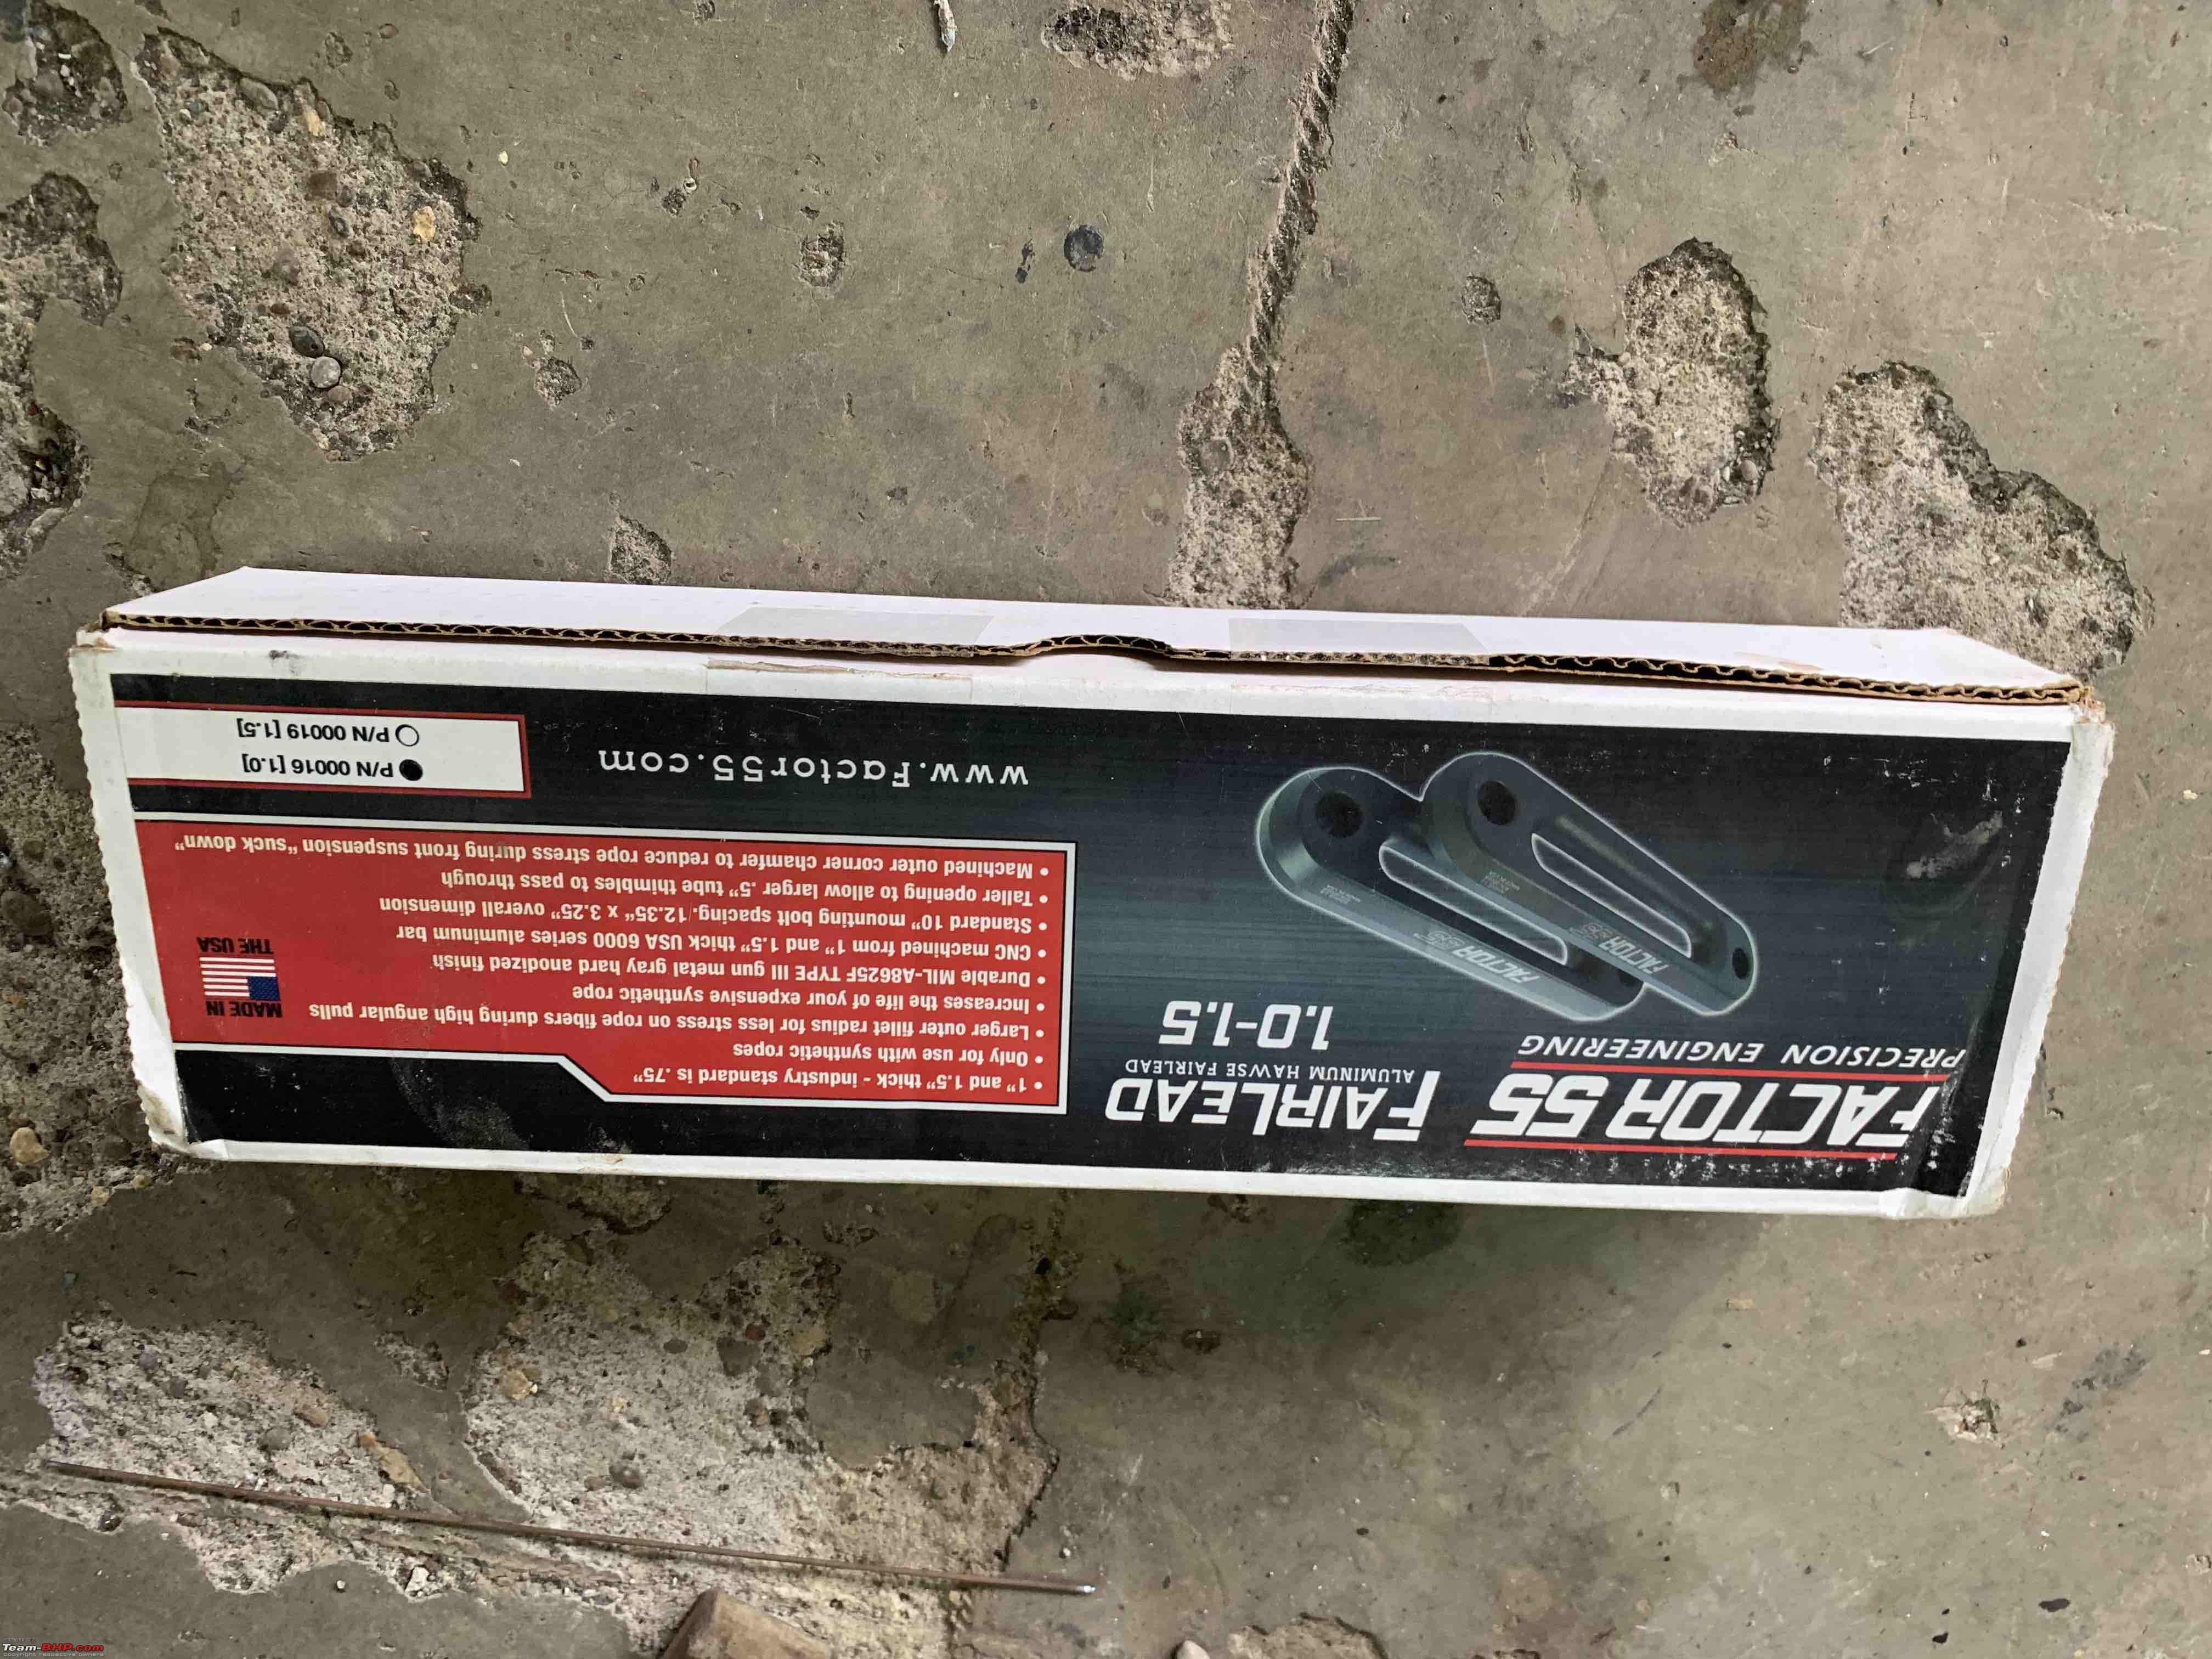
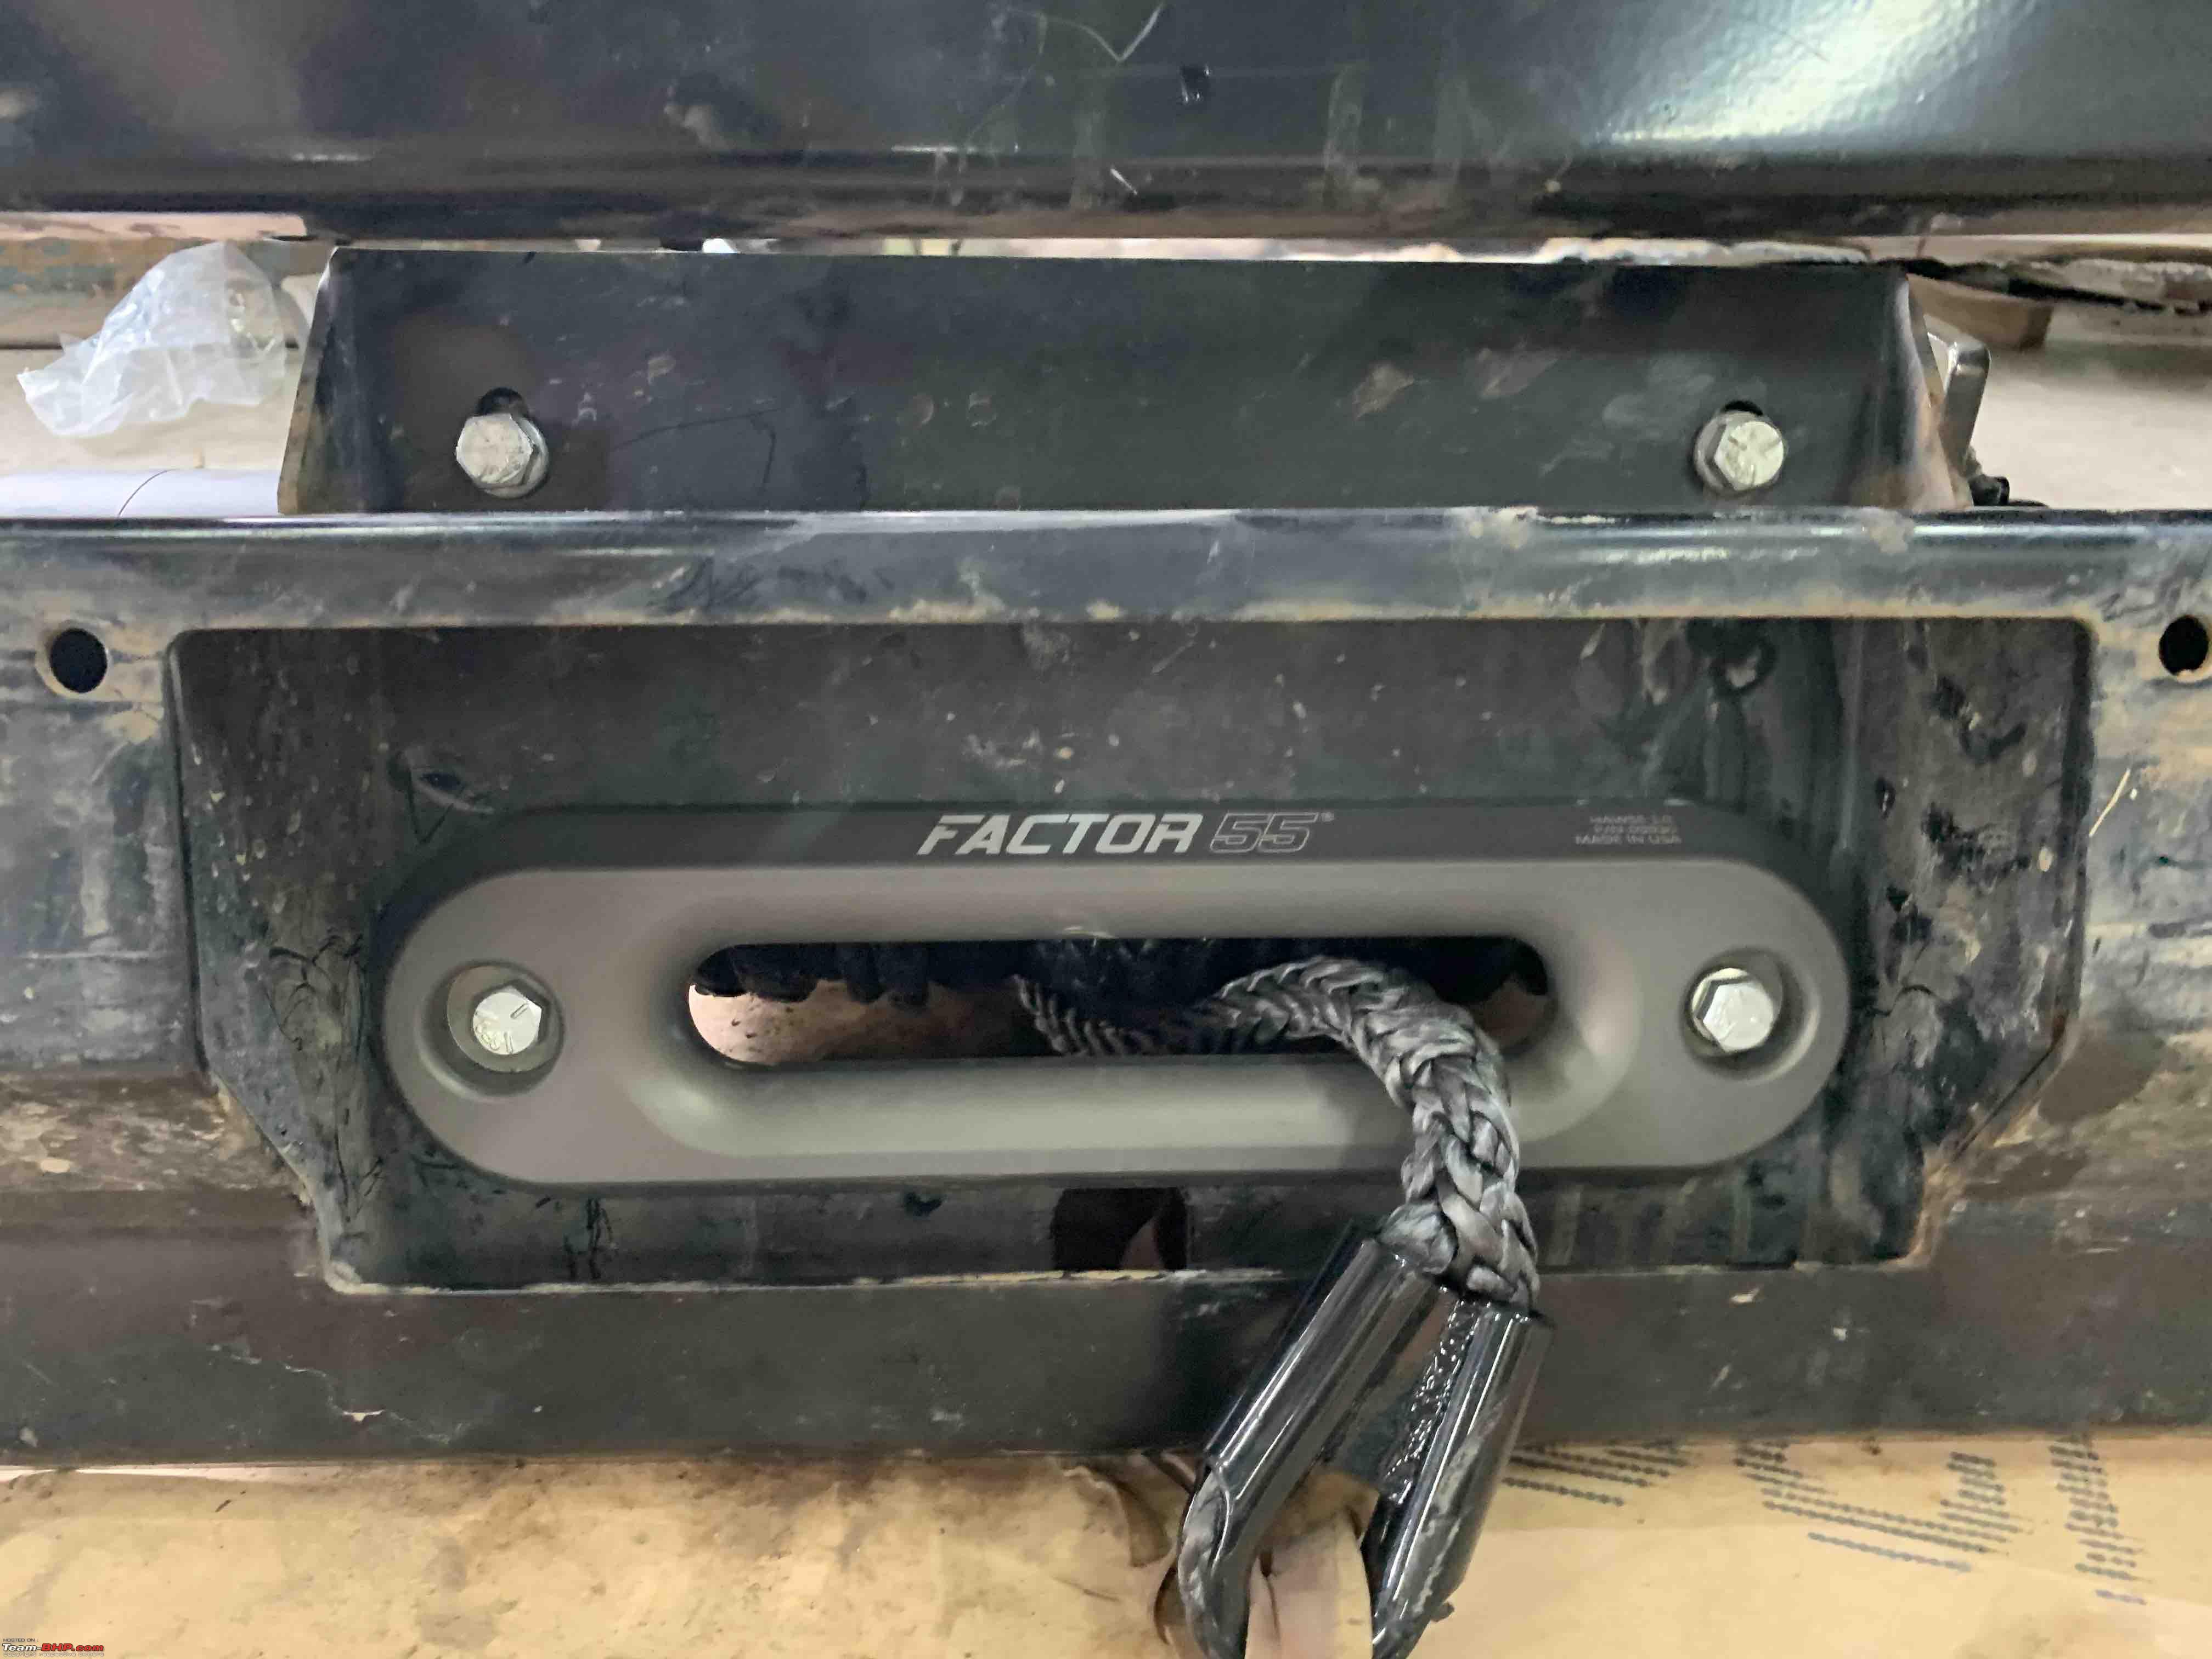
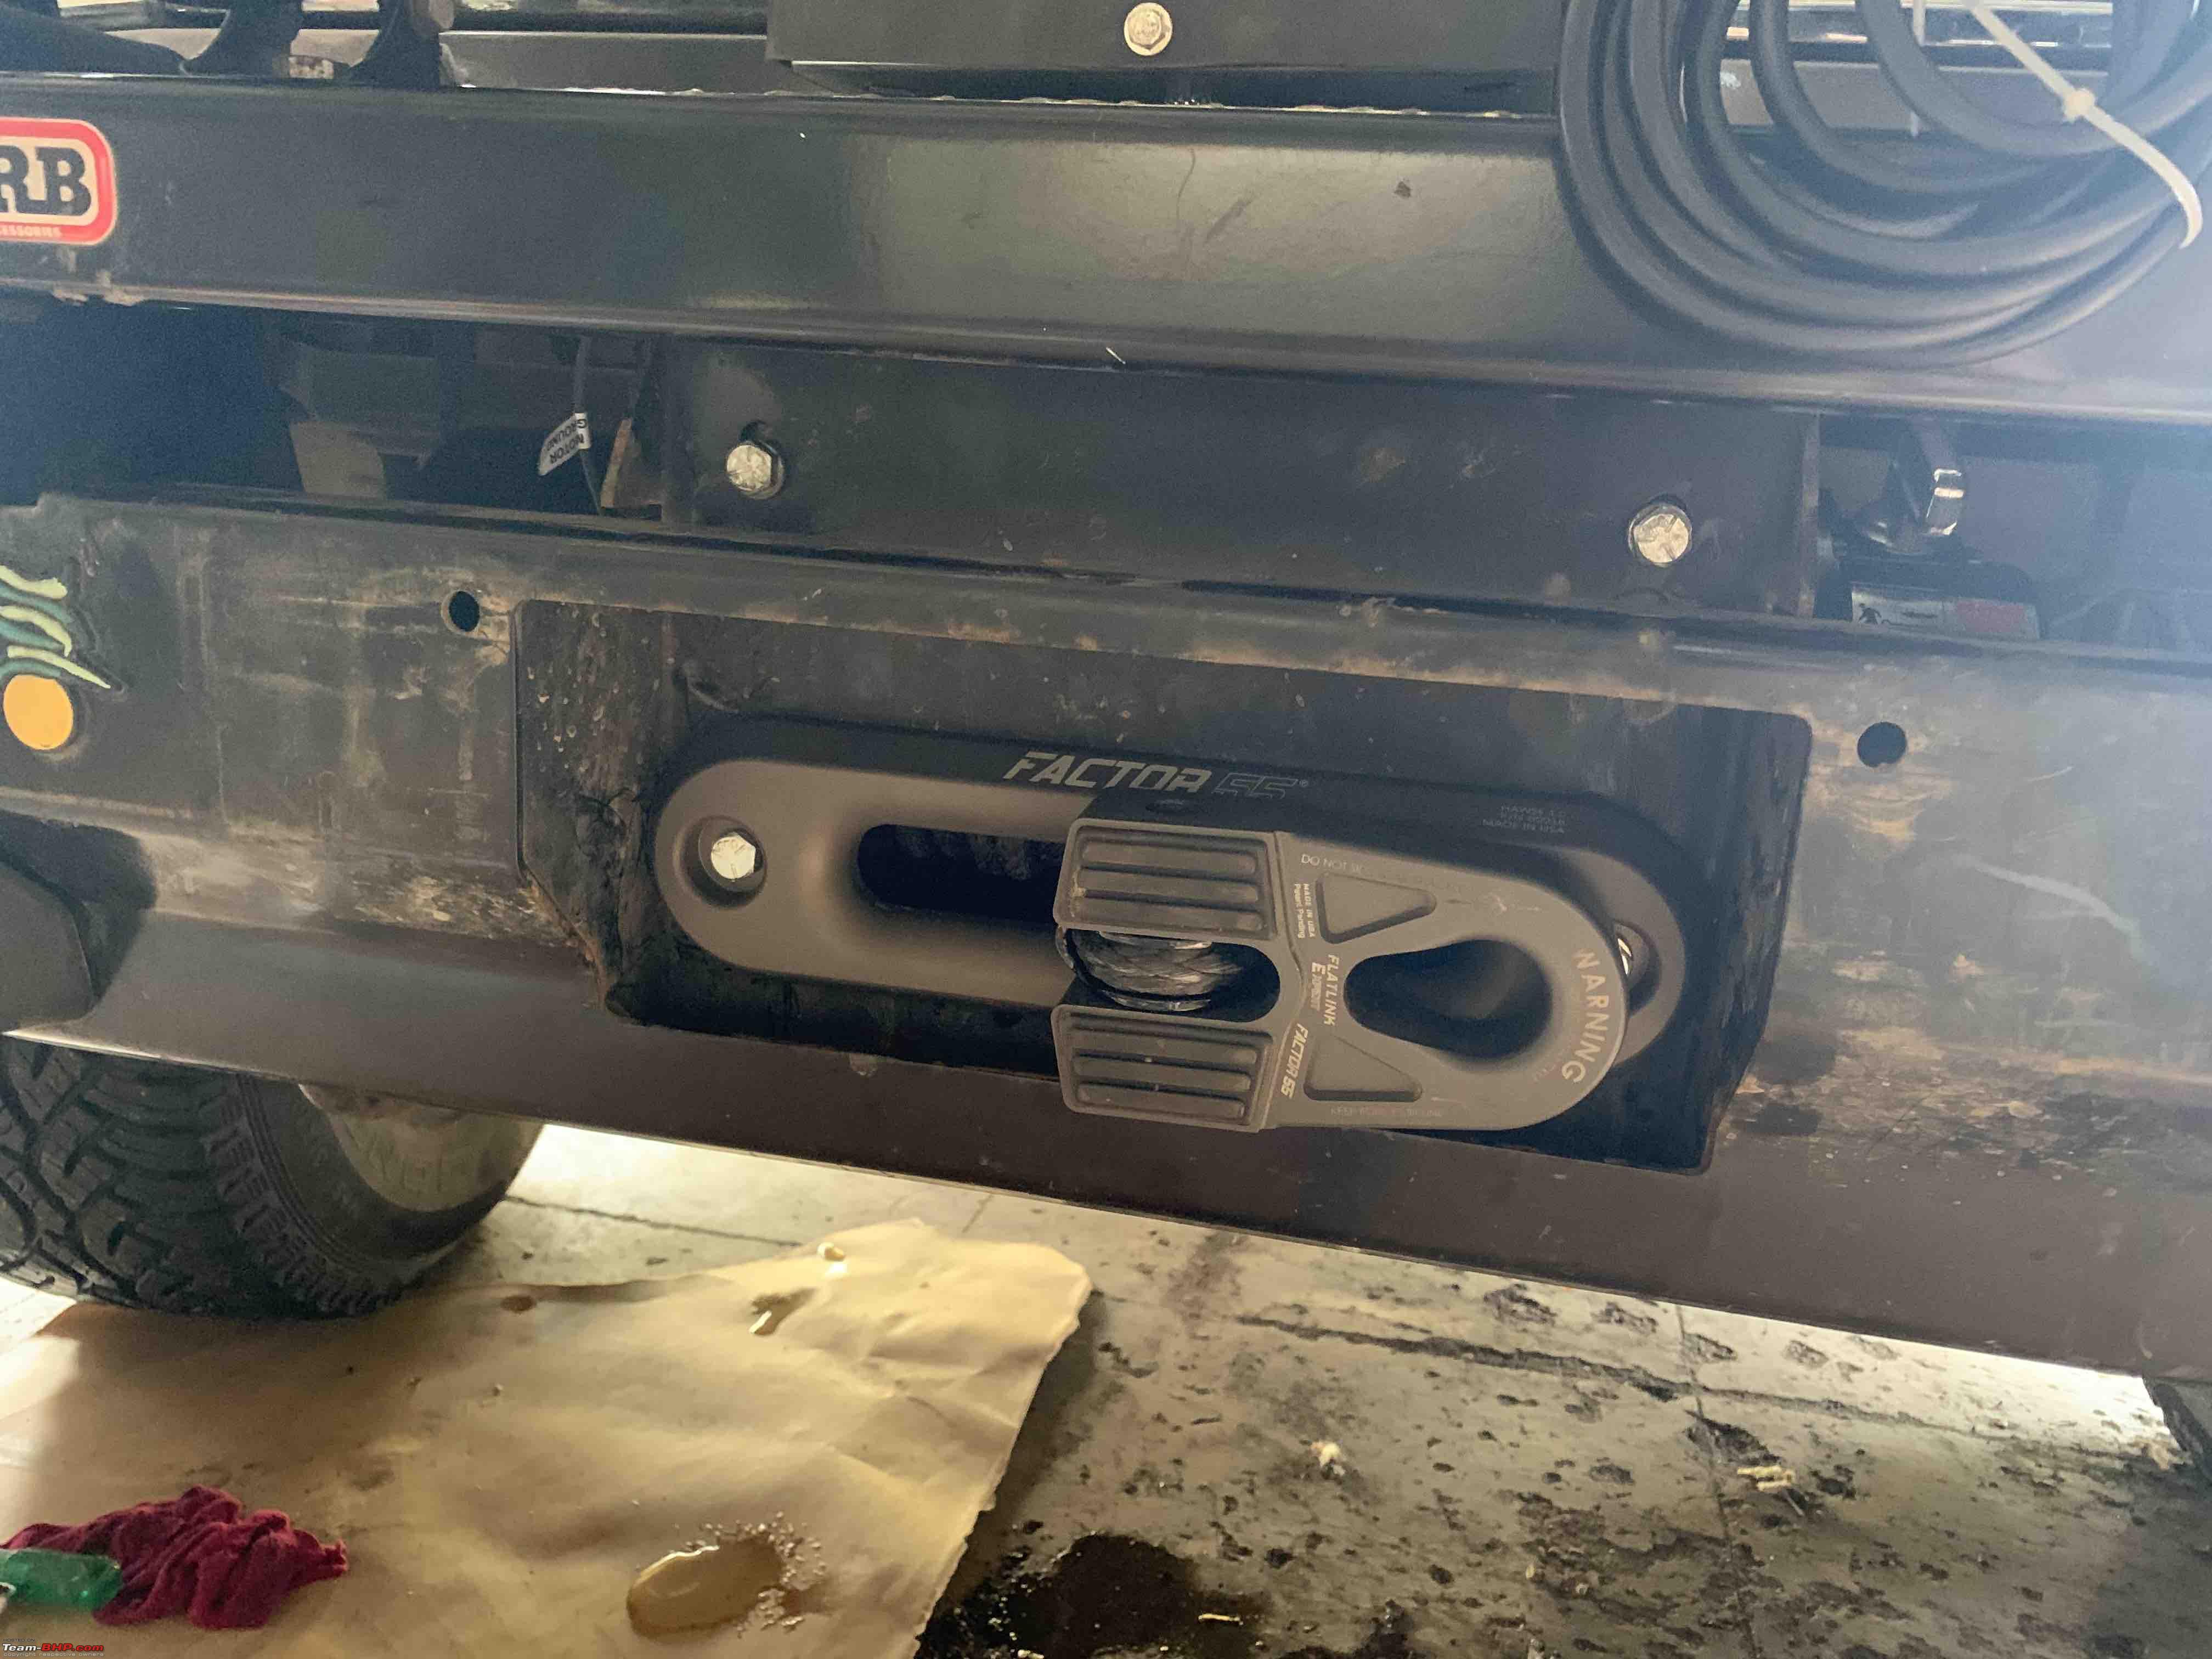
The OE hawse is bad. A metal one with a rough surface. Would have eaten up the synthetic cable.
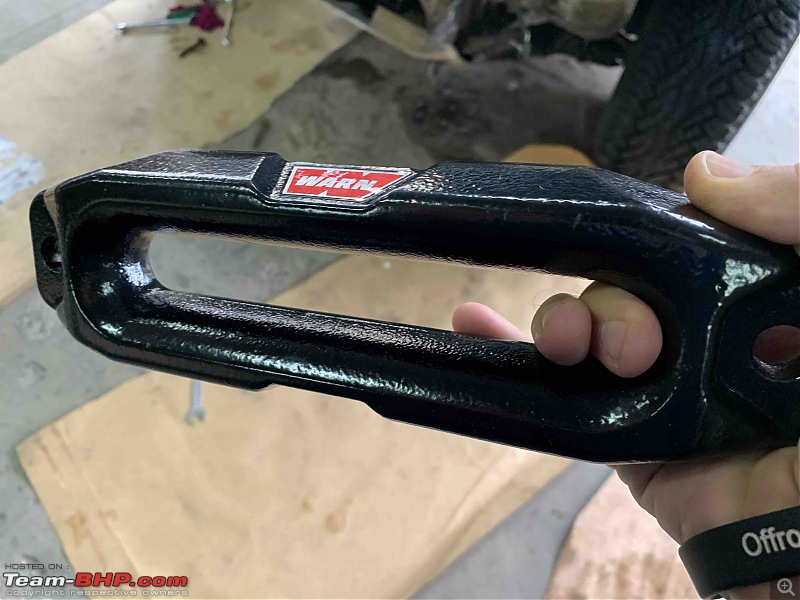
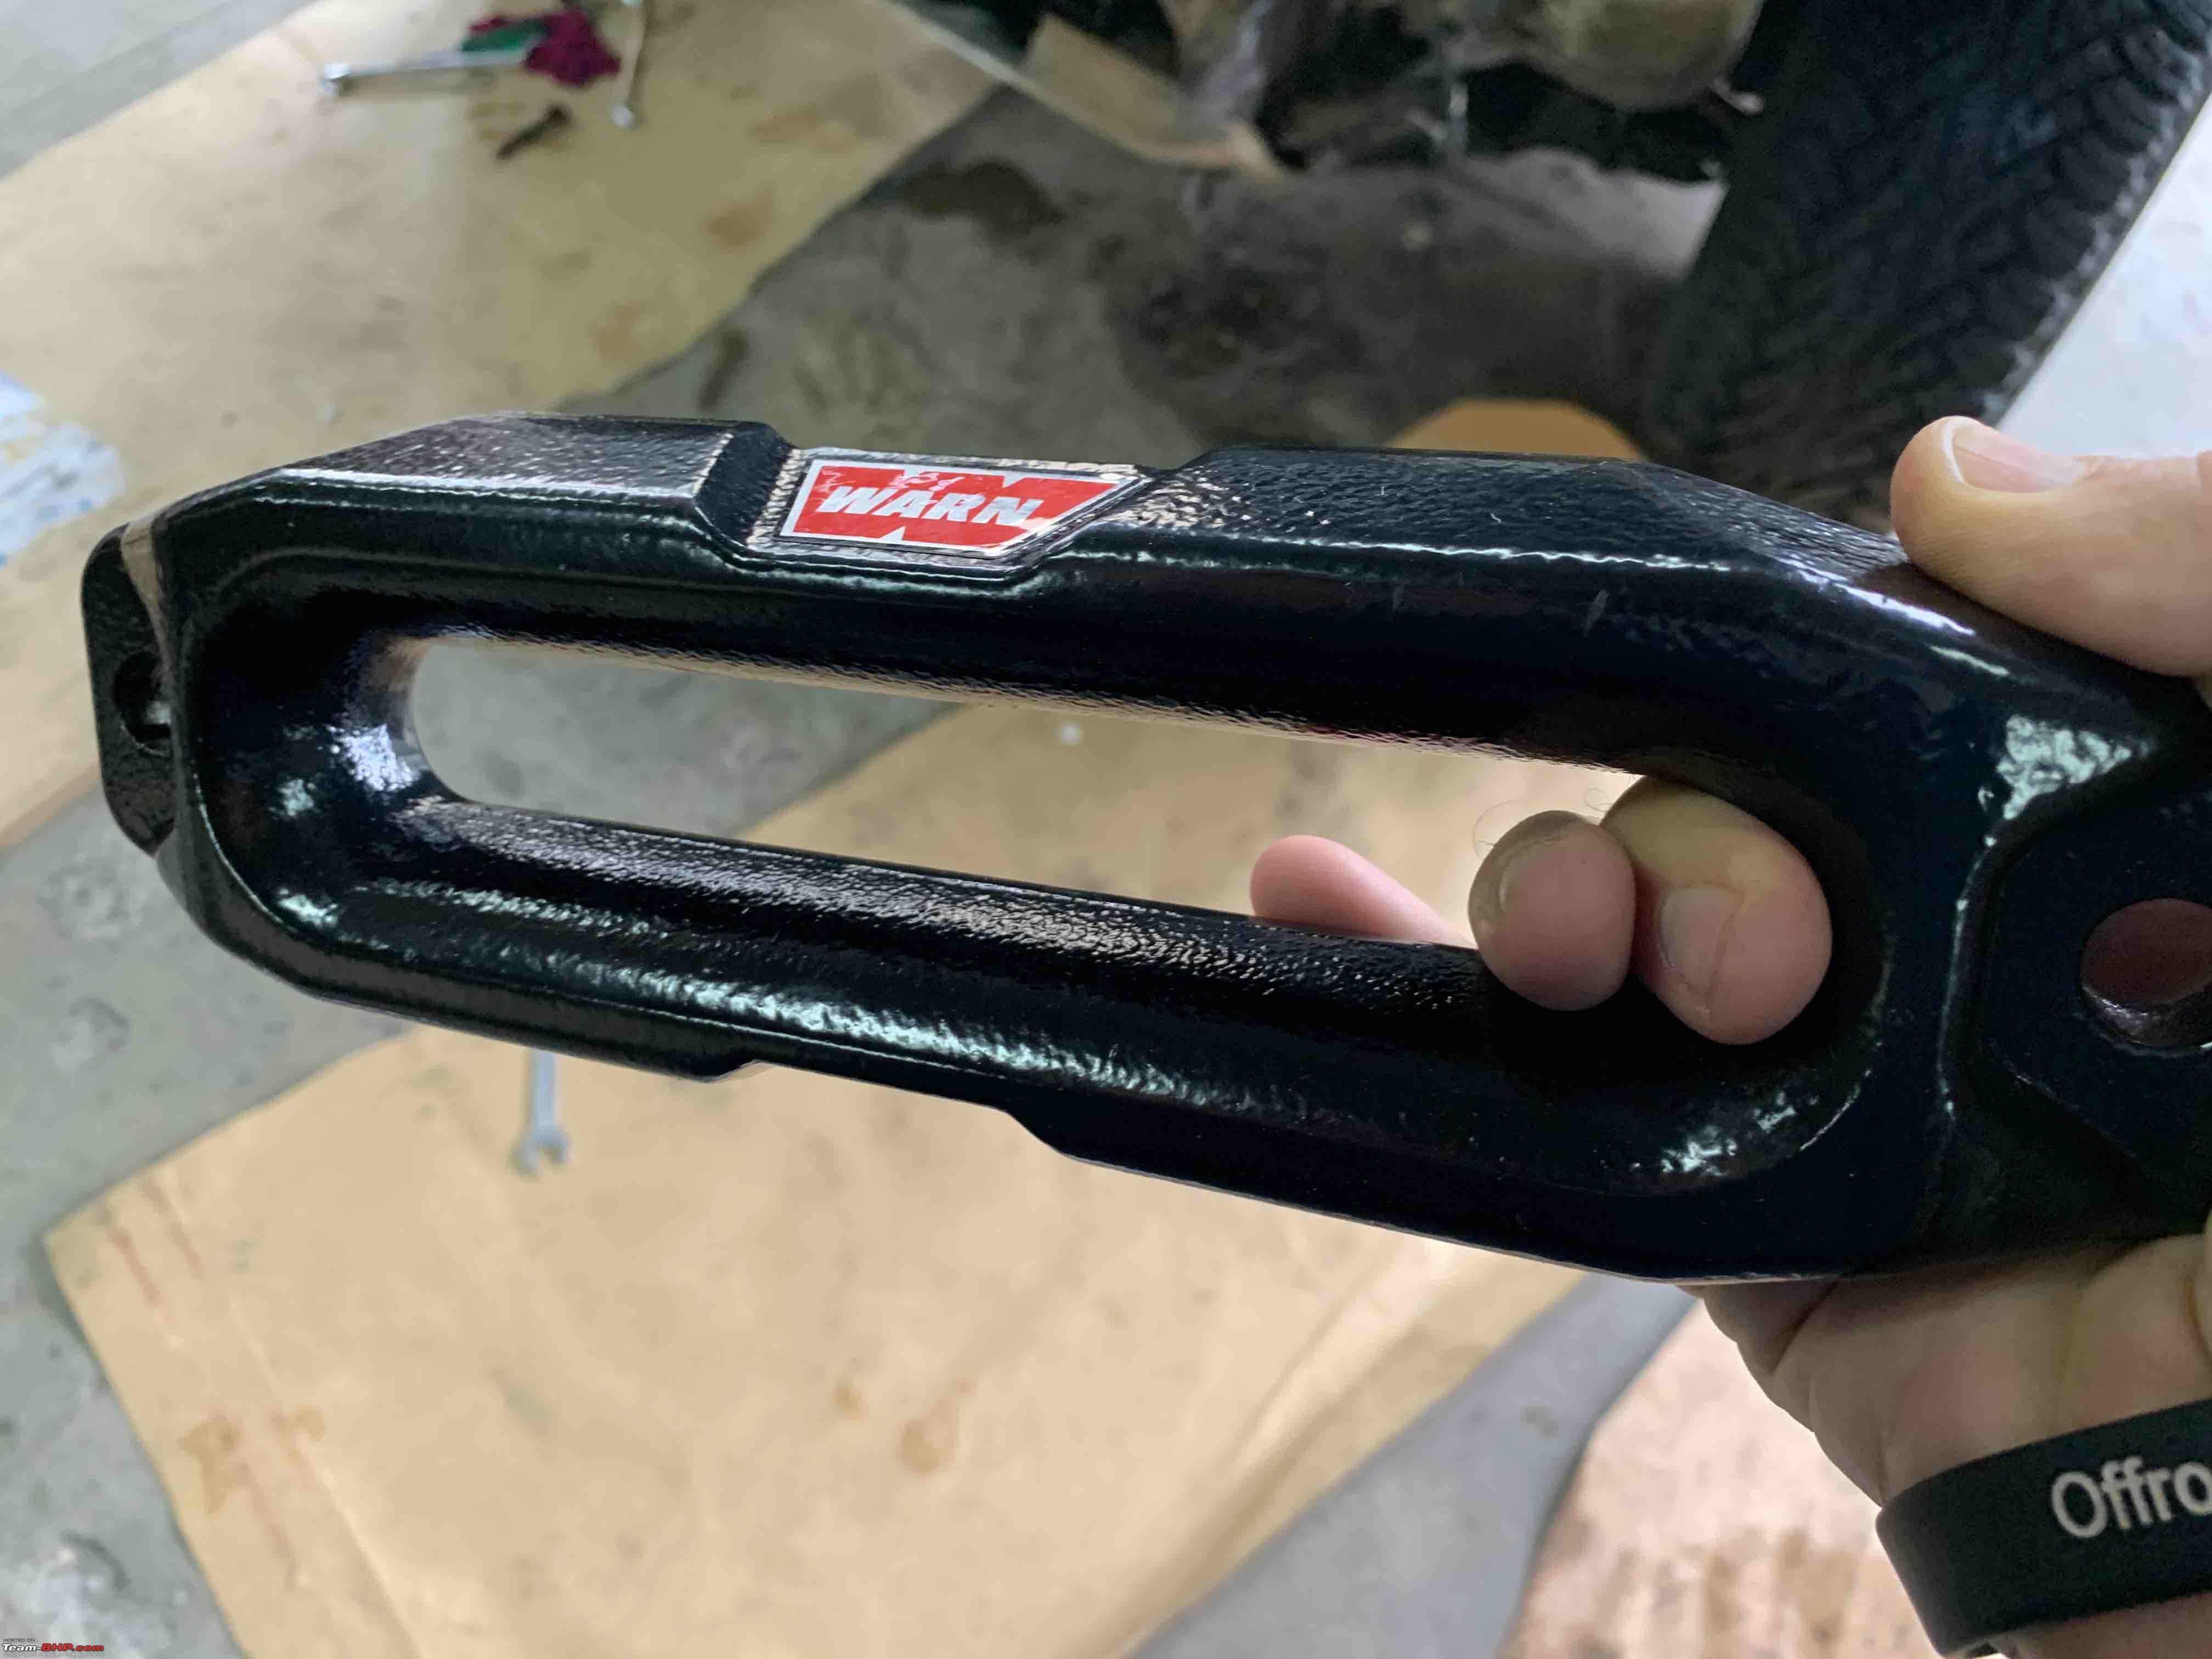
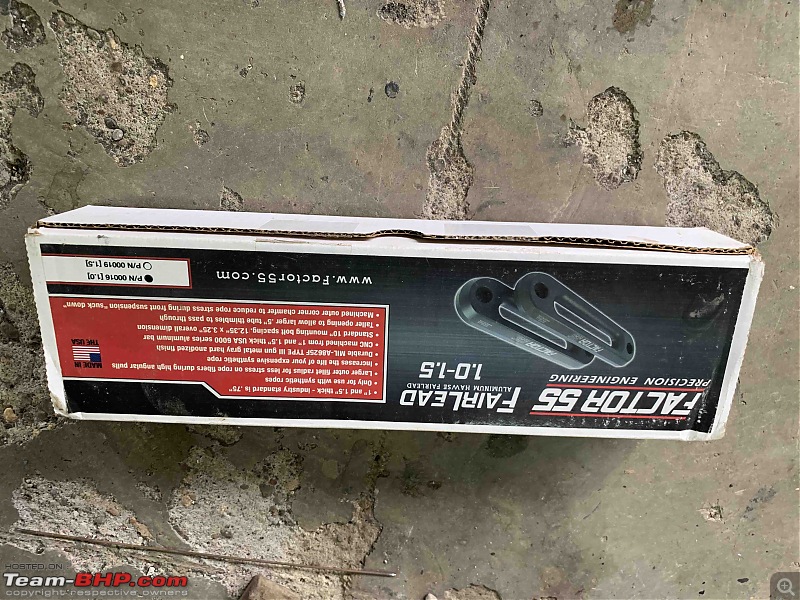
I prefer the Factor 55 ones and used their aluminium hawse which also has a better radius

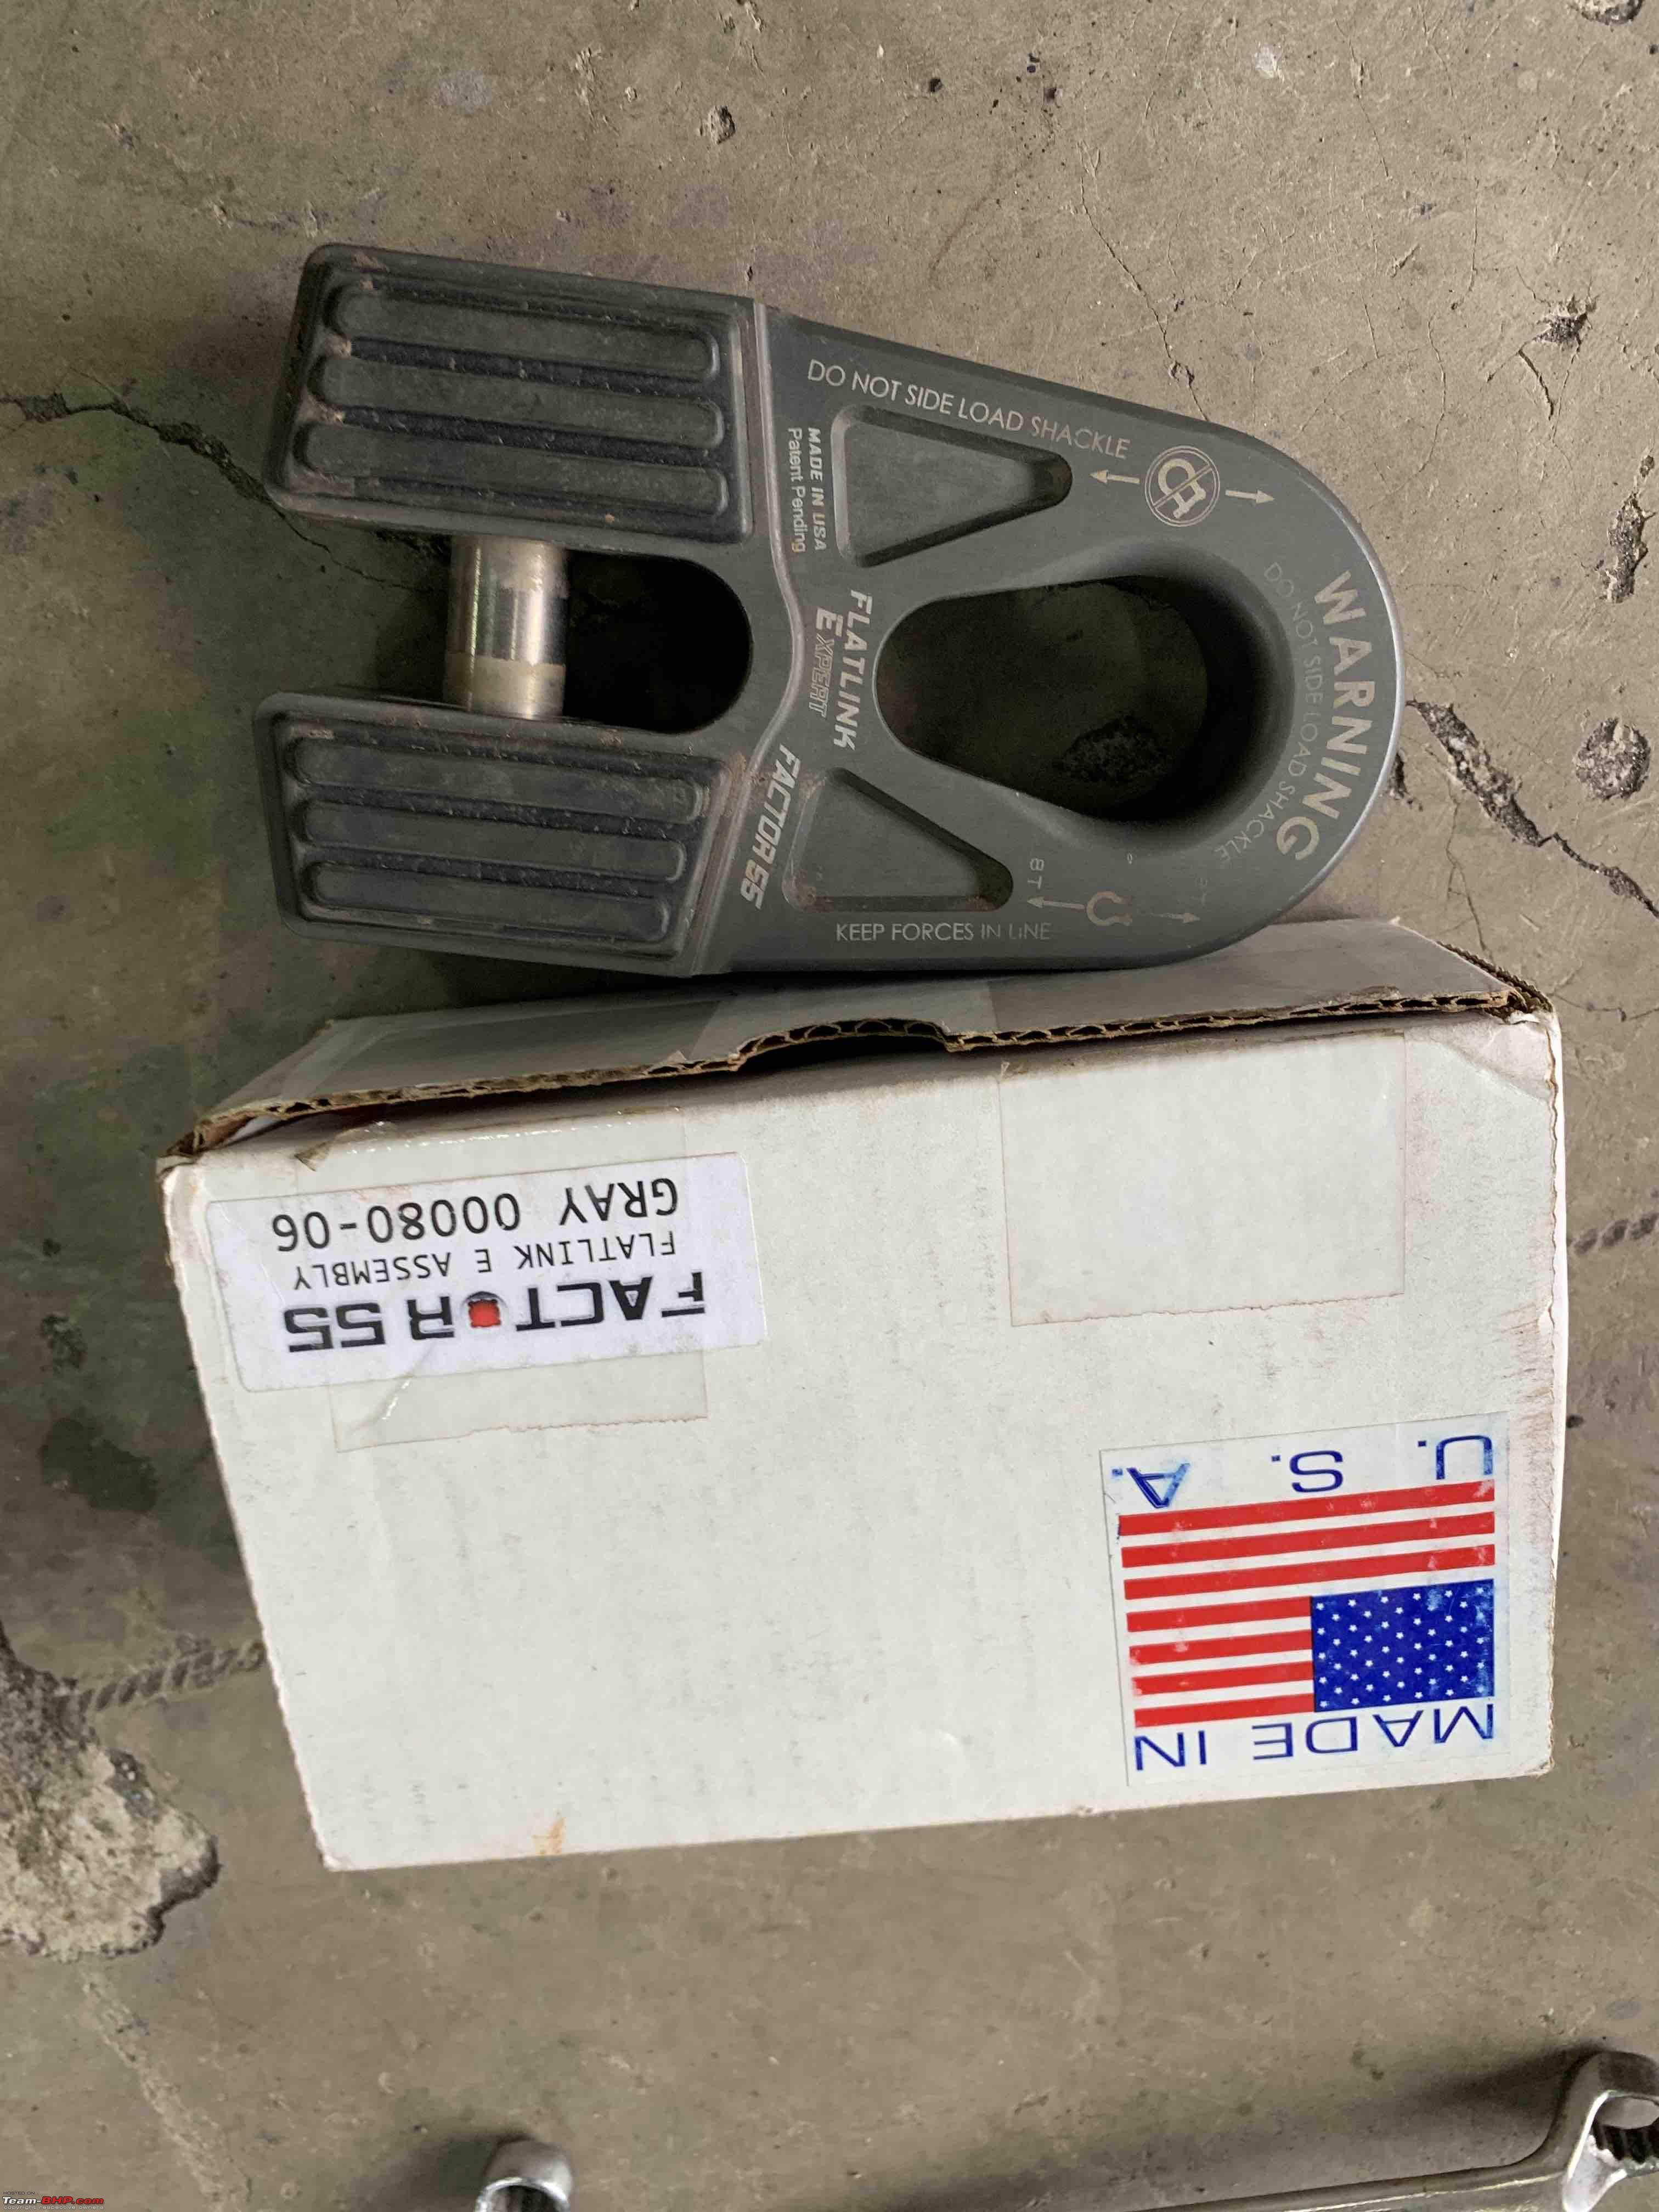
I even didn't use the OE hook and used the flatlink from Factor 55 for a closed winching system:

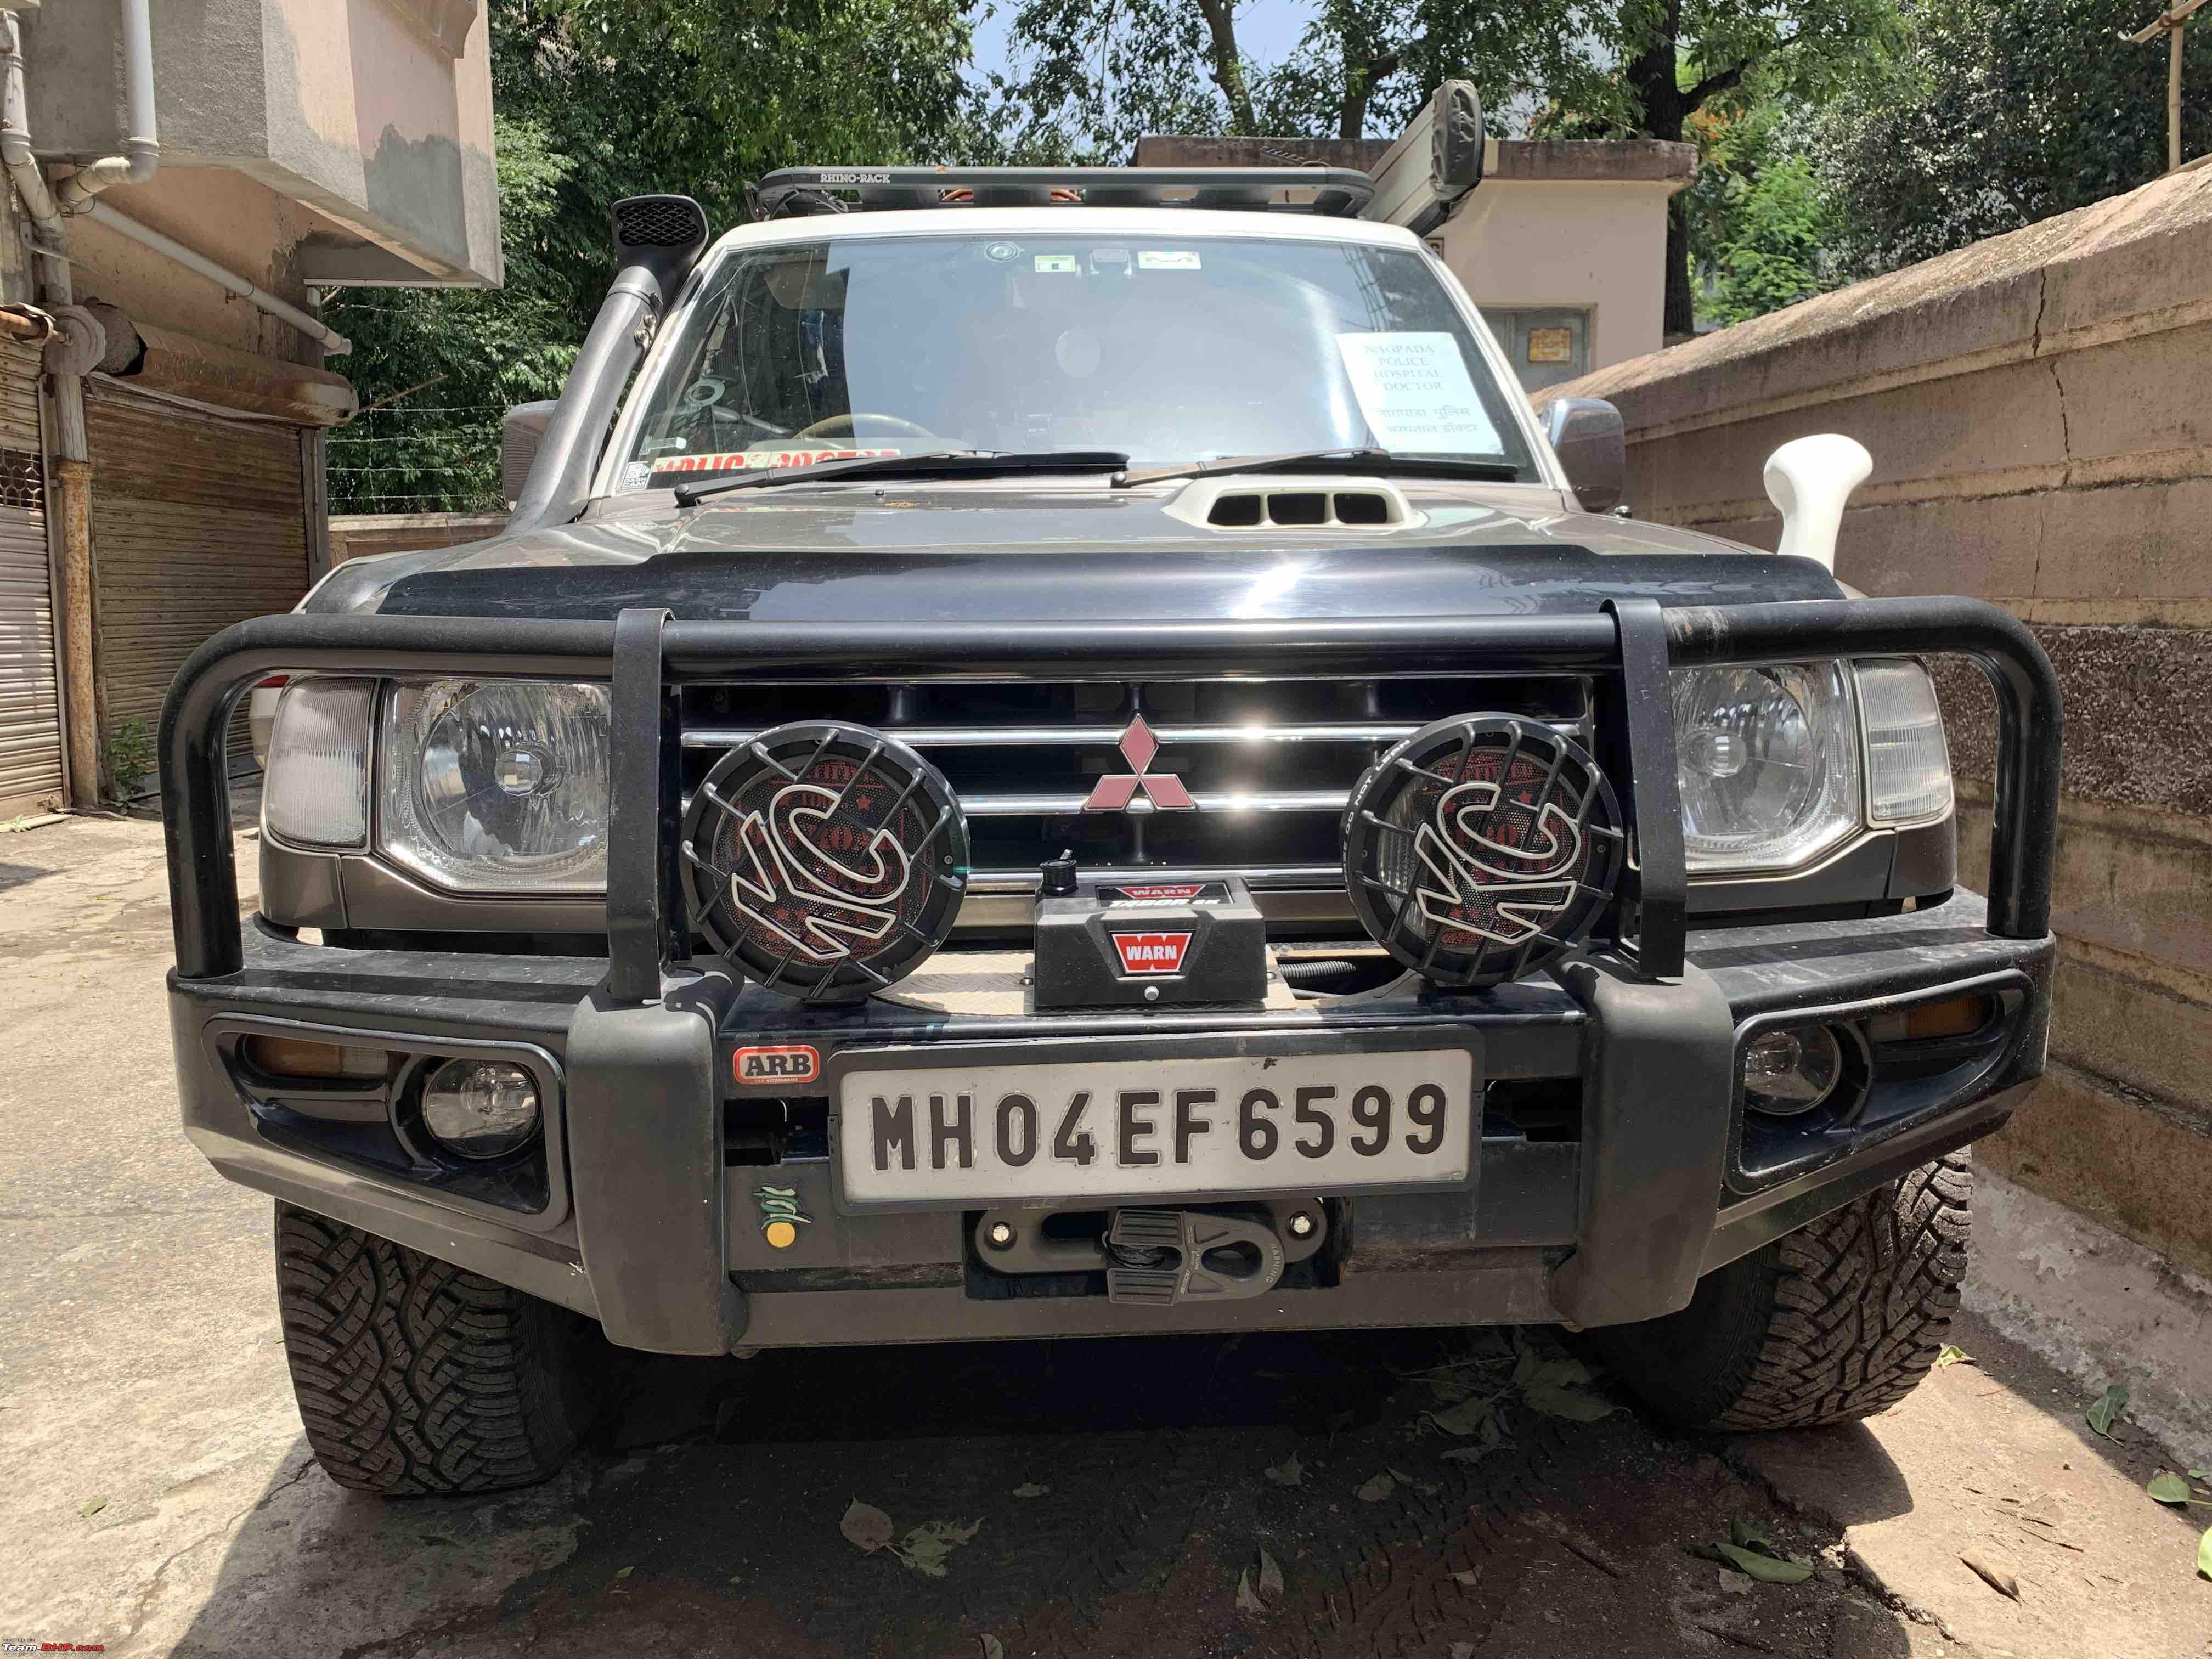
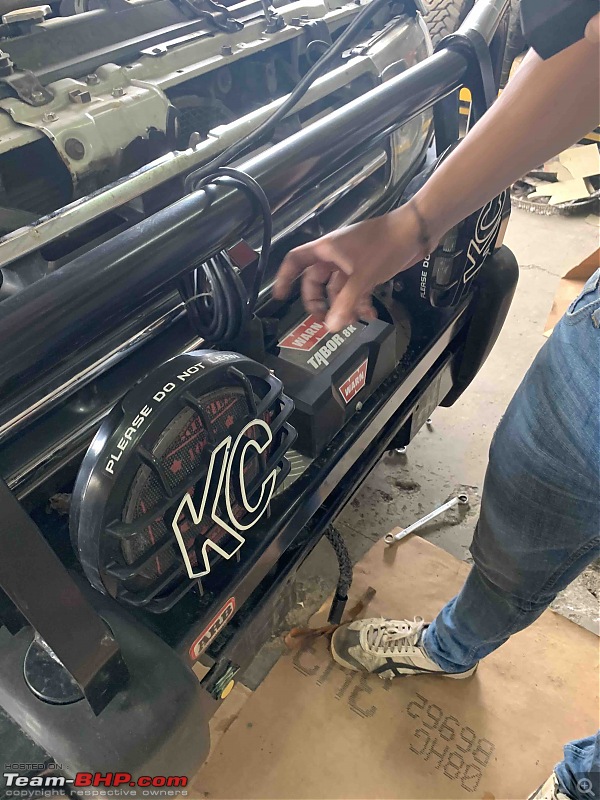
Bumper fit:

Testing:
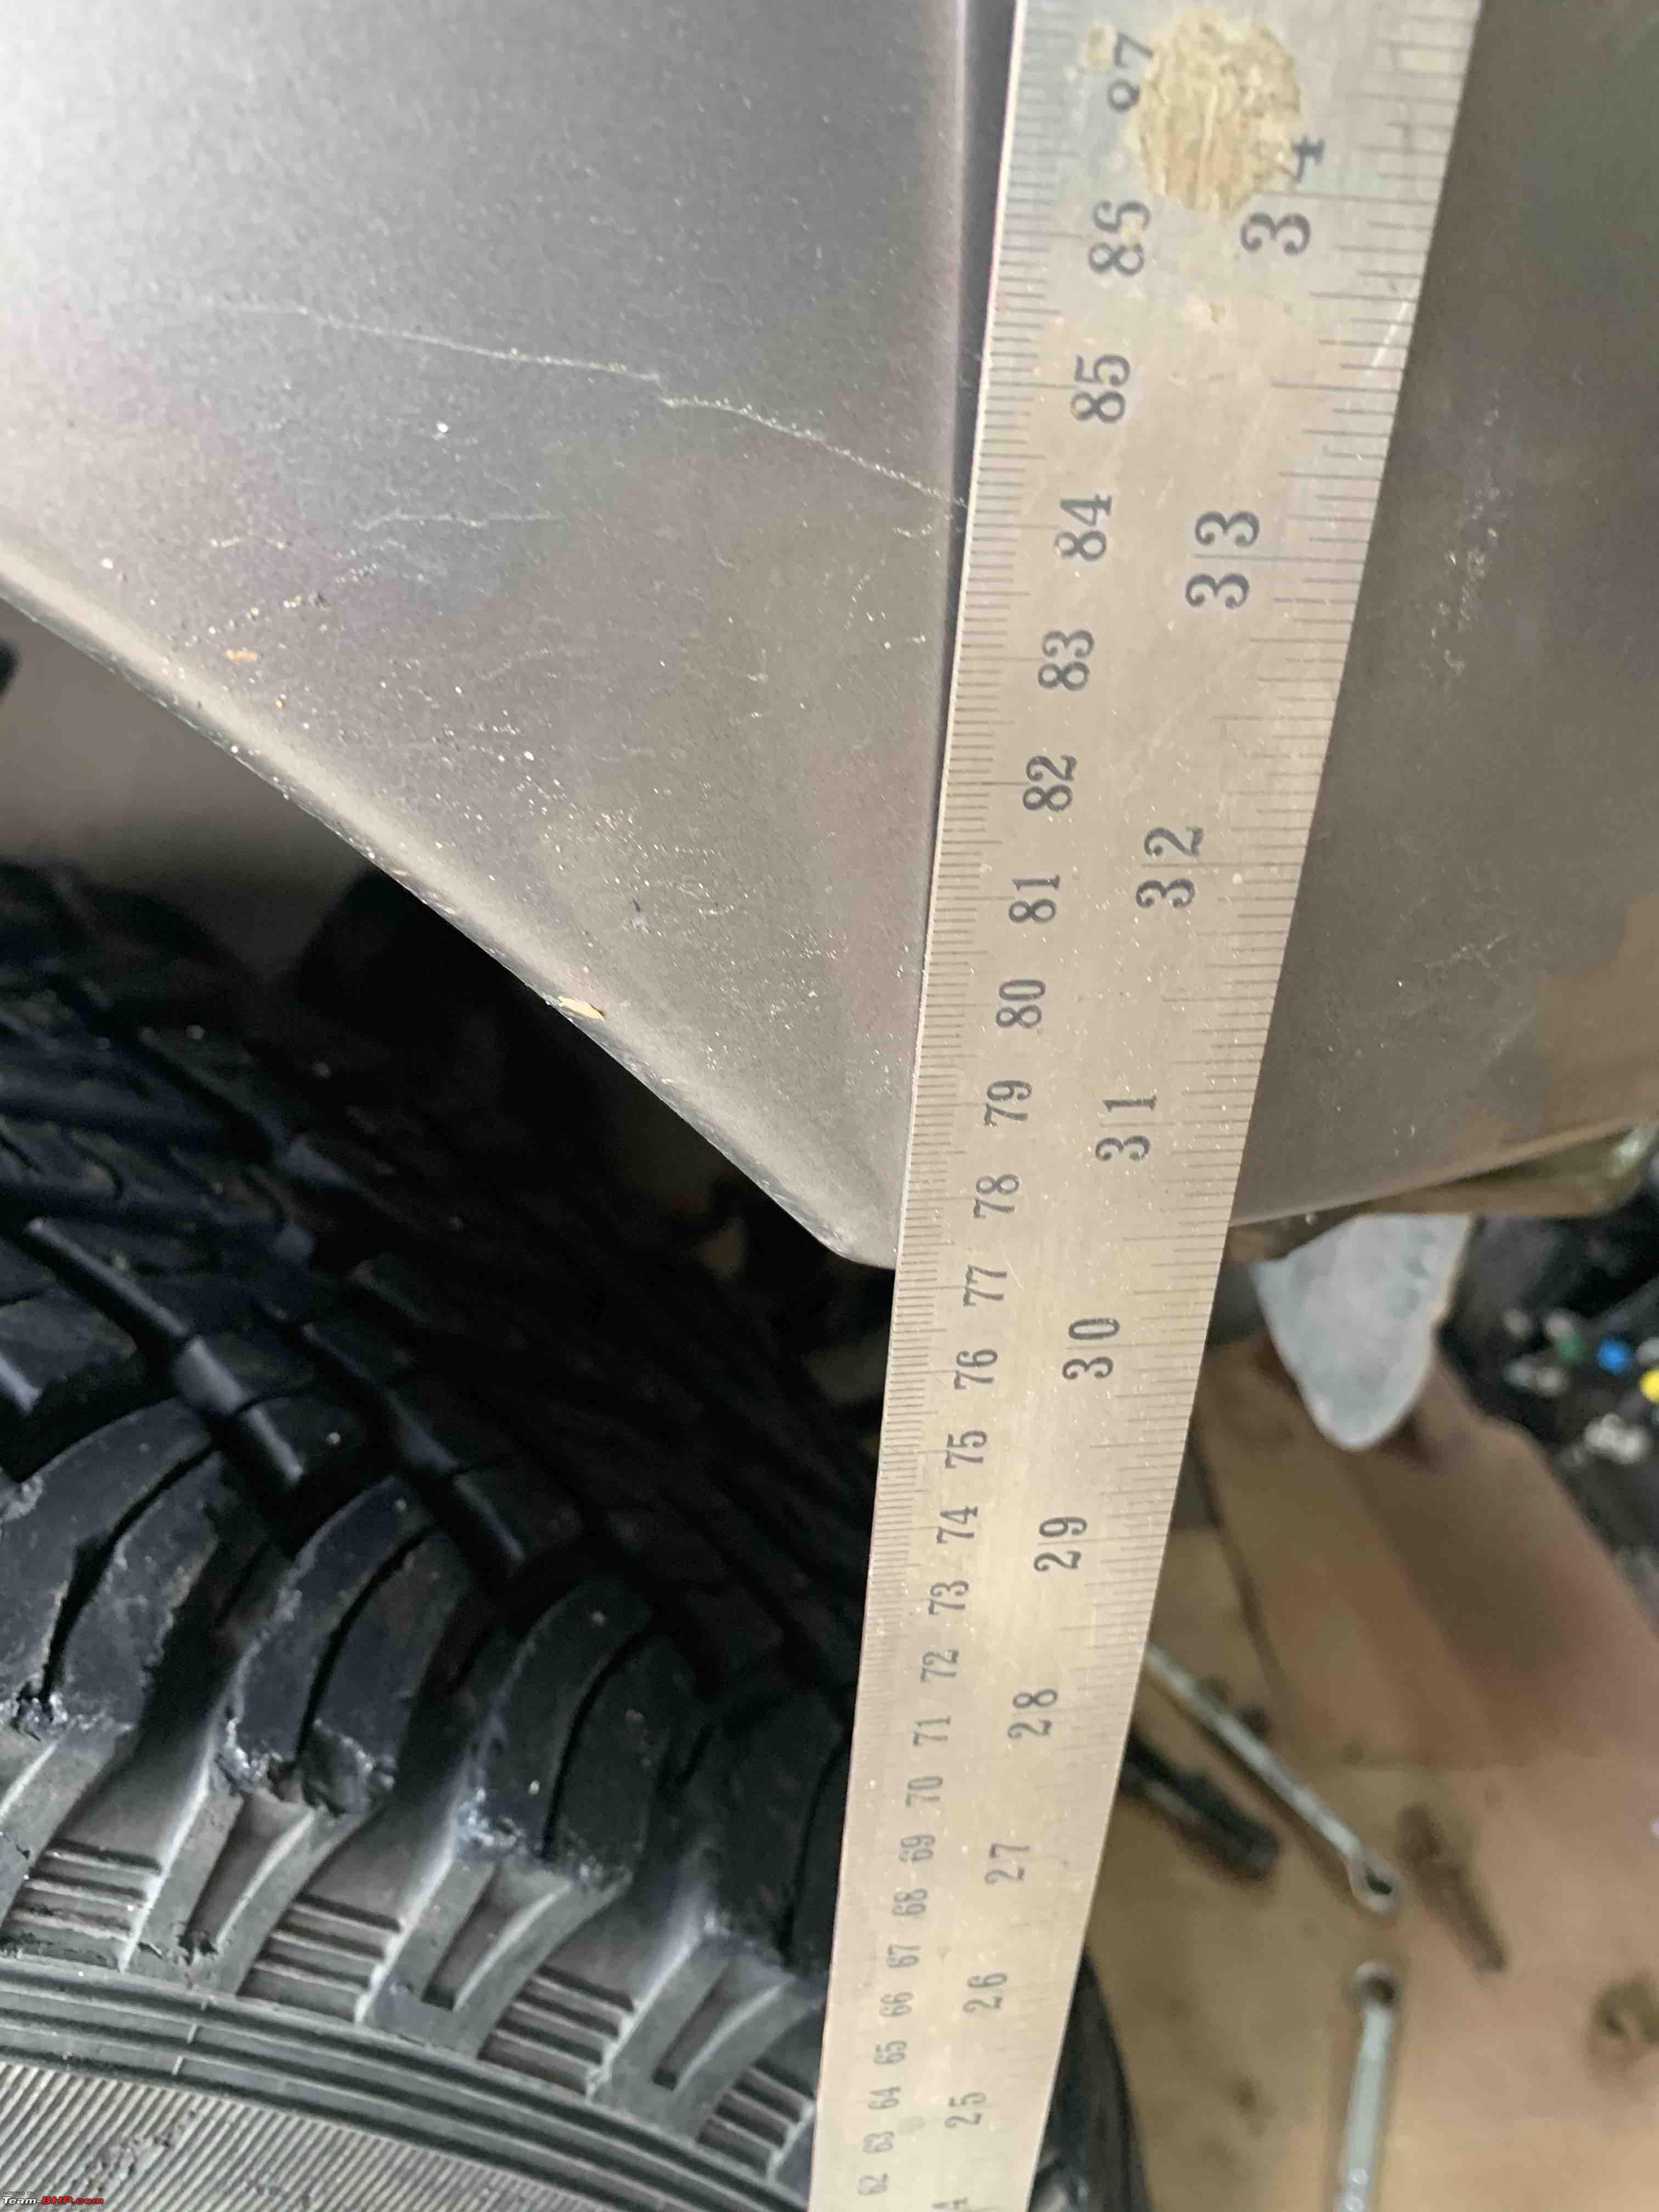
Height before the winch:

Suspension sag by 1cm after installation:

Parked at home:
| All times are GMT +5.5. The time now is 18:49. | |