Team-BHP
(
https://www.team-bhp.com/forum/)
-
4x4 Vehicles
(
https://www.team-bhp.com/forum/4x4-vehicles/)
Another weekend at home = another pending job on the vehicle.
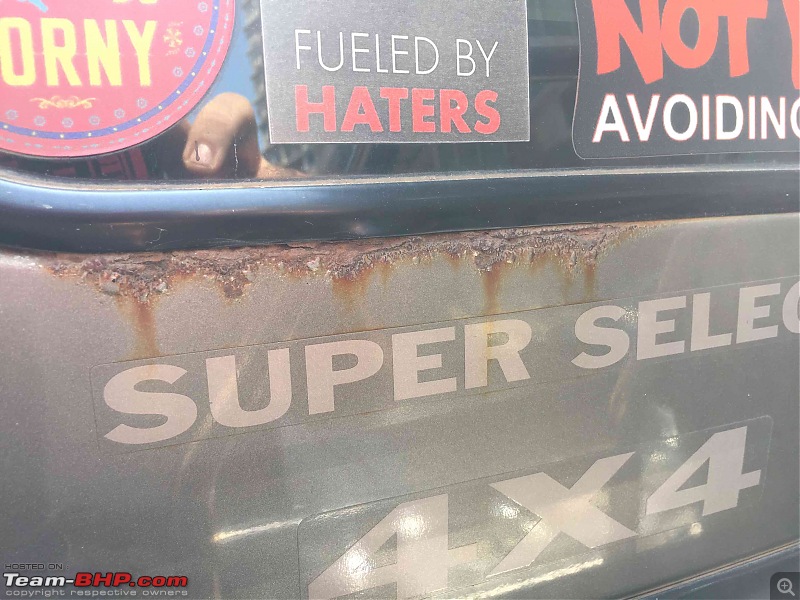
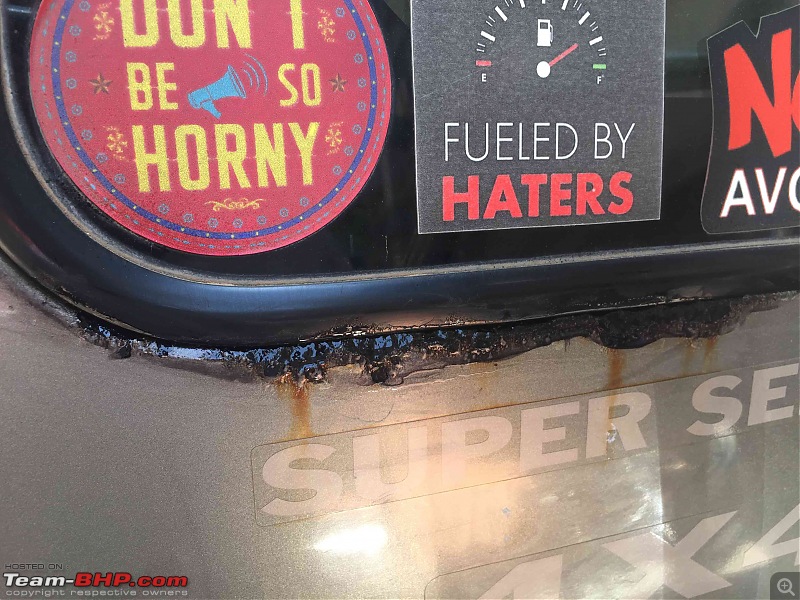
This time tackling rust.
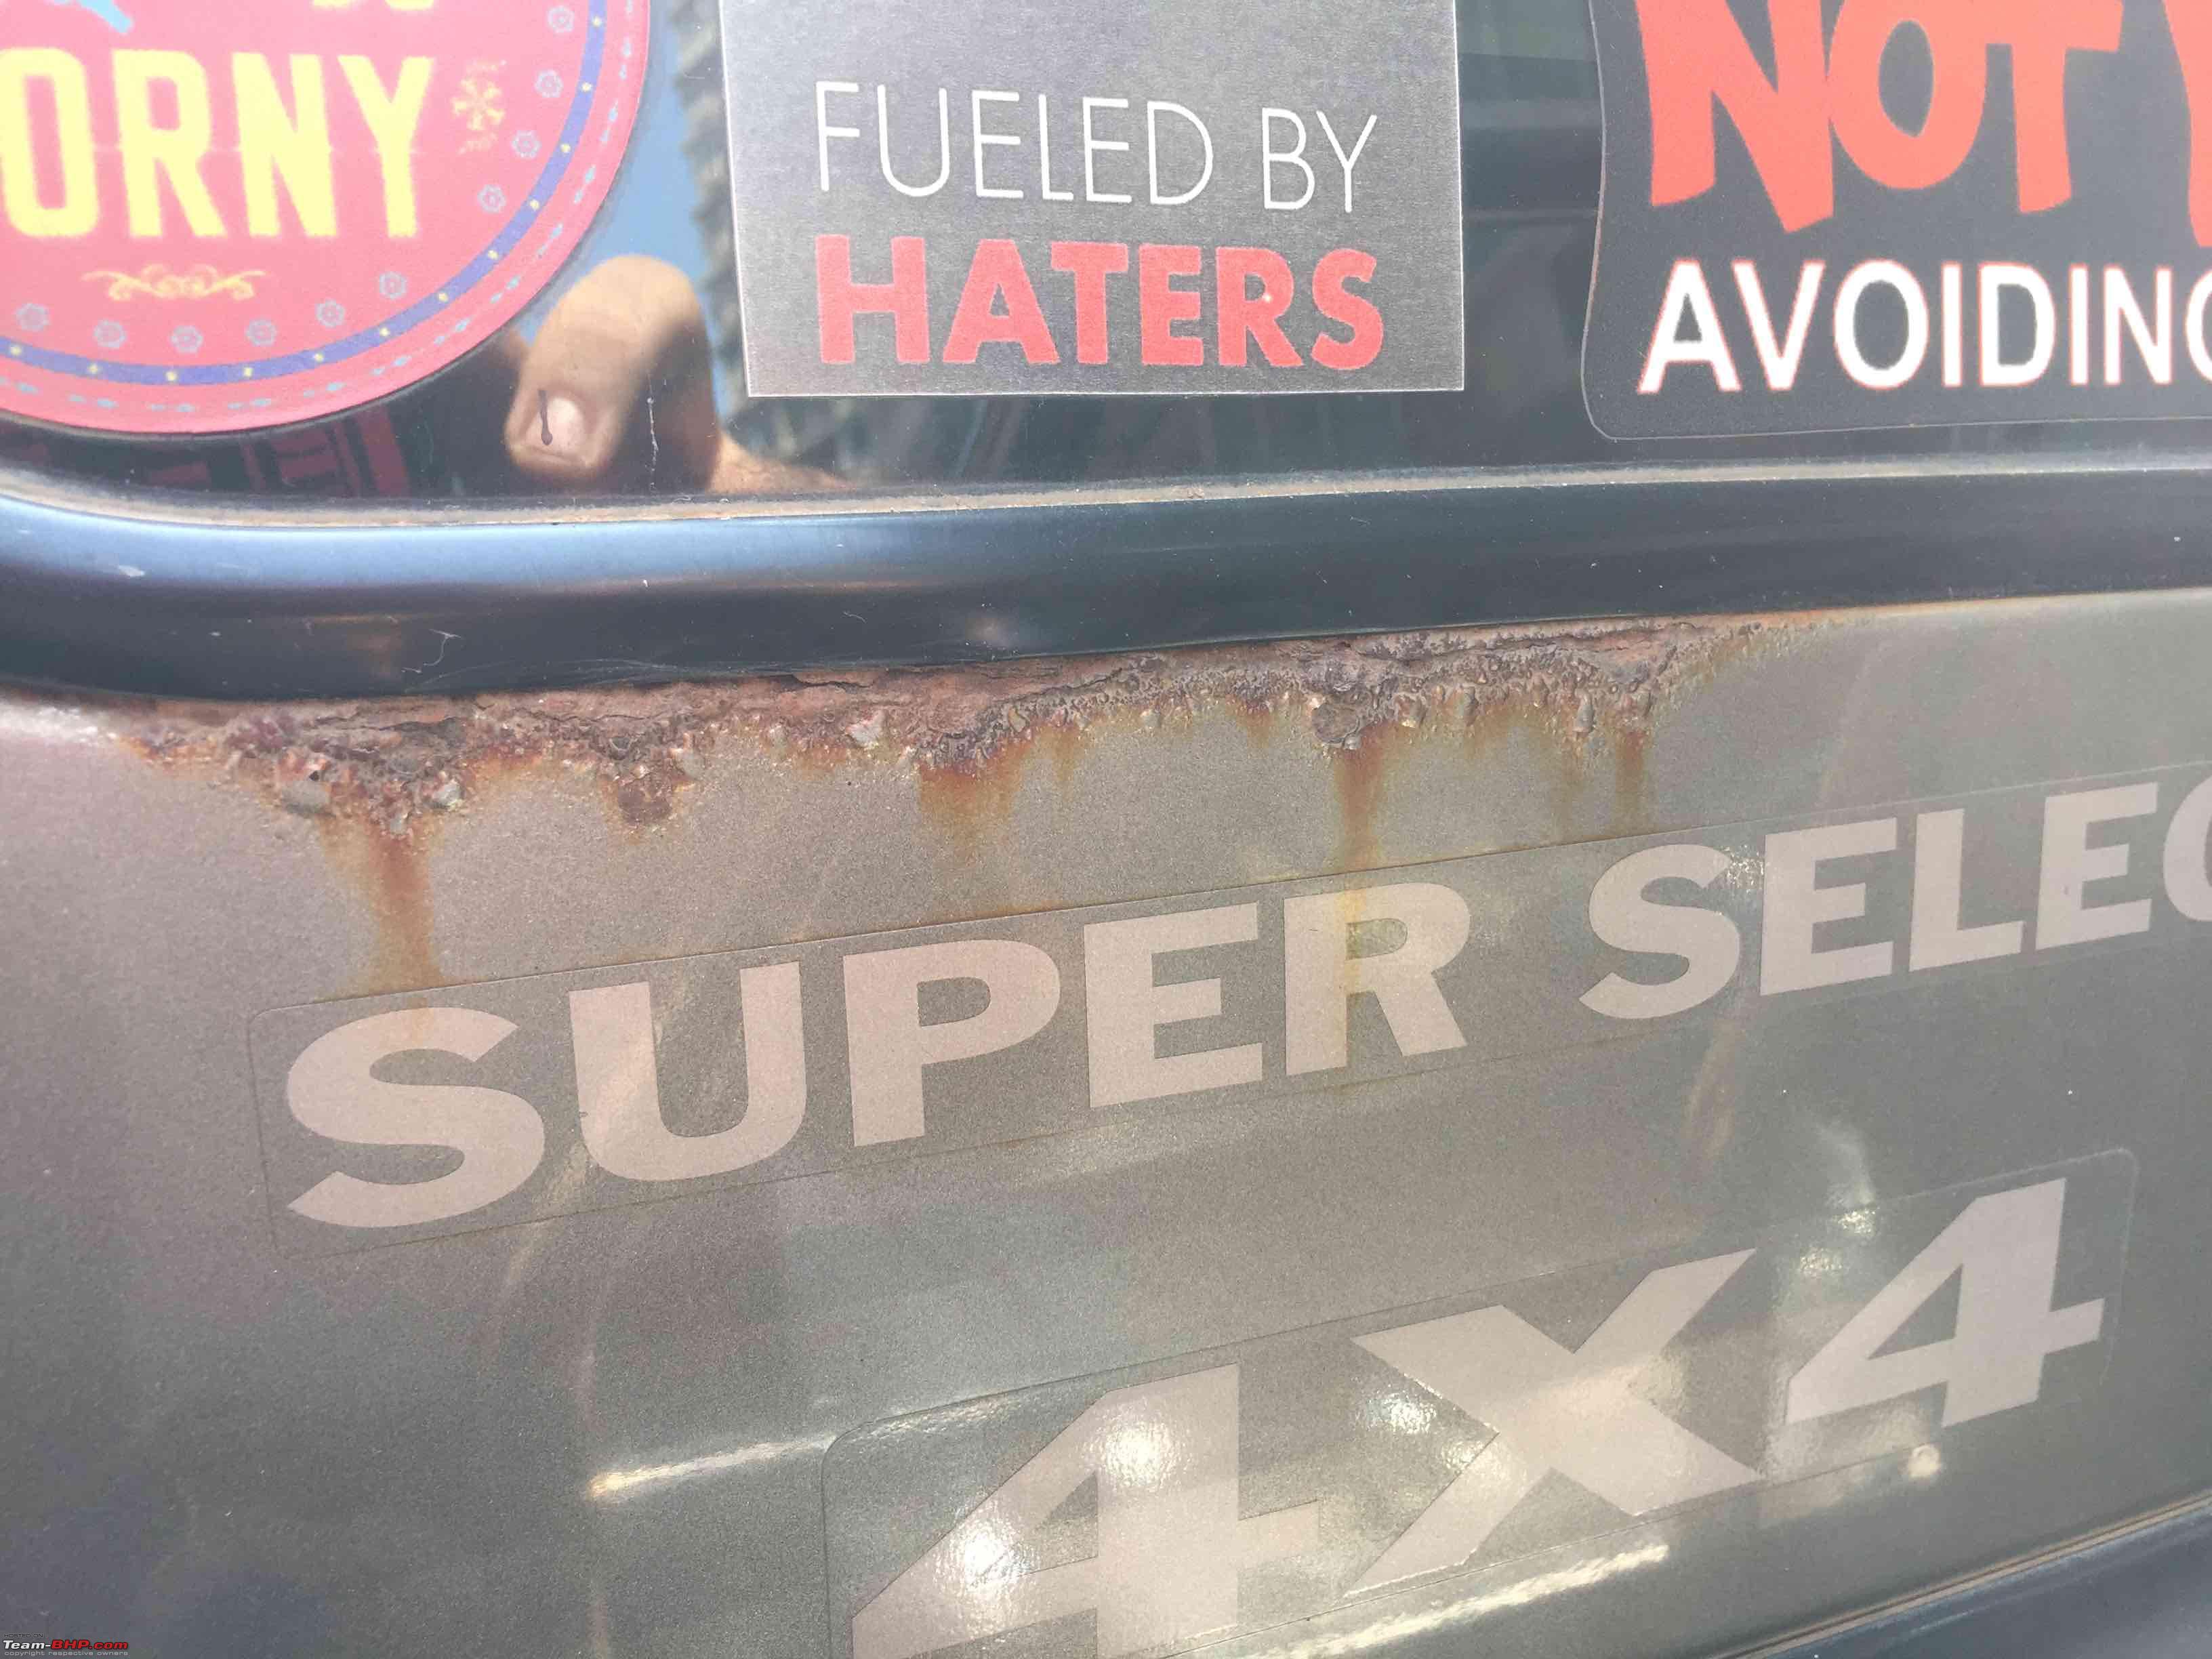
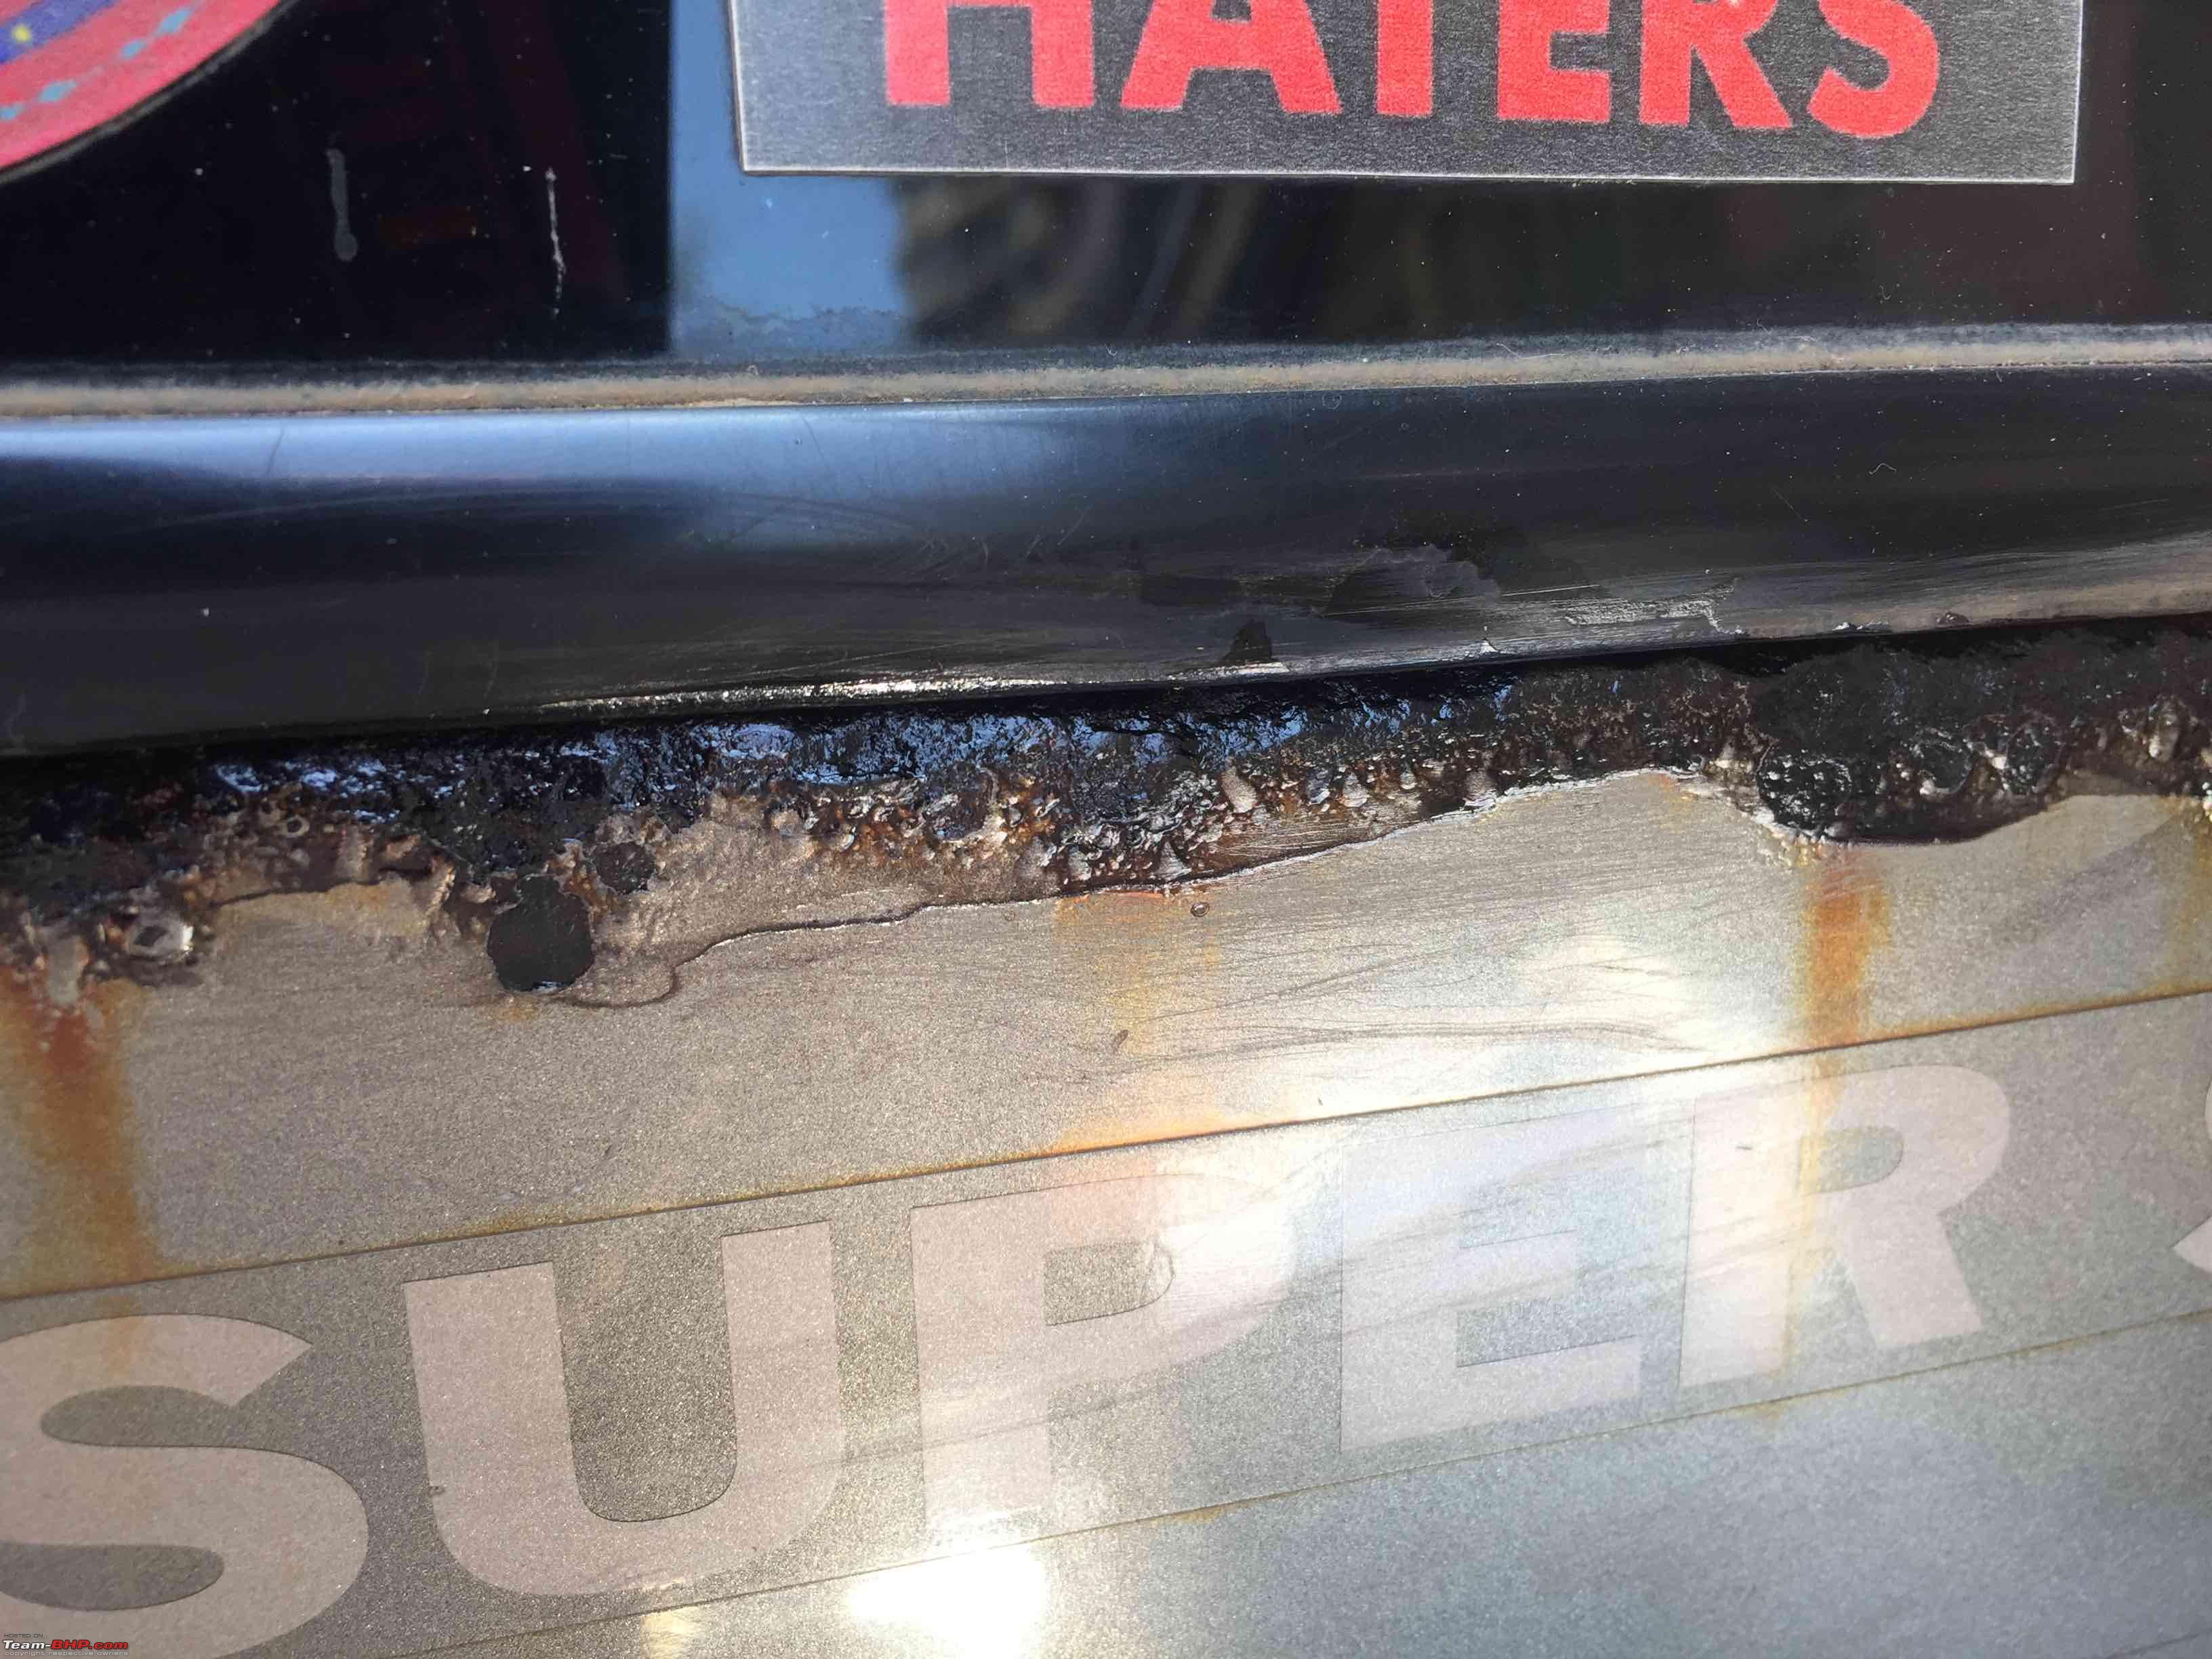
I've been procrastinating removing some rust spots from below the rear windshield.
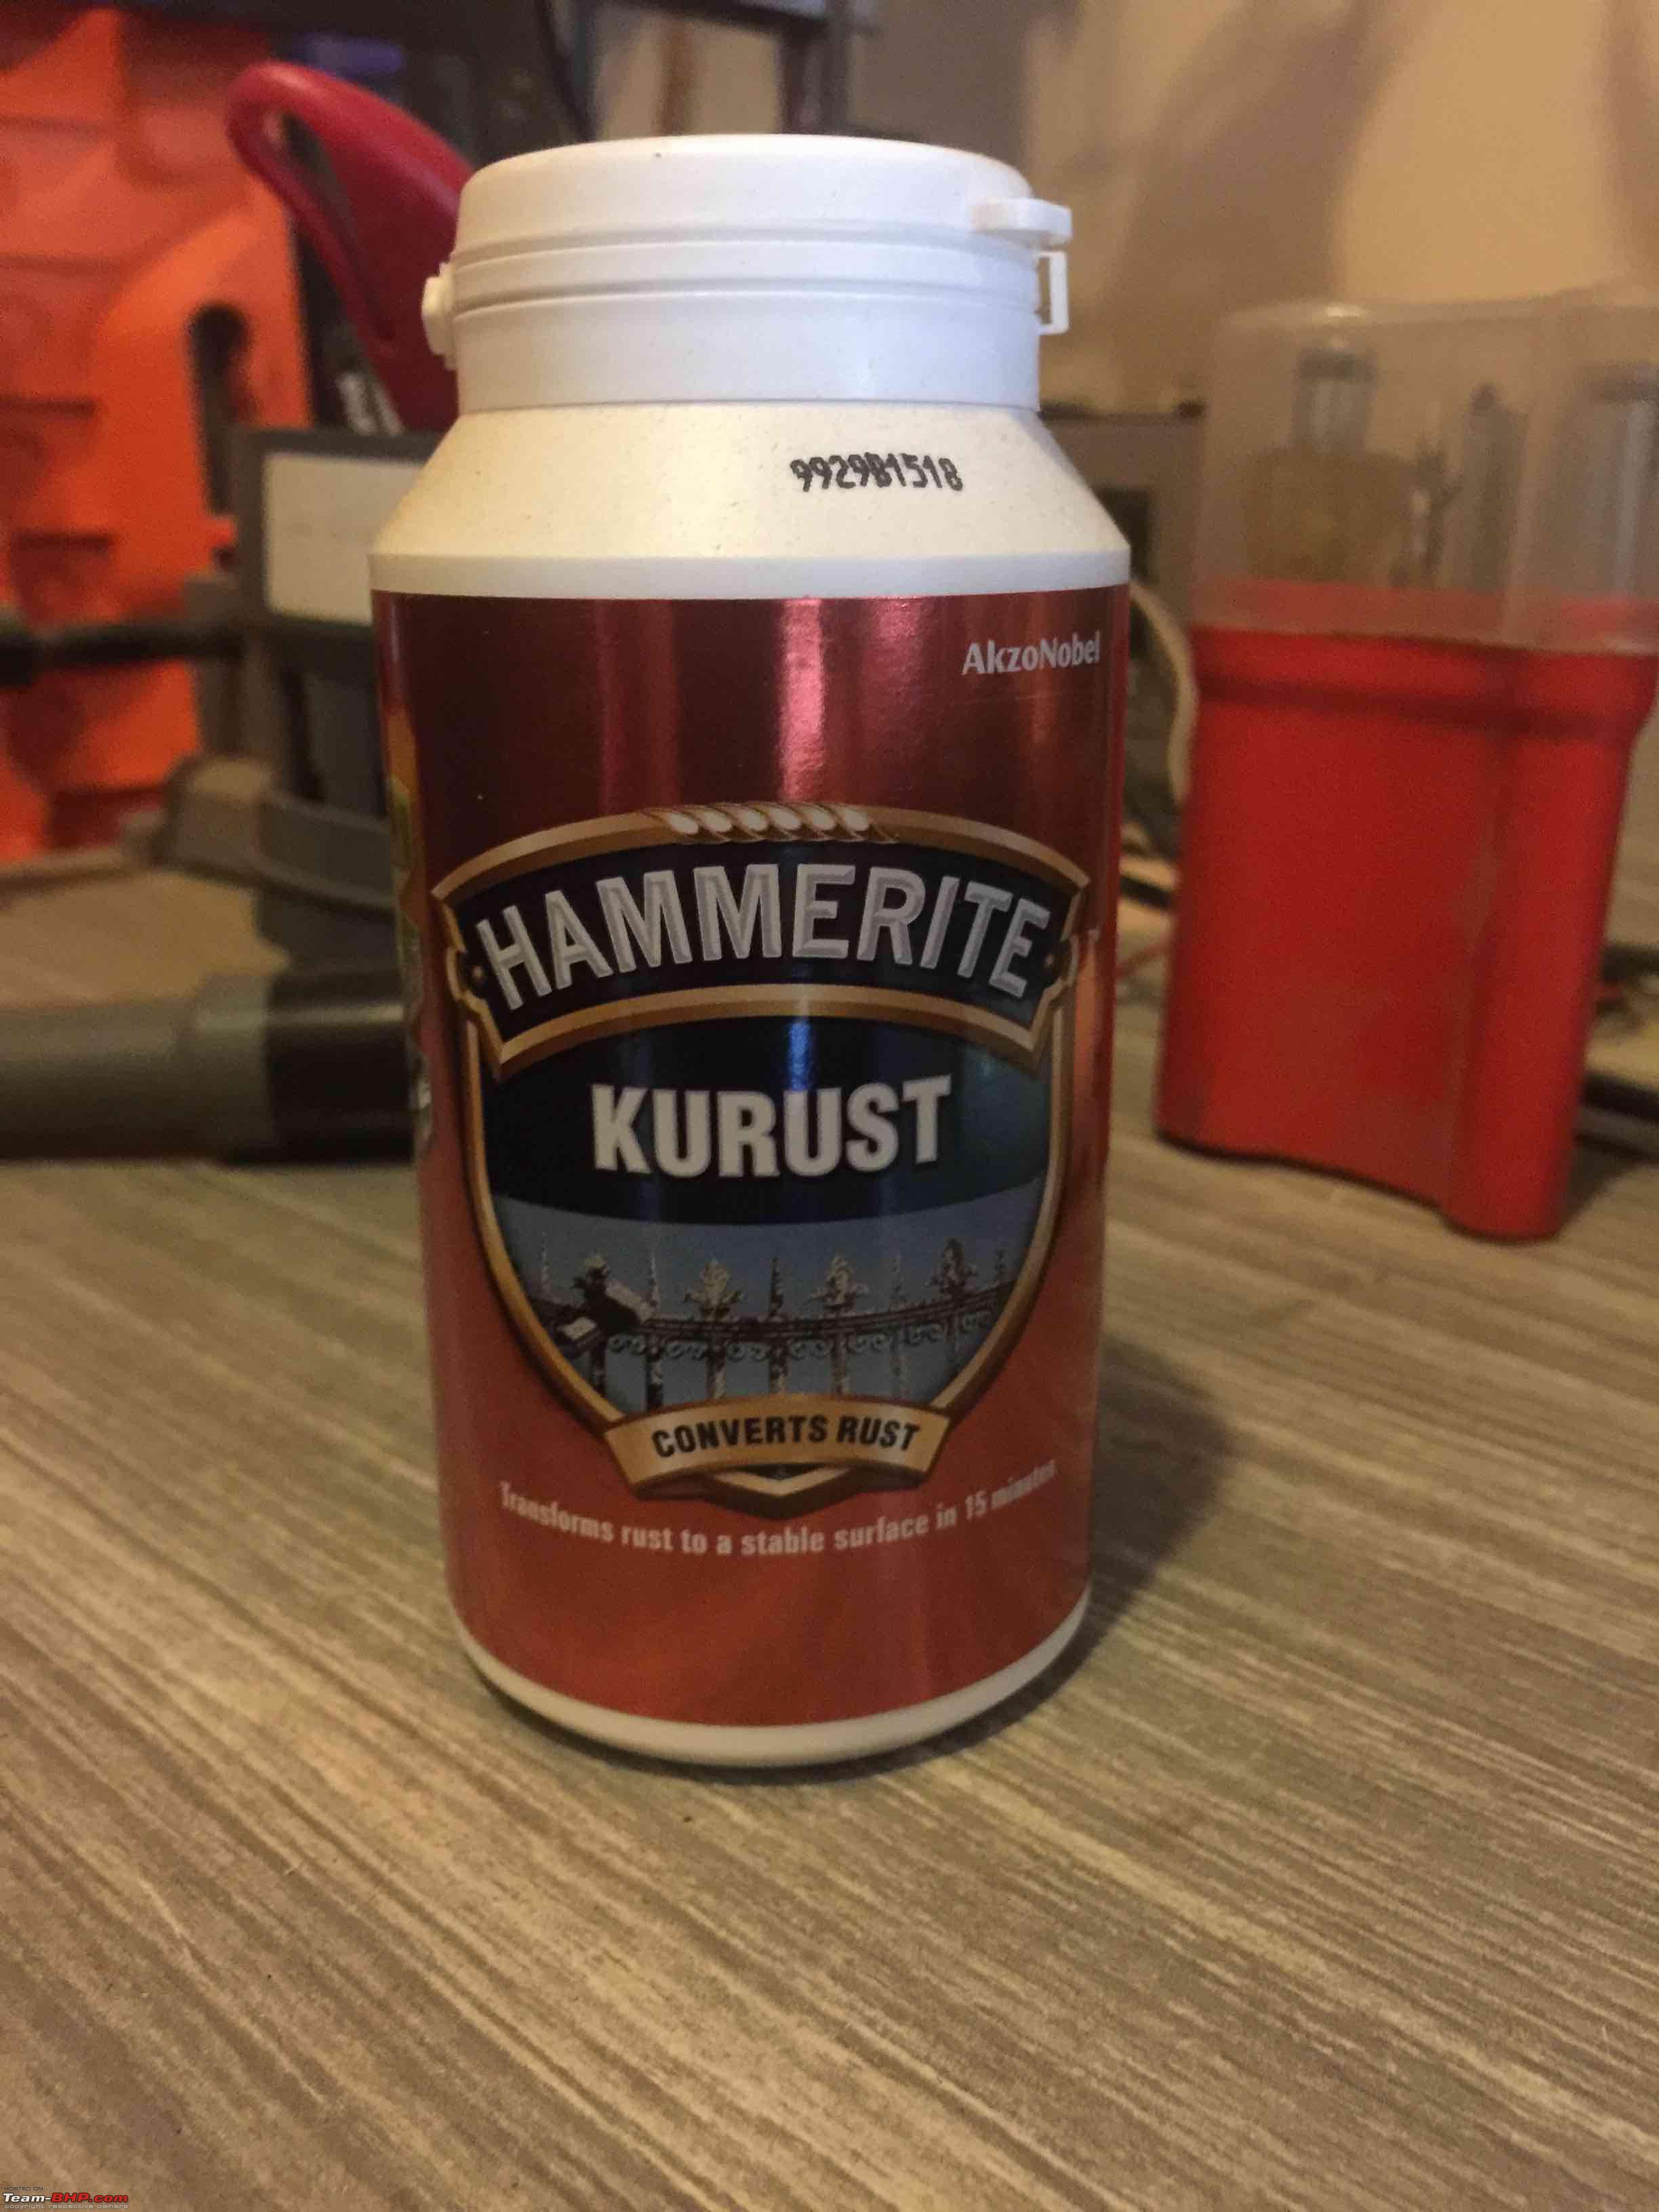
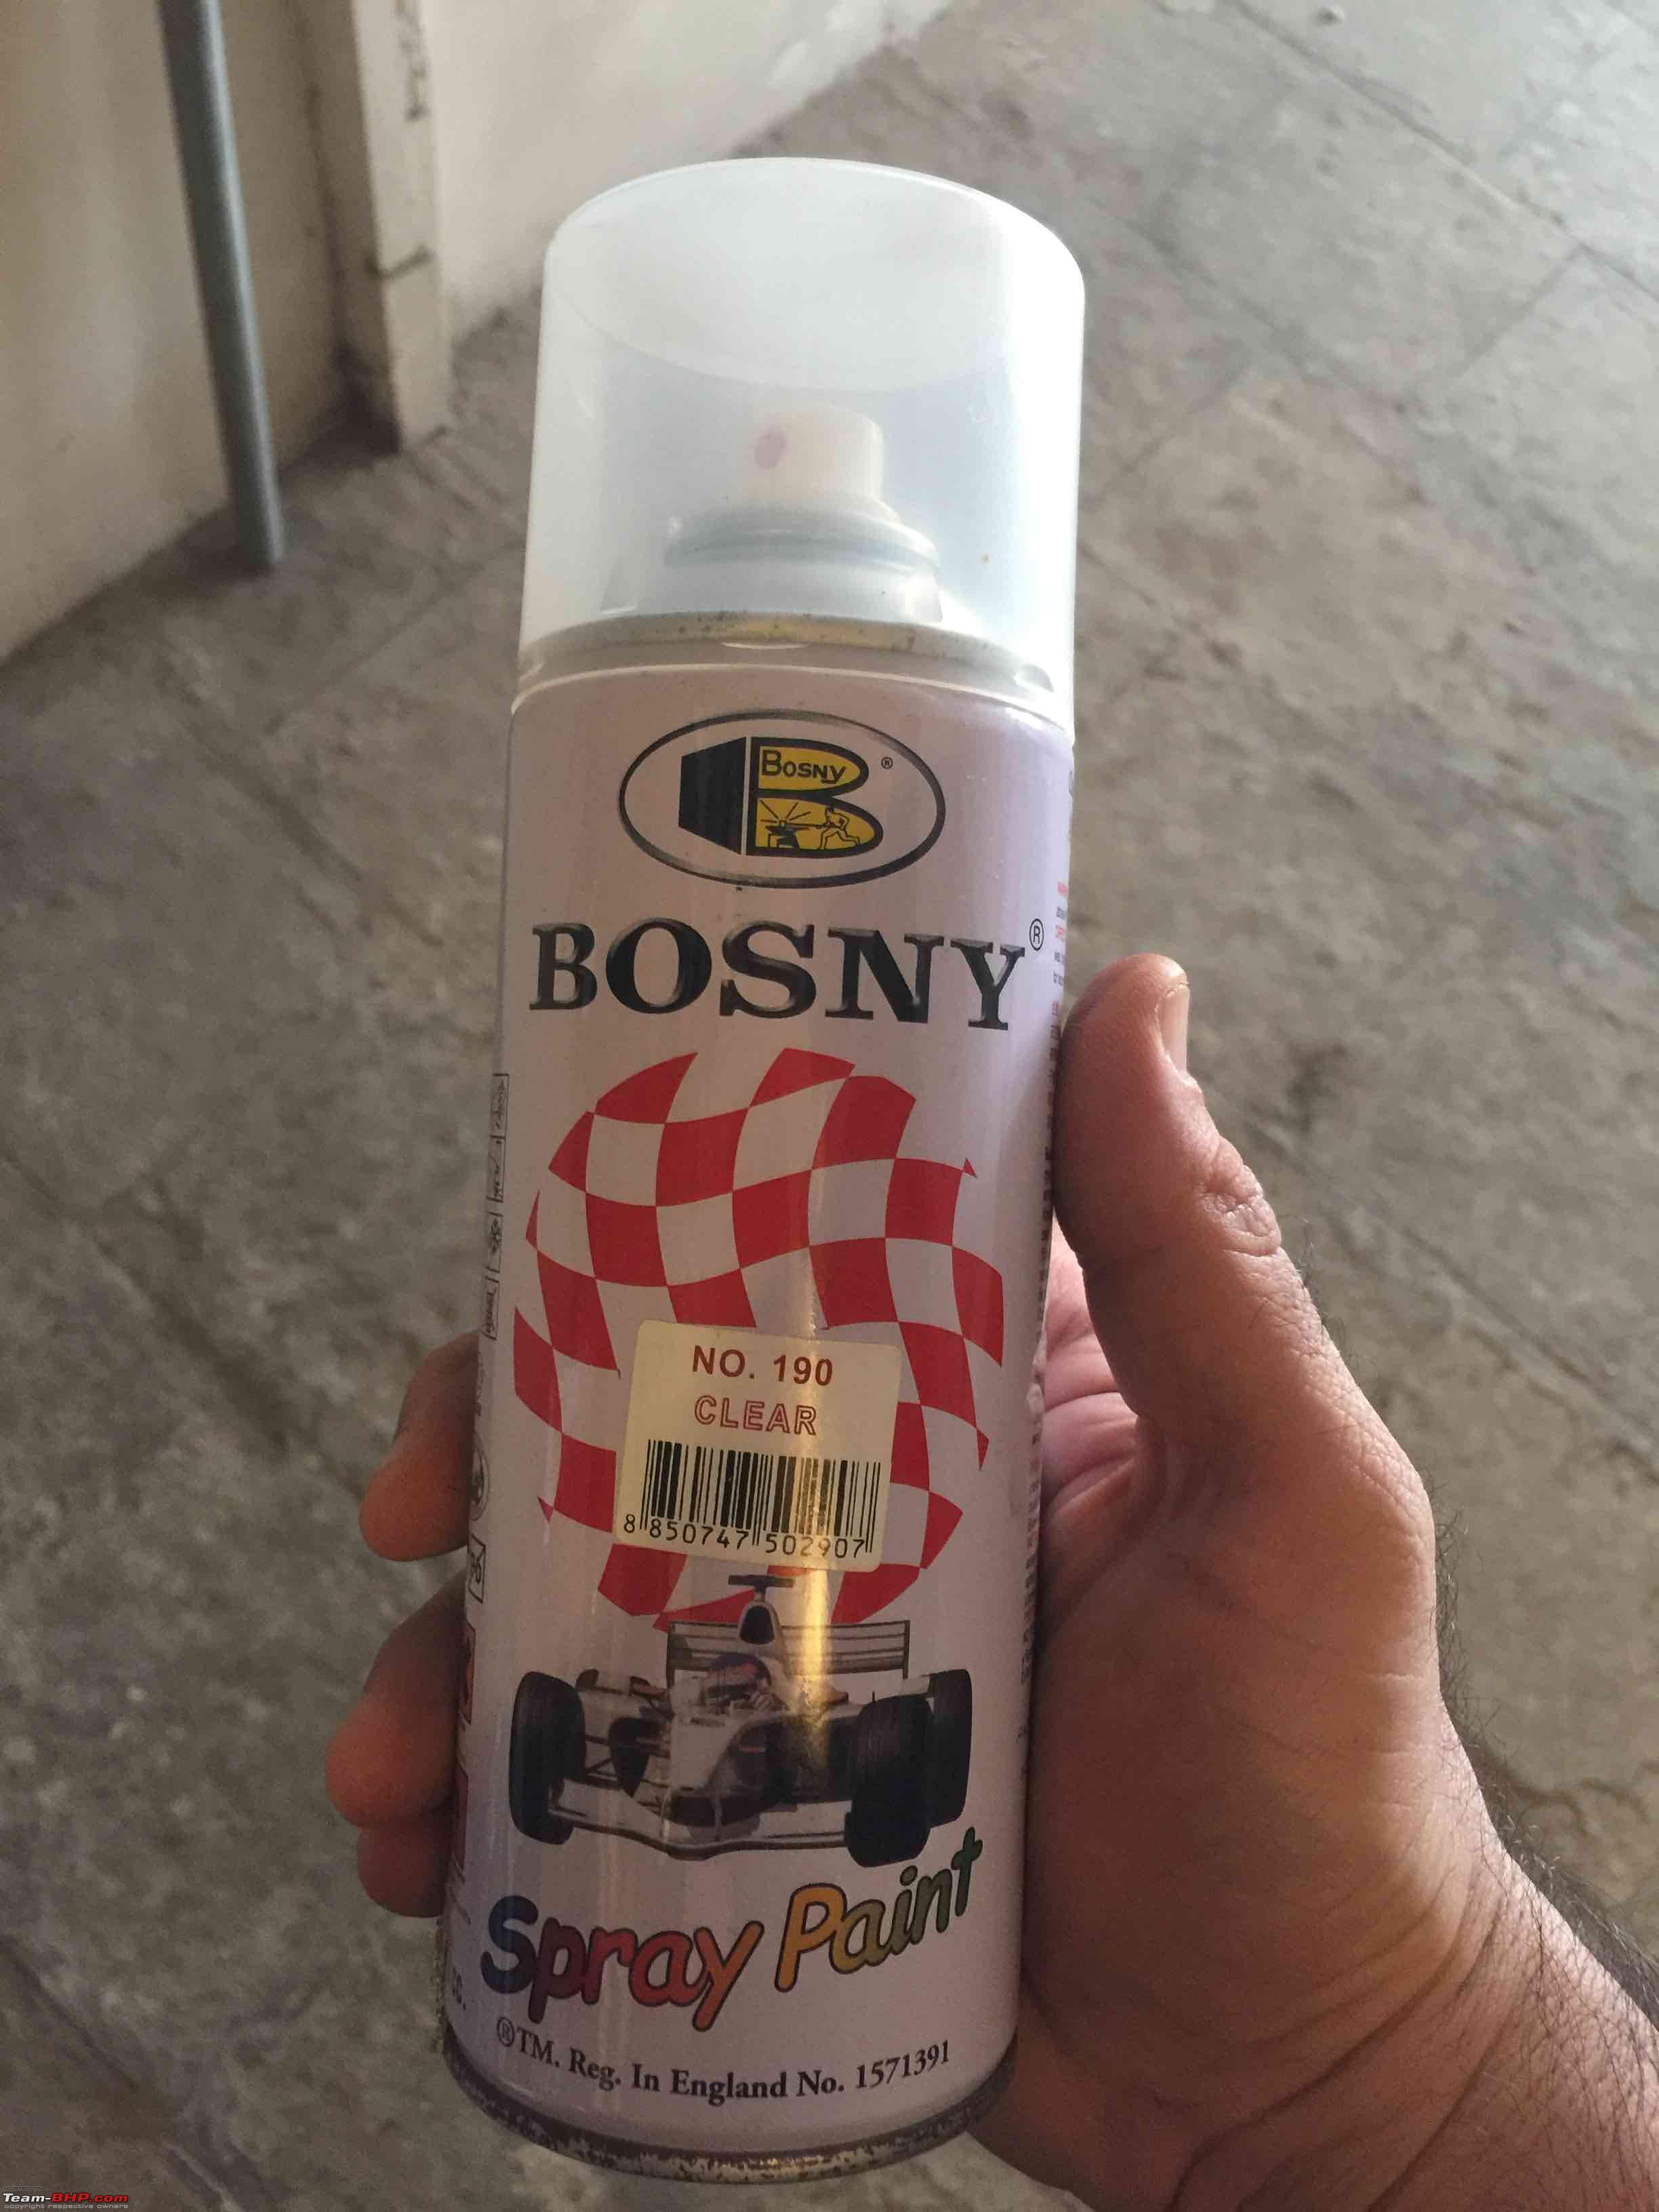
When my parents were in UK last year, I had procured Hammerite Kurust from there and they carried it back.
It's got great reviews on amazon:
https://www.amazon.co.uk/Hammerite-5...P8H83ZR08G2VD0 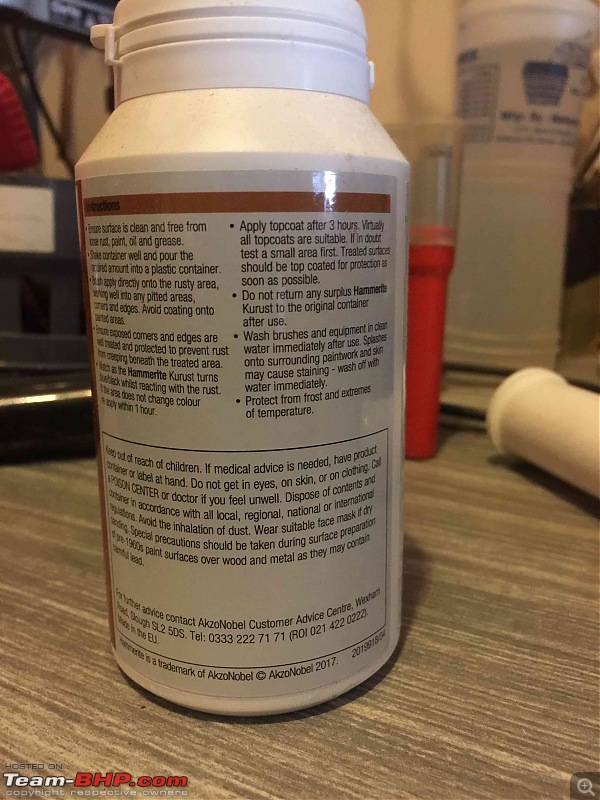

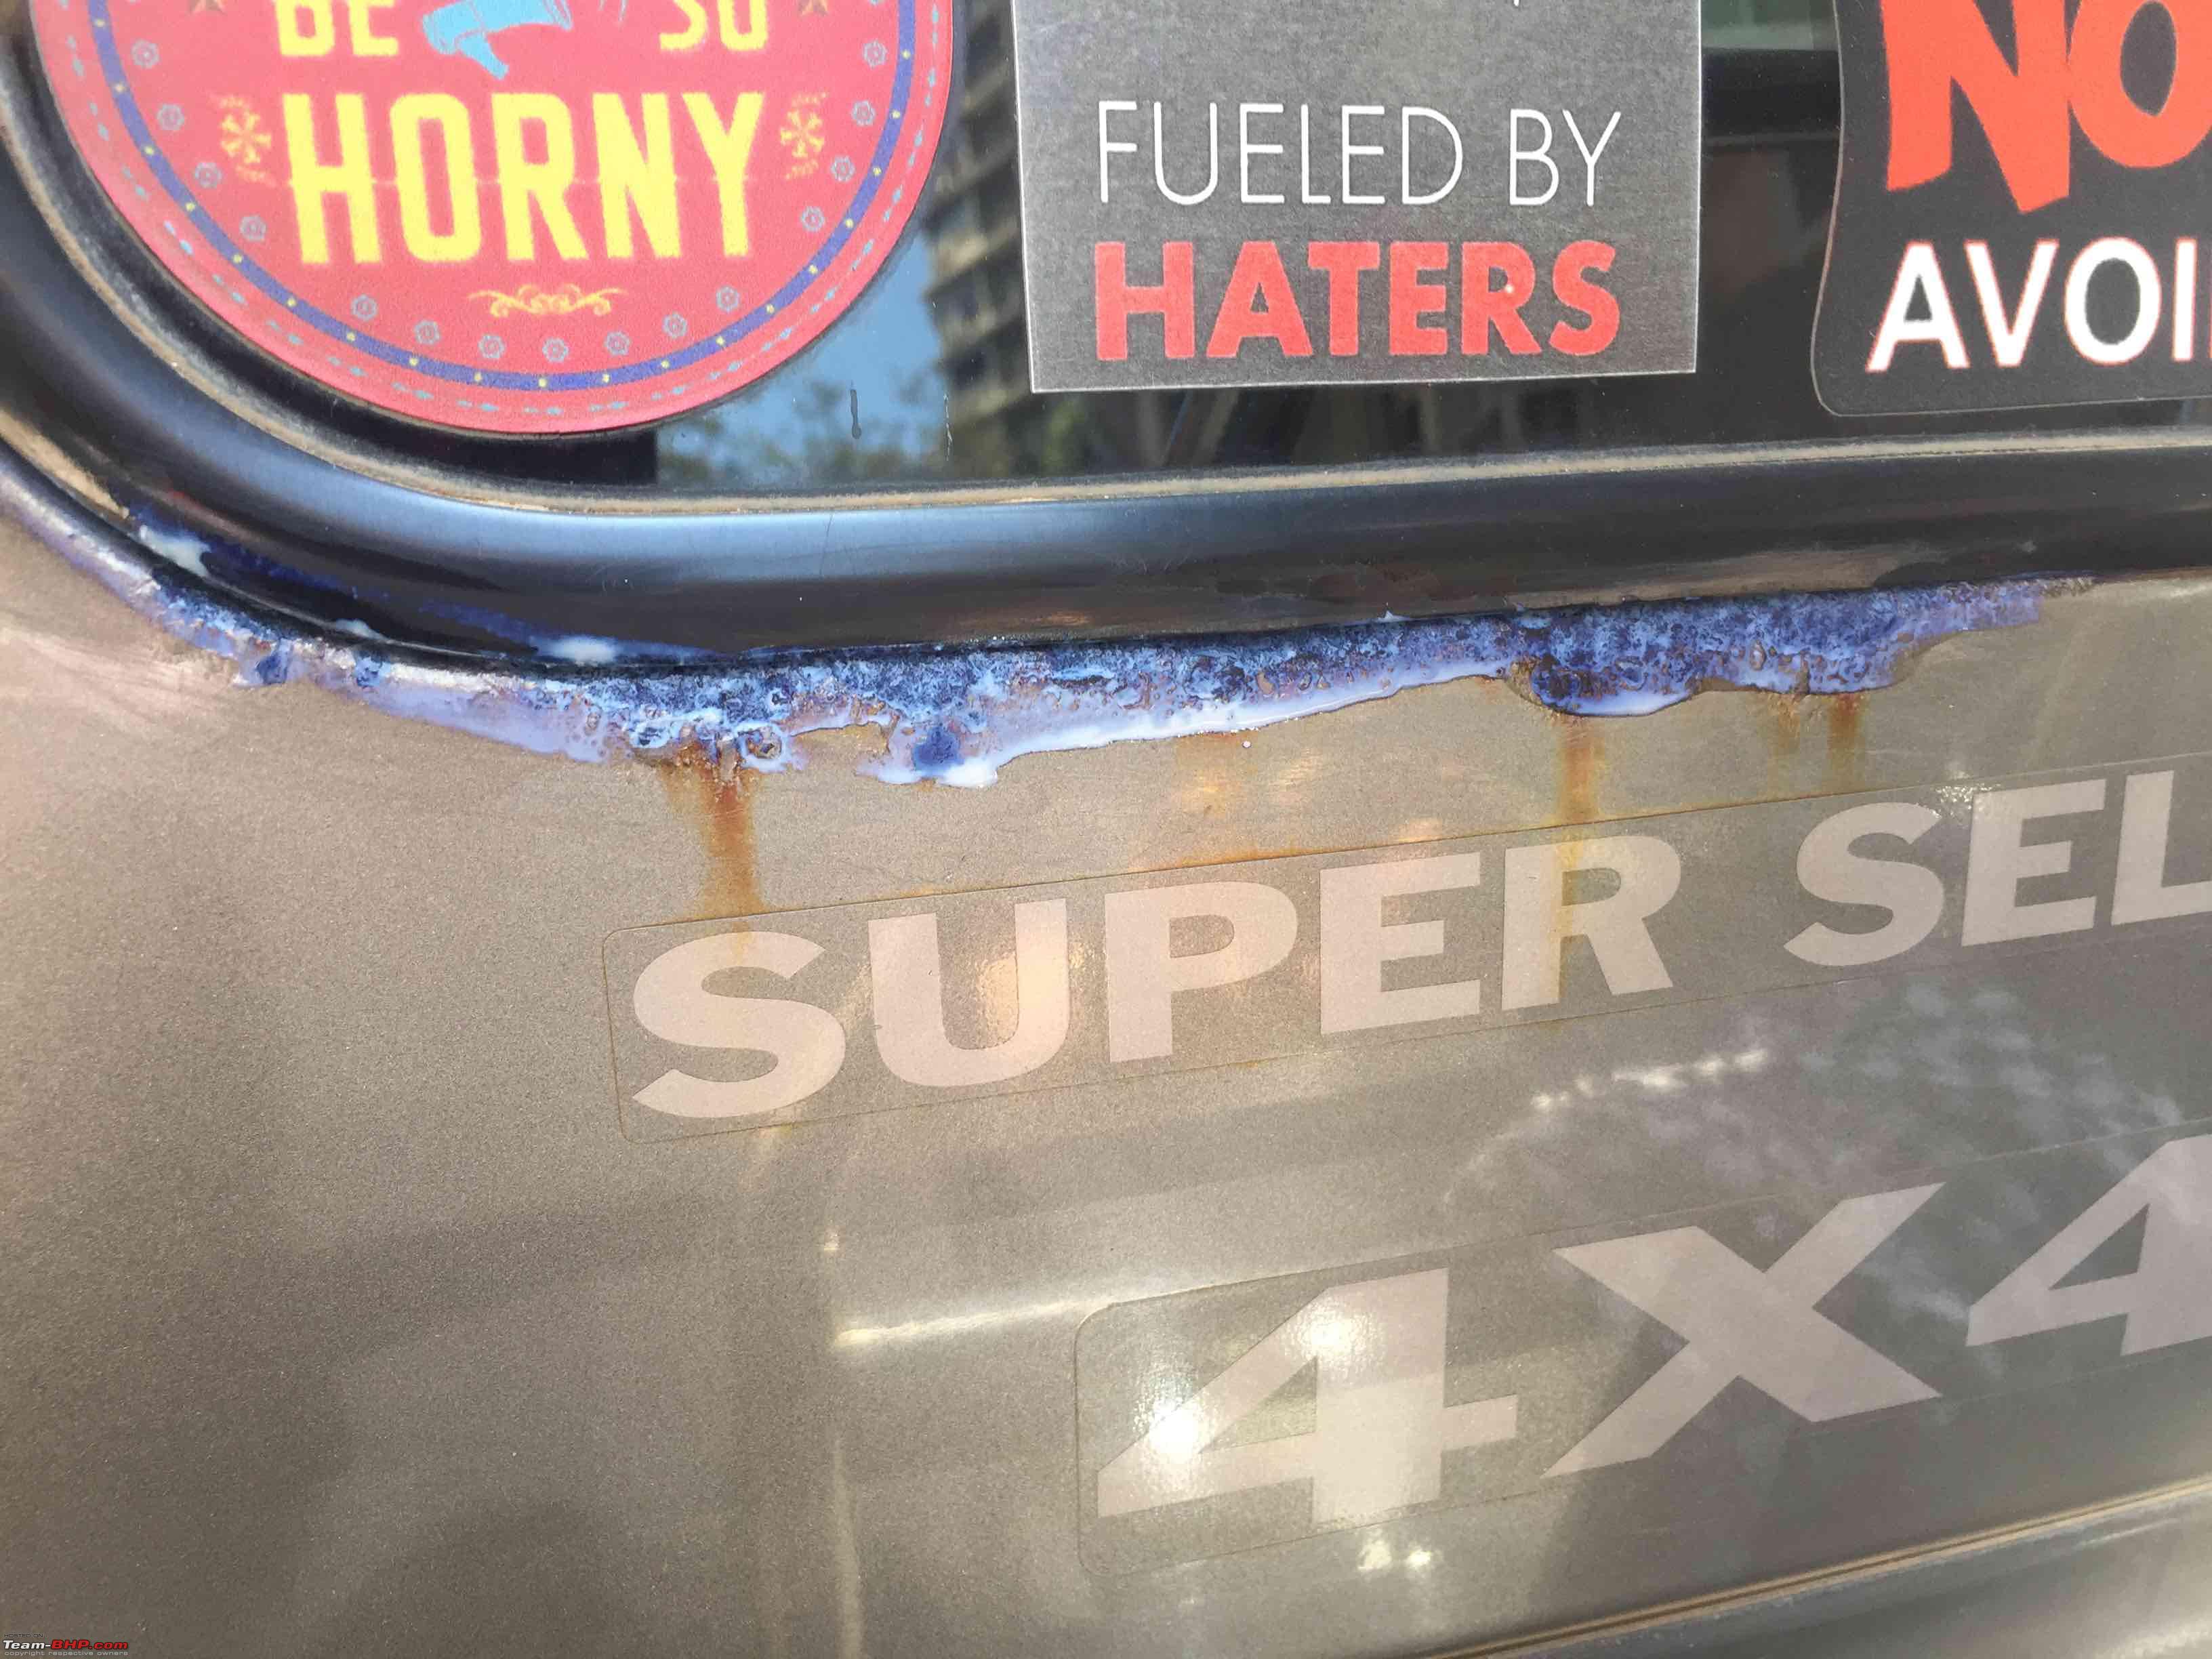
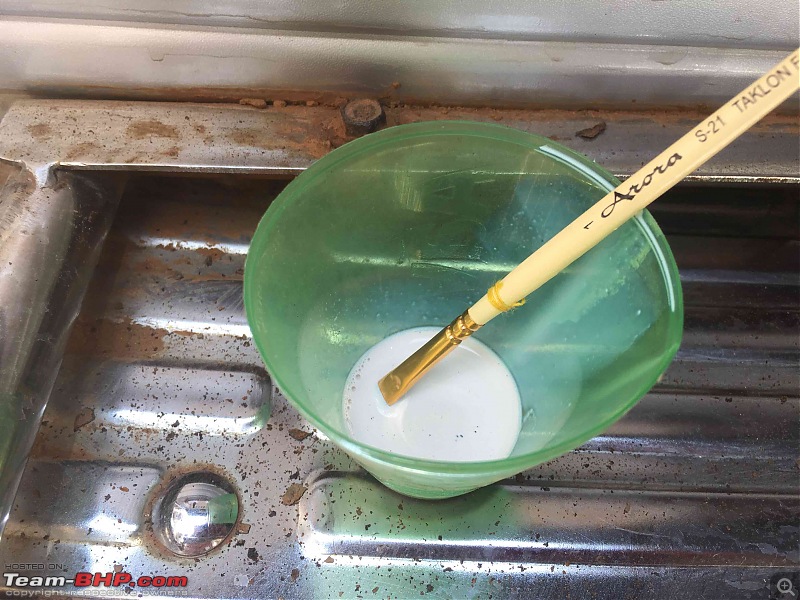
Sanded and cleaned the area as good as I could:

The Hammerite in a bowl with a bush flicked from my son's paint set ;)
Painting on the rust:

Finished and now to let it dry:
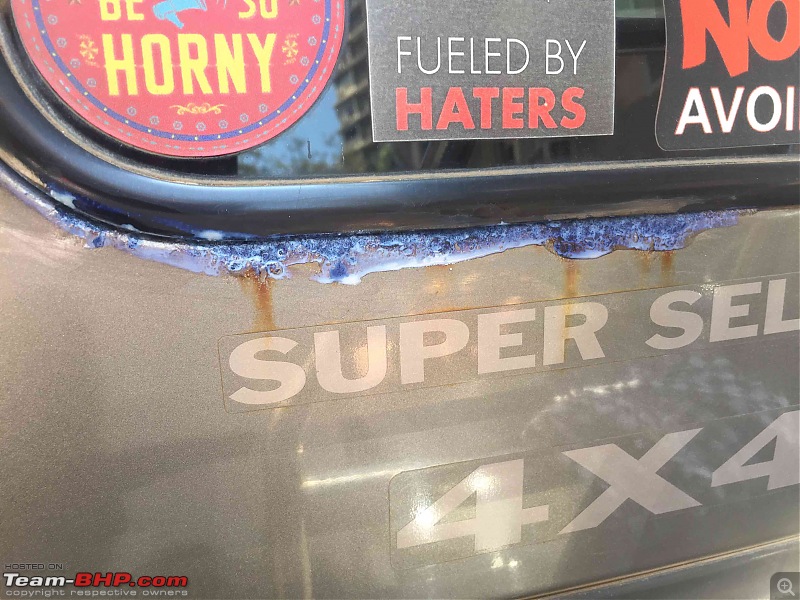
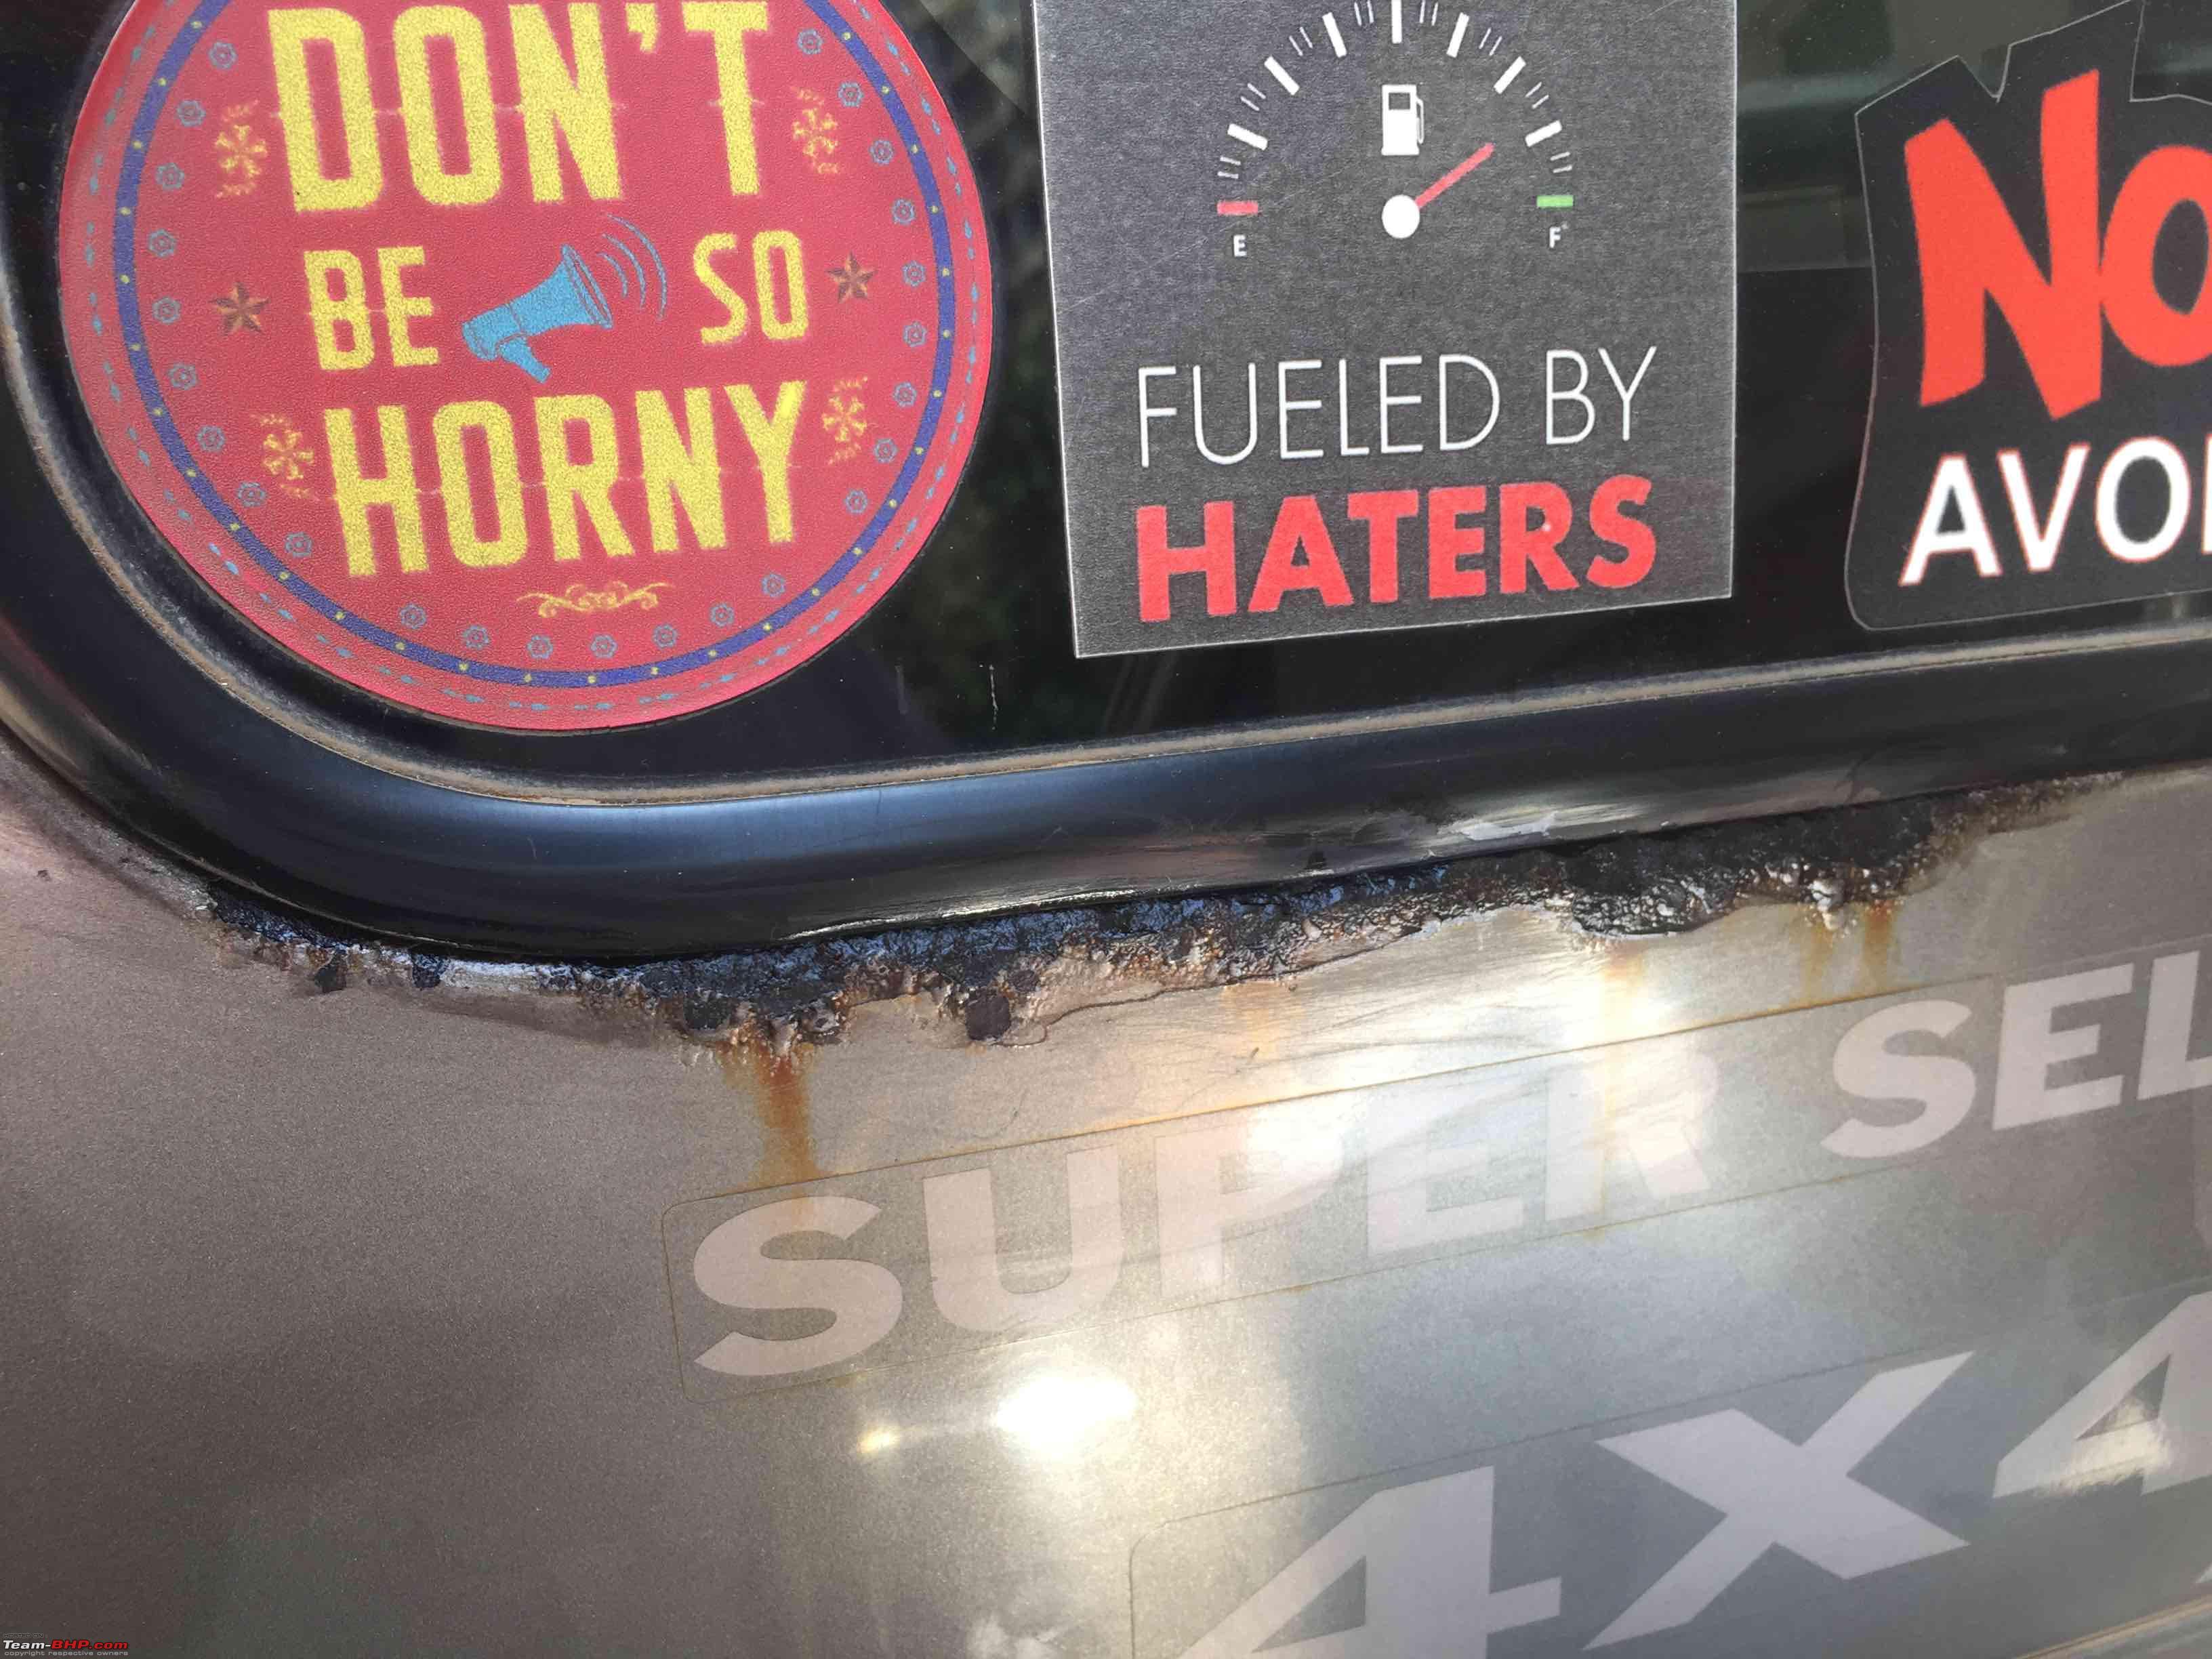
Changed colour and dried properly after 3 hours:

Closer view:

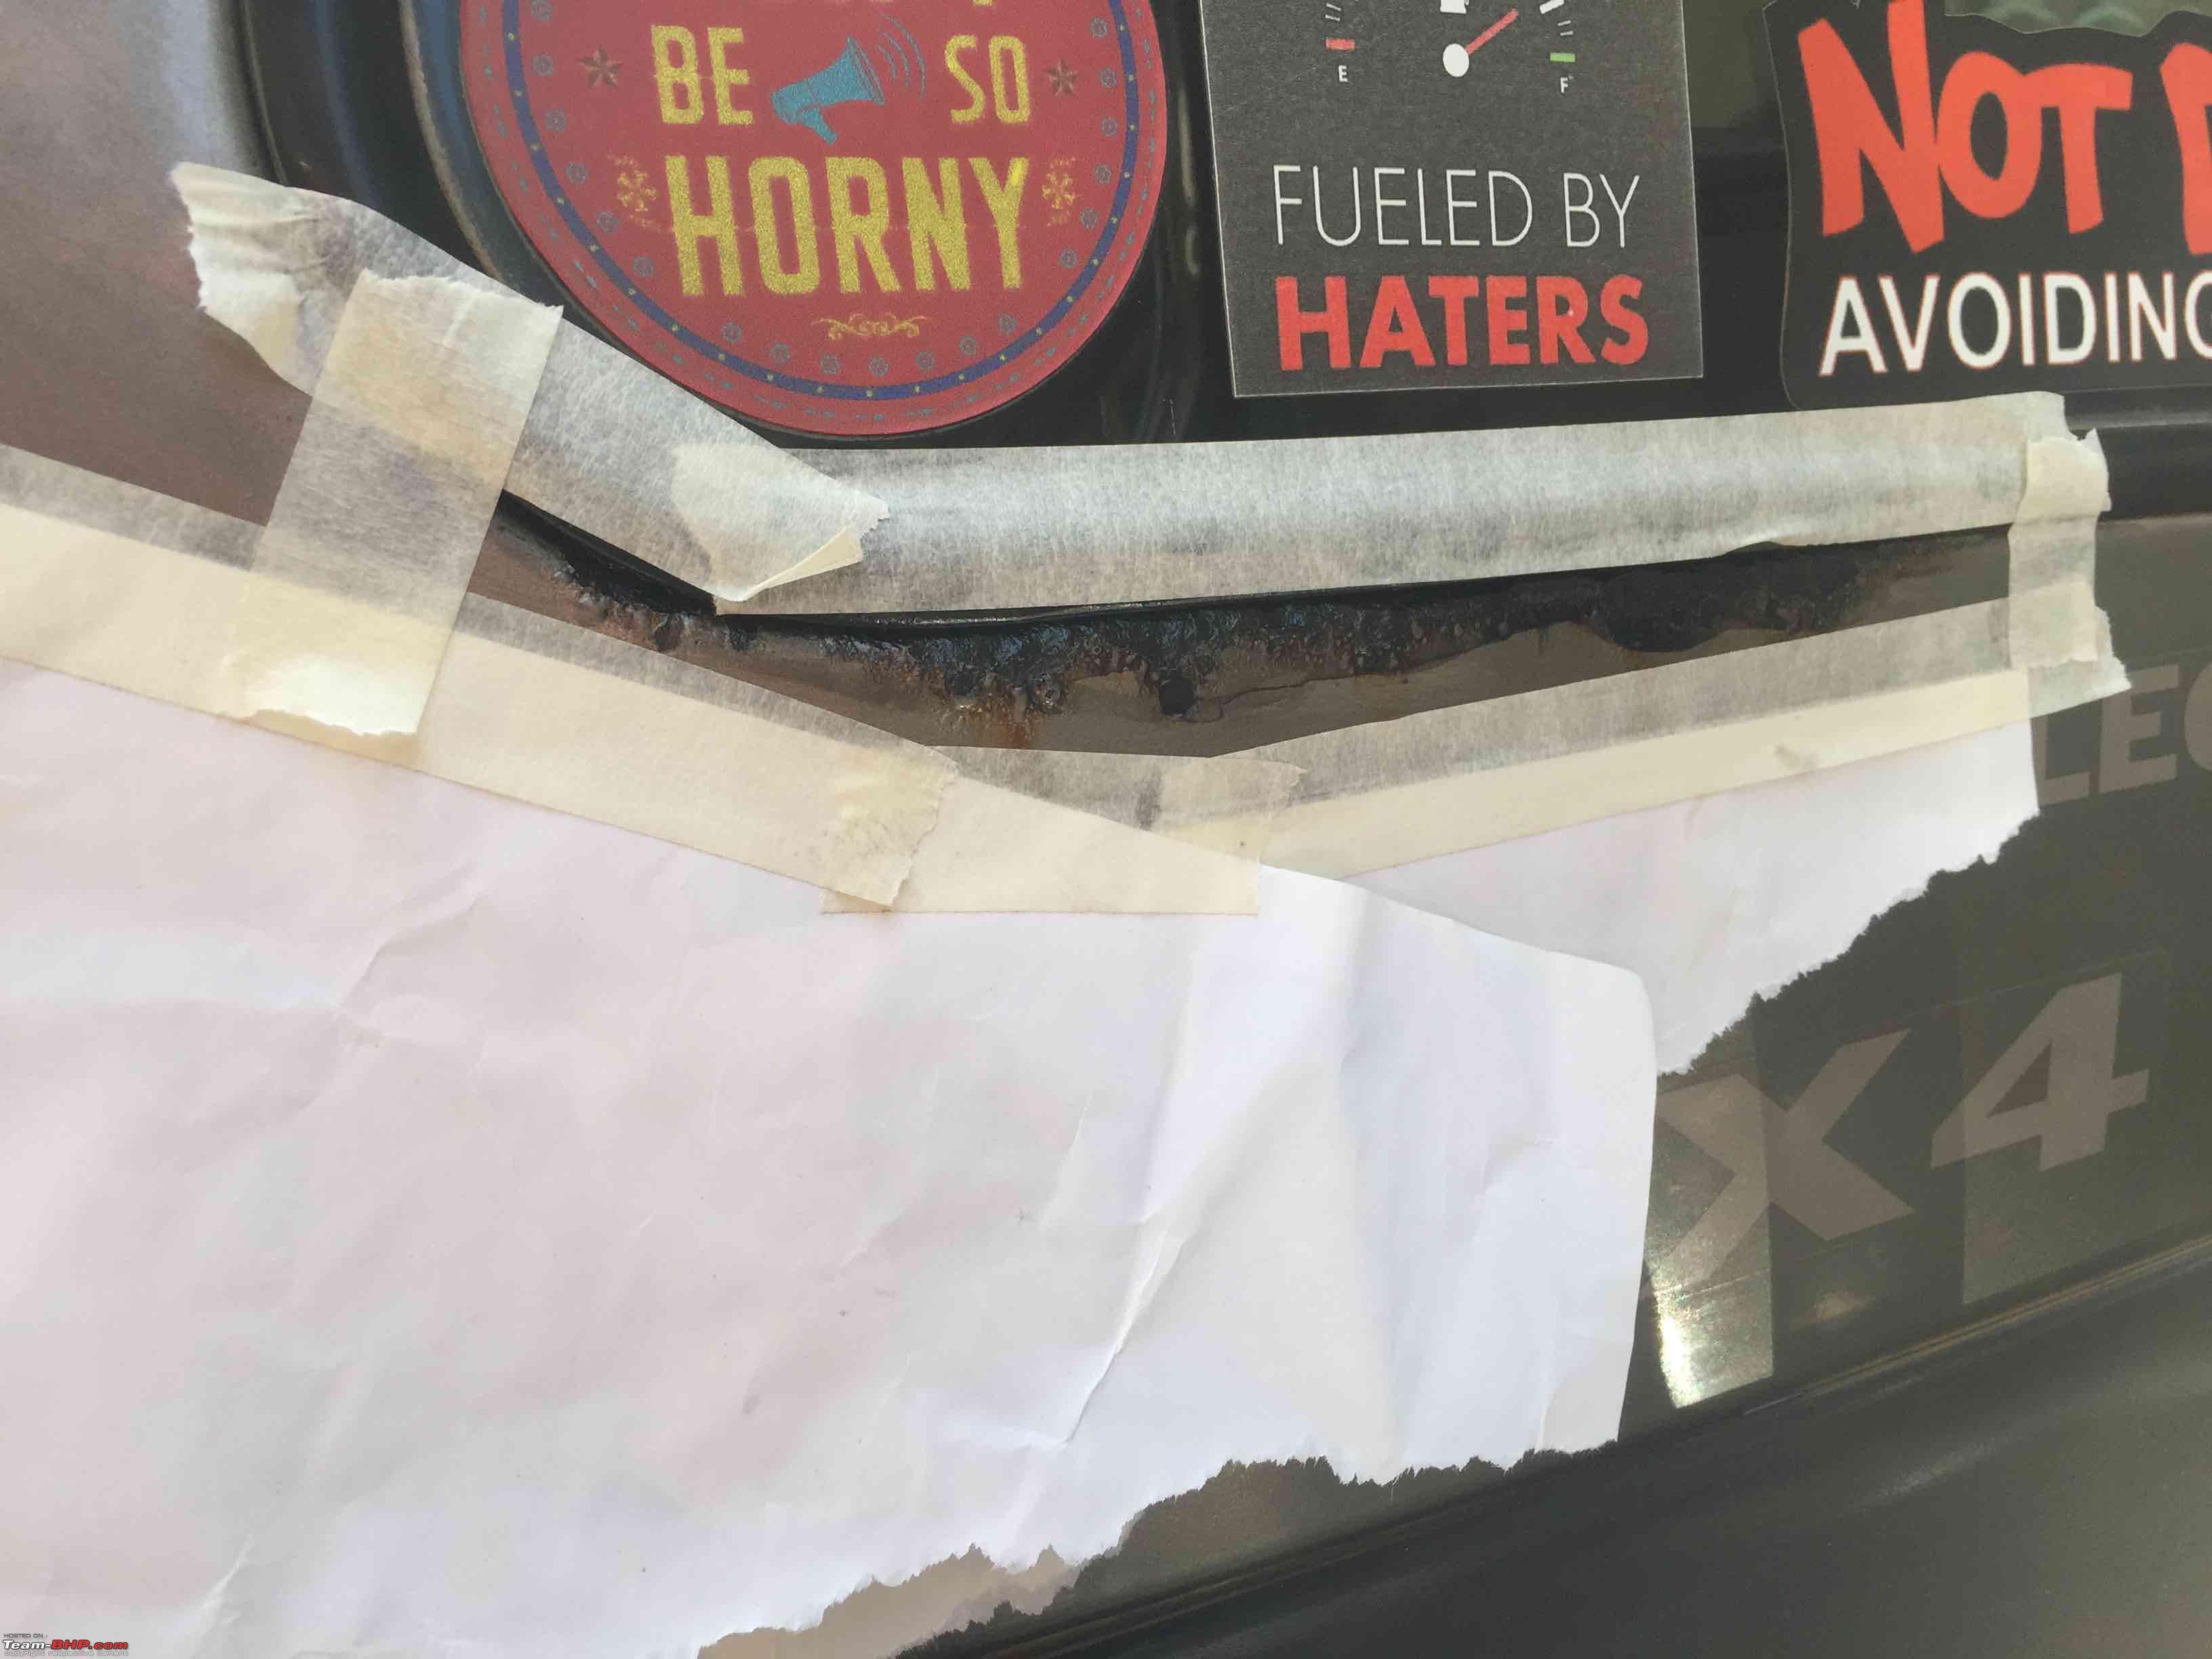
The clear coat:

I did not have matching colour spray so thought I'll just protect the area with clear coat for the time being.
Masked the area:

Clear Coat sprayed:

Masking removed:
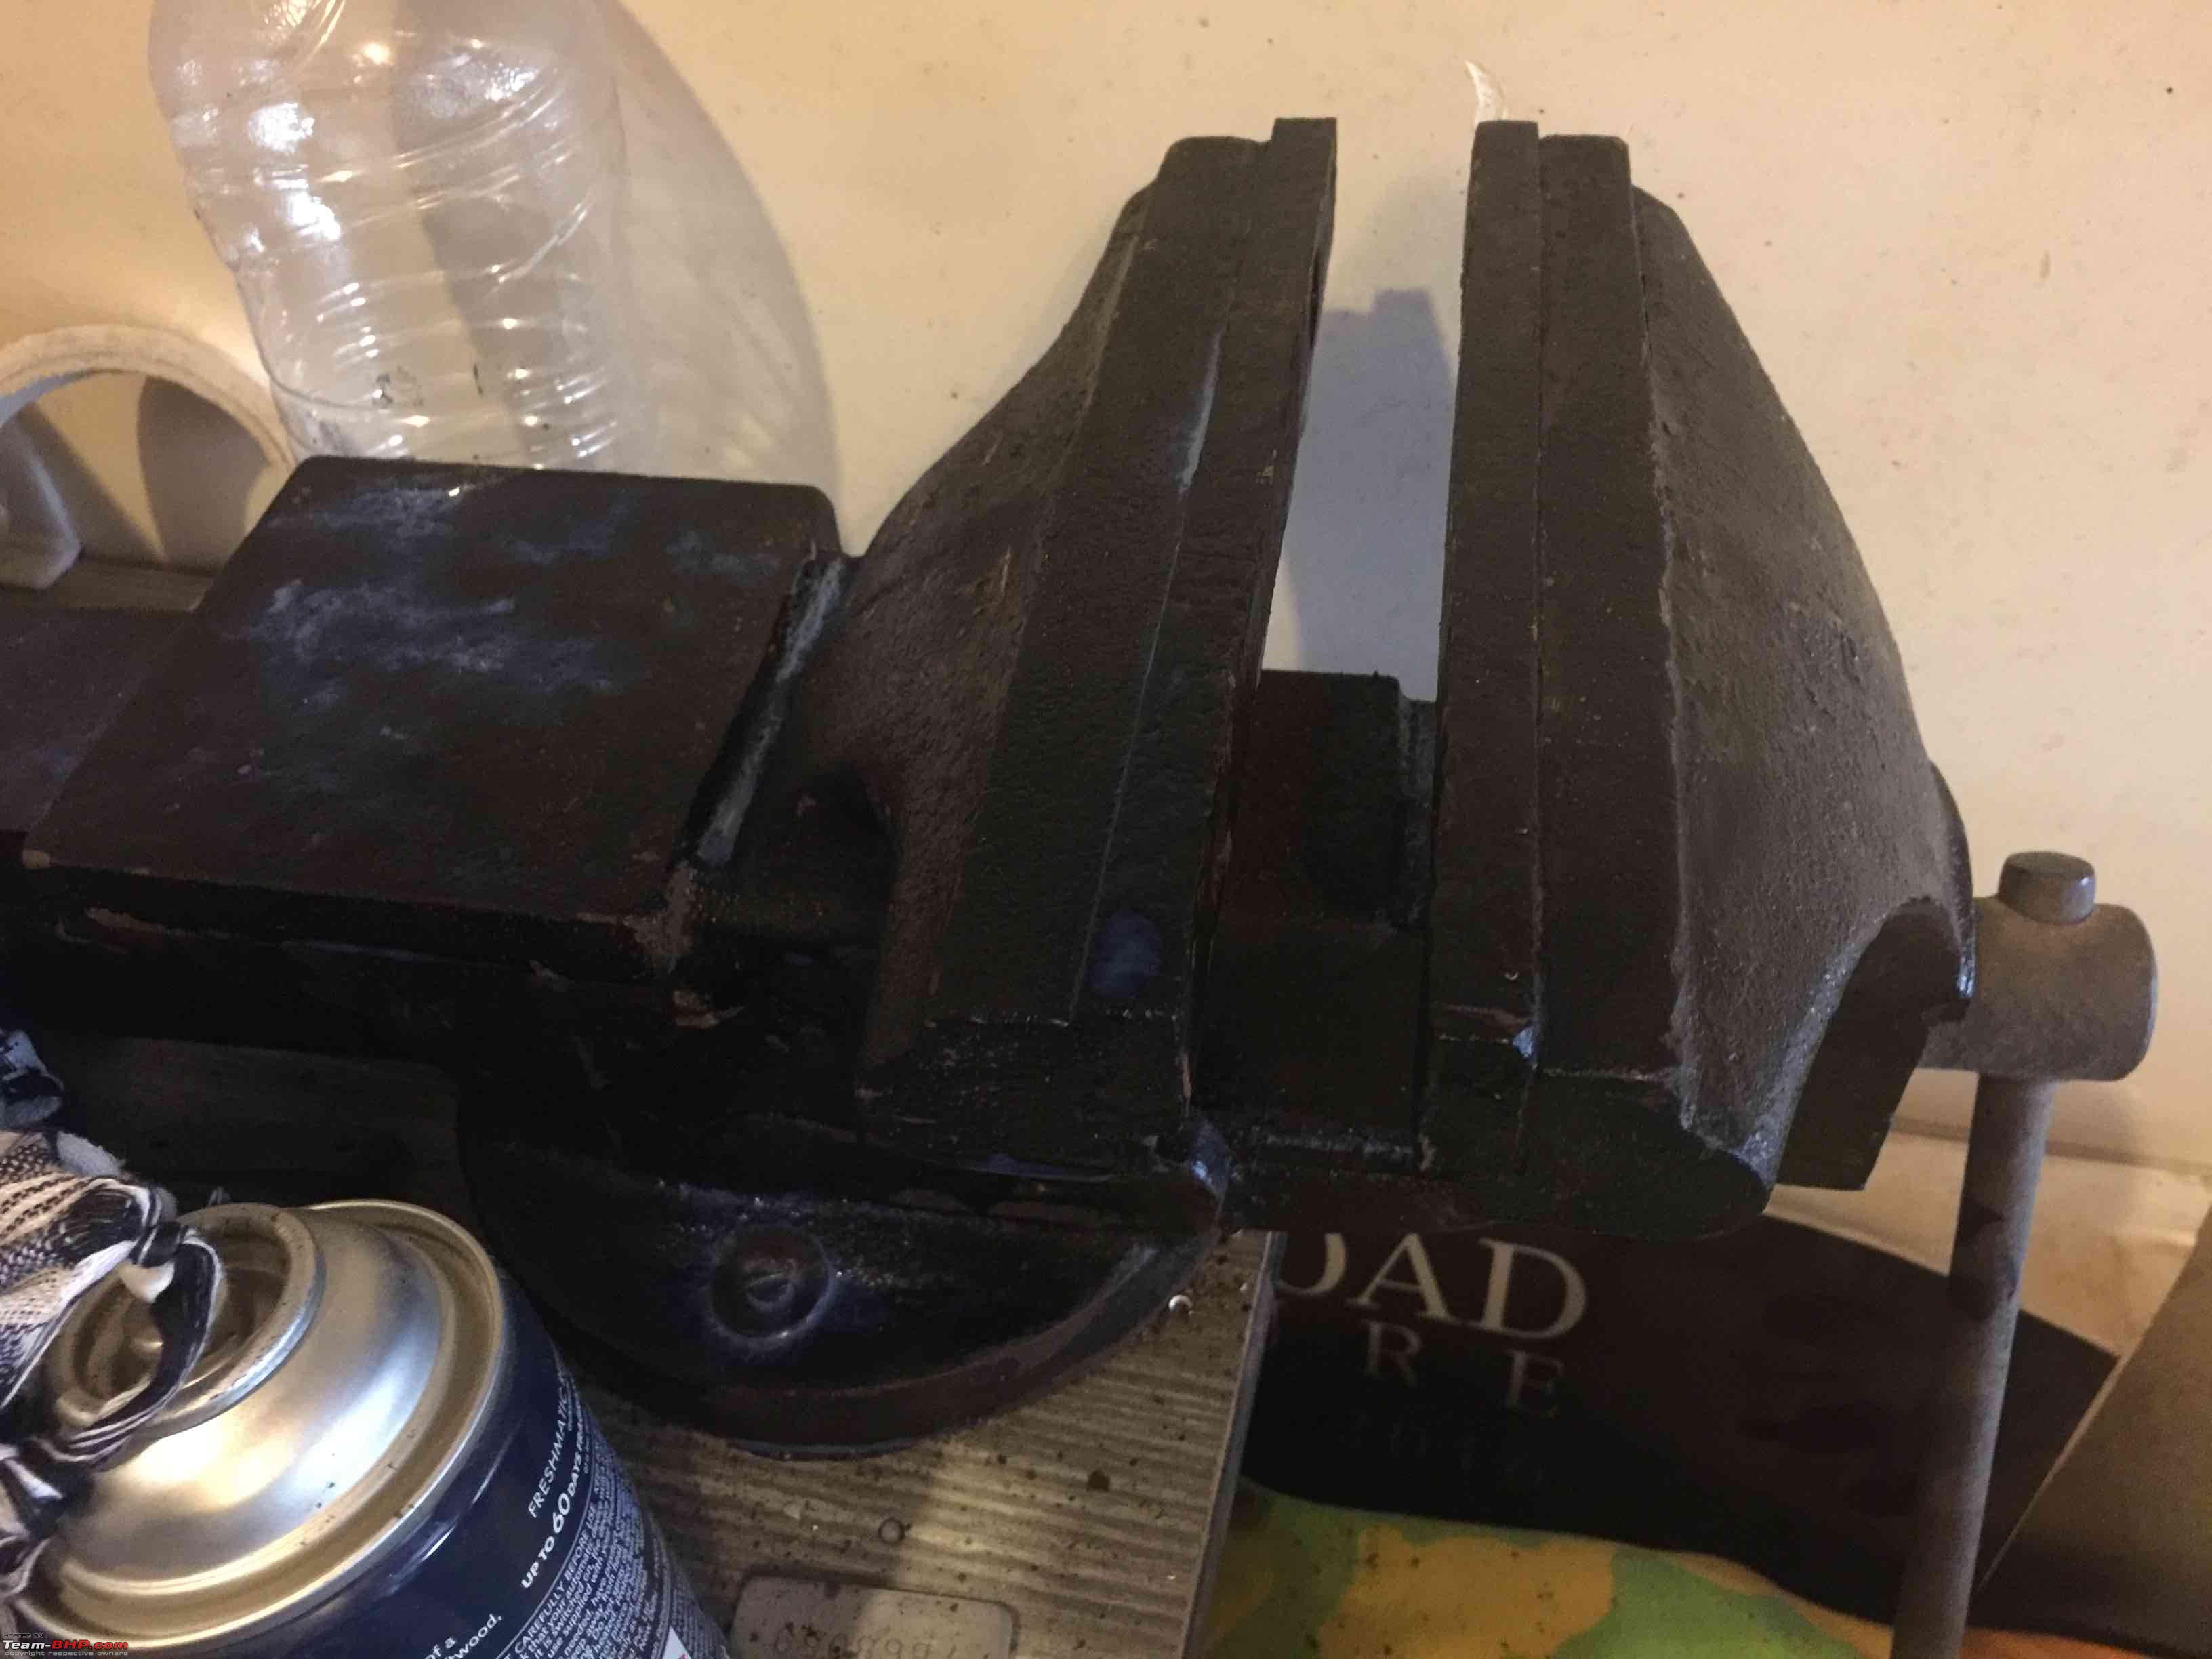
Didn't want to waste the left over Hammerite and you can't put it back so I painted on one rusted vise that I had:

Great job. Now you need to get the paint done and you are good. One question though, how come that area rusted. That's a straight vertical point and water can't stand there. So I am wondering how it got rusted, are you in an area where there is lot of salt water in the air.....and what model year is your vehicle.
Quote:
Originally Posted by Traveler
(Post 4552838)
Great job. Now you need to get the paint done and you are good. One question though, how come that area rusted. That's a straight vertical point and water can't stand there. So I am wondering how it got rusted, are you in an area where there is lot of salt water in the air.....and what model year is your vehicle.
|
Yes, I'm near to the sea and I bought her second hand when she had clocked 80,000kms. She's Dec 2010 manufactured.
And the rust was there when I bought her and unfortunately it was my laziness that prevented me from actioning on it sooner.
Why that area got rusted? I have no clue whatsoever.
Quote:
Originally Posted by Tejas@perioimpl
(Post 4553852)
Yes, I'm near to the sea and I bought her second hand when she had clocked 80,000kms. She's Dec 2010 manufactured.
And the rust was there when I bought her and unfortunately it was my laziness that prevented me from actioning on it sooner.
Why that area got rusted? I have no clue whatsoever.
|
Ok being near the sea could explain the rust. Anyway you fixed it neatly and it won't spread now.
Mine is a 2011 April and done 1.05L , torchwood no rust signs anywhere. But then I have never been in a coastal area..
Quote:
Originally Posted by Tejas@perioimpl
(Post 4553852)
Why that area got rusted? I have no clue whatsoever.
|
Areas below the glass are prone to rust due to water collecting in the rubber beading.
Quote:
Originally Posted by Tejas@perioimpl
(Post 4543158)
...
The only thing missing is the front of the drawers. Because the camping trip was coming up, i just screwed in pieces of spare PVC.
What I have ordered from amazon are lockable stainless steel paddle slam latches that are used in RVs and a uncle was kind enough to carry it down for me from the USA.
This will be fitted to the front fascia.
Will keep updating this threads I progress.
|
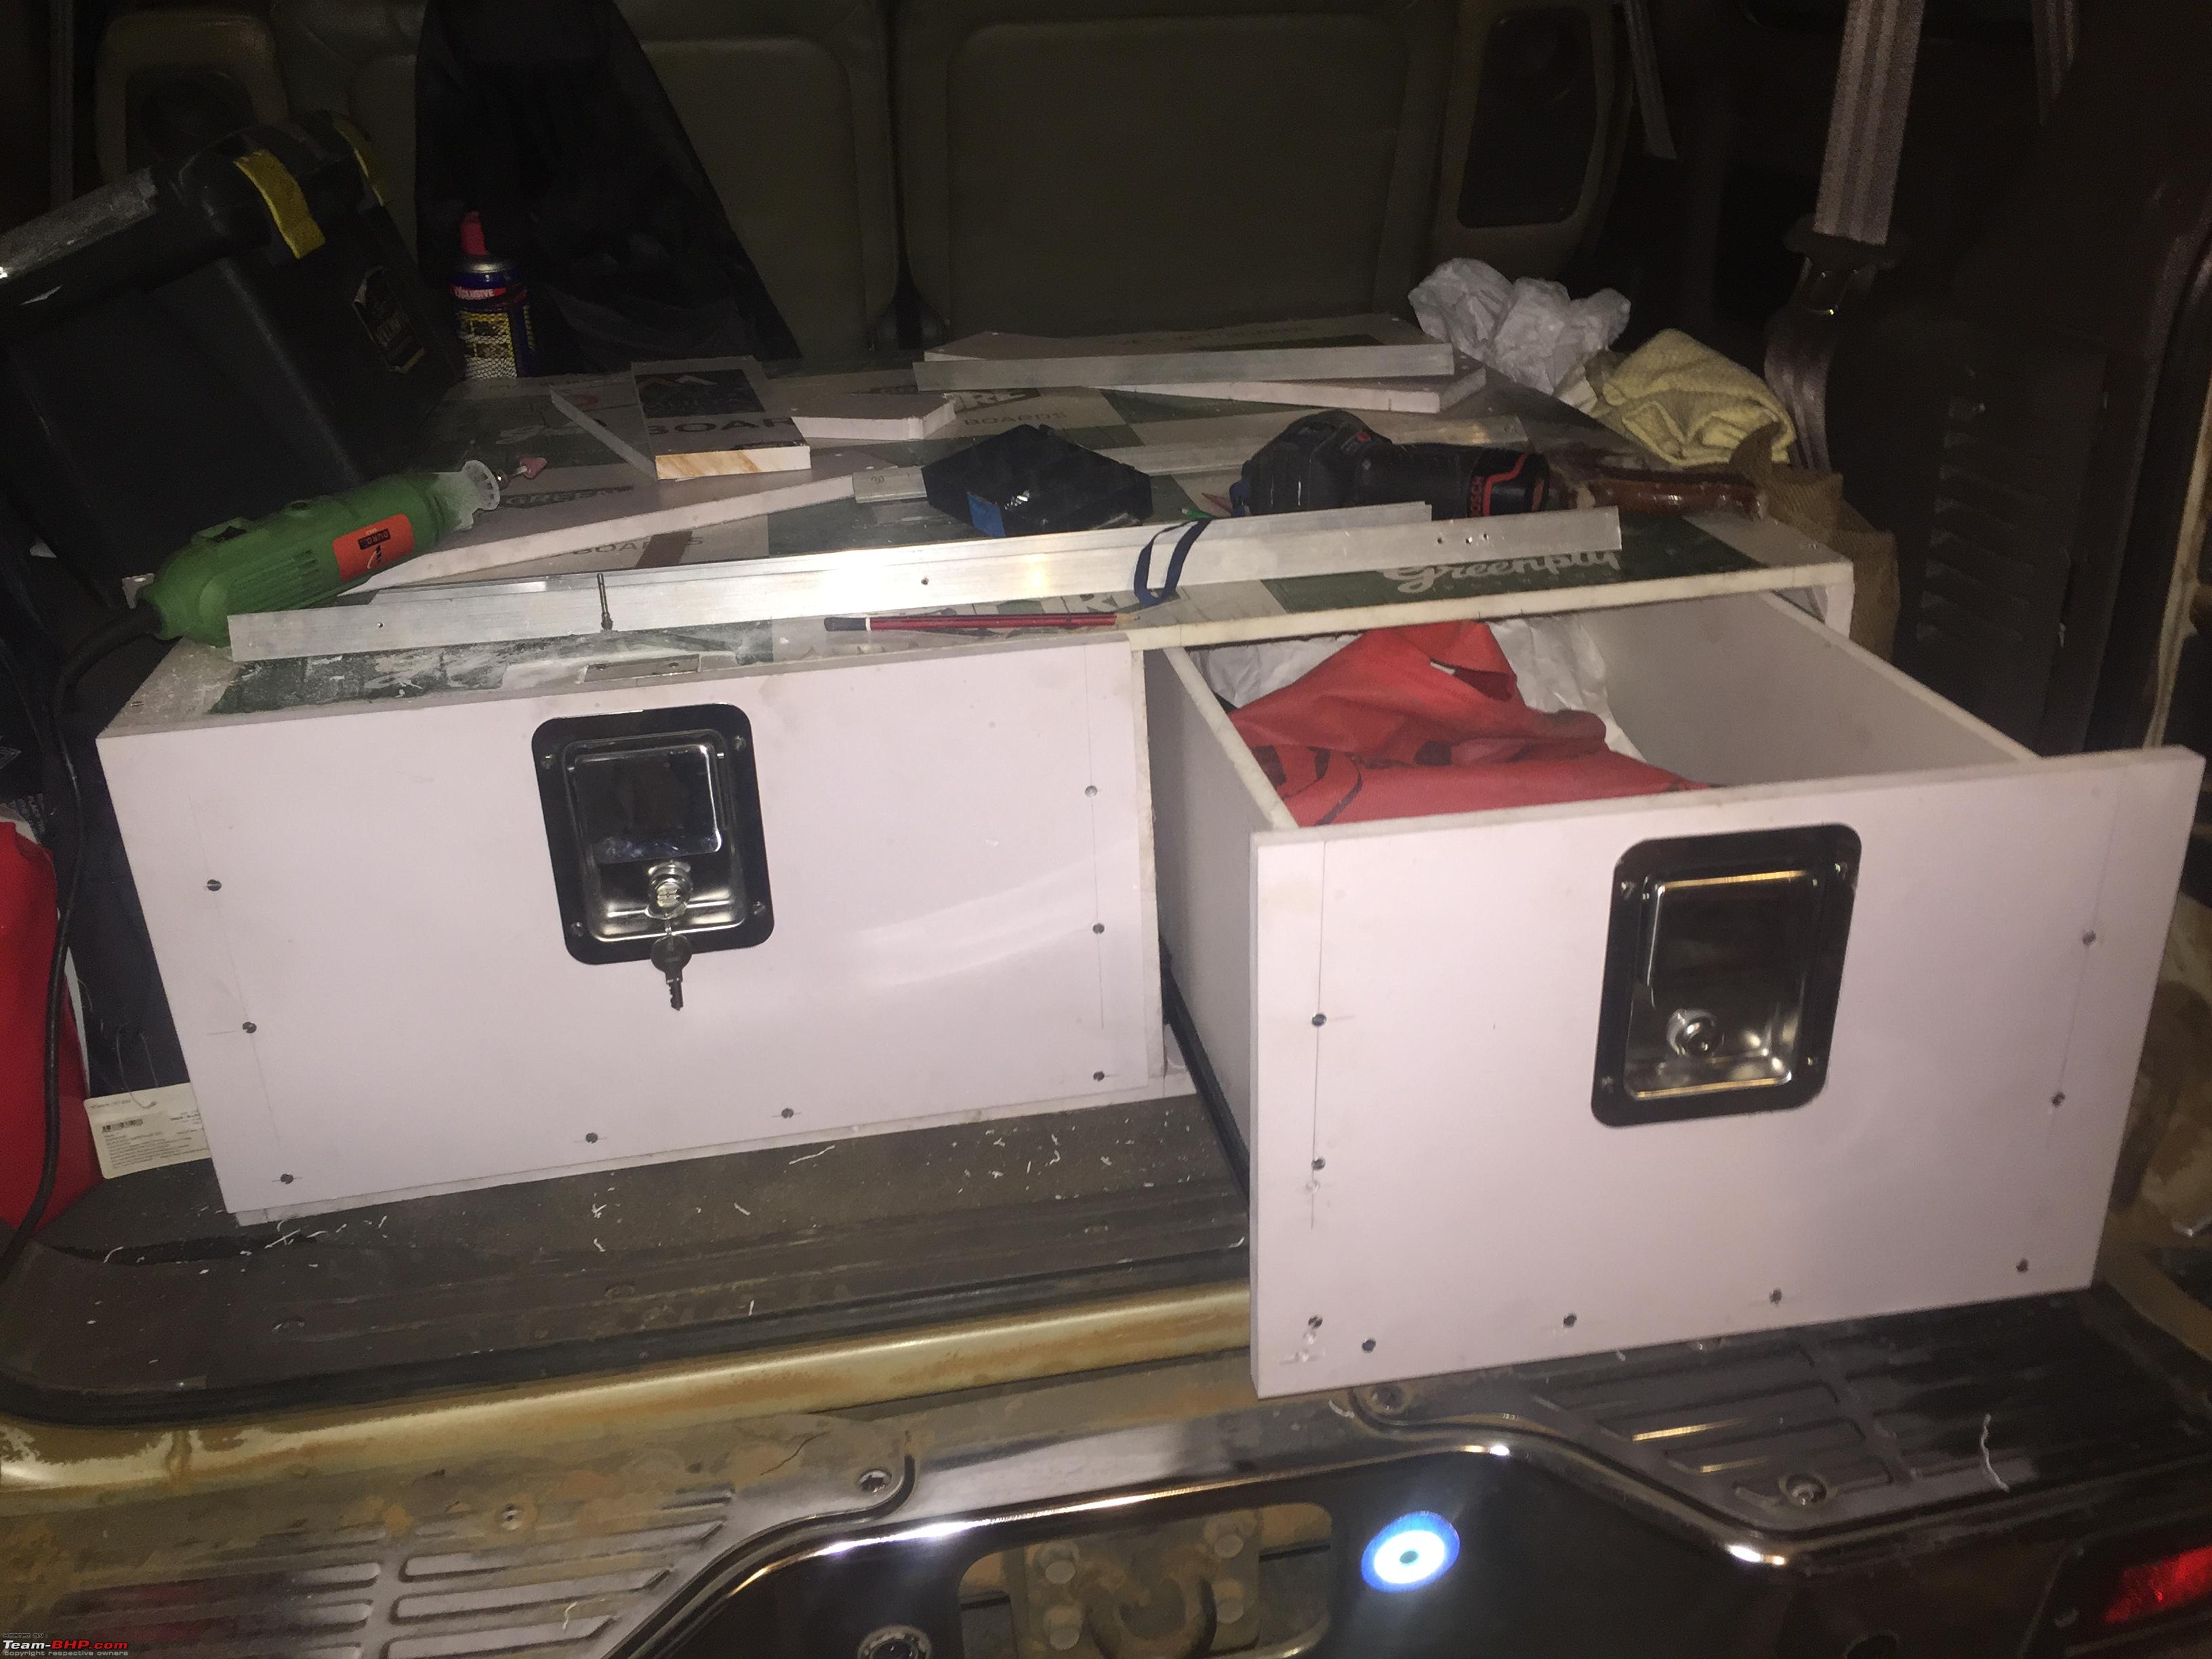
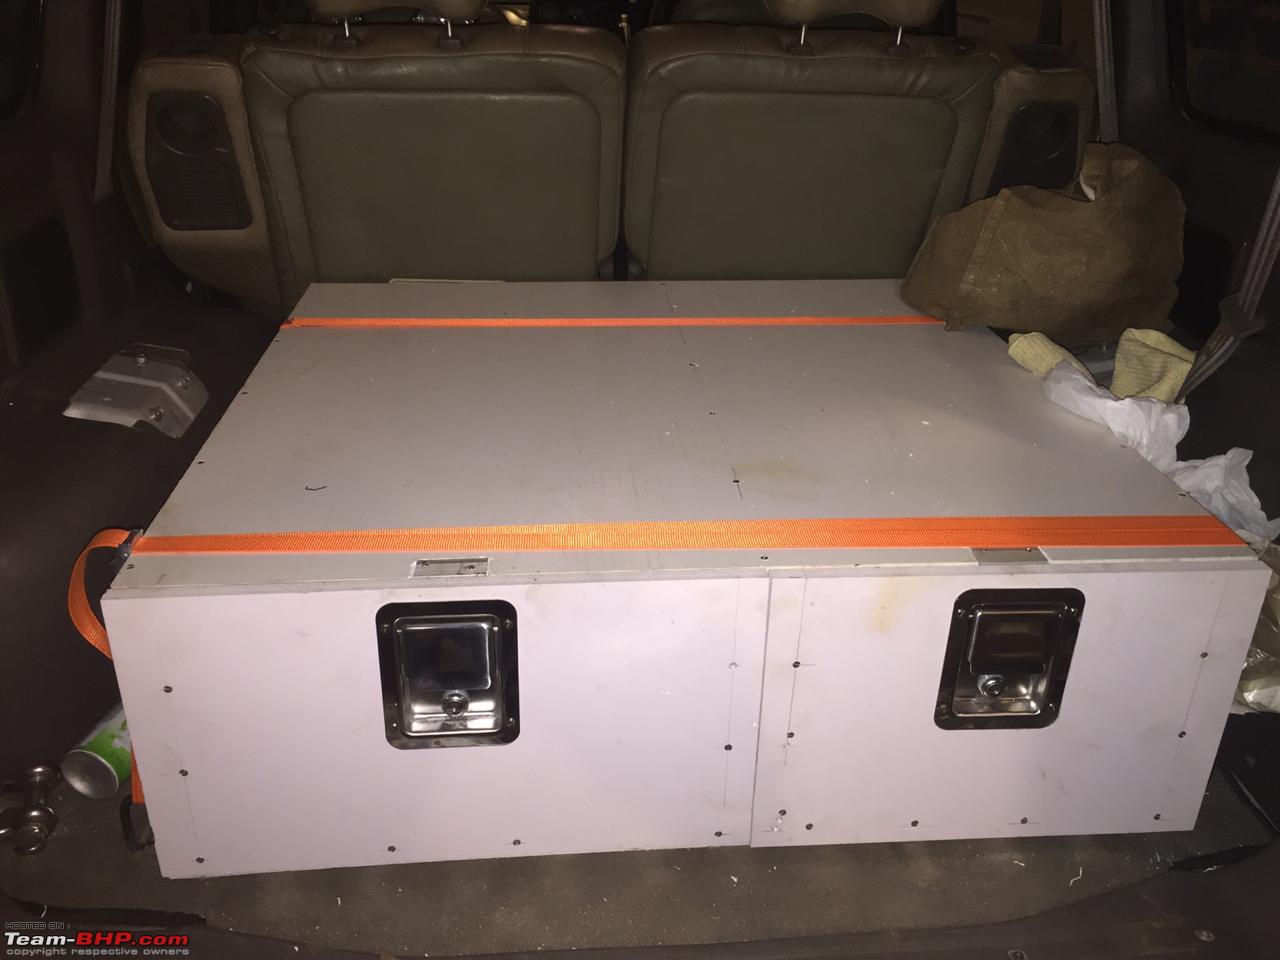
In continuation with the above, finally got time this weekend to complete the project.
PS: Apologies in advance for the poor quality pics... Low light and flash photography on an old iPhone.
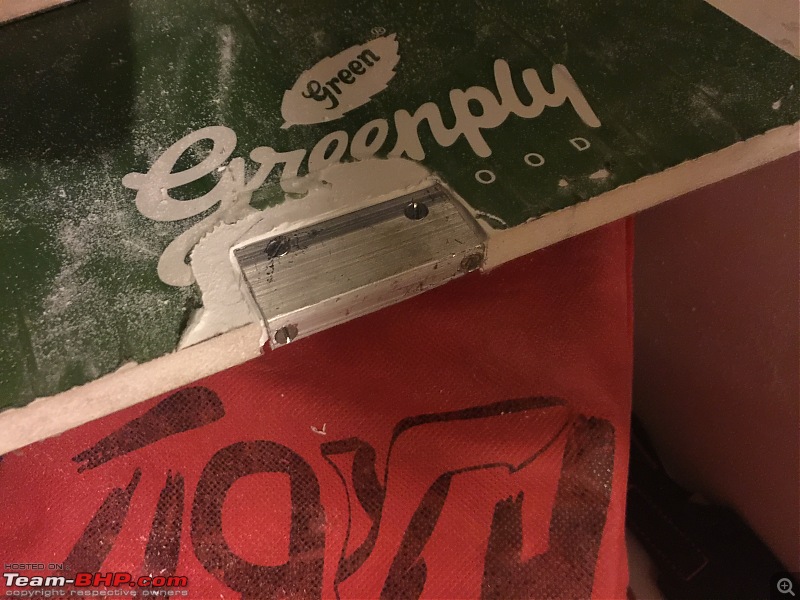
So finally got time to cut the front fascia to size and fitted the padlocks:

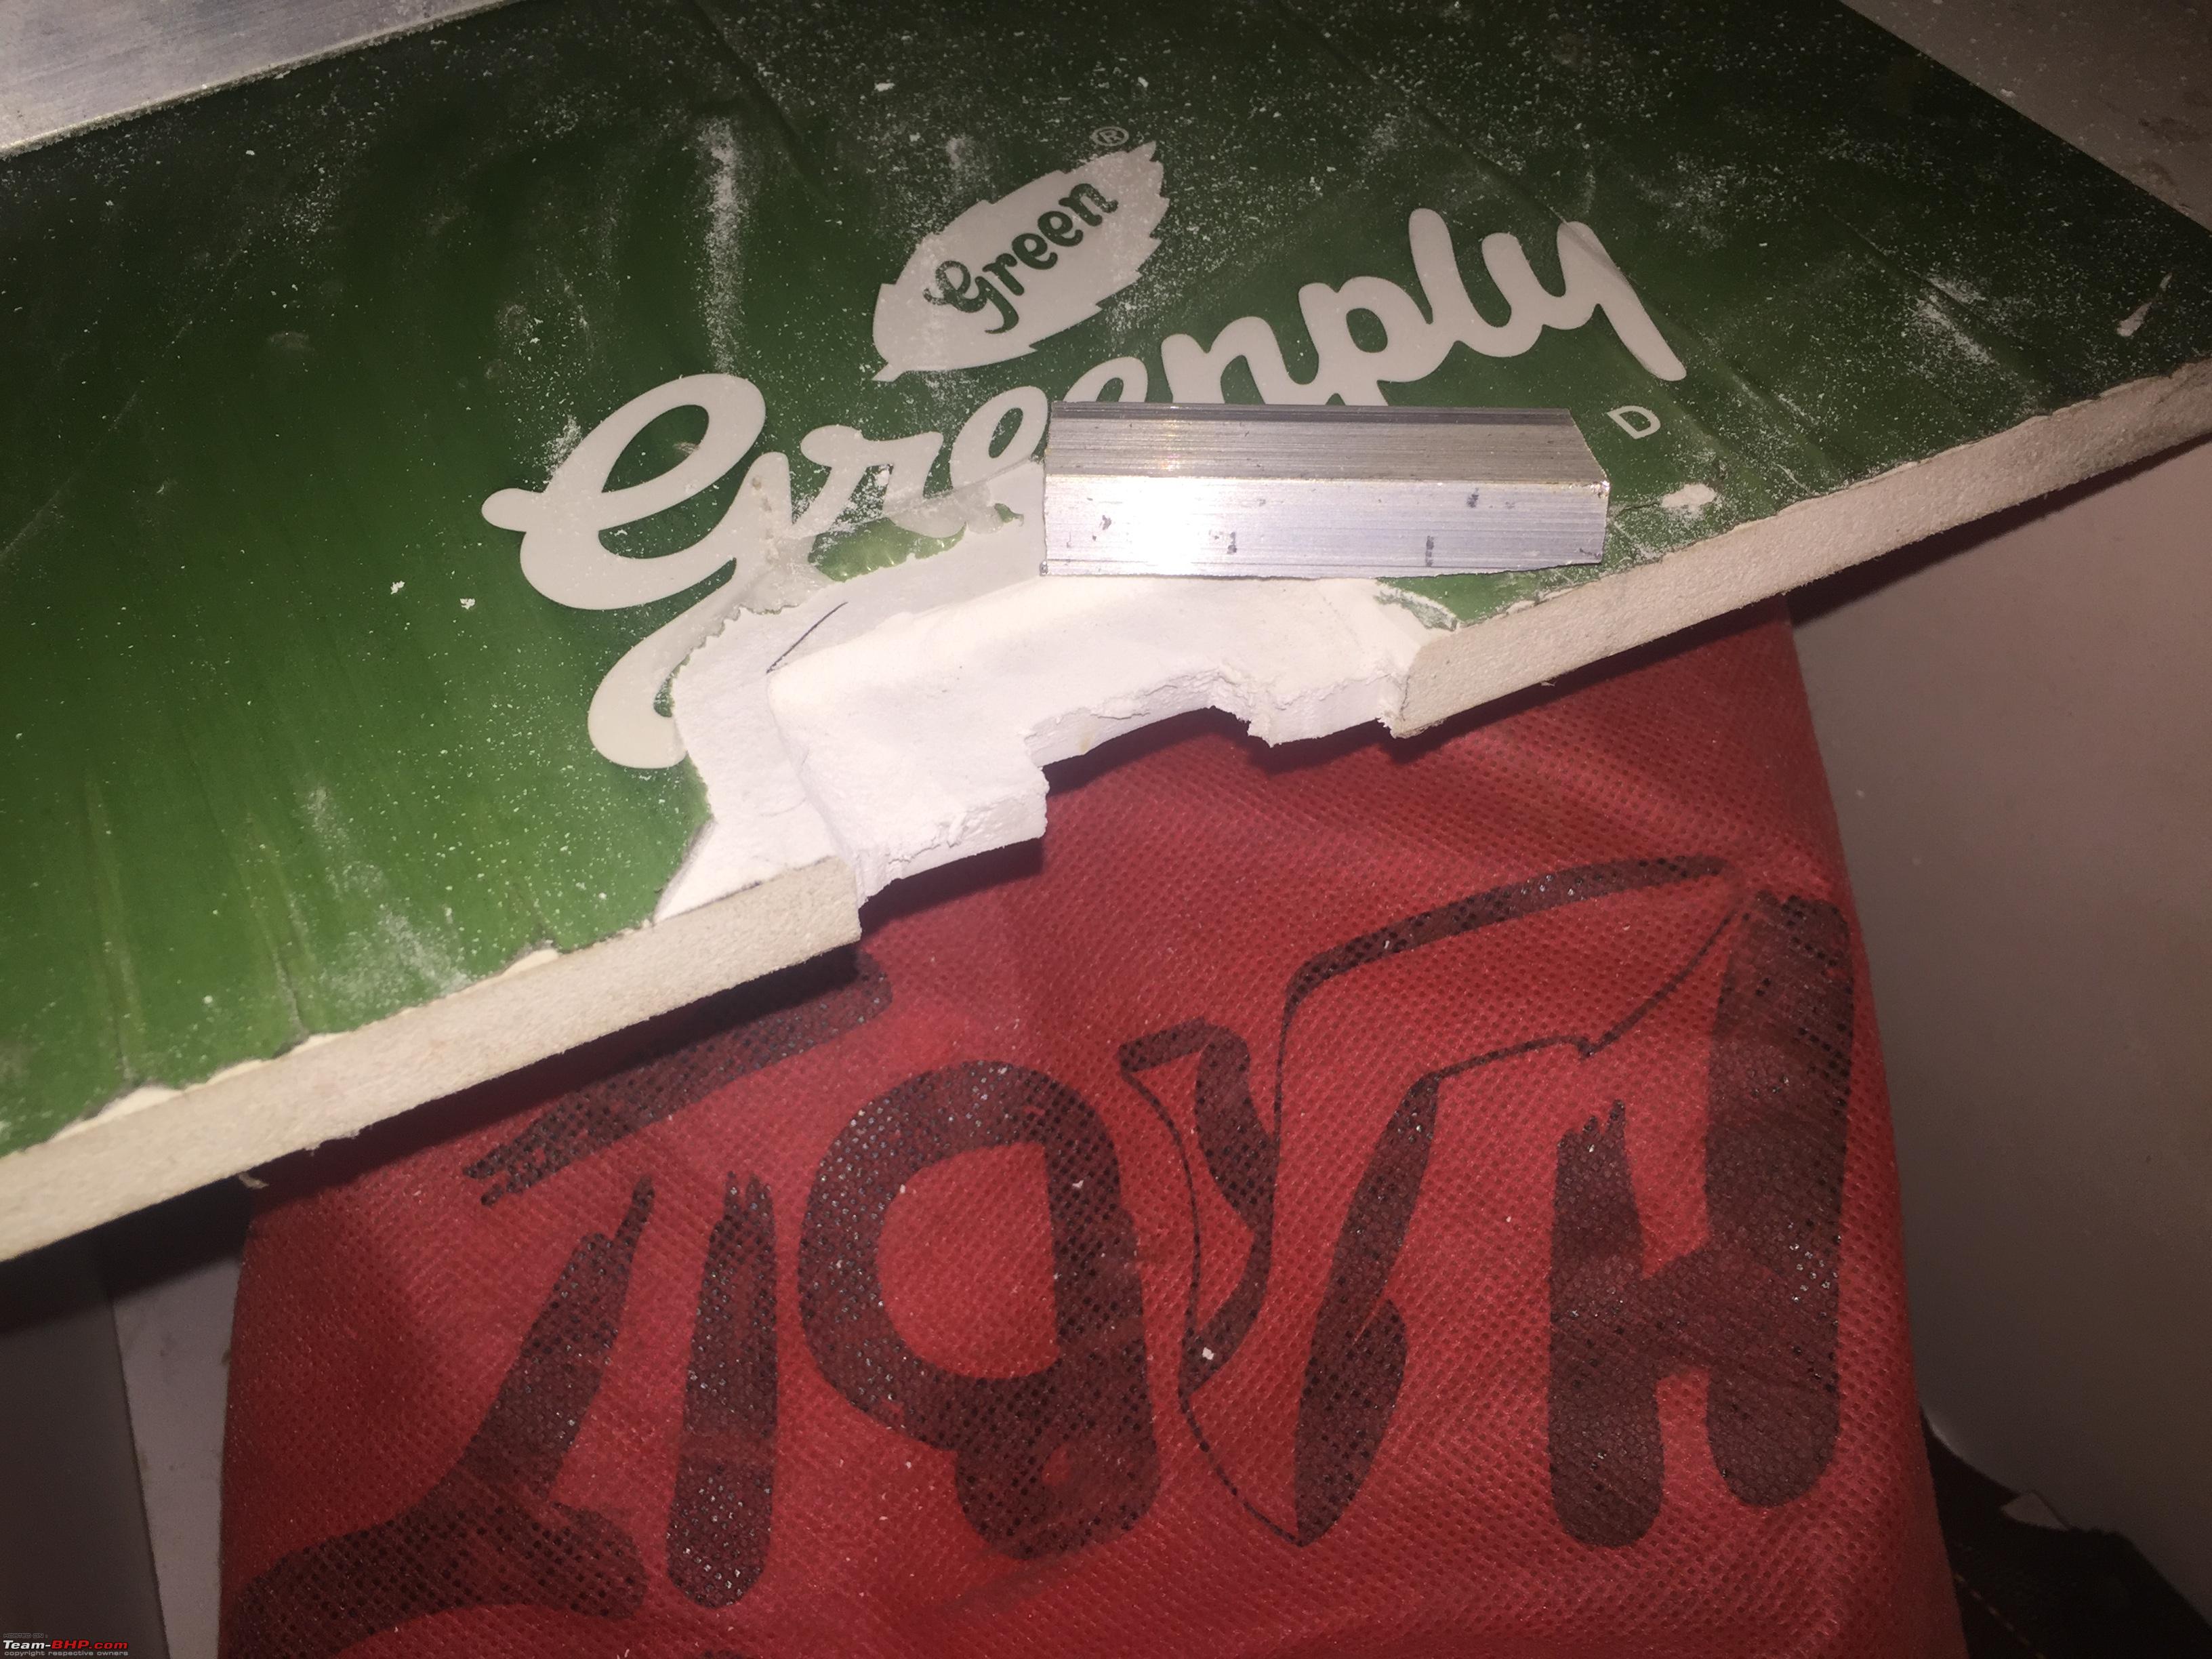
The PVC ply is soft and if someone pulled the latch hard, I was certain the the Pvc ply part where the bolt of the latch goes would break. Therefore, I decided to reinforce it with a small aluminium L shaped piece.
I wanted it to be flush so using a Dremel type tool I made a notch:

Fitted the aluminium piece:
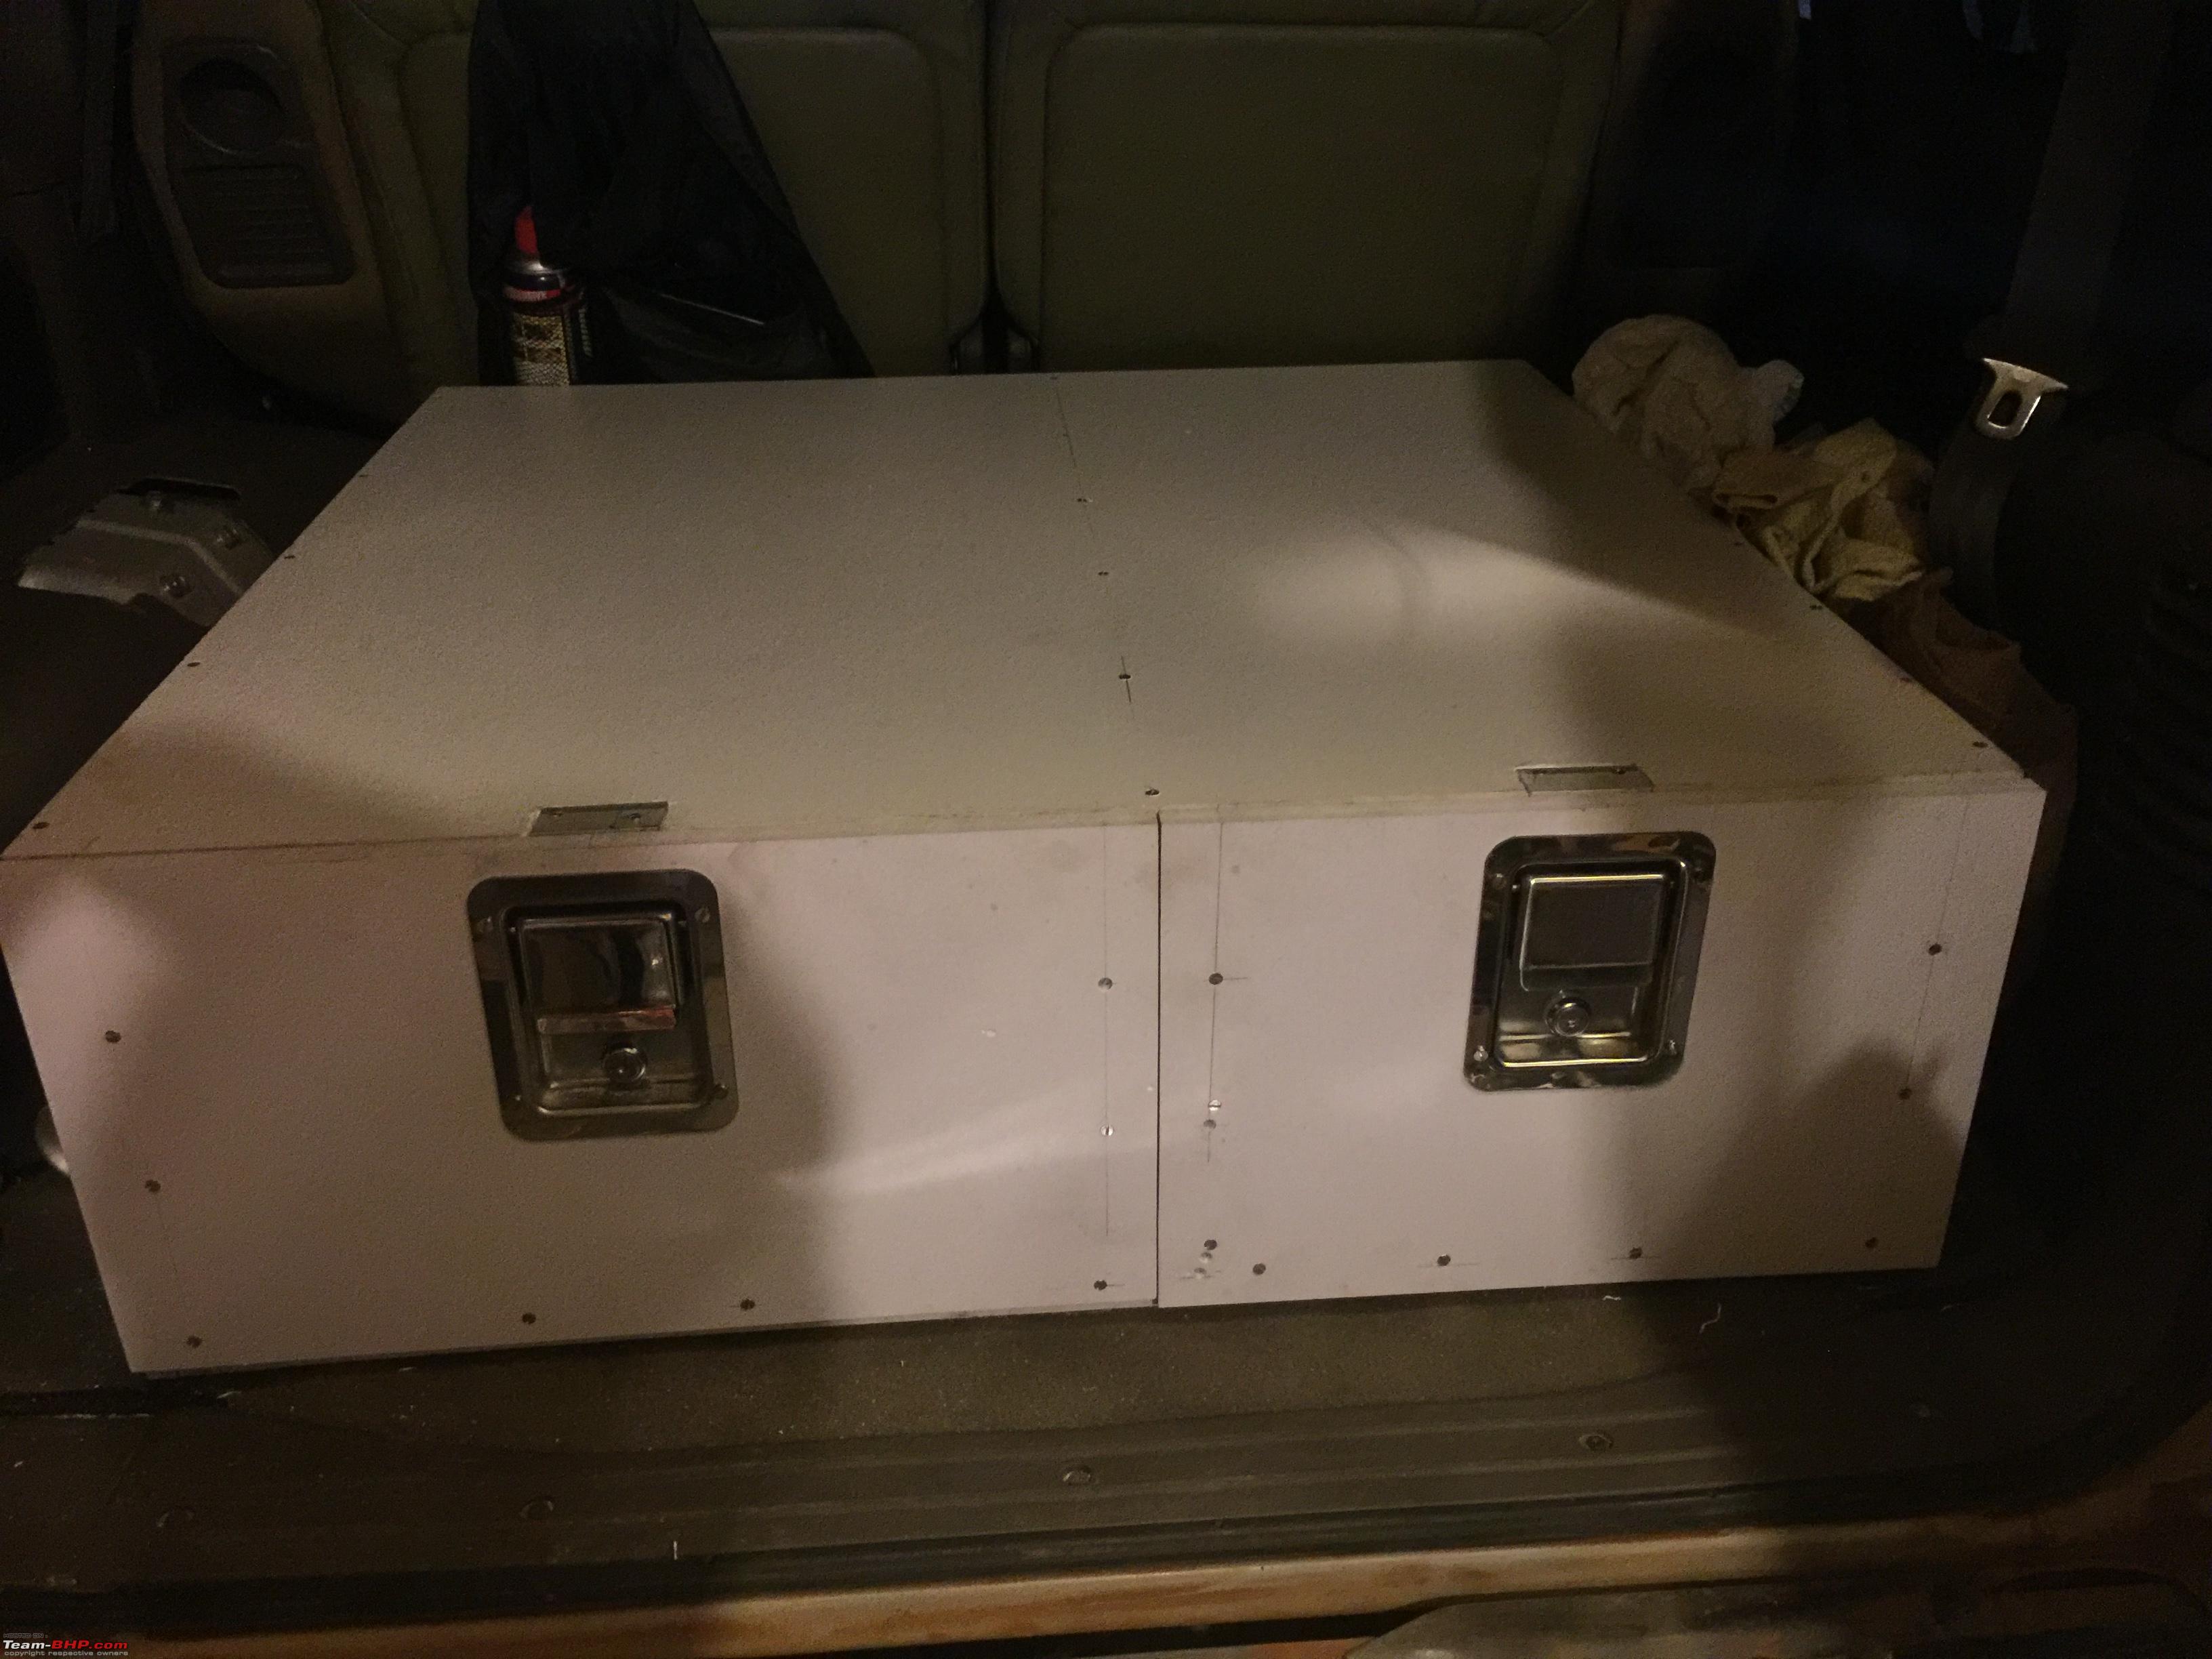
Drawers done:

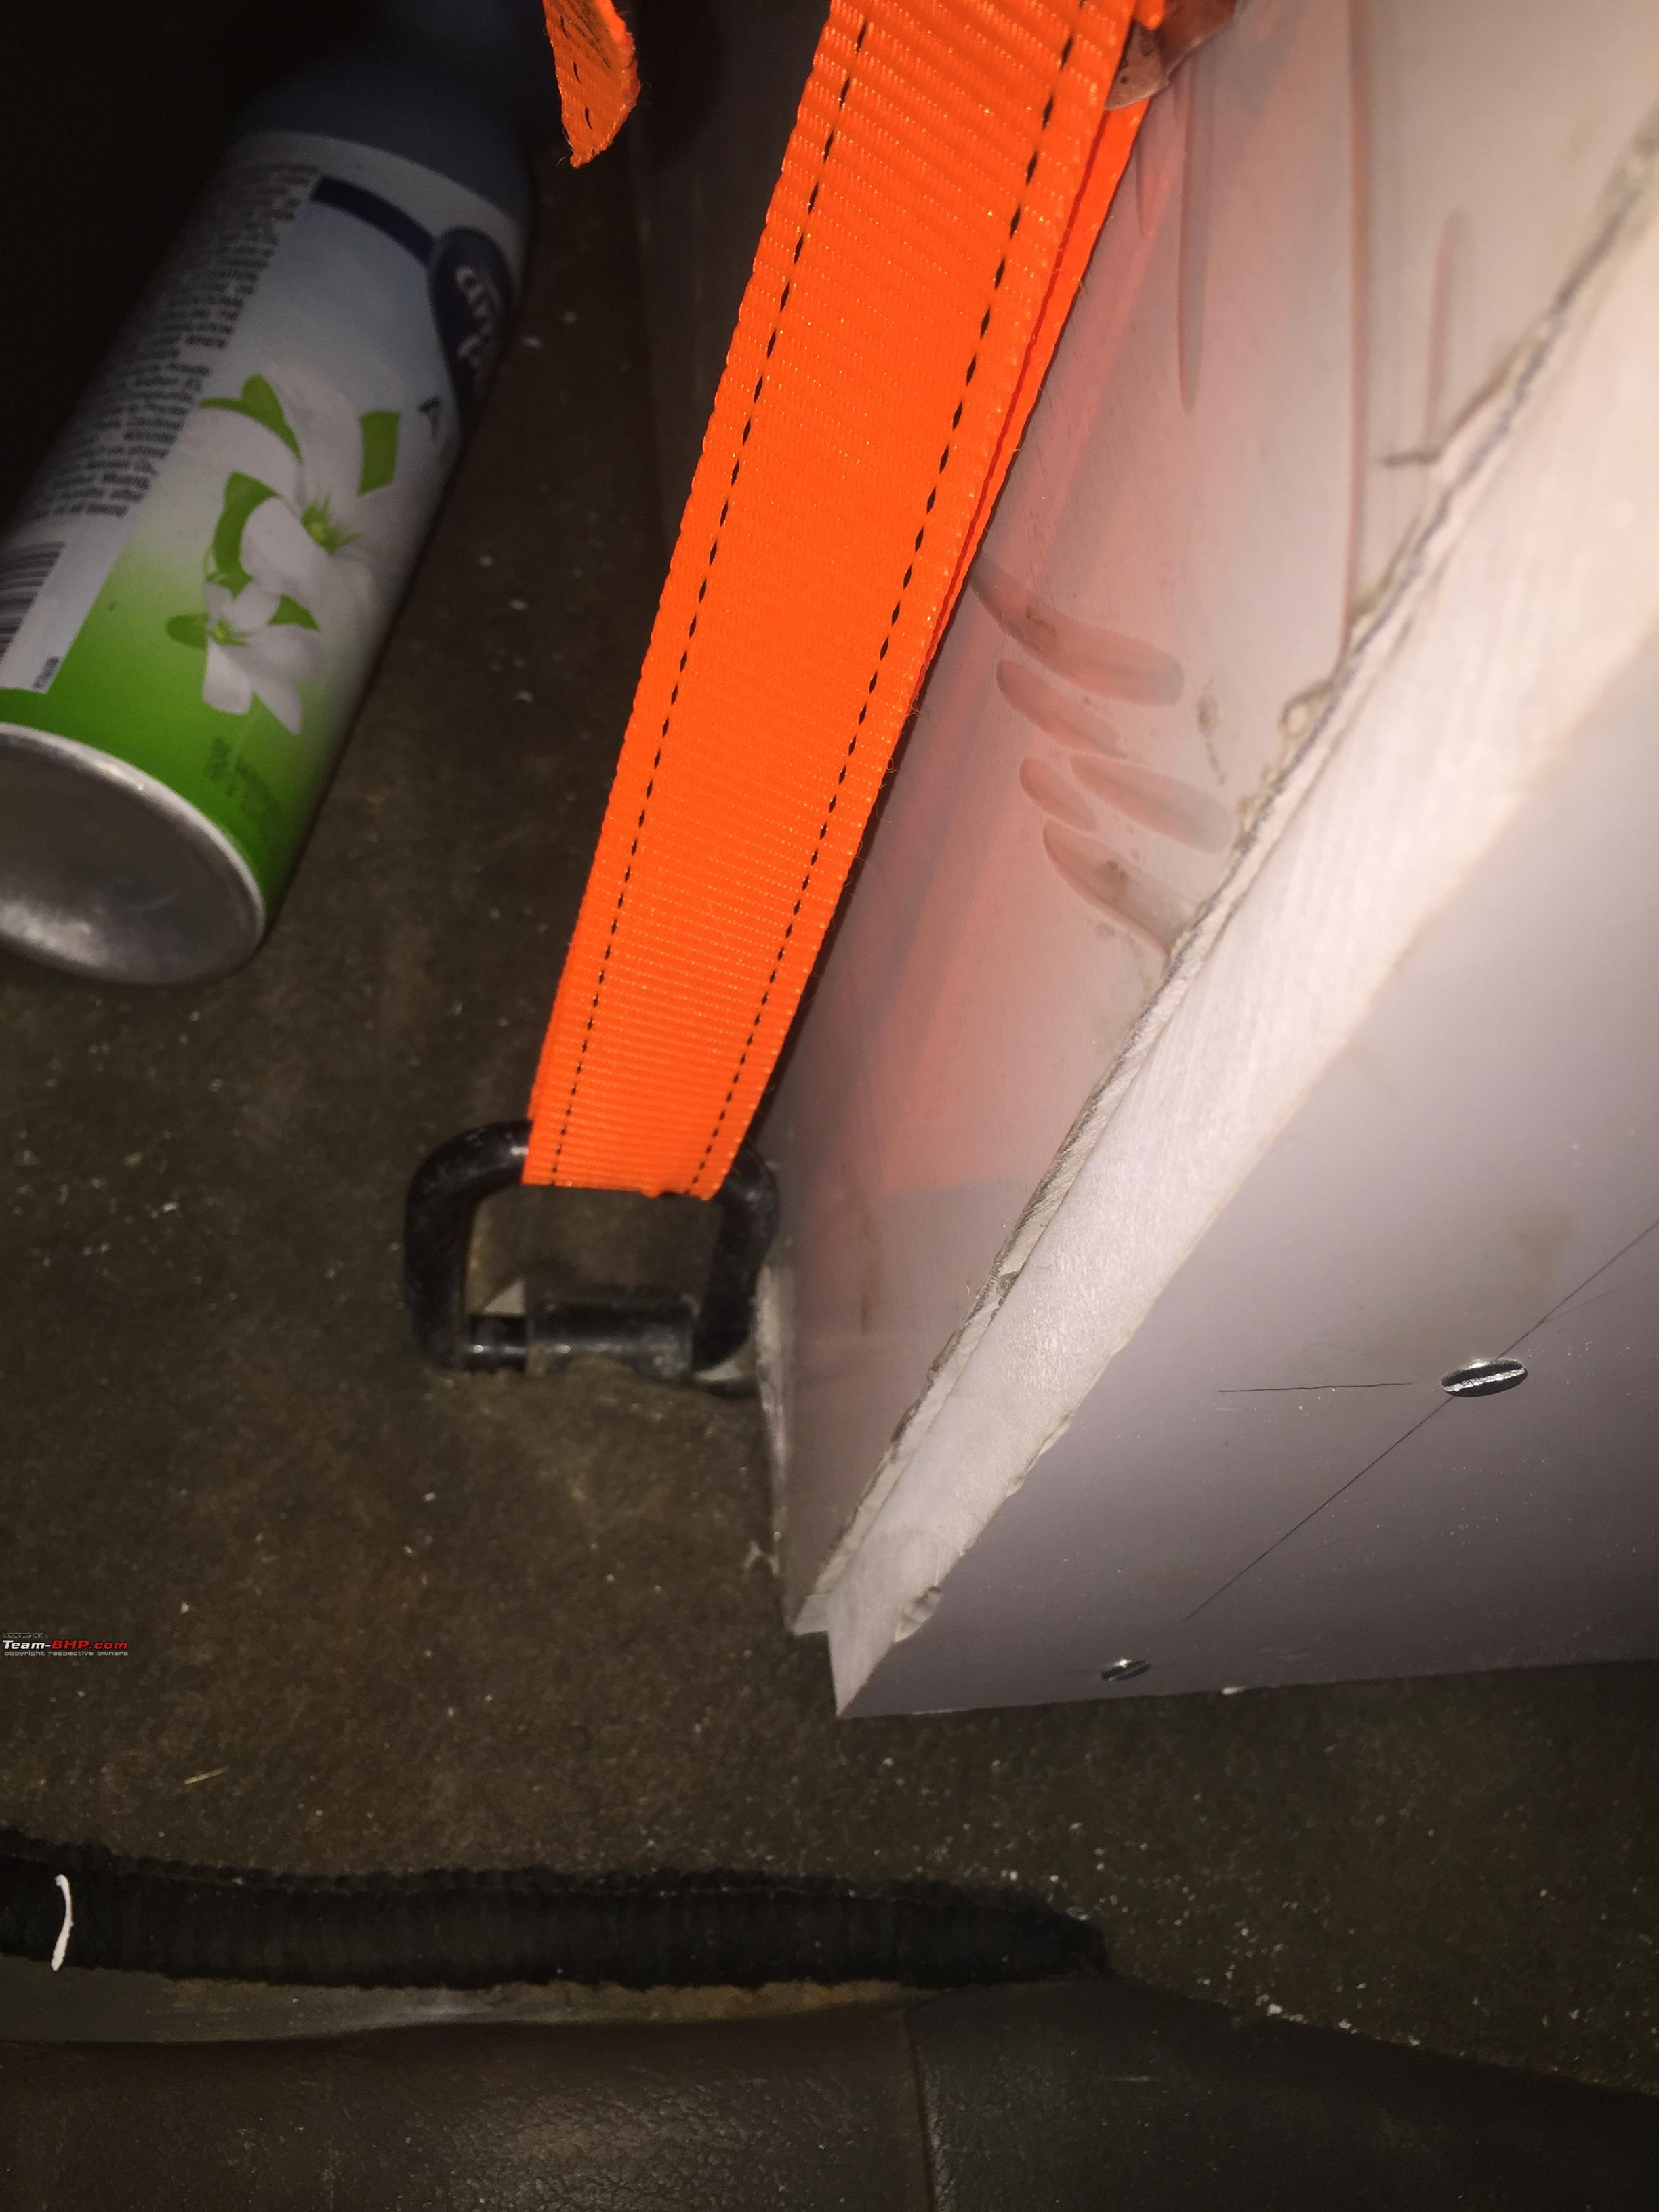
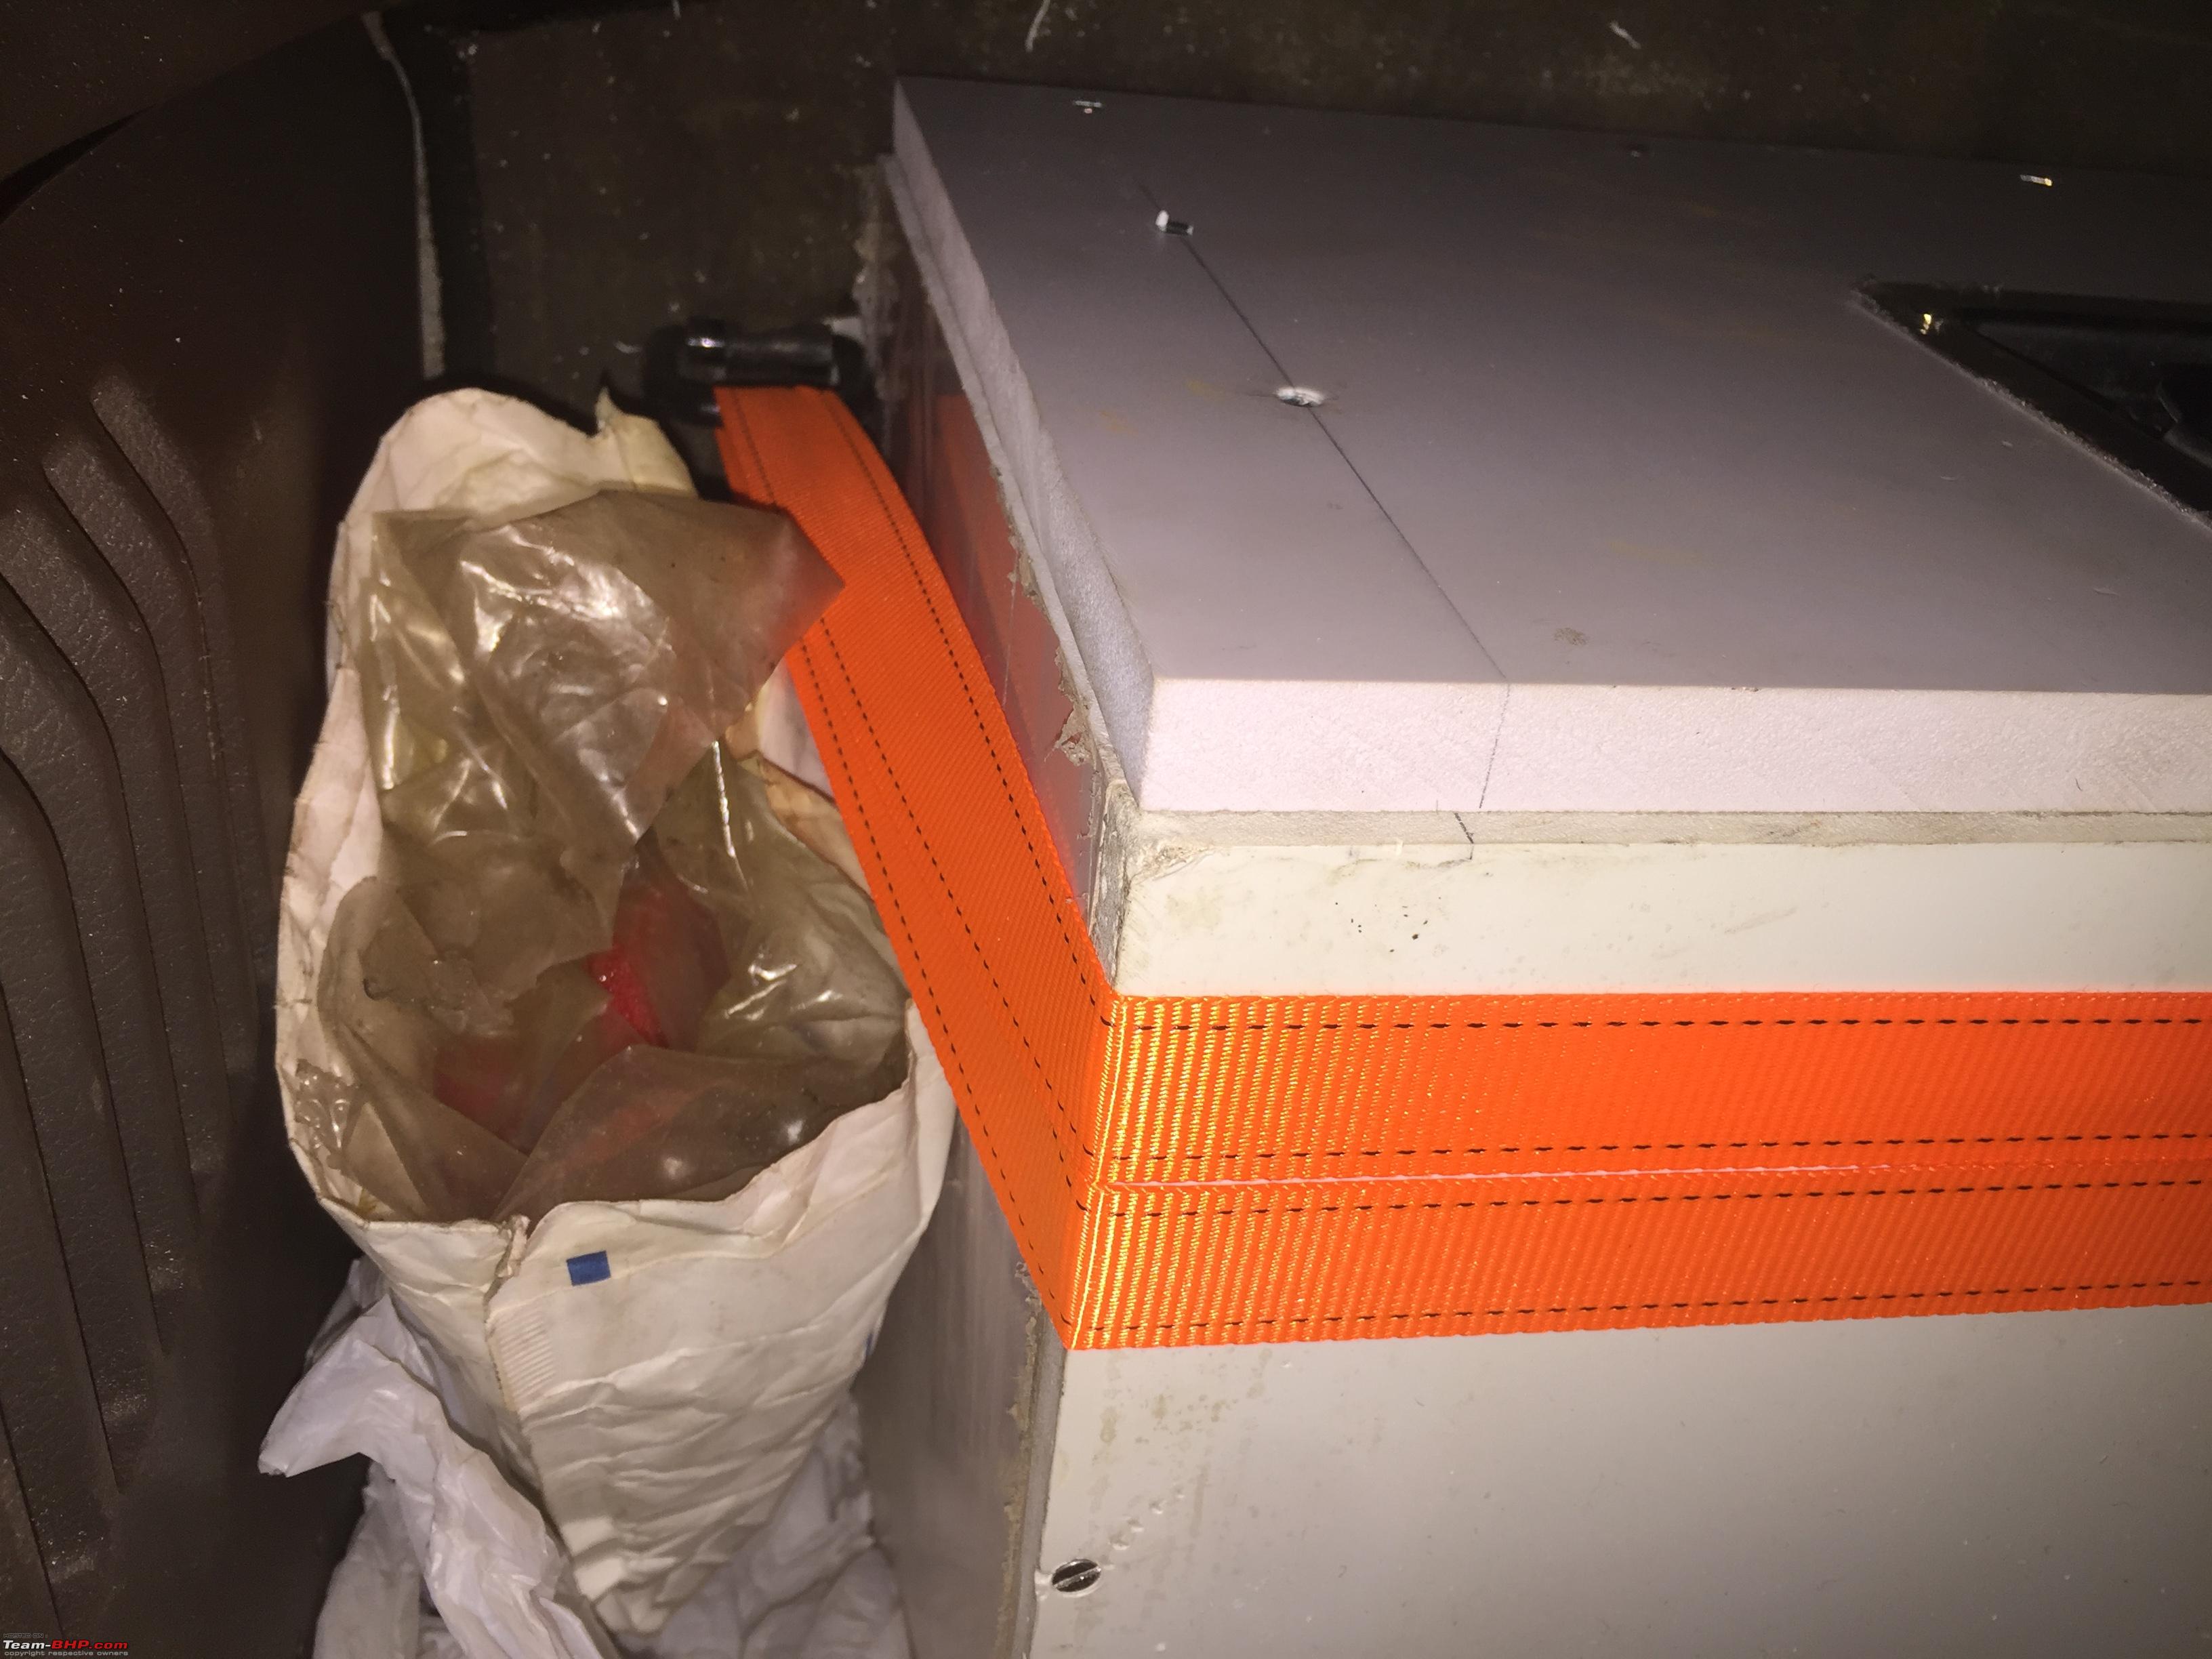
Next up was to secure the drawer cabinet to the vehicle.
The Pajero has four tie down points.
The front two come on either side of the cabinet and the cabinet was made to size that they would physically restrain it from sideward movement:

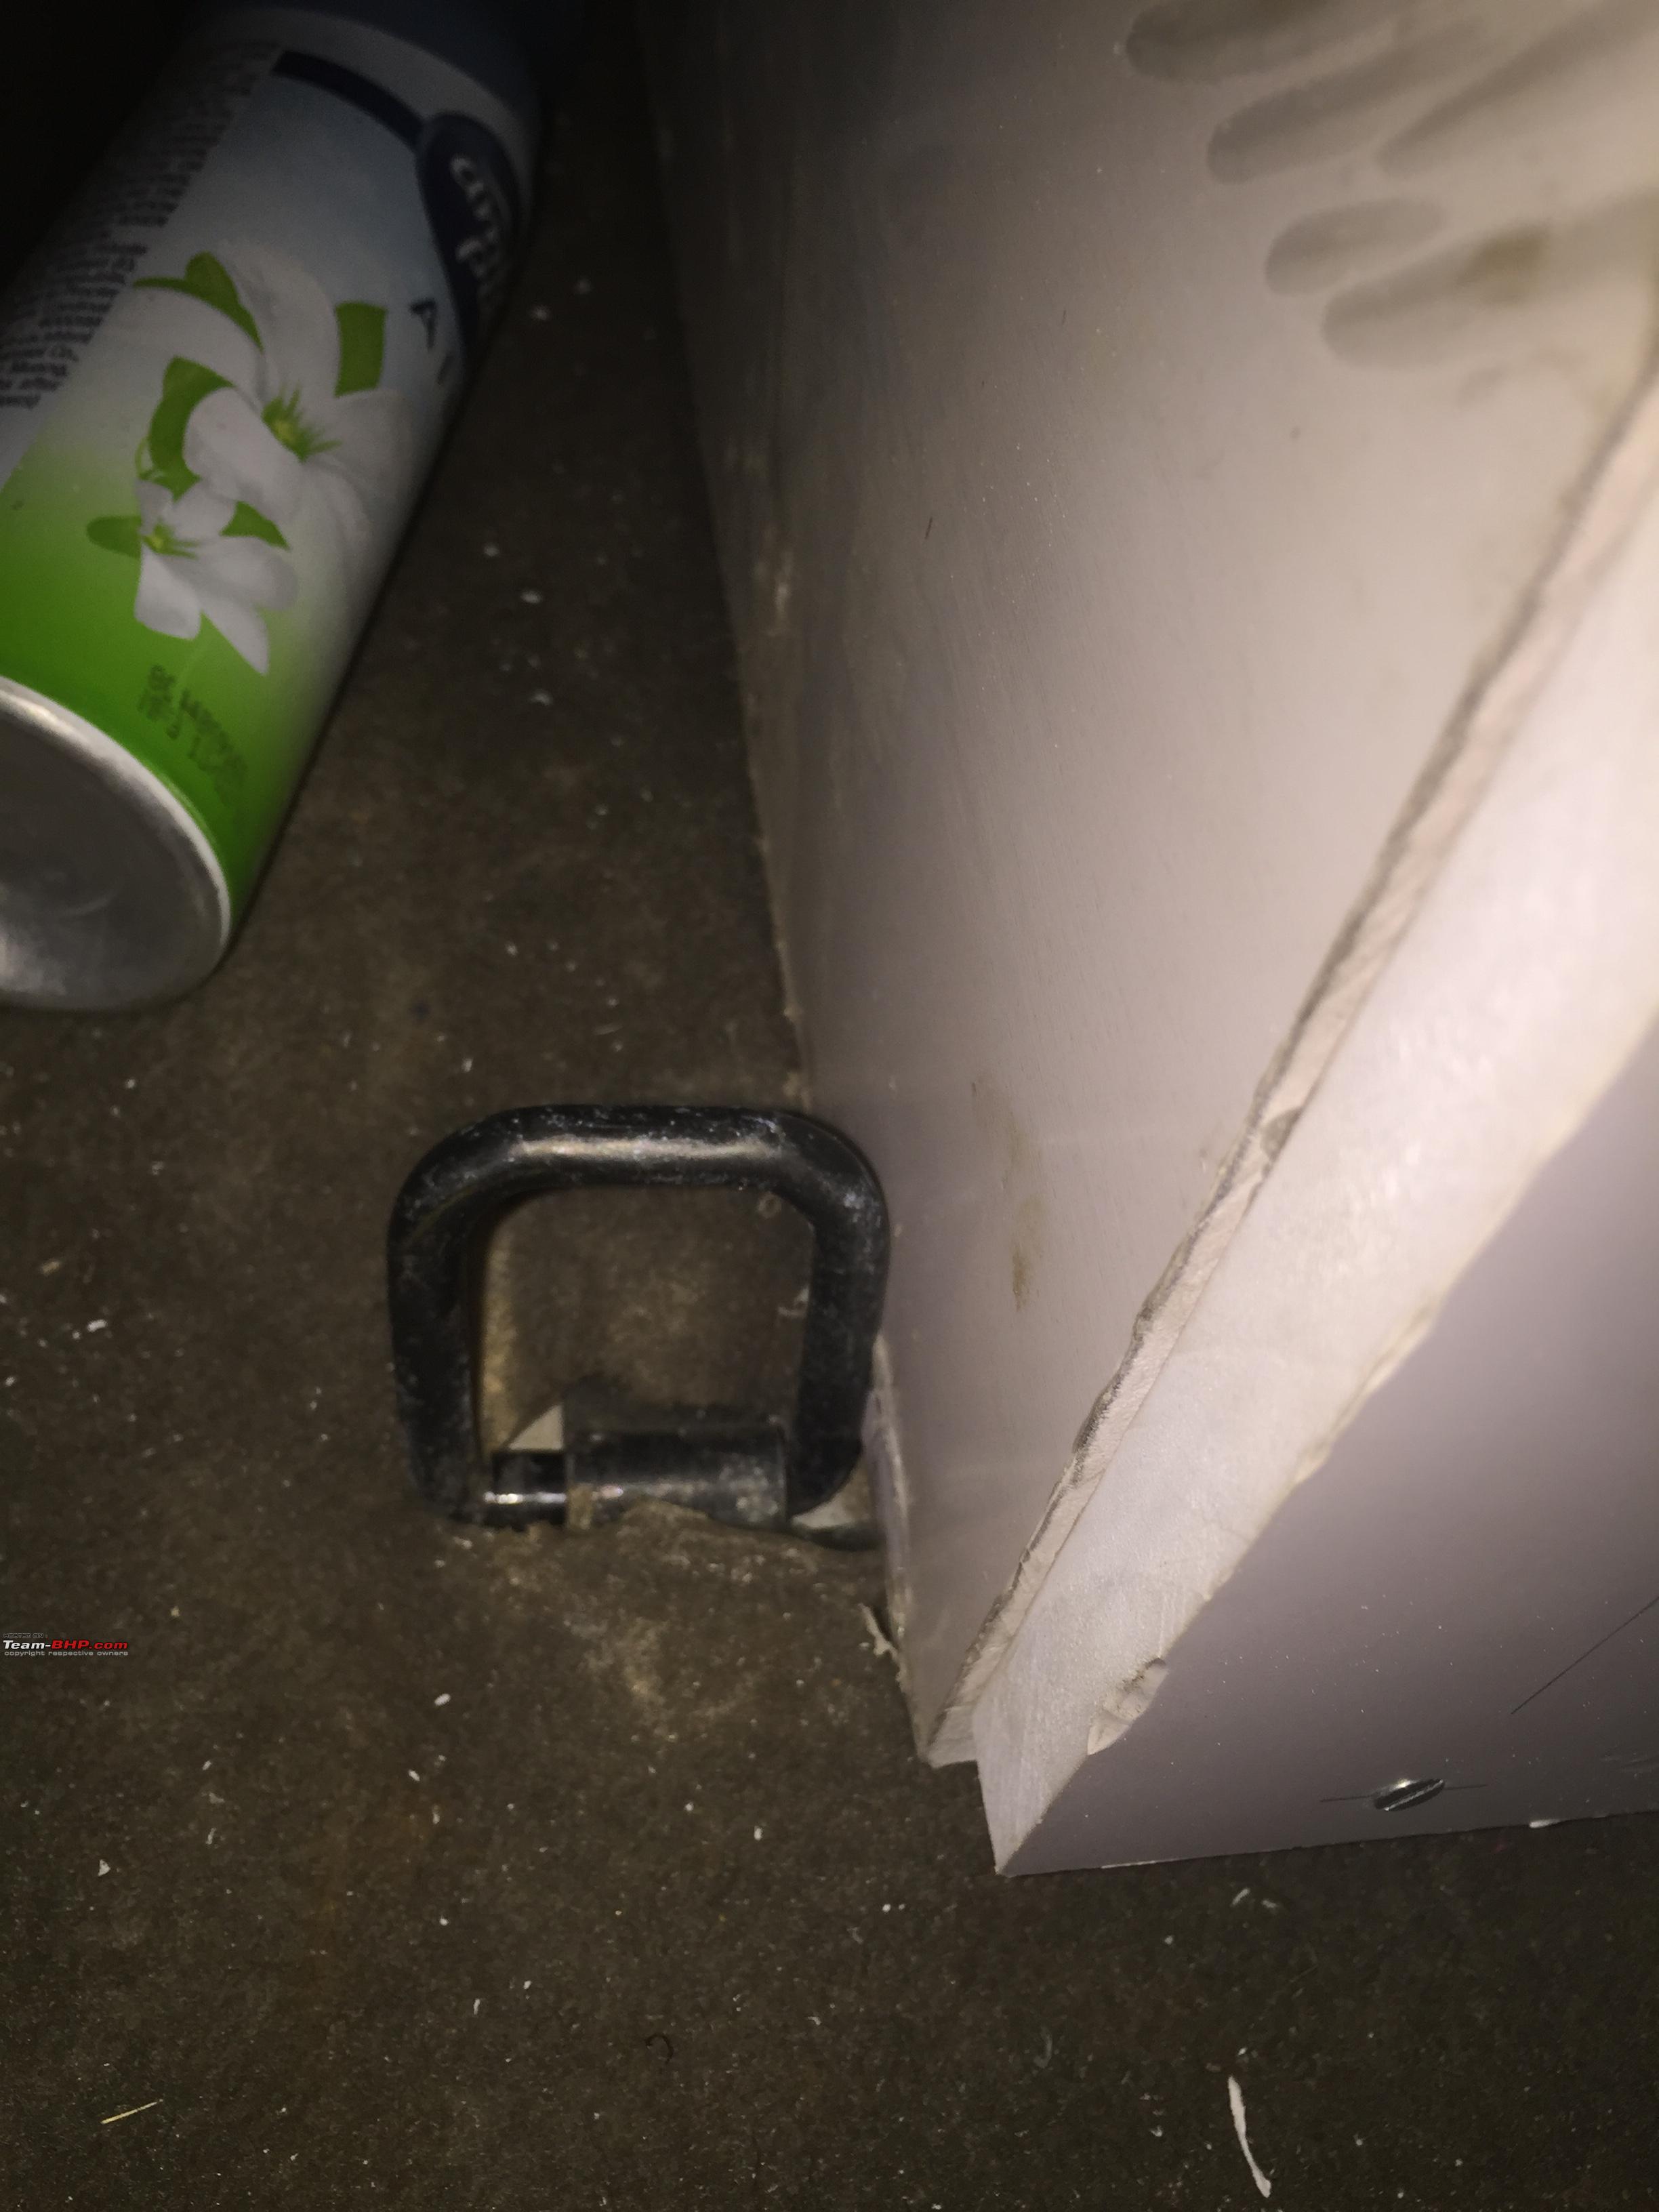
The rear ones are slightly inside because of the wheel wells and therefore they come under the cabinet.
So I used two tie down straps (each 300kg rated).
The rear ones completely encircle the cabinet:
View from one side:

The front ones are double looped and don't go under the cabinet:


The complete view:

A gif of the latch on the drawer:
Pendings:
1. Will need to use a flex or any similar film to mask the screw holes on the front fascia for aesthetics.
2. Planning either a thin carpet or rubber mat on the top to prevent scratches when loading stuff.
3. Compartments inside the drawers.
Quote:
Originally Posted by Tejas@perioimpl
(Post 4552762)
I've been procrastinating removing some rust spots from below the rear windshield. Attachment 1854072
|
Doc you need to remove the glass and get this done properly, this temp fix will not work in the long run. Esp since you are in mumbai and close to coast. Remove the glass, clean the whole area. Pretty sure there is much more underneath that beading. Then use this and do a proper paint job.
Quote:
Originally Posted by Tejas@perioimpl
(Post 4557221)
In continuation with the above, finally got time this weekend to complete the project.
|
Tejas, it looks neat.
One question - Would the ply be the best option considering the weight it adds?
Are there any lighter alternatives like metal sheets/diamond plates or so?
Cheers,
Deepak
Quote:
Originally Posted by Jaggu
(Post 4557279)
Doc you need to remove the glass and get this done properly, this temp fix will not work in the long run. Esp since you are in mumbai and close to coast. Remove the glass, clean the whole area. Pretty sure there is much more underneath that beading. Then use this and do a proper paint job.
|
Yes, it's on the agenda. Probably in May I'll get it done.
Quote:
Originally Posted by starter
(Post 4557285)
Tejas, it looks neat.
One question - Would the ply be the best option considering the weight it adds?
Are there any lighter alternatives like metal sheets/diamond plates or so?
Cheers,
Deepak
|
I don't like metal sheets and diamond plates because they tend to rattle after a while and the PVC ply is extremely light. The entire empty unit was lifted by me alone and put in the vehicle.
Great work on the Pajero. I was thinking something similar for my 2009 SFX which has clocked 78K now. Overland conversion seems the best thing to happen but looks like my project has hit a major blockage due to new rules for diesel and petrol vehicles in Delhi NCR. If I go ahead and convert the Pajero I won't now be able to drive South unless I avoid the complete NCR which is huge area. Matter of fact NCR starts from Karnal onwards if one is coming from Chd/ Amritsar side towards Delhi.
Fantastic job!clap: Id like to make a small addition to your list of DIYs: How about adding gas struts to lift the bonnet? A useful feature methinks. Do consider this suggestion.
Quote:
Originally Posted by Tejas@perioimpl
(Post 4557221)
.
Pendings:
1. Will need to use a flex or any similar film to mask the screw holes on the front fascia for aesthetics.
2. Planning either a thin carpet or rubber mat on the top to prevent scratches when loading stuff.
3. Compartments inside the drawers.
|
Great build, Doc. It's an inspiration for many to follow.
1. You could try PVC stickers used for nameplates, number plates etc.
2. Felt fabric is easily available in the market. You could just stick it on the drawers and it would look like a part of the car itself. The fabric can also be used inside the drawers to provide cushioning and reduce any kind of rattling inside.
Quote:
Originally Posted by discoverwild
(Post 4602611)
Great build, Doc. It's an inspiration for many to follow.
1. You could try PVC stickers used for nameplates, number plates etc.
2. Felt fabric is easily available in the market. You could just stick it on the drawers and it would look like a part of the car itself. The fabric can also be used inside the drawers to provide cushioning and reduce any kind of rattling inside.
|
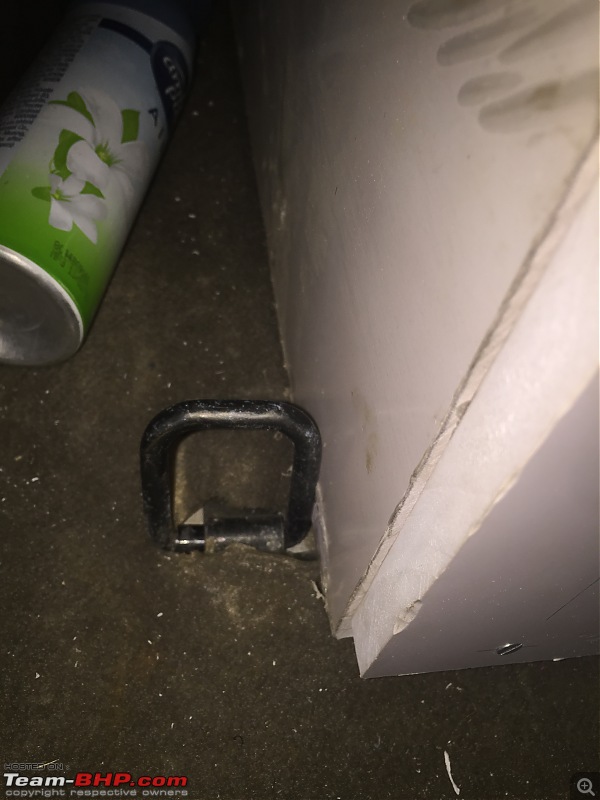
All work on the vehicle is stopped currently because house renovation is going on and the carpenters have laid claim to my garage workspace!
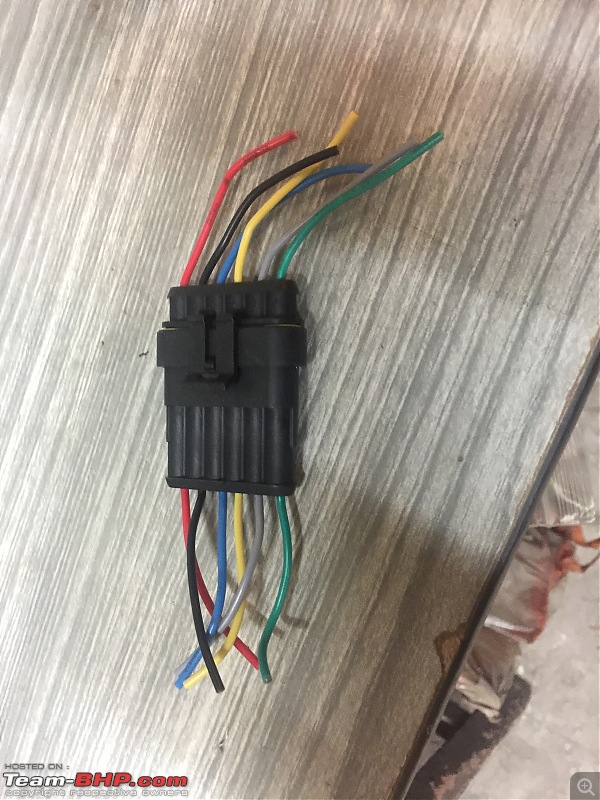
In the meanwhile, I took off the roof rack for a bit. No reason, just a change of looks.

Used this connector so that the wires can be connected when I put it back on:
Quote:
Originally Posted by artemis_fowl
(Post 4601819)
Fantastic job!clap: Id like to make a small addition to your list of DIYs: How about adding gas struts to lift the bonnet? A useful feature methinks. Do consider this suggestion.
|
Missed this post.
Honestly, my philosophy is not to fix things that aren't broke. The bonnet is not something that I own a lot that would necessitate gas struts. Plus, that's one more part that can fail and also would require drilling holes which I would like to avoid.
Quick update:
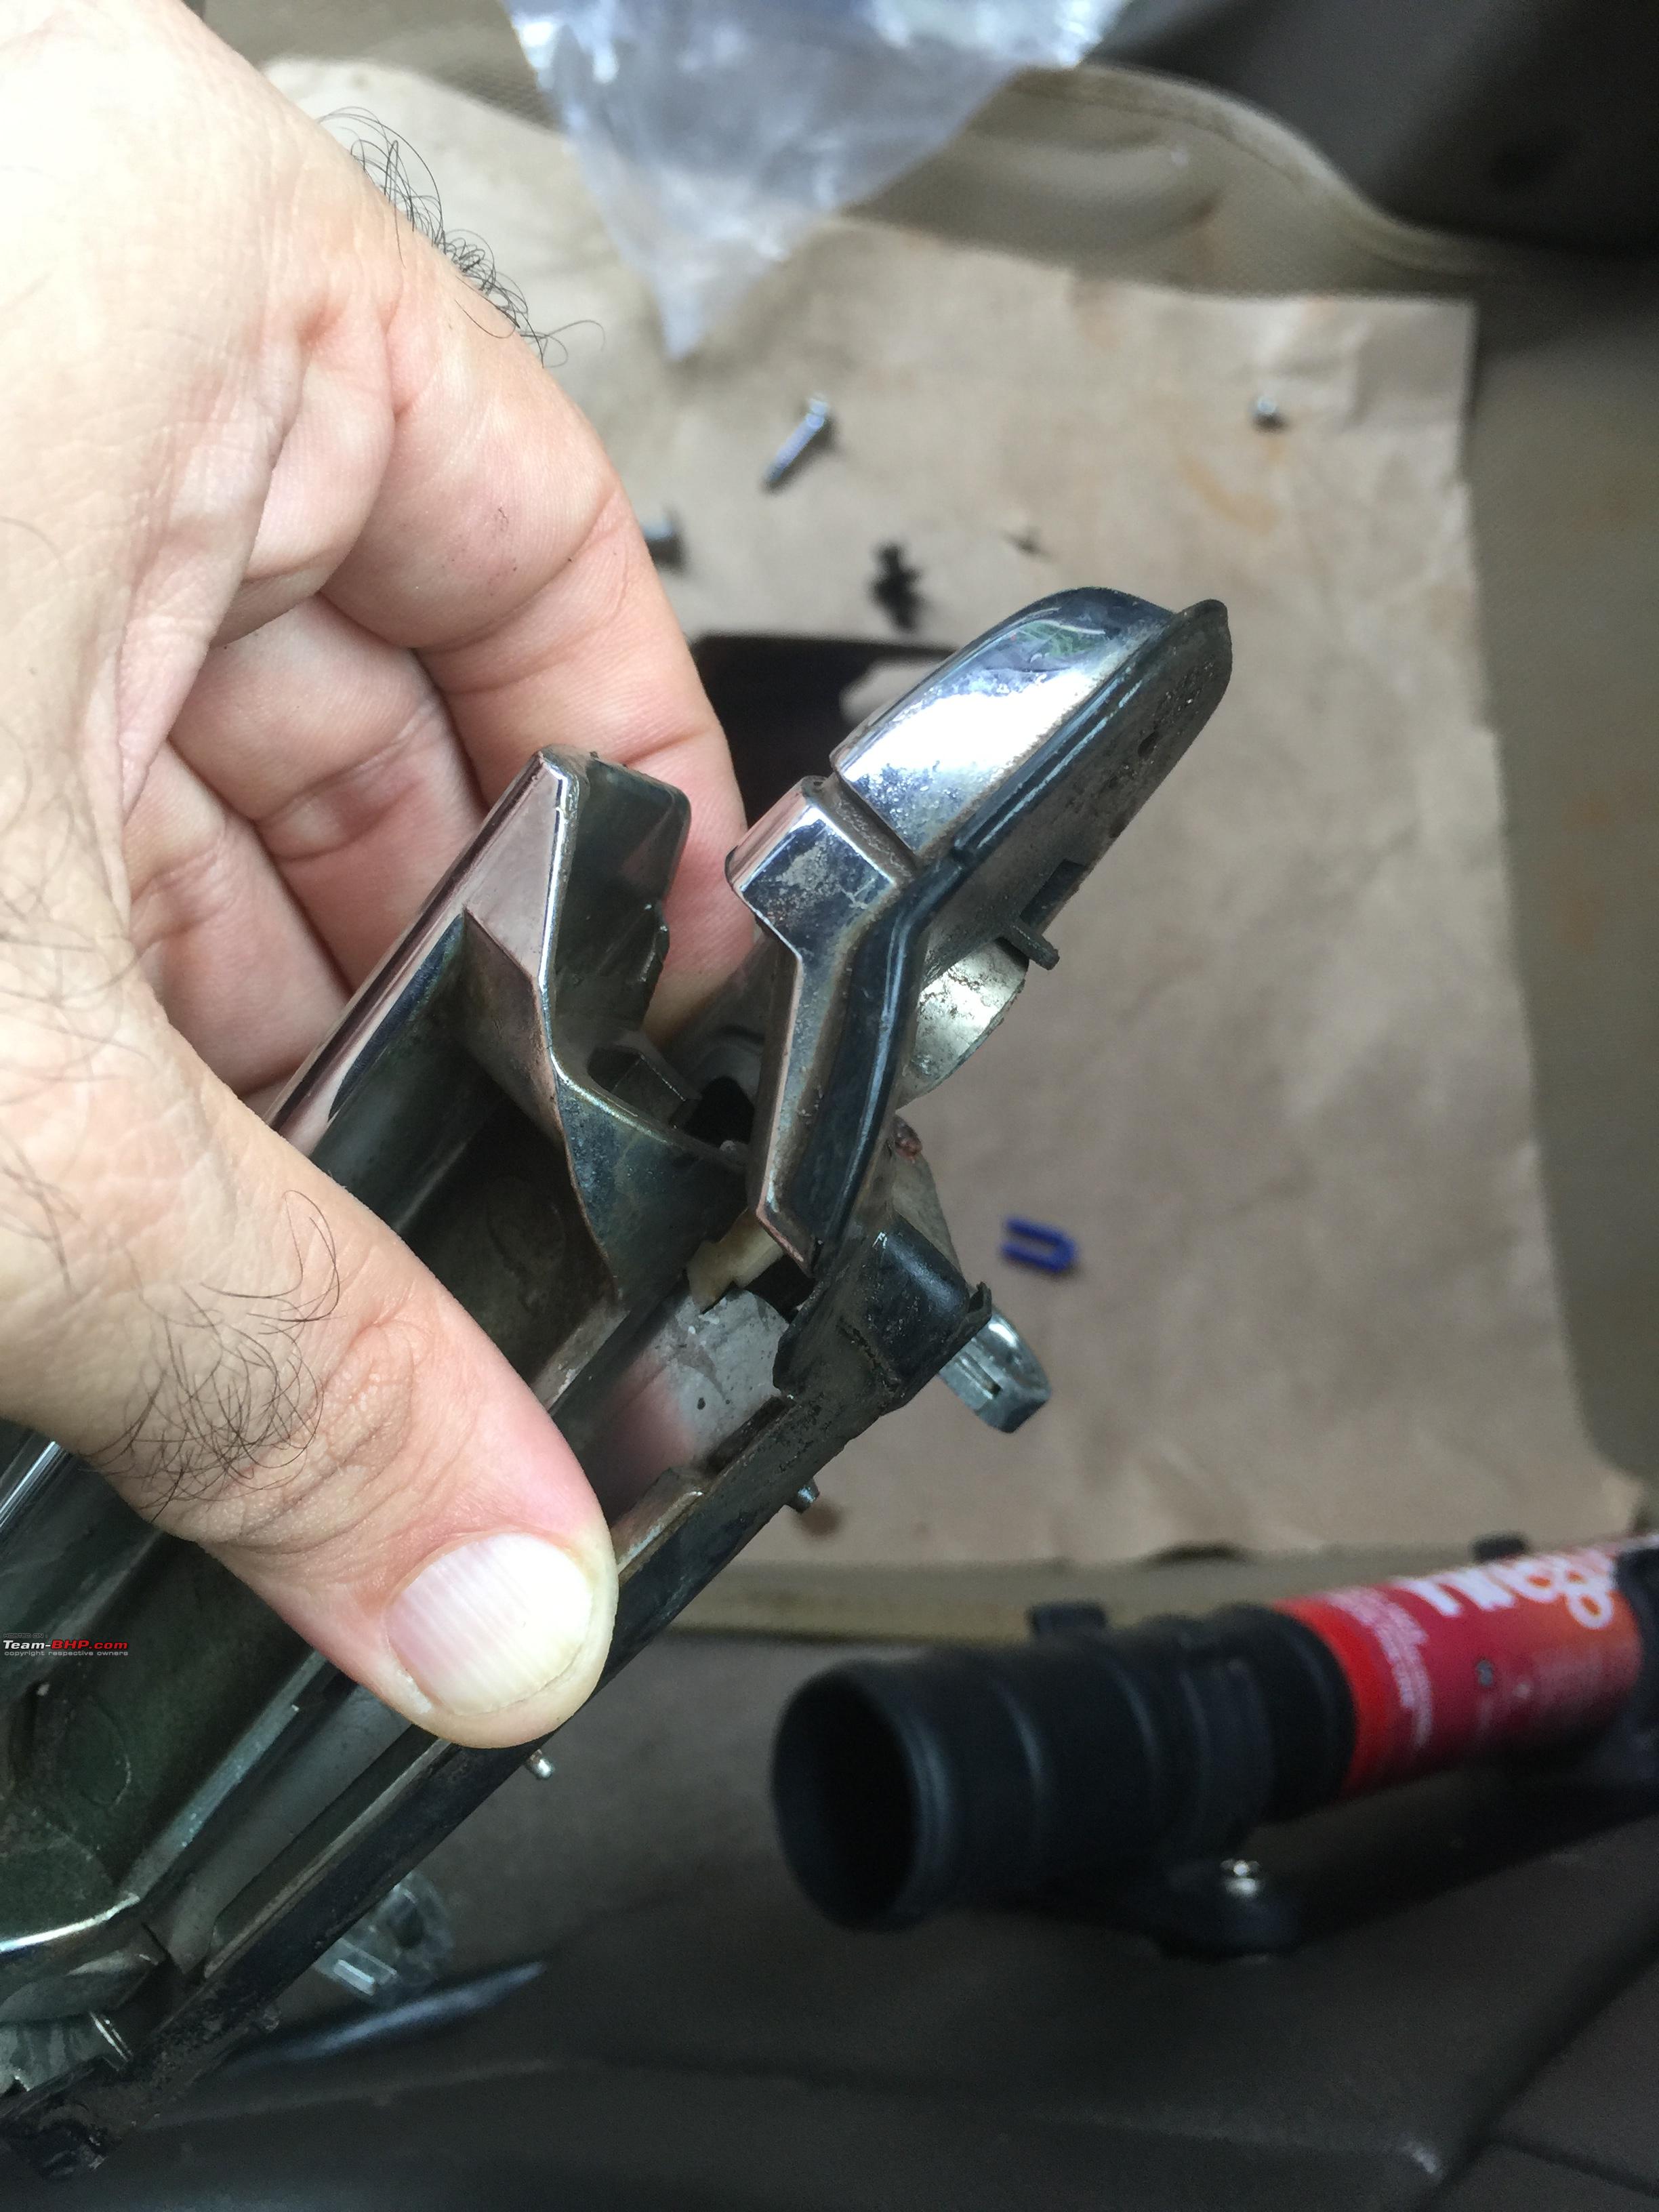
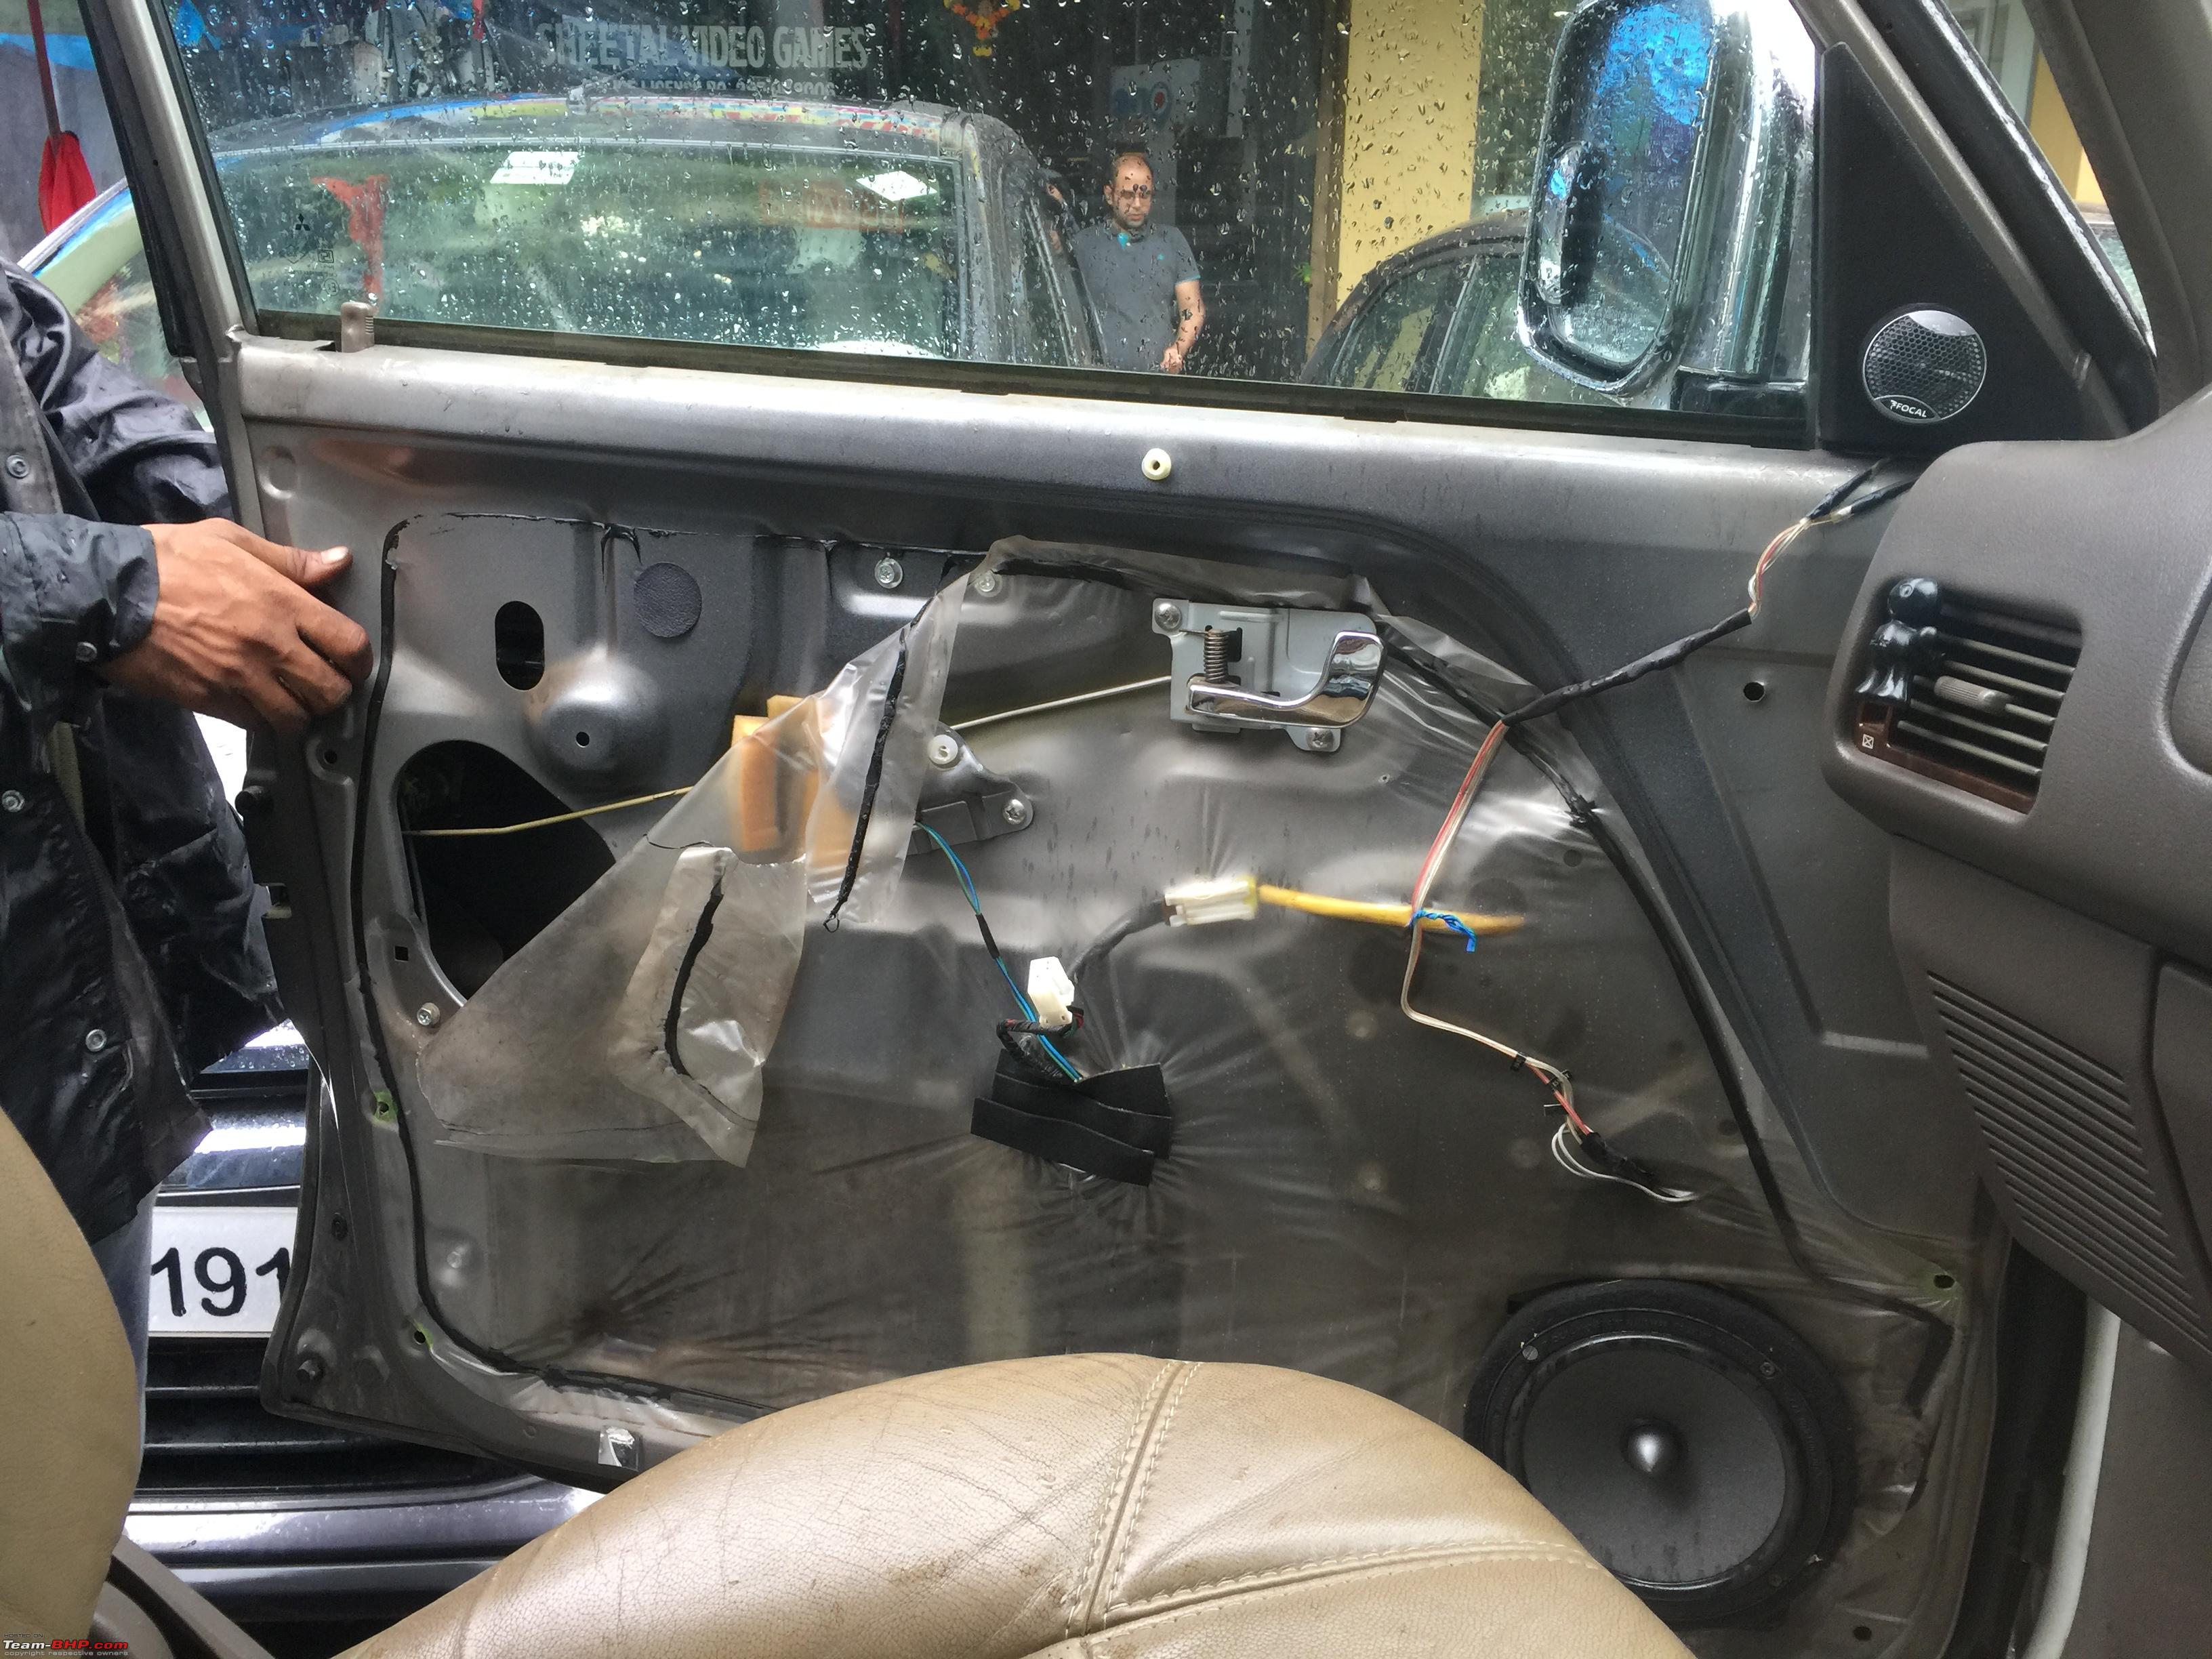
The Pajero front passenger side hands broke a while ago. It's a plastic part and as a history of being an Achilles heel in an otherwise robust vehicle.
The broken handle:

When I called the usual pajero dealers around, I got a quote of 1500-2000 for one handle. On a whim I checked Aliexpress and found a set of 4 for Rs. 1300 including shipping.

Was worth the one month wait and I got used to opening the passenger side door fro inside for passengers till then.
As soon as the parcel arrived, I immediately got the handle fitted.


Update on the roof rack:
It's offroad season time and time to fit the roof rack back.
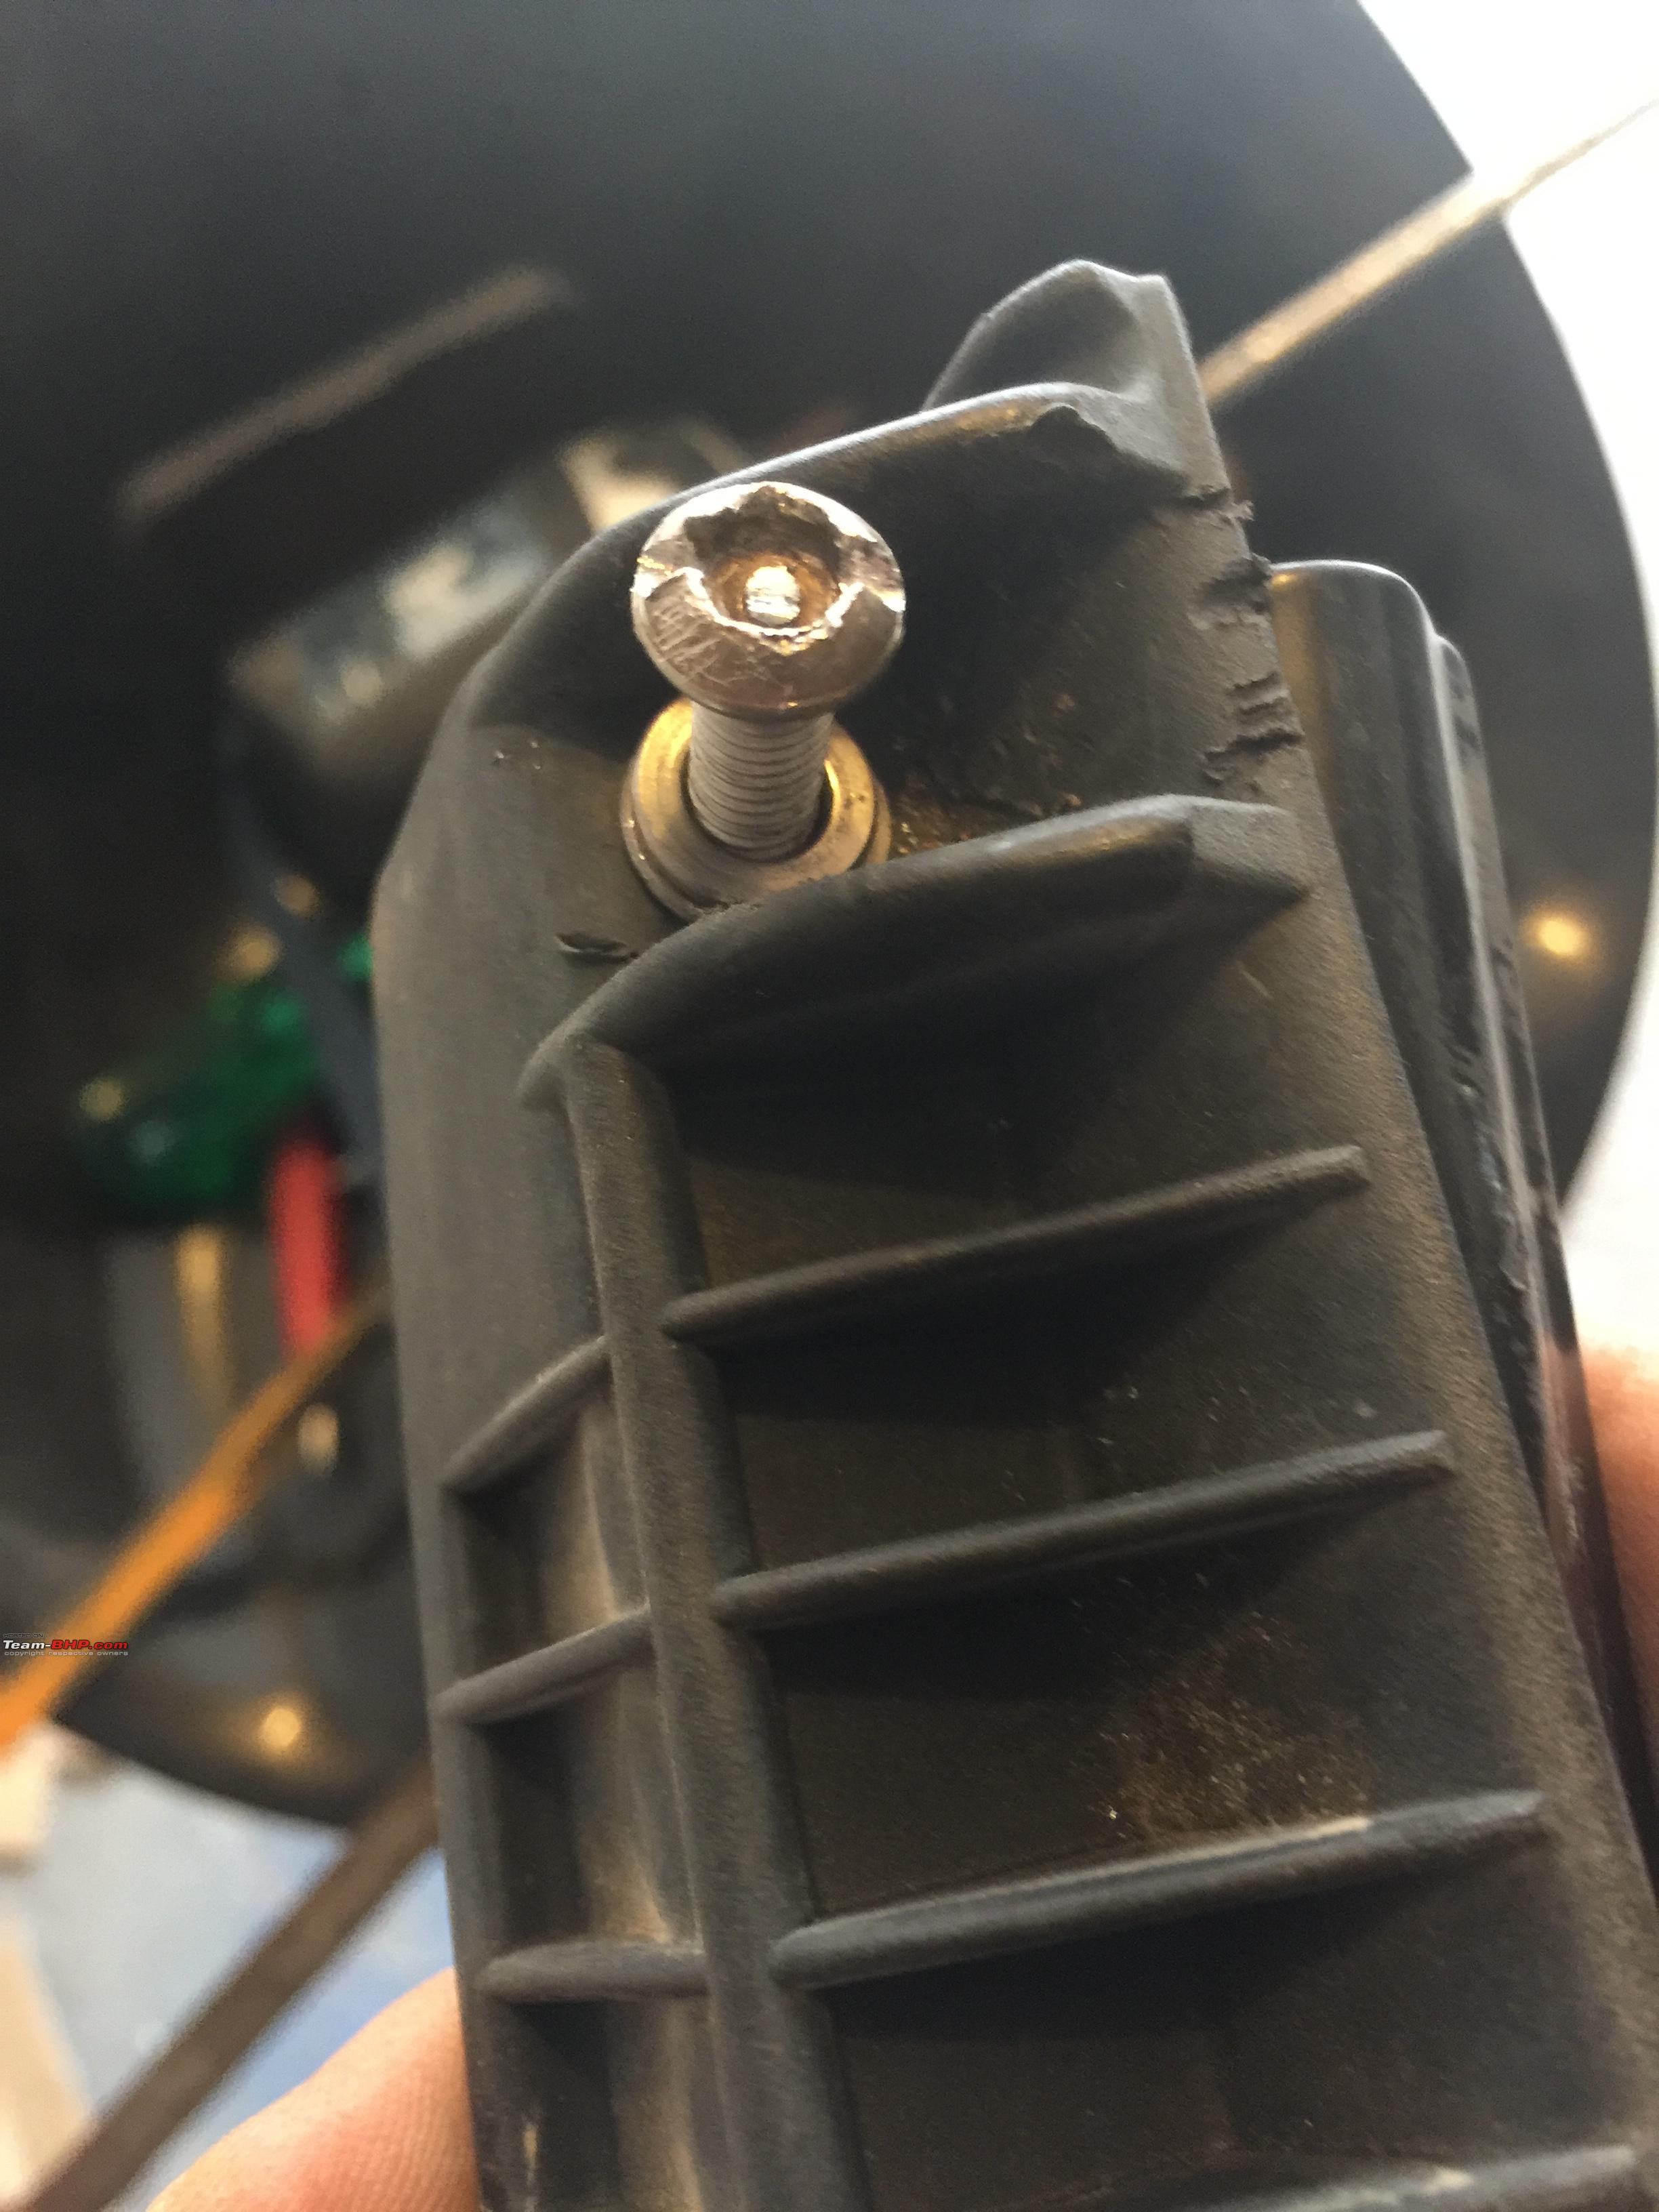
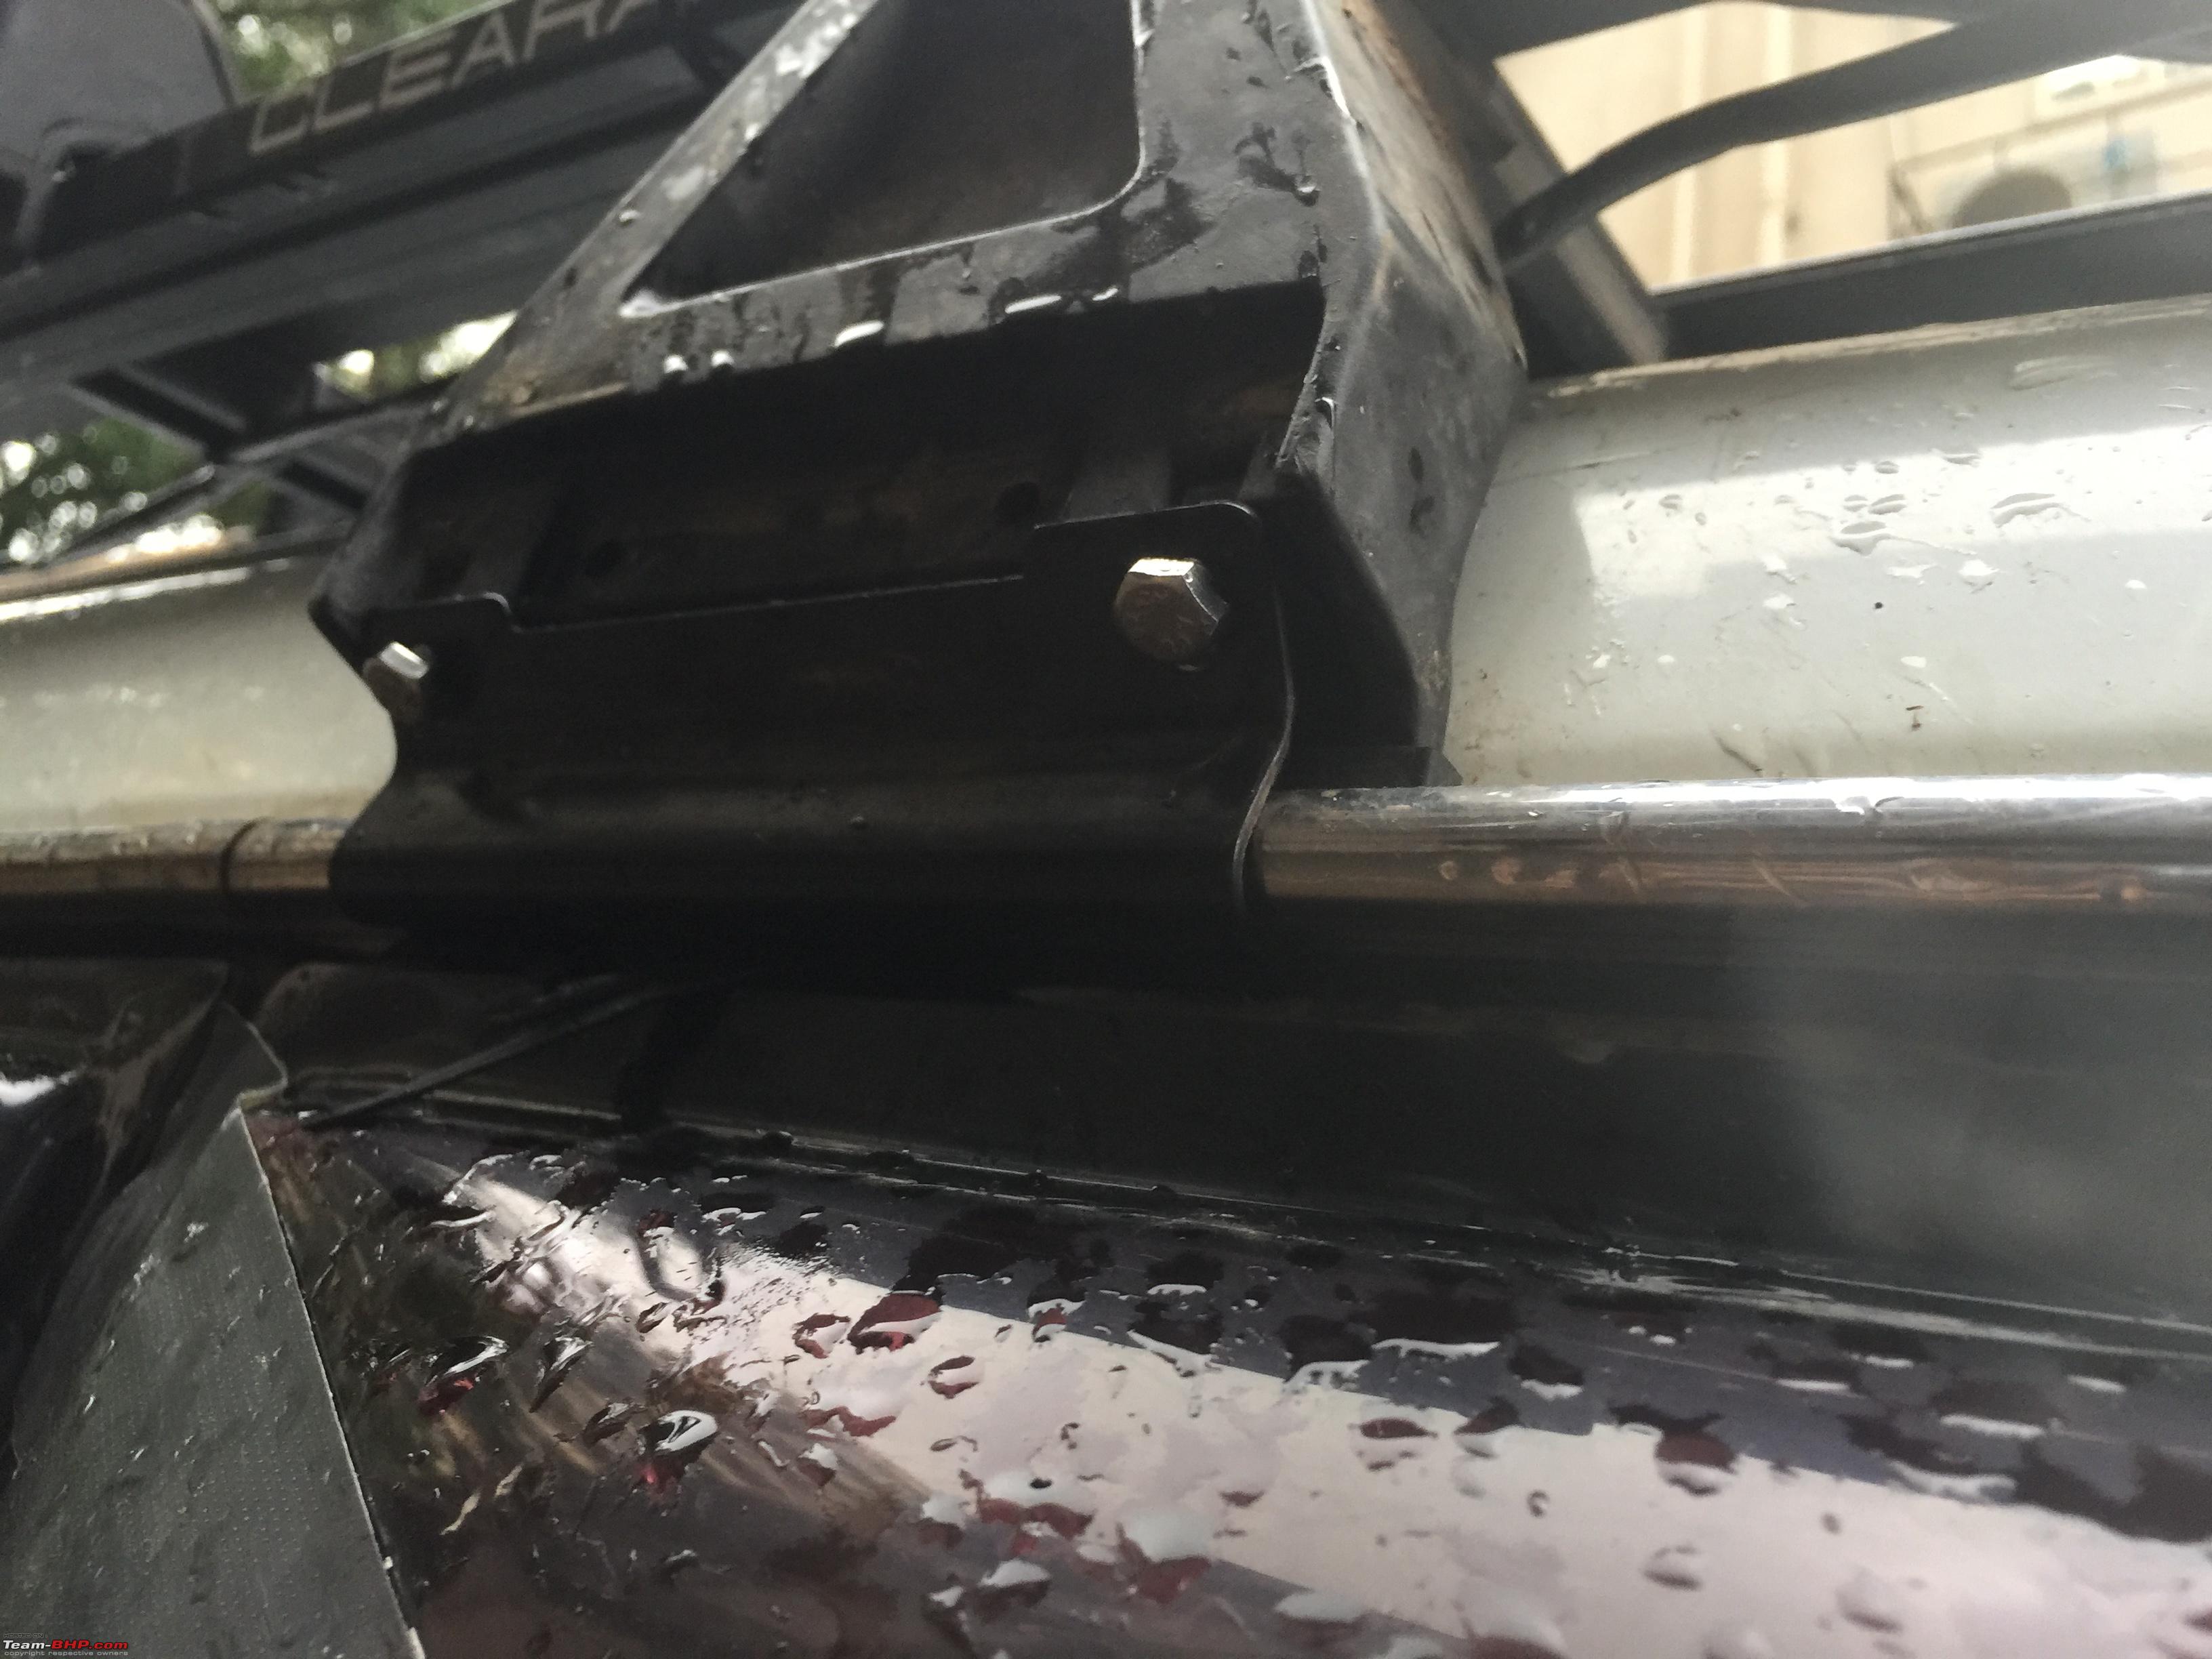
The rhino rack as one inherent problem. The safety screws tend to strip the hex when you try to open it and it's even slightly jammed.
This happened when I was removing the roof rack and I had to take a small blade to saw a slot to remove it. Half an hour of work since the area to work was limited.

Also the problem was that the plastic cladding made it extremely difficult to put the rhino rack screws to the legs.
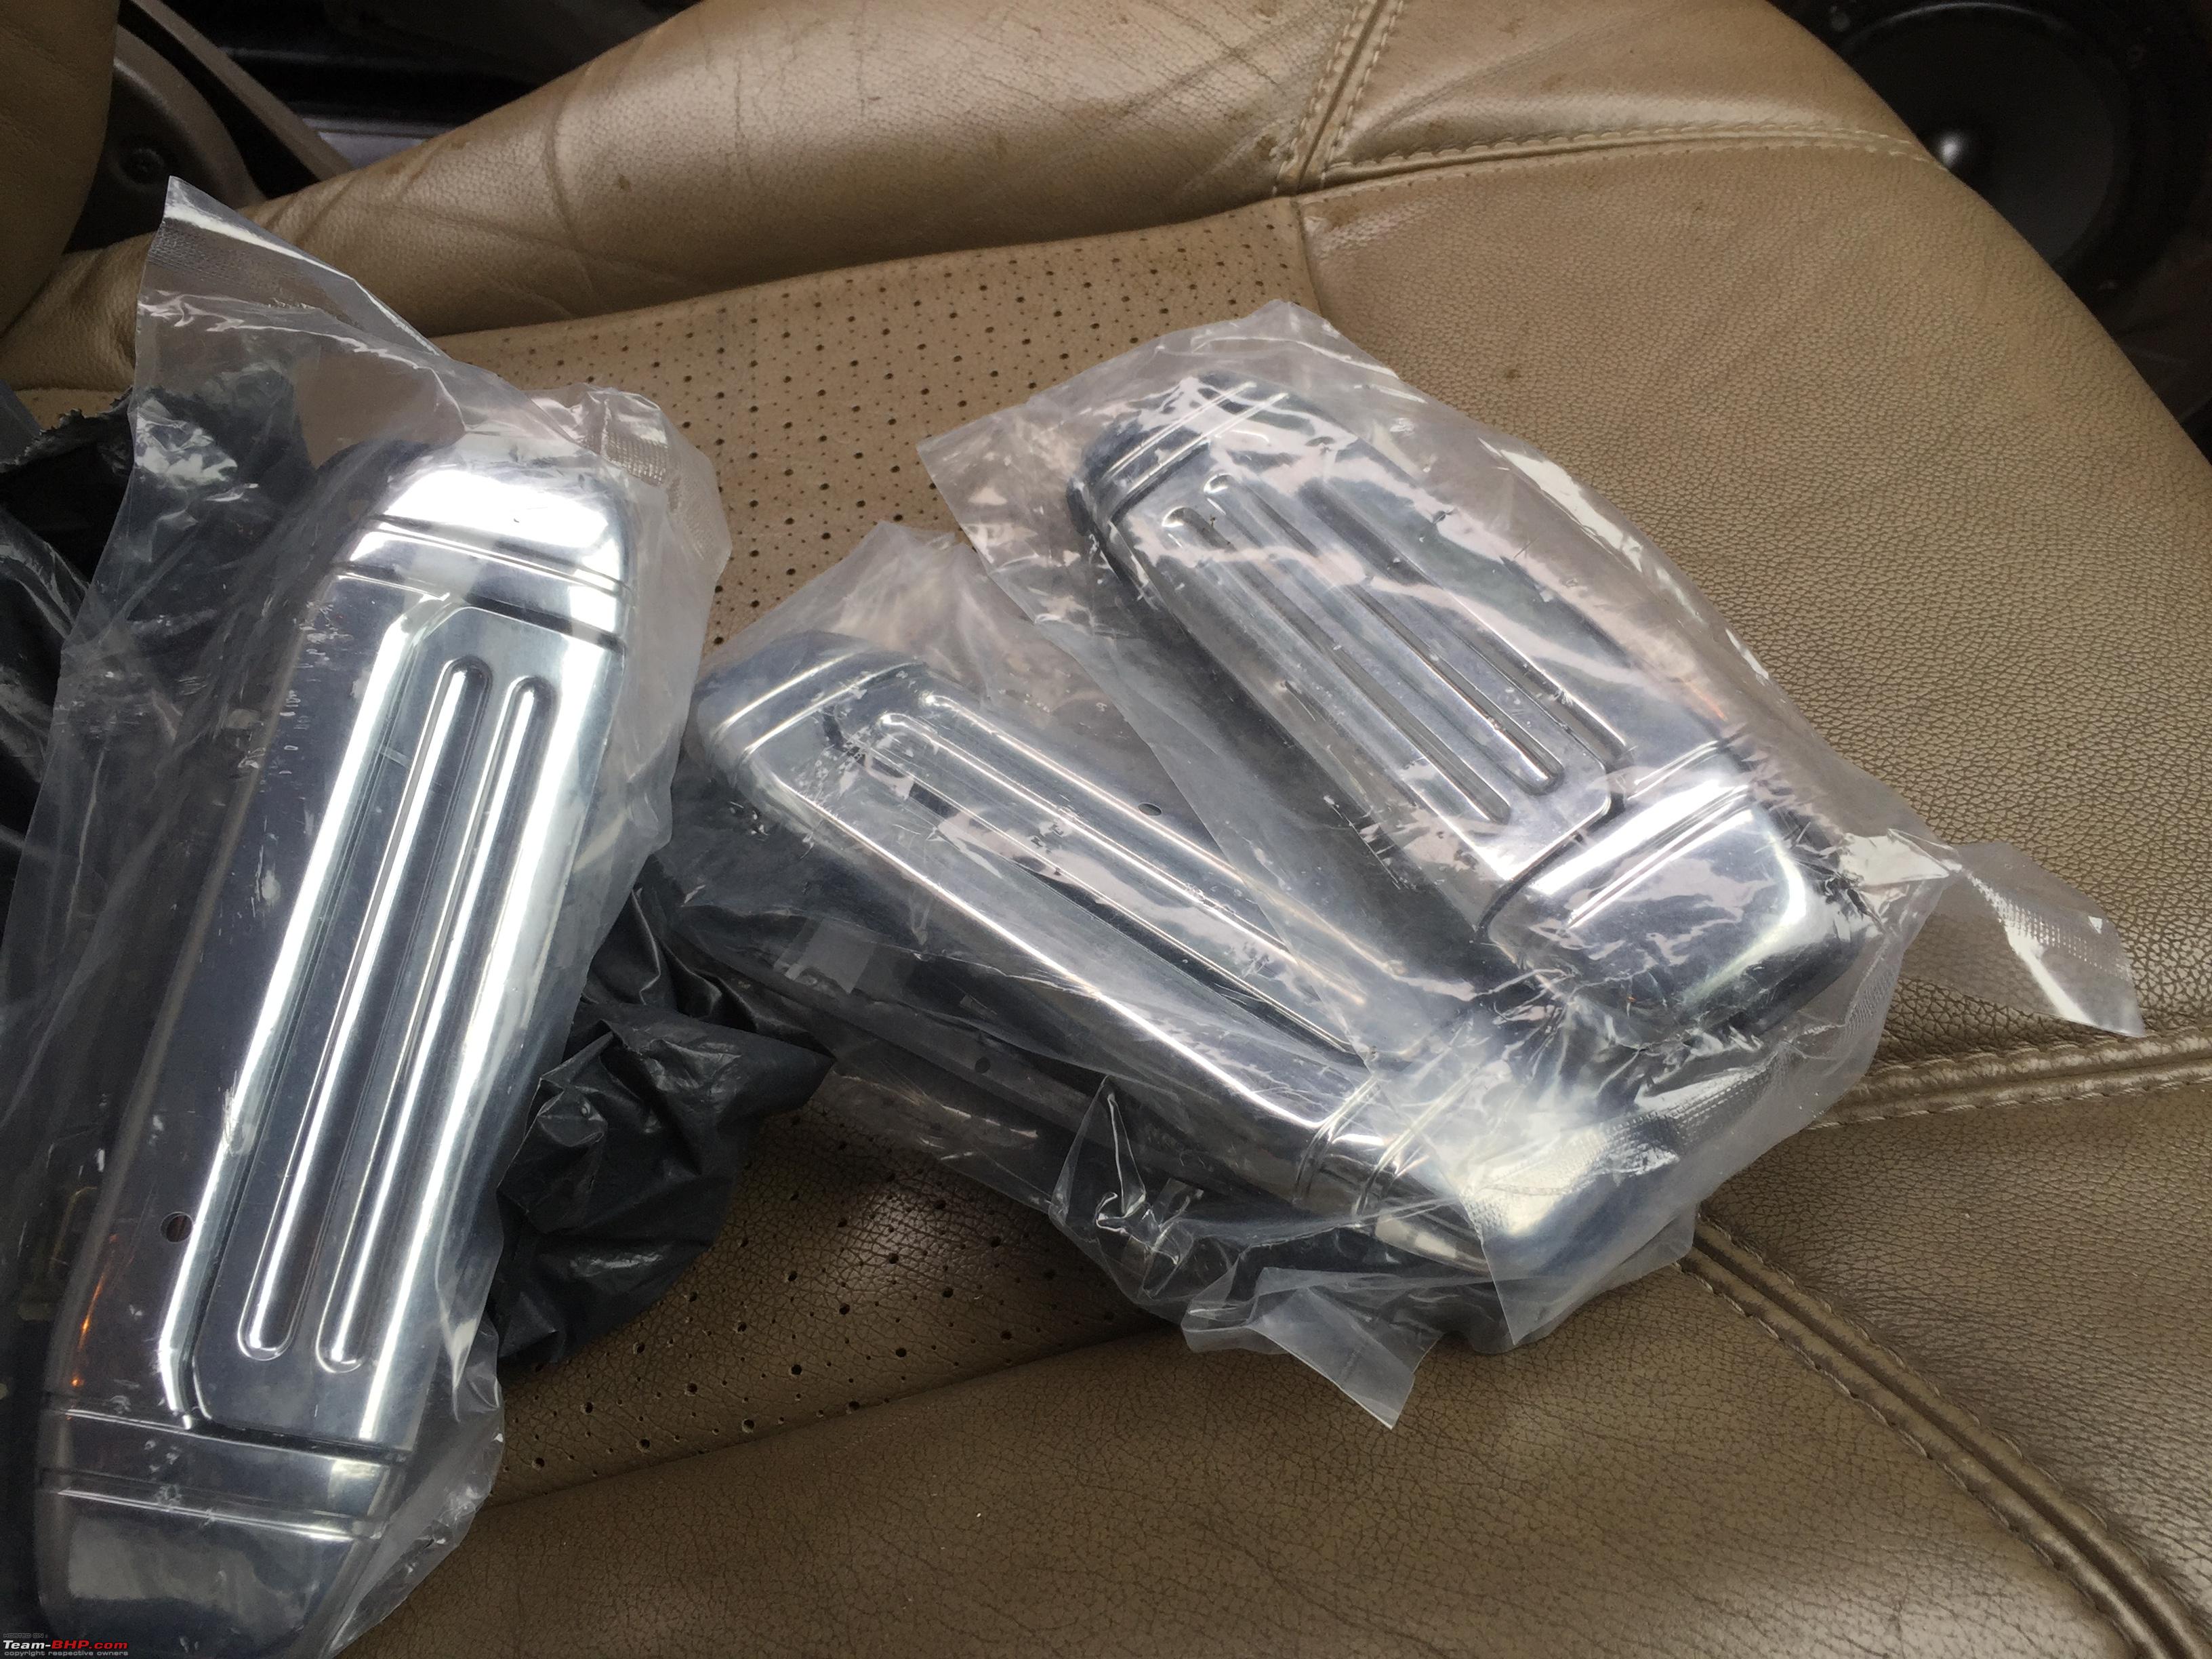
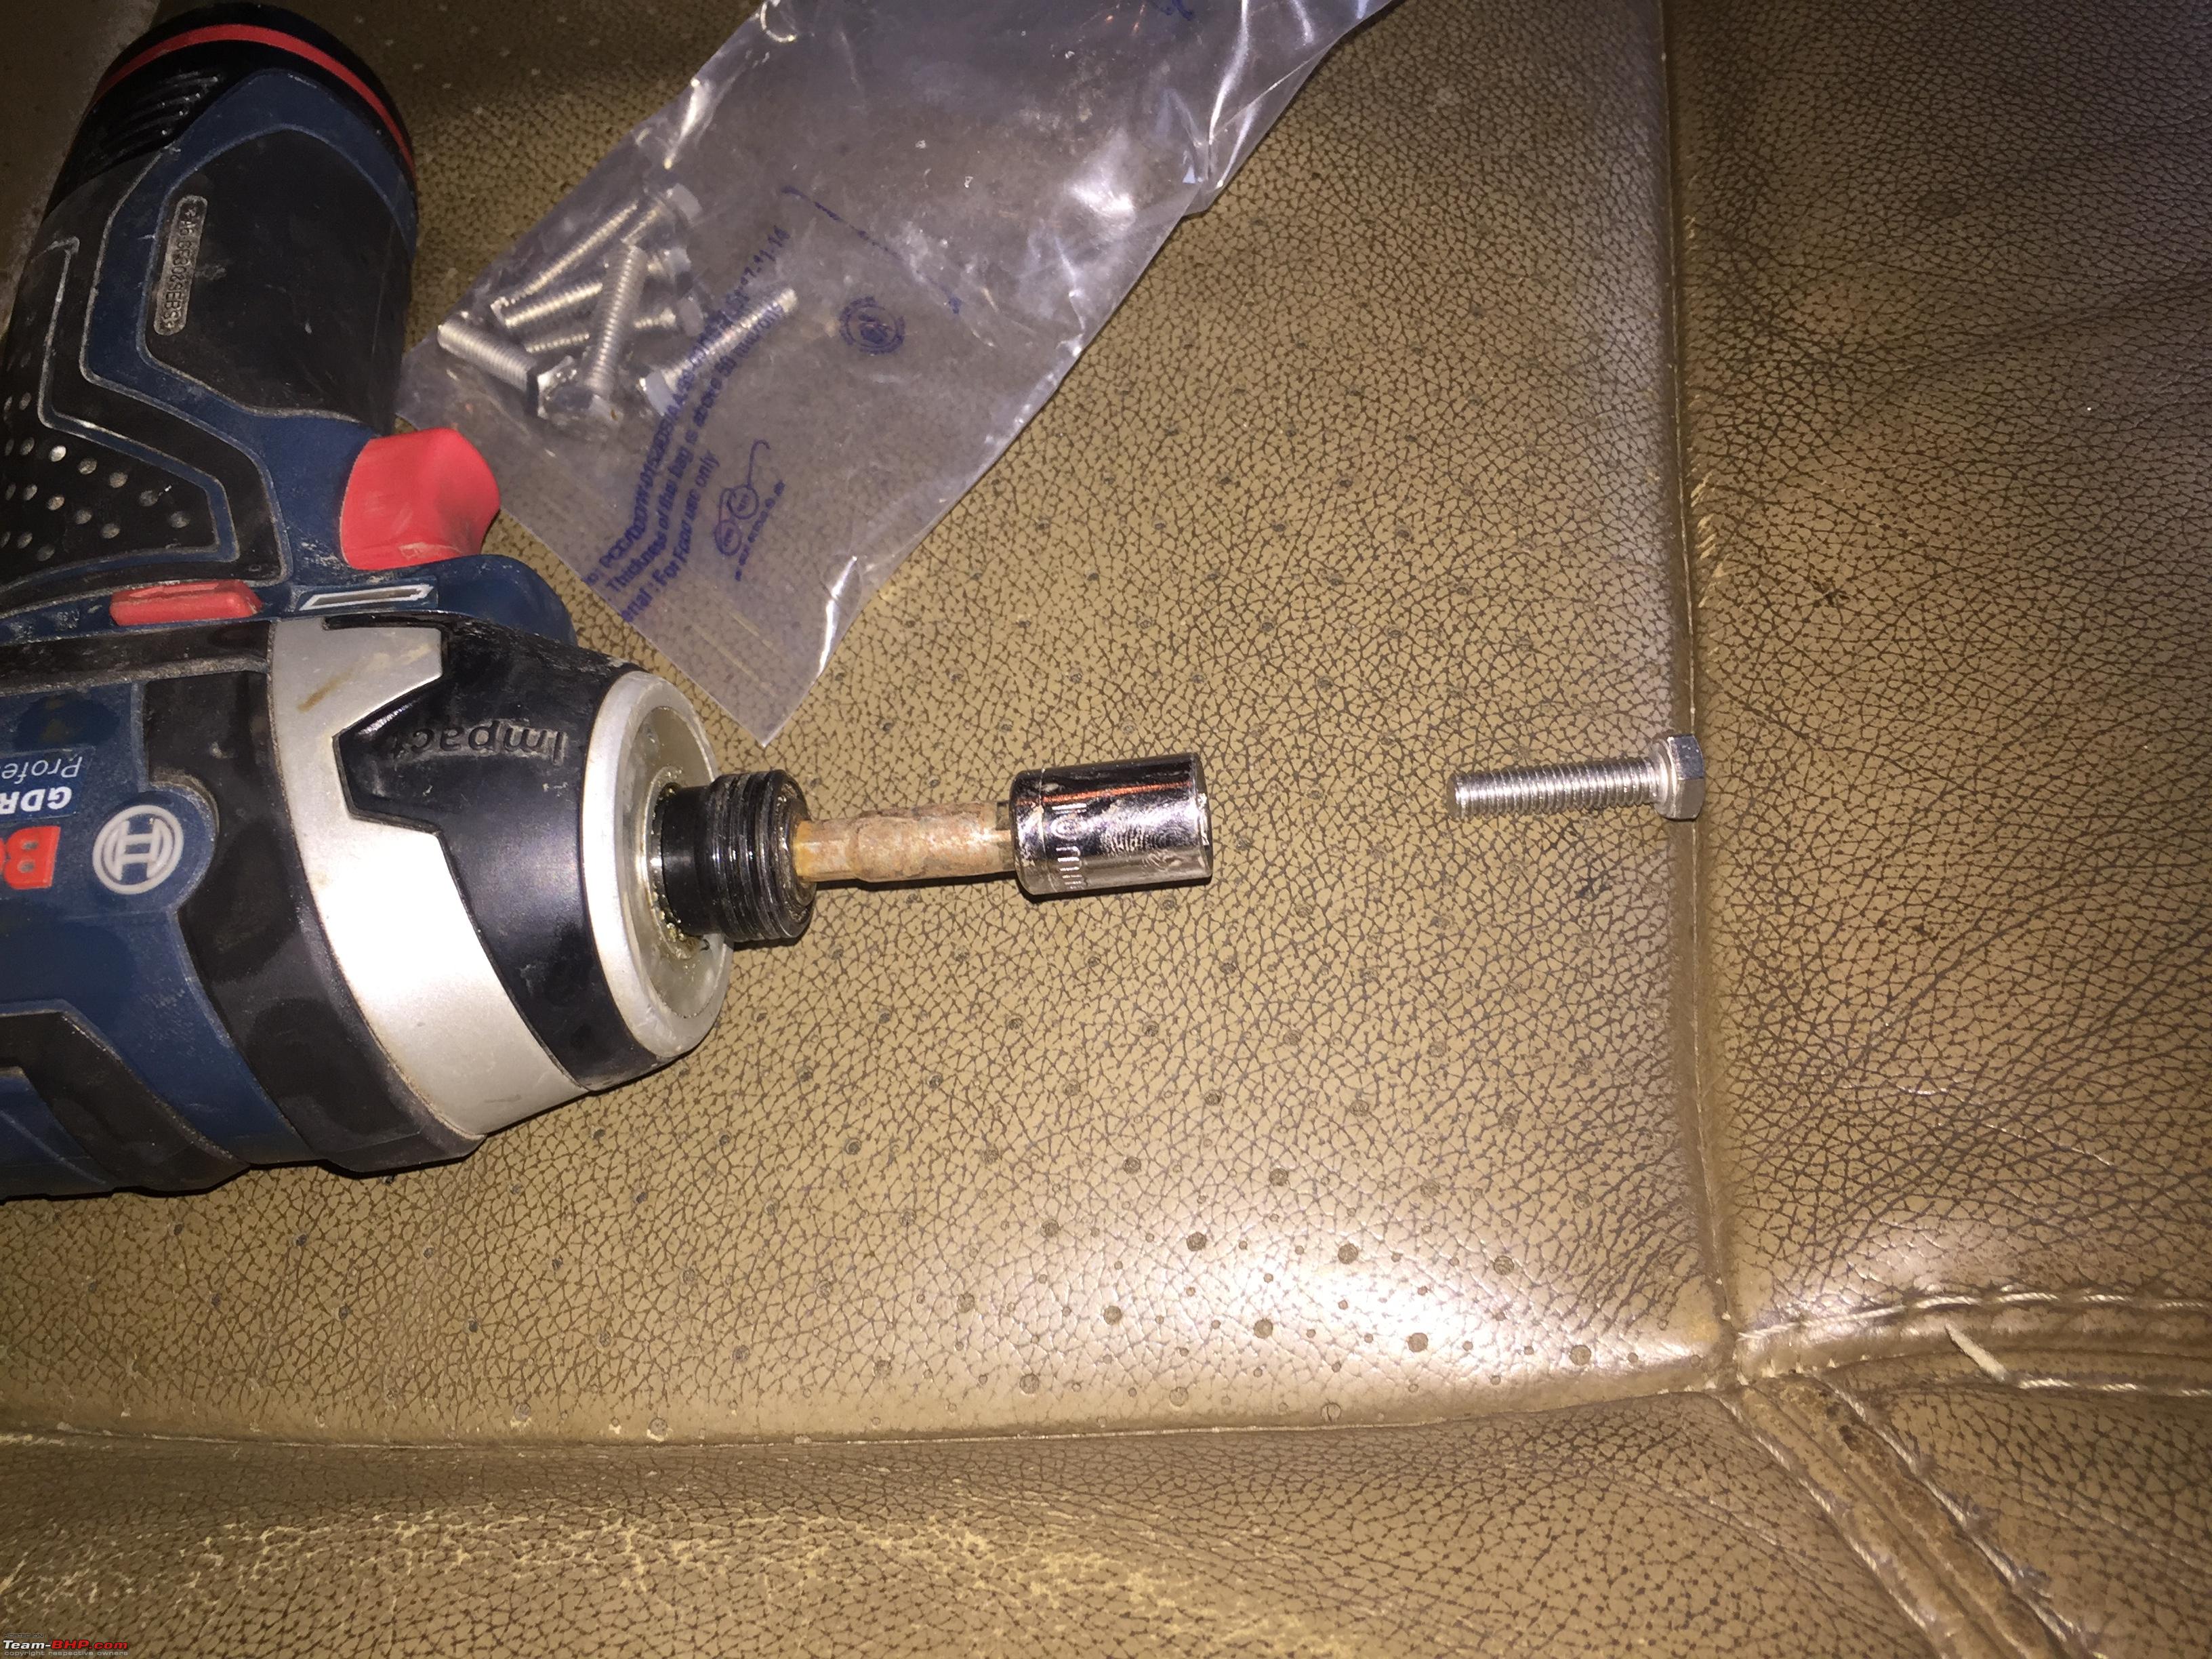
So this time I decided to go for stainless steel screws procured from a shop in Lamington Road, Mumbai called American Nuts and Bolts (brilliant small shop for nuts and bolts only). I also decided not to put the aesthetic plastic cladding.
The added advantage of the stainless steel bolts is that I can use my impact wrench to fit them faster than the small safety hex Allen key that the OE supplies.

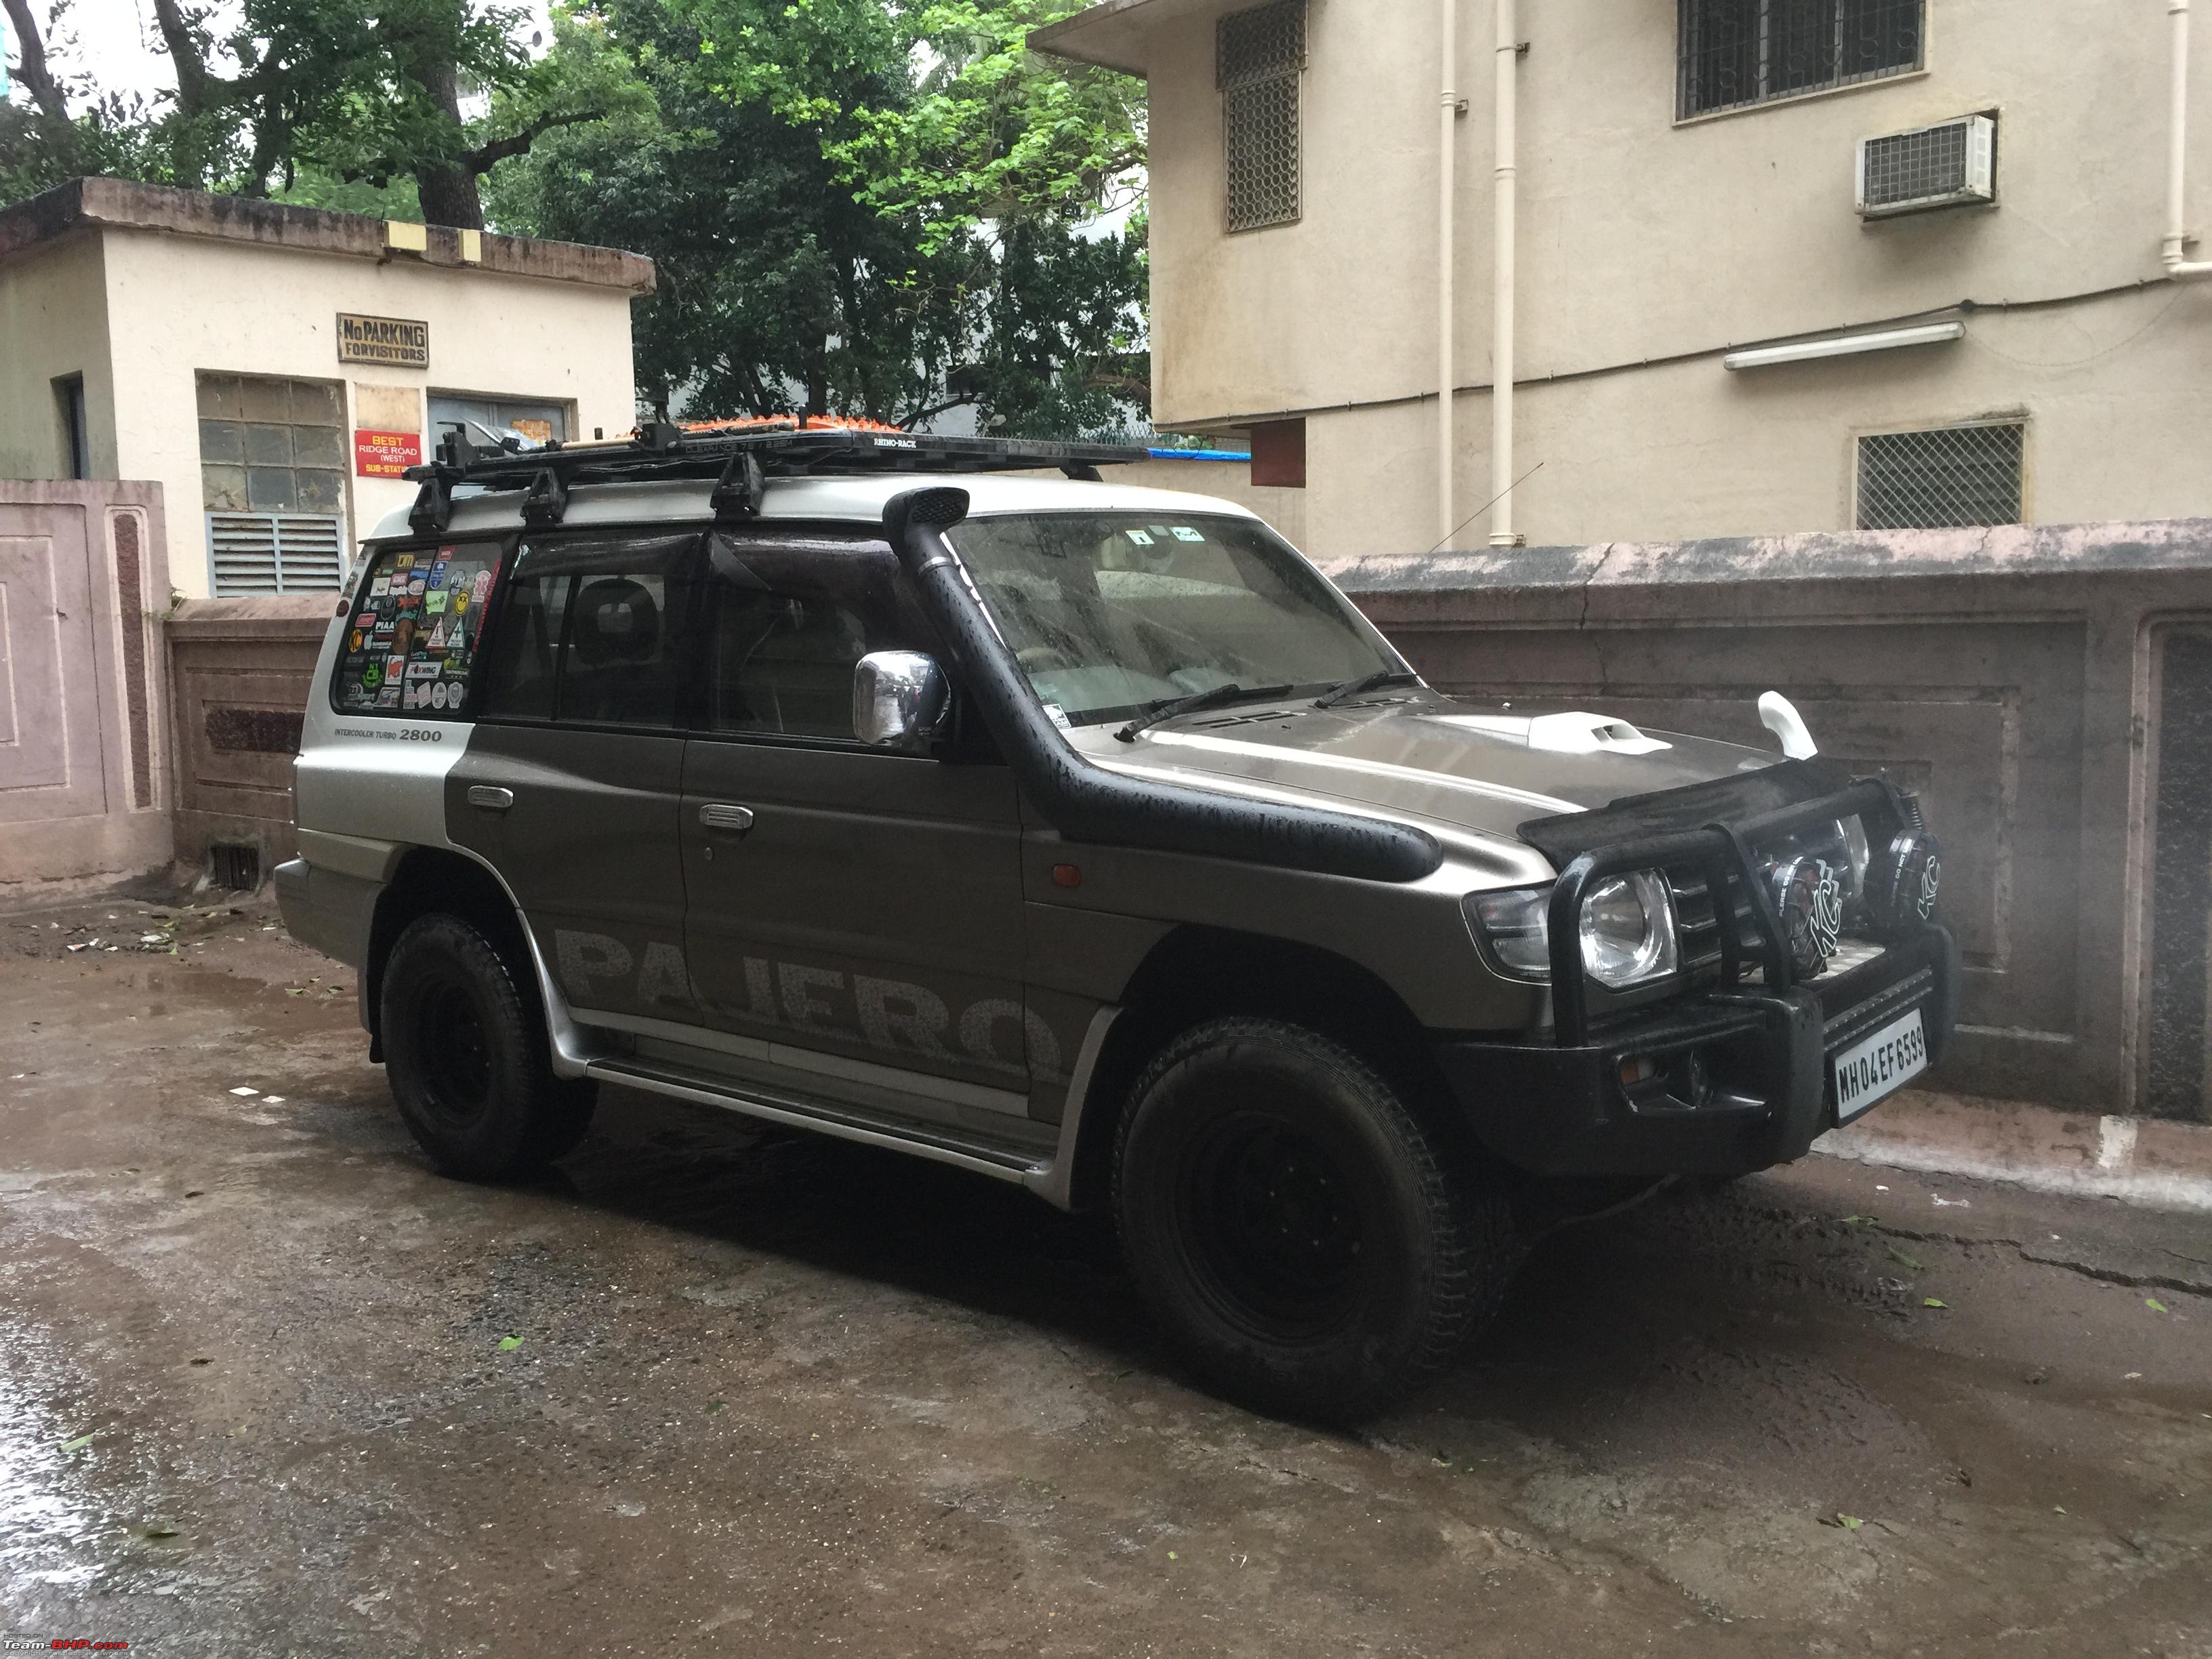
Fit the roof rack:


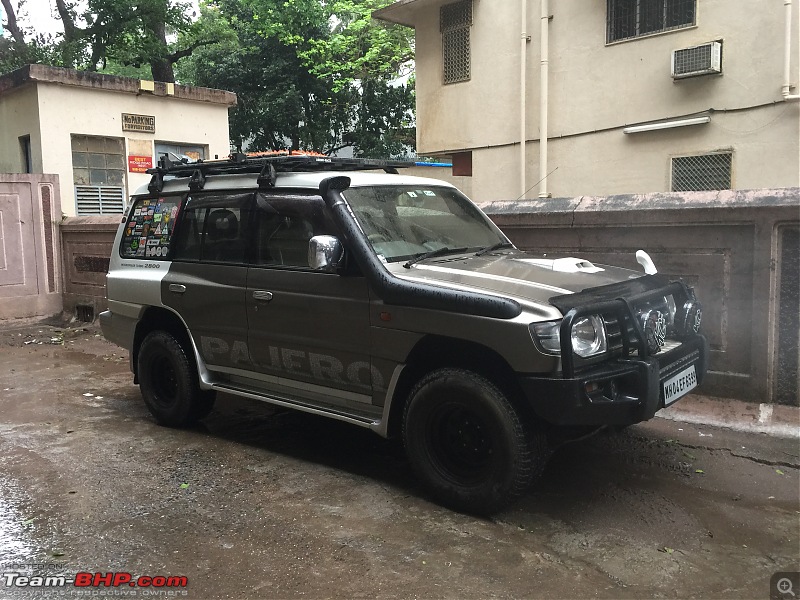
This time I wanted a slight change in look. So I removed the side rails above the roof rack.
Also removed the awning. The monsoons are too windy for the awning. Will fit it back after the monsoons for camping season and summer.
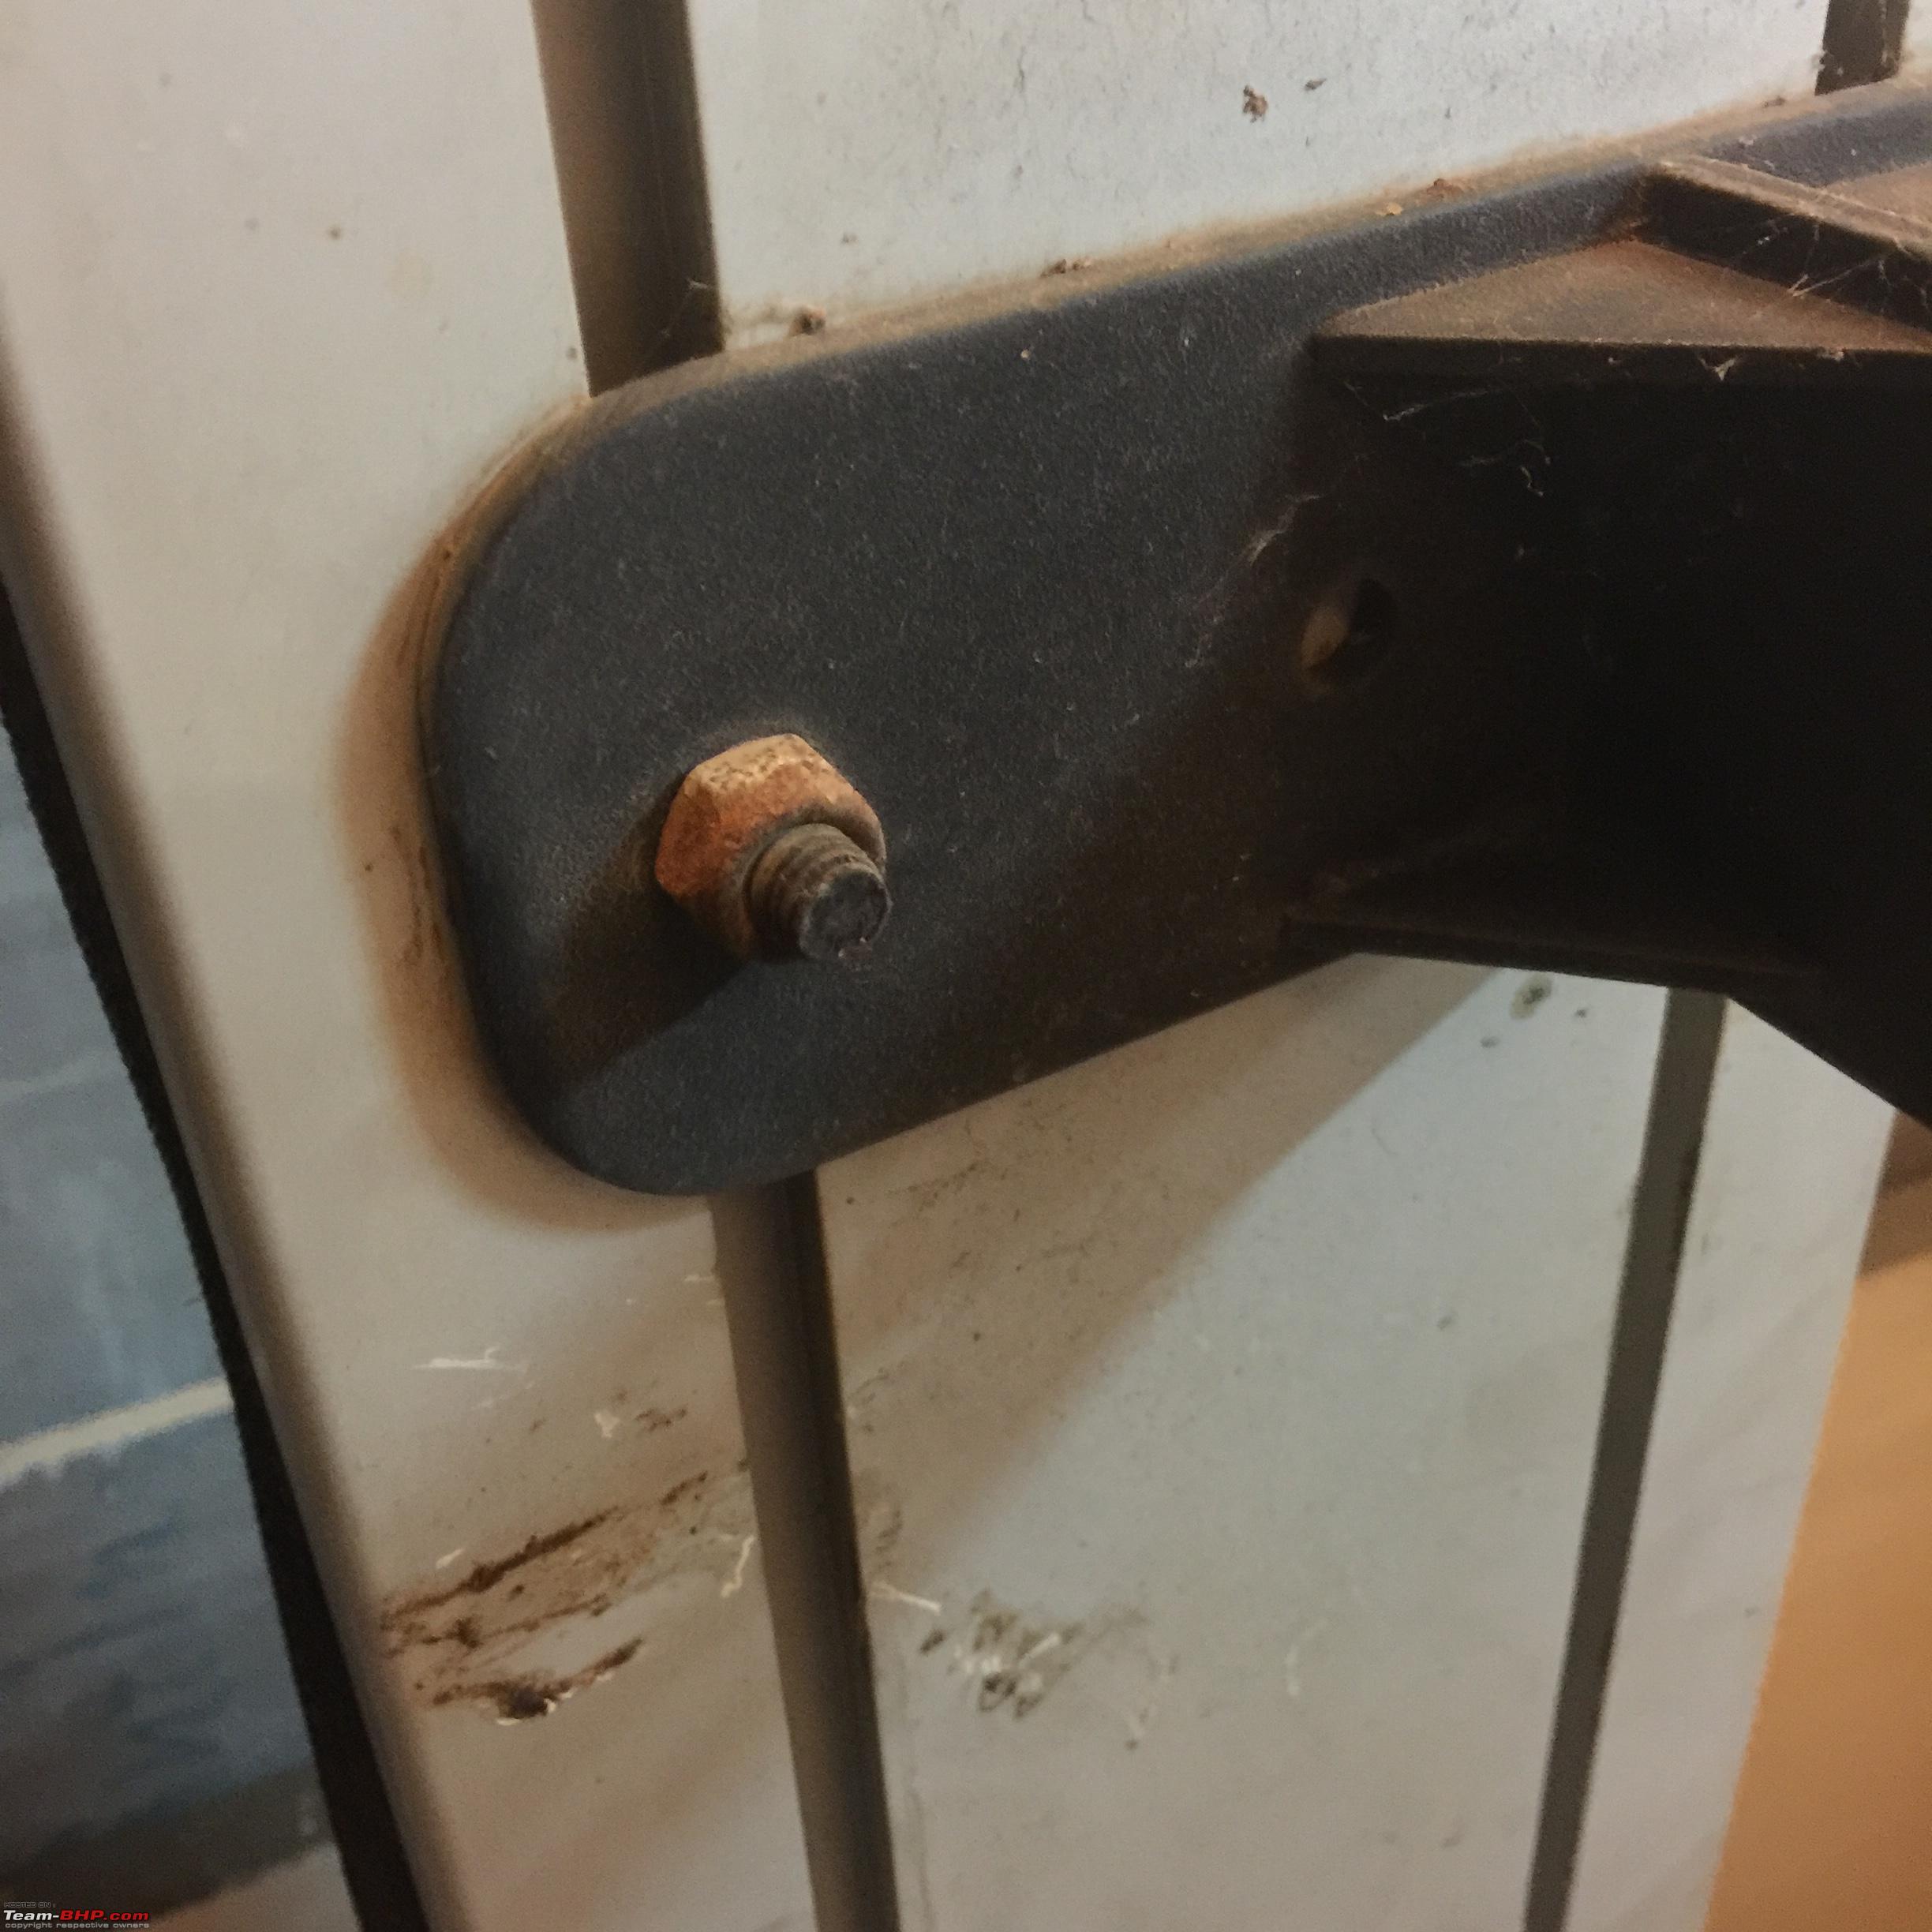
When I removed it, found the bolts rusting as well. Going to change all bolts to SS.

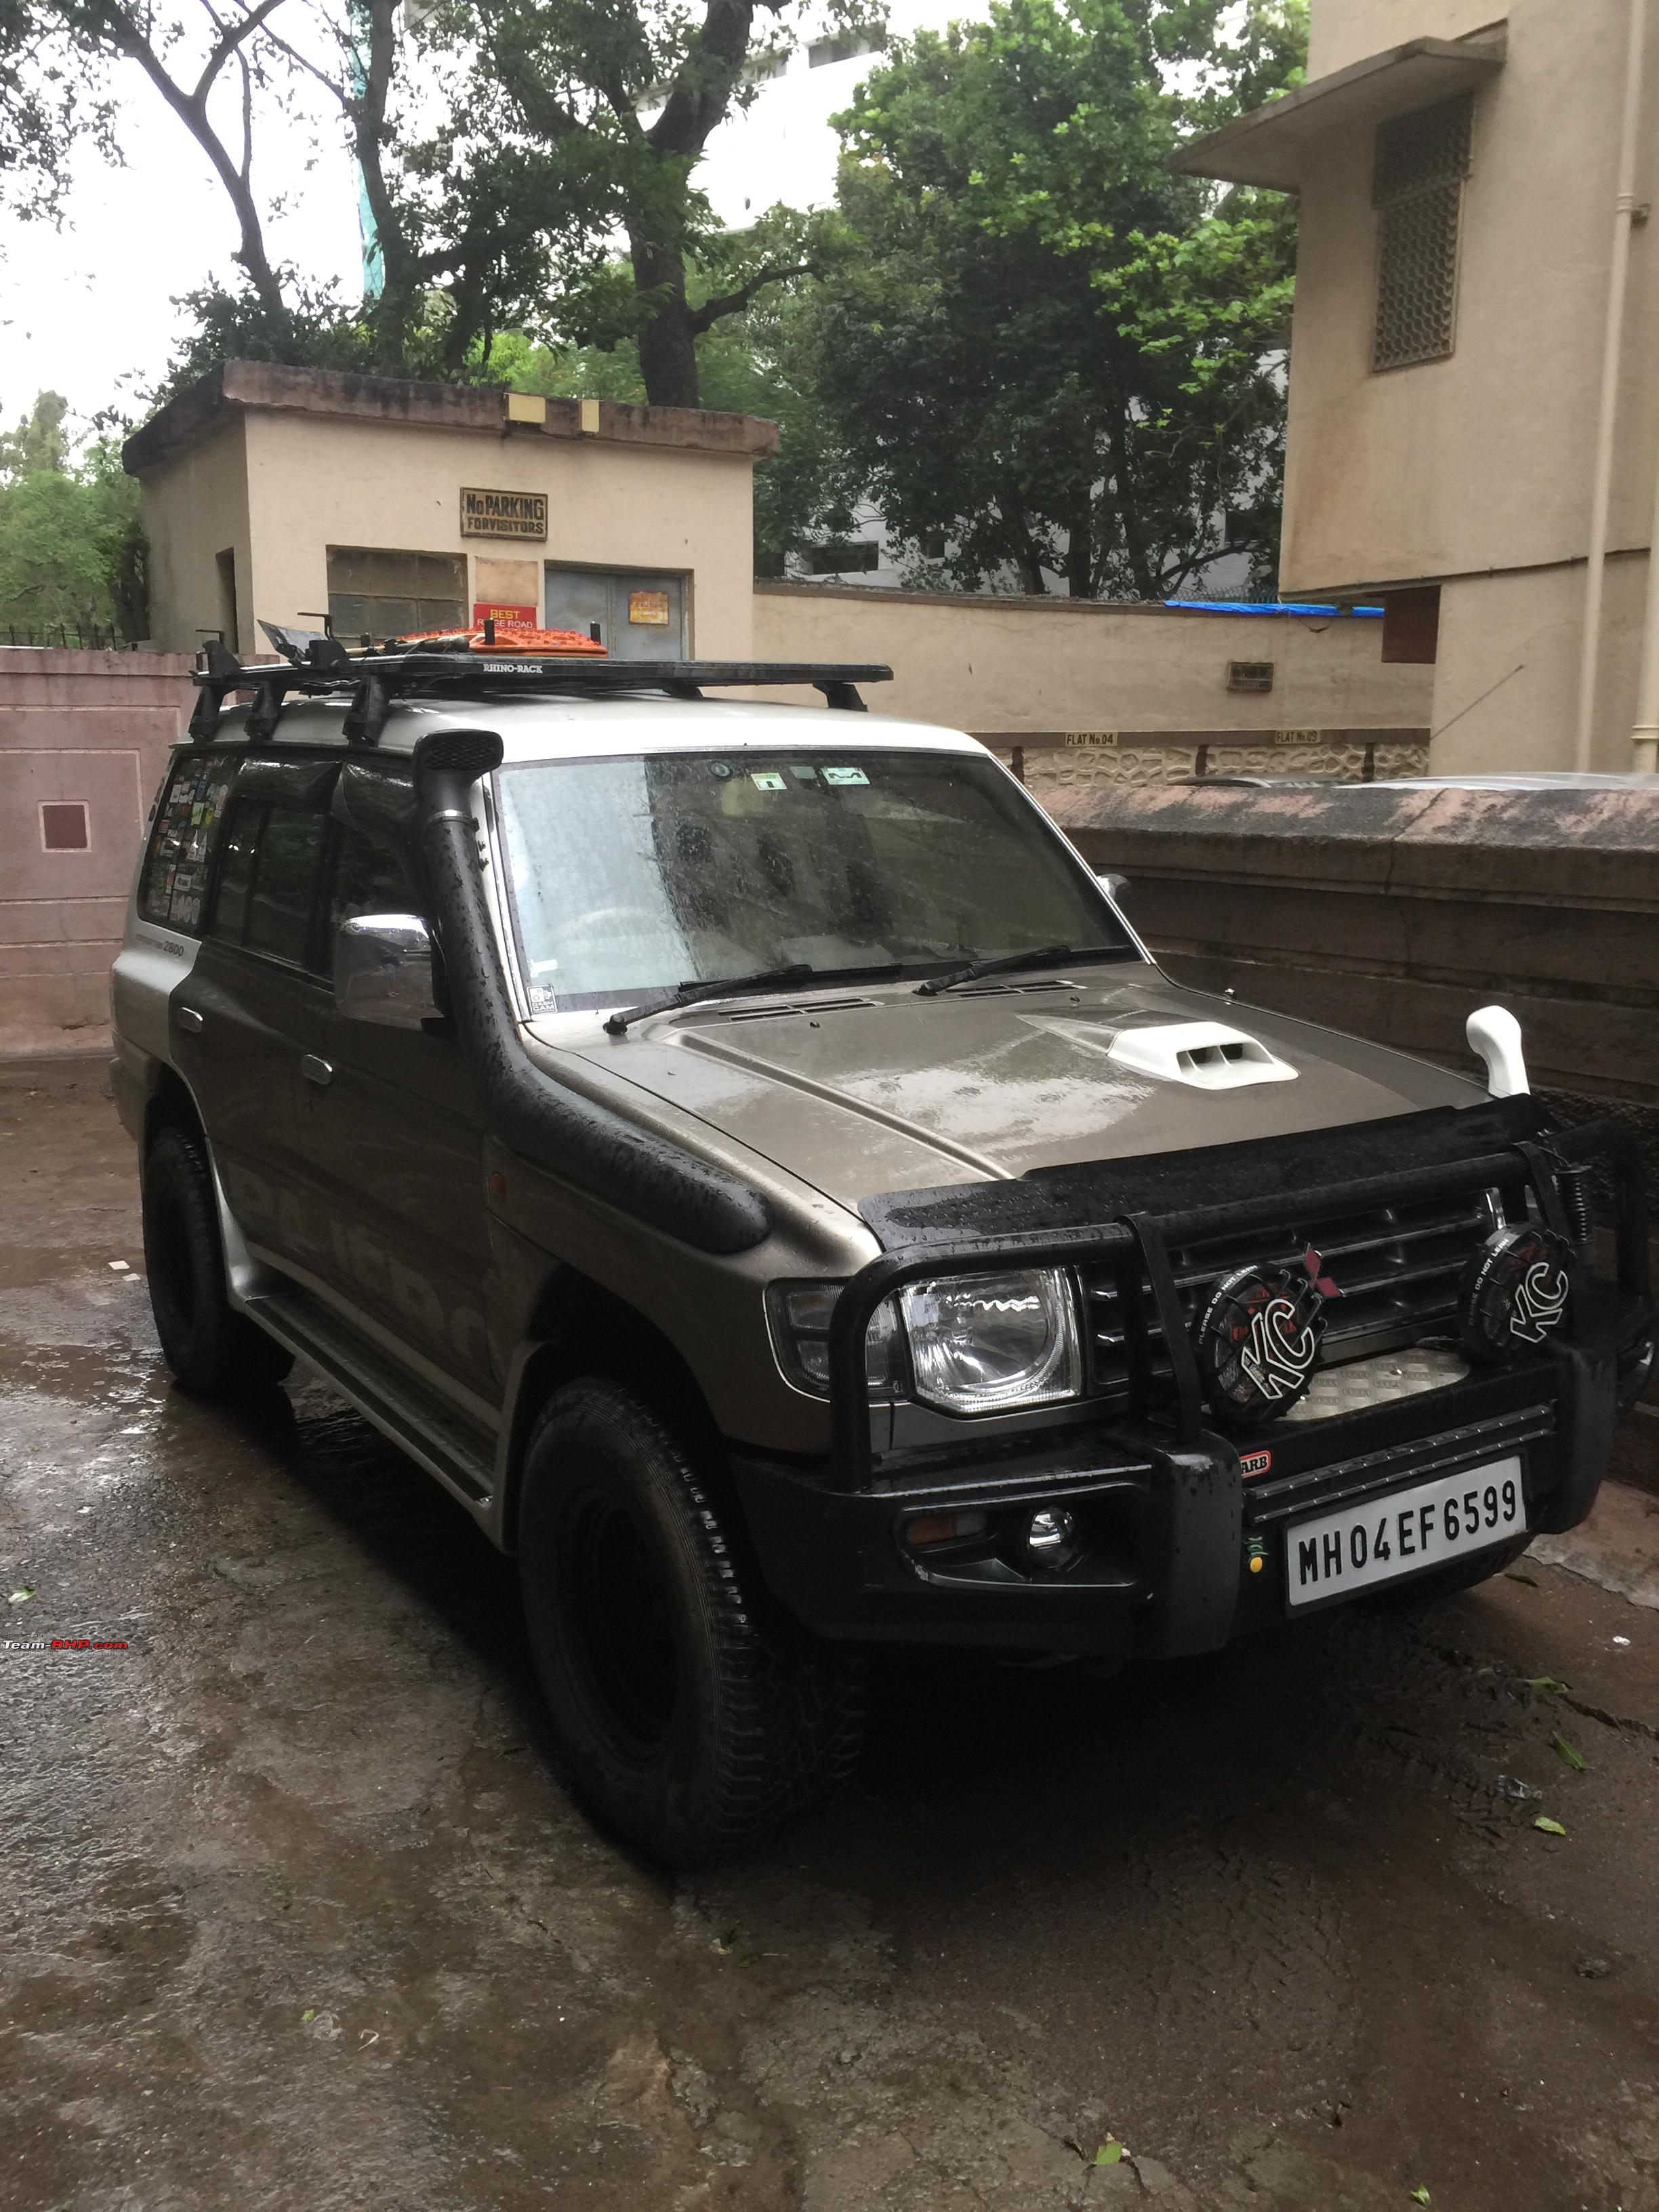
Here's the new look pajero:


Removed the front top lights from the roof rack because they were crap. Blew the fuse once as well. Still contemplating if I should add lights or leave it.
| All times are GMT +5.5. The time now is 06:42. | |