Team-BHP
(
https://www.team-bhp.com/forum/)
-
4x4 Vehicles
(
https://www.team-bhp.com/forum/4x4-vehicles/)
Another weekend DIY project.
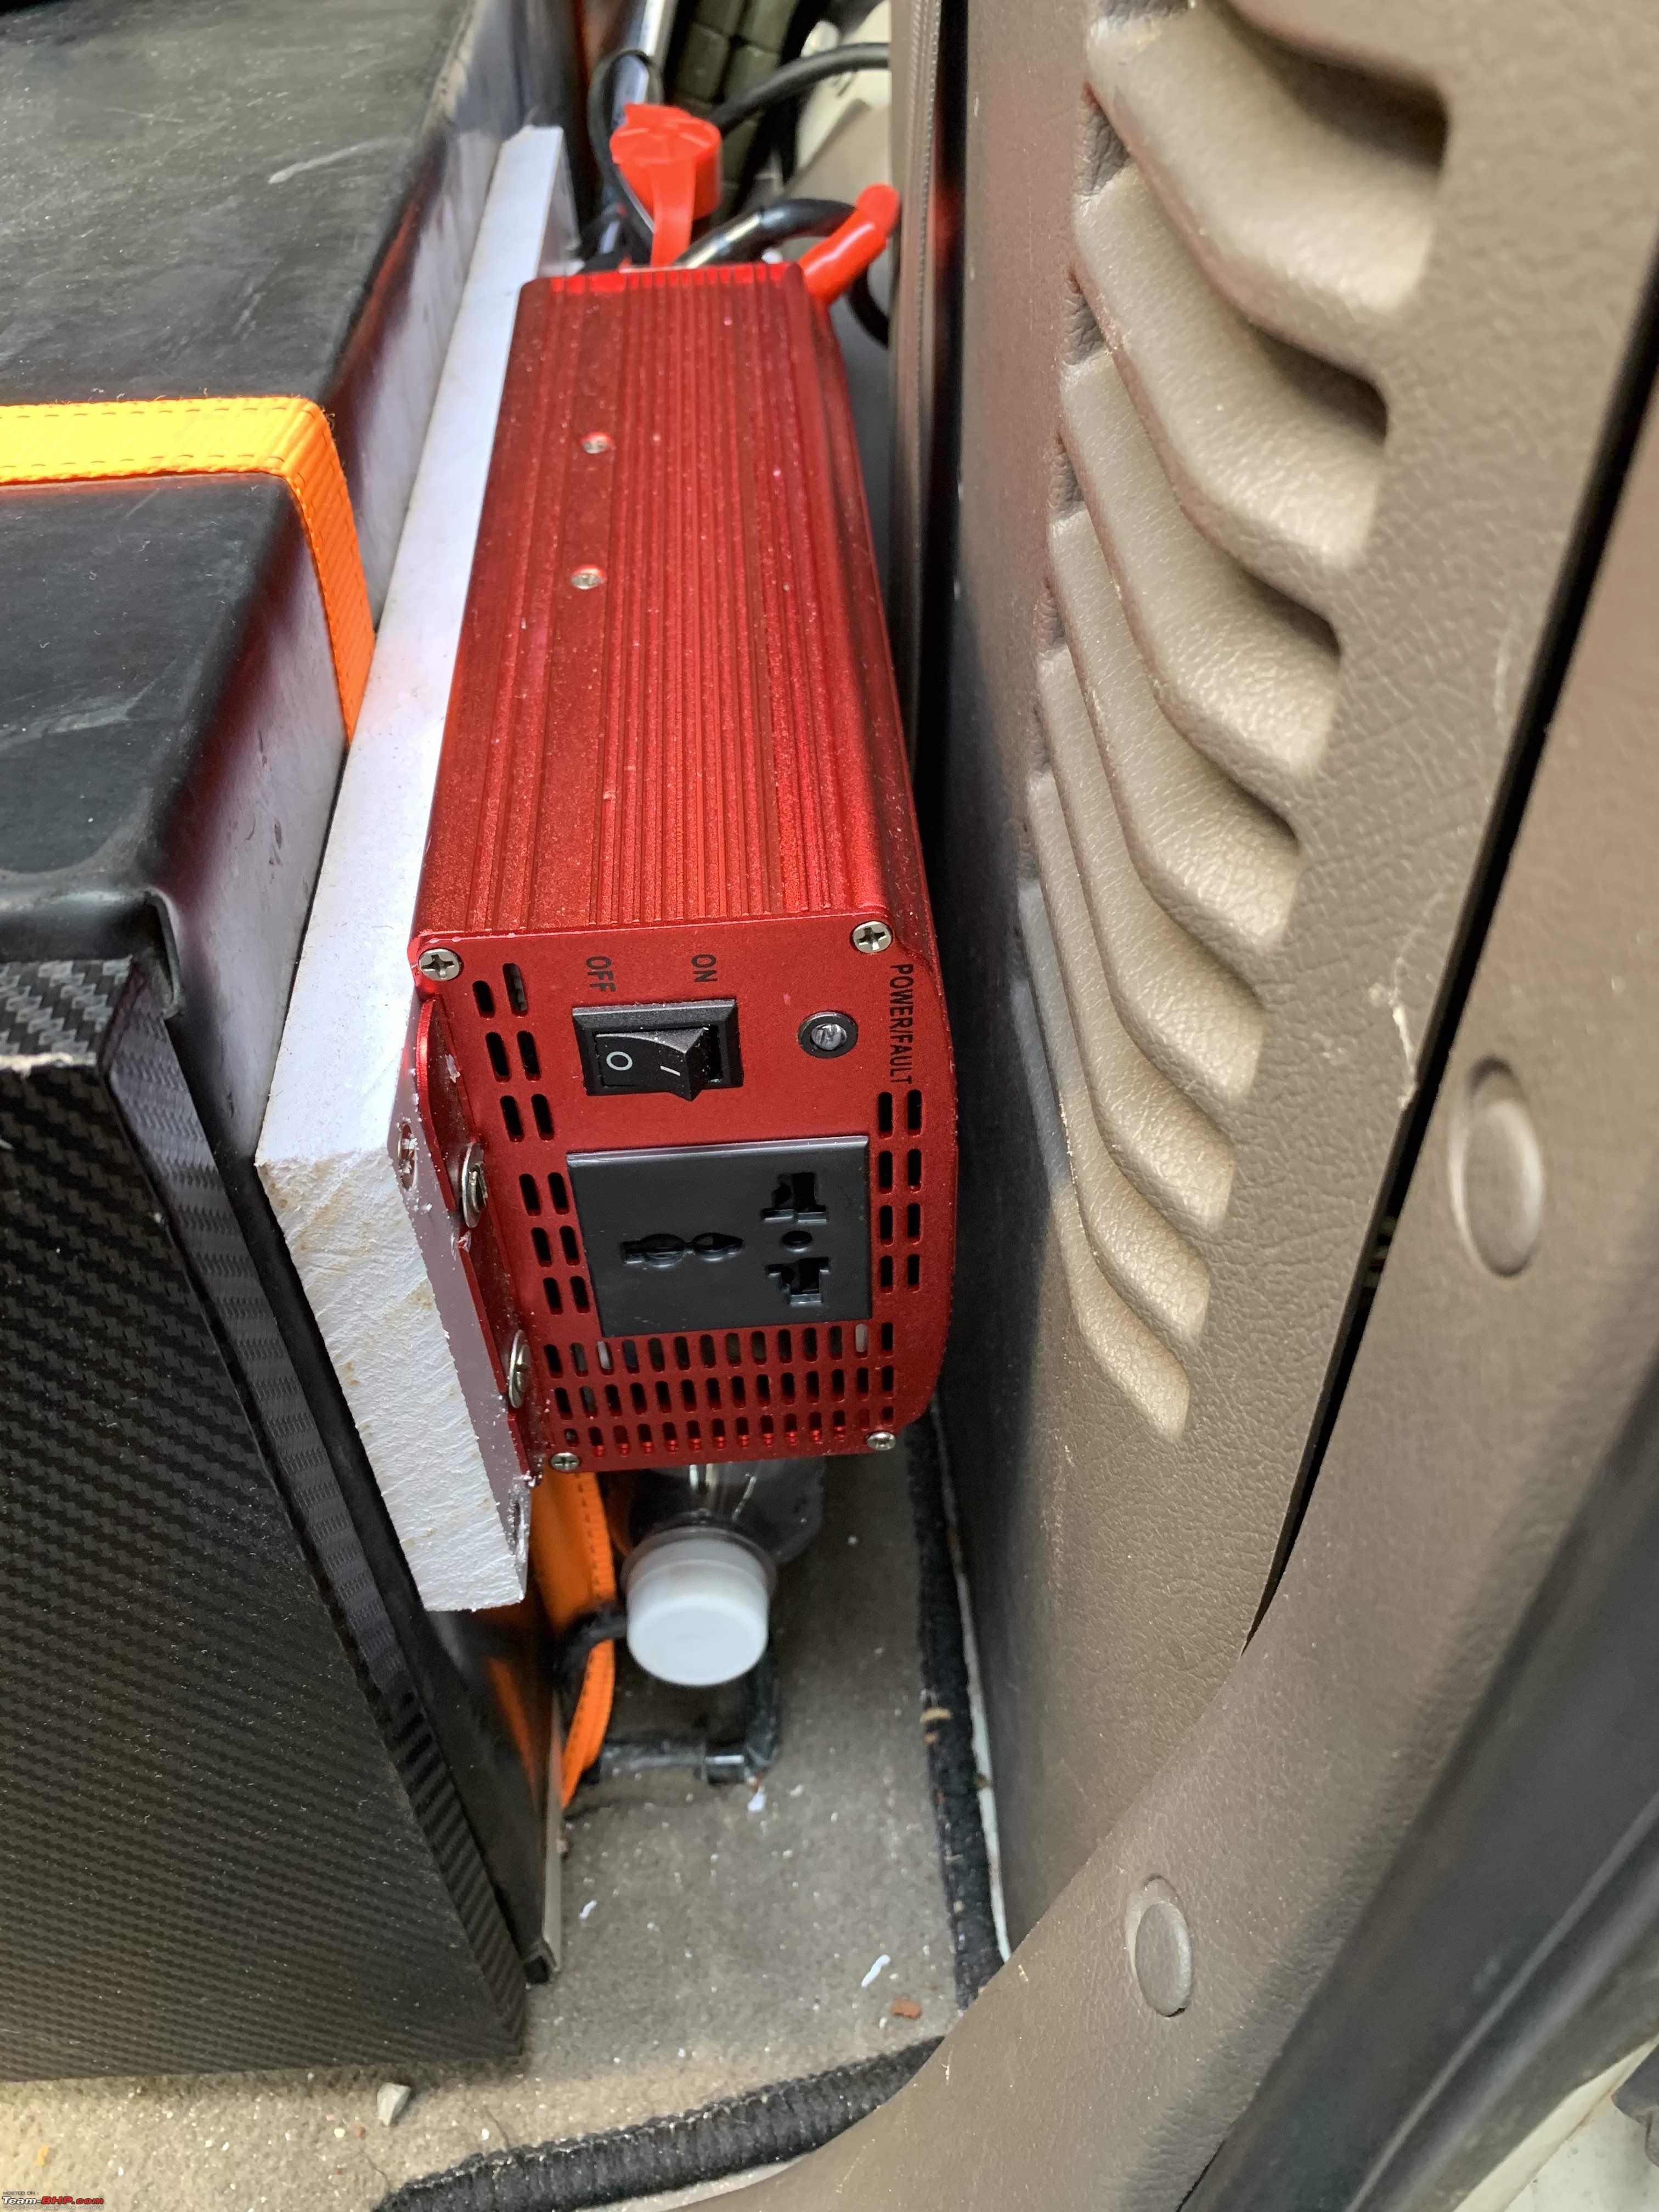
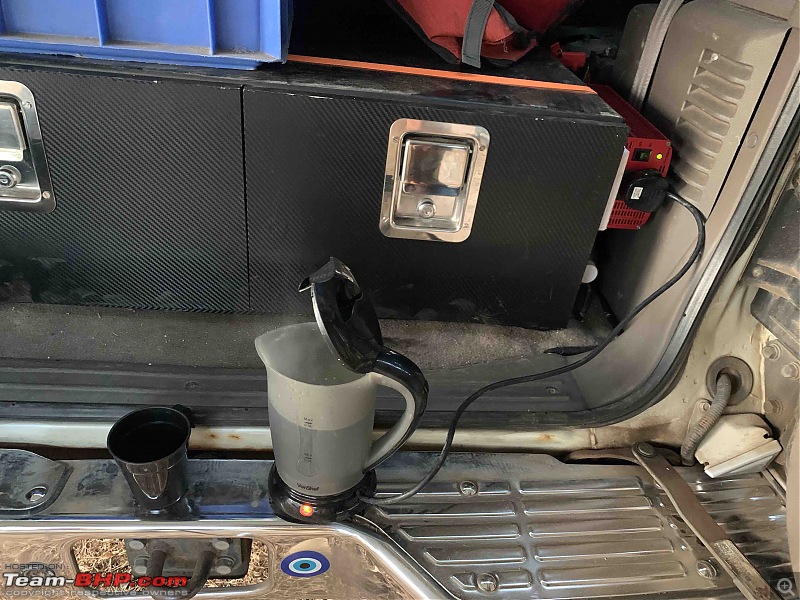
I have a superb Bestek 1000W invertor purchased from Amazon UK.
A thousand watt inverter means I can easily use a regular hot water kettle or small electric stove while camping and also run a lot of electrical stuff if I need to.
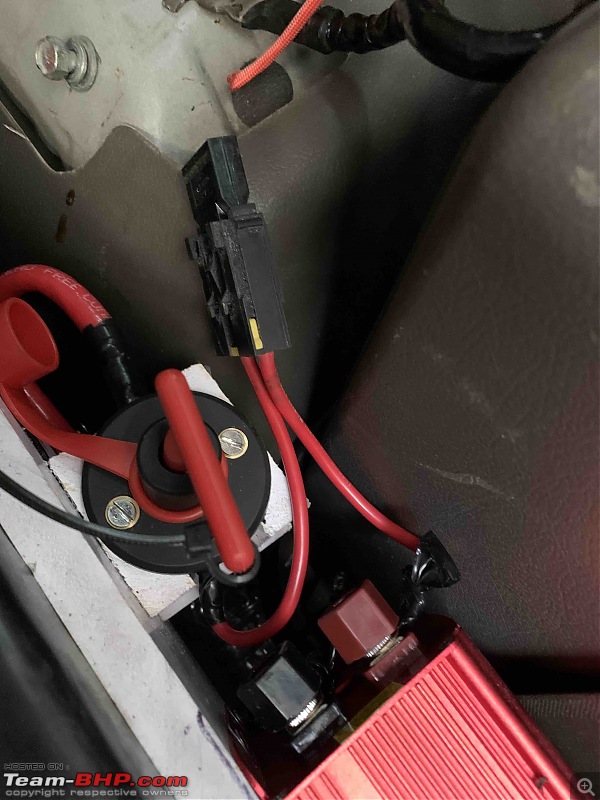
This one comes with battery clamps and every time I need to open the bonnet to use it. Therefore, decided to have it permanently fixed in the boot where most of the camping stuff is there.
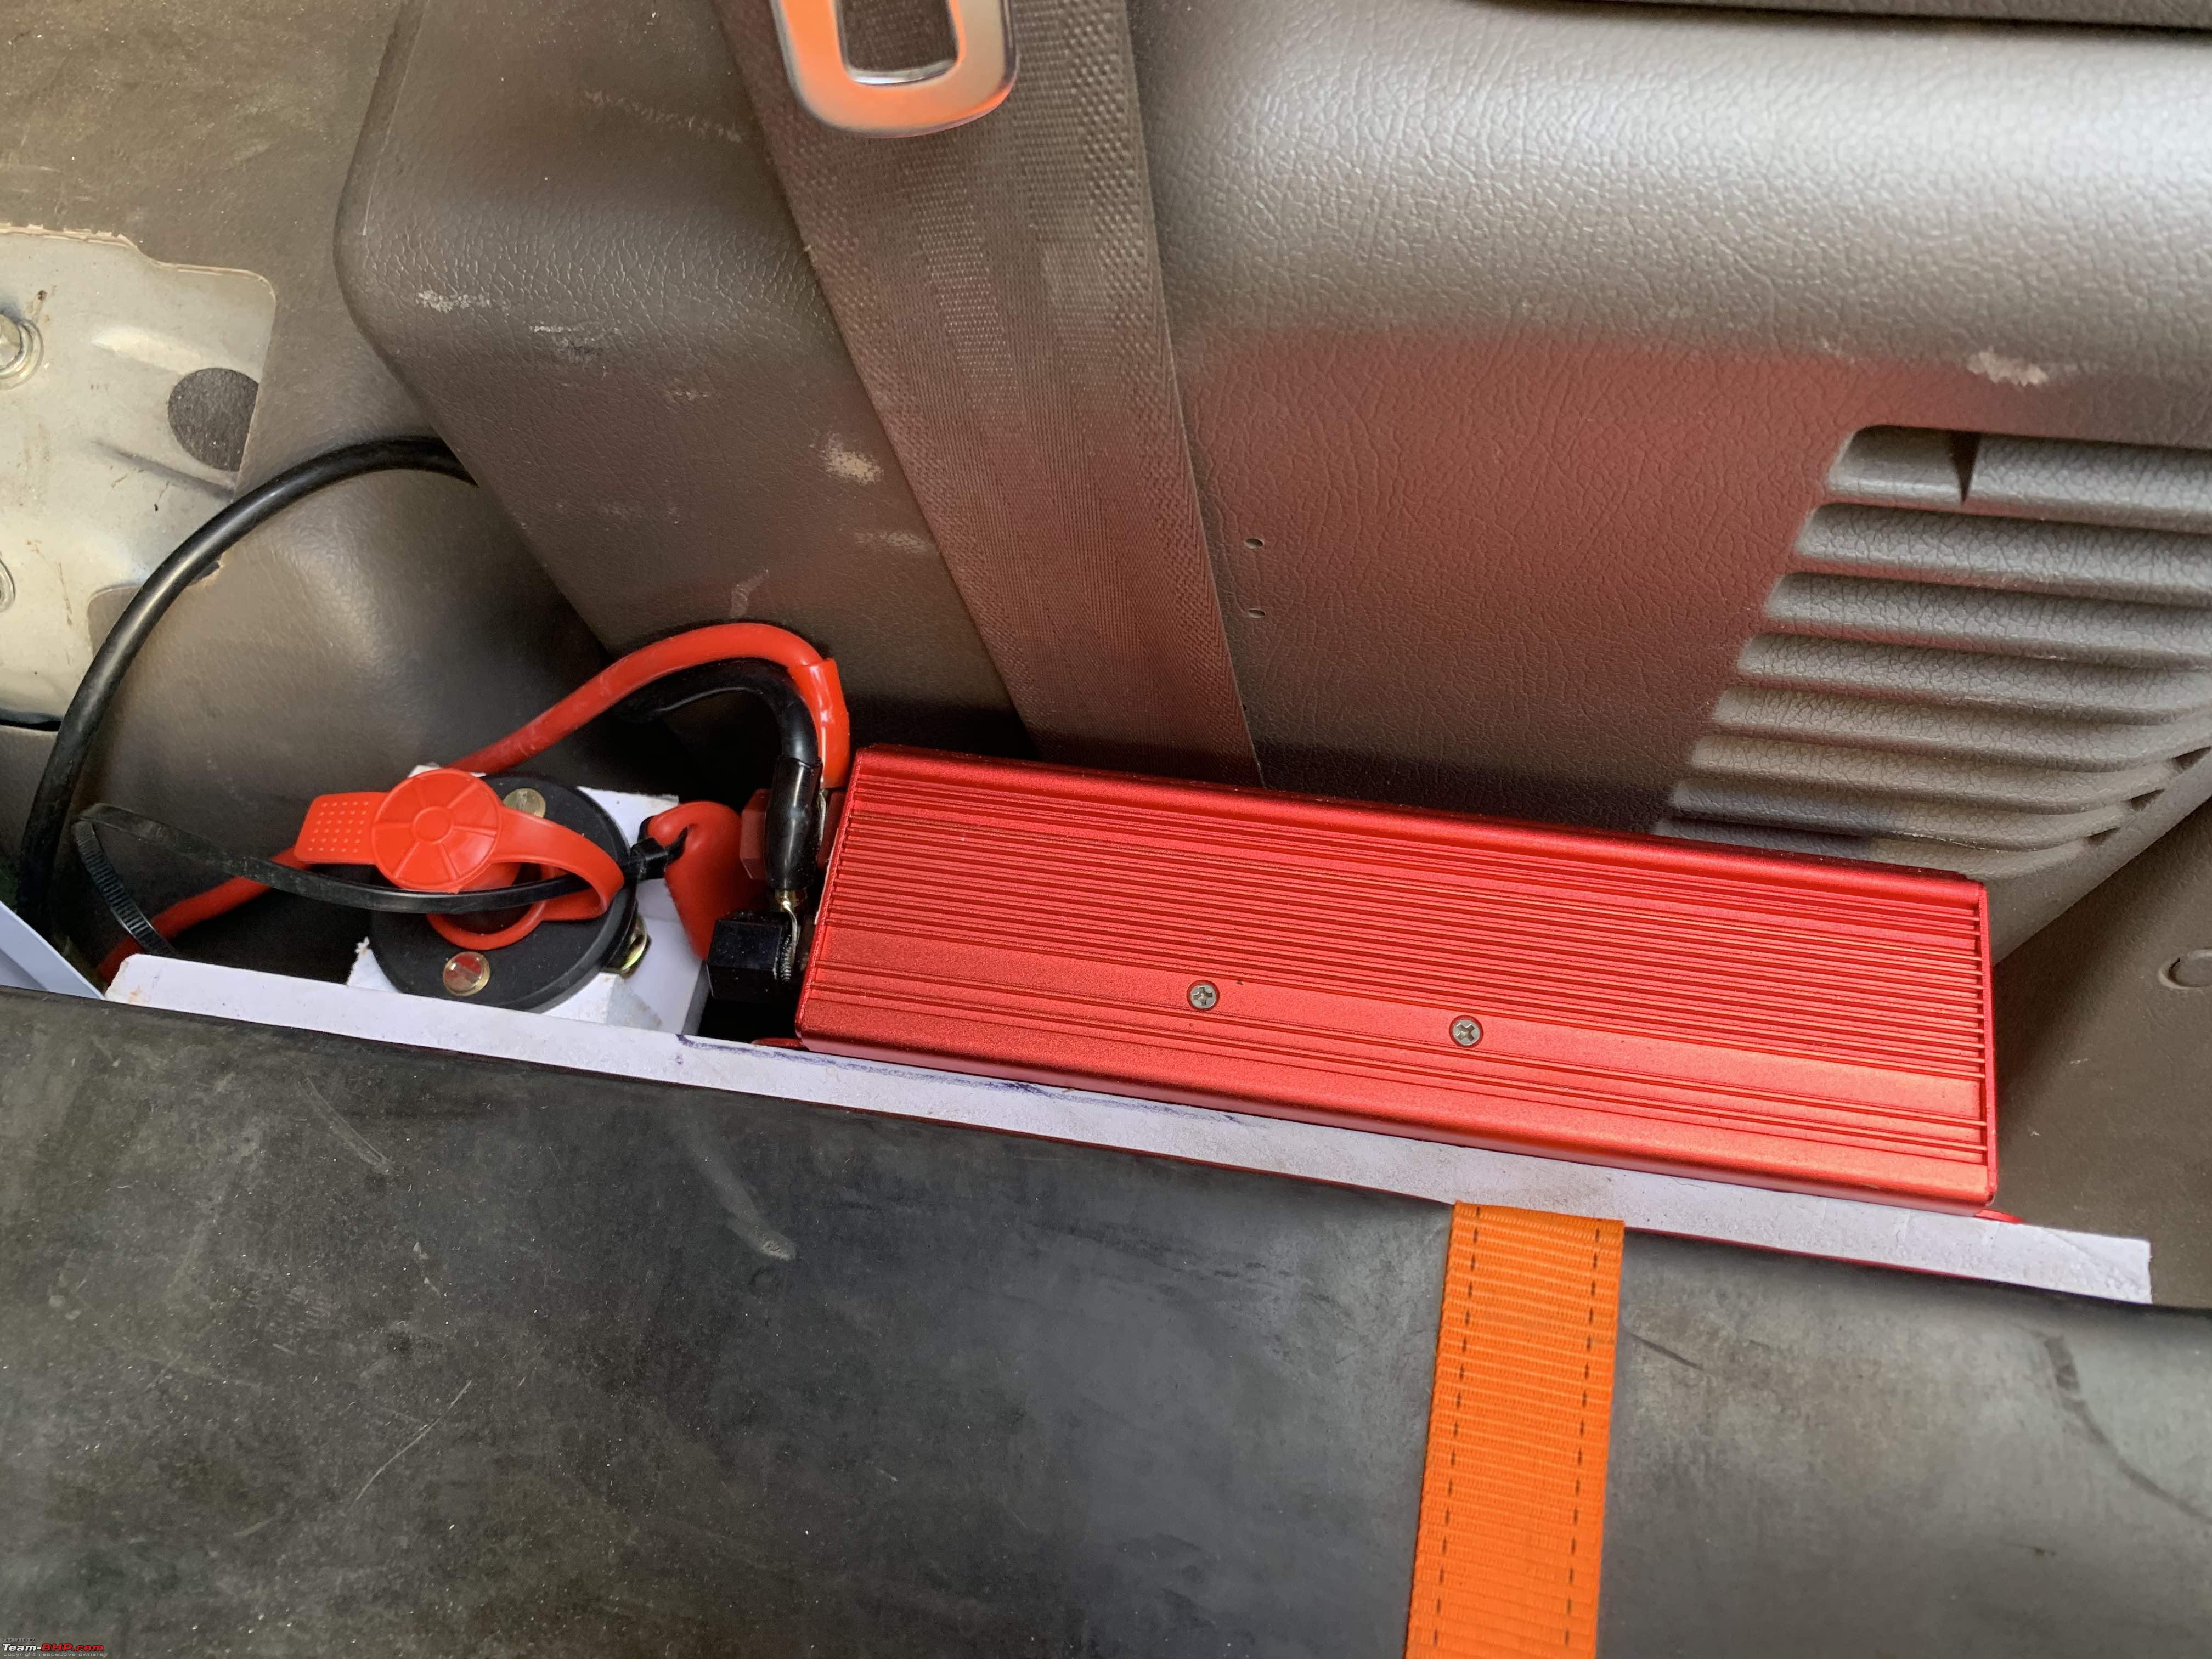
Mounted it on a PVC ply and also used a battery cut off switch for safety just next to it so it will always be off unless I'm going to use it.
Front view:
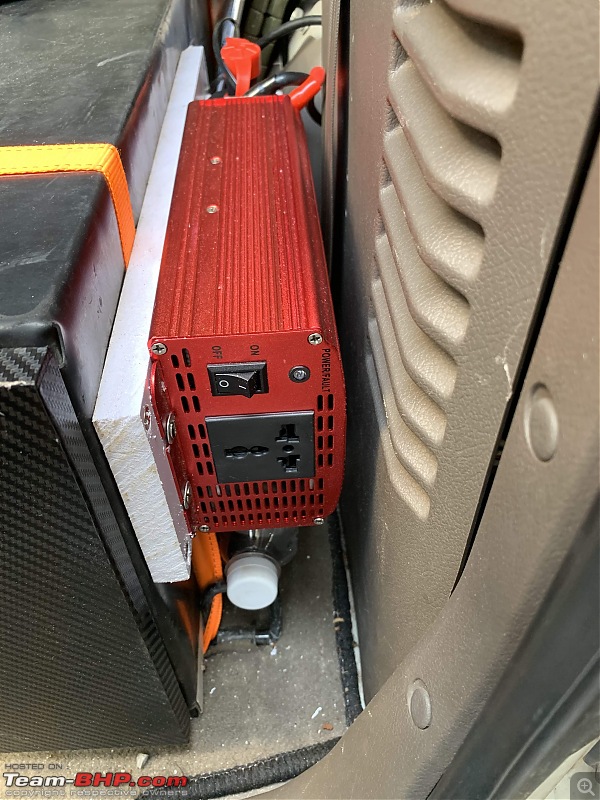
Top View:
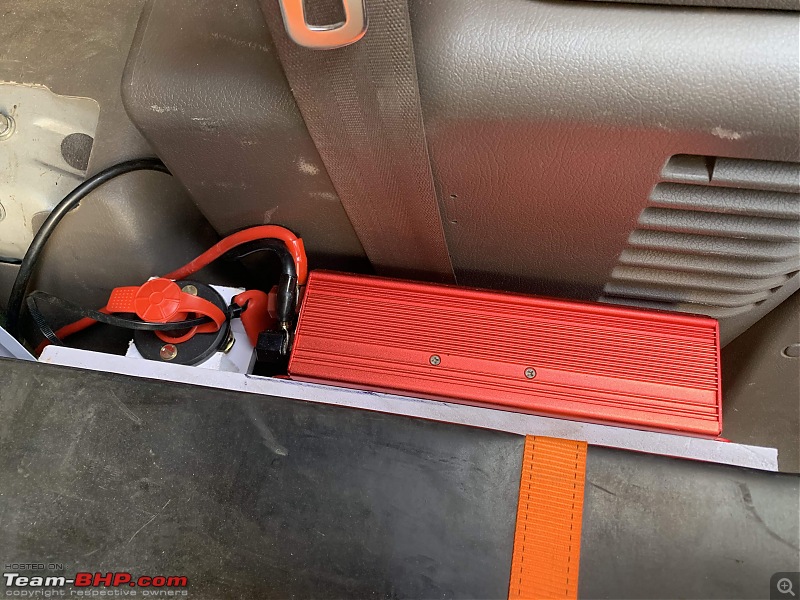
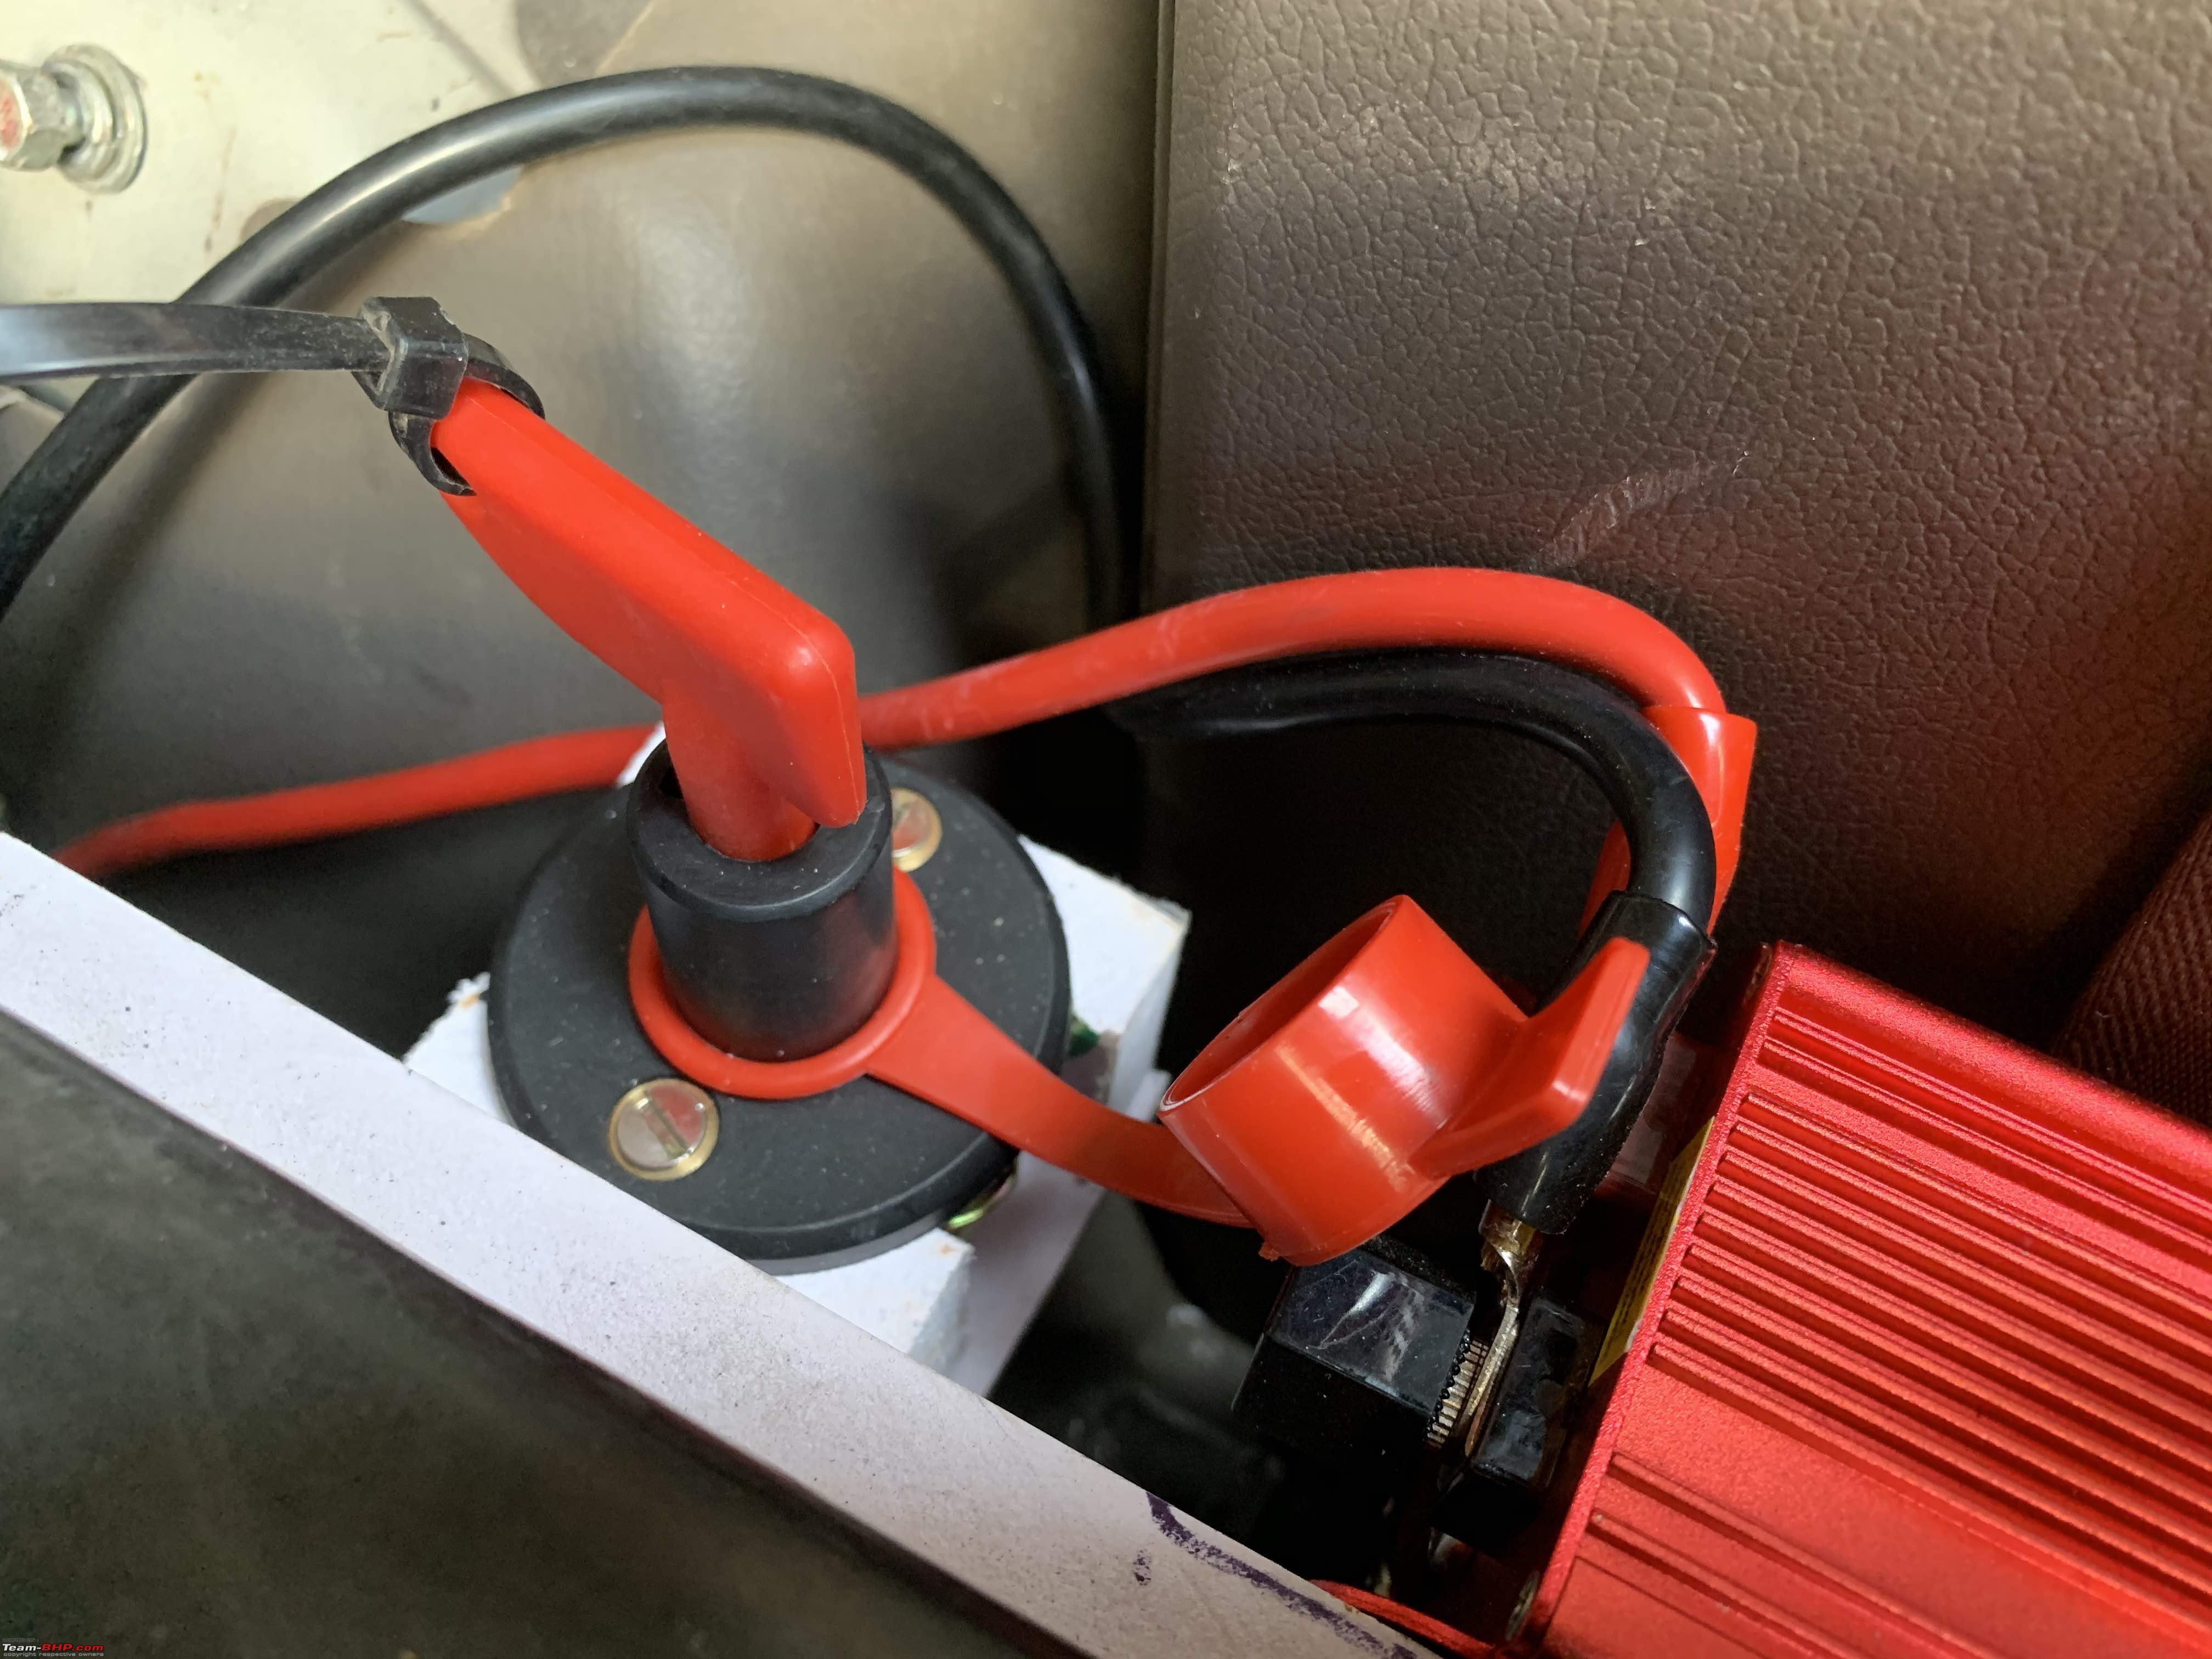
The cut off switch:
The cut-off switch key I've zip tied and screwed the end of the zip tie to the board so I do not loose it.
A question I anticipate: why not mount the switch and Inverter directly to the drawer cabinet and why on a separate board?
This is because in case I need to add the rear seat/seats back for additional passengers then I can still have the inverter with the cut off switch tucked away somewhere securely just by removing 4 screws from the drawer unit.
I'll run a thick cable from the main battery compartment with a fuse near the battery, through the main cabin and to the inverter. The earthing with be on the body on the rear wheel arch. This part I'll leave to the professionals and will visit Super Auto shortly.
Quote:
Originally Posted by Tejas@perioimpl
(Post 4730978)
when you order from aliexpress, there are two options, 2 pin and 1 pin. For the SFX (Pajero NL) you need the single pin option
|
One correction - rear door switches are single-pin but front door ones are double-pin (to operate cabin lights and door pad lights respectively).
Quote:
Originally Posted by cool_dube
(Post 4731738)
One correction - rear door switches are single-pin but front door ones are double-pin (to operate cabin lights and door pad lights respectively).
|
Did not know that. I had just opened the rear one to check and ordered accordingly.
Thanks for the correction and update! :thumbs up
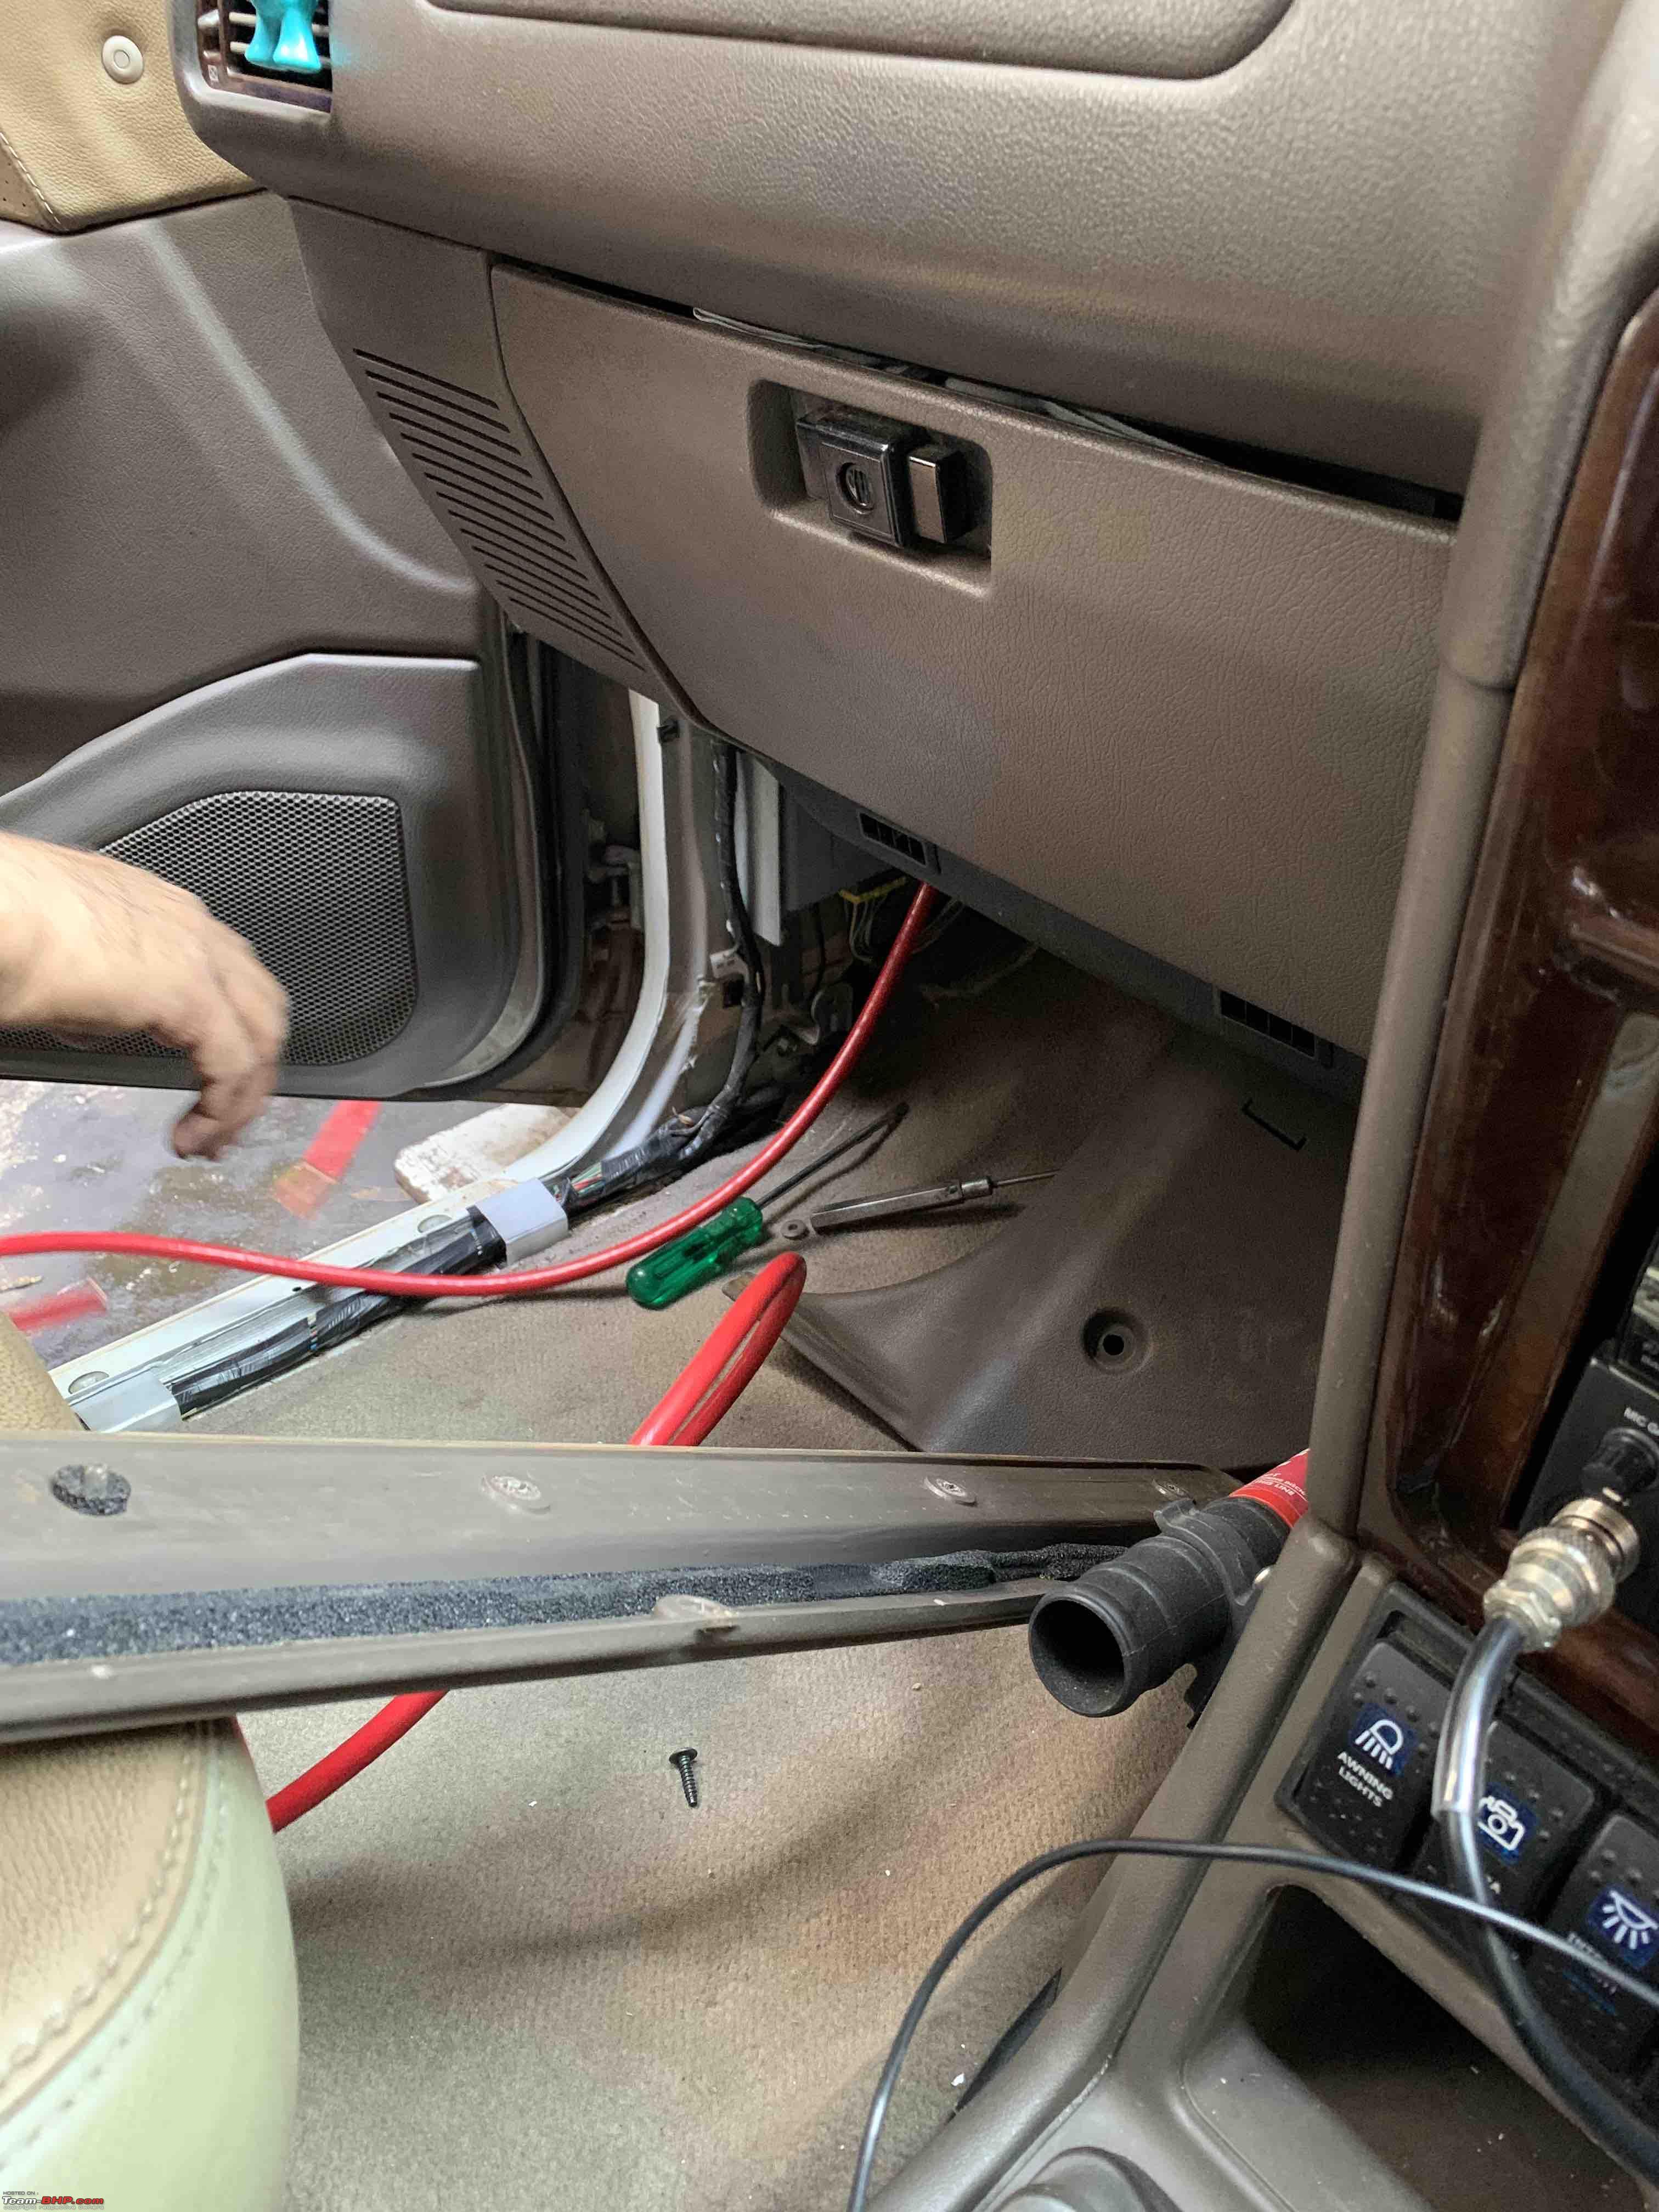
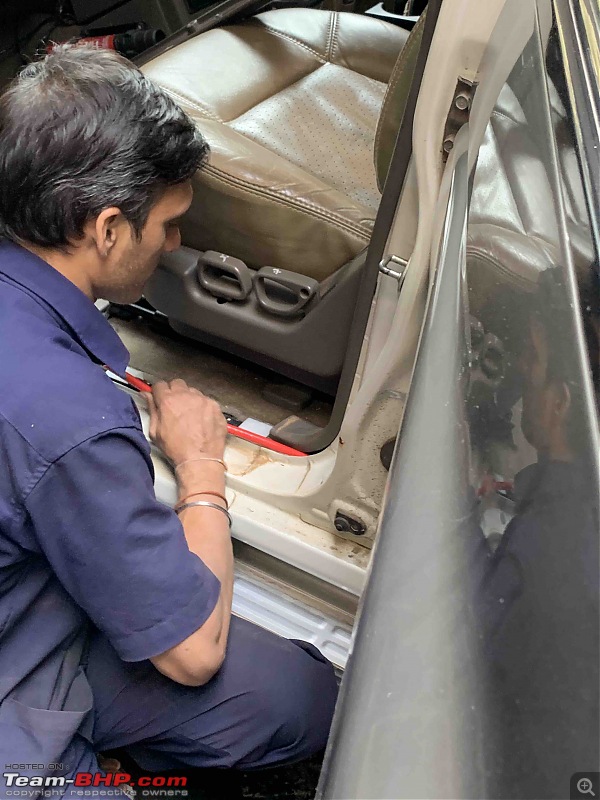
Got time to go and get the cabling done for the inverter. Same place - super auto.
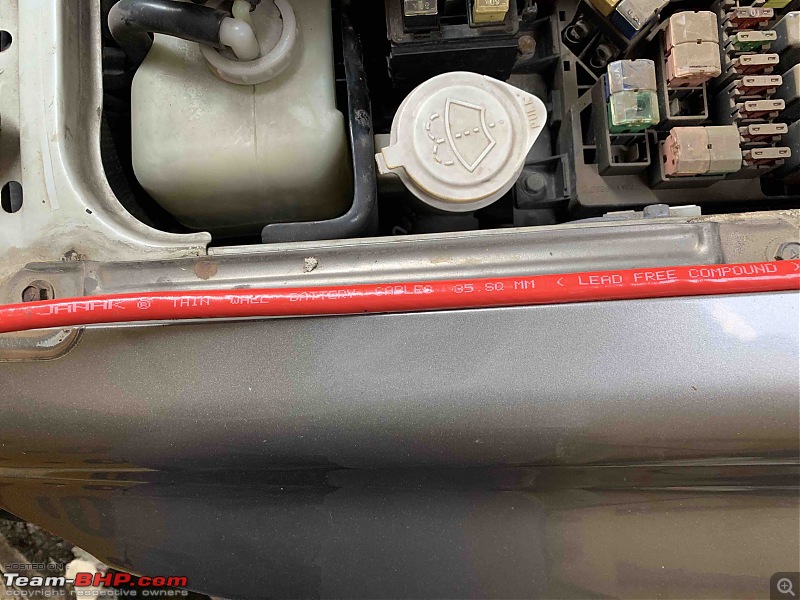
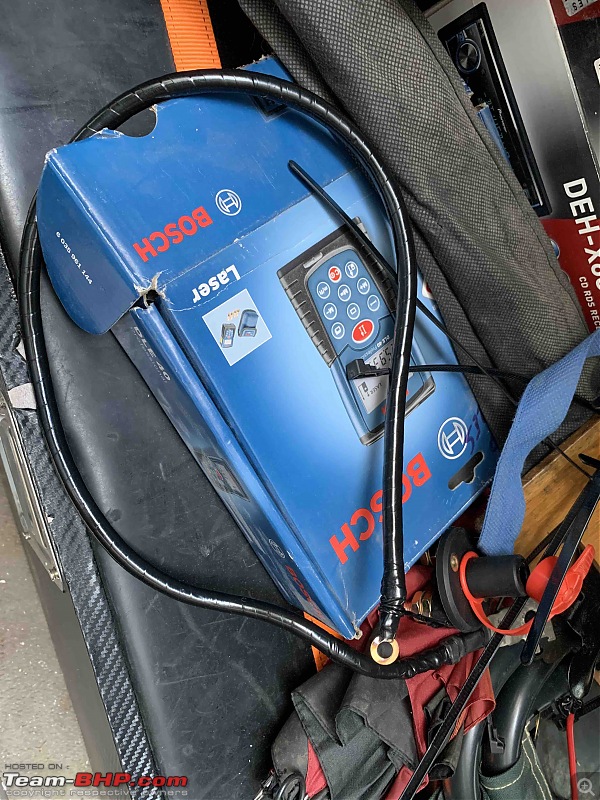
Here's the cable. Its thicker than recommended for the inverter but decided to use this so incase I shift to dual battery system, I'm ready to go without wiring again:
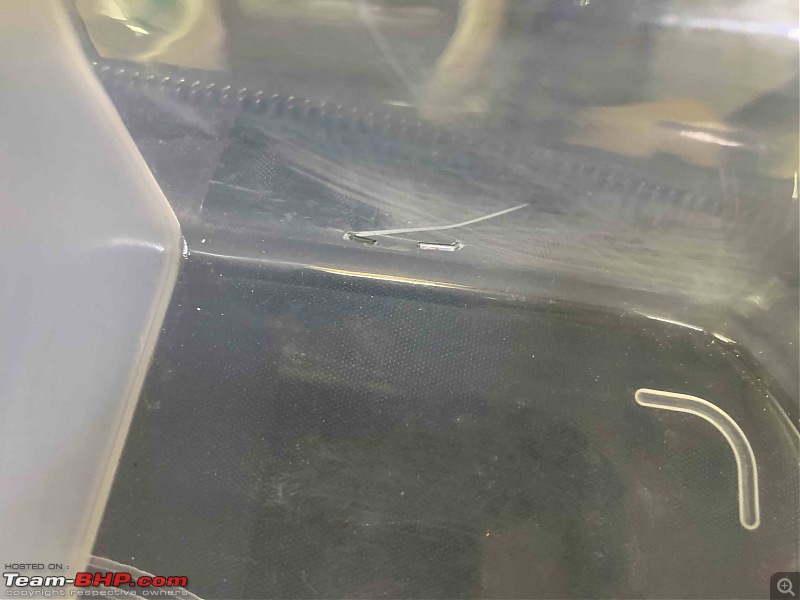
To access the firewall, the PA horn is removed:
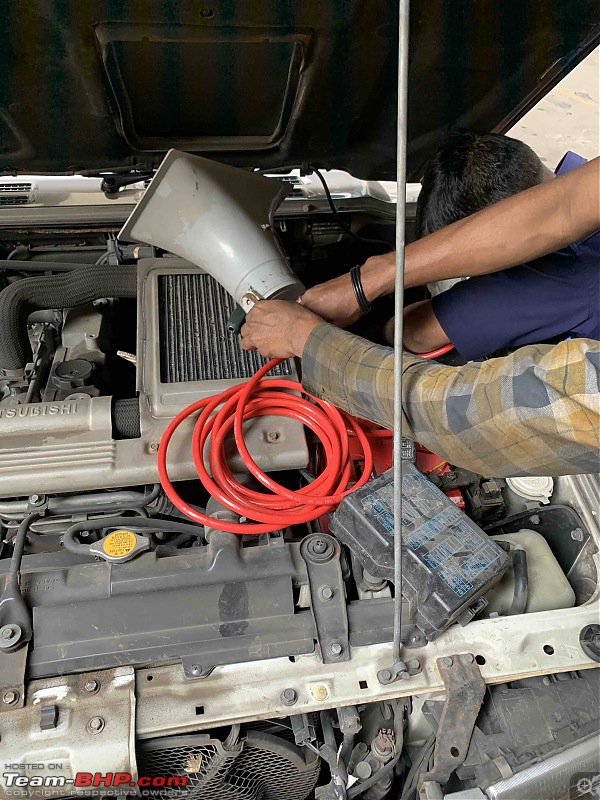
Cable passed through:
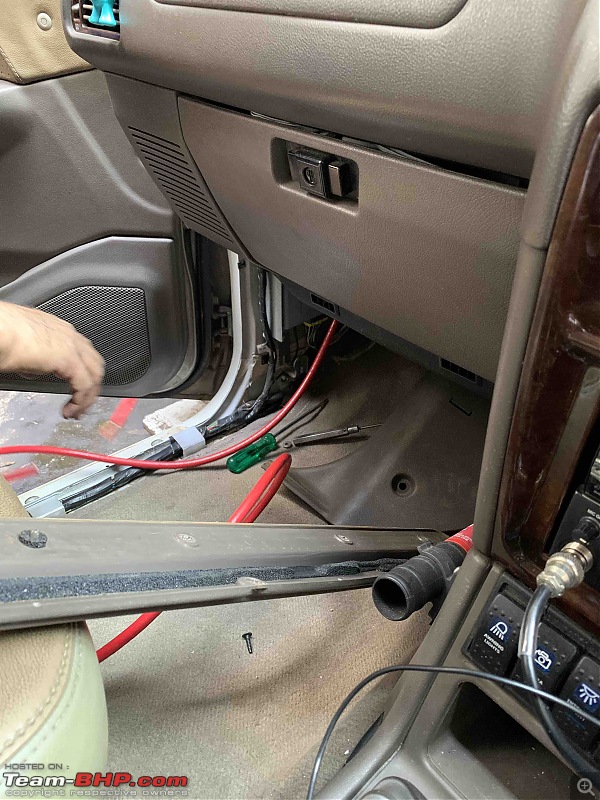
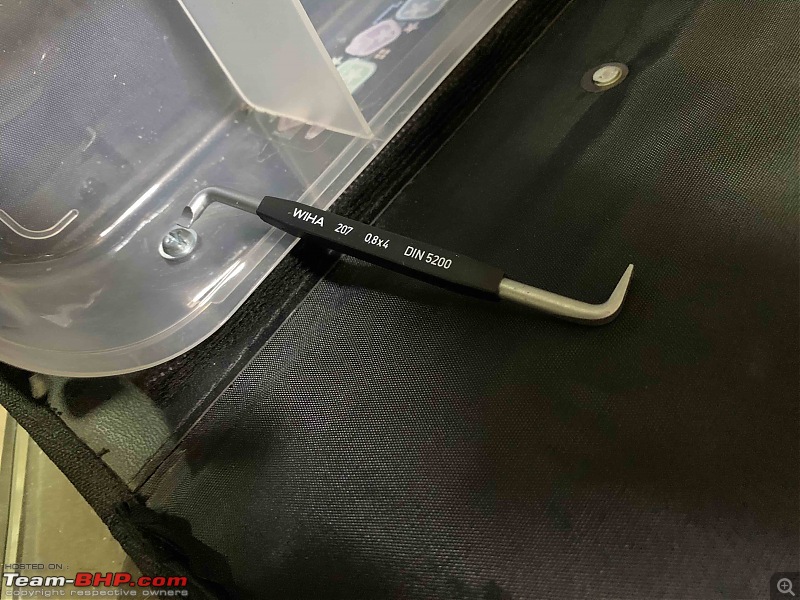
Opening up the fascia to pass the cabling through to the rear:
Cables clipped together with the existing wiring:
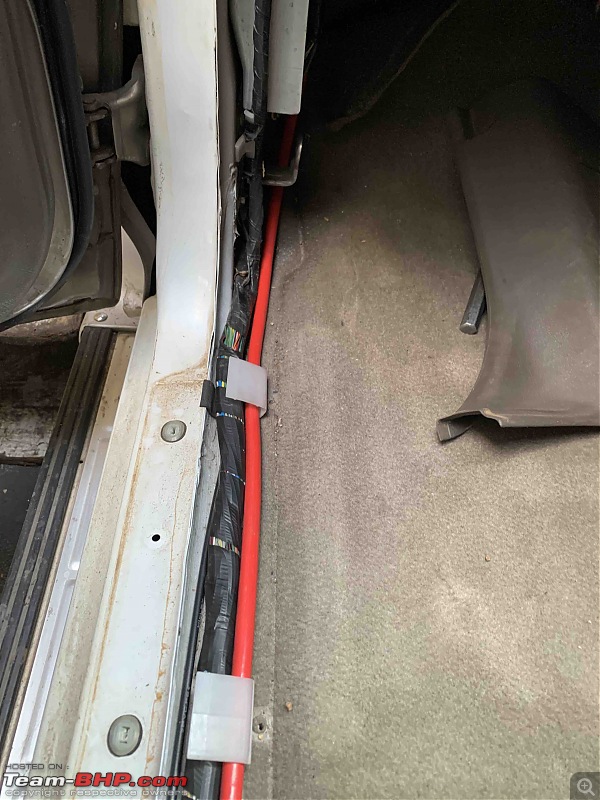
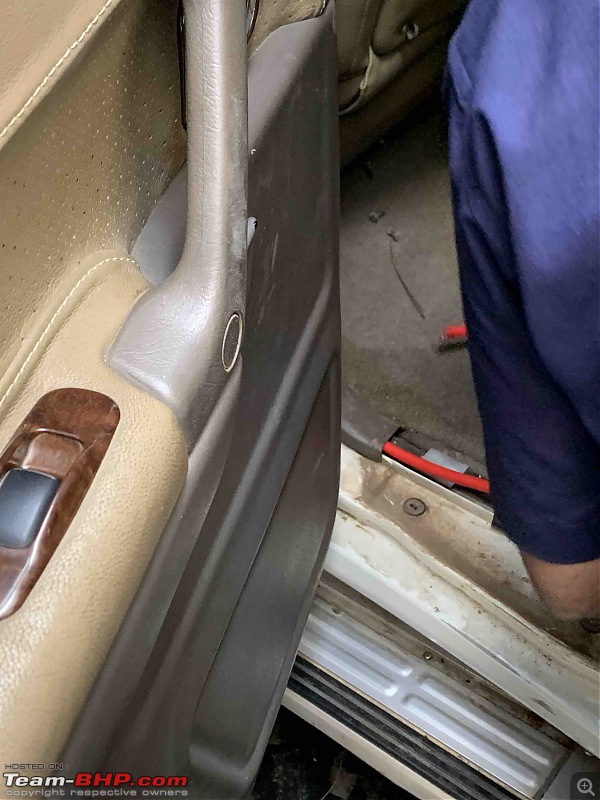
Cable passed below the rear wheel arch fascia:
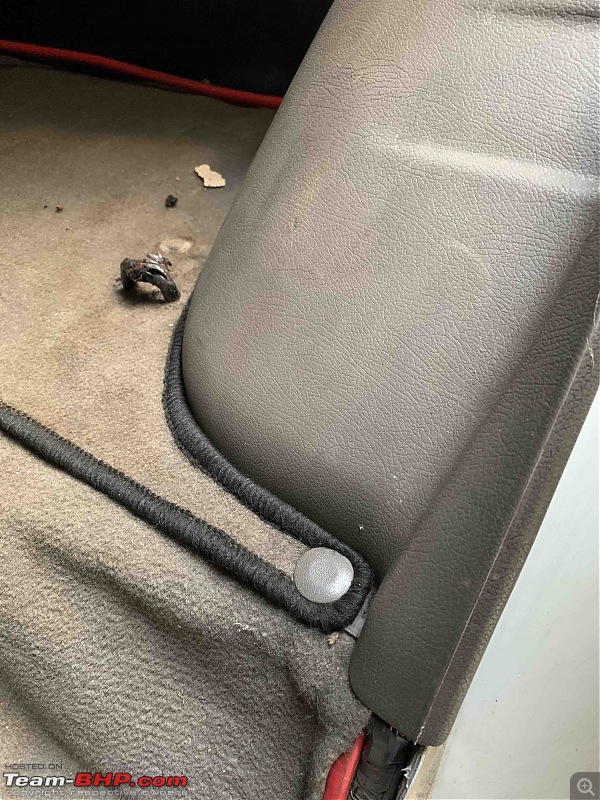
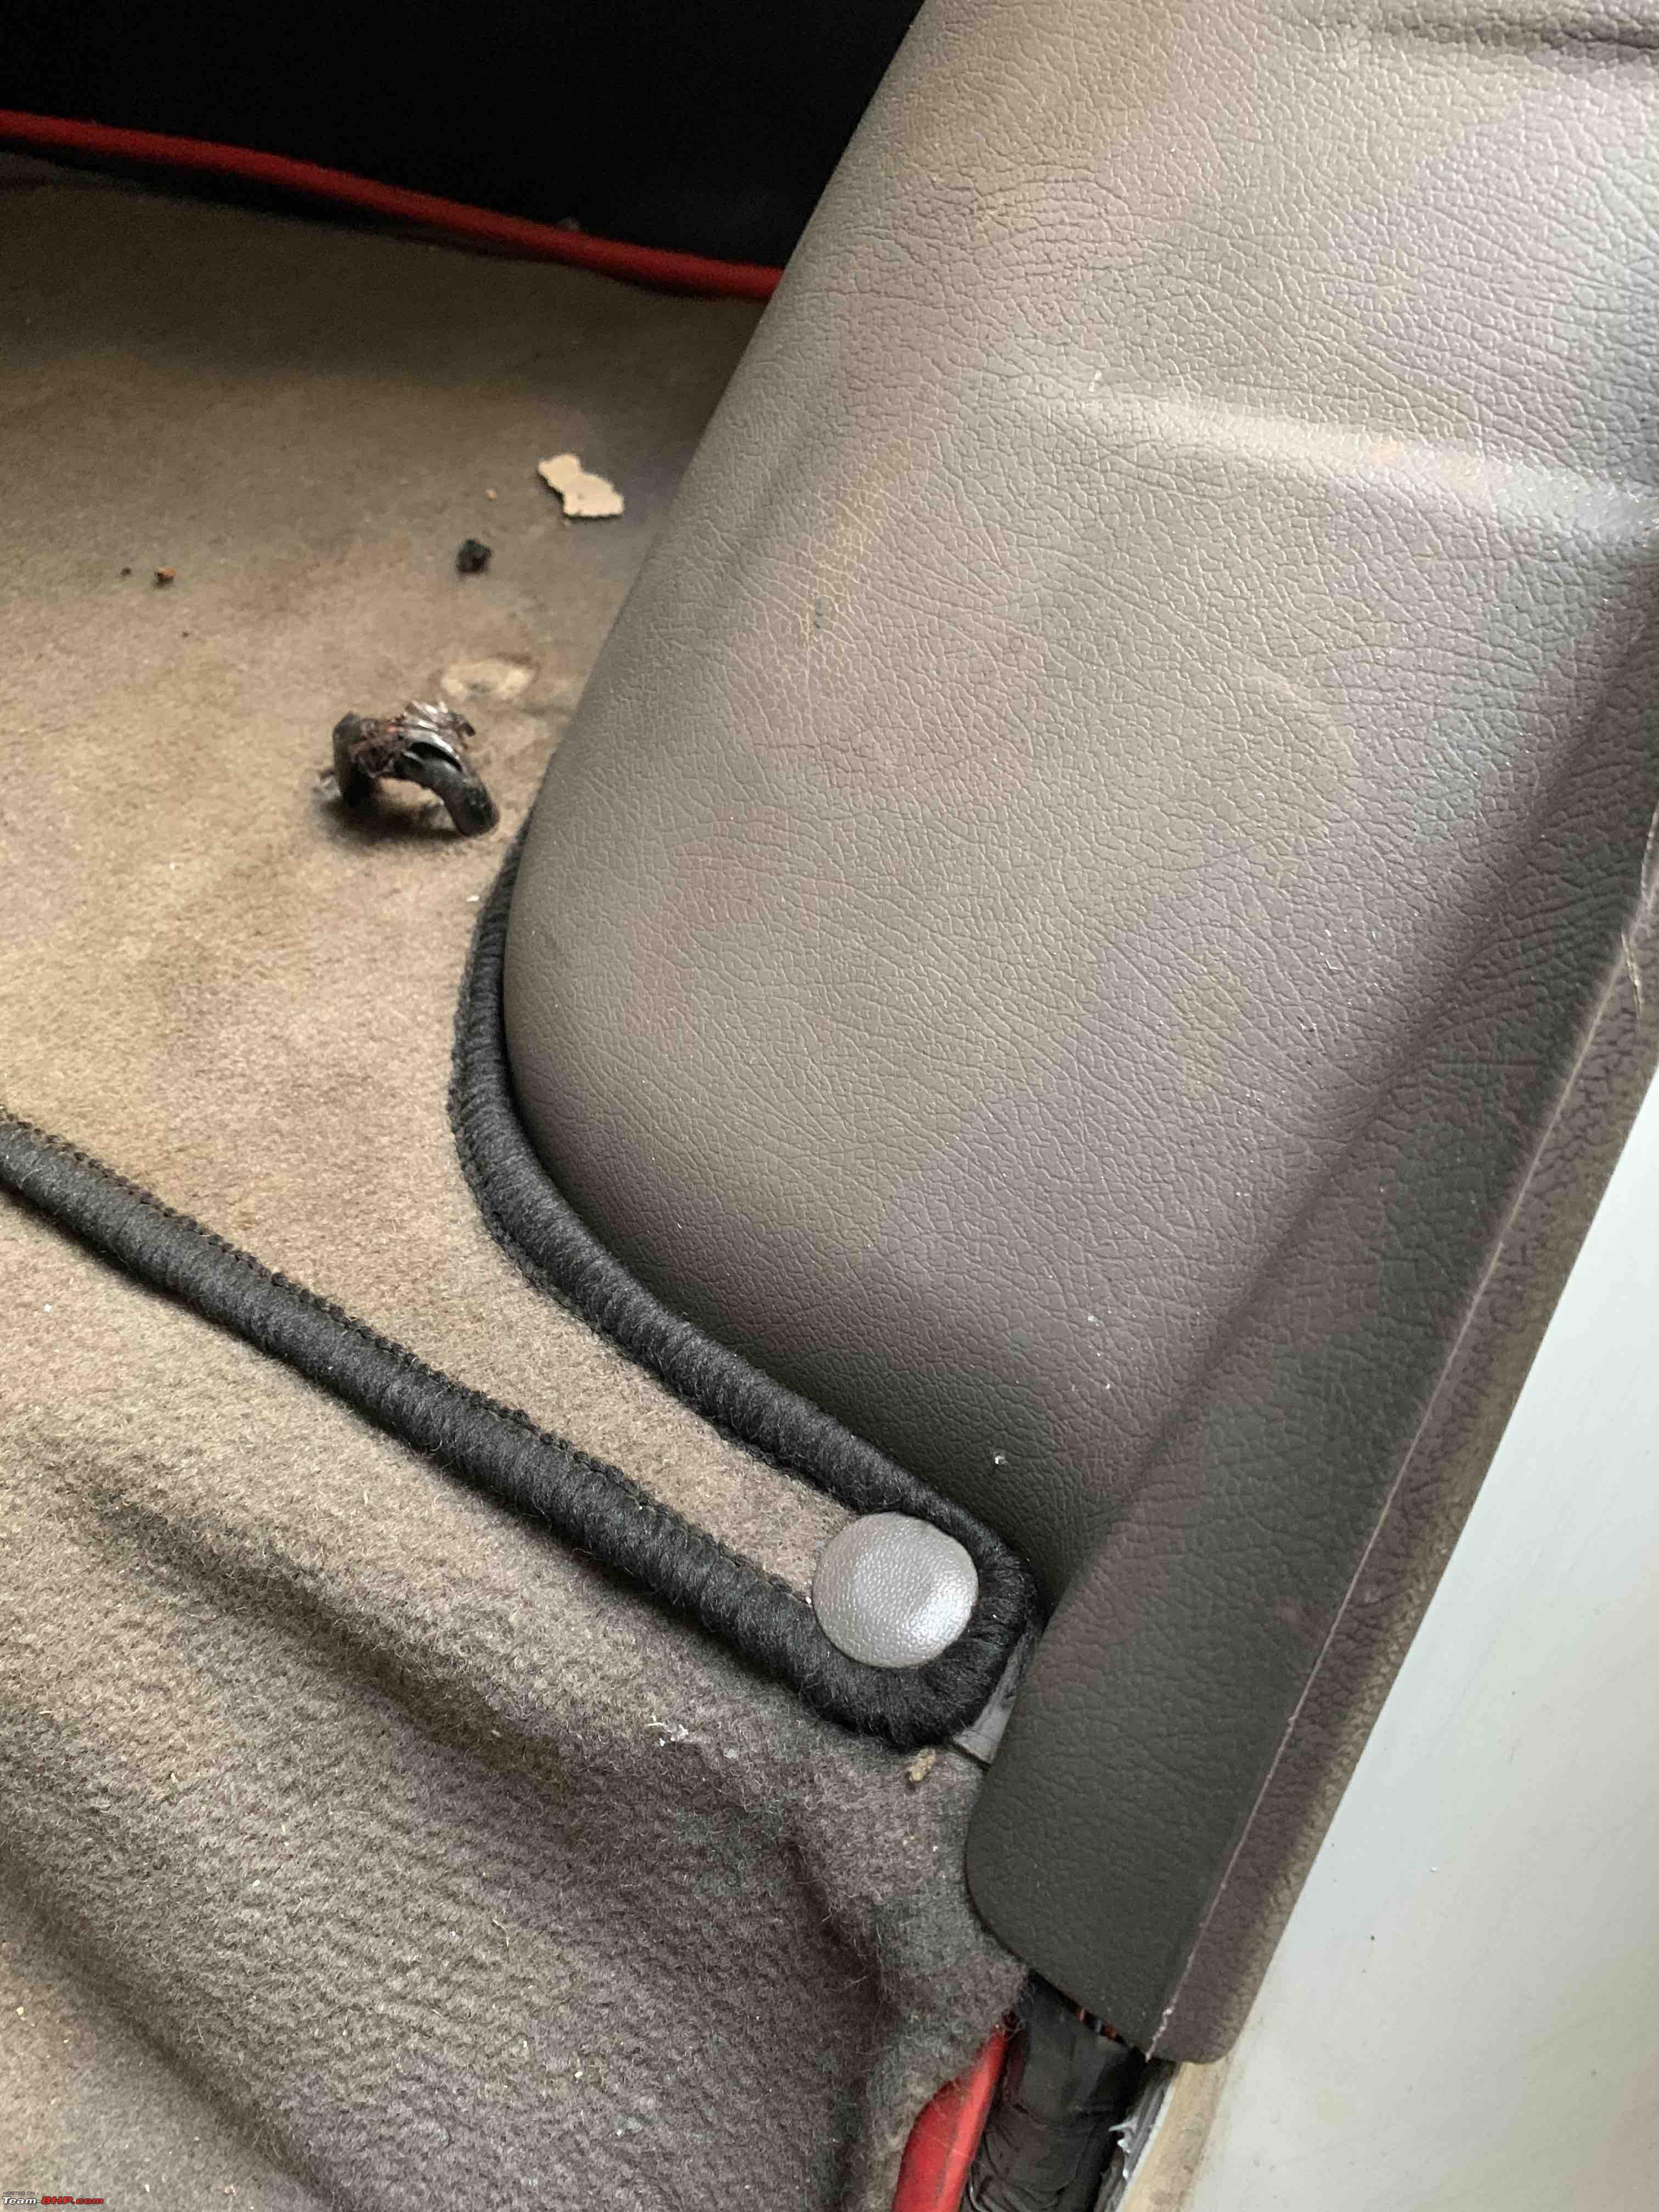
It then runs behind the rear seat, between the seat and the drawer unit:
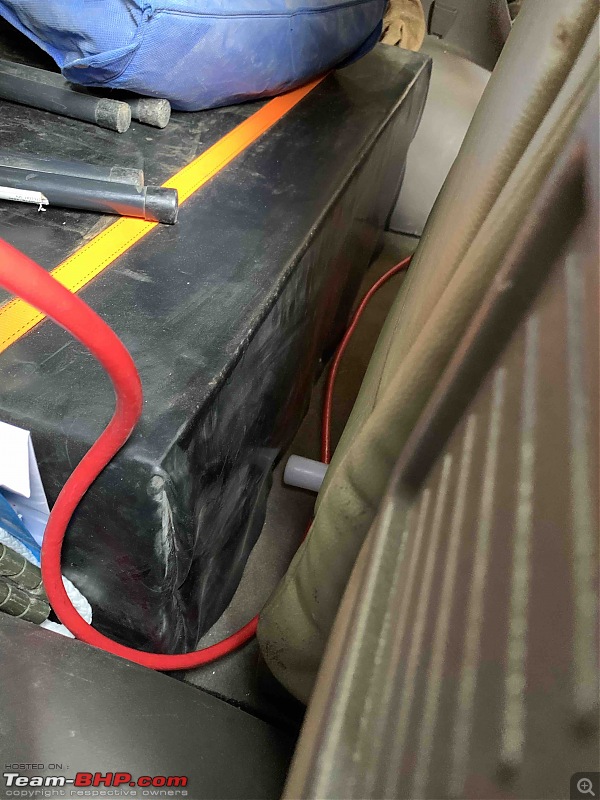
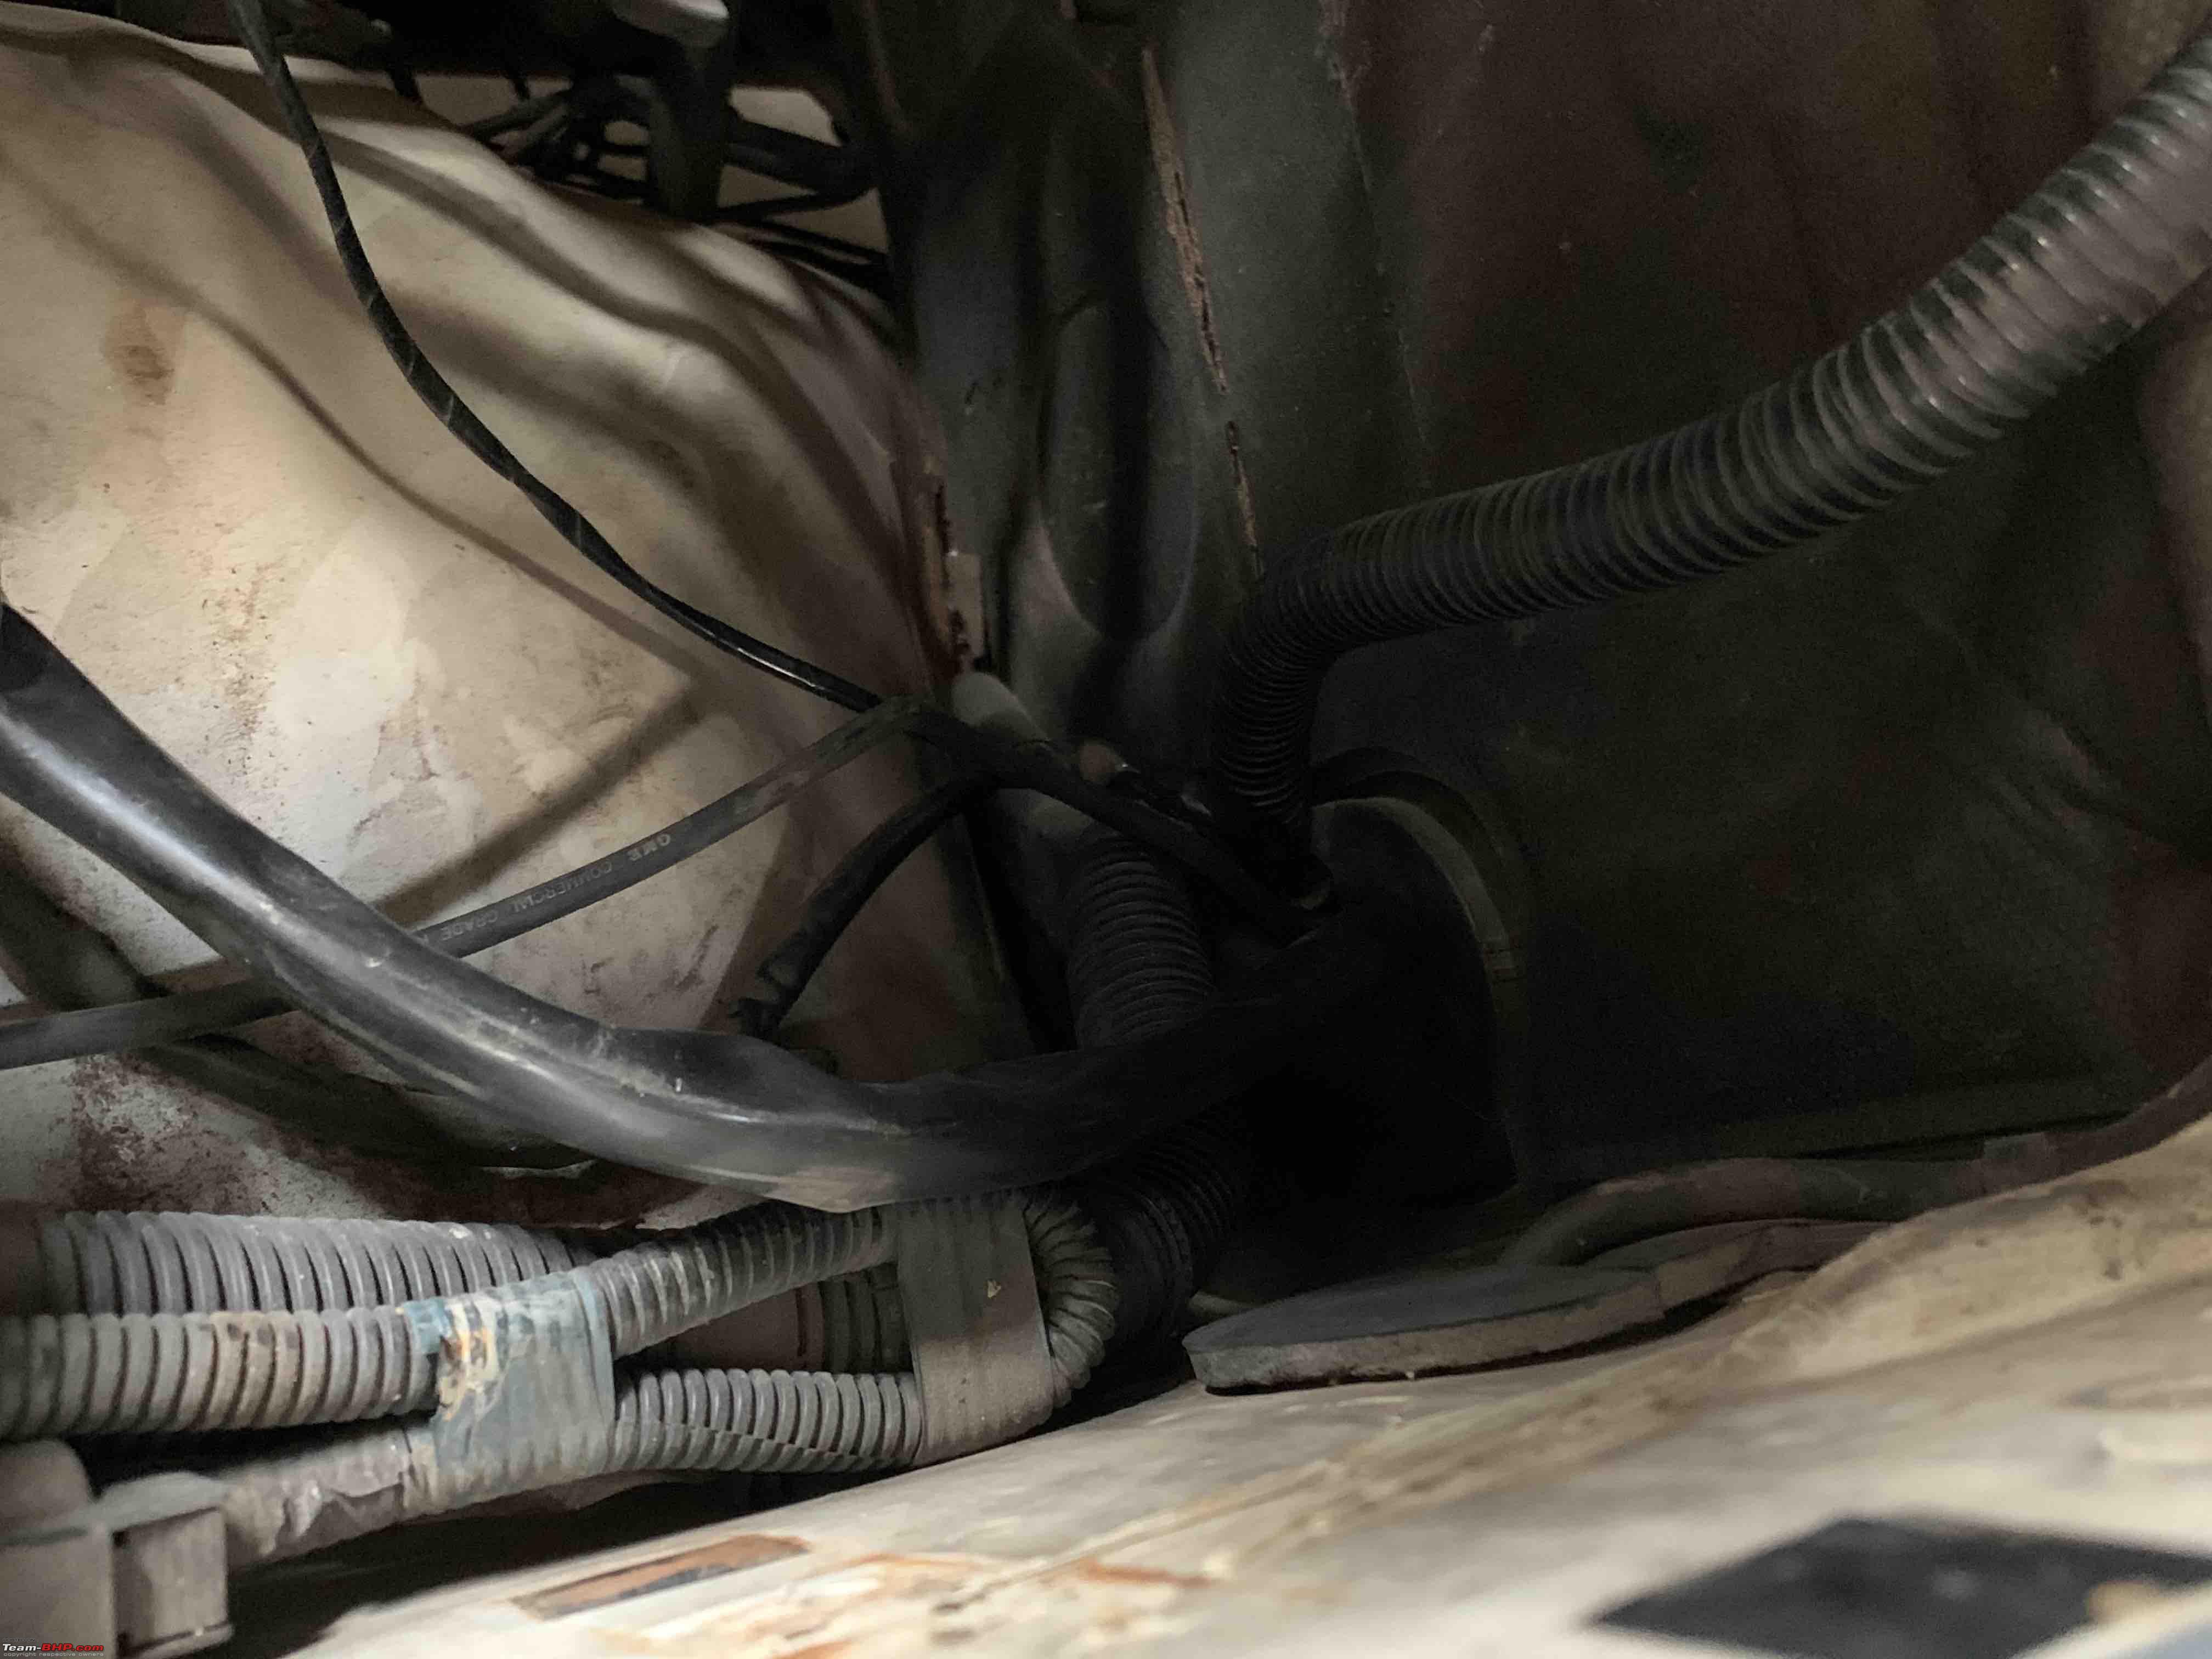
When passed through firewall, have put an additional sleeve in the engine bay compartment:


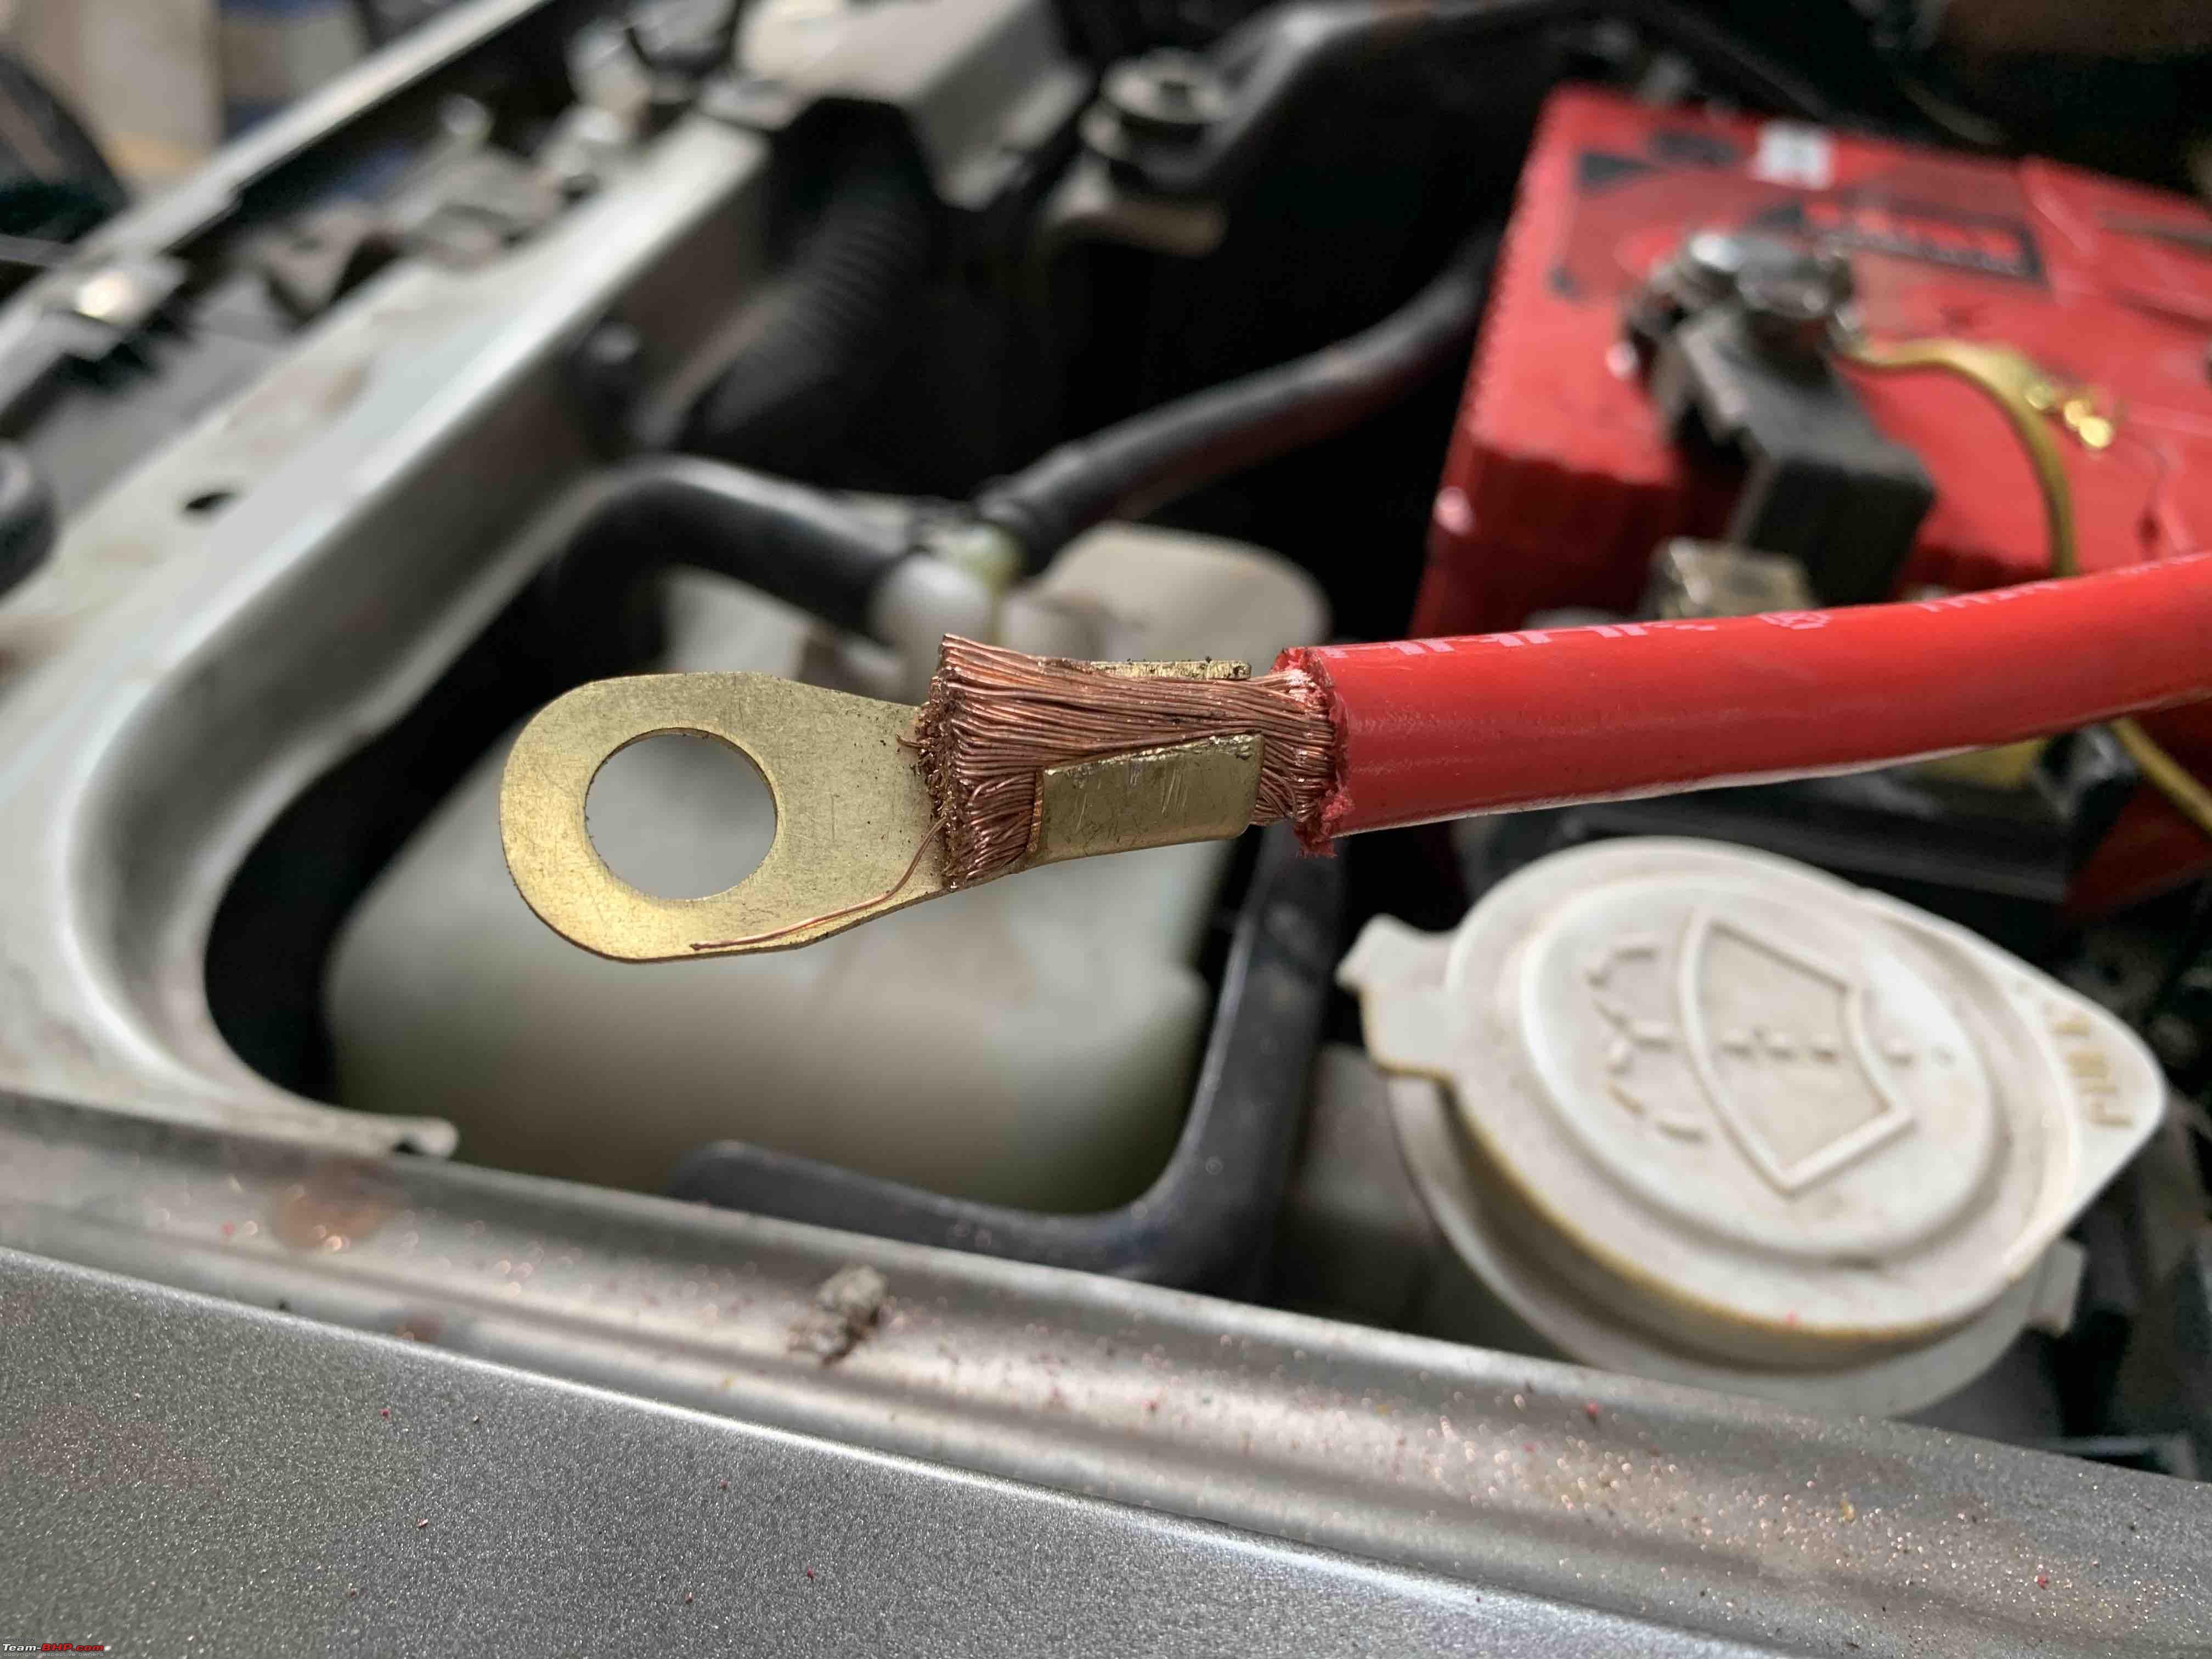
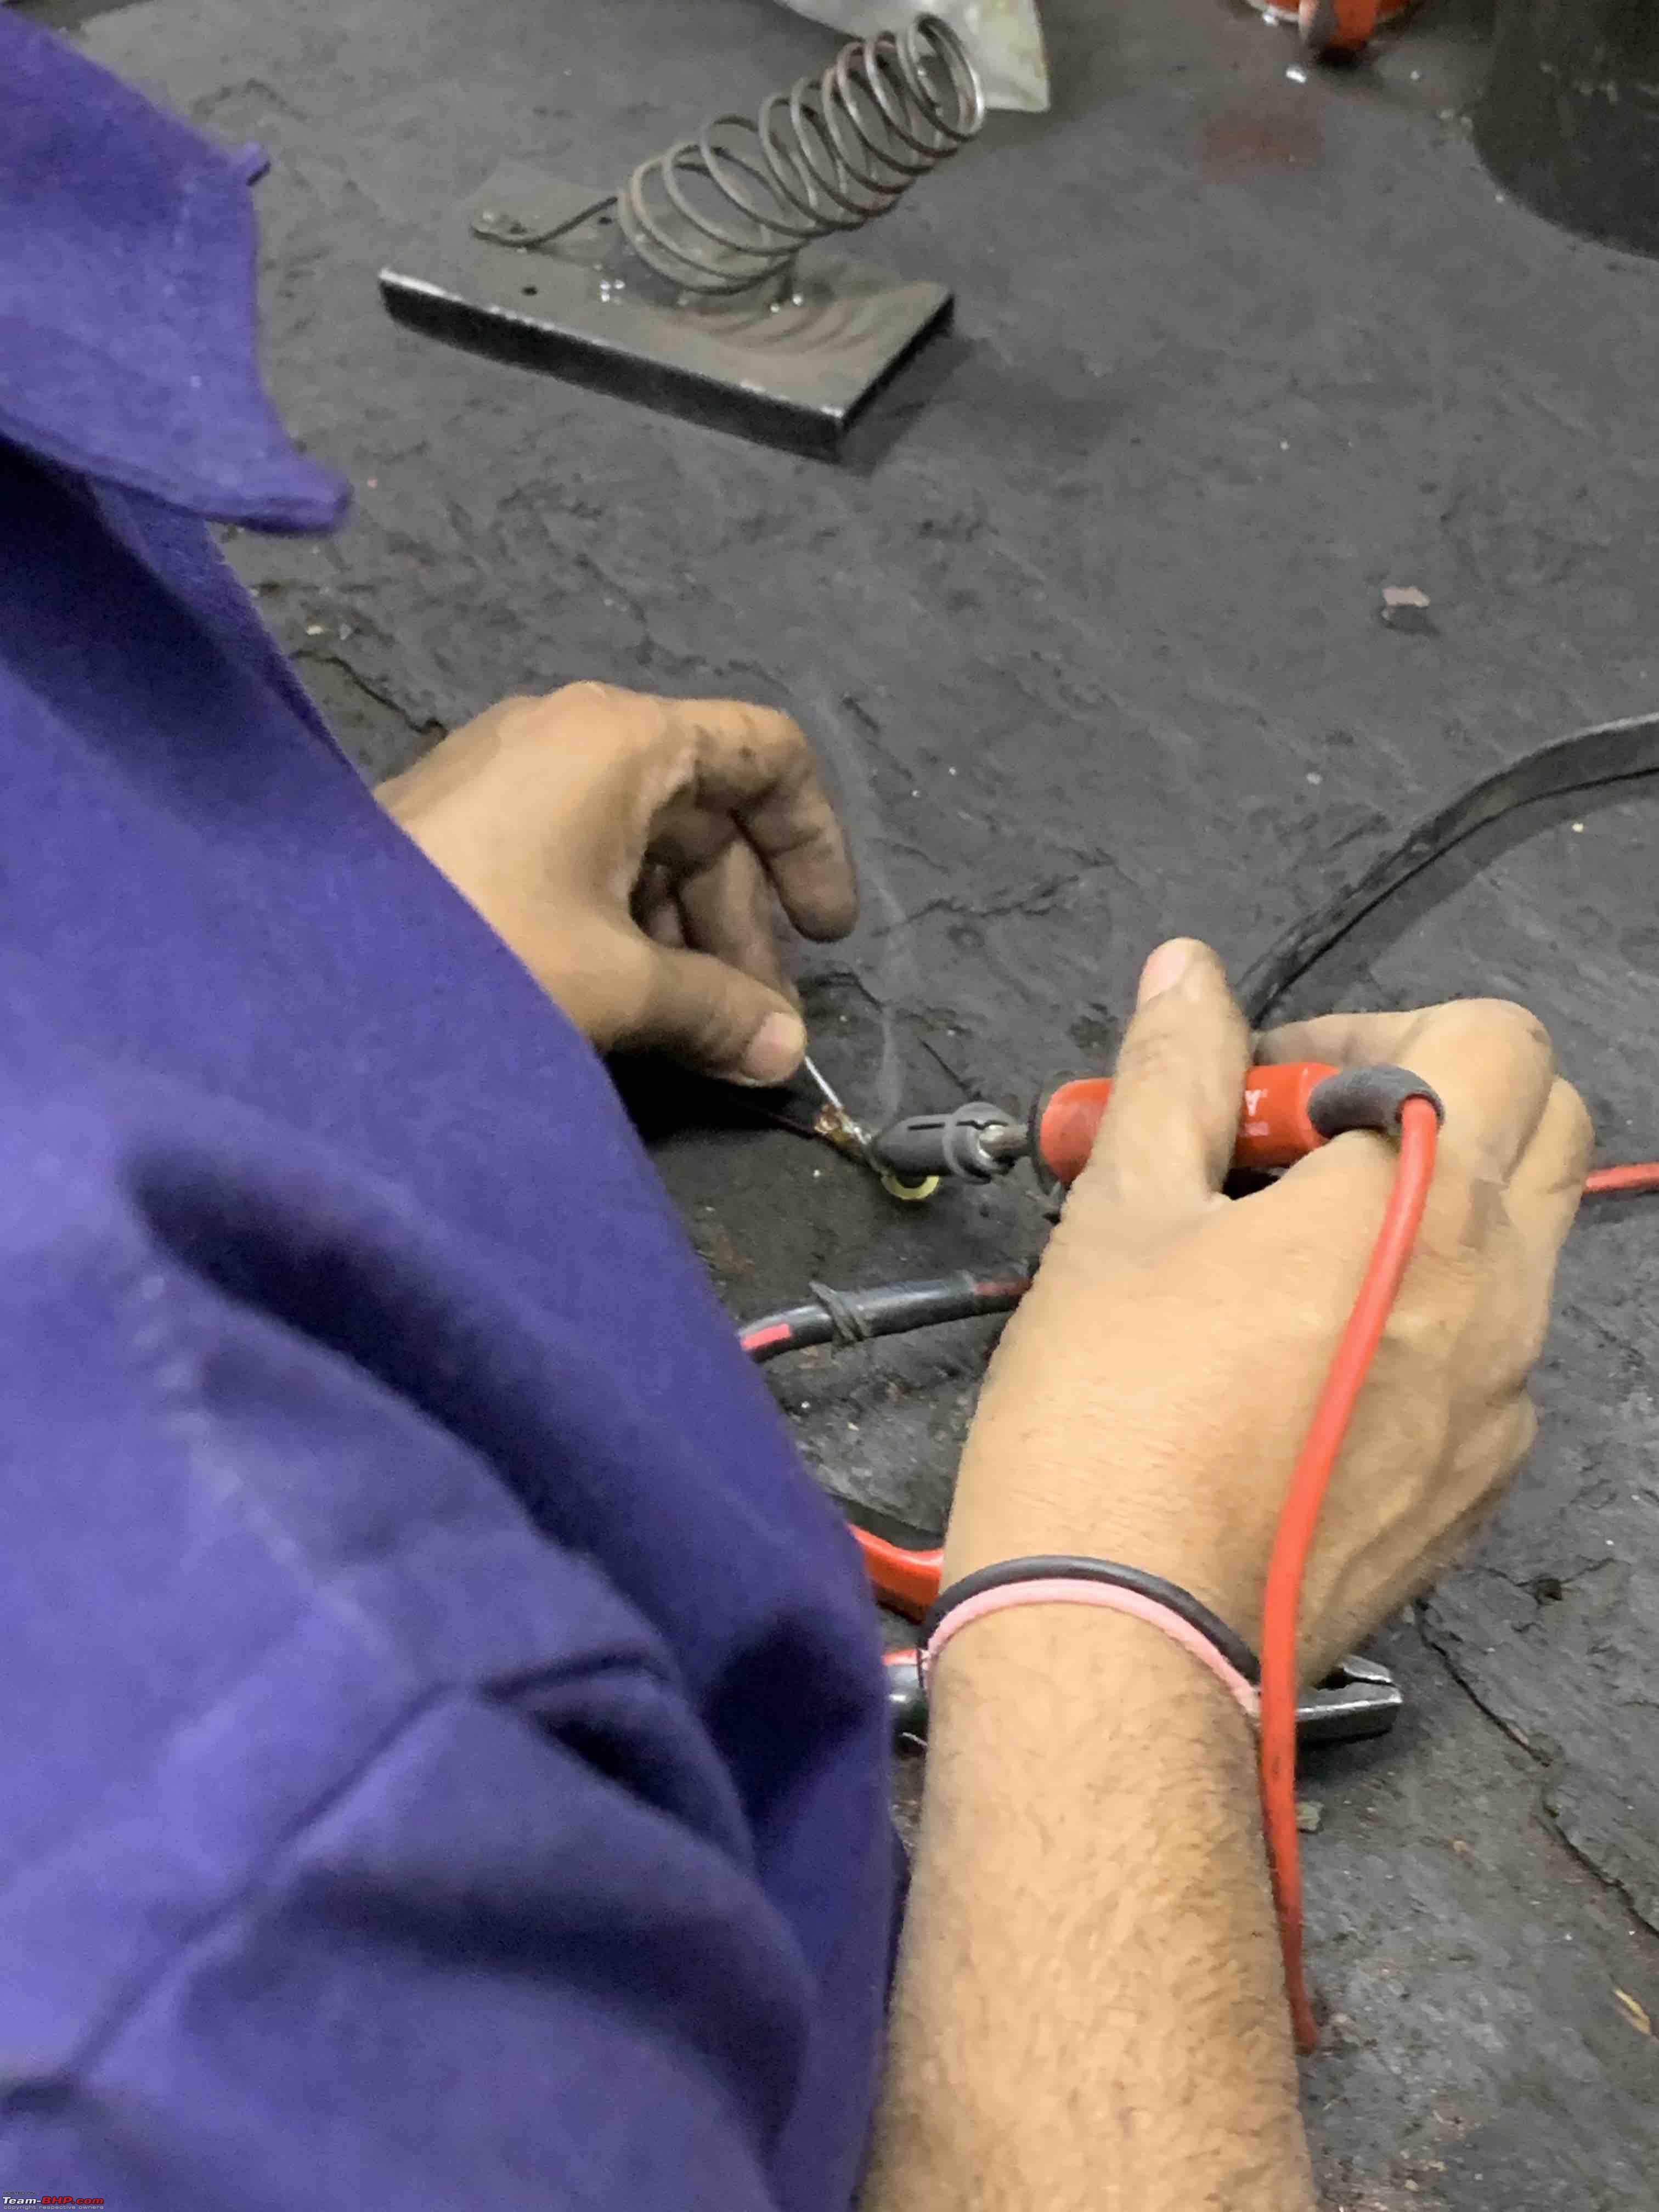
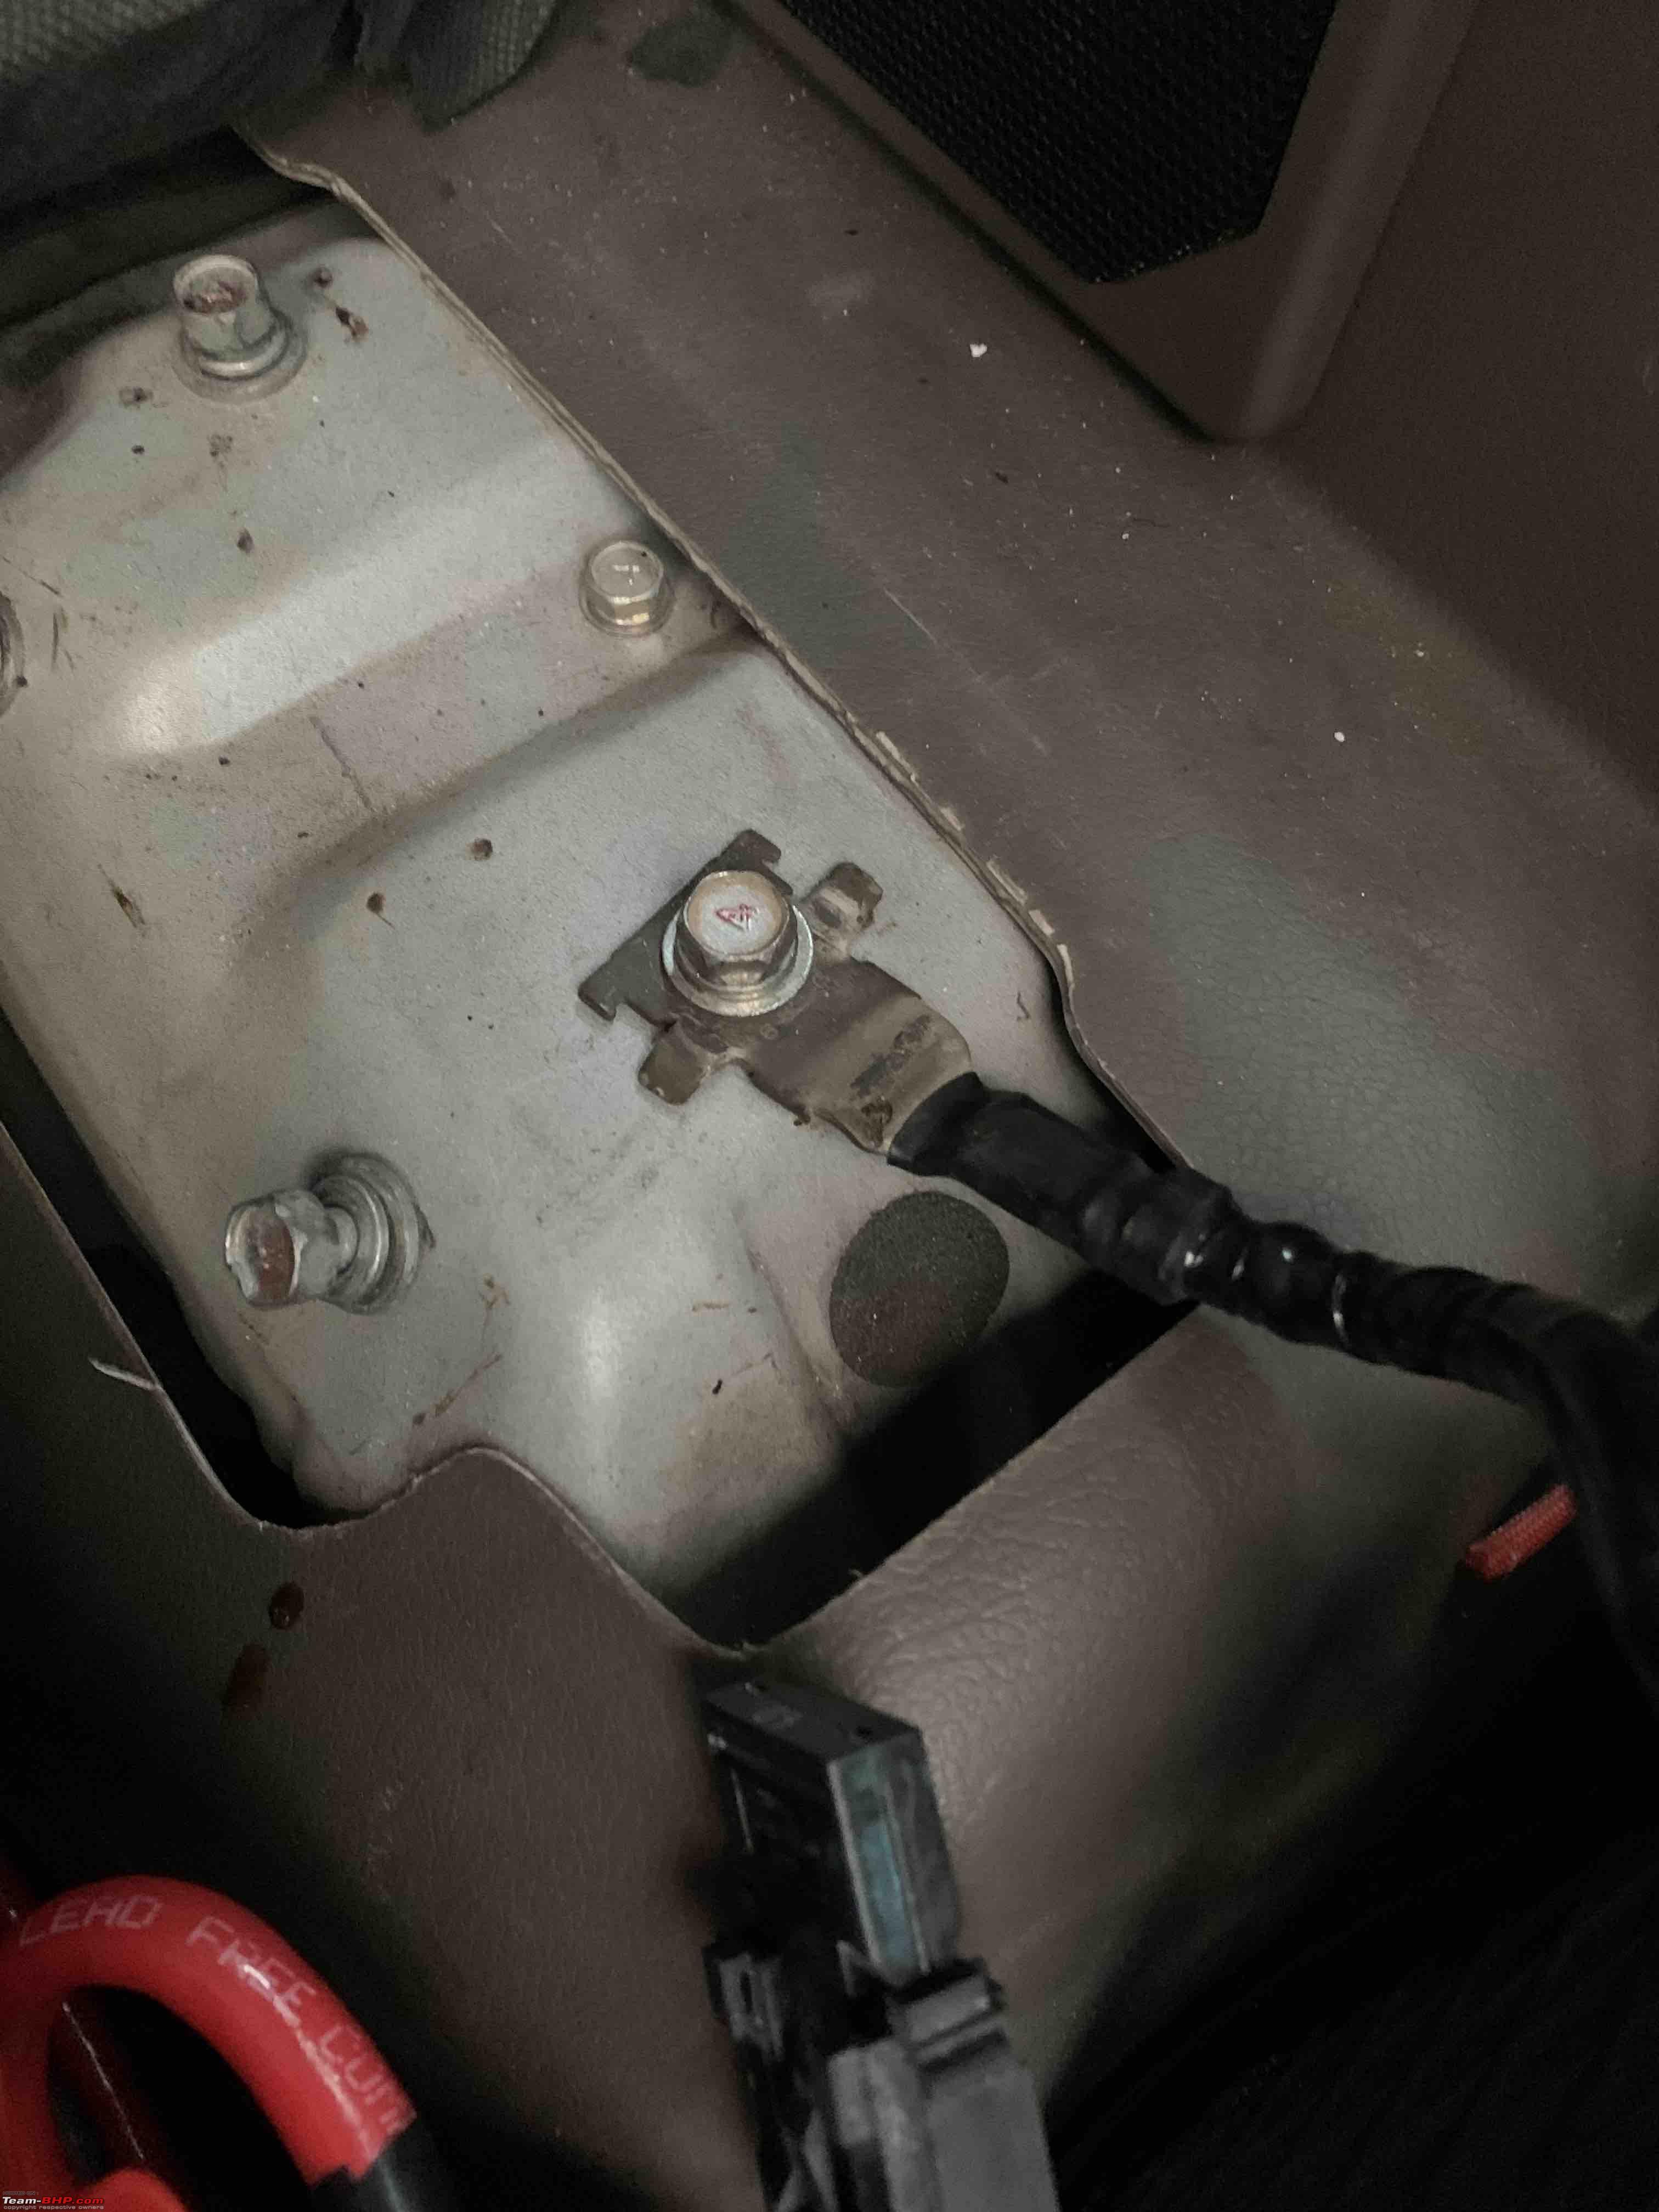
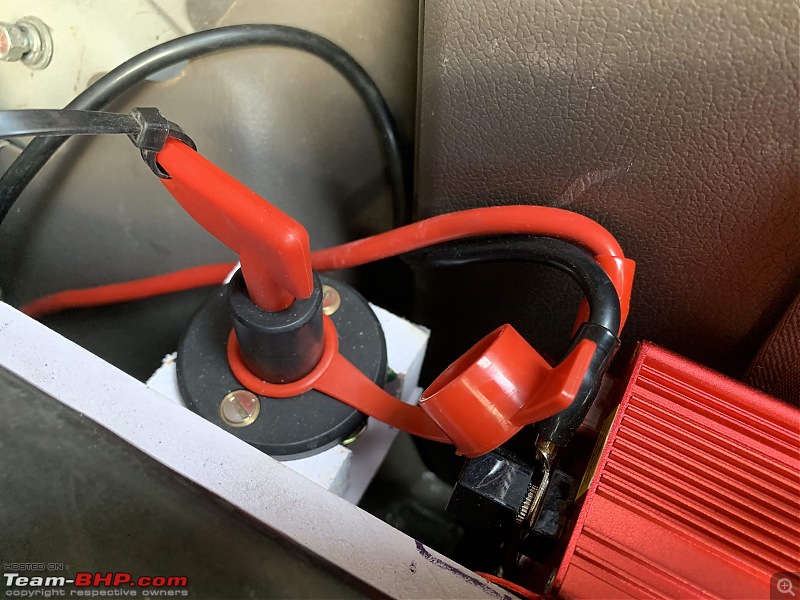
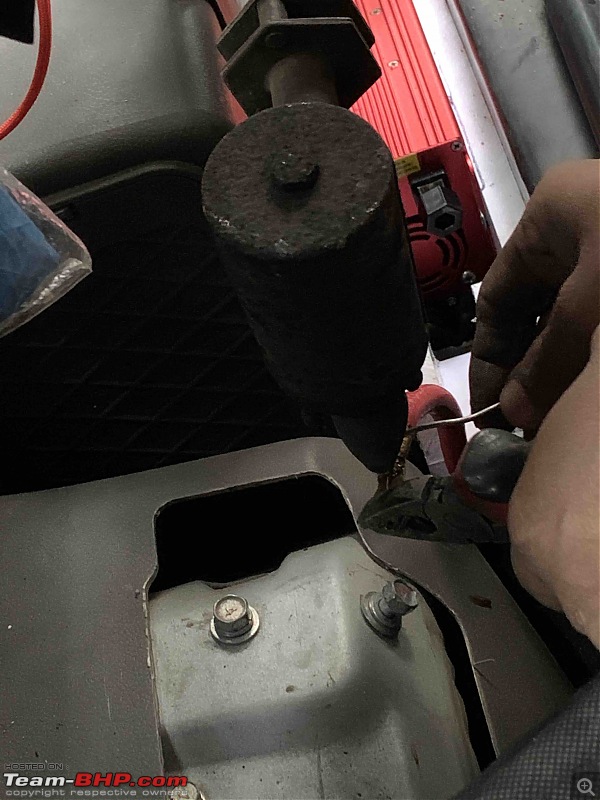
The clip that would get attached to the battery. Will be soldered:

The negative wire been soldered serperately:

Negative wire is wrapped and ready:
Negative wire goes from the inverter to the rear wheel arch to 'earth' to the body:

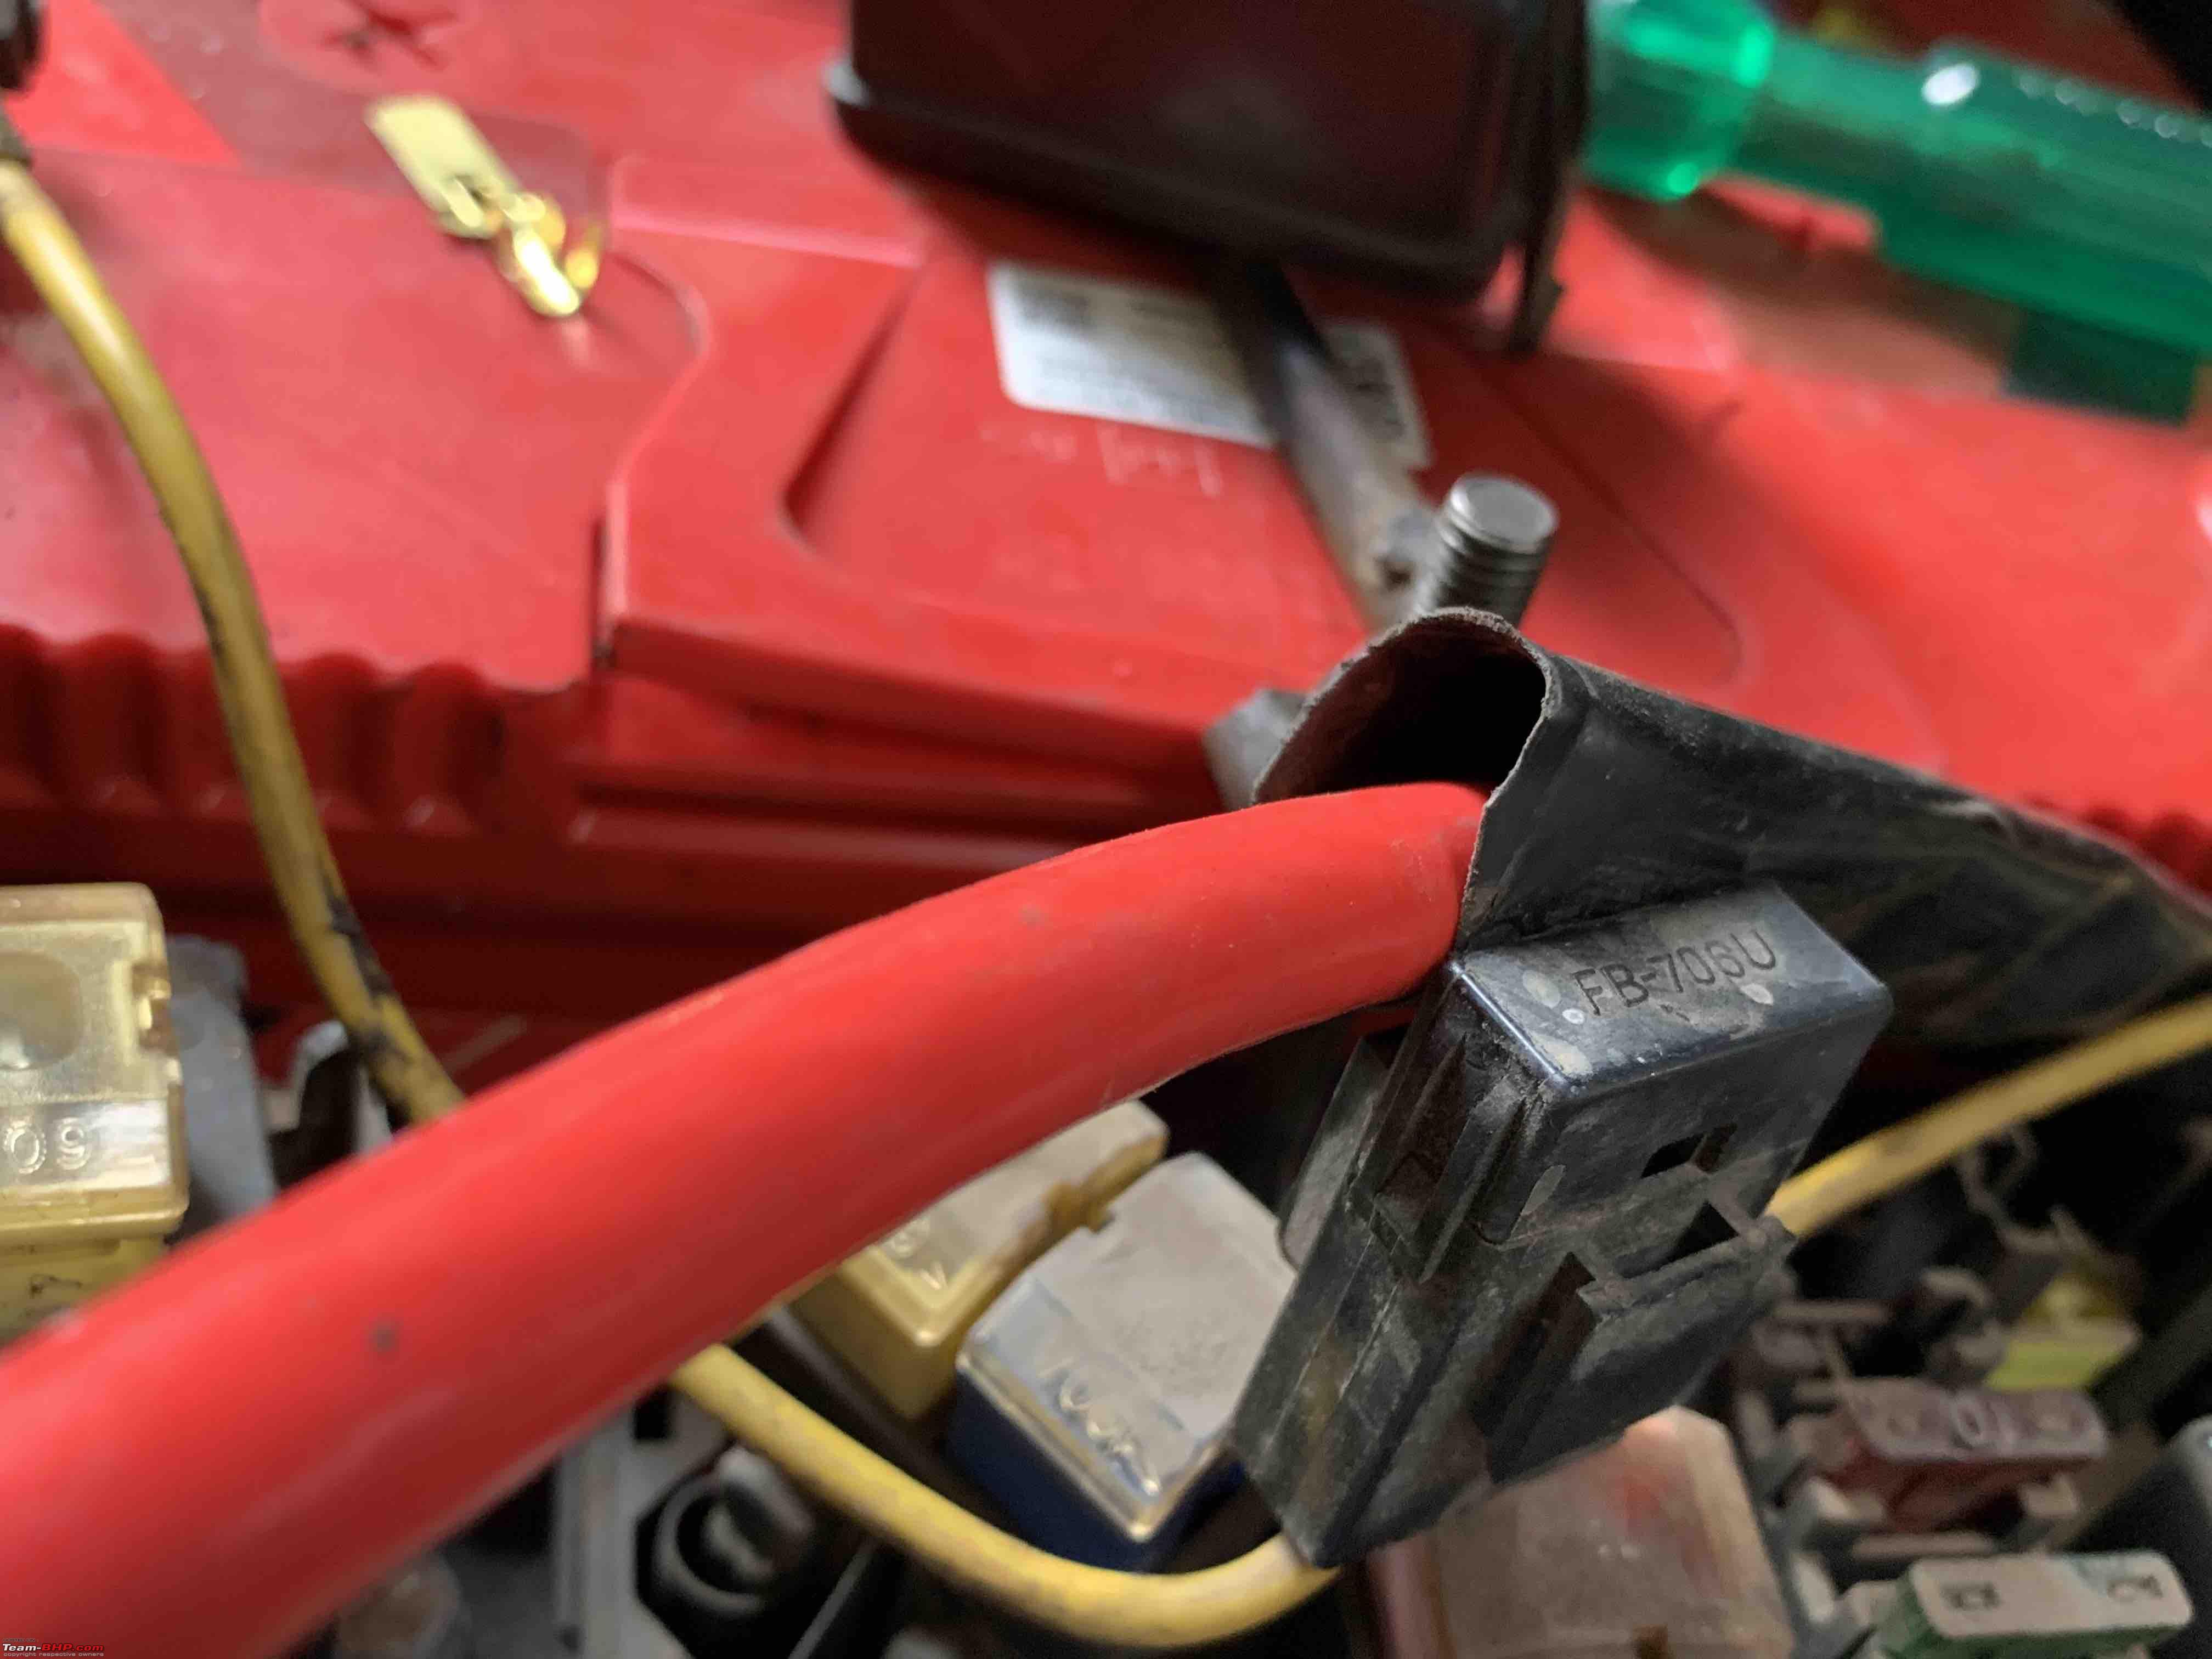
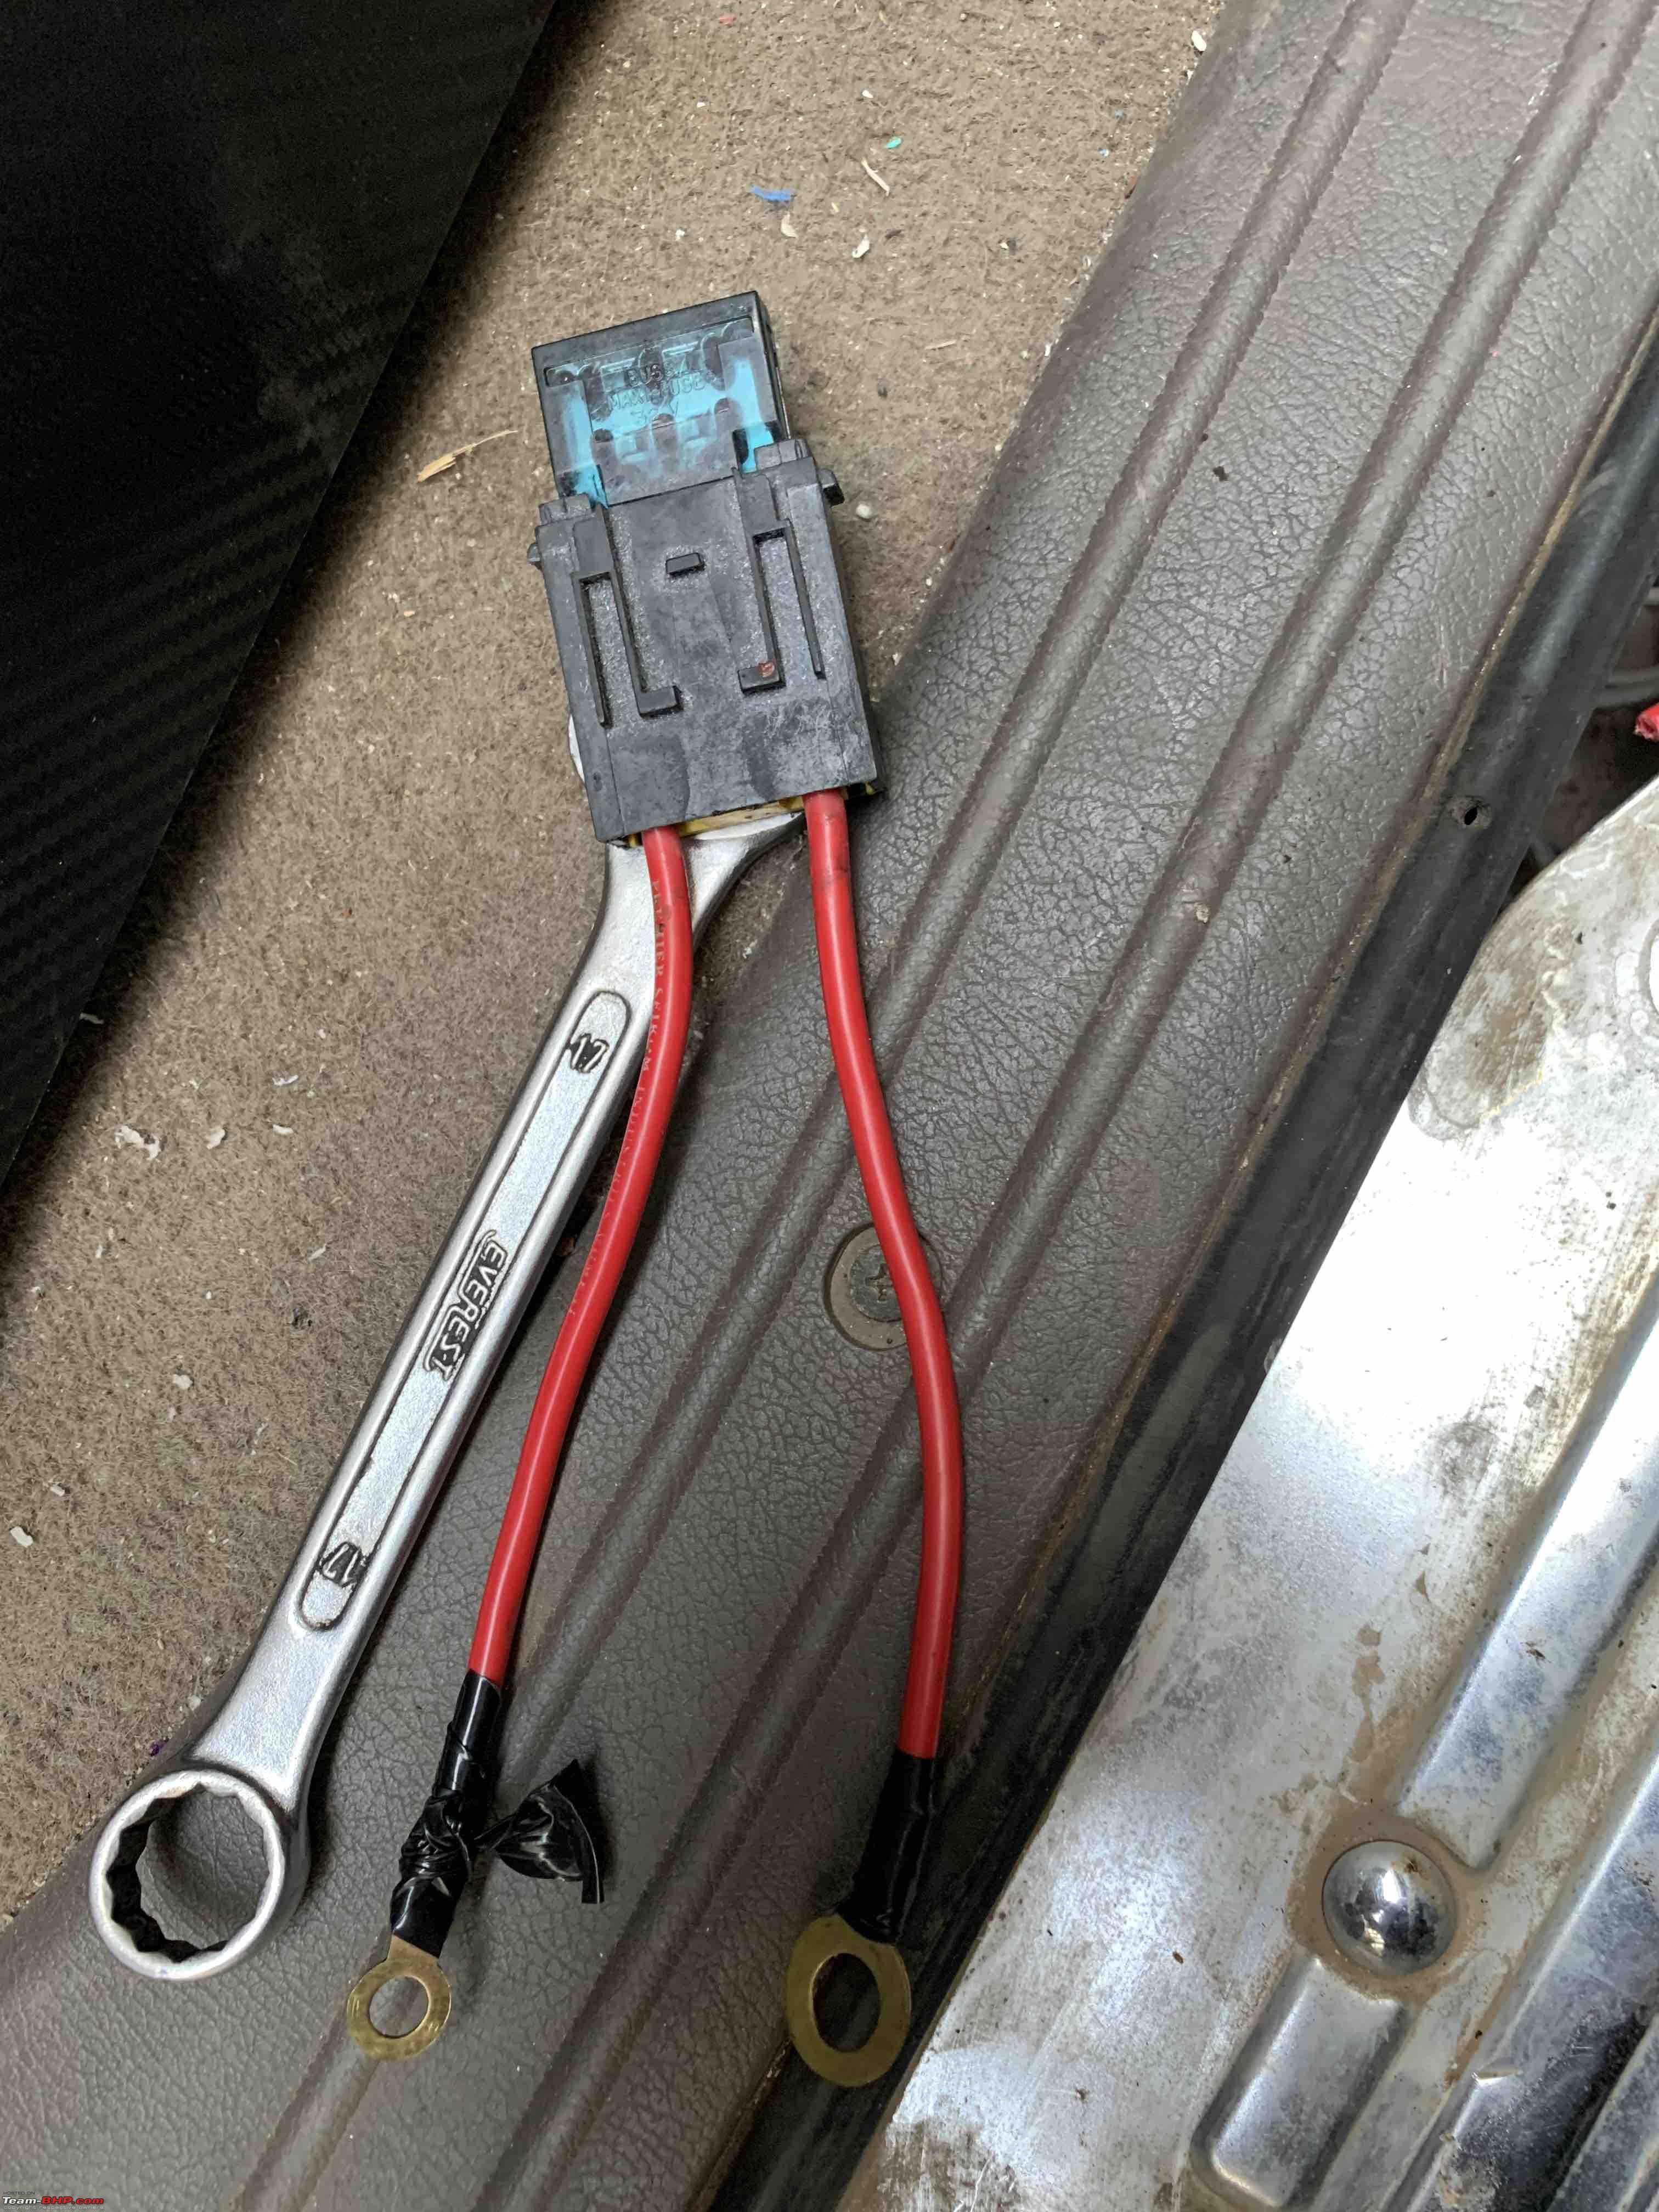
Have put an additional 60A fuse:
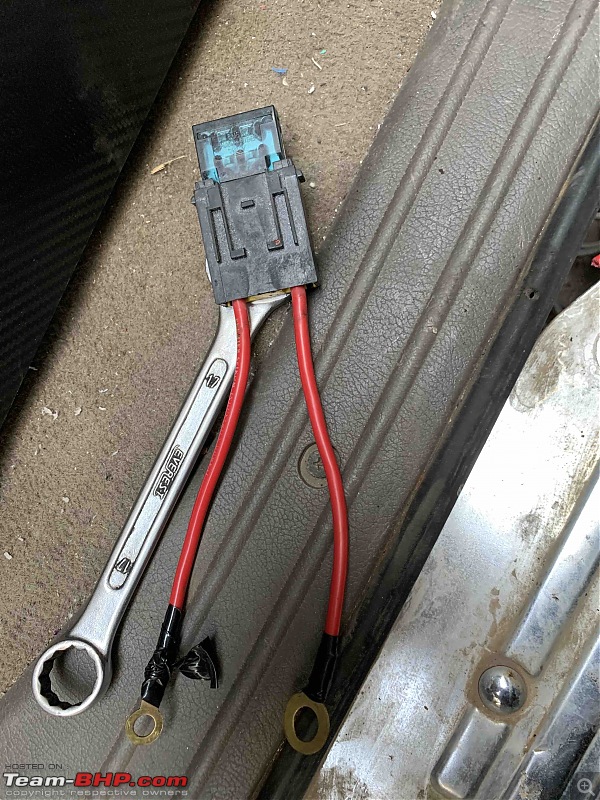
Soldering all the clips:
Ready to attach to the inverter:
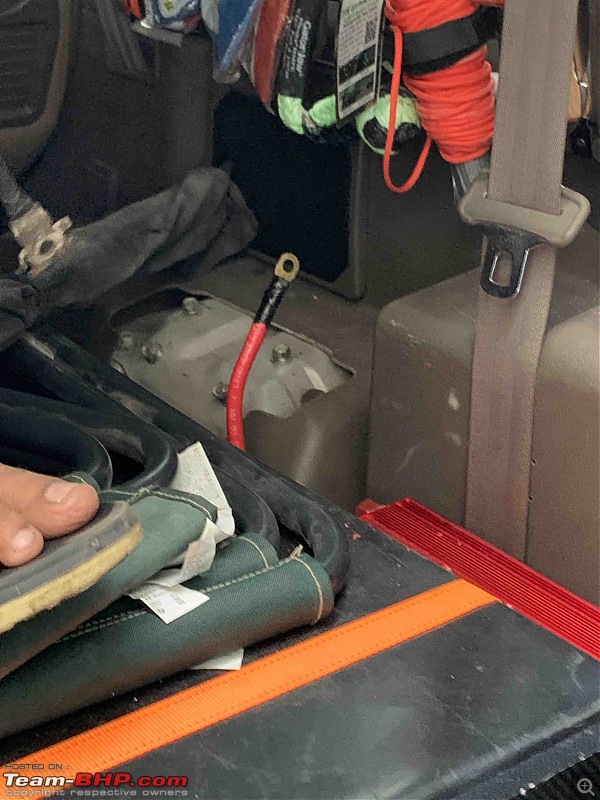
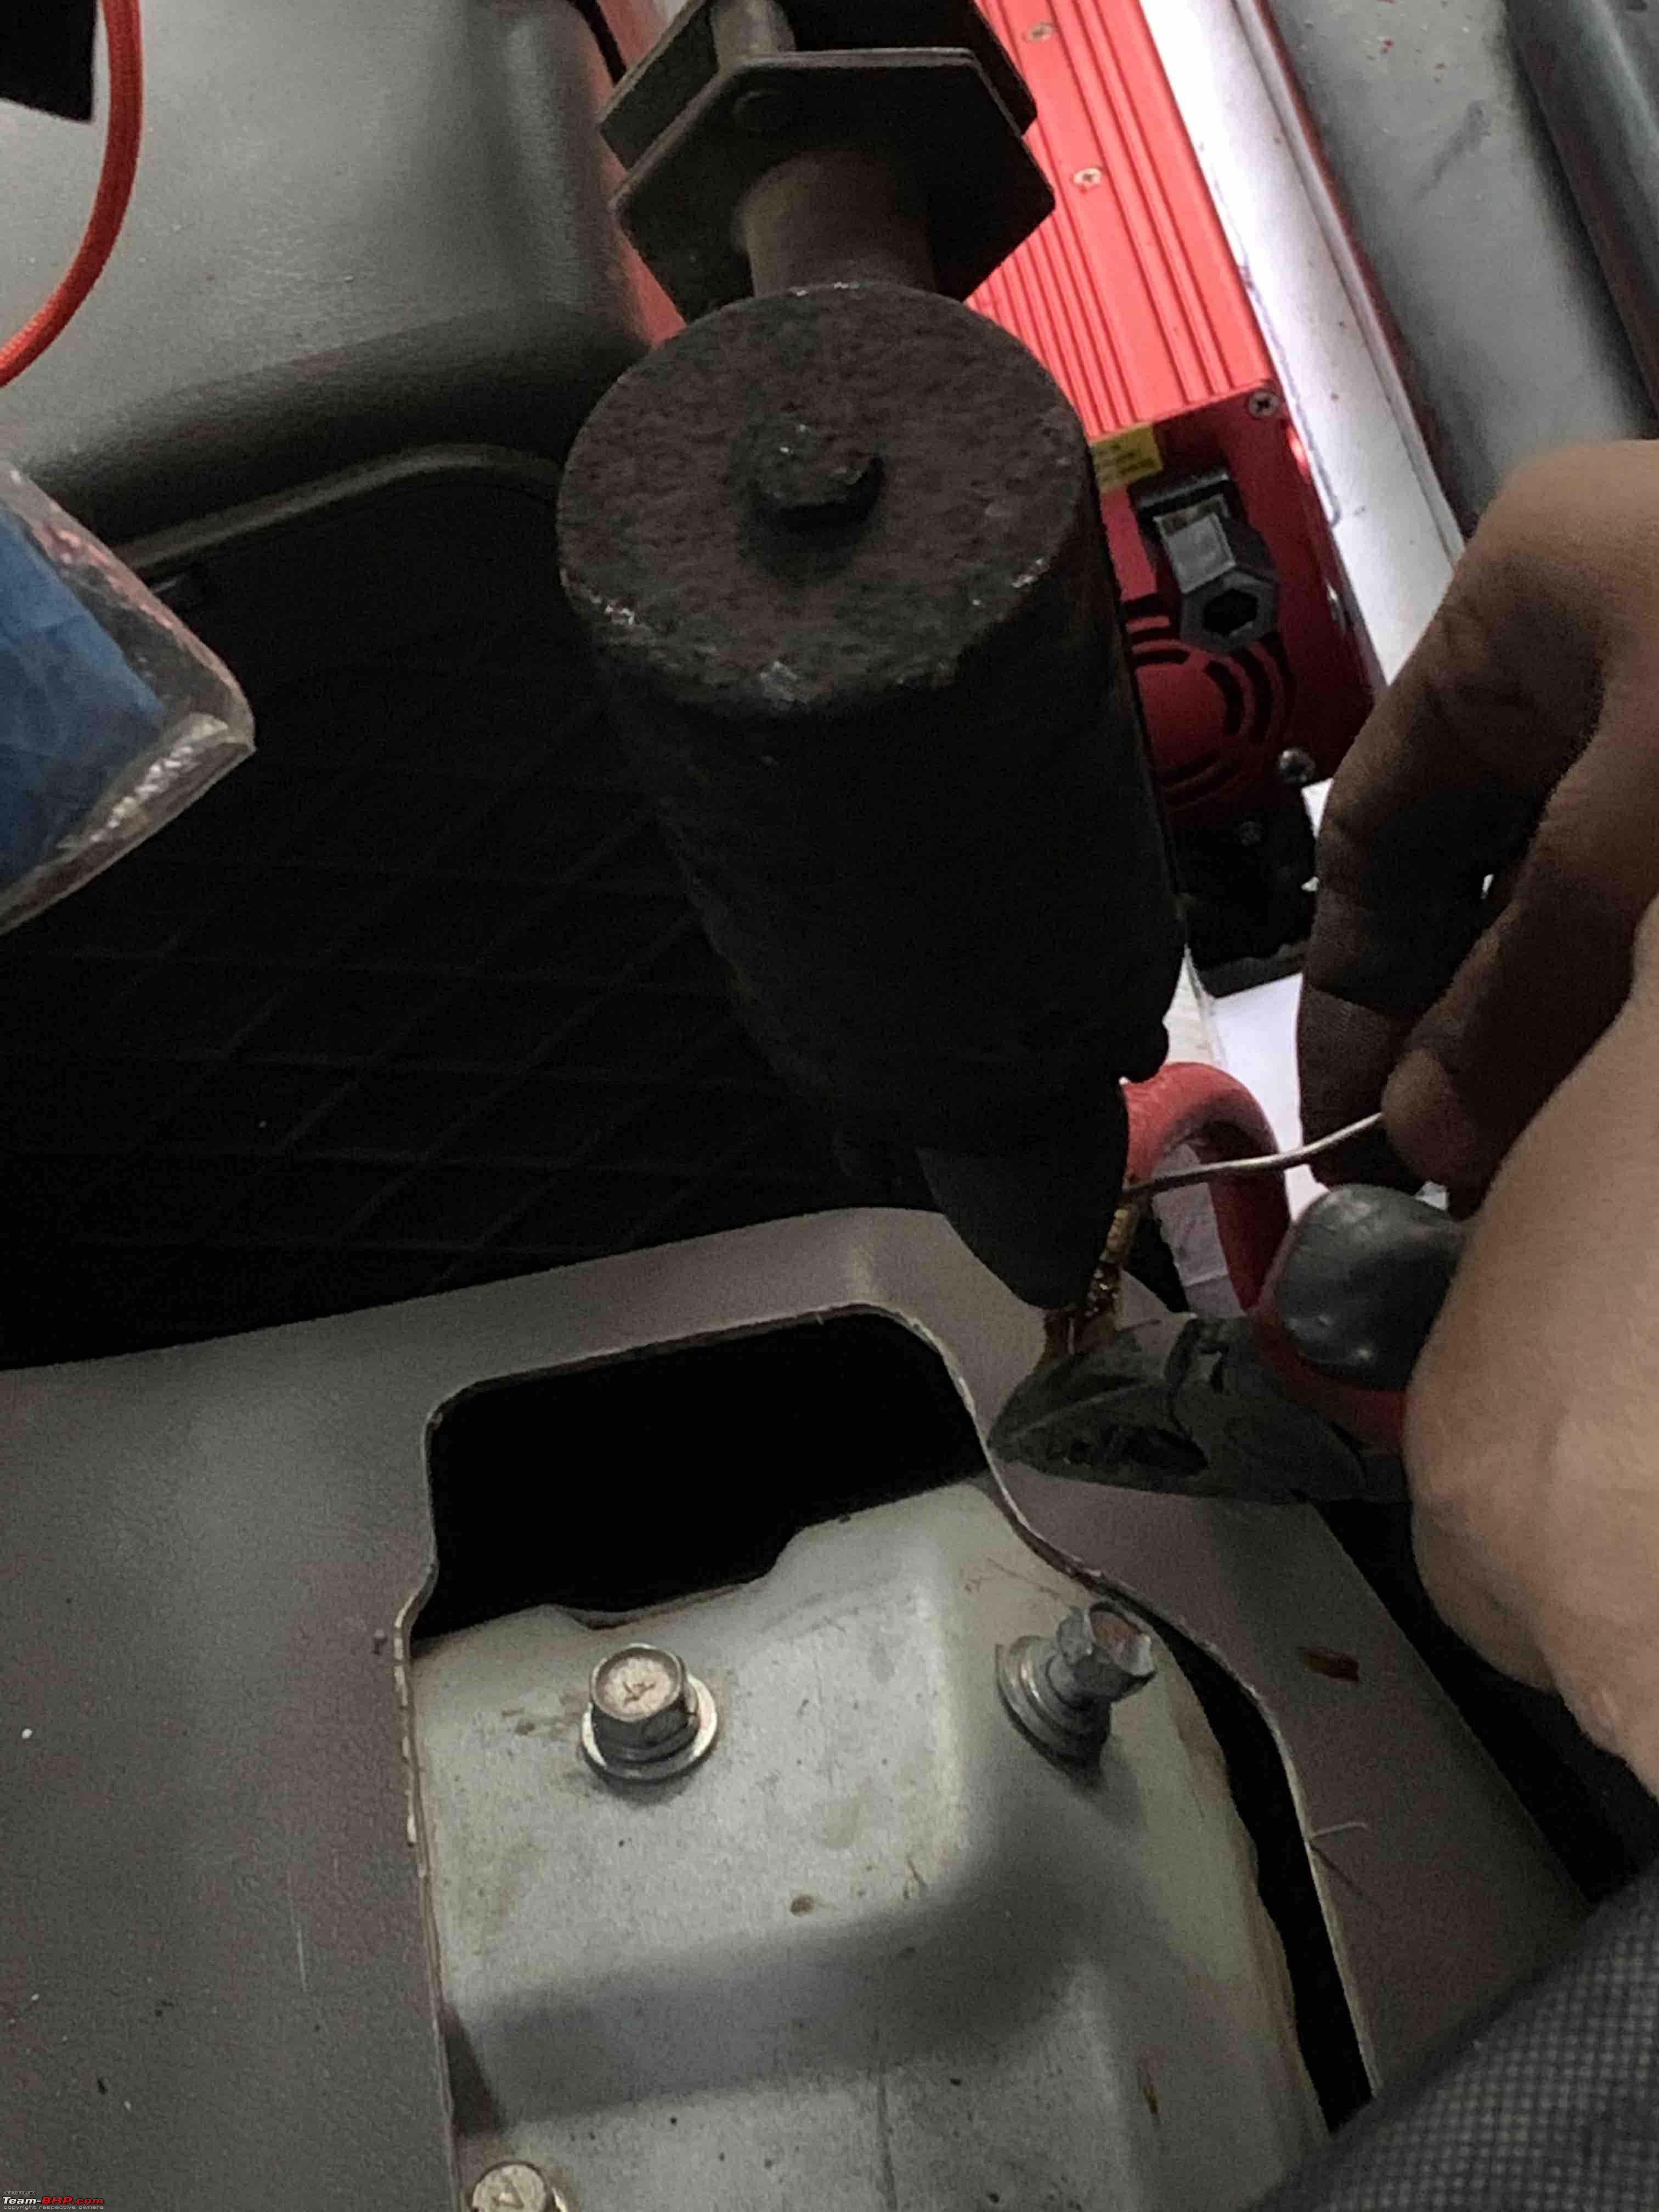
All attached and ready - the fuse goes from the battery cut off switch to the inverter:
So honestly, did I need to do this? NO! I spent Rs. 6000 for this when I could just open up the bonnet and use the inverter as I have been regularly doing. But I guess the heart wins and just the convenience is worth it in my book.
Quote:
Originally Posted by Tejas@perioimpl
(Post 4734408)
...
So honestly, did I need to do this? NO! I spent Rs. 6000 for this when I could just open up the bonnet and use the inverter as I have been regularly doing. But I guess the heart wins and just the convenience is worth it in my book.
|
This is one thought that every person, who mods his vehicle, will go through, be it a simple headlight bulb change costing multiple times the standard bulb or a major mod.
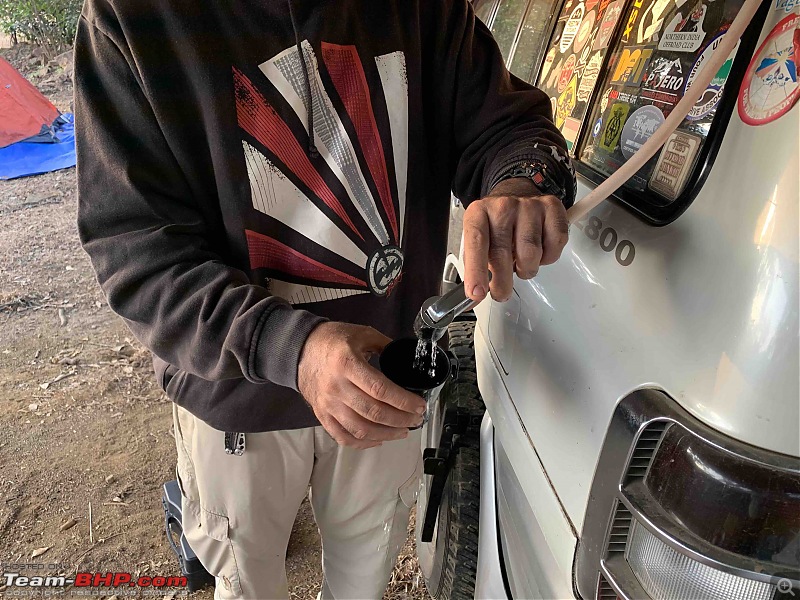
Went camping this weekend and made at least 20 cups of tea/coffee.
Money well spent!
Another weekend DIY.
This DIY had been long pending and since a camping trip was planned, I hastily bought the material one night before and assembled the DIY early morning in an hour before the trip.
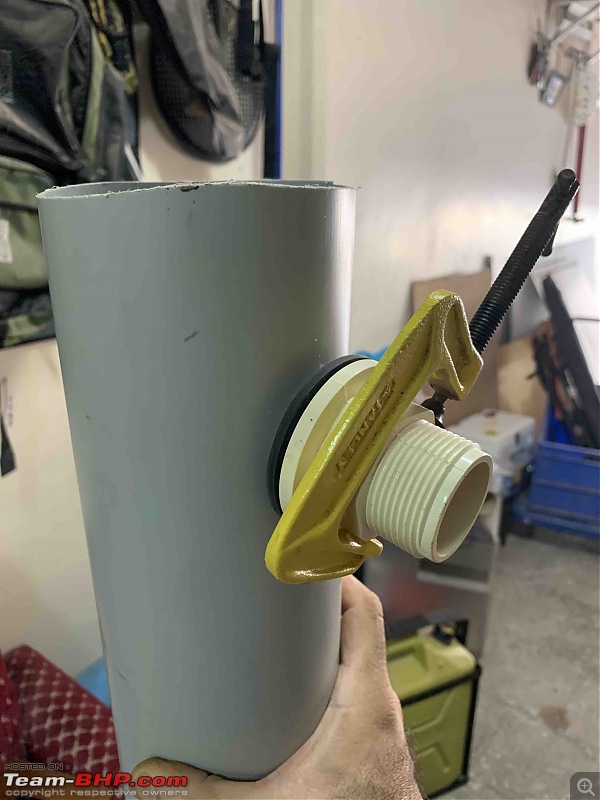
The project was to make an overhead water storage for cleaning camping equipment.
Material required:
1. 5' long and 4" diameter PVC pipe with 2 end caps
2. A overhead tank water overflow coupling
3. 2 Quickfist claps
4. A pipe coupler
5. Health faucet pipe and shower head
6. PVC glue
7. Drill machine
8. Sealant
The basic idea is to use the PVC pipe as a water storage device and let gravity feed the water to your faucet.
A 5 foot long, 4" diameter pipe has an approximate water carrying capacity of 14 litres which is good enough.
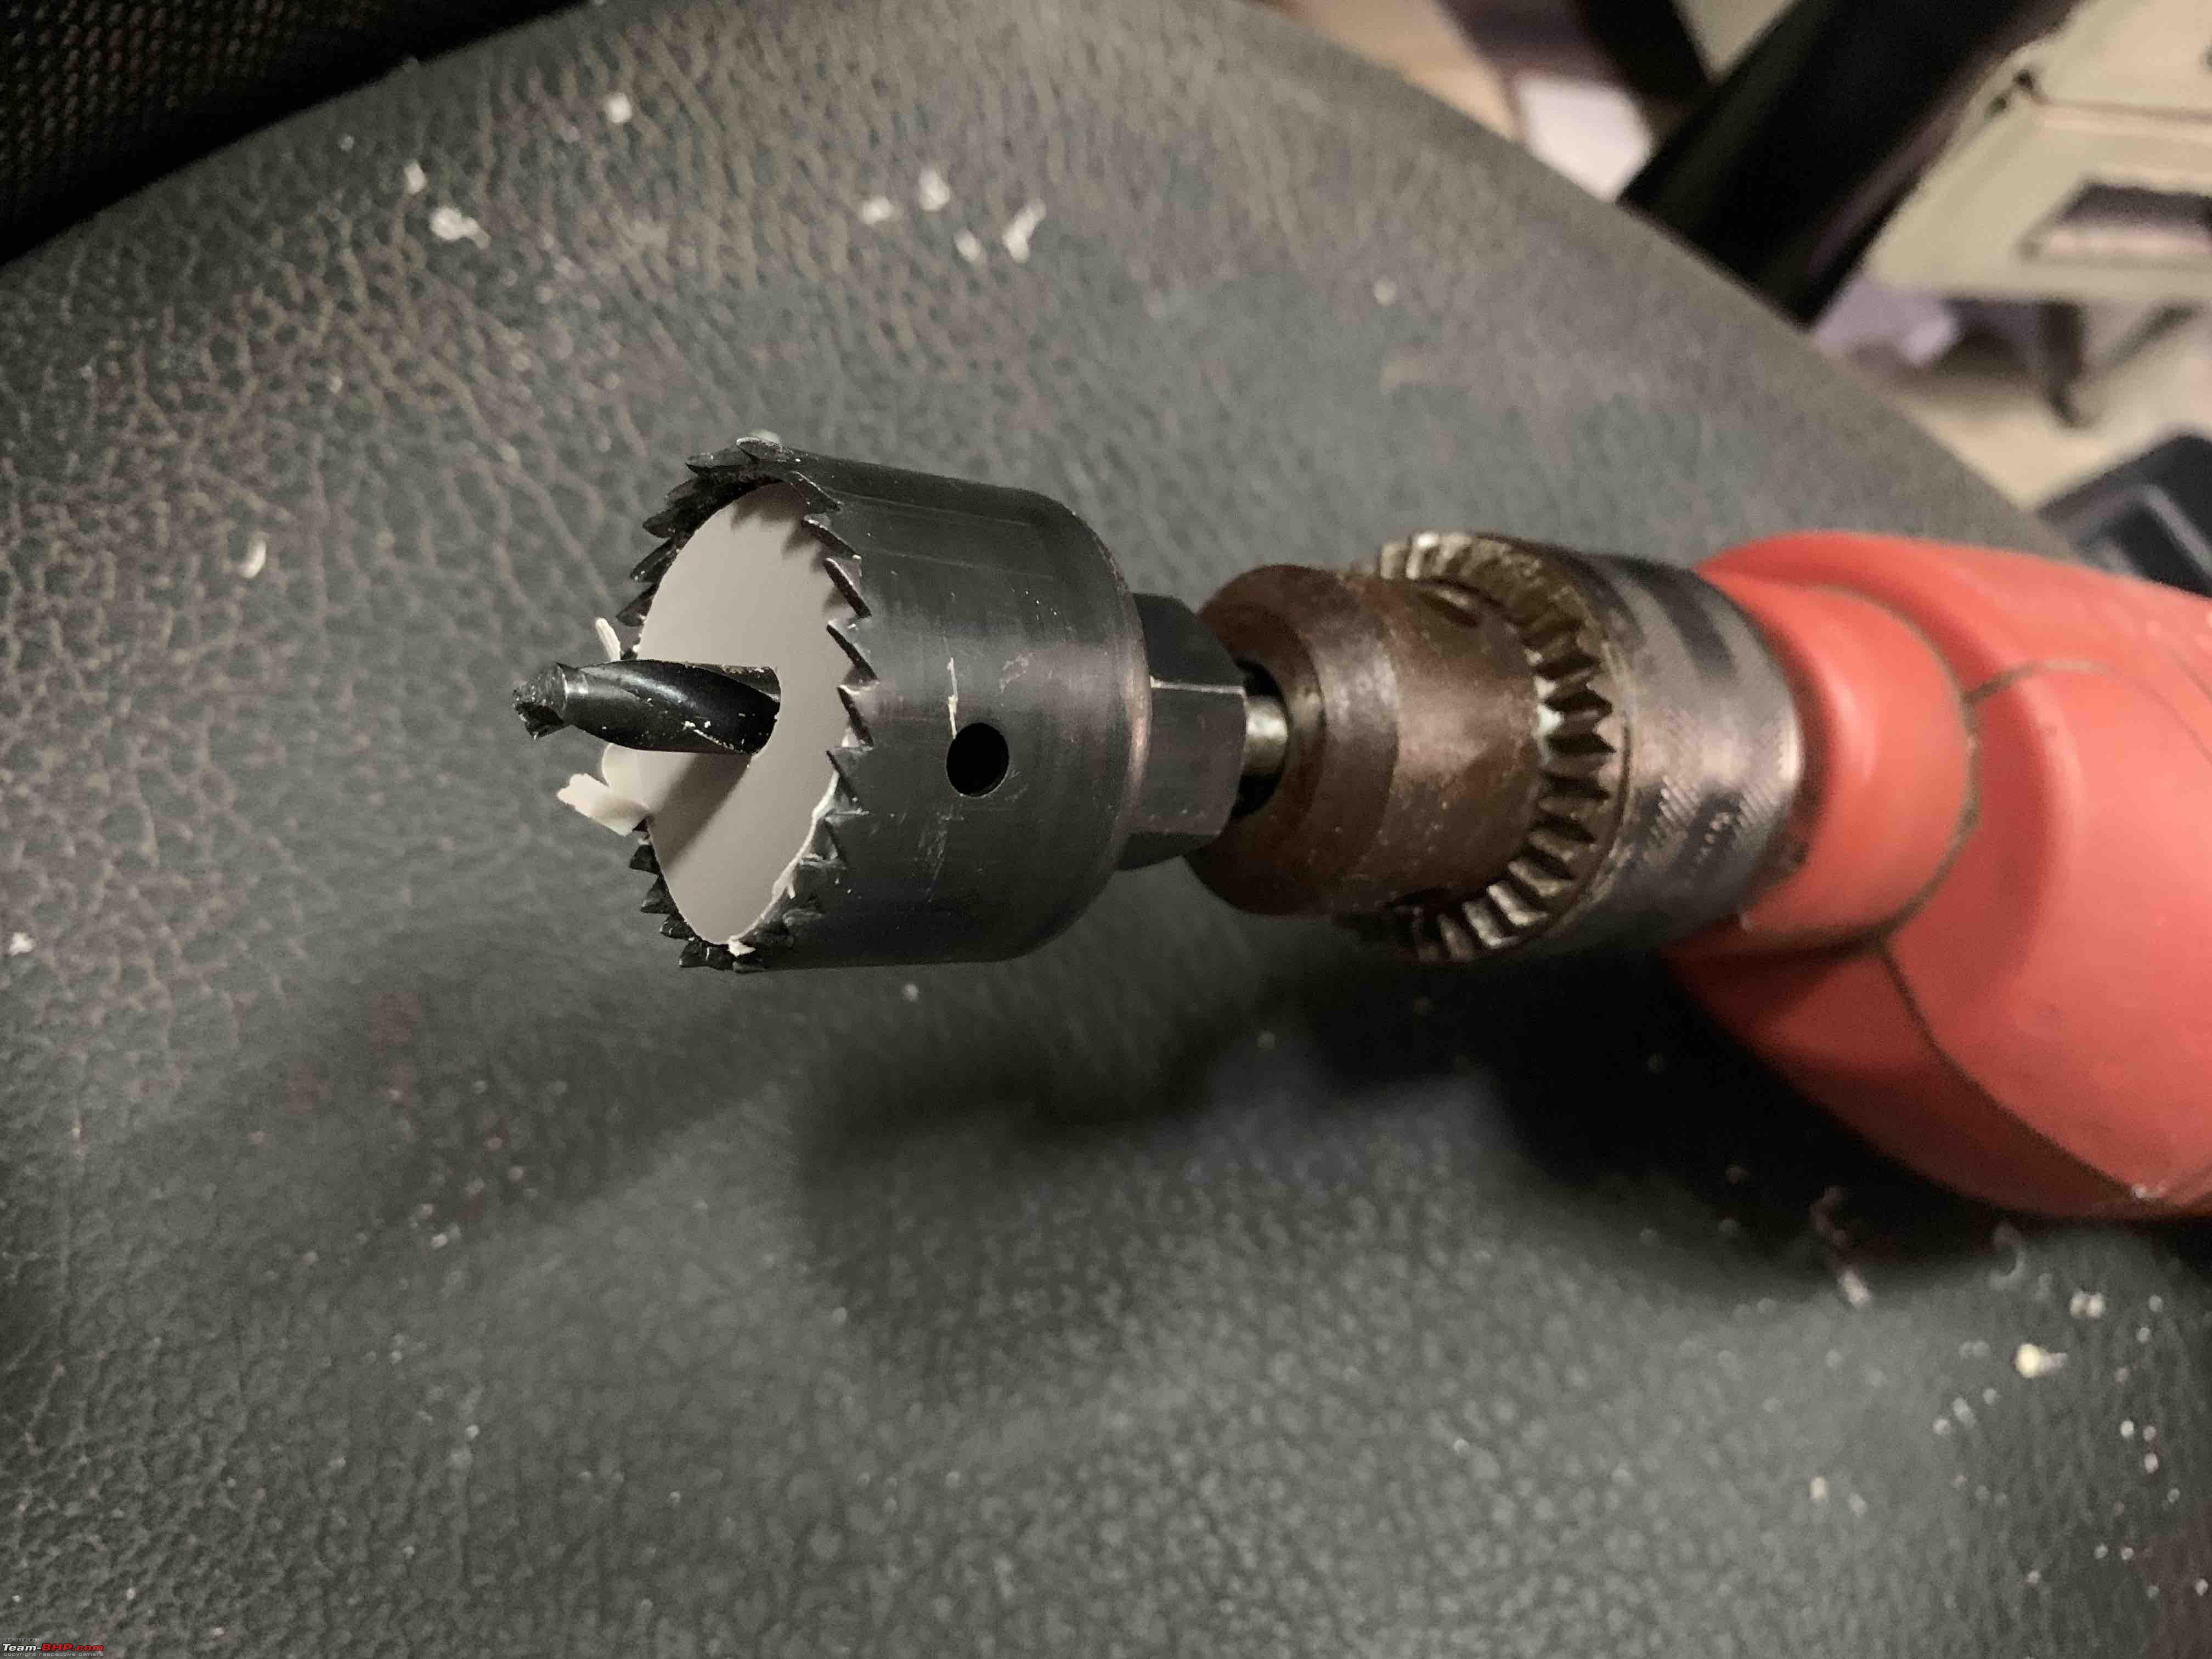
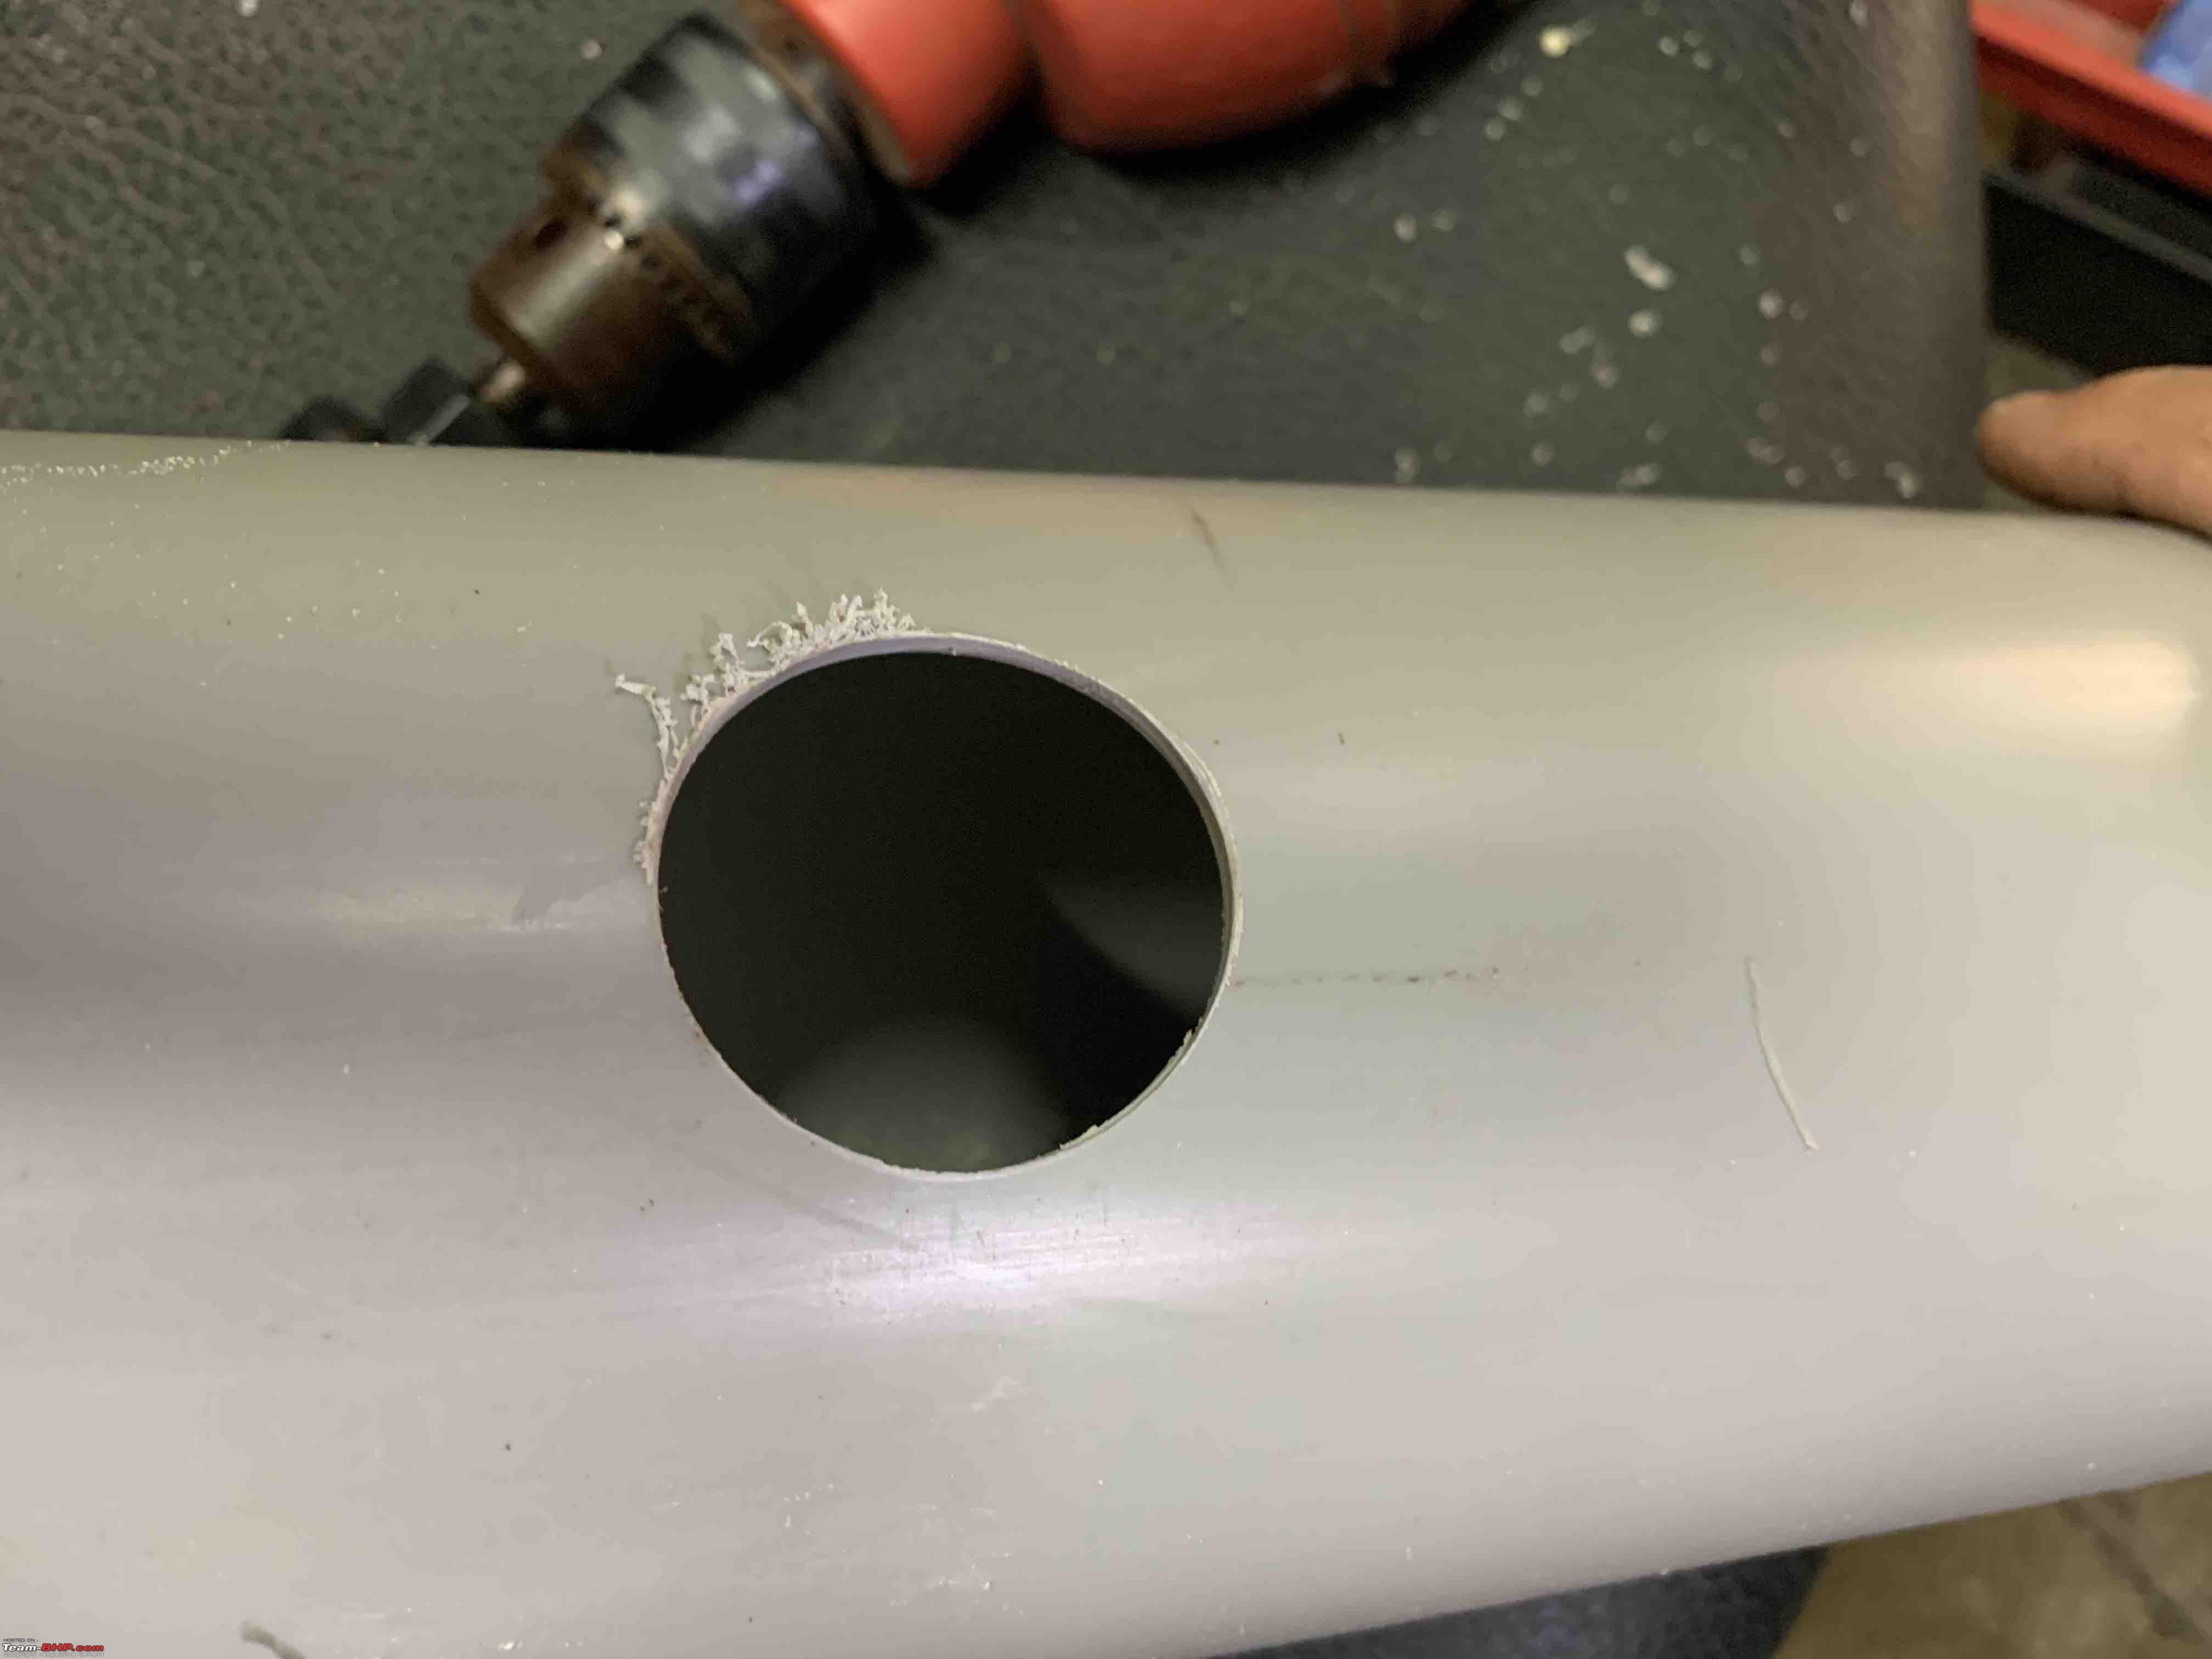
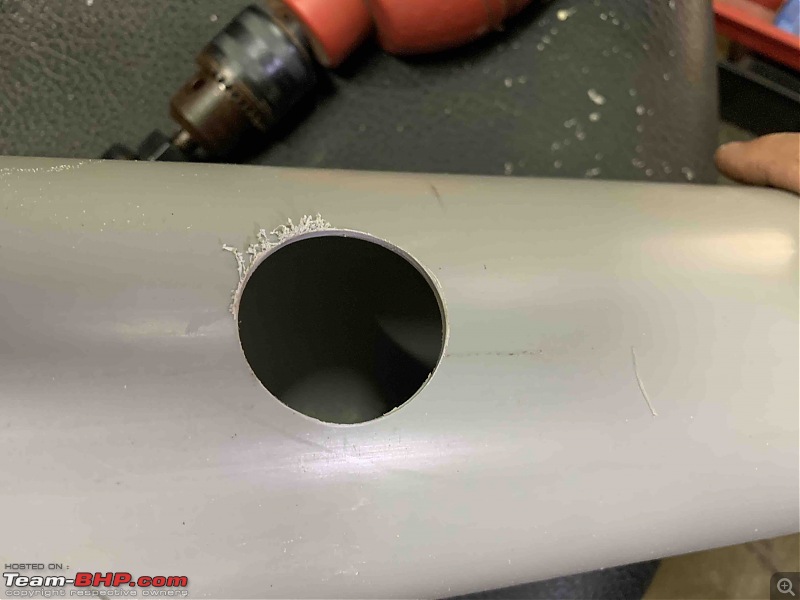
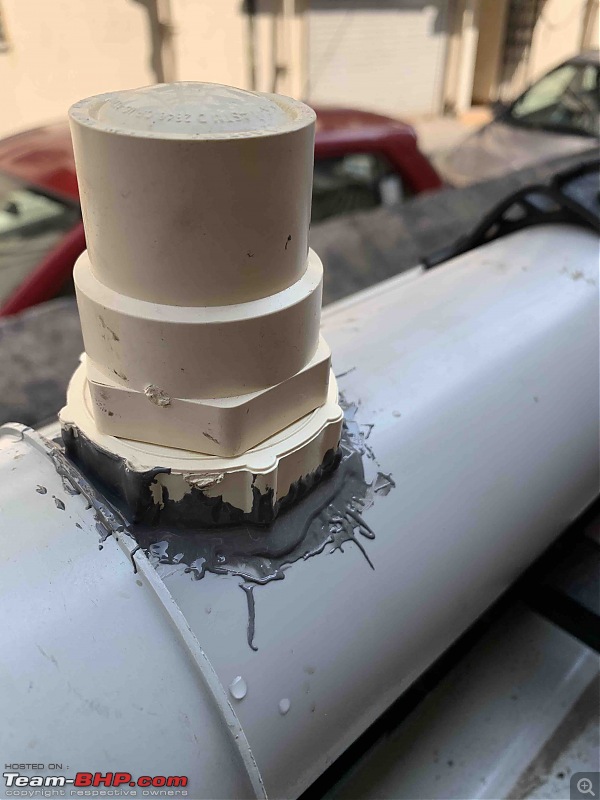
First step, make a hole on the top so that you can fit the coupler to add water to the pipe.
You need a wide drill bit for the same:
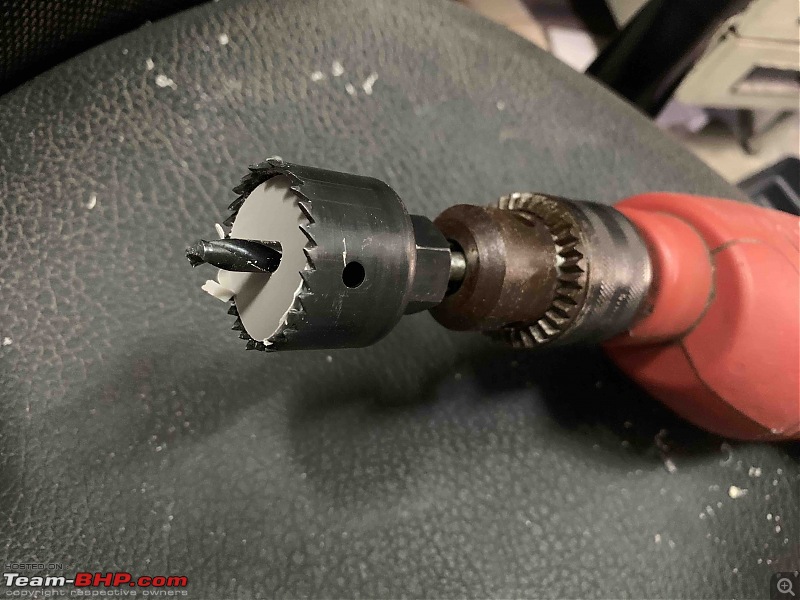
Hole is drilled:
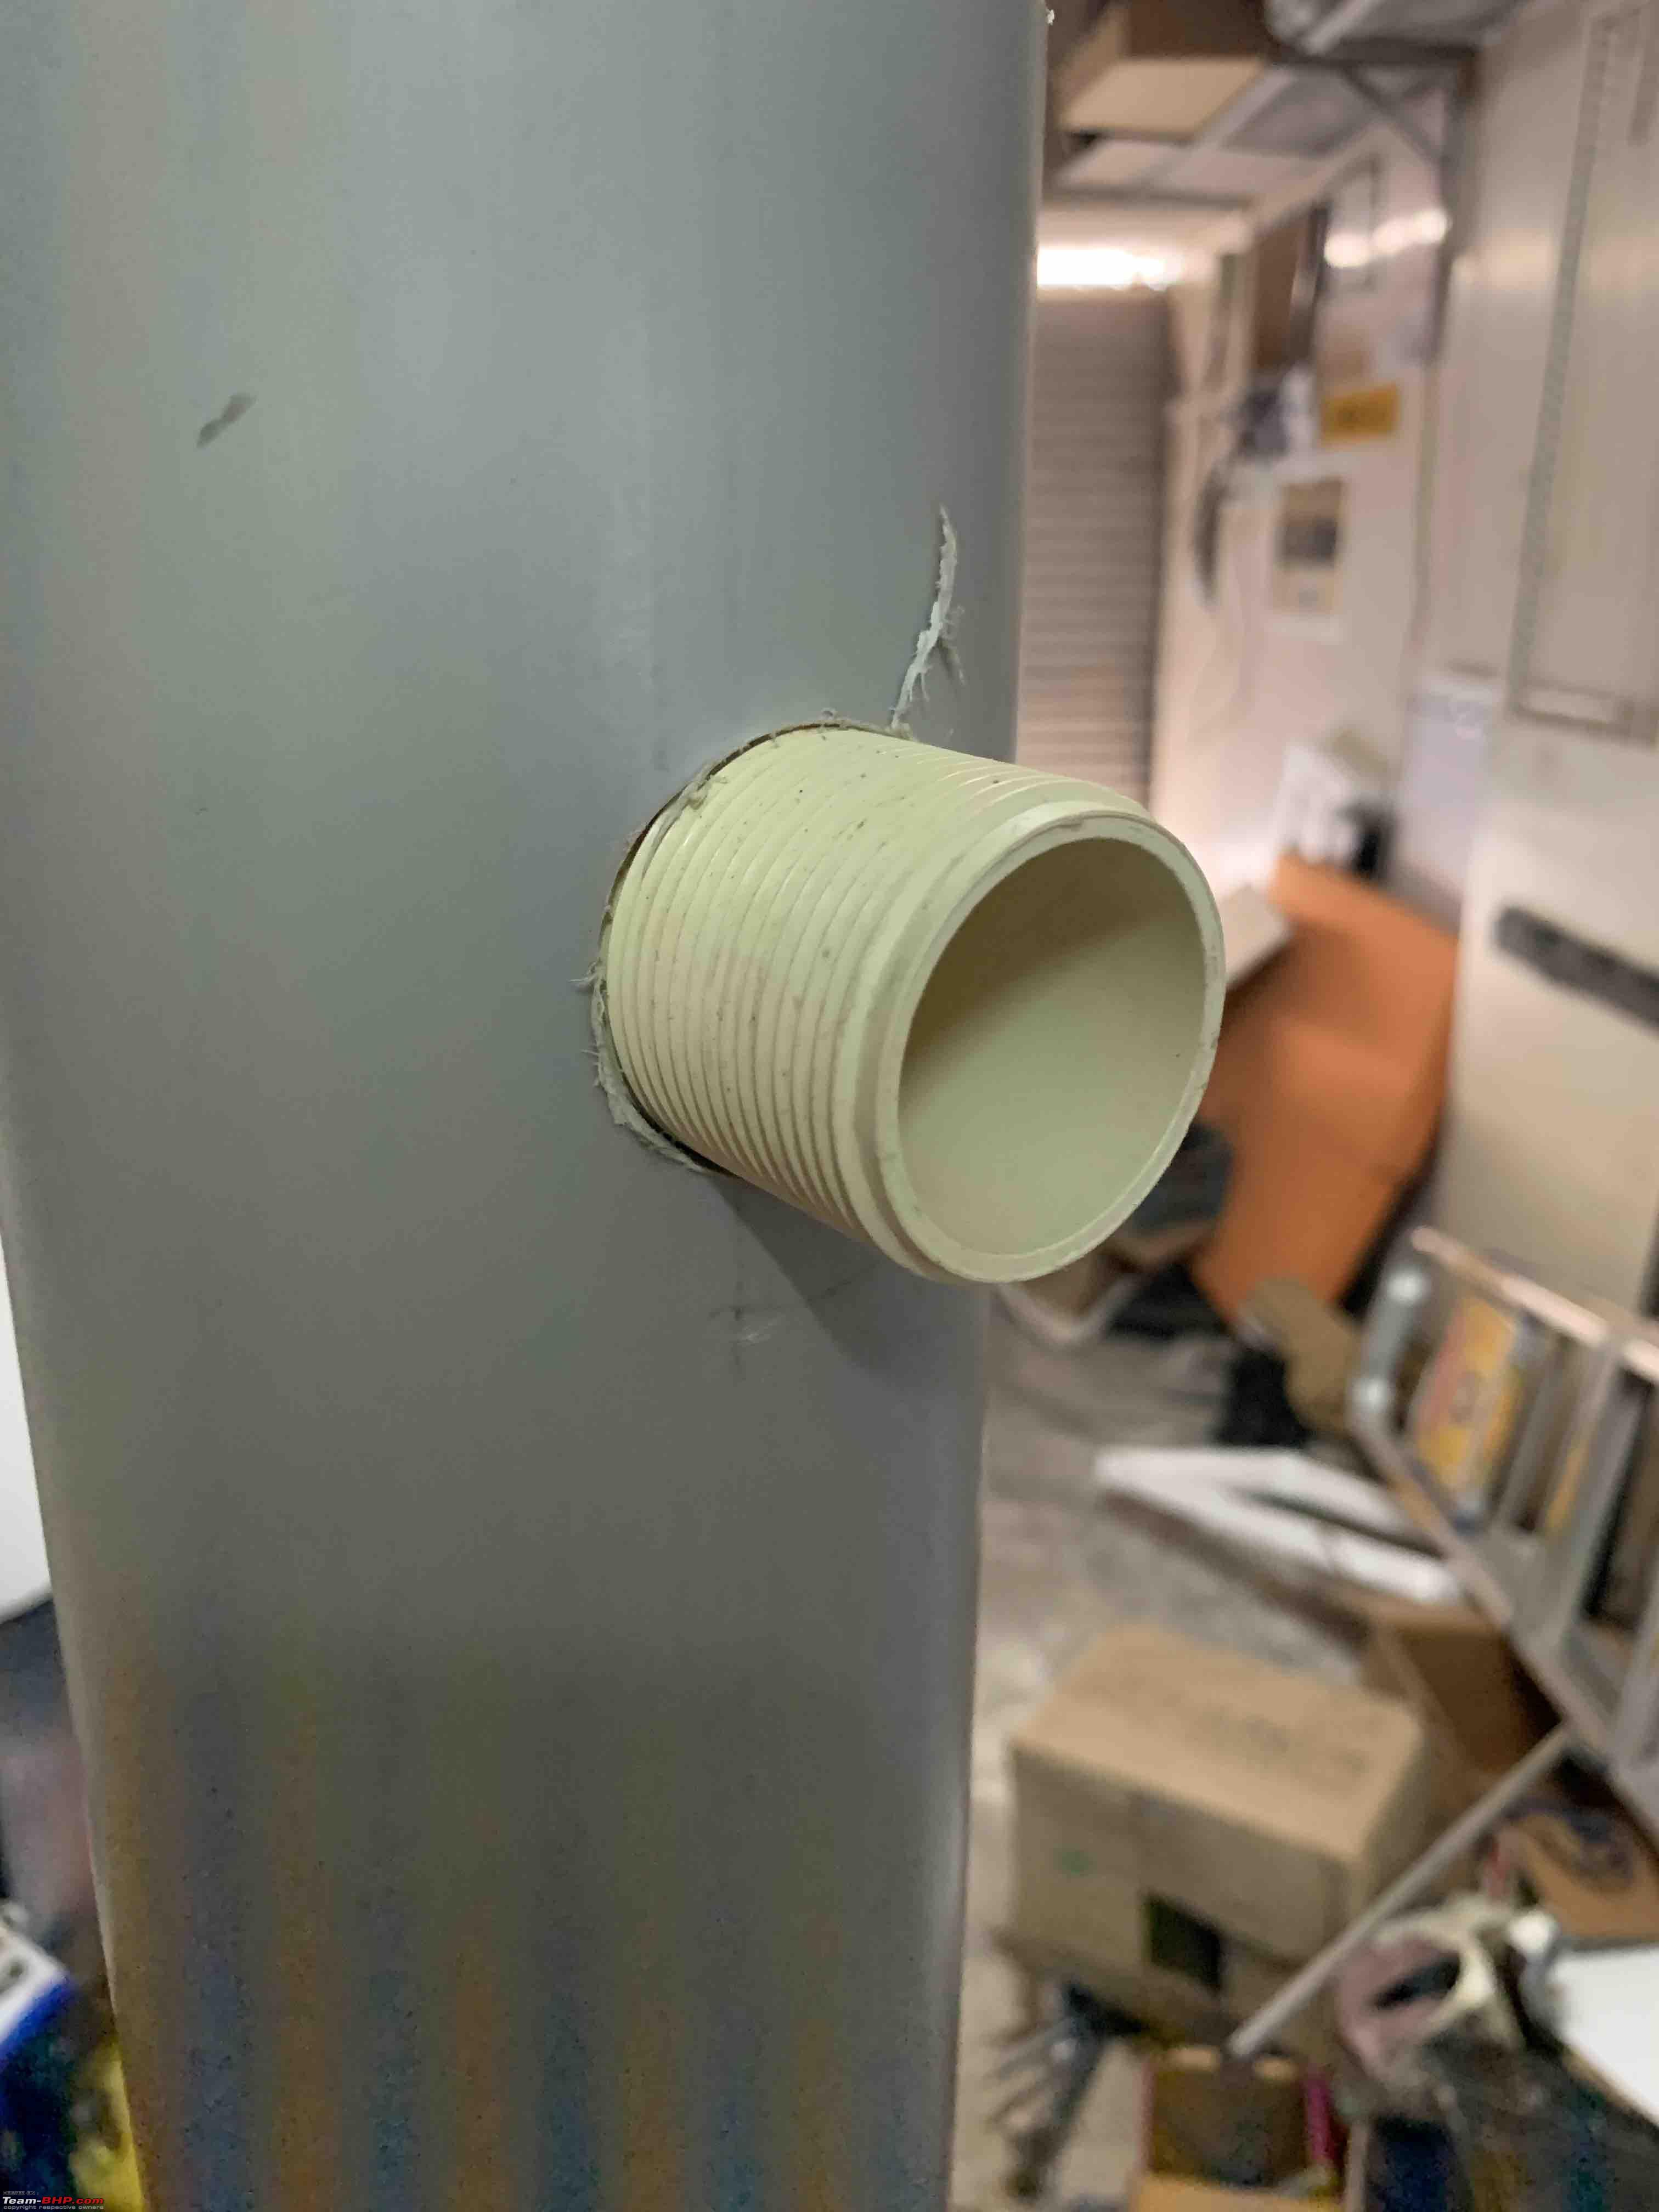
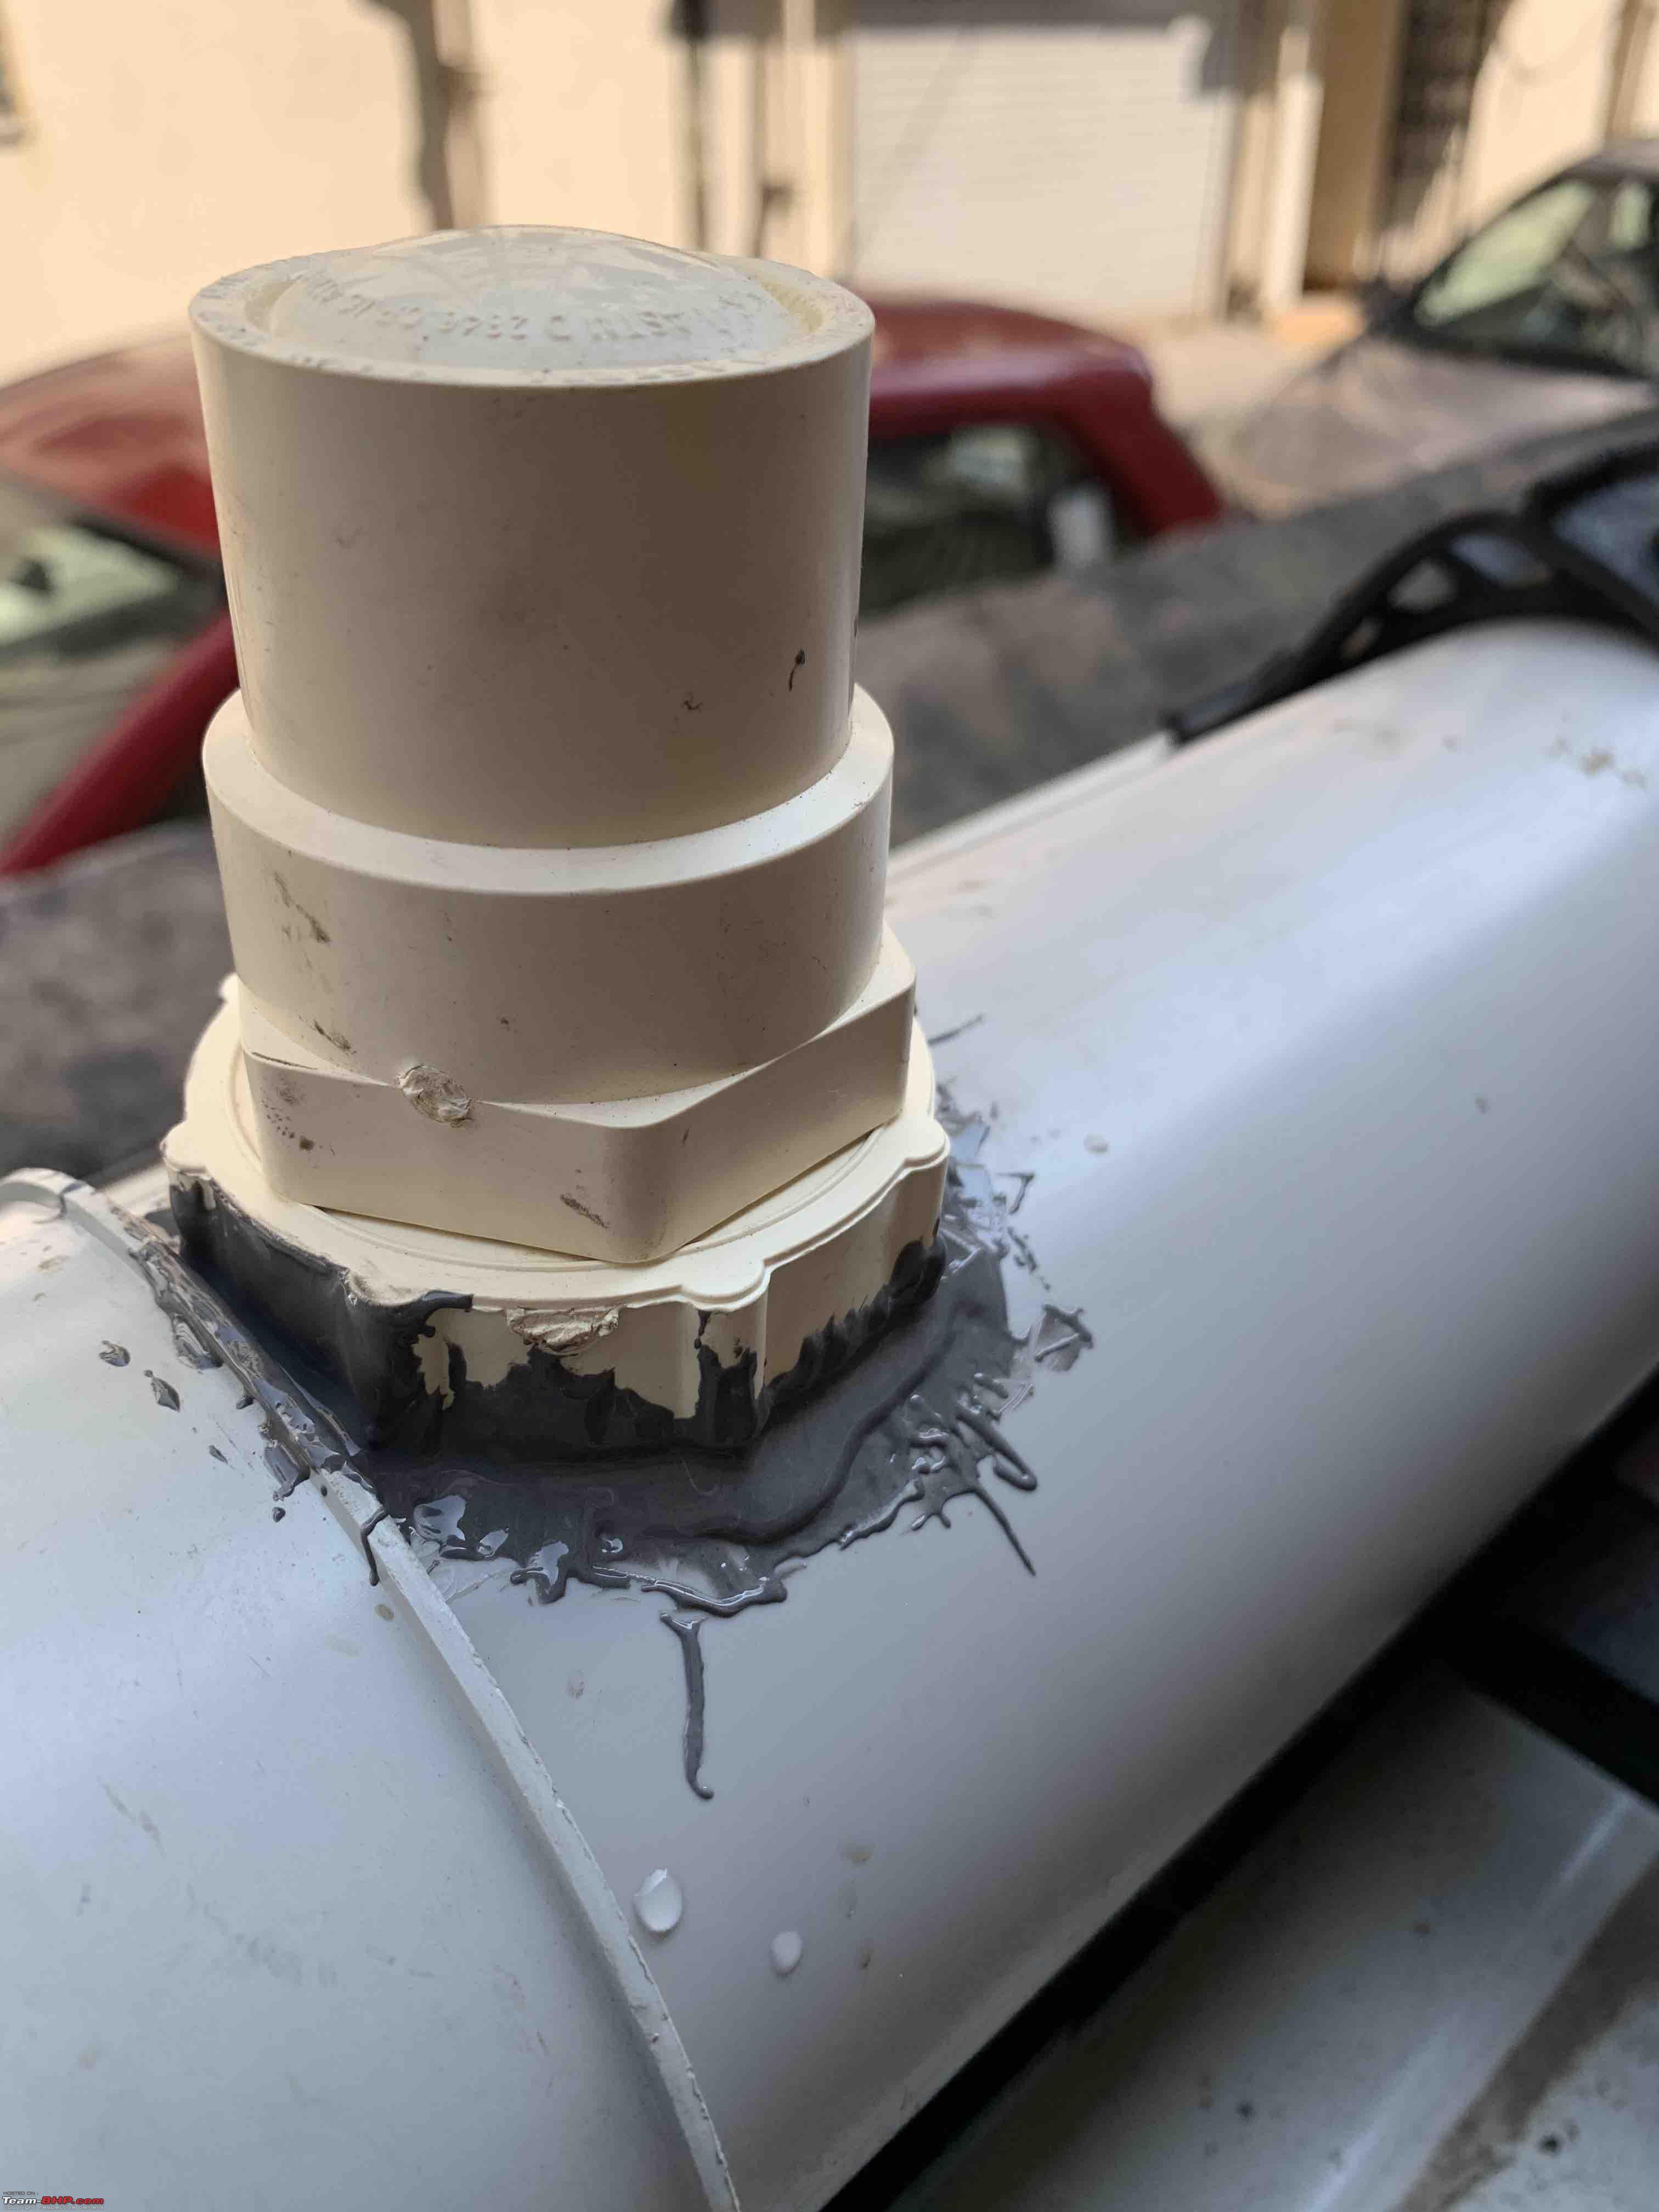
Now I had to screw in the filler part to the hole. It was a damn difficult job and need a visa clamp to give more leverage and force.
So made the screw channel from outside and then screwed the coupler from inside.


TIP: later on I read that gentle heating up the edges makes the process very easy and the cooling of the hole edges seals the hole.
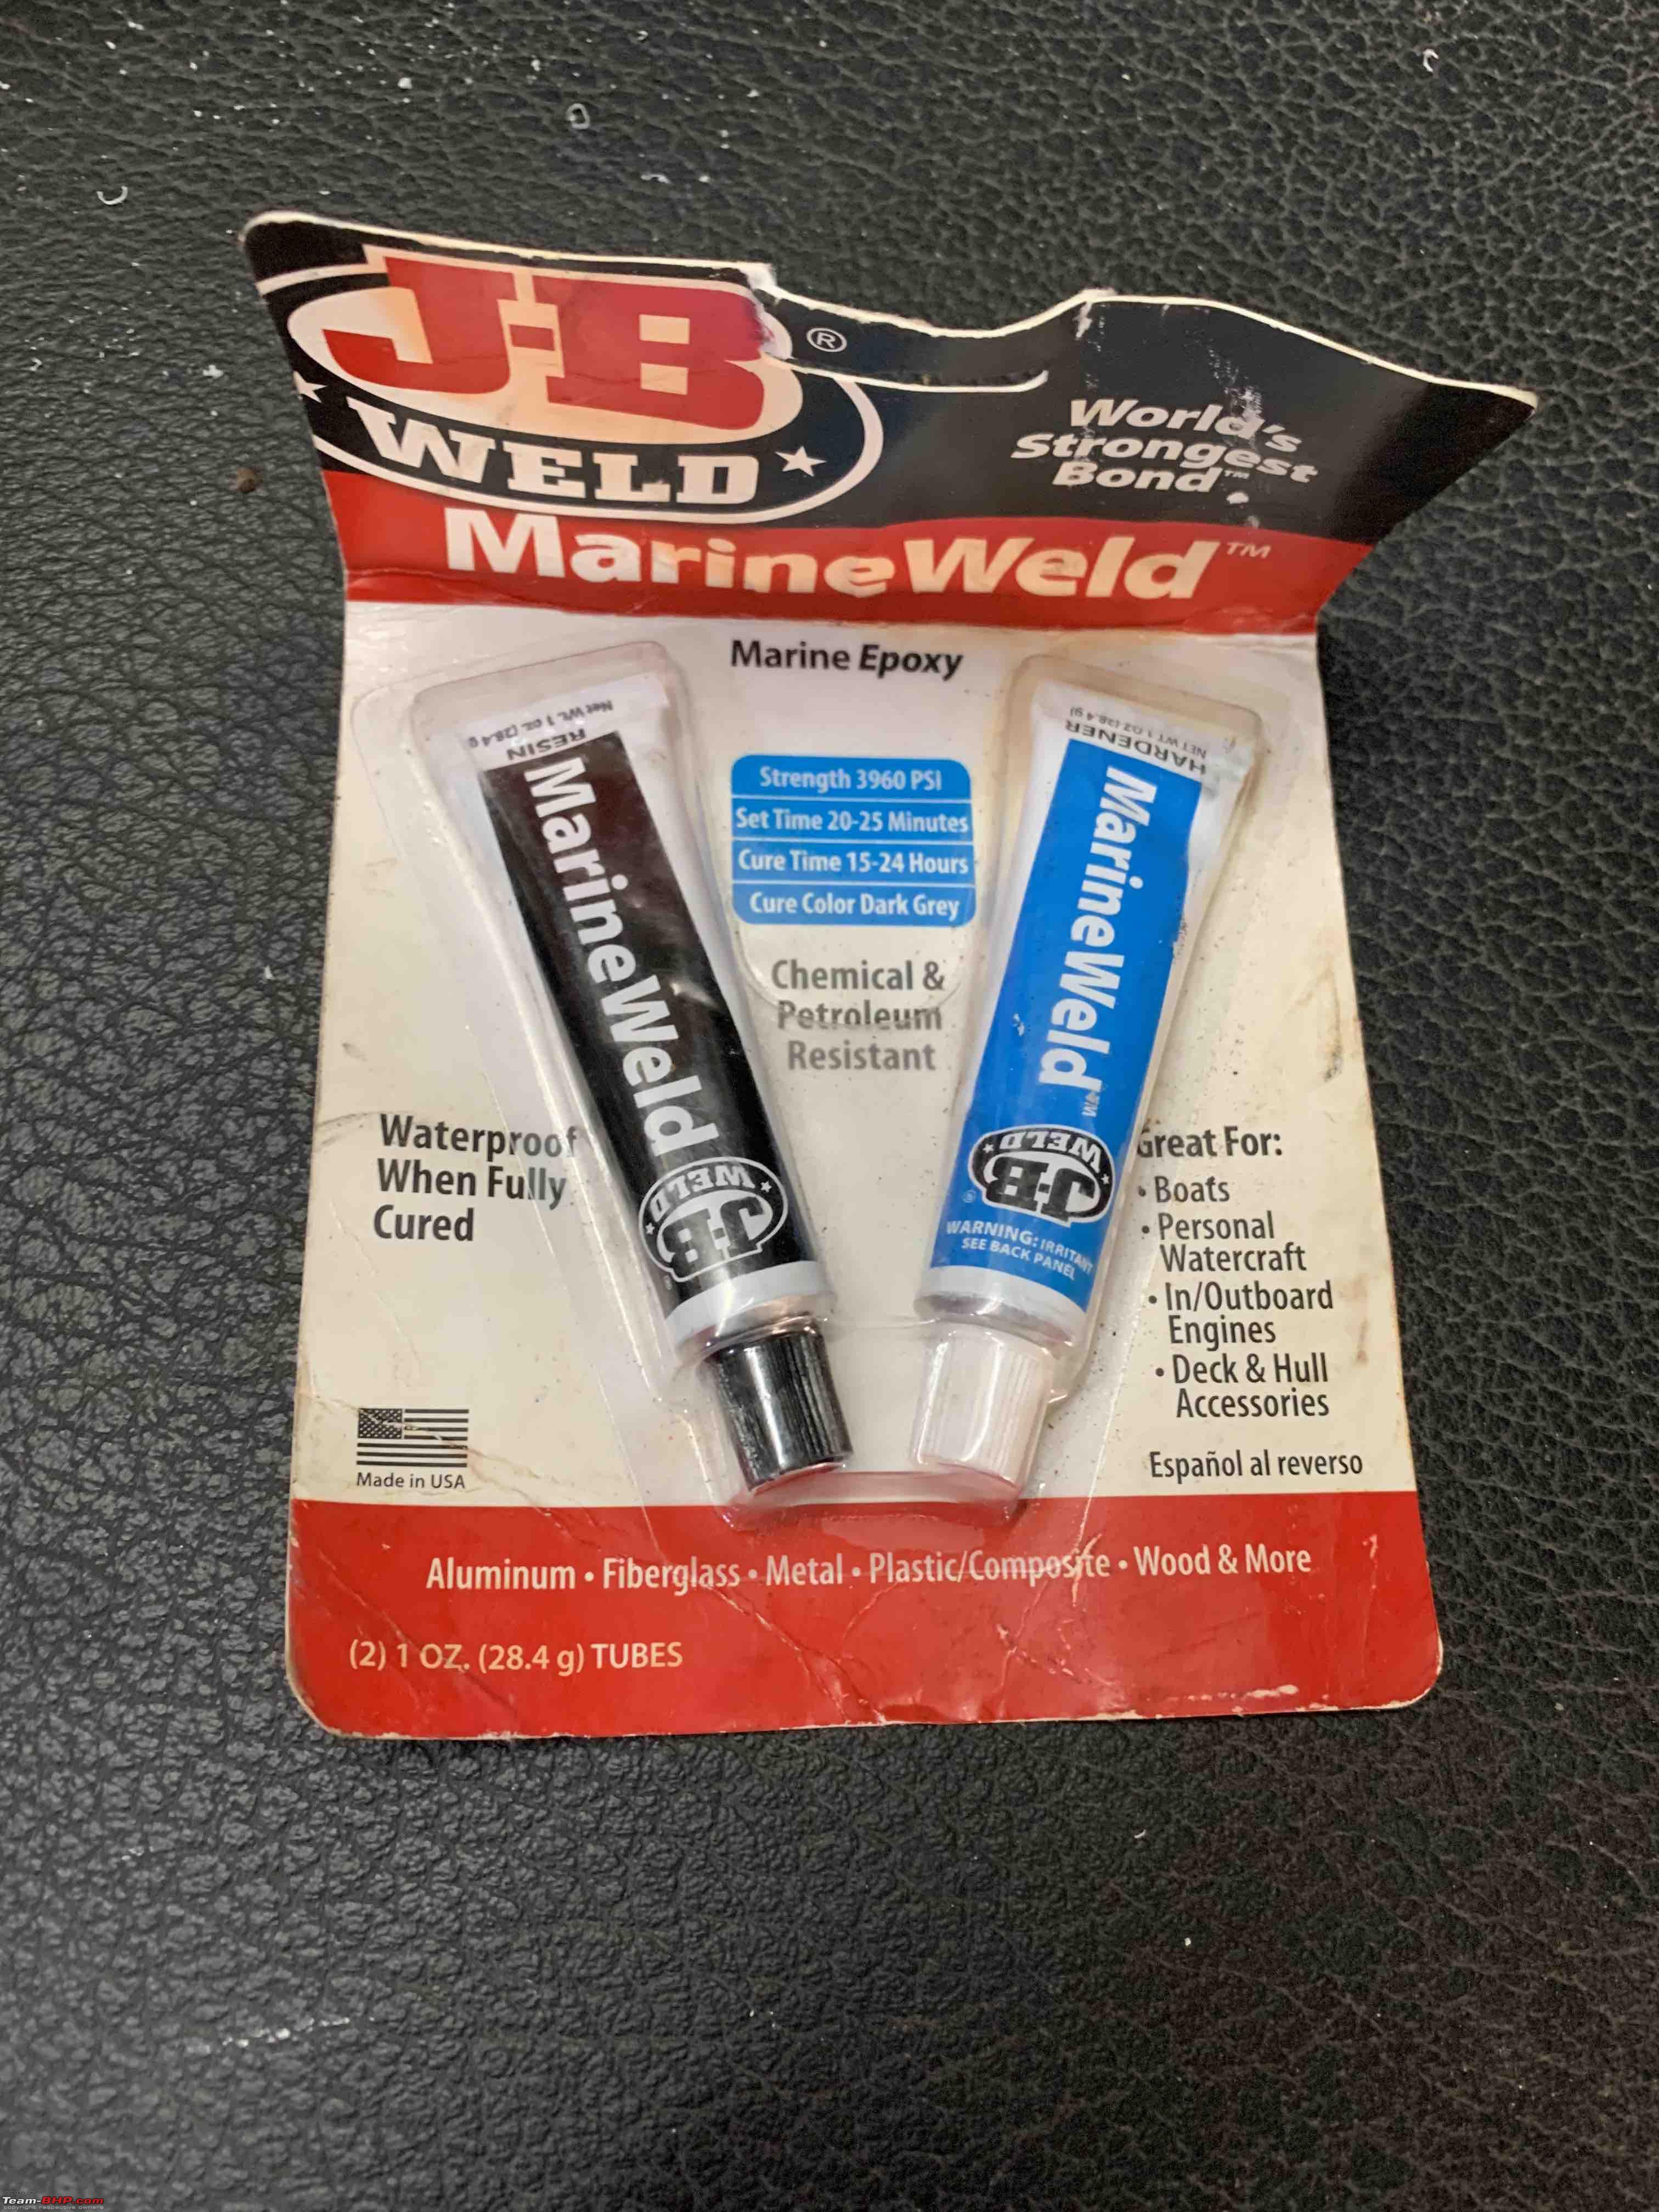
I hadn't done this and therefore I didn't have a seal and needed to use a sealant. I use JB Weld sealant. Its a fantastic product:
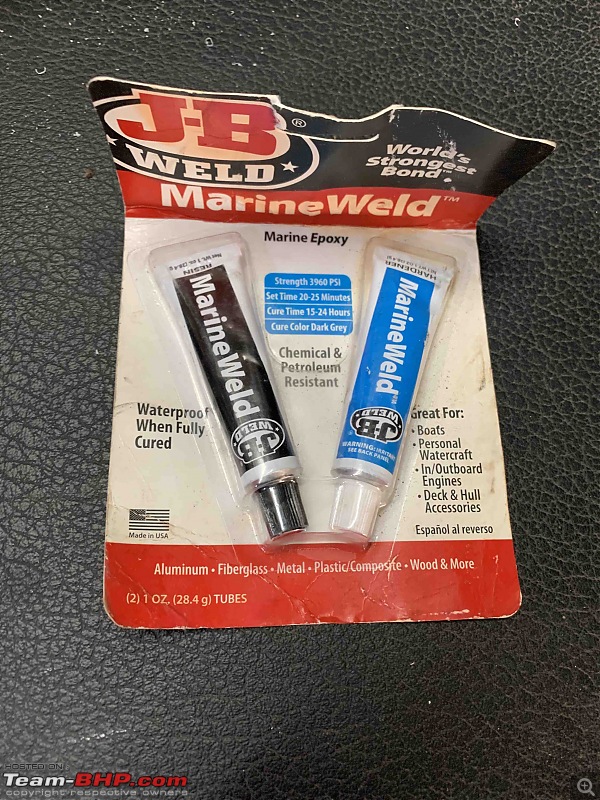
Once set you can grind it down and polish and paint it as well. Filler cap also attached to seal the water inlet after filling the water.
Next you use PVC glue to seal the end caps.
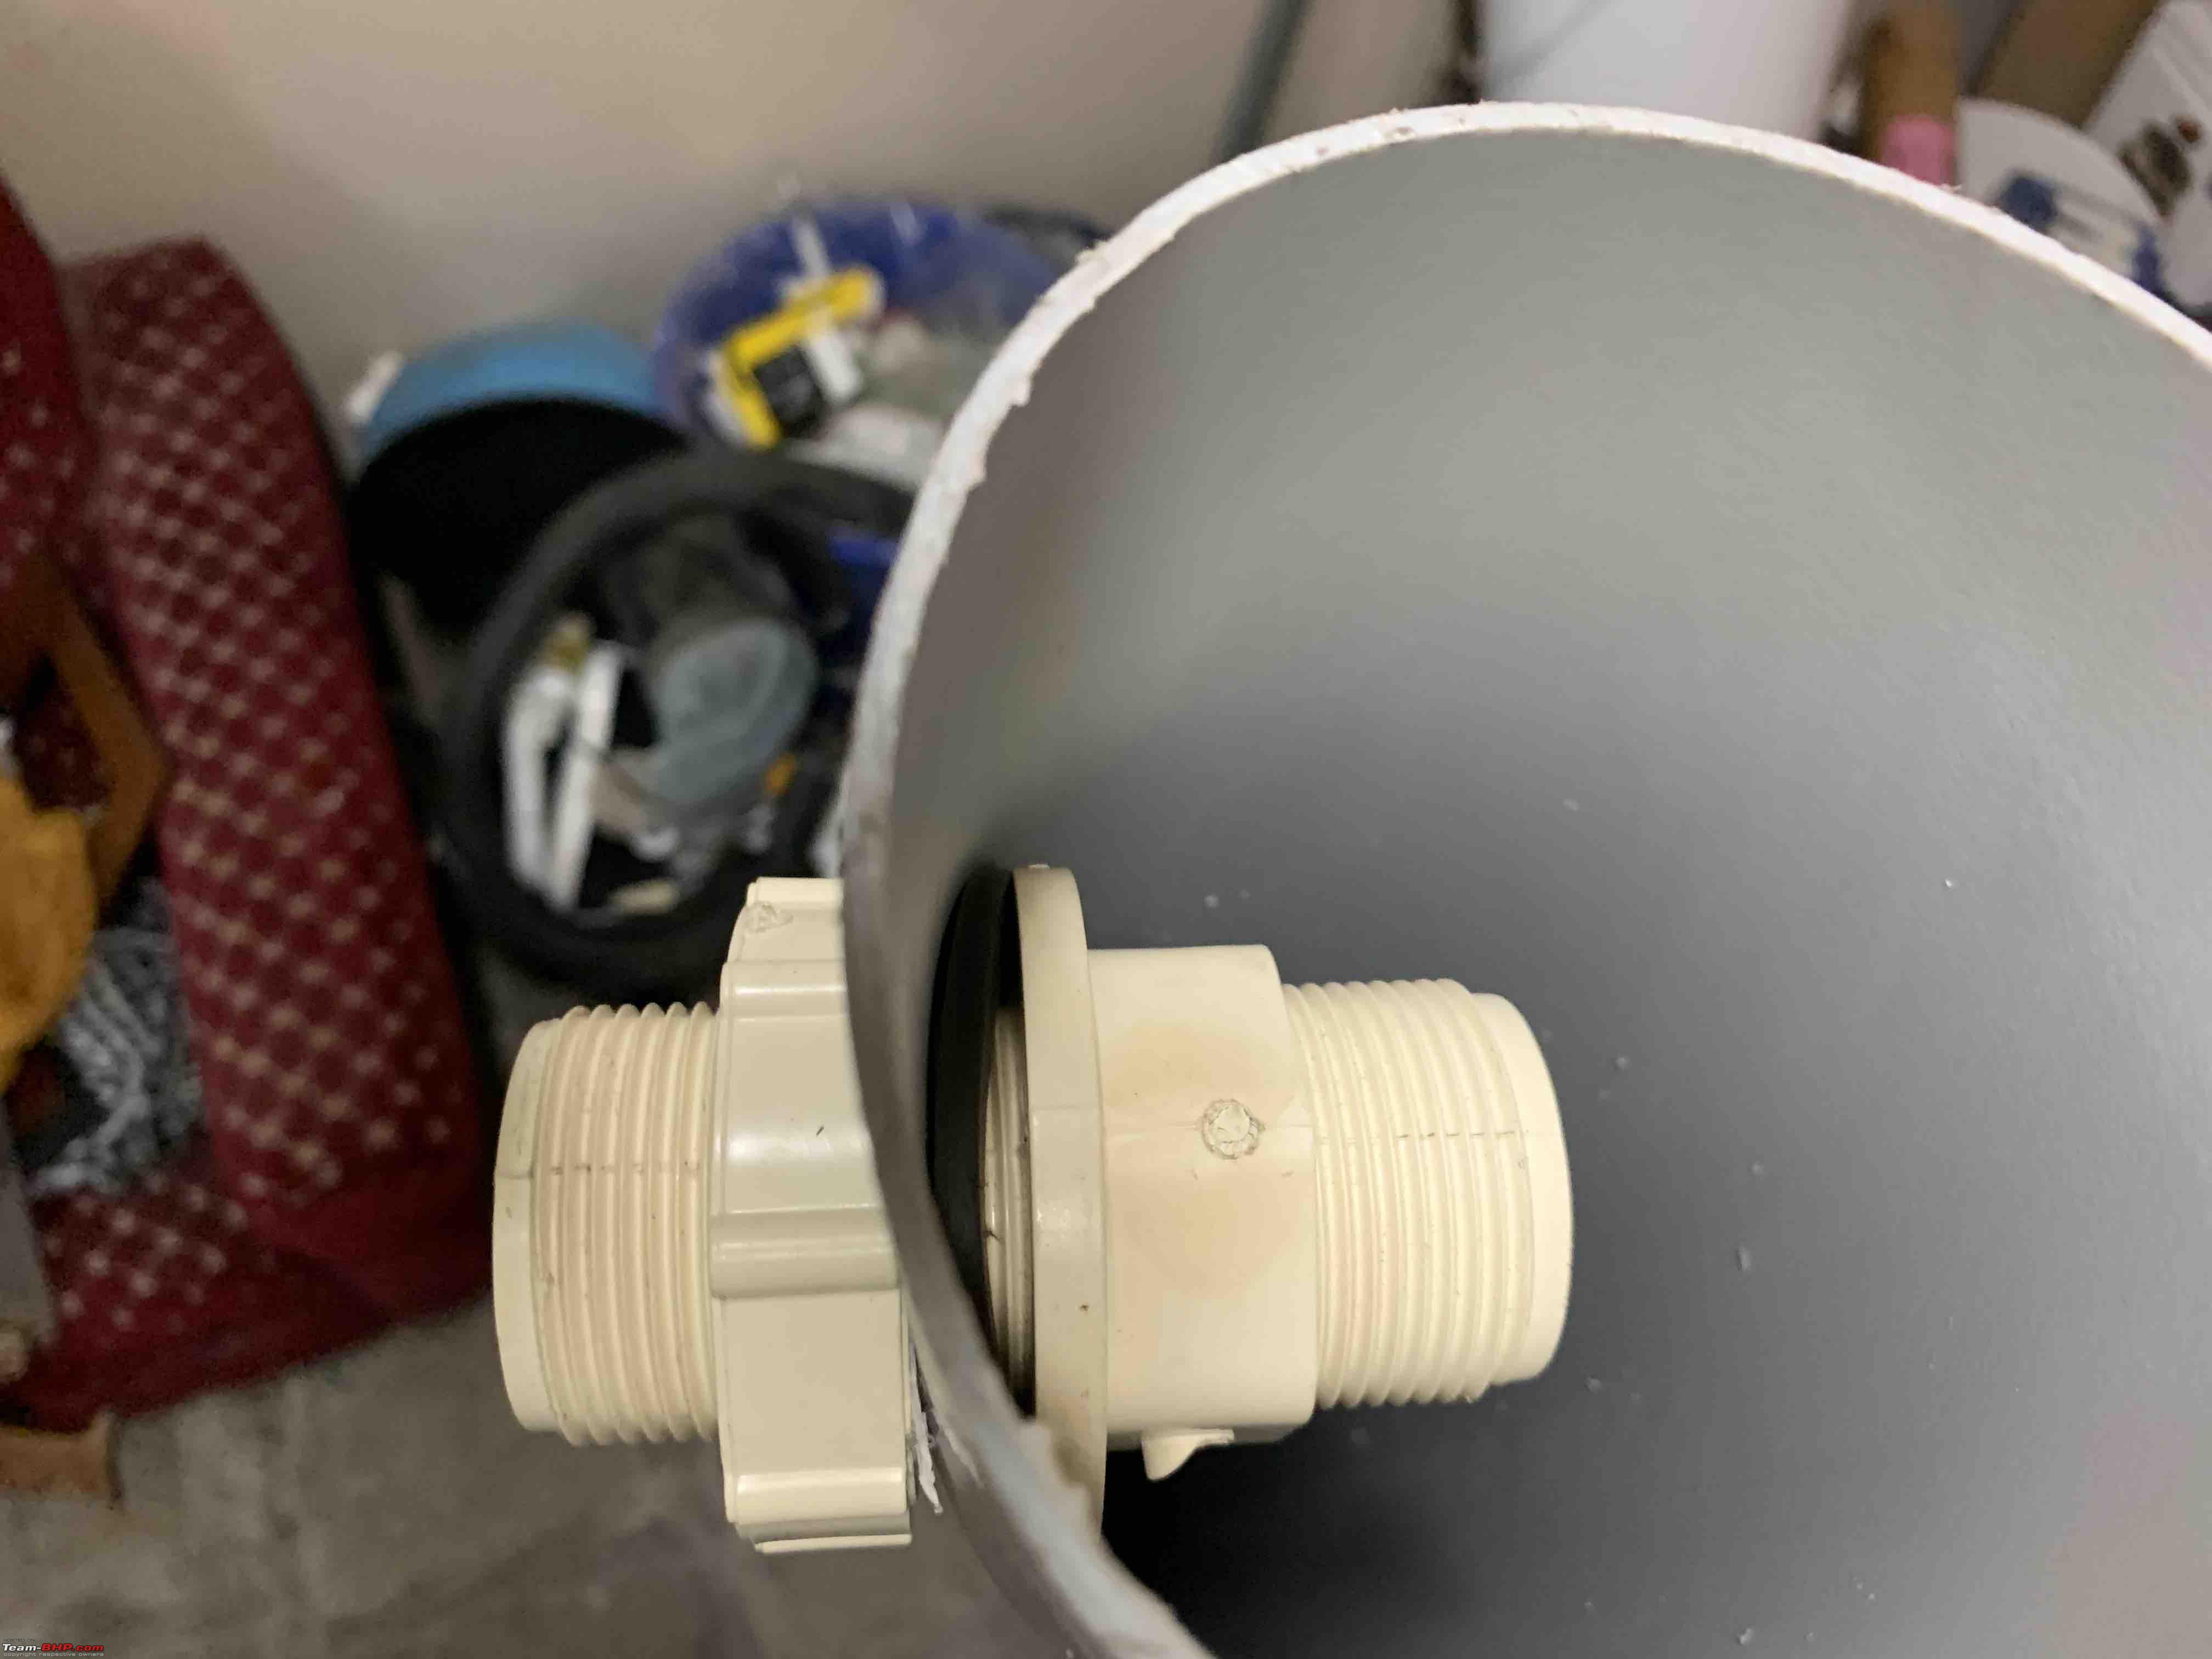
Before you seal the last one, make another hole and insert the coupling and fit the health faucet and pipe:

The shower head is attached by velcro to the crowbar.

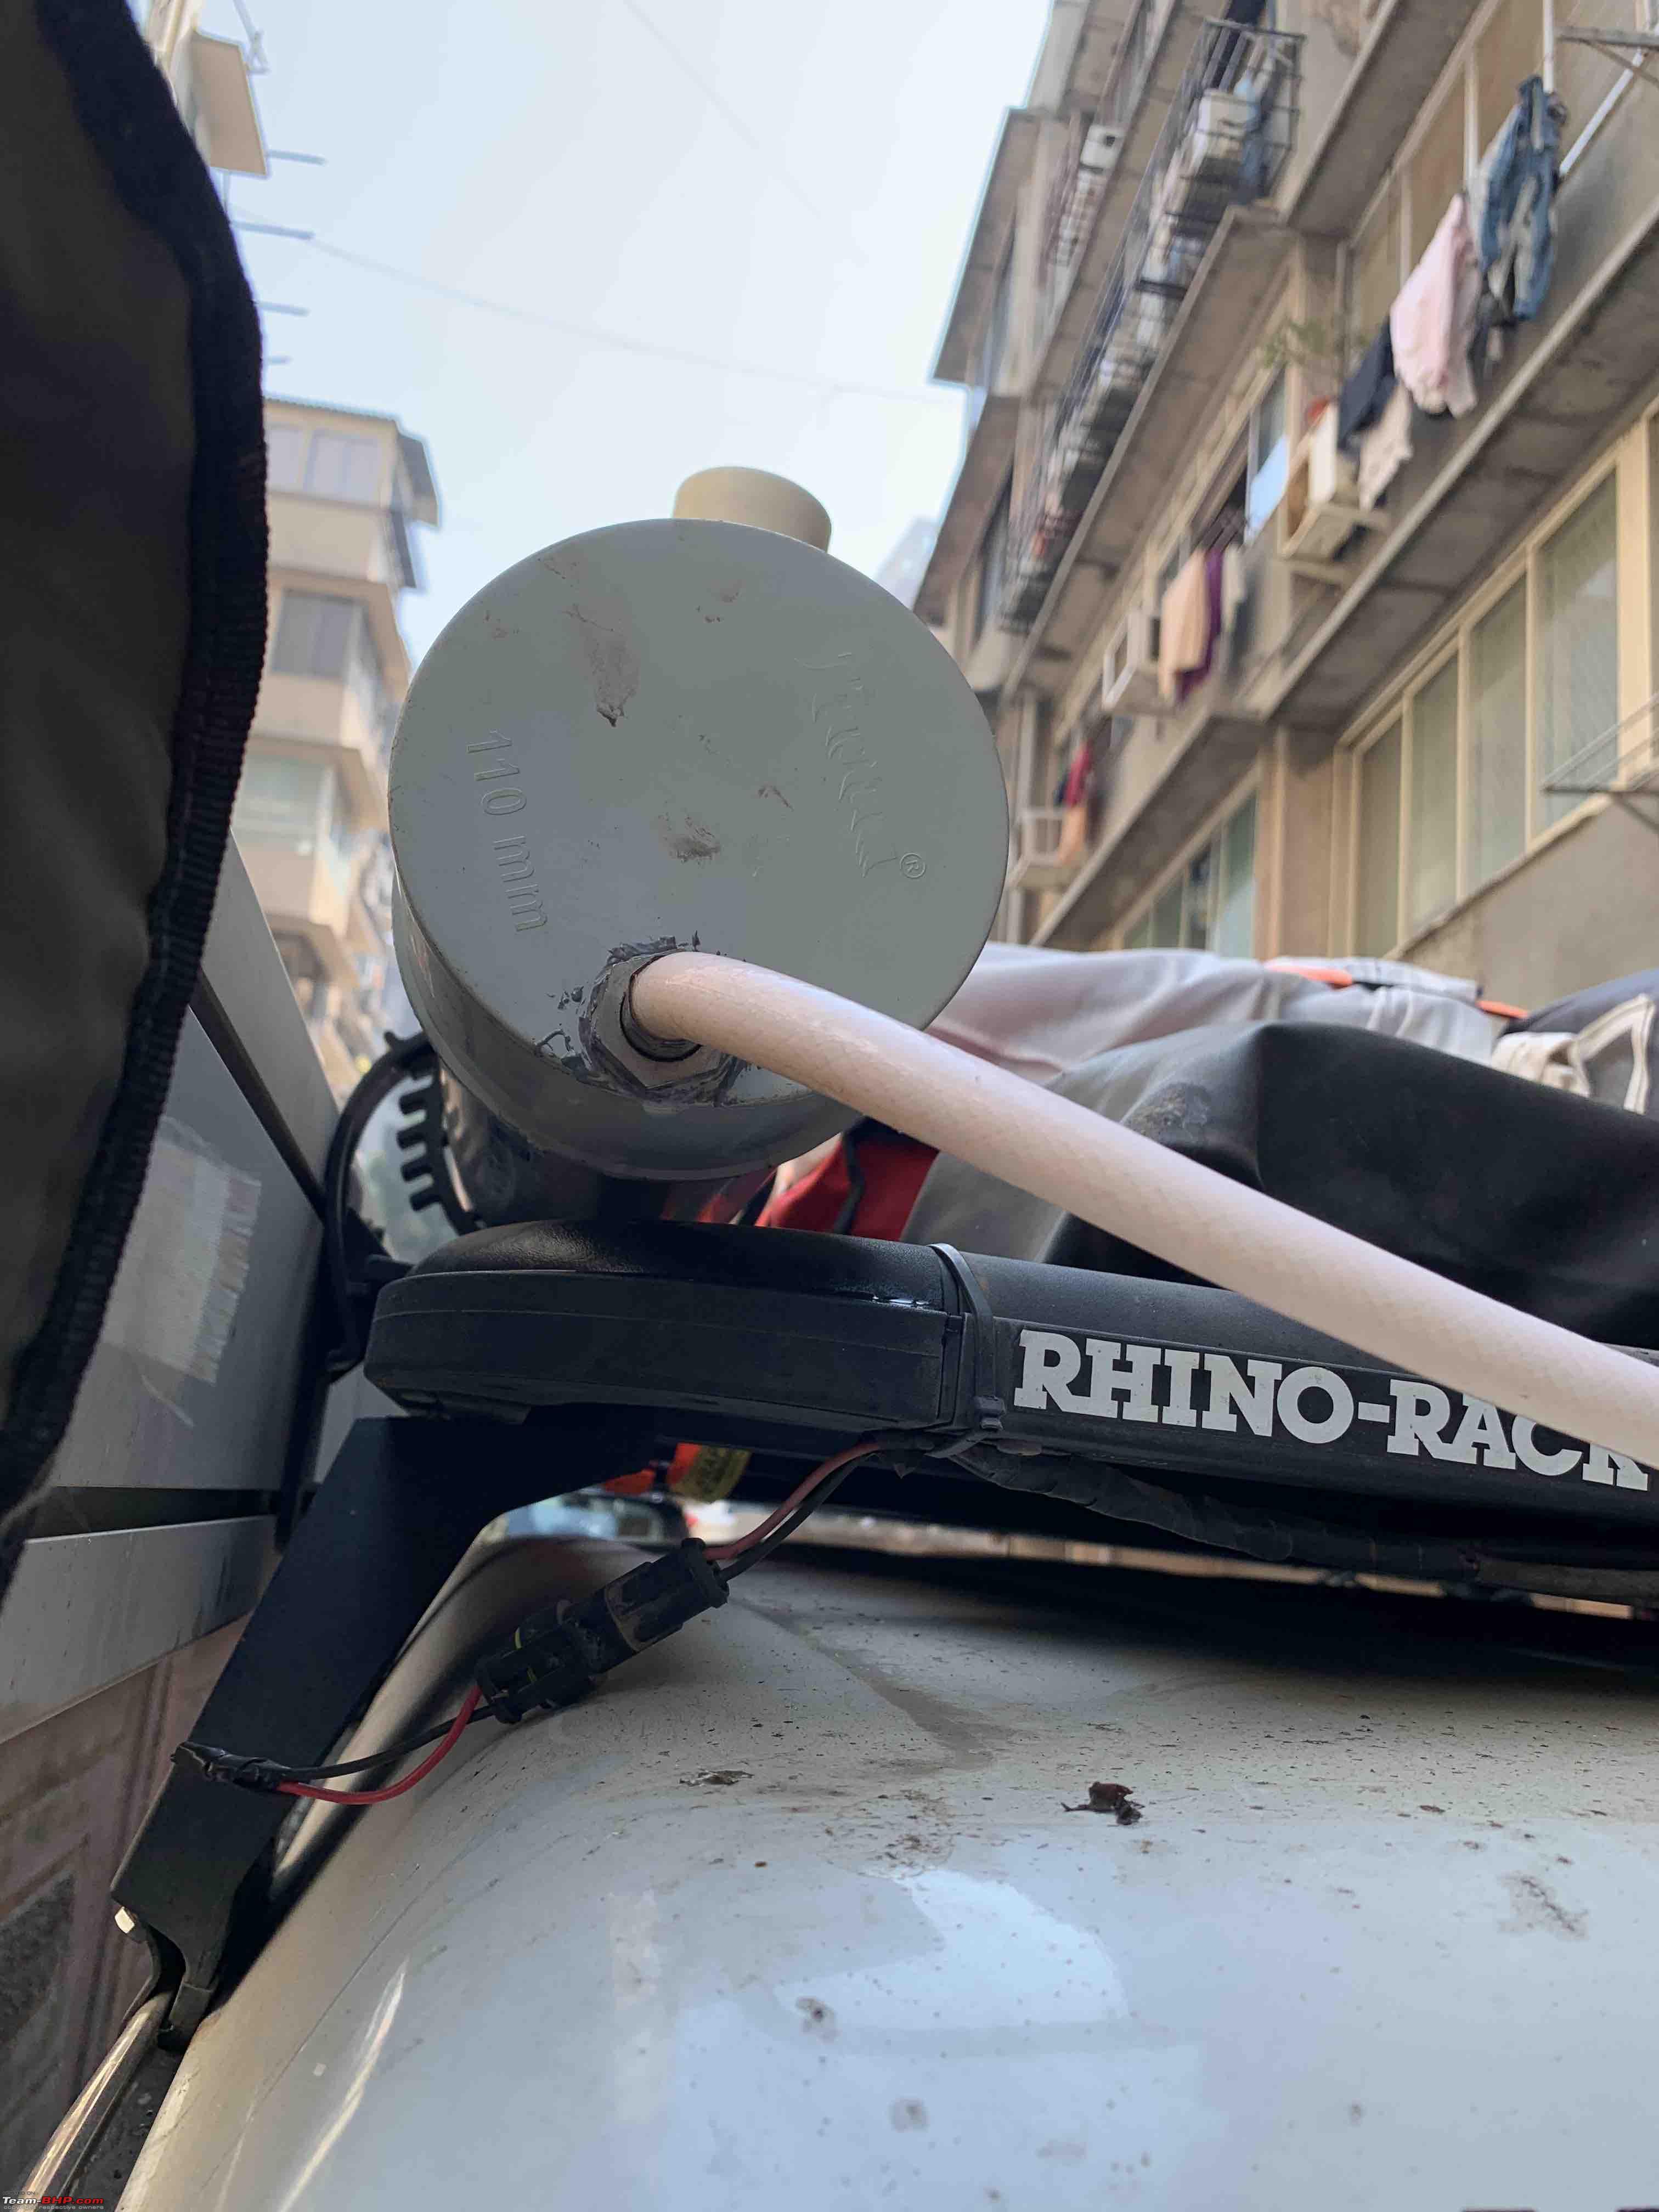
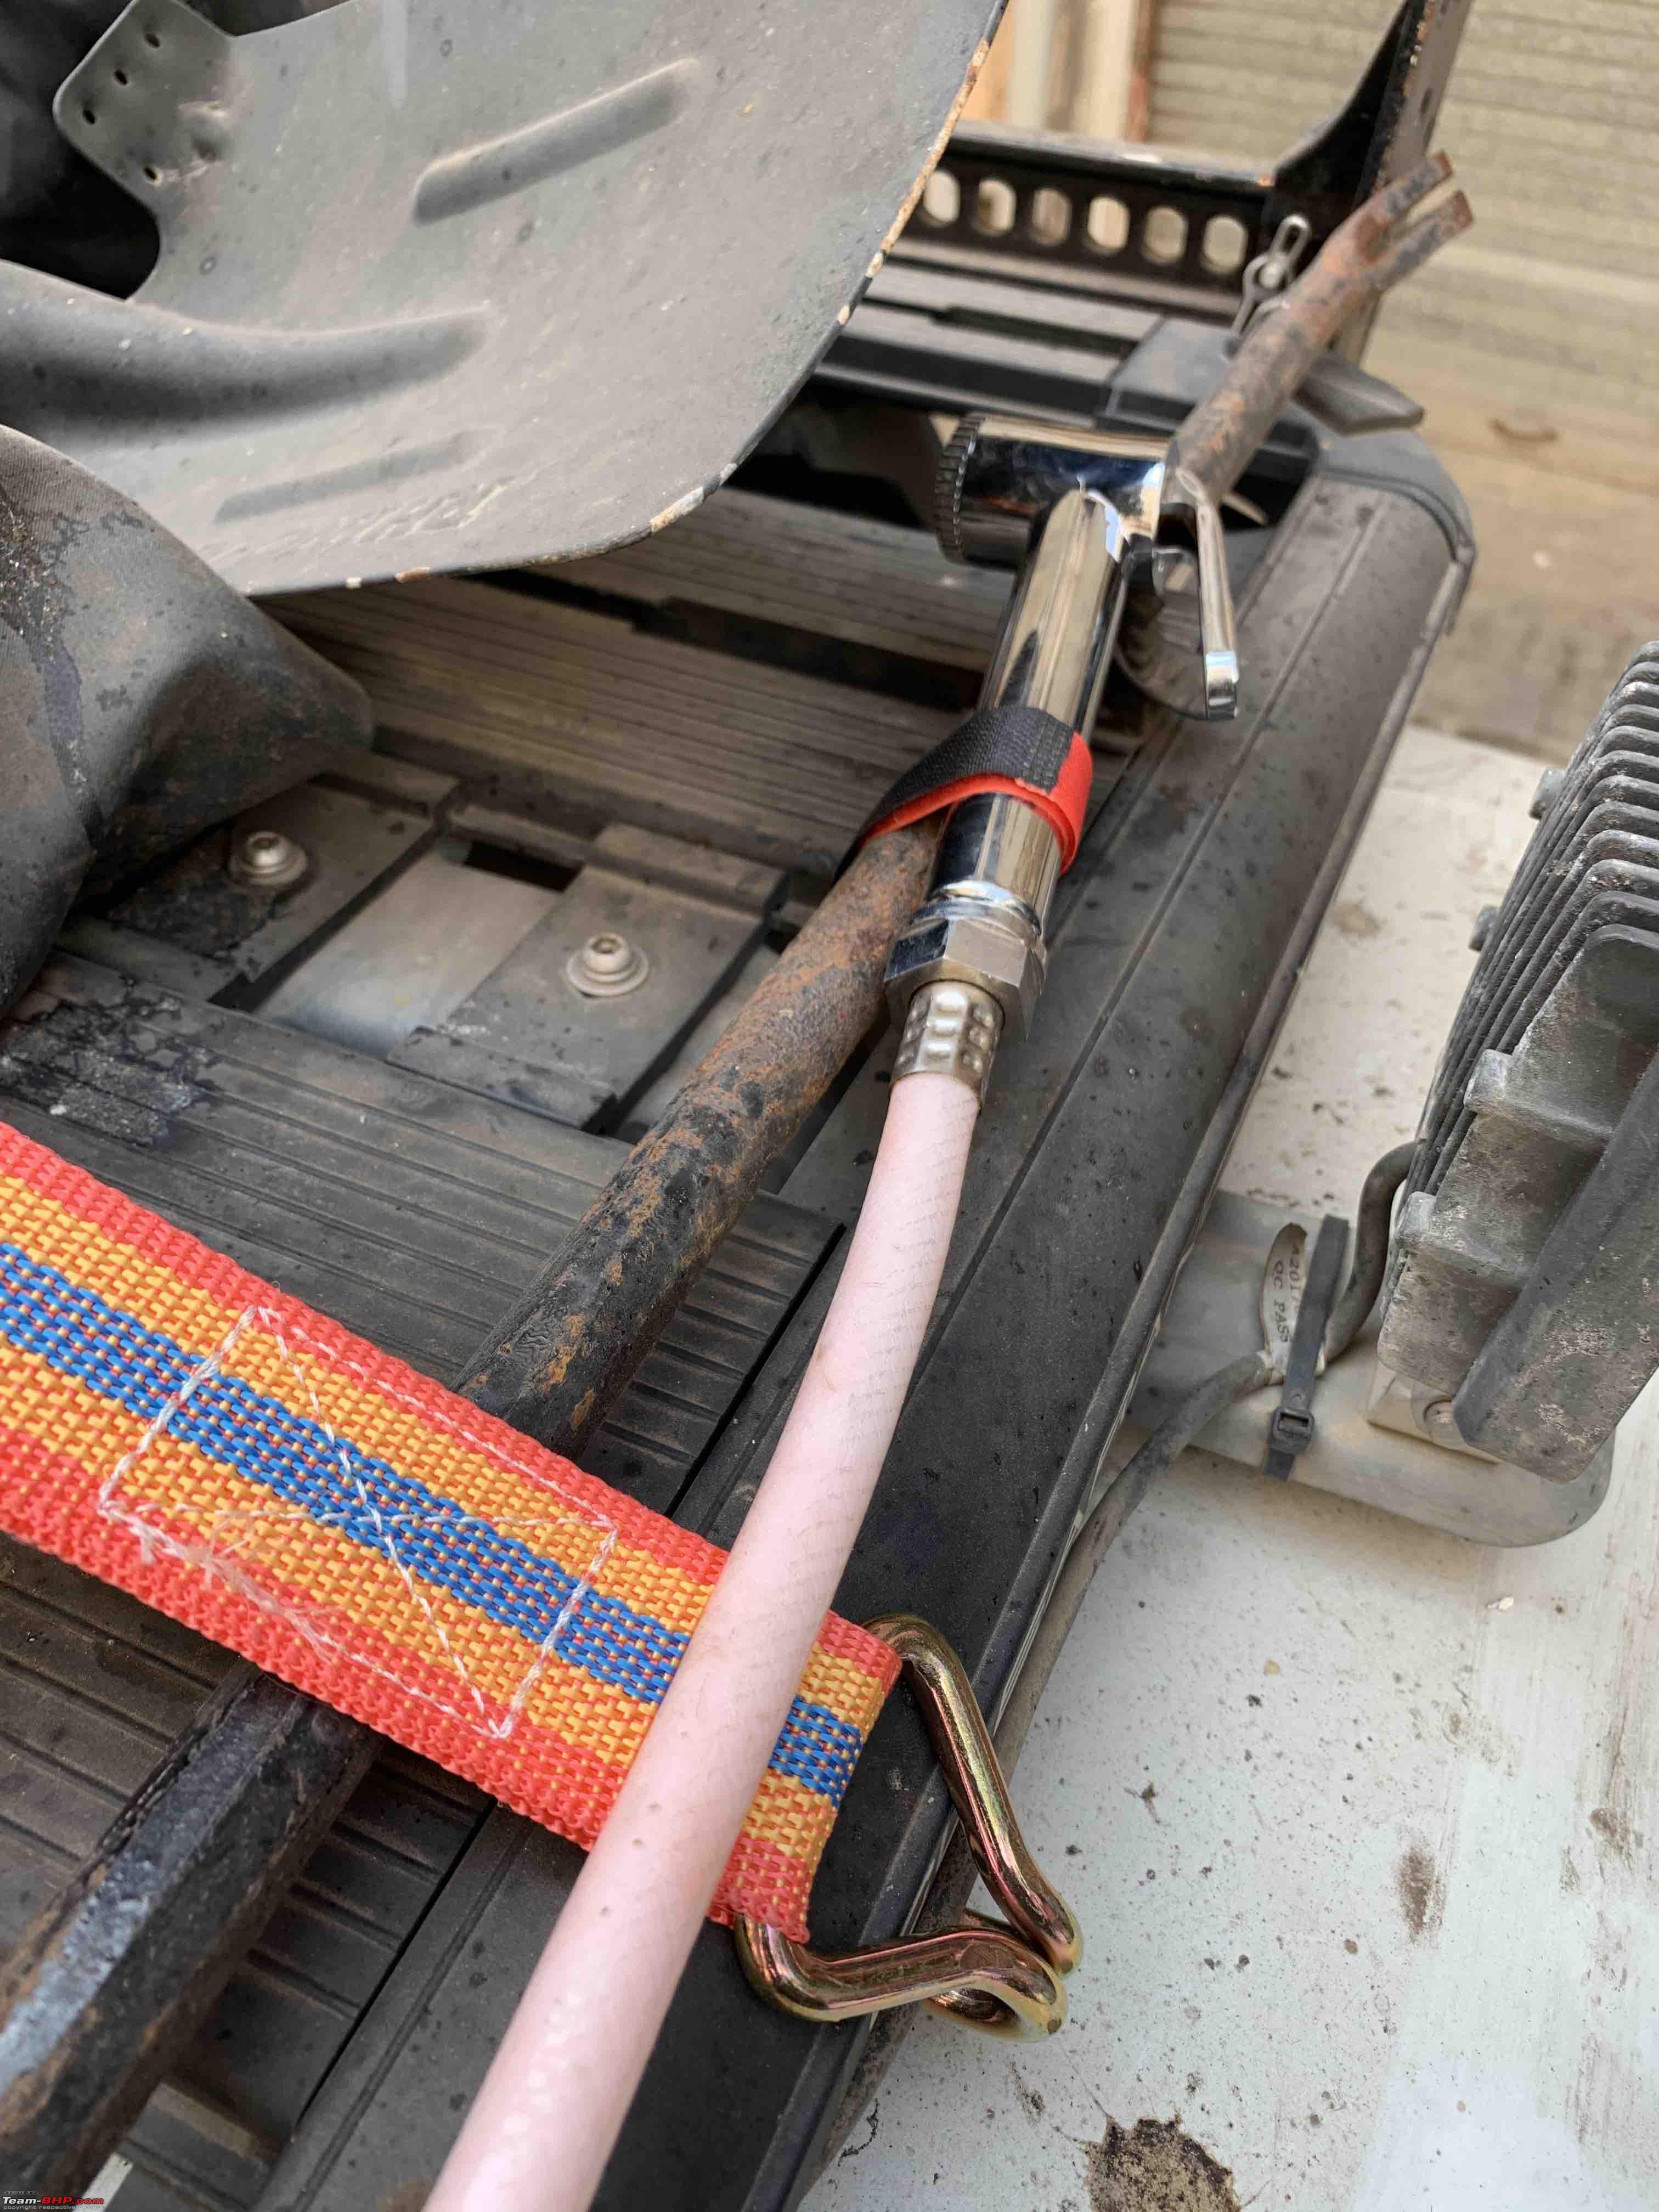
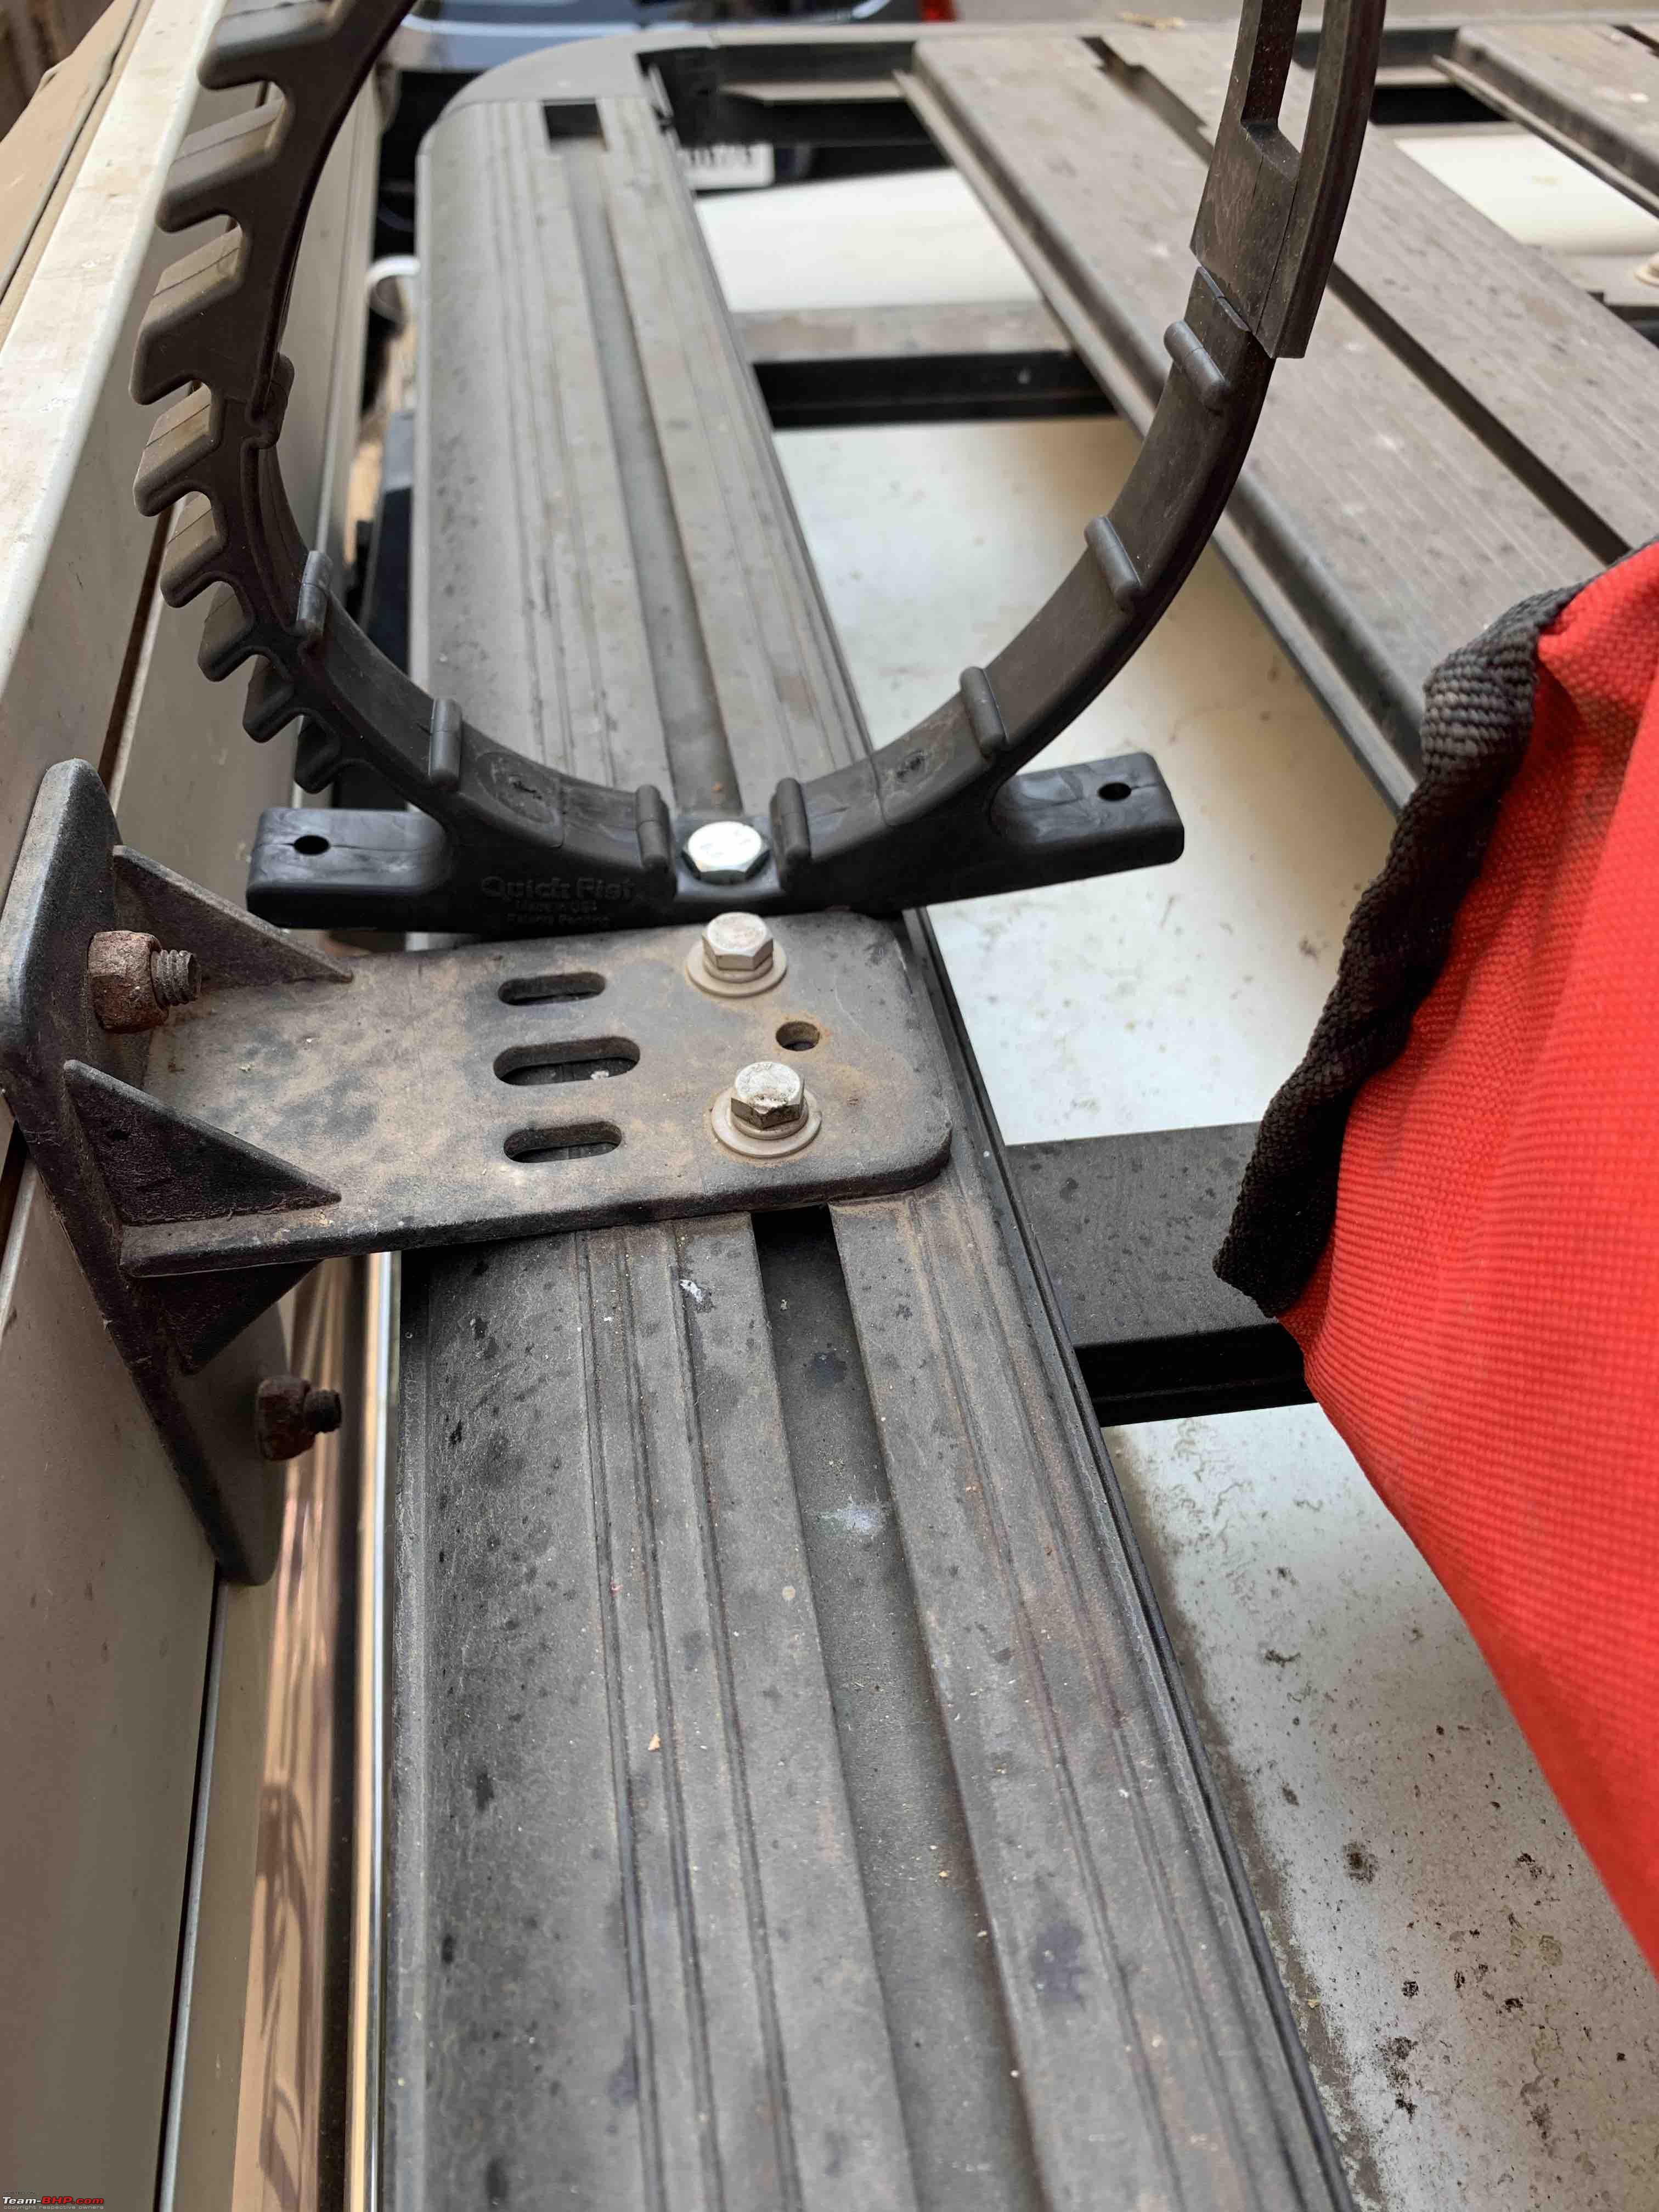
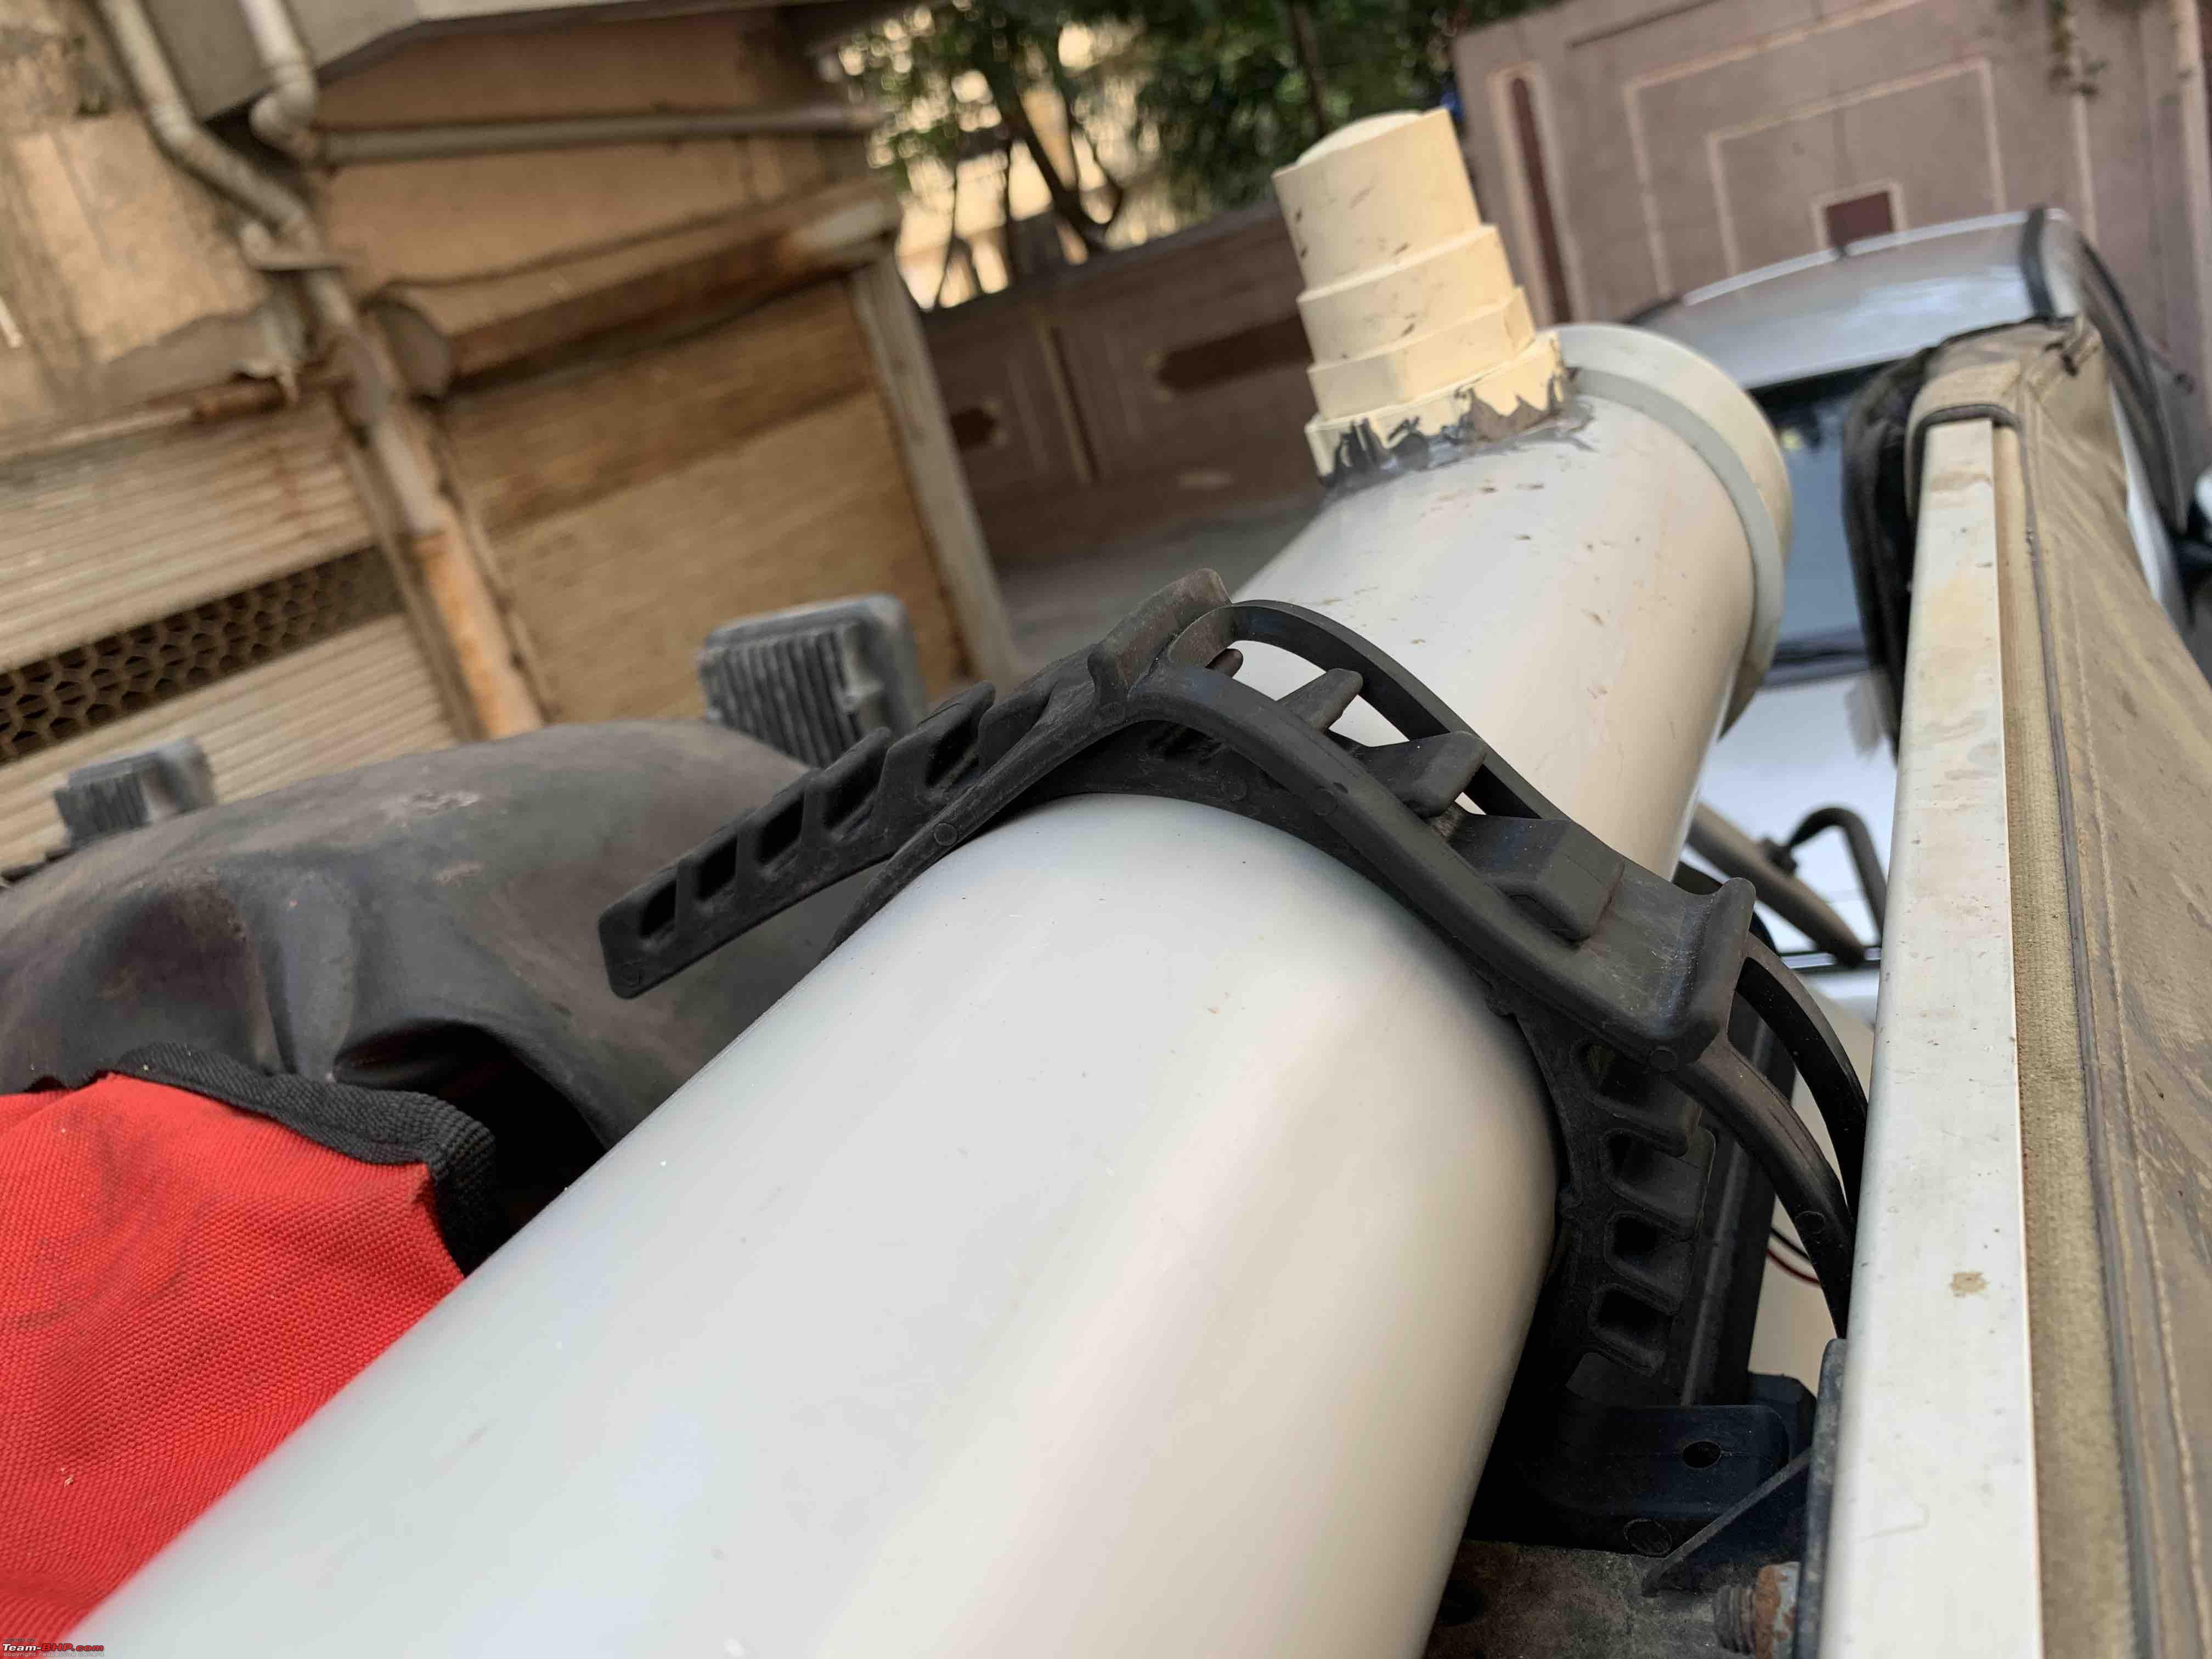
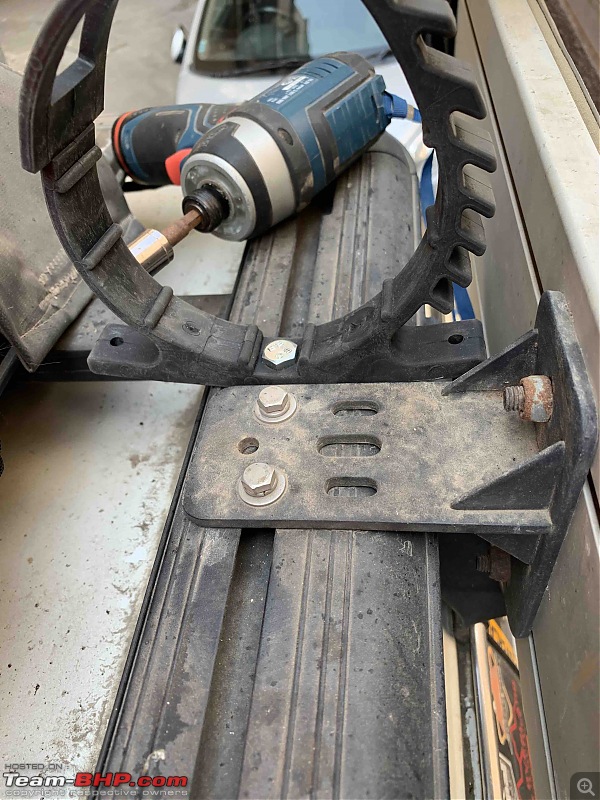
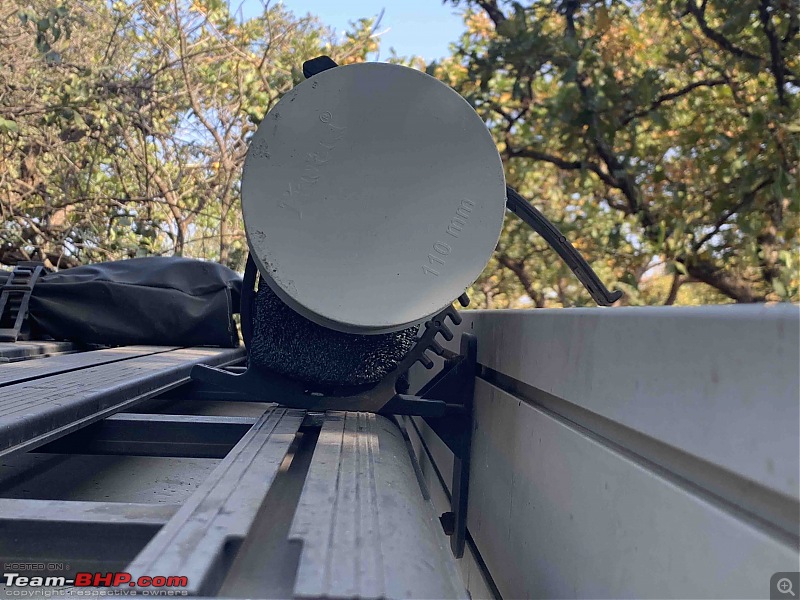
Next up - mounting to the rhino rack.
The Quickfist clamps are the best option for this.
Front:
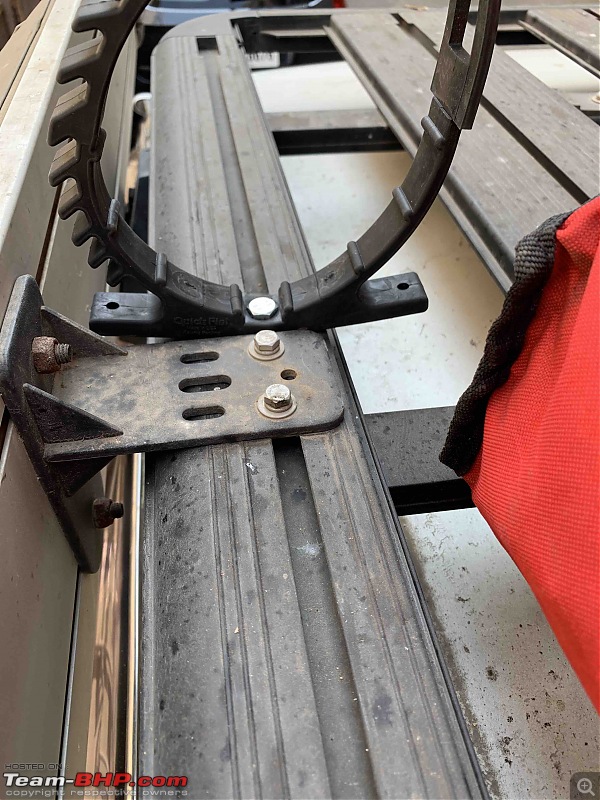
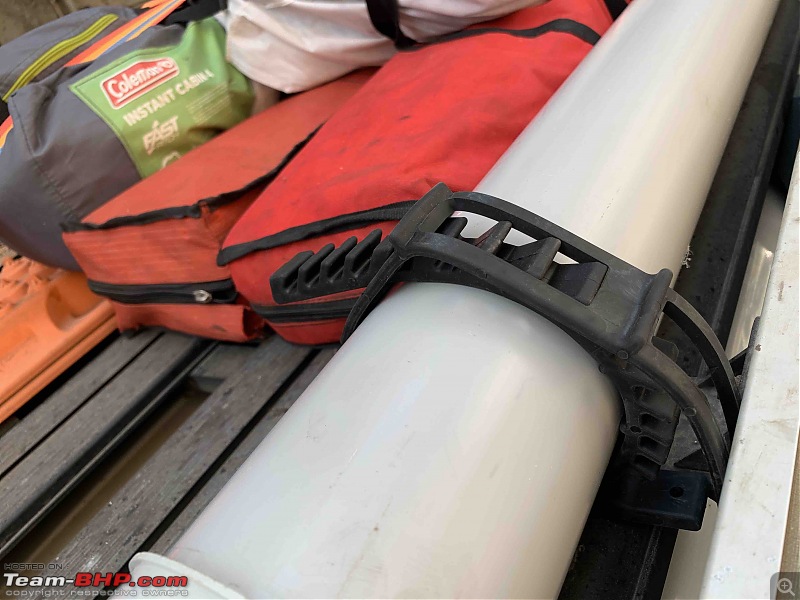
Rear:

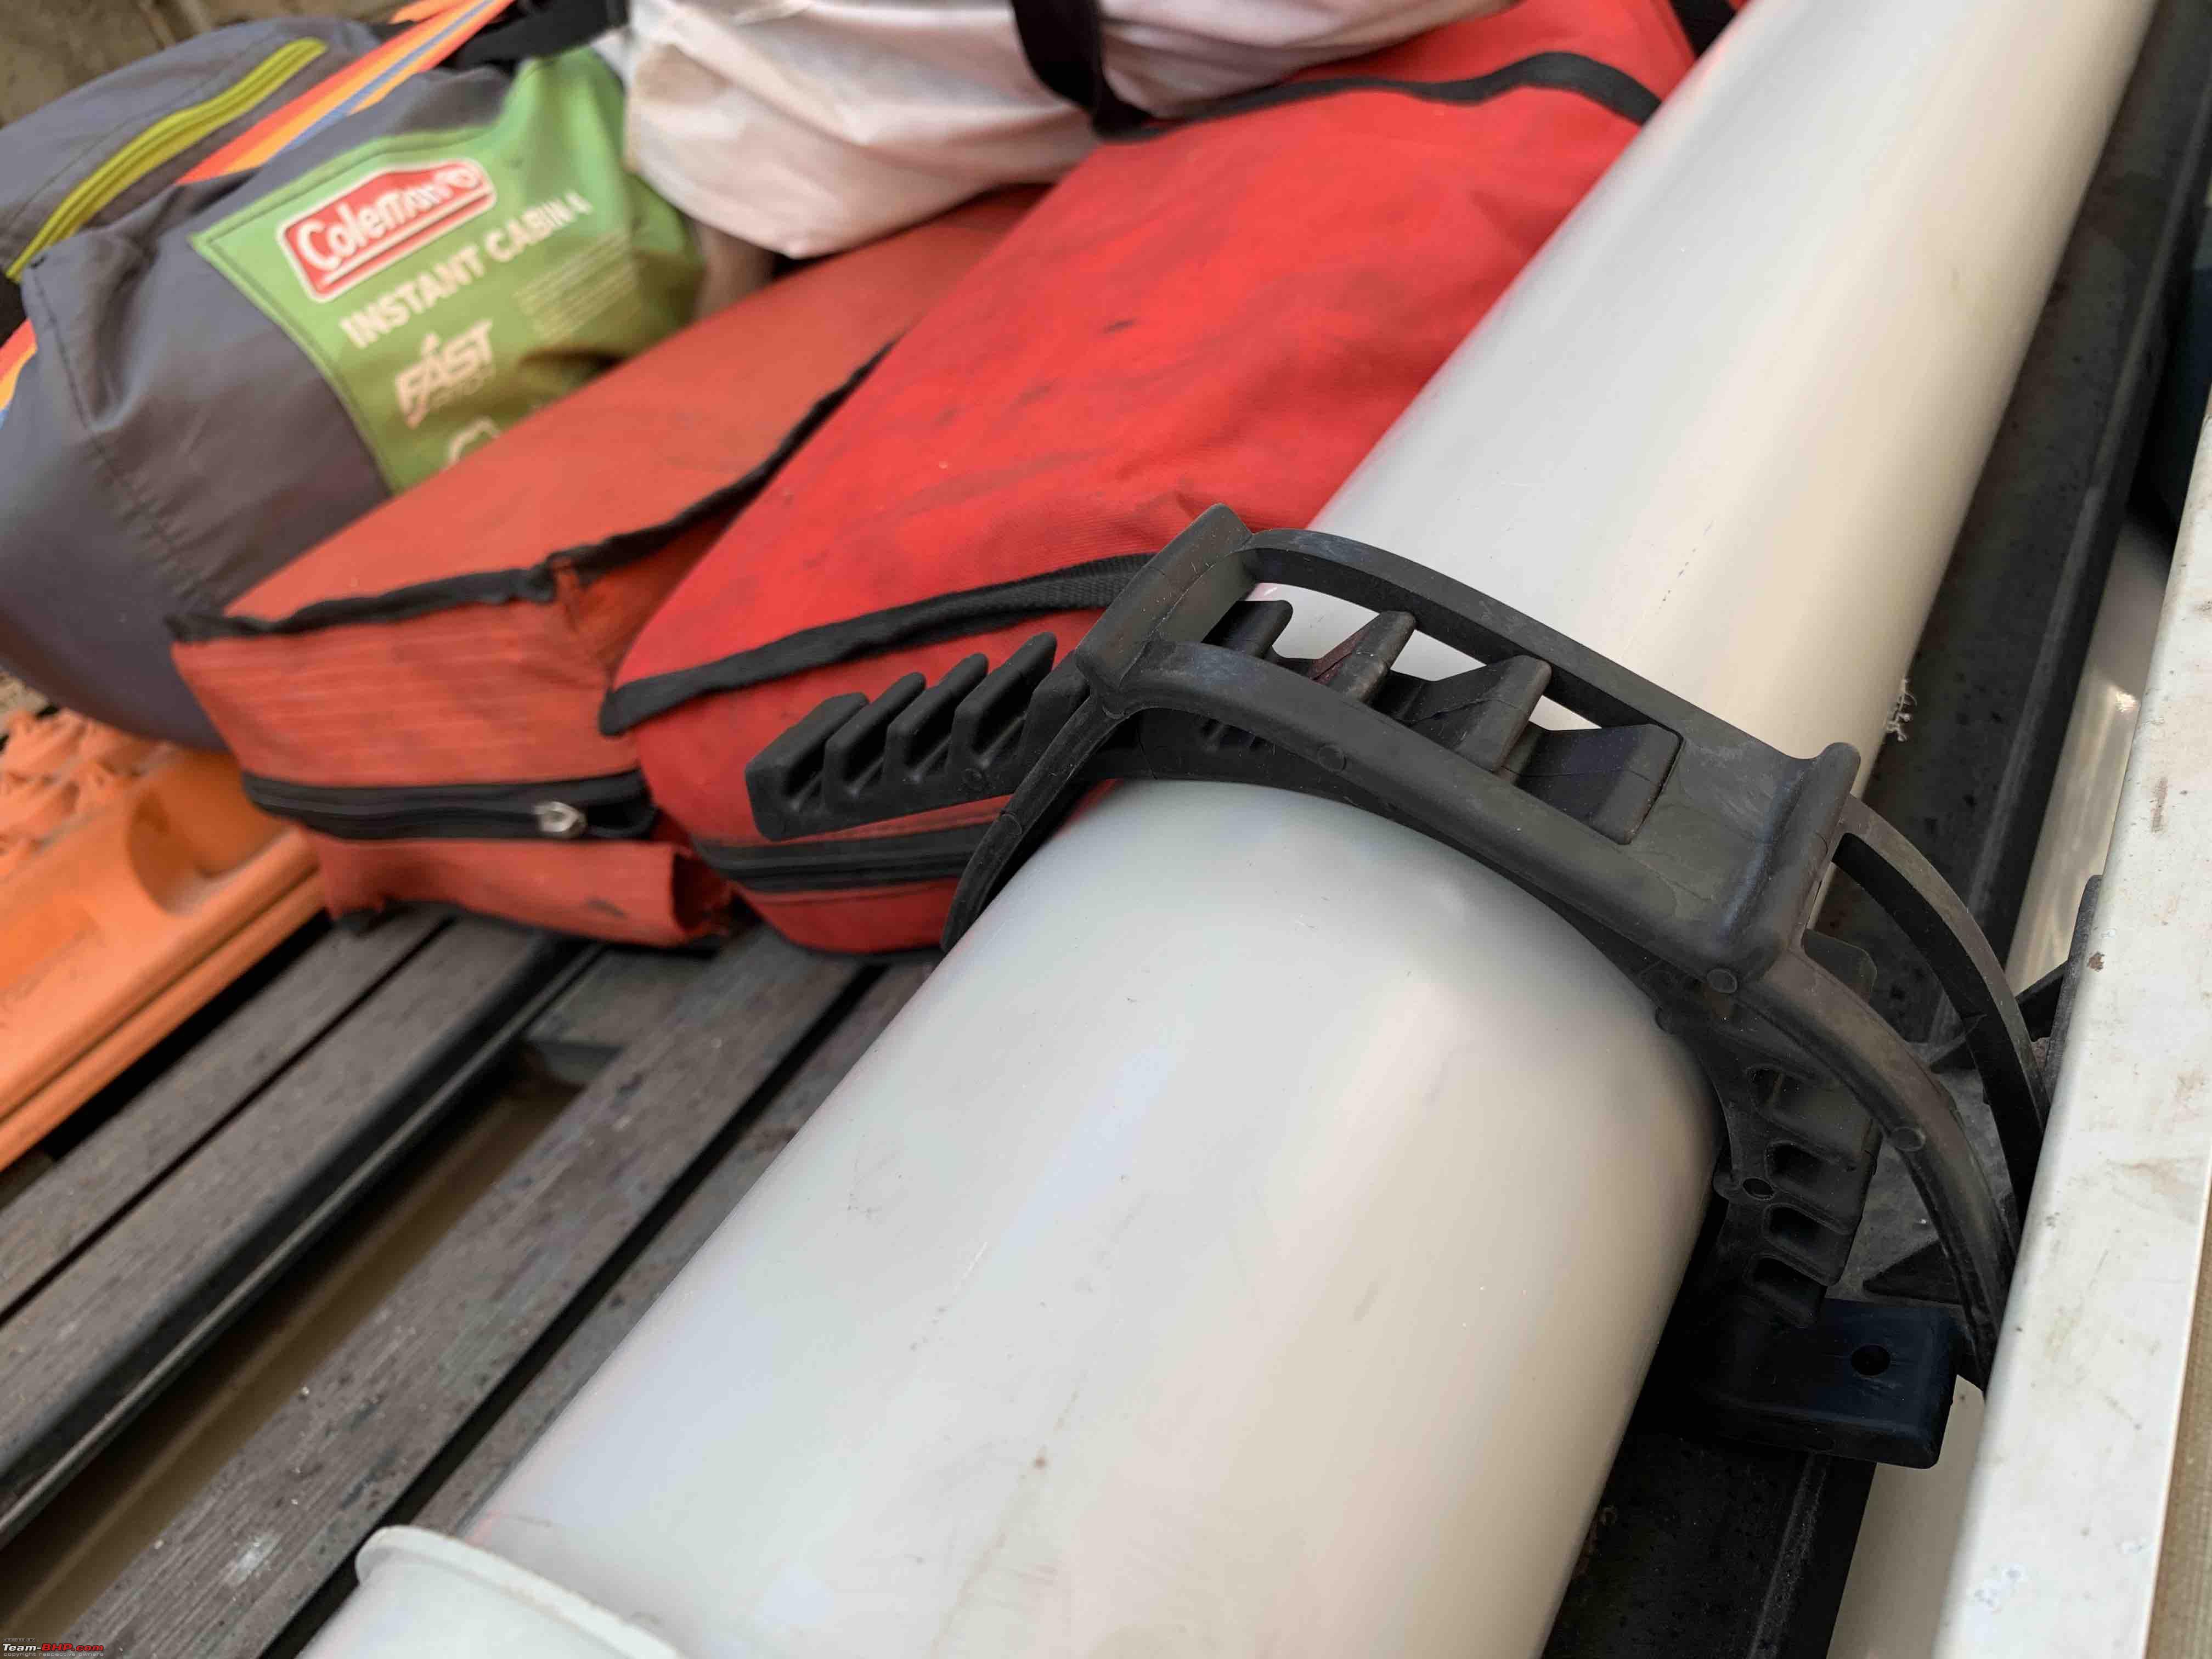
Pipe mounted:
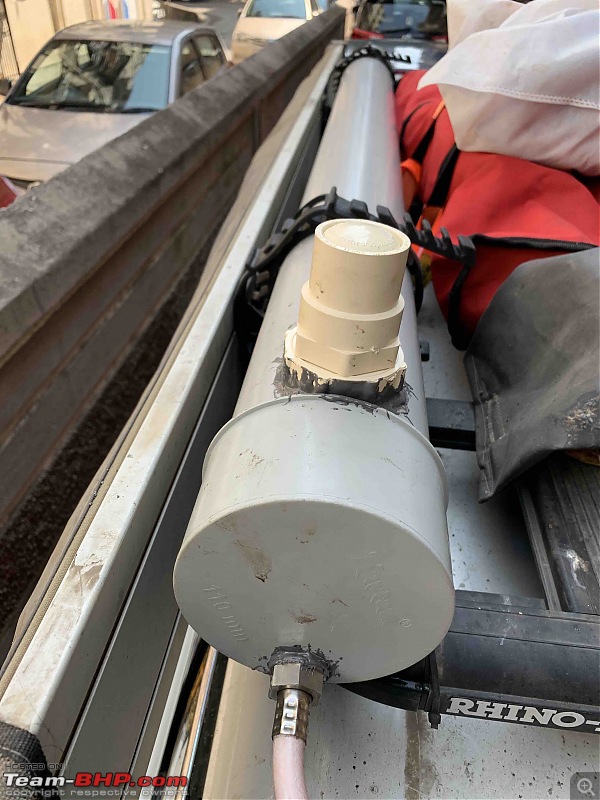
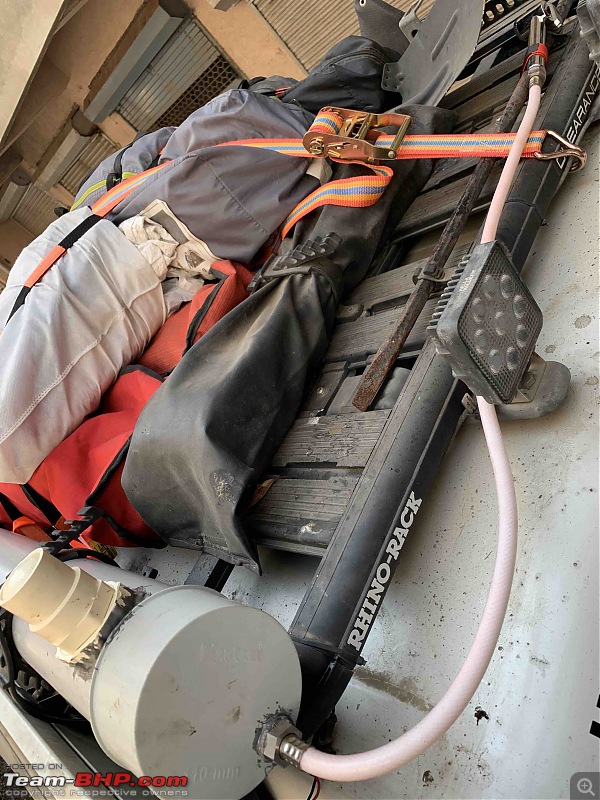
The water flows by gravity and works pretty well:
We used it a lot during the camping and then realised that I hadn't raise the front of the pipe and some water remained. So quickly put a packing under the front and got another litre more of water out:
All in all a good DIY and I was happy to put this together in such a short time.
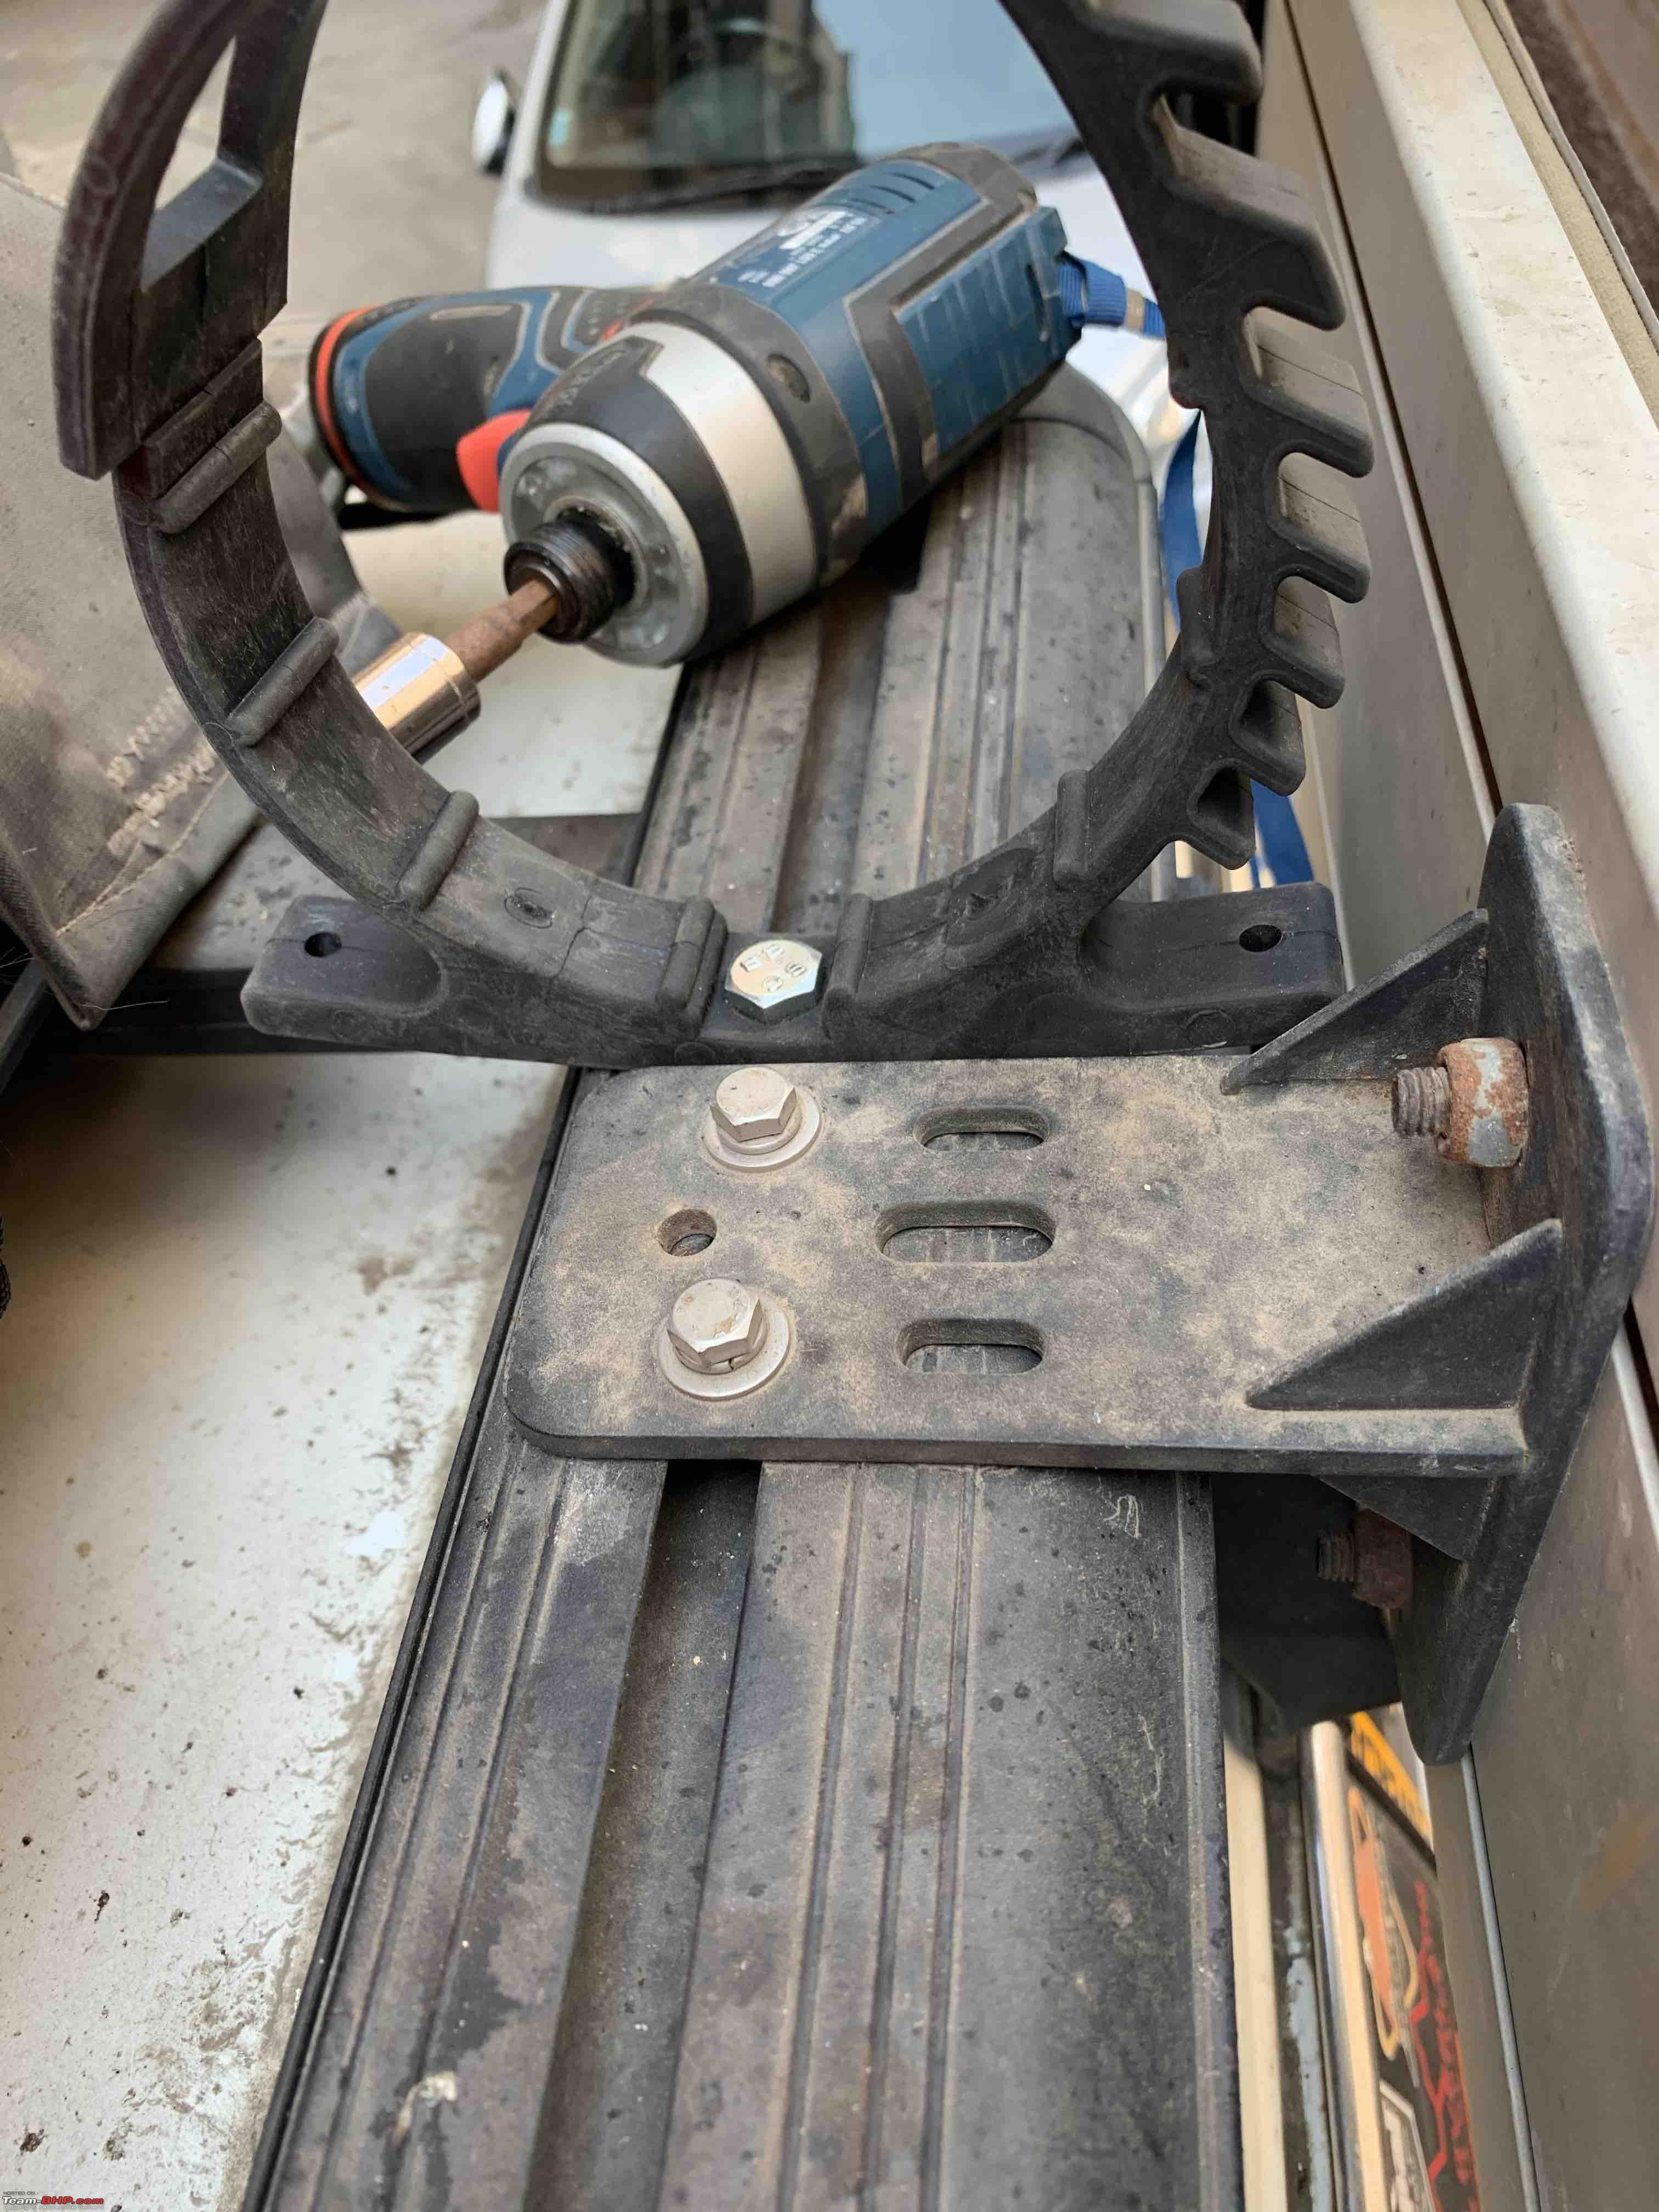
After use, just open the quickfist clamps and remove the pipe. Takes less than a minute. Store the pipe empty with the filler open and let it dry out
Learnings, next steps from the above:
I need better finishing of the product. So I might just make a full new one. The whole assembly cost me around Rs. 750. Or I just cut off the 6" from the filler side. But that means a little less water to carry. I'll think of what to do.
Why the re doing of the project?
1. The filler pipe. Not happy. Need to make the filler a bit less conspicuous and also need to use the heating method to make the screw channels.
2. Considering adding a Schraeder Valve to pressurise the tube. I already have a 20 psi pressure release valve so there will not be excess pressure build up due to heat. Though these pipes are rated at least 4 times that psi.
3. The pressure means you have more force of water coming. However, that also means I will use up water faster.
4. Also considering a quick release option for the pipe and faucet. A long pipe so I can route the washing a bit away from the vehicle otherwise the area under the awning gets mucky.
5. A slight taper towards the back.
6. Back spray paint mostly. But have to consider that this would heat up the water a bit or considerably depending on the summers.
Quote:
Originally Posted by Tejas@perioimpl
(Post 4740820)
I need better finishing of the product. So I might just make a full new one. The whole assembly cost me around Rs. 750. Or I just cut off the 6" from the filler side. But that means a little less water to carry. I'll think of what to do.
|
OR buy Nuova Rade Flexible Water Tank Rectangular 55 Liters.
https://www.nuovarade.com/product.ph...categoryId=114 https://www.waveinn.com/nautical-fis...ar/136520025/p
From 55 litres to 150 litres storage tanks are available.
If your DIY itch is still high then think of using 6" fire hose. Flexible, Foldabale, can take extreme pressures & since its pliable it may sort your pressure issues also. You can also modify it by making single point for filling as well as using.
You had not added any vent and in summer this arrangment would have bursted with heated water, if filled to capacity.
Regards-SS
Quote:
Originally Posted by ariesonu
(Post 4740882)
OR buy Nuova Rade Flexible Water Tank Rectangular 55 Liters. https://www.nuovarade.com/product.ph...categoryId=114 https://www.waveinn.com/nautical-fis...ar/136520025/p
From 55 litres to 150 litres storage tanks are available.
If your DIY itch is still high then think of using 6" fire hose. Flexible, Foldabale, can take extreme pressures & since its pliable it may sort your pressure issues also. You can also modify it by making single point for filling as well as using.
You had not added any vent and in summer this arrangment would have bursted with heated water, if filled to capacity.
Regards-SS
|
PVC pipes can take a lot of pressure too and the advantage is that they can easily be secured to the roof rack and is cheap whereas fire hose would be difficult to secure.
The filler cap on top is not airtight currently so no issue of a pressure build up.
Got the Pajero serviced last week.
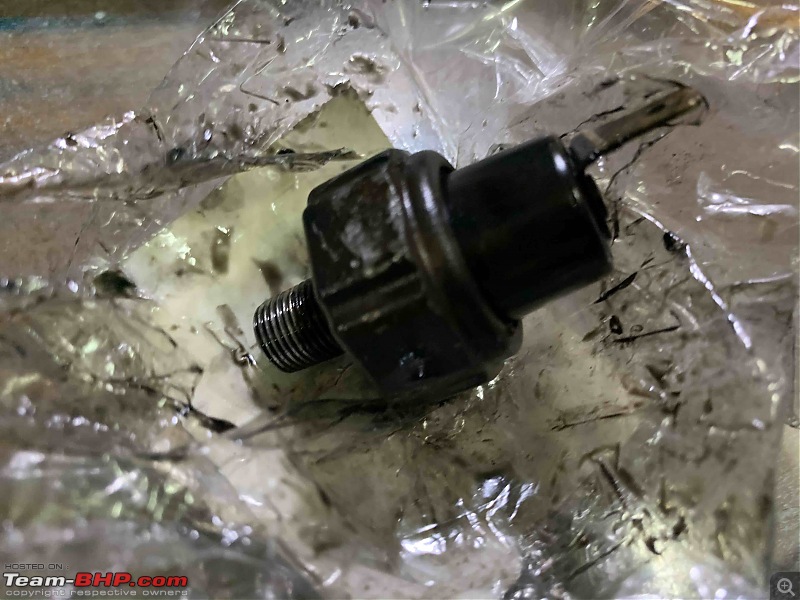
The oil pressure switch was fault and there was some oil leaking out and the switch of replaced.
The old oil switch:
Cars done nearly 117,000 kms and got the 120,000 service done. As always, all oils and filters changed, timing belt checked. Got the EGR pipes cleaned and that has had a major improvement in pickup and smoothness of the engine and I would recommend everyone to get it done.
She can now accelerate from 4th Gear at less than 40kmph and 1200rpm without any knocking!
Got the brake pads replaced as well.
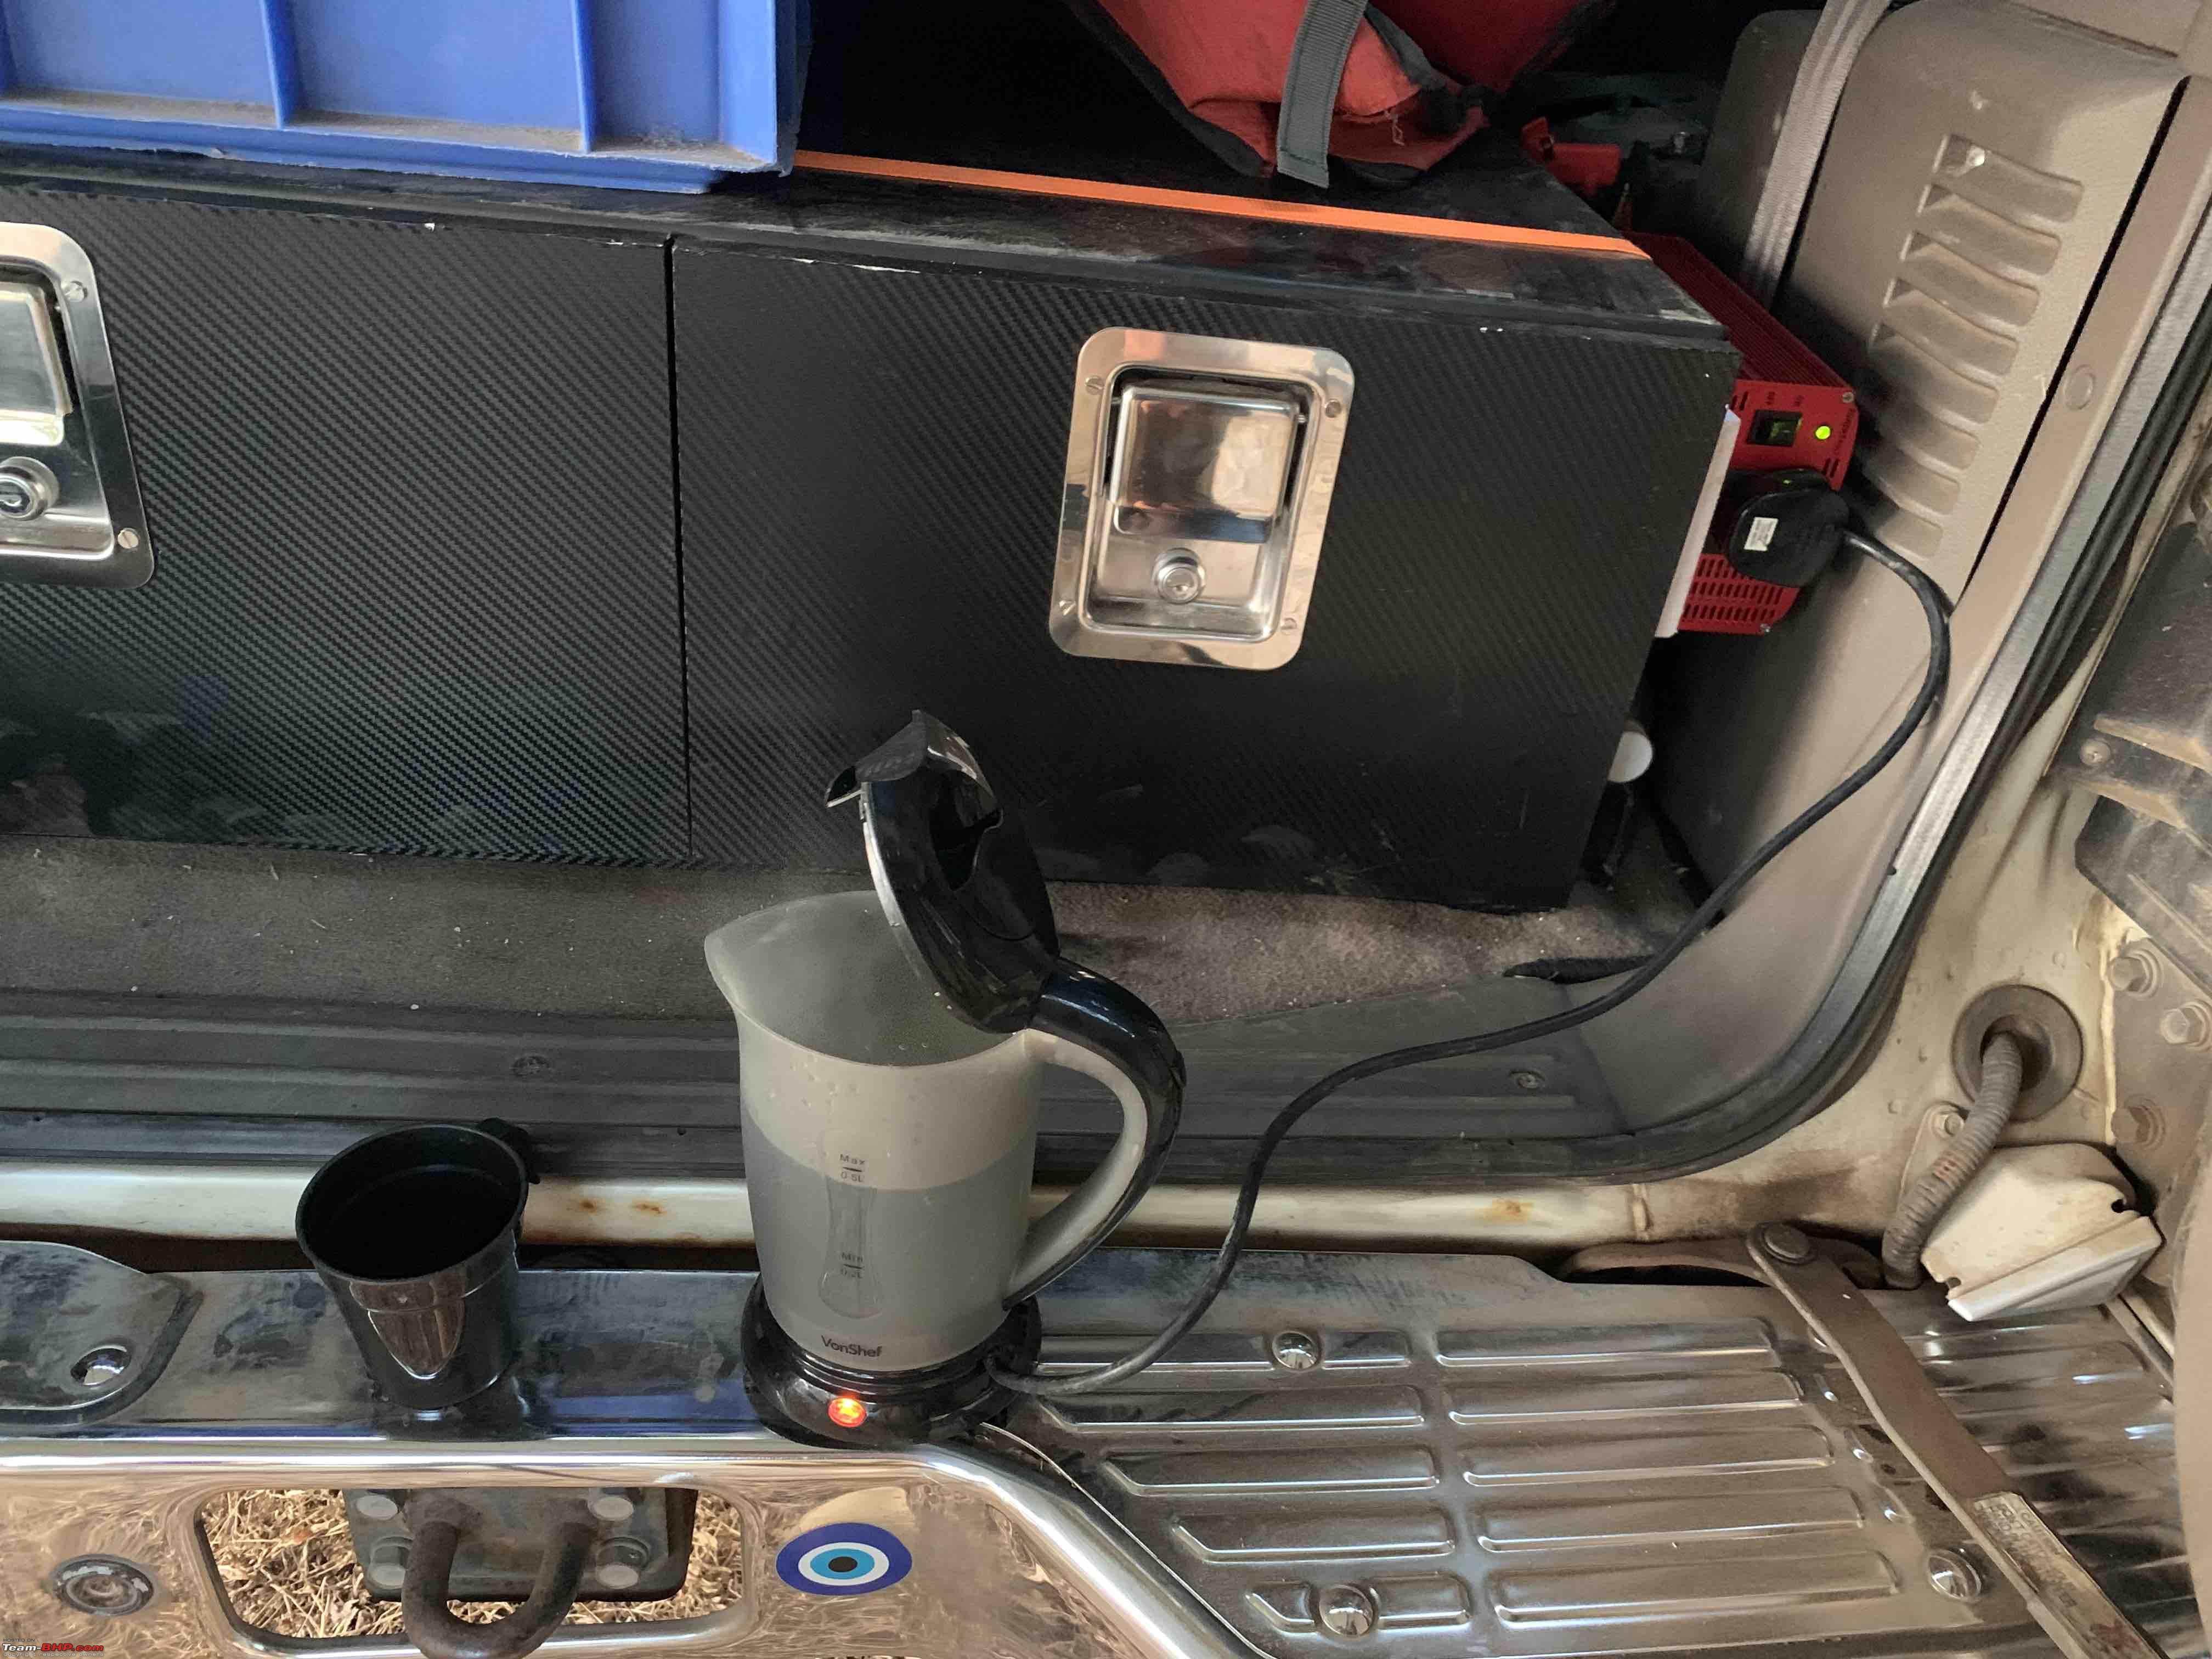
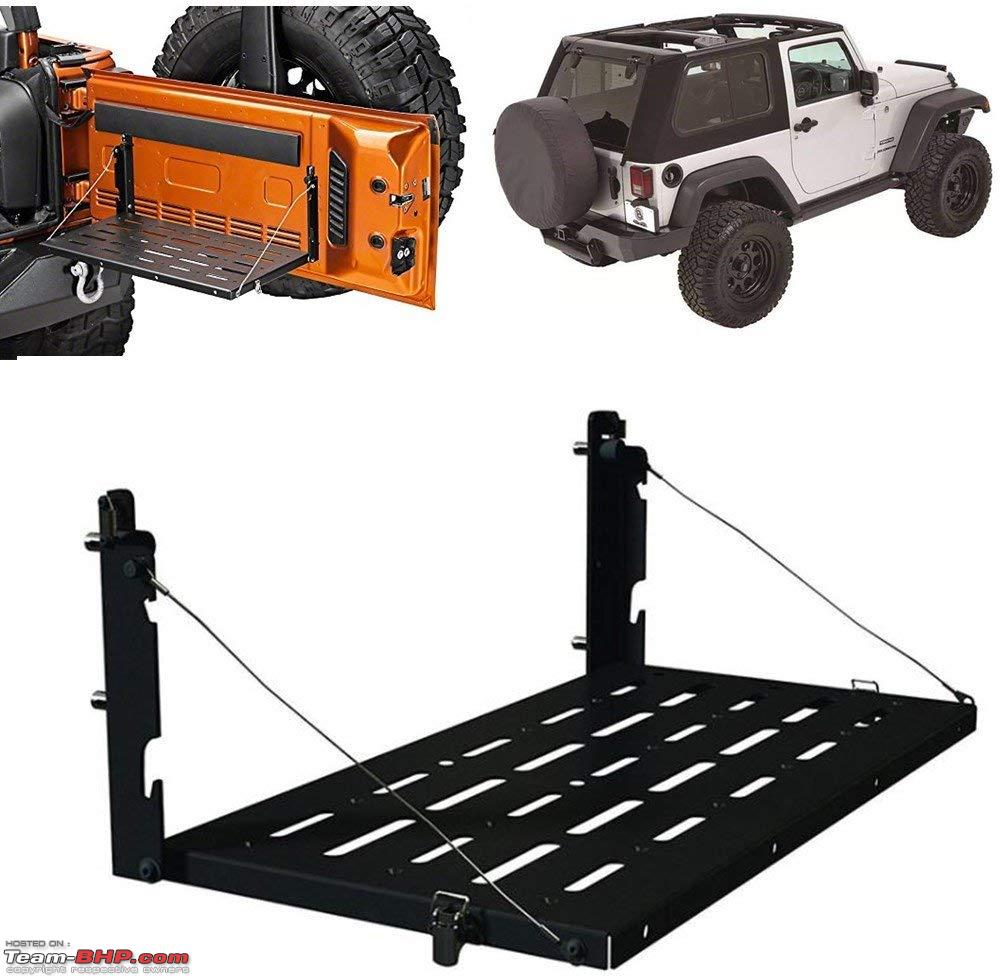
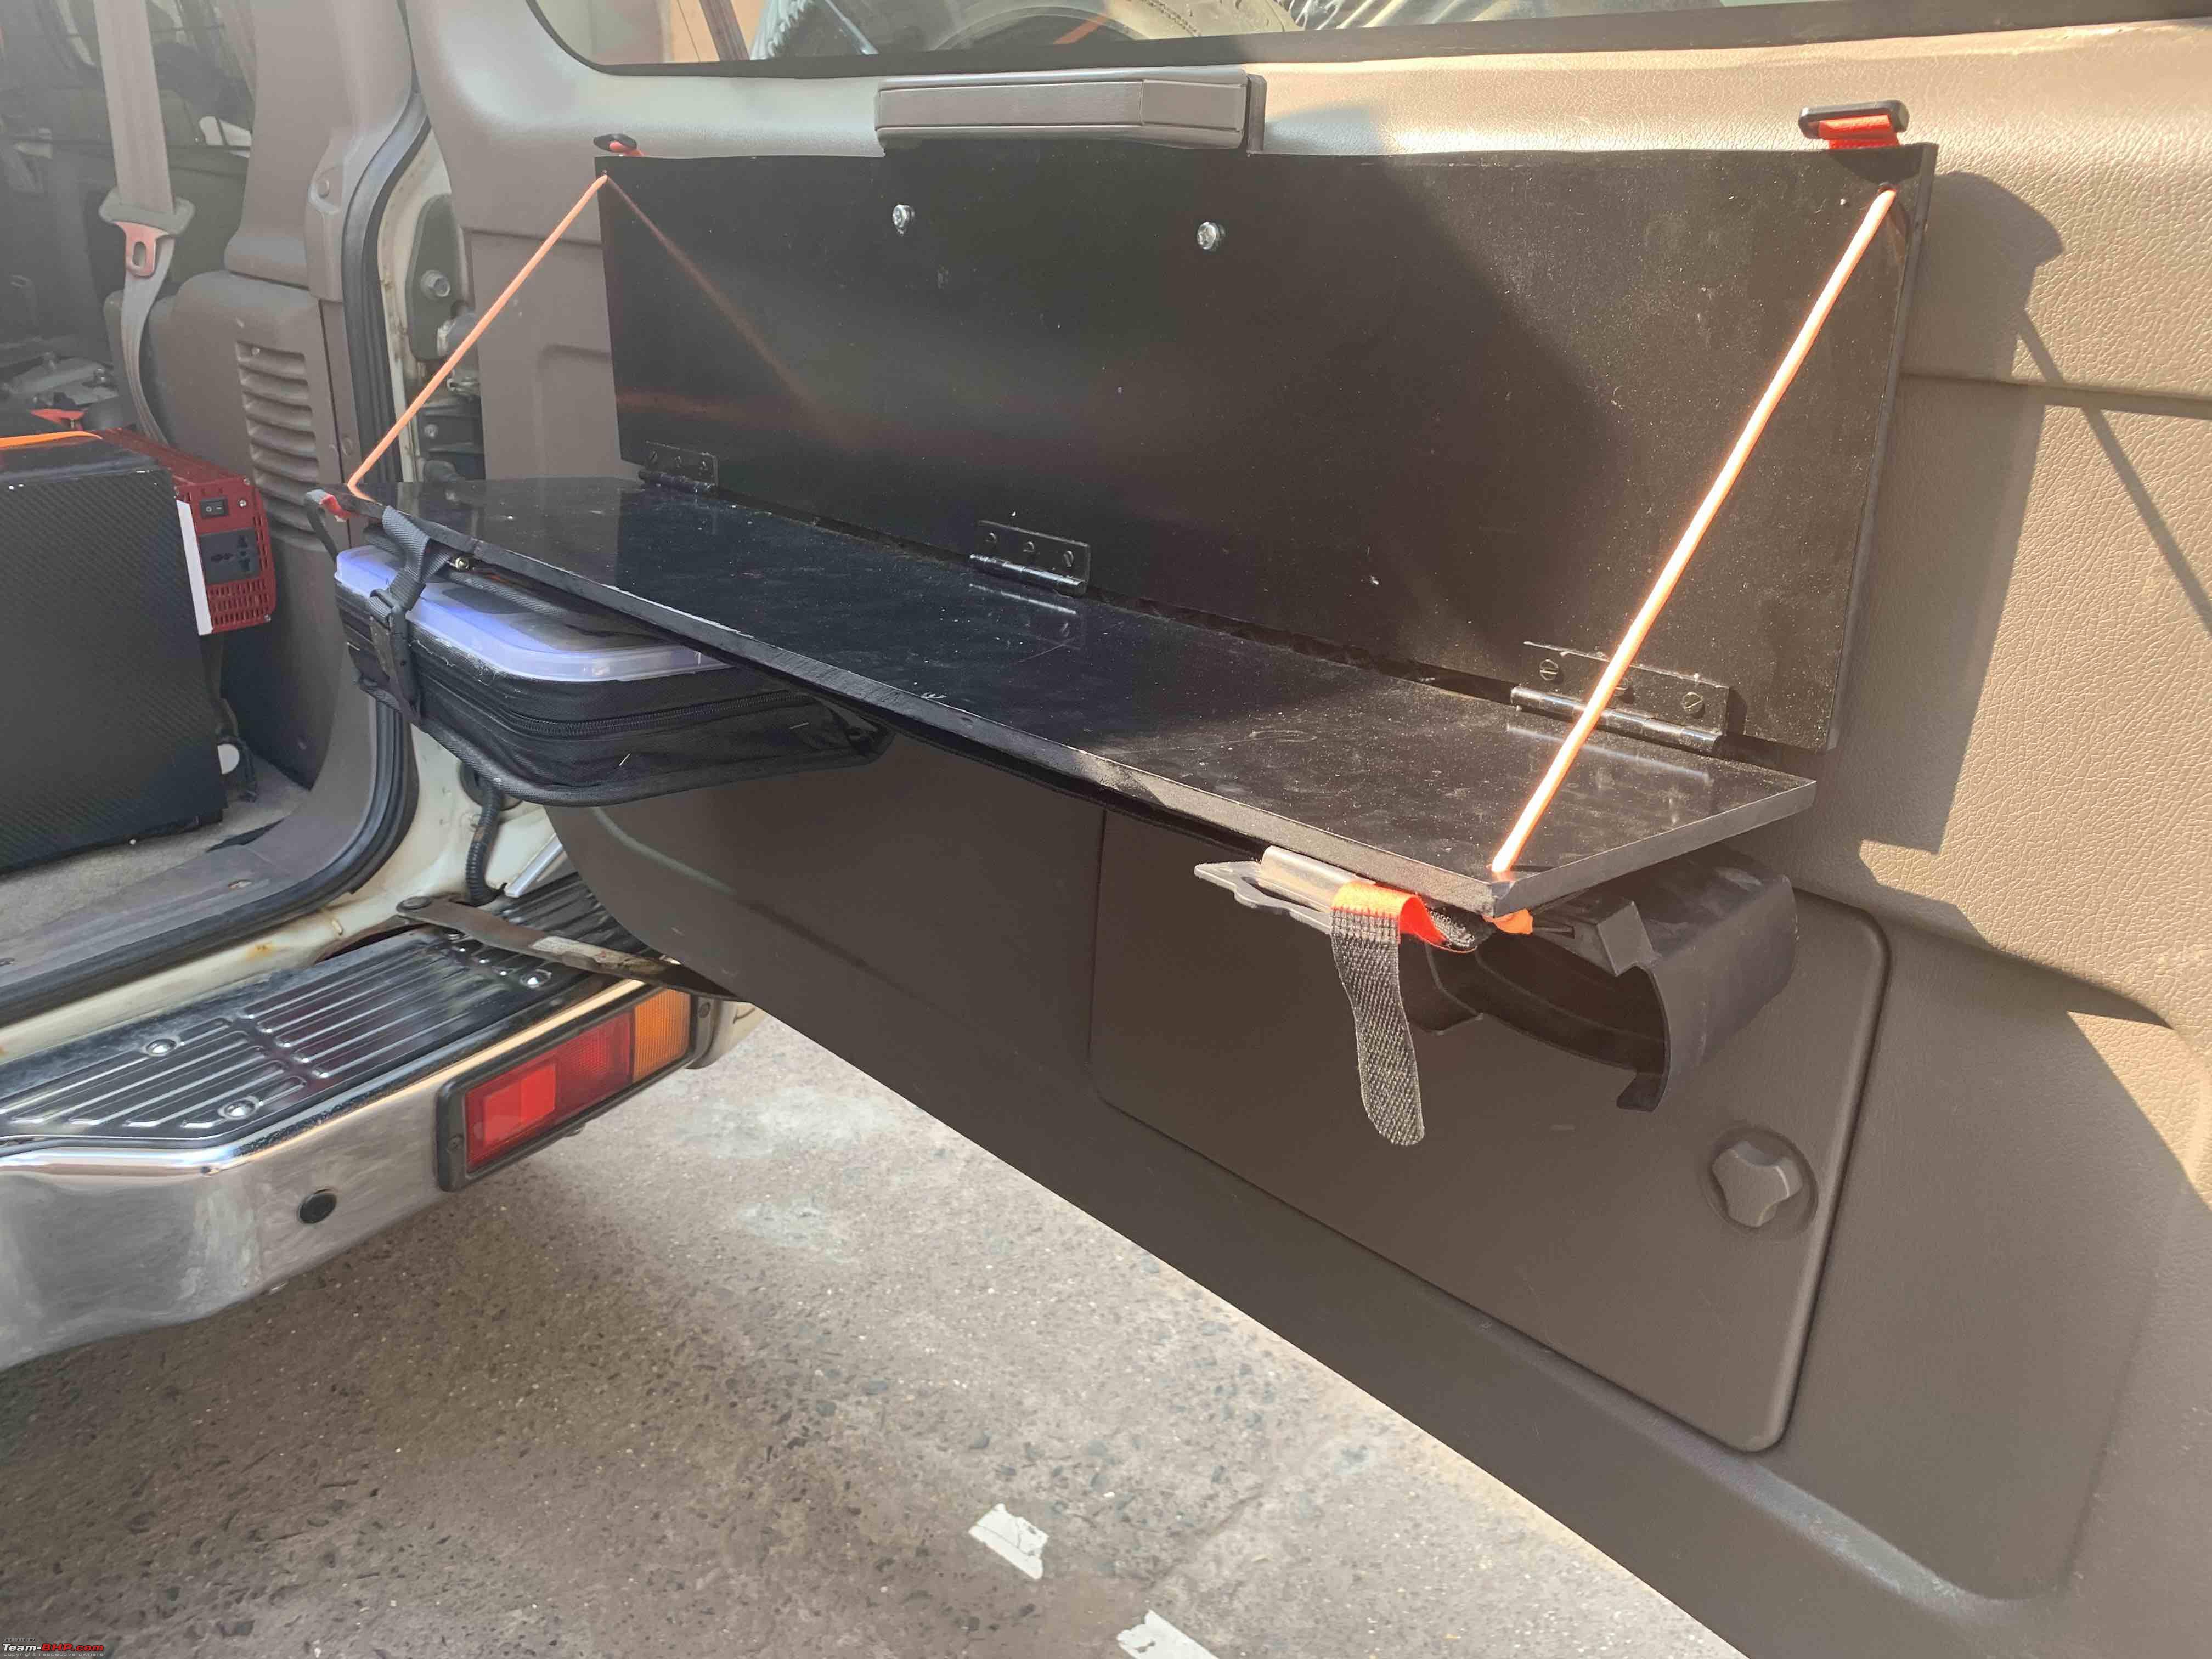
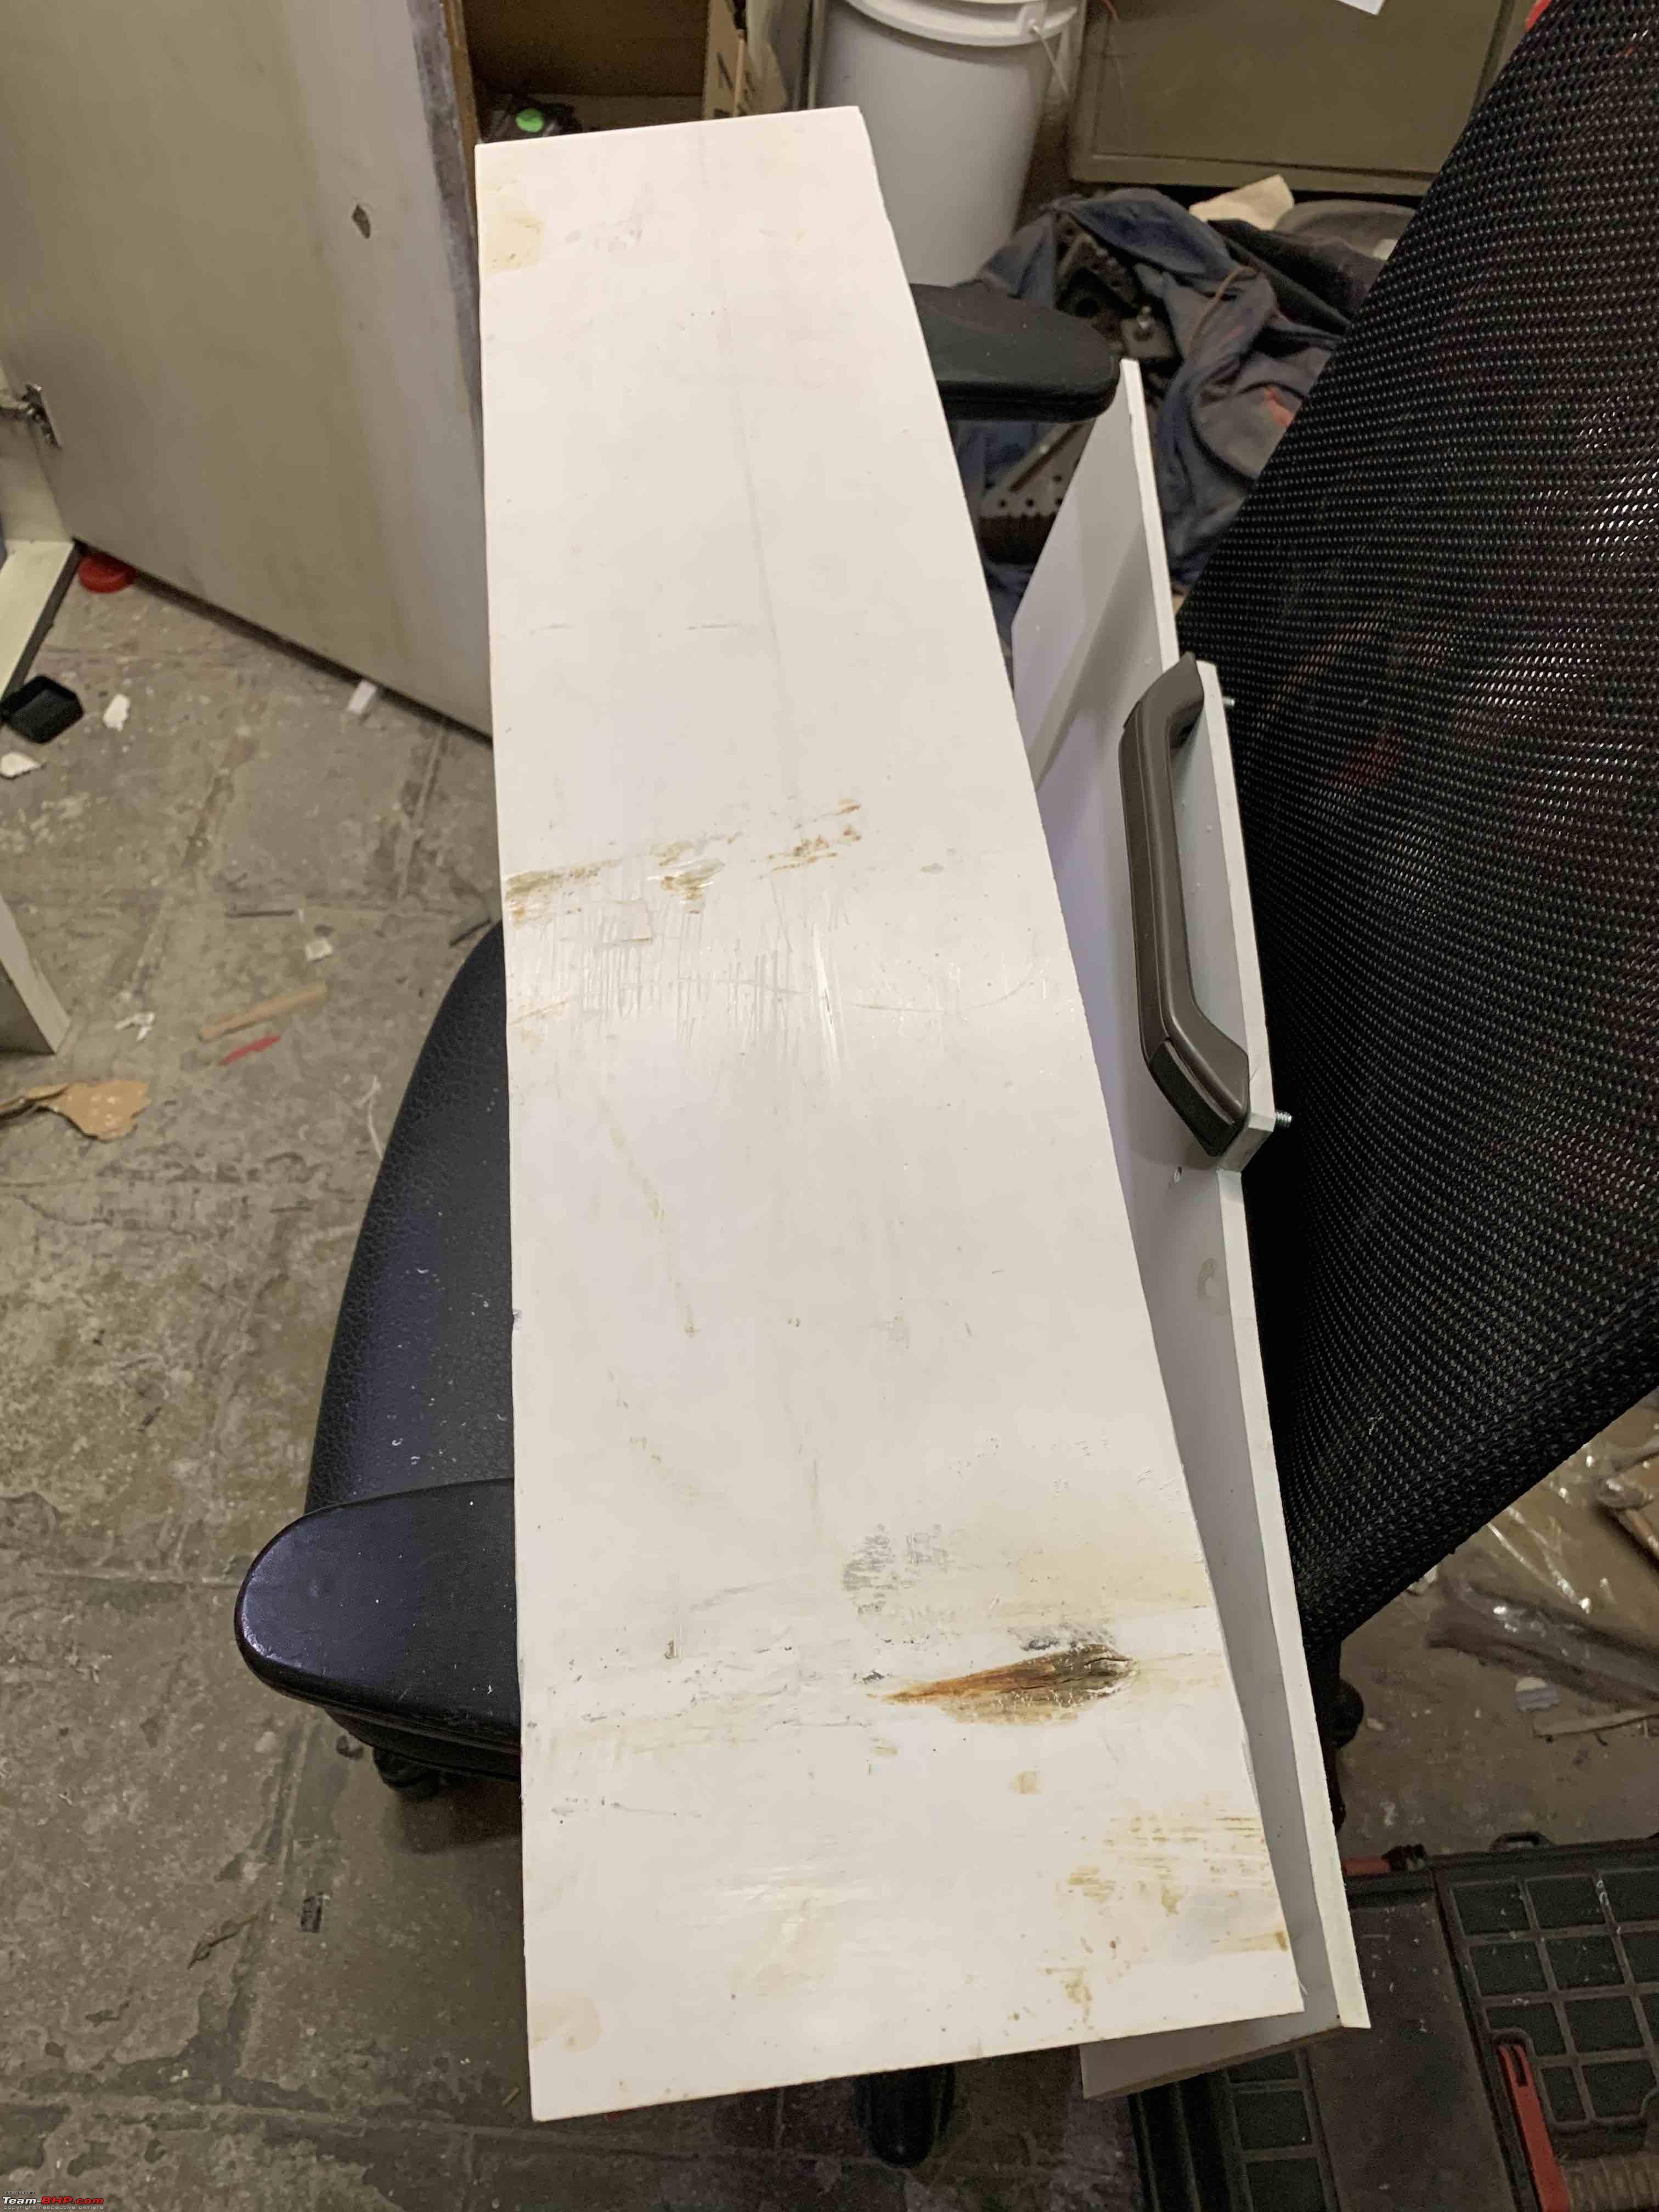
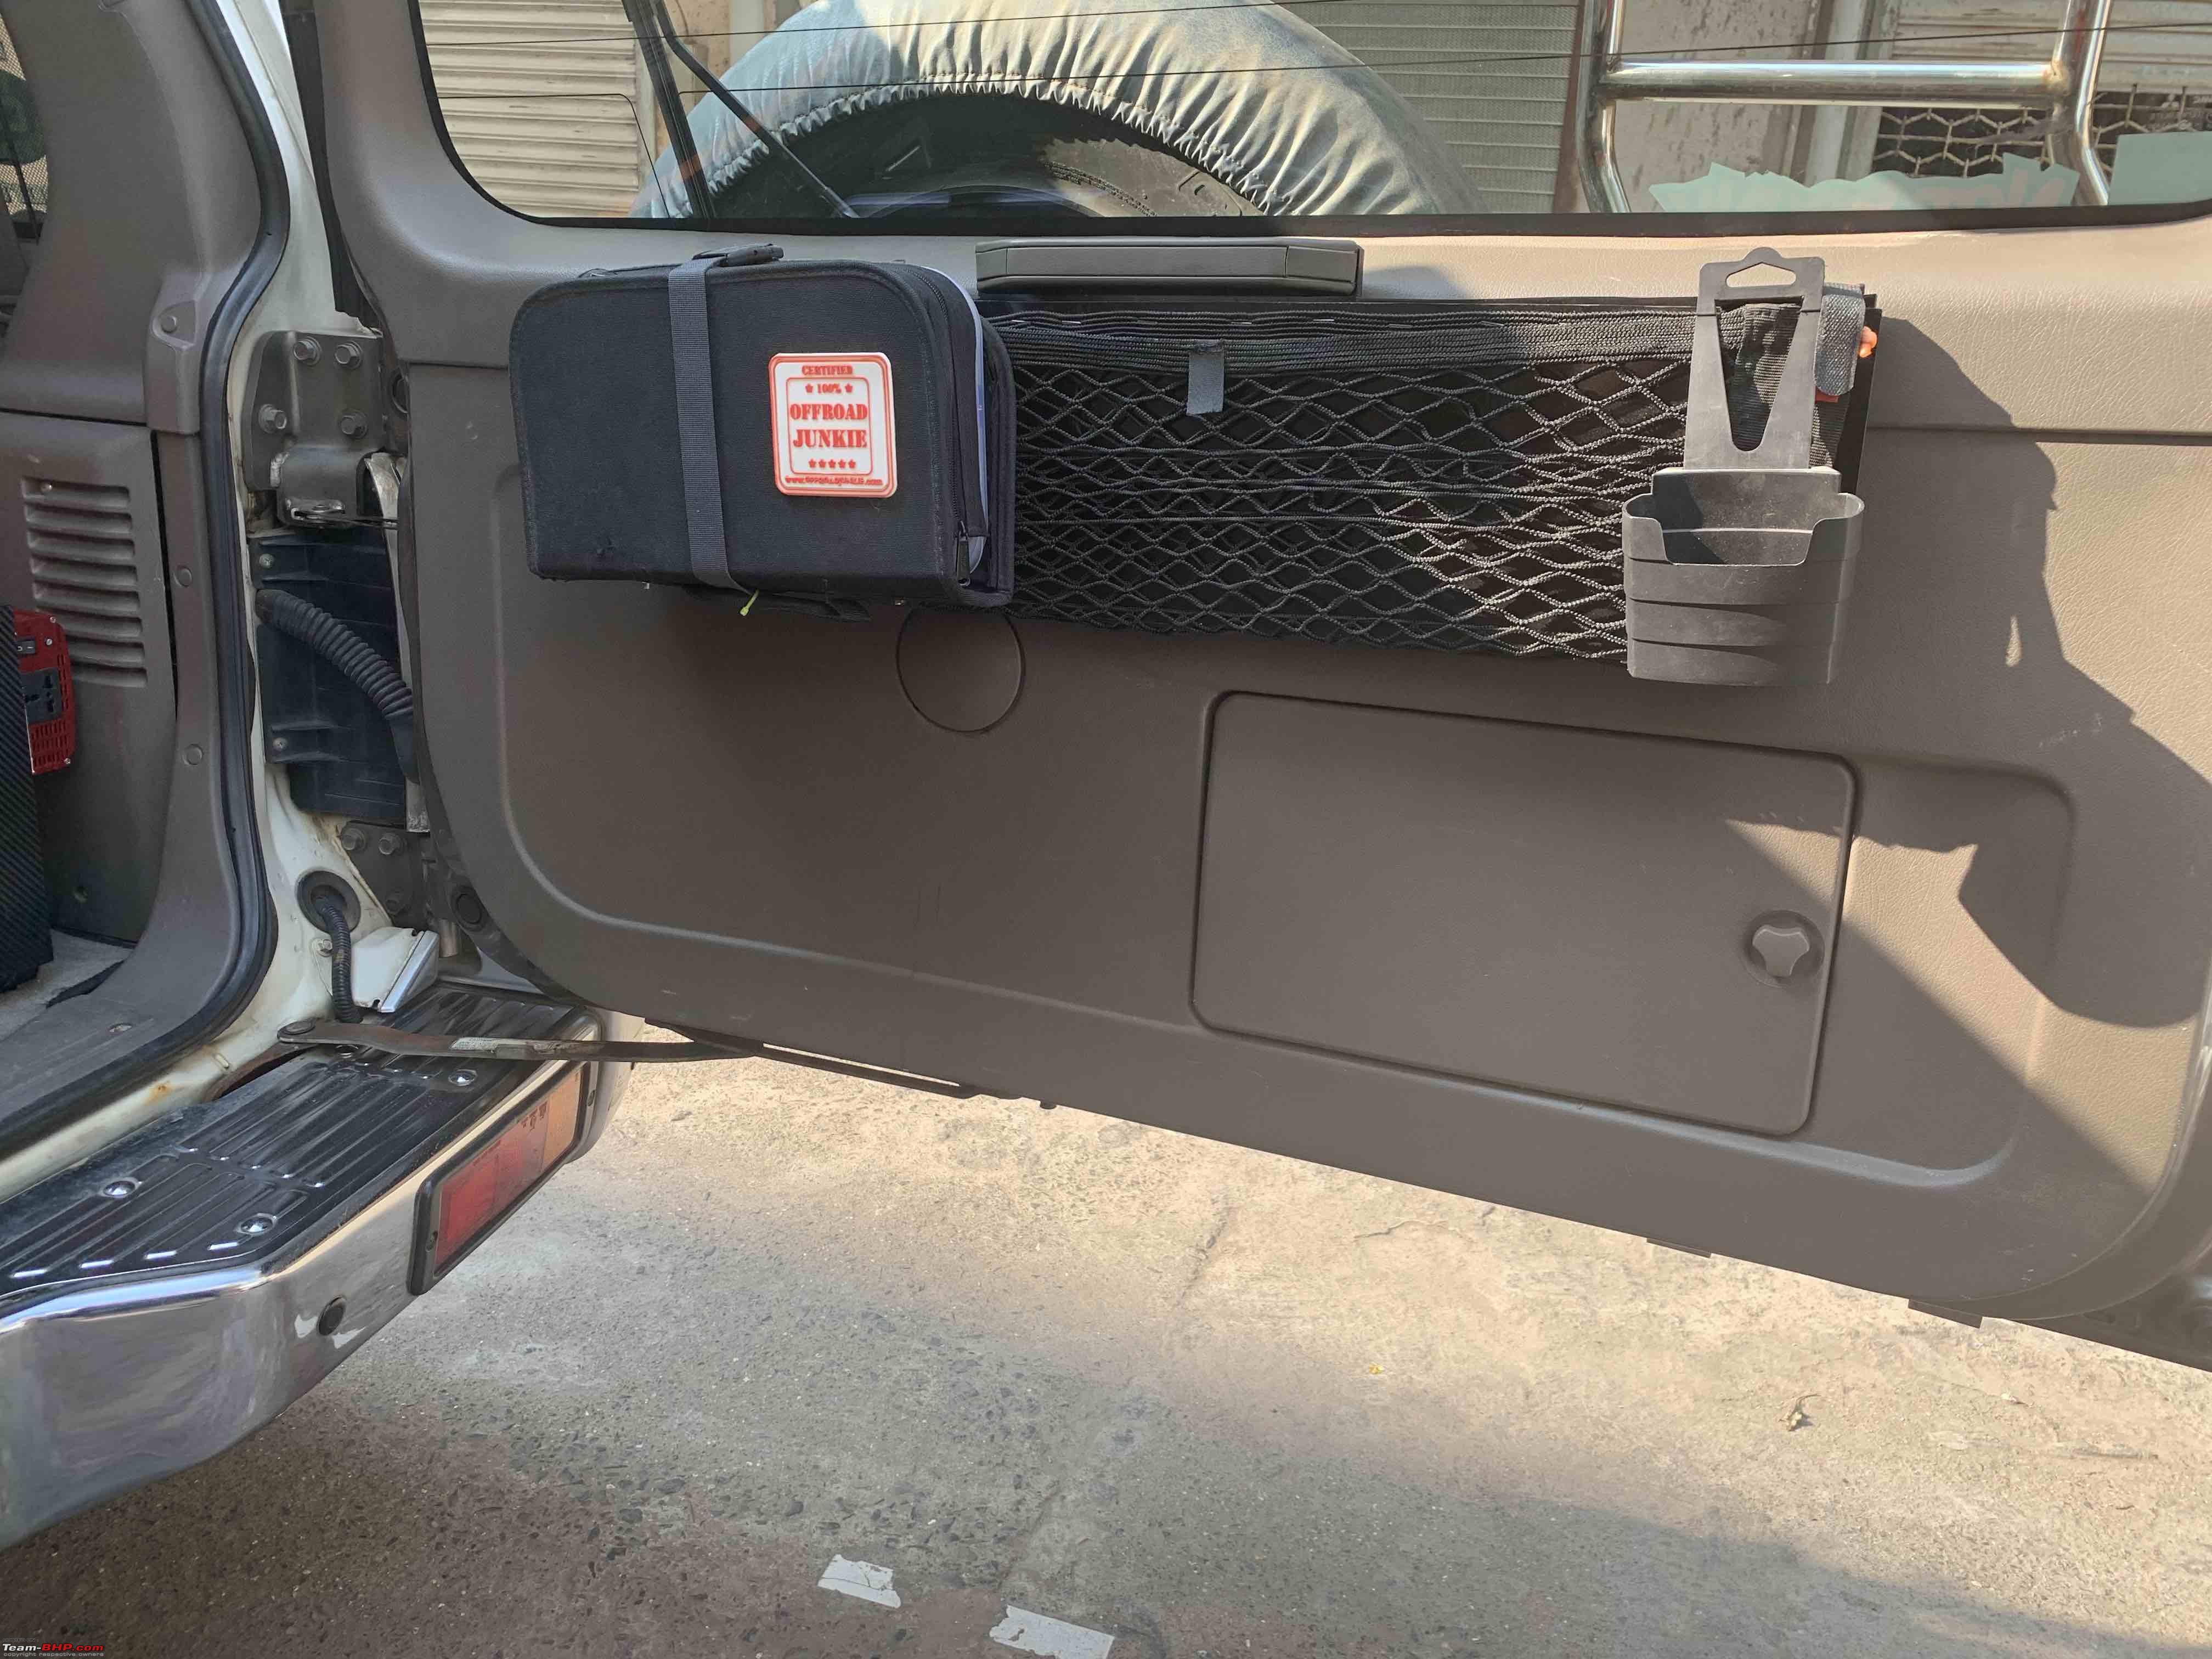
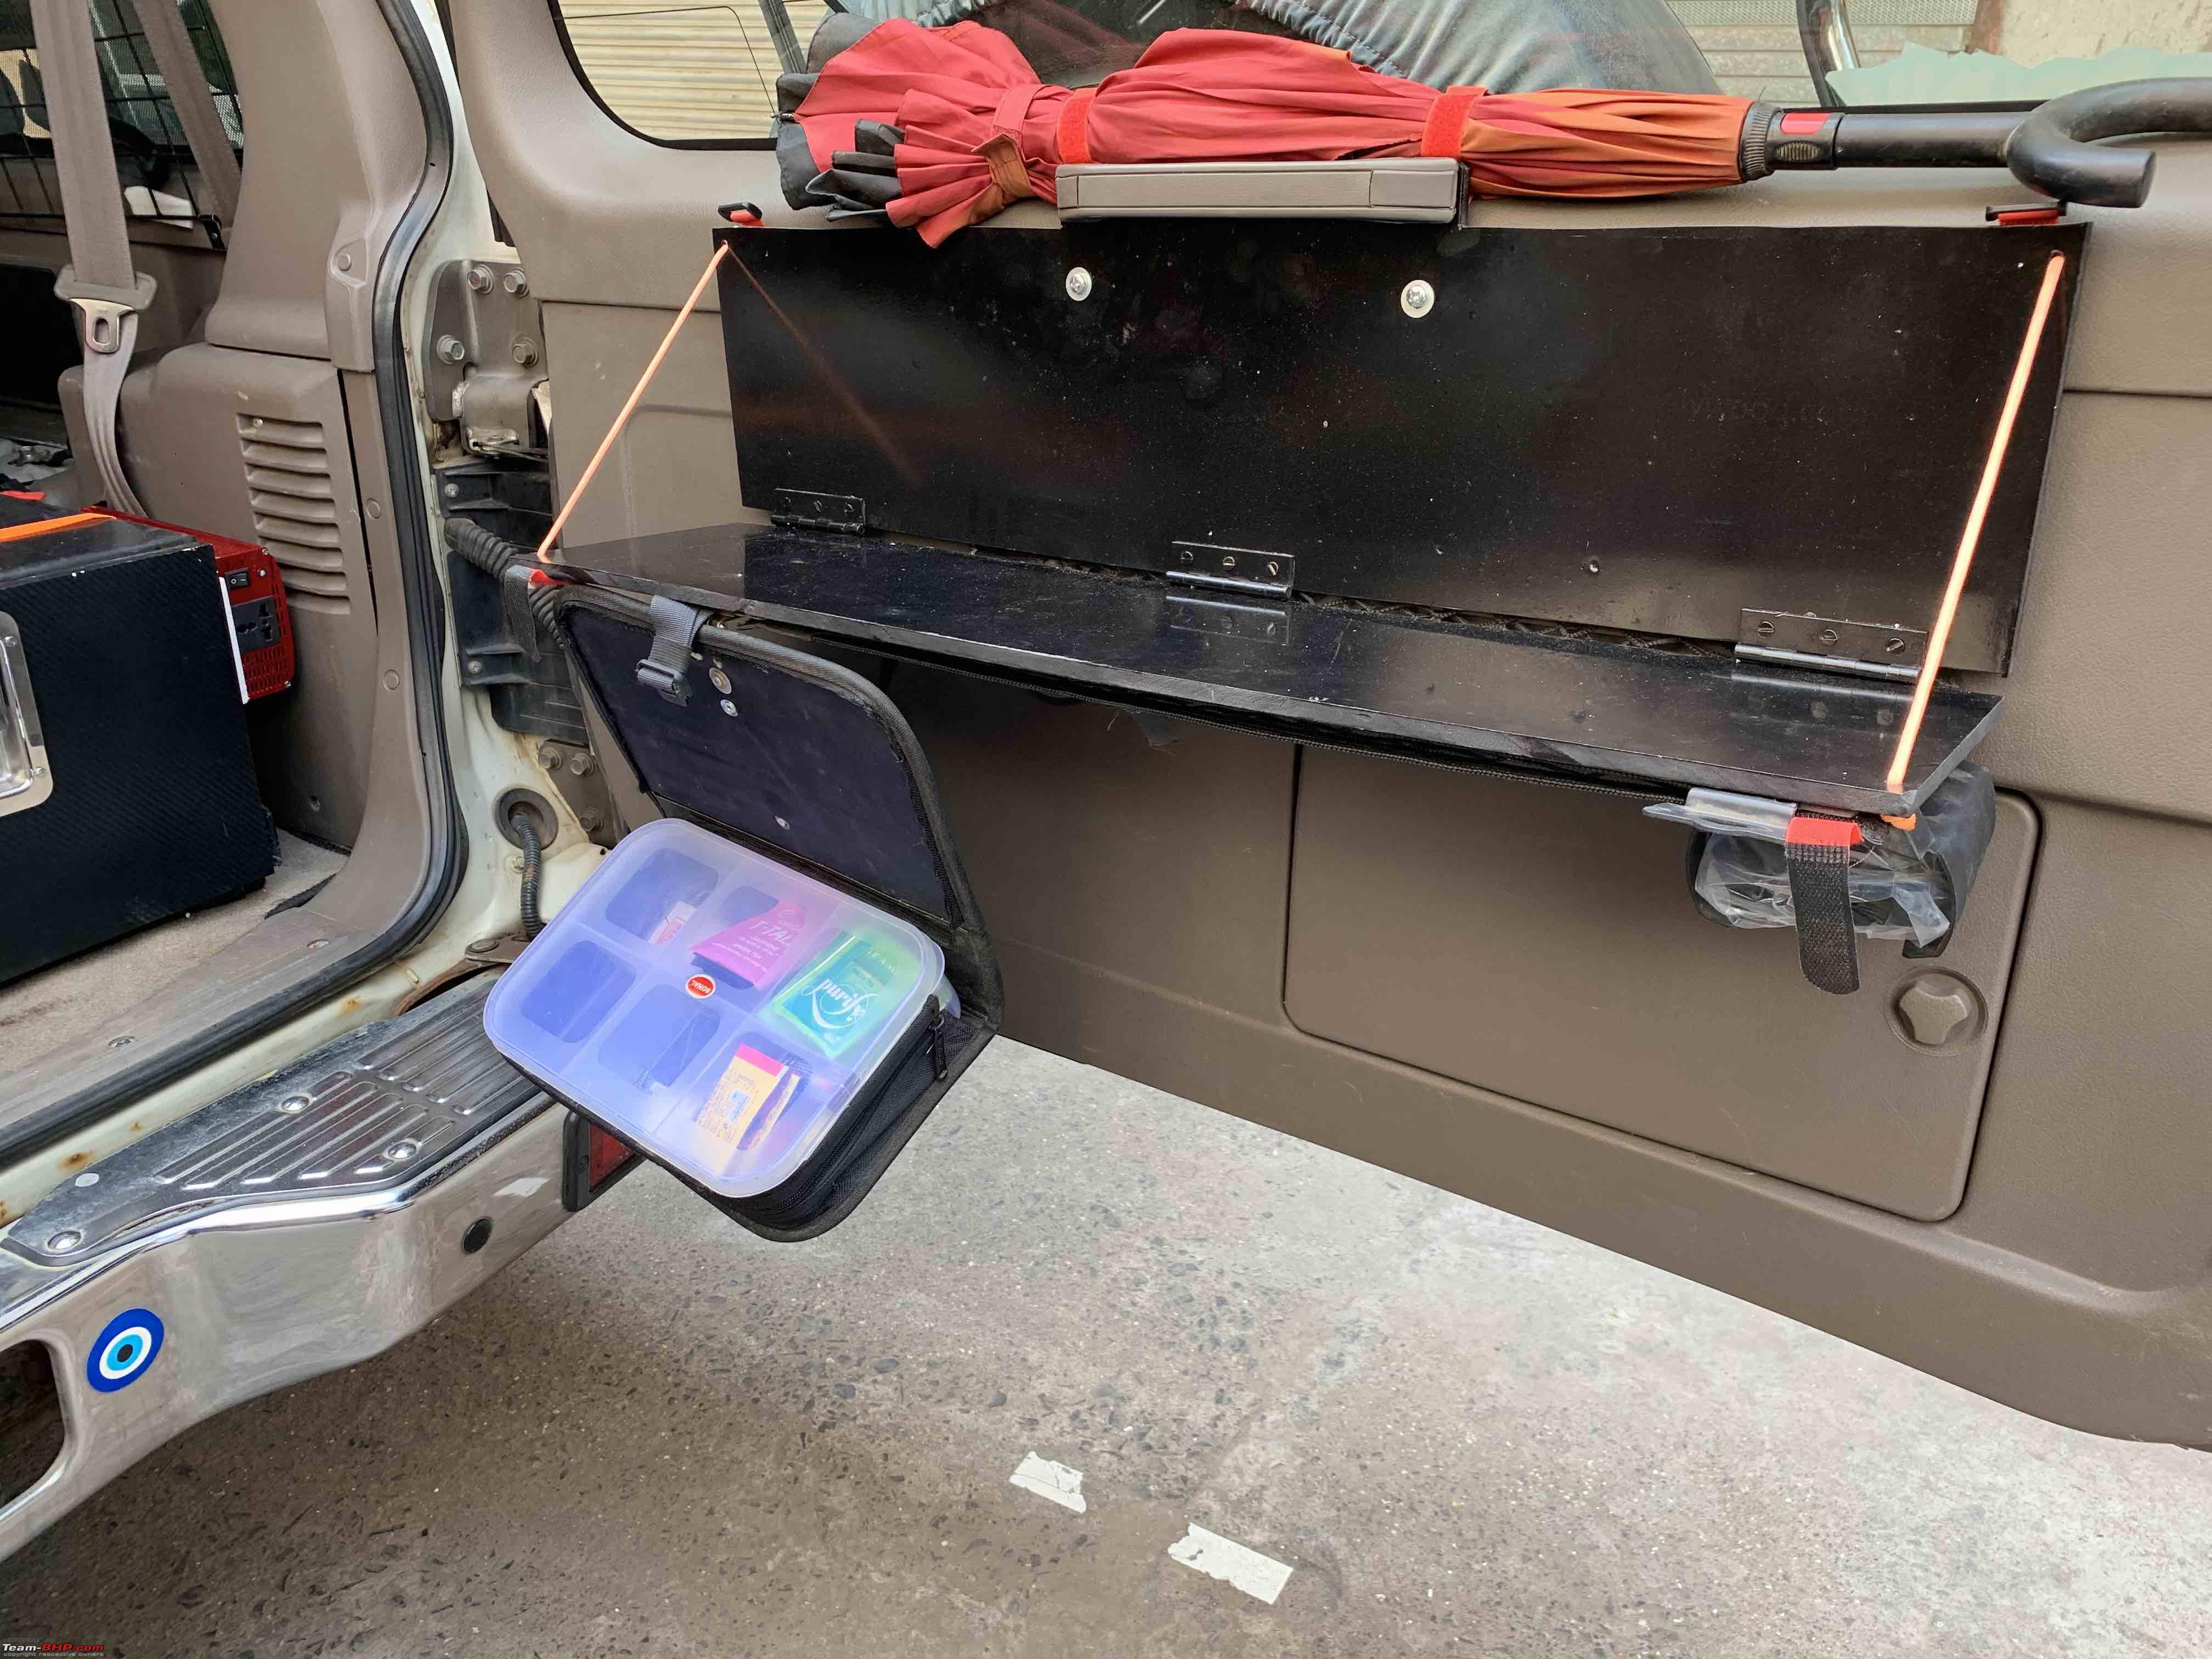
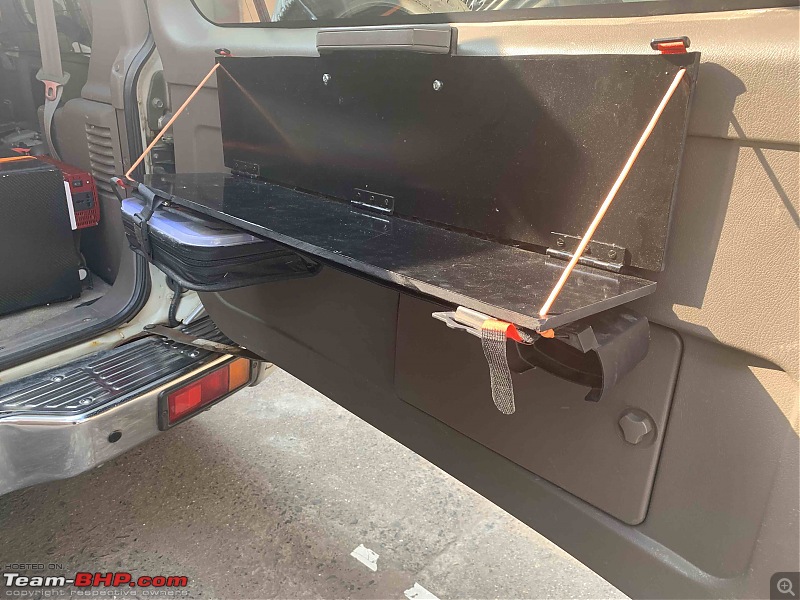
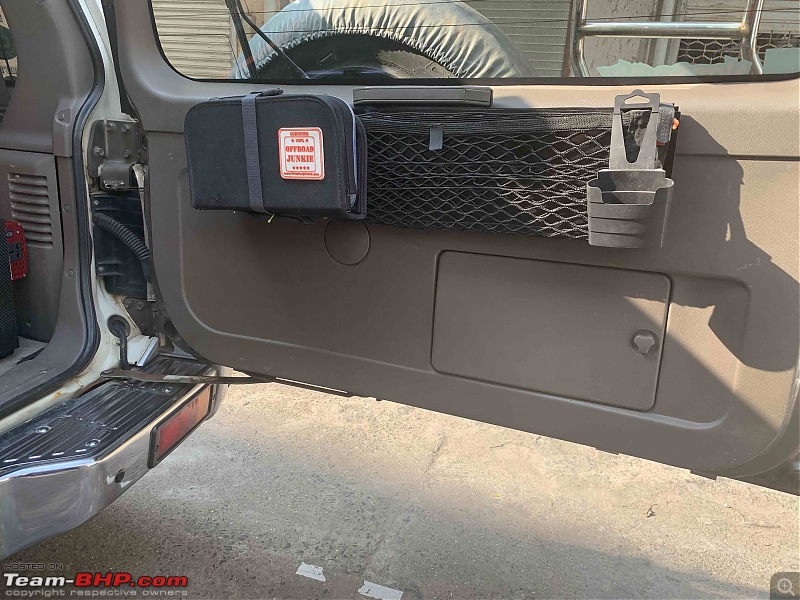
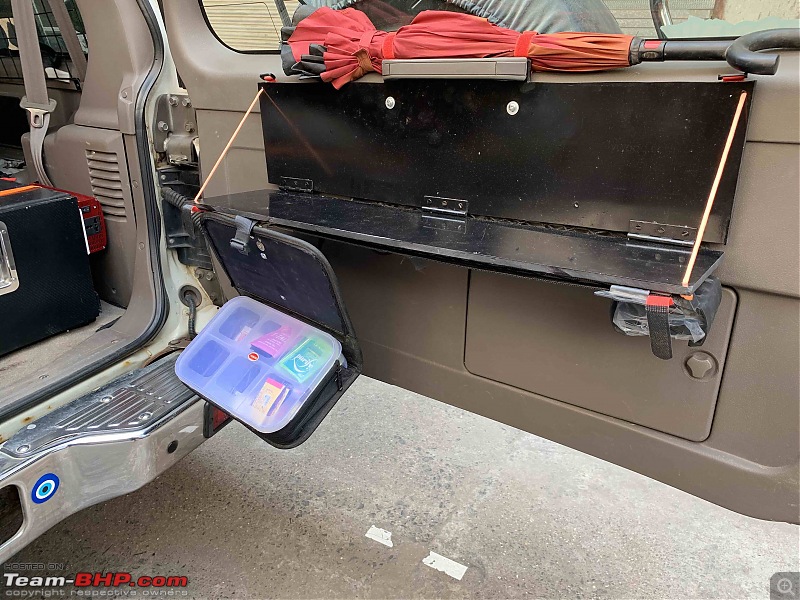
A long pending update has been a tailgate table:
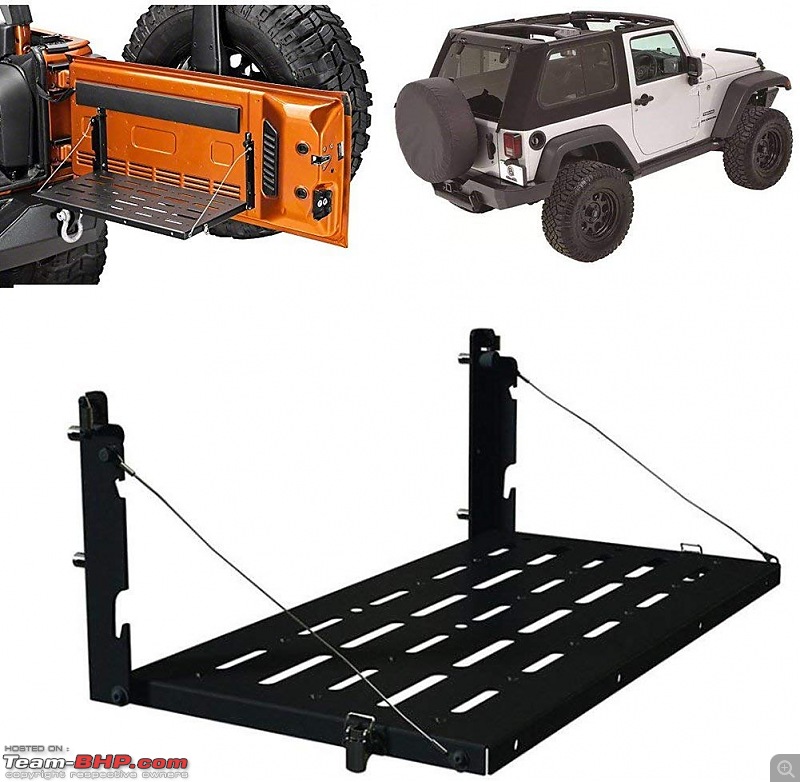
Image Source: Amazon.com
After fitting the inverter, it became all the more necessary because with a fully loaded car, there was no place to make coffee in peace.
So started the DIY. This DIY happened through the week - an hour a day in the evening to finally reach this stage:
As with most of my DIYs, I try to use material I already have available.
I'm blessed with a closed garage that I have converted into small work area. Being a hoarder, I always have stuff to use much to the chagrin of my wife who is exactly the opposite of me and loves to throw away stuff that is not in use. Me, on the other hand would salvage screws from something that even I would throw away! :p
My DIYs are not meticulously planned out before I start and a lot plans and ideas change as I progress in making the stuff.
To make this table, I had a few limitations:
1. I did not want to make new screw holes. Thus, I had to use the existing options. The only option was the door handle which had a strong mounting point.
2. Secondly, the table could not be big. Two reasons - a. it would block the inbuilt tool tray (though I don't use that) and b. it would block the rear windshield washer fluid filling inlet. Thus, it had to be small but big enough to accommodate the coffee mugs, and hot water kettle.
What I love is the PVC foam boards - light weight, easy to cut, don't need too much finishing like plywood does and strong enough for my purpose.
I had some 10mm pieces lying at home and decided to use that.
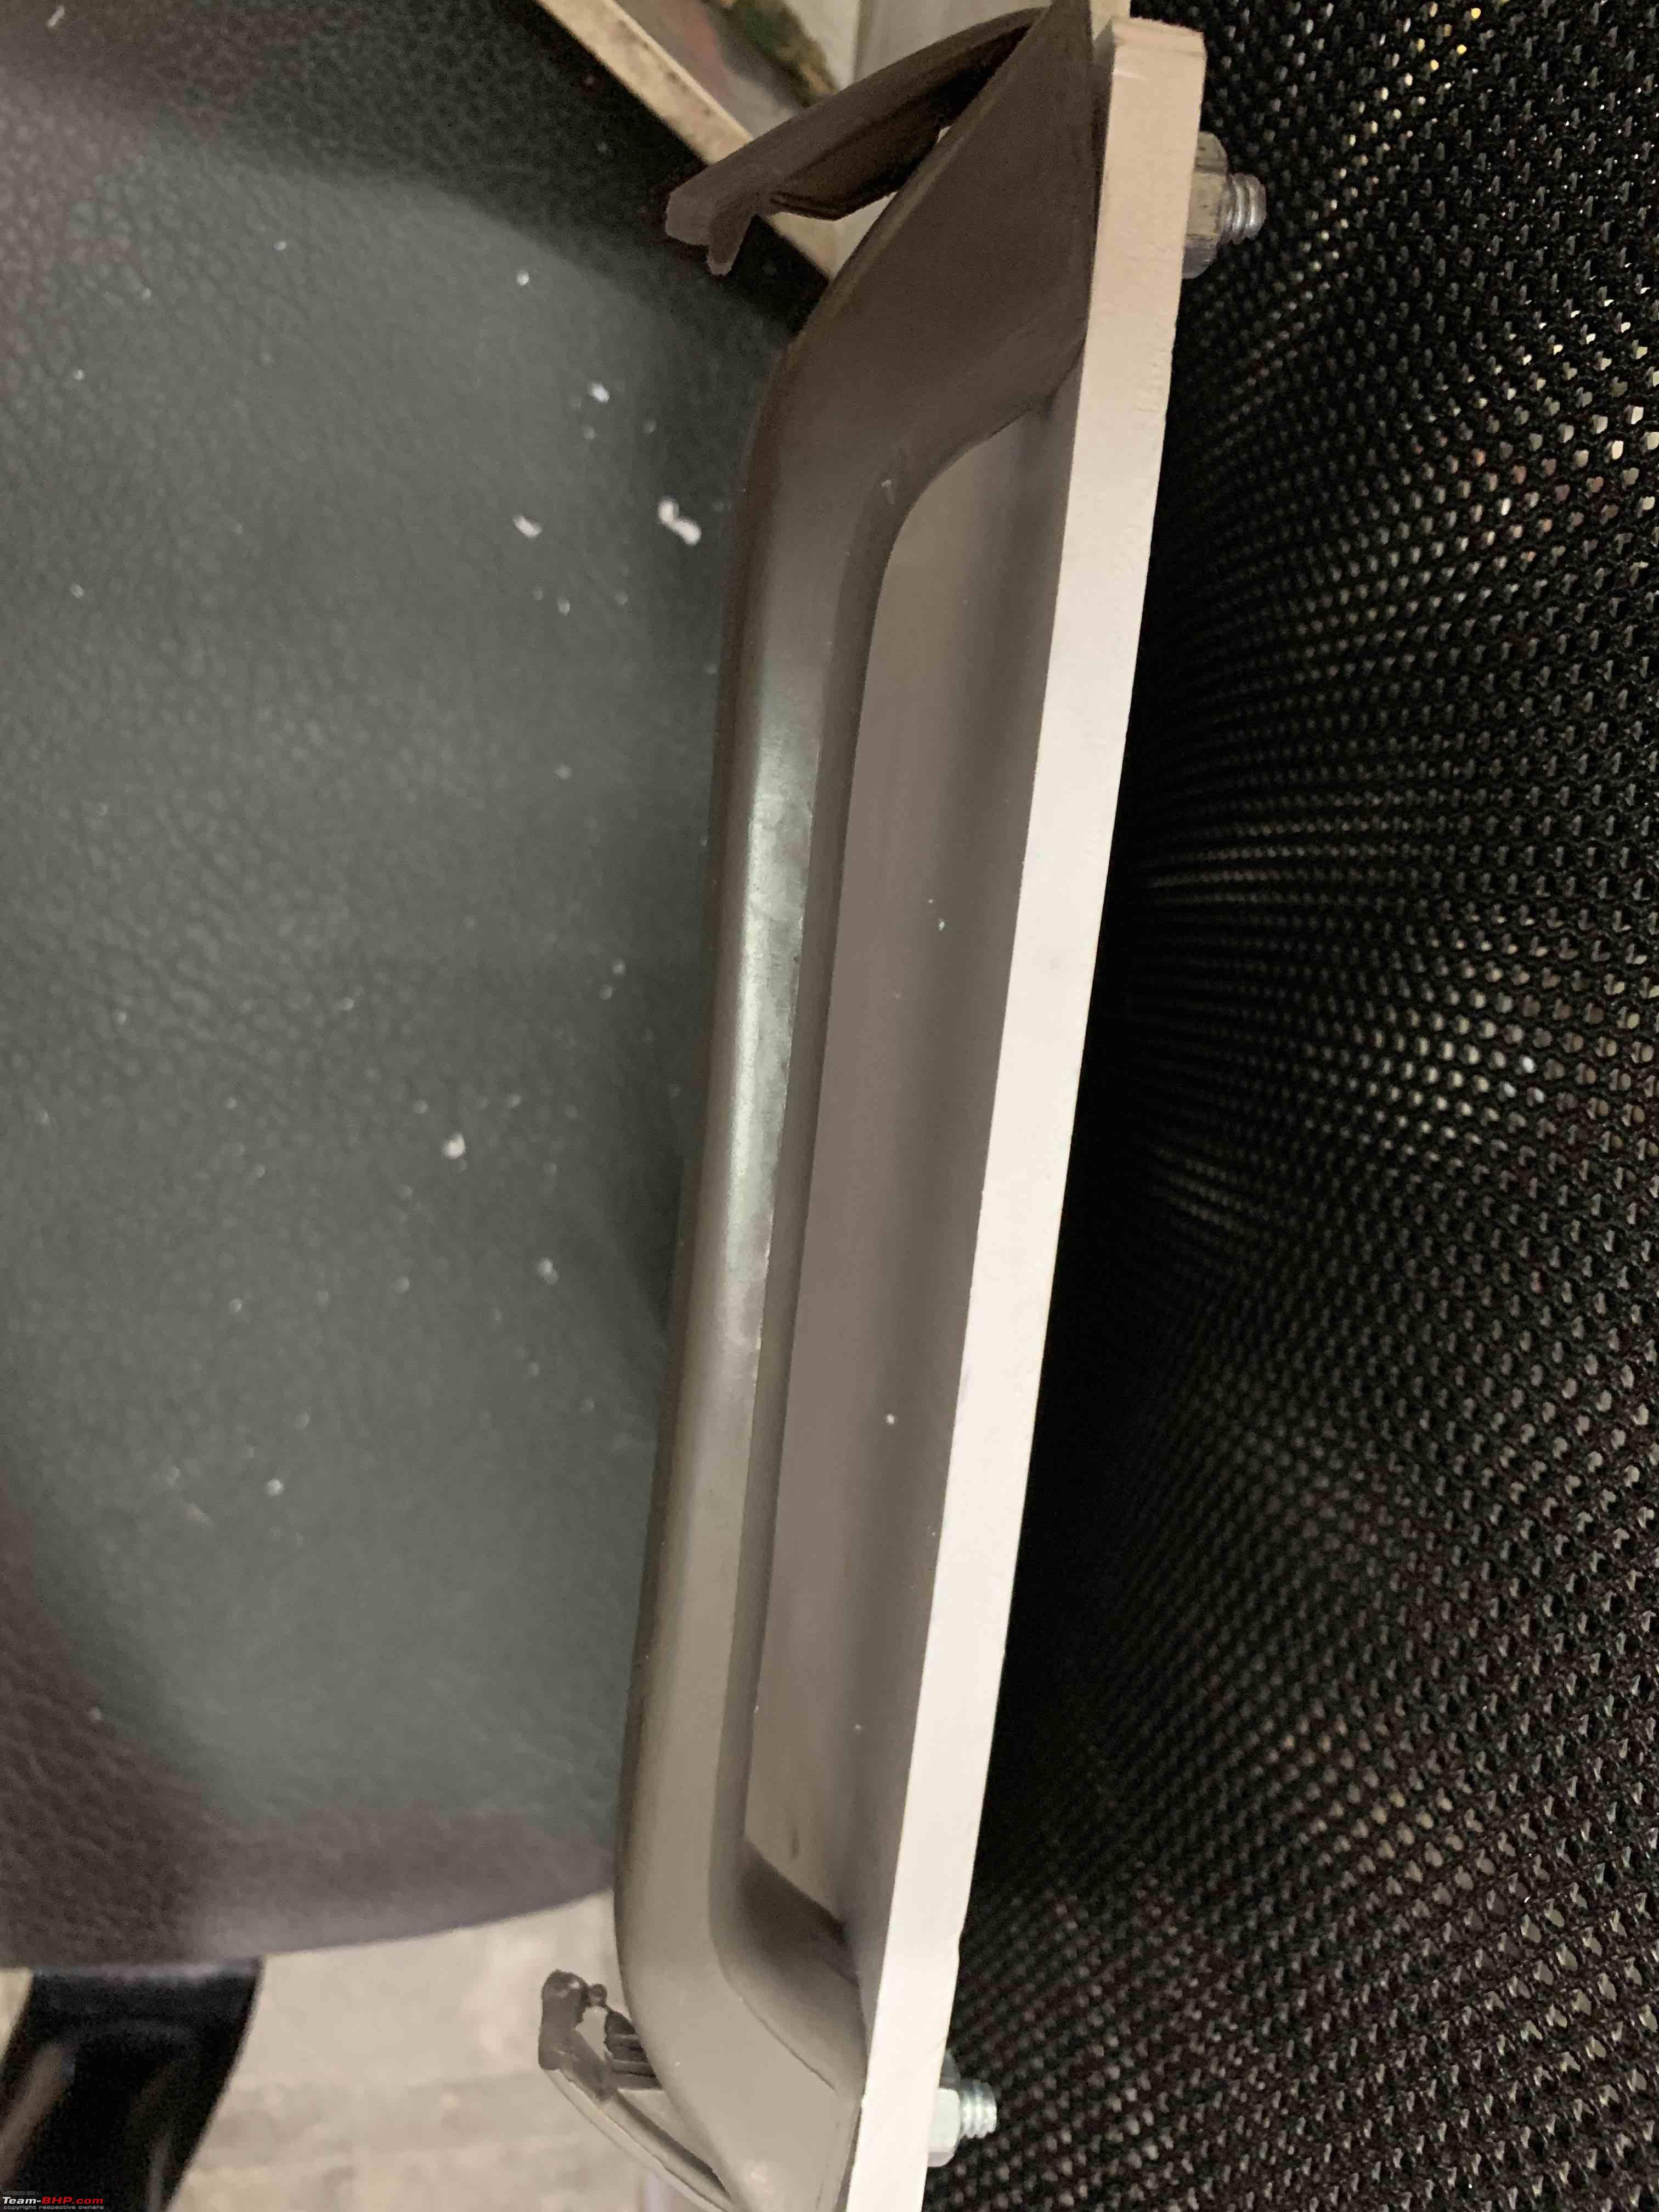
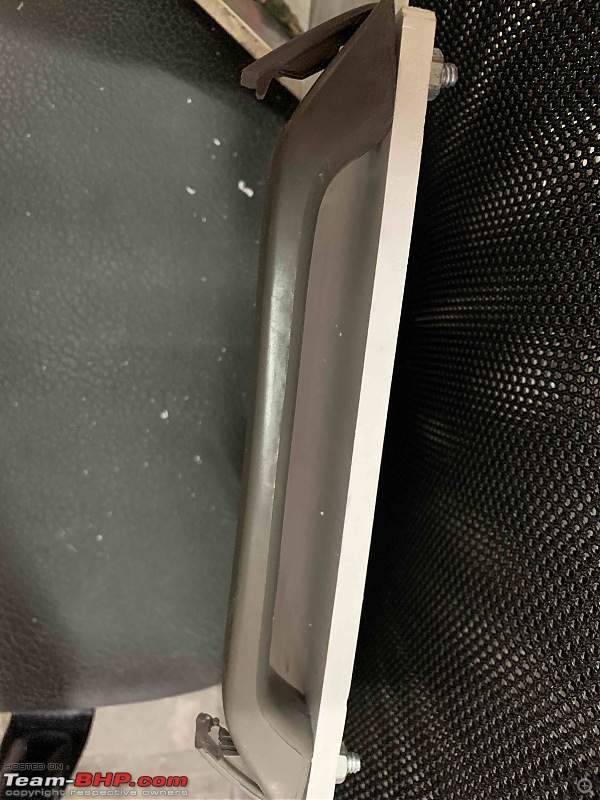
Because I was using the existing door handle, I need to make a slight elevation to fit the door handle back. Even though I didn't need to fit the door handle, I decided to fit it because I would have misplaced it if I had kept it in the garage somewhere.
So the board is cut - the holes at the bottom is for fixing this to the door and the top for the handle:
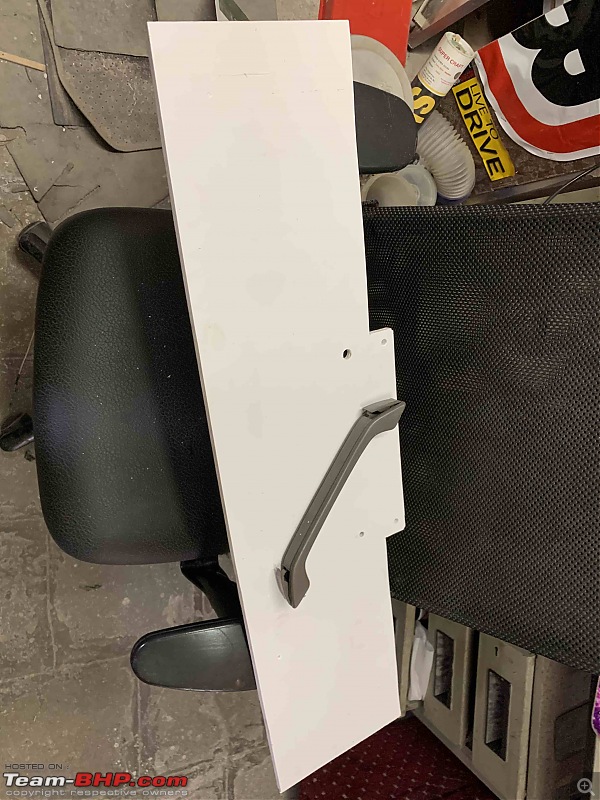
Handle Fit:
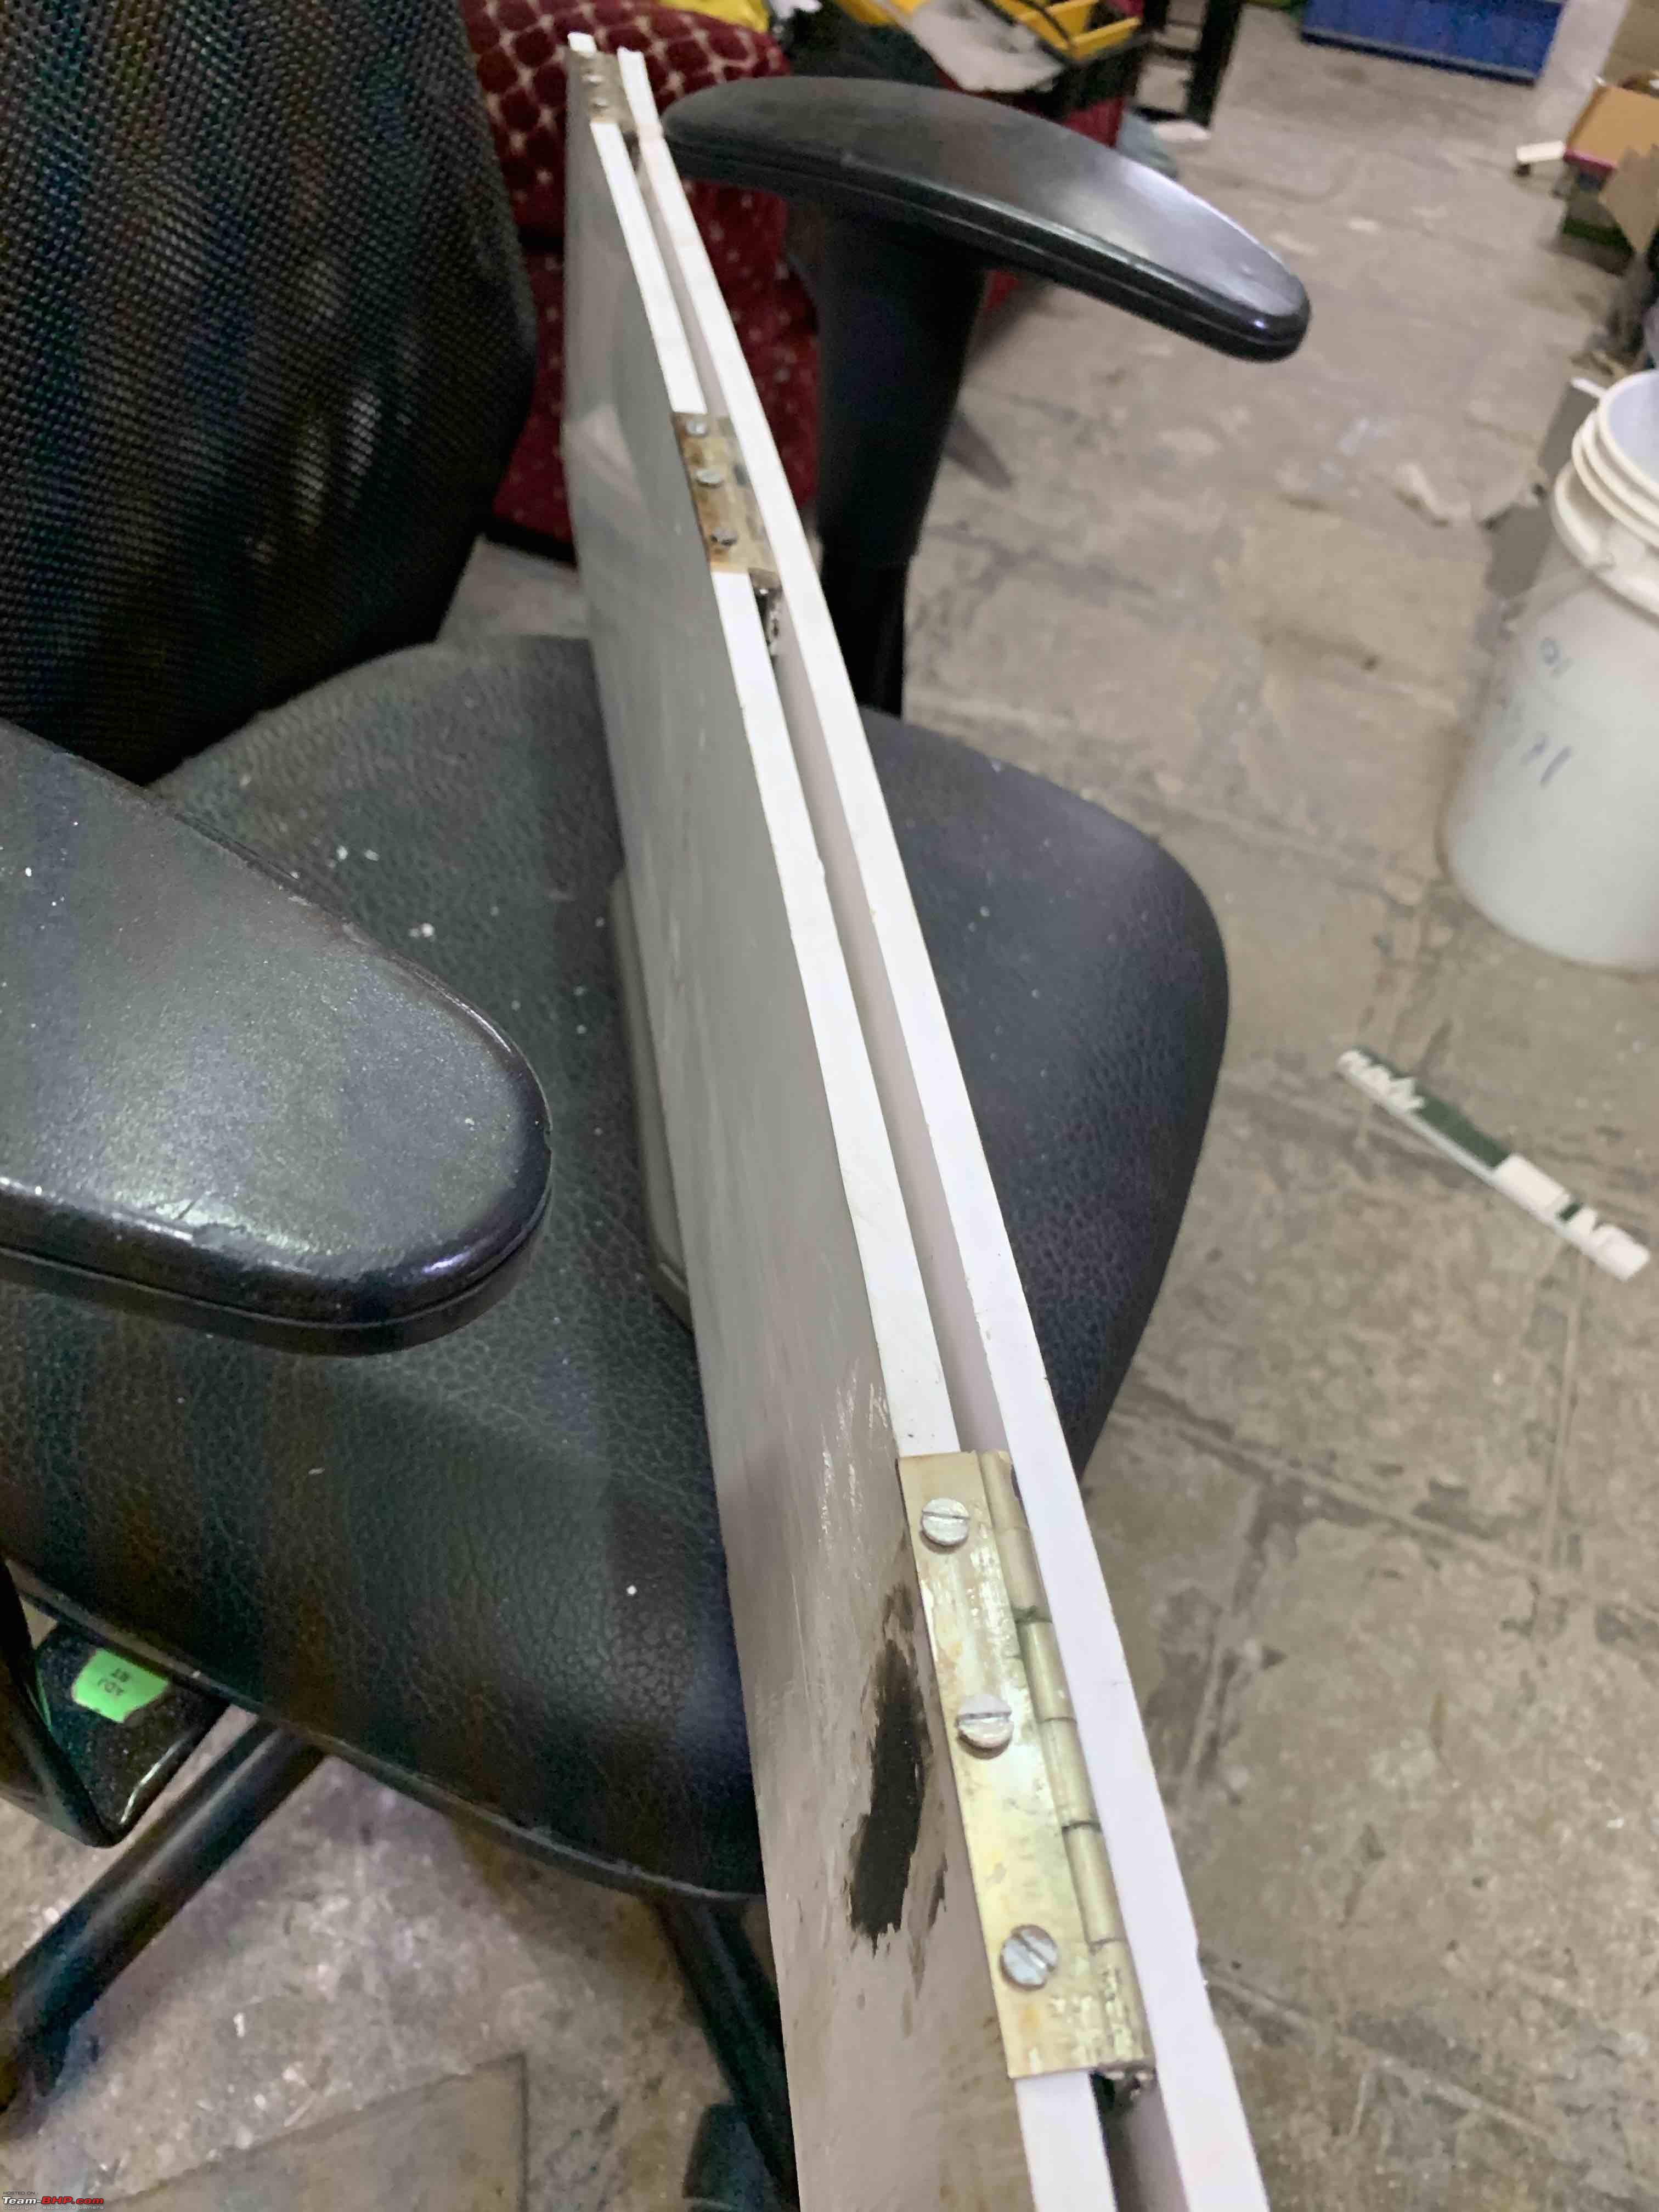
The "desk" part of the board also cut:
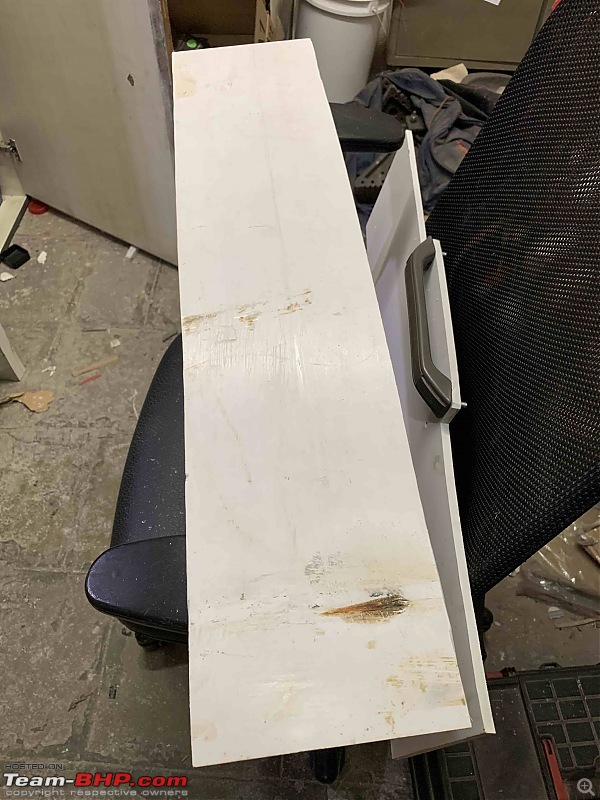
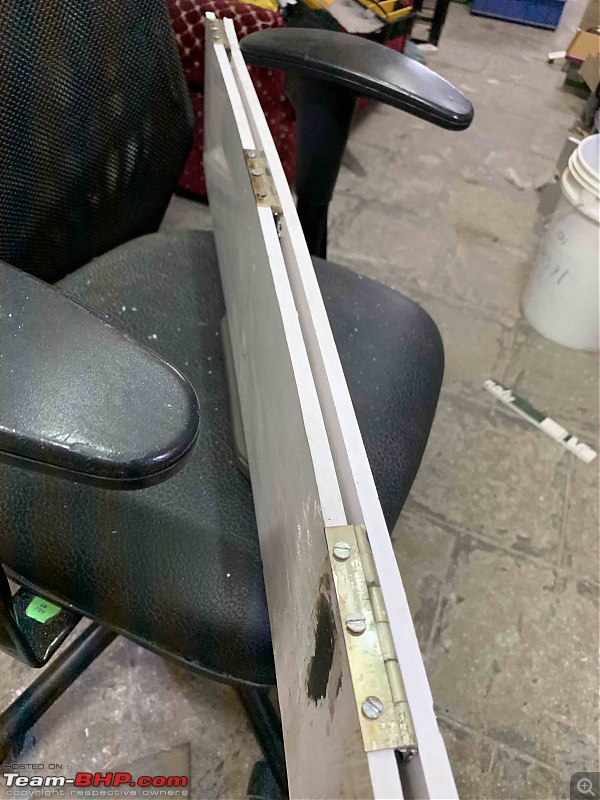
Hinges attached:
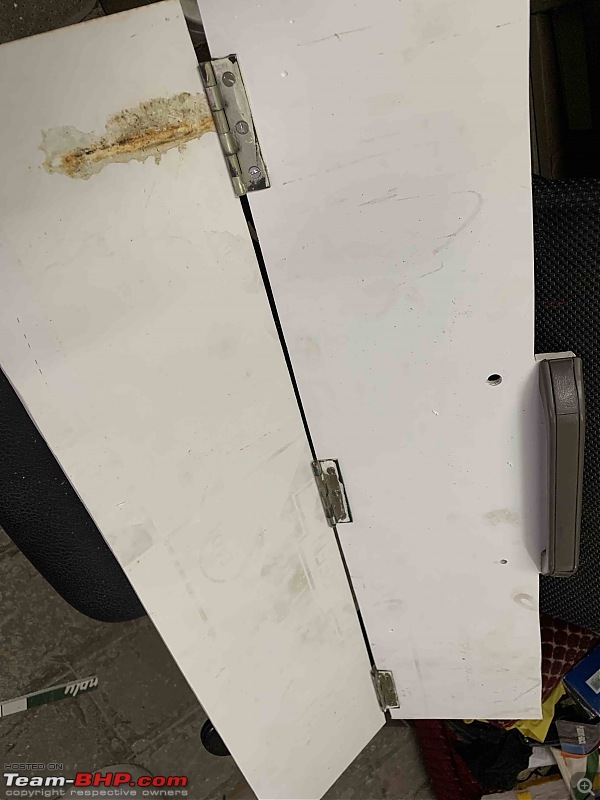
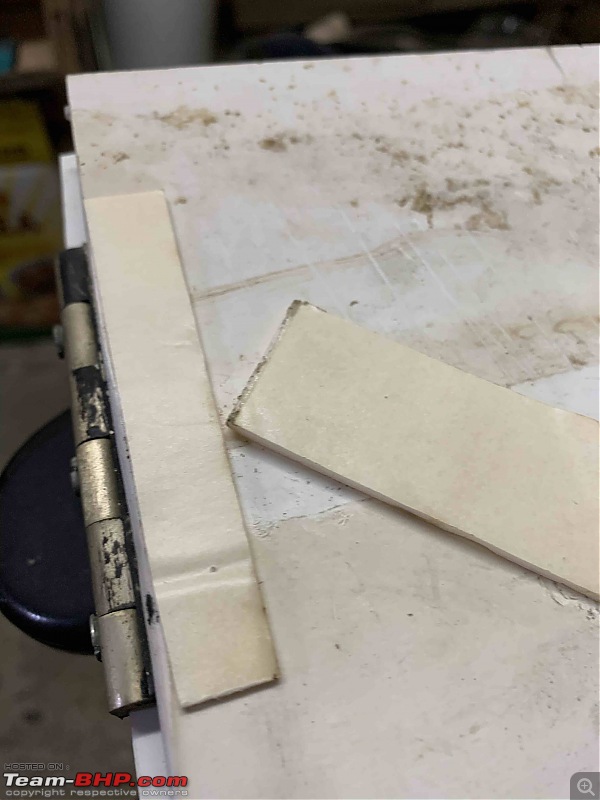
I didn't have very small screws and the tips came off the back. So used double sided foam tape to cover the sharp tips. The foam would also cushion agains any rattling with the door pad:

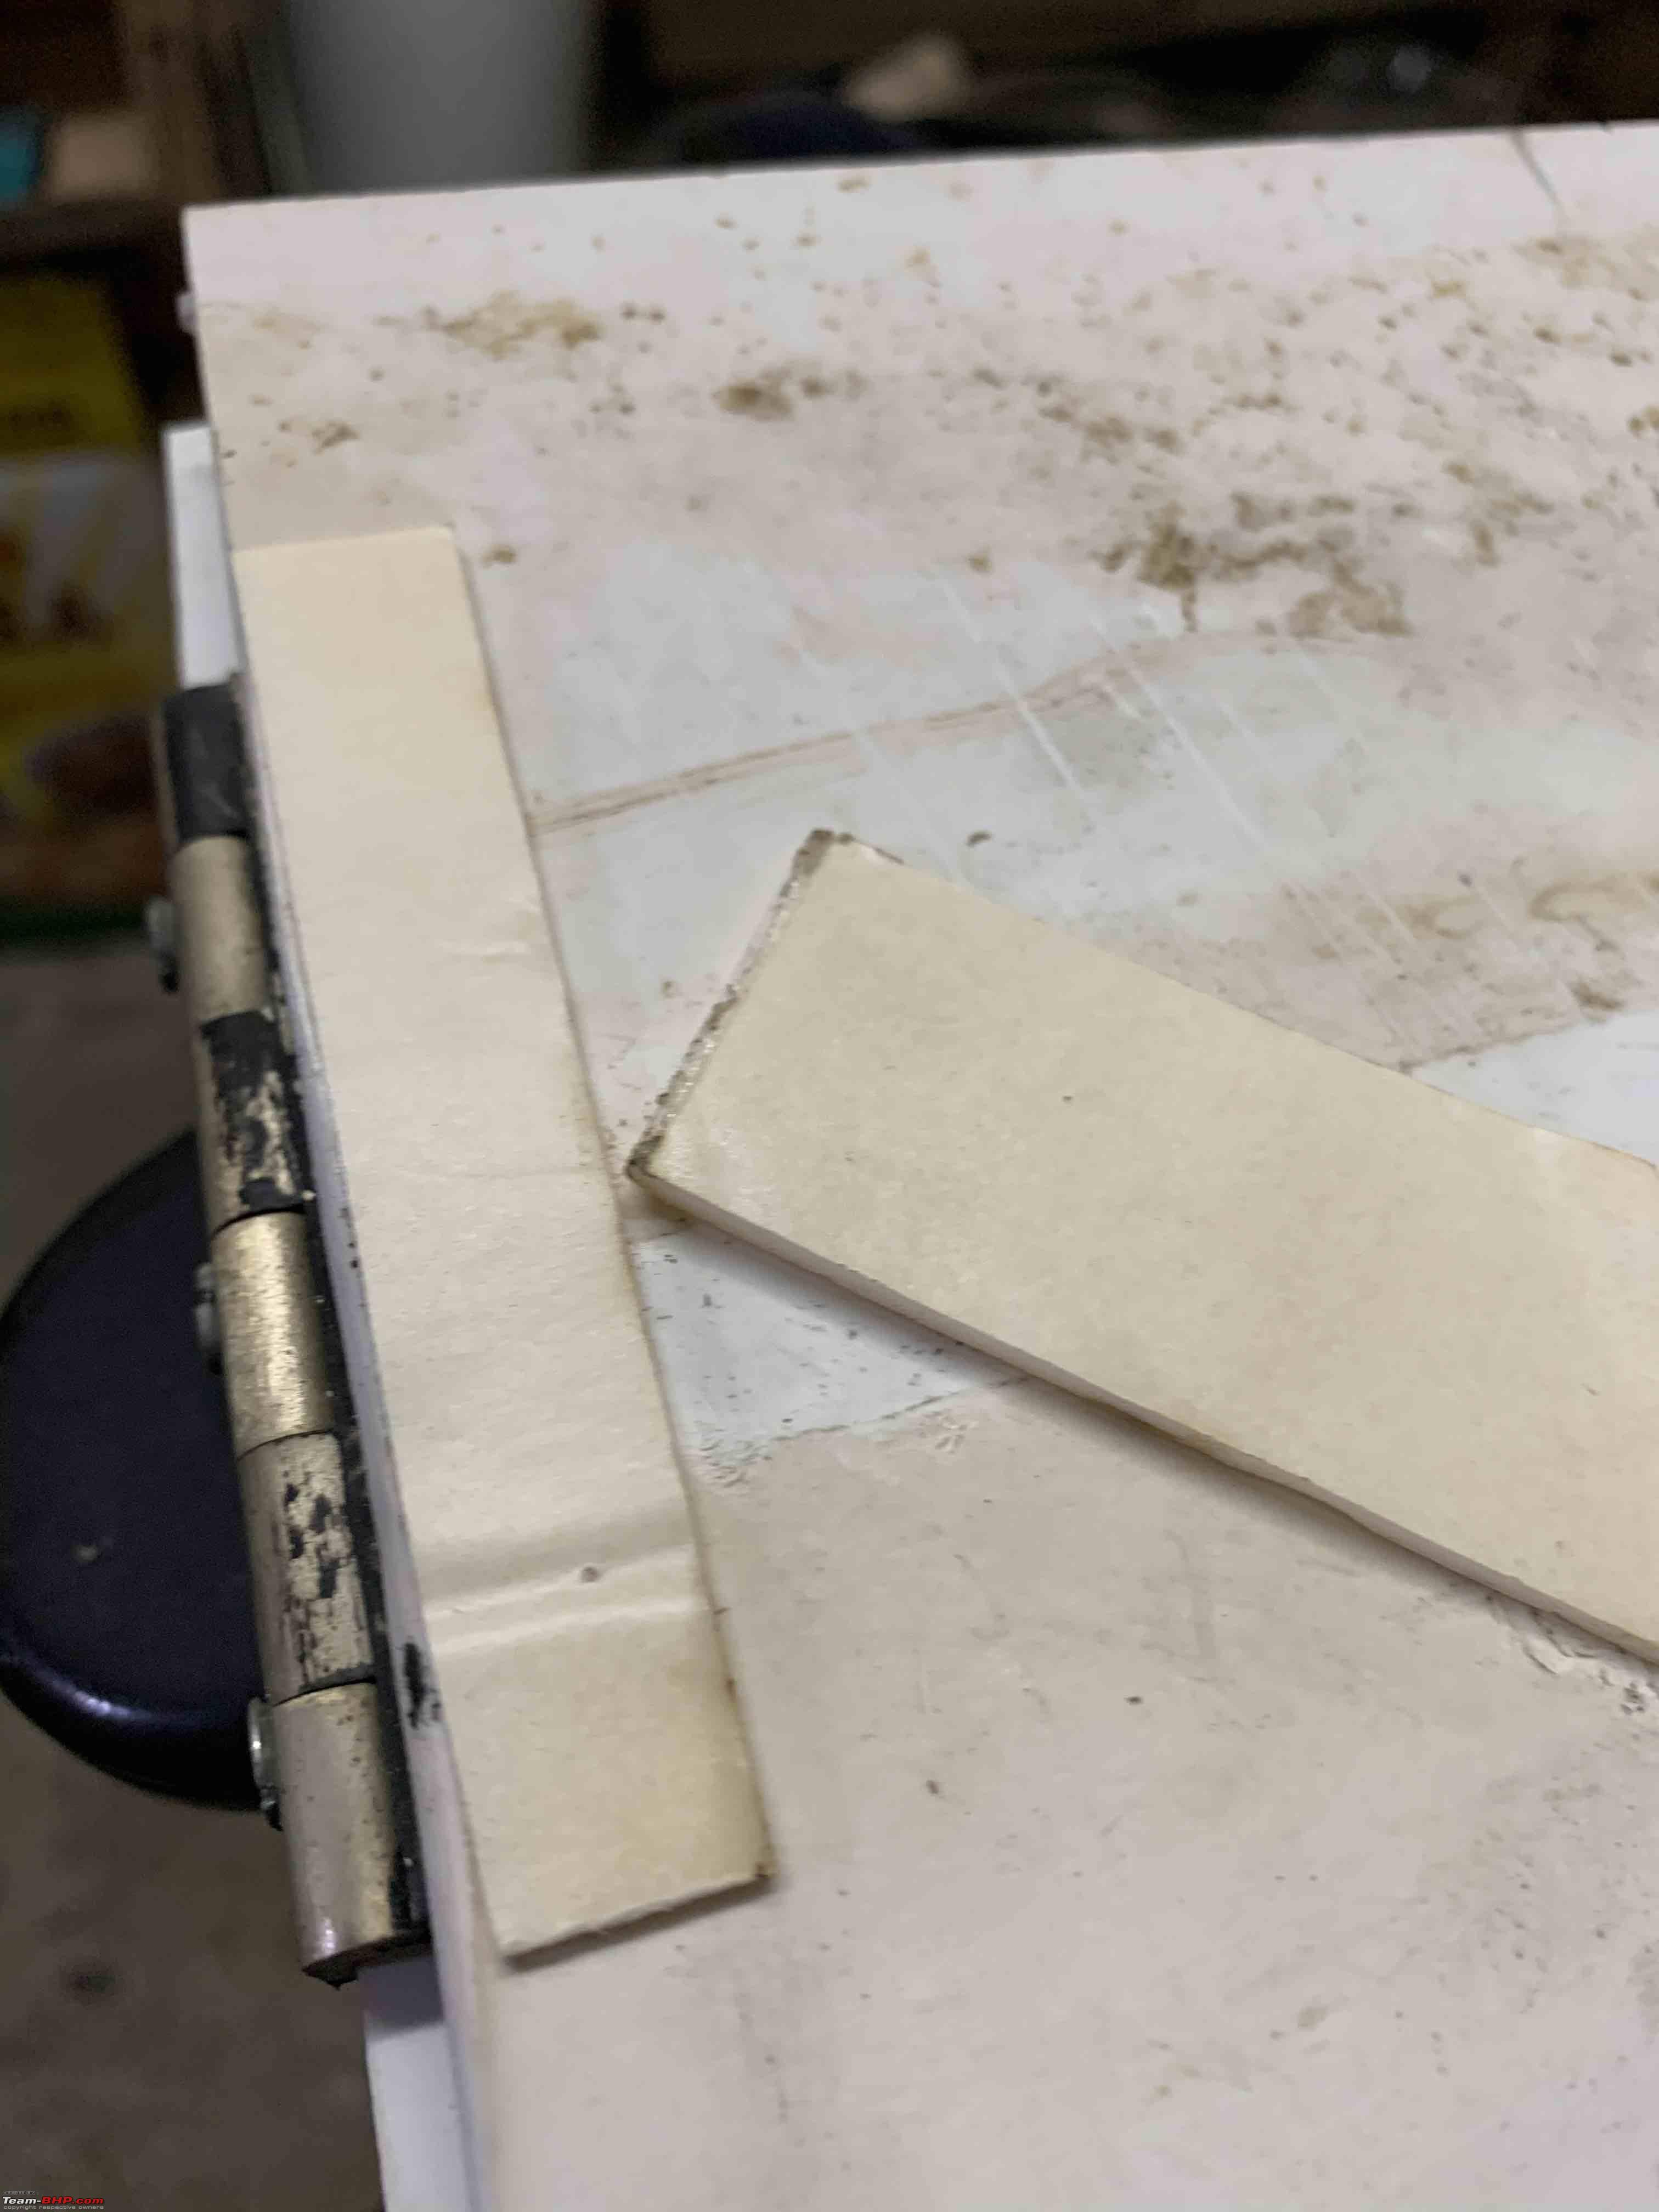
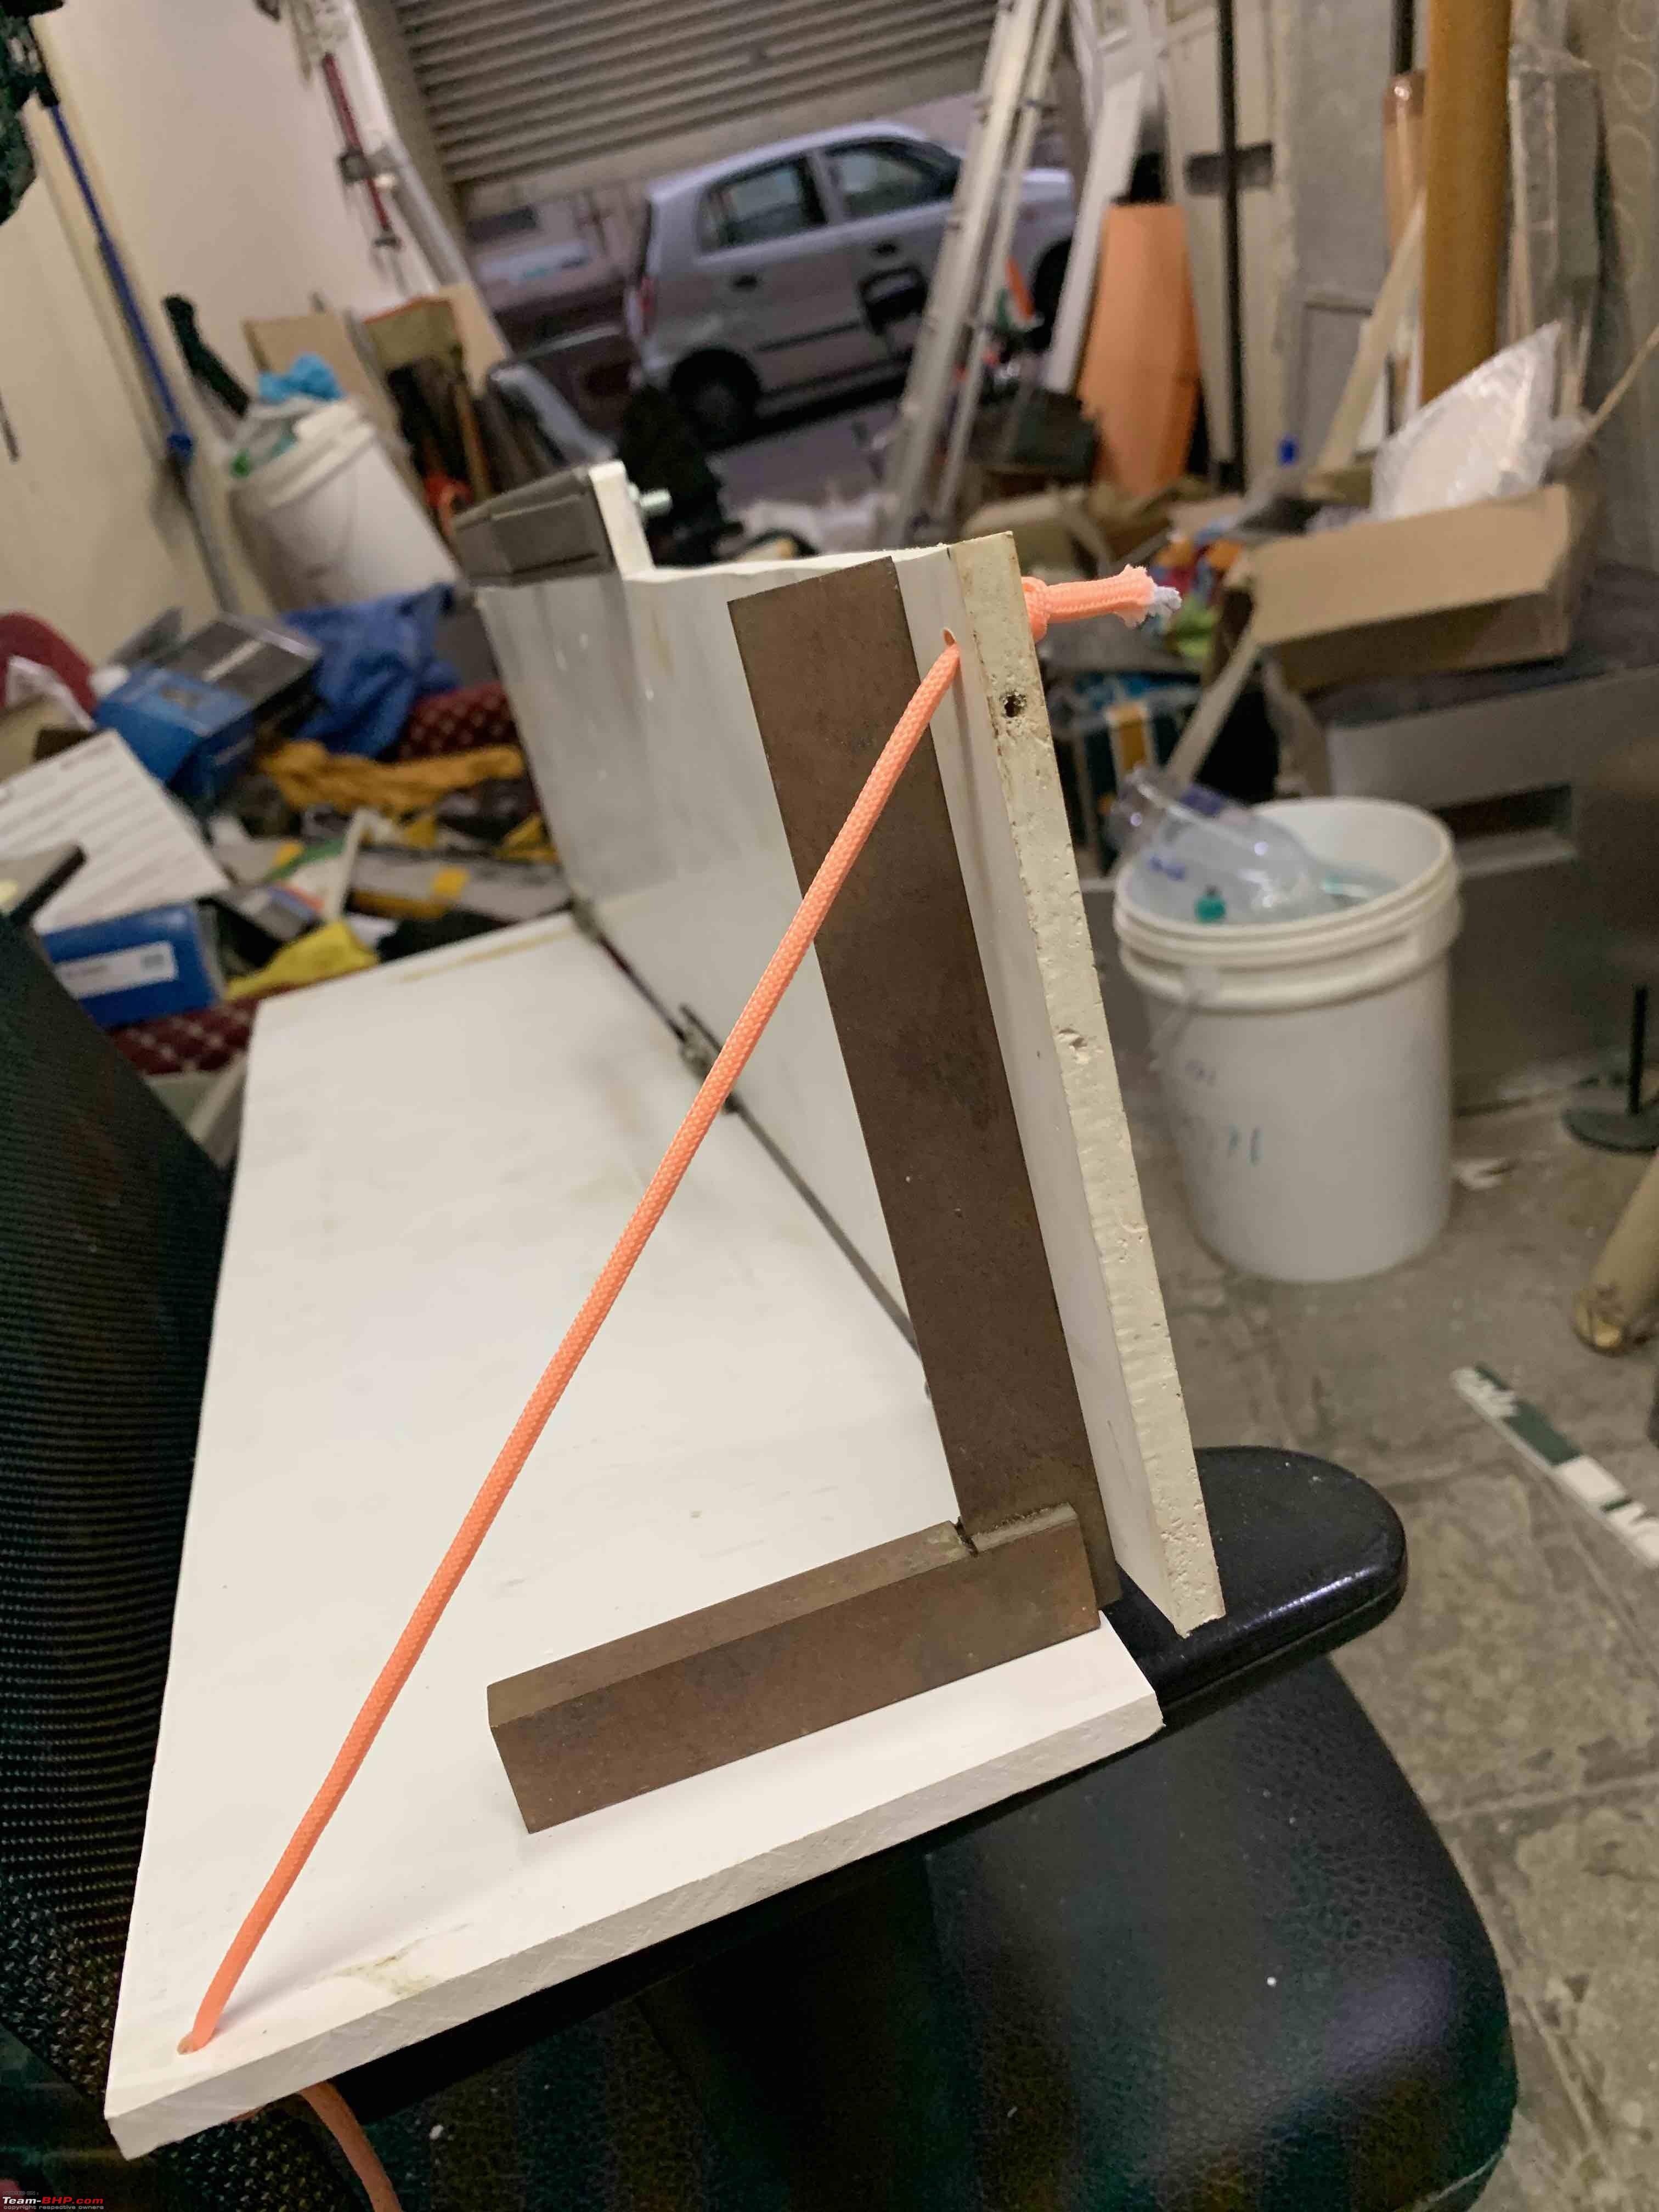
Then made holes for paracord to keep the "desk" portion at right angles - use a carpenter's 90° guide for that:

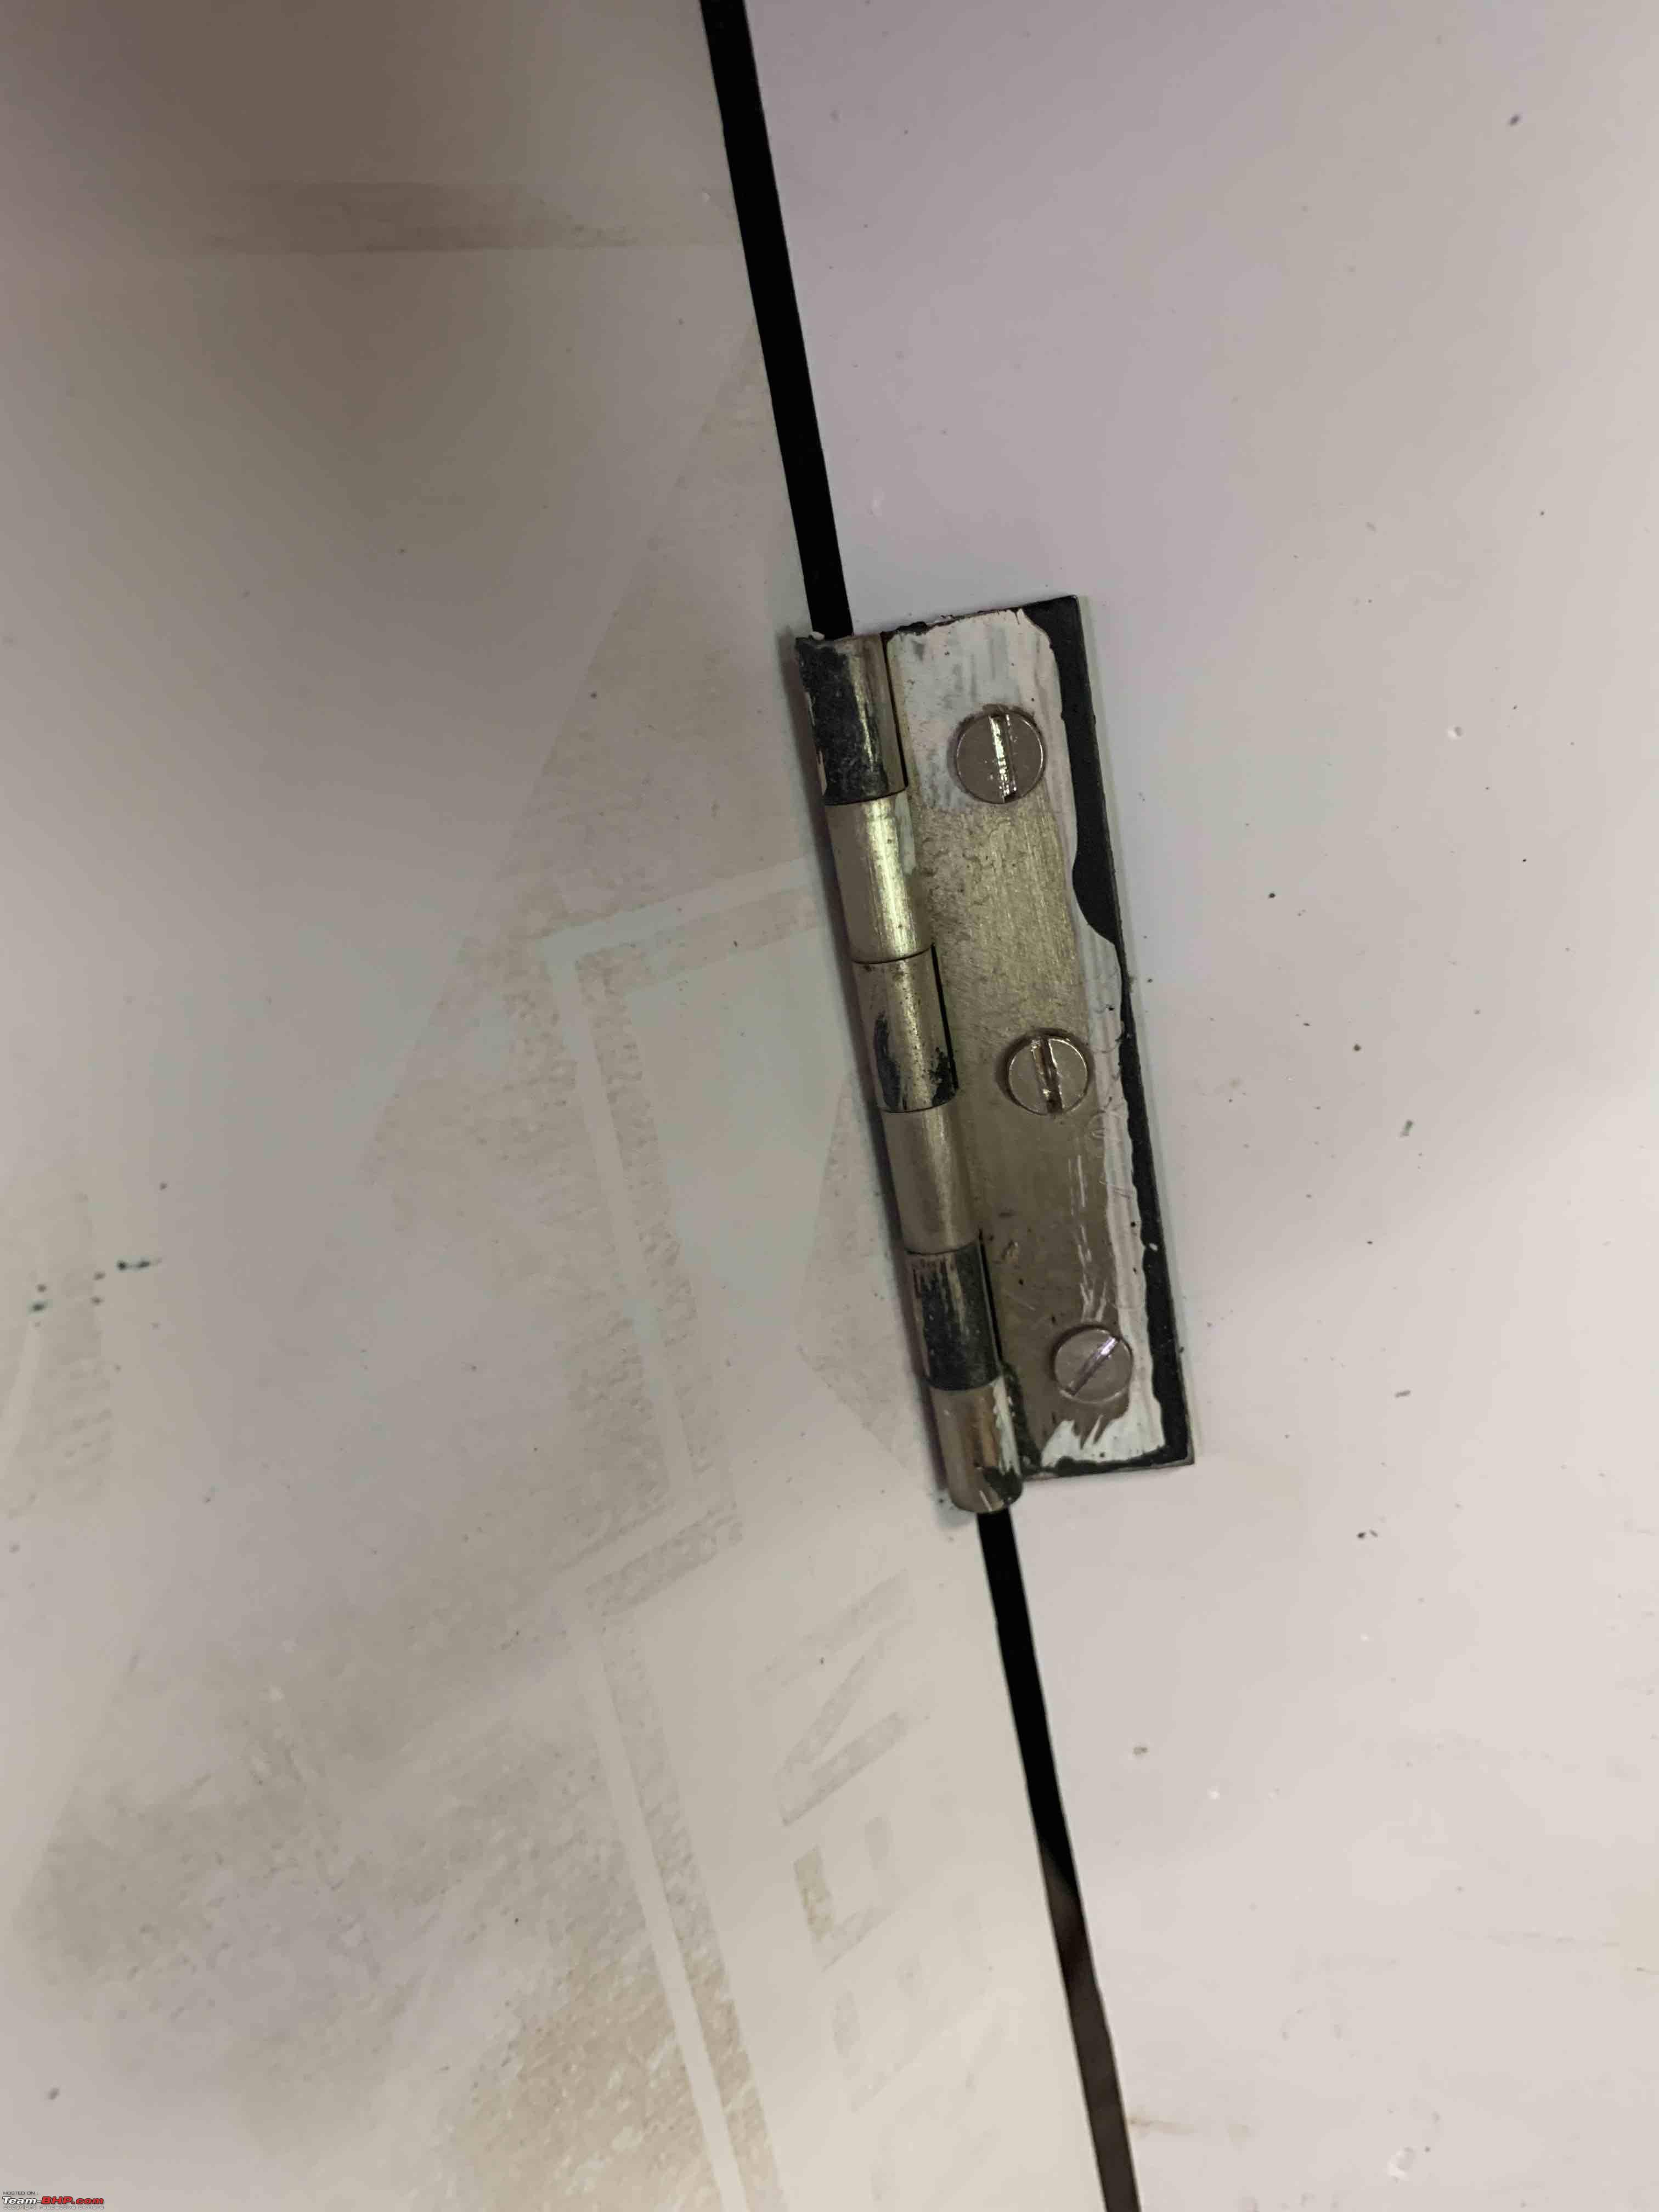
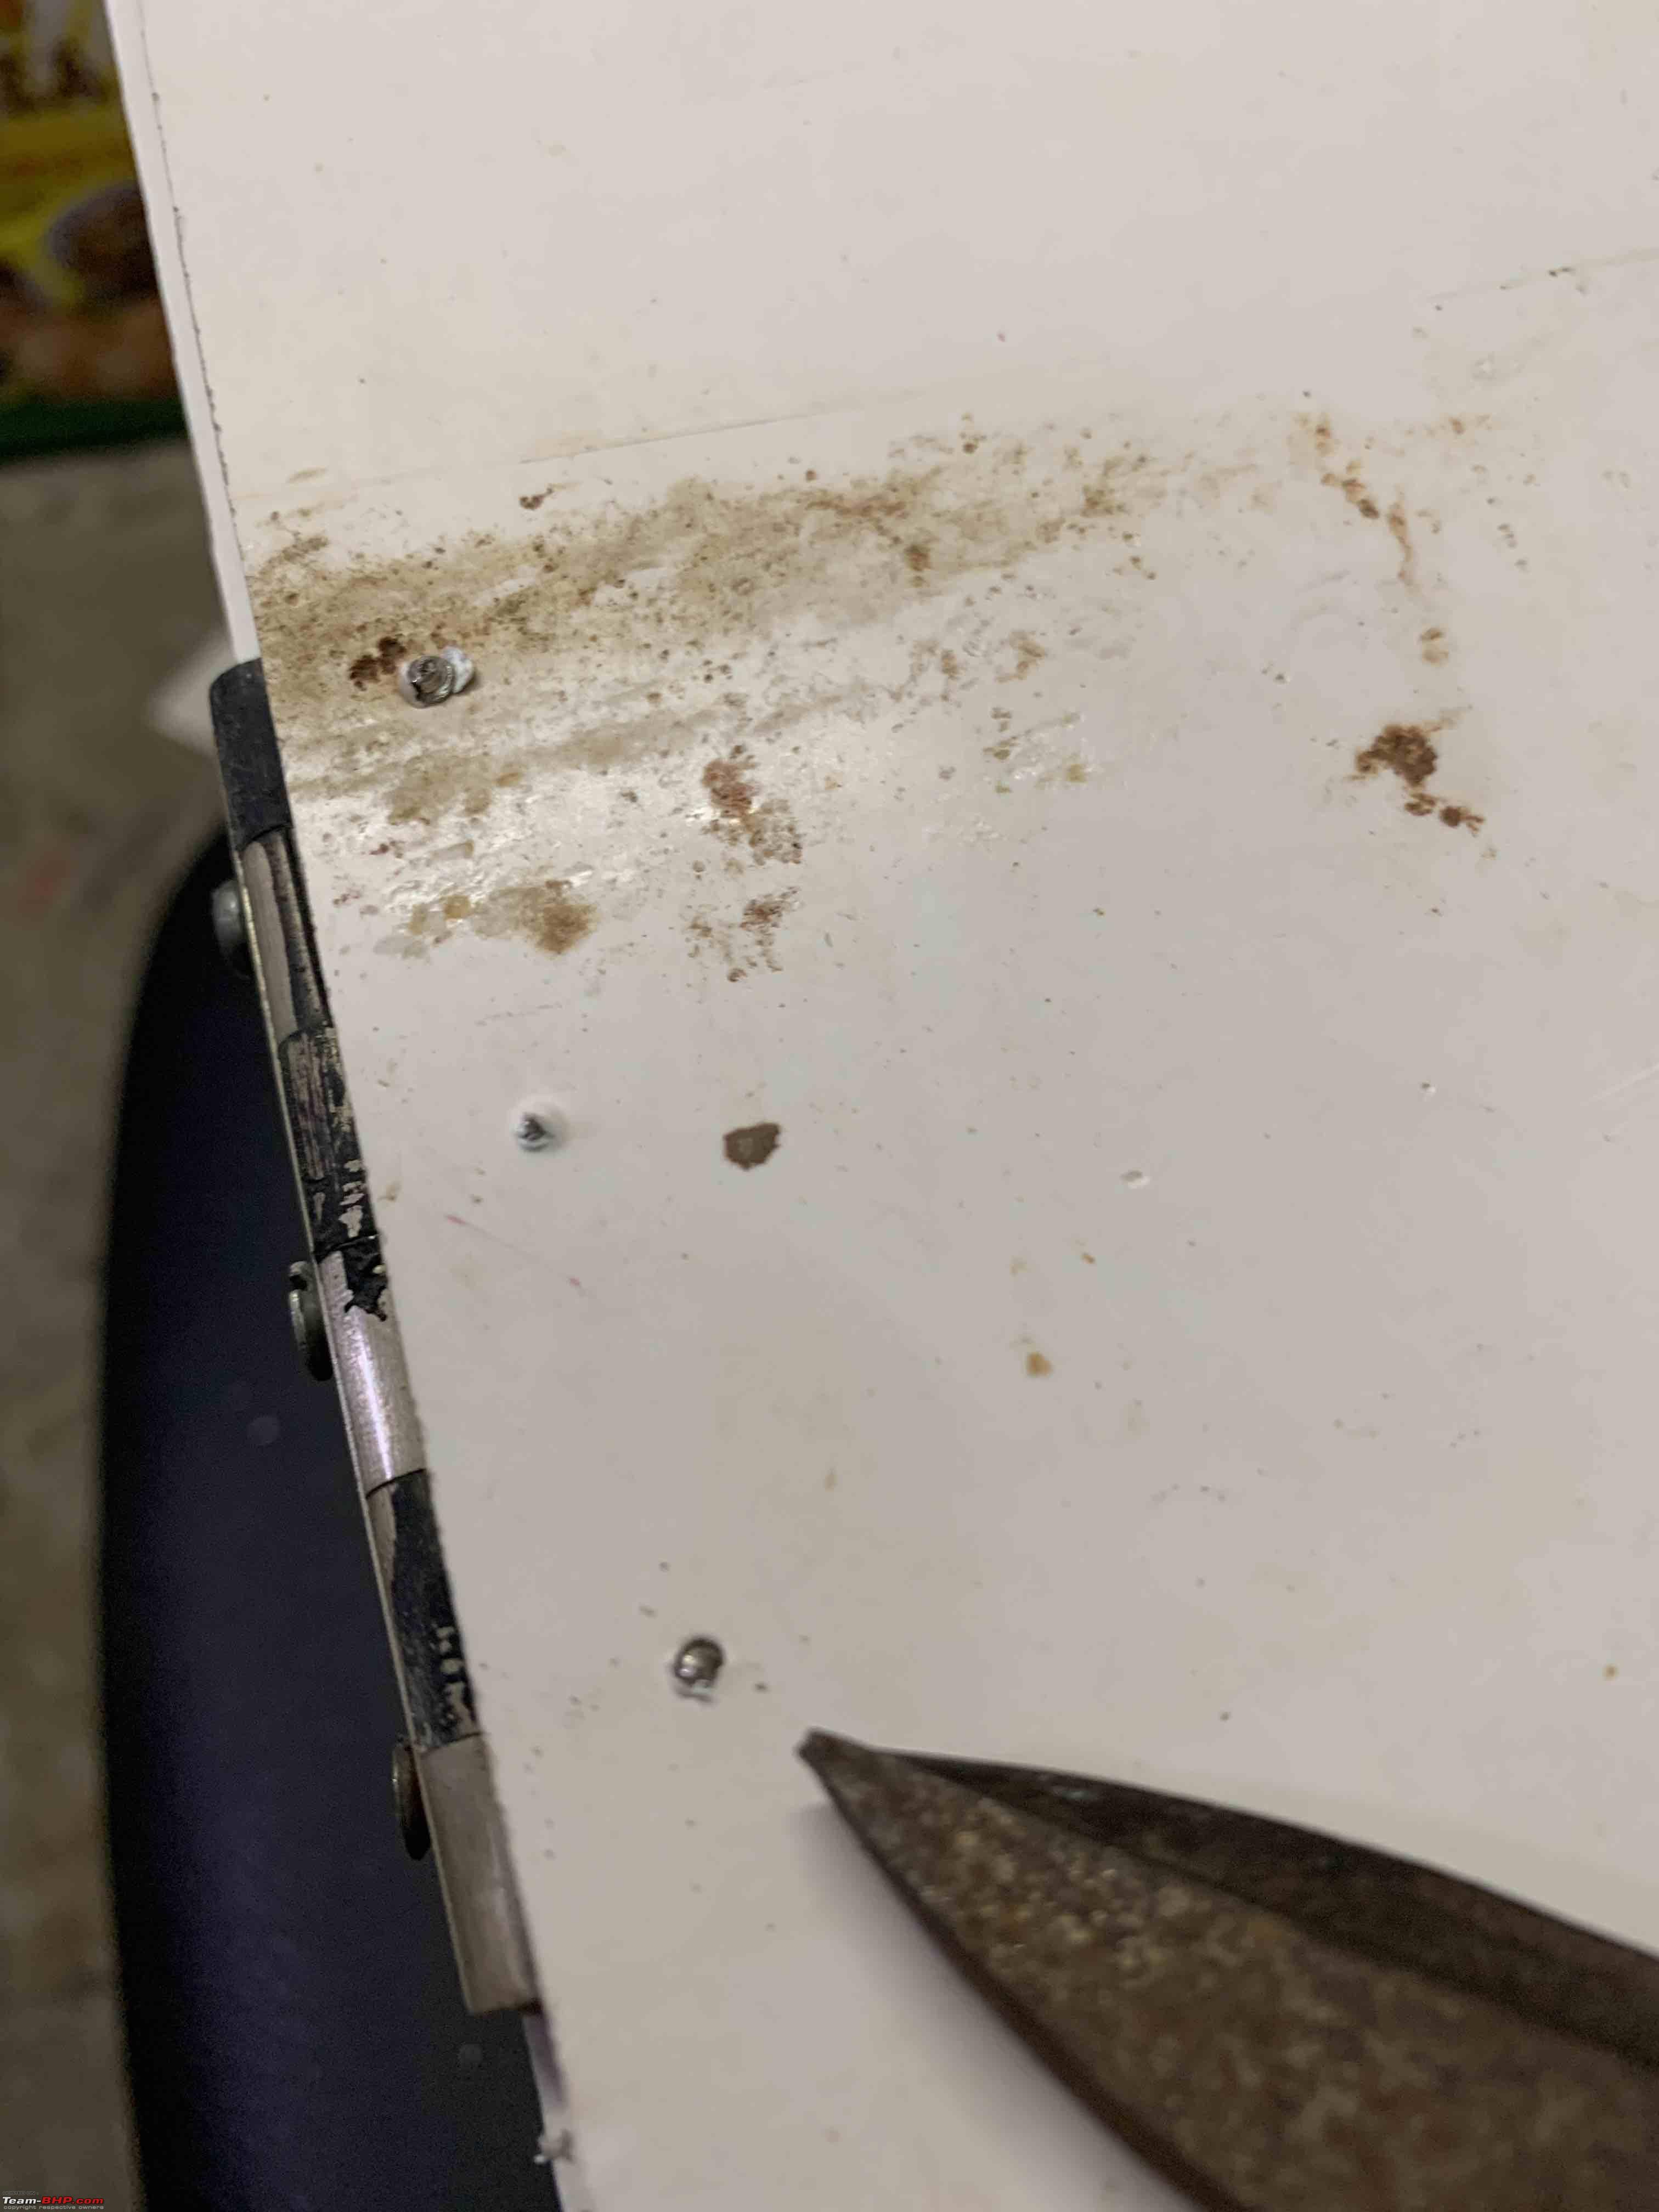
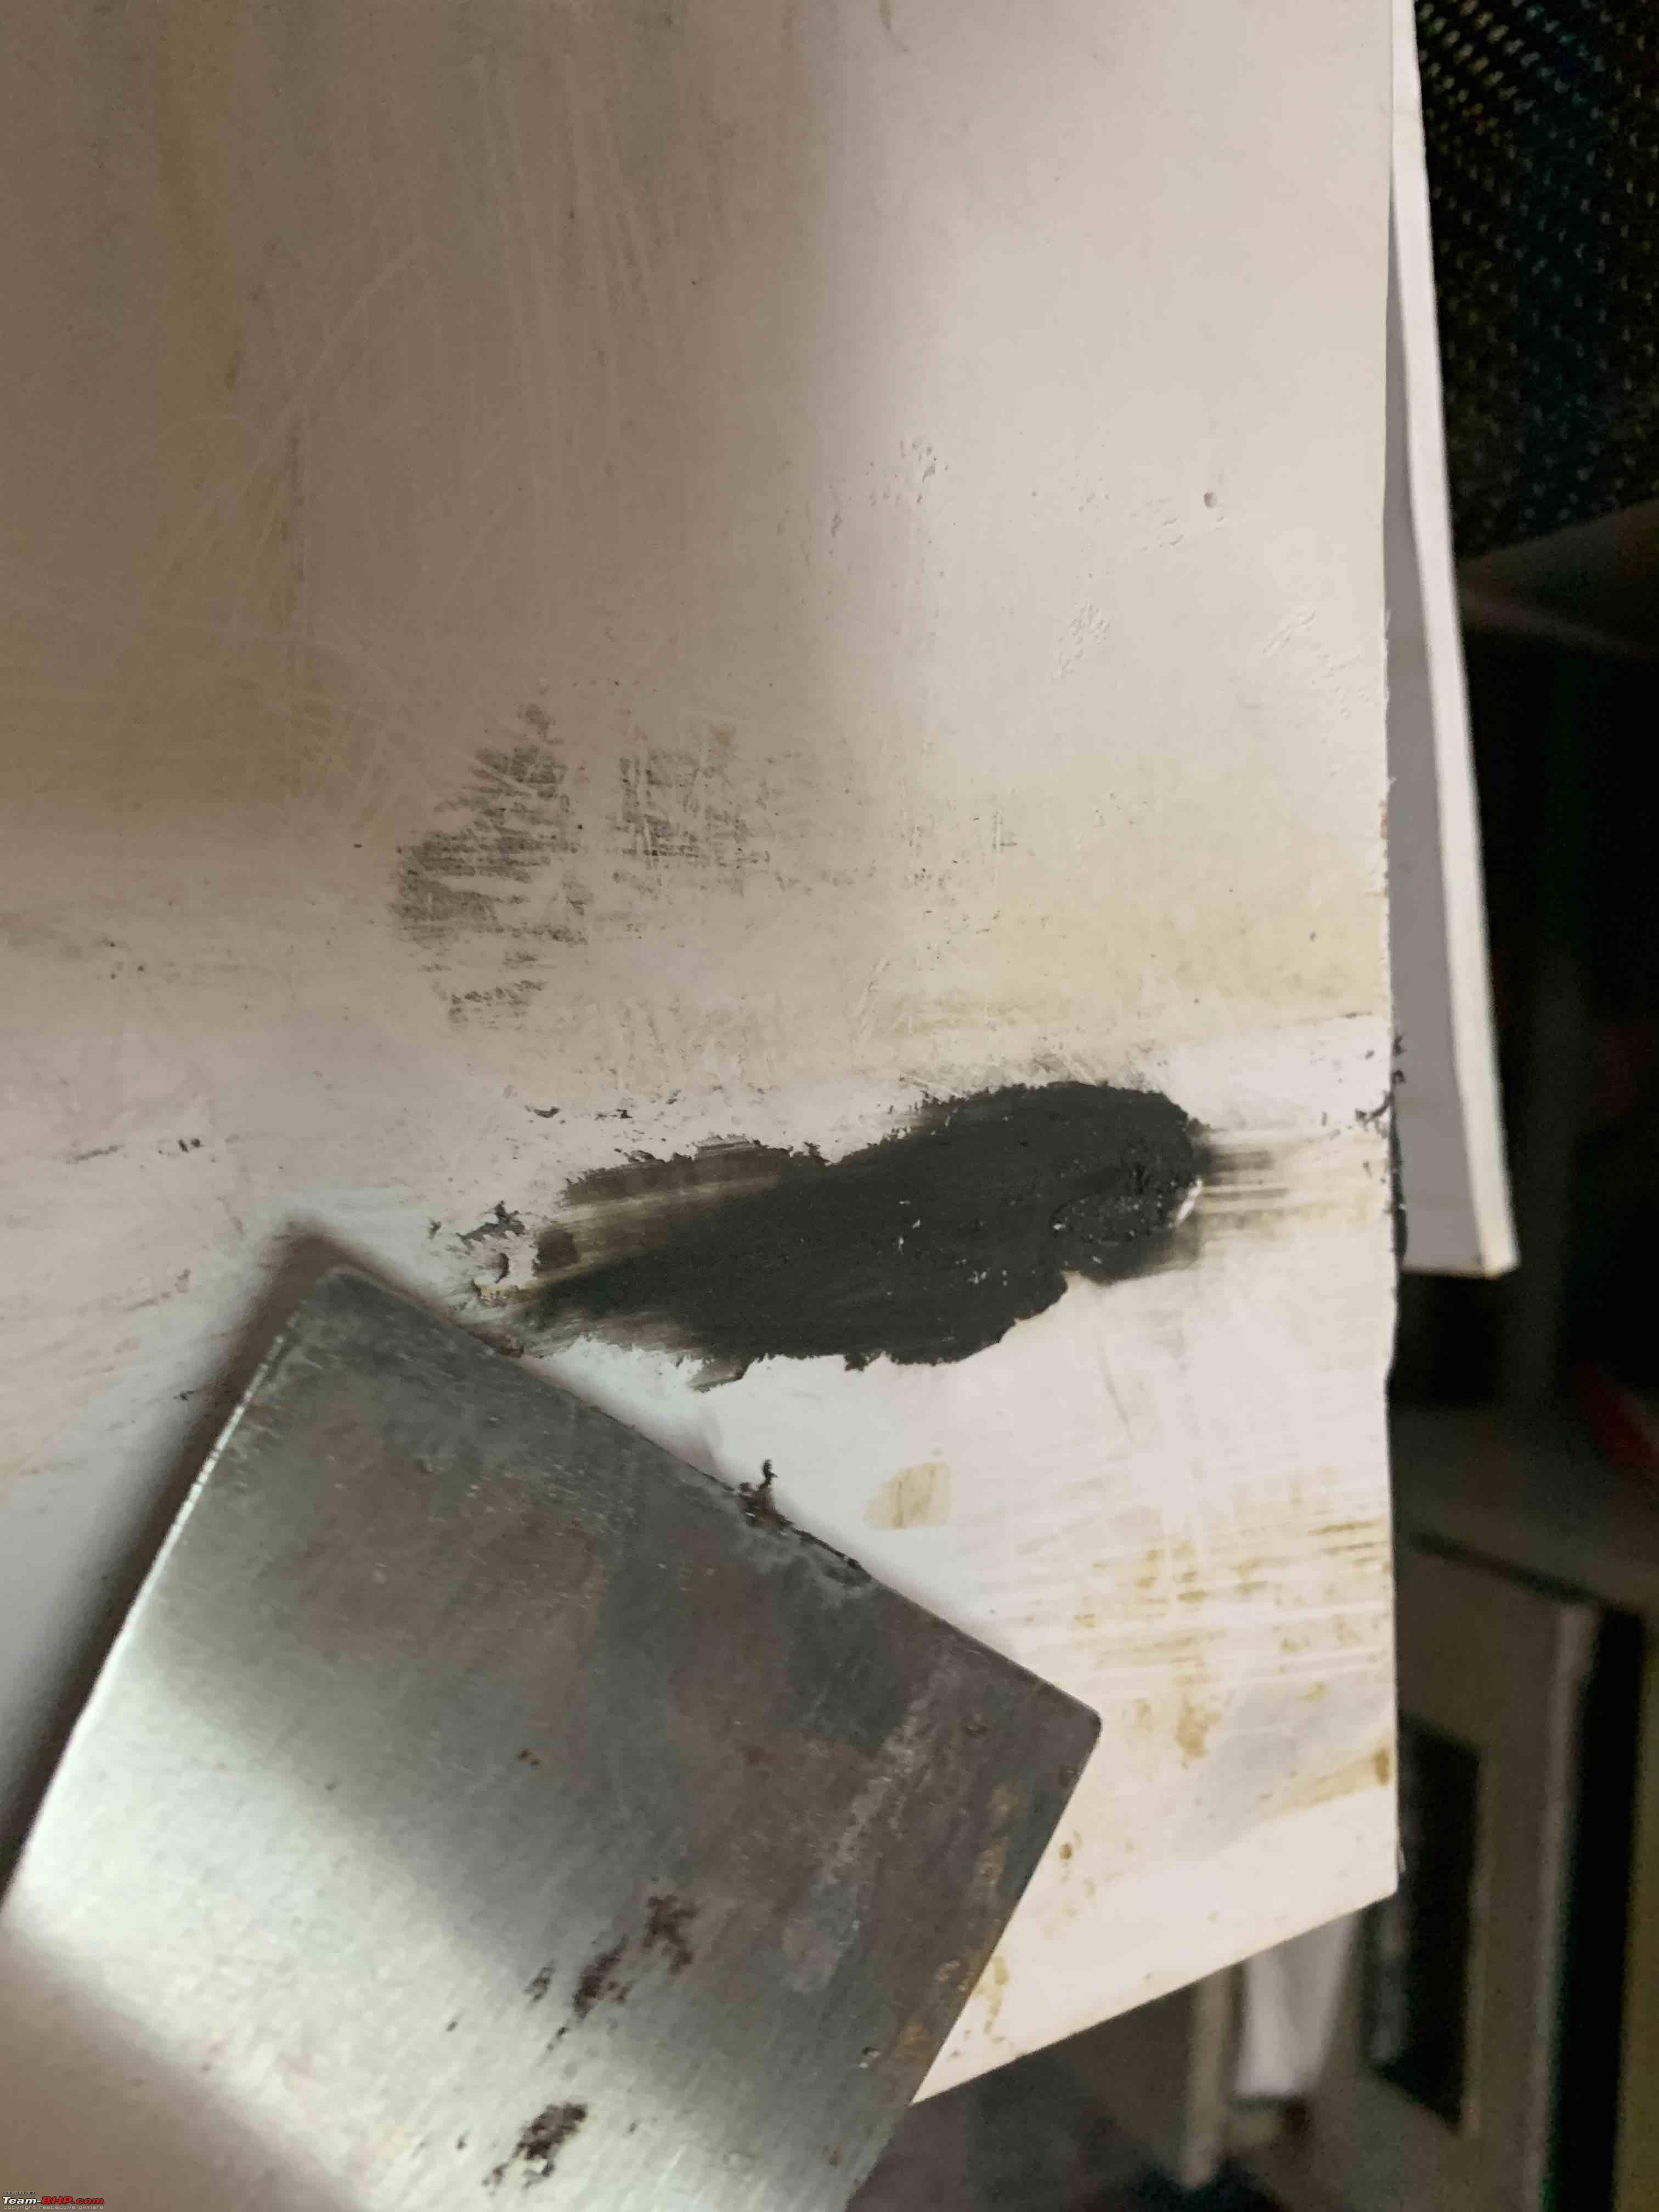
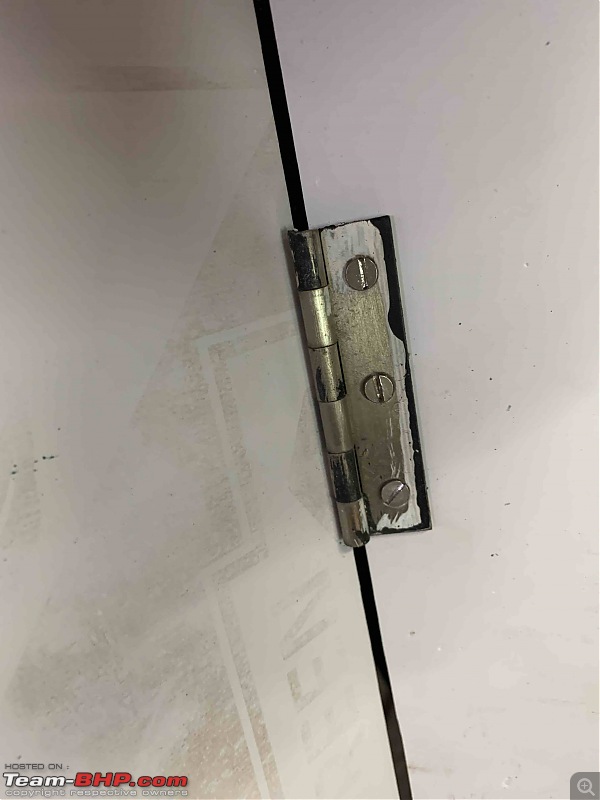
As you can see, these are old boards and near one hinge there was a deep scuffing. Filled that with Mseal:
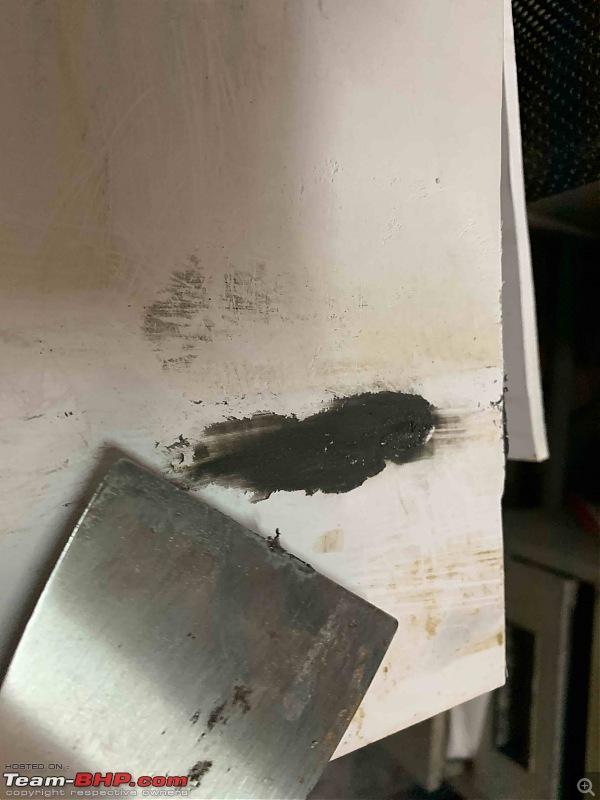
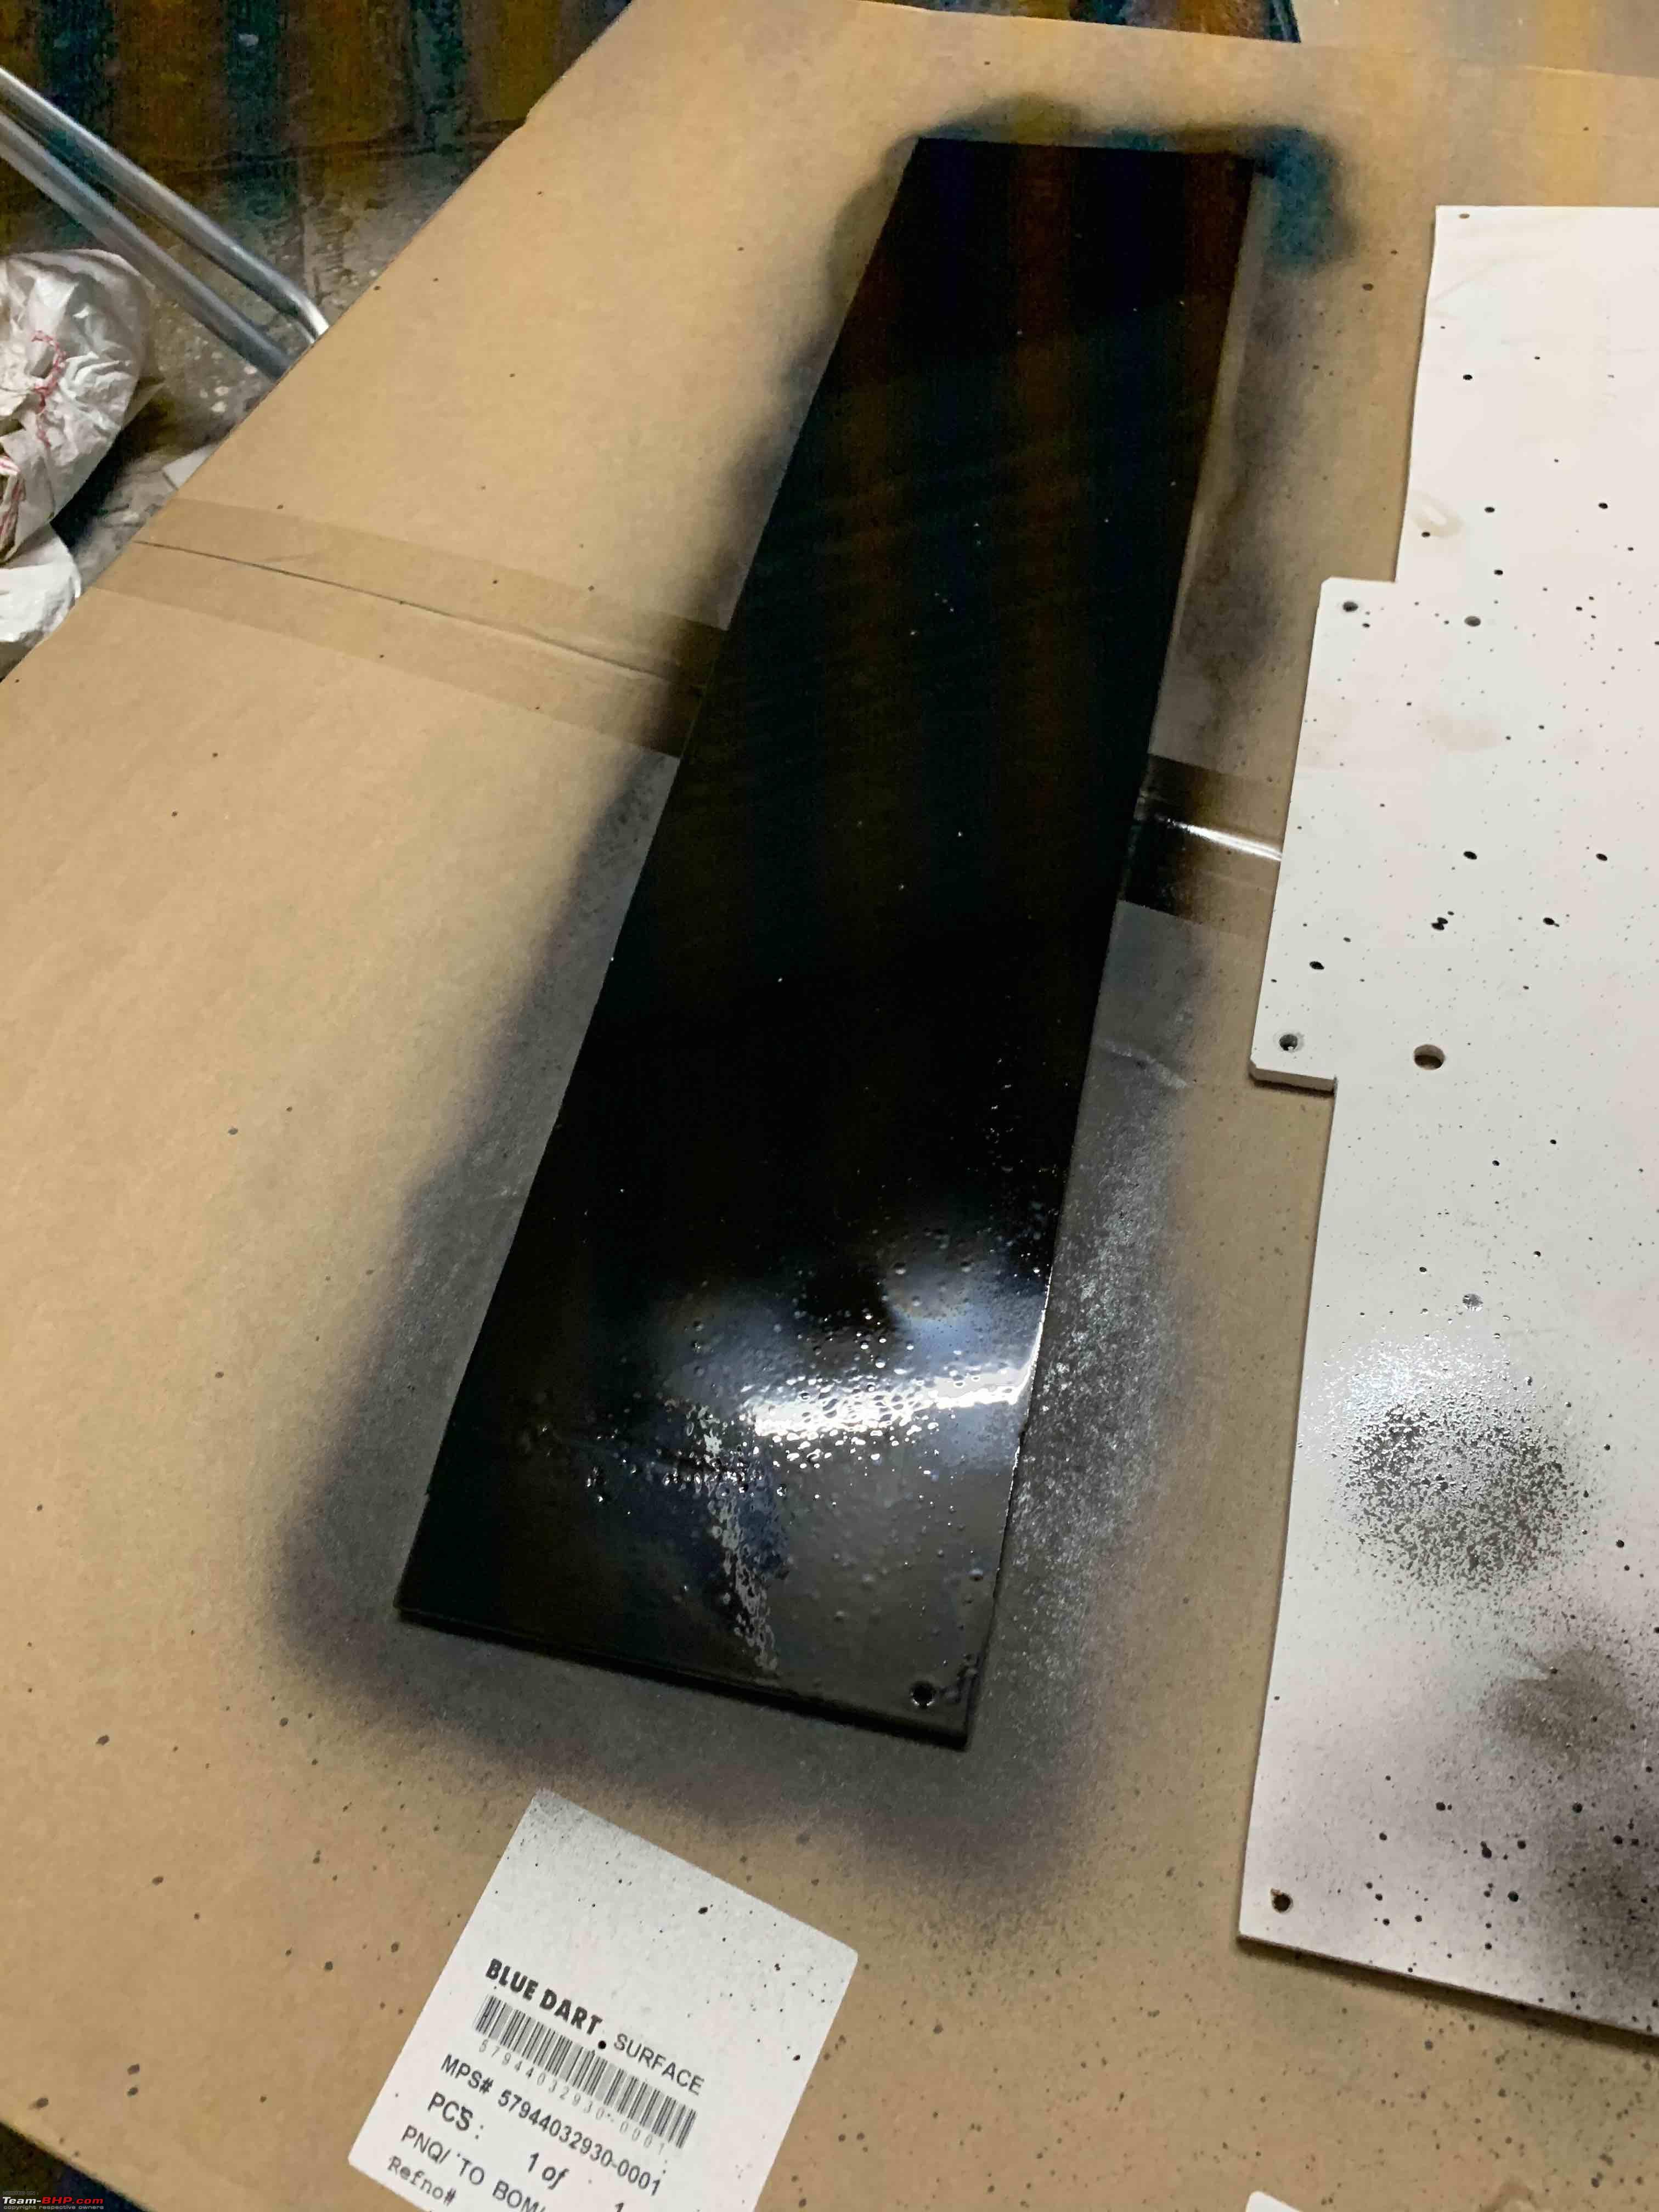
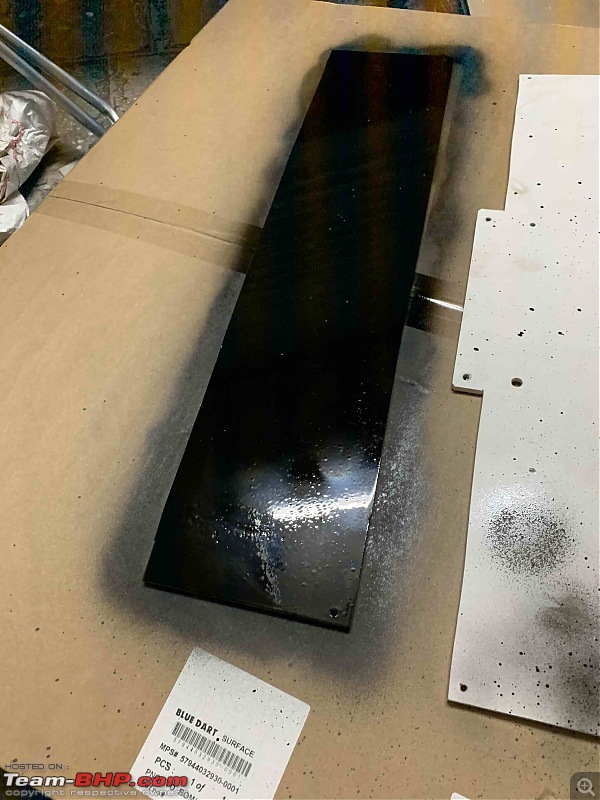
Black spray painted the entire unit:
That's come out quite well. I like how you provisioned to retain the door handle as well. Good work.
Quote:
Originally Posted by Tejas@perioimpl
(Post 4731560)
Another weekend DIY project.
I have a superb Bestek 1000W invertor purchased from Amazon UK.
|
How's the performance at full load? Say if I have to run a 1000W vacuum off it, would it work? I'm also guessing you have to keep the engine running?
Next up, I wanted to have the coffee making ingredients close at hand.
Thus, some sort of drawer/attachment needed to be made to fit onto the "desk".
Currently I would carry a separate box with tea/coffee satchets and I wanted to save the space and also the headache of remembering to carry it before a camping trip or even a work trip when we do offroad junkie events and during the set up time, the coffee breaks are most welcome.
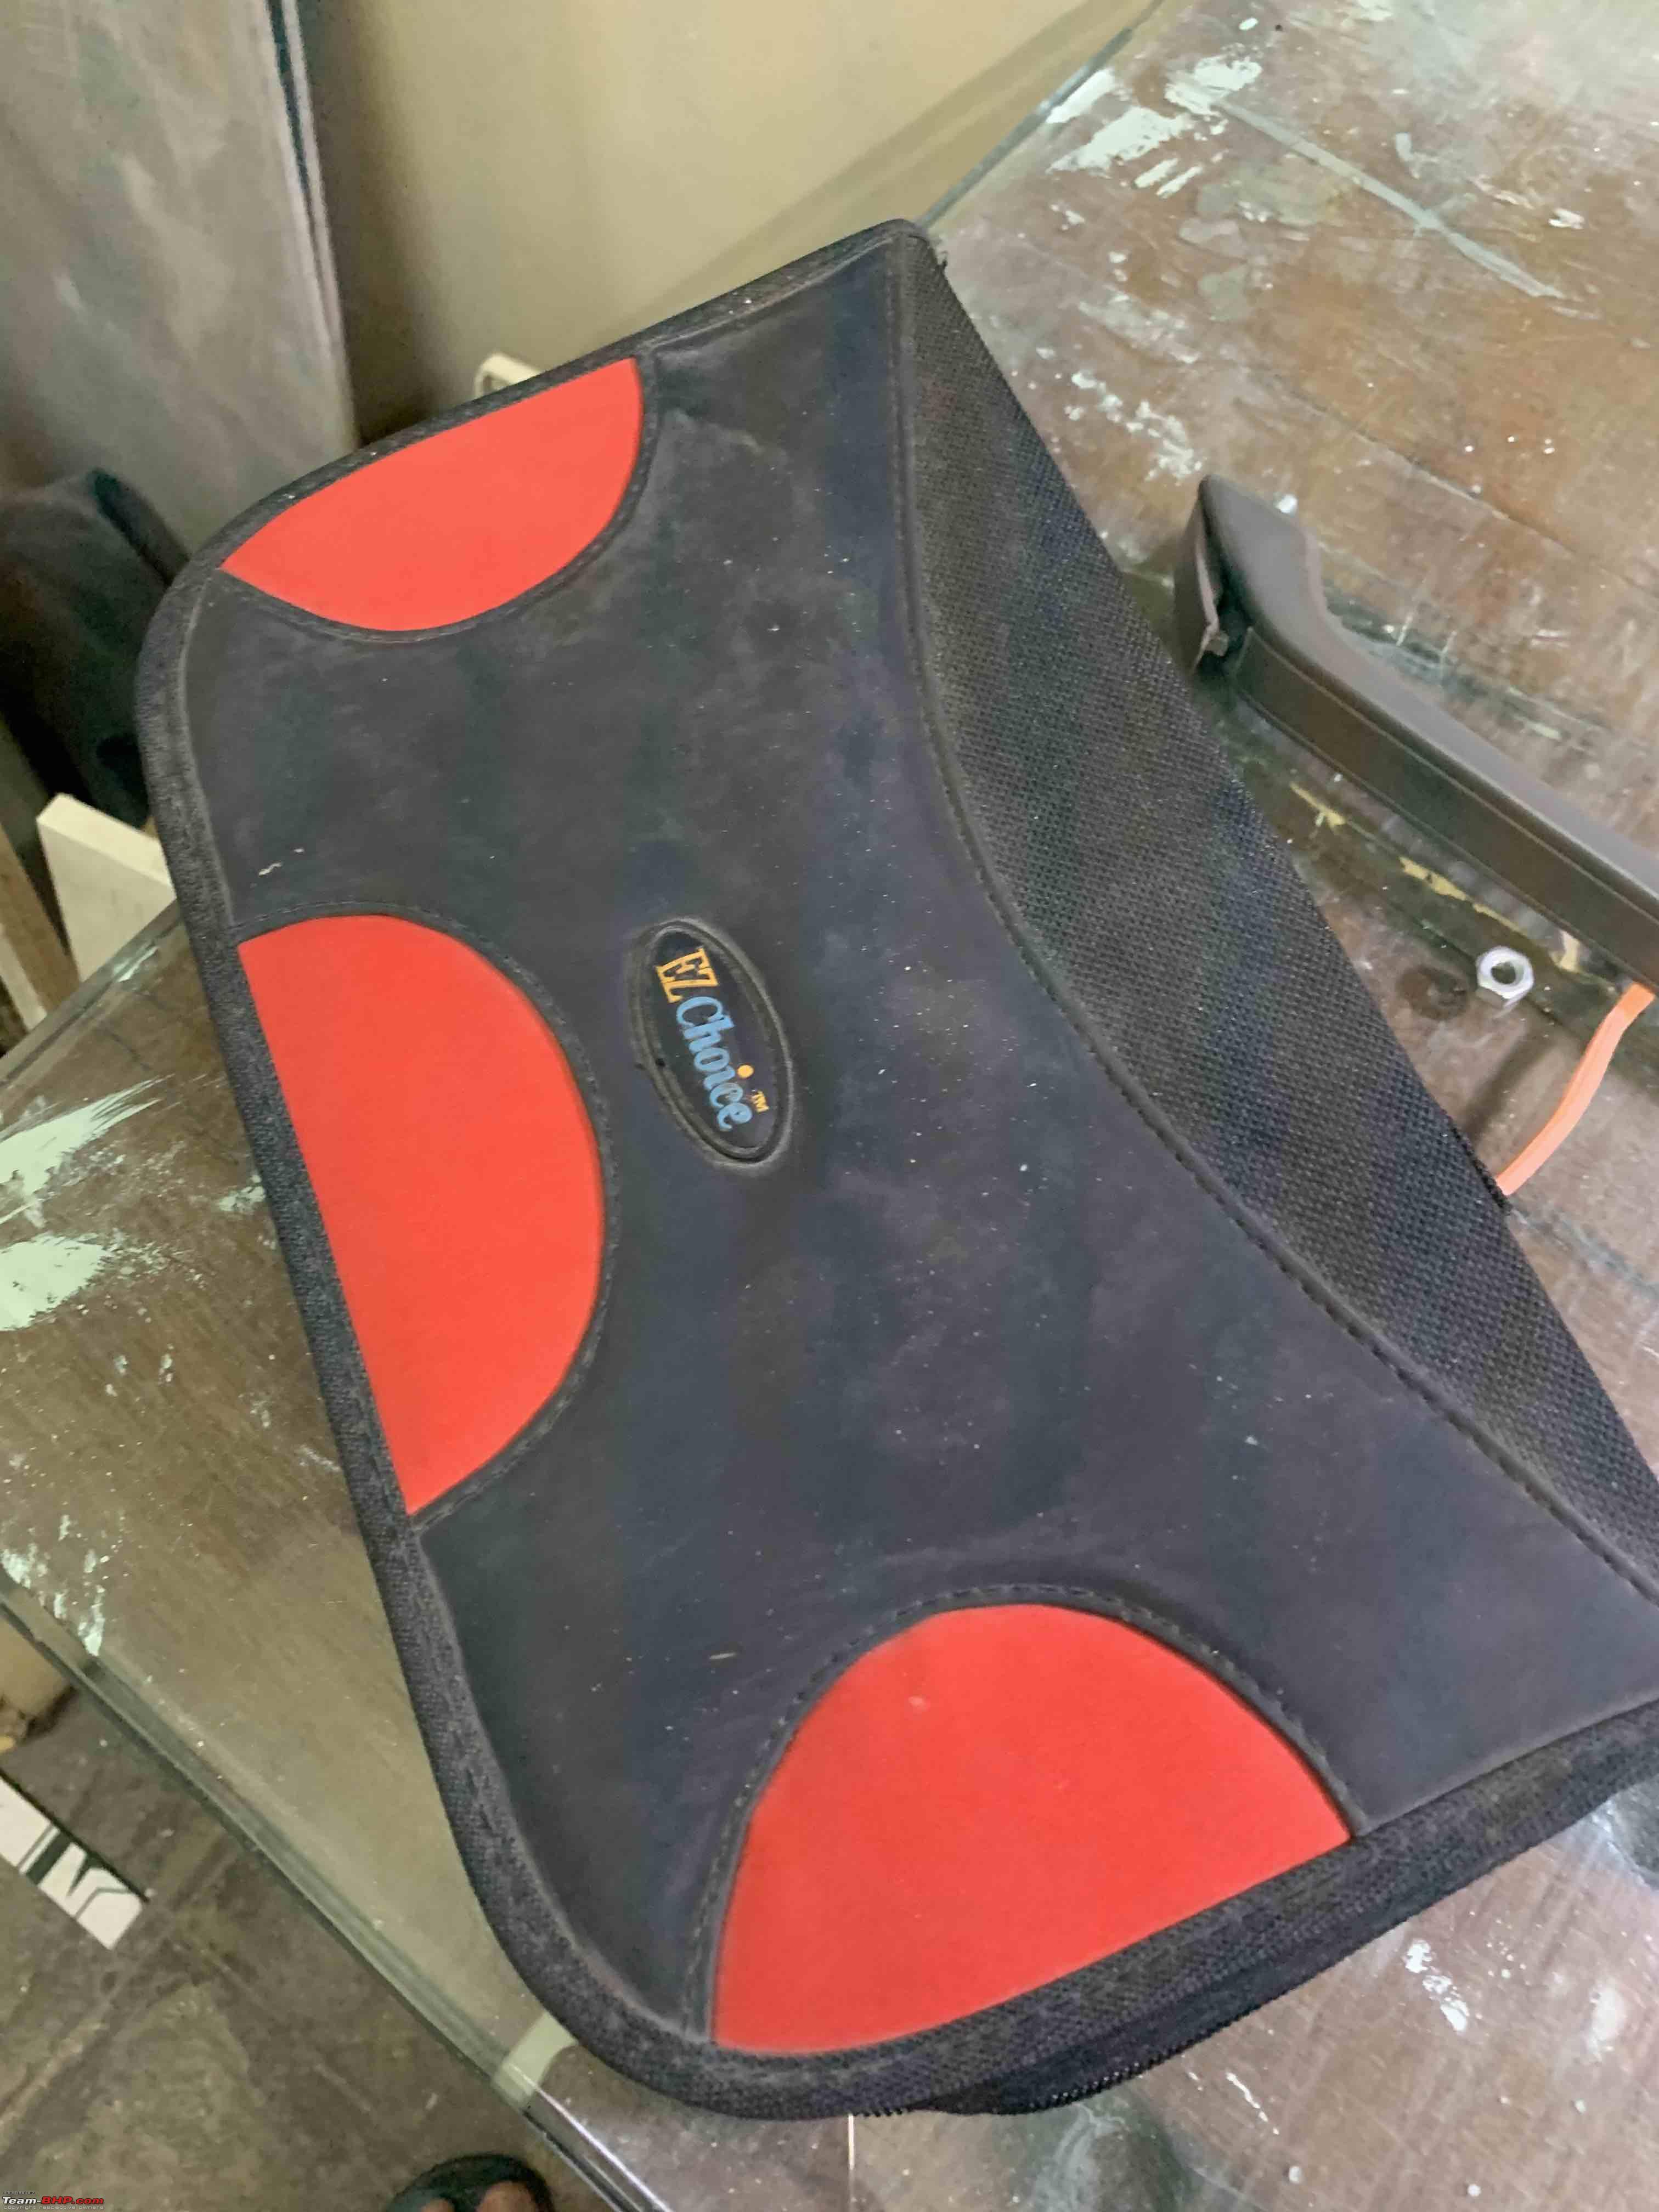
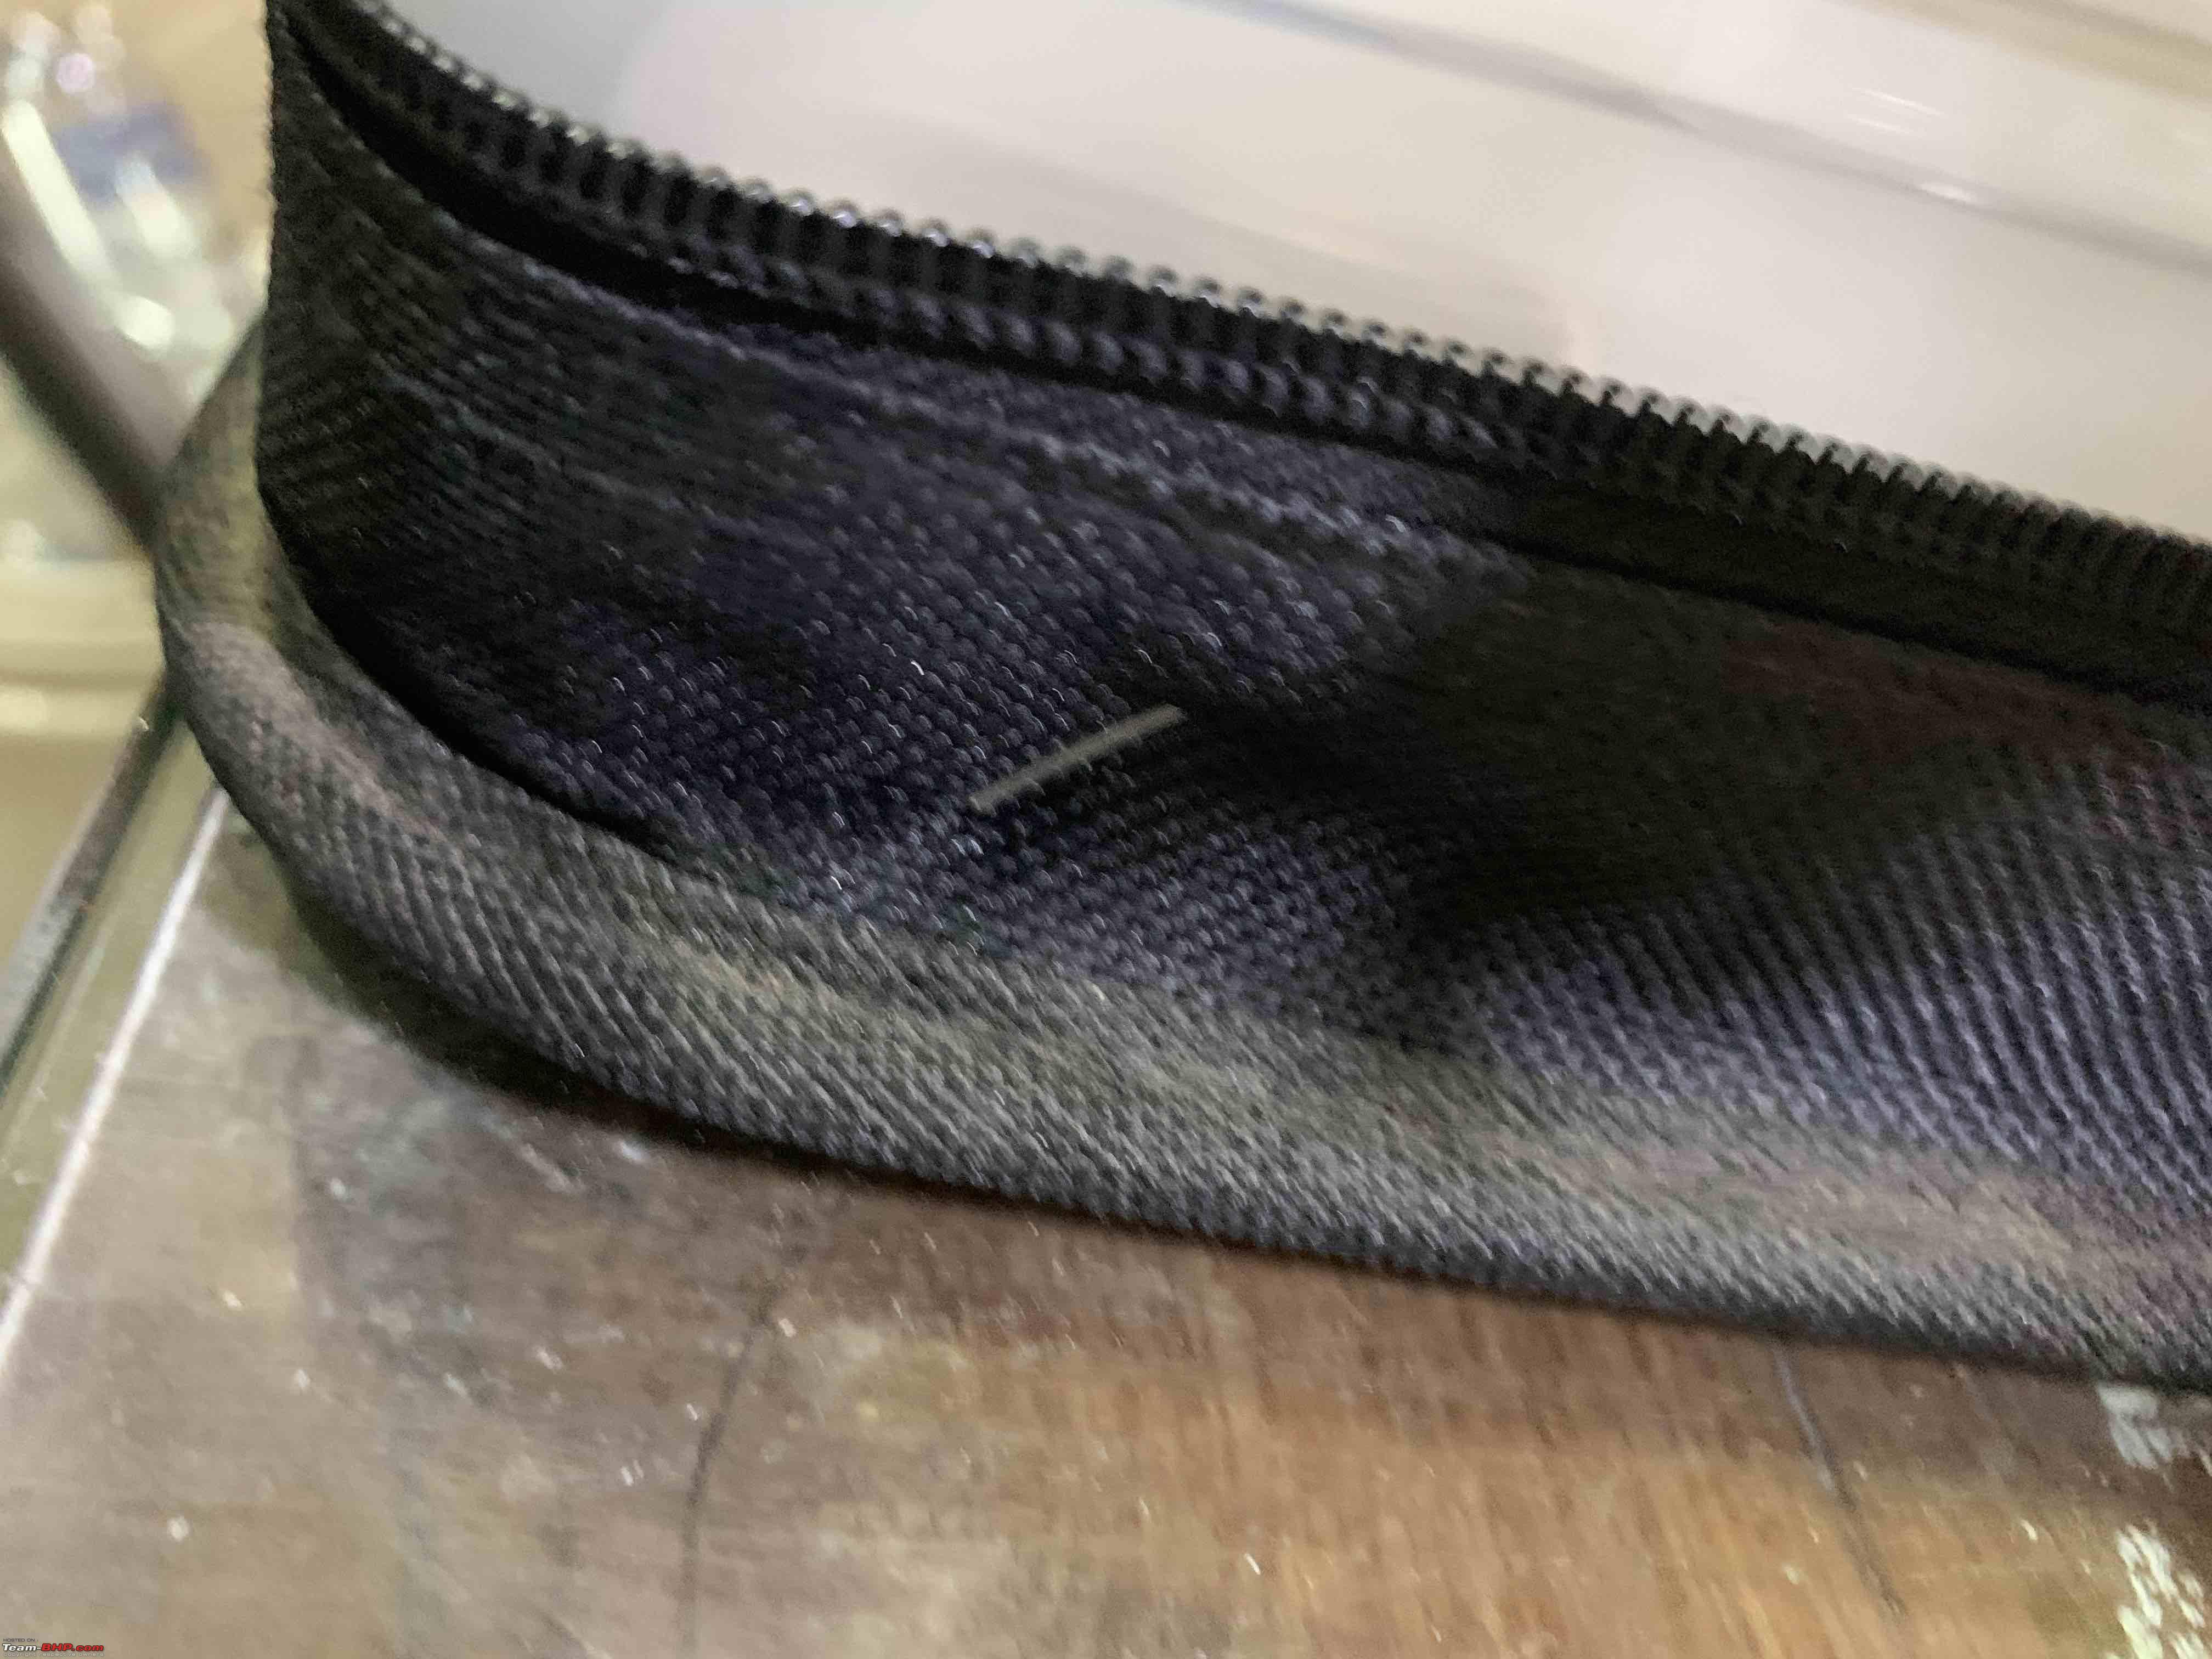
So started rummaging through old used stuff and zeroed into an old CD carrying case. The CDs are passe´and this case was perfect for my use:

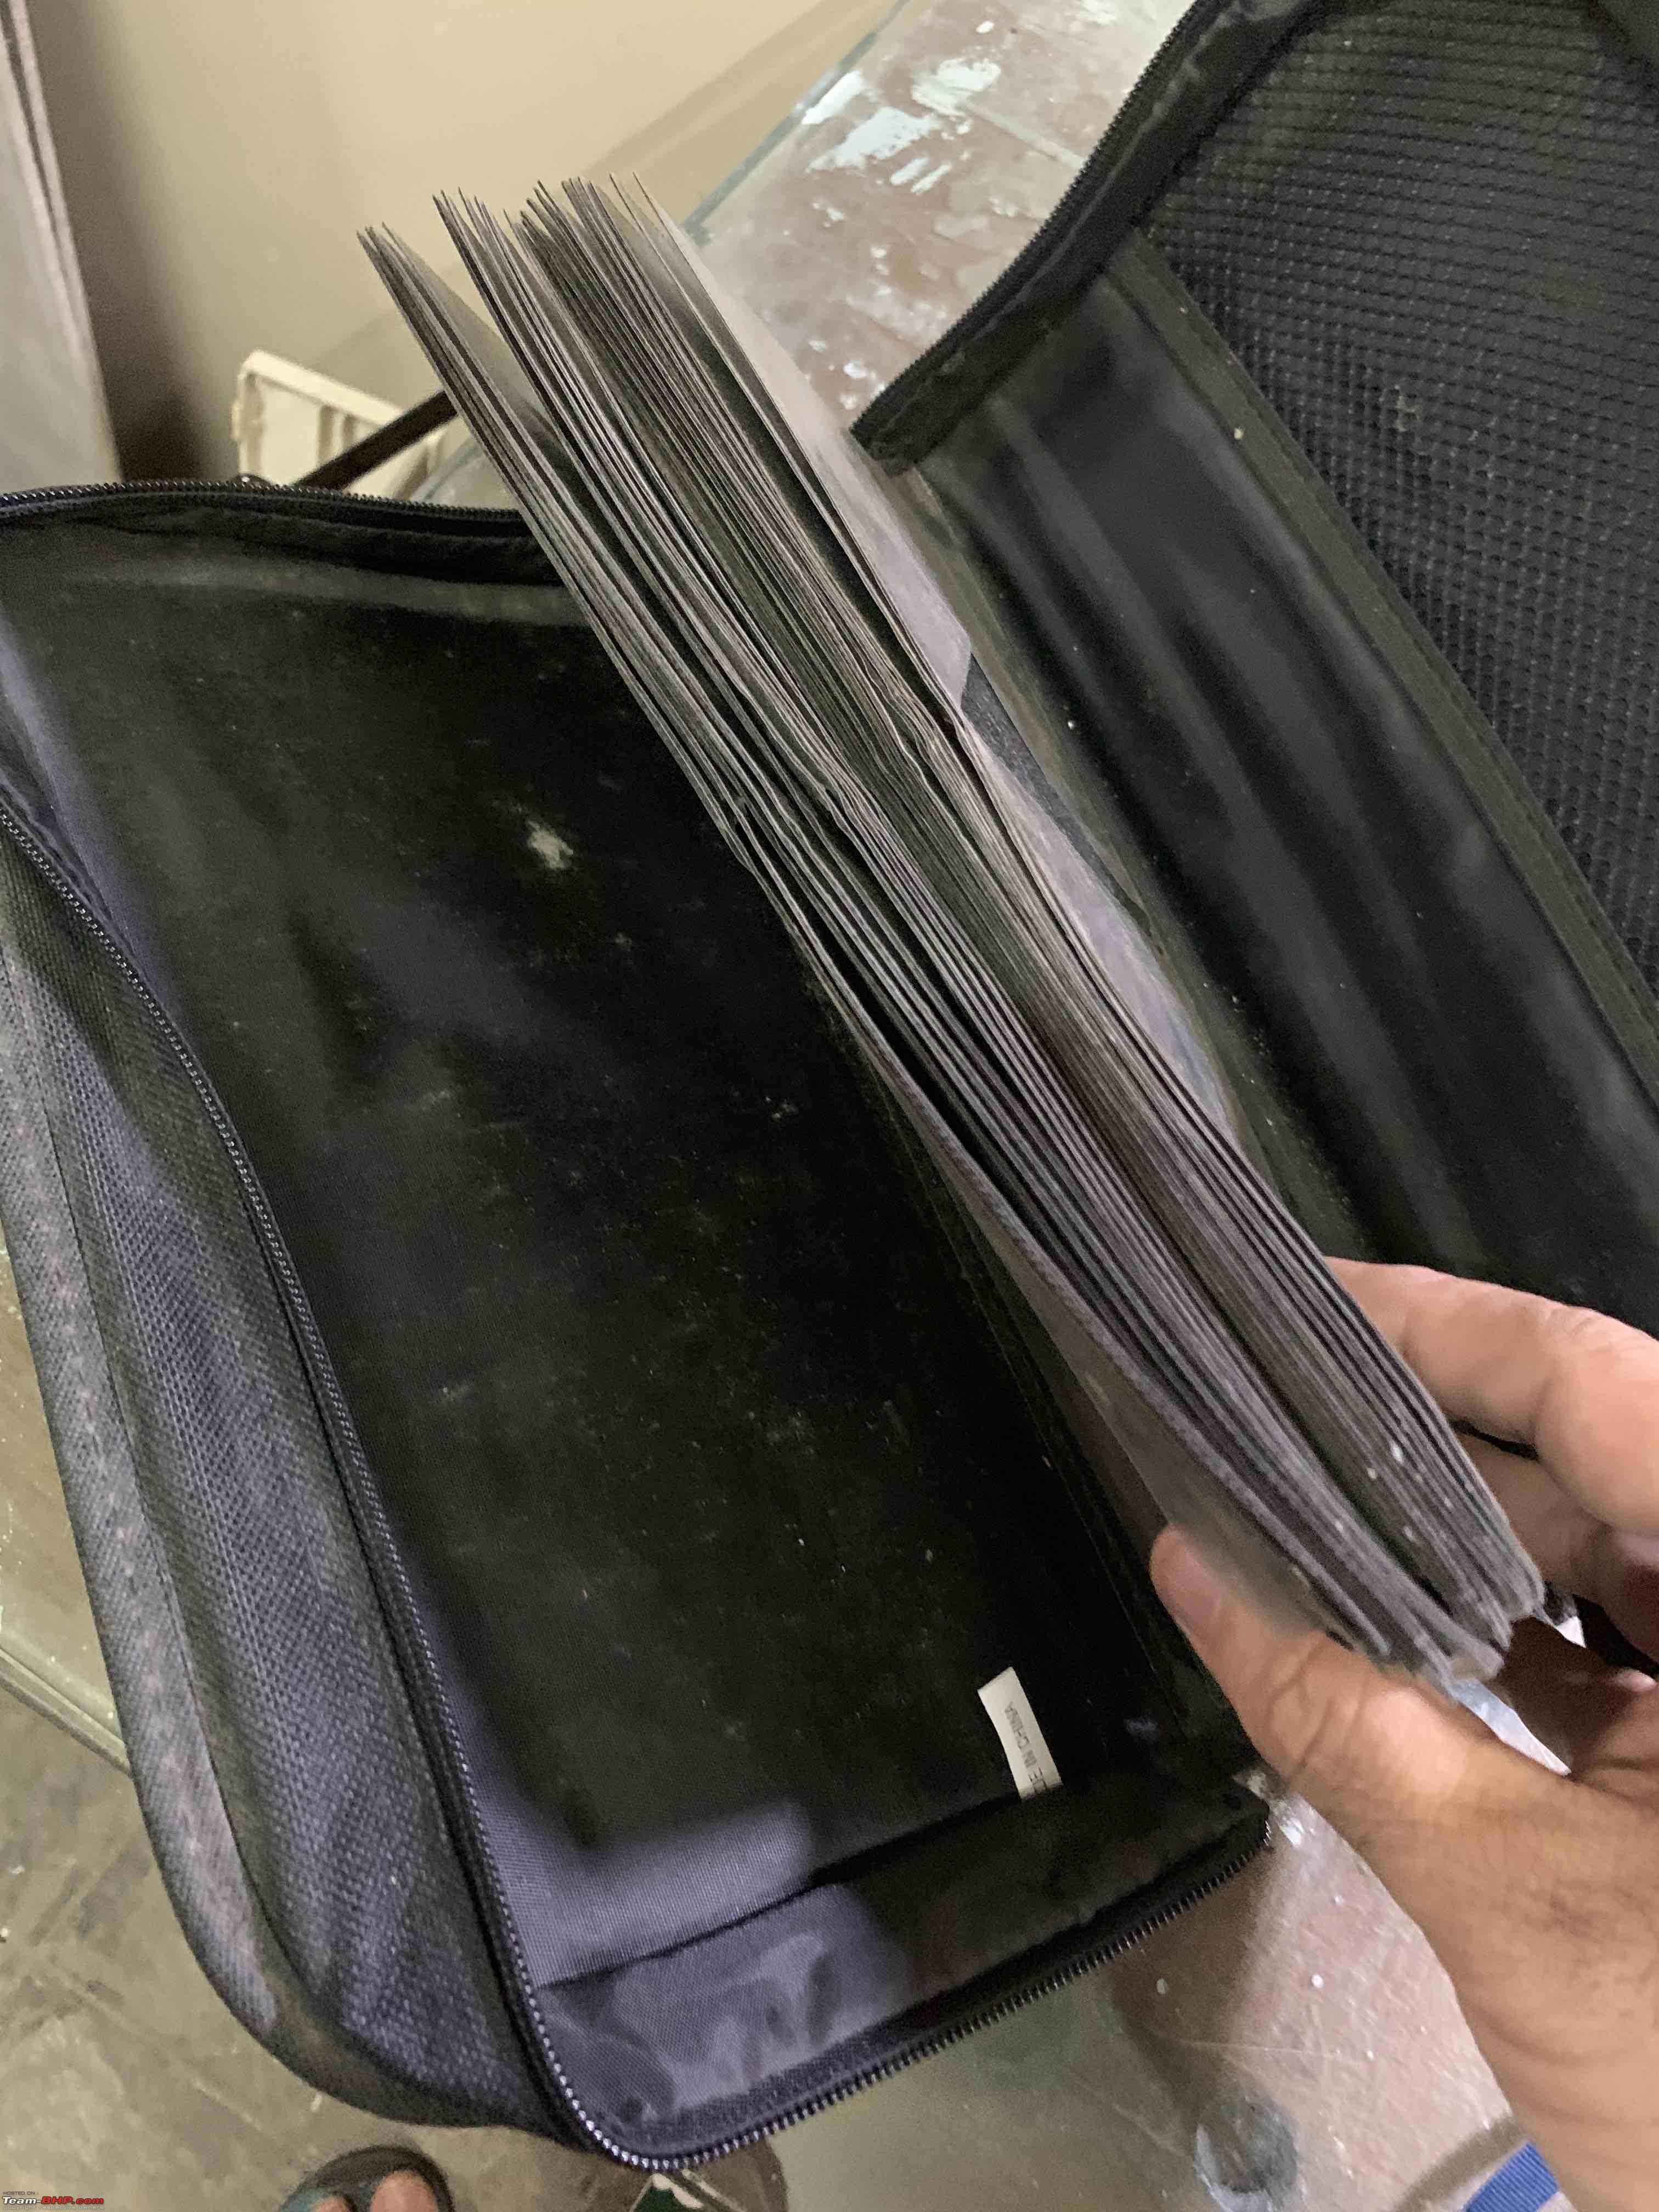
Cut away the insides: don't throw these, they are great to hang in garage to store the cutting disks from your angle grinder! ;)

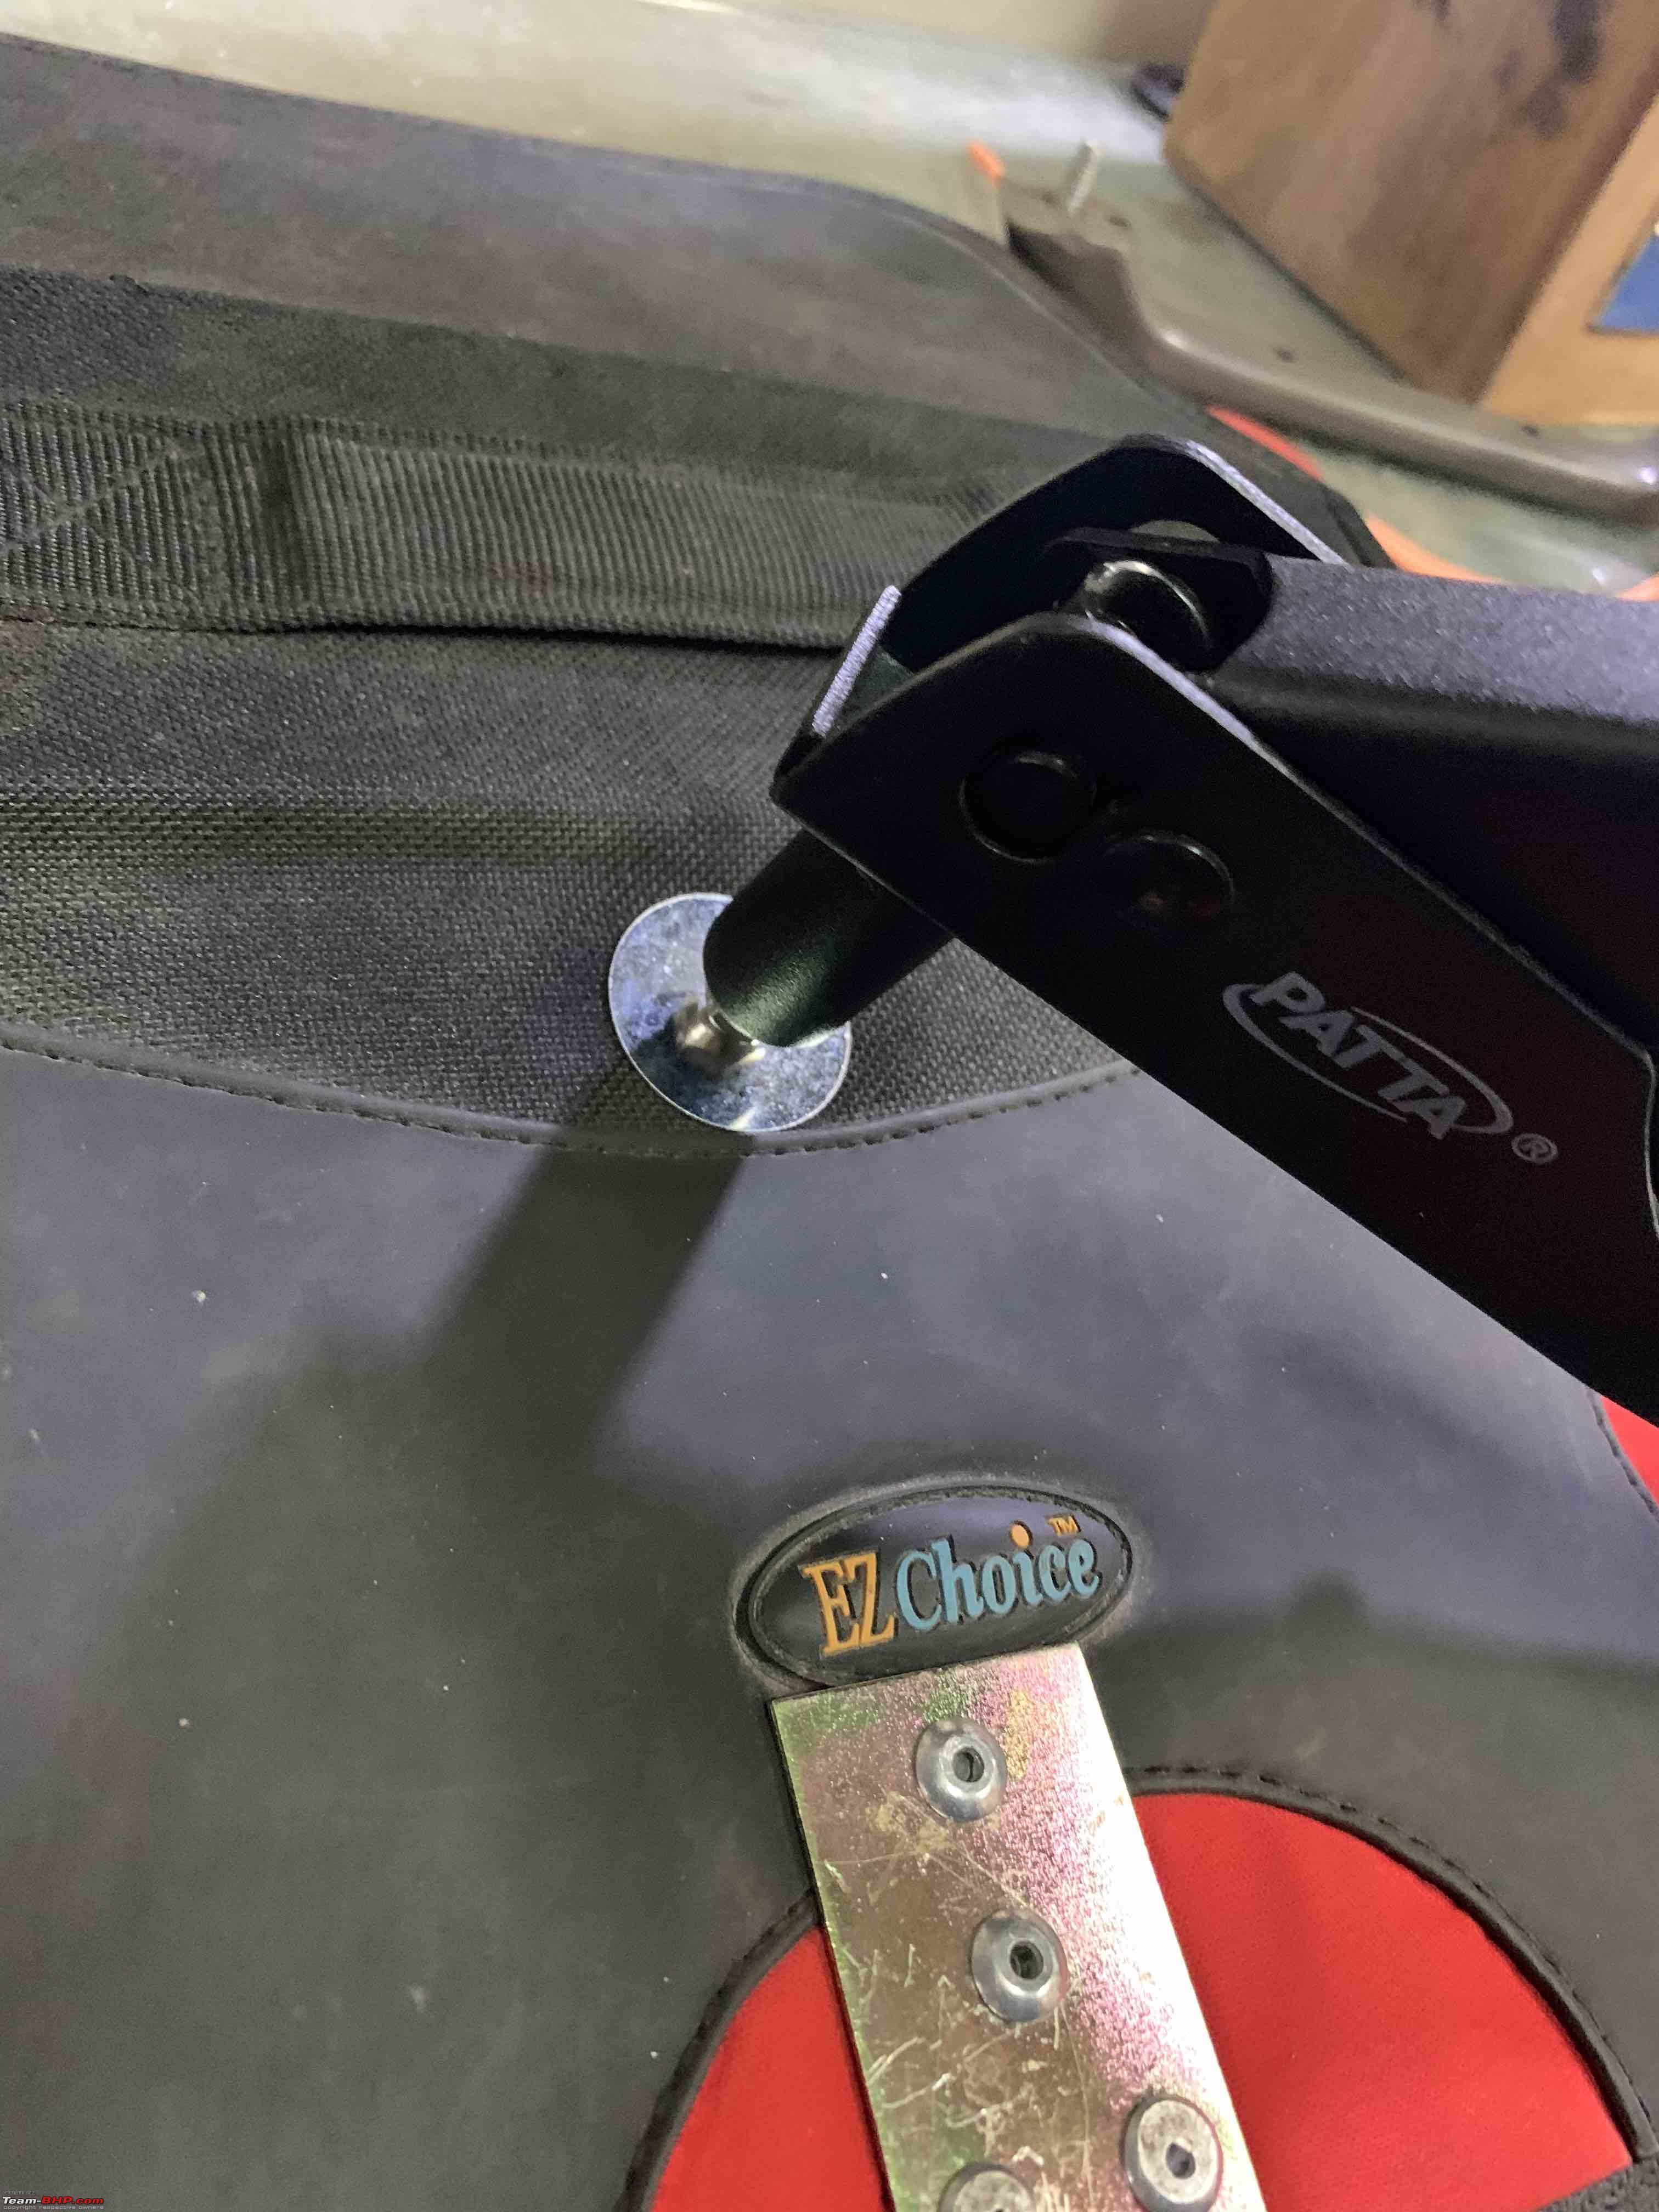
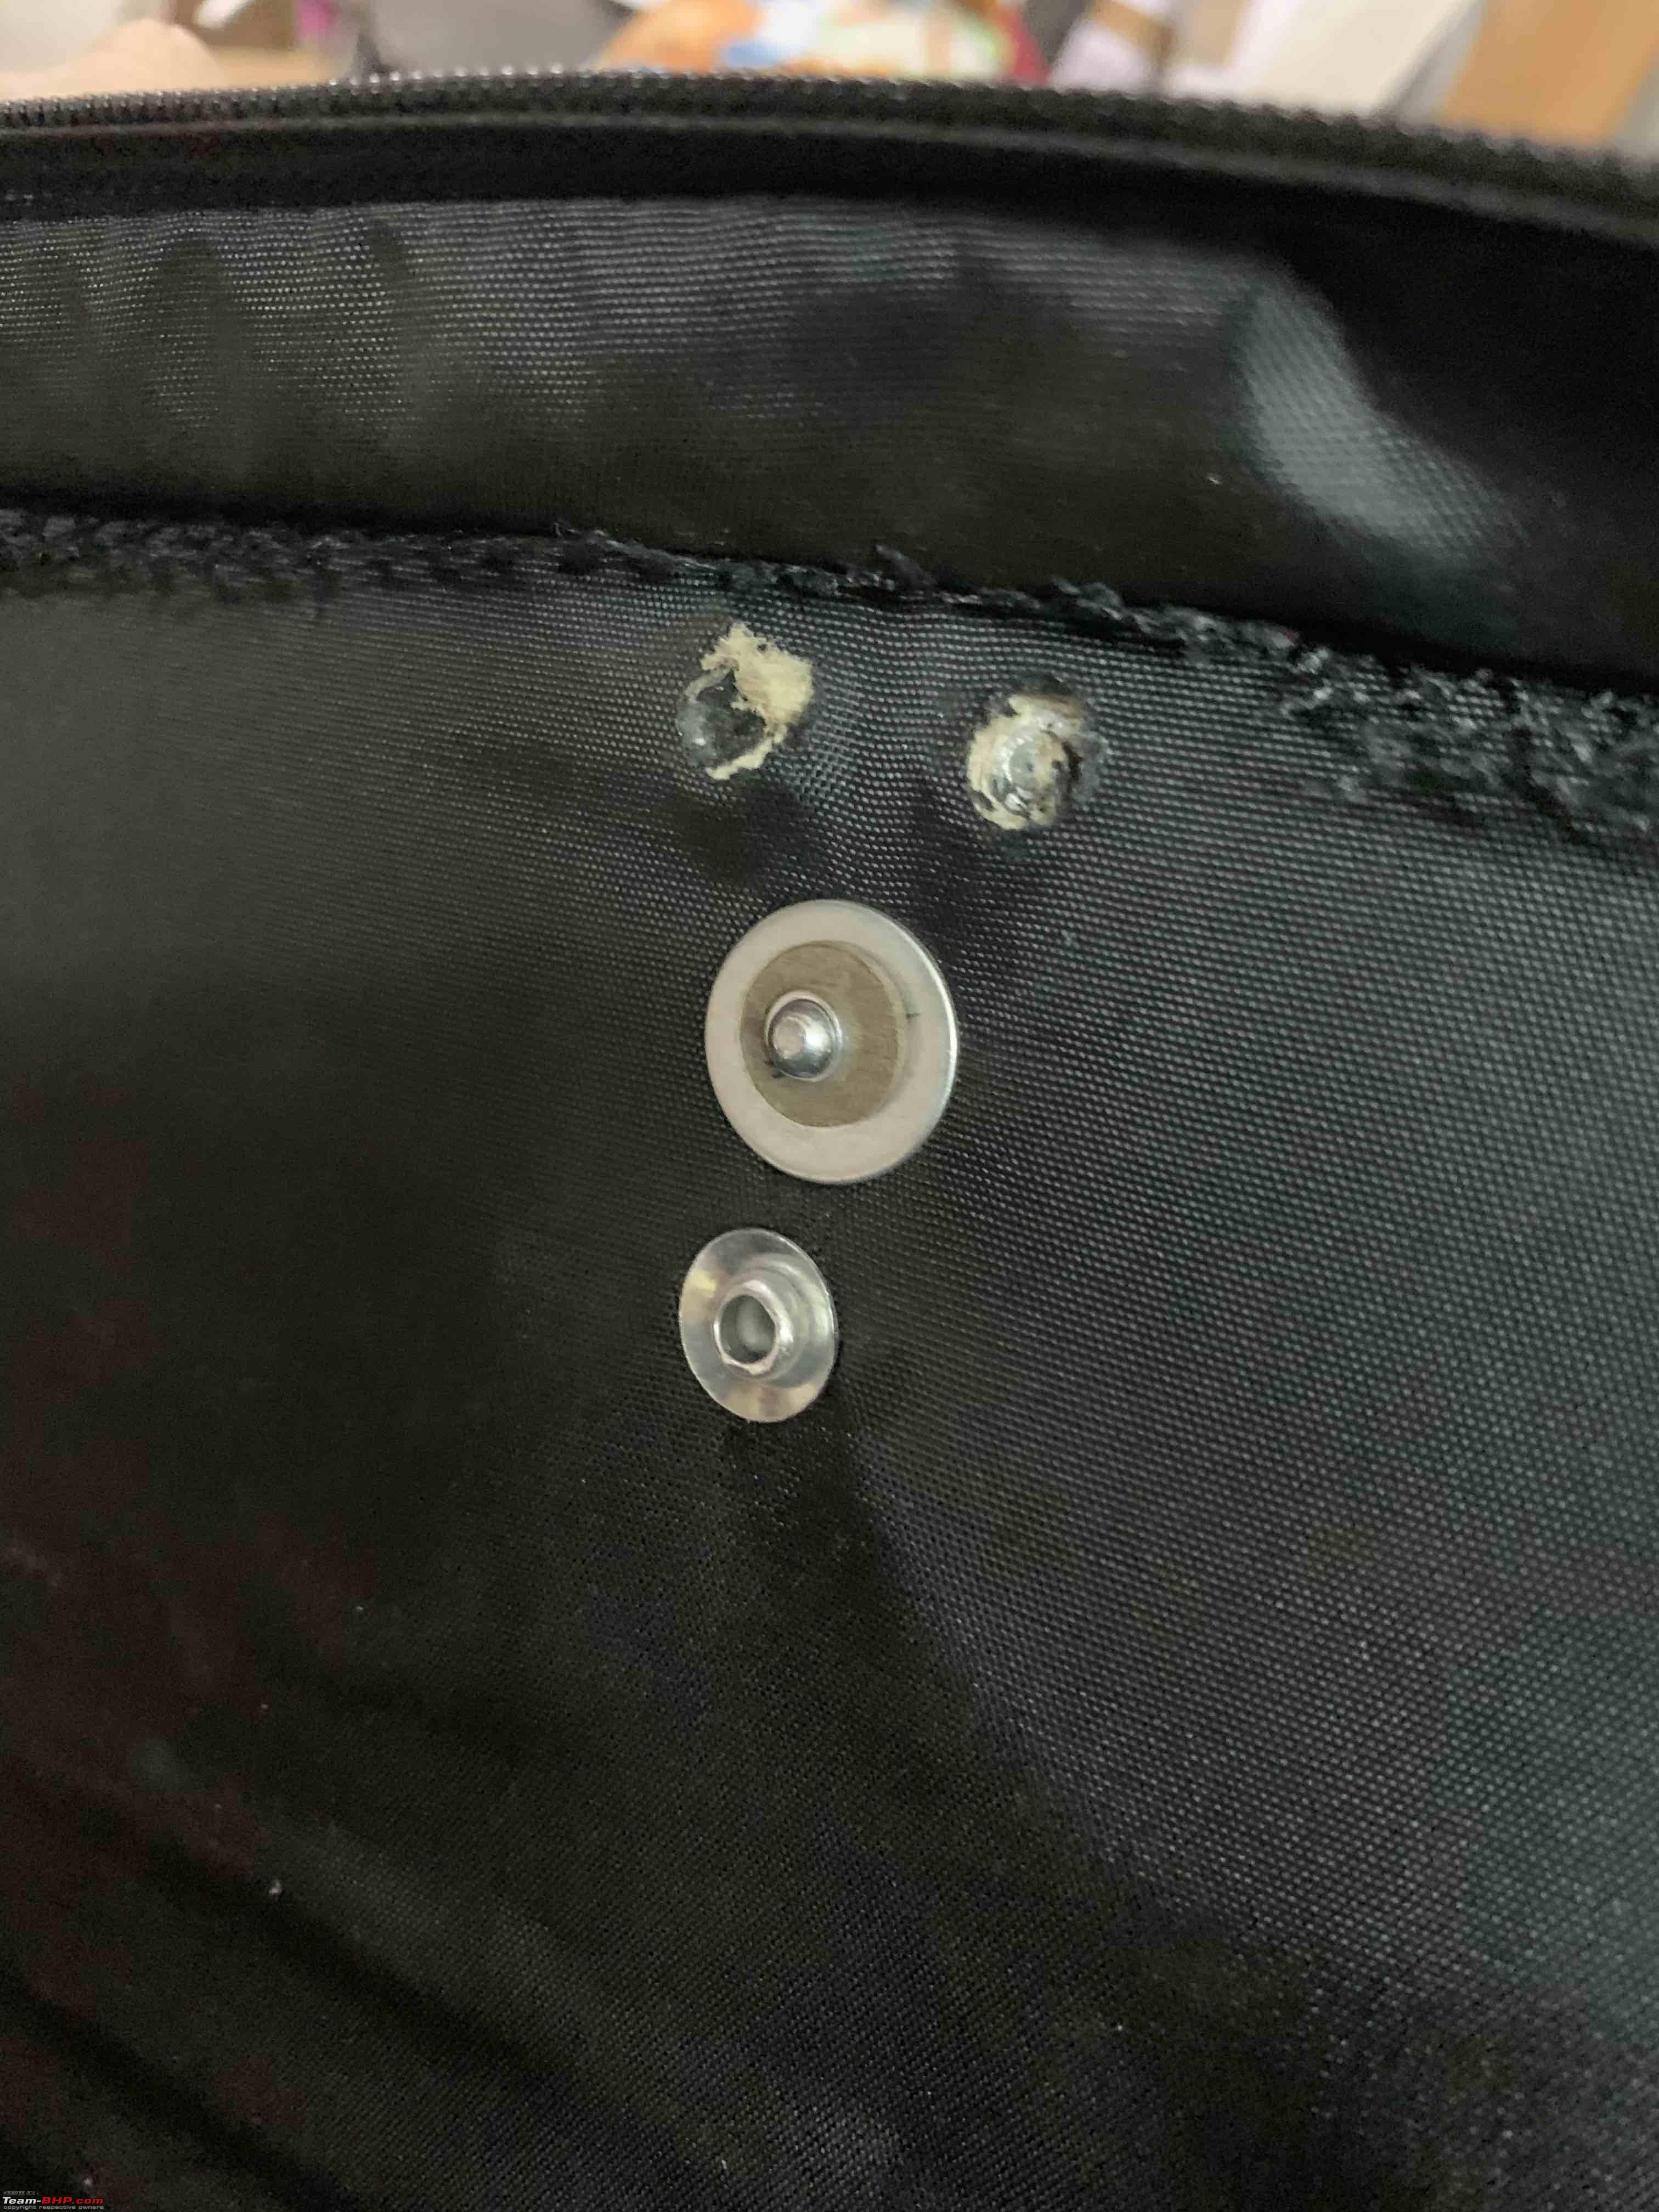
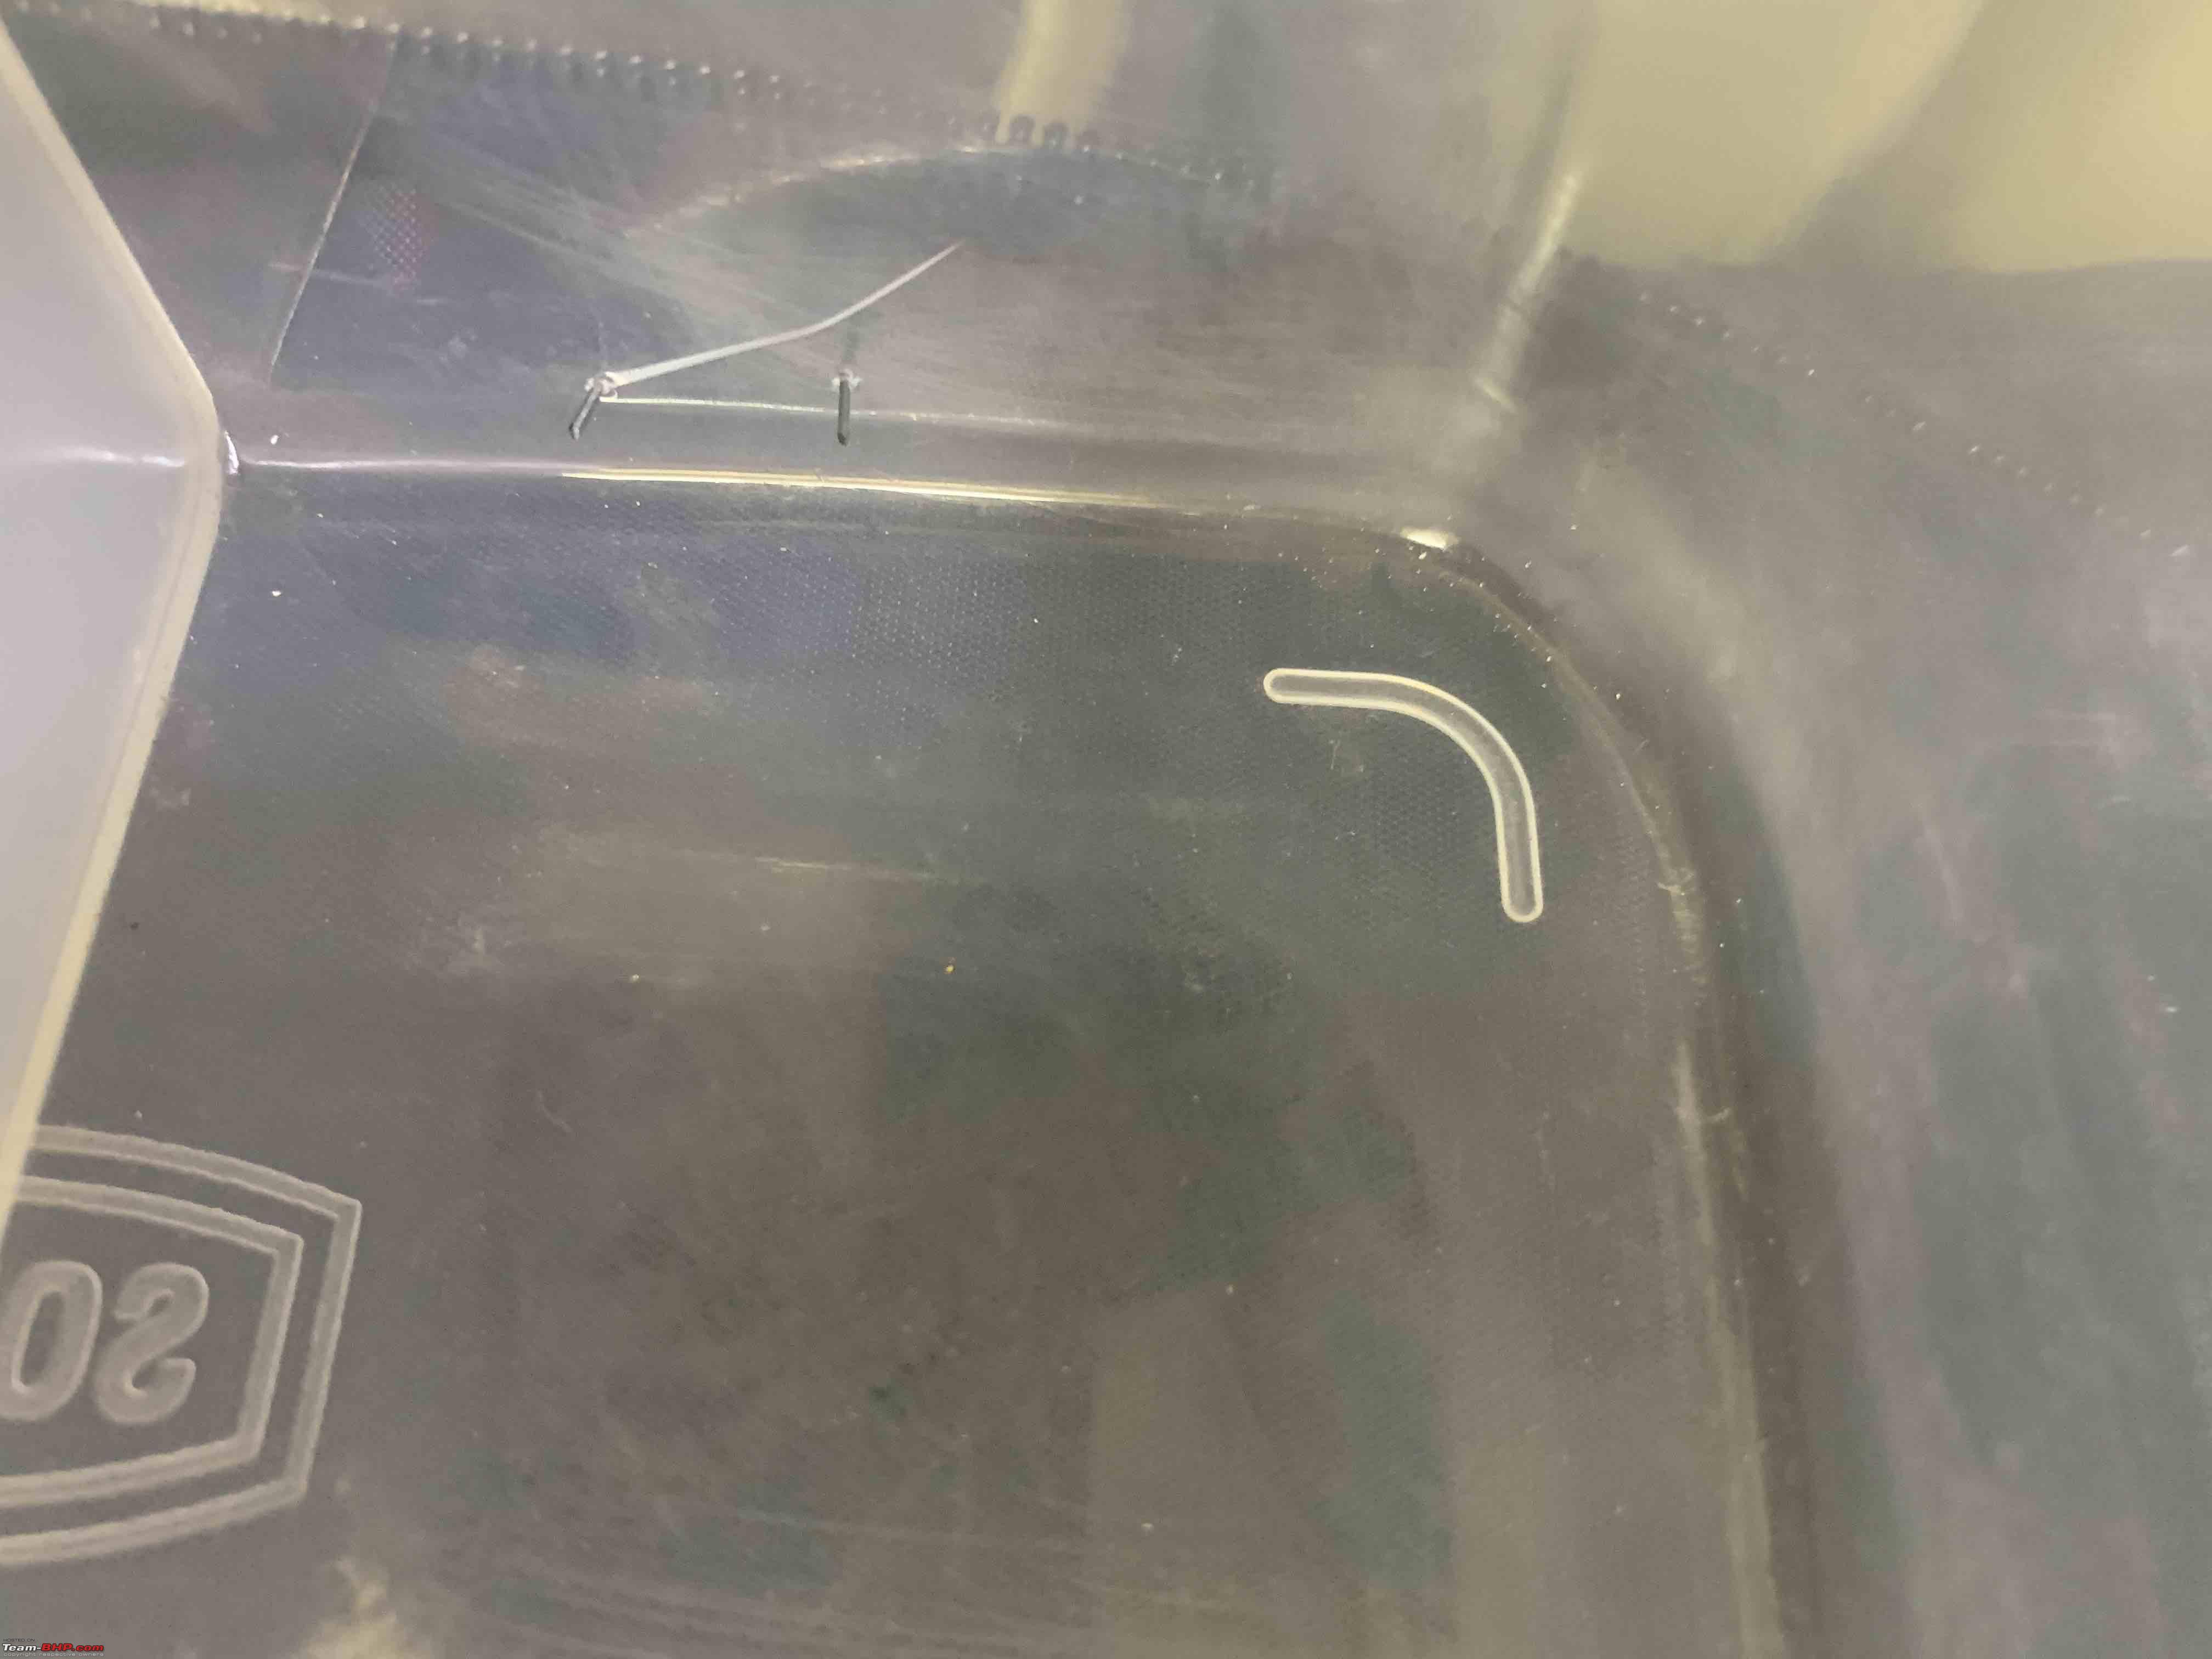
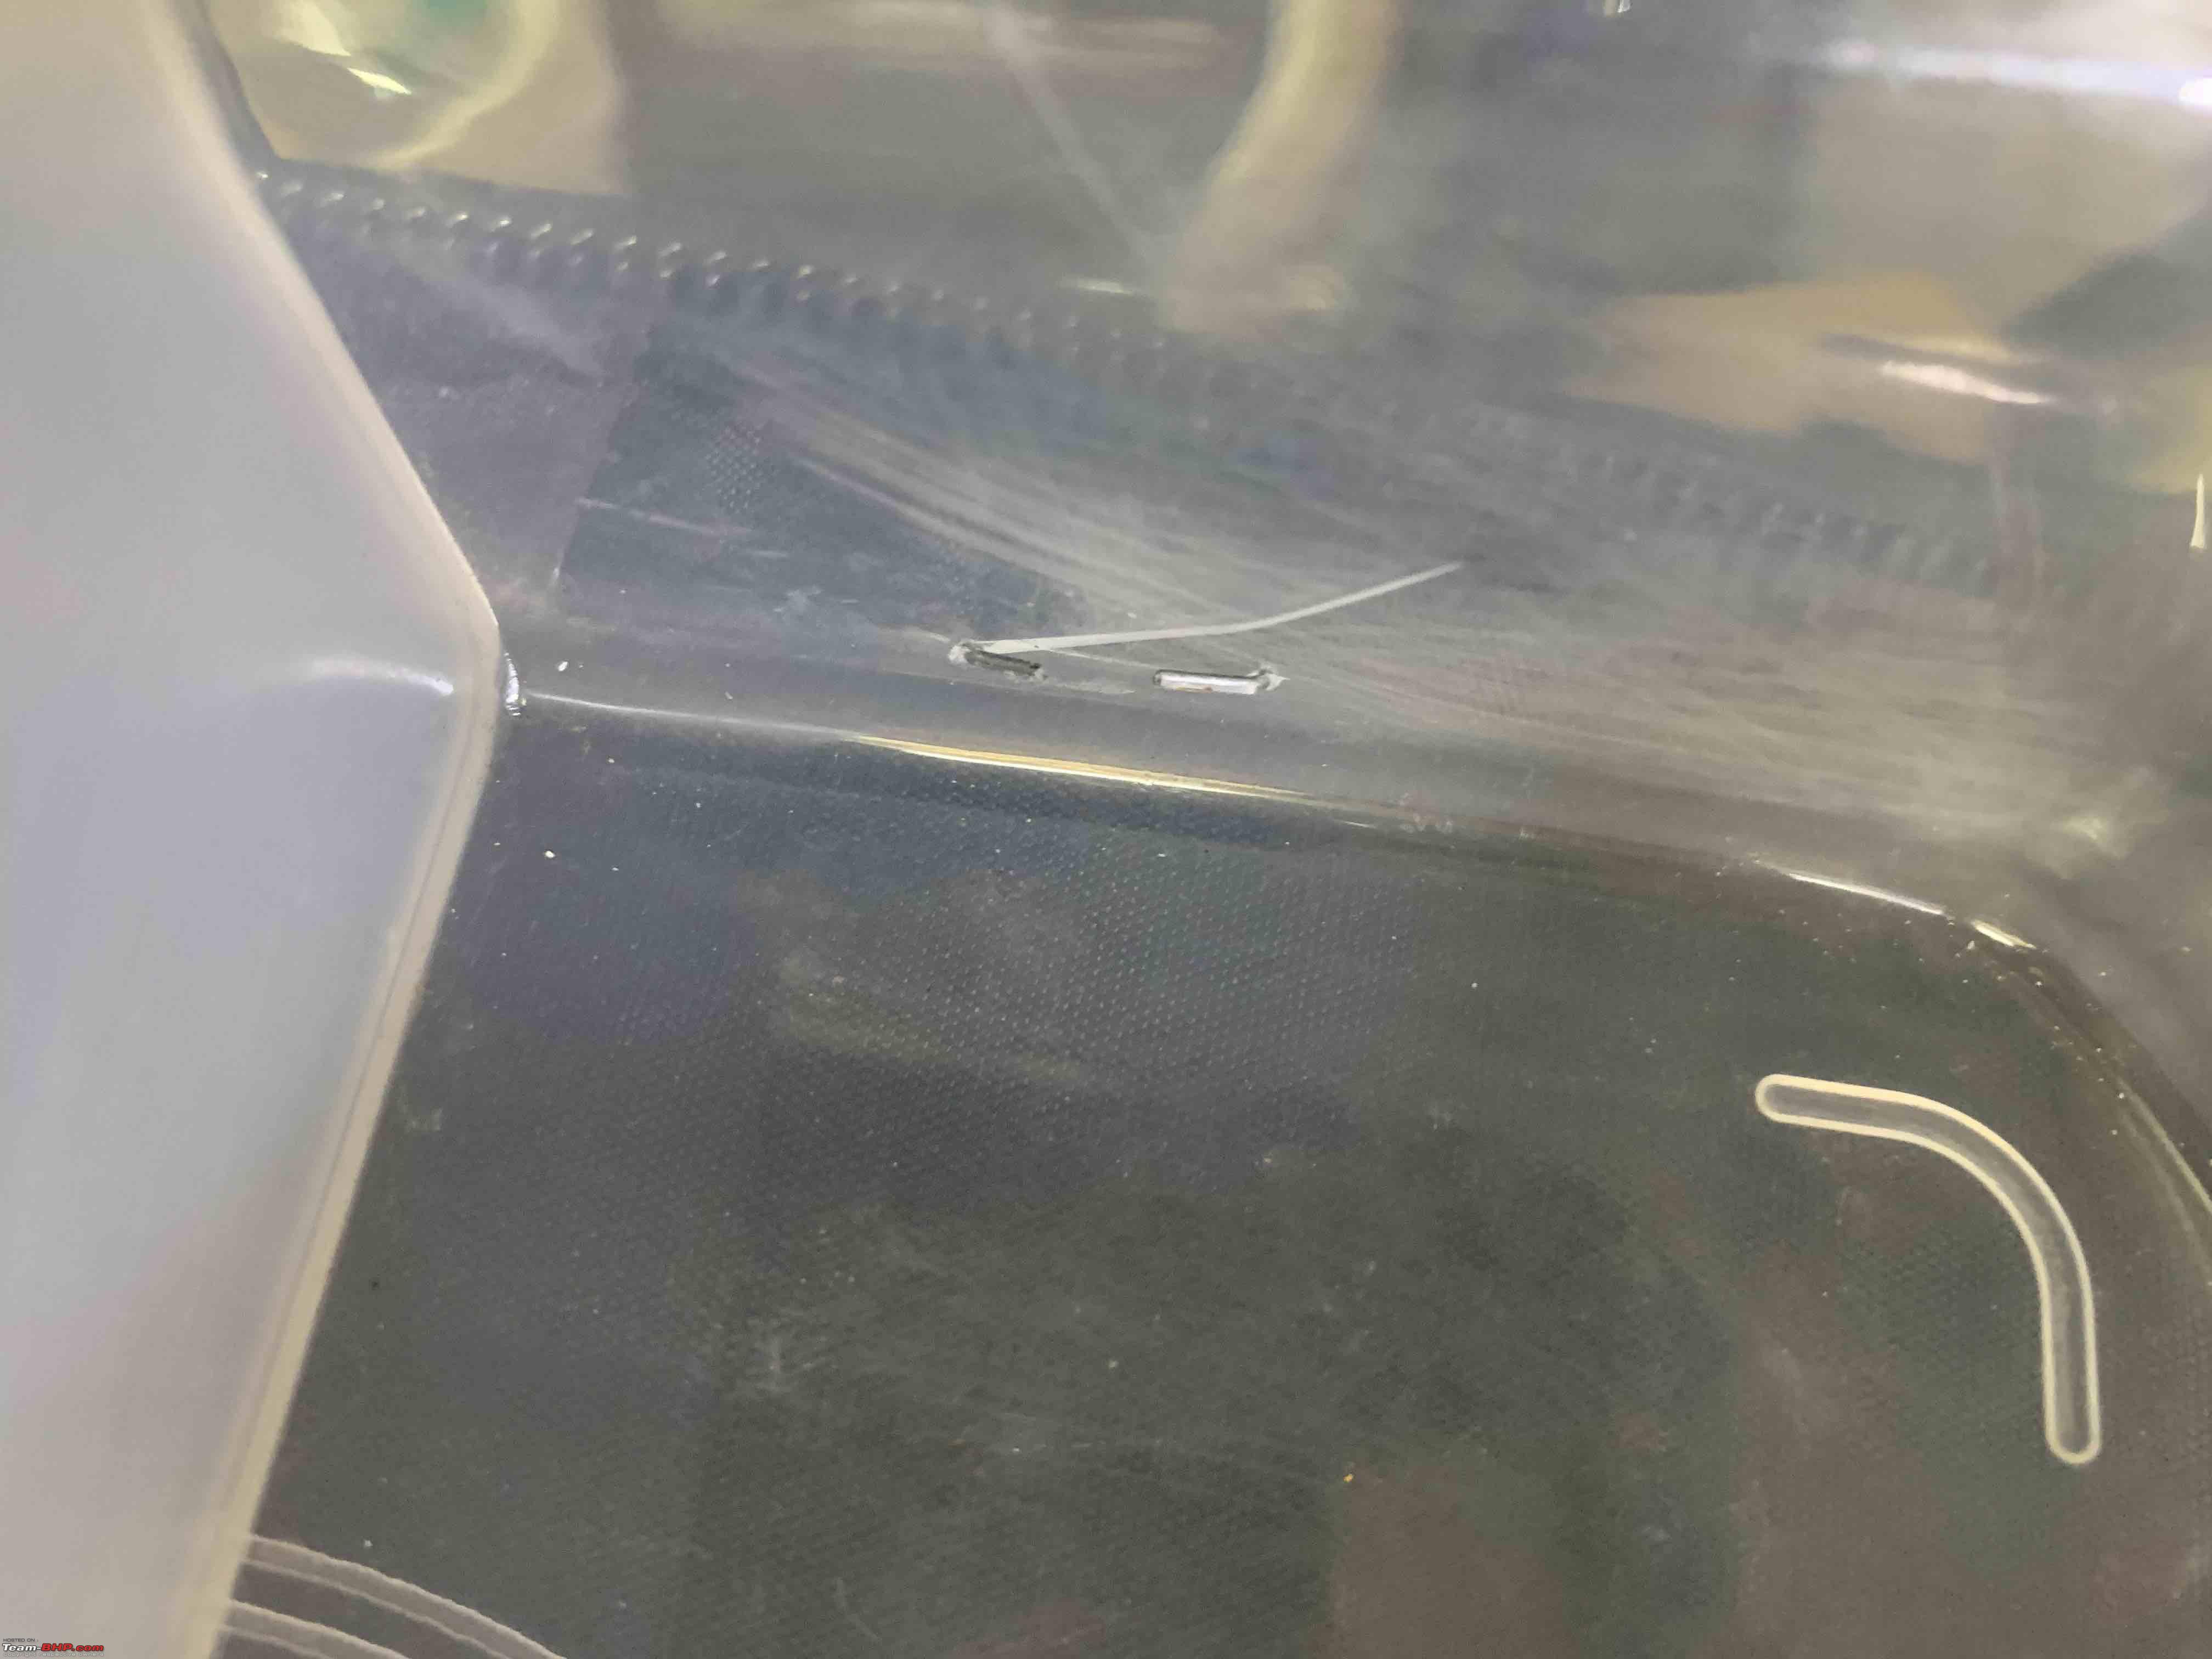
Next I need this case to swivel down when I opened the desk. So a hinge was riveted:
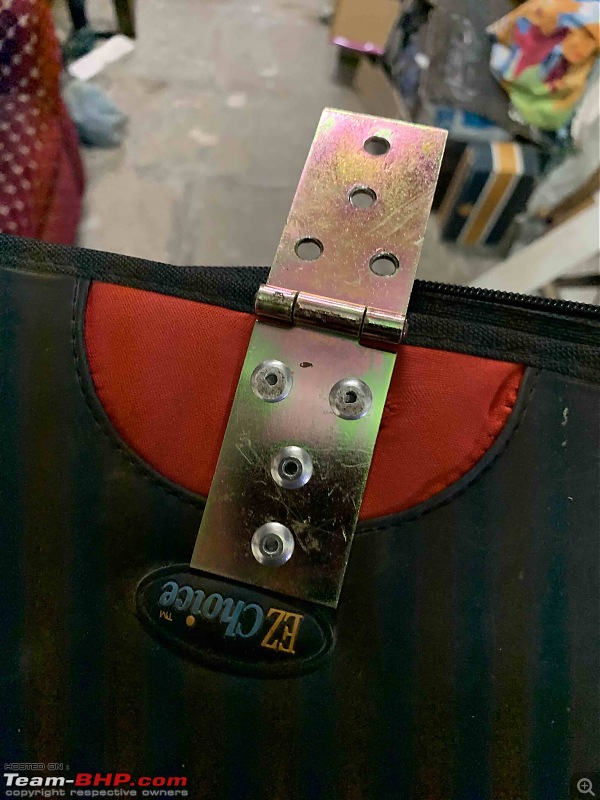
Messed up a bit non the top two rivets. Had forgotten to add in washers because the case had a thin flimsy plastic backing inside and the rivets tore through.
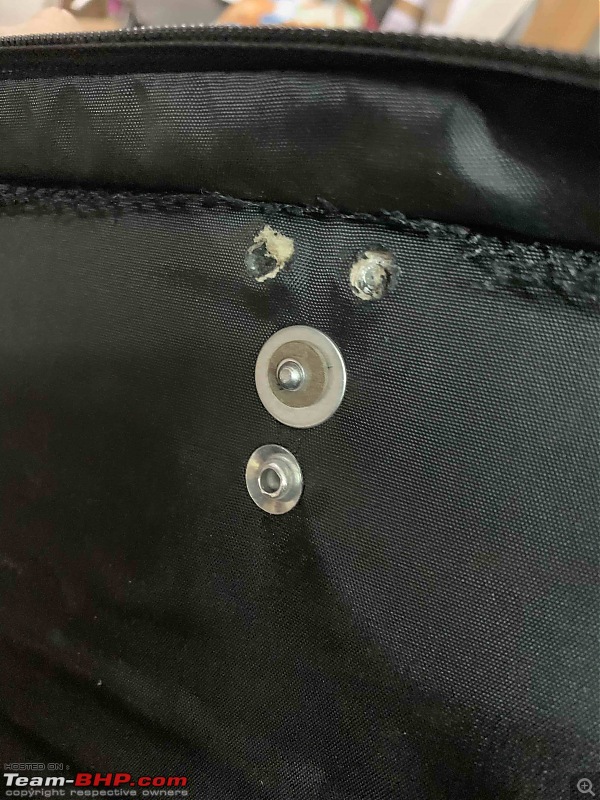
Then I took the existing coffee/tea box and used a stapler tacker to secure it to the CD case:
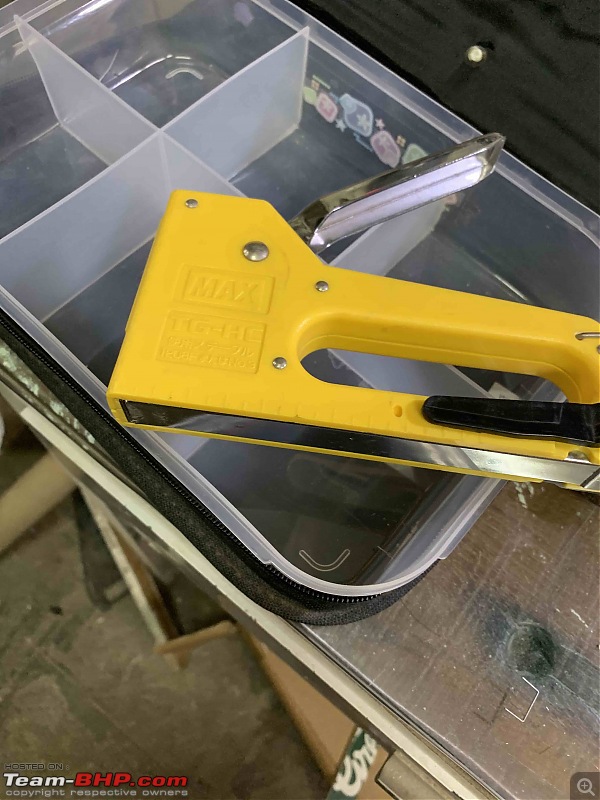
Be careful when you tack through the plastic - it may crack - give enough support at the back:
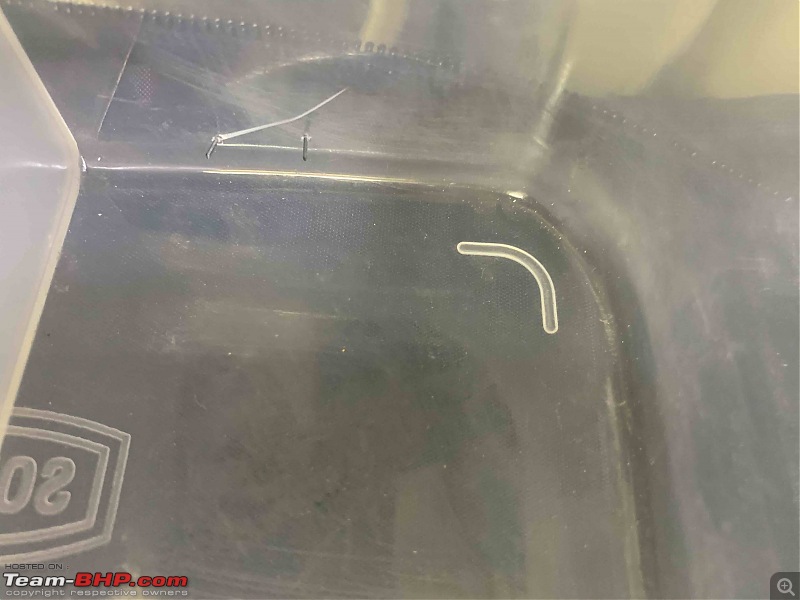
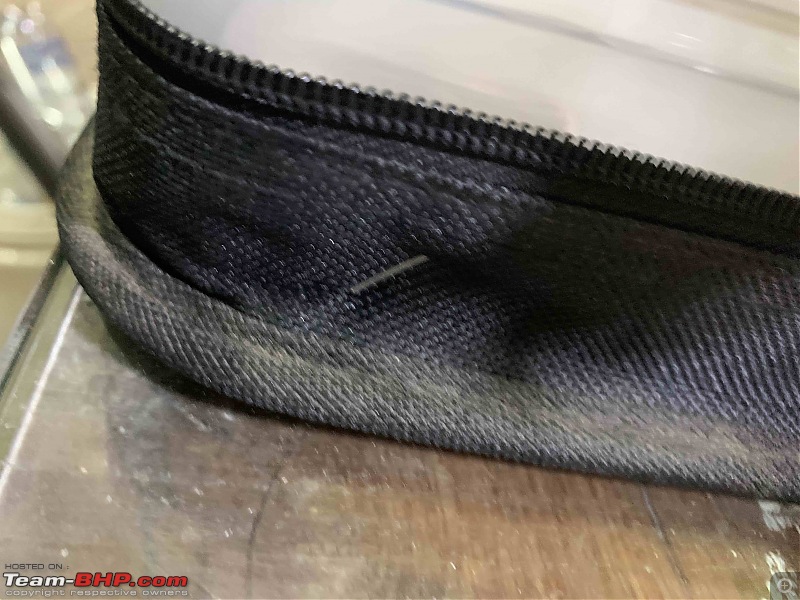
Use a screw driver then to bend it:
Cut the opposite side chain and zipped it to the below part and used rubber solution to secure to the box to make it a bit more aesthetic.
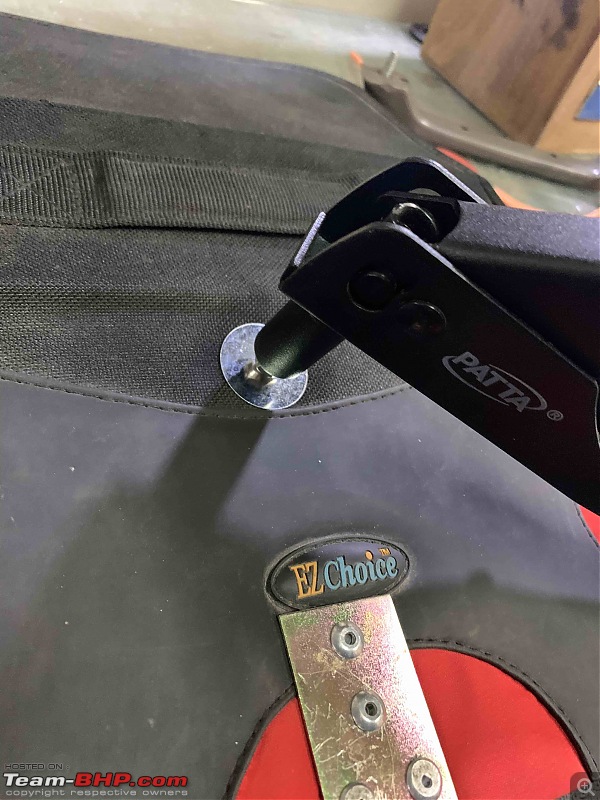
At the back of the box used two nut bolts to secure it so when open, the contraption stays at right angles. I have a penchant for buying stuff that I 'may' sometime use and this right angled screw driver can handy:
I had an old clip on belt from an old track pant which I had salvaged and kept. Used that to close the box when not in use. Unfortunately don't have pics of that but this is how it secures when closed:
And when open, it's accessible:
| All times are GMT +5.5. The time now is 06:45. | |