Team-BHP > Technical Stuff > DIY - Do it yourself
Register New Topics New Posts Top Thanked Team-BHP FAQ


Reply
  Search this Thread
83,928 views
Old 5th October 2020, 20:46   #136
Distinguished - BHPian
 
Join Date: Oct 2012
Location: Delhi
Posts: 8,098
Thanked: 50,831 Times
re: DIY: Metal model engine building UPDATE: build complete (page 16)!

Quote:
Originally Posted by Thad E Ginathom View Post
How did the Dutch make partition walls before drywall/plasterboard? In Britain, thin pieces of wood were nailed horizontally to the wood supports, with a little gap between each one.
We did it similar.


Quote:
Originally Posted by Thad E Ginathom View Post
Why am I saying this? Because, in English, those pieces of wood are called lath. The machine tool has an e: lathe. Just curious: what do you call the lathe in Dutch?
My bad, and the speller check doesn’t pick it up either of course.

We call a lathe a “draaibank”. Draai means turning and bank means bench, so a bench for turning!

Jeroen
Jeroen is online now   (3) Thanks
Old 5th October 2020, 21:38   #137
Senior - BHPian
 
Join Date: Jul 2009
Location: Calcutta
Posts: 4,668
Thanked: 6,217 Times
re: DIY: Metal model engine building UPDATE: build complete (page 16)!

Mod Note : Please do NOT post messages that add little or no informational value to the thread. We need your co-operation to maintain the quality of this forum. We advise you to read the Forum Rules before proceeding any further. Request to post ONLY when you have something substantial to add to a discussion.

Last edited by GTO : 8th October 2020 at 10:26.
Sutripta is offline   Received Infraction
Old 7th October 2020, 00:28   #138
Distinguished - BHPian
 
Join Date: Oct 2012
Location: Delhi
Posts: 8,098
Thanked: 50,831 Times
re: DIY: Metal model engine building UPDATE: build complete (page 16)!

Tonight I continued the quest for the perfect alignment of my little lathe!

First thing is I took everything off one more time, for a thorough cleaning:

DIY: Metal model engine building UPDATE: build complete (page 16)!-pa060001.jpg

Next I made a little tool to hold my micro dial in place. It is actually the very same little tool I used to align the mini mill. Just had to drill one additional hole to get it to fit for this purpose.

DIY: Metal model engine building UPDATE: build complete (page 16)!-pa060002.jpg

Now I know there are better methods for aligning the tail stock. But I don’t have a dead center that will fit the head stock. So I need to align against the three jaw chuck that has, undoubtedly, it’s own offset. But this is what I have got, so this is what I am using. We will see how far it gets me.

DIY: Metal model engine building UPDATE: build complete (page 16)!-pa060003.jpg

Took me another three and a half hours of endless back and forth fiddling. At long last I have it positioned such that with the quill full extended or fully retracted into the tailstock I only get a few hundreds difference on the dial when I am rotating it around. Good enough I hope. I will try it out tomorrow.

In between cursing and yelling at the (mis) allignement, I manage to make another little tool. Nifty die holder.

DIY: Metal model engine building UPDATE: build complete (page 16)!-pa060004.jpg

So now I am all ready to produce a new version of the piston rod! Fingers crossed!

Jeroen
Jeroen is online now   (5) Thanks
Old 16th October 2020, 14:31   #139
Distinguished - BHPian
 
Join Date: Oct 2012
Location: Delhi
Posts: 8,098
Thanked: 50,831 Times
re: DIY: Metal model engine building UPDATE: build complete (page 16)!

I have been battling it out with my little lathe over the last two weeks or so. I still have not got the alignment of the tailstock done properly.

There are two issues. The first one is a mechanical one. This tailstock does have a sideway adjustment. It is just very tricky to adjust in small increments.

Last night I started the process again. First I try to get it orientated quickly by using my little tool:

DIY: Metal model engine building UPDATE: build complete (page 16)!-pa150012.jpg

DIY: Metal model engine building UPDATE: build complete (page 16)!-pa150013.jpg

With this set up, in both positions I managed to get the deflection down to only 0,01-0,02mm. But when I put a piece of round bar and turned it down I had again a taper of 0,25mm across 200mm length. The usual approach to correct by half into the direction of the fault. Which means moving the tailstock sideways by 0,0625mm (the fault being half the diameter fault measure). It is very difficult to move it so little. I have seen other tailstocks that have a proper mechanism to adjust sideways (screw/spindle).

I am also getting a bit concerned in general on the repeatability of the tail stock placement. Loosening it up, moving it back and forth, back into the original position and tightening does not always get me the same result. Just the amount of tightening the nut that holds it to the bed can give an error. Not much I can about that, although I have seen a few modifications on Youtube.

The second issue is my mental capacities which are not what they once were. Taking various measures, calculating and figuring out in which direction to adjust does not come as natural to me as it used to be. Very frustrating.

Anyway, my soldering course is on tomorrow, despite the Corona semi lock down. This is an educational institute and it has take all necessary precautions and is allowed to continue. Only 6 of us.

I will be meeting some of my new friends from the Dutch model building forum. One of them is bringing some goodies for me, including a fixed centre for the headstock. Maybe that will help.

Looking forward to my course tomorrow!

Jeroen

Last edited by Jeroen : 16th October 2020 at 14:34.
Jeroen is online now   (4) Thanks
Old 16th October 2020, 18:32   #140
Distinguished - BHPian
 
Thad E Ginathom's Avatar
 
Join Date: Jun 2007
Location: Chennai
Posts: 11,004
Thanked: 26,435 Times
re: DIY: Metal model engine building UPDATE: build complete (page 16)!

Great. Are you covering only soft solder (soldering iron) or hard solder (brazing torch) stuff too?
Thad E Ginathom is offline  
Old 16th October 2020, 21:09   #141
Distinguished - BHPian
 
Join Date: Oct 2012
Location: Delhi
Posts: 8,098
Thanked: 50,831 Times
re: DIY: Metal model engine building UPDATE: build complete (page 16)!

Quote:
Originally Posted by Thad E Ginathom View Post
Great. Are you covering only soft solder (soldering iron) or hard solder (brazing torch) stuff too?
Primarily, if not only, hard soldering.

Jeroen
Jeroen is online now   (1) Thanks
Old 16th October 2020, 21:43   #142
Distinguished - BHPian
 
Thad E Ginathom's Avatar
 
Join Date: Jun 2007
Location: Chennai
Posts: 11,004
Thanked: 26,435 Times
re: DIY: Metal model engine building UPDATE: build complete (page 16)!

Quote:
Originally Posted by Jeroen View Post
Primarily, if not only, hard soldering.
That's nice. Torch flames and red heat are so much more fun, right?

(although it is the electrical stuff I find the hardest)
Thad E Ginathom is offline  
Old 18th October 2020, 11:10   #143
Distinguished - BHPian
 
Join Date: Oct 2012
Location: Delhi
Posts: 8,098
Thanked: 50,831 Times
re: DIY: Metal model engine building UPDATE: build complete (page 16)!

Yesterday, at long last, the soldering workshop/course. It had been postponed a couple of times due to Corona. The course was meant for only 6 students at the time. But on previous occasions there were always one or two students whom bowed out at the last minute as they did not feel comfortable going to this course during these Corona times. Thought my wife and I are very careful I was pretty ok with this. I knew this was going to be held in a large workshop, plenty of room, only 6 students and a massive extraction system running continuously.

Needed to get there first, hour and half driving plus a bit more as part of the motorway was closed due to roadworks. Which meant getting up at 0500 am on my Saturday morning.

DIY: Metal model engine building UPDATE: build complete (page 16)!-screenshot-20201016-10.28.34-am.png


We got about an hour of instruction and were showed some of the basics.

Here you see our instructor Wiel explaining the mysteries of aluminium soldering

DIY: Metal model engine building UPDATE: build complete (page 16)!-20201017_085814.jpg

And here one of the students doing actual aluminium soldering

DIY: Metal model engine building UPDATE: build complete (page 16)!-img_3231.jpg

Six different workstations set up across the workshop

DIY: Metal model engine building UPDATE: build complete (page 16)!-img_0459.jpg

DIY: Metal model engine building UPDATE: build complete (page 16)!-img_0589.jpg

Yours truly hard at work

DIY: Metal model engine building UPDATE: build complete (page 16)!-20201017_103945.jpg

DIY: Metal model engine building UPDATE: build complete (page 16)!-20201017_111336.jpg

I also met my new Dutch Model forum friend Ruud here. Nice guy, its always interesting to meet people you know virtually only in real life. Ruud has been helping me out quite a bit already and he brought a center for my lathe. In real life he works as a civilian at the Dutch Military at their “measuring” department. Anything that needs measuring, from bullet trajectories to whatever you can think off, they do. So we had some interesting conversations.

Ruud and I were the two model builders during this workshop. The other students were all guys wanting to learn how to solder bicycle frames. They concentrated on soldering aluminium, whereas Ruud and I had a bit of a stab at soldering every material known to man, to various other bits and pieces.

DIY: Metal model engine building UPDATE: build complete (page 16)!-img_0756.jpg

DIY: Metal model engine building UPDATE: build complete (page 16)!-img_3191.jpg

The aluminium soldering was quite tricky. It took me three attempts to get it looking like this, which is not too bad. Mind you, on all three attempts I still burned a hole in the plate!

DIY: Metal model engine building UPDATE: build complete (page 16)!-img_1386.jpg

Wiel spend a lot of time talking about the different kind of fluxes and techniques. The one thing that became very obvious to Ruud and me was the importance of cleaning the respective materials prior to soldering. Getting a good flow is down to cleaning, cleaning, more cleaning and then the right flux and temperature.

Cleaning was done mostly with these scotch wite pads, next a blast with brake cleaning fluid.

In all we spend about 4 hours soldering. Good fun and very interesting. We got a booklet and were allowed to take home all the materials we had been using.

Debbie, in the near future, will require some soldering too. Back to the lath first though!

Jeroen
Jeroen is online now   (4) Thanks
Old 18th October 2020, 17:28   #144
Distinguished - BHPian
 
Thad E Ginathom's Avatar
 
Join Date: Jun 2007
Location: Chennai
Posts: 11,004
Thanked: 26,435 Times
re: DIY: Metal model engine building UPDATE: build complete (page 16)!

Are you guys really using oxyacetylene on Aluminium? When even a propane torch could probably blast a hole in it? 
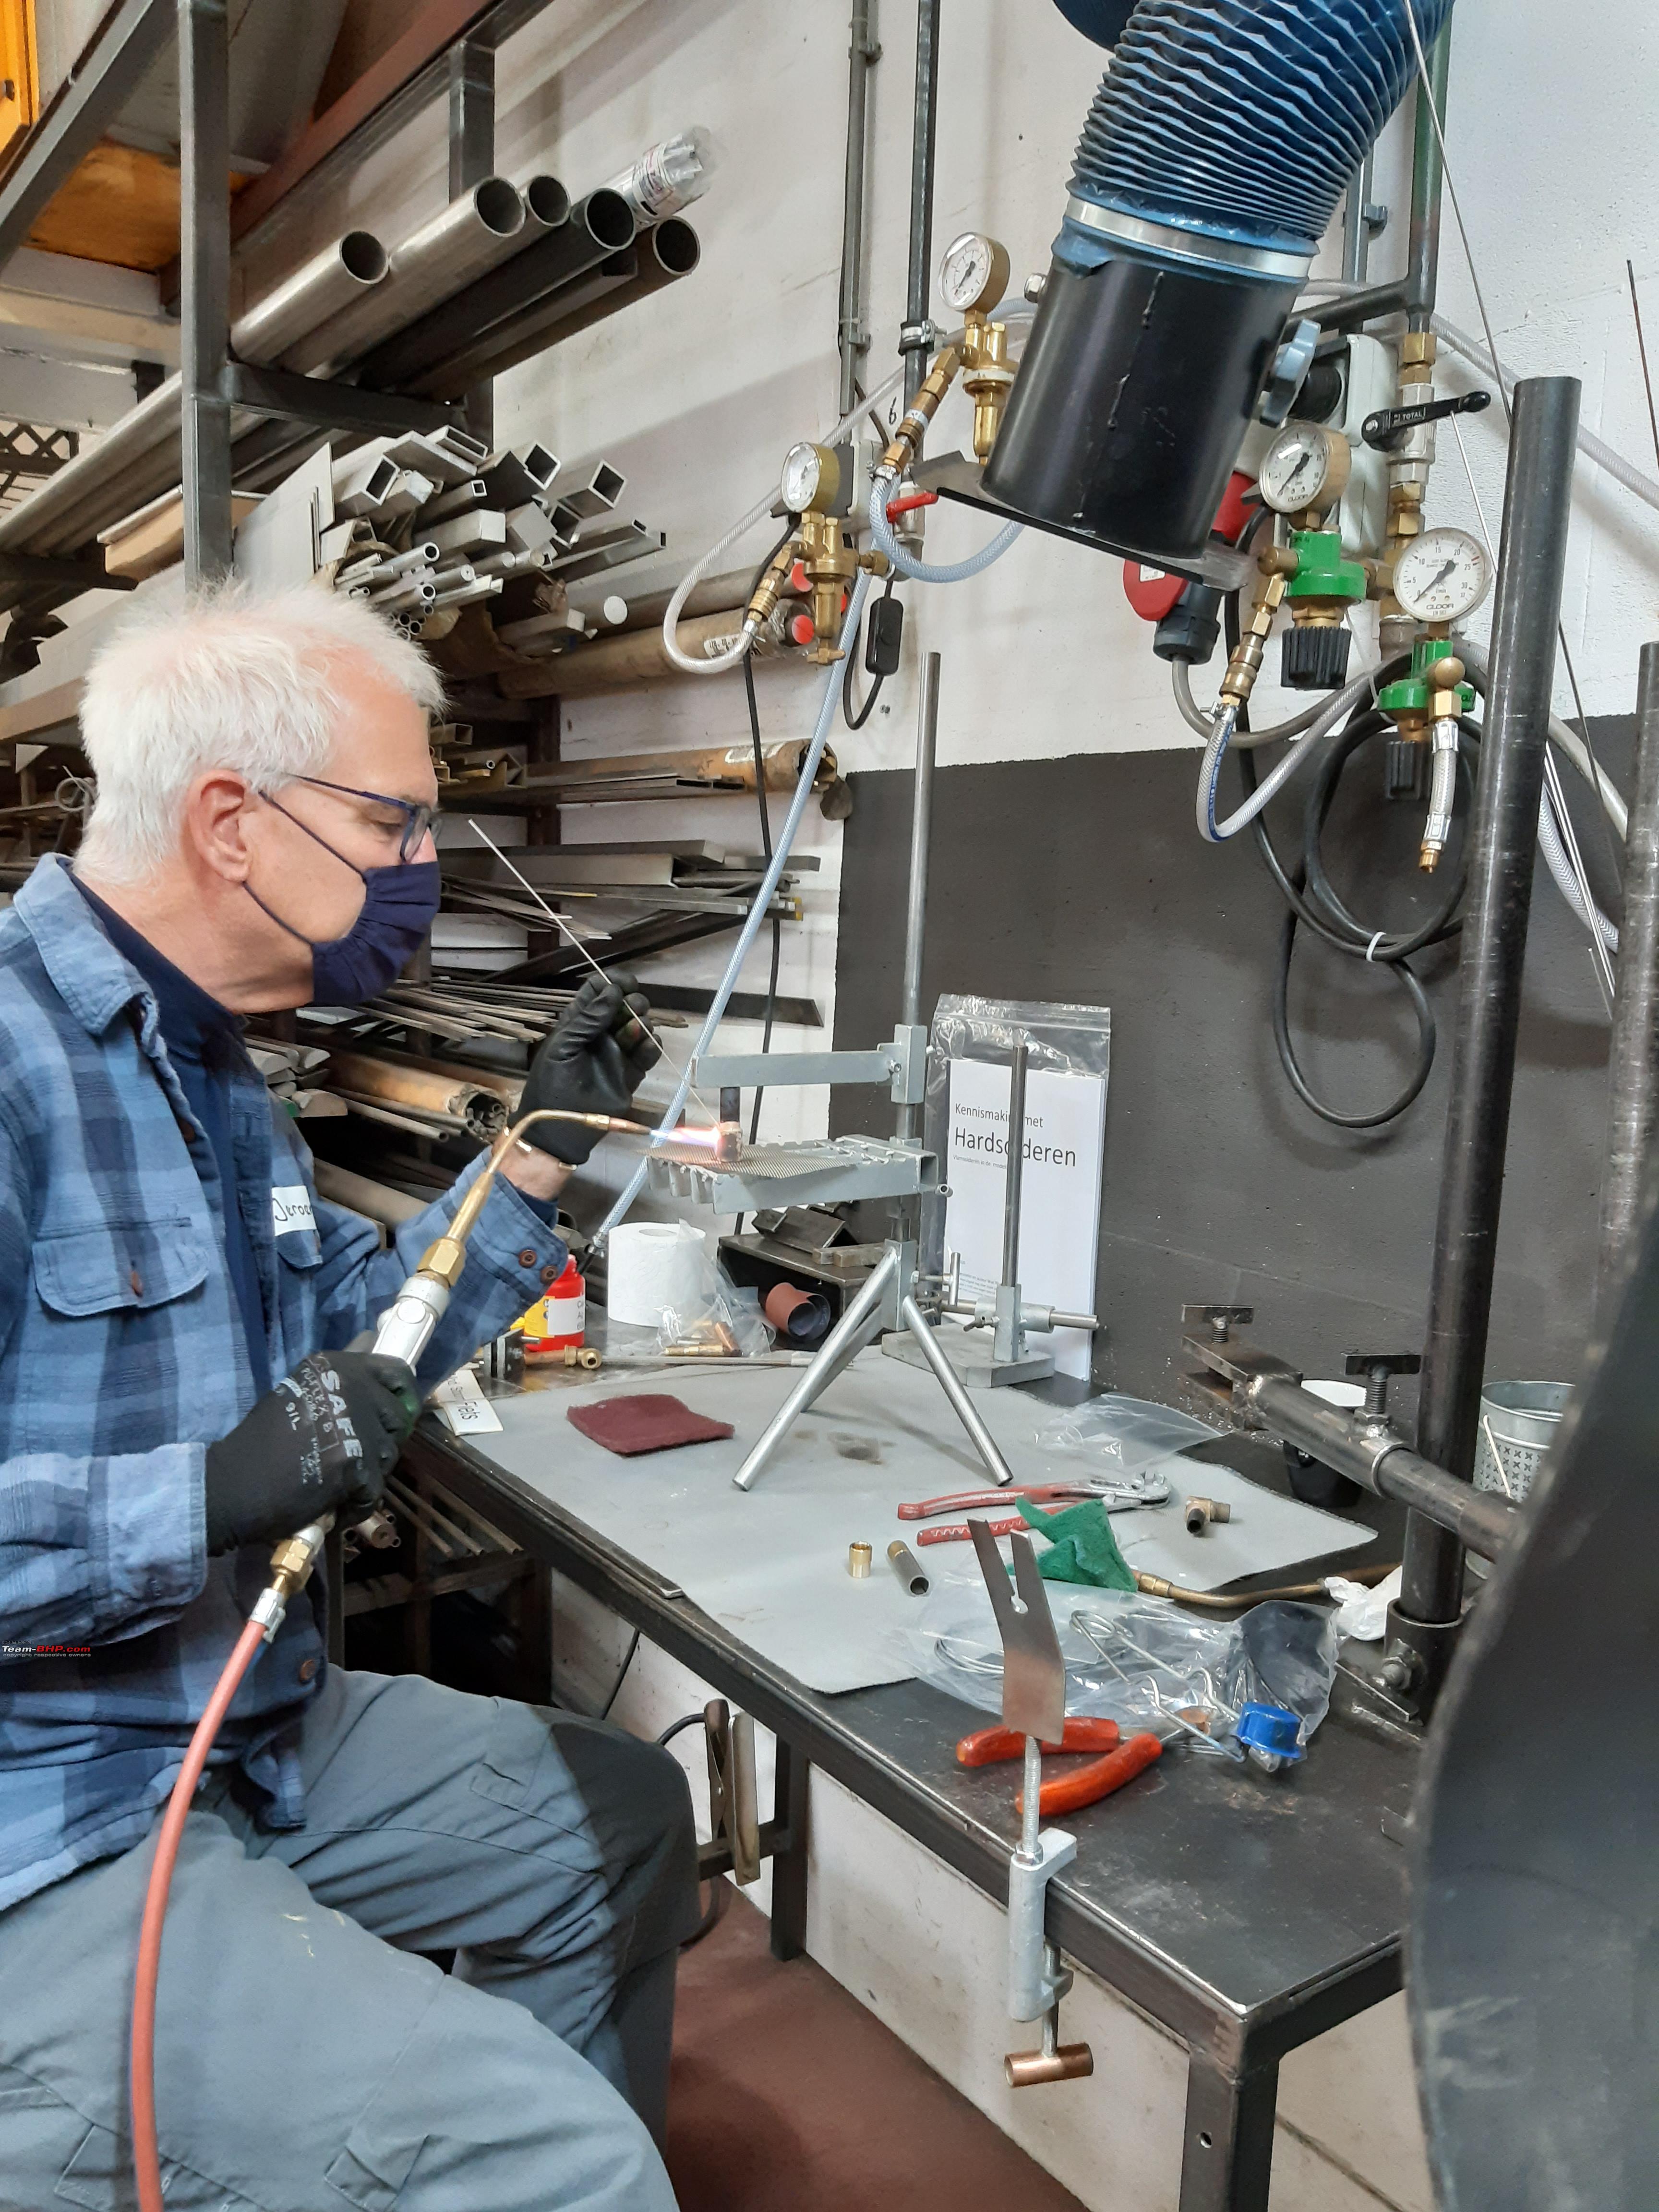
Wow... That must take a really, really sensitive touch!

That looks like a great course, which I would have really enjoyed taking.
Thad E Ginathom is offline  
Old 19th October 2020, 12:55   #145
Distinguished - BHPian
 
Join Date: Oct 2012
Location: Delhi
Posts: 8,098
Thanked: 50,831 Times
re: DIY: Metal model engine building UPDATE: build complete (page 16)!

Quote:
Originally Posted by Thad E Ginathom View Post
Are you guys really using oxyacetylene on Aluminium? When even a propane torch could probably blast a hole in it?
Actually, we did have different options available too, including propane. Wiel spend quite a bit of time talking us through the different options/gasses/burners/adjustments etc.

DIY: Metal model engine building UPDATE: build complete (page 16)!-img_35162.jpg

But most of the work on all materials was done with oxyacetylene sets. For no other reason, many DIY folks tend to have one (including myself).

One of the things we also worked upon is how quickly you need to heat up the piece. If it takes to long, because you are using a too small burner, it can affect the quality of the soldering. So it is down to keeping the burner moving, never keep it steady and really observe the flux, especially on aluminium.

Very good fun and very interesting. I look forward to be putting some of this to use in the weeks/months to come.

Jeroen
Jeroen is online now   (3) Thanks
Old 19th October 2020, 13:16   #146
Distinguished - BHPian
 
Join Date: Oct 2012
Location: Delhi
Posts: 8,098
Thanked: 50,831 Times
re: DIY: Metal model engine building UPDATE: build complete (page 16)!

Just received a few more photographs by mail from Wiel

Ruud and I hard at work:

DIY: Metal model engine building UPDATE: build complete (page 16)!-20201017_113634.jpg

Busy trying not to burn a hole in the aluminium

DIY: Metal model engine building UPDATE: build complete (page 16)!-20201017_115943.jpg

Jeroen
Jeroen is online now   (2) Thanks
Old 19th October 2020, 19:14   #147
Distinguished - BHPian
 
Thad E Ginathom's Avatar
 
Join Date: Jun 2007
Location: Chennai
Posts: 11,004
Thanked: 26,435 Times
re: DIY: Metal model engine building UPDATE: build complete (page 16)!

I love the setup, and the work holding example in the previous post.

I often confuse numbers, but if I recall correctly, a propane flame is going to be around 1,000 degrees, oxyacetylene about 6,000 and arc welding an awe-inspiring 11,000! Silver melts at around 900, Aluminium way down there at 600-something. Corrections welcome!

I've never used anything hotter than propane. I'd welcome the chance to learn oxy-acetyline (or even oxy-propane) but I'd have to seriously consider if I might not be a bit too old for the substantially increased danger level. I know I am clumsier and more careless than I used to be. You are lucky to have that skill and familiarity already.

Hard-soldering jewellery with a propane torch almost always means heating the entire piece to almost the same temperature as the join. Without that, too much heat will be sucked away from where it is needed for success. An advantage of a much hotter flame might be the possibility of getting enough energy into the join to flow the solder without heating up the rest of the piece so much.

There are micro-arc-welding machines now that allow repairing tiny chain chain links, or even replacing a claw without removing the stone! Errm... for several thousand Euro.

If I was still jewellering, I'd like one of these: Smith's Little Torch. It will run with oxy acetyline or oxy propane. I bet you could find uses for one too
Thad E Ginathom is offline  
Old 19th October 2020, 22:50   #148
Distinguished - BHPian
 
Join Date: Oct 2012
Location: Delhi
Posts: 8,098
Thanked: 50,831 Times
re: DIY: Metal model engine building UPDATE: build complete (page 16)!

Quote:
Originally Posted by Thad E Ginathom View Post

I often confuse numbers, but if I recall correctly, a propane flame is going to be around 1,000 degrees, oxyacetylene about 6,000 and arc welding an awe-inspiring 11,000! Silver melts at around 900, Aluminium way down there at 600-something. Corrections welcome!
It depends a bit who you want to believe, but here is one data point:

Facts
• The flame temperature when burning Propane in Oxygen is 2800 degree C
• The flame temperature when burning Acetylene in Oxygen is 3100 degree C


See https://www.wilhelmsen.com/globalass...vs-propane.pdf

So the difference is not that big at all.

Aluminium melting point, depending a bit what kind tends to be in the 660-700oC range. Your typical soldering paste is usually only 70oC lower. This is what creates the difficulty in soldering aluminium. Also, it is not always that easy to get a feel for the temperature as with say steel. The colouring of aluminium due to heating is less and can be really difficult to spot in a workshop with artificial lights. So nett result, easily overheated and you drop some holes into it.

The trick is to gauge the temperature by looking at the flux. Colour, boiling are very good indicators where the temperature will be. Still it does take a lot of practice.

Jeroen
Jeroen is online now   (3) Thanks
Old 19th October 2020, 23:31   #149
Distinguished - BHPian
 
Thad E Ginathom's Avatar
 
Join Date: Jun 2007
Location: Chennai
Posts: 11,004
Thanked: 26,435 Times
re: DIY: Metal model engine building UPDATE: build complete (page 16)!

I shall have to give that acetylene thing a try one day! I was recalling the numbers from memory, so not surprised to be wrong, even though I thought I was in the ball park.

Spotting the colour of metals as they begin to glow... I used to keep a low light (like 40w incandescent) in my workshop, the working light coming from an anglepoise desk lamp shining on the work in front of me. For soldering and annealing, I would turn that off. Spot the red easier and sooner.
Thad E Ginathom is offline  
Old 19th October 2020, 23:36   #150
Distinguished - BHPian
 
Join Date: Oct 2012
Location: Delhi
Posts: 8,098
Thanked: 50,831 Times
re: DIY: Metal model engine building UPDATE: build complete (page 16)!

I also managed to get a bit more work done on Debbie and the lathe allignement.

As the allignement problems with the lathe materialised I also had another close look at some of the parts I produced earlier. I was not entirely happy with the glide bearing I made and pressed into the cylinder bottom plate. Carefully measuring showed it was not centred properly. I suspect that was due to the 3 jaw chuck have some run out. And the fact that these parts have gone in and out of the 3 jaw chuck multiple times.

Also, I am a bit fed up with endless fiddling with respect to the allignement. So I decided to redo the glide bearing bush quickly.

DIY: Metal model engine building UPDATE: build complete (page 16)!-pa170006.jpg

I decided not to drill the hole for the piston rod this time. But first press it into the cylinder bottom plate. Happily my wife was busy doing some house hold chores, so I commandeered the oven and the freezer. Pressed a cold glide bearing (-20oC) into a warm (210oC) cylinder bottom plate.

DIY: Metal model engine building UPDATE: build complete (page 16)!-pa190014.jpg

DIY: Metal model engine building UPDATE: build complete (page 16)!-pa190015.jpg

Looks good. Next i will drill/ream the hole for the piston rod with this assembly into my four jaw chuck.

That meant taking the 3 jaw chuck off, and I took that opportunity to take some measurements on the flange

DIY: Metal model engine building UPDATE: build complete (page 16)!-pa170004.jpg

DIY: Metal model engine building UPDATE: build complete (page 16)!-pa170005.jpg

The needle of my measuring clock does not even move, so at least these surfaces are true and square!

Before continuing I decided to try out my new center, given by my modelbuild forum friend Ruud. The old method with the feeler gauges carefully held in place between two centres

DIY: Metal model engine building UPDATE: build complete (page 16)!-pa170001.jpg

DIY: Metal model engine building UPDATE: build complete (page 16)!-pa170002.jpg

DIY: Metal model engine building UPDATE: build complete (page 16)!-pa170003.jpg

Took quite a bit of fiddling, but I am happy that the feeler gauge is now sitting perfectly square to the lathe bed. As good as it comes, as they say.

But before I start trying out this new tail stock setting, I wanted to finish the cylinder bottom plate and glide bearing.

So I mounted my four jaw check

DIY: Metal model engine building UPDATE: build complete (page 16)!-pa190012.jpg

Just checking; this lump of steel is going to be Debbie’s fly wheel and it looks it might just fit!!

DIY: Metal model engine building UPDATE: build complete (page 16)!-pa190013.jpg

Dialling in the four jaw check is a bit of a thing:

DIY: Metal model engine building UPDATE: build complete (page 16)!-pa190016.jpg

The above measurement seemed to work ok. I had the base/magnet of the measurement clock attached to the work bench surface. As you know this is a 3mm steel plate, on top of 15mm wooden base, attached to a welded, solid steel frame. Even so, I was amazed to see my little clock swinging 0,1-0,15mm just by me leaning on the work bench. Just leaning, not really pushing.

So I mounted it all on the lathe:

DIY: Metal model engine building UPDATE: build complete (page 16)!-pa190017.jpg

This is going a lot better. Down to 0,1mm, but I can do better so I will continue tomorrow/later this week. I want to make sure the hole for the piston rod lines up as good as i can make it.

Jeroen
Jeroen is online now   (2) Thanks
Reply

Most Viewed


Copyright ©2000 - 2024, Team-BHP.com
Proudly powered by E2E Networks