News
DIY: Fitting Euro-spec DRL fog lights on my Volkswagen Polo
I always wanted to have a pair of DRLs on my car but I had no idea how to achieve it in the cleanest way possible.
BHPian fluidicjoy recently shared this with other enthusiasts.
Adding OE style DRLs on a Polo
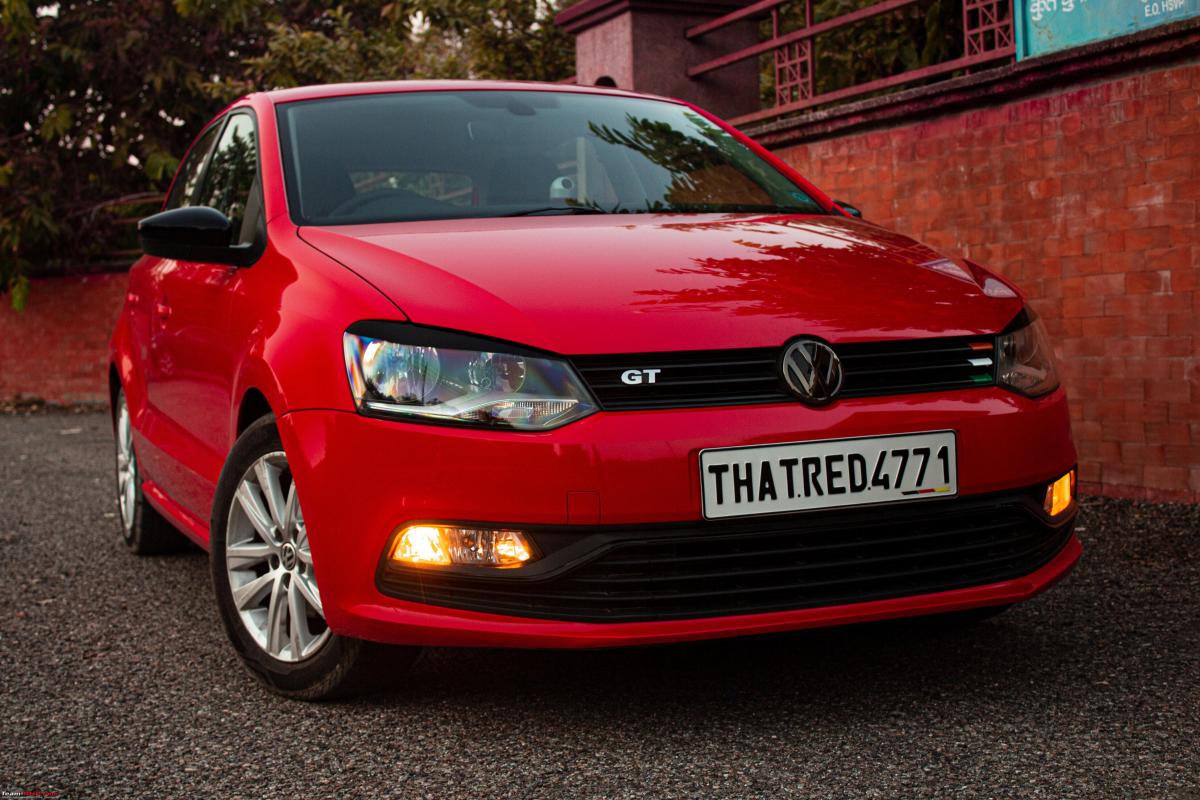
I thought I’d pen down this really cool DRL DIY which was on my mind ever since I got our Polo. It’s well-known that the Highline+ Polo or the GT TSI is not offered with the fancy GTI LED headlights and hence there was no DRL on the car at all.

DRLs are good to have, a standard feature in most cars in 2021, and frankly, they’re not just for style, but they actually make for a decent safety feature if implemented perfectly. Even our Grand i10 came with a beautifully bright DRL which is controlled by the parking brake. So, getting a pair of DRLs was always on my to-do list, but I had no idea how I was going to achieve it in the cleanest way possible.

The OEM way to get DRLs in the Polo 6R without a new headlight assembly was to have the DRLs running in the foglight.

I had first seen this implementation in the European spec Polo 6R which had a halogen DRL in the foglight assembly itself. On the Indian spec car, the spot for the DRL is a blank. There is plastic moulding in the rear, but the reflector is solid with no provision for a DRL.
Disclaimer
This is a retrofit I did not complete myself since I eventually moved to DRLs integrated within the headlights. Most of the parts and connectors listed have been cross-referenced to be a straight fit. However, some minor elements could still be different when you start to do this on your car.
A friend of mine and a Polo enthusiast Prerak was successfully able to install these DRLs on his Polo with these guidelines and so I’m confident you can too.
This thread would not have been as vibrant and lucid without the photos and videos he has clicked while documenting his process workflow.
The discovery
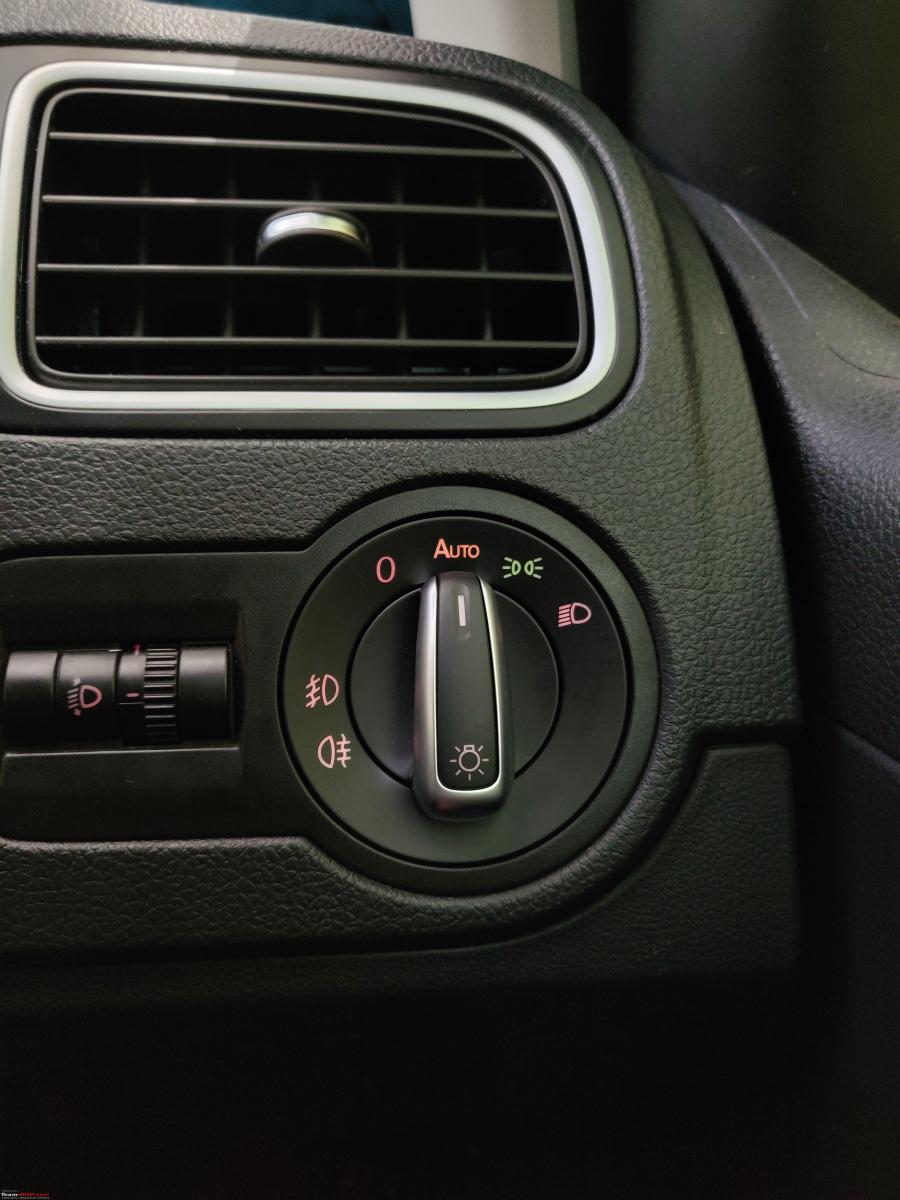
When I was installing the Chinese Automatic Headlight switch last year, I was curious to see the different notations on the T17 headlight pin connector. TFL, NSL, 56* were some of the notations I saw.
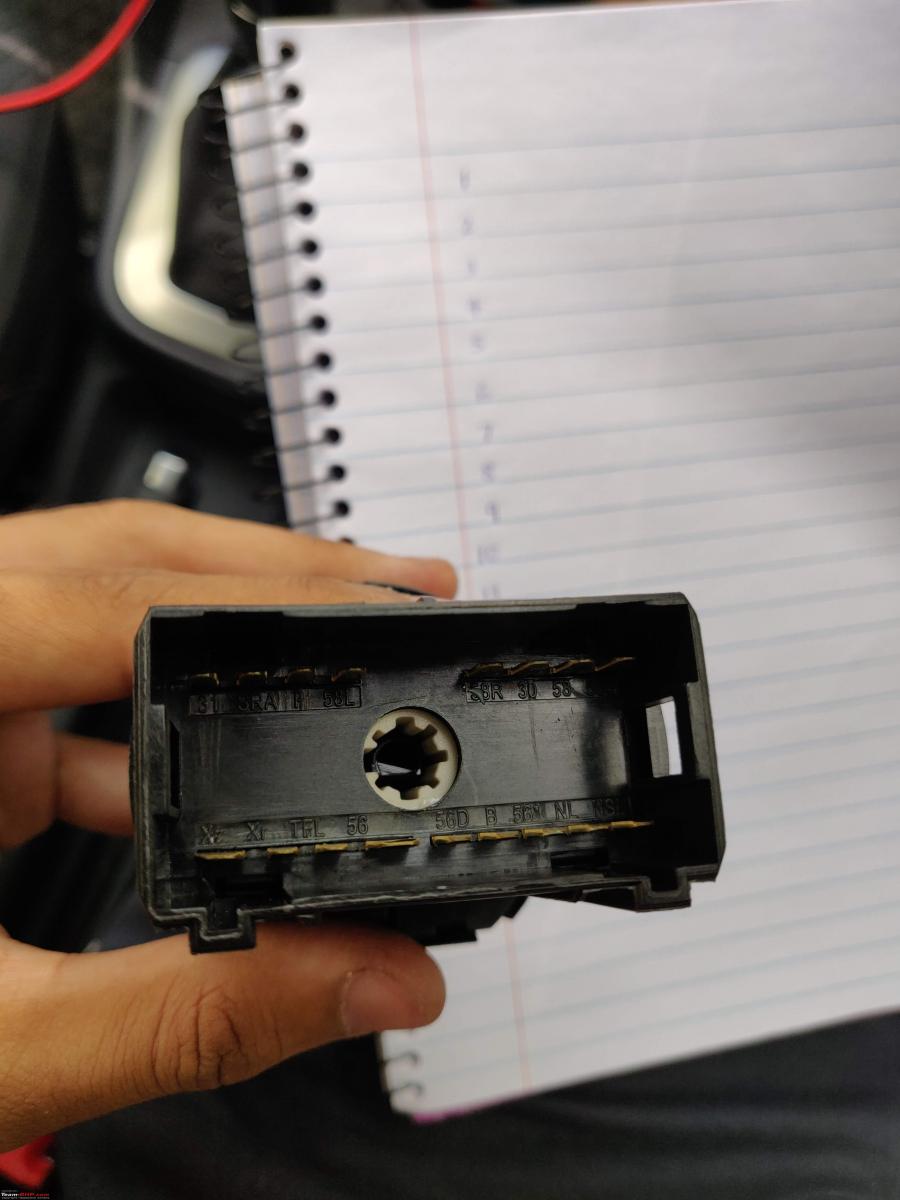
Turns out that these are short forms for different terminals and lights in VW’s lingo. Then, using a continuity tester, I found that the empty slot at T17/3 on the headlight switch was working as a proper DRL with voltage appearing and disappearing just like it should for DRL circuitry.
Some more scouting around helped me find references to VW’s own wiring diagram for a DRL which was being powered from T17/3 and thus was born the idea of wiring a DRL to the Polo using the OEM route.
We began this discussion by saying that the stock foglight does not have a ready-made provision for throwing in a DRL bulb and so if you don’t want to modify any stock fixture, then your best bet is to buy a new pair of OEM GTI fog lights. As per my friend Sheethal’s experience (who is a passionate and highly knowledgable VAG master), these imported fog lights are a lot better than the India-made fog lights.
Buying this new part gives you a dedicated slot and bulb holder for this DRL and all you need to do now is to complete the wiring. The part numbers for this fog light with DRLs are 6C0 941 661 and 6C0 941 662.
The last time I checked, these were about Rs. 13-14k a pair. You can source OEM equivalents on eBay UK for lesser, but the net price does not turn out to be all that great once they pass through our unpredictable Indian customs who might send them to you duty-free or might even outrageously value them for 2x-2.5x more than what they’re really worth.
The DIYers out there would love to soil their hands and have this retrofitted on their car. The DIY route is the cheaper yet more fulfilling option and here’s a list of parts that you’d need.
Tools, parts & part numbers
- DRL Bulb Holder (Bulb Carrier) - 6C0 941 669 x2
- DRL Bulb Connector - 1J0 973 722
- DRL Bulbs - W21W
- DRL Output Wires: 1mm^2 for power, 1mm^2 for ground
- Headlight Switch to Fusebox Input Power Wire - 1mm^2 - N 906 844 05 - Headlight Switch T17/3
- Fuse : 15A (SB56), Fusebox Pins - N 907 327 03 if wiring from Fusebox
- TESSA Tape - Fabric Type, Soft type
- T20 Torx Screw to unscrew fog-lights

The bulb holders turned out to be slightly expensive for me since I imported them, but I heard it could be possible to procure these for about Rs. 3000 a pair locally. These holders might also be aboard a few older Skoda Superb and Passat cars, and if you’re someone who likes to search around for used parts, then this could work out to be incredibly cheap. I had procured holders for retrofitting DRLs on my car but ended up sending them to Prerak, who was undoubtedly more excited than I was to install these on his car.
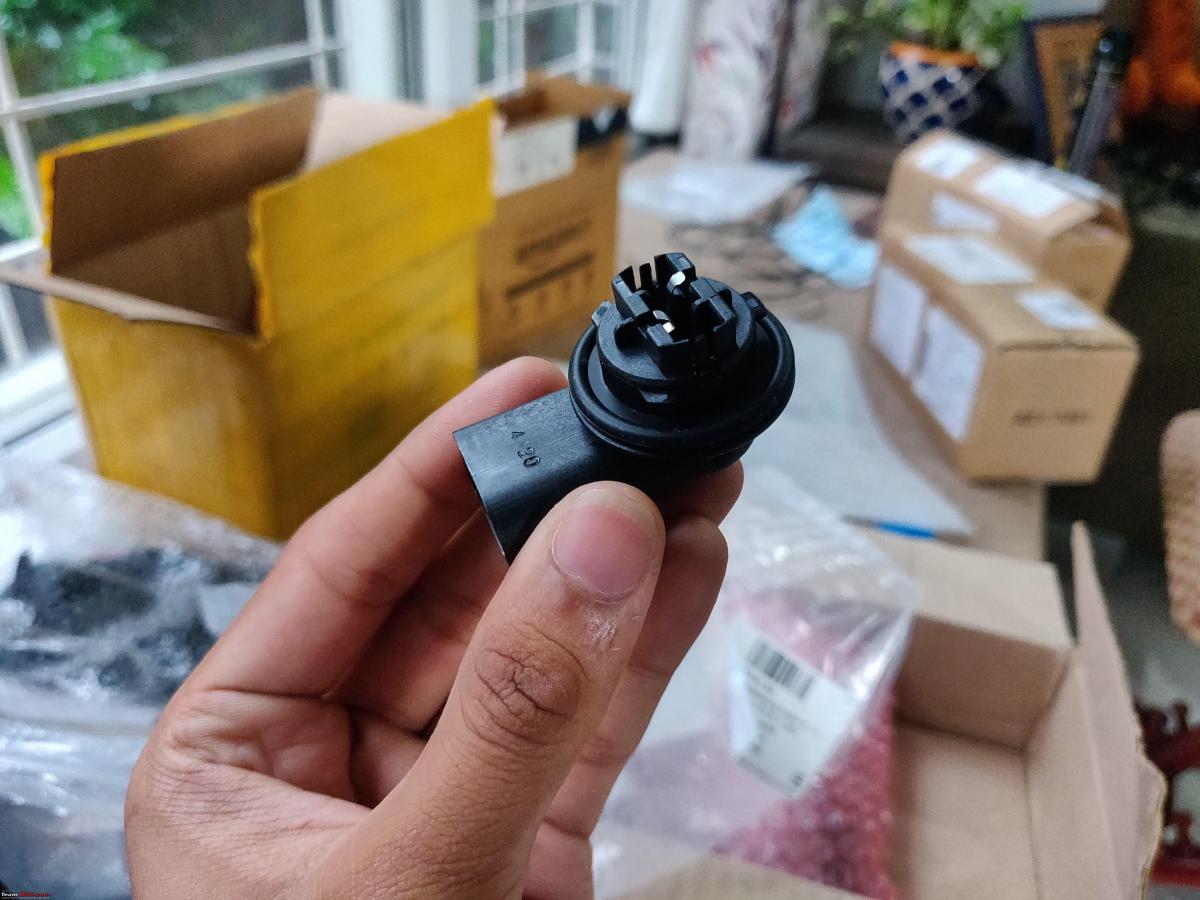
Here’s another closer look at the bulb holder. This bulb holder can house W21W bulbs and you can also use an LED bulb. The holder twists and locks onto the foglight DRL section. It also has an O-ring for keeping water out, so make sure that’s not cut or damaged before installing. If you have doubts about the sealing, then I recommend small beading of silicon gasket to ensure even better waterproofing.
Next, to connect these DRL holders to power, you’ll need to find yourself some Bulb Connectors. 1J0 973 722 is the right connector for the bulb carrier we’ve used. I consulted and verified this part number with another Polo enthusiast Dr. Patil.

I hate to admit, Aliexpress was indeed a great place to source electrical connectors and crimps and if you look 1J0 973 722 up on Aliexpress, you’ll get a full connector kit along with waterproof seals and crimps which looks something like this.
If it’s possible, then I’d recommend sourcing the entire set, and crimping it with a fresh set of wires and crimps. If that doesn’t seem to work out, then try and source this connector from a scrap yard along with the wires too.
However, the one potential downside with sourcing from a scrap yard is that the stock wire gauge might not be sufficient or robust enough for your project. Not all appliances which may be using this same connector might require the same wiring gauge and so make sure your wires are of the right spec.

Smaller wires could particularly be more concerning if you plan to use power-hungry bulbs. Prerak had to reassemble each crimp and solder it since the wires on one of the connectors he procured were not as per the mark.
The VW wiring diagram suggests 1mm^2 gauge wires and you can buy these from a local automotive store. If you like to colour code your work, then buy a Red wire for power and a Brown one for the ground. Again, to err on the side of safety, you’re better off with having a larger core wire than a smaller one.
Simplified Circuit Diagram (Modified from VW’s Official DRL Wiring Diagram)

How does this work?
This is not a BCM controlled DRL for the BCM High. The DRL is powered by the light switch from slot T17/3 and is protected with a 15A fuse.
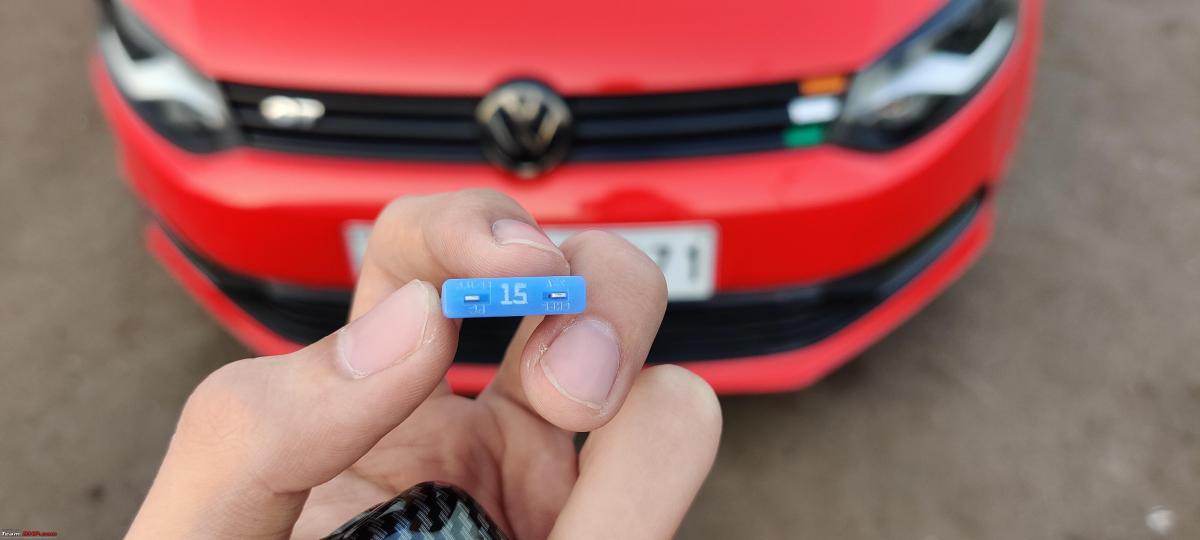
Depending on your comfort with working on the fusebox, you can choose to wire it in the stock fusebox or just connect an in-line fuse between the wires to complete the circuit. A 15A fuse was specified on the factory spec assuming 21W bulbs.
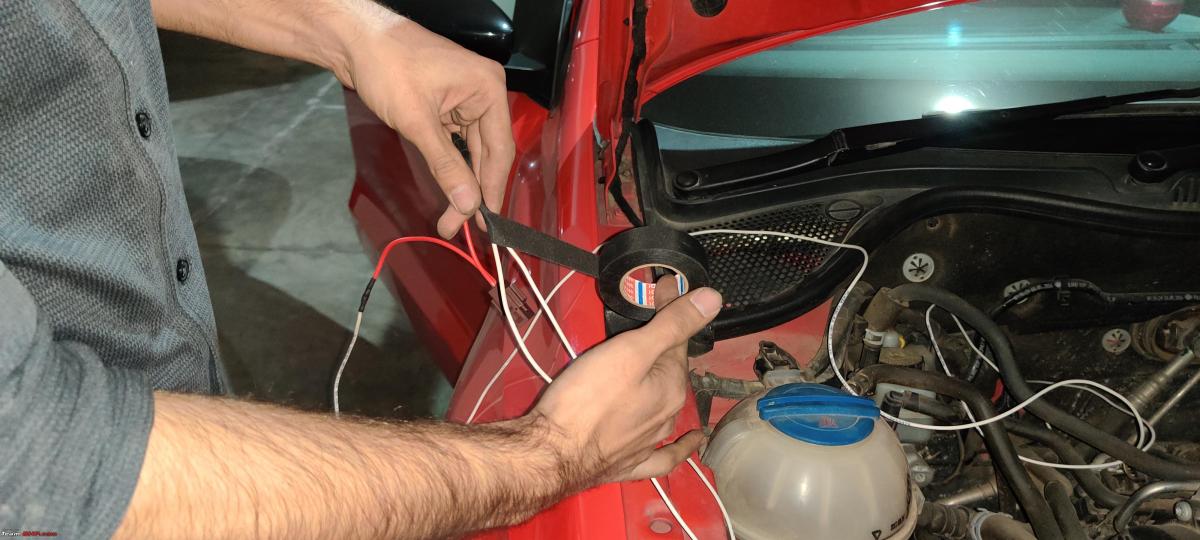
The OEM way to wire any accessory is to wire it in the fusebox, but it could be tricky for most folks who don’t have the right tools and haven’t worked on their car fuses before. Just to be clear, in this case, we are not tapping any power from another circuit and so a fuse tap is not really the right option. Prerak used a fuse which is housed in a plastic box and placed it in the engine bay. It's located along the fender and can be spotted by observing the two red wires.

Please note that unlike an electrical accessory like dash cams, reverse cameras, etc. which we connect to battery power, these DRLs are being powered from the headlight switch and hence we do not need to tap into any Fuse Power (+15 or +30). That is the beauty of this retrofit.
If anyone still wants to connect this to a fully empty slot in the fusebox, then you will need to procure two Fusebox Pins - N 907 327 03. This would be followed by procedures to take the driver footwell air vent out, fuse box out, remove the locking pin and insert wires, and put everything back without damaging the big wiring bundle which relates to everything on your car.
An inline fuse would be highly easy and convenient for this retrofit and you can buy one for as little as Rs. 50.
Quick Process Workflow
- Preparing Fog-light Assembly to mount new DRL Bulbs.
- Remove the foglight from the car.
- Drilling a hole into the blank reflector region to fit the bulb holder.
- Install the DRL bulb holder.
- Mounting the bulbs.
Wiring
- Making the wiring as per the schematic.
- Routing the wires to the fog lights and routing the wiring in the inside of the car.
- Connecting plug and play connectors to the headlight switch via a FUSE.
- Connecting appropriate ground points as per your wiring length and convenience.
Testing
Drilling into the reflector

To make way for the DRL, we need to finely trim along the blank cutout so the DRL holder can lock in place here. You might need to use multiple tools and will need plenty of patience to do this right. The holder will then twist in and be secured in place inside this new DRL space.

Once you have the holder secure, you still have to cut into the reflector bowl. I was personally paranoid about this step because it seemed like the most challenging part of this DIY.
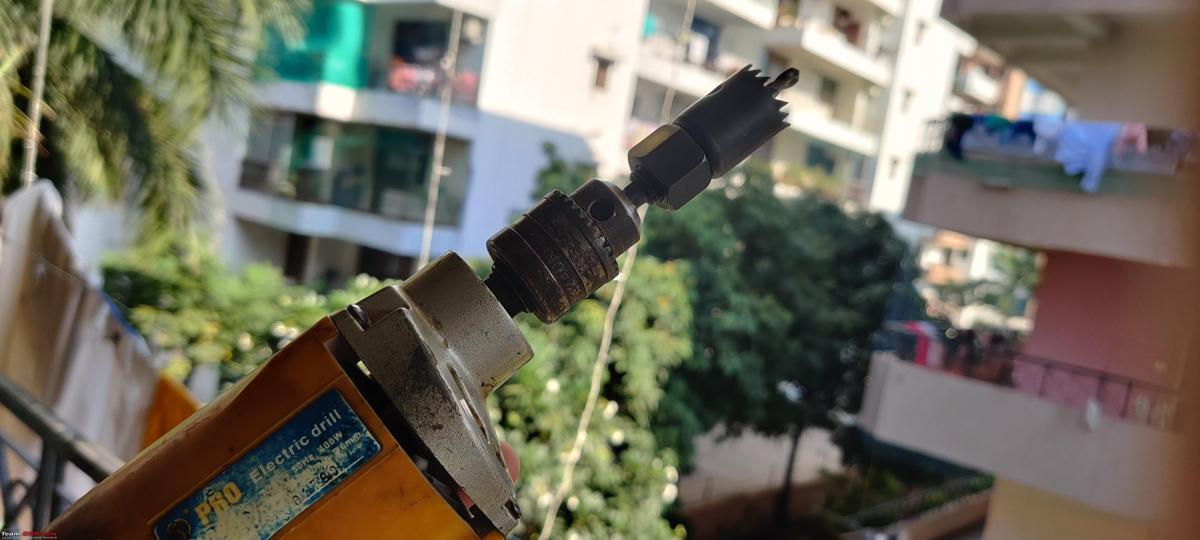
Using a drill, you can gently carve into this reflector bowl and make the right-size hole depending on what dimension bulb or LED you wish to use.
I was expecting a lot of debris to fall inside while drilling, but if you use an inverted workbench, then you can reduce the amount of debris that remains inside. If there’s any debris inside after drilling, then a flexible soft brush or a vacuum cleaner should be a good option to evacuate this DRL chamber and make it ready for housing your new bulb.
Preparing Wires and Routing
The schematic above is incredibly simple. We have one wire going into the headlight switch at T17/3 and you can find a crimp with part number N 906 844 05.

To access the headlight switch and the T17 connector, you will have to take the side panel on the driver side out along with the headlight switch, which can be twisted and turned to be pulled out elegantly. If you’re doing this on very early cars like 2012-2013, then it wouldn’t harm to check the switch once to see if it has a DRL pin at T17/3. Another way to double-check is using the multimeter and checking for power at T17/3.
This T17/3 wire splits into two wires which will go on either side of the DRL. This is the primary power wire which will run the DRLs and turn it off when the headlights are turned on. Just as they should.
Each DRL also needs a ground connection. You can also make a similar arrangement by making a long common ground wire, but I prefer to have two independent ground points for the two DRLs. There are plenty of ground points in the engine bay and if you have a Ring-Connector at the end of your ground wire, then you can loop your ground cable to any ground point nearest to you.
Joining & taping harnesses

Automotive wiring can be joined in quite a few ways depending on your preference. There are so many different techniques to join wires and I’ve seen at least 3-4 good ones on YouTube. Soldering, X-Splices (Western Union Joints) and Adhesive Heat Solder crimps are a few of the options I’ve used in the past.
Regardless of which one you use, make sure the joint is nice and tight and does not come off easily. A layer of insulating tape or shrink would make your joint corrosion resistant if you plan on keeping it in the engine bay, where it could have access to moisture during the monsoon or washing.

Prerak has used heat-shrinks to prepare his harnesses and taped wires with Tessa tape. There are two types of automotive tapes I’ve come across while working on VW cars. Softer ones which I’ve found in the interior and a slightly more resilient one that is more heat resistant and more suitable for wiring in the engine. So make sure you choose the one you need, as sellers on Amazon seem to be prescribing one type for both uses.
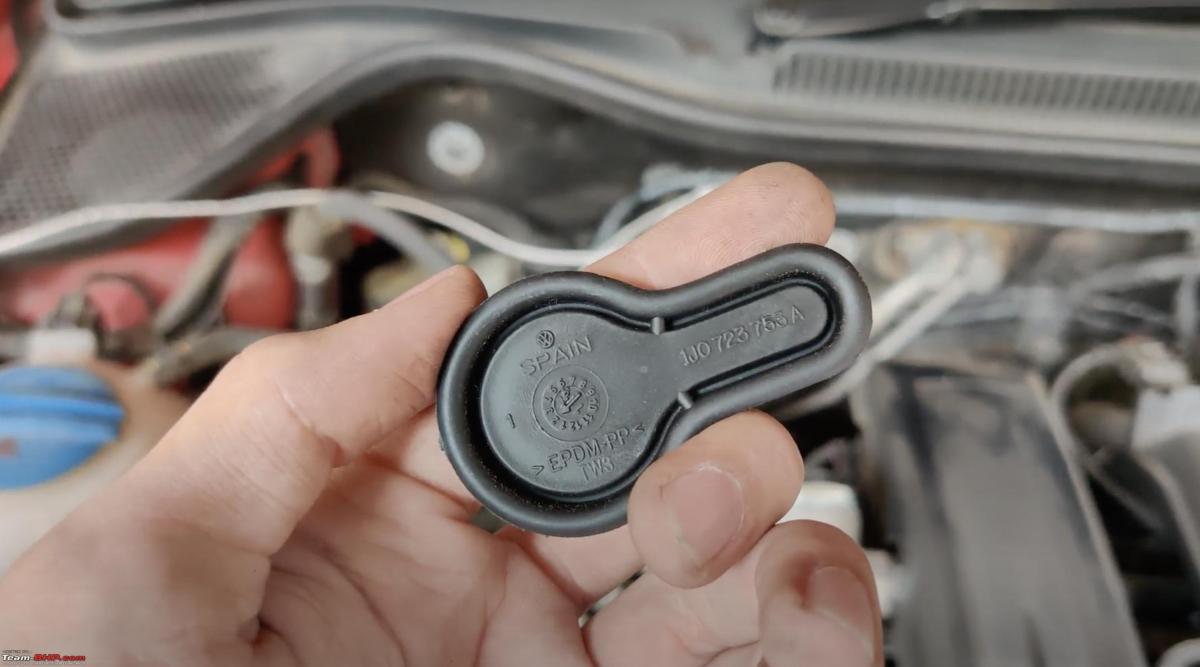
For automatic cars, the empty rubber grommet for the non-existent Manual Clutch Cylinder is one of the quickest ways to get wires from the engine bay into the cabin. This grommet should be removed to make a small hole to feed the wires and then should be reattached securely to the engine firewall.
For manual cars, you can use the door-fender grommet or the wiring grommet under the windshield covering plastic on the passenger side for feeding the wire inside to the light switch, but I would love to know if there are any more convenient routes for manual transmission cars, since I haven’t personally worked on one.
Connector breakup view
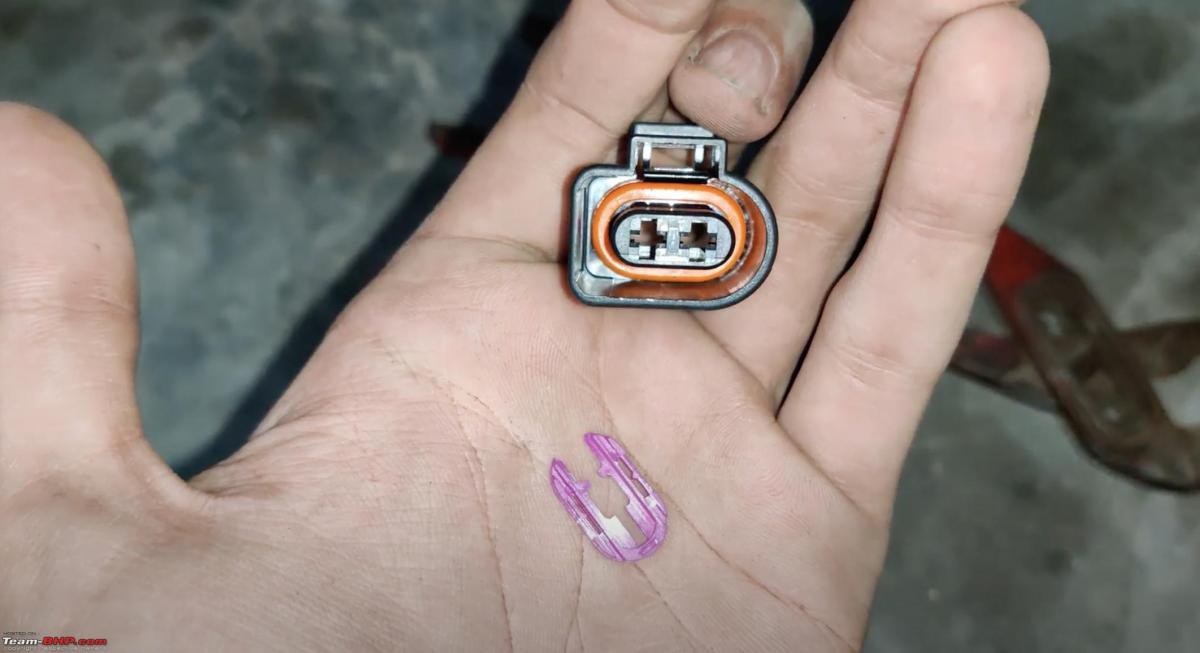
To insert crimps into the VAG connector, you need to pull out the pink locking tab which slides out when you pry it out gently with a flat blade screwdriver. Once you insert the crimps inside, reinsert the pin locking tab to secure the pins in the connector.
Once everything is connected, you can test the fruits of your labour by trying out all the positions in the headlight switch.

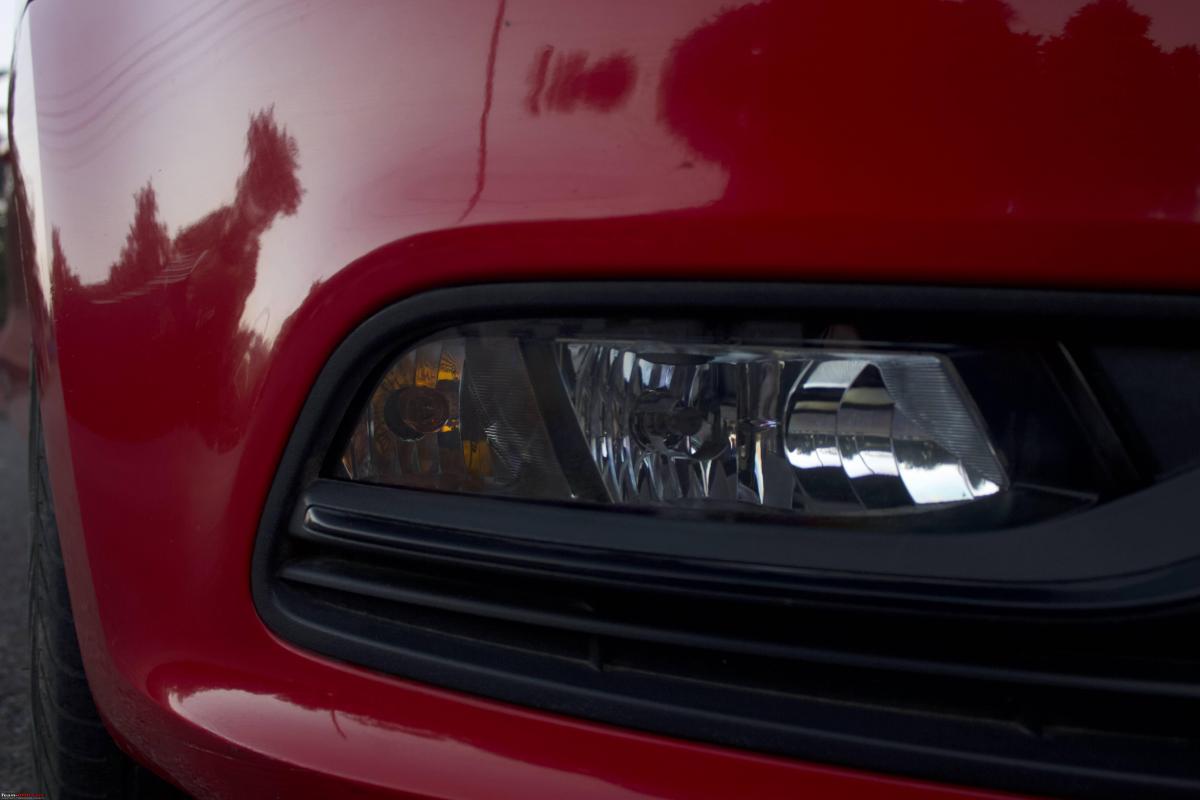
You have successfully installed some neat-looking DRLs on your car and you have full freedom to install whatever bulb and colour temperature you wish. I'm for sure a fan of White DRLs. The DRL will turn off when the headlights are turned on. The fog lights work as usual. Here is a click of the fog lights along with the DRLs.

Heartiest congratulations and a big thanks to Prerak for sharing pictures and videos of his efforts with me so they could be shared on Team-BHP. I hope this DIY helps many more passionate Polo Vento drivers.

Check out BHPian comments for more insights and information.
Find Car News
Just News


About Us