News
DIY: Installed armrest on my Tata Tiago for a cost of just Rs. 1800


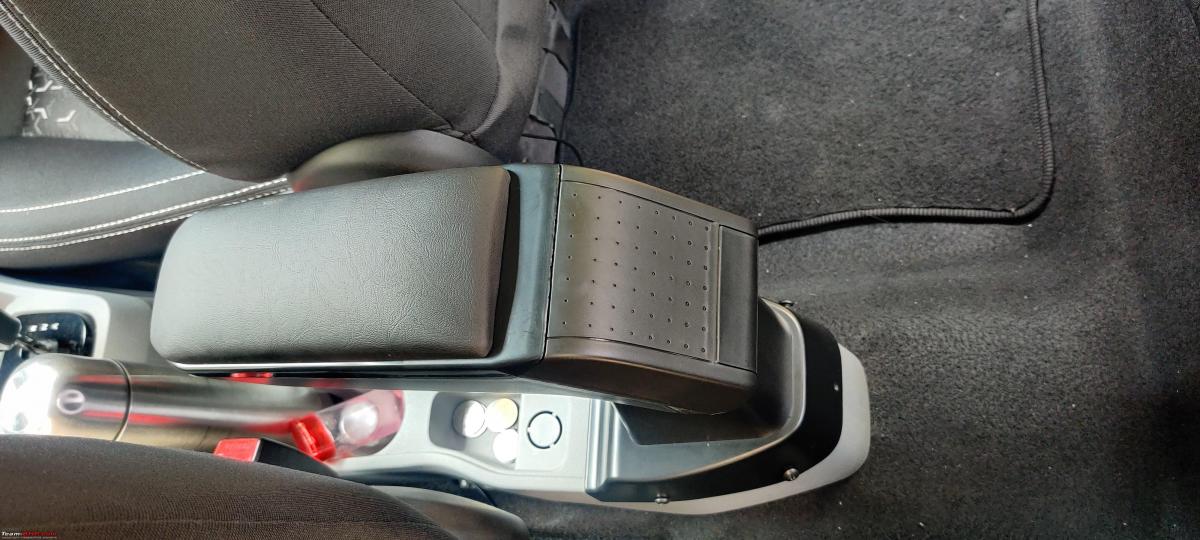
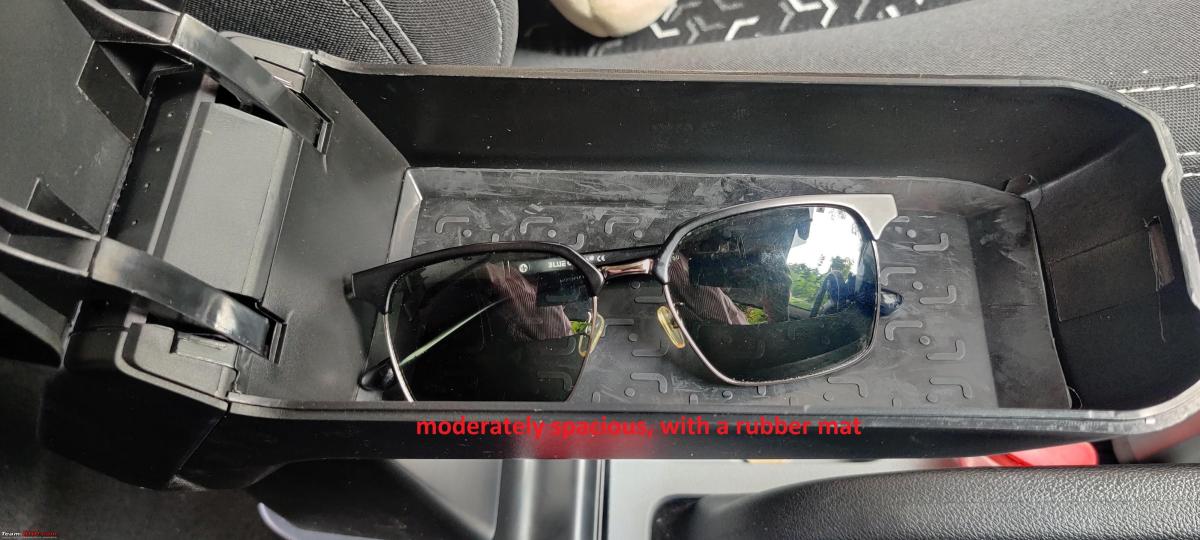
It has a sliding cushion, however, it doesn't slide A LOT. And it opens up to reveal some storage with a rubberized mat.
BHPian lemedico recently shared this with other enthusiasts.
Tata Tiago armrest installation:
In continuation with my accessory upgrades for my Tata Tiago XZA+ AMT 2021, here is another one- an armrest installation DIY.
I have recently installed parcel tray strings for Rs. 8, you may read about it on this TBHP thread.
And this amazing mod to my Ciaz which broke the internet.
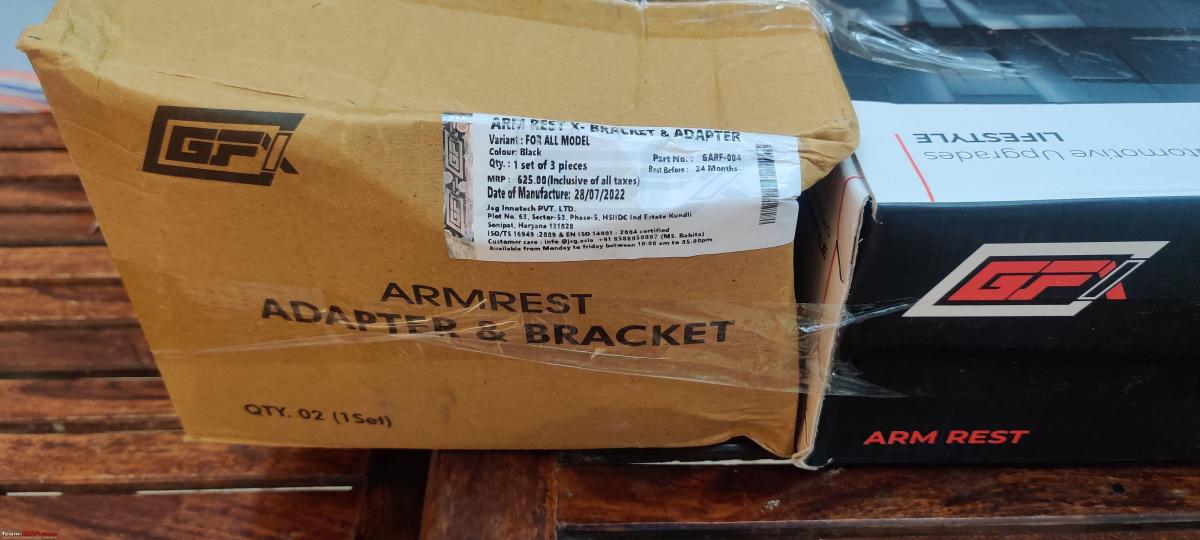
I bought the armrest from the Gomechanic website. I feel the pricing is absolutely unbeatable. In October 2022, I paid Rs. 1800 for the part with free shipping. There was a Rs. 200 discount for online payment on the original price of Rs. 2000. The SAME part on the Galio website was listed for Rs. 2800, and the SAME part as an official Tata accessory from the showroom was a bonkers Rs. 6000.
I got the delivery within a week, and multiple SMS + WhatsApp messages were sent regarding the order updates. The parcel was a two-box delivery, and well packaged with adequate bubble wrap.
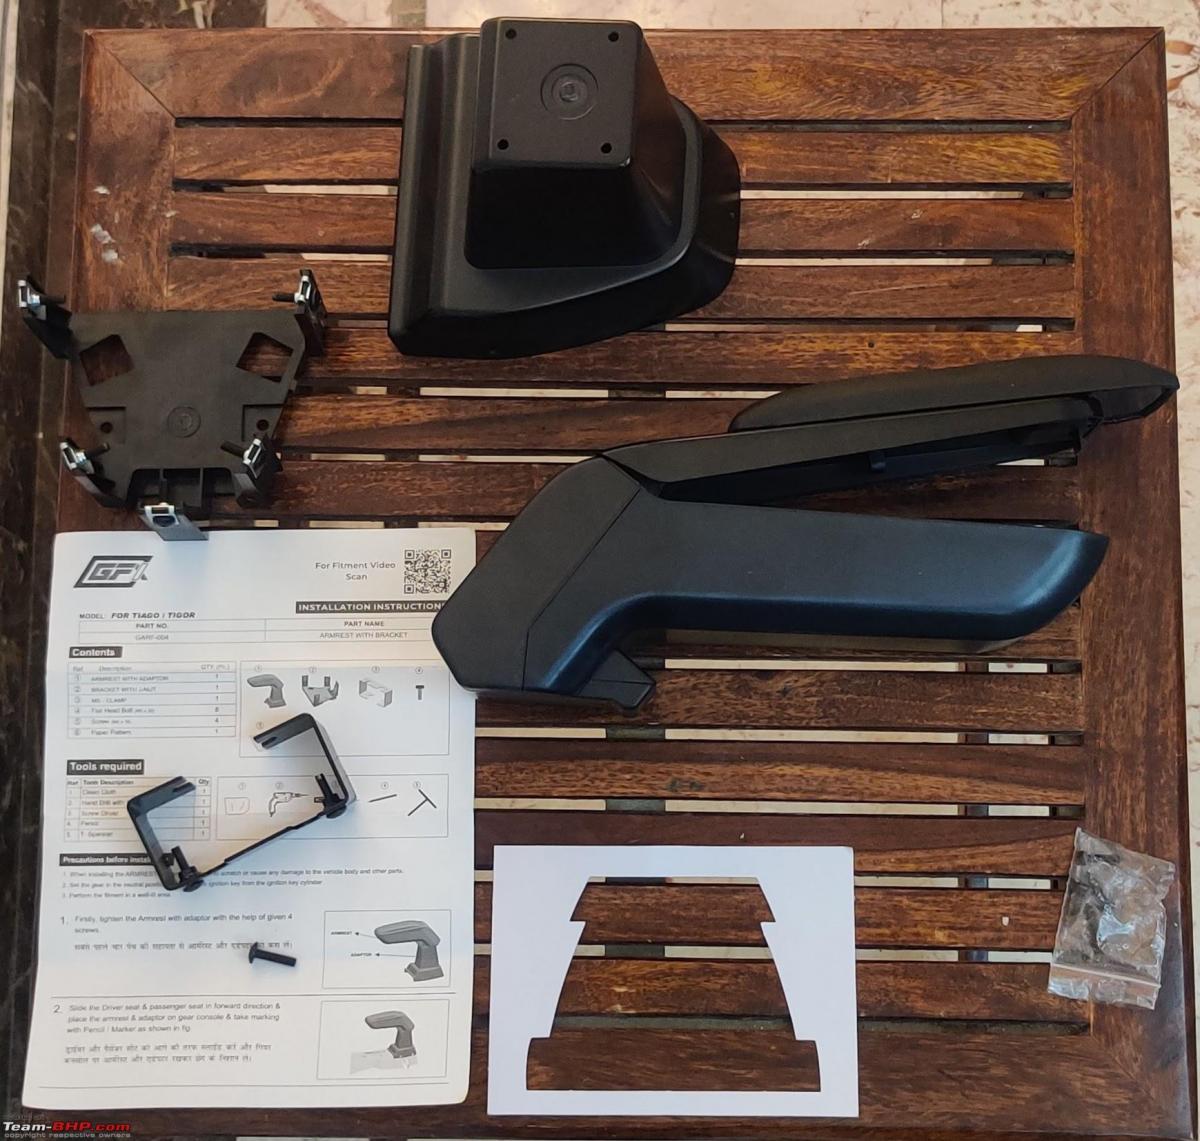
It has a sliding cushion, however, it doesn't slide A LOT. And it opens up to reveal some storage with a rubberized mat. It is ok for your sunglasses, but without the carrying case. There are no colour options and was delivered in the full black shade. This matches the interior of the Tiago/Tigor.
NOTE: this exact part is suitable for the Tata Tigor as well. As per the manufacturer, it is suitable for models 2016 and onwards. That basically means the original and the facelift cars, regardless of the trim XE/XM/XZ/XZ+
YouTube link to the video of this accessory installation.
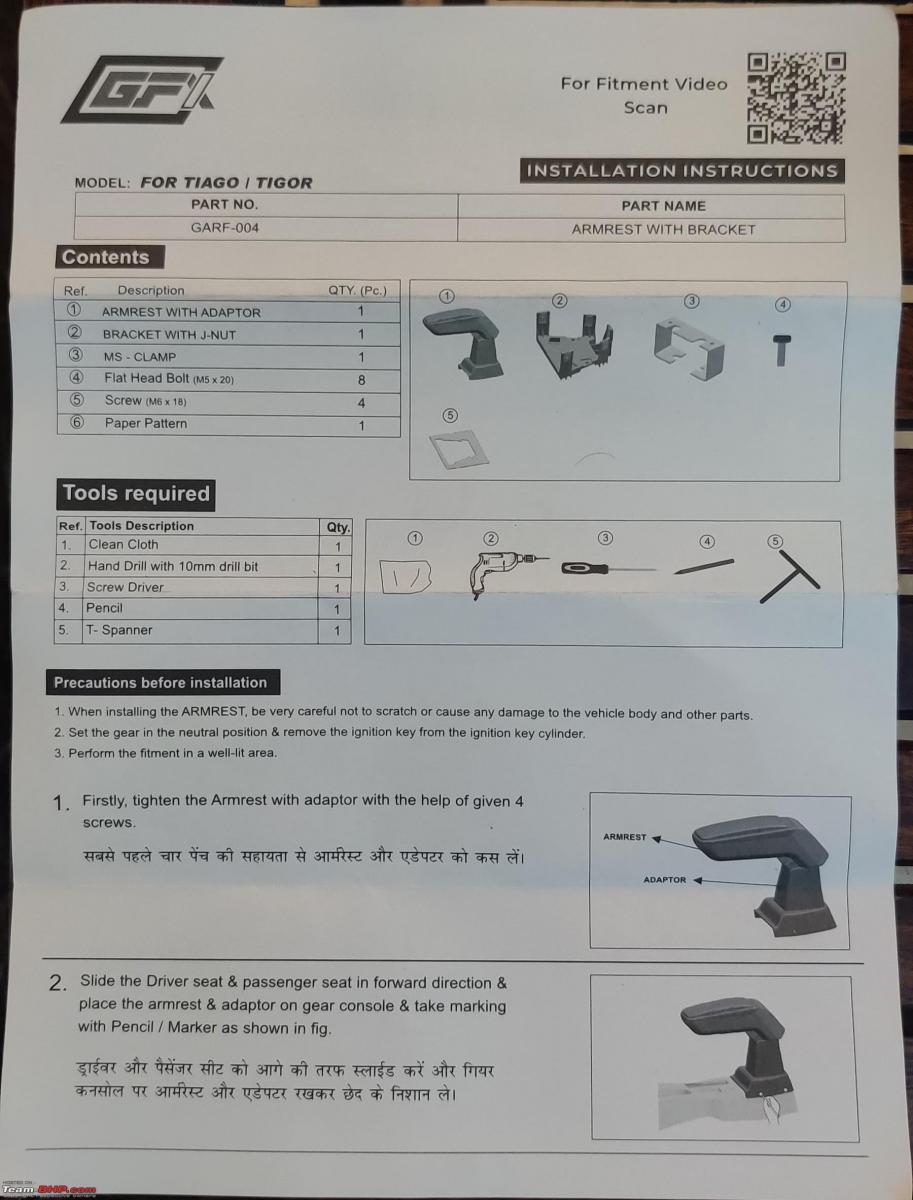
The company has its instructional video on YouTube for DIYers. That is what I had watched a few times to help me install it on mine.
This is needed from your toolbox:
- Screwdriver – double head.
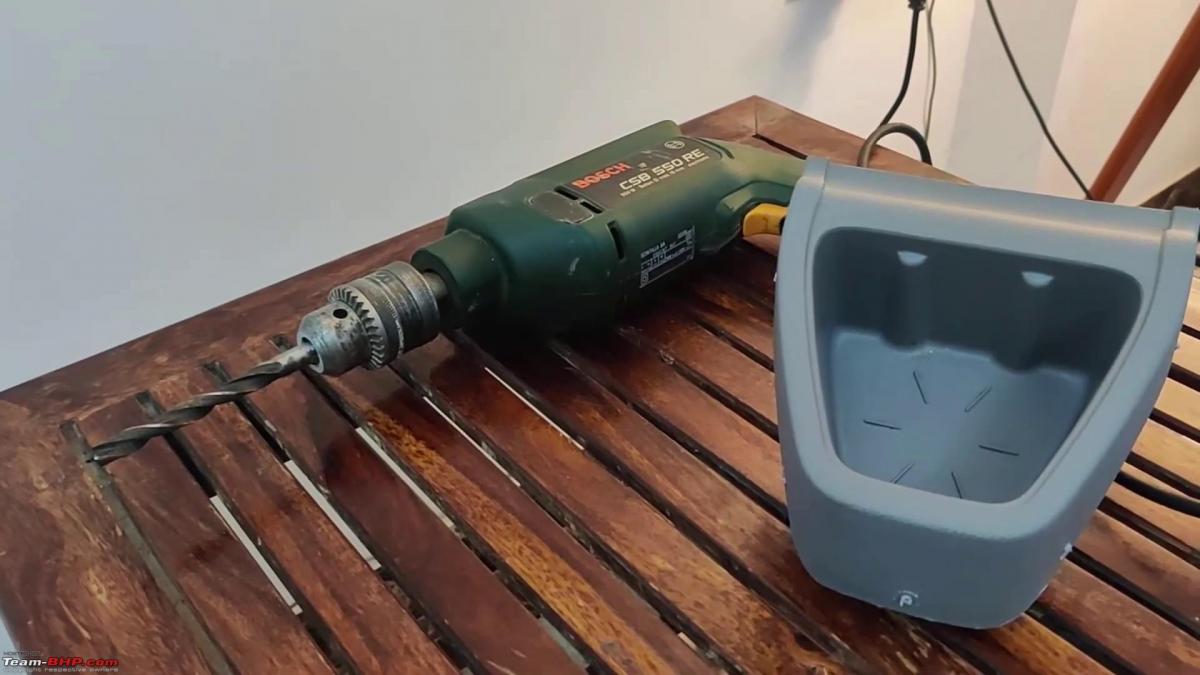
- Drill with a 10mm bit.
- Plastic pry tool, or a flat-head screwdriver wrapped in a microfibre cloth.
- 10mm socket for the chassis bolts.
- Marker pen.
- Super sharp knife to cut the plastic frame. I used the surgical scalpel with a blade no. 23. A Stanley knife for the non-medicos!
- A file, to smoothen the rough-cut edges.
- Vacuum cleaner to clean up the mess made from the plastic debris.
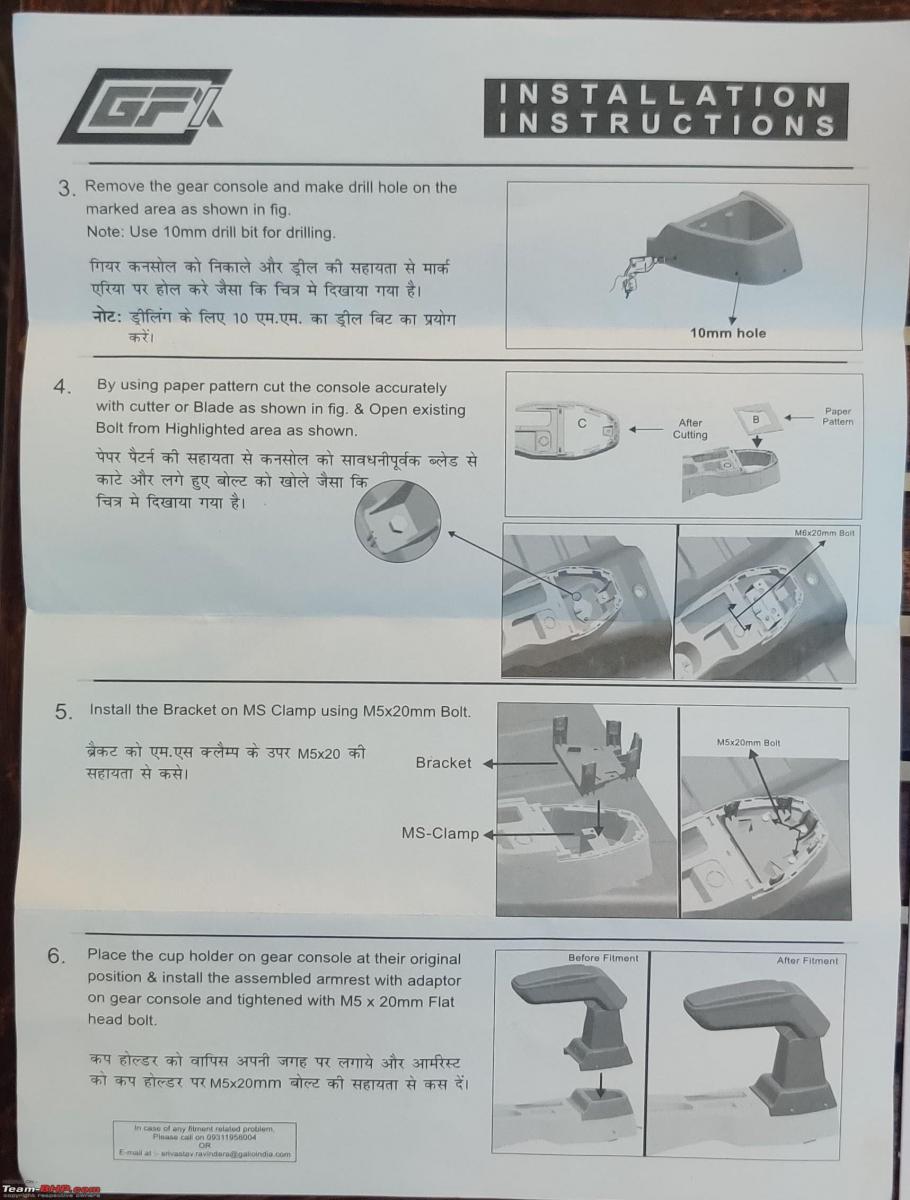
The steps are straightforward if you follow the video or the instruction sheet in the box. A picture speaks 1000 words, a video perhaps a million. Do have a look at my video and the manufacturer’s video if you’re in the process of installation. For general reading pleasure, the steps are as follows:
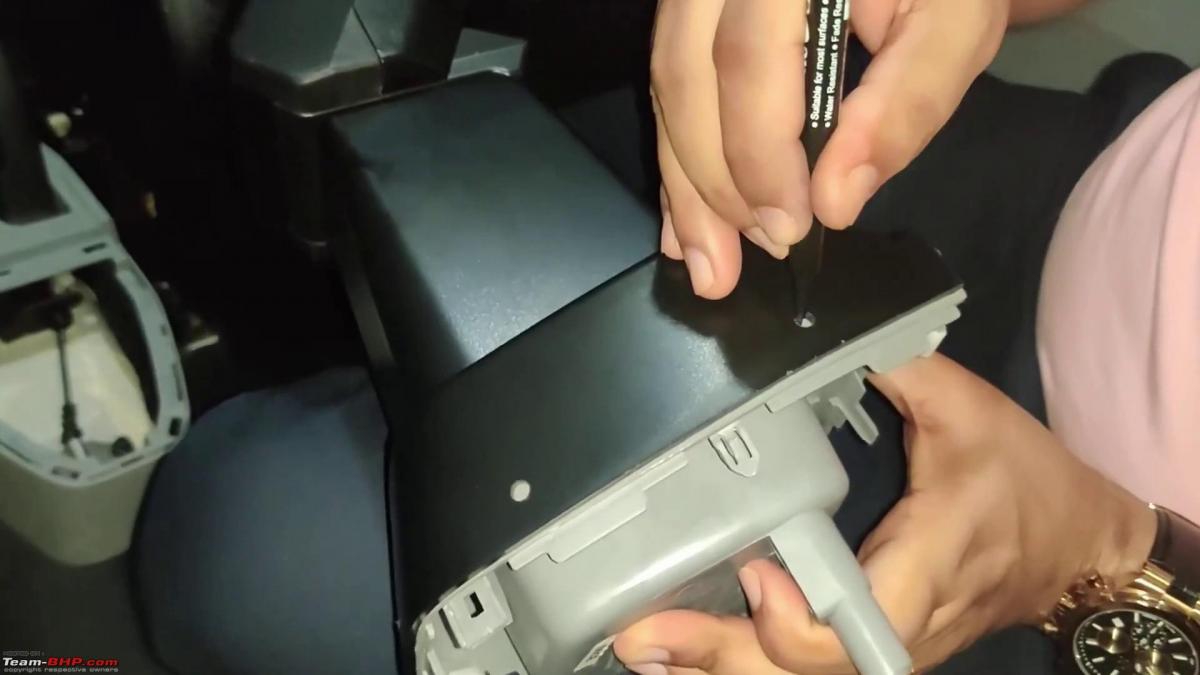
- Use the four screws to join the armrest to the adapter.
- Place this over the rear cup holder and use a marker to mark the five drill holes.
- Pry out the rear cup holder and drill 10mm holes into the five marks.
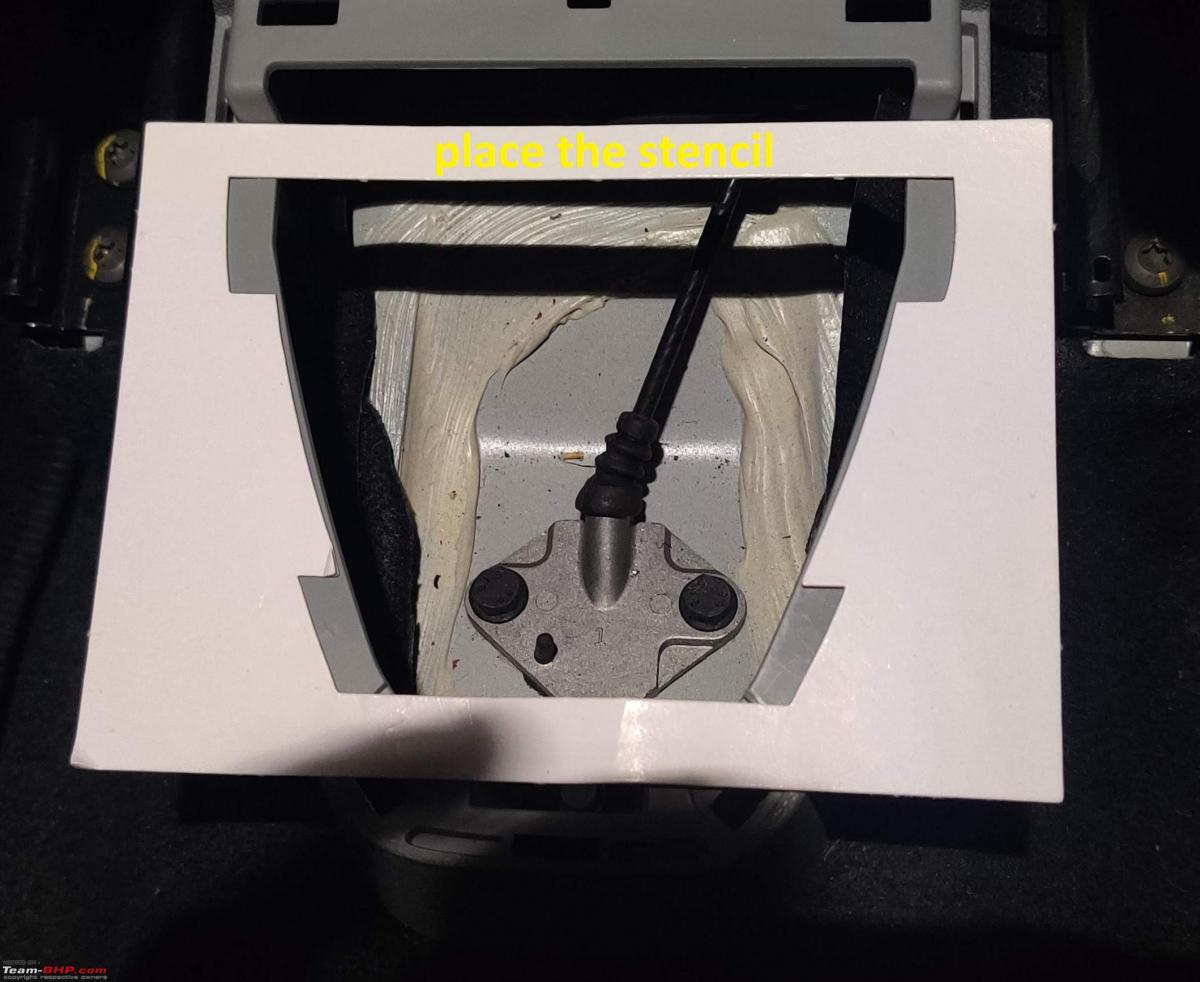
- Place the stencil on the cup holder’s frame, and mark the four slots to be cut out.
- NOTE: This was not 100% to size and I had to further file down a few mm on each side for each slot to get an accurate position.
- Use sheer force to cut out the plastic bits, it's not easy. And it will create a microplastic mess which is too evident on black carpeting.
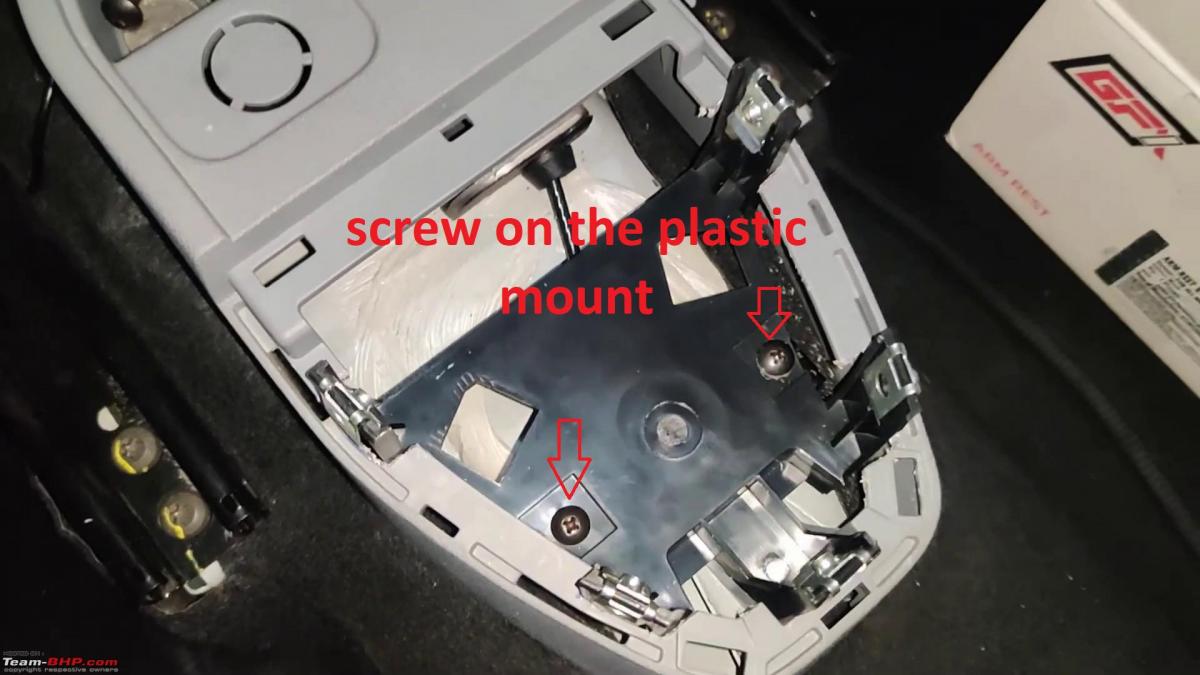
- Use a 10mm socket to undo the two chassis bolts which secure the handbrake cable.
- Mount the metal bracket with these two chassis bolts. The bracket doesn’t stay perfectly aligned; it twists on tightening. Trial and error to make it perfectly horizontal.
- Whack on the plastic bracket, it should mildly ‘click’ over the metal bracket in its groove. Secure this with the two included screws.
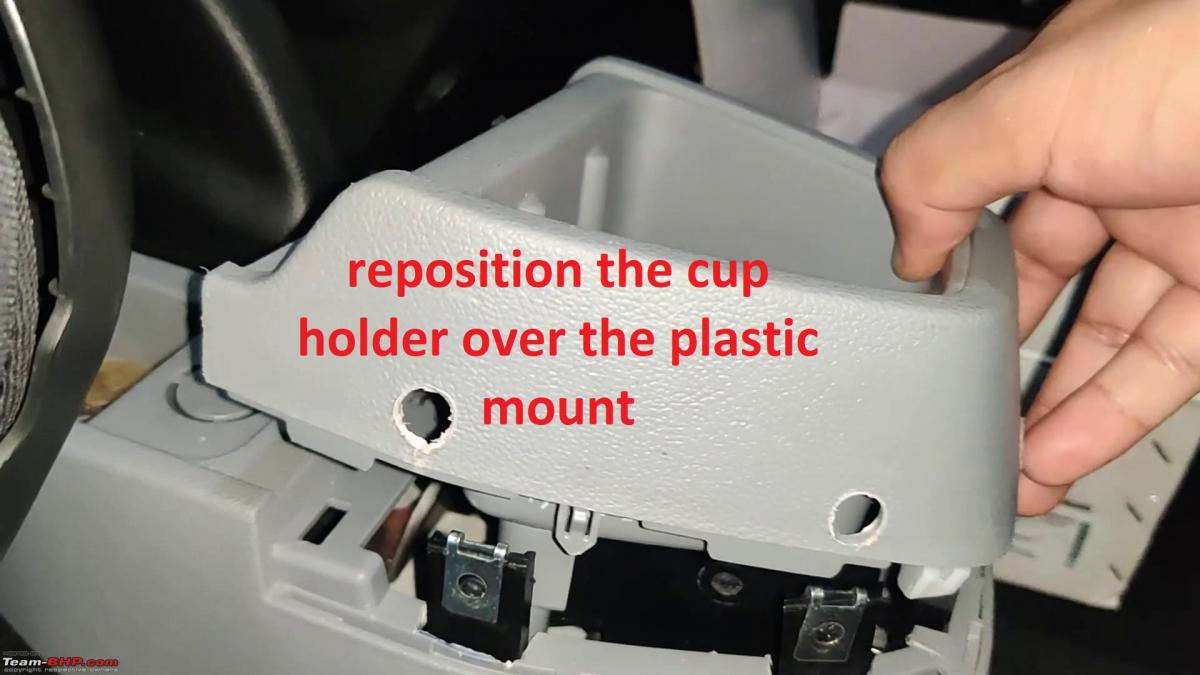
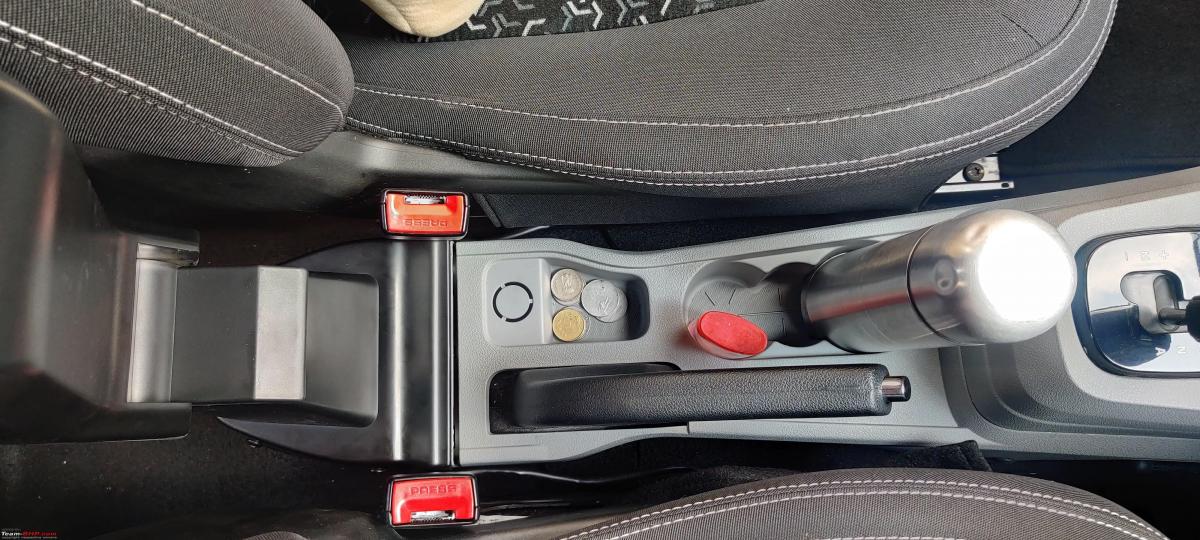
- Replace the drilled cup holder. It will NOT slot in again as it has lost the space due to the new tenants. Just let it rest on top of it. In my opinion, the cup holder can be chucked away altogether as it now has no use or structural need for the armrest.
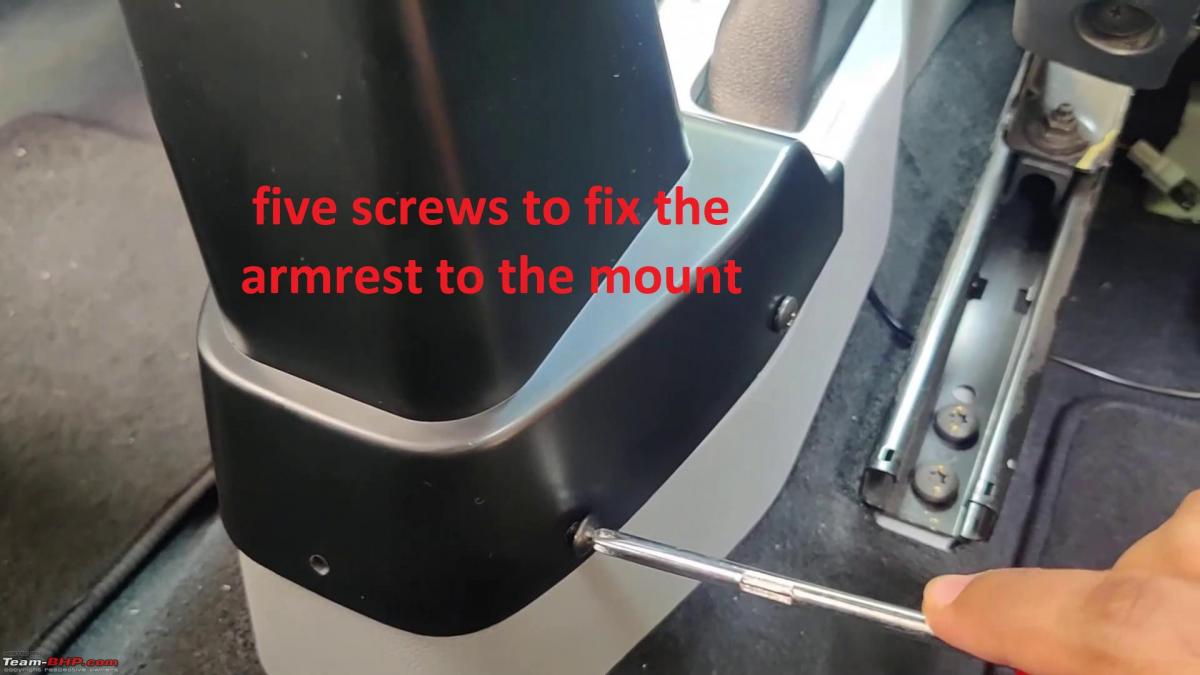
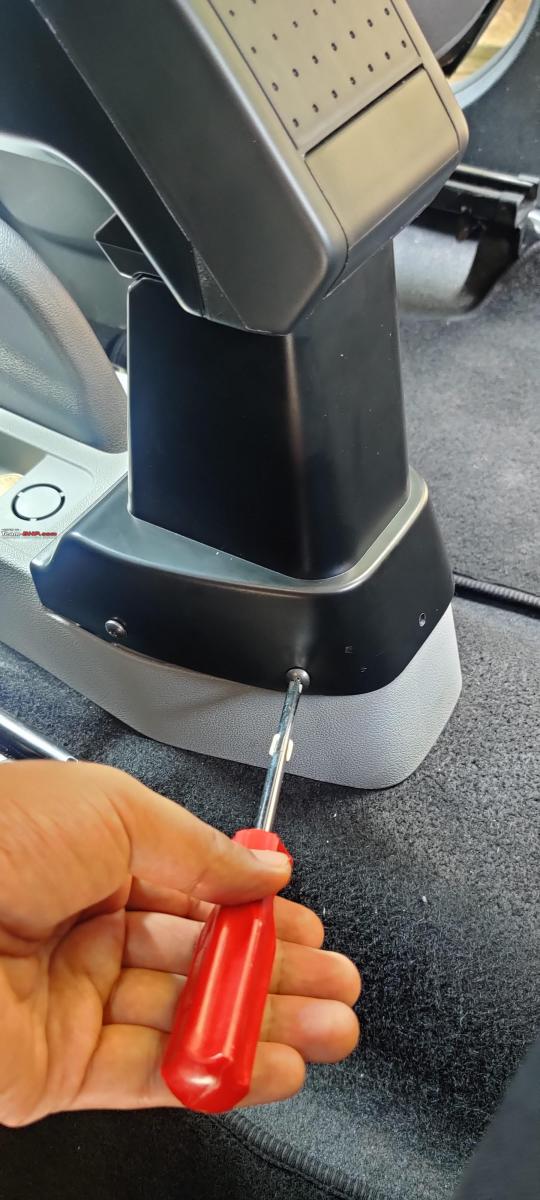
- Place the armrest over the cup holder, and screw the five screws to finally secure it.
- NOTE: the holes for the screws on the armrest, cup holder, and mounting bracket may not be lined in line with each other. Mine were not and took some nip and tuck to make it so. The video shows what I mean.
- Vacuum up the carpets, wash your hands and enjoy your new accessory!
Here are a few photos, thanks for reading:


Check out BHPian comments for more insights and information.
Find Car News
Just News


About Us