News
DIY: Mahindra Thar audio setup upgrade
23rd March 2022, 13:12 by Rahul Nagaraj

Installed Pioneer Compos at the front section of the SUV's cabin.
BHPian wooka recently shared this with other enthusiasts.
Installed Pioneer compos at the front of the vehicle. A DIY job with help from Phoenix.
Notes:
- Taking off the A-pillar plastic covers is a pain. Other posts have highlighted how it's to be done. The green-coloured clips break easily.
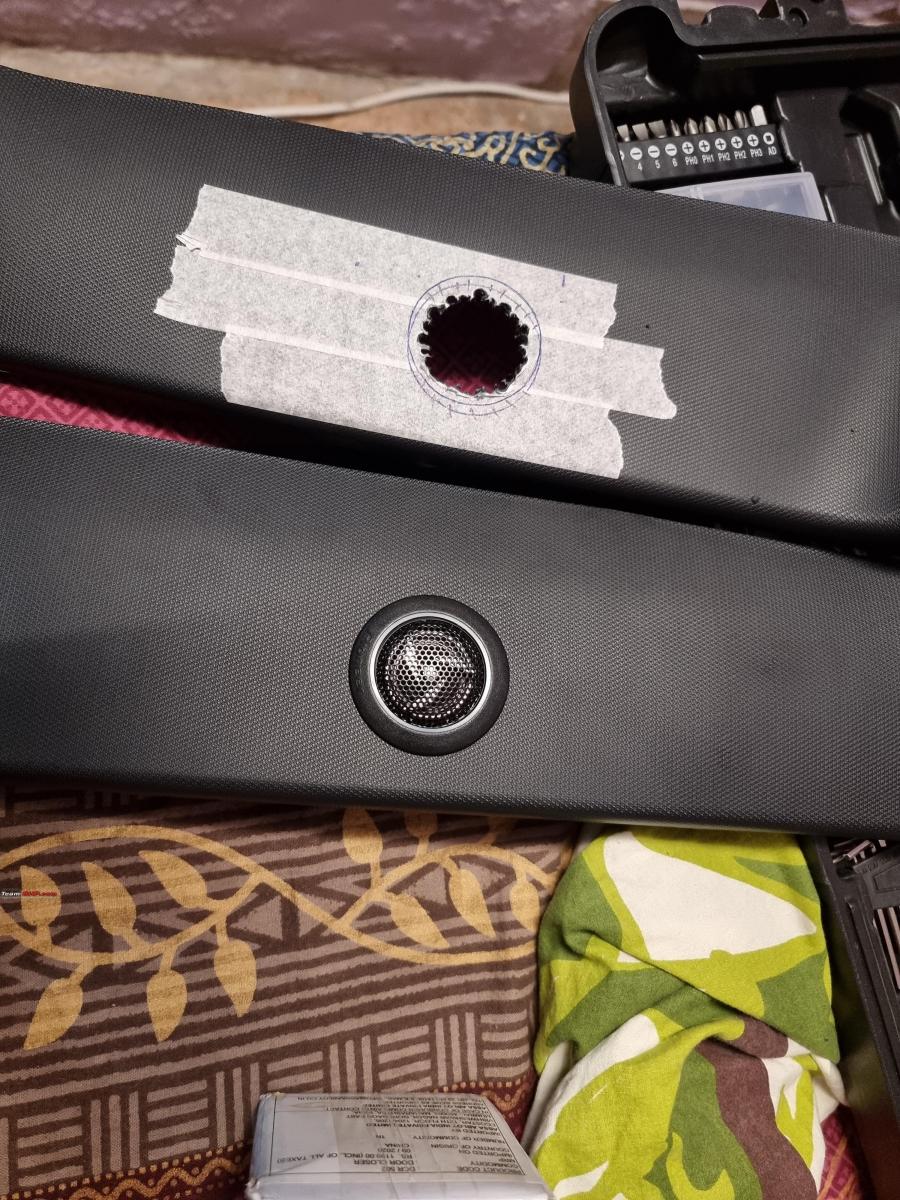
- The tweeters are best positioned in the A-pillars.
- The box for the speakers by the knee is rather small - may polyfill them at some point for a better extension.
- Foam up everything! Makes for less noise in a bumpy car.
- The connectors for the speakers can be wired without splicing easily. If you have black and white stripe speaker wire, the white goes to the black OEM cable. The black speaker wire goes to the red OEM cable. Best believe. Also, I used an RTV gasket maker to seal (reversible) the speaker connectors and the tweeter holes.
- You'll still need to bias the speakers to the front via the stereo fader, to achieve decent imaging. I didn't disconnect the top-mounted tweeters, since it'll deprive anyone sitting at the back of clarity.
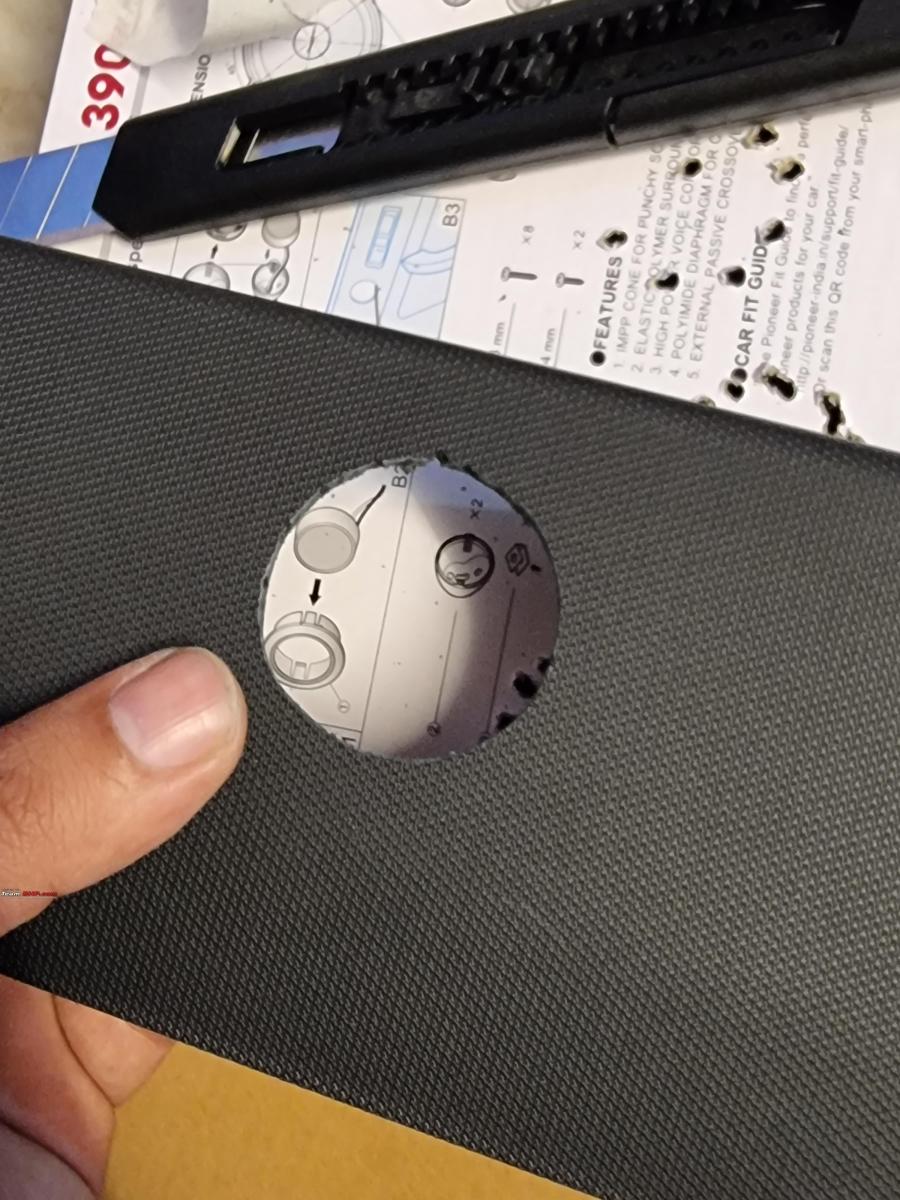
- The Pioneers seen in the Pic are for 3.1k from Motorogue. They're the cheapest 90W RMS speakers with rubber surrounds and can take abuse. I have an earlier version of them installed in a sunny, four years old now. Those were 60W so I assume 90w means better build quality.
- The plastic speaker covers need to be trimmed else they'll push against any replacement speakers' surrounds. 6.25-inch mount speakers will fit without any spacers/ adaptors.


Check out BHPian comments for more insights and information.
Find Car News
By Brand
Or
By Category
Just News


.png)


About Us
Copyright 2025 - www.team-bhp.com


Buy & Sell
USED CARS