News
How I installed H1 projector headlights on my 2006 Maruti Swift
After driving for more than 5000 kms with these lights, I’m happy to say that these lights have greatly improved the visibility and has made driving at night a breeze.
BHPian Ashtoncastelino recently shared this with other enthusiasts.
Projector Headlights
The Itch for Projector Headlights was on the cards and DBHPian Dr.Naren had a kit lying as a spare which he got for his SX4 from Blaze India. It was an H1 Projector Retrofit Kit from AES with 5500K Bulbs. Collected the Kit from him and began the homework. All the information regarding how the projector headlight works, wiring alignment, and installation was sought from DBHPian Vigsom, BHPian SudeepG, and BHPian ChiranjitP. I don’t know how many times I chewed their head before the complete implementation. Huge Thanks to all three of them.
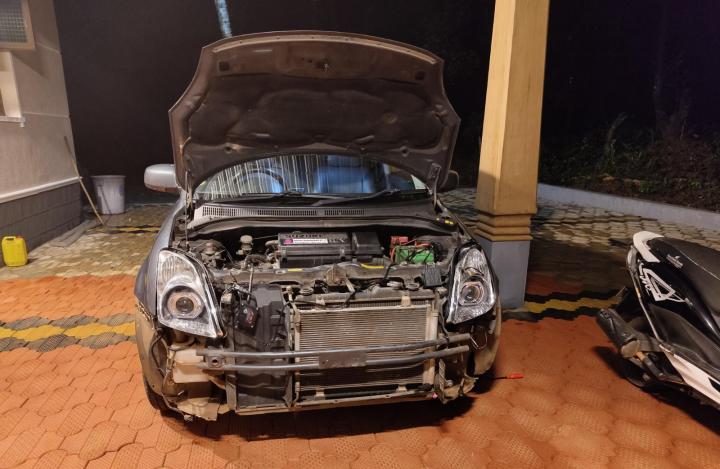
Since this was the first time I would be fitting projectors onto the headlights, and given the Swift is a daily runner I knew that I could not ground the car. My good friend ChiranjitP sent me a pair of his old headlights which he had with him from his 2006 Swift. I ordered a heat gun from Amazon as well. Planned to install the projectors onto the spare headlights and finish the installation on the car in a day.

I will not be writing the entire procedure of fitting the projector as it is already covered in other threads on the forum and moreover, it is straightforward with the headlight opened, Rather I will be mentioning the challenges faced and how I overcame them.


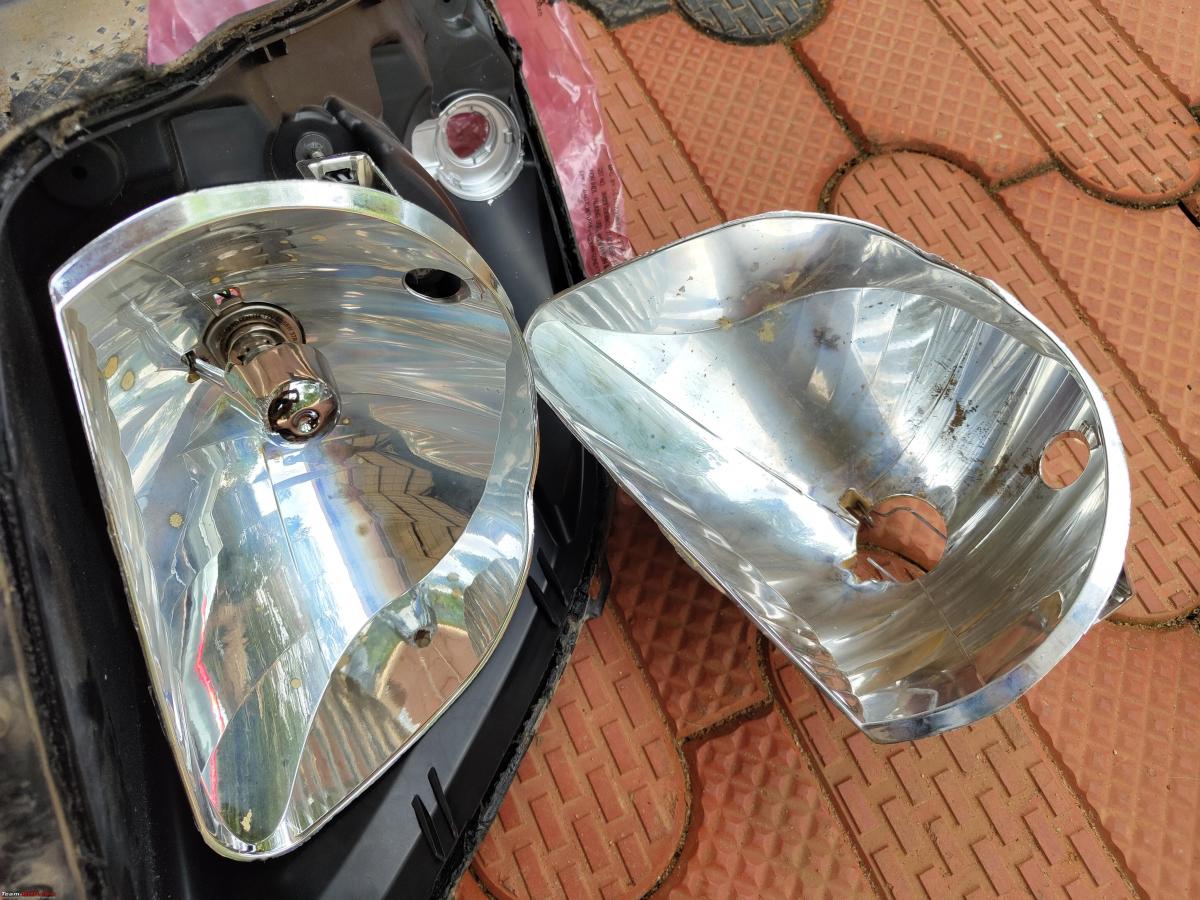
Used the heat gun to open the spare headlights and it was pretty easy. I managed to fit the projector but then I ran into the first roadblock! The shroud was touching the bottom of the reflector and even with the reflector at the lowest position the alignment was still higher, moreover, there are chance that the shroud would fall out of position over bad roads. That was a risk I wasn’t willing to take nor was I willing to cut the shrouds.

Contacted Blaze India and ordered rectangular design shrouds after careful measurements. Shrouds were shipped really quickly and packed well.

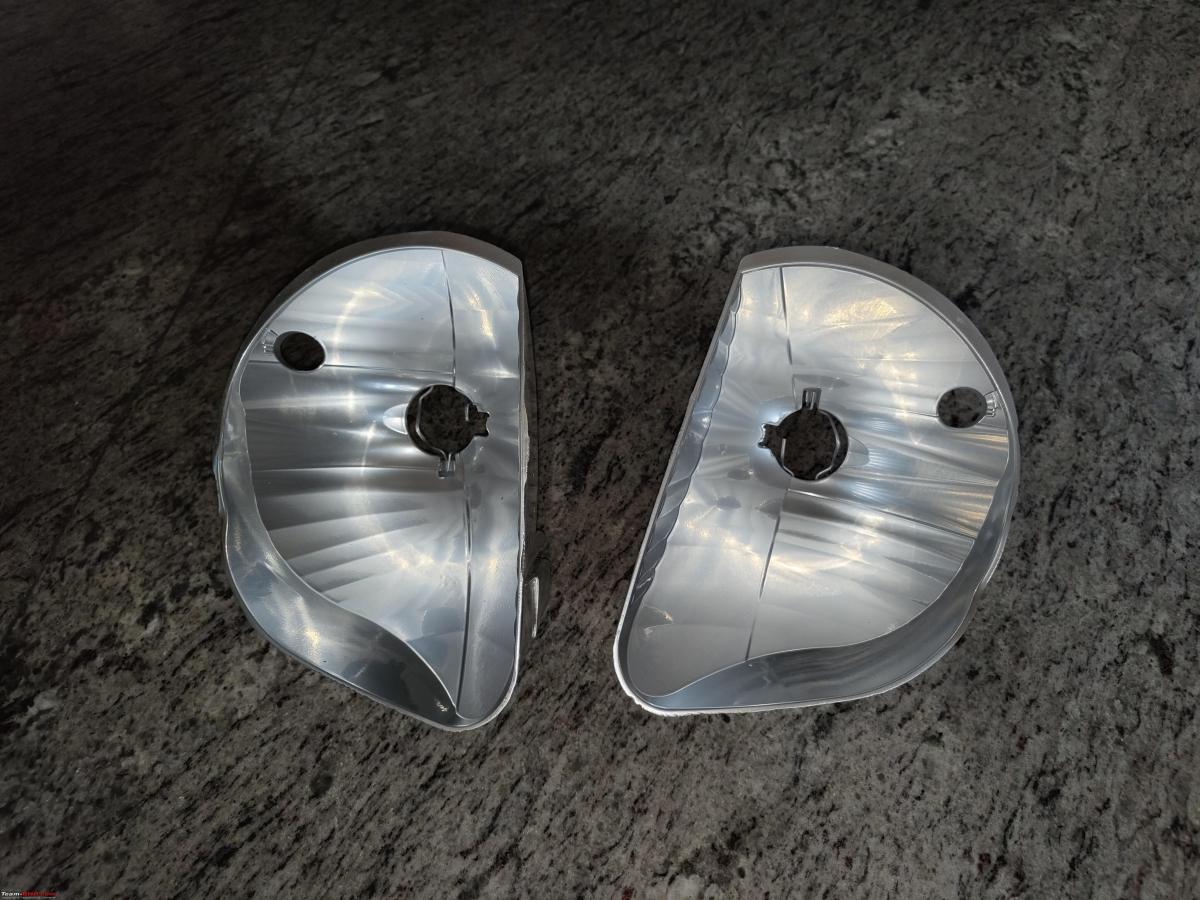
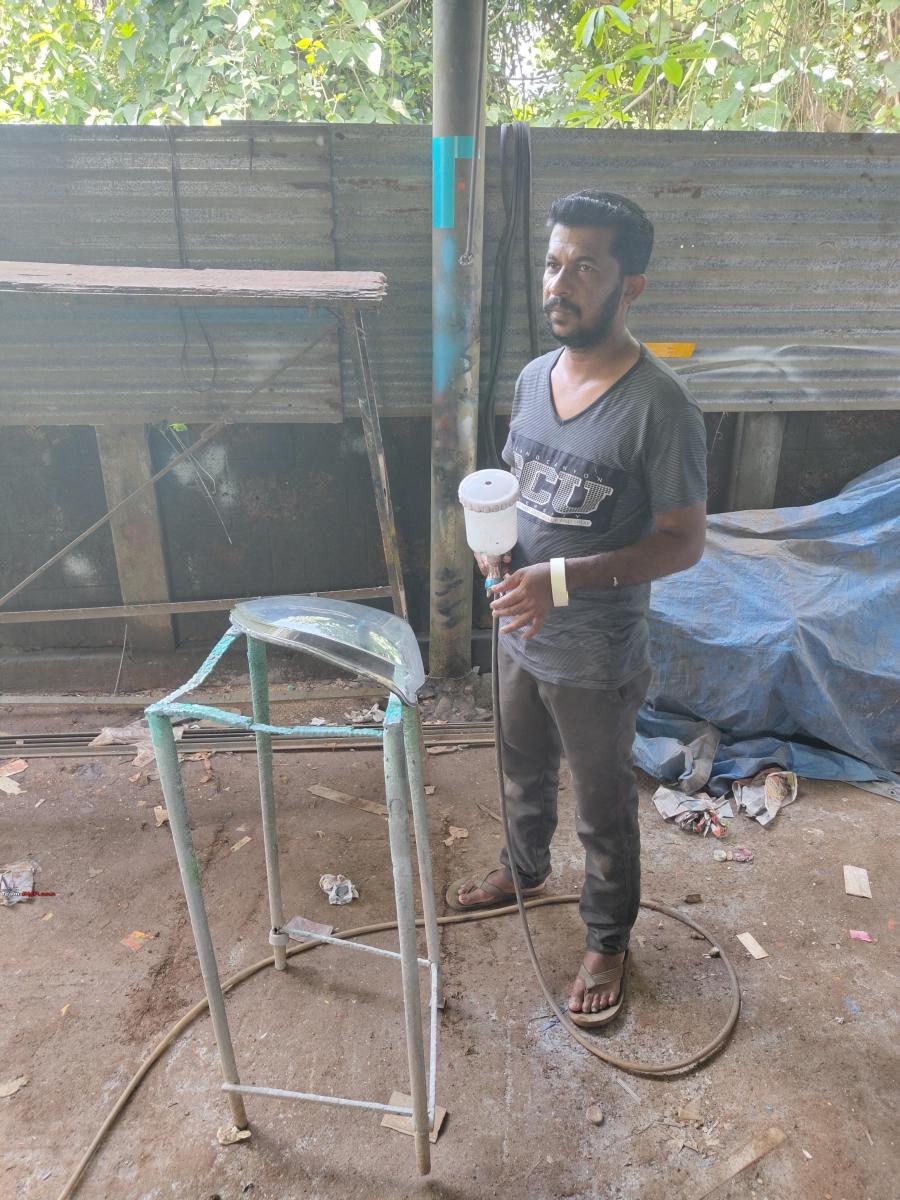
In the meantime, I decided to spray paint just the reflectors back to chrome since they had chrome peeling off and slight burn marks. I sanded them down and painted them chrome as opposed to black since it won't be a magnet for the cops at least according to me. They were given plenty of time to cure and the outcome came as expected.

I also decided to restore the headlight lenses which were yellow. Wet sanded them down using 1000grit and 1500grit sandpaper. Called up my Painter Jakeer and asked if he could prepare the clear coat to be sprayed on these lenses. He agreed and got it ready in no time. Applied two coats and let it cure for a day.

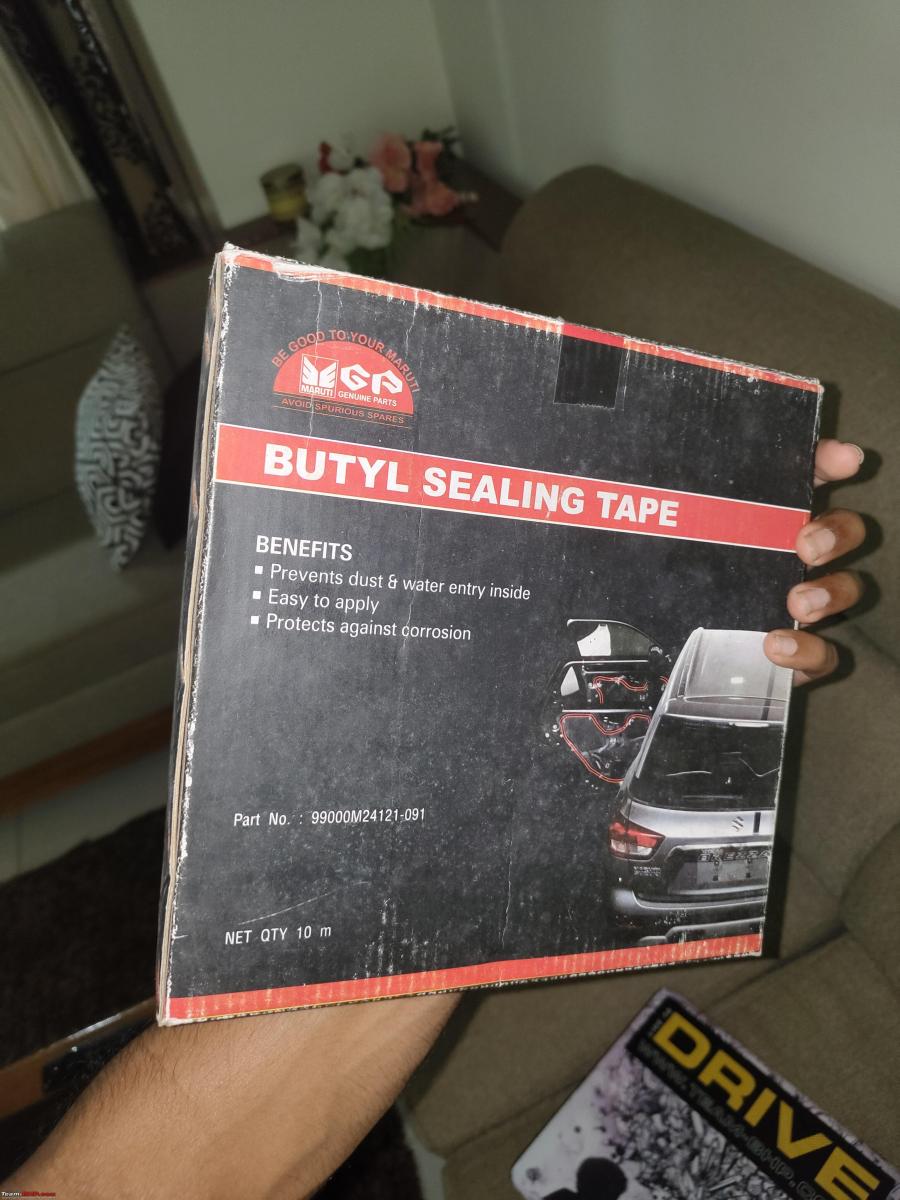
Now the main worry for me was regarding how to seal the headlights back properly such that no moisture enters. Now I could not get the headlight butyl sealant in time so had to resort to other alternatives that could be reversible. I decided to order the MGP Butyl Tape which is available as an accessory. This butyl tape is used for the vapour barrier seal behind the door pad in all cars. It cost me 490rs for a 10 Meter roll from my MGP Outlet.
The shrouds had reached me on time and I installed them on the projectors, they were a perfect tight fit.


So I chose the weekend as the installation day and started it around 6 pm since I wanted to take the headlight alignment and align the new lights to the same measurements.
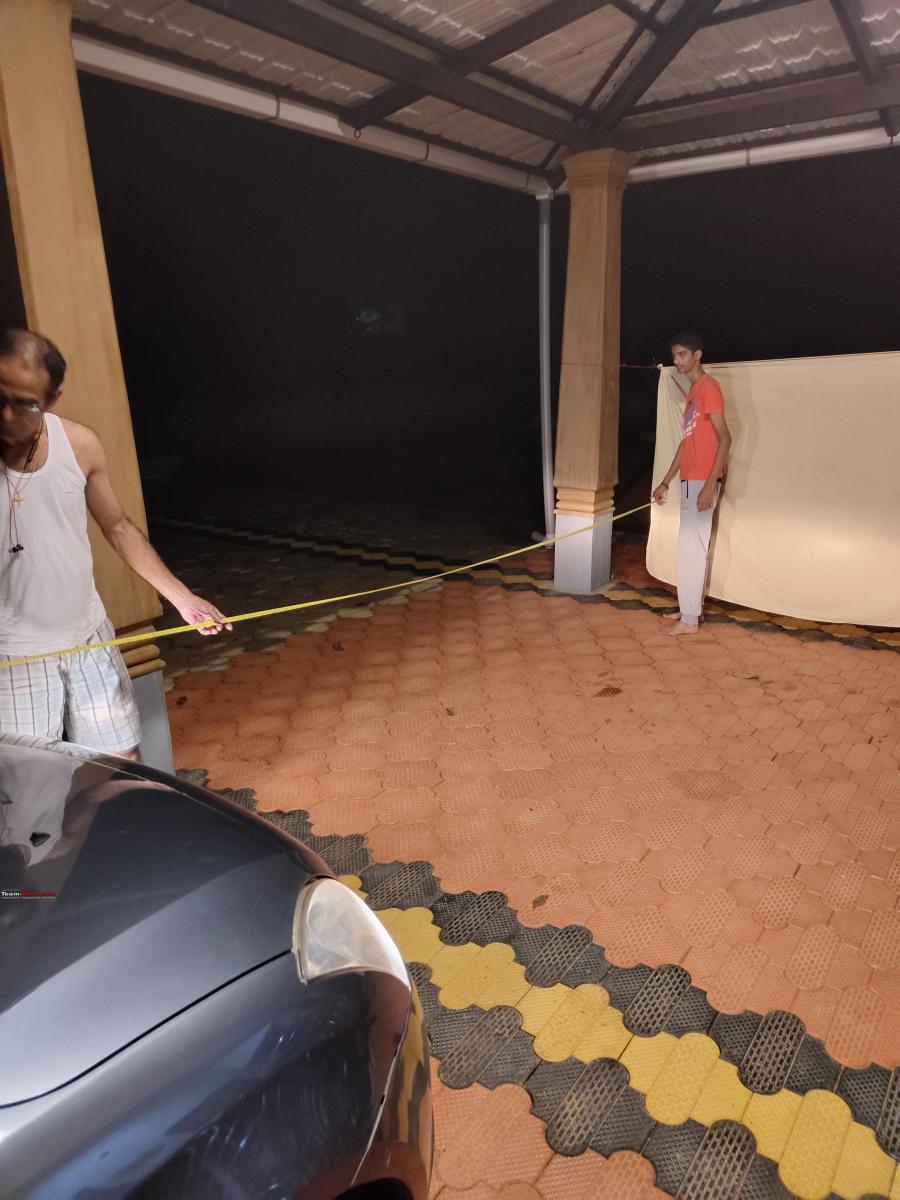
After taking the measurements I installed the projectors onto the headlights and made sure to not tighten the checknut at the back completely as the final alignment was pending. After arranging the relay wires and ballasts, I adjusted the lights such that they formed a good cutoff without blinding the oncoming traffic.


Supervisor Tommy dozed off during the alignment
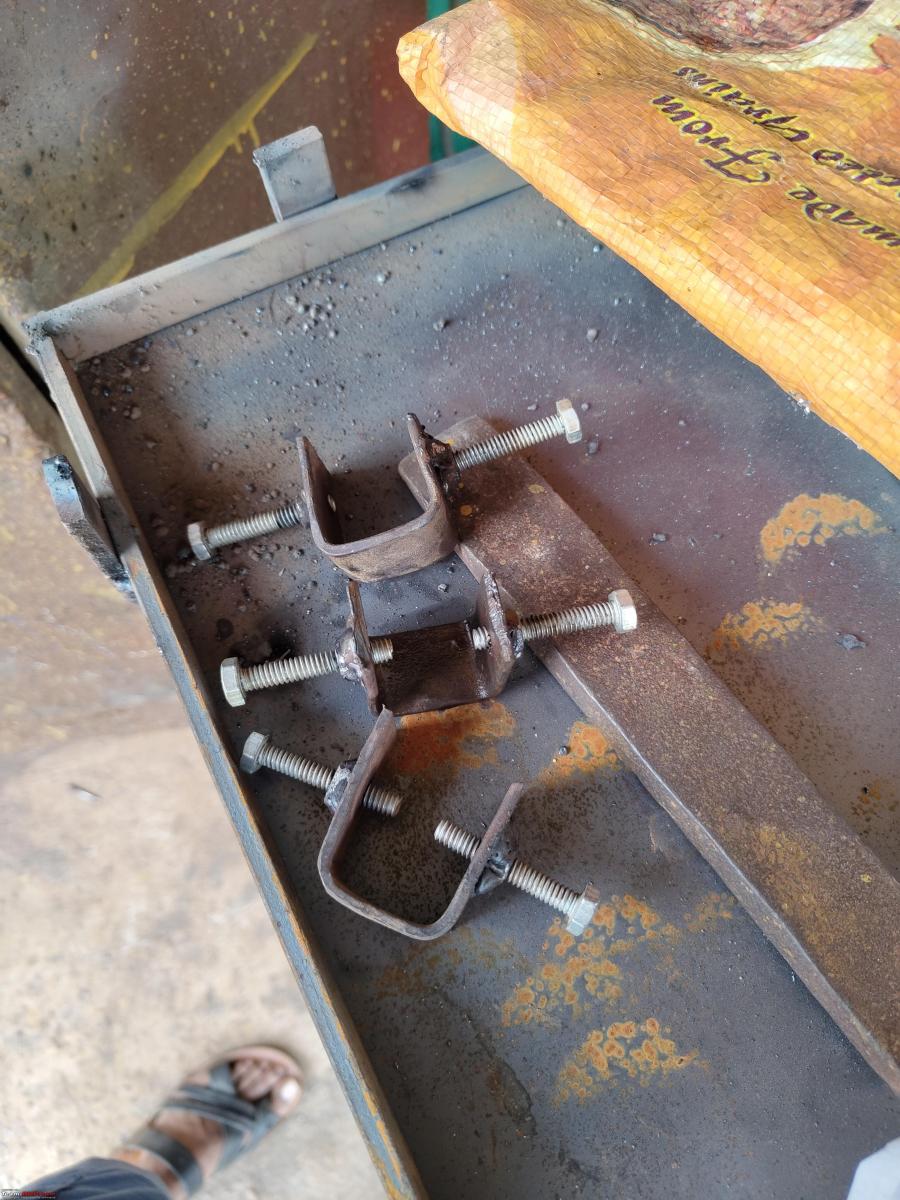
Removed the headlights off and my 16-year-old cousin helped me seal the headlights back. Yes, he too likes to get his hands dirty with my projects. So the after carefully applying the butyl tape along the headlight casing, a heat gun was used to heat the butyl and installed the headlight lens after cleaning it properly using IPA. I also made a special tool to hold down the headlight to the casing with the help of my local engineering shop.


Tightened the checknut at the rear of the projector onto the reflector and also installed the H4 locking clamp down in a manner that prevent the checknut from moving due to vibrations.

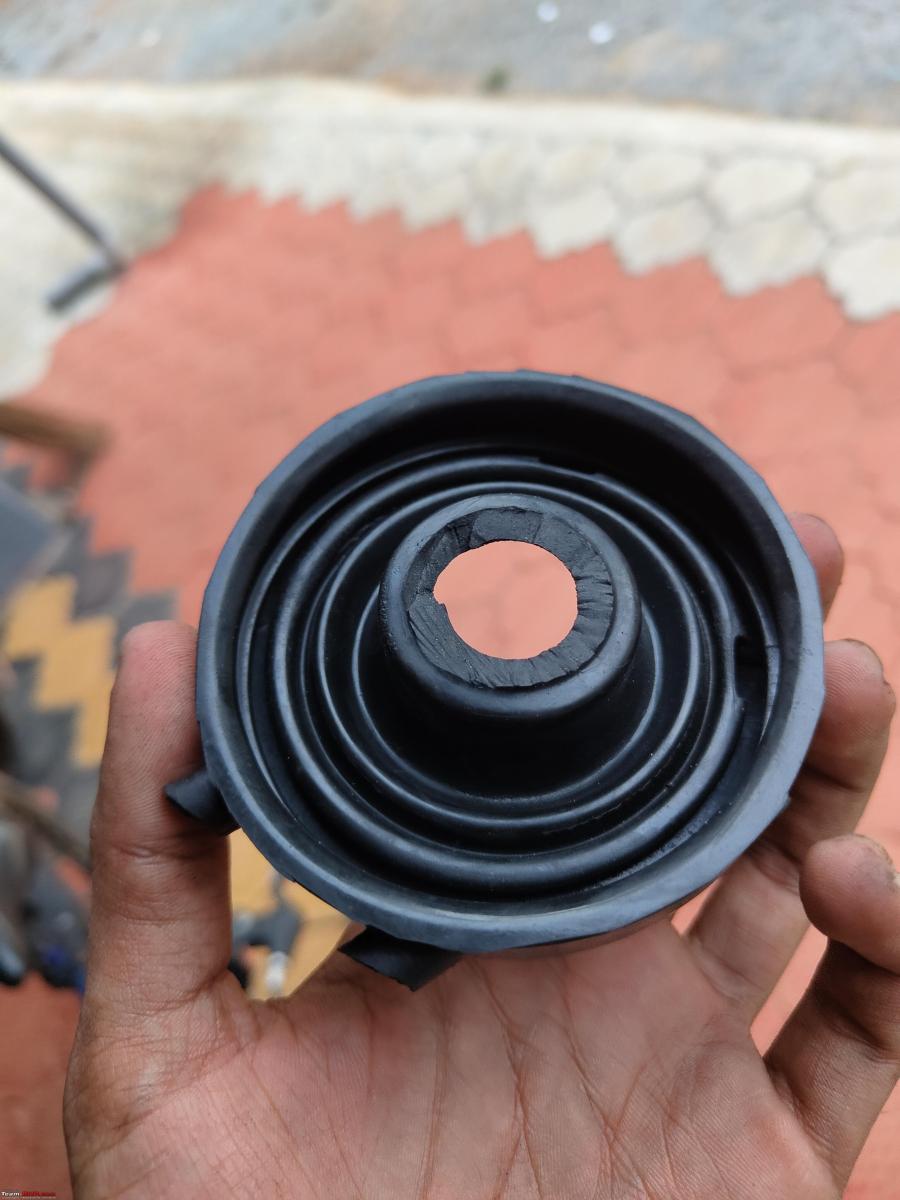
Now since the sealing was done perfectly from the front, it was time for the dust caps as well, Contacted BHPian Sunnyboi and he gave me his input. I ordered two of the dust caps from Boodmo with PN:-35125M74F00. The H1 bulb wiring is a rubber grommet that is used to seal along with the H4 dust cap. Modified the dust cap in such a way that it creates a proper seal and used a bit of silicone RTV.

Installed the headlights and checked for any change in alignment but all was well as planned.
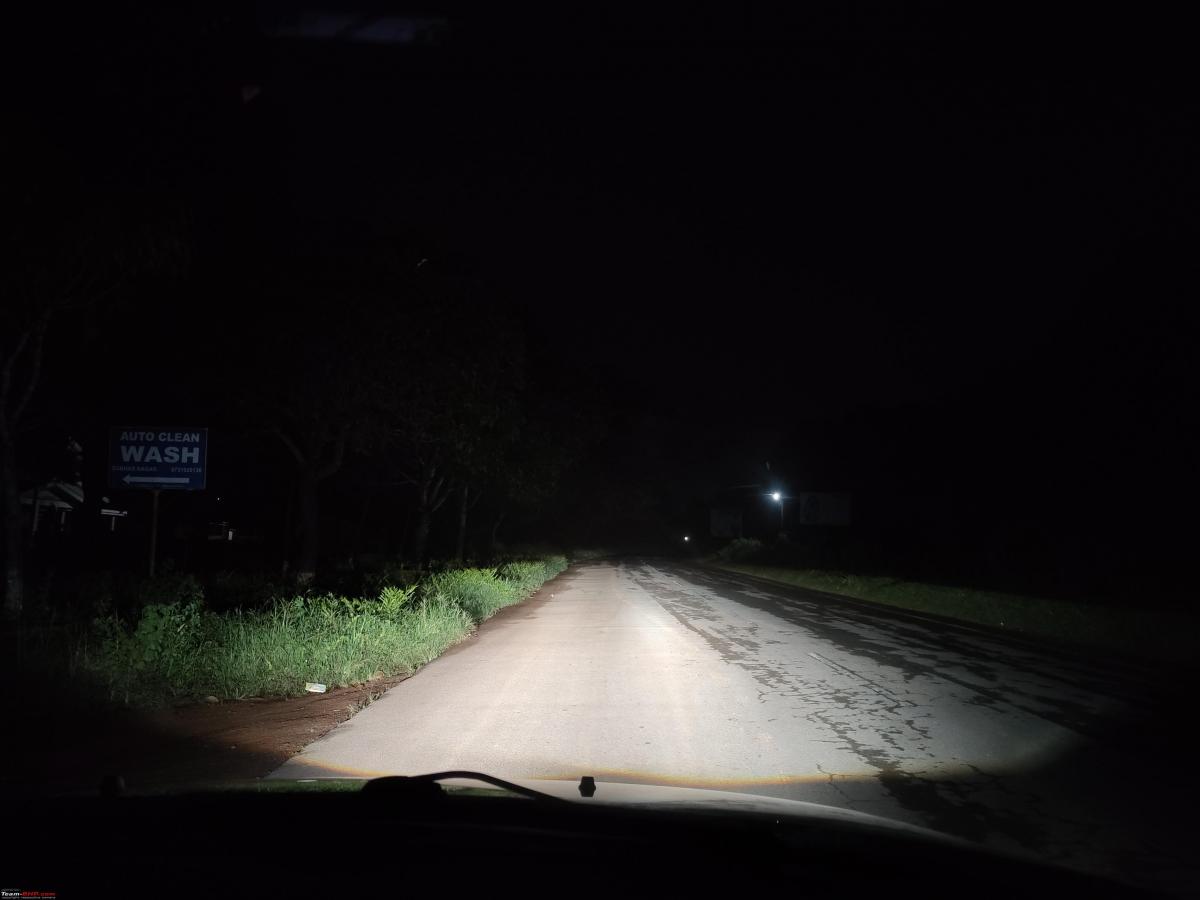
Low Beam
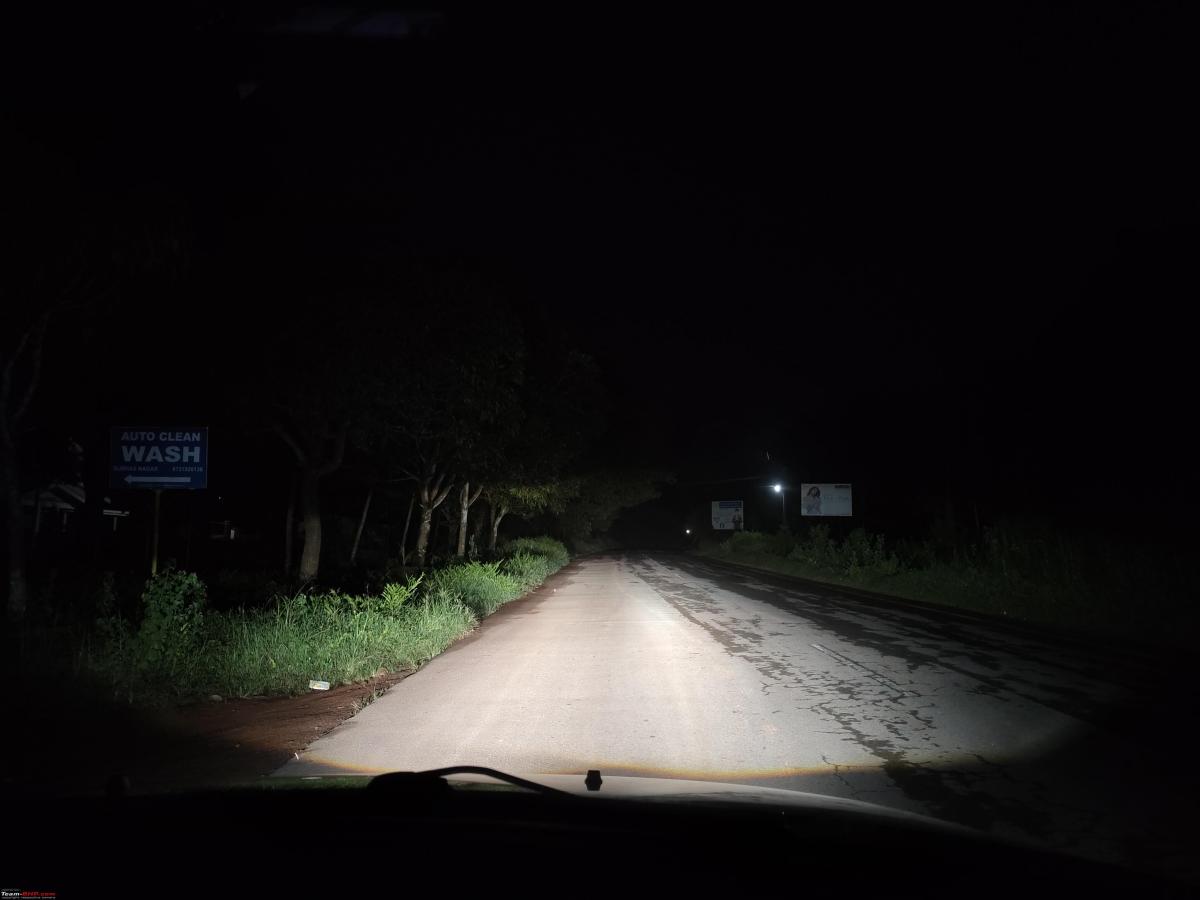
High Beam

Alignment

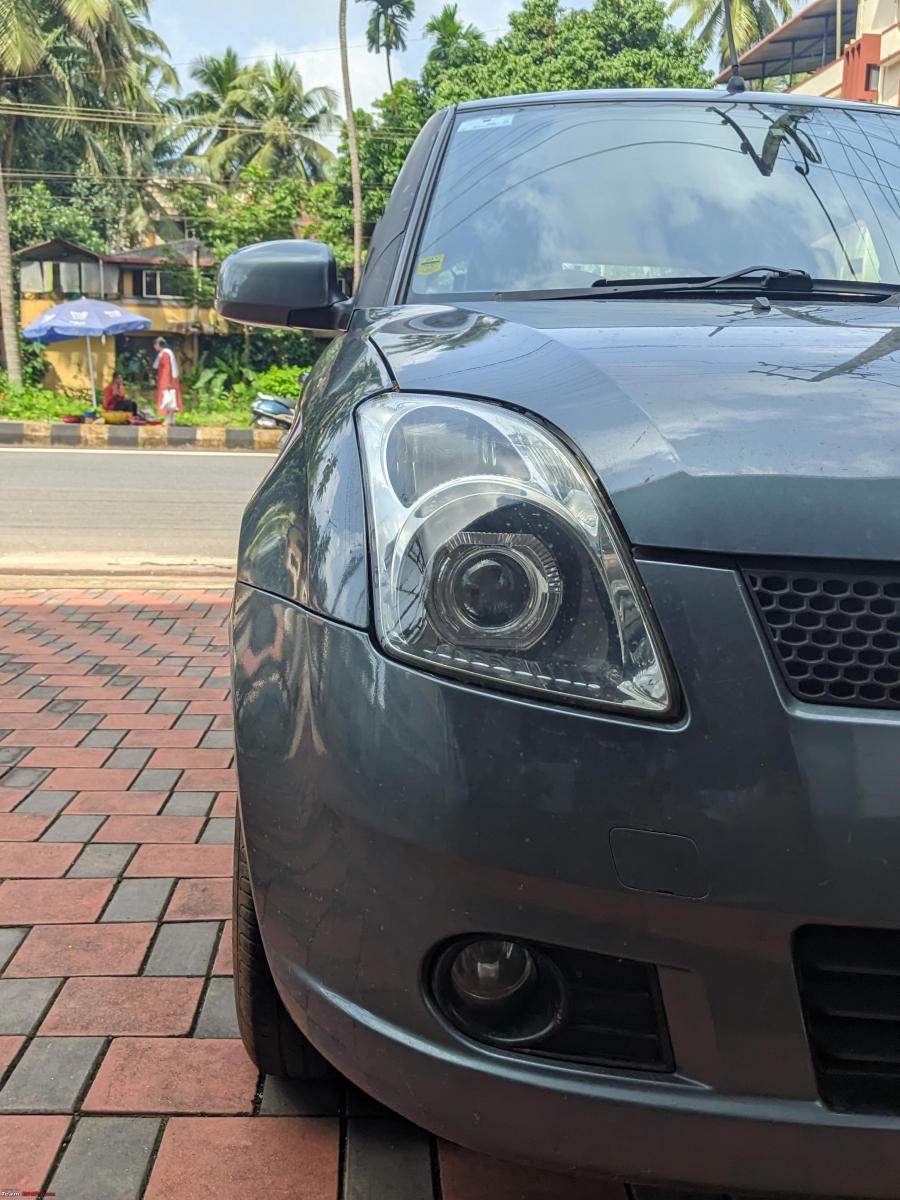

Looks of the car after installing the Projectors
After driving for more than 5000kms with these lights, I’m happy to say that these lights have greatly improved the visibility and have made driving at night a breeze, I felt initially the high beam wasn’t strong like the H4 bulb but now I’ve gotten used to it and seldom I need to use the high beam because the low beam itself is superb.
A couple of videos showing the output.
Check out BHPian comments for more insights and information.
Find Car News
Just News


.png)


About Us


Buy & Sell
USED CARS