News
My 2006 Maruti Swift: 85000 km service & other maintenance updates

Using few strong wooden planks and few bricks I managed to just raise the front of the car and choke the rear wheels to gain access to the oil drain nut and oil filter.
BHPian Ashtoncastelino recently shared this with other enthusiasts.
Unexpected misfiring:
Immediately 2 days after the coolant change I noticed suddenly the car was misfiring HEAVILY, it sounded like a Classic 350 I kid you not, I had to solve this ASAP as the car is a daily runner and no way was I going to let dad drive a car which is misfiring. Got in touch with DBHPIAN Vigsom to diagnose the issue the same day. It was late at night but still he chose to stay on the line till the end.
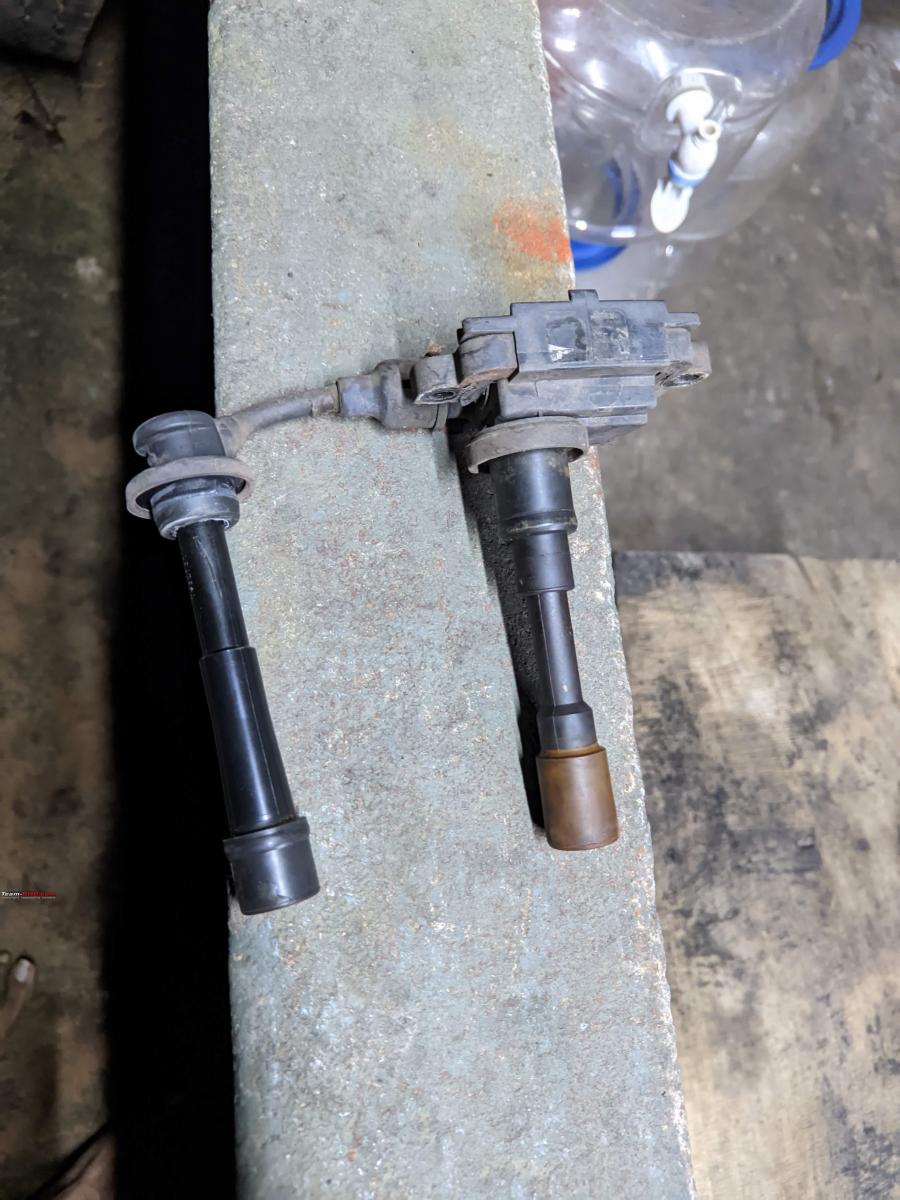
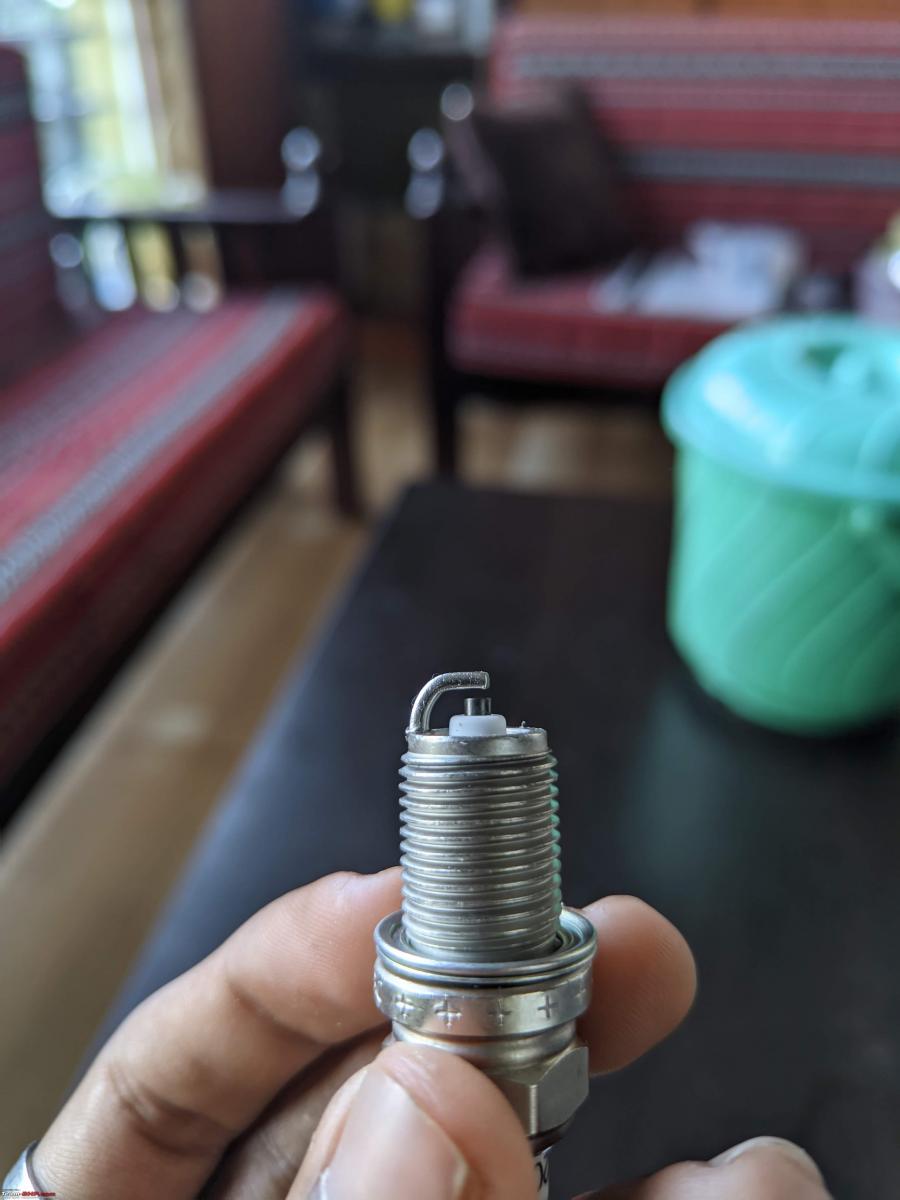
I started to check if the Ignition coils were firing correctly, Swift uses just 2 Ignition coils for 4 cylinders. They were all good. Next up was checking the High-Tension cables, I did not doubt them since they were replaced in 2021 January. I thought of checking the Plugs as well and one by one started removing the plugs. They had done just about 17,000kms.

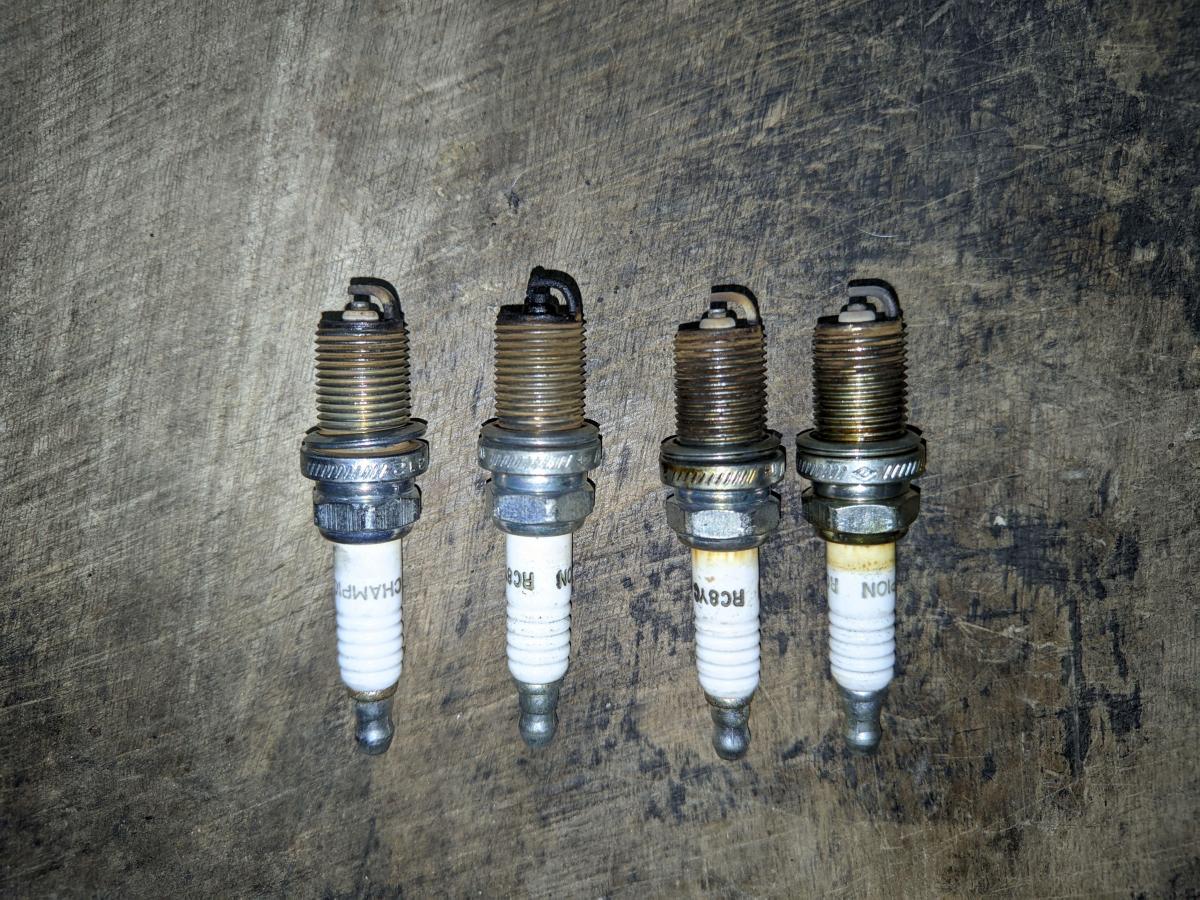
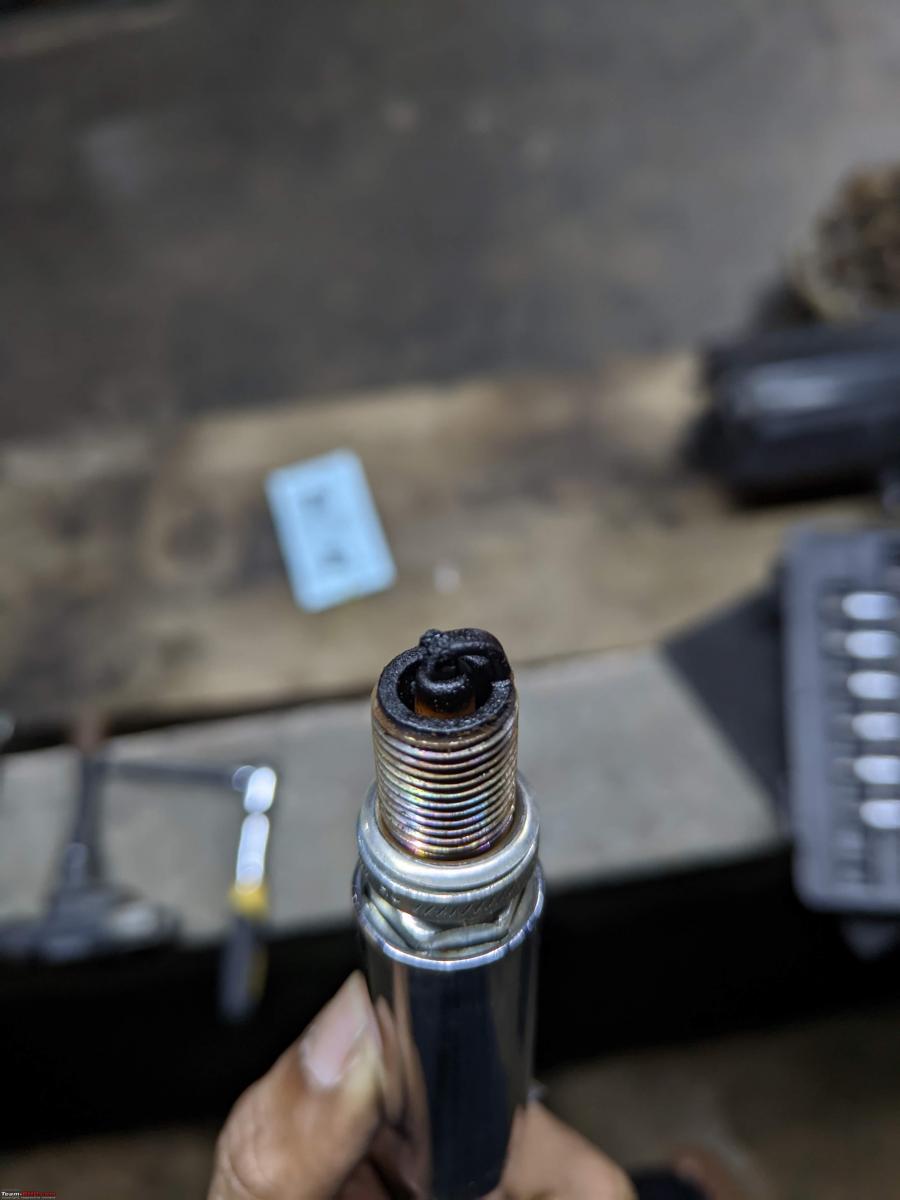
Out of the 4 Spark plugs, one was completely black with carbon and a piece of carbon was stuck between the electrode. I did not have new plugs with me since it was well past 12 midnight, Vigsom suggested we just clean the plugs, adjust the gap and install them back for now and see if the misfire had stopped. Cleaned the plugs using wire brush and adjusted the gap uniformly across the plugs.
Assembled everything back and started the car with fingers crossed, Well past 1am Vigsom and me were curious and I cranked the car and it started with ZERO misfires ! I shrieked in happiness.
Now, I wanted to know what the reason for this sudden carbon deposition of one spark plug was, Vigsom asked me if I was running any additive or any Higher Octane Petrol, I acknowledged that I was running on XP95 for about 4000-5000km. He said that could be the cause to dislodge the deposit and got stuck between the electrode. I decided to get the Ignition coils and the spark plugs changed when I service the car.
Next day when dad started the car, he found it not misfiring one bit, little did he know I was up half the night diagnosing the issue whilst Vigsom on call.
I cannot thank Vigsom enough for helping me through this unexpected issue. You truly have made your ‘Chacha’ proud.
85000 km DIY Service:
Car had clocked a cool 10,000km in a span of 9 months, which was decent running. Again opted for the Mobil 1 5W40 Fully Synthetic Oil from Amazon. Got all the required parts through boodmo:
- Oil filter
- Drain bolt Washer
- Ignition Coils
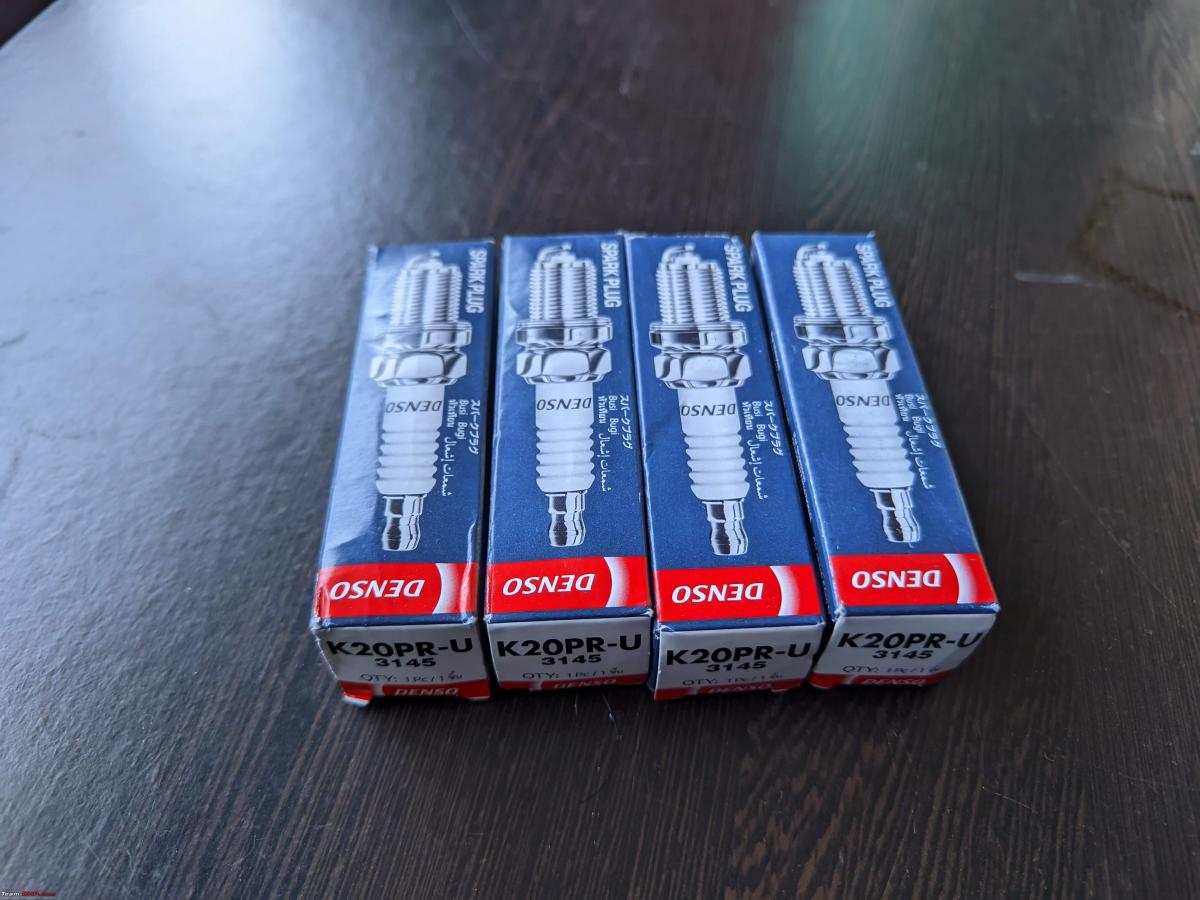
- Spark Plugs
- Closed Wheel Lug Nuts
- Link rod'
- Exhaust Rubber Mounting
Using few strong wooden planks and few bricks I managed to just raise the front of the car and choke the rear wheels to gain access to the oil drain nut and oil filter. I have ordered a set of jackstands and won't be using this setup.


Unbolted the drain bolt and let it drain for a cool 1 hour with the oil filter removed.
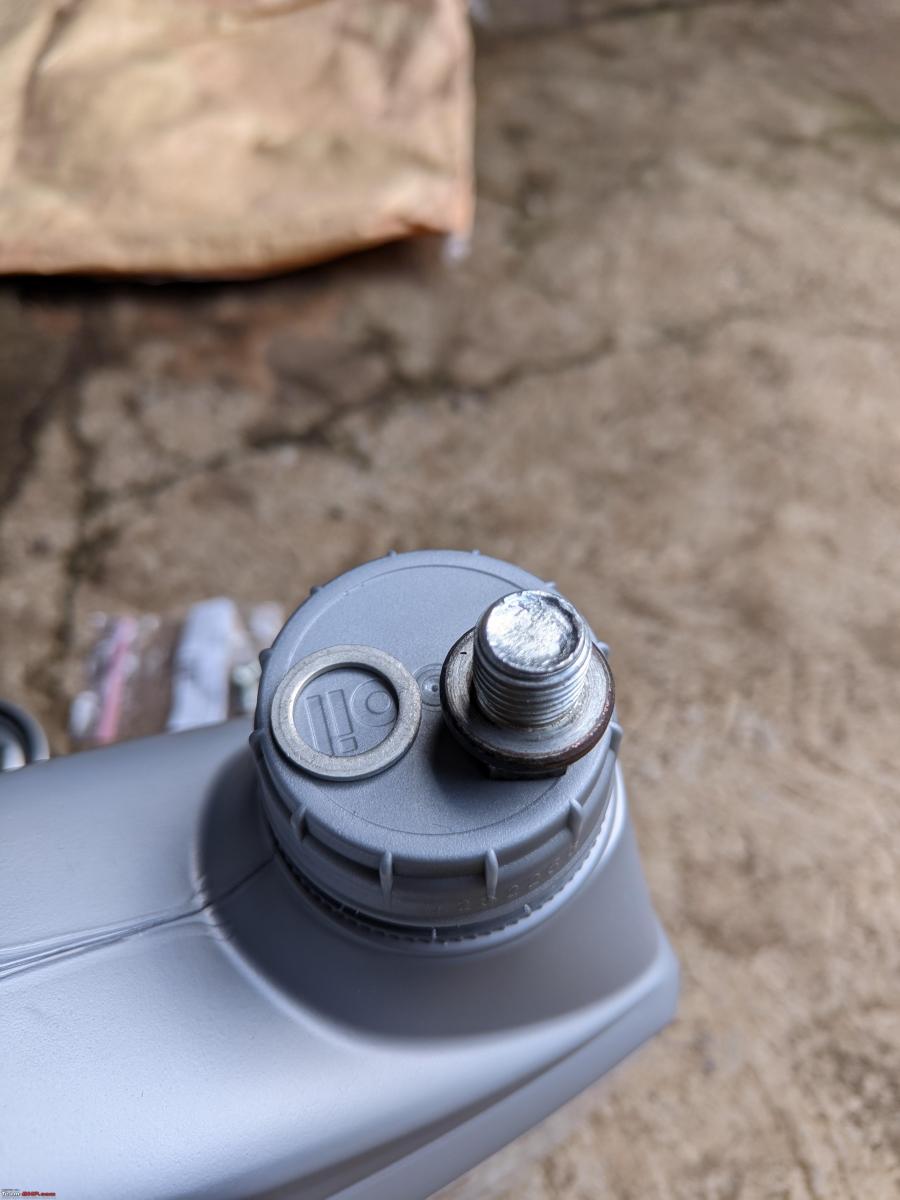
Installed the drain nut washer and tightened the drain nut back to spec using a torque wrench.

Primed the new filter with oil and installed it in place.
Whilst I was under the car, I thought its good to clean the rubber parts and spray silicone spray on them to prolong their life. The drive shaft boots, Steering rack boot, stabiliser bar bush, Link rods, engine mounts, and control arm bushes were sprayed with Wurth Silicone spray.

Lowered the car and poured in the new oil.
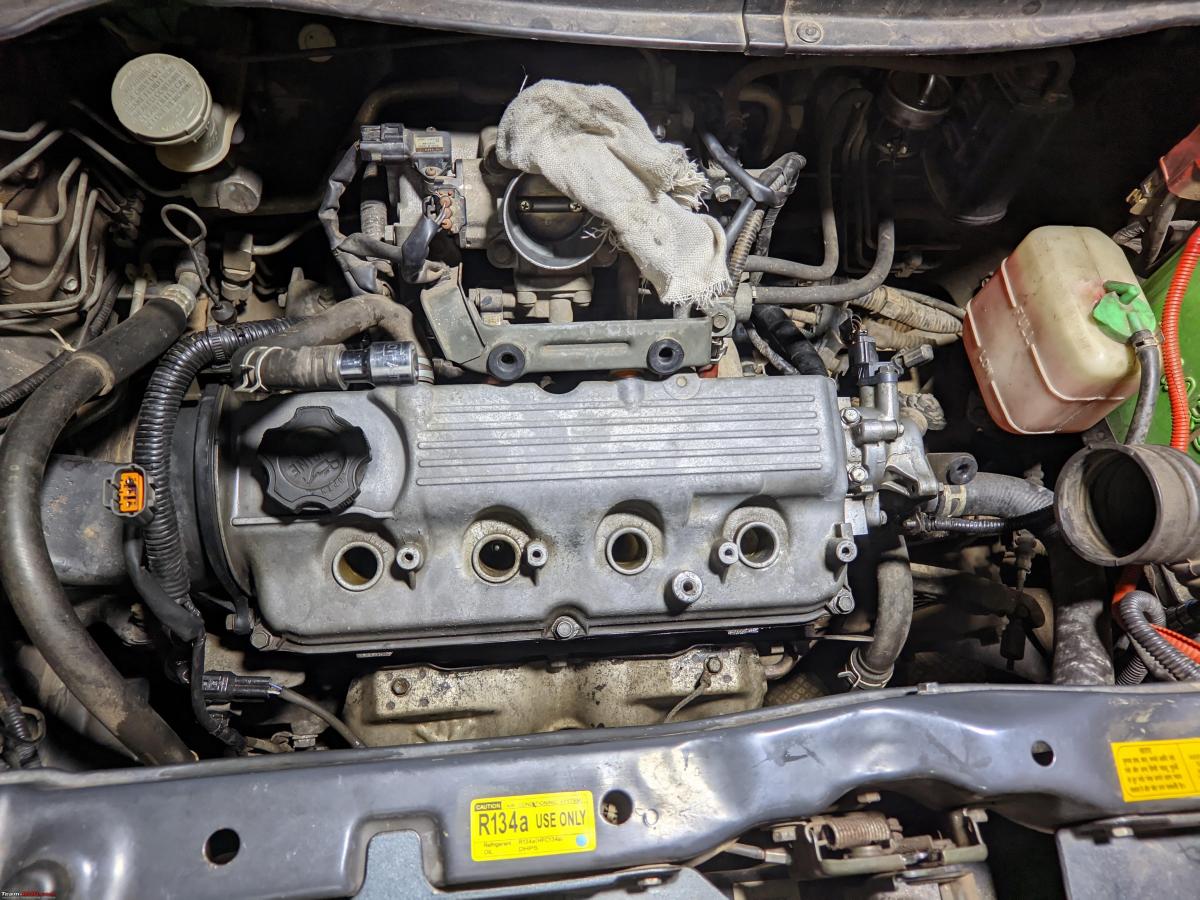
Thought it would be wise to clean the tappet cover as it was a bit dirty and also I had a bit of time on my hands.
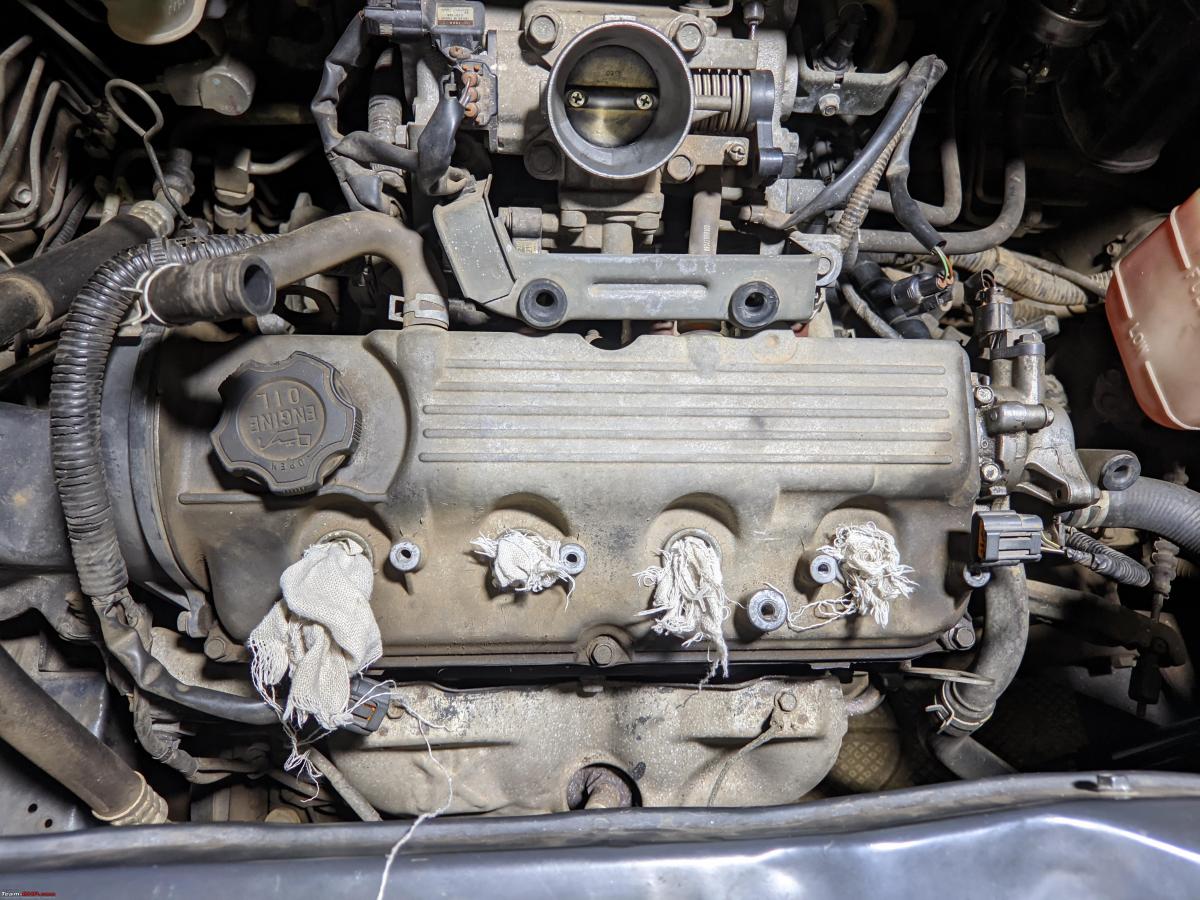
Before cleaning the tappet cover.
After cleaning the tappet cover.
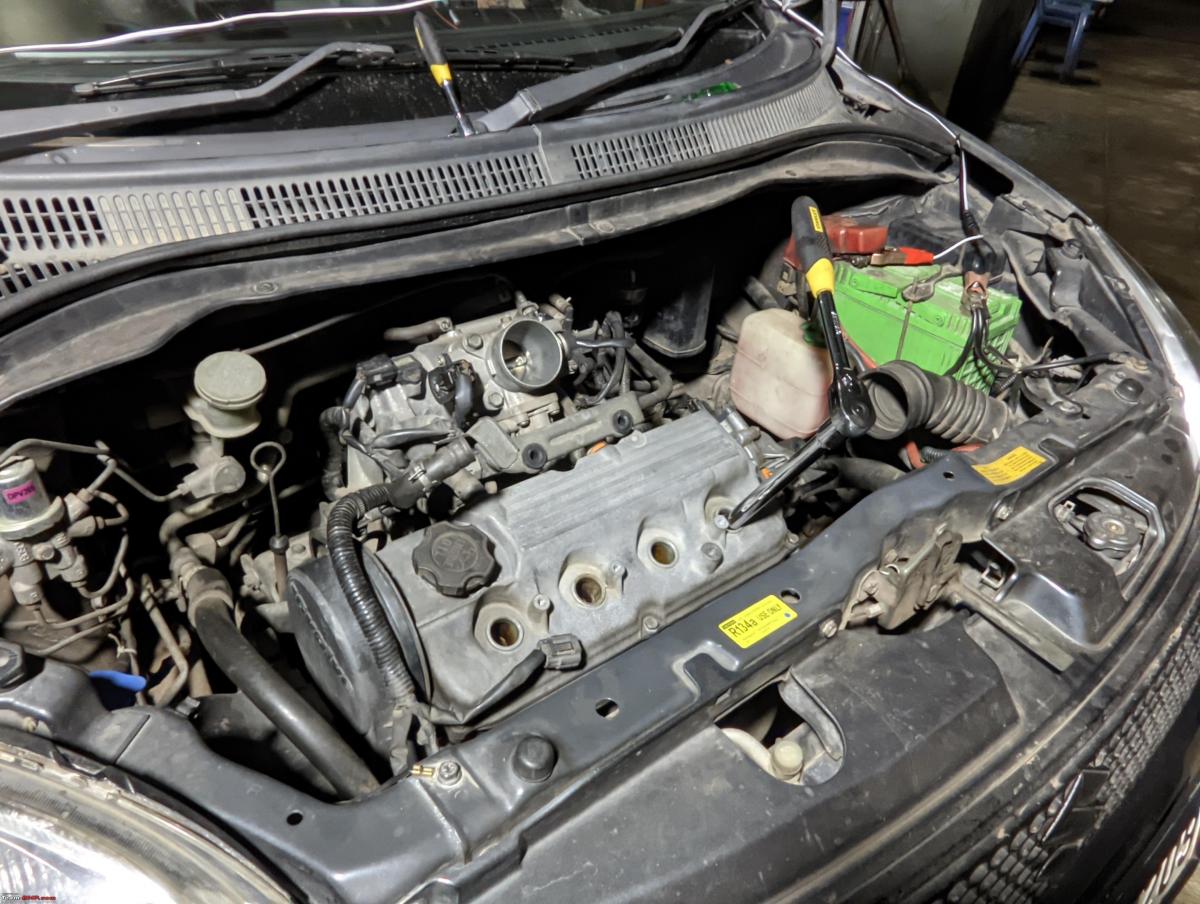
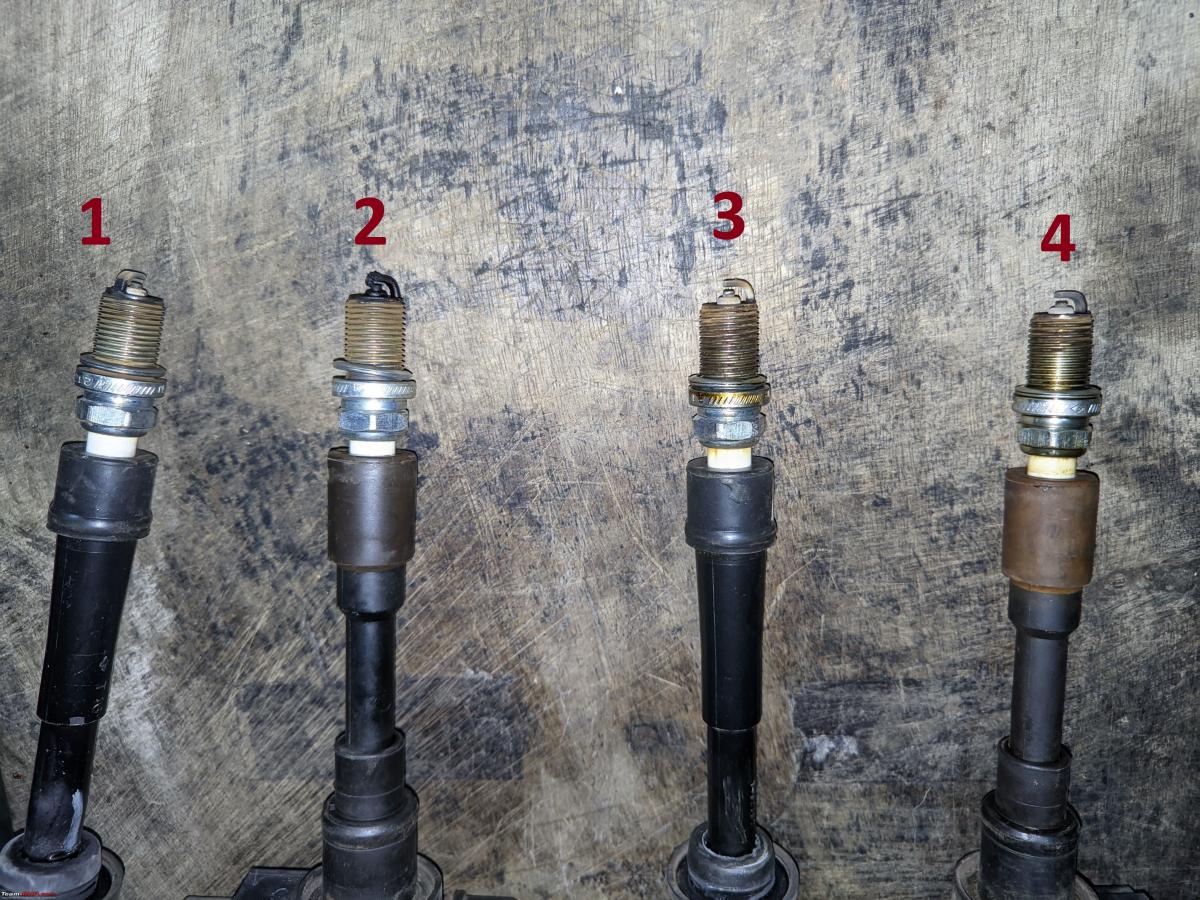
Removed the plugs, installed the new ones and tightened it to spec. New Ignition coils had a bit of a design change and looked more well sealed than the old one. Service Manual states that these must be changed every 80,000kms.

Comparison.
The left side Link rod had its boot torn and was having a bit of play, ordered new Link rod from Boodmo and installed it along with new nuts.

Old vs new Link rod
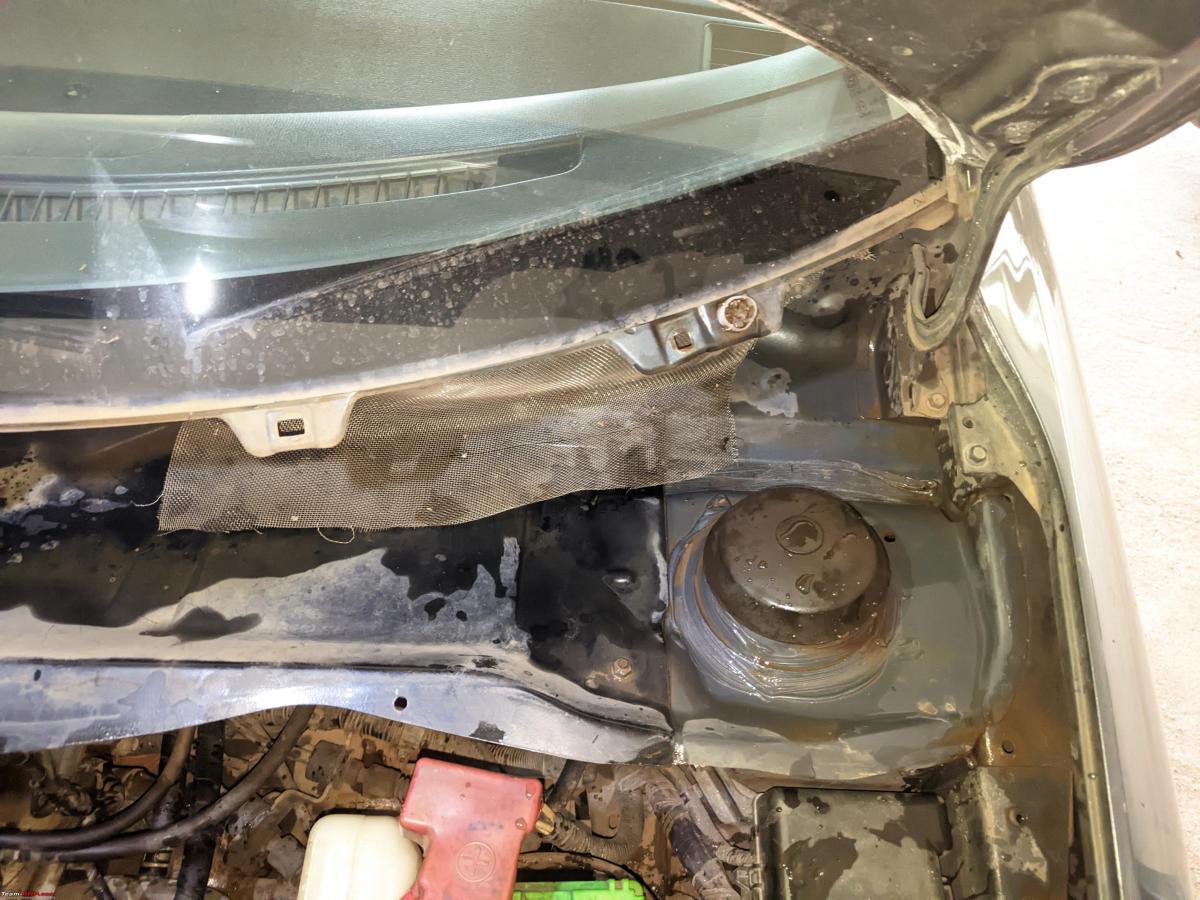
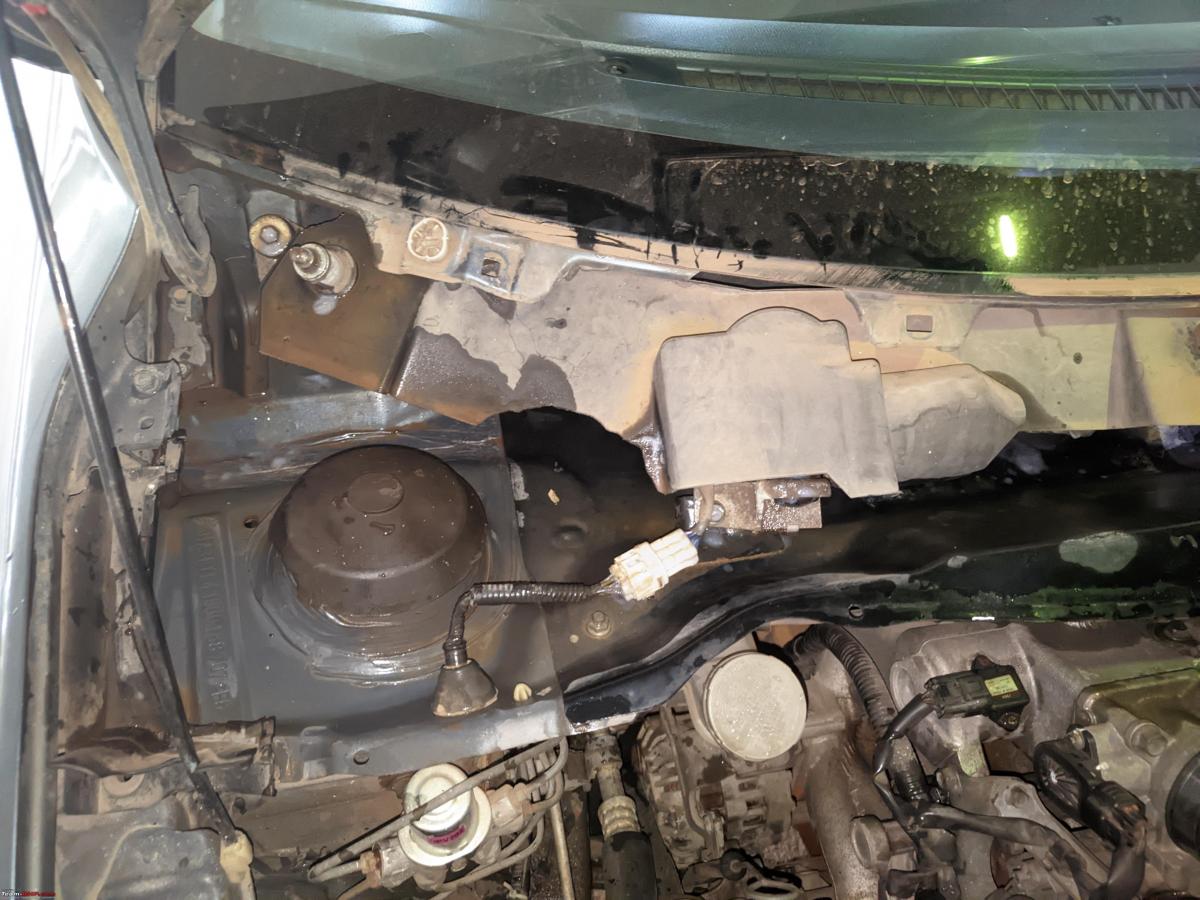
Cleaning the cowl panel
Started cleaning the Cowl panel thoroughly, using a brush and made sure the drain passage was also clean and free from debris. No signs of rusting was seen. Lubricated the wiper links using Maruti Hinge Relief.

The dirty cowl top.
After a good cleanup.
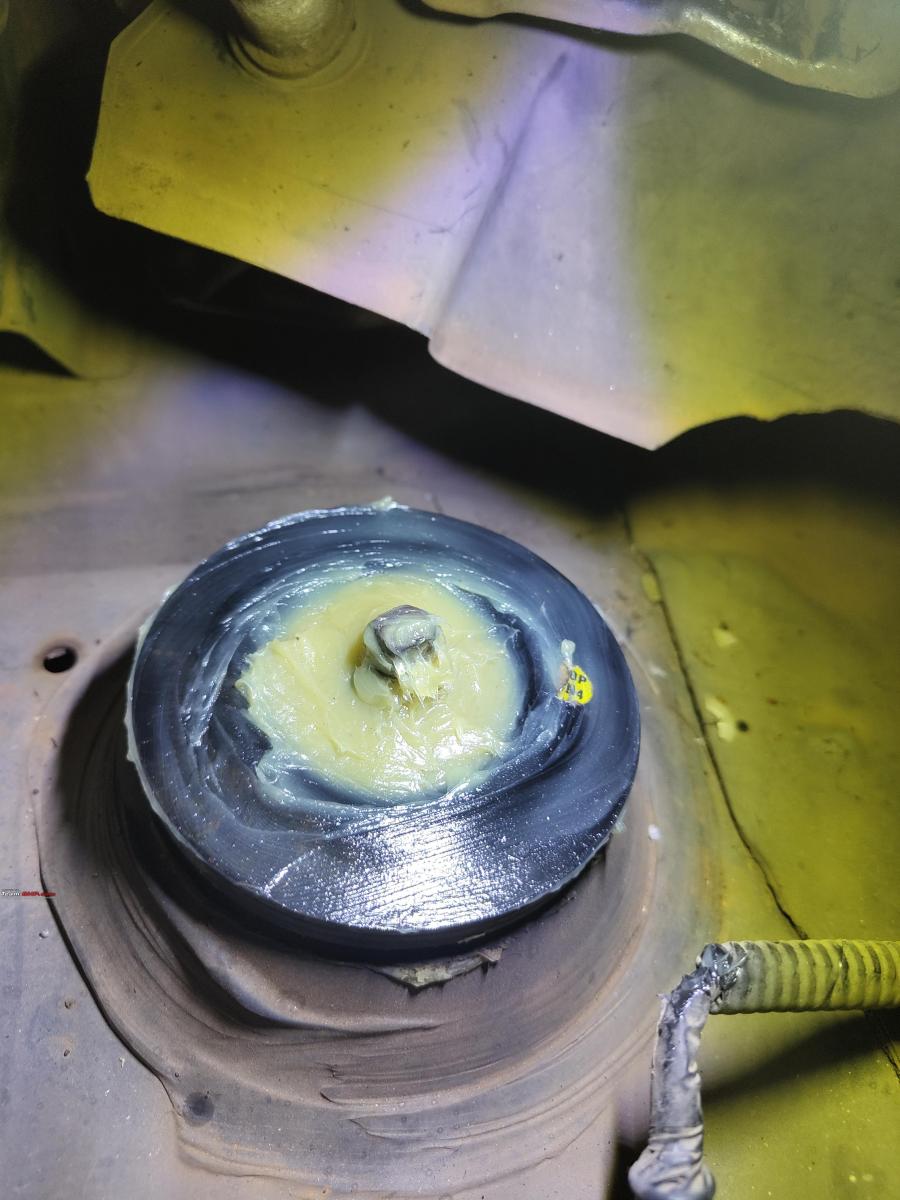
Stuffing Grease onto the front strut top.
Taking Leoshashi’s advice, I decided to stuff grease onto the strut tops since water ingress into it can cause the strut bearing to go bad and become noisy. Applied grease generously and fit the cap back on to it.
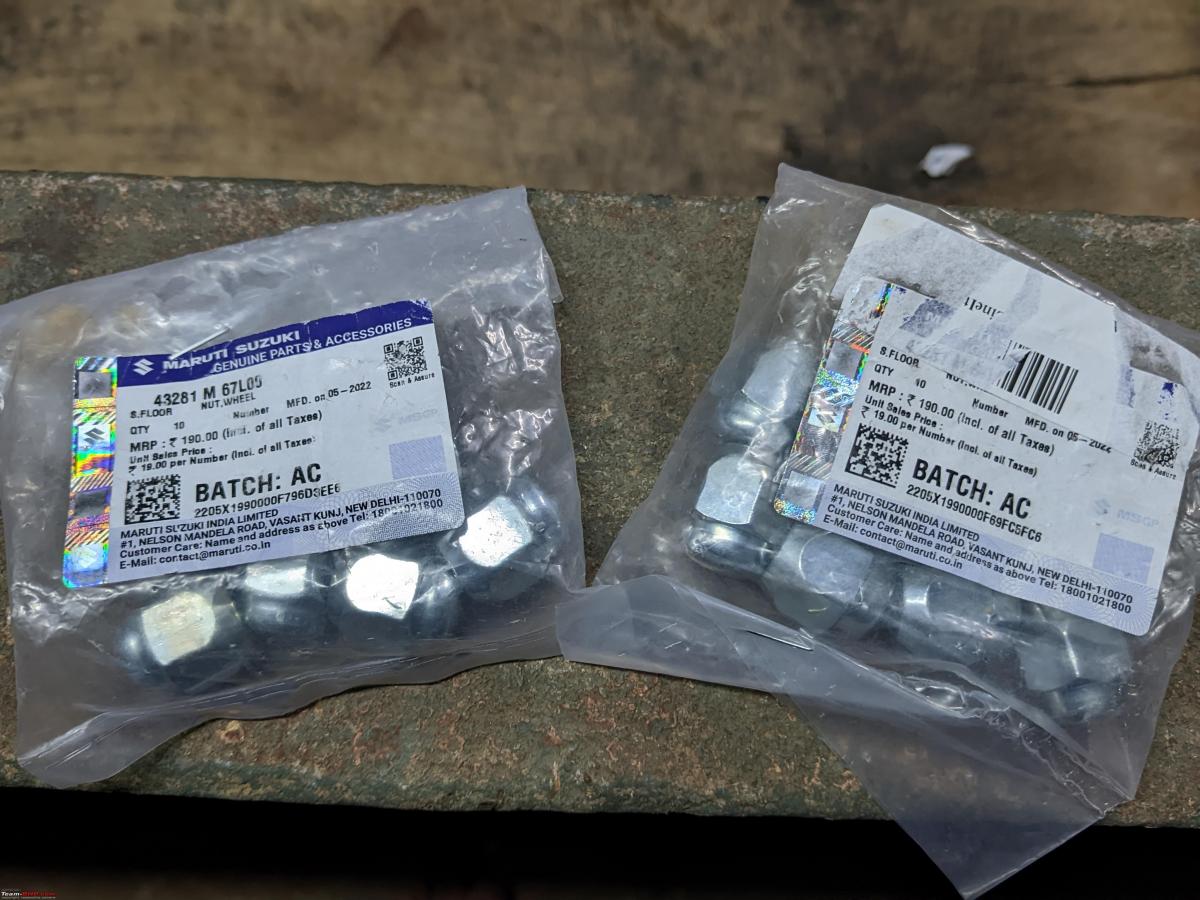
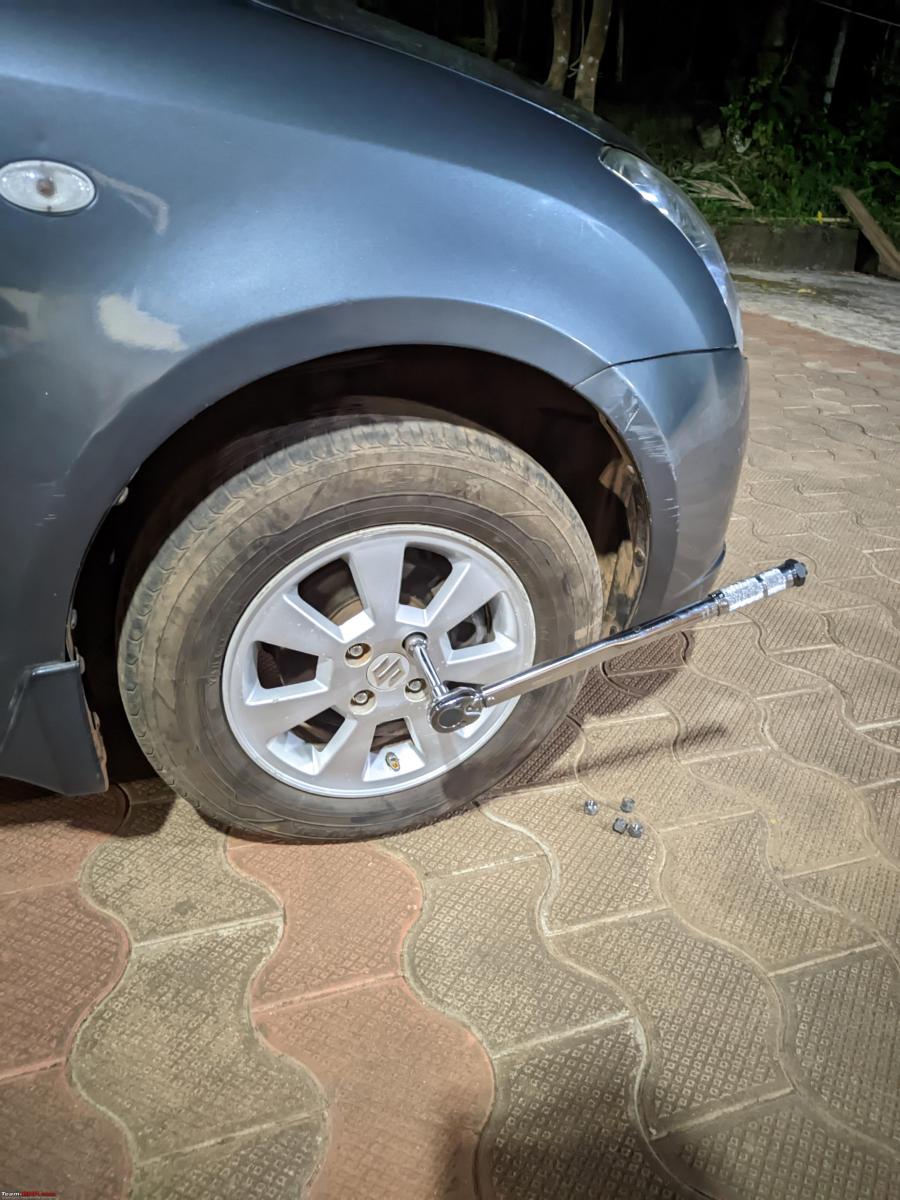
Replacing the open wheel nuts to closed ones.
Since I had put alloys, the Lug nuts were the same old open ended ones which come with V and L variants. Got 16 of the closed Lug nuts and installed them to complete the looks.
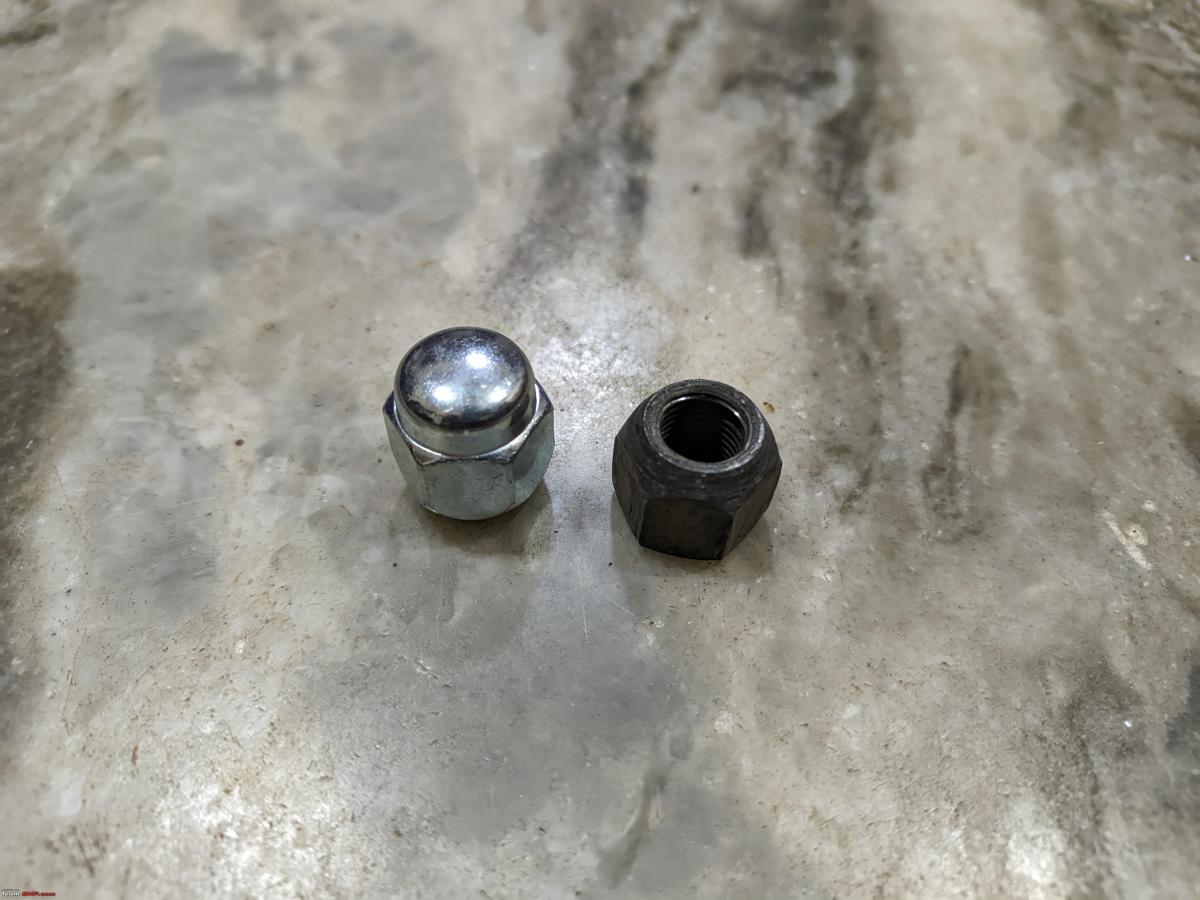
Closed nut vs open nut.
Replacing the Exhaust rubber mounts.
The existing rubber mounts started cracking and the exhaust was shaking a bit too much, decided to get these replaced as well.
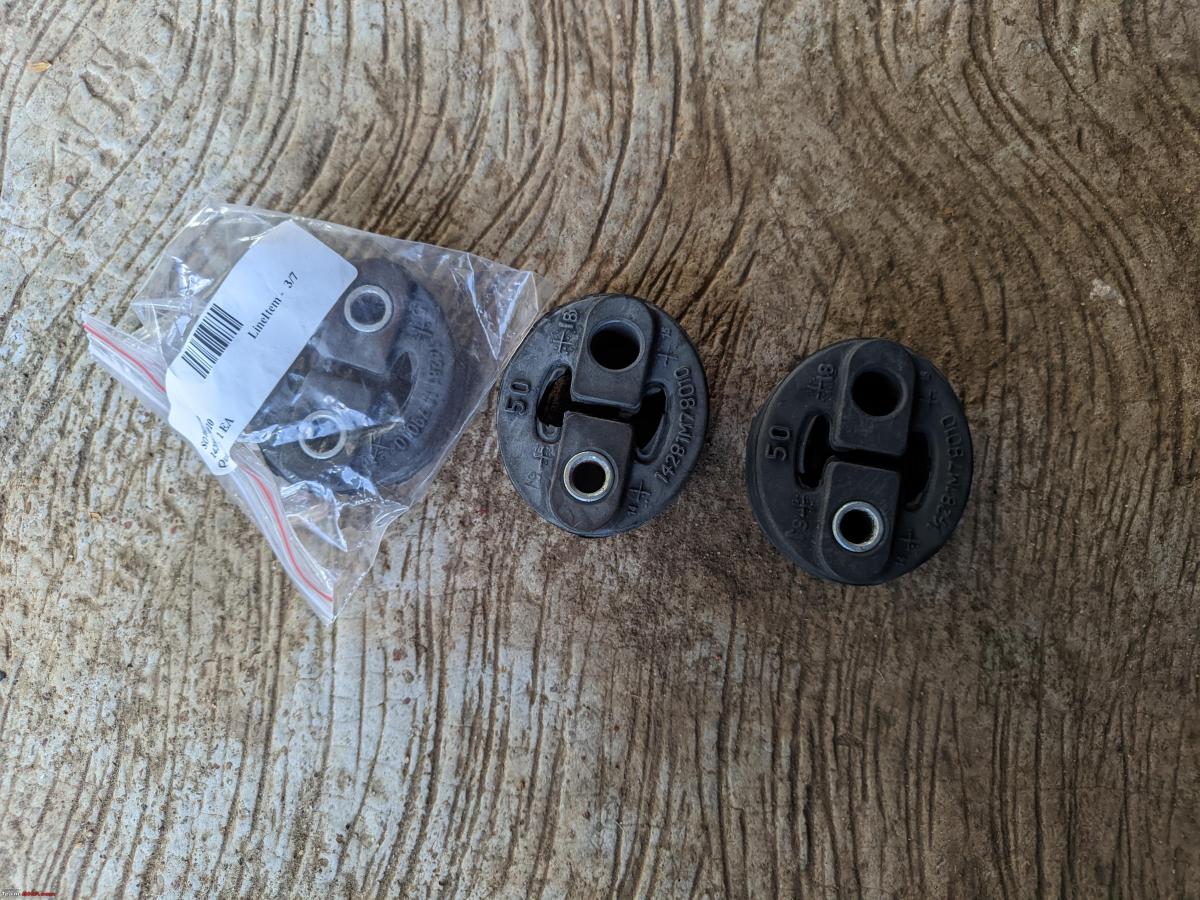
New mounts.
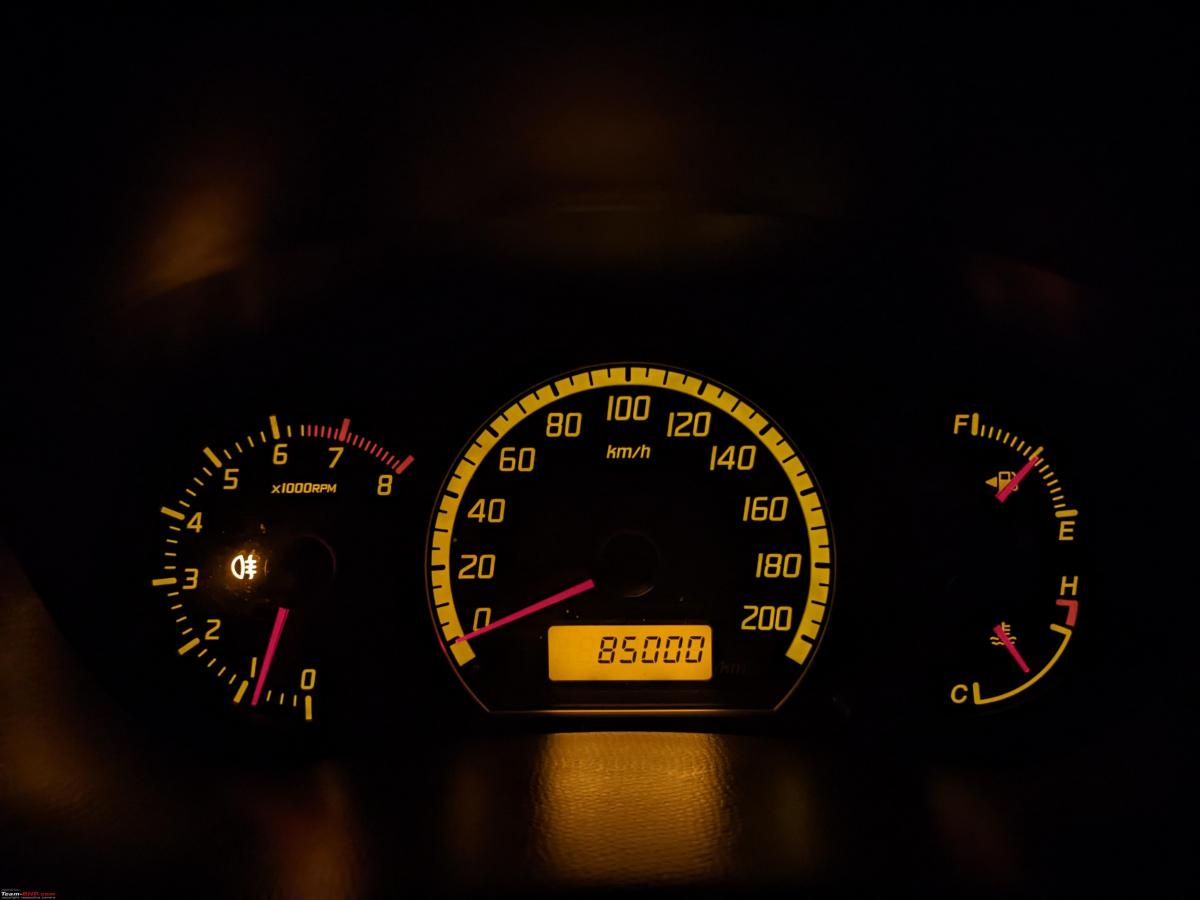
Odometer reading:
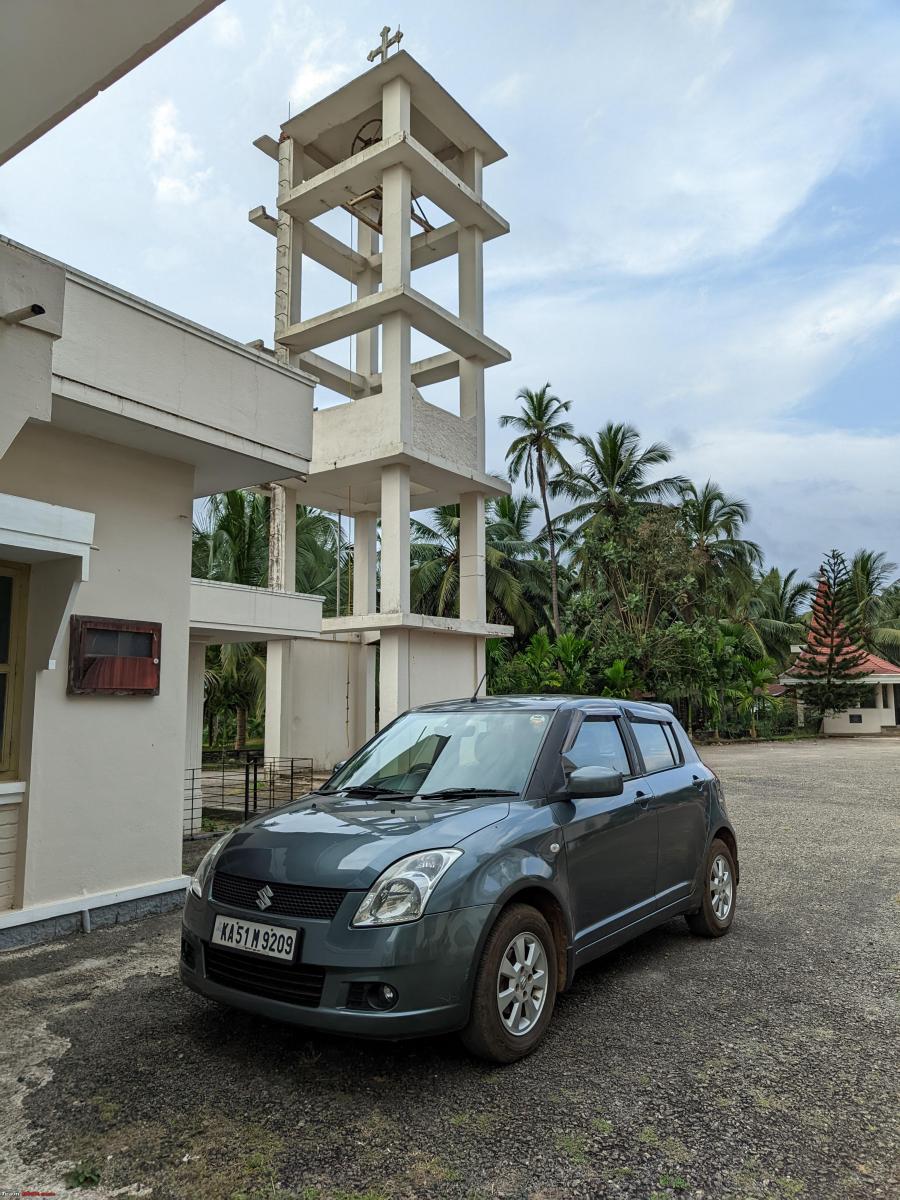
Signing off with a photo after a good weekend and TLC for the Swift.
Check out BHPian comments for more insights and information.
Find Car News
Just News


About Us


Buy & Sell
USED CARS