News
Fitting a frameless auto-dimming IRVM in my car for safer night driving


You can install any brand’s IRVM in any car. There are only two things that you need to look for.
BHPian KarDIY recently shared this with other enthusiasts.
Popular Honda Frameless Auto-Dimming IRVM installed in Tata Tiago
Detailed post ahead but I bet you’ll not regret reading it.
It all started back in October 2021 when I purchased the TATA Nexon XM(S) variant. My priority has always been safety and as we know this car has a 5-star safety rating. But despite having all the safety features, IRVM offered in XM(S) variant was quite disappointing for me. Even my Maruti Suzuki Wagon-R LXi 2018 model got company-fitted Manual Anti-glare IRVM, whereas to my surprise TATA offered a small-sized Non-Anti Glare IRVM that makes night driving painful as well as dangerous. So, on the very first day when I was driving the car back home after taking the delivery, I realized this IRVM issue. And my search for AntiGlare IRVM started that day itself.
After doing some research, I upgraded to Manual AntiGlare IRVM within a few months which is offered by TATA in Nexon’s top variants. It is a very easy DIY and you can do it at home without needing any tools or technical knowledge. This IRVM is common for all TATA cars and it cost me 830 INR.
I have a video on this you can watch and install one if you want.
For your reference mentioning:
- Part Number - 277981100106
- Description: ASSY INNER REAR VIEW MIRROR (ANTI GLARE)
I was pretty satisfied with this Manual AntiGlare IRVM and my night driving became more convenient than before. I would surely recommend everyone reading this post and planning to buy/own a TATA car with a normal IRVM, you must consider upgrading to at least a manual anti-glare IRVM. it will definitely make your night driving safer.
By the time I installed this IRVM in my Nexon, Tata was not offering auto-dimming IRVM in any variant. But in 2022 few variants were launched by Tata in which Auto dimming IRVM was offered.
After which my search for Auto dimming IRVM started and fortunately I got the TATA Auto dimming IRVM Kit for my Nexon. I have done many upgrades to my Nexon, but you wouldn’t believe this is the best accessory I have installed in my Nexon to date. I have a video on TATA Auto-dimming IRVM installation as well. You can check it out.
After realizing the importance of auto-dimming IRVM I started my search again but now it was for my family car Tata Tiago. As Tata’s Auto Dimming IRVM Kit is quite expensive, I started looking for cheaper options.
After doing some thorough research, I got to know about Honda Auto dimming IRVM which was earlier offered for 422 INR only. Yes, you read it right, only 422 INR for an Auto-dimming IRVM. But unfortunately, by the time I started looking for it, it was already very late as its price shot up to a whopping 6704 INR. This is approx. 16x the old price. Part Number: 76400T4RJ11, Description: MIRROR ASSY. RR. VIEW (AUTO DAY/NIGHT).
I am very sure that only after coming into the limelight on Team-BHP, this IRVM caught the attention of Honda. They realized their mistake and thus they revised its price.
Before going further I must tell you there is one more option which I came across i.e. Maruti Suzuki Baleno’s IRVM which costs around 3,950.00 (Part no. 84703M54P00) and its wiring cost is 271 INR (36820M68P30). However, you will not get the mounting which is one of the most important things we require while installing IRVM. If you’re lucky enough that you have the mounting already stuck on the windshield, then you can consider this option.
Now coming back to the point, after exploring all the options Honda IRVM was the one which I liked the most. I was cursing myself why I did not get to know about this earlier. This would have been the most amazing deal of Auto dimming IRVM for just INR 422 that too frameless one.
So without cursing myself more I started looking for people who could have old stock of this auto-dimming IRVM. You won’t believe how many people I had talked to and how many shops in popular auto markets I had visited searching for this. Literally, I have done everything to find this IRVM and finally, I got someone who had a few in stock.
He was a gentleman who helped me in getting this IRVM. He offered me this IRVM for 2499 INR after negotiation. I know this was earlier available at dirt price but even at 2499 it’s not a bad deal.
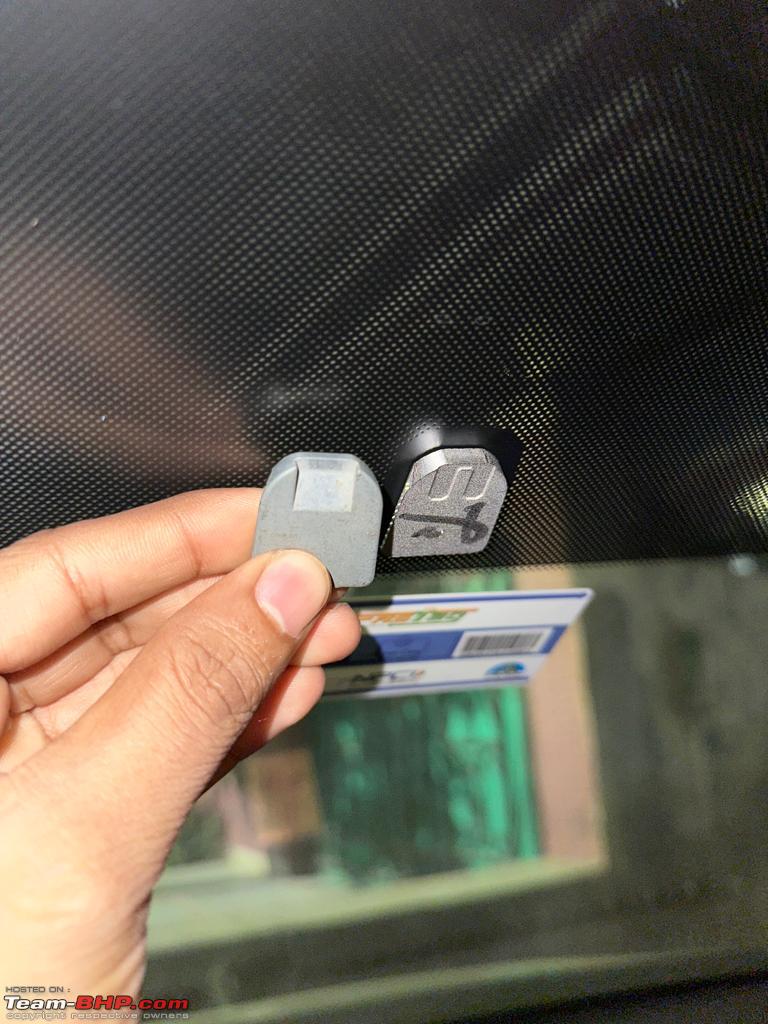
Even after getting this IRVM, I had to manage the wiring and mounting to install this in Tiago. But If you are fortunate enough to have the below mounting already on the windshield then you just have to take care of the wiring part. Baleno IRVM will also fit on the below mounting directly.
In this post, we will find out how to install this Honda Auto dimming frameless IRVM in any car. I will install it in Tata Tiago for your reference.
Note: You can install any brand’s IRVM in any car. There are only two things you have to look for, one is mounting (wedge button) and the second is the IRVM bracket. If you get the correct combination, Bingo you can install it in any car.
If you are someone who understands better by watching a video, then watch this video.
Tools Required
- Socket set
- Pry Tools
- Plier
- Wire striper
- Multimeter (optional)
- Crimping tool
- Hot Glue Gun (optional)
*Other things* Required
- Wedge Button (As per your car compatibility; I arranged one for Compatible with Tata)
- Scotch Lock
- Fuse Tap with Mini Fuse 5A
- Cable Tie
- Auto-Dimming IRVM (obviously)
- Some Wire to make a harness
- Insulation Tape
Wiring Diagram

Installation Procedure
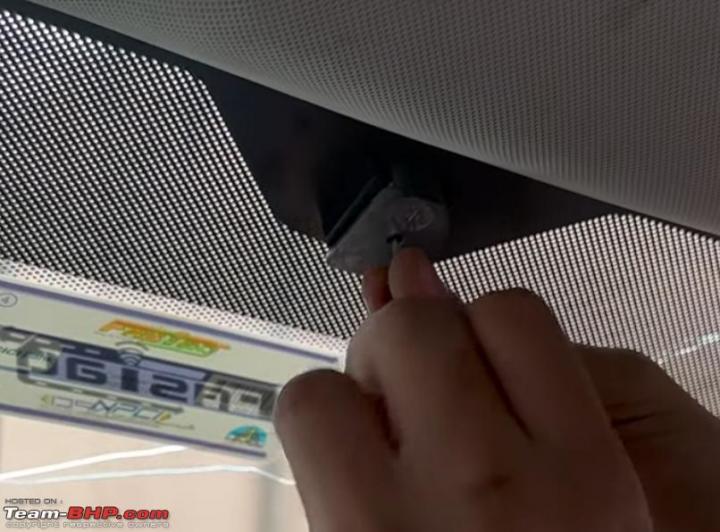
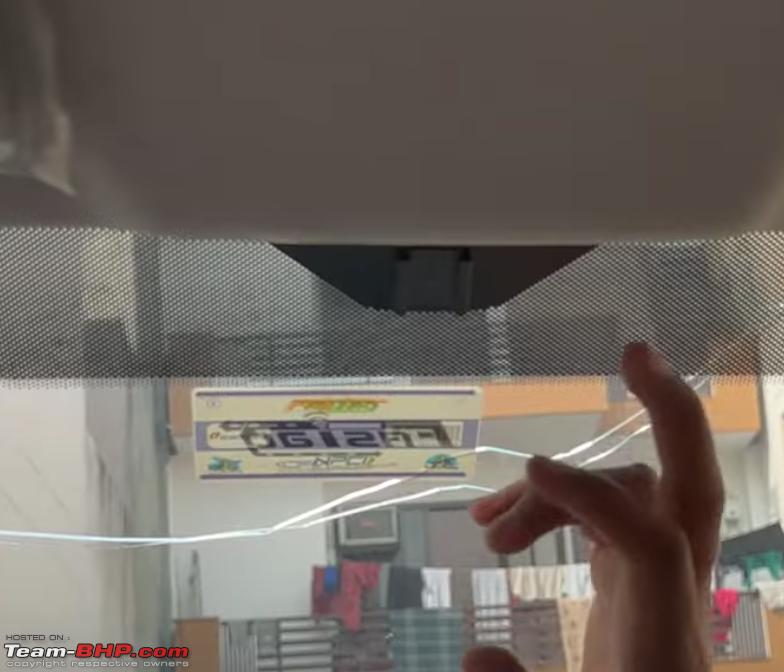
- Remove the original IRVM, In Tata Tiago gently hit the IRVM from the bottom using your fist or mallet to remove it. (same process for all Tata Cars).
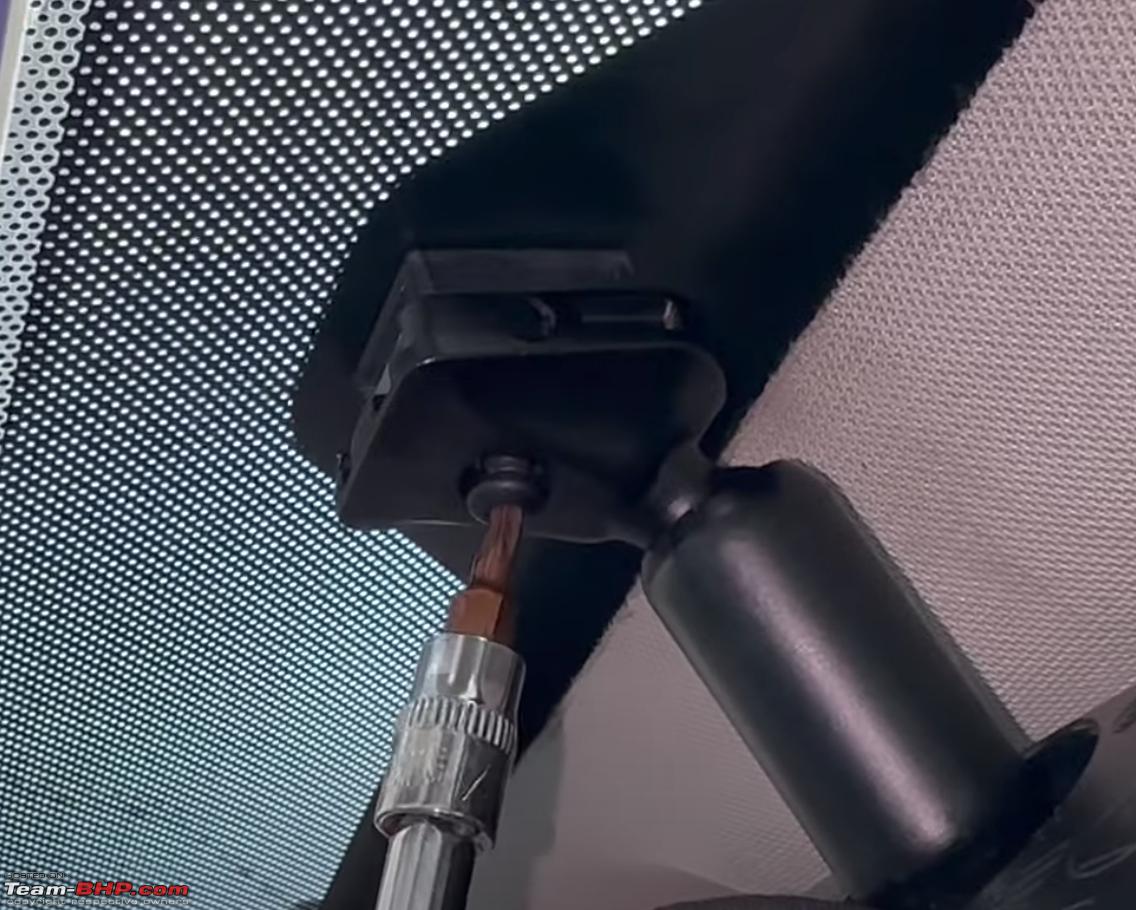
- Now slide the wedge button into the company-fitted mounting on the windshield. Tighten the grub screw a little.
- In Honda frameless IRVM you get 5 wires out of which only three are of use.
- Red wire is positive. The orange wire is for the reverse signal. Black is negative.
- I made my own wiring harness using three wires i.e. Black, Red, and Yellow.
- Now as you know which wire is for what you have to do the wiring. If you have a connector then use it or you can cut off the connector and connect the wire directly.
- I have done something different. I Inserted the black wire of my wiring harness into the coupler connecting to the black wire from the IRVM. And similarly Inserted the red and yellow wire of my wiring harness into the coupler connecting to the red and orange wire from the IRVM.
- Using a glue gun, secured the wires in their place. A good reason to use a glue gun is that you can remove the glue again by simply heating it, So if in future I will get the connector I will remove the glue and use the connector.

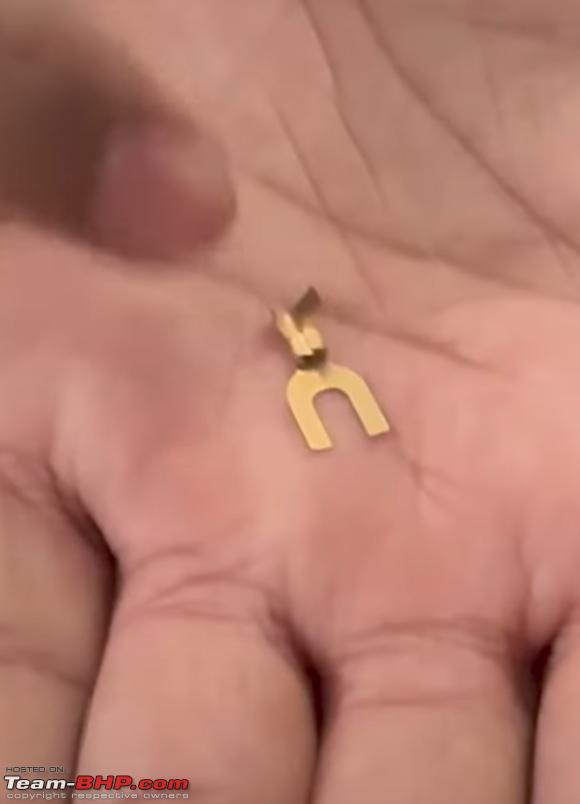
- Connect a thimble to the black wire of the wiring harness. (Note: You can directly connect the wire to the negative but by using a thimble you ensure a more secure connection.)
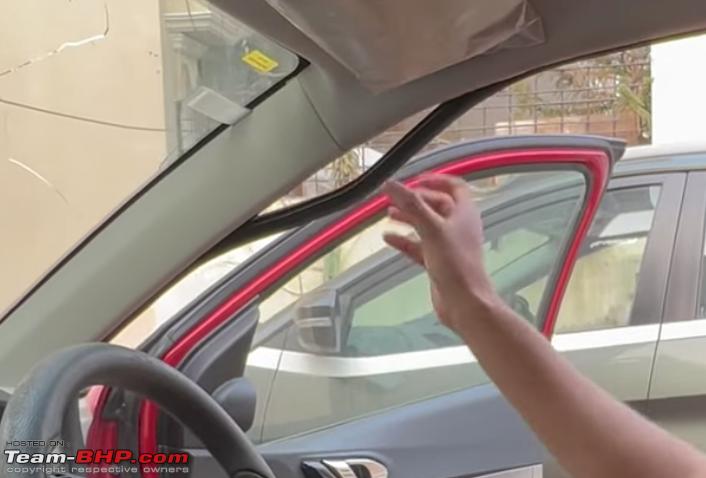
- Remove the weather strip/Door seal near A-Pillar.
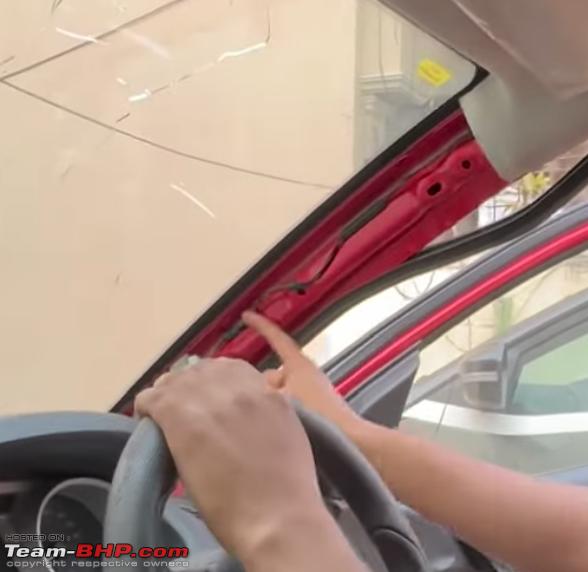
- Gently remove the A-Pillar trim by pulling it out. (Note: If your car has tweeters then make sure you disconnect the tweeter before you completely remove the panel.)
- Remove the fuse box panel under the steering wheel to get access to the fuse box. You can remove it just by pulling.

- Push down the wiring from the top of the dashboard using the space exposed by removing the A-Pillar trim.

- We will now first fix the IRVM on the mount. Slide the IRVM on the wedge button. (Note: The wedge button might be a little loose. So, tighten the grub screw to fix it.)
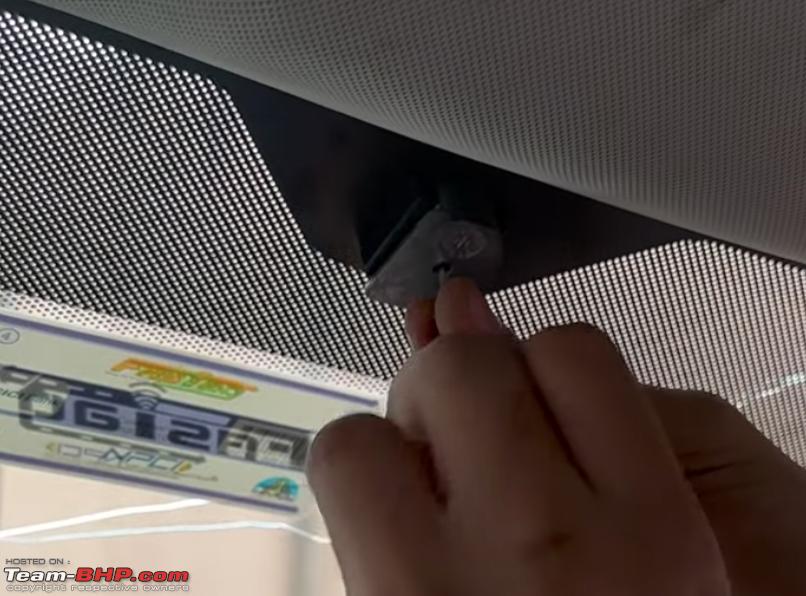
- Screw in the Torx screw. (Note: Don’t screw it too tight or too loose).
- Use a pry tool or fingers to remove the roof lining and push the wire inside it.
- Insert the other end of the red wire of the wiring harness into the fuse tap. Secure it using a crimping tool.

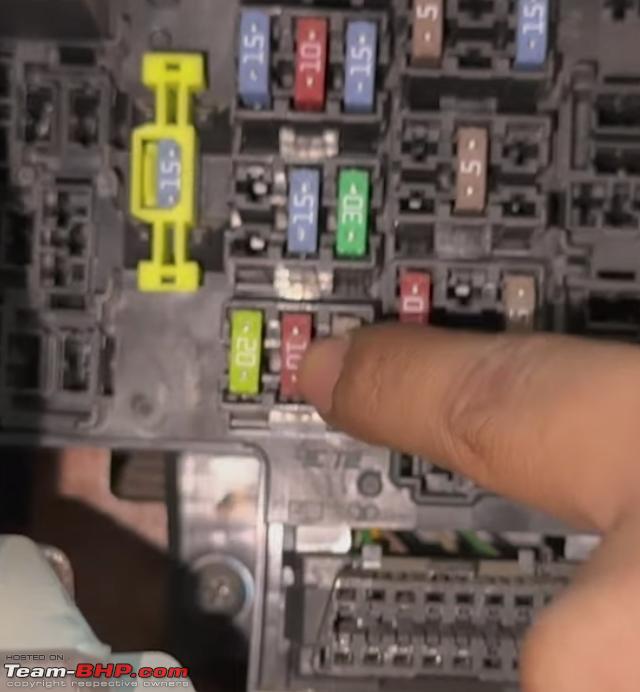
- Using the labelling on the cap remove the fuse F20 (10A) of Ignition Supply and connect the fuse tap.
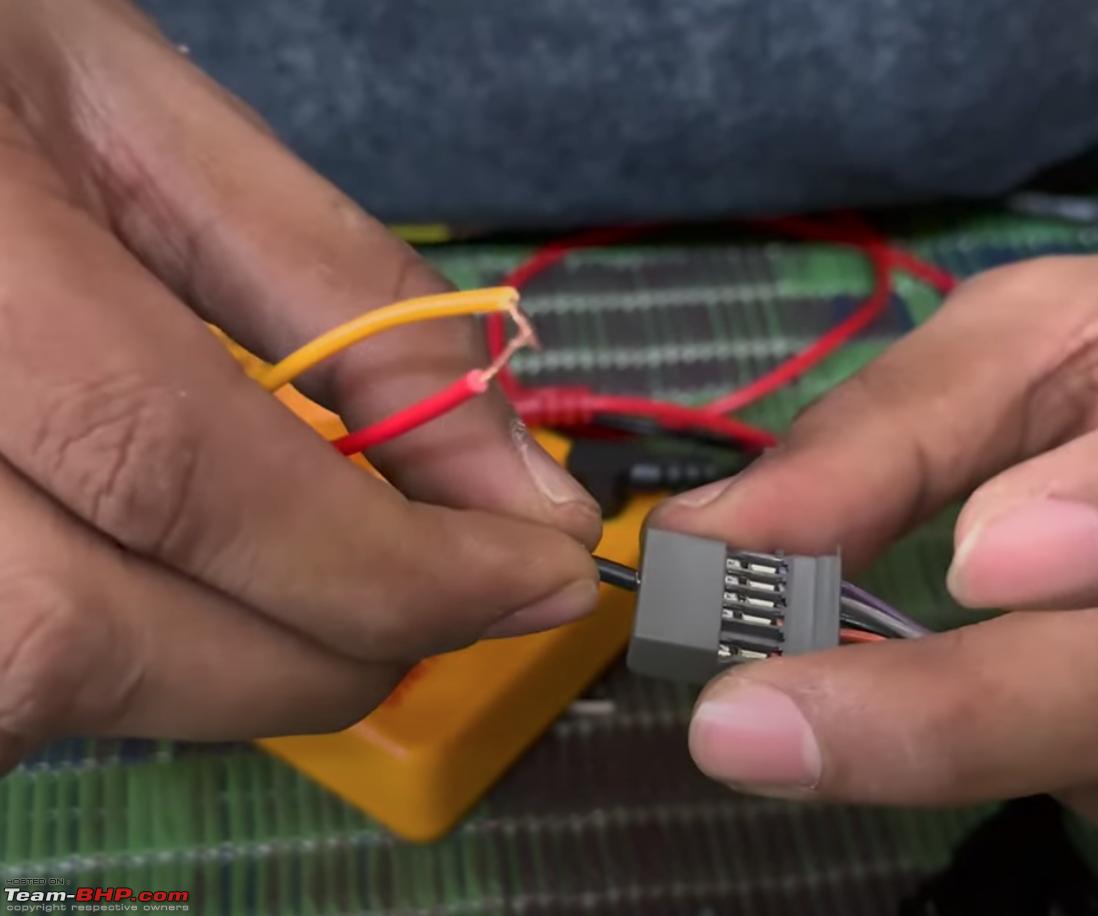
- Under the fuse box you will find a 56 Pin white connector, you will find a black wire which is for reverse. (As per Auto Dimming IRVM Manual, It is Black wire at Pin No. 22 in Tiago). You can also use a multimeter to check or confirm this wire. Using a scotch lock, connect the yellow wire from the wiring harness to this black wire.

- Connect the black wire of the wiring harness to any screw or bolt connected to the body.

- Wrap extra loose wire together with a zip tie.
- Cut out extra plastic from the zip tie.
- Put back A-Pillar trim
- Put back the fuse box panel under the steering wheel.
Enjoy your safe night drives. Hope you find this post useful. Happy DIYing.
Check out BHPian comments for more insights and information.
- Tags:
- Indian
- Member Content
- IRVM
- Tata Tiago
Find Car News
Just News


About Us