

 2nd July 2018, 17:29
| #151 |
| BANNED Join Date: Oct 2011 Location: Hyderabad
Posts: 12,345
Thanked: 21,452 Times
| |

|  (4)
Thanks (4)
Thanks
|

| |
|
2nd July 2018, 17:34
| #152 |
| BHPian Join Date: Mar 2014 Location: KOL, BBSR
Posts: 98
Thanked: 88 Times
| |
|
|
|
2nd July 2018, 17:35
| #153 |
| Distinguished - BHPian  Join Date: Oct 2008 Location: Pune
Posts: 3,257
Thanked: 5,855 Times
| |
|
| (2)
Thanks
|
 If I am not mistaken I think Maruti also has some recommended synthetic oils available at the dealership should you be interested. Please enquire with the MASS. Unless specified by the manufacturer dealerships default to mineral oil.
|
2nd July 2018, 17:35
| #154 |
| BANNED Join Date: Oct 2011 Location: Hyderabad
Posts: 12,345
Thanked: 21,452 Times
| |
|
| (2)
Thanks
|
|
2nd July 2018, 21:49
| #155 |
| BHPian Join Date: Mar 2014 Location: KOL, BBSR
Posts: 98
Thanked: 88 Times
| |
|
| (1)
Thanks
|

|
3rd July 2018, 11:19
| #156 |
| Senior - BHPian | |
|
| (2)
Thanks
|
|
3rd July 2018, 12:22
| #157 |
| BANNED Join Date: Oct 2011 Location: Hyderabad
Posts: 12,345
Thanked: 21,452 Times
| |
|
| (8)
Thanks
|
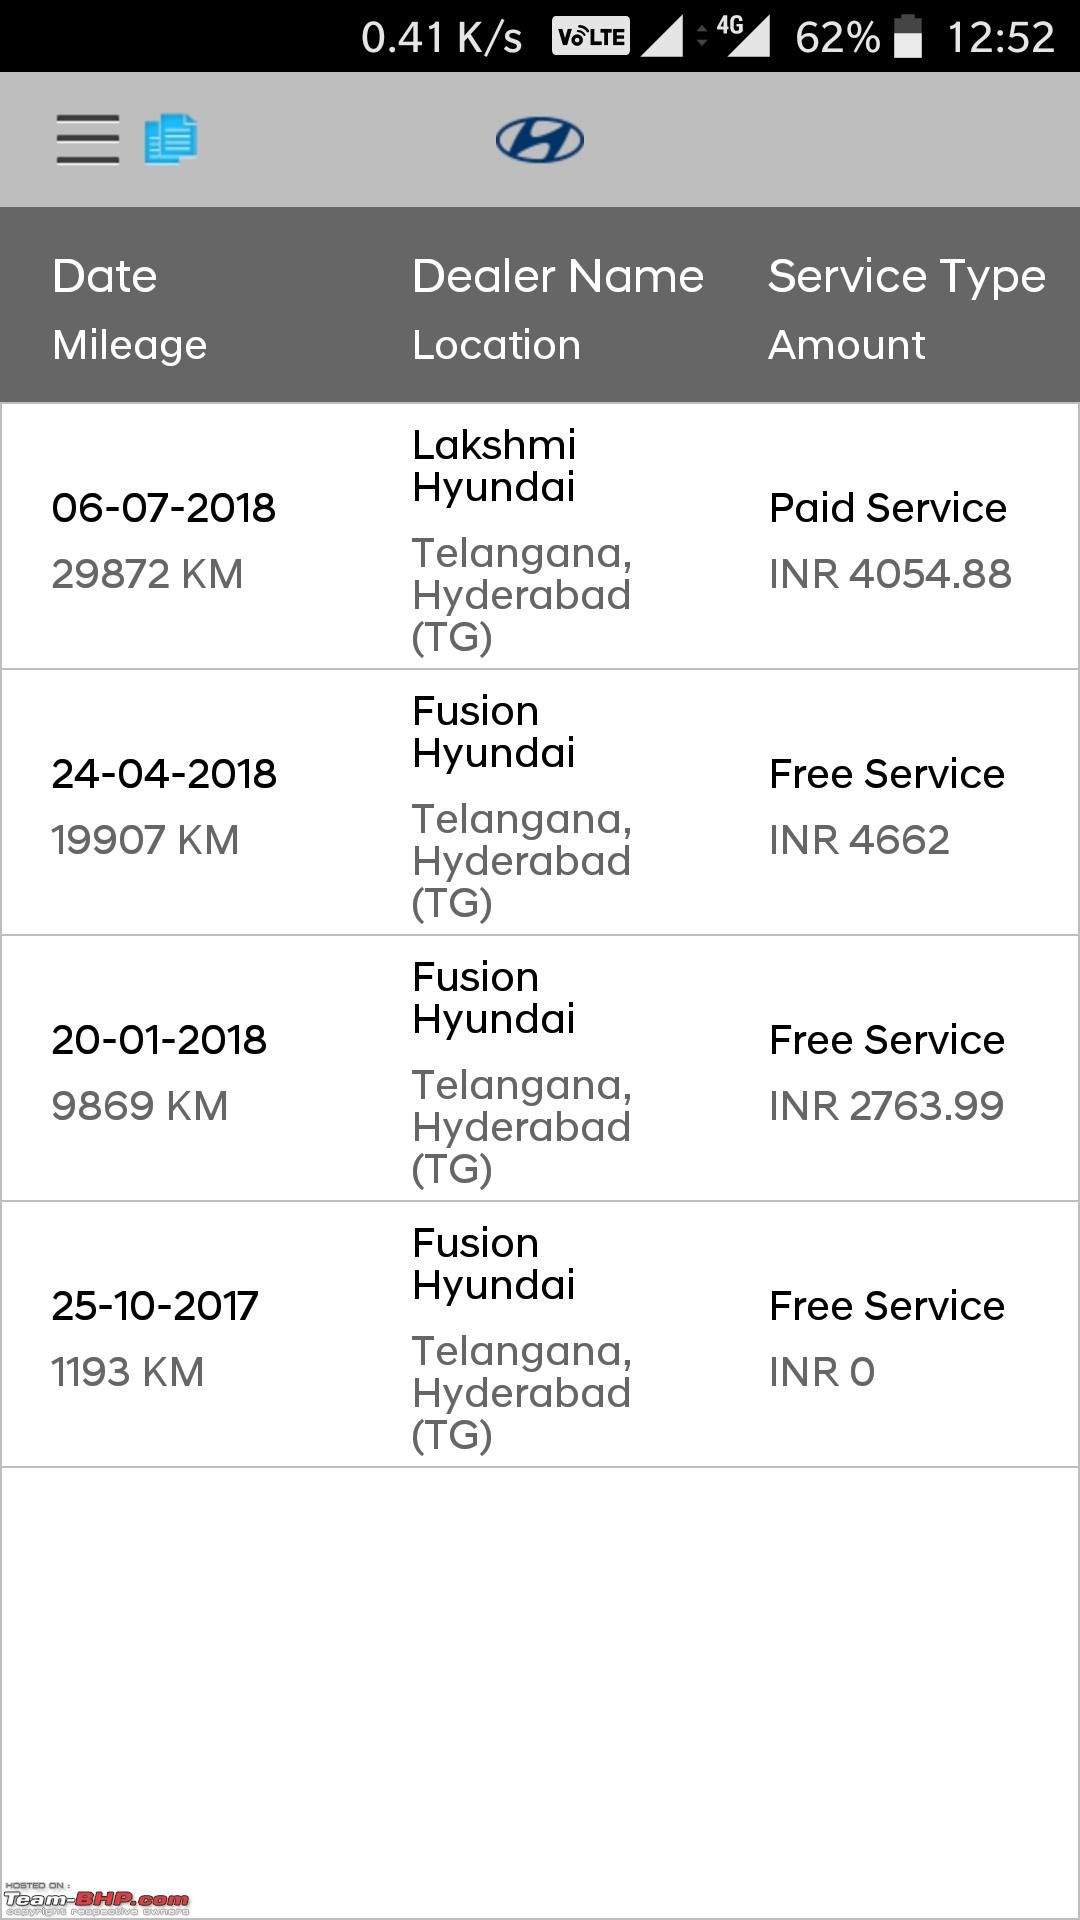
 The SA is aware of the MODS and is aware that the car is remapped too. Just regret spending ~₹13,000 for extended warranty (could have spent it on fuel or MODS).
|
3rd July 2018, 22:59
| #158 |
| BANNED Join Date: Oct 2011 Location: Hyderabad
Posts: 12,345
Thanked: 21,452 Times
| |
|
| (7)
Thanks
|


|
6th July 2018, 23:00
| #159 |
| BANNED Join Date: Oct 2011 Location: Hyderabad
Posts: 12,345
Thanked: 21,452 Times
| |
|
| (11)
Thanks
|


|
7th July 2018, 10:16
| #160 |
| Senior - BHPian | |
|
| (2)
Thanks
|


|
9th July 2018, 23:17
| #161 |
| BANNED Join Date: Oct 2011 Location: Hyderabad
Posts: 12,345
Thanked: 21,452 Times
| |
|
| (6)
Thanks
|


| |
|
12th July 2018, 12:06
| #162 |
| BHPian Join Date: Jun 2018 Location: Mumbai
Posts: 182
Thanked: 494 Times
| |
|
| (1)
Thanks
|
|
12th July 2018, 12:59
| #163 |
| BANNED Join Date: Oct 2011 Location: Hyderabad
Posts: 12,345
Thanked: 21,452 Times
| |
|
| (2)
Thanks
|
|
14th July 2018, 01:18
| #164 |
| BANNED Join Date: Oct 2011 Location: Hyderabad
Posts: 12,345
Thanked: 21,452 Times
| |
|
| (12)
Thanks
|


|
14th July 2018, 09:25
| #165 |
| Distinguished - BHPian | |
|
| (4)
Thanks
|
 |
Most Viewed