News
DIY: Installing keyless entry on my 2006 Maruti Swift

The entire kit for the Type 1 Swift was out of production and no where in stock.
BHPian Ashtoncastelino recently shared this with other enthusiasts.
Adding a Keyless Entry System
The type 1 Swift 2005-2007 models did not get an immobiliser and only the ZXi got the Keyless entry system from the factory. I began to learn about how the remote central locking system works. So as per the Service manual, the central locking module just acts as an intermediate device between the door actuators, door switches, and the BCM.
The BCM controls
- Power door lock
- Combination meter
- Interior light
- Warning buzzer
- Rear end door window defogger
- Tailgate opener
Since the Locking Unlocking of the doors is done by the BCM, it just needs the central locking module connected in between the wiring.
Whilst I was always on the lookout for adding this to my Swift, the entire kit for the Type 1 Swift was out of production and nowhere in stock.
Part number: 990J0M75JF0-020
Price- 5546
Bummed out, I decided that I would go for the OEM Central locking system ONLY whatever the cost. I also observed that the facelifted Swift / Swift Dzire gets an updated dashboard wiring harness that contains the 24-pin connector and immobilizer wiring as well. This same 24-pin connector is present in all the Swift’s / Dzire, Ritz (2009-2011), and SX4, A-star. So getting the security controller box and the wiring was the only thing left.
Parts required to complete.
- 37187M75J00 TRANSMITTER ASSY, SECURITY
- 37220M75J00 SWITCH ASSY, SECURITY
- 37225M75J00 HOOD PIN SWITCH ASSY
- 38521M75J00 CONTROLLER ASSY, SECURITY
- 38522M75J00 SIREN ASSY, SECURITY
- 36602M74K10 HARNESS ASSY INSTRUMENT PANEL
So total expense looked to cross the 10,000rs mark
I managed to source the security controller box, Remote key, and also the dashboard wiring harness from the scrapyard for super cheap. The rest of the stuff was procured from Boodmo.


Clarity Car Audio based in Goa was kind enough to send the Suzuki ISO connector for the head-unit.
I also had to transfer the rear wiper wiring, and steering audio controls wiring from my old wiring harness into the new one. Modified the wiring harness at home and kept it ready for the Swap. I had to make sure that the security controller box and remote was working before attempting to install it on my car. A good friend lent me his Swift 2009 VXi to try this and I managed to pair the remote and the controller easily. Speed locking was also working perfectly at 25kmph.
I undertook this swap over 3 days since I was doing this alone in my village, the dashboard was out again, and made sure all was perfect. My engine bay wiring harness already had the connectors for the bonnet switch and the siren.


Siren and new panel clips

Bonnet switch and Siren in place in the Engine Bay
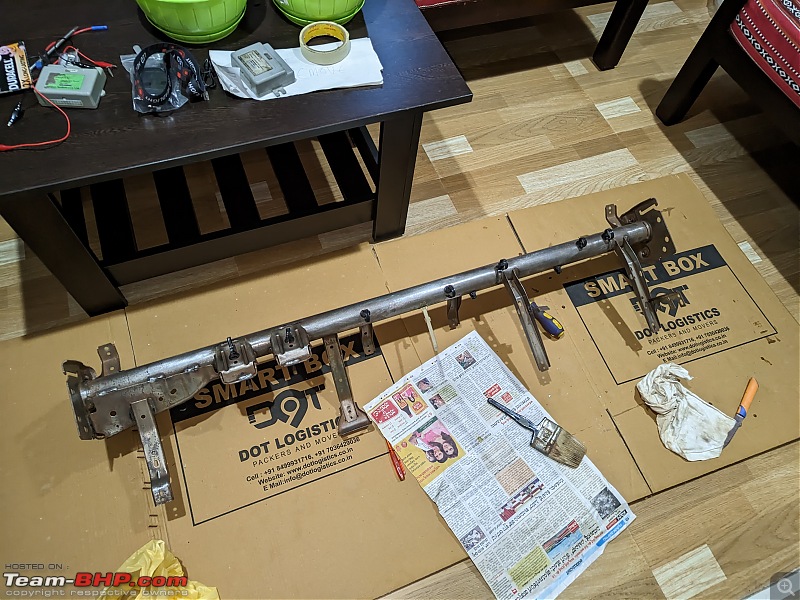
Sanded down the crossbar.

Younger cousin applied metal primer on it.
While the dashboard was out I had a look at the cooling coil as well,

I wasn’t expecting it to be shining with no debris.
The highlight is that I managed to recover my 1/4" socket attachment which I dropped into the defogger vent and it had made its way on top of the cooling coil. So after 3.5 years, it is back into the tool kit.

The entire mess
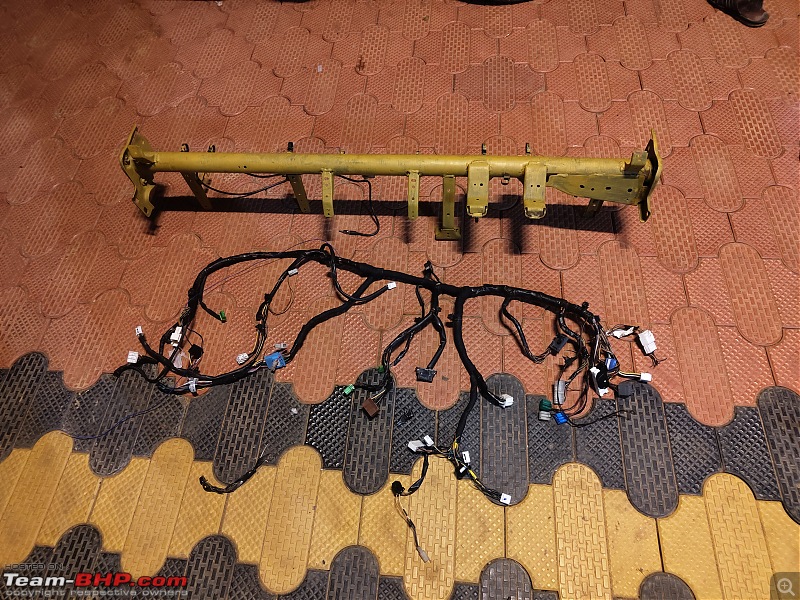
Ready to be reinstalled.

Wiring harness part number
The dashboard wiring was clamped back onto the crossbar and fitted onto the car but to my horror, the lock unlock feature via remote was not working and the car wasn’t starting. At this point, I got chills up my spine and also was wondering where did I go wrong or what did I miss. As I turn the key to start the car, the starter relay clicks but the car doesn’t crank. Back to referring to the service manual, I realised that in the facelift models, the ground to the starter motor was wired differently. I compared it with my previous stock wiring harness and noticed one pin was missing in the new wiring harness.
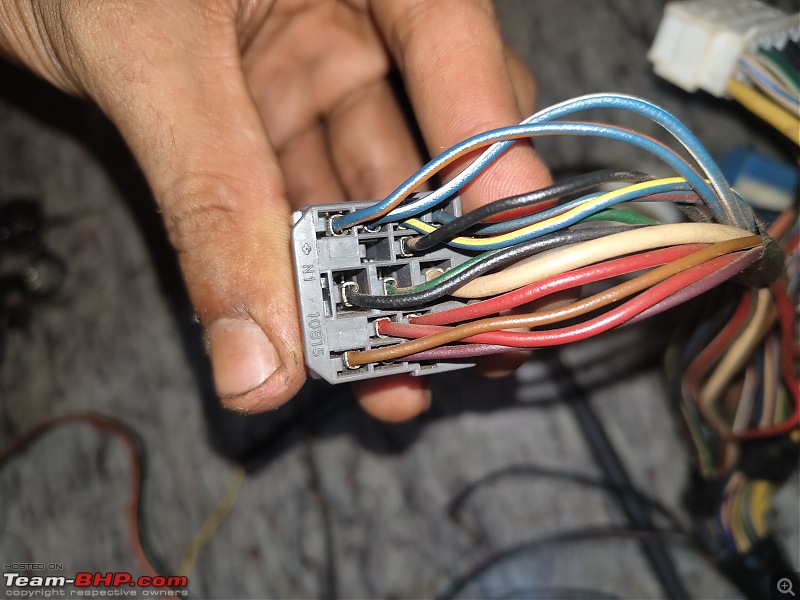
I slid a suitable pin in it and grounded it to the chassis and turned the key over. The car cranked and came back to life. Sign of relief !! next was to assess why the lock unlock feature was not working via remote. I realised the type 1 floor wiring has the door wires on the right rather than on the left where the dashboard wiring attaches. Unfortunately, I had to resort to using scotch locks here and used Tessa tape over that point to absorb the vibrations and reduce rattles. Post this the lock unlock started working flawlessly.
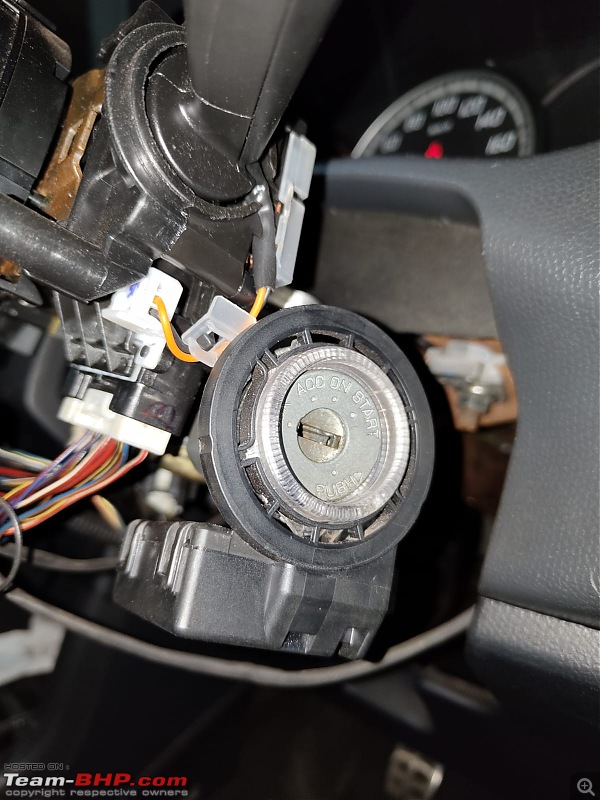
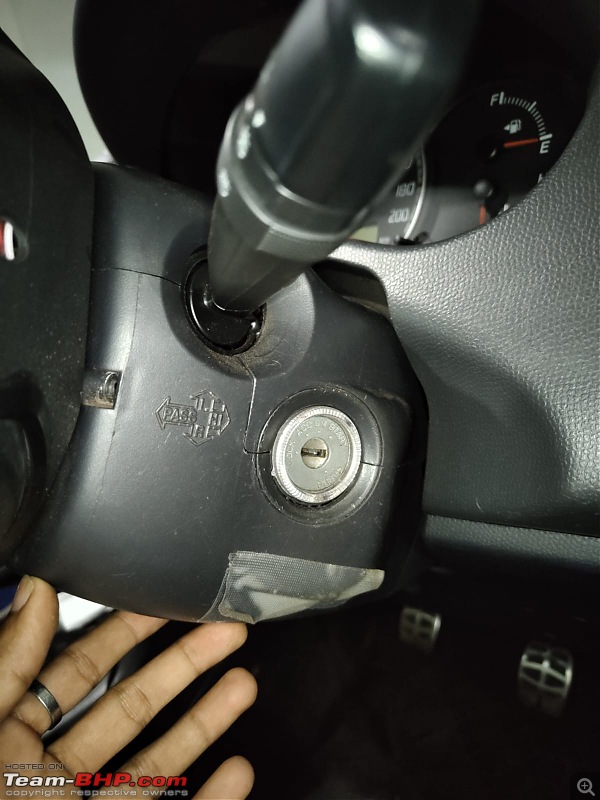
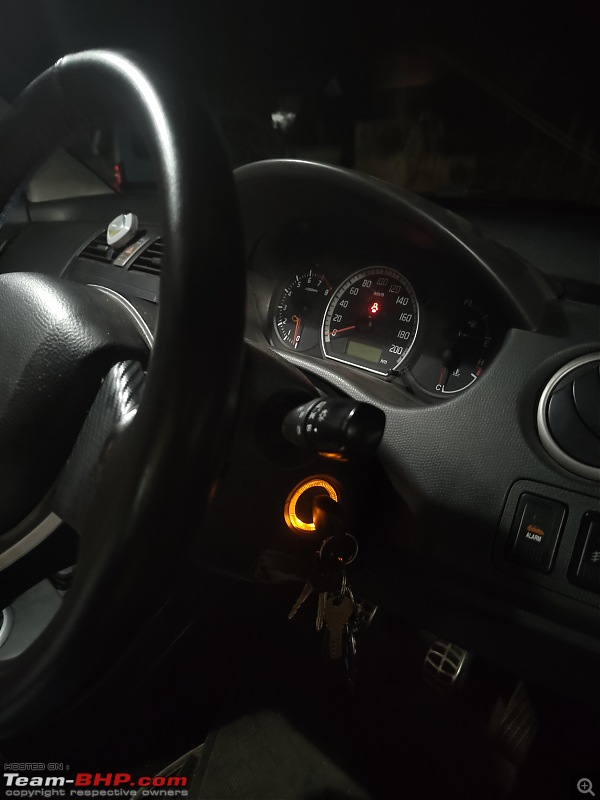
I also sourced the SX4 immobilizer, which contains the illuminated key light. Now since my car doesn’t have an immobilizer it could easily install it since the provision on the steering column was already present and the new dashboard wiring already had the immobilizer connector, inserted pins into the connector to give it a signal via the cabin lamp.
Another addition was that the BCM had a provision for wiring an additional 12V socket for the boot like the ZXi.

12V socket in the Boot
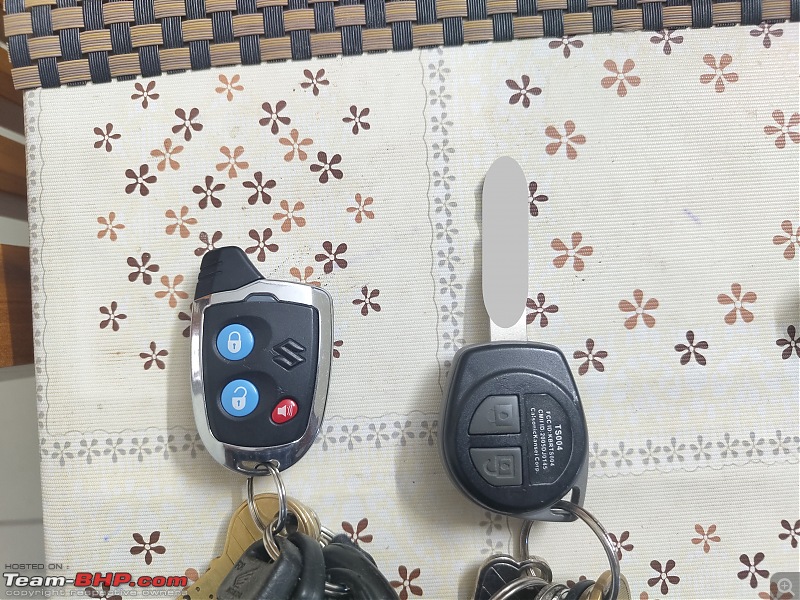
Wrapped up everything back carefully with new clips and made sure nothing was left loose. Drove and made sure that everything was working as expected. No issues to report. Since Dad is the primary driver of the car now, I got him the key with the remote integrated into one rather than a separate remote. Ordered the case from Amazon for 230rs and the remote from Boodmo for 740rs 37182M59K00. Key cutting was done locally for under 150rs.
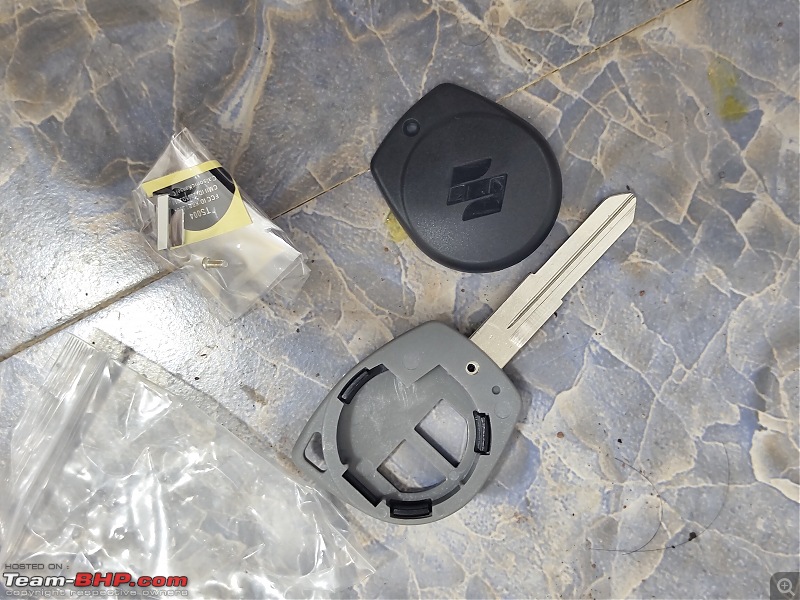
New key case from Amazon
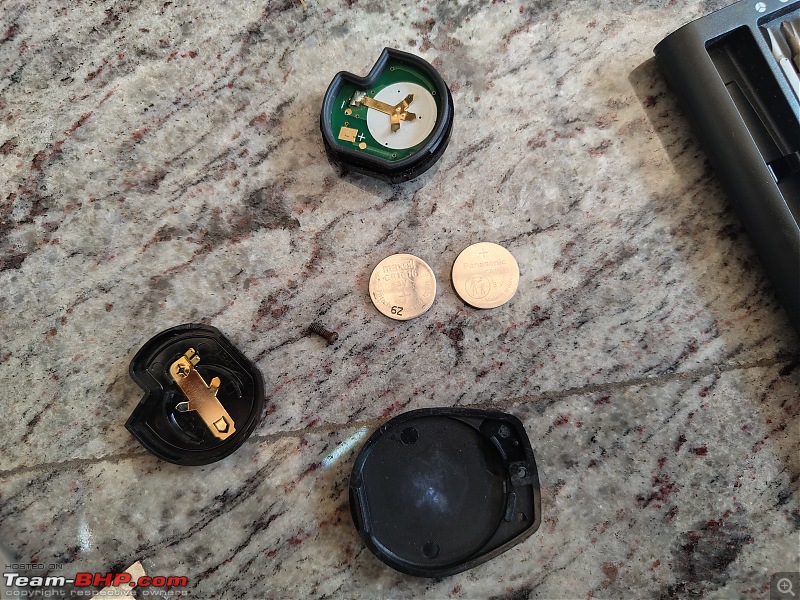
New battery installed

This was truly a painstaking process but I believe is worth it in the end since it's the OE Central locking system with all the features which are programmable.
More updates to follow!
Regards
Ashton Castelino
Check out BHPian comments for more insights and information.
Find Car News
Just News


About Us

Buy & Sell
USED CARS