News
Did an audio upgrade worth 7 lakhs on my Volkswagen Taigun

I must admit, I did think a few times of forgoing the music upgrade this time around .
BHPian Yesterdaysnews recently shared this with other enthusiasts.
The Before:
I picked up a Taigun 1.5 GT Plus in the end of December '22. I really like listening to music and was never happy with any stock speaker set ups in any of the vehicles I have sat in/owned. The Taigun too, of course needed an audio upgrade and having been a customer of Speedfreaks and Karthik since early 2010s, it remains the only place where I'd go for audio overhauls.
I usually take my vehicles straight from the dealer upon delivery to Speedfreaks for audio work, but this time around, I couldn't and could give the car in only in August - 7+ months after delivery.
I had driven the car quite a bit - having touched 19,000 KM in these months. I really have enjoyed driving the car - and my listening habits have also changed - where I listen to music at much lower volume than before. Not having good audio setup in the car, I, for the most part could not bear listening to music on the stock speakers and had driven the majority of the 19000 km with music off.
I spend a lot of time on the highways, and have been munching 30,000 to 50,000 km every year. The last 19k km were the only time in a very long while that I had driven without music.
I must admit, I did think a few times of forgoing the music upgrade this time around - I thought I was concentrating better on the road, and on the sounds of the road. But boy, was I wrong! Driving with music is much better, and you experience much less fatigue, and are also more alert.
I initially wanted to go full out on the set up in the car - it would be a complete audiophile set up - only front speakers, no rear. I was looking the Audison Thesis range of speakers - Tweeters, Mid Bass, and Woofer. But the speakers alone would cost 8+ L - taking the whole install to 12-13 lakhs. Business hasn't quite picked up after COVID 19, and I was having major thoughts on spending that much money and I decided to cut back on the speakers. Karthik quietly said "I know you. You'll go back to Audisons soon enough, so we'll build the other components for it - and even if you decide you don't want the Audisons, the components will boost any interim speakers we go for."
I also wanted to try less dampening this time around - mostly to see what the effects really would be, and also the Taigun is a pretty quiet car, with decent enough dampening as it is. Karthik agreed, and said he'd do only the critical areas and we could relook at entire dampening later if needed. I was keen on getting some road noise in as well - having really liking to drive the 1.5 DSG.
I have learnt to let Karthik choose the components of my installs. He understands what I like, and knows what best suits me. A big draw back in my case is I prefer to stream music - as I listen to a vast collection of mostly Rock from the 80's and 90s, with a smattering of Tamil, Telugu and a little bit of very heavy psy trance like Cyberhen - PutarHhh Though Apple Musics lossless is good, nothing like playing from WAV or Flac files, from a DAP.
He decided the following for an active 3 way set up:
Head Unit - Stock
XCelsus 6.2i component woofer and tweeter, paired with the XCelsus XXM325 competition class mid range.
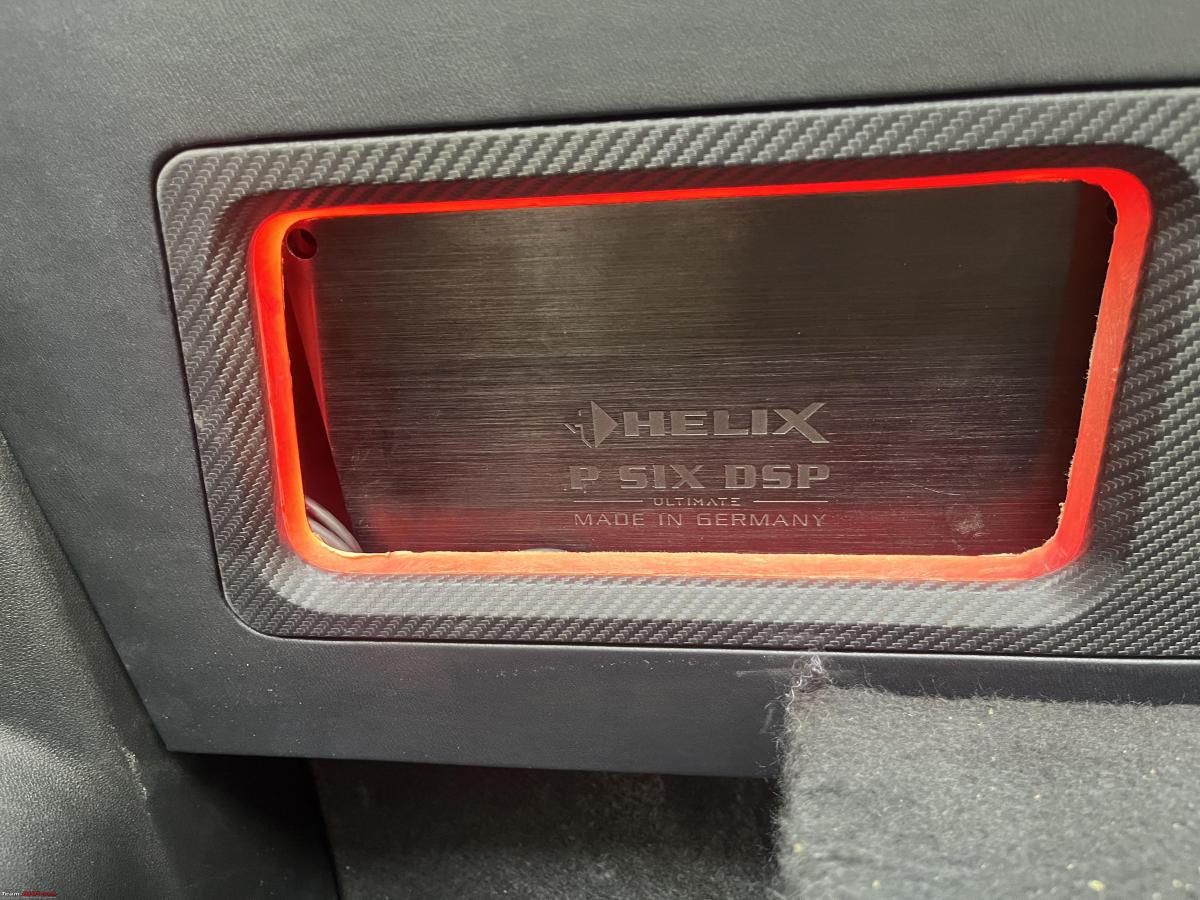
Helix P Six DSP ultimate - a high end 12 Channel DSP and 6 Channel Amp, with an extra component and controller to boost my streaming - Helix HEC HD Audio USB interface
A Helix M ONE X Mono amp to power the subwoofer.
DLS Nordica 12i Sub, an SQ competition series sub.
Dampening only "critical" areas as mentioned.
Custom Fabrication of speaker mounts in the A pillar, DSP and AMP pods, as well as Subwoofer.
During:
The whole team at Speedfreaks are a bunch of perfectionists and will rework a component even if something is off by a few millimetres. Though I love the outcome, I get frustrated when they sometimes redo hours of work when something is just a little off. And therefore I don't spend much time at Speedfreaks when they are working, though it is fun otherwise to watch them work their magic.
Here are a few pictures:
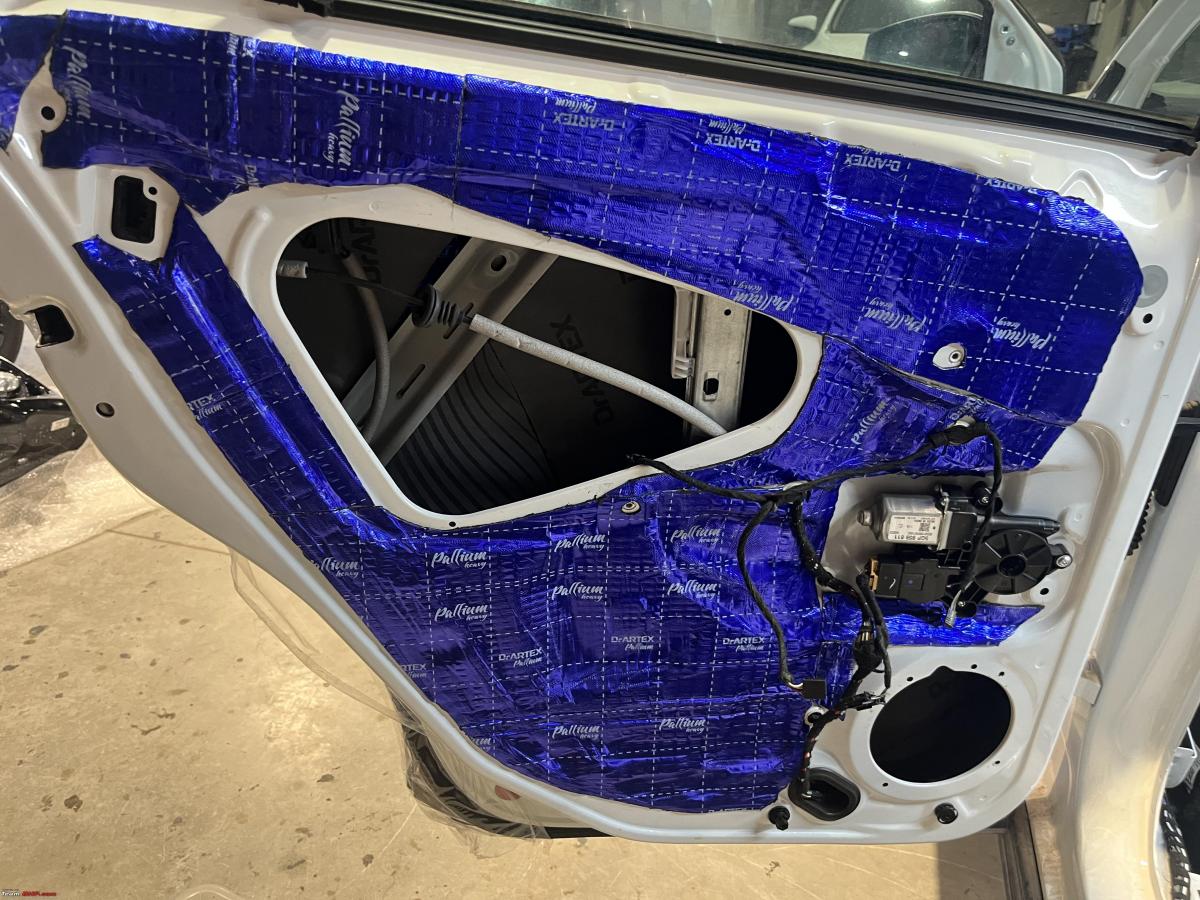
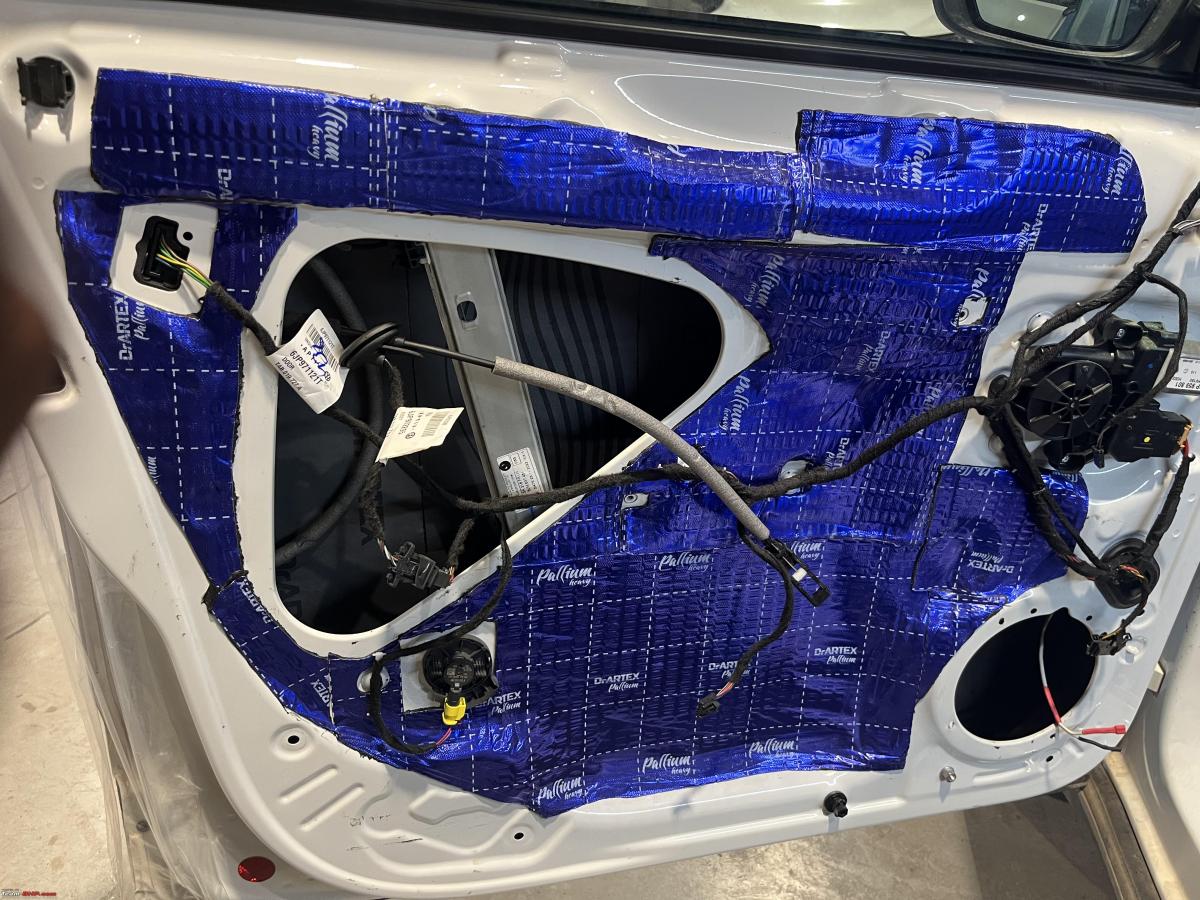
Doors with dampening. There's an additional layer that I have no pictures of:
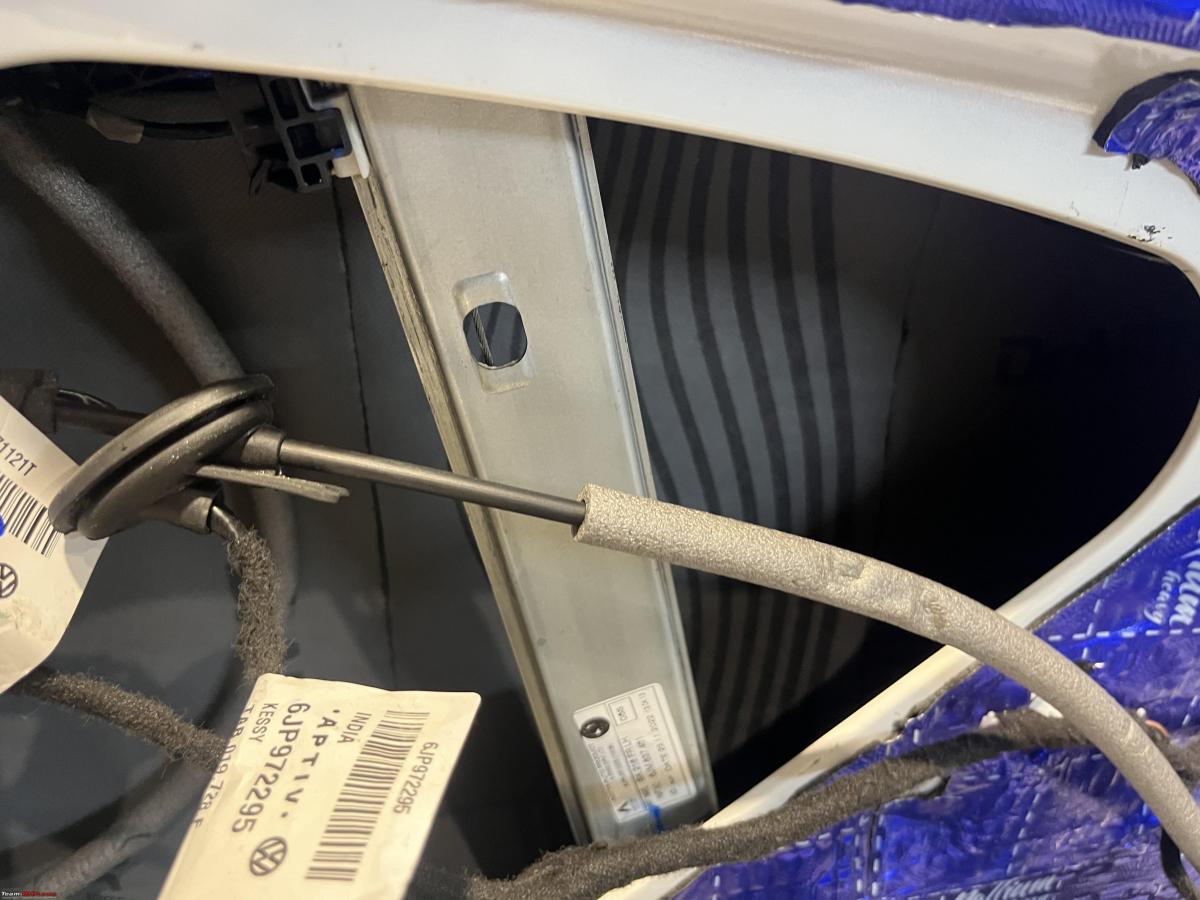
Just the most critical area of the boot:

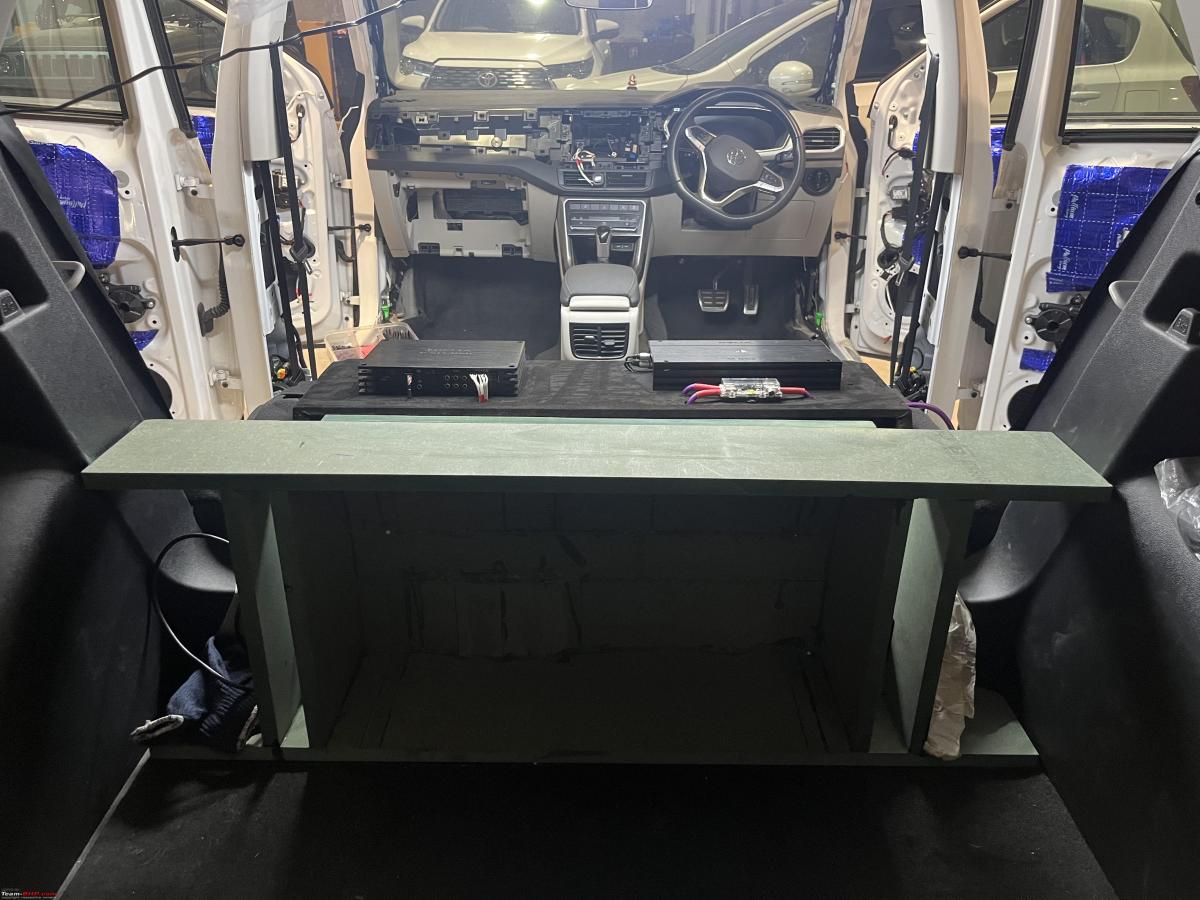
Fabrication of the subwoofer box while initial measuring:
Since there was a lot of fabrication to be done, work took quite a while -almost 2 weeks.
And when everything was done, a disaster struck.
The DLS subwoofer was carefully chosen because it is one heck of a tight and accurate SQ sub at its price point - Rs 50,000.
But unfortunately, after plugging in, the particular piece proved to be faulty, with the dust cap hitting the voice coil at very high volume on tracks with very high and crazy bass. But it was doing well at loud volume on most songs.
Karthik had gone to great lengths to source this particular sub for me, and couldn't get a replacement. That meant having to get a new sub woofer, and therefore re doing the fabrication of the sub box to precisely fit the new subwoofer. This would mean an additional 5 days or so, for the new Sub woofer to arrive, and fabrication to be redone.
I needed to make a visit to Karnataka, and need the car back, and since everything else was ready - save a diagram on the DSP and amp box, it was decided that the DLS sub would be put in an enclosure and not the original fabrication and the car would be delivered. I'd have to go back when I am back in Chennai, and get the subwoofer fabrication with the a new Helix sub installed.
And with that in mind, I was called in to finish tuning.
Oh my oh my oh my.
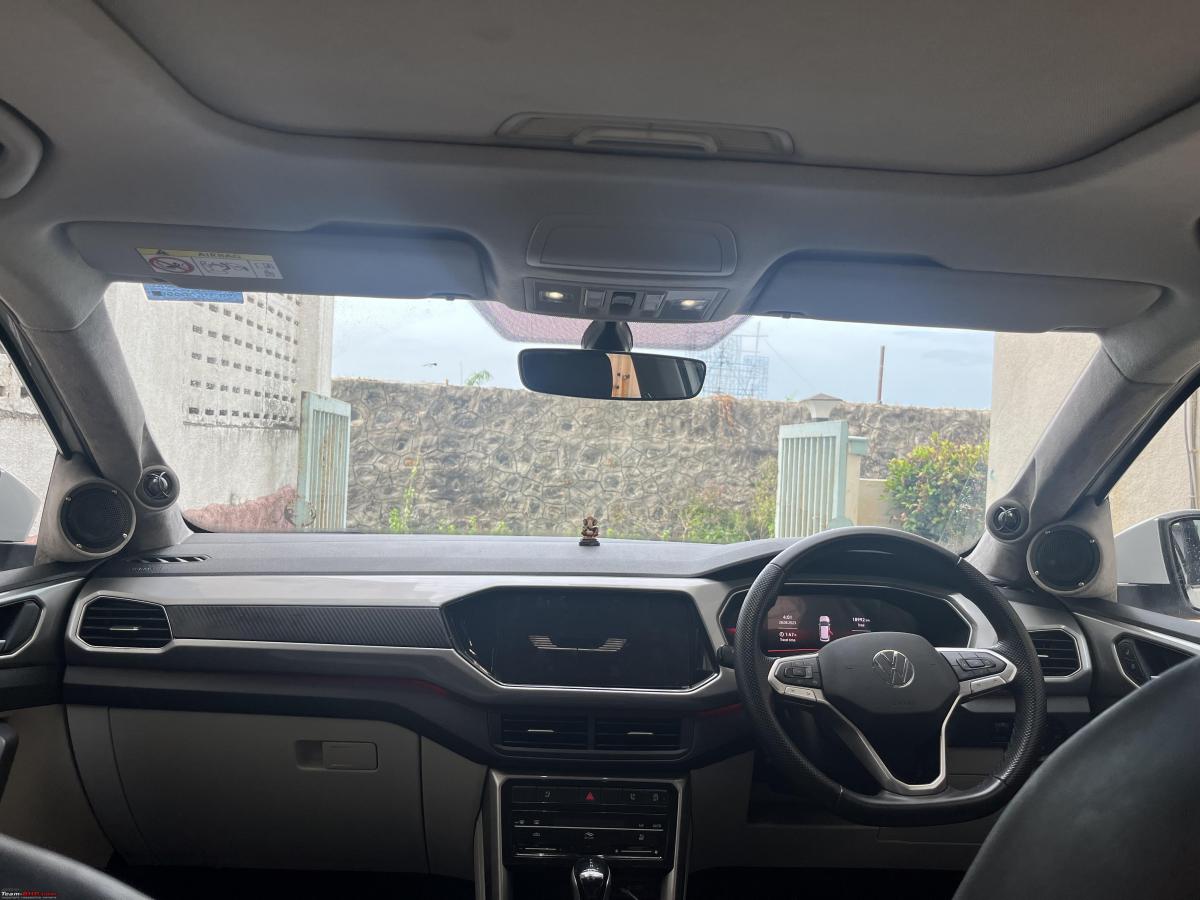
The A pillar Fabrication is just a class part. Pure art work.
The DSP and Amp box is an art work in its own right as well, but looking unfinished with the etched diagram not yet ready.
The fabrication of the new sub box will sit right under the DSP /Amp box, and will be lit.
Here are pictures:
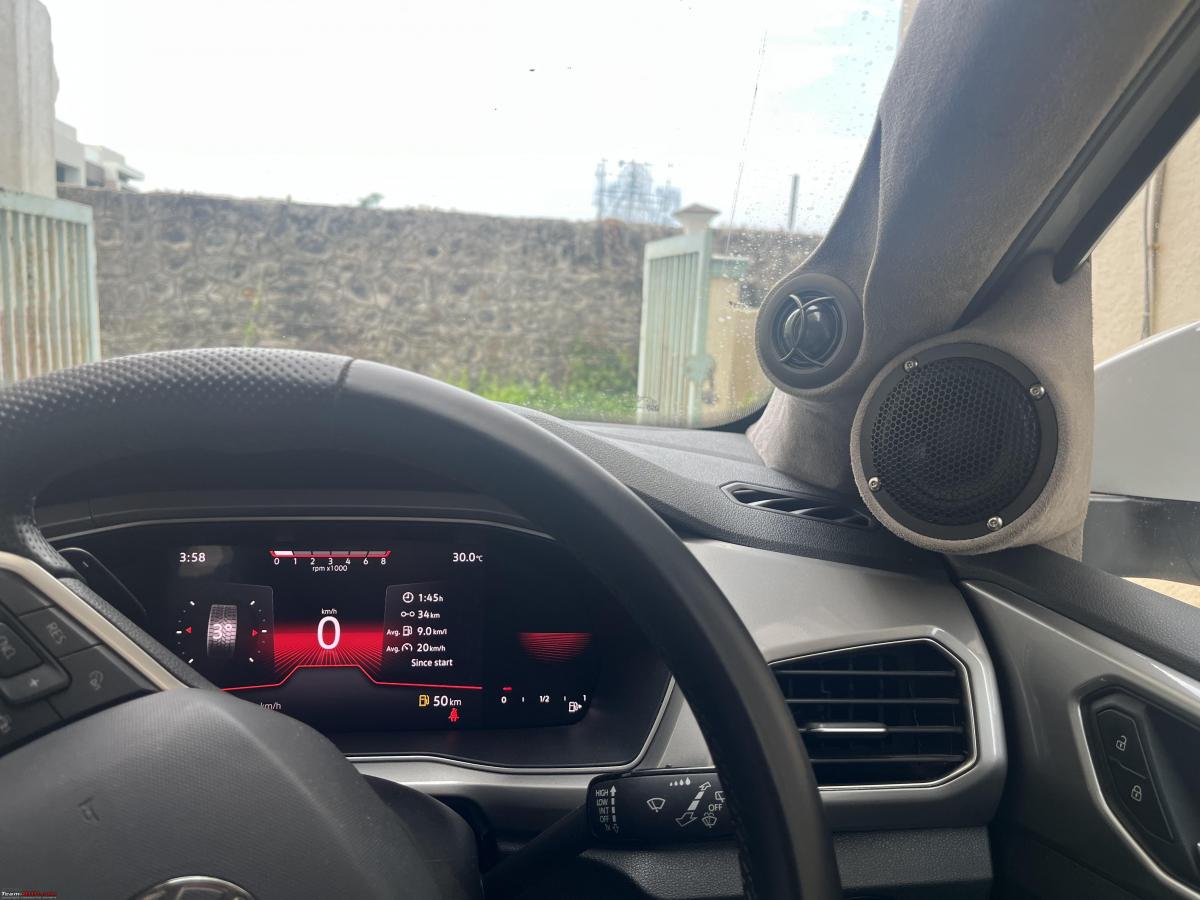
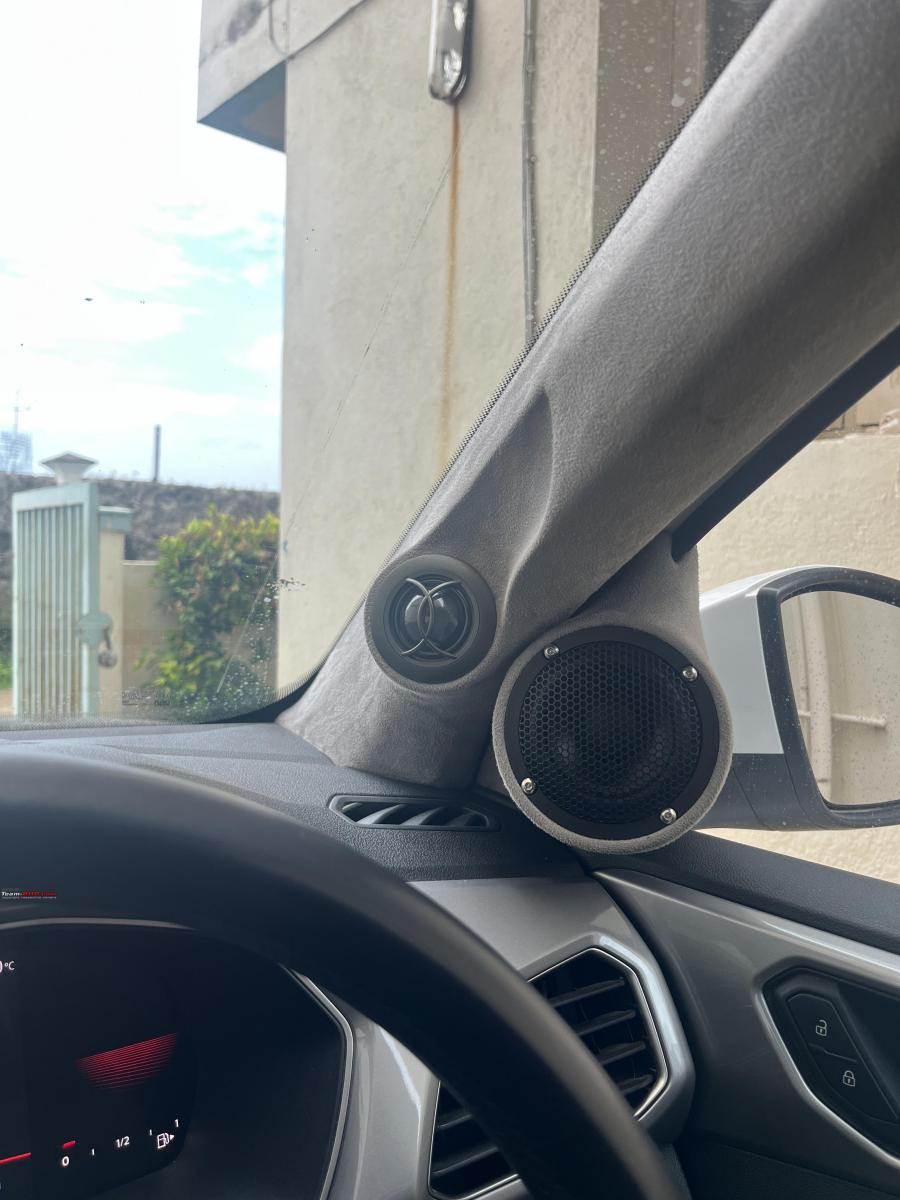
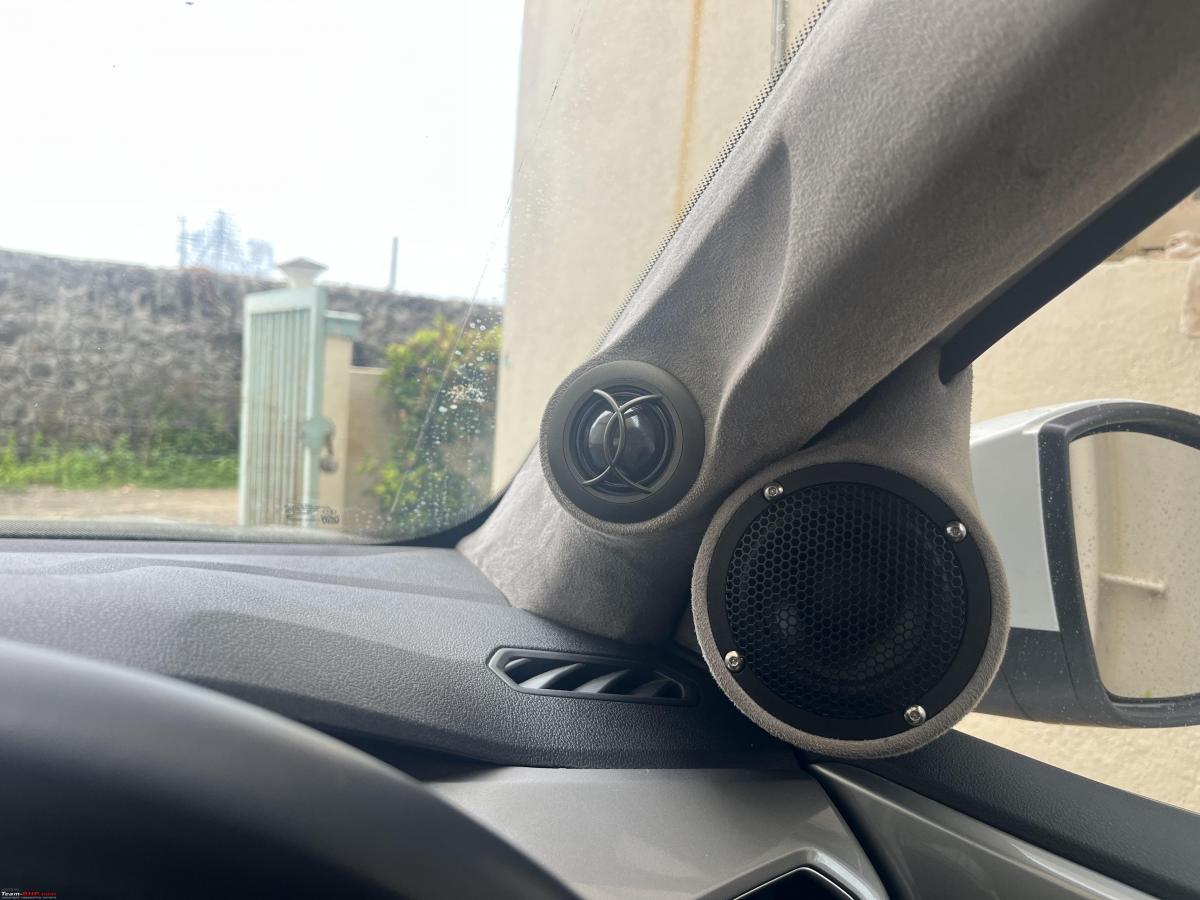
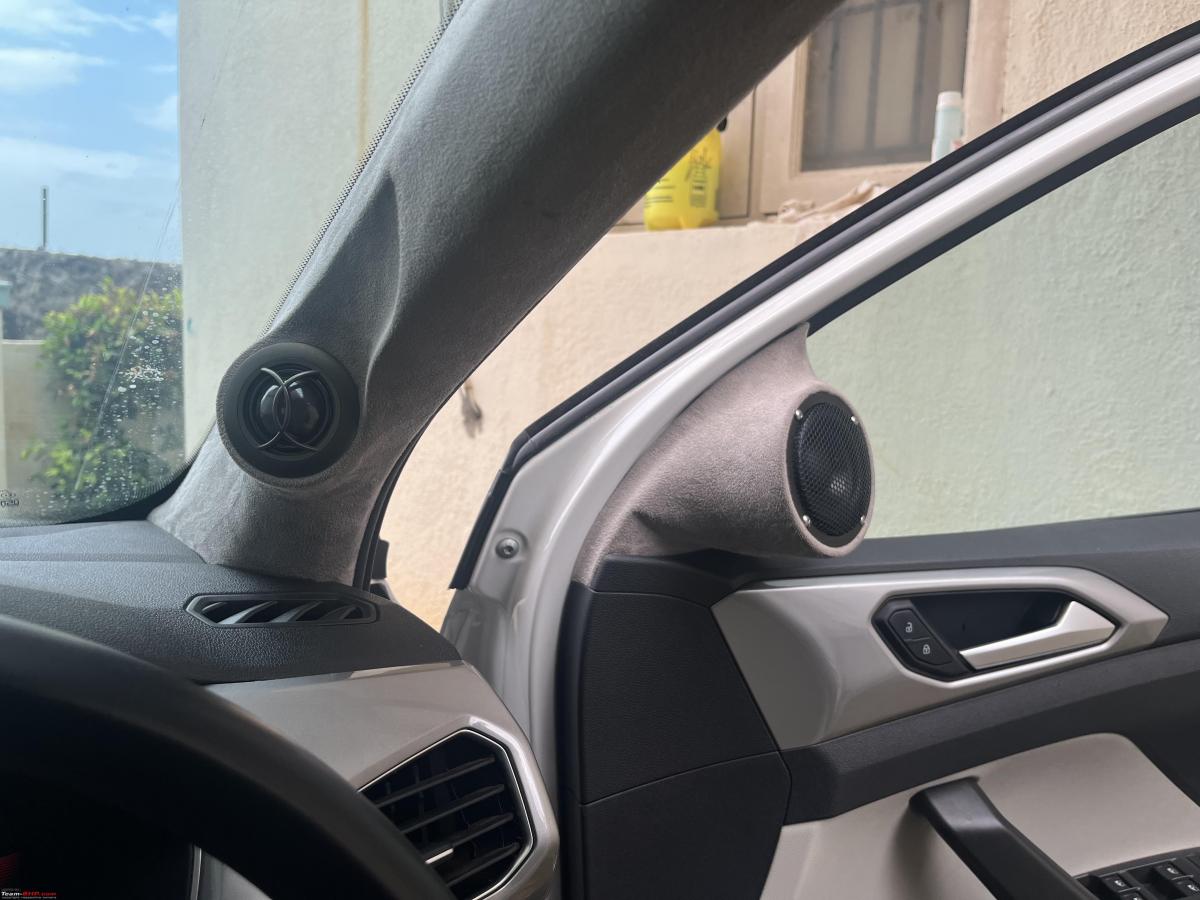
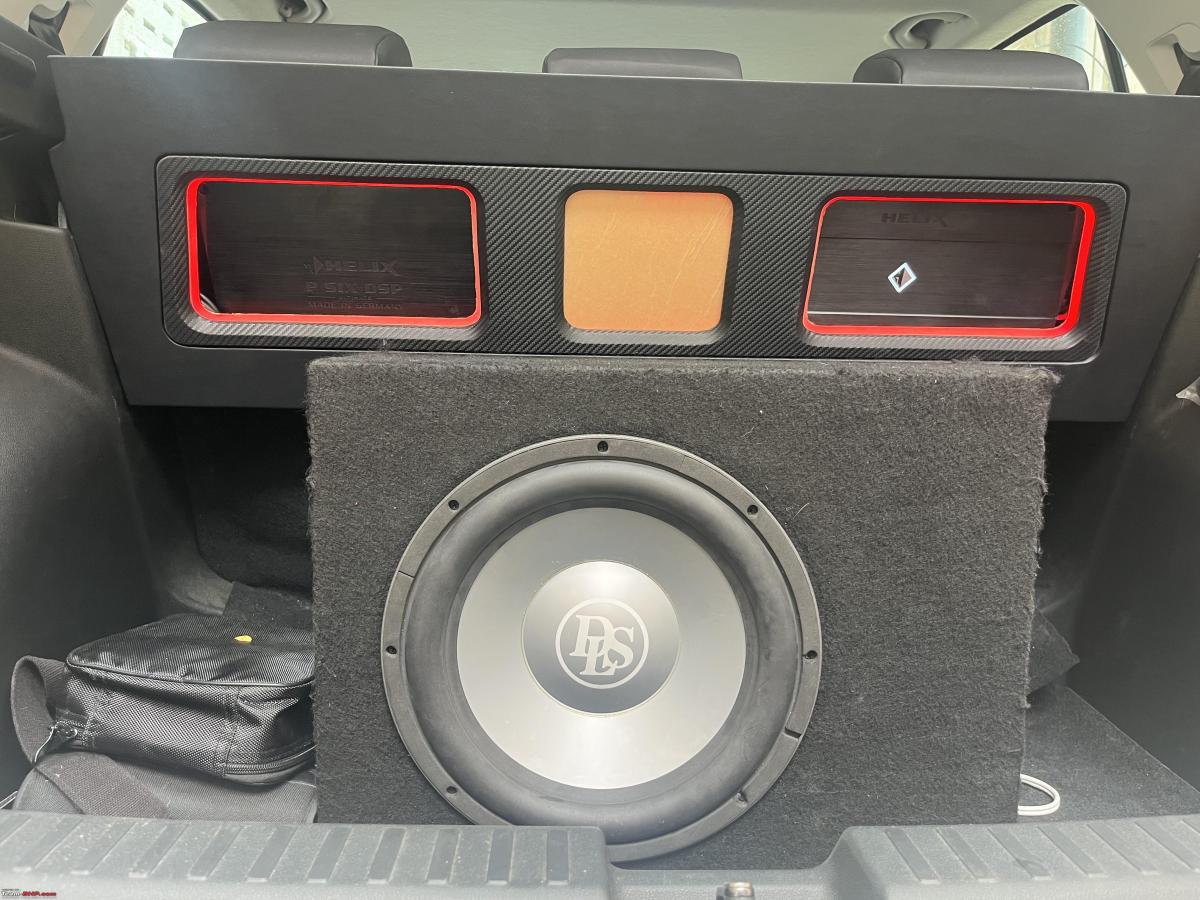
It's a real pity that the photos really don't do justice to the amount of work they have done, and the way in which the fabrication really looks.
Of course, a lot of work has to be completed in the rear, and the DLS sub is sitting in an enclosure, and that whole set up will change.
And as for the music itself - there are really very, very few people who can tune set ups like the way Karthik can.
I wish there was way for me to show you guys how good the music is, and only way I can is to invite you over for a listening experience.
I know the guy who designed the new music system in the concert hall Music Academy, who has also designed the sound and speakers in the Hilton Chennai, and other auditoriums whose speaker and sound design is much talked about - and he was spell bound at the staging of the audio in the car.
I next had a very famous classical Violinist audition the system, and she too was speechless and said the way the system was reproducing her violin tones and sound stage was simply unbelievable.
This team at Speedfreaks - I tell you - for serious audio freaks, they are simple the one and only team to go to.
I am now running the speakers in, and when I go back to Chennai, I should have at least 40 hours or so of run in done. Which means it will be a good time to do a retune once the speakers have settled in, and also for the new sub to be fit in, though I am thinking that I am really going to miss the current sub woofer for its simply amazing.
I’ll post true after pictures once the setup is completely done.
The costs? I haven’t paid anything and ran away with the car for now.
What I do know:
- Helix DSP - Rs 2,50,000
- HEC audio + controller - Rs 40,000
- Helix M One X amp - 50,000
- Xcelsus Tweeter and bass woofer - Rs 40,000
- Xcelsus mid range - 40,000
- Nordica sub 49,000, will now have to go for a helix sub that’s about 70,000
So the components itself are close to 5 lakhs. Then there is the high end wiring, dampening, fabrication, installation, tuning - another 2 lakhs I’d think. Around 7 lakhs.
Check out BHPian comments for more insights and information
News
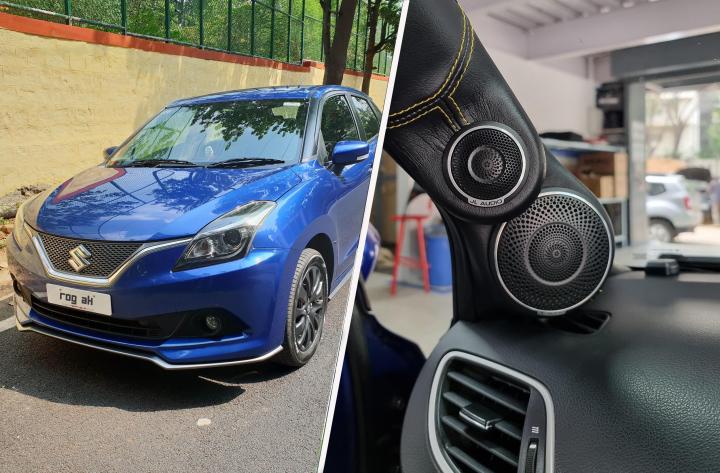
Spent 6.70 lakh on my Maruti Baleno RS for an audio upgrade
it's hard to put sound into words, but this setup makes you feel so connected to the music. I simply love it, the tuning made a HUGE difference.
BHPian ROG_AK recently shared this with other enthusiasts.
The quest for better audio is something I'm sure most of us yearn for, me being no exception to that. Although I wouldn't classify myself as a hard-core audiophile, I do enjoy good clean audio. This led me on a journey to fulfil my desires and in the end finally say 'I'm done with audio.'
It all started back in 2018 when the first set of upgrades was done (more details can be found here). Just to summarize the changes:
- 3M damping on all 4 doors
- Polk Audio DB6501 components in the front
- Polk Audio DB522 coaxial in the rear
- Pioneer GM-A6704 4-channel amplifier
- Pioneer TS-SW3002S4 12" shallow mount subwoofer in an enclosed box
- Stock HU
In this setup, the front components were driven by the amp while the rear was powered by the HU. The other 2 channels on the amp were bridged to power the subwoofer. Stock wiring was retained, and no high-low converter was used.
I had no clue about car audio installation during this time and relied on the installer completely. As it turned out, the installer was absolute trash (something I found out later)
Although it was much better than stock, it just didn't sound right. The highs were tinny, mids muddled with vocals and the sub could be heard but not felt. It was also just not playing some of the lower frequencies. The audio also used to cut off now and then, while people in the rear complained that the bass was overpowering and couldn't hear the music clearly.
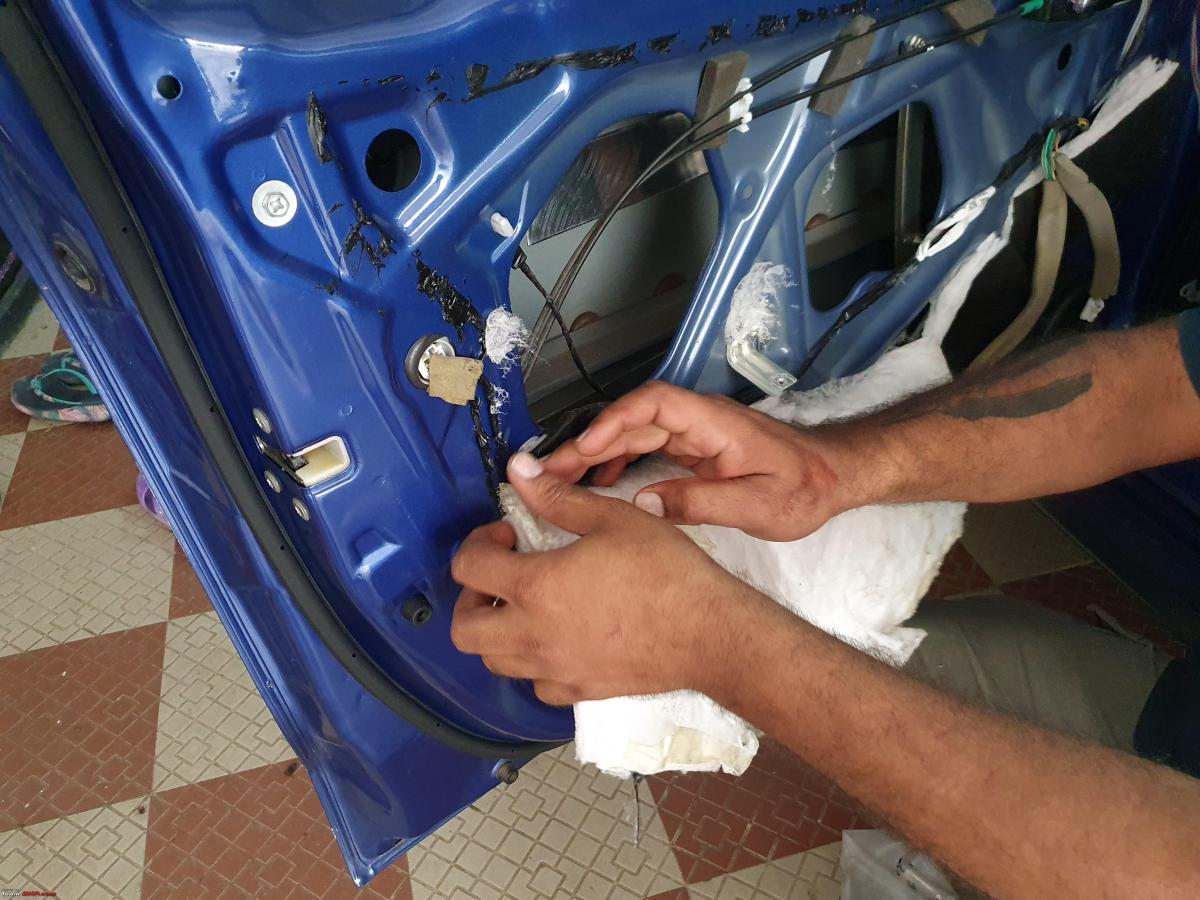
I ran with the setup for a while and tried to find a proper installer in the meantime, someone whom I can really trust to get things done and not just do it for the money. As luck would have it, I stumbled upon an old high school friend who is in the auto industry. Jackpot! I didn't have to worry about getting cheated and ripped off for anything related to cars anymore!! I spoke to him at length about car audio and he got an expert (Raghu) along to help. The first step was to assess the damage:
Removing the so-called 3M damping. The only useful thing is those metal plate:
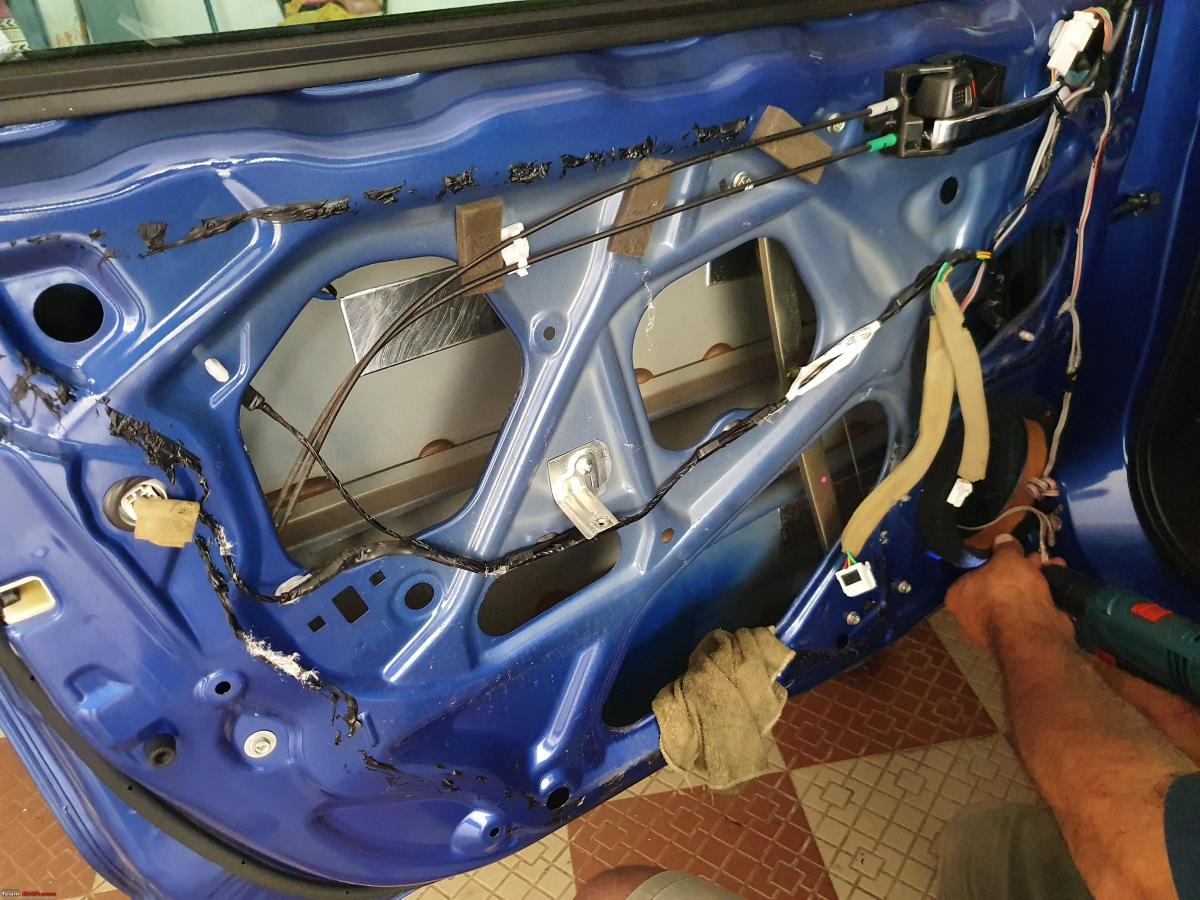
The crossovers were placed inside the door. This explains why the audio used to cut off, it got wet. Luckily nothing shorted:

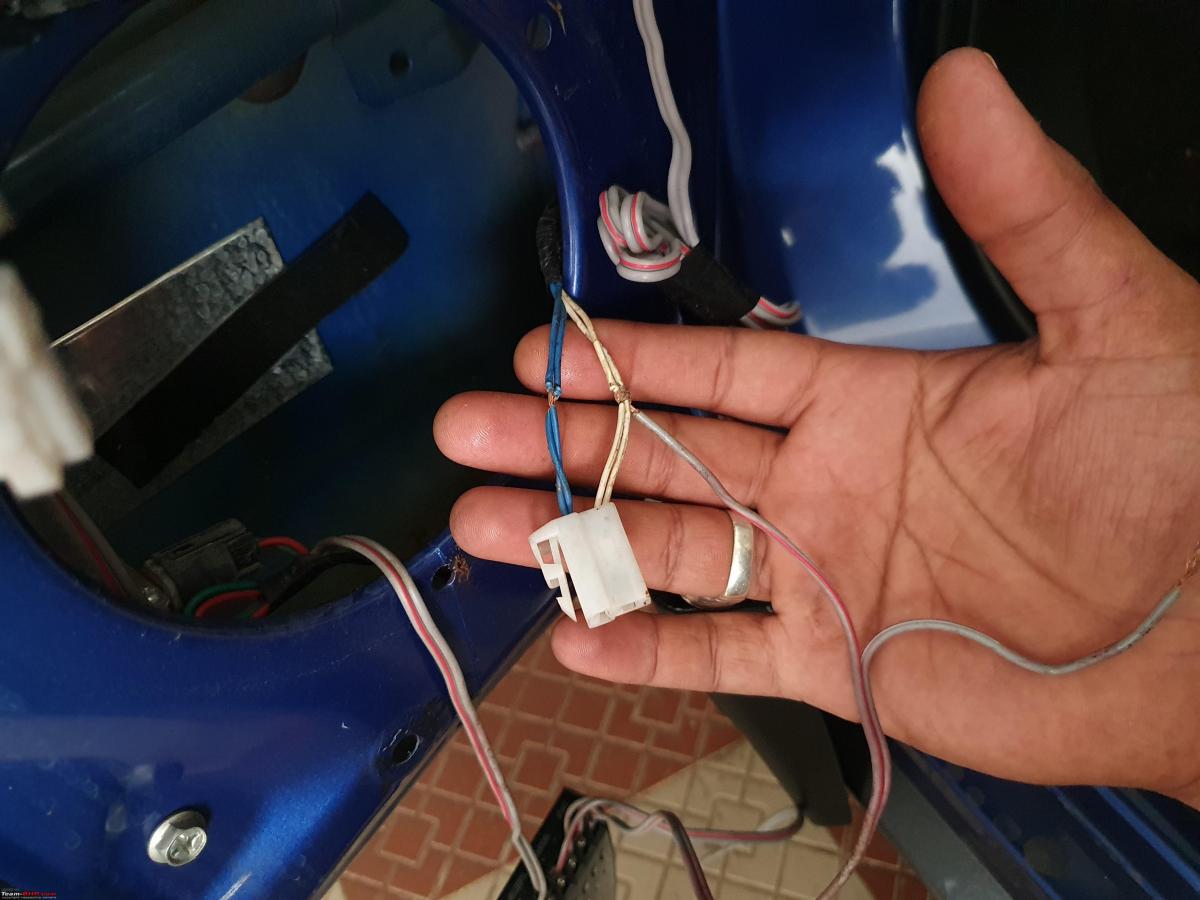
Tapping the wire:
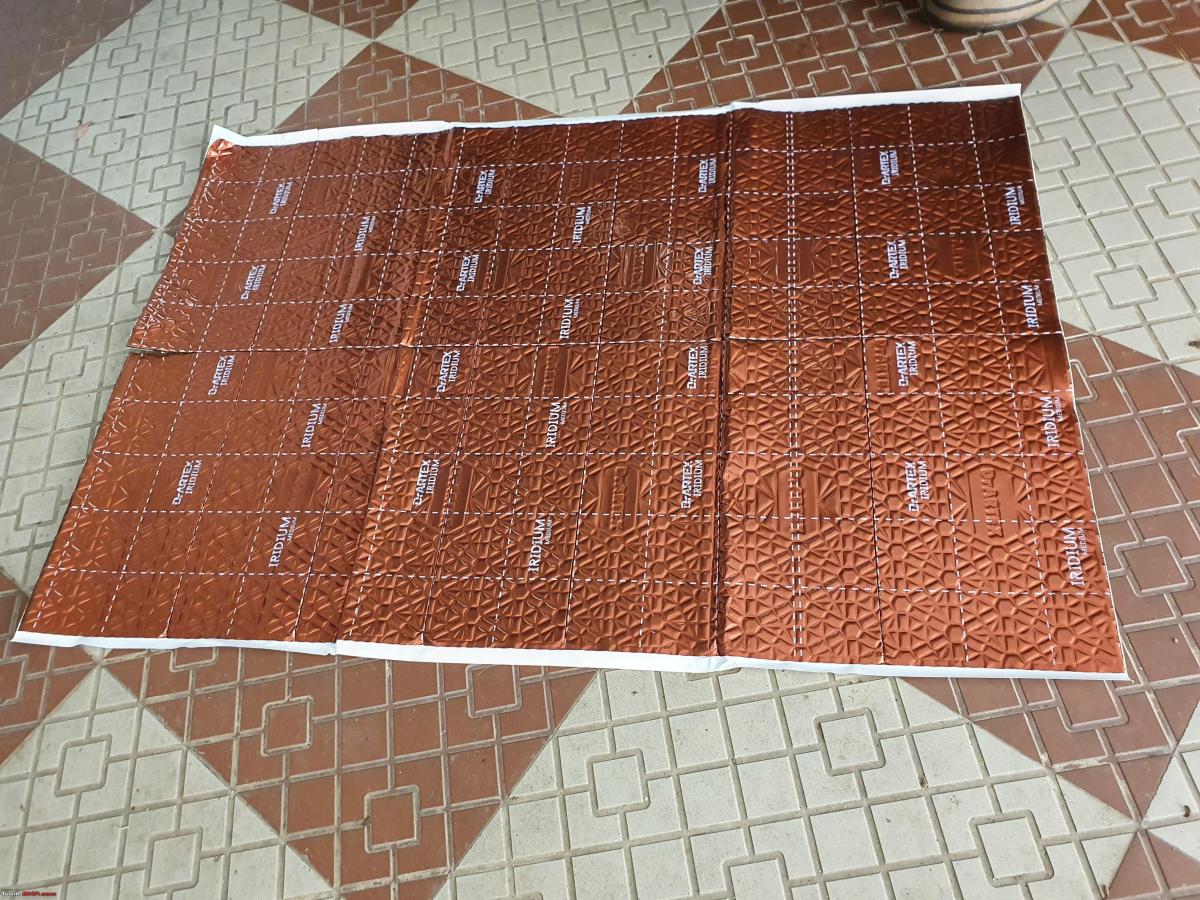
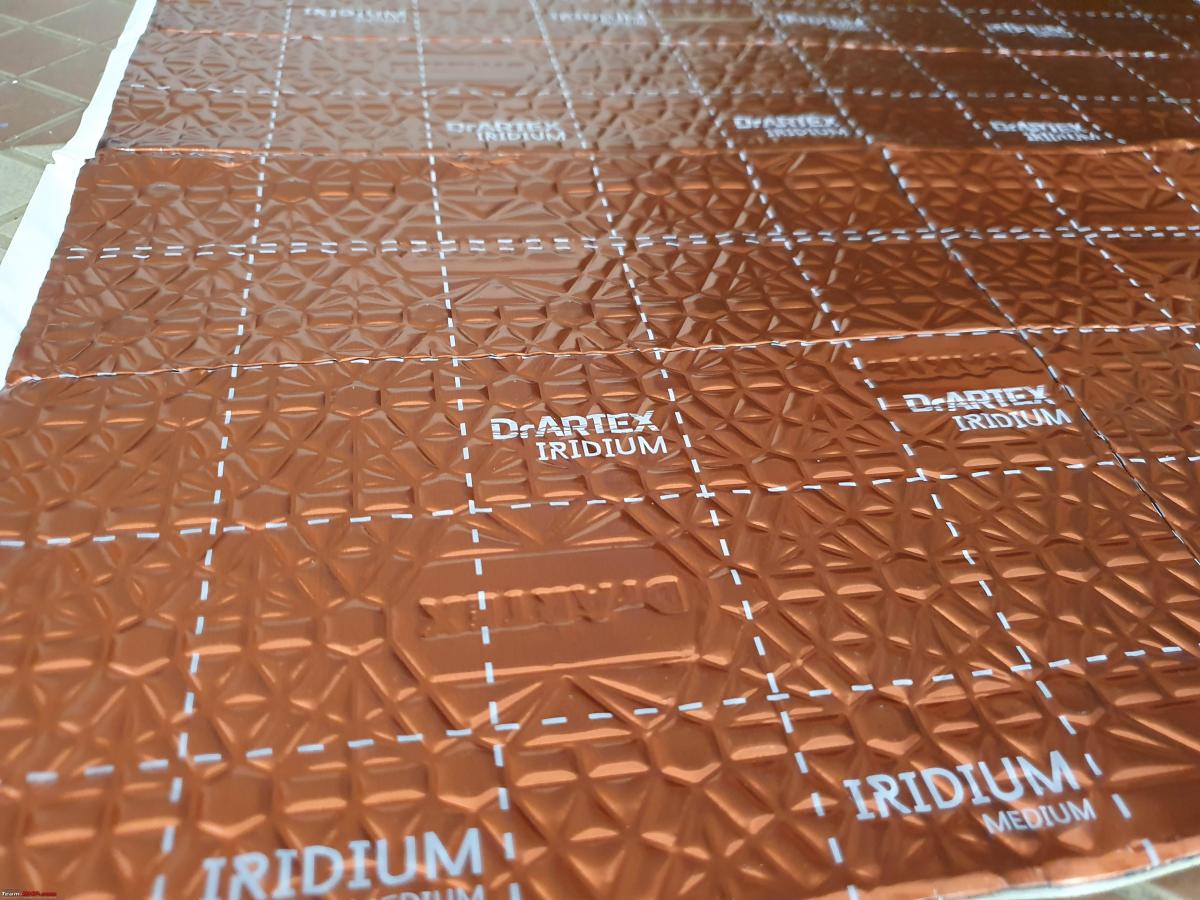
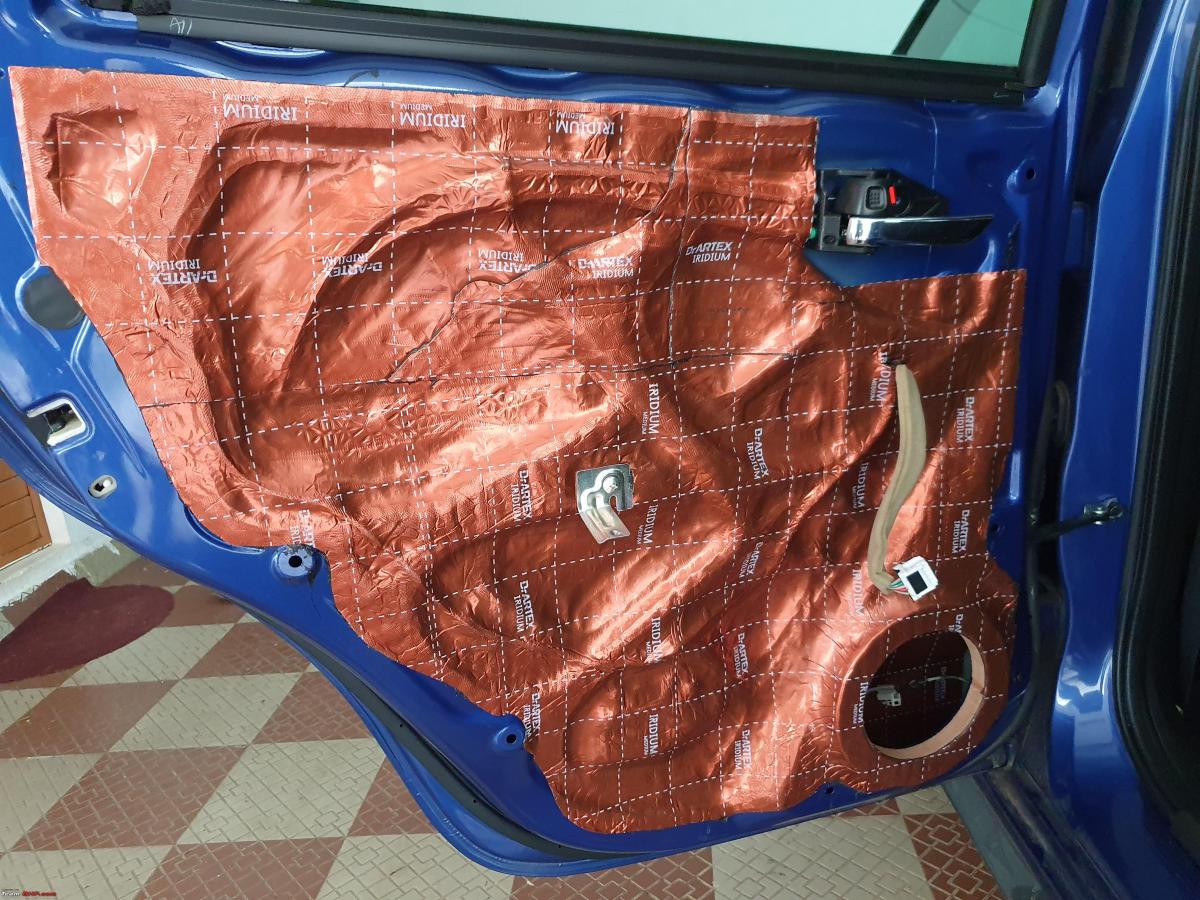
Well, it was time to start fixing things. First up, damping! The plan was to damp all 4 doors and the boot. Raghu was meticulous with his process and took about an entire working day to get it done. He decided to use Dr Artex Iridum medium with a thickness of 2.0mm. The damping was done on the interior and exterior of the door, it took about 12 sheets:
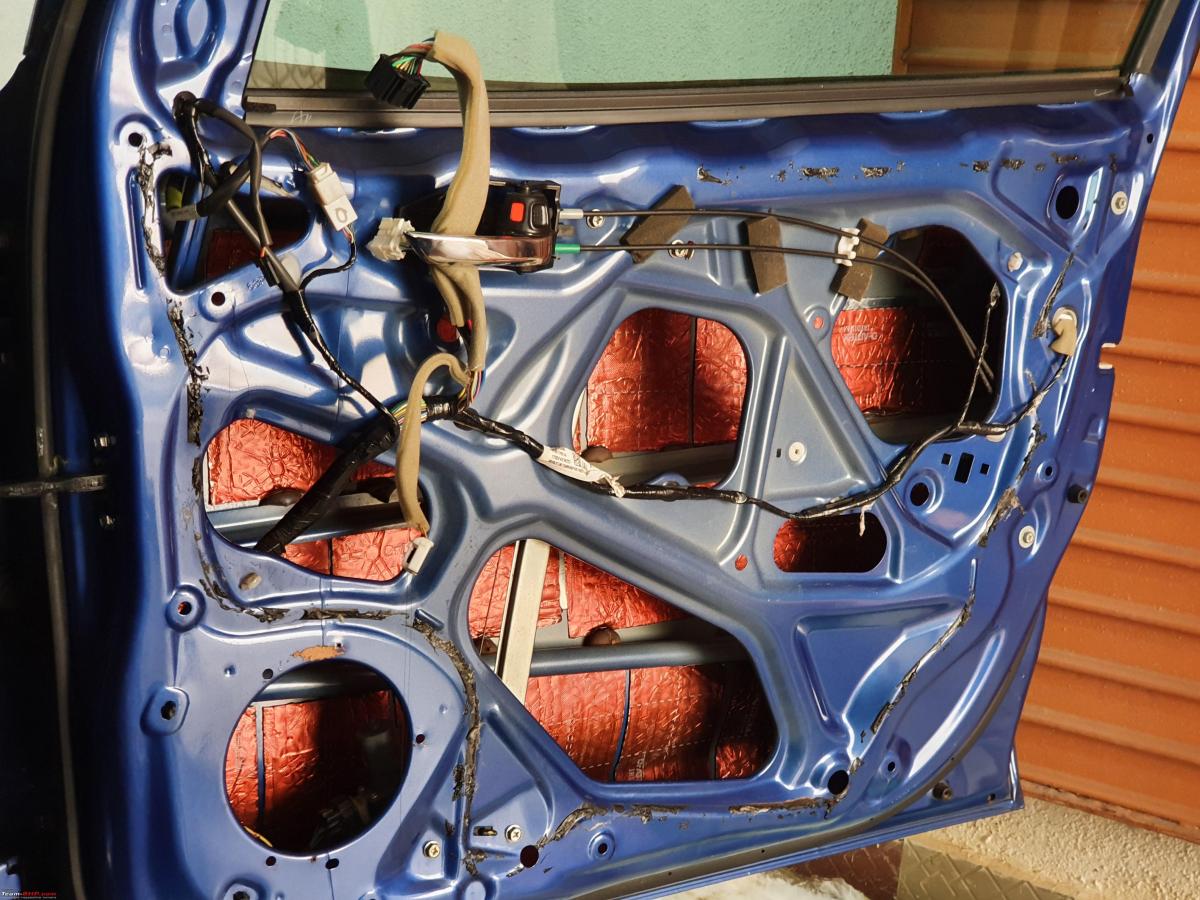
Damping inside:

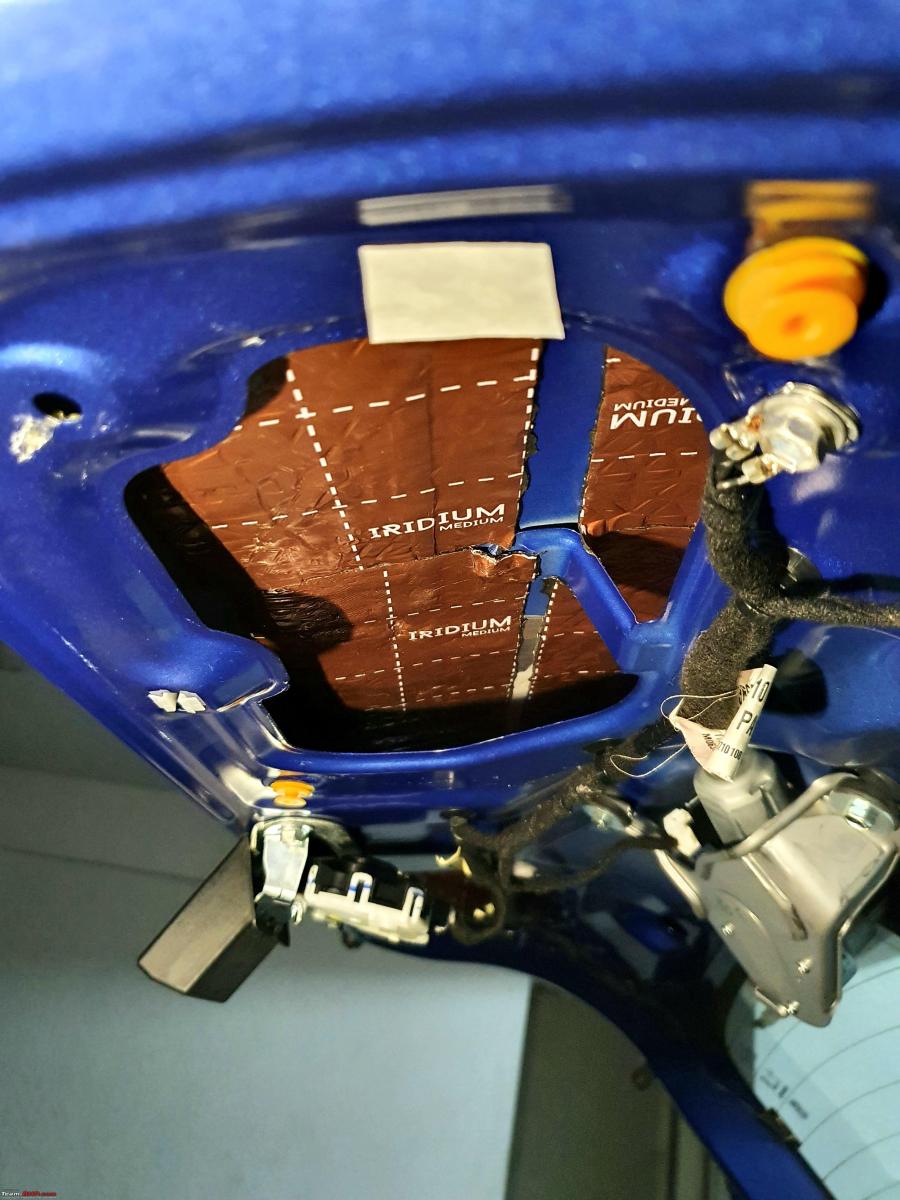
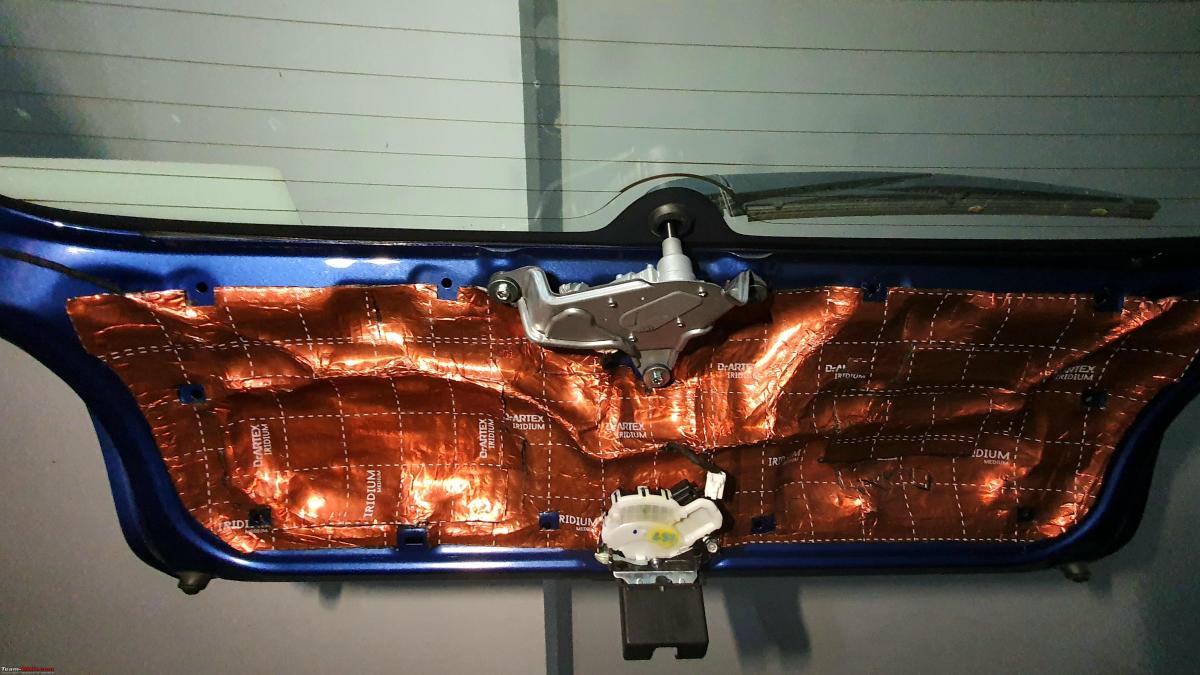
Damping inside the boot lid:
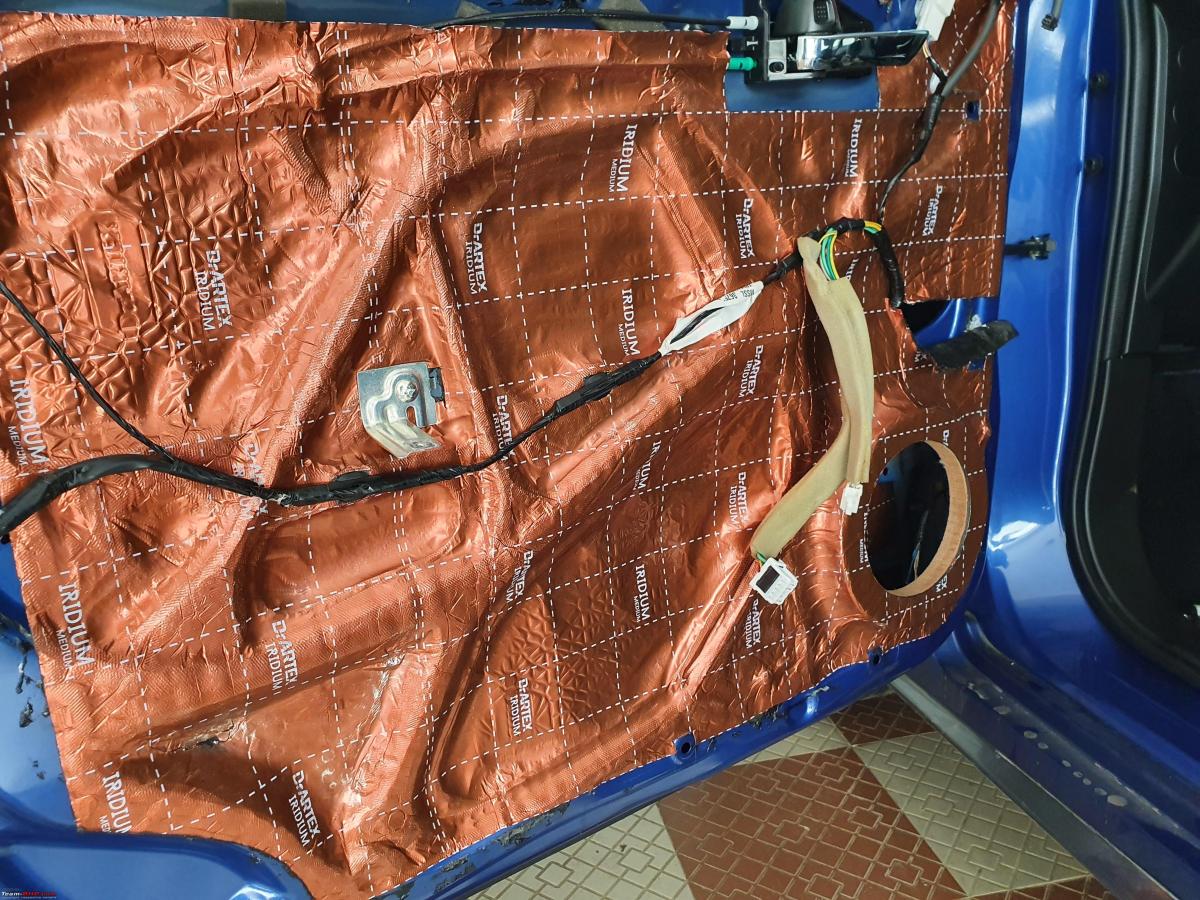
Damping outside:

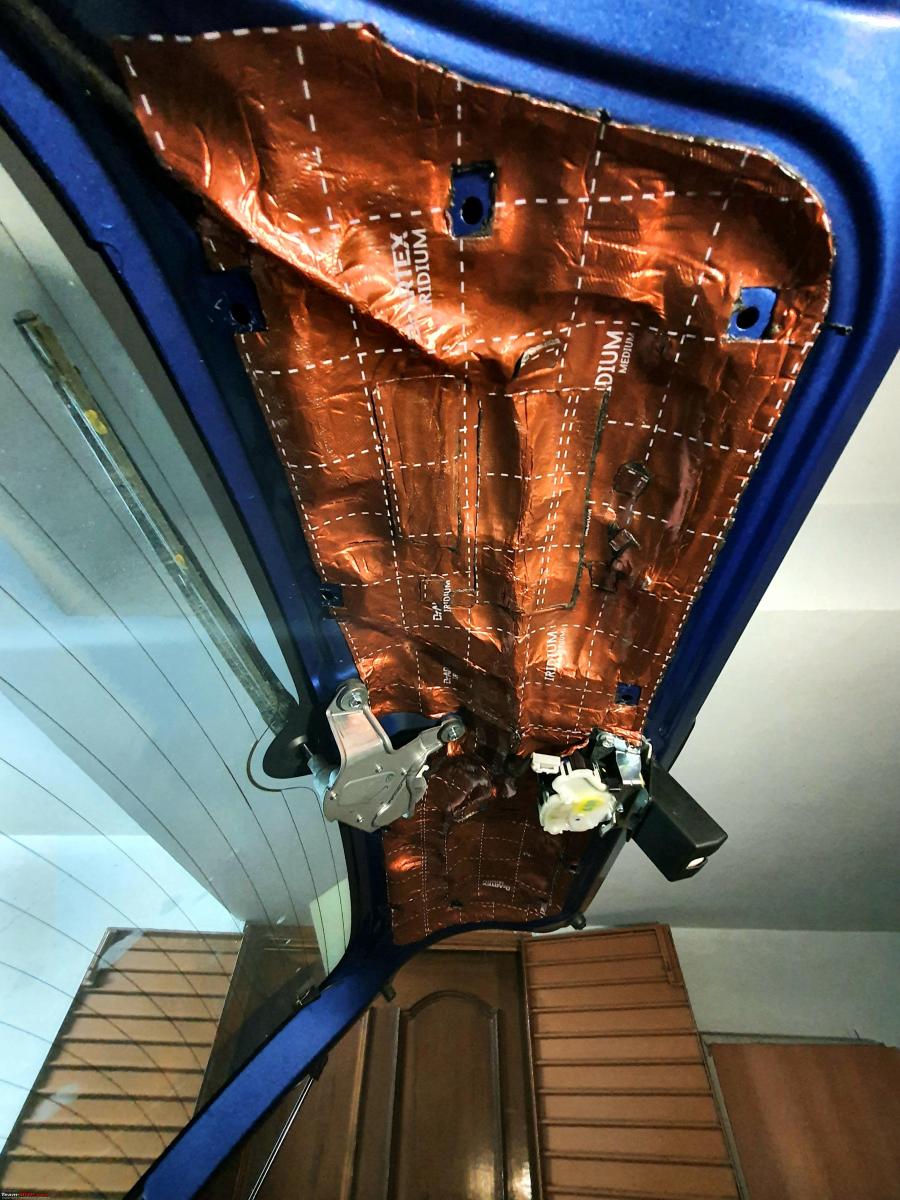
Damping outside the boot lid:
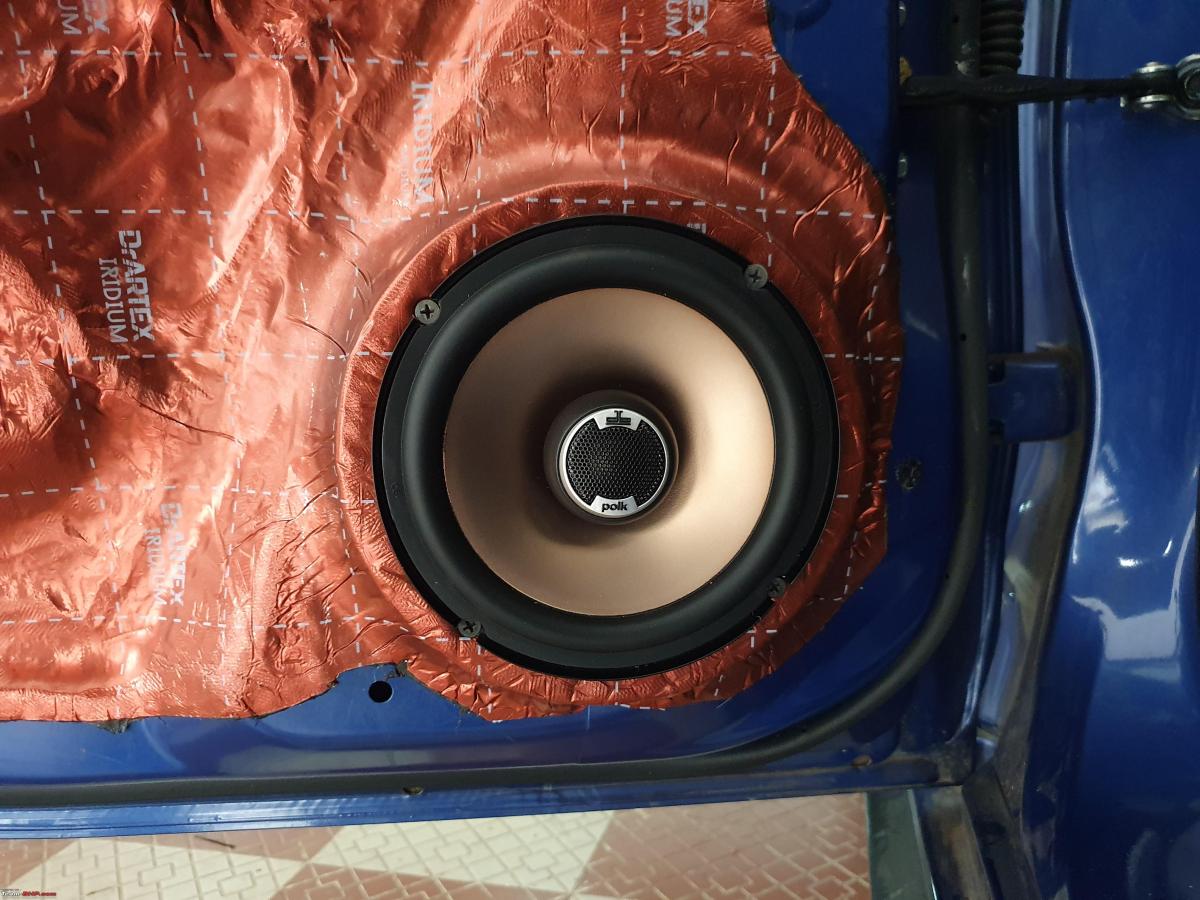
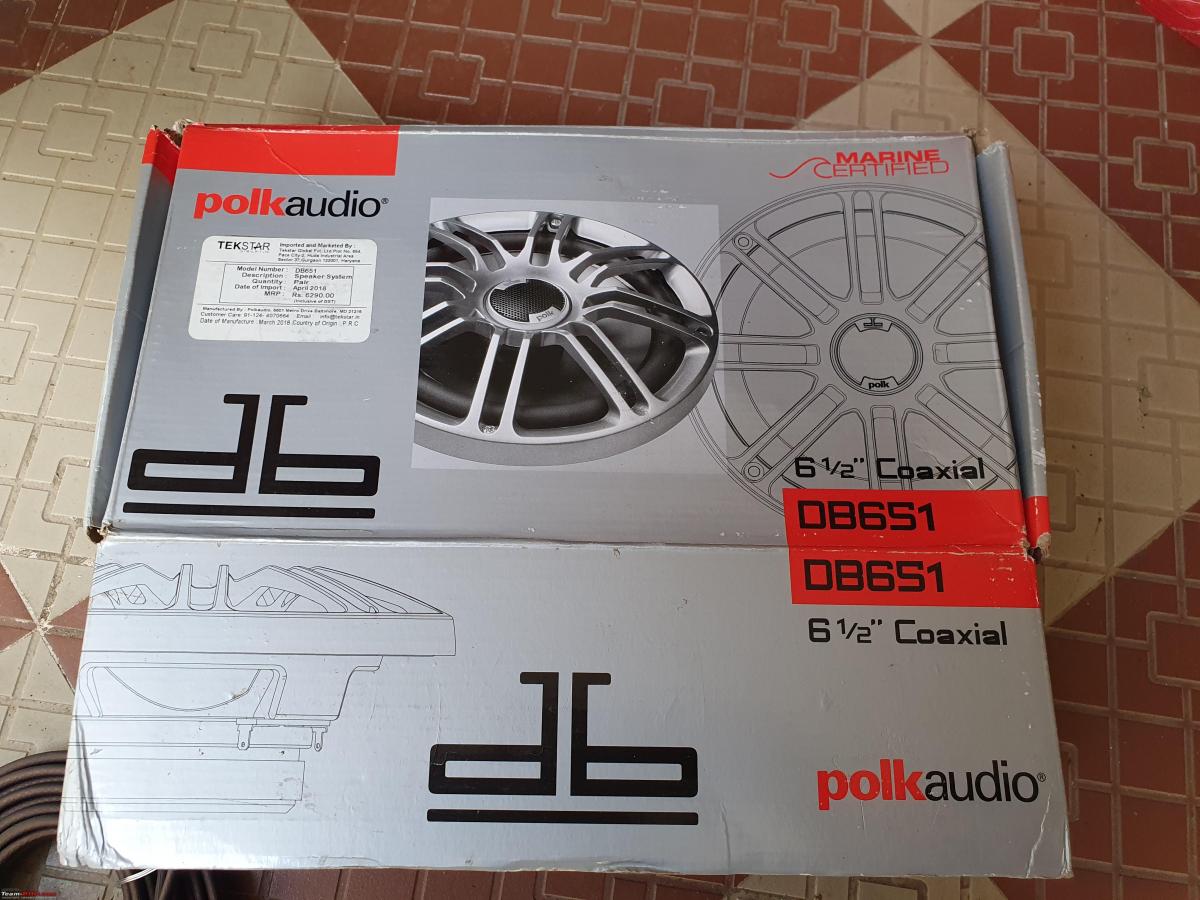
During this process, we realized that the rear speakers (DB522) were only 5.25" and it would be better to have 6.5" speakers instead (another noob thing I did not realize during the initial installation). This is probably why the rear fill was lacking. They had to be replaced and were done so by the Polk DB651, which should complement the front perfectly.
The smaller 5.25" DB522:
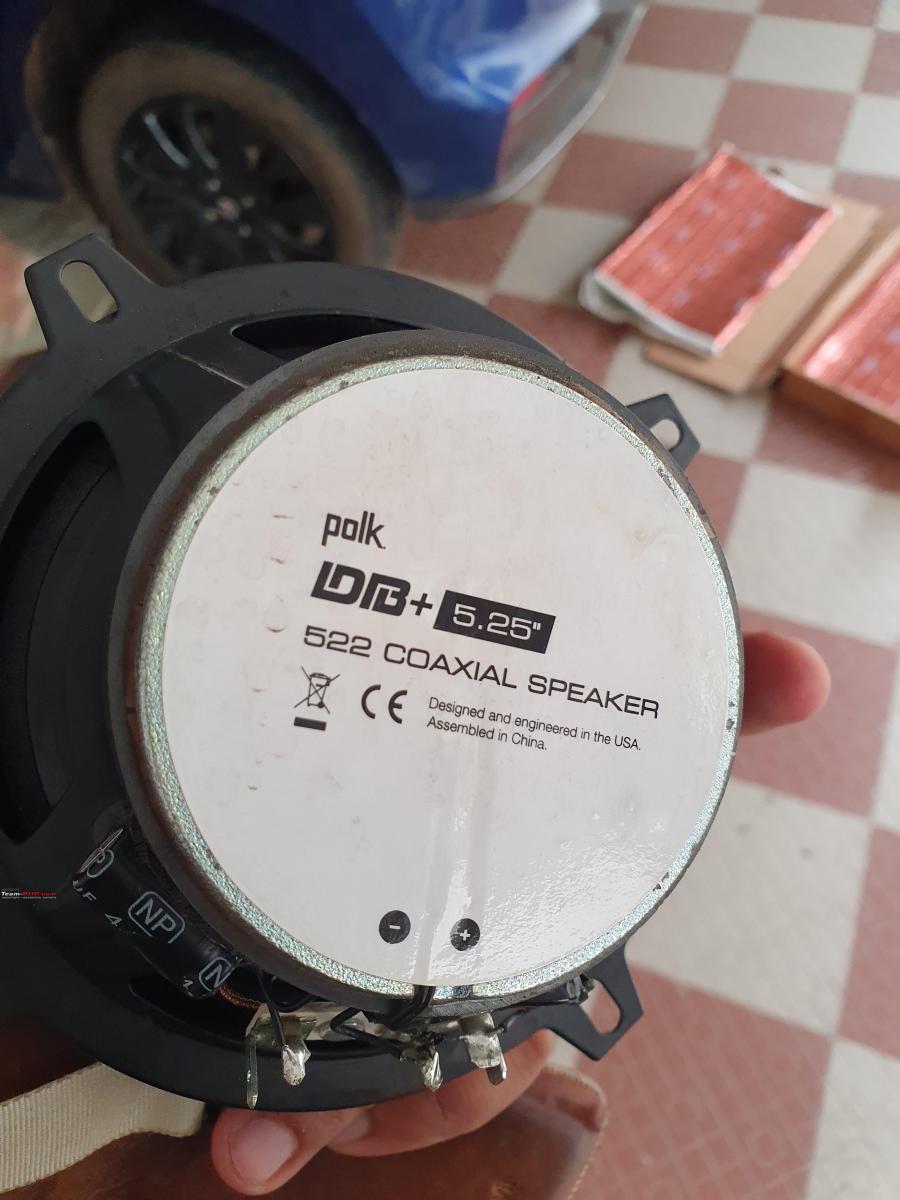

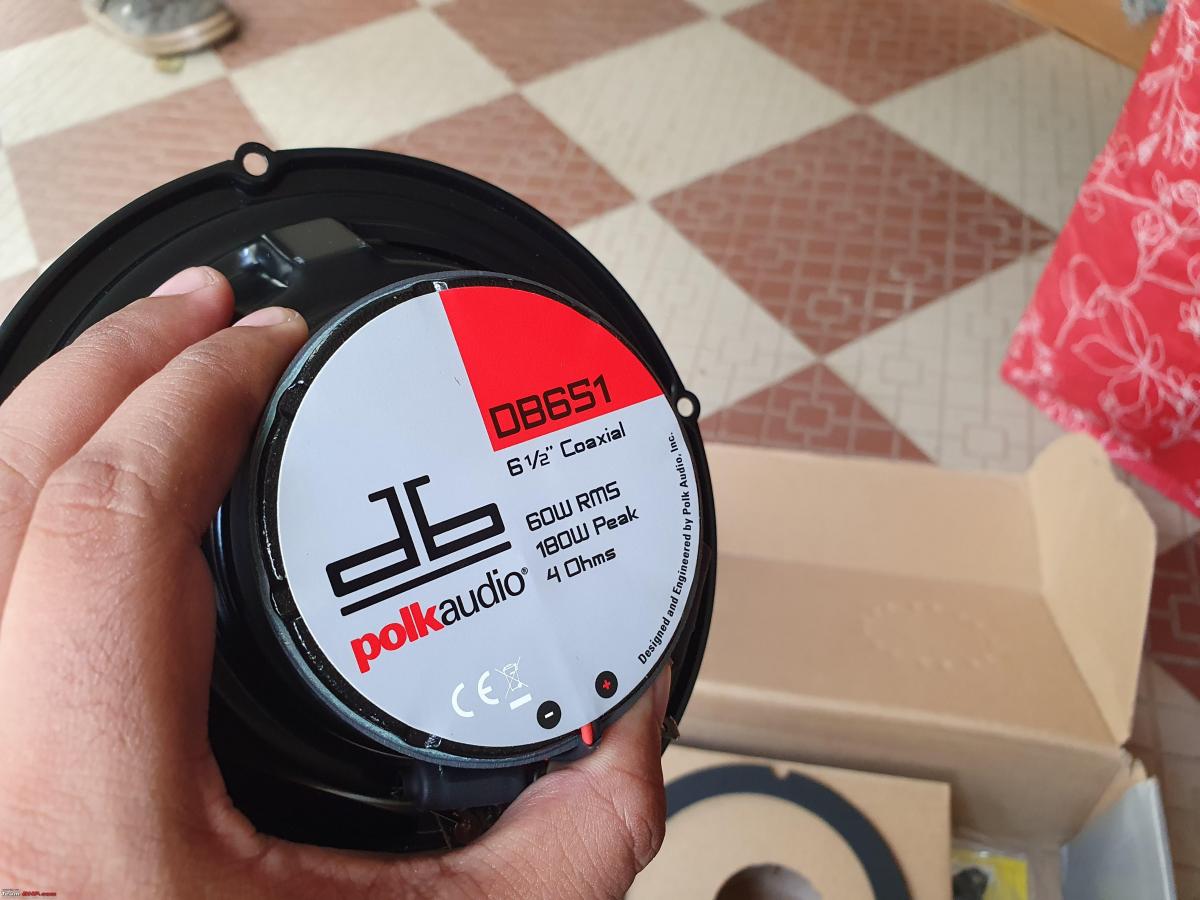
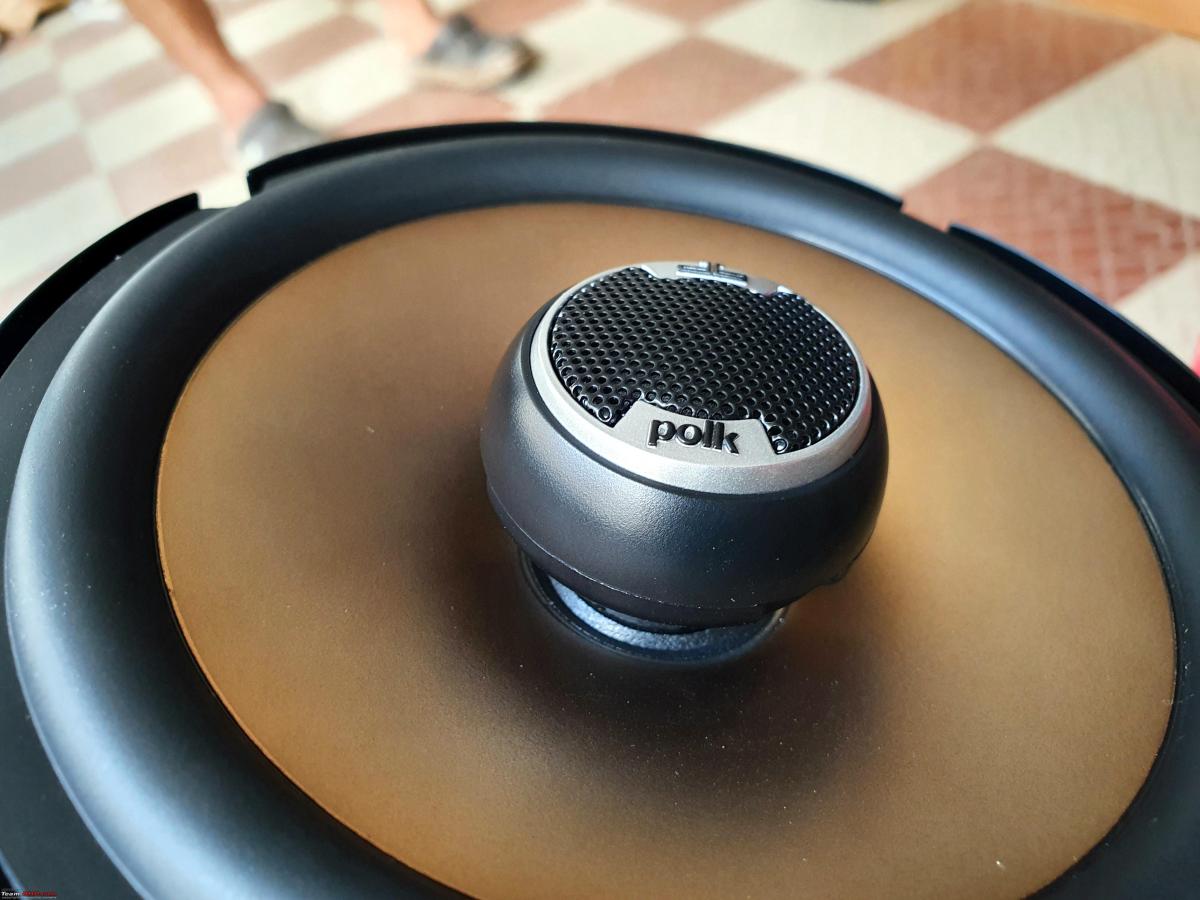
Replaced by the proper 6.5" DB651:
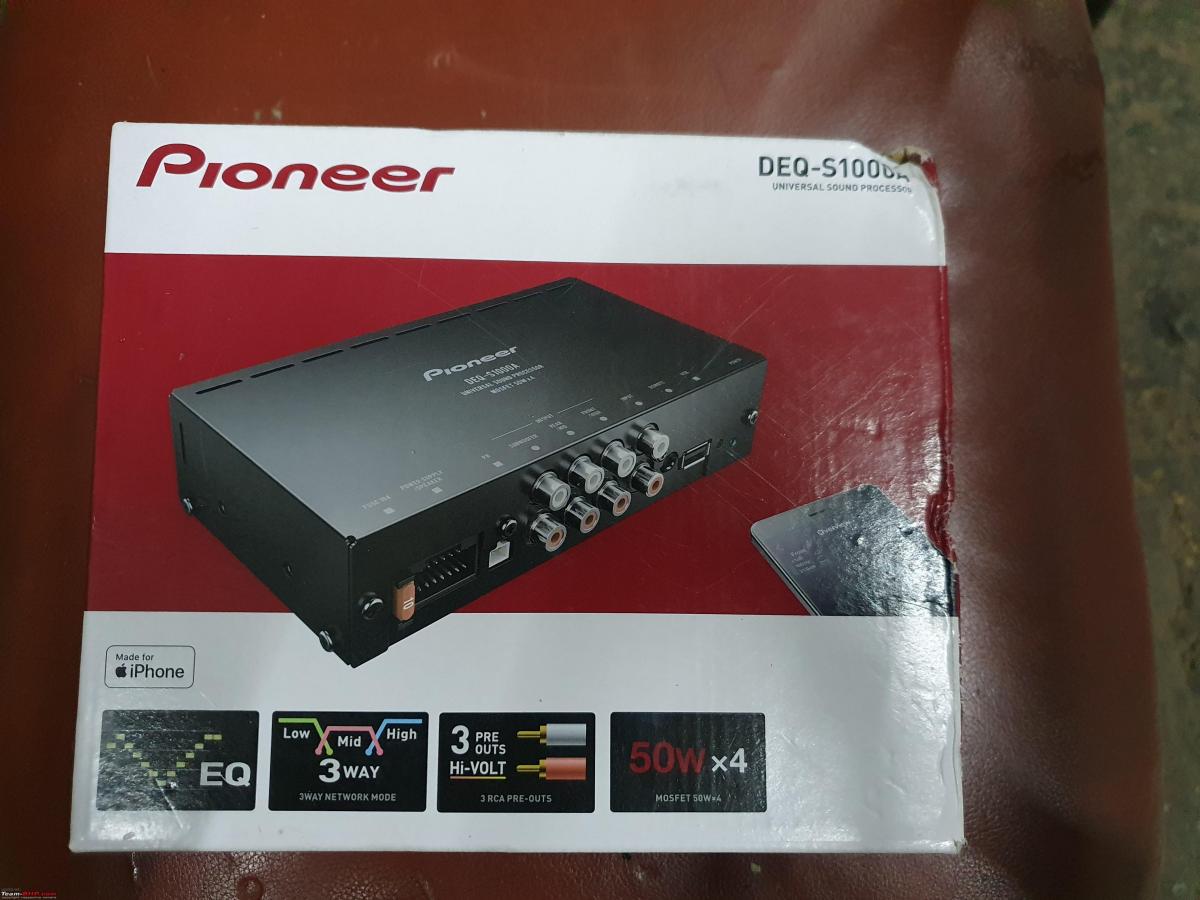
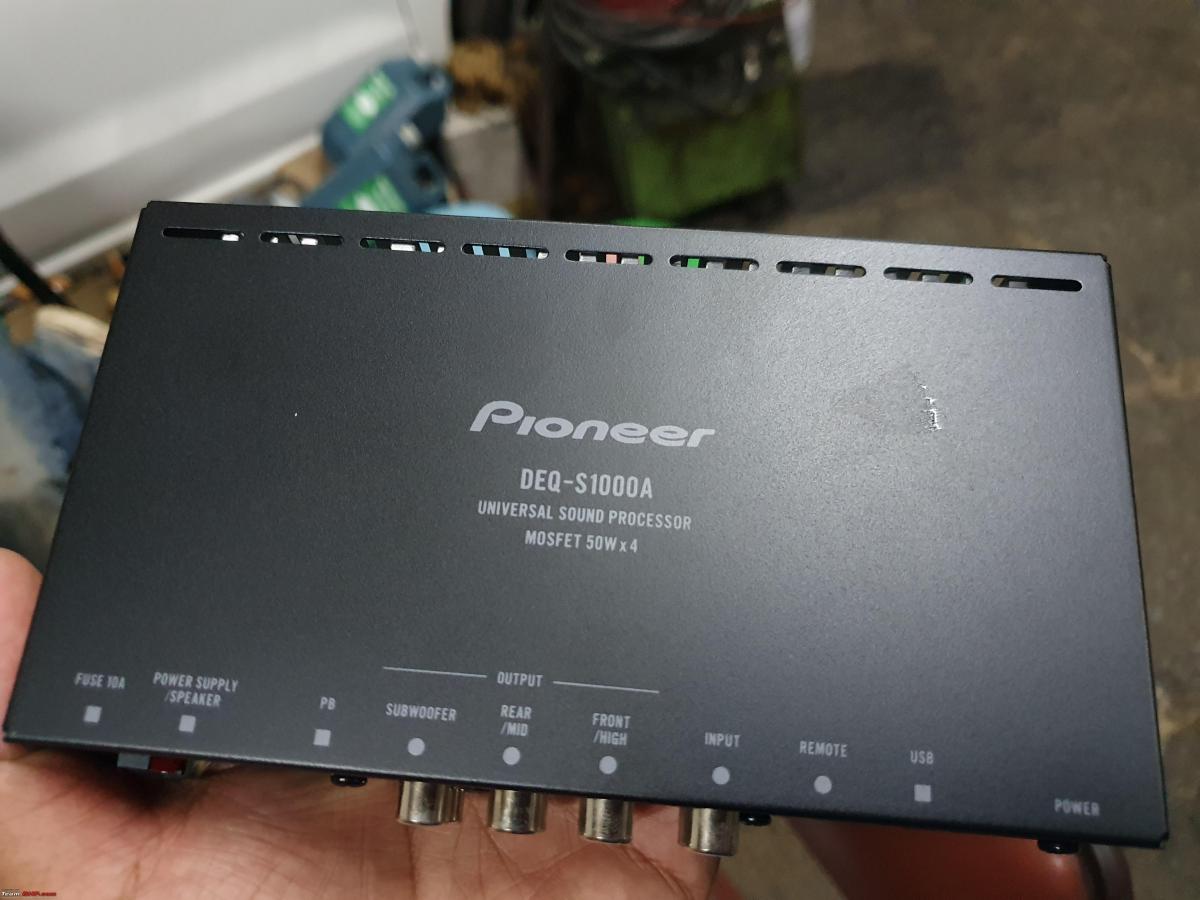
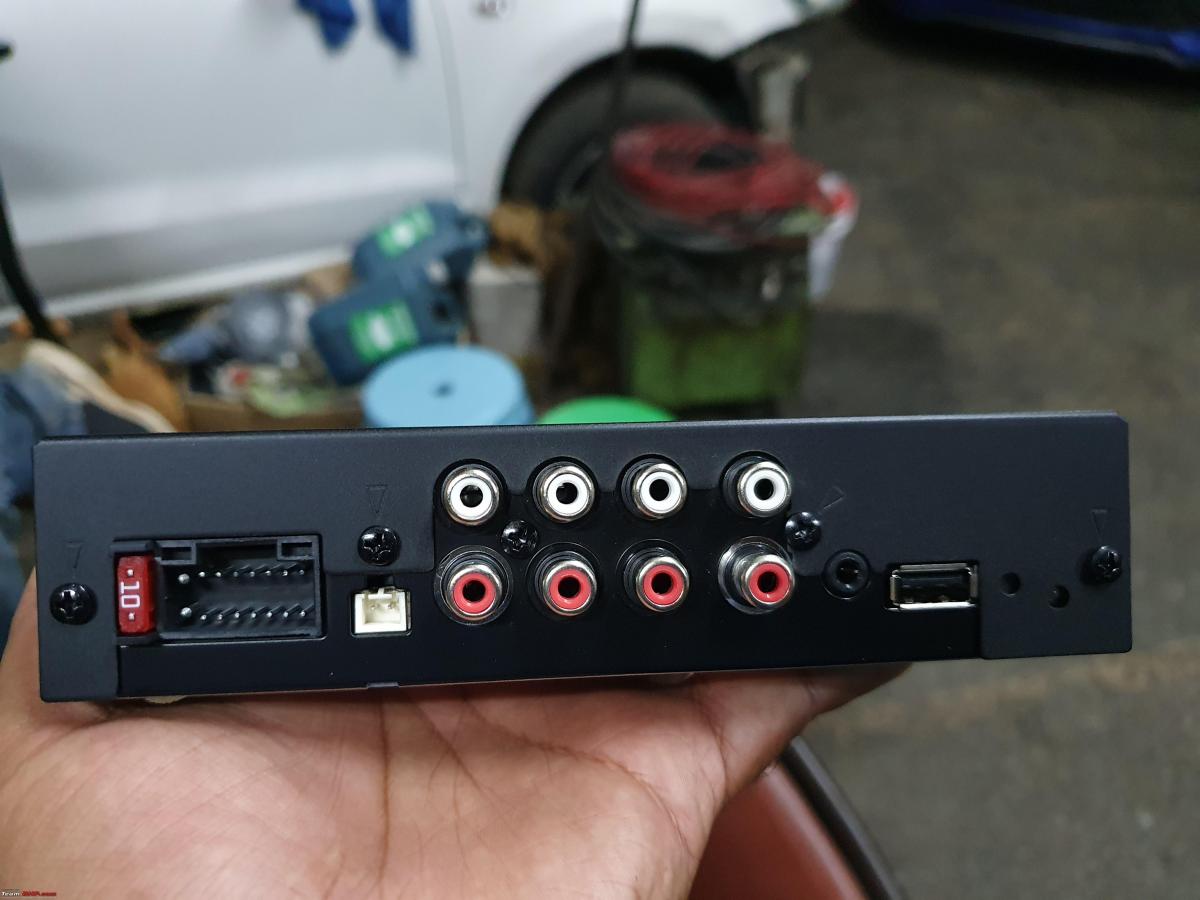
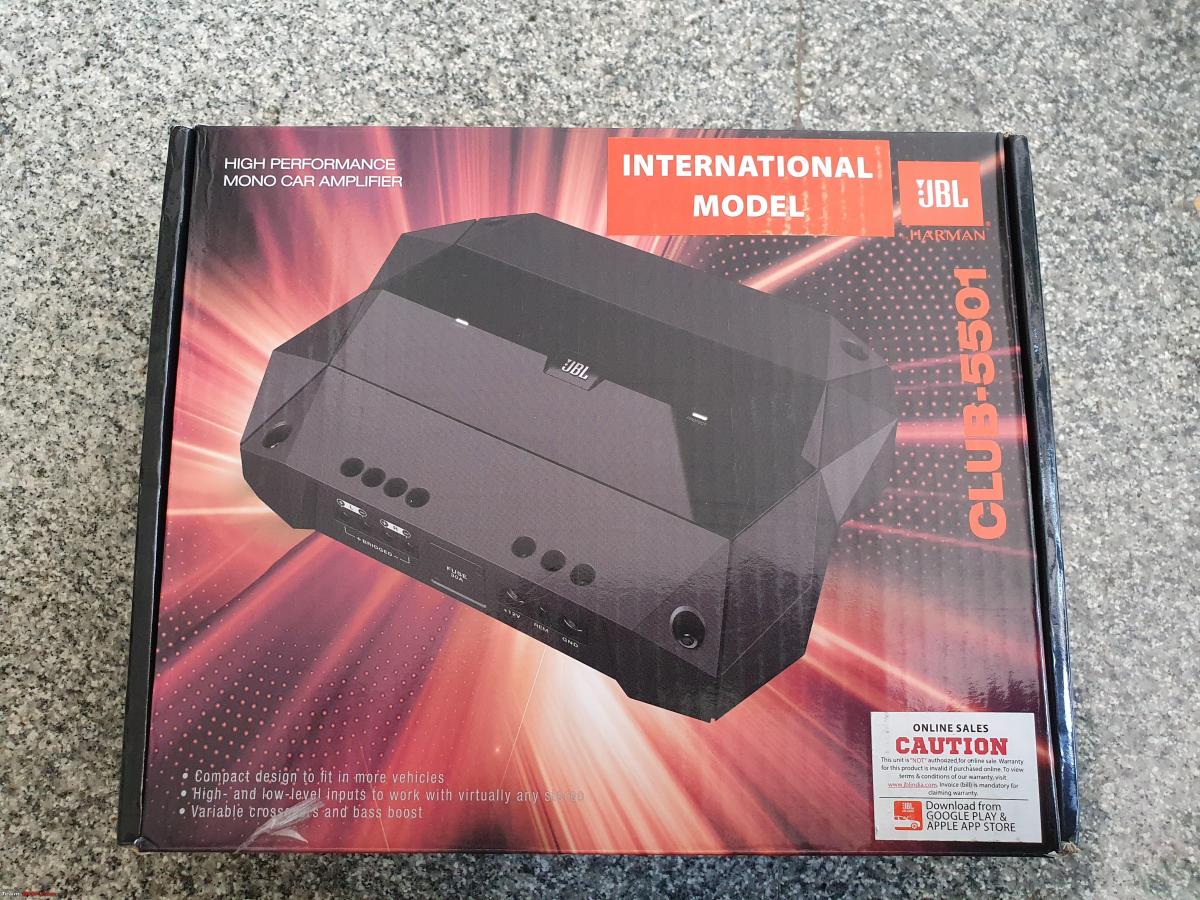
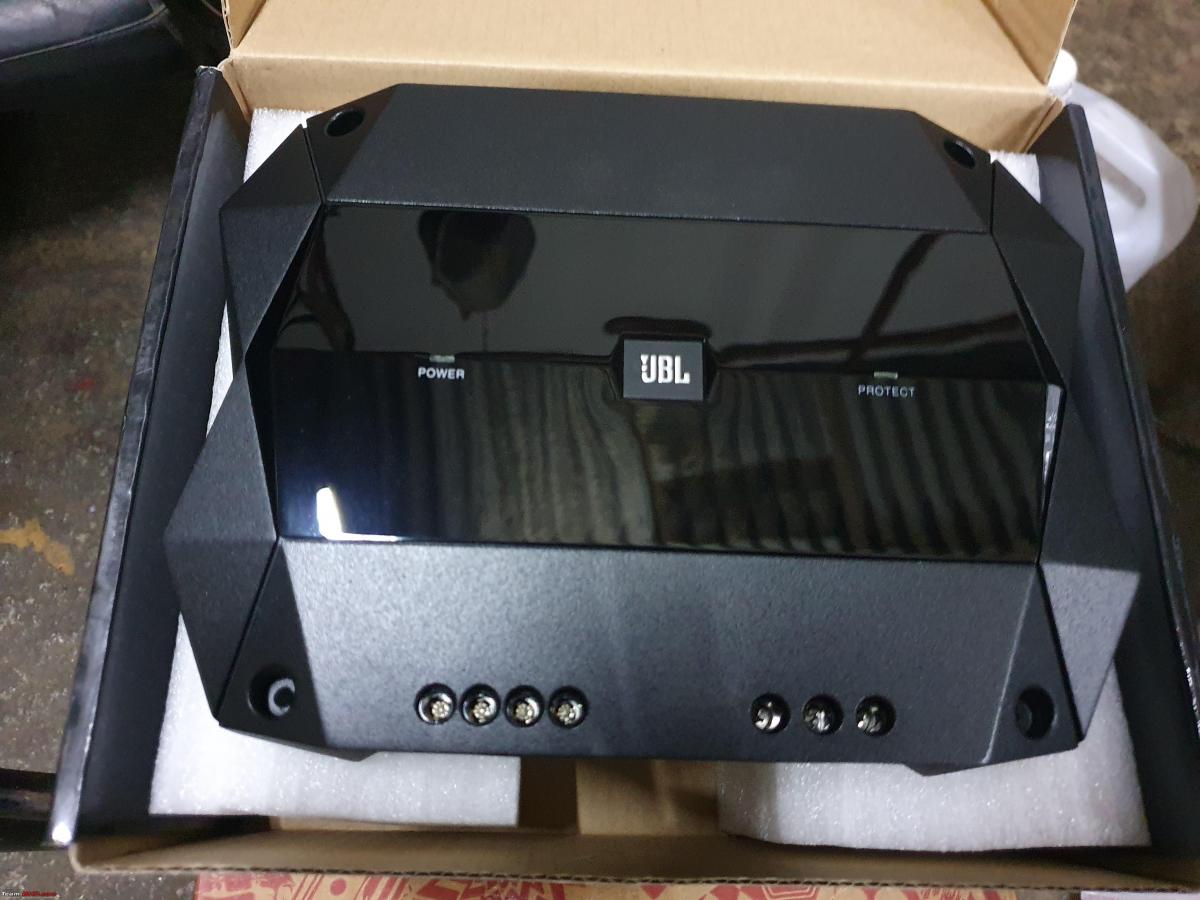
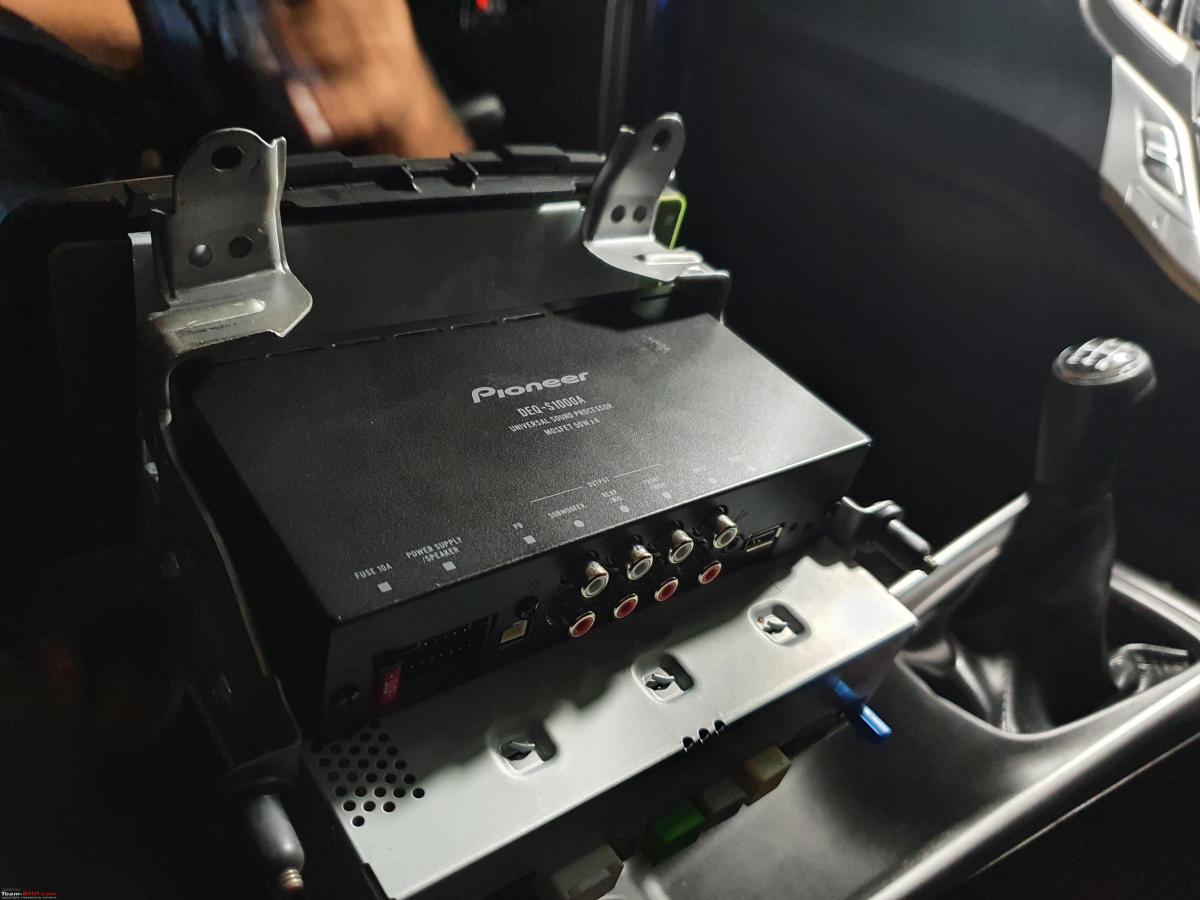
Right, with the speakers and damping sorted, things should sound better. It did, the sound was clearer and had better separation. It still didn't feel balanced though, it's hard to put into words but it felt lacking. Raghu suggested replacing the HU with a Pioneer one, I wasn't ready to shell out so much (at the time) and I wanted to maintain the stock look. The next best thing would be a DSP according to him, my idea of a high-low converter was swiftly dismissed by the claims that it would not help much in terms of SQ. DSP it is then! We decided to add the Pioneer DEQ-S1000A to help fine-tune the sound and improve the overall SQ. A consequence of this would be that all 4 channels of the AMP are needed for the speakers and the sub is left out in the cold. A mono block was needed and came in the form of the JBL Club 5501 and it would also run off the DSP.

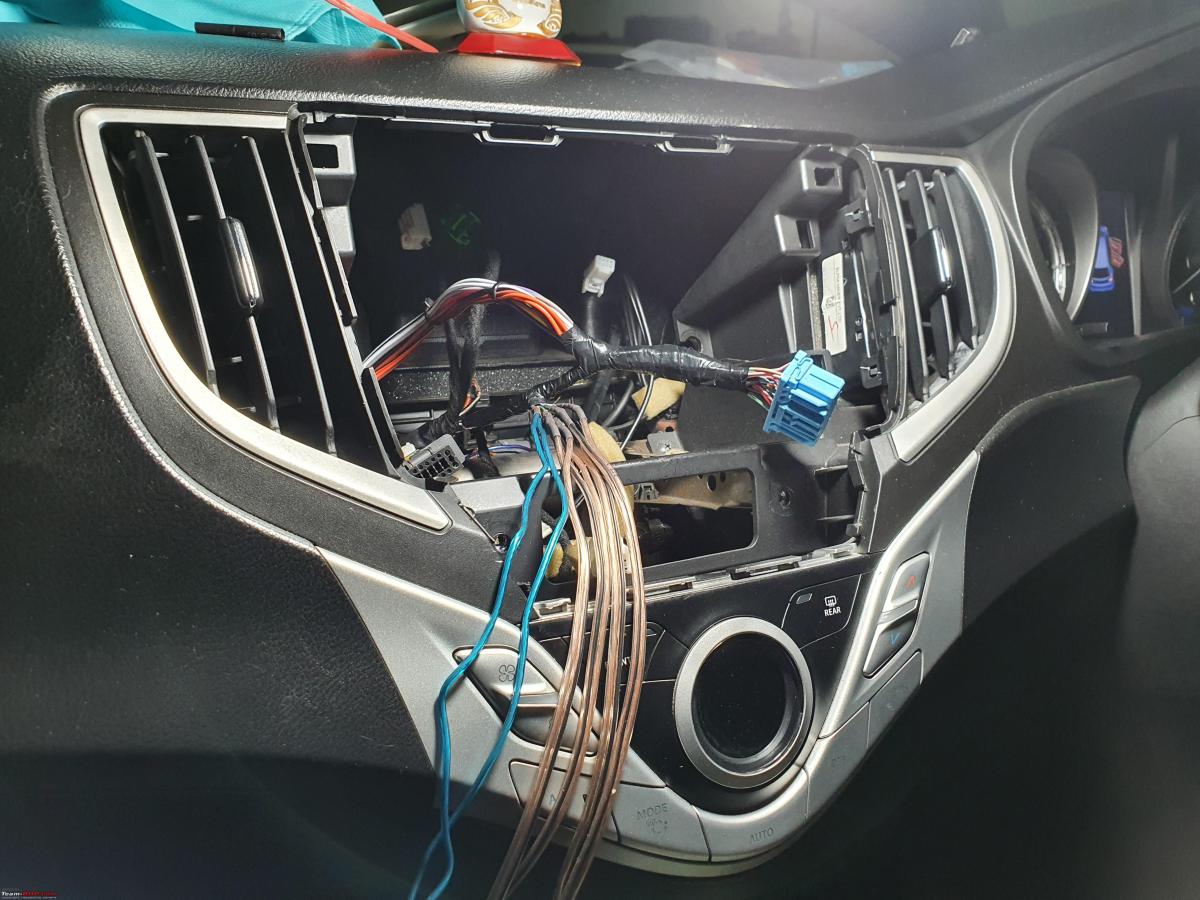
A bit of extra wiring was needed running from the DSP to the AMPs. The speaker wires were not changed and didn't need to be, according to Raghu. The previous installer had cut the main harness to the HU and that also needed fixing. A tedious and time-consuming process.
WIP:

Continue reading on BHPian ROG_AK's audio upgrade on his Baleno RS for BHPian comments, insights and more information.
News
Gave my Maruti Baleno RS a high end JL Audio ICE upgrade

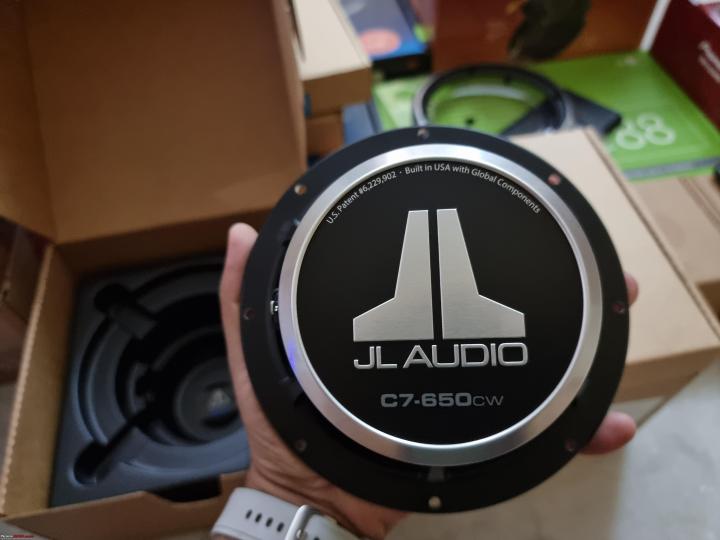


it's hard to put sound into words, but this setup makes you feel so connected to the music. I simply love it, the tuning made a HUGE difference.
BHPian ROG_AK recently shared this with other enthusiasts.
The quest for better audio is something I'm sure most of us yearn for, me being no exception to that. Although I wouldn't classify myself as a hard-core audiophile, I do enjoy good clean audio. This led me on a journey to fulfil my desires and in the end finally say 'I'm done with audio.'
It all started back in 2018 when the first set of upgrades was done (more details can be found here). Just to summarize the changes:
- 3M damping on all 4 doors
- Polk Audio DB6501 components in the front
- Polk Audio DB522 coaxial in the rear
- Pioneer GM-A6704 4-channel amplifier
- Pioneer TS-SW3002S4 12" shallow mount subwoofer in an enclosed box
- Stock HU
In this setup, the front components were driven by the amp while the rear was powered by the HU. The other 2 channels on the amp were bridged to power the subwoofer. Stock wiring was retained, and no high-low converter was used.
I had no clue about car audio installation during this time and relied on the installer completely. As it turned out, the installer was absolute trash (something I found out later)
Although it was much better than stock, it just didn't sound right. The highs were tinny, mids muddled with vocals and the sub could be heard but not felt. It was also just not playing some of the lower frequencies. The audio also used to cut off now and then, while people in the rear complained that the bass was overpowering and couldn't hear the music clearly.
I ran with the setup for a while and tried to find a proper installer in the meantime, someone whom I can really trust to get things done and not just do it for the money. As luck would have it, I stumbled upon an old high school friend who is in the auto industry. Jackpot! I didn't have to worry about getting cheated and ripped off for anything related to cars anymore!! I spoke to him at length about car audio and he got an expert (Raghu) along to help. The first step was to assess the damage:
Removing the so-called 3M damping. The only useful thing is those metal plate:
The crossovers were placed inside the door. This explains why the audio used to cut off, it got wet. Luckily nothing shorted:
Tapping the wire:
Well, it was time to start fixing things. First up, damping! The plan was to damp all 4 doors and the boot. Raghu was meticulous with his process and took about an entire working day to get it done. He decided to use Dr Artex Iridum medium with a thickness of 2.0mm. The damping was done on the interior and exterior of the door, it took about 12 sheets:
Damping inside:
Damping inside the boot lid:
Damping outside:
Damping outside the boot lid:
During this process, we realized that the rear speakers (DB522) were only 5.25" and it would be better to have 6.5" speakers instead (another noob thing I did not realize during the initial installation). This is probably why the rear fill was lacking. They had to be replaced and were done so by the Polk DB651, which should complement the front perfectly.
The smaller 5.25" DB522:
Replaced by the proper 6.5" DB651:
Right, with the speakers and damping sorted, things should sound better. It did, the sound was clearer and had better separation. It still didn't feel balanced though, it's hard to put into words but it felt lacking. Raghu suggested replacing the HU with a Pioneer one, I wasn't ready to shell out so much (at the time) and I wanted to maintain the stock look. The next best thing would be a DSP according to him, my idea of a high-low converter was swiftly dismissed by the claims that it would not help much in terms of SQ. DSP it is then! We decided to add the Pioneer DEQ-S1000A to help fine-tune the sound and improve the overall SQ. A consequence of this would be that all 4 channels of the AMP are needed for the speakers and the sub is left out in the cold. A mono block was needed and came in the form of the JBL Club 5501 and it would also run off the DSP.
A bit of extra wiring was needed running from the DSP to the AMPs. The speaker wires were not changed and didn't need to be, according to Raghu. The previous installer had cut the main harness to the HU and that also needed fixing. A tedious and time-consuming process.
WIP:
Continue reading on BHPian ROG_AK's audio upgrade on his Baleno RS for BHPian comments, insights and more information.
News
Gave my Fiat Linea a much needed audio upgrade in a limited budget

The Sony amp can go on powering the speakers with neither of them breaking a sweat. The Helix up front and the Polks in the rear do a nice job complementing each other.
BHPian sai_ace recently shared this with other enthusiasts.
After much delay, I finally got around to upgrading the audio on my Fiat Linea. The setup is as below:
Head Unit -Stock
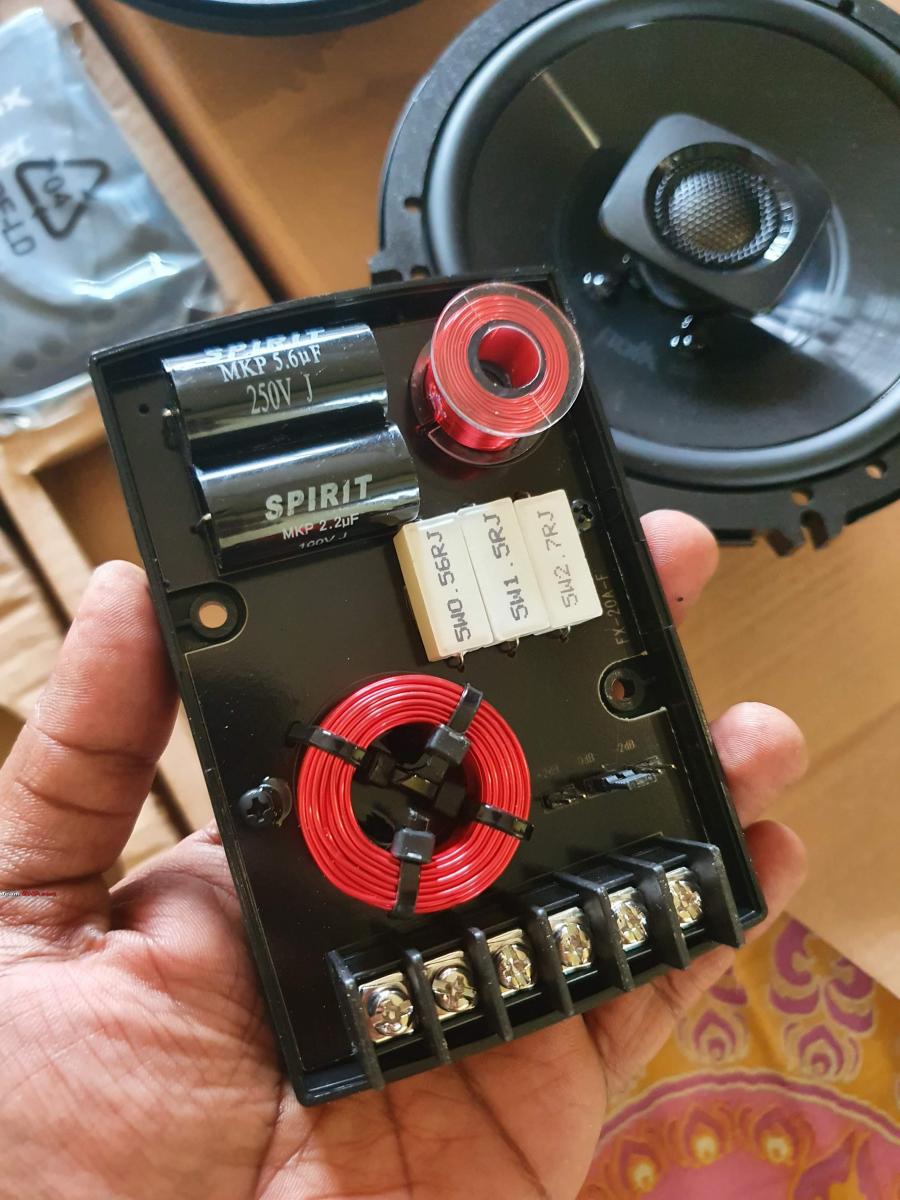
Front Speakers - Helix L62C
Cost: Rs. 7.5K


Rear Speakers - Polk DB652
Cost: Rs. 5K


All 4 speakers:

DSP+AMP - Sony GS6DSP:


Audio Source - Apple Ipod Touch, Apple Iphone 6, BT.
I had picked up the Sony DSP Amp in a flash sale on Flipkart at around Rs.14K. The speakers were picked up on Motorogue - Their prices are extremely competitive and so is their service. The install was done at High Definition Cars on Bannerghatta Road.
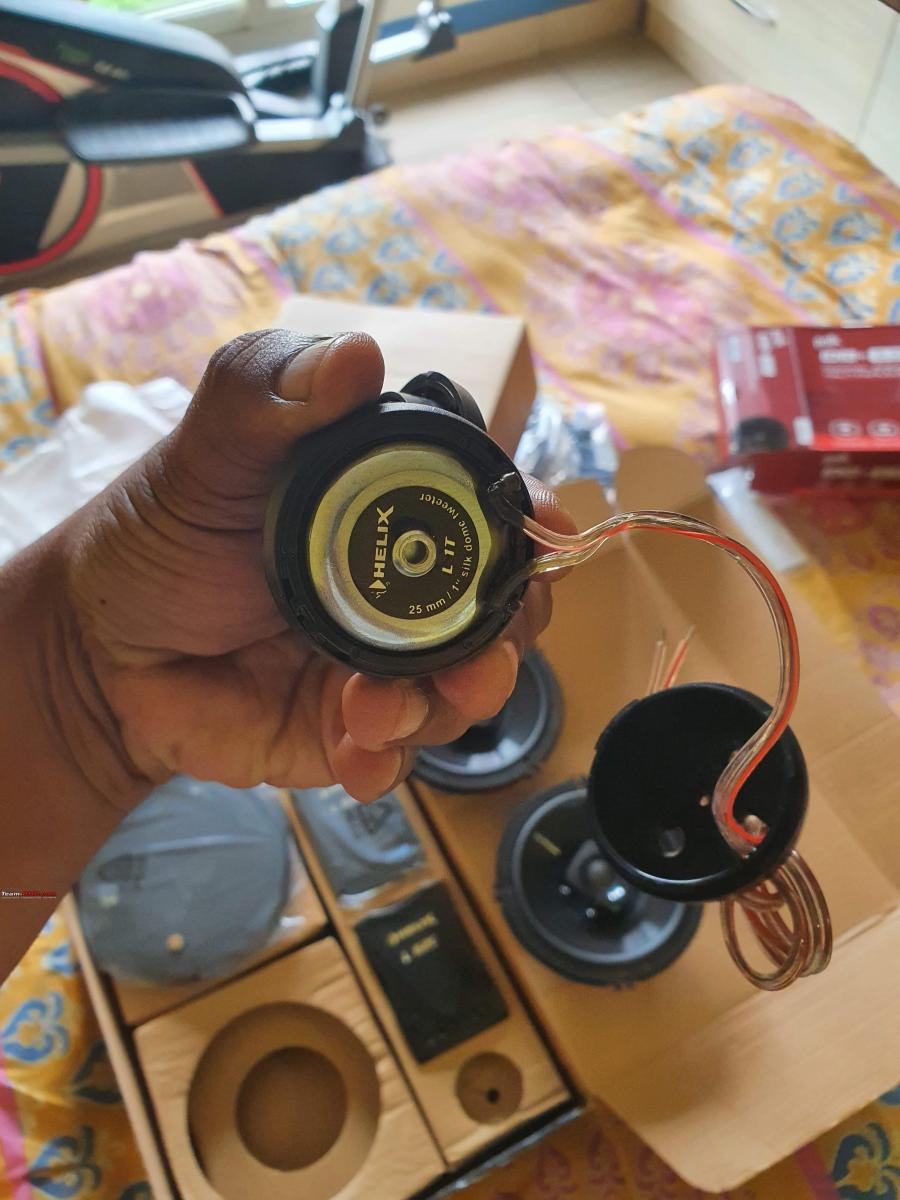
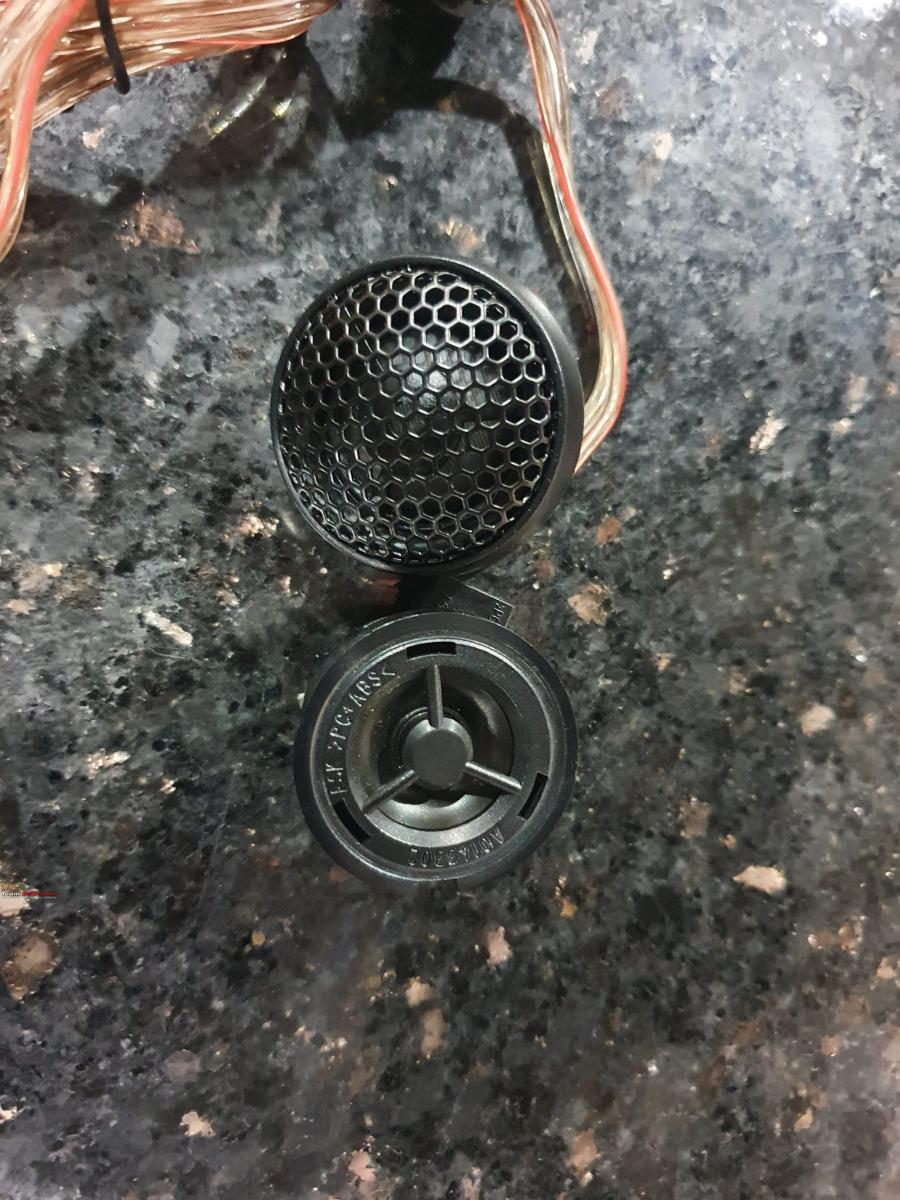
Mandatory speaker comparison pics:
Front Stock vs Helix Components:
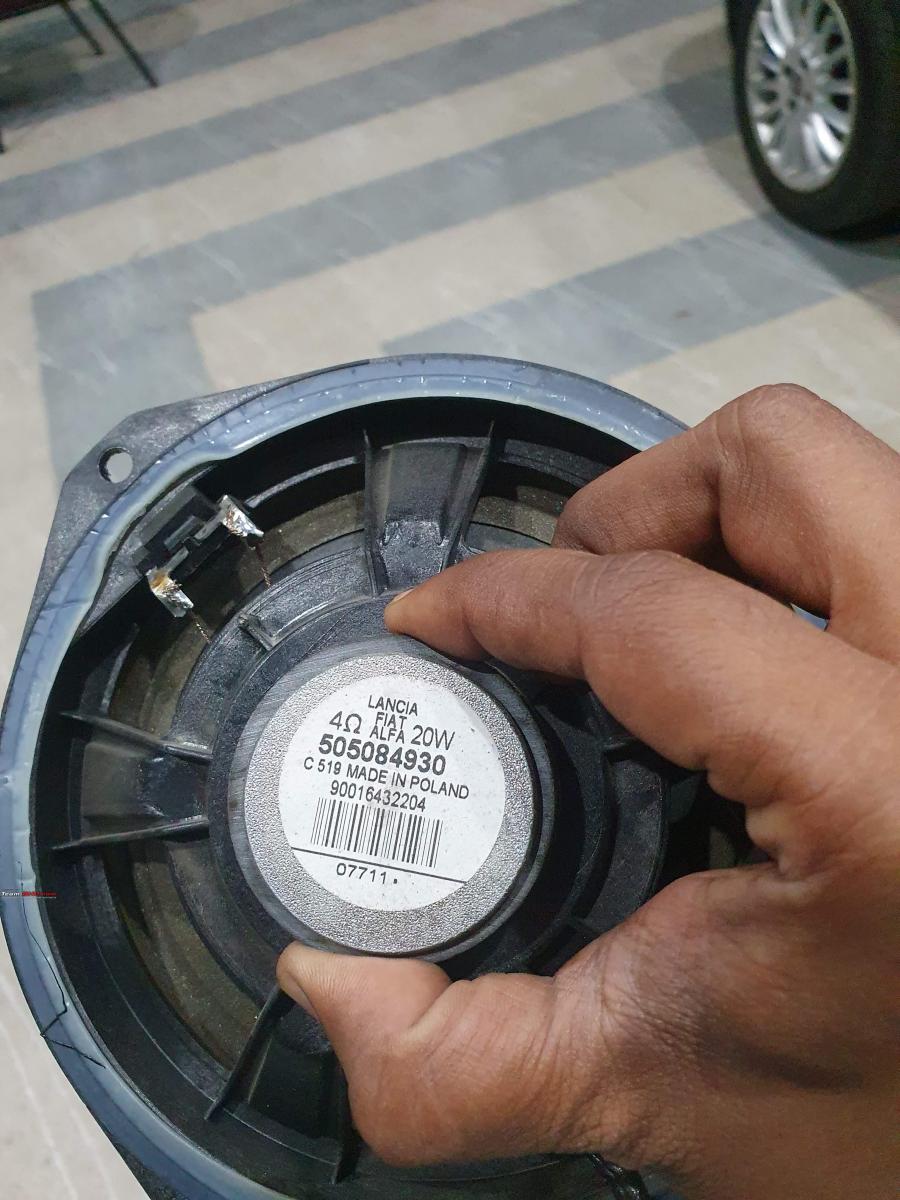


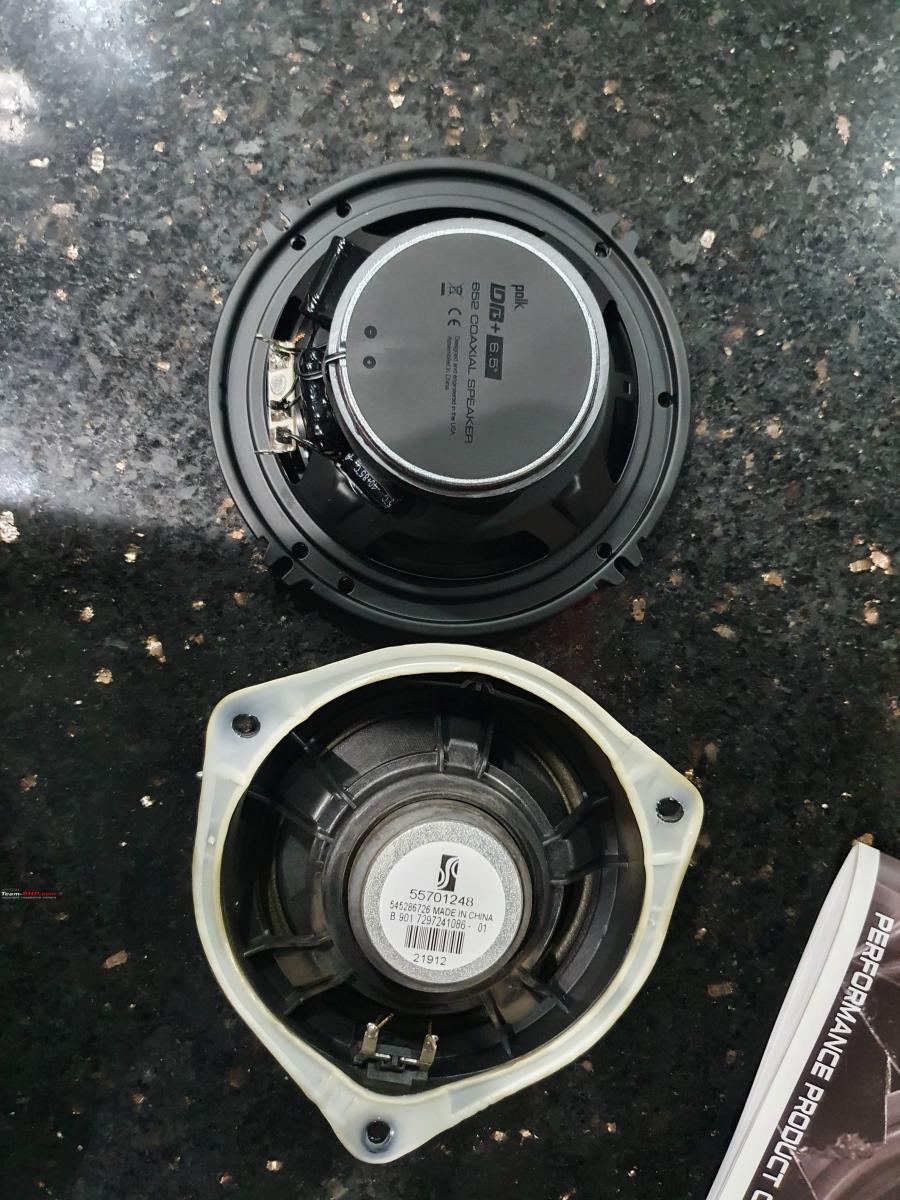
Rear Stock Speaker vs Polk Coaxials:

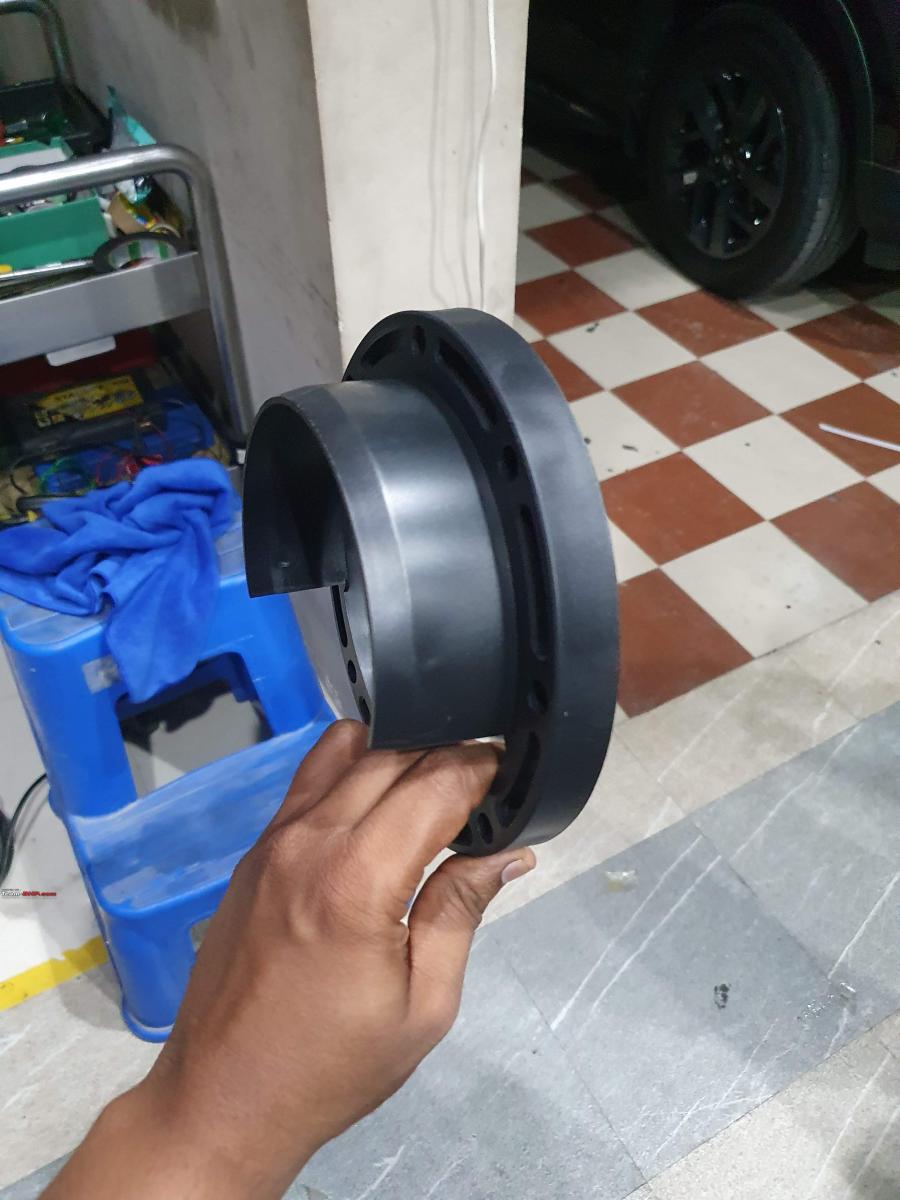
Rain Guard:

Amp mounted on the rear seat backside:

Install pics:


The Sony DSP amp is the most complicated piece of the puzzle. At first the installers assistant drew all the 4 speaker connections to the High-level input of the Amp - I had to later point it out that it is not how it is to be done. Once that was sorted - the speaker connections were then given.
This is where we ran into a problem. The amp would cut off once we dial the volume up. No matter what settings we used the amp would cut off intermittently. This was turning out to be a big, big problem. Connecting the Phone via BT to the amp directly had no such issues. Later got to know that such a problem is standard with Linea HU and a fellow fiat owner told me that he listens to only BT audio and the HU is not used. This was a bummer as the audio output from the HU (CD or Ipod) was far far superior to the BT output.
The next option was to use a hi-lo convertor and then plug in to the signal input of the amp. Here there was no audio at all. We were following the manual yet there was no audio. We tried multiple convertors that my installer had and there was no audio. Nothing. Double bummer.
We called it a day and went home at around 11PM. Next day started to google around this and finally found one obscure link in which they had spoken about the solution:
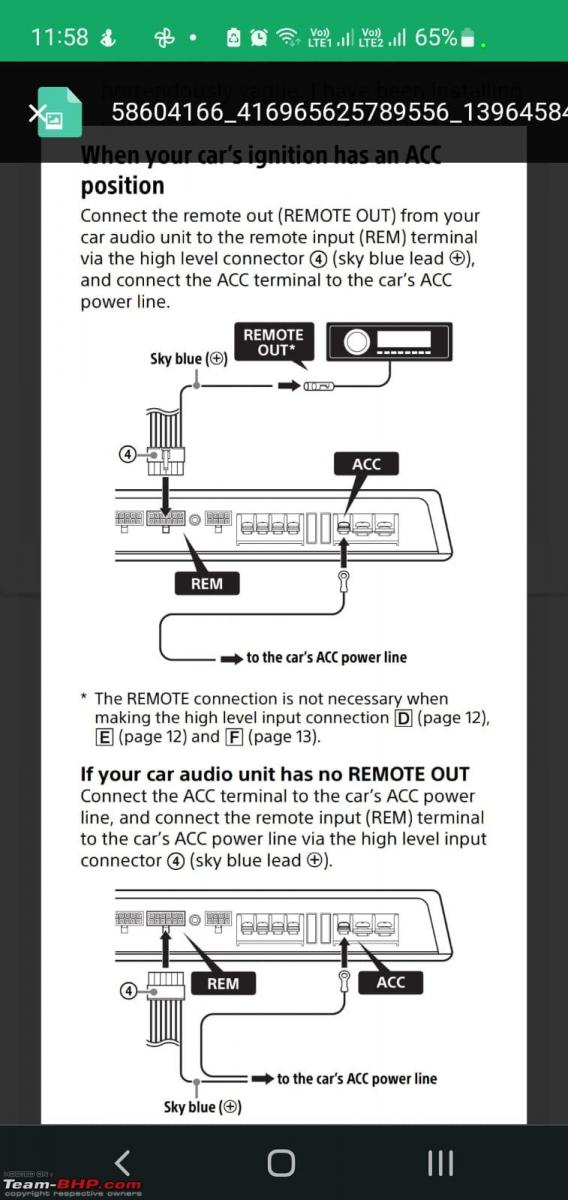
It so happens that when giving a signal level input we also need to add a second remote line in from the high-level input for the amp to start working. This is mentioned in another part of the manual. Once this was done the amp started doing its thing and how!
Why Stock HU?
I have always believed that the HU in the Fiats isn’t that bad - provided you play off a CD or an Apple Device. Why Apple you might ask. I use an Apple Ipod Touch and this is connected via the stock blue and me USB port to the HU. This set up to me has always delivered clean audio with warm HIs and MIDs off the stock speakers. As far as the lows were concerned, they were non-existent. The purpose behind the install was to take this level of audio a notch higher and introduce the low frequencies to this mix.
And this is exactly what I got. The Sony amp can go on powering the speakers with neither of them breaking a sweat. The Helix up front and the Polks in the rear do a nice job complementing each other. I have plans for a sub in the future but not in the near future. However, what I might need to add is Damping and plans are afoot for the same.
I waited for quite a long time to get this upgrade done. Though in terms of budgets and components this is a very humble system, the satisfaction of getting a system to do what you intended to achieve is immense.
A shout to the Vijay Kumar of High Definition cars (ICE, Accessories, Detailing and other services - High Definition Cars. He was equally invested in making sure we got the Sony DSP to work as intended.
As usual - no commercial interests with any of the businesses mentioned above.
Check out BHPian comments for more insights and information.
About Us