

 4th June 2020, 23:45
| #736 |
| Distinguished - BHPian  | |

|  (18)
Thanks (18)
Thanks
|

 :
: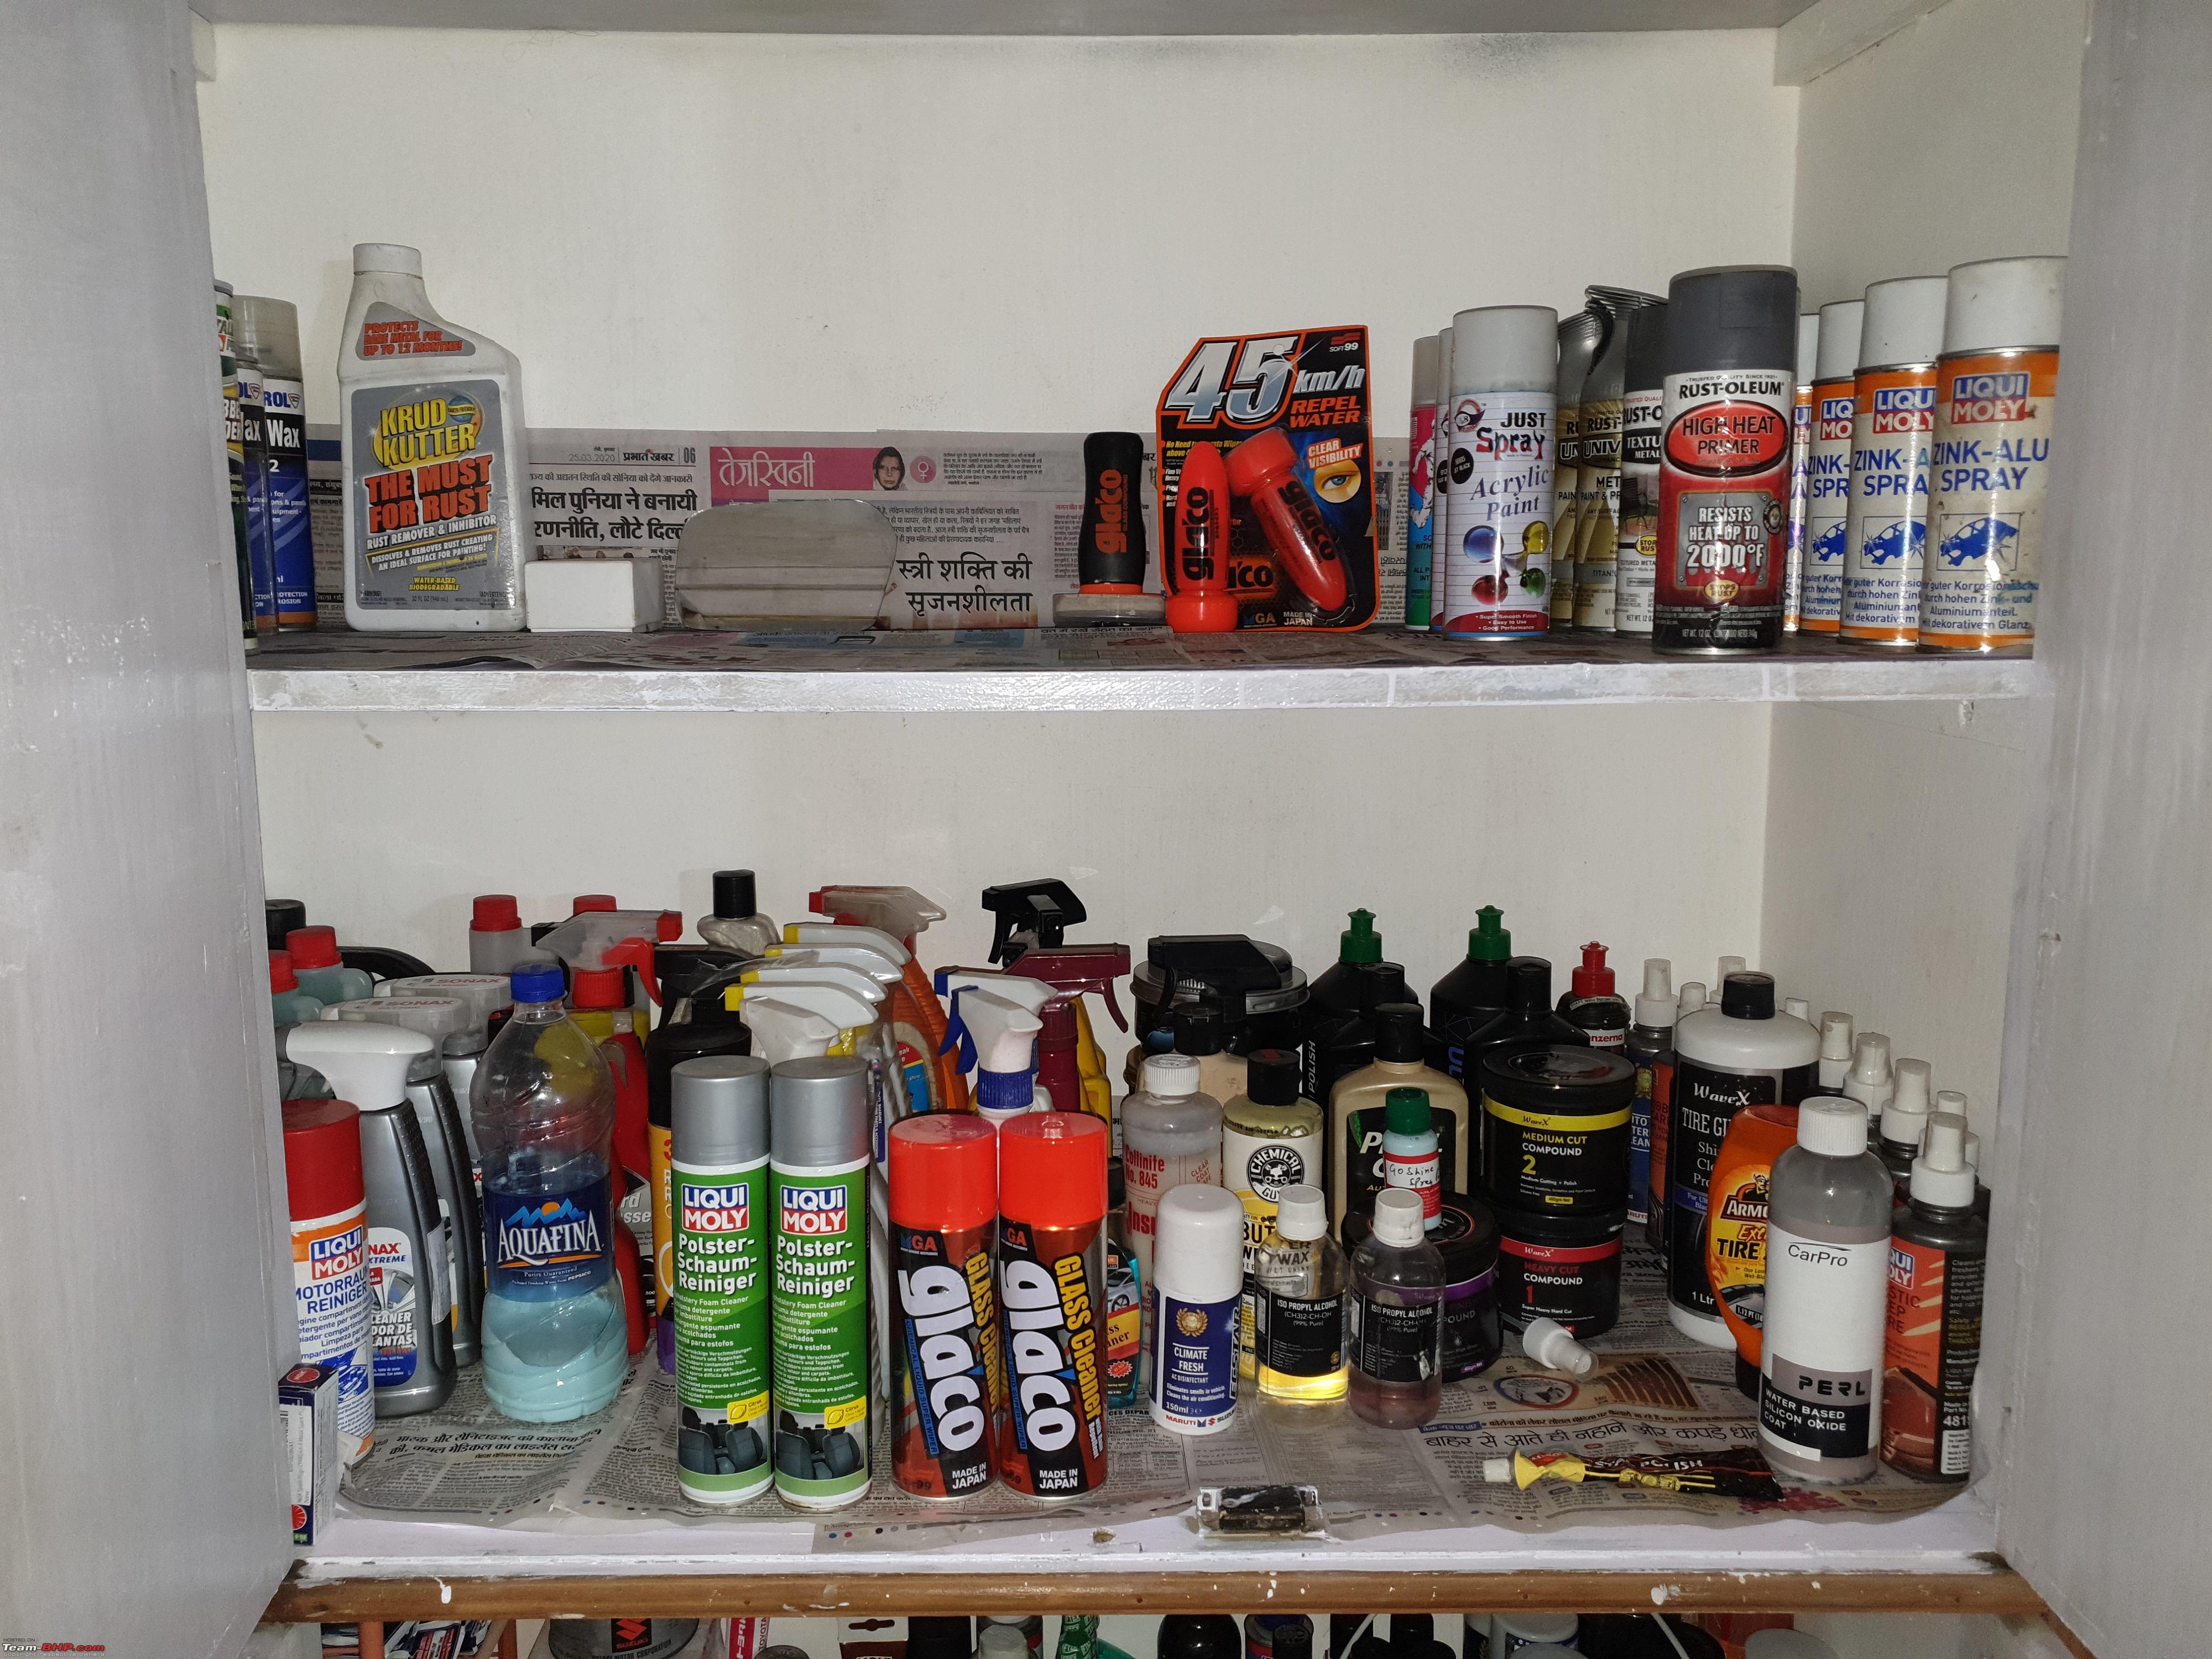

 Avoid 80W90.
 | |
|
5th June 2020, 21:26
| #737 |
| Distinguished - BHPian | |
|
| (35)
Thanks
|

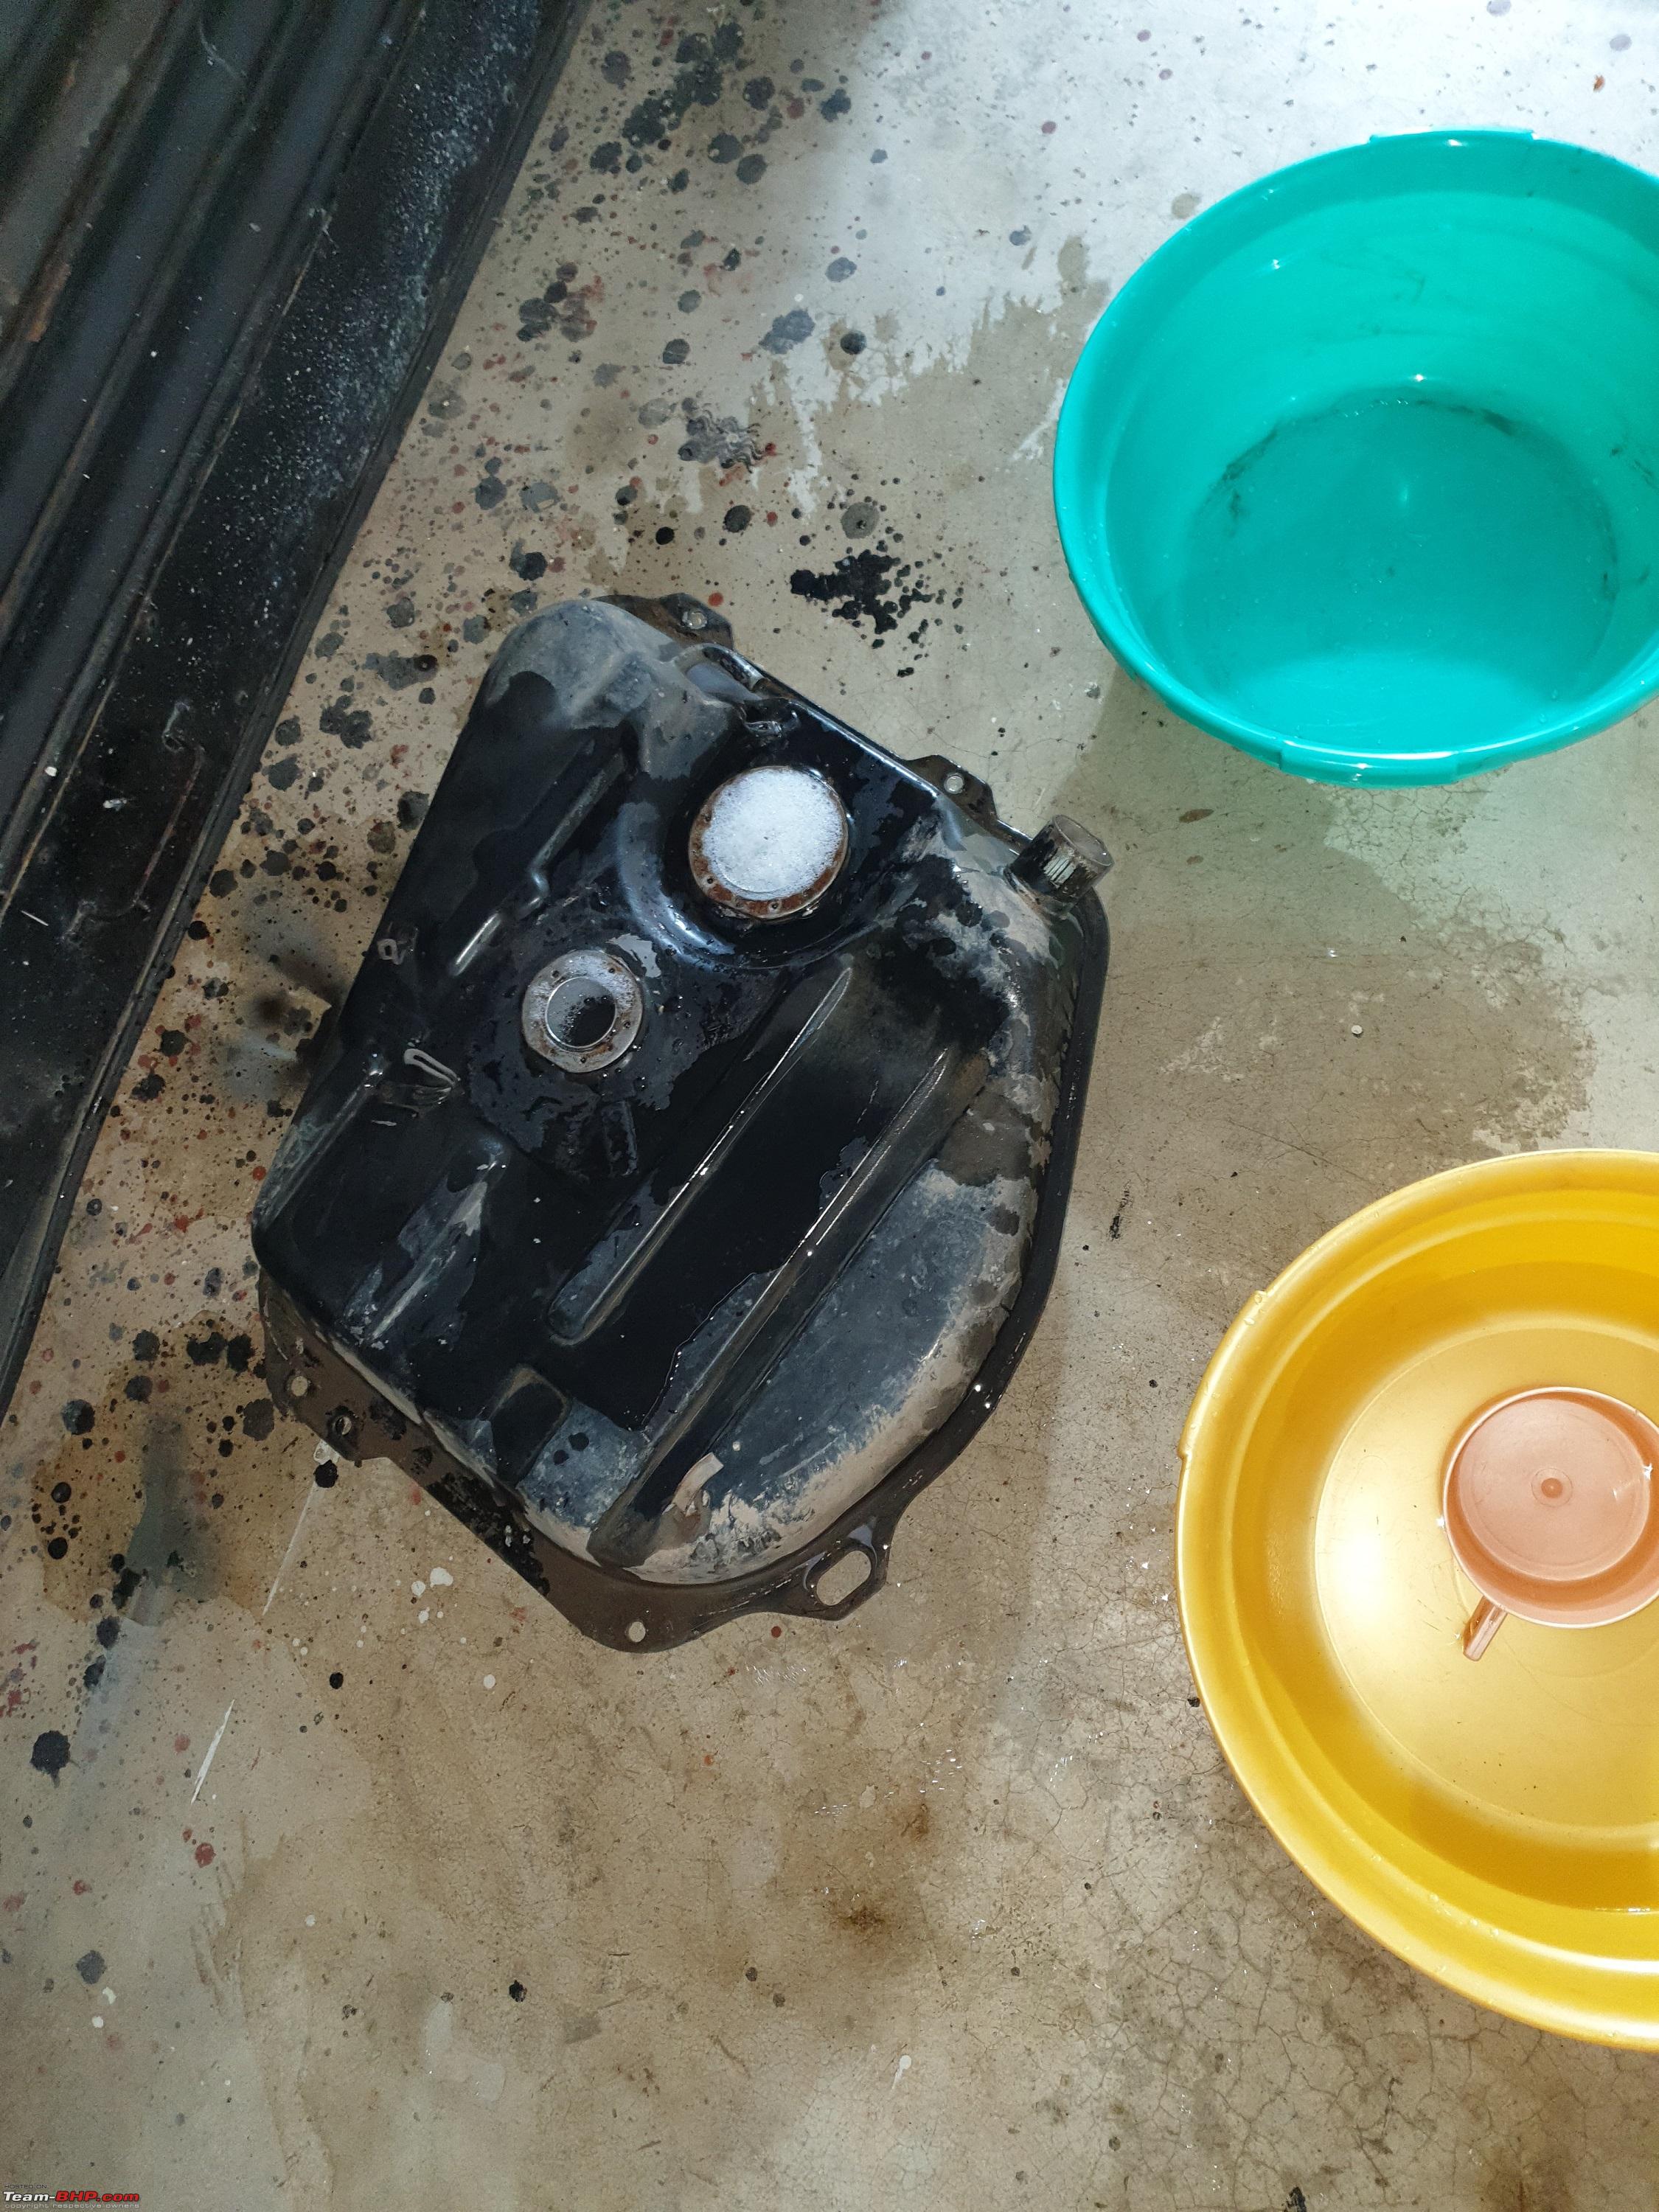
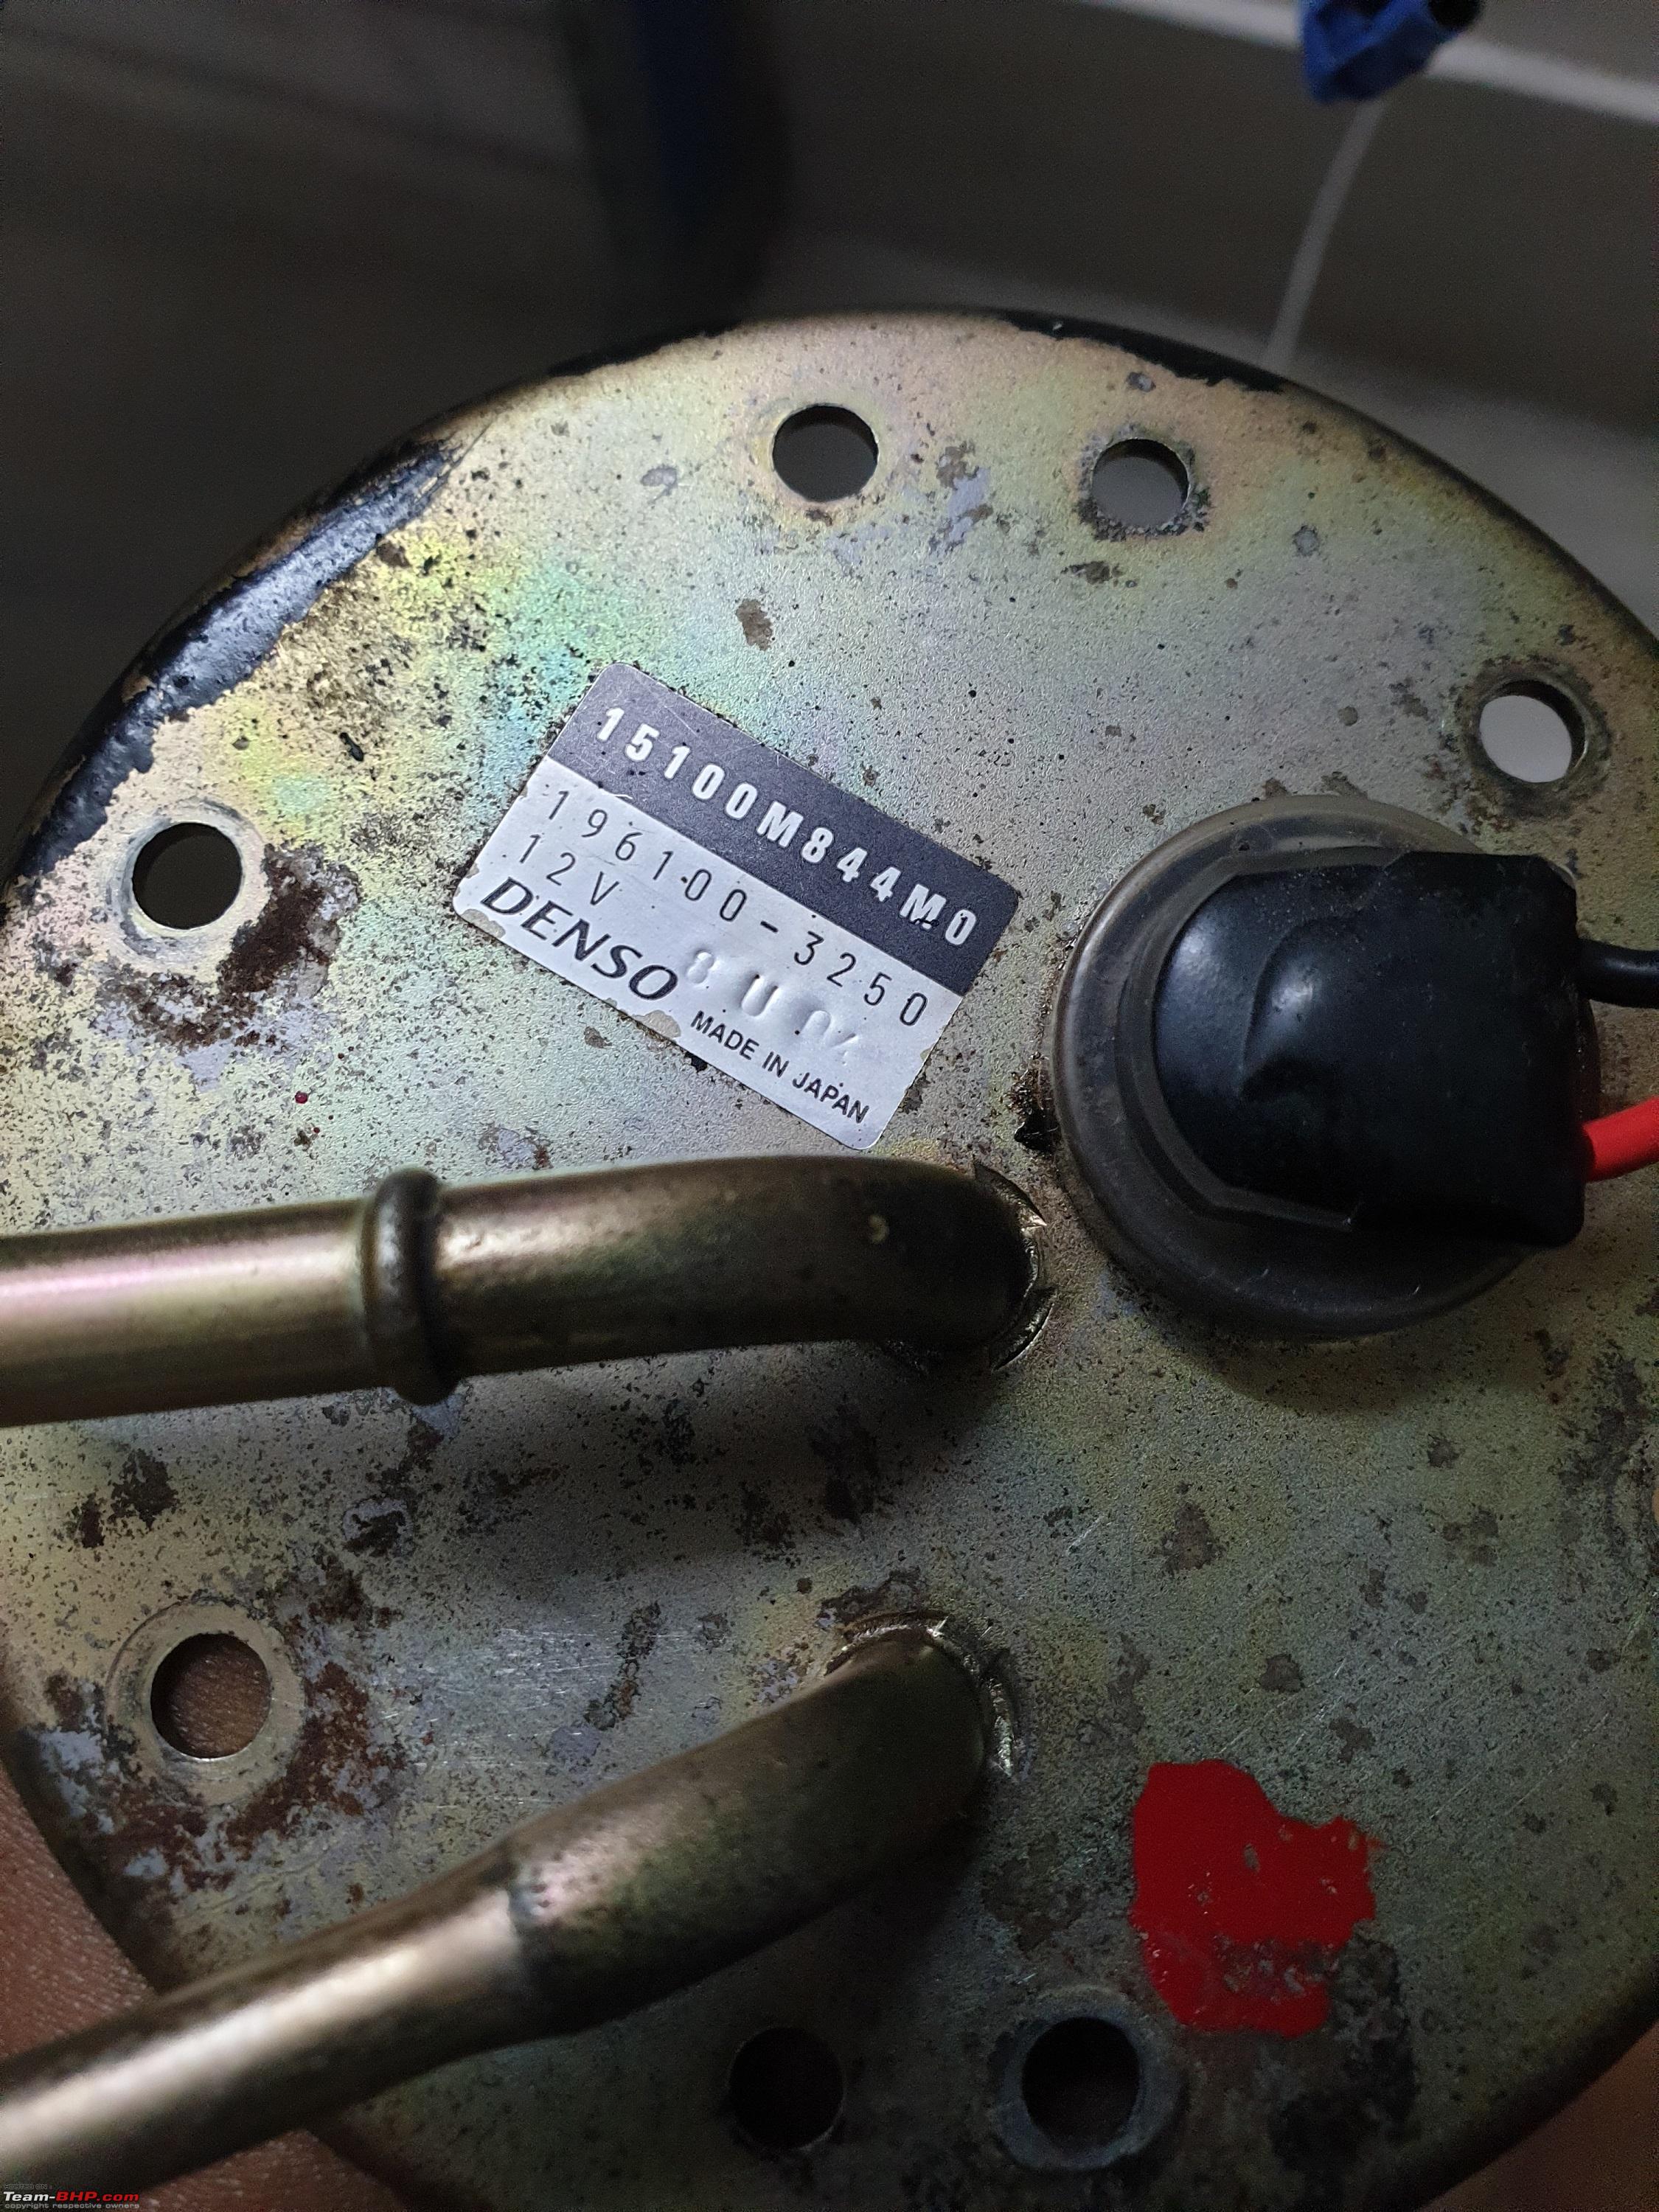
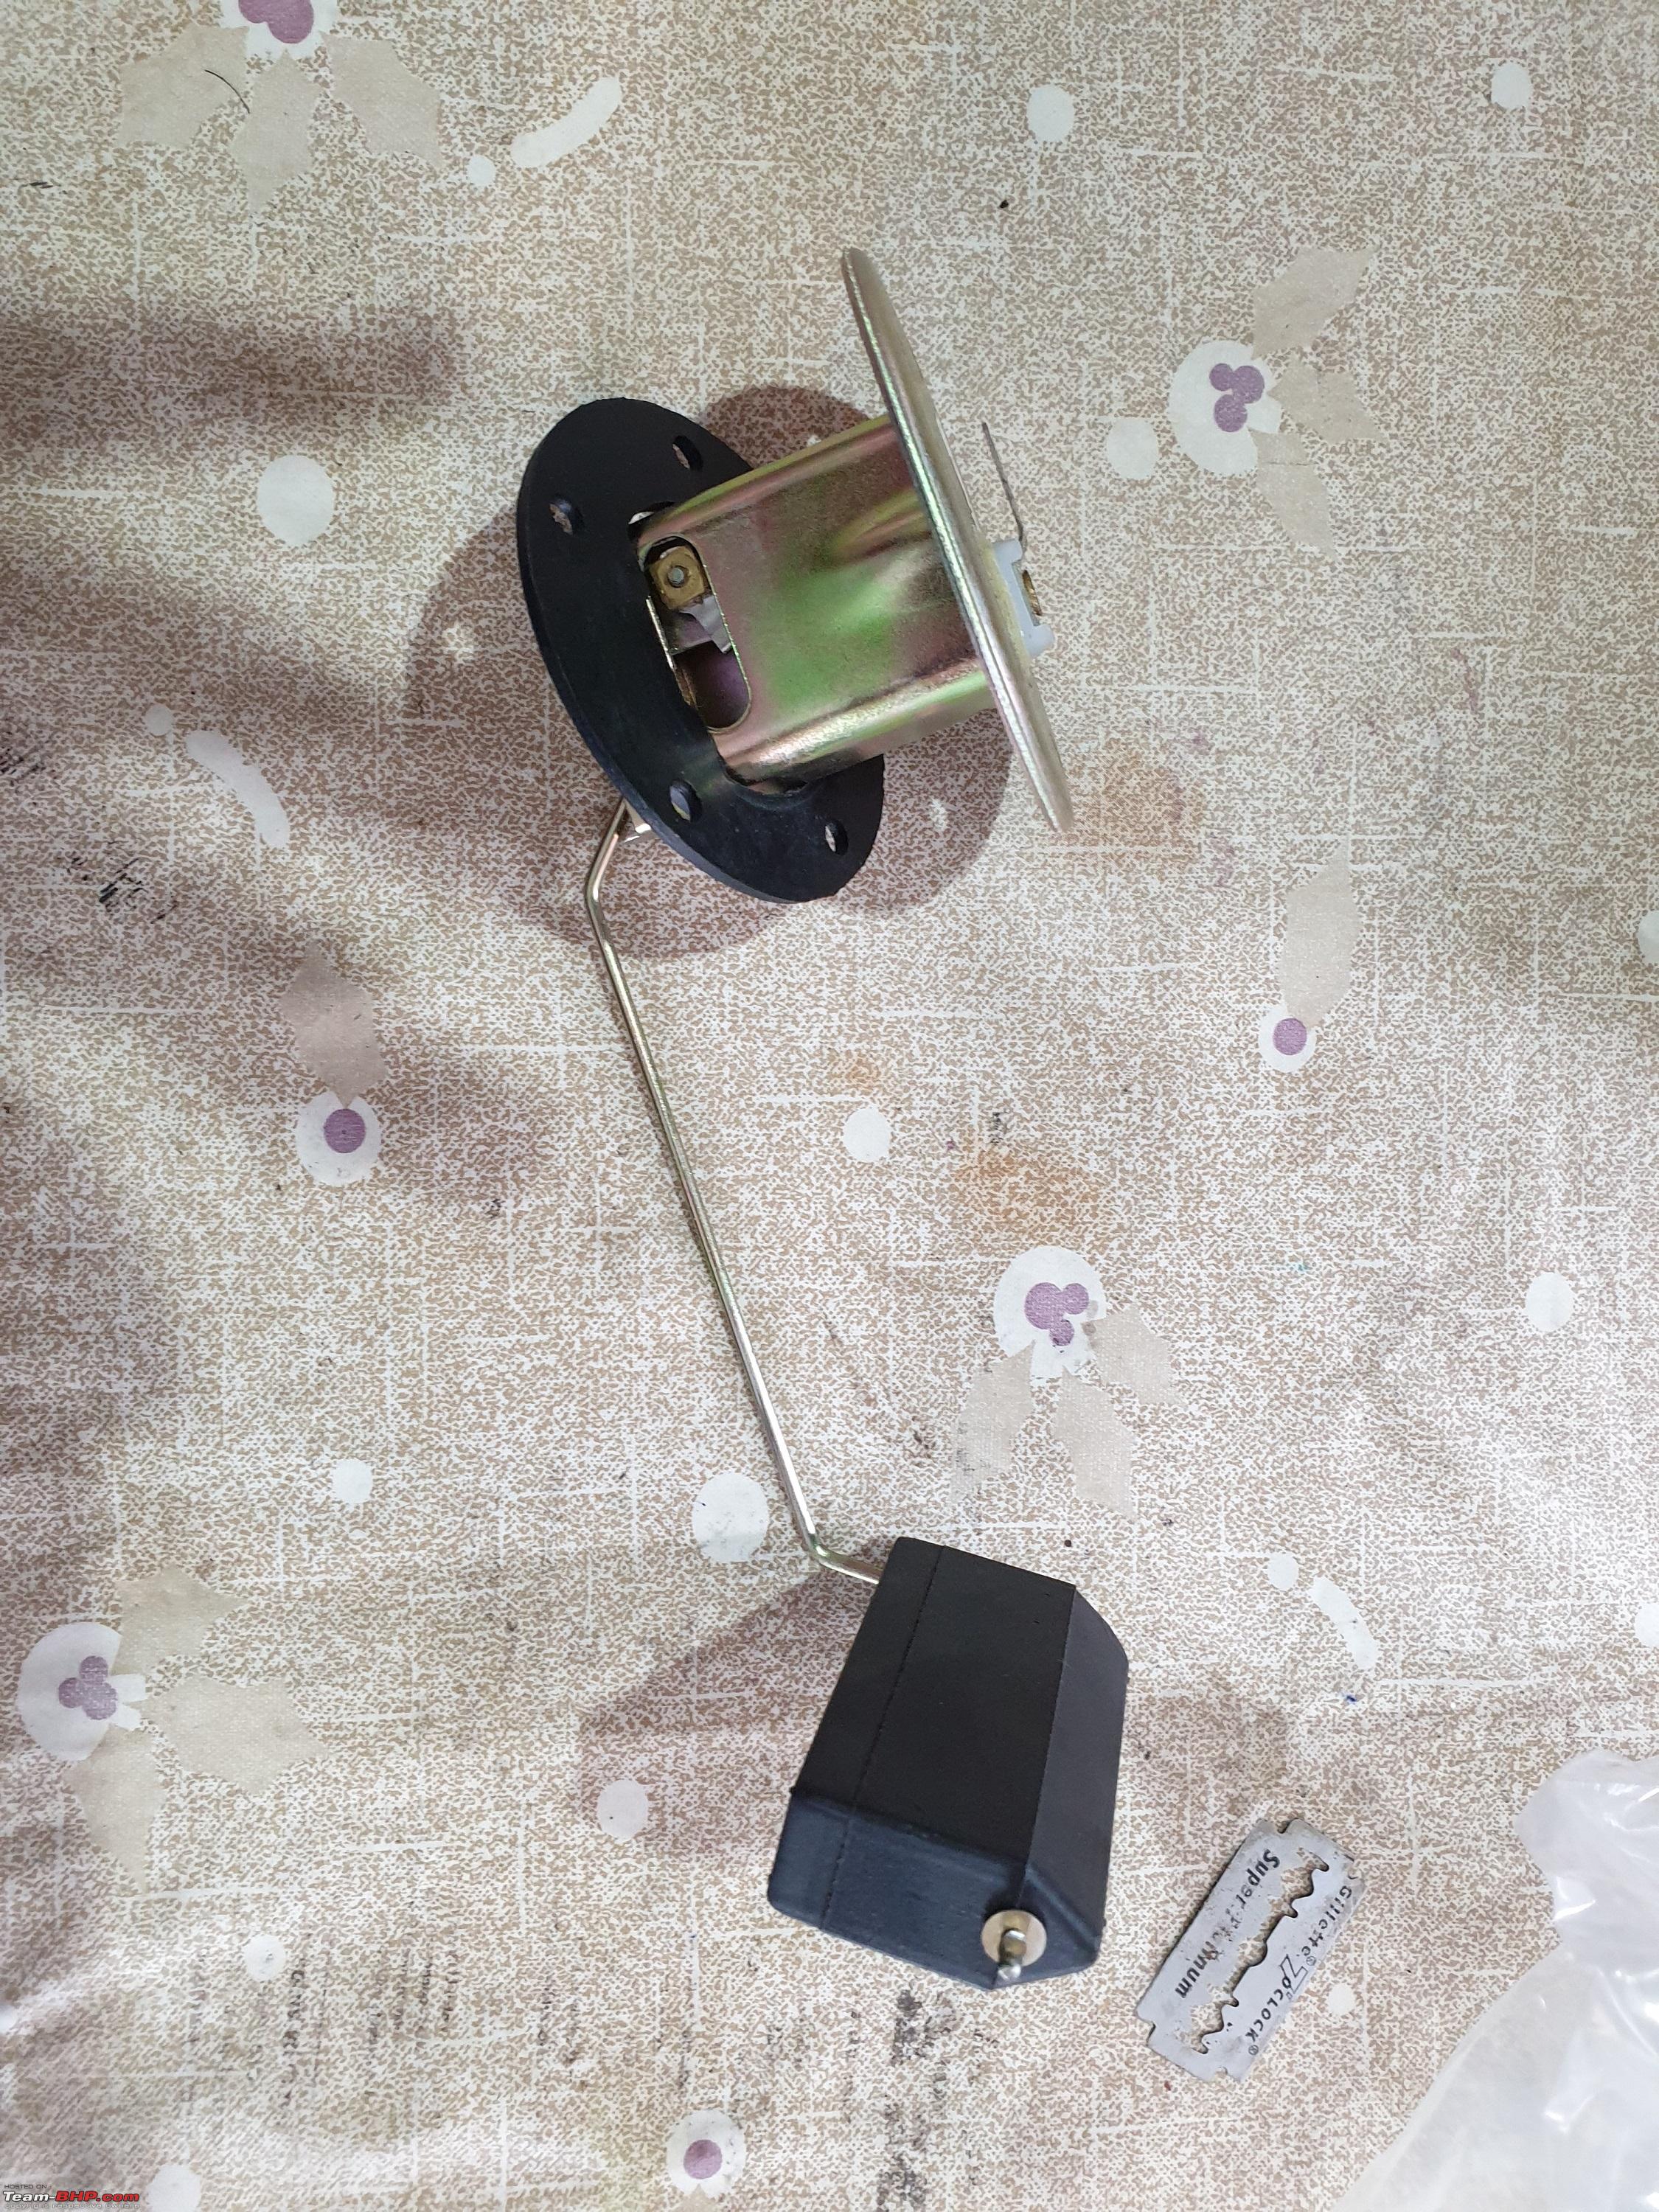
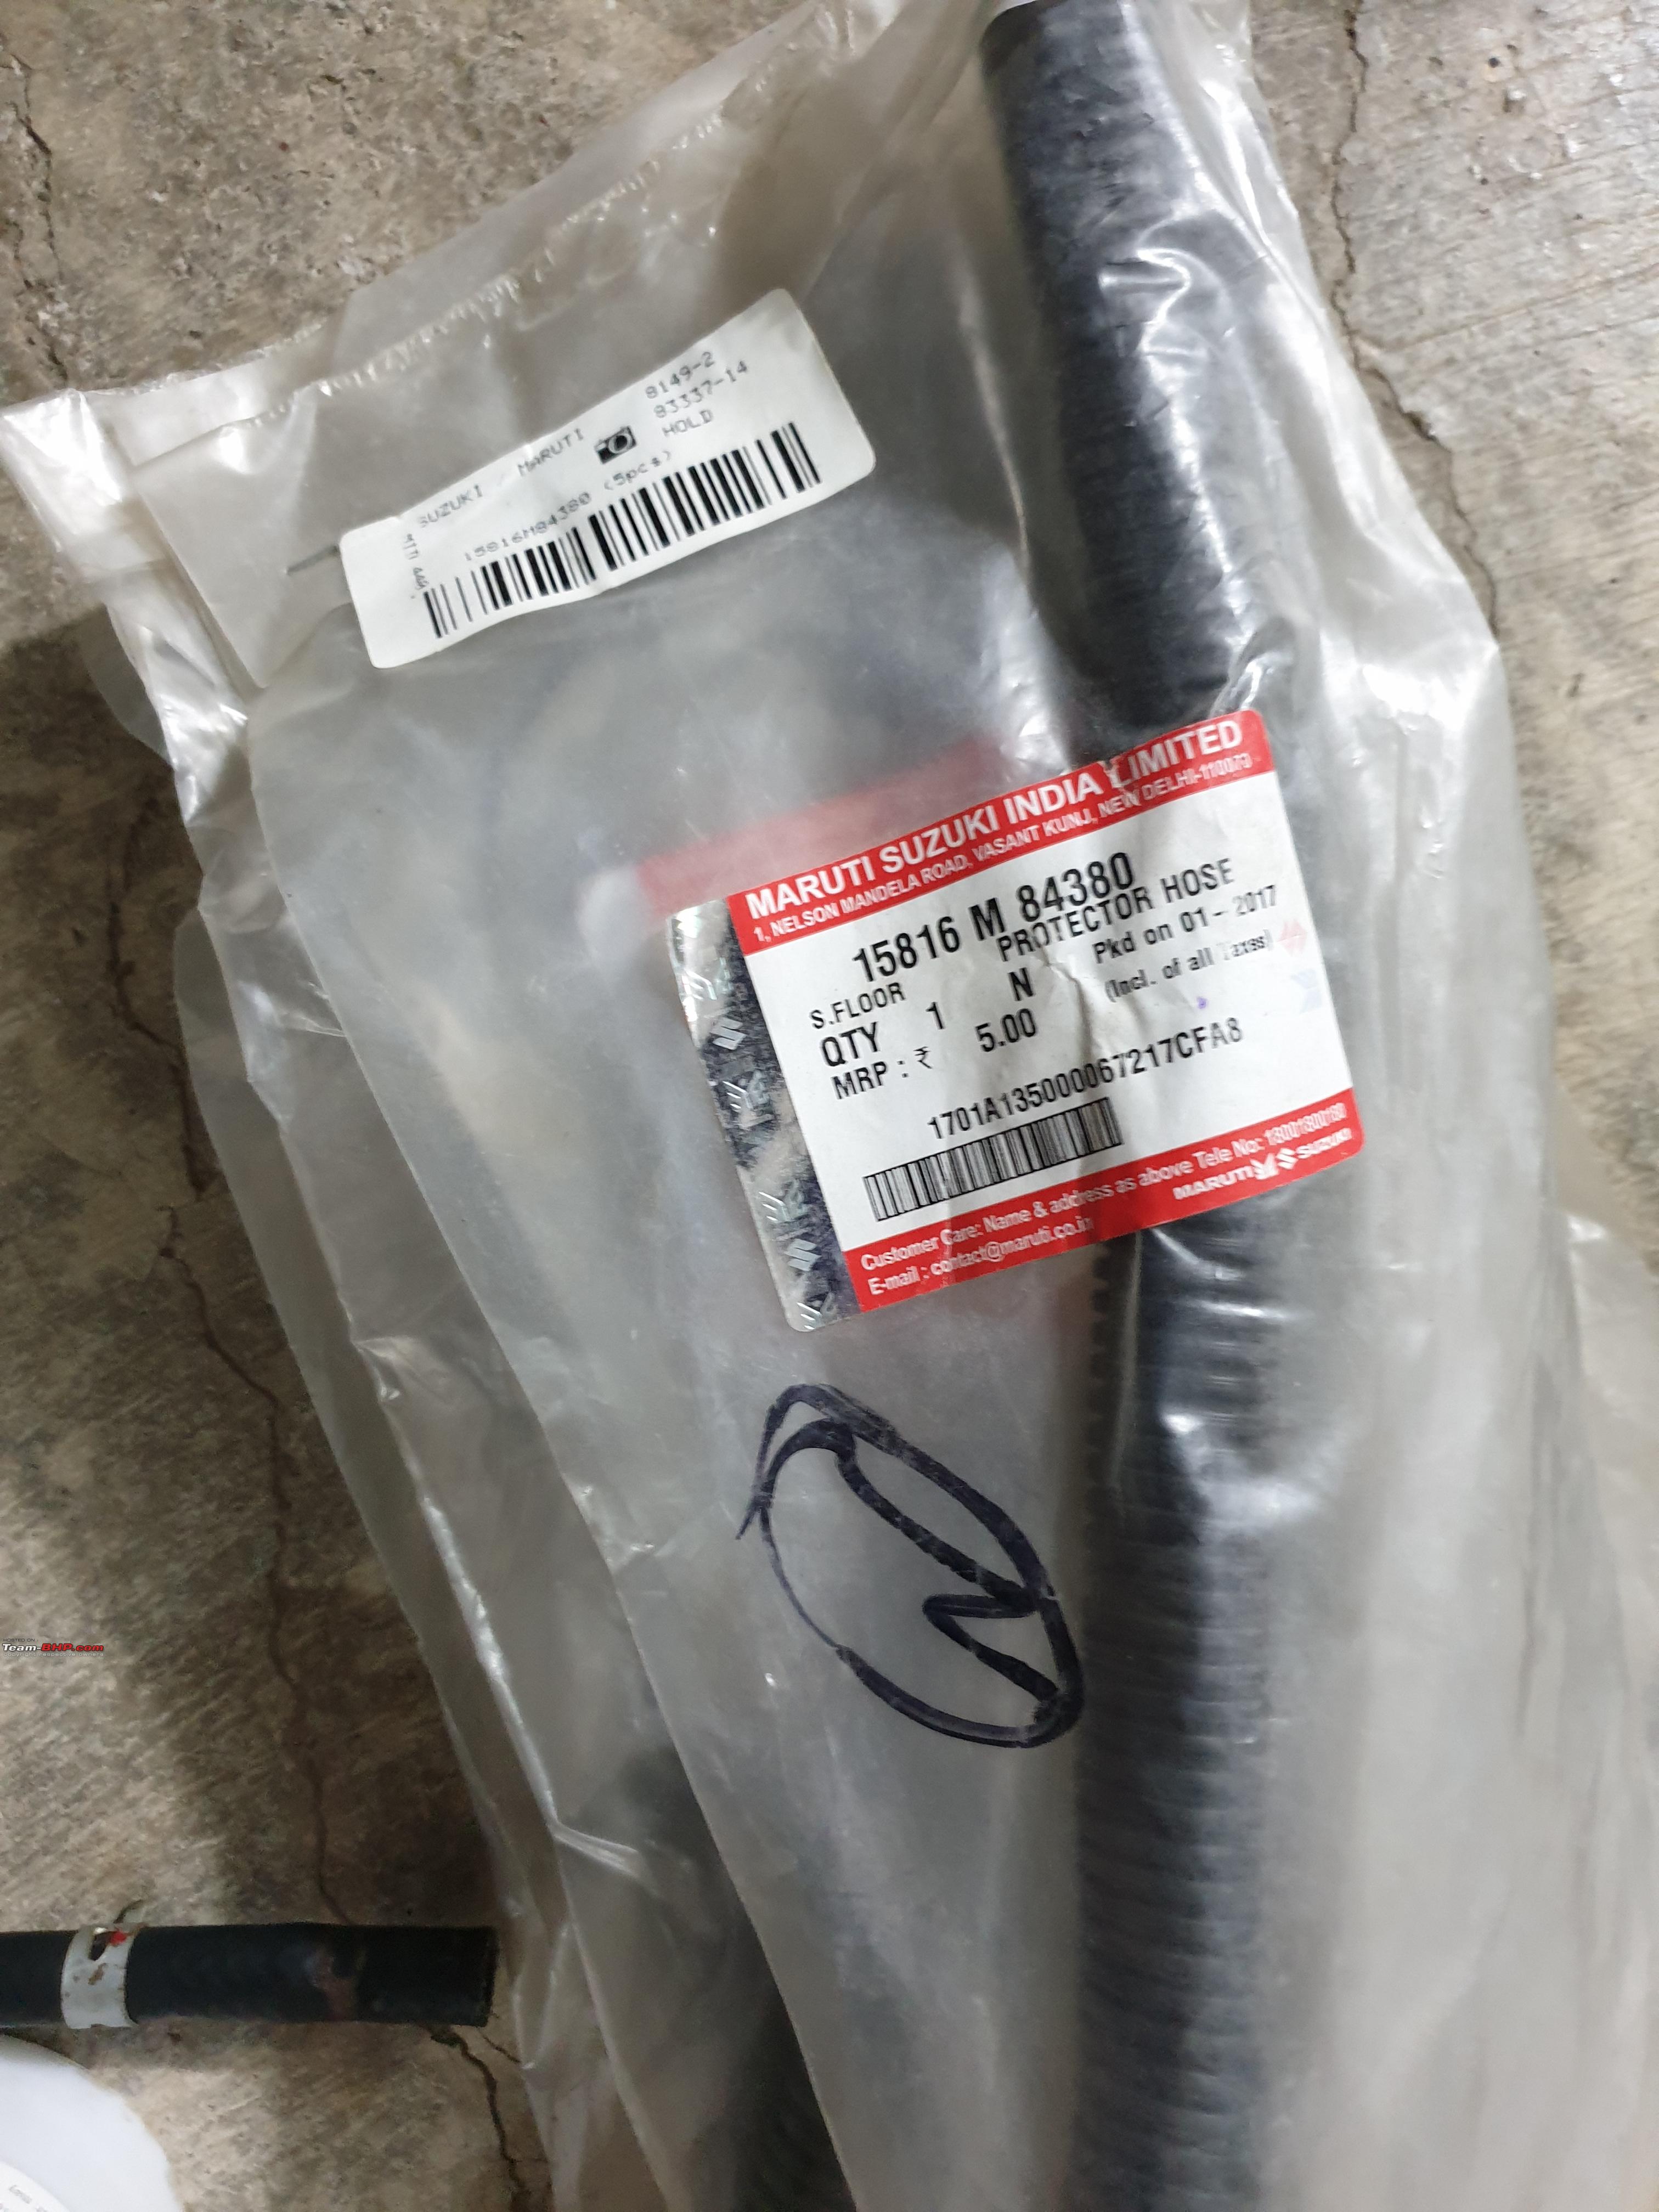
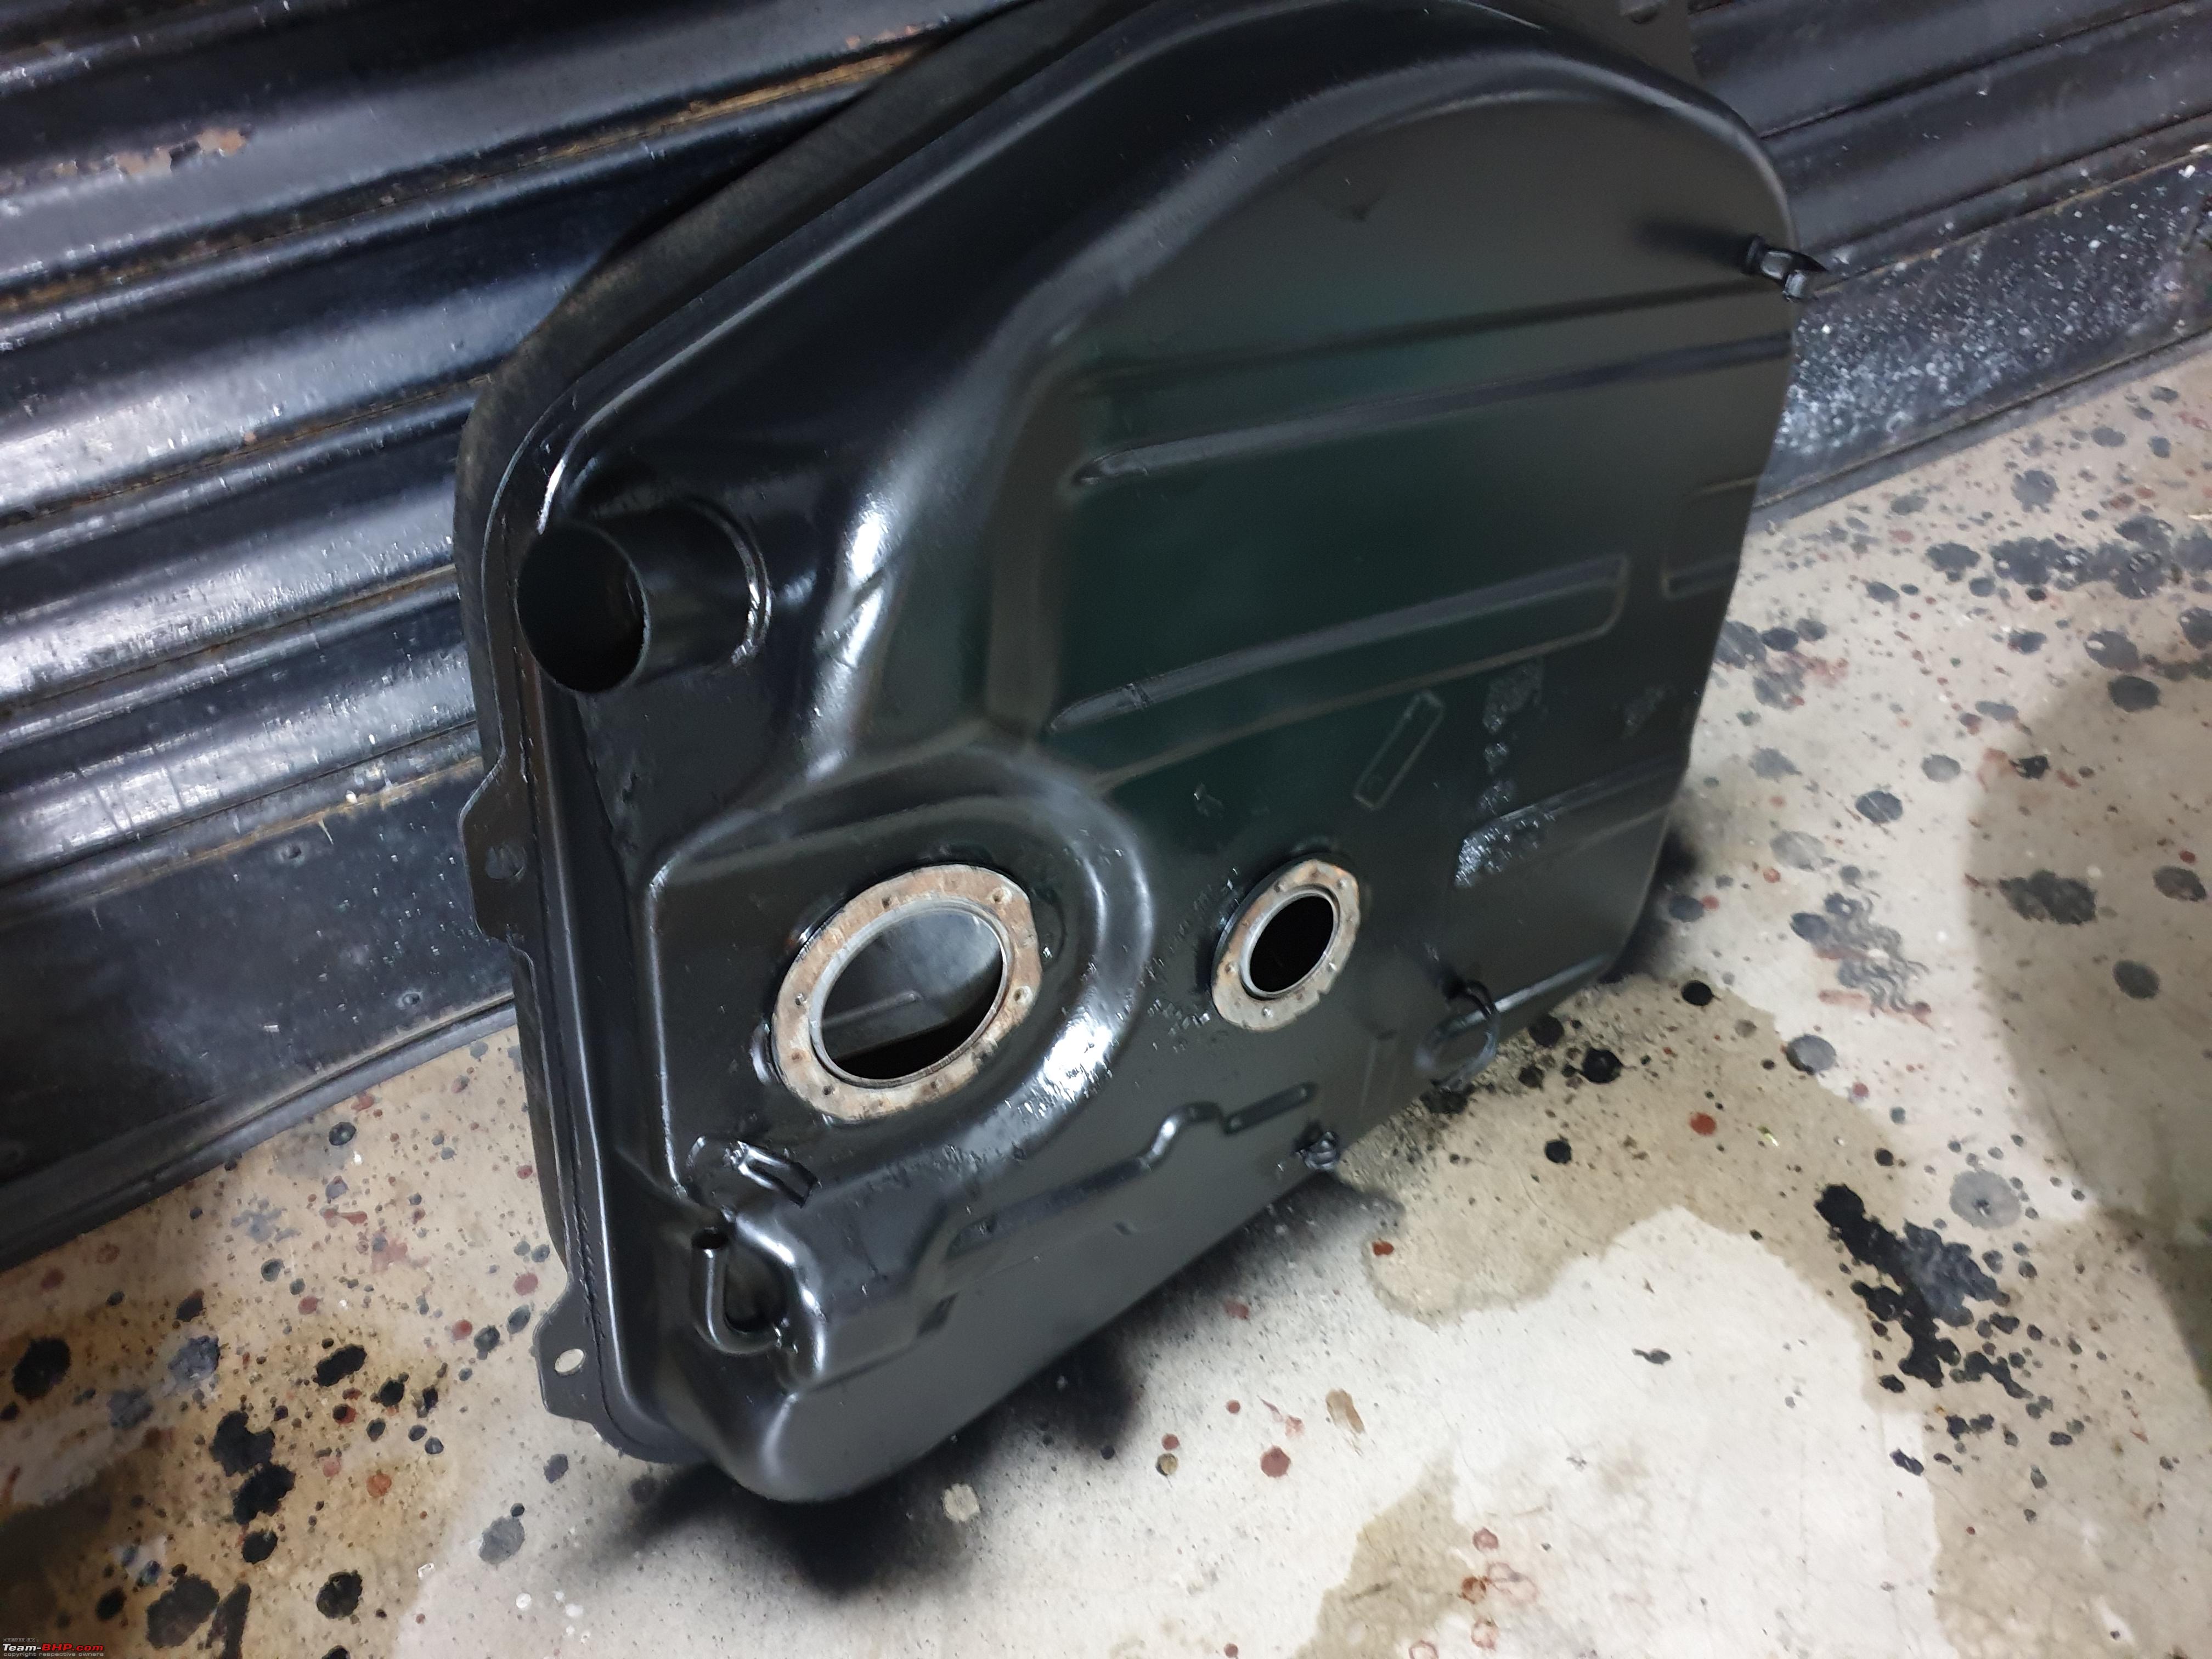
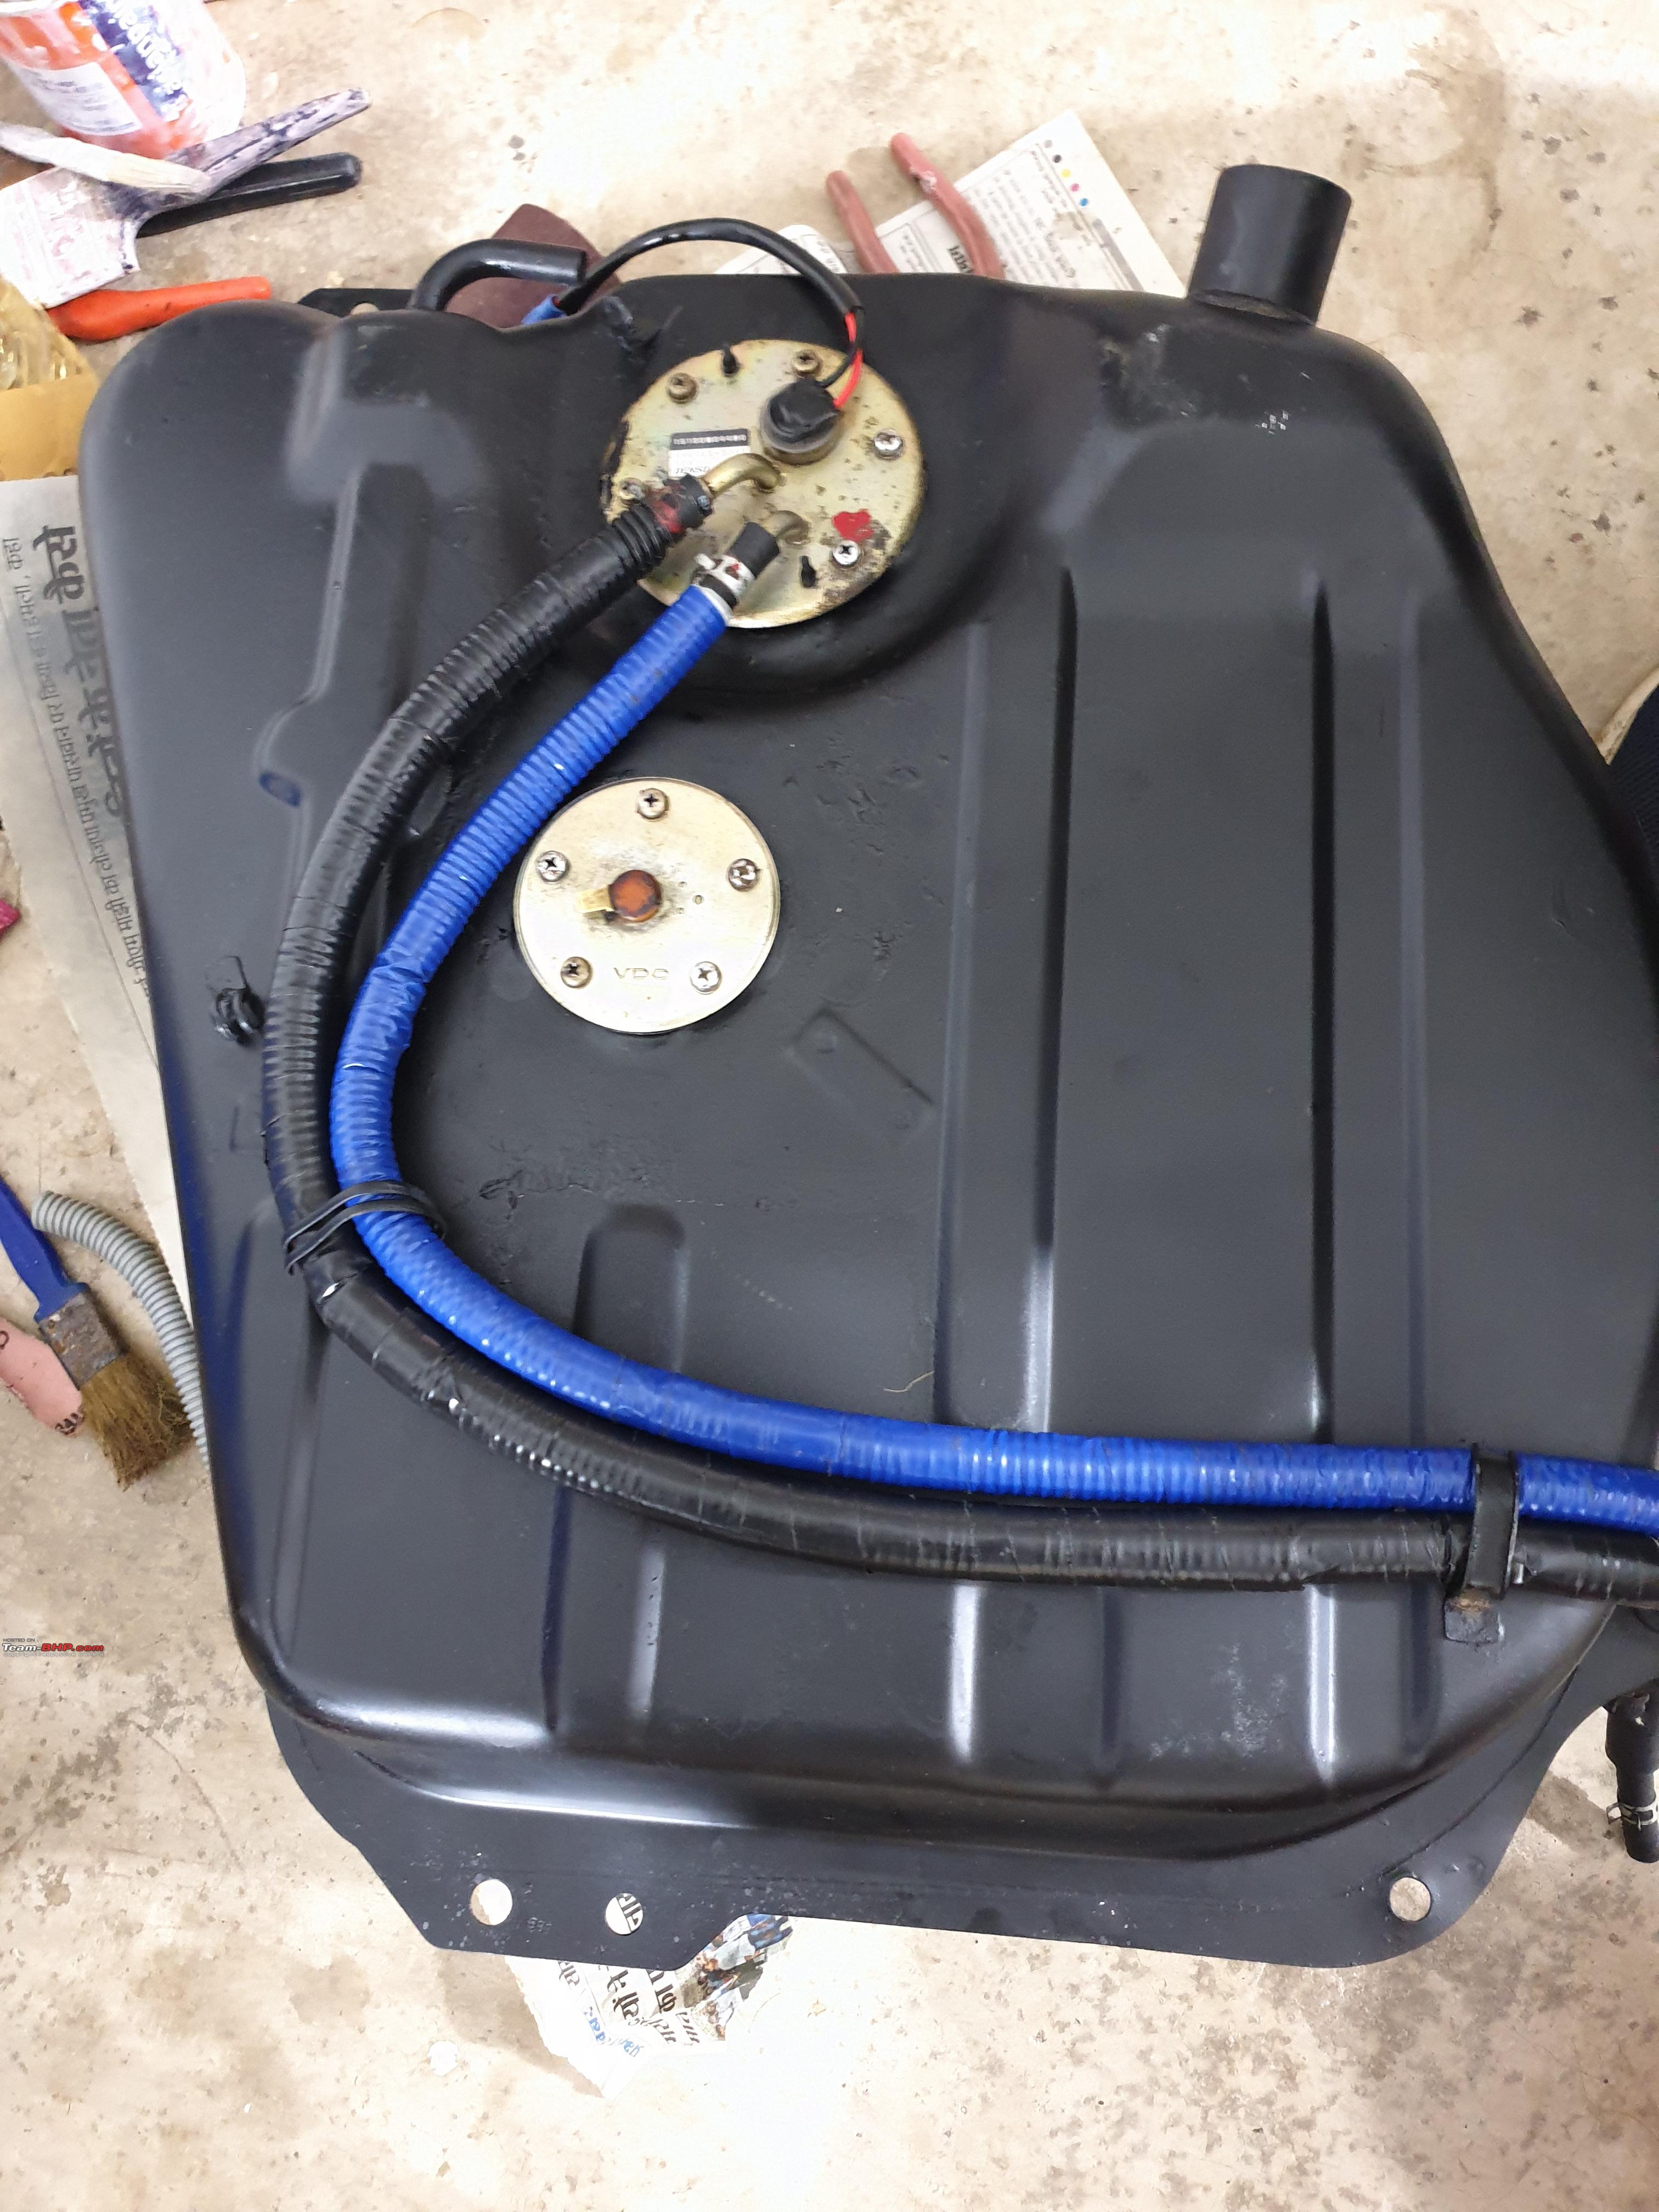
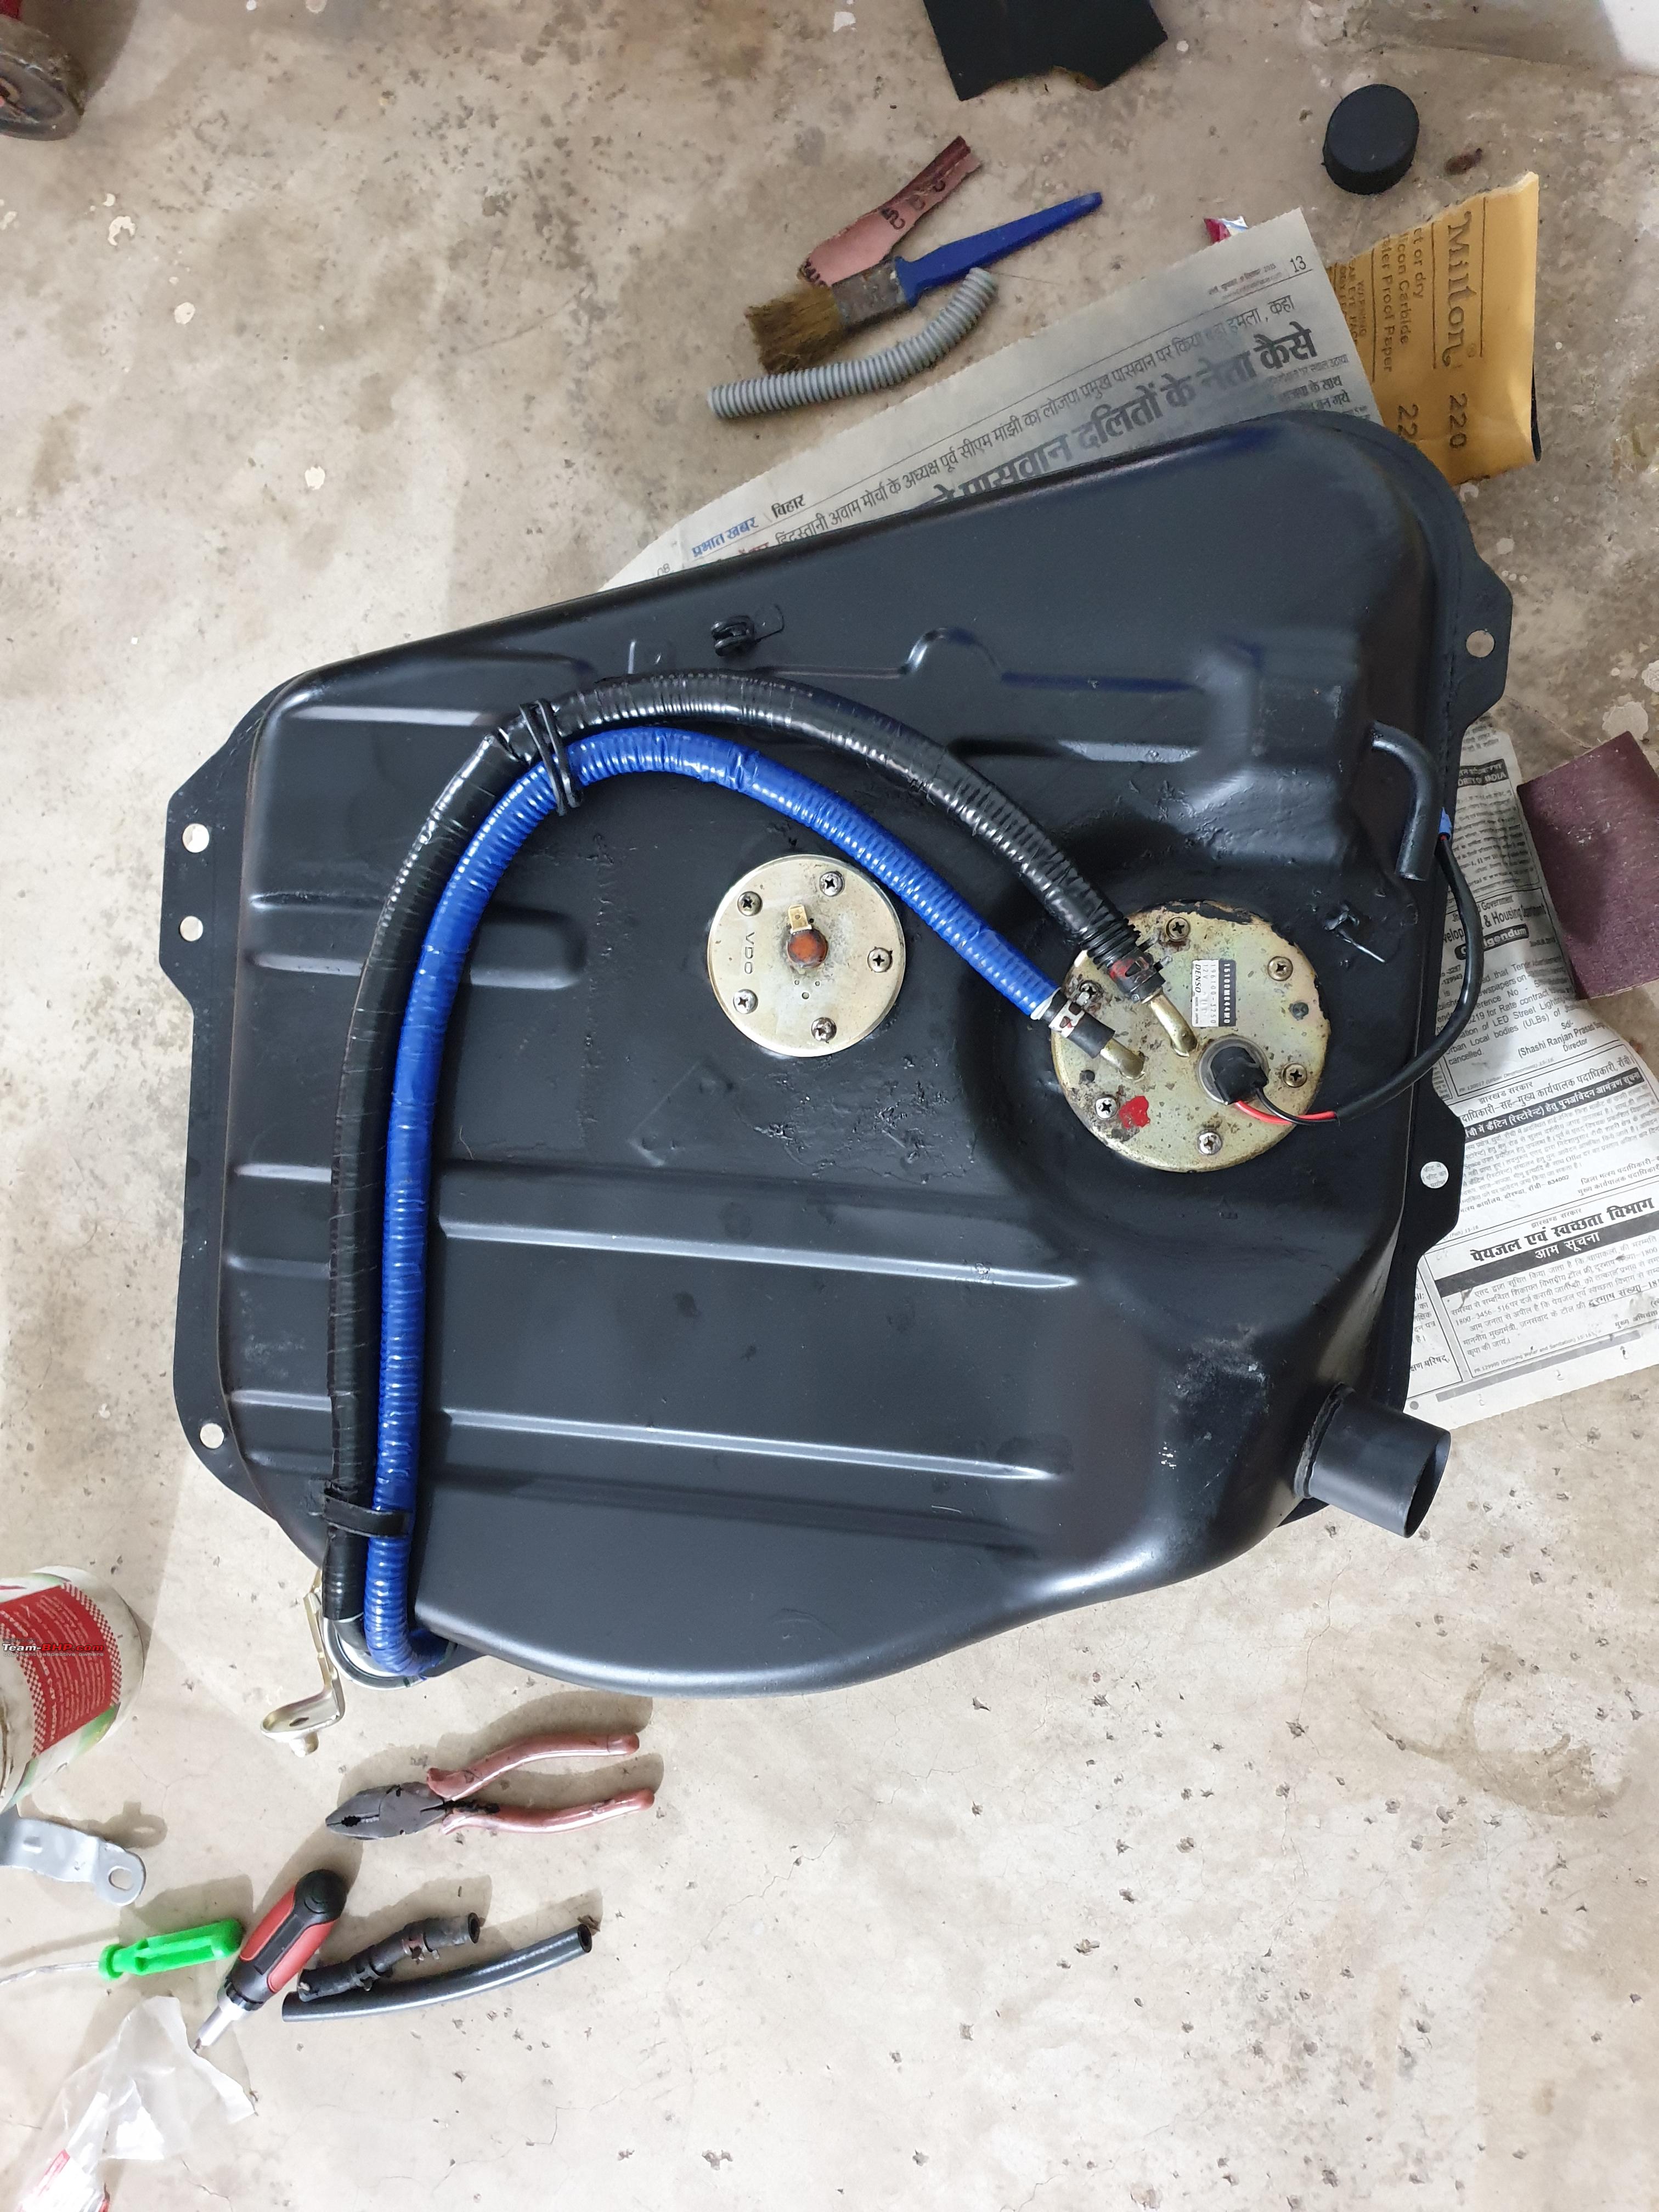
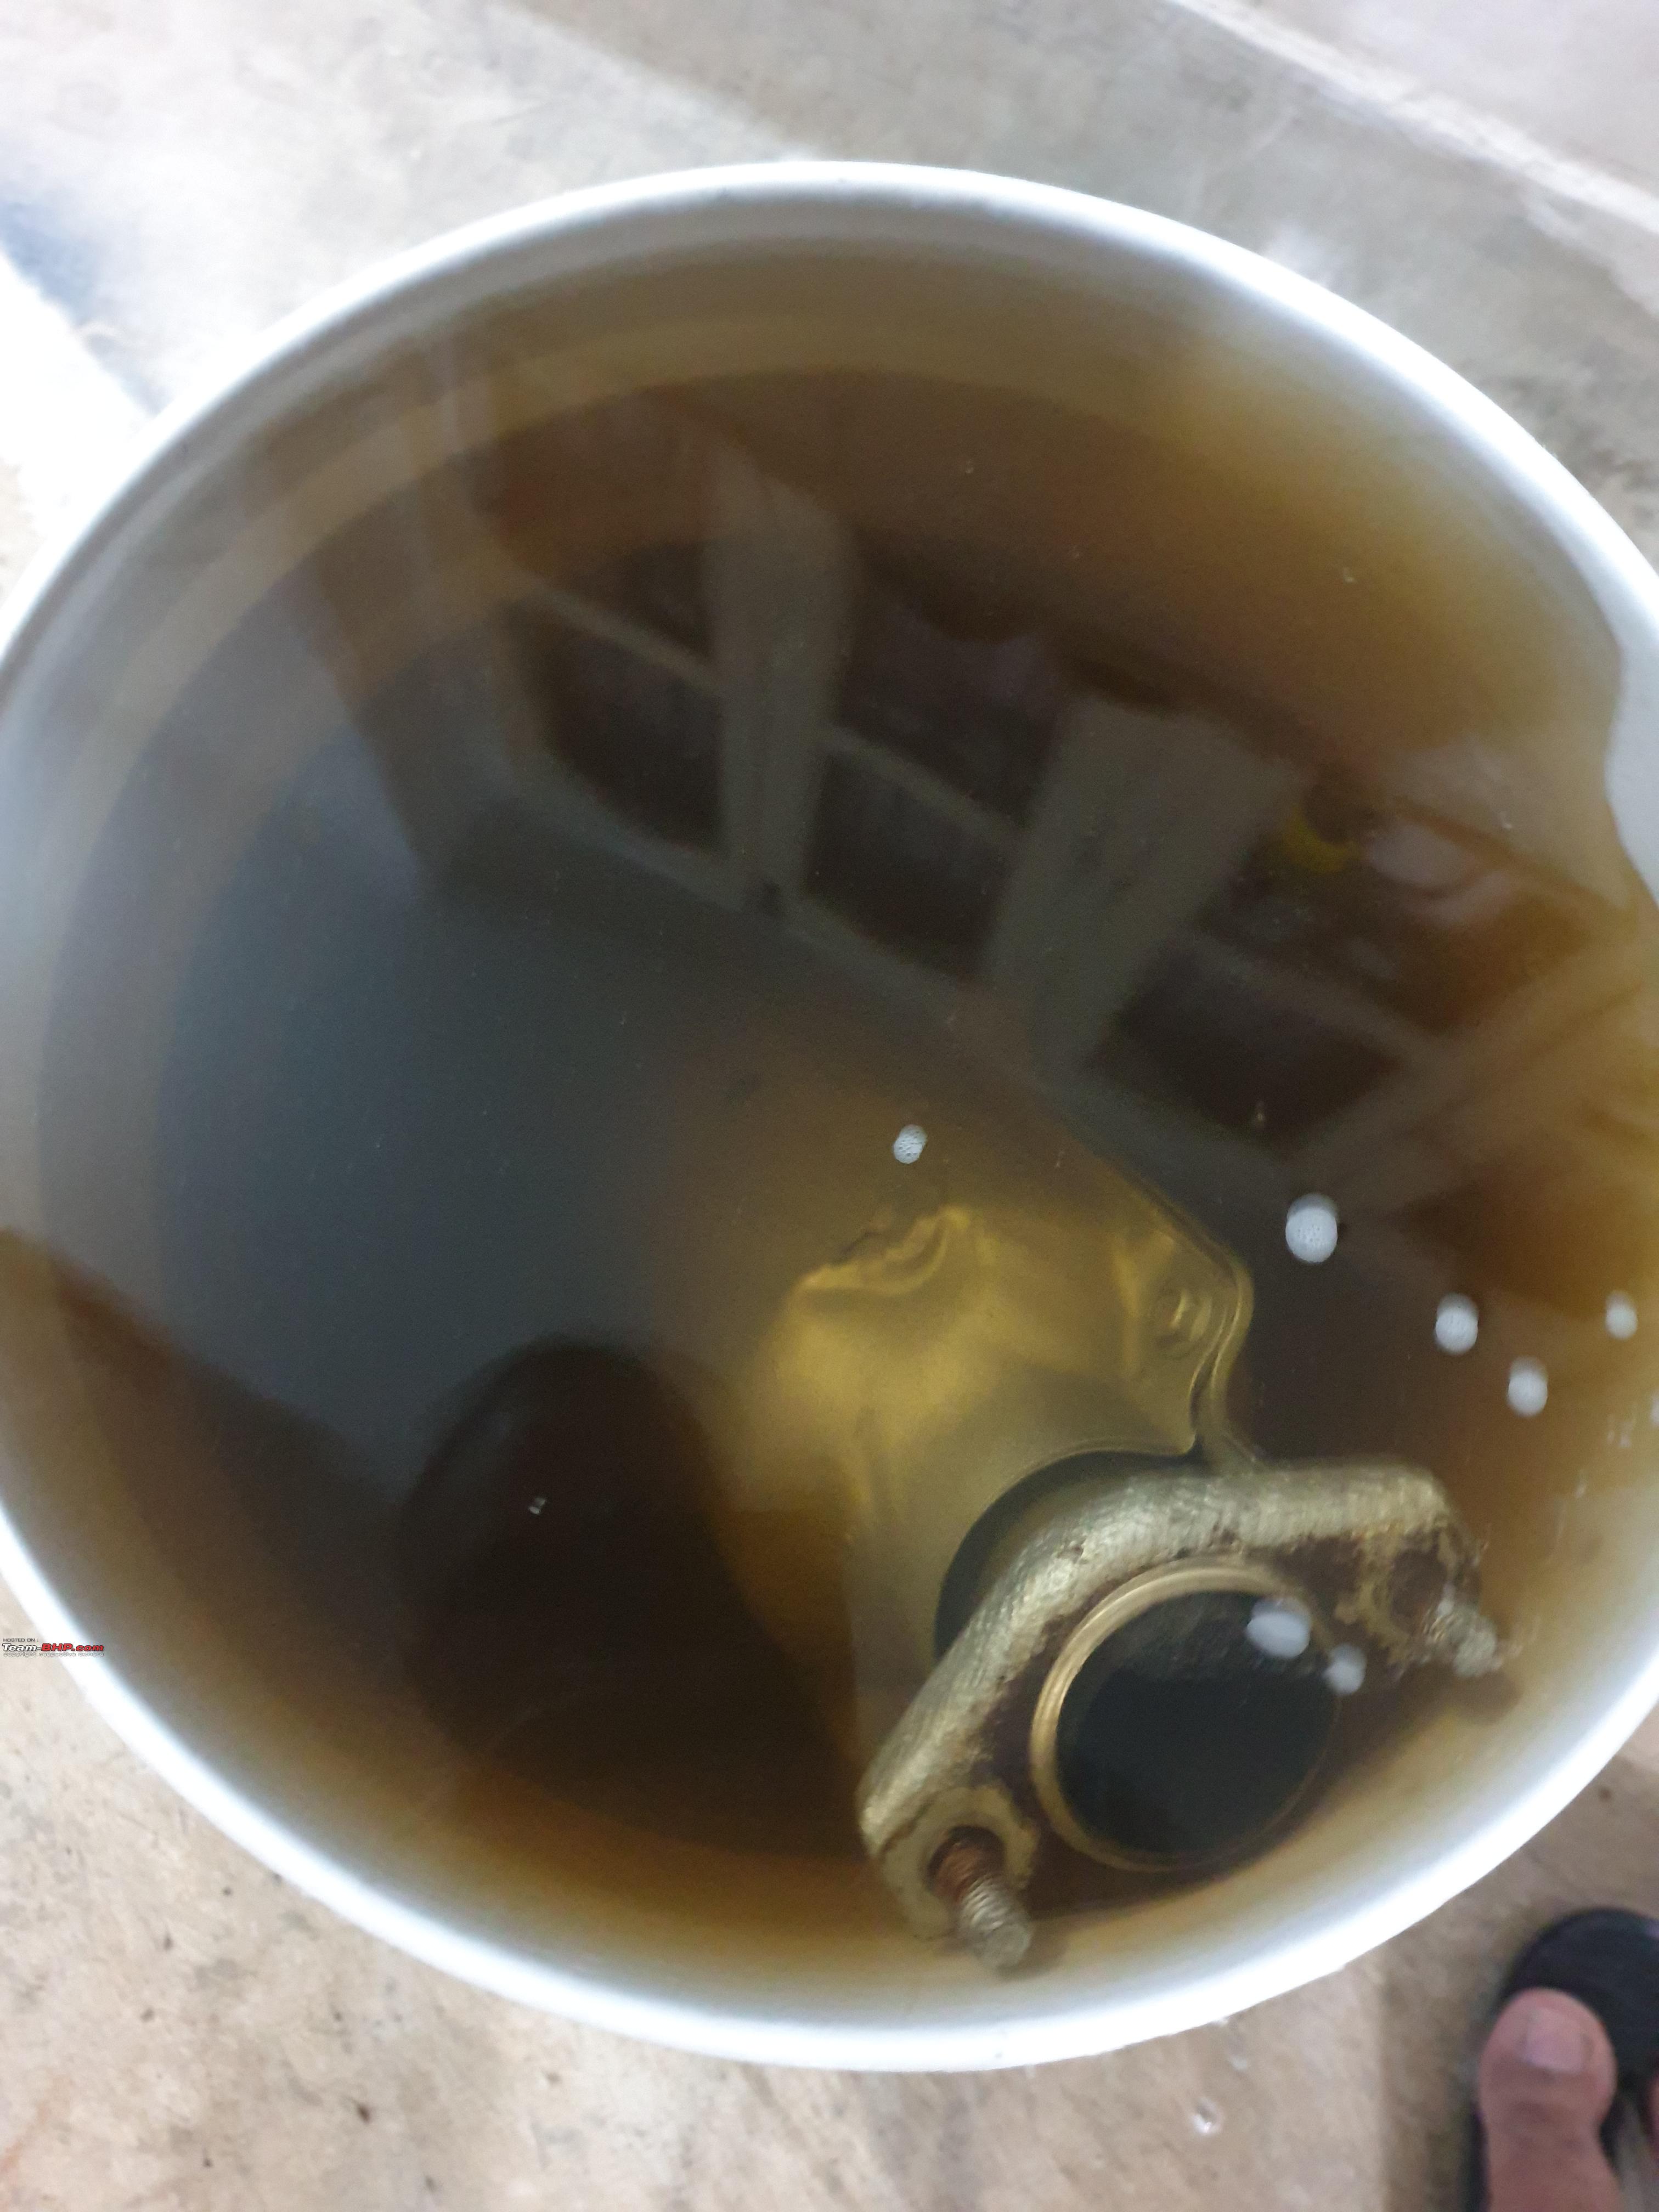
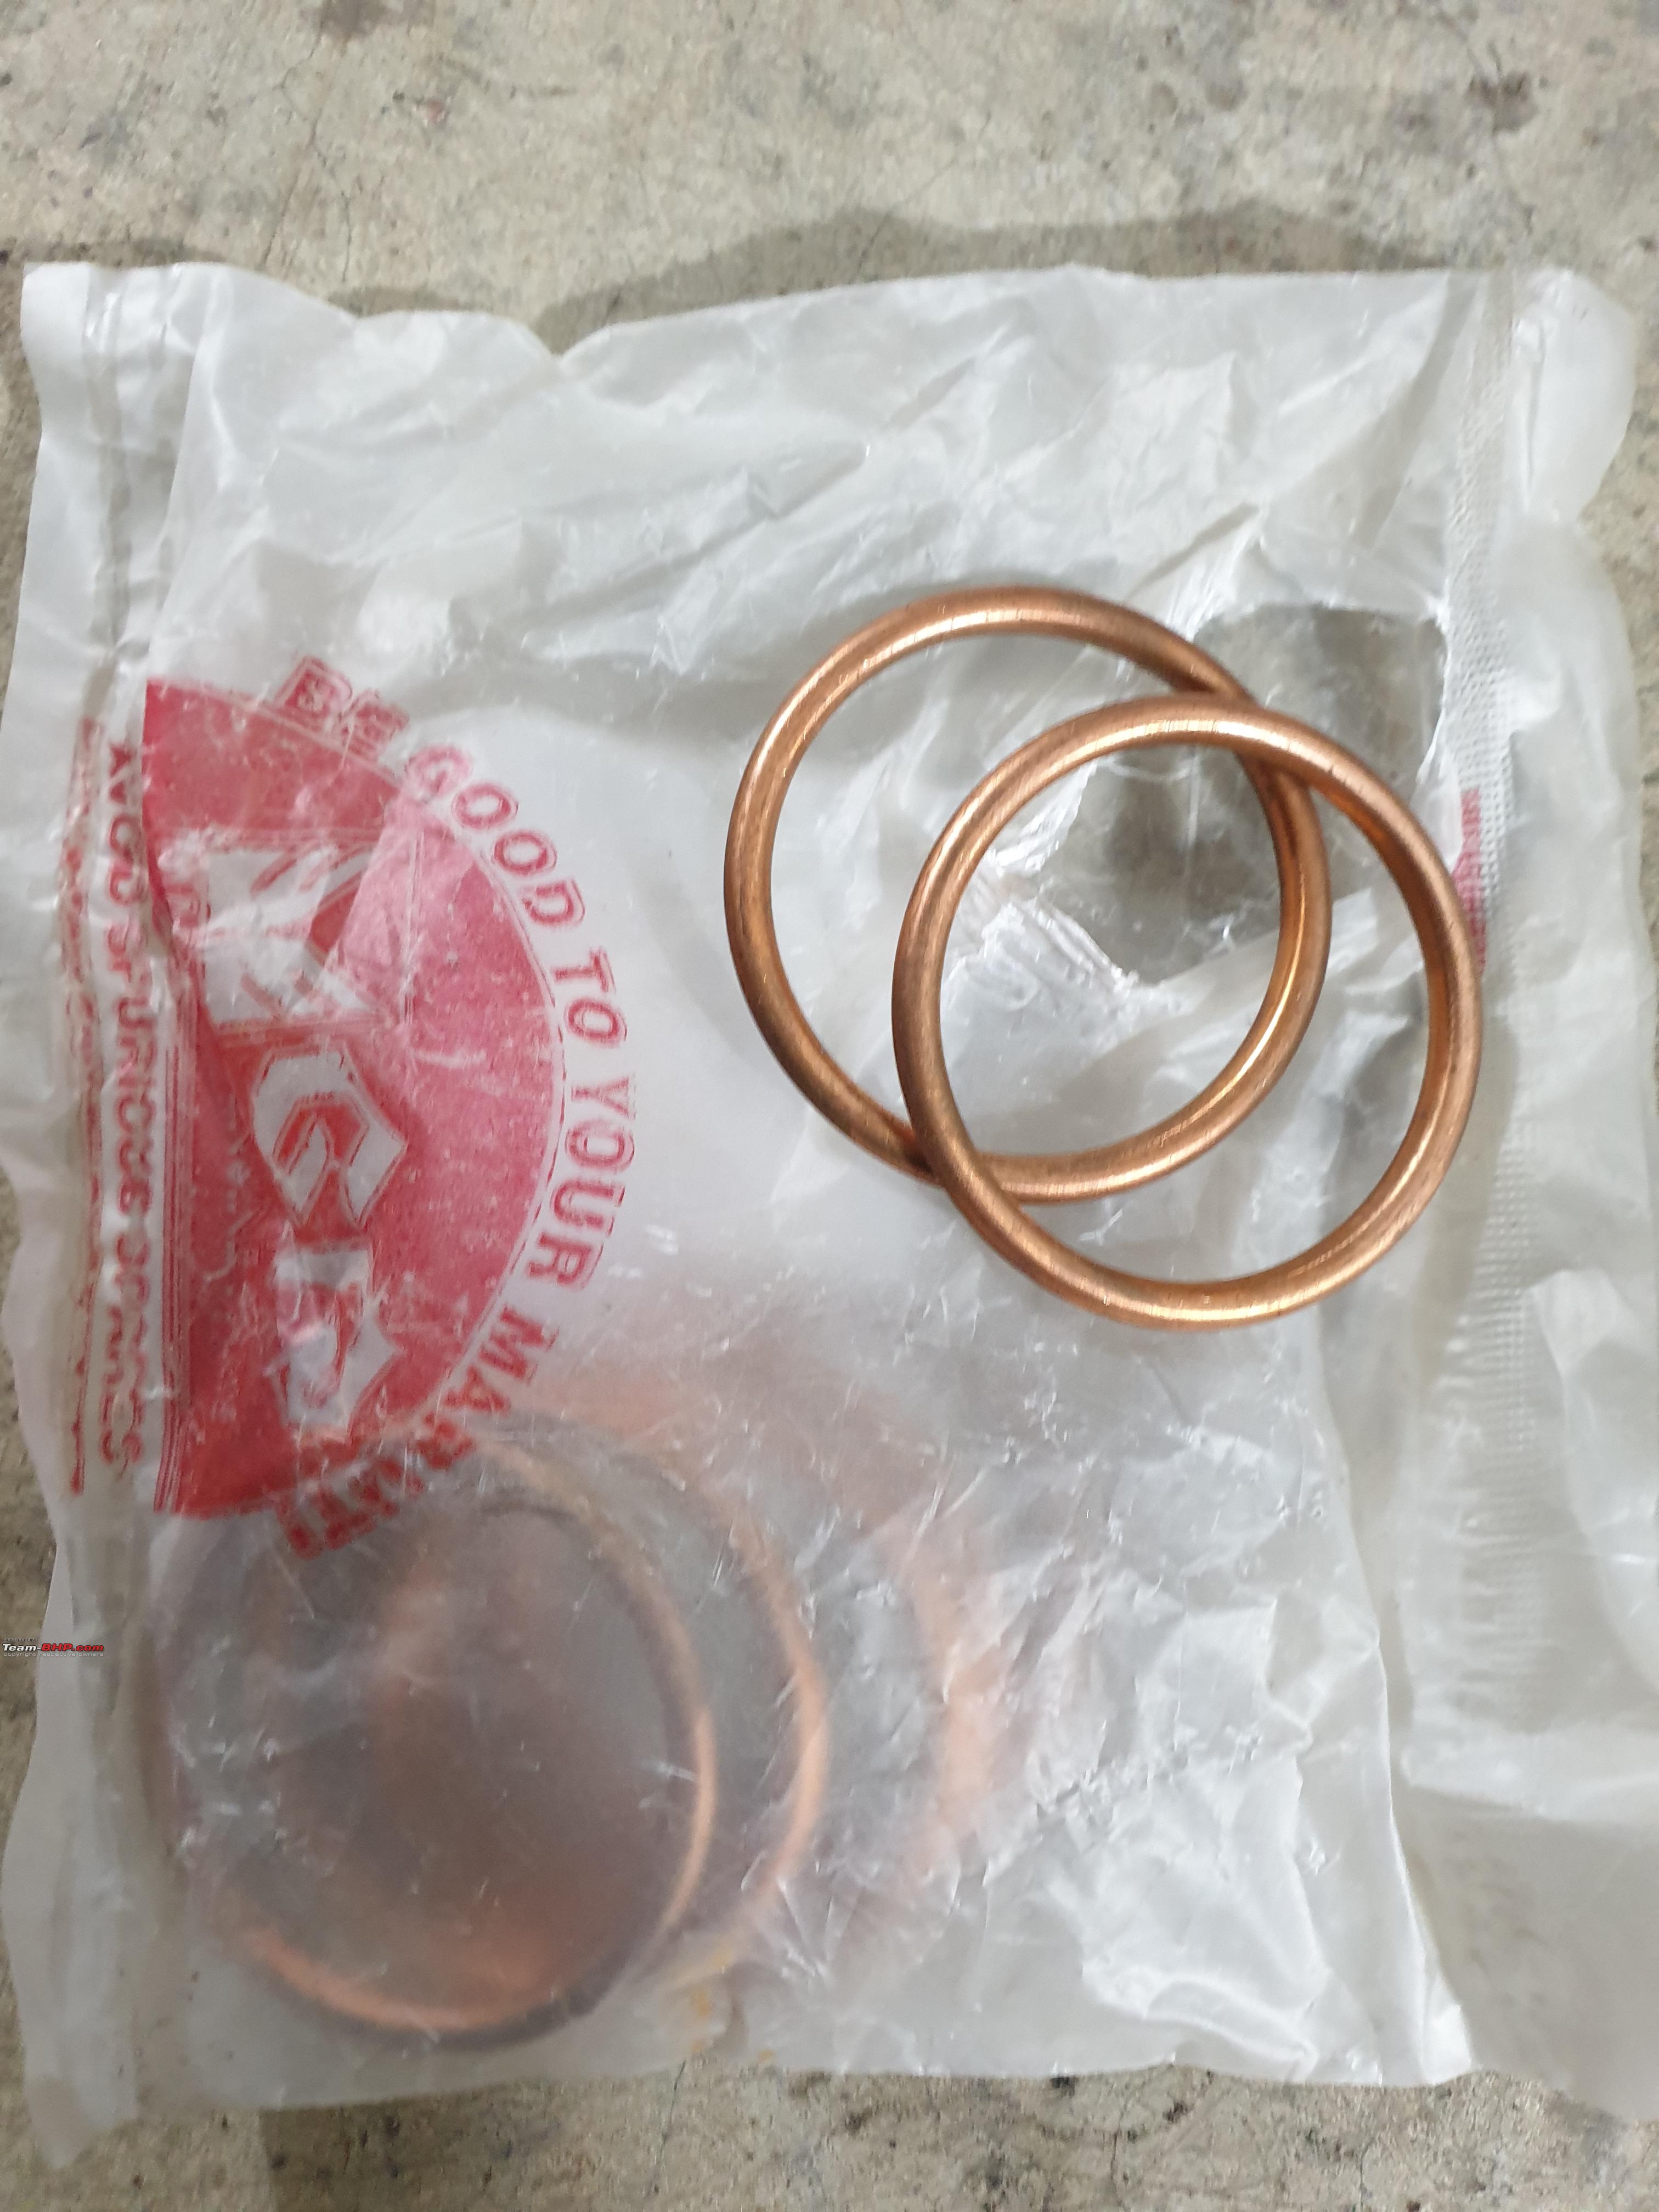
 The gasket of fuel level sender unit was gone again. Unfortunately it's gasket doesn't come separately. But since I had a new sender unit, I used it's gasket.
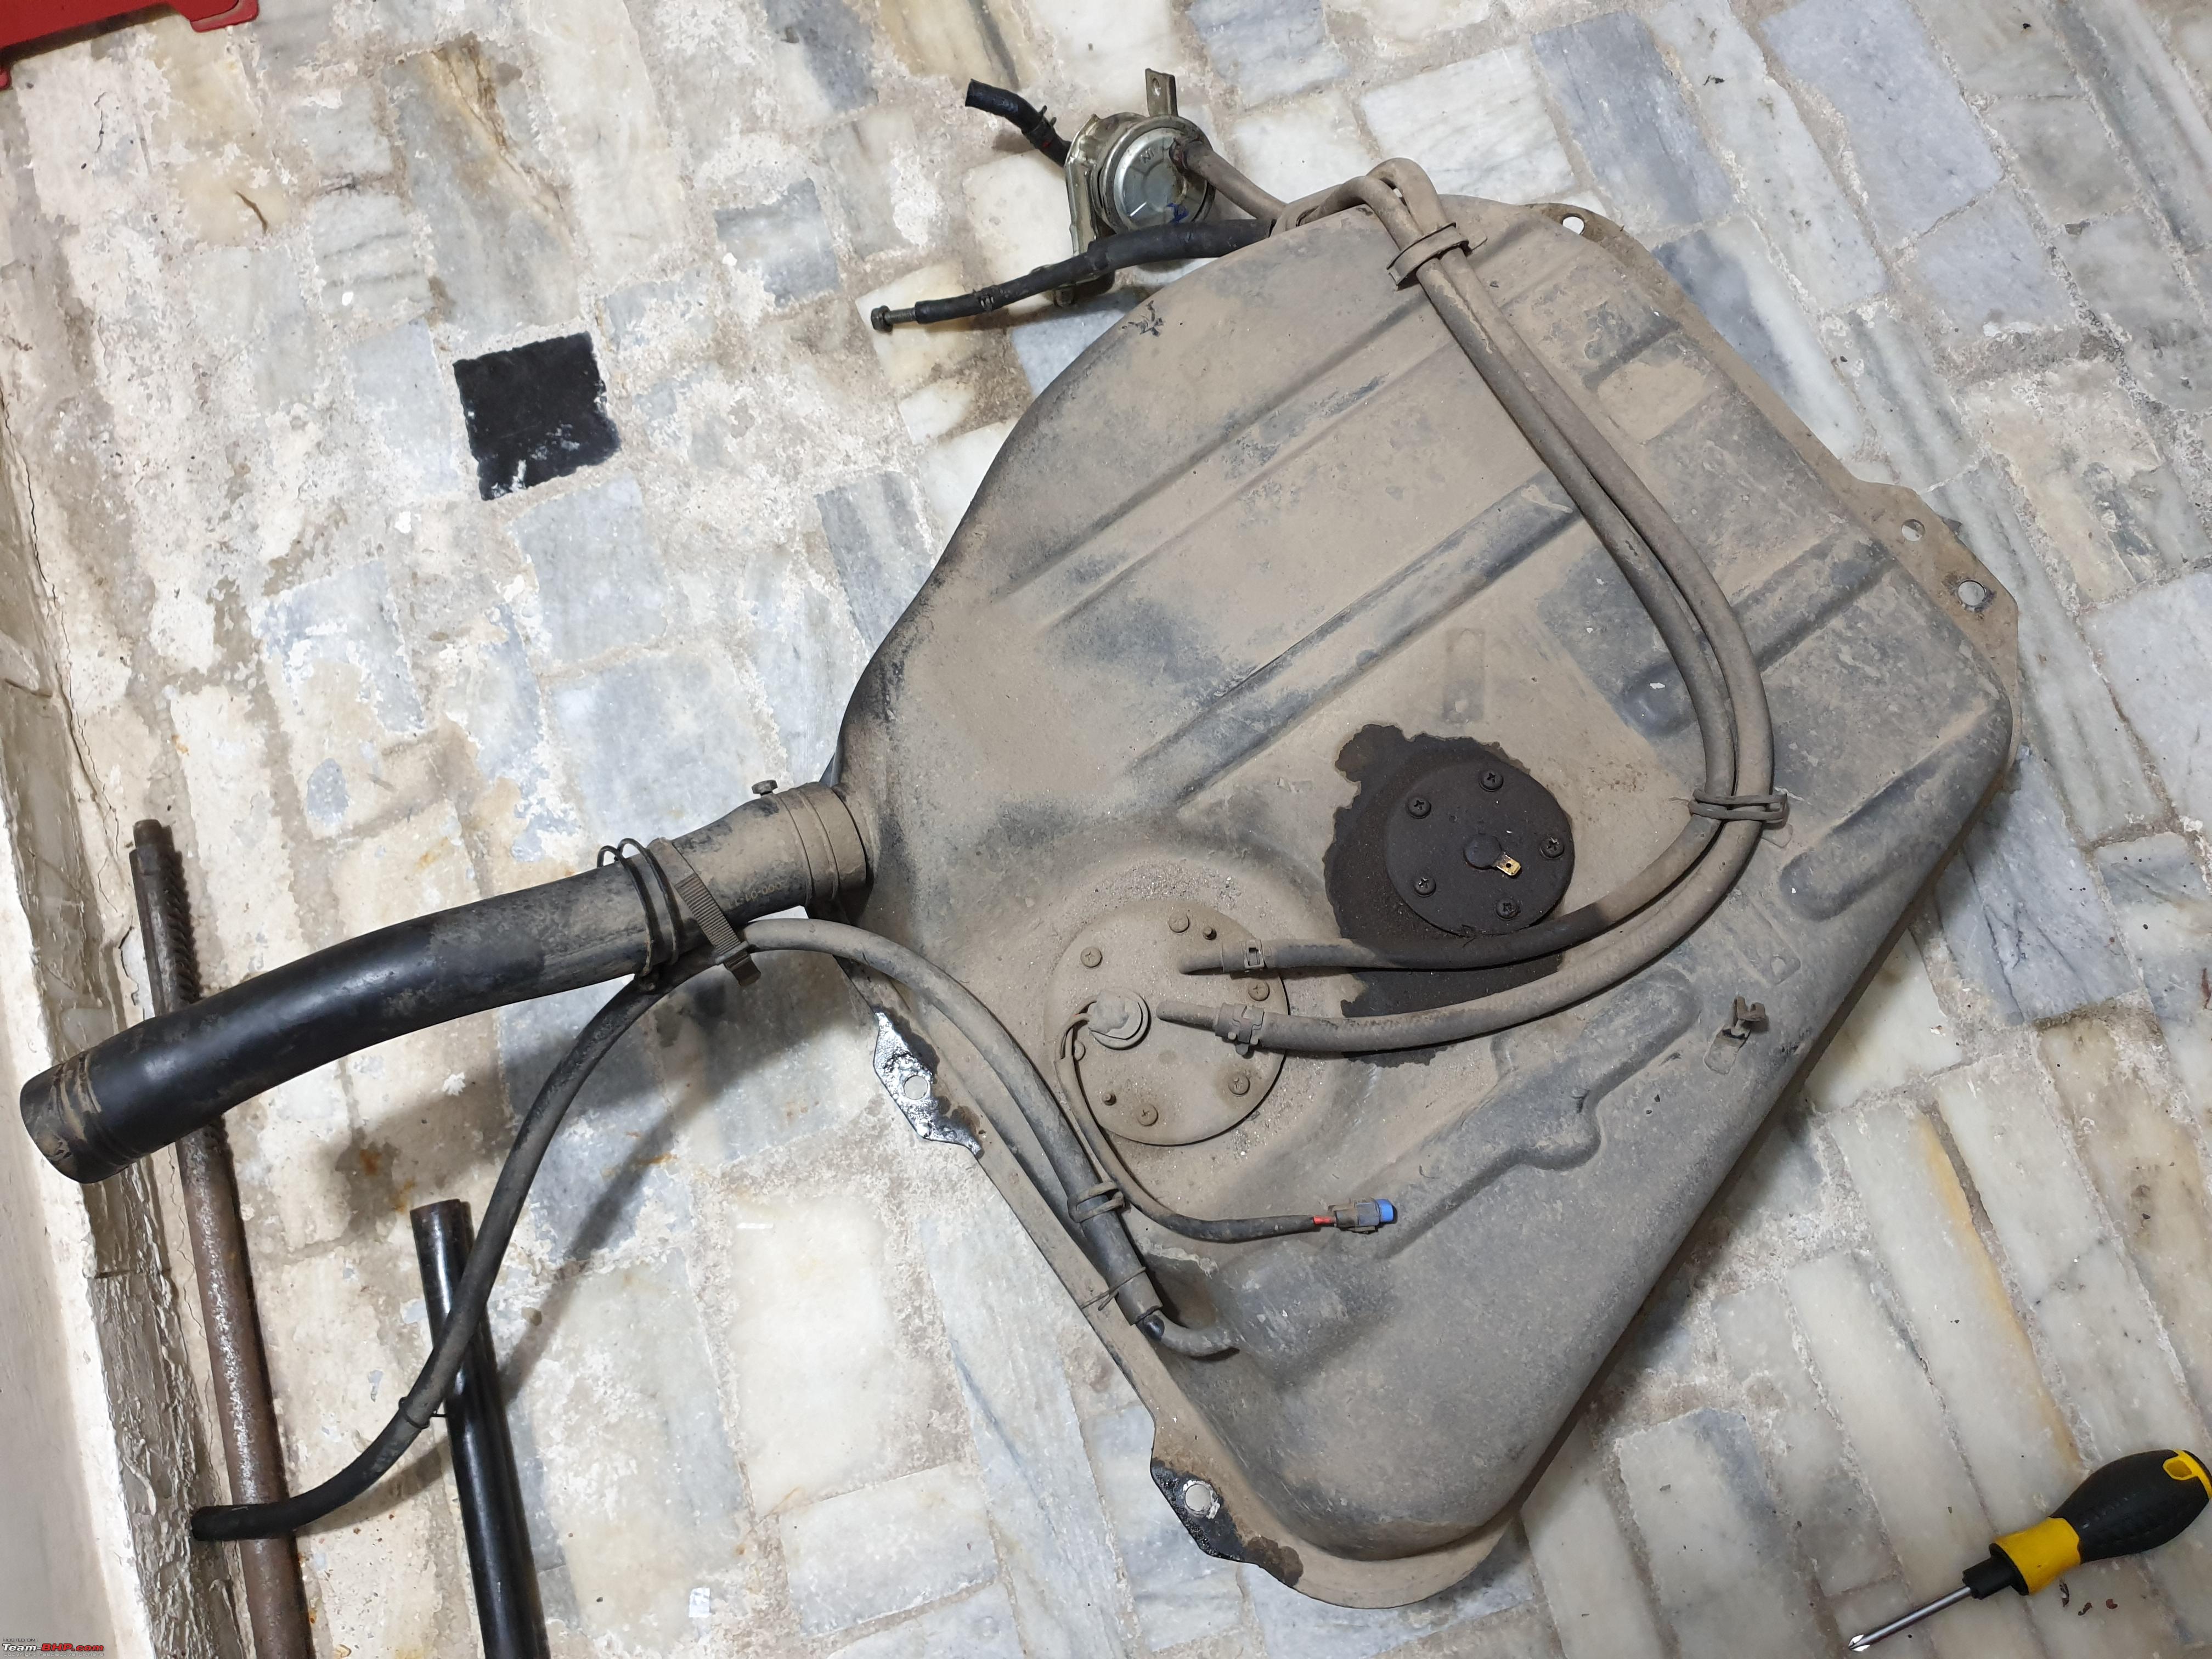


 :
: 


|
5th June 2020, 21:43
| #738 |
| Distinguished - BHPian | |
|
| (4)
Thanks
|


|
5th June 2020, 21:49
| #739 |
| Distinguished - BHPian | |
|
| (5)
Thanks
|

|
5th June 2020, 22:44
| #740 |
| Distinguished - BHPian Join Date: Jun 2012 Location: BengaLuru
Posts: 5,956
Thanked: 21,238 Times
| |
|
| (8)
Thanks
|

|
6th June 2020, 12:07
| #741 |
| Distinguished - BHPian | |
|
| (27)
Thanks
|


|
6th June 2020, 12:43
| #742 |
| BHPian | |
|
| (3)
Thanks
|
|
6th June 2020, 14:06
| #743 |
| Senior - BHPian Join Date: Apr 2020 Location: Pune | Mumbai
Posts: 1,150
Thanked: 3,037 Times
| |
|
| (2)
Thanks
|
|
6th June 2020, 16:56
| #744 |
| Distinguished - BHPian | |
|
| (5)
Thanks
|
|
6th June 2020, 19:19
| #745 |
| Distinguished - BHPian | |
|
| (4)
Thanks
|

|
6th June 2020, 19:49
| #746 |
| BHPian | |
|
| (1)
Thanks
|
| |
|
6th June 2020, 21:35
| #747 |
| Distinguished - BHPian | |
|
| (4)
Thanks
|
|
6th June 2020, 23:09
| #748 |
| Senior - BHPian Join Date: Mar 2010 Location: Bangalore
Posts: 1,614
Thanked: 2,204 Times
| |
|
| (1)
Thanks
|

|
7th June 2020, 12:35
| #749 |
| Distinguished - BHPian | |
|
| (2)
Thanks
|
|
9th June 2020, 01:03
| #750 |
| BHPian Join Date: Dec 2017 Location: Guwahati
Posts: 562
Thanked: 4,745 Times
| |
|
| (1)
Thanks
|
 |
Most Viewed