Team-BHP > Motorbikes > Superbikes & Imports
Register New Topics New Posts Top Thanked Team-BHP FAQ


Reply
  Search this Thread
153,021 views
Old 14th January 2010, 12:02   #106
Senior - BHPian
 
Join Date: May 2005
Location: Location
Posts: 5,766
Thanked: 9,054 Times

Really happy to know the project is back on track and to see how things are progressing.
It was a bit of let down when you had frame issues earlier during the build.

Full steam ahead!
Sankar is offline  
Old 14th January 2010, 16:56   #107
BHPian
 
RuffRyder's Avatar
 
Join Date: Jun 2008
Location: Bangalore
Posts: 286
Thanked: 8 Times

Quote:
Originally Posted by luky_13 View Post
Around 45~60 days more in terms of time. Paint job - Wild grey ! Not decided on the graphics yet.
good to see you back @luky_13
All the best with the build. Looking forward to see it in flesh very soon.
RuffRyder is offline  
Old 6th March 2010, 15:03   #108
BHPian
 
Slick!'s Avatar
 
Join Date: Mar 2009
Location: BNE,BLR
Posts: 50
Thanked: 0 Times

Hi Luky 13

Anxious to see developments on your project. You mentioned painting in your last post. Any progress on that? Hope you got those calibration issues sorted.
Slick! is offline  
Old 17th April 2010, 07:45   #109
BHPian
 
luky_13's Avatar
 
Join Date: Nov 2008
Location: Bangalore
Posts: 580
Thanked: 156 Times

Sorry for the long intermission ! Blame it on financial year ending

Facing a few issues
1. Alignment of transmission - having trouble using the engine for reference to align
2. Fixture for transmission mount - can only be done once the position is sorted out

Decided to go for Softail B type transmission, the transmission case arrived this week. More once i start to machine adaptor plates for the tranny !
luky_13 is offline  
Old 18th April 2010, 10:55   #110
BHPian
 
luky_13's Avatar
 
Join Date: Nov 2008
Location: Bangalore
Posts: 580
Thanked: 156 Times
Resolution

A run through: The initial plan was to use a pre-1999 style transmission for the build. This creates 2 issues:
1. If you see the pic below reference and alignment for this kind is error prone. I would need to make a "Transmission mounting plate" to the seat it over the rear shocks and at the same time adjust it laterally so that it is totally inline with the engine centre axis. Because the position of the engine front mount is not finalized yet due to other constraints the problem is compounded.

2. The "Transmission mounting plate" bolts could interfere with the shocks. Under driving condition the shocks have a 3~4 degree movement vertically as a function of the shock absorbing action.


The solution: A 2000 style softail transmission case (on the left). Mates directly to the rear of the engine, does not need a "transmission bottom plate", held by the swingarm pivot shaft at the rear fusing the engine and the tranny as one power-train unit.


Although this is a simplistic solution, it creates another problem. We are using a 'A' type twin-cam engine for our build which is 40mm shorter than the 'B' type which is used on Harley softails there is a gap of 40mm between the mating face of the tranny and the motor for which we need to build a 2 plate adapter set.

Engine side


Transmission side


More after the assembly of the engine-adaptor-tranny!
Attached Thumbnails
Dreamweaver build-off: HD Fatboy-dsc_0137.jpg  

Dreamweaver build-off: HD Fatboy-dsc_0139.jpg  

Dreamweaver build-off: HD Fatboy-dsc_0132.jpg  

Dreamweaver build-off: HD Fatboy-dsc_0125.jpg  

Dreamweaver build-off: HD Fatboy-dsc_0129.jpg  

luky_13 is offline  
Old 18th April 2010, 12:12   #111
Senior - BHPian
 
Join Date: May 2005
Location: Location
Posts: 5,766
Thanked: 9,054 Times

Eagerly awaiting more pics of the build!
Sankar is offline  
Old 19th April 2010, 21:58   #112
BHPian
 
msvg's Avatar
 
Join Date: Dec 2007
Location: USA / Bangalore
Posts: 209
Thanked: 23 Times

Amazing progress man
msvg is offline  
Old 20th April 2010, 23:48   #113
BHPian
 
TomRider's Avatar
 
Join Date: Oct 2007
Location: KL7-KA03-NYC
Posts: 340
Thanked: 4 Times

One word. "Awesome"!
And this thread is in the bookmarks now.
TomRider is offline  
Old 21st April 2010, 15:53   #114
BHPian
 
luky_13's Avatar
 
Join Date: Nov 2008
Location: Bangalore
Posts: 580
Thanked: 156 Times

Finally able to mate the transmission to the engine with intermediate mounting plates, so in short a small mission accomplished.
The engine has been stabalized at the front on the front mount and at the rear on the transmission through the rear swing-arm pivot shaft.

Next target is the front engine mount, very critical to the rest of the build. Waiting for the rubber mount to arrive before starting !
Attached Thumbnails
Dreamweaver build-off: HD Fatboy-dsc_0007.jpg  

Dreamweaver build-off: HD Fatboy-dsc_0010.jpg  


Last edited by luky_13 : 21st April 2010 at 15:54.
luky_13 is offline   (1) Thanks
Old 21st April 2010, 16:34   #115
BHPian
 
sabret00the's Avatar
 
Join Date: Mar 2006
Location: YYC | BLR | CCU
Posts: 692
Thanked: 55 Times

I just found this thread and read all the posts till now. Subscribing to this.
sabret00the is offline  
Old 19th May 2010, 17:13   #116
BHPian
 
Praveen1's Avatar
 
Join Date: Jun 2007
Location: Hyderabad
Posts: 54
Thanked: 2 Times

Its unreliastic building a Harley in Bangalore. Great effort.
Work is simply amazing.

Can't you source frame alone like other parts?
Praveen1 is offline  
Old 19th May 2010, 21:48   #117
BHPian
 
KA18's Avatar
 
Join Date: Apr 2010
Location: Chikmagalur
Posts: 287
Thanked: 309 Times

@luky_13

A very interesting project.

I've subscribed to the thread and still awaiting updates and pics of the Fatboy on road.

It's been nearly a month, any progress so far?
KA18 is offline  
Old 21st July 2010, 12:46   #118
BHPian
 
luky_13's Avatar
 
Join Date: Nov 2008
Location: Bangalore
Posts: 580
Thanked: 156 Times
Restart

... coming back from hibernation to restart the build. Sorry for the rather long intermission, took some time to develop and source a few 'hard to find' parts.

Meanwhile we have been up to some really interesting stuff. Putting together a high horsepower Twin cam motor demands we upgrade the bearing setup on the flywheel (rotor side) from the standard cylindrical roller to Timken conical bearing. The Flywheel is technically 'non-rebuildable' (as per the harley service manual) but out in the west a large percentage of Twin cam motors resort to this upgrade before a rebuild for anywhere between $350 ~ $500. At the onset this non-rebuildable crap let our spirits down and sending the flywheel anywhere to US did not make any sense, it would cost us more than $1500 in freight and customs duty alone. Google wasn't of too much help either, most shops do not like to advise or advertise the process as it risks loss of business for them. Having forced ourselves into a corner we had no other option but get our hands dirty!

'THE PATIENT'
Dreamweaver build-off: HD Fatboy-tc88a_timkenconv_2small.jpg

The process involves extraction of the pressed roller bearing 'race', installation of the timken bearing, minimize crankshaft run out and flywheel balancing. The race is pressed over the crankshaft using a heavy tonnage press and there are tools that aftermarket part champions like JIMS provide to remove them, on inquiry we got a quote of $500 (landed) for the tool 
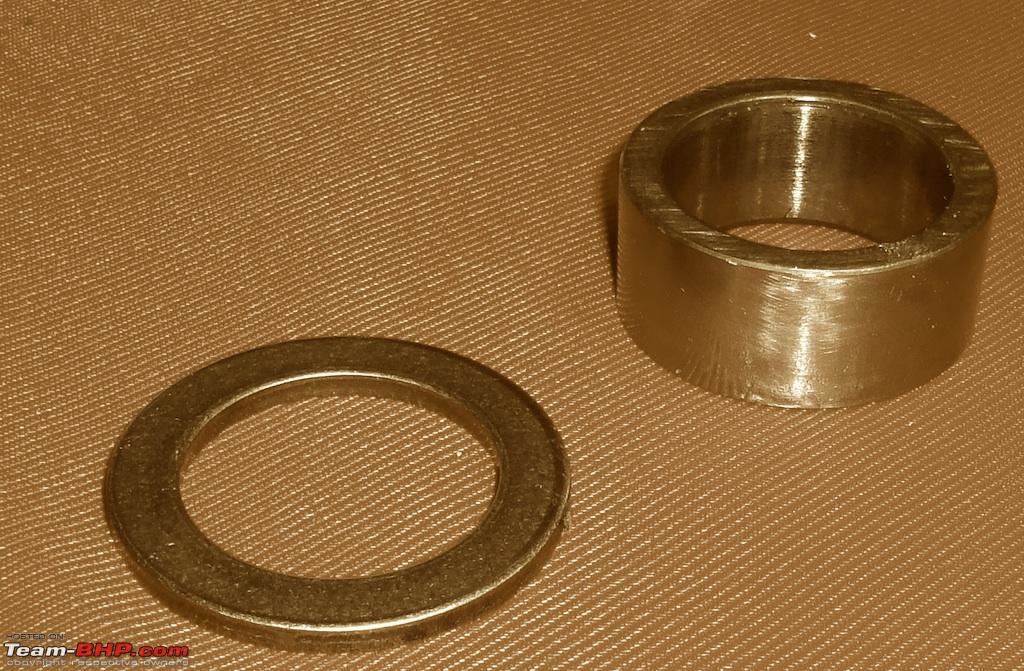
. This was unacceptable and meant that we had to design and develop the tool in house. I will not go in to the details of that process. At the end of about a week the tool was designed, machined, checked one final time and sent for heat treatment.

'THE TOOL'
Dreamweaver build-off: HD Fatboy-tool1.jpg

For those who are more interested to know the more about Timken conversion there is a nice video on YouTube .
luky_13 is offline  
Old 21st July 2010, 14:17   #119
BHPian
 
Join Date: Nov 2008
Location: india
Posts: 209
Thanked: 5 Times

I am not at all a HD fan but I am surely a Fan of your efforts. I wish you do get your dream bike rolling on roads soon & awaitng its ride reports & pix & videos !

God Bless your efforts !
Jonny Bravo is offline  
Old 21st July 2010, 20:37   #120
BHPian
 
luky_13's Avatar
 
Join Date: Nov 2008
Location: Bangalore
Posts: 580
Thanked: 156 Times

Once the setup to perform this surgery was ready, it was time to make the first cut !
Dreamweaver build-off: HD Fatboy-tc88a_timkenconv_1.jpg

The wedge clamp was installed and clamped, torque 35 ft-lbs. Lube on the screws, wedge and a few other places.
Dreamweaver build-off: HD Fatboy-tc_timkenconv_2.jpg

Using a heat gun heated the race to 200 C all around
Dreamweaver build-off: HD Fatboy-tc_timkenconv_3.jpg

The torque wrench was put on and the circus started
Dreamweaver build-off: HD Fatboy-tc_timkenconv_4.jpg

After 2 full turns we heard a loud 'TAK' sound, the race started to move
Dreamweaver build-off: HD Fatboy-tc_timkenconv_5.jpg

Some more laborious turns, some more movement
Dreamweaver build-off: HD Fatboy-tc_timkenconv_6.jpg

And finally, freedom
Dreamweaver build-off: HD Fatboy-tc_timkenconv_7.jpg

...history !
Dreamweaver build-off: HD Fatboy-tc_timkenconv_8.jpg

The whole process took about 15 minutes but for us it was a major feat . The race is out, timken installation ... tomorrow.
luky_13 is offline   (1) Thanks
Reply

Most Viewed


Copyright ©2000 - 2024, Team-BHP.com
Proudly powered by E2E Networks