News
Yamaha Aerox ownership: Latest modification made & 6 others planned

It takes away from the chunky tyre look, but that is a compromise I have to make.
BHPian quicksilver101 recently shared this with other enthusiasts.
New day, a new Aerox mod.
I was getting bummed looking at how dirty the scooter gets in monsoon, on even small 2 min grocery runs. Just take the bike out, and it would look like I haven't cleaned it (especially the rear near the tyre) in ages even though it gets washed practically daily. The big culprit was Mumbai rains, of course, but also the lack of a proper mudguard/tyre hugger. It just needs a little bit of rain for the entire back section to get caked with dirt, including the KTC suspension that I would very much like to show off as much as I can
And on the days I have to be the pillion on the scooter, I would also get a little bit of dirt splash on my clothes.
Here's what the Aerox looks like normally. This was freshly washed and then taken for a grocery run when it wasn't raining.


If there was more rain, it would be significantly dirtier. I figured I would get a tyre hugger.
So I got the Yamaha "stock" tyre hugger from hypertourer. Cost ₹1900 for the part, + ₹450 shipping to Mumbai + ₹415 fitting from V Mirai (Yamaha authorized workshop) = ₹2765.
This is what it looks like after fitting:


This was after a one-hour highway run. It wasn't actively raining, but there were lots of puddles.
The tyre hugger came out fairly expensive for what it is, but now it takes a lot more to dirty the bike's rear. It also takes away from the chunky tyre look, but that is a compromise I have to make to avoid getting my clothes unnecessarily dirty from stray splashbacks.
I would consider this as an optional mod for Aerox.
Here are the changes I have made to my Aerox:
- KTC Racing Extreme suspensions (changing stock suspensions is highly recommended change, can choose cheaper alternatives)
- Stiffer side stand spring (very cheap upgrade that is highly recommended that would save you a lot of money on unnecessary panel replacements
- Side stand shoe (skippable, doesn't do much)
- Grocery hook in the front (discretionary, depending on needs)
- Tyre hugger (optional/discretionary)
- Tank pad sticker (cosmetic)
- Tyre rim stickers (cosmetic)
Stuff I will add over the months:
- Bigger disc for the front brake to improve stopping power at higher speeds
- A bit more comfortable seat. Not a sofa, but not this wooden plank either. Something in the middle.
- Handlebar ends: Damaged the earlier ones when the bike fell off the side stand. Yamaha Workshop doesn't have it in stock, so will probably get some aftermarket good ones.
- Underseat partitions: Helps a little with organizing
- Better mirrors
- Replacement for left side front panel and rear air filter cover: Damaged when the bike fell off the side stand. Will replace after the monsoon.
Check out BHPian comments for more insights and information.
- Tags:
- Indian
- Yamaha Aerox
- Modifications
News
My Thar diesel AT: Mileage, drive experience & modifications made

The auto transmission on the SUV is smooth and worry-free.
BHPian strawmUnkey recently shared this with other enthusiasts.
Diesel AT HT in Bangalore traffic (95% of the time)
Fuel Economy
- Daily 4km commute (takes 30 - 40 mins). Fuel economy is at 7.6 to 8.1 Kmpl (tank-to-tank method).
- Long road trips give FE of 11.5 - 12.2 Kmpl
- Use cruise control @ 90kmph on highways. No rapid acceleration.
Driving Experience
- There are two things about Bangalore commutes that I hate. I decided to worry about only one of them.
- Road infrastructure (ORR IT areas)
- Traffic
Its capability allows me to forget about the road conditions and the surprises they throw at me. I only worry about the traffic now.
- The Auto transmission is smooth and worry-free.
- Steering is heavy at parking speeds (Right shoulder pains when turning excessively over multiple days. I'm learning to use both hands to alleviate the pain).
- The driver door armrest and windows sill feel like natural places to rest your elbow while driving one-handed. Don't do this. All the vibrations transfer to your arm joints and will lead to pain.
Completed 35k this week on my Feb 2021 Thar AT D HT.
Functional Mods + Accessories:
- Roof Rack
- Rear Seat slider + tumble fold
- Spare wheel-mounted Bike rack
- Aluminium Radiator guard
- Footholds on door hinges
- Grab handles for ingress
- 70mai Front+Rear Dashcam Mirror
- Knee pads on the centre column
- Centre + rear armrests
Visual Mods
- 7 Slat front grille.
Mods I'm looking forward to (inspired by @GTO 's Thar thread)
- AVO Suspension
- Stedi headlight
- Prad bumper
- Full Underbody Protection
- Branch-lifter wires

Check out BHPian comments for more insights and information.
News
Modified the OEM scissor jack of my Harrier for better ease of use

It took me disproportionate effort and also time for something as routine as changing a flat tyre.
BHPian UPC7955 recently shared this with other enthusiasts.
I had a similar experience on a city road after returning to the roadside car park and encountering a flat front tyre. It took me disproportionate effort and also time for something as routine as changing a flat tyre. The scissor jack, the wheel spanner and the handle to raise/lower the jack are much below OEM quality for tools supplied with a four-wheeler. I searched for the solution on the web itself. Will take the opportunity to put forth the same here.
- The scissor jack requires a bit of a modification to attach a ratchet spanner to it by welding a 19mm bolt to the point where the supplied handle is to hook on. The bi-directional turn from a ratchet spanner can then manually raise/lower the jack with optimum manual effort. After this is executed, the hook handle for the jack is redundant.
- A 19 mm Taparia 'Deep socket spanner' and an L-shaped extension handle give enough clearance and leverage to loosen wheel nuts without scraping the body of the car unlike the wheel spanner supplied with the car, and also for the fingers of the hand whilst turning the spanner. The L extension handle made of stainless steel comes in two sizes, the longer one gives more leverage and is suggested. There are other tool OEMs too like Venus, Tata Agrico, Stanley and a few other OEMs that also manufacture the deep socket spanner and L extension handle. Taparia is a shade better. It's beneficial in the long term to spend about one-third more on a quality tool, my pov. Tools are time savers and at times life savers. This is for loosening the wheel and also for tightening the wheel nuts after changing the tyre.
- In case one is particular to NOT over-tighten the wheel nuts....the OEM recommended torque for wheel nuts is 103 Nm. This figure is given in the OEM literature on the soft copy of the service instructions handbook in the service station PCs. The staff is reluctant to share this figure. Reasons unknown. The same figure has unfortunately not been shared with the user in the handbook supplied with the car, unlike other OEMs of cars.
- A torque wrench <110 Nm or <125 Nm manufactured by Taparia or any other brand would tighten wheel nuts to the exact Torque and prevent the user from under/over-tightening, [unlike the excess pneumatic or manual tightening undertaken by the neighbourhood or highway puncture wala (with the good intentions of course) and I daresay the service station also at times mostly out of shortage of machine floor time]. A torque wrench is a calibrated tool which comes with its calibration report too and needs to be restored to its original un-tensioned state after each use to retain its usability over time. These three tools would considerably ease changing tyres.
- Last but not least, an old wheeled roller skate medium to large size with a V-shaped SS receptacle welded onto the foot space of the skate to accommodate a large tyre would make moving the spare and flat to/from their alternate locations simpler.
- The welding required takes about an hour to undertake at a neighbourhood fabricator for the jack as well as the skate.
- A 1.5 feet hollow pipe of 3mm thick aluminium that has a diameter more than the L-shaped extension bar eases opening wheel nuts furthermore. Hope this helps.
There are videos on YouTube that document these modifications with further clarity. The end state of this solution is to be experienced to be believed. Best of luck.
Check out BHPian comments for more insights and information.
- Tags:
- Indian
- tyre puncture
- Modifications
News
Modifying Mahindra Thar rear seats for full-folding & tumbling function

The good thing about this mod is that no extra holes have to be drilled anywhere.
GTO recently shared this with other enthusiasts.
Finally went with the Bimbra option. Primary reason = Azad doesn't have dealers in Bombay and to protect their IP, they want the seat to be couriered to Bangalore. They'll modify the seat and send it back. I liked Azad's solution more as it offered split folding too, but shipping the seats to & fro was too much of a headache. We'd then have to get it fitted out here from someone who wouldn't be familiar with the Azad install.
My primary requirement was a full-folding rear seat for airport runs & cargo hauling.
Good thing about this modification is, no extra hole is drilled anywhere. The rear seat was removed and the modification is to the base of these seats:

Here's a look at the frame that’s added to the base of the rear seat. It comes with a slider, as well as tumble hinges:

Staff making sure that the fitting is perfect. Futurz4x4 (Bimbra's Mumbai dealer) is an A+ outlet and they understand Jeeps well. Half my mods were fitted from them only:

With the seat up, you can’t really make out there is a new frame underneath:

First step is to fold down the rear seat and press the lever on the left downwards. This unlocks the seat and…

…you can push the seat forward. Gives easier access to the nuts at the base of the seat. Take those out and slide the seat back to the original position:

Now, you can tumble the seat forward for additional cargo space. This is not a manufacturer-level seat tumbling mechanism, so it’s not perfect, but it's good enough. Bimbra has also provided placement stands that will hold the seat in the tumbled position. I don't see the need for those as the cargo itself will hold the seat in its folded position. Furthermore, Omkar drove for a few km with the seat folded and it stayed in place. If I need something to hold the seat up, I'll get 2 straps & 2 hooks fitted:

Check out BHPian comments for more insights and information.
News
22 modifications I got done on my 2-year-old Thar SUV

I got the diesel automatic version of the SUV, back in August 2021
BHPian aamishdhingra recently shared this with other enthusiasts.
Just to share, I own a Thar, Diesel Automatic. Got the vehicle back in August 2021, around 32k kms done and now have just stepped up on my mods game.
List of Mods Done:
- Components Upgrade to Rainbow
- The components are powered by the Soundigital Amplifier.
- DB Drive Subwoofer installed
- The DB Drive Subwoofer is powered by a Sony Monobloc Amplifier.
- Full Damping including the doors, boot door and Full floor with Wheel Arches.
- 70 Mai Dashcam installed Front and back.
- Earlier was a Convertible top - purchased the OEM Hardtop.
- Garware Sunfilm installed on all the windows.
- Headlamps Upgraded to Wrangler Type.
- Hella Cube Lights Installed.
- Crystal Eye Fog lamps with Hi-Low function.
- Aftermarket Bumper Installed.
- Underbody Protection (5 Piece) from Classic Noida.
- Tyres Upgraded to BF Goodrich 265/60/18.
- DIY of Gloss black Alloy Wheels Spray Paint
- DIY Of Gloss Red Brake Calipers, Rear Drum Brakes, and THAR badges on Alloy Wheels and Hinges.
- Hinges From Mahindra
- Aftermarket Tail- lamps.
- Dark Lord Package from Mahindra, Gloss Black Side Mirrors.
- 7 Slot Wrangler Grill
- DIY of Gloss Black Interior Parts.
- GFX Foot Mats.


Some of the images of my car are attached further!
Check out BHPian comments for more insights and information.
- Tags:
- Indian
- Mahindra Thar
- Modifications
News
90000 km up on my VW Polo GT TSI: Updates on service & modifications
In mid April I got into the car to go to work and found that the mechatronic had given up.
BHPian Viraat13 recently shared this with other enthusiasts.
Hello readers,
Back with another update after another 10000km done. I’ve done 70000+ km in 4.5 years of ownership. I think I should ask the mods to transfer this to the long term ownership section.
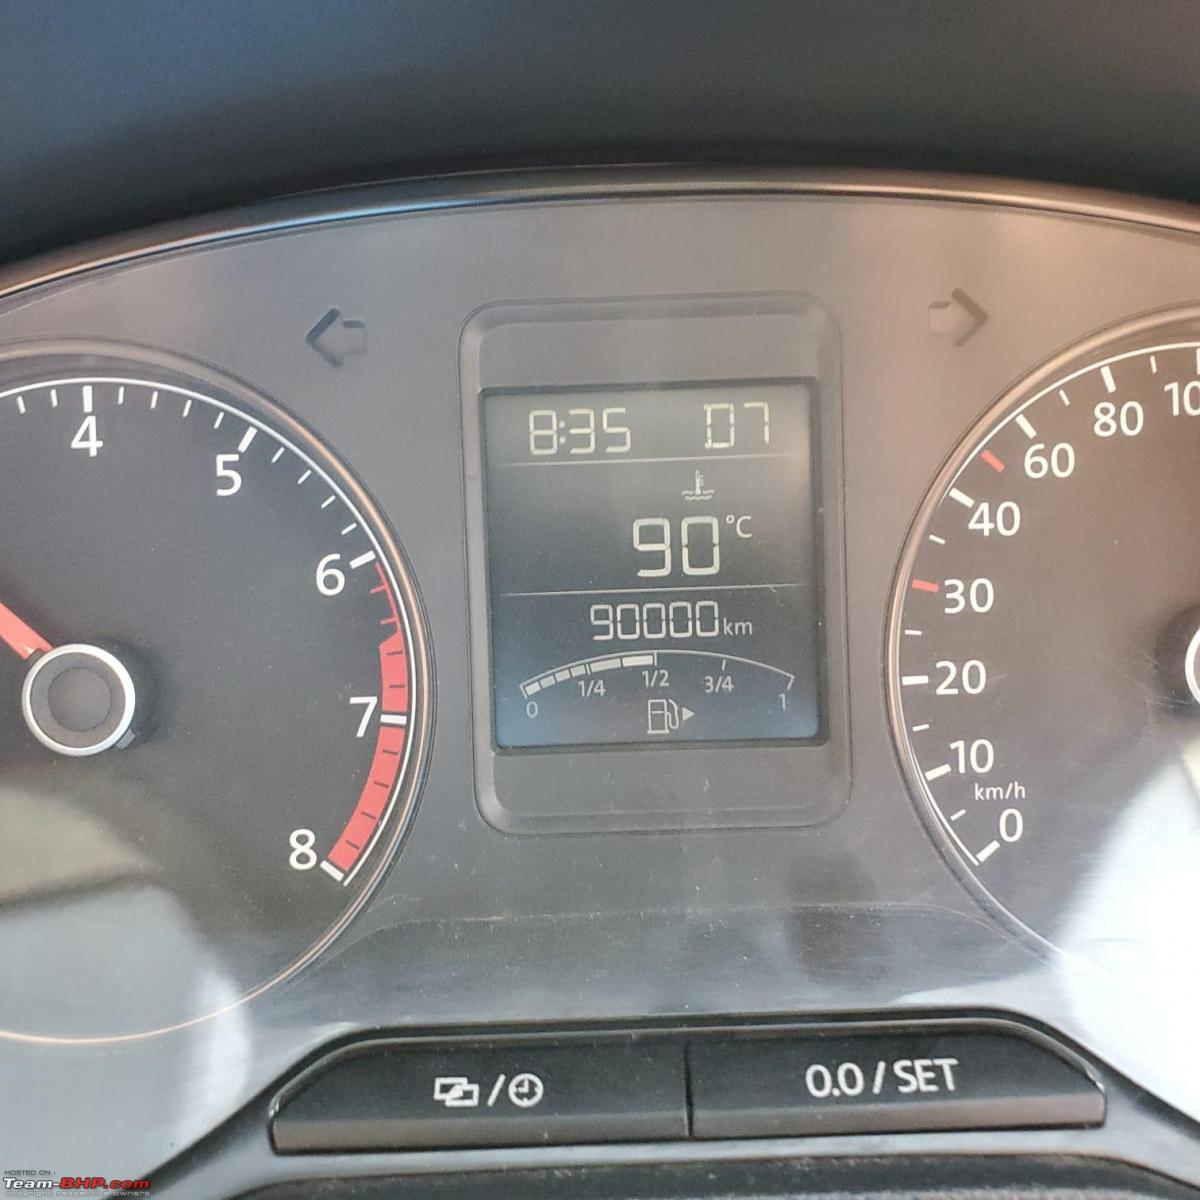
On 31st October, I was at the 80k km mark; and on May 19th 90000km was up on the odo. Again a quick 7 month service interval. It’s been mostly city driving except for a couple of last minute trips to Lucknow, and one trip to Chandigarh. All for work.
Serviced using Mobil 1 5w40 with VW 502 approval and the OE filters (oil, air, AC). That reminds me, I should change the fuel filter as well.

Things done over the past 10000km:
Projector fogs installed. They were a painful install and I'm still debating if it was worth the hassle. But oh well. They've added light surely, but it is debatable if I really needed them. Output photos in a few days. Didn't click any post worthy photos as yet.
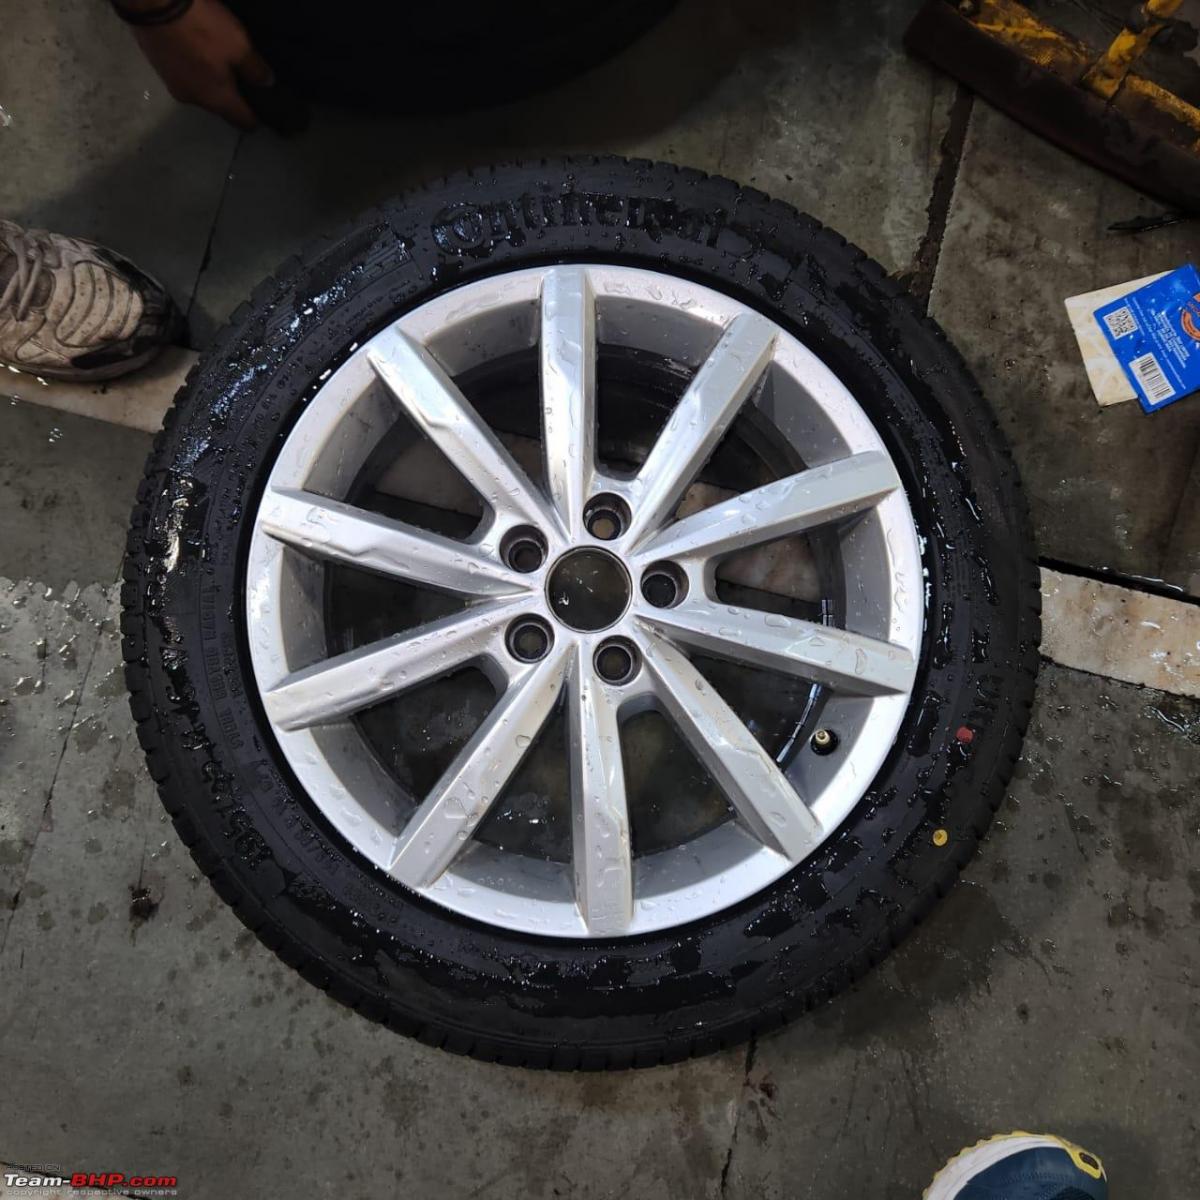
On 23rd Feb I picked up a set of 16 inch Portago alloy wheels and fitted them with Continental UC6 (195/55/16). The Yokohama Earth 1s had been on duty since April 19 at 28000km, and had done more than 55000km. I've done 5k km or so since then on the UC6 and so far so good. I'm happy with the ride, noise, braking, handling. Seems to be a good purchase - time will tell.
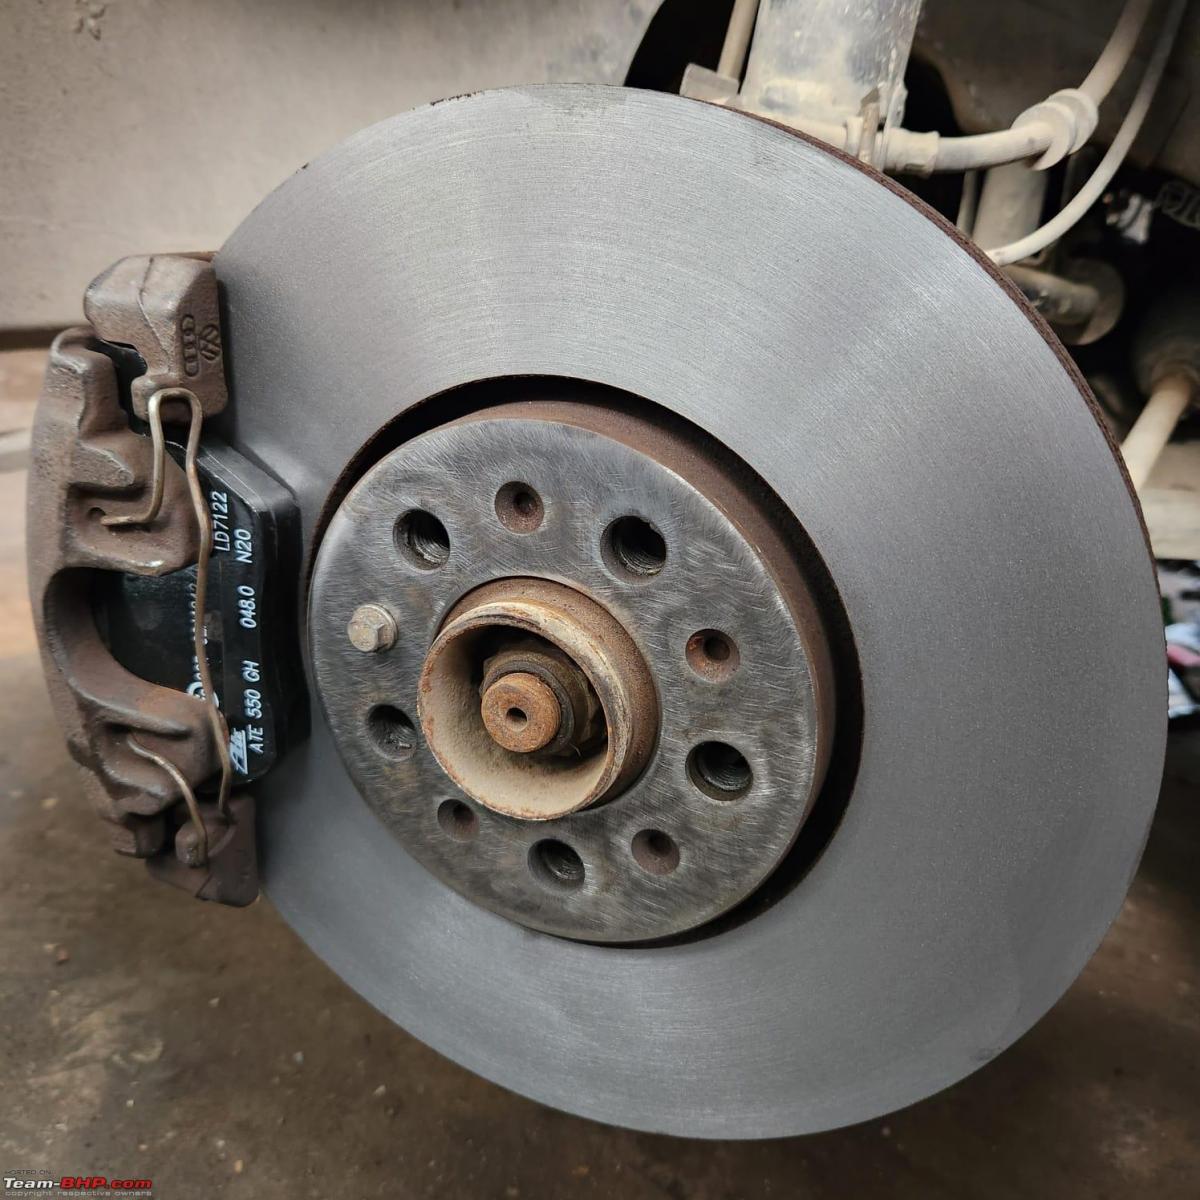
I installed new ATE brake pads for the BBK. Worth the wait. I got these through a friend who lives in Germany:
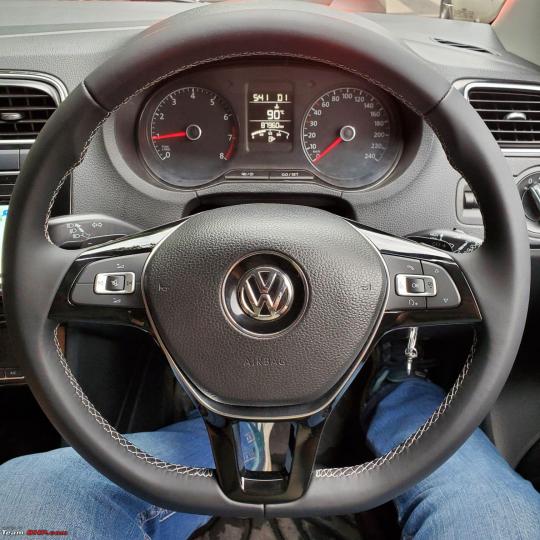
I also ordered a MFSW (multi function steering wheel) with the paddle shifters from Germany. While this wasn't really needed, it is surely nice to have:

In mid April I got into the car to go to work and found that the mechatronic had given up. Got it towed to my shop the next day:
Given that I've done this more than a few times for customer cars, I wasn't too worried about the mechatronic. It just needed to be serviced and has a little known filter inside the valve body. My team got to work and dismantled the front clip (bumper, headlights, radiator, etc.) to access the mechatronic and also drained the gear and mechatronic fluids. The culprit is this small filter that gets choked and does not allow sufficient pressure build up to move the solenoids.
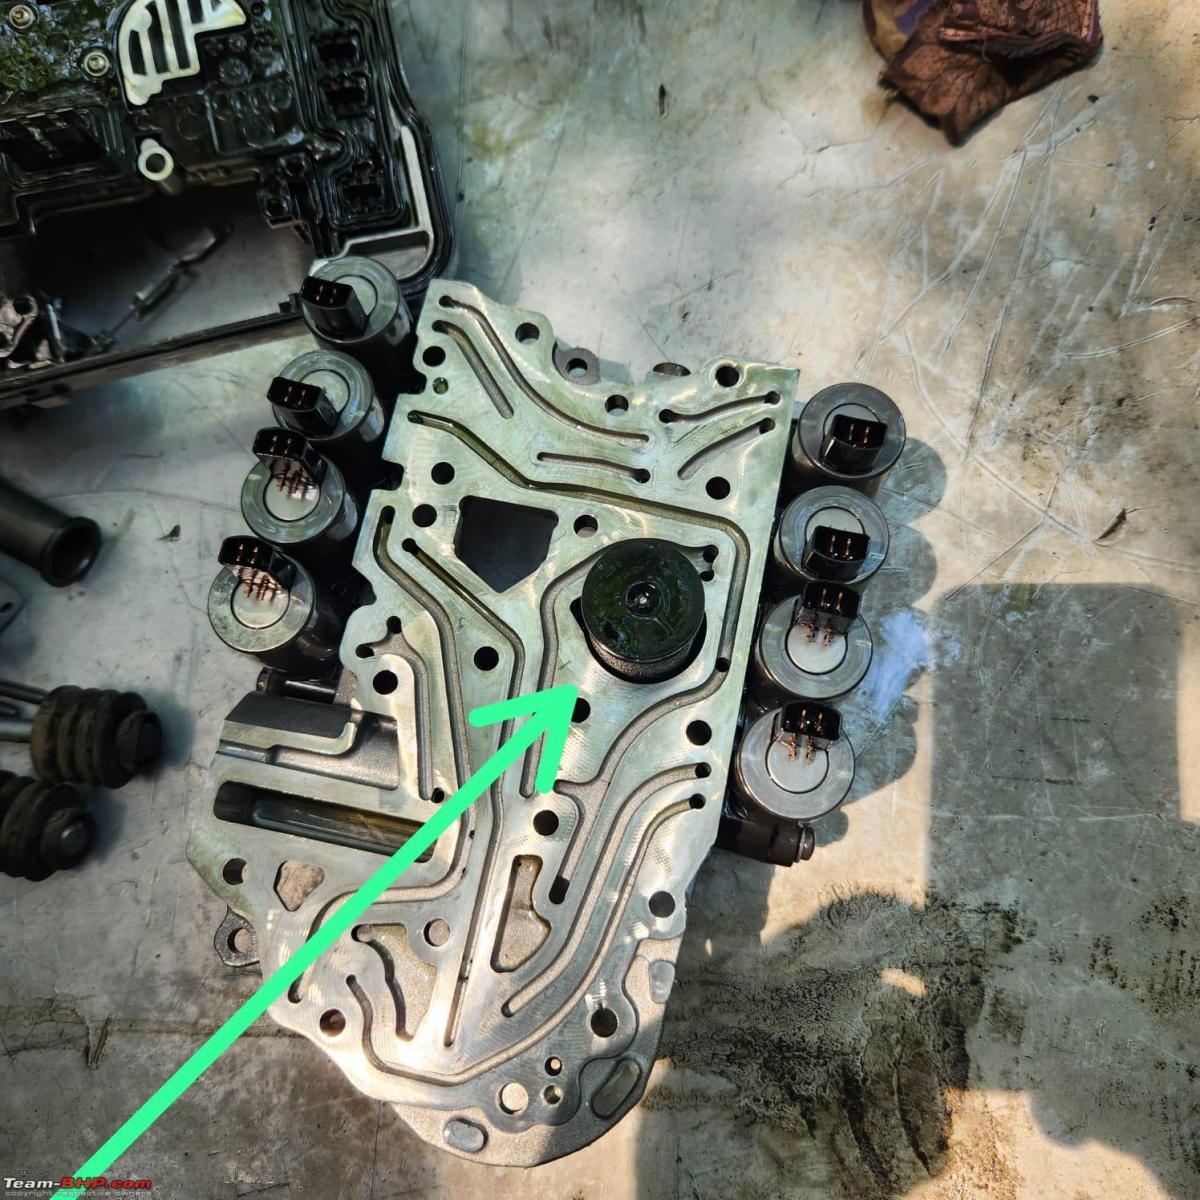
The process of dismantling, servicing, and fitting back though not super complex, is very time consuming.
Some photos:
In January, I went to Chandigarh to pick up a LC which needed some TLC from me.
Took this opportunity to meet my old friend Akshay4587. I'd taken my car along and a friend to drive it back to Delhi:
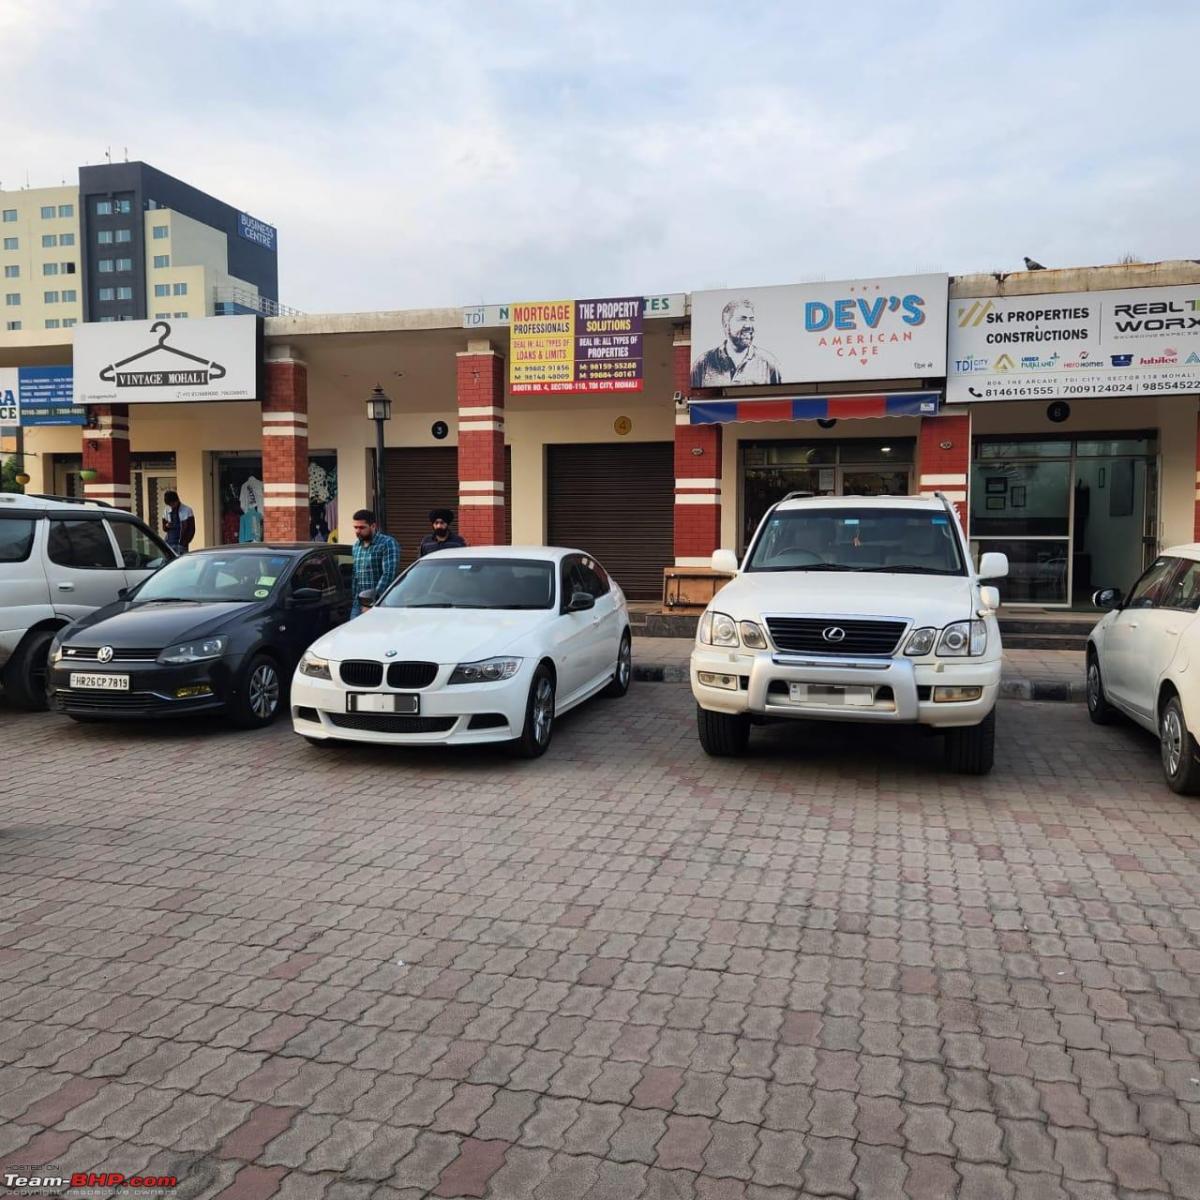
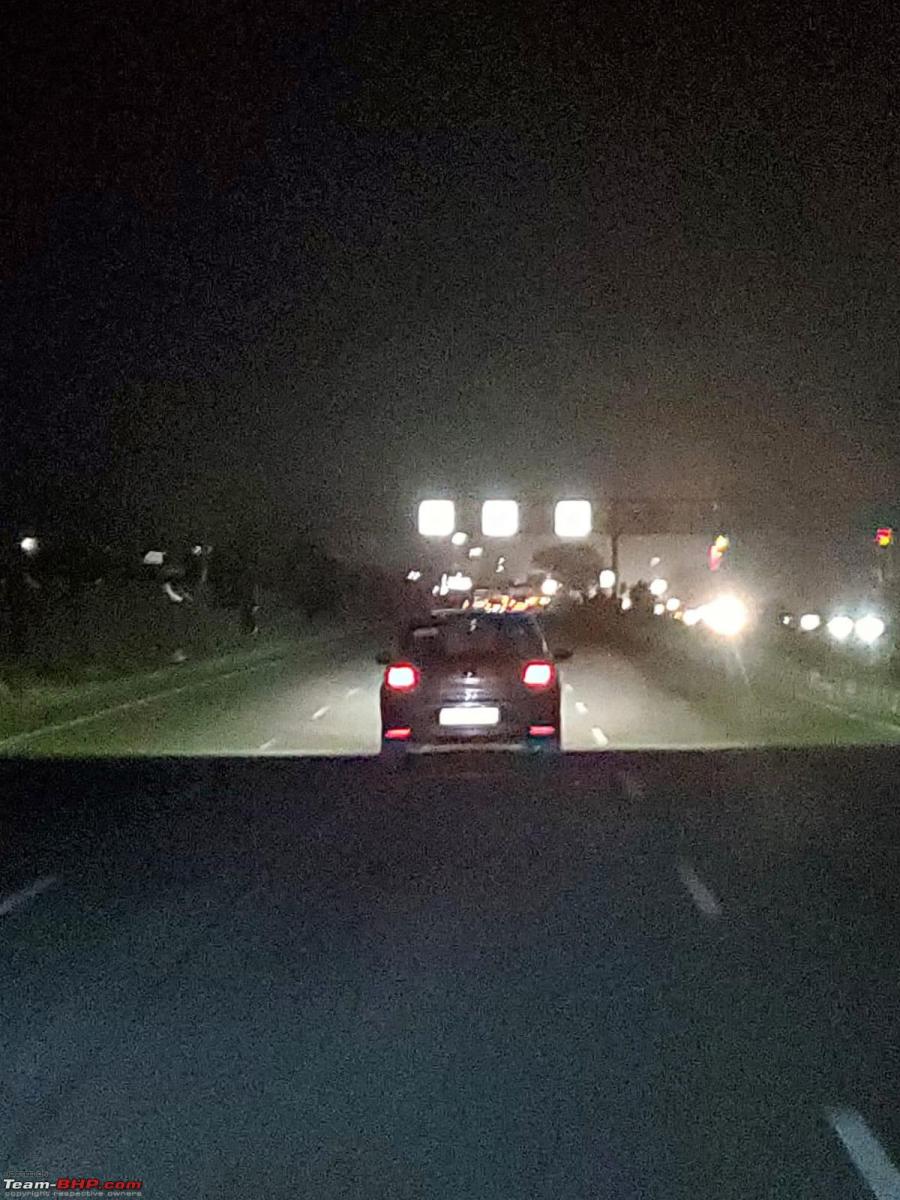
The LC had fairly poor lights (nil), and I was glad for the Polo being around to guide me home. The spread and throw of the lights on the highway really is great. The entire 300km drive back would have been impossible otherwise:
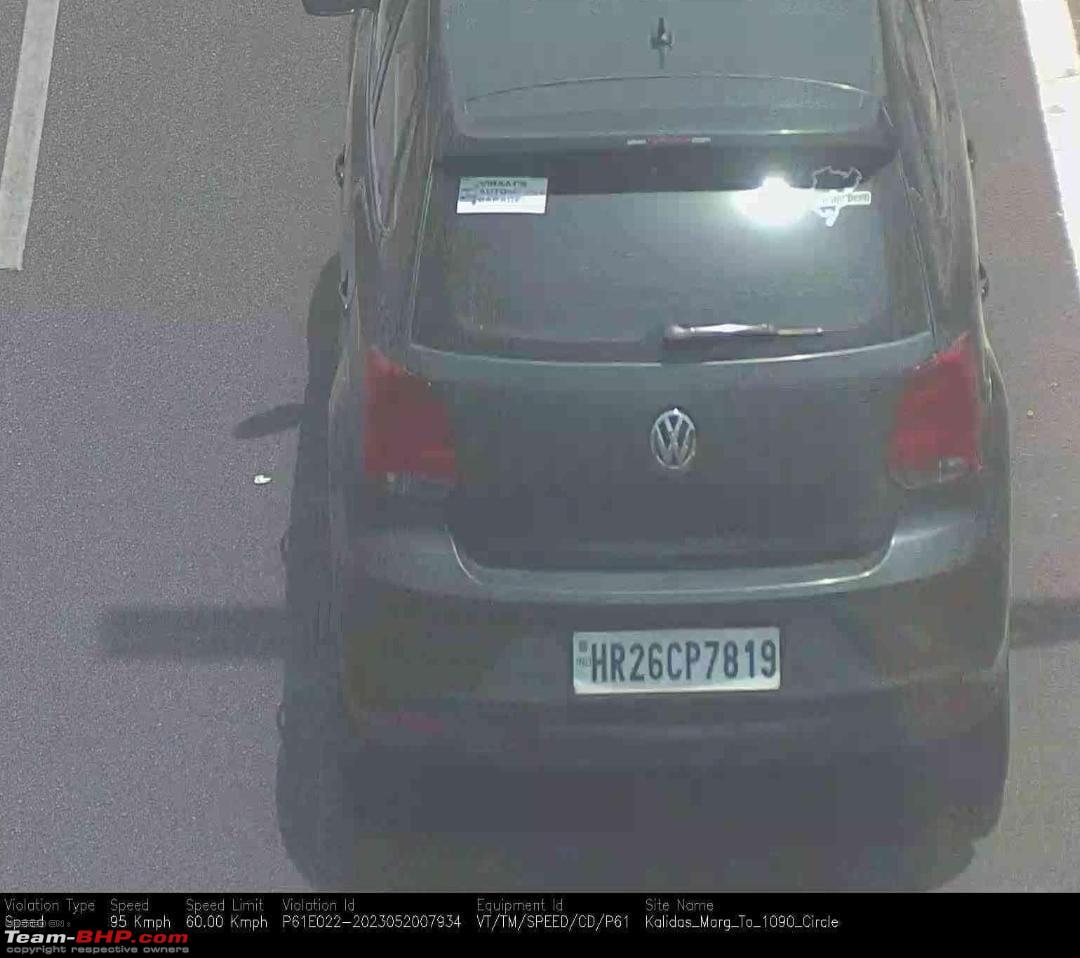
Got caught speeding in Lucknow. I'm still surprised that the cameras work:
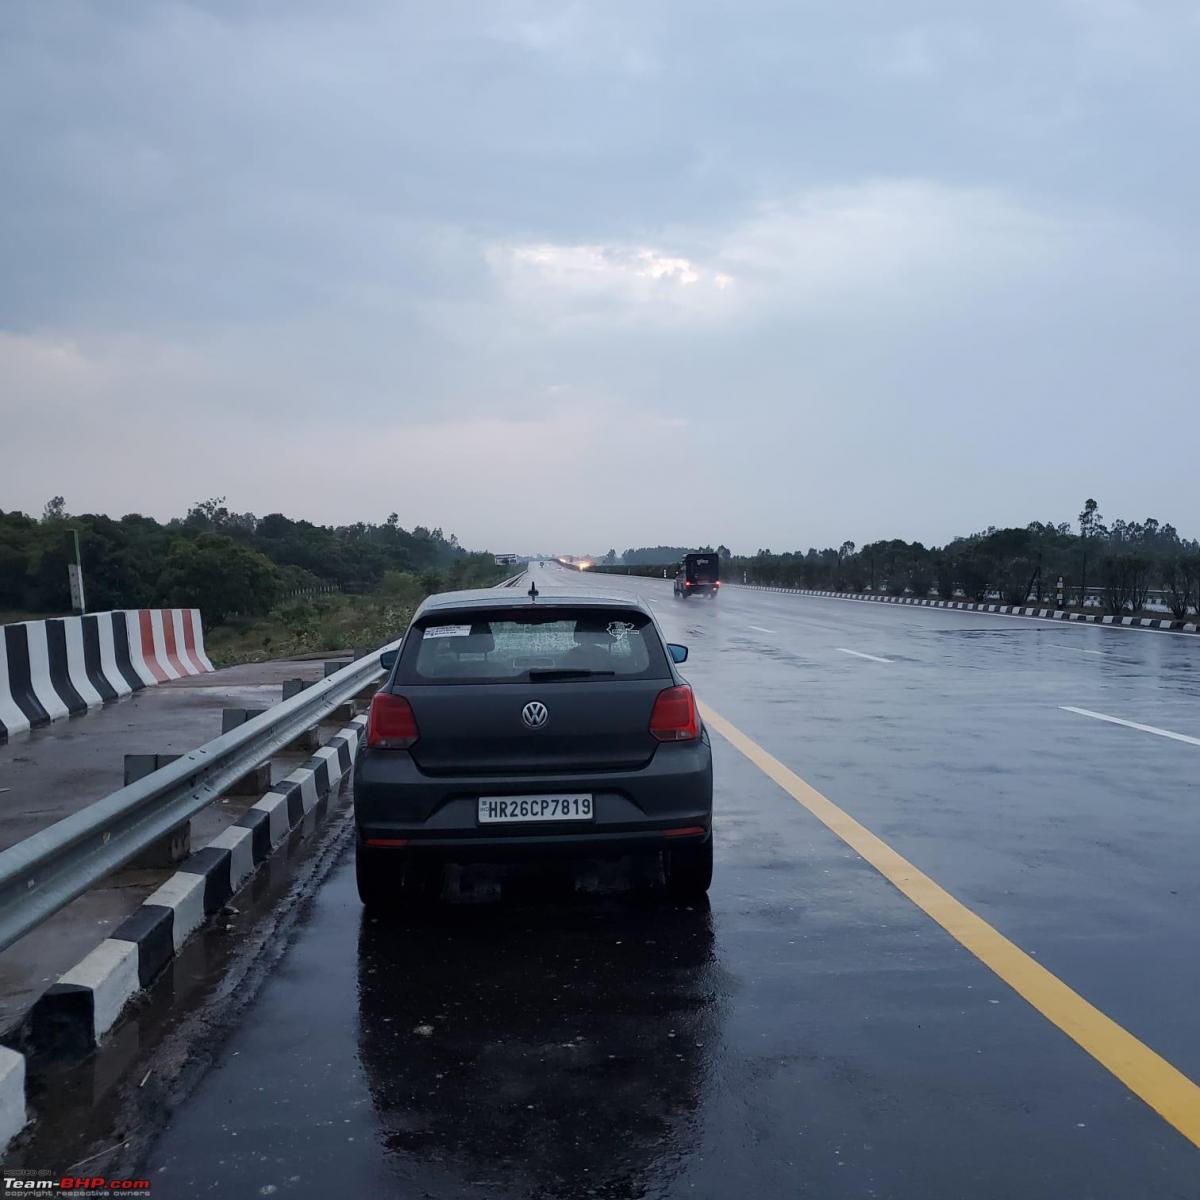
Random shot by the side of the road on the Agra-Lucknow Expressway:
Current odo reading is a few hundred km more than this:
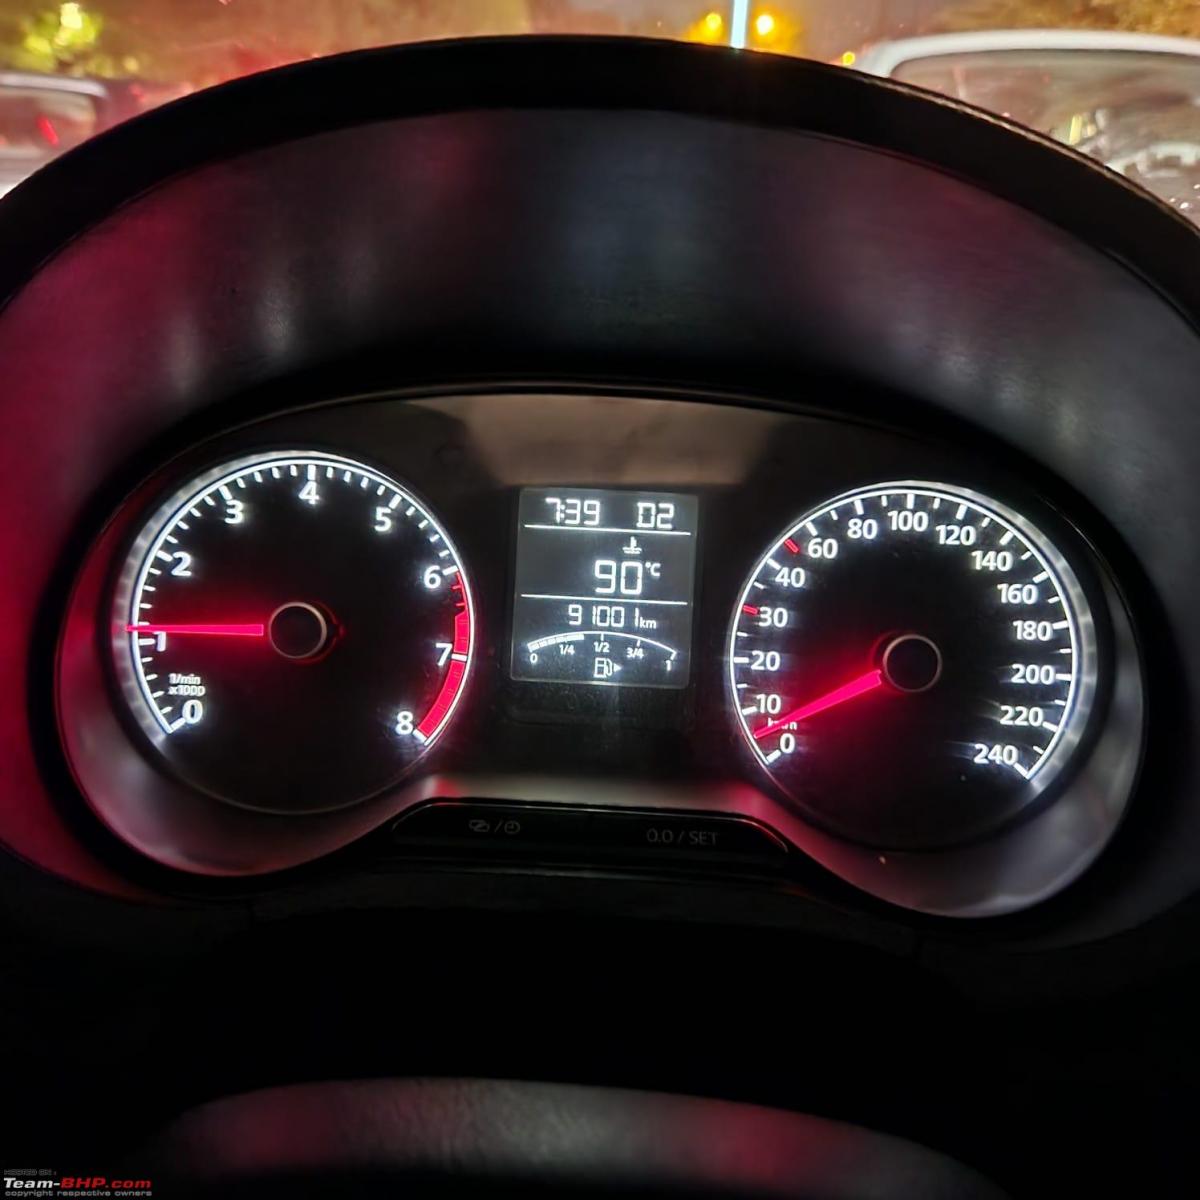
That's all folks. Catch you next time for the big 100k. Hopefully no extra maintenance to be done this time.
Check out BHPian comments for more insights and information.
News
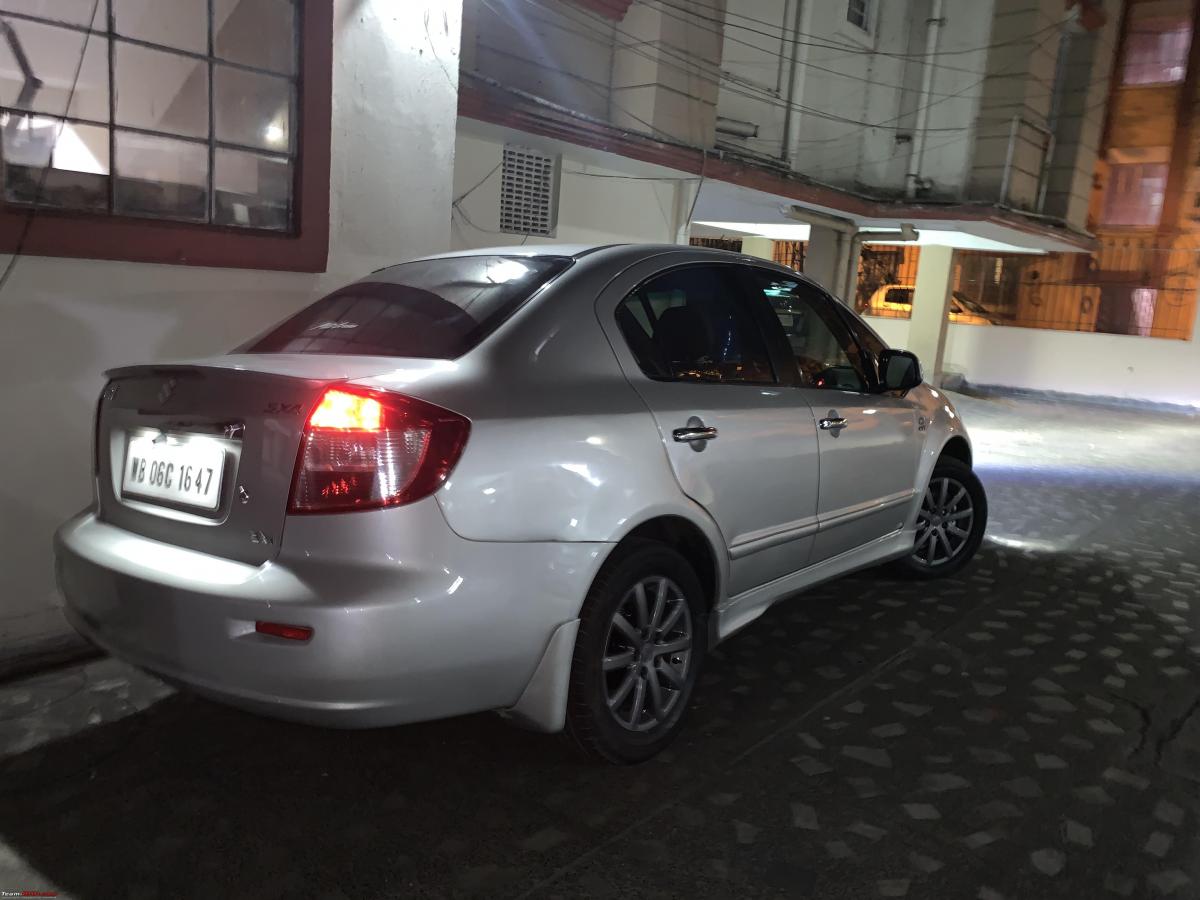
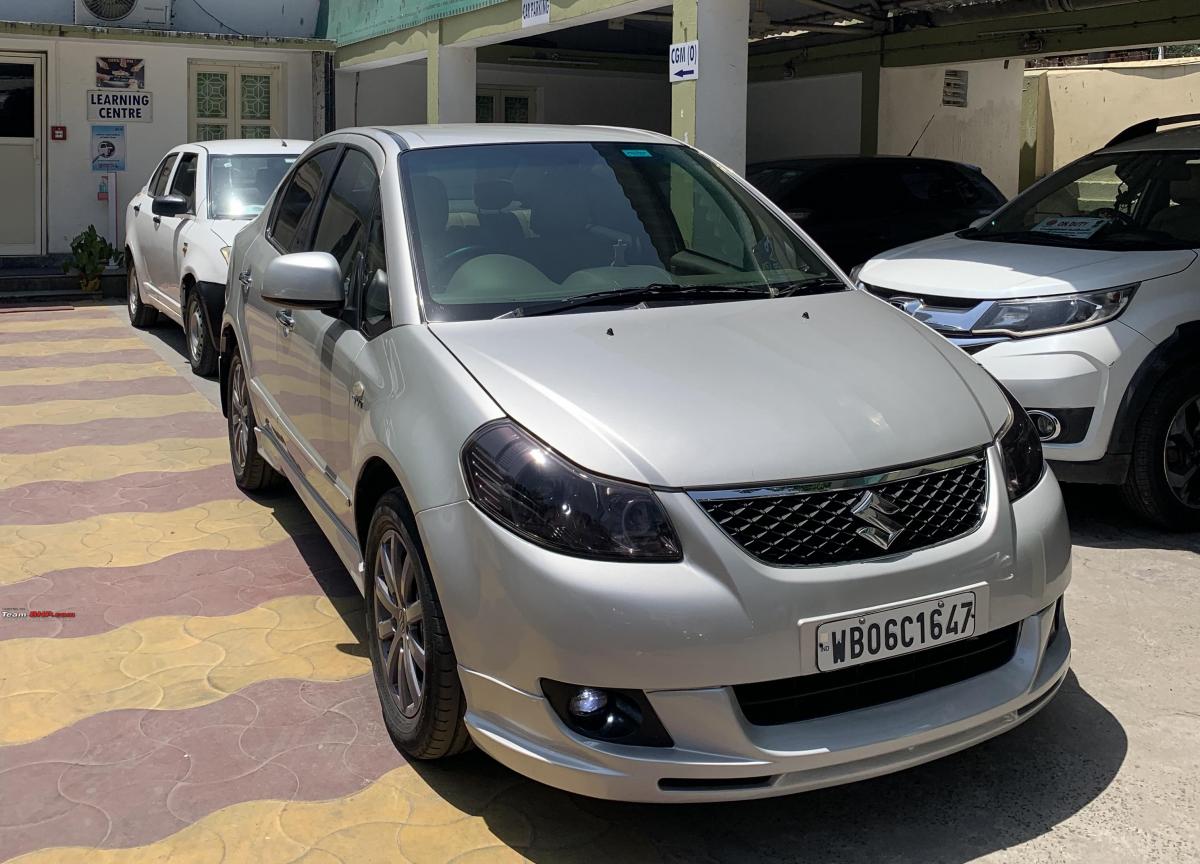
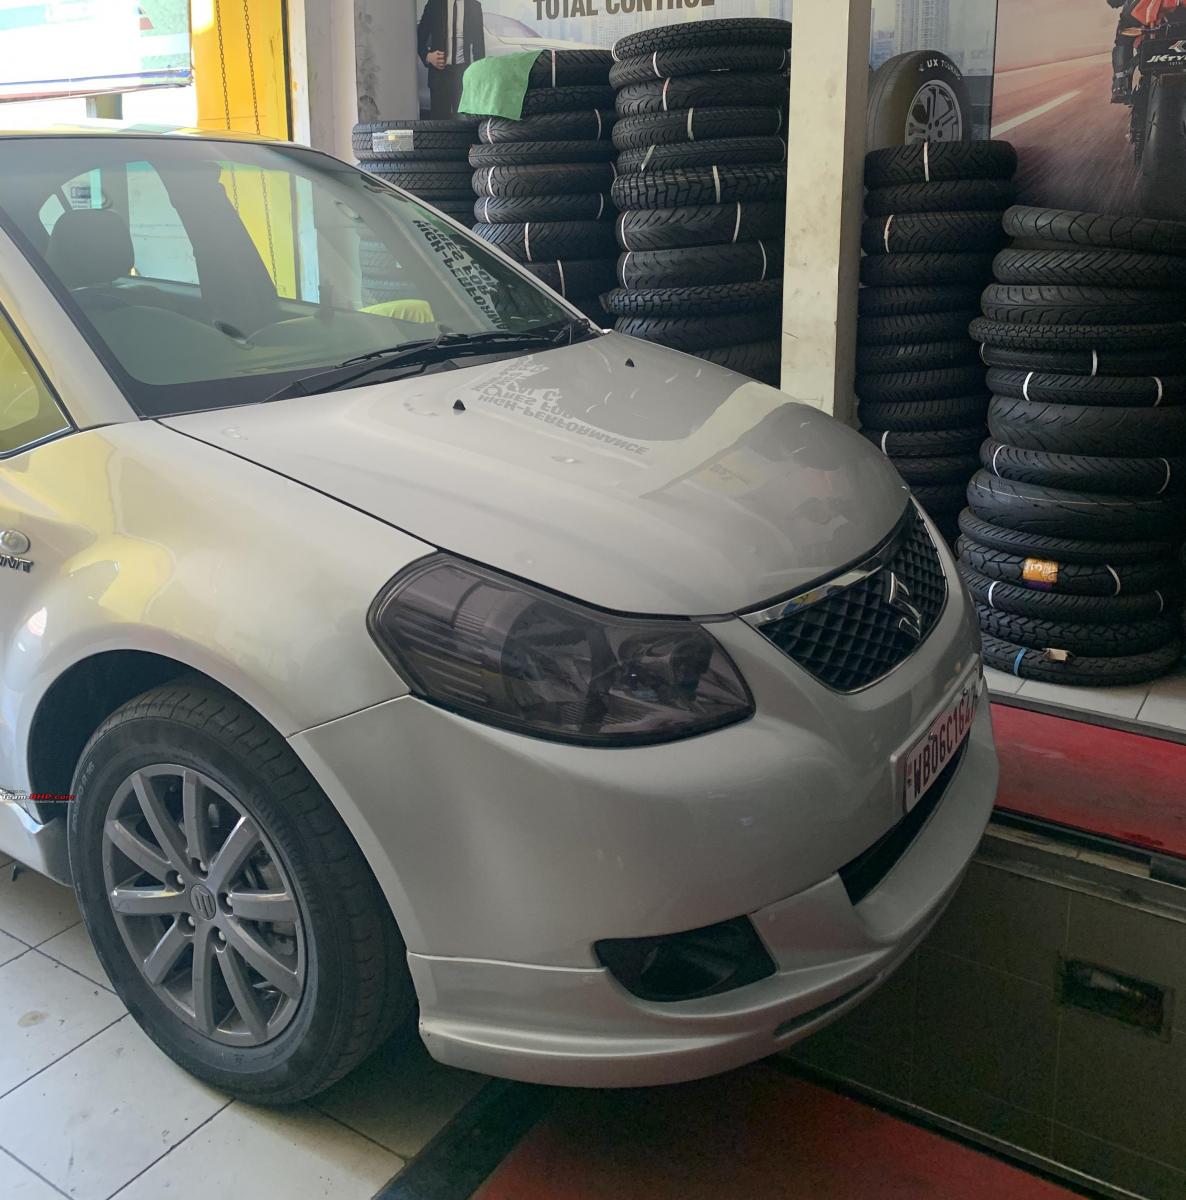
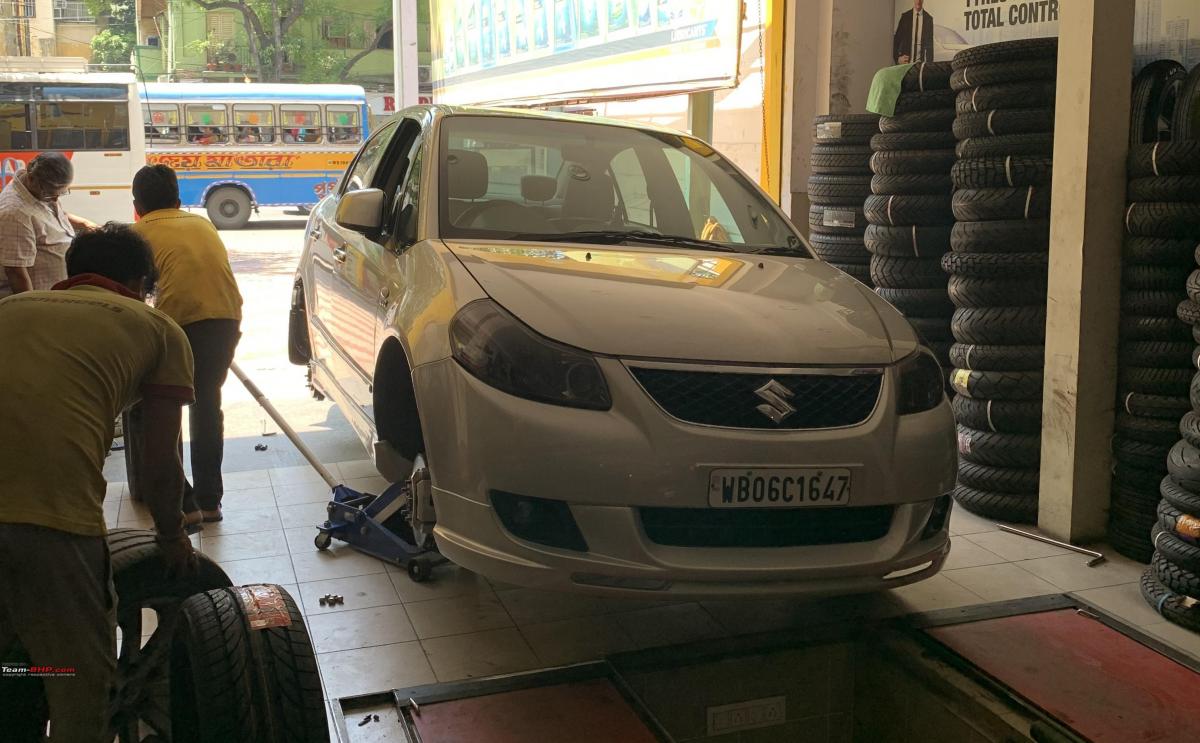
Cosmetic updates on Maruti SX4: Front & side skirts, wheels & a spoiler
I feel the car is ready for a TV commercial!
BHPian momsonlydriver recently shared this with other enthusiasts.
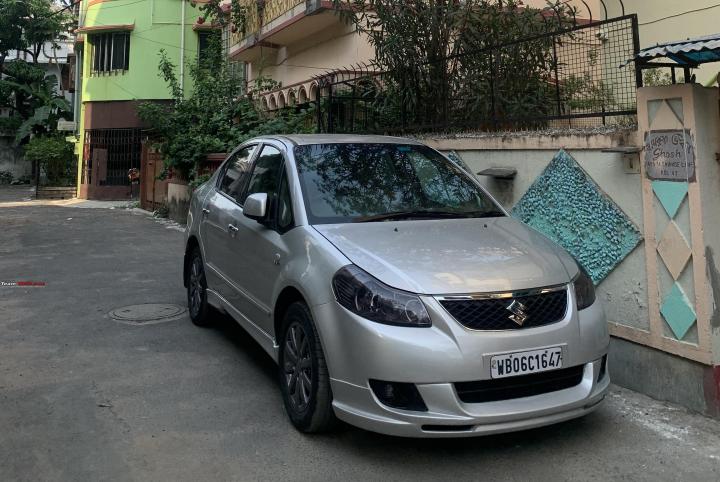
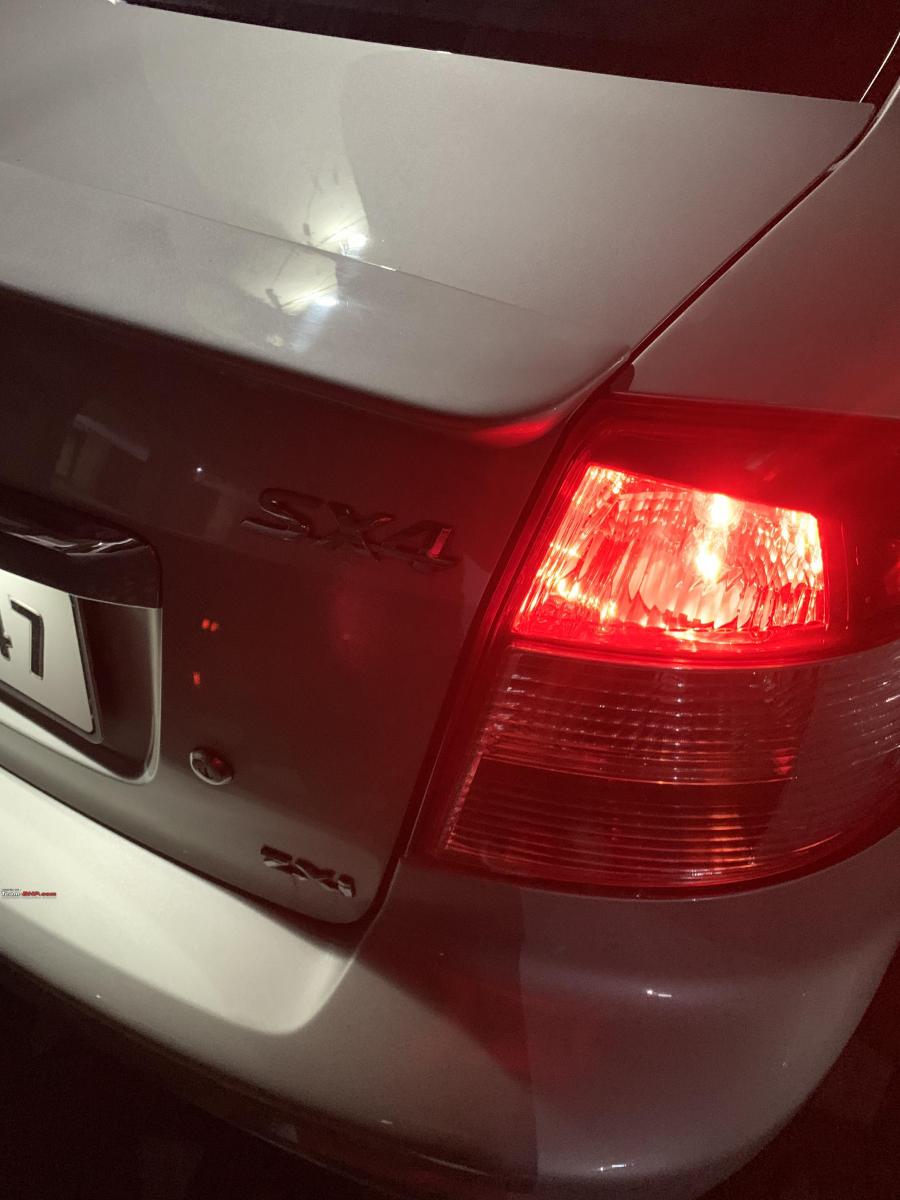
Update on the Sexy Sx4. The car now features a new body kit. I selected the front skirts, side skirts and a spoiler. The wheels are now Gunmetal Grey and the rear drums are painted black while the front discs are finished in Silver. The car has been detailed by the same professional. Just a few photos now before I professionally take out my camera for a proper photoshoot. I avoided the rear skirts to prevent the car from looking like a box. Hence, the mud flaps and the spoiler give it a backlift appearance which gives a modern feel to the car.
I feel the car is ready for a TV commercial!

Update time!
Do note: You need to be careful while driving the car as the front bumper is now more prone to scrapping on big speed breakers.
My car is looking all fancy till I noticed that I am running on bold tires. Frequent tire punctures, low tire pressure and road noise were prominent. I wasn’t confident driving the car fast (70 km/h max) any longer. Previously I was running on Continental tires and after six years I am getting a new set of tires.
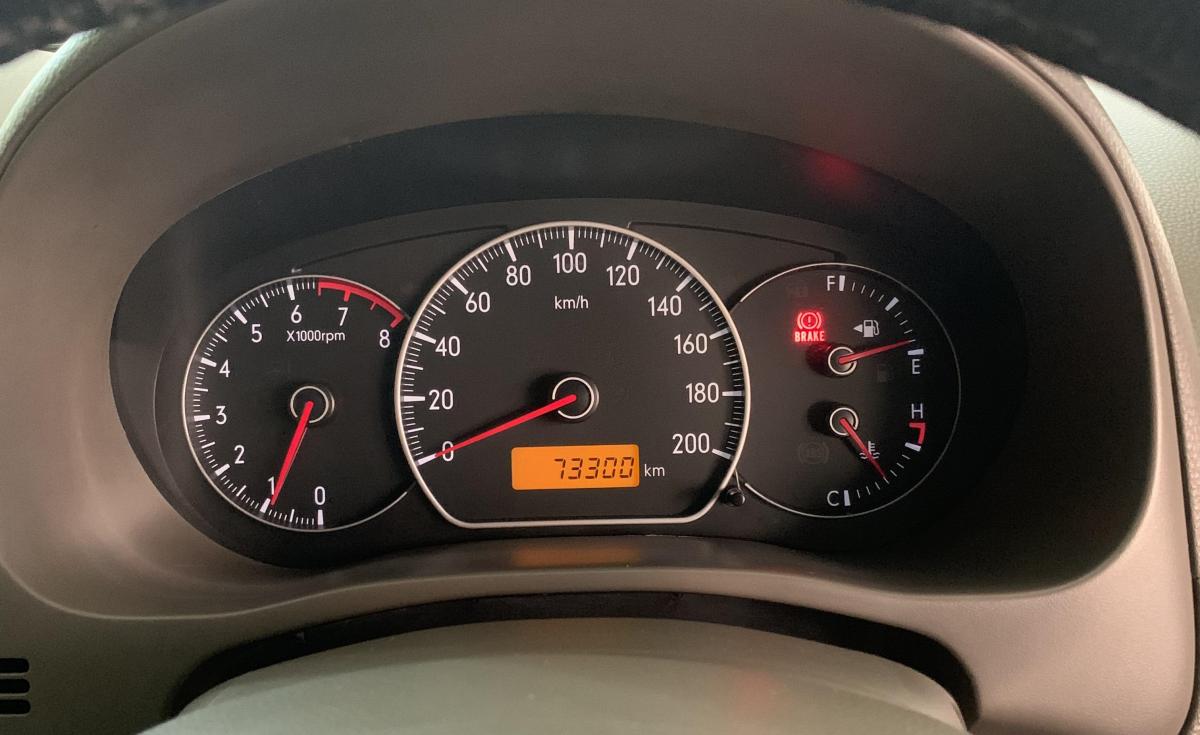
This time around I went ahead with Bridgestone Potenza 205/60 16inch. So I attended a JK tyre branch.
Funny that JK tire outlets don’t recommend JK tyres. Had them when the car was new and had side wall cracks. Yikes!


Now the car feels perfect. The way it was meant to be. I also used Chemical Guy's tyre dressing to give the wet look to the tires. I must say it’s a must-have!

Check out BHPian comments for more insights and information.
- Tags:
- Indian
- SX4
- Modifications
News
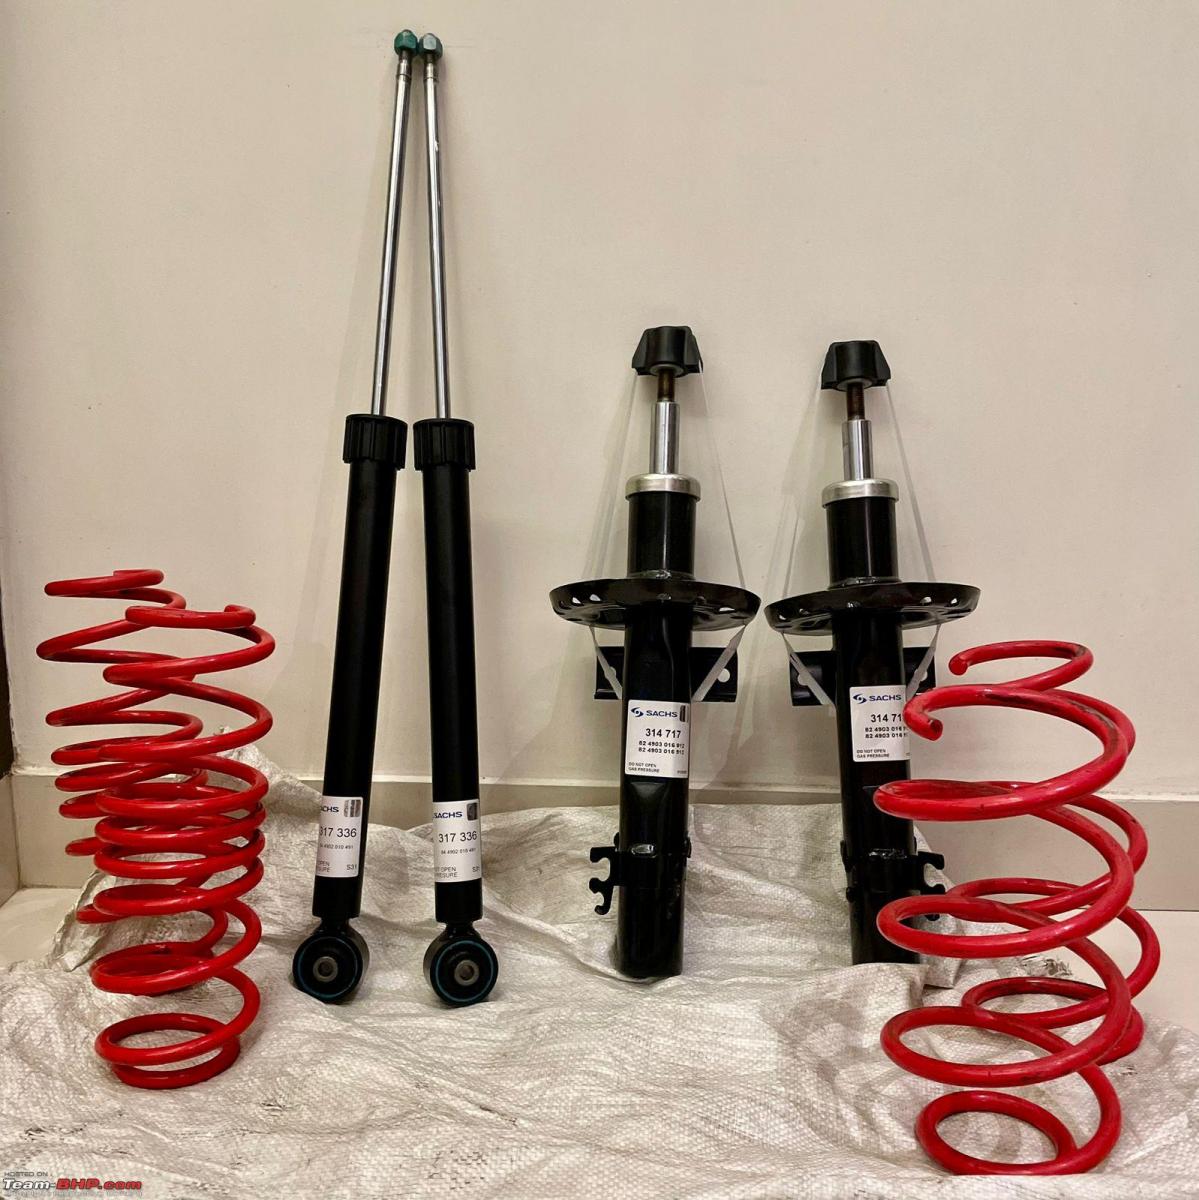
Installed Cobra Lowering Springs on my VW Polo: Initial impressions

I got the 30/35 mm drop set & was pleasantly surprised with the outcome.
BHPian Epic recently shared this with other enthusiasts.
Hello everyone,
My 2012 VW Polo 1.6 MPI has been serving me well for a good amount of time. I had contemplated on many occasions to replace the car but could not find a suitable replacement. Actually, there isn't any in the market yet.
I recently had to change my front shocks which were OEM VW which I have found to wear out prematurely. I decided to replace them with Sachs and thought why not go a step further and get lowered springs as well? I've been hearing a lot about Cobra lowered springs and decided to give it a shot. I got the 30/35 mm drop set and got the installation done yesterday. Before taking this decision, I was worried about the ride quality. The car being driven on Mumbai roads, I was not sure if this was the right mod. I took a chance anyway and kept my old springs as a backup.
Drove the car back from the workshop today and I was pleasantly surprised with the outcome. The car felt nice and tight and since I have not got a chance to drive at speeds over 60-70 kmph yet, I am assuming that the handling is going to be very good. Yes, in the city I can feel the road undulations much more than before but it isn't too bad. I've decided to drive the car for a month or so to check if this is bearable in the long run.
Here are a few pics.
The Sachs Struts and Cobra Springs
Car Stance Before
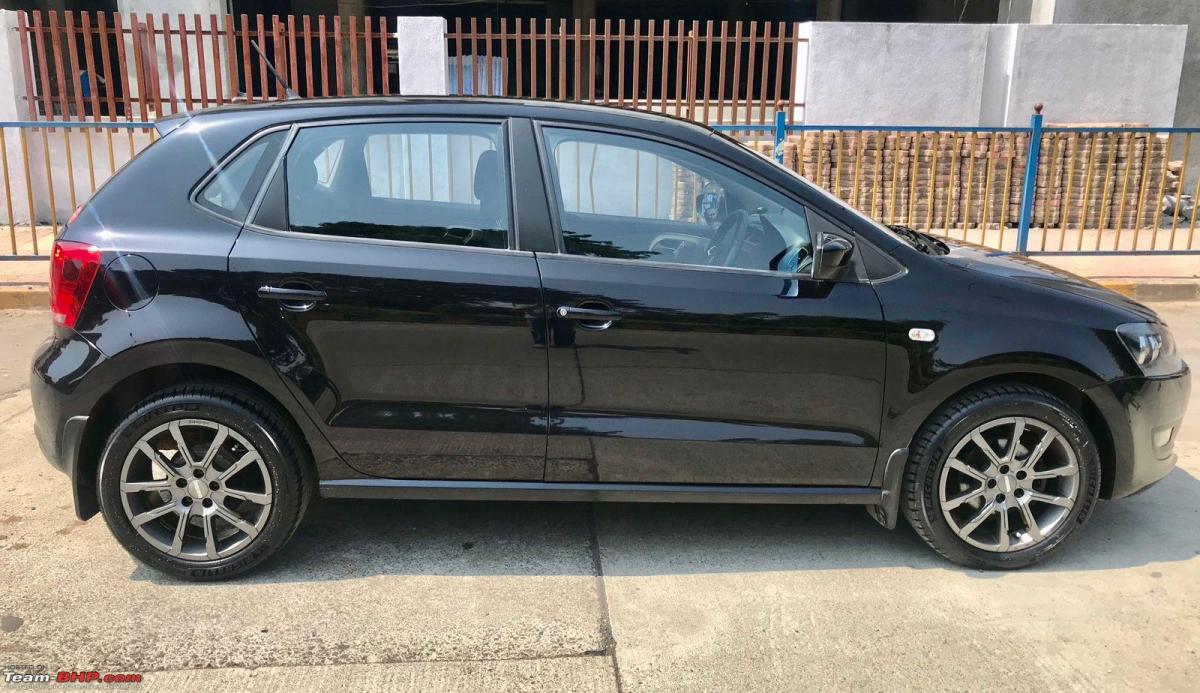
Car Stance After
Here's what GTO had to say about the matter:
Absolutely love the way your Polo looks! Very tasteful, sweet choice of rims too.
Once you put some km on her, do share a review of:
- Ground clearance & clearing speed-breakers
- Handling
- Ride quality
How much was the damage to the wallet?
Check out BHPian comments for more insights and information.
- Tags:
- Indian
- Polo
- Volkswagen
- Modifications
News
Pics: Enhancing driving comfort by adding padded armrests to my Tiago

Immediately the driving experience has become luxurious! I now have two soft surfaces for my two elbows, the door pad and the self-installed centre armrest which is also nicely padded.
BHPian lemedico recently shared this with other enthusiasts.
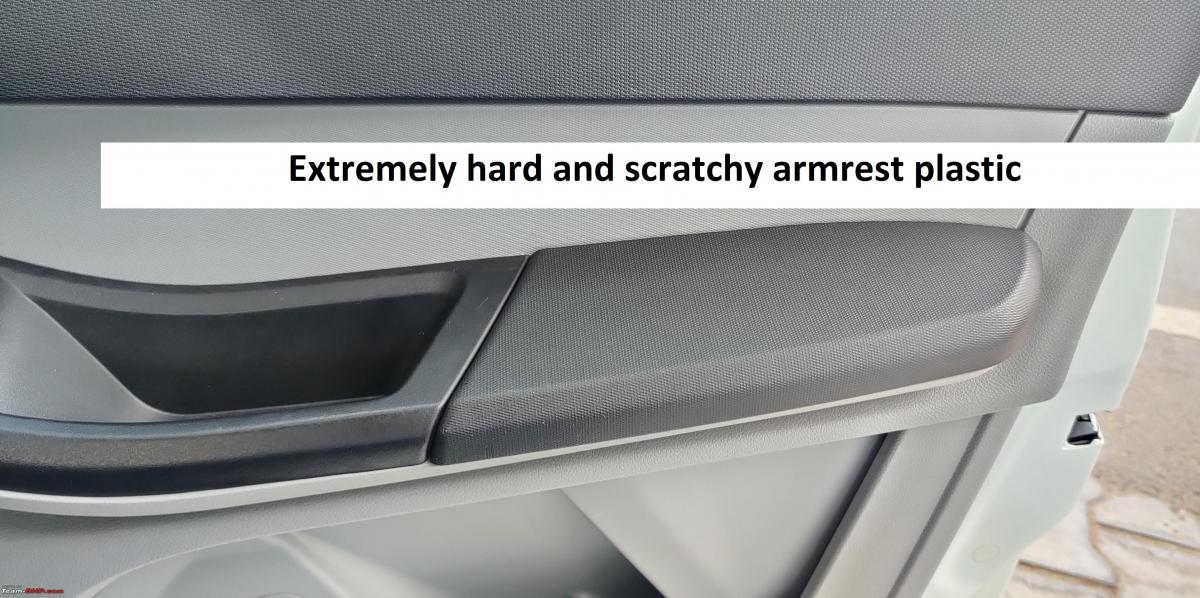
DIY adding pads on hard plastic armrests – Tata Tiago. Suitable for the Tigor as well, or any other car!
Hello again, I am back with more DIY on my Tiago XZA+. One thing that really soured the driving experience was the pain my elbow suffered from the armrest on the door. It is hard and textured plastic which is very painful and abrasive on my shirts. Being my daily driver, I had to fix this. The more expensive Tigor comes with some padding but to be honest, it's just a piece of thin fabric over the same hard plastic base. I wouldn’t call that worthy of sourcing from the OEM and swapping out the one from my car.
On Amazon, I found a pair of pads which could be pasted anywhere in a car. They were advertised as knee pads for the centre console but the size made them suitable for armrests too. At Rs. 700 for the pair, I found them to be too expensive. It did inspire me to make those myself though.
First, with a pen, I traced the margins of both armrests on A4 sheets. These would serve as cutting templates for the pads. Instead of plain rectangles, I opted for shape-matched pads as the armrests on the Tiago.
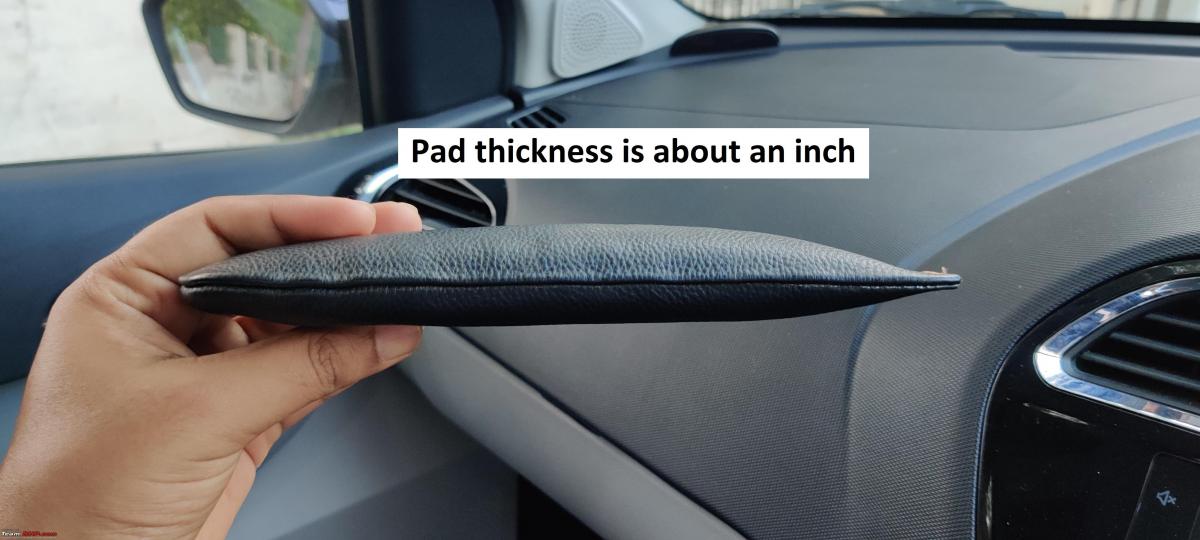
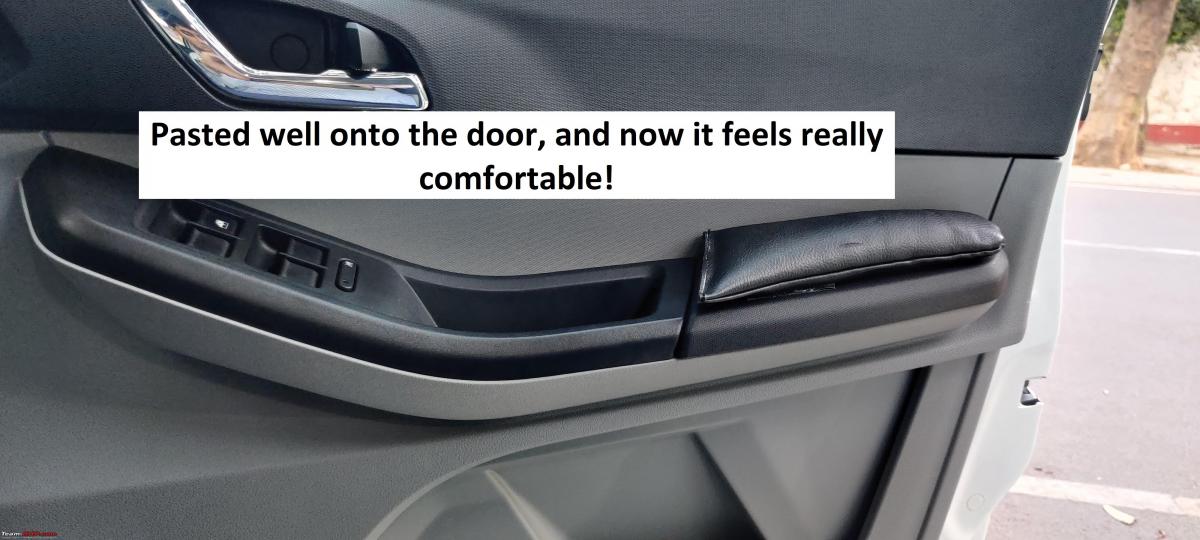
I took these templates to my mate who manufactures leather shoes. We picked up some scrap leather and some foam/sponge to sandwich in its layers. We trimmed it as per the template, stuffed in some padding and sealed it with the sewing machine. Job done!
At this point, most readers will wonder what to do as we all do not have leather exporter mates. One could easily source sofa leatherette or real leather from the usual furniture manufacturers dotted across most towns. The same guys would have the pieces of foam or sponge and the sewing machine appropriate to stitch that material as well. I don’t suppose the regular garment tailors would be able to, their sewing machines and needles aren’t suitable for leather. However, if one is desperate for these pads and cannot go about getting it done themselves, let me know and I’ll have some made for you.
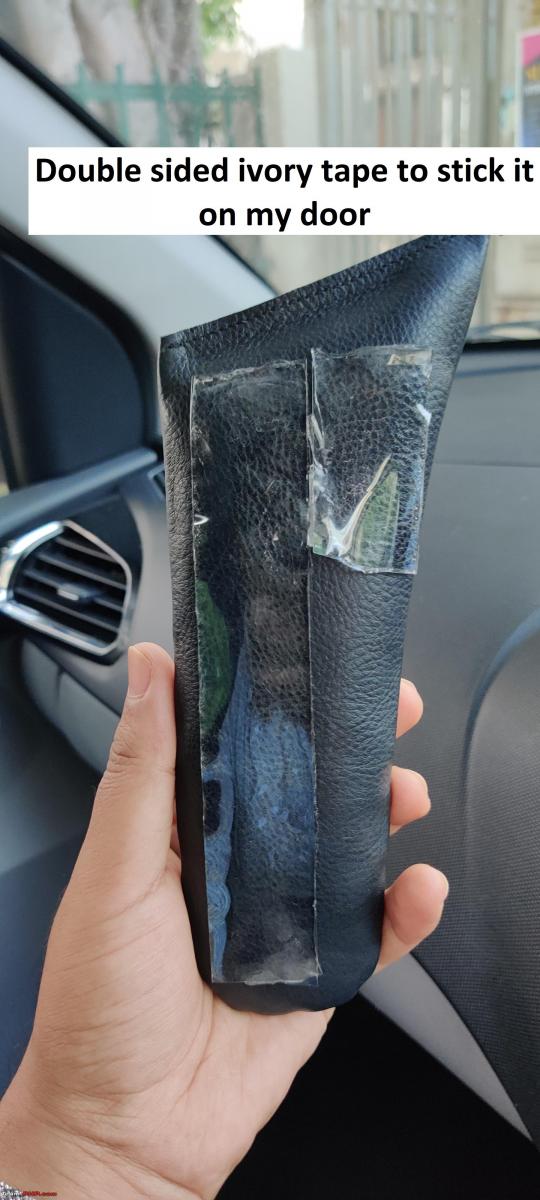
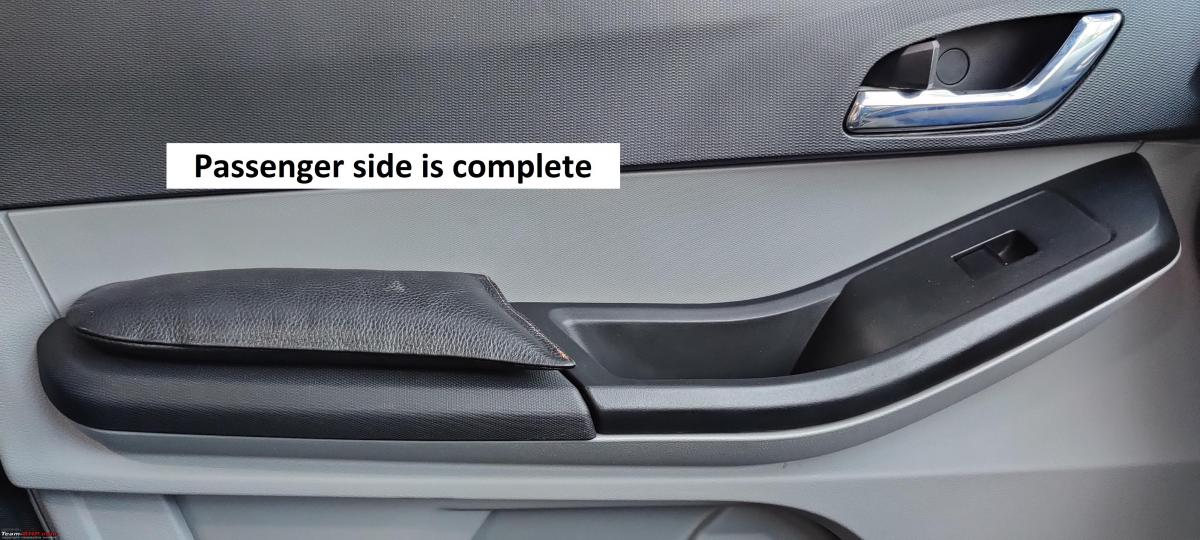
At home, I had to decide how to attach it to my armrest. I have some ivory tape at home, it is double sided and that’s what I used rather than car-specific adhesive tapes from 3M. I wiped down all surfaces with isopropyl alcohol, cut two strips of tape each and pasted it to the armrest. It holds well and I hope it stays there in the near 50 Celsius summer heat. Immediately the driving experience has become luxurious! I now have two soft surfaces for my two elbows, the door pad and the self-installed DIY centre armrest which is also nicely padded.


Here is the YouTube video demonstration for the same.
Read BHPian comments for more insights and information.
News
Yamaha Aerox 155 mods: Installing Maddog auxiliary lights worth Rs 7000


I had to fabricate a small bracket to mount the lamps on the rearview mirror studs.
BHPian Mr.Boss recently shared this with other enthusiasts.
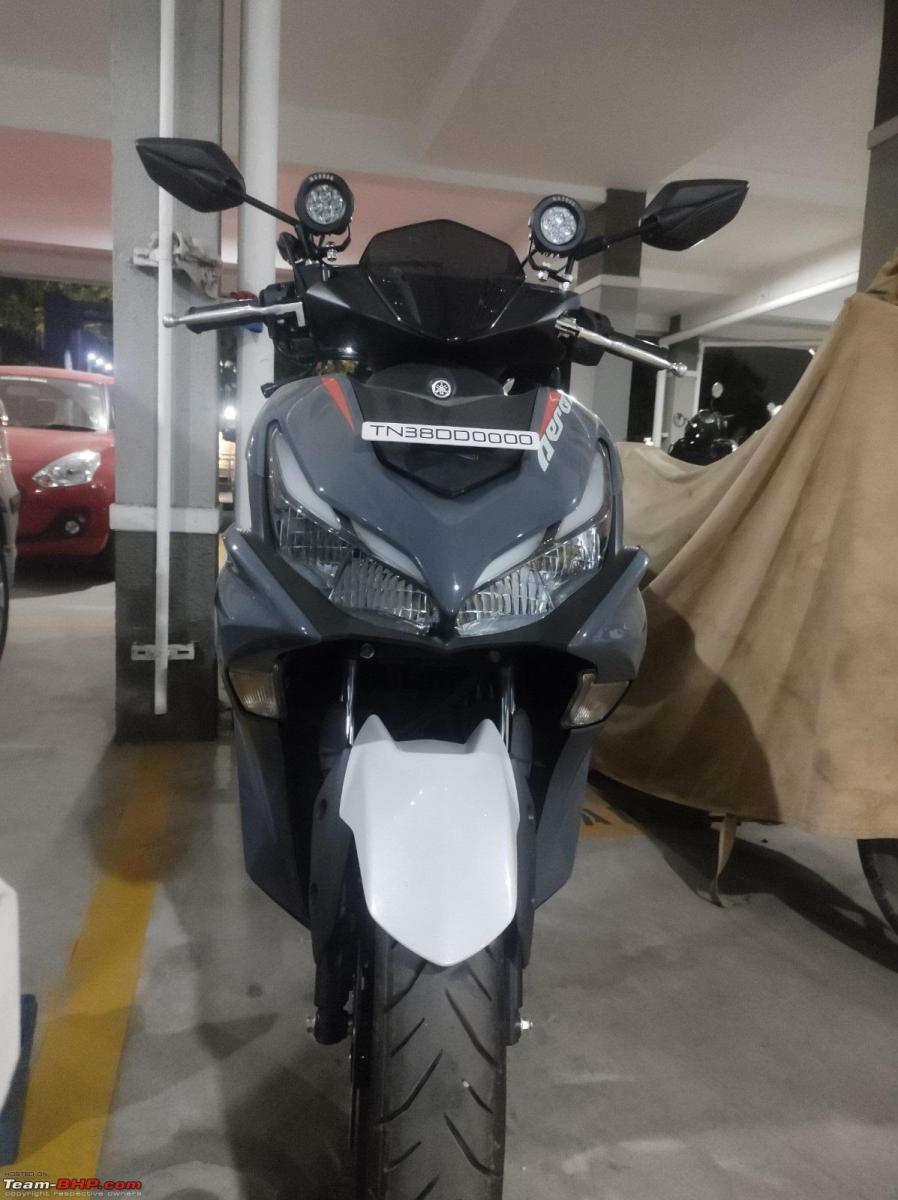
Fabricated a smaller front reg plate


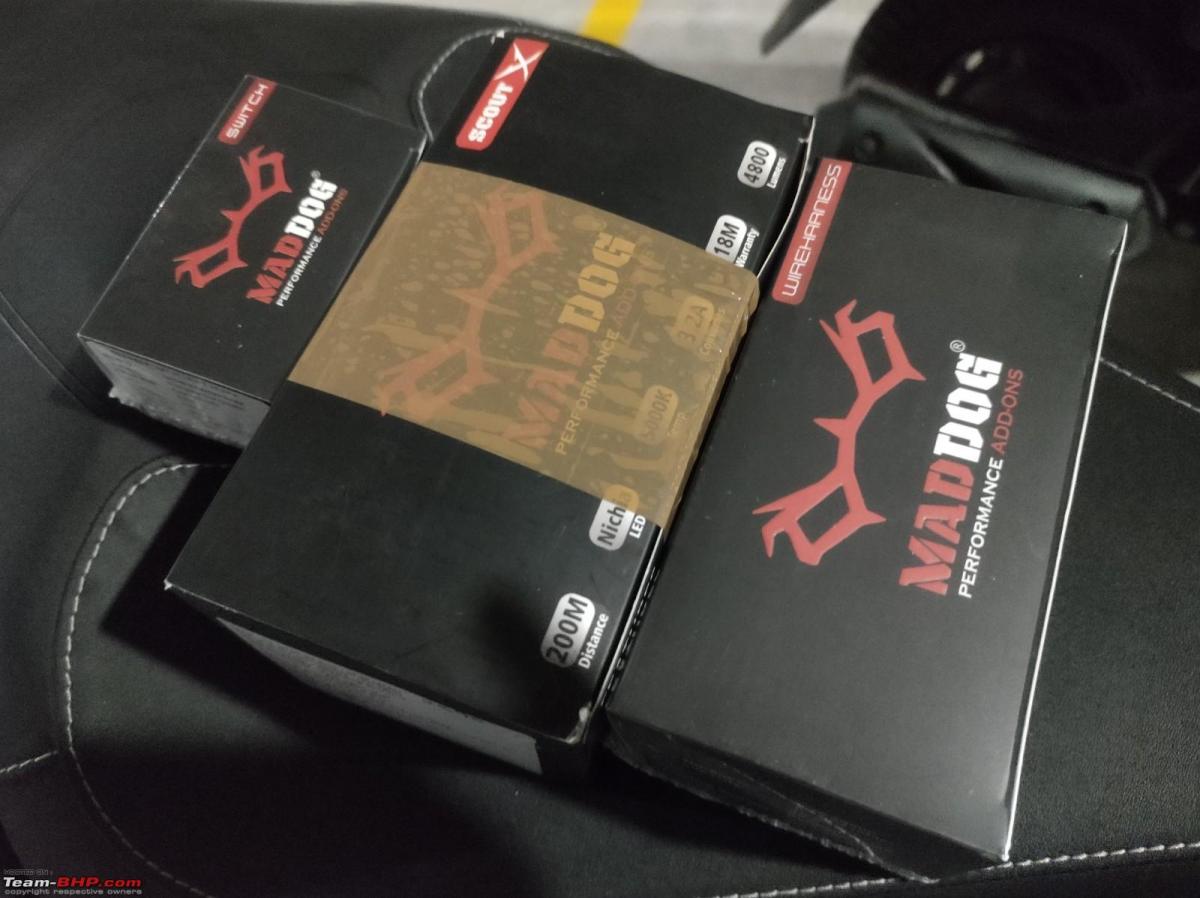
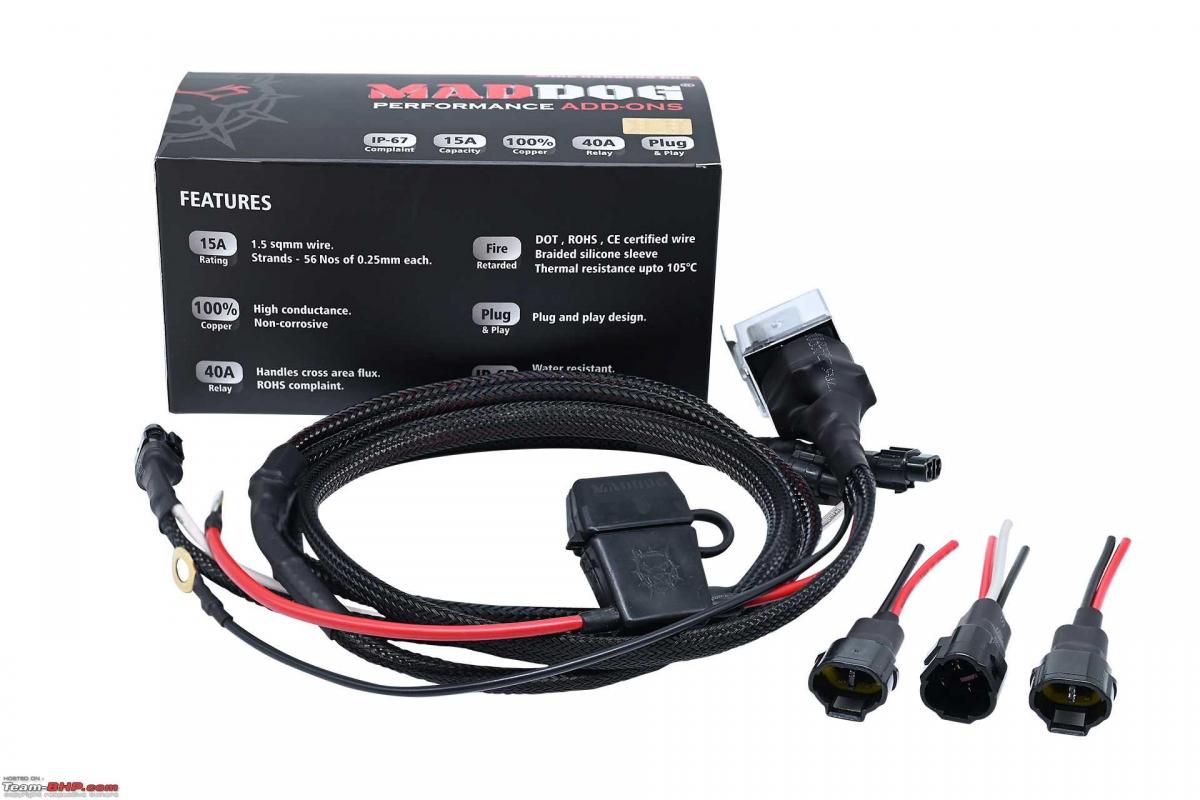
Purchased Maddog Scout X a month ago and installed it last night.
Cost 7350/- for a pair of lamps, wiring harness and switch


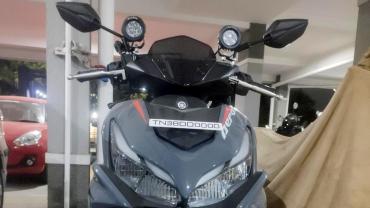
After exploring multiple options to mount the lamp, settled with this position

Fabricated a small bracket to mount the lamp on RVM stud


U bracket is a part of the lamp. A shorted bracket will be fabricated to reduce the height.
And the existing Maddog switch will be replaced with a non-momentary circular switch, something like this (ordered one, but the wrong size)

Signal was tapped from the mobile charger socket as it was the nearest one and easy to tap without slicing / cutting any wires. Output snaps to follow shortly.
Check out BHPian comments for more insights and information.
- Tags:
- Indian
- Aerox 155
- Yamaha
- Modifications
Pages
About Us