

 30th August 2017, 12:32
| #286 |
| Distinguished - BHPian  Join Date: Oct 2008 Location: Pune
Posts: 3,231
Thanked: 5,742 Times
| |

|  (6)
Thanks (6)
Thanks
|


| |
|
1st September 2017, 00:20
| #287 |
| Distinguished - BHPian | |
|
| (20)
Thanks
|


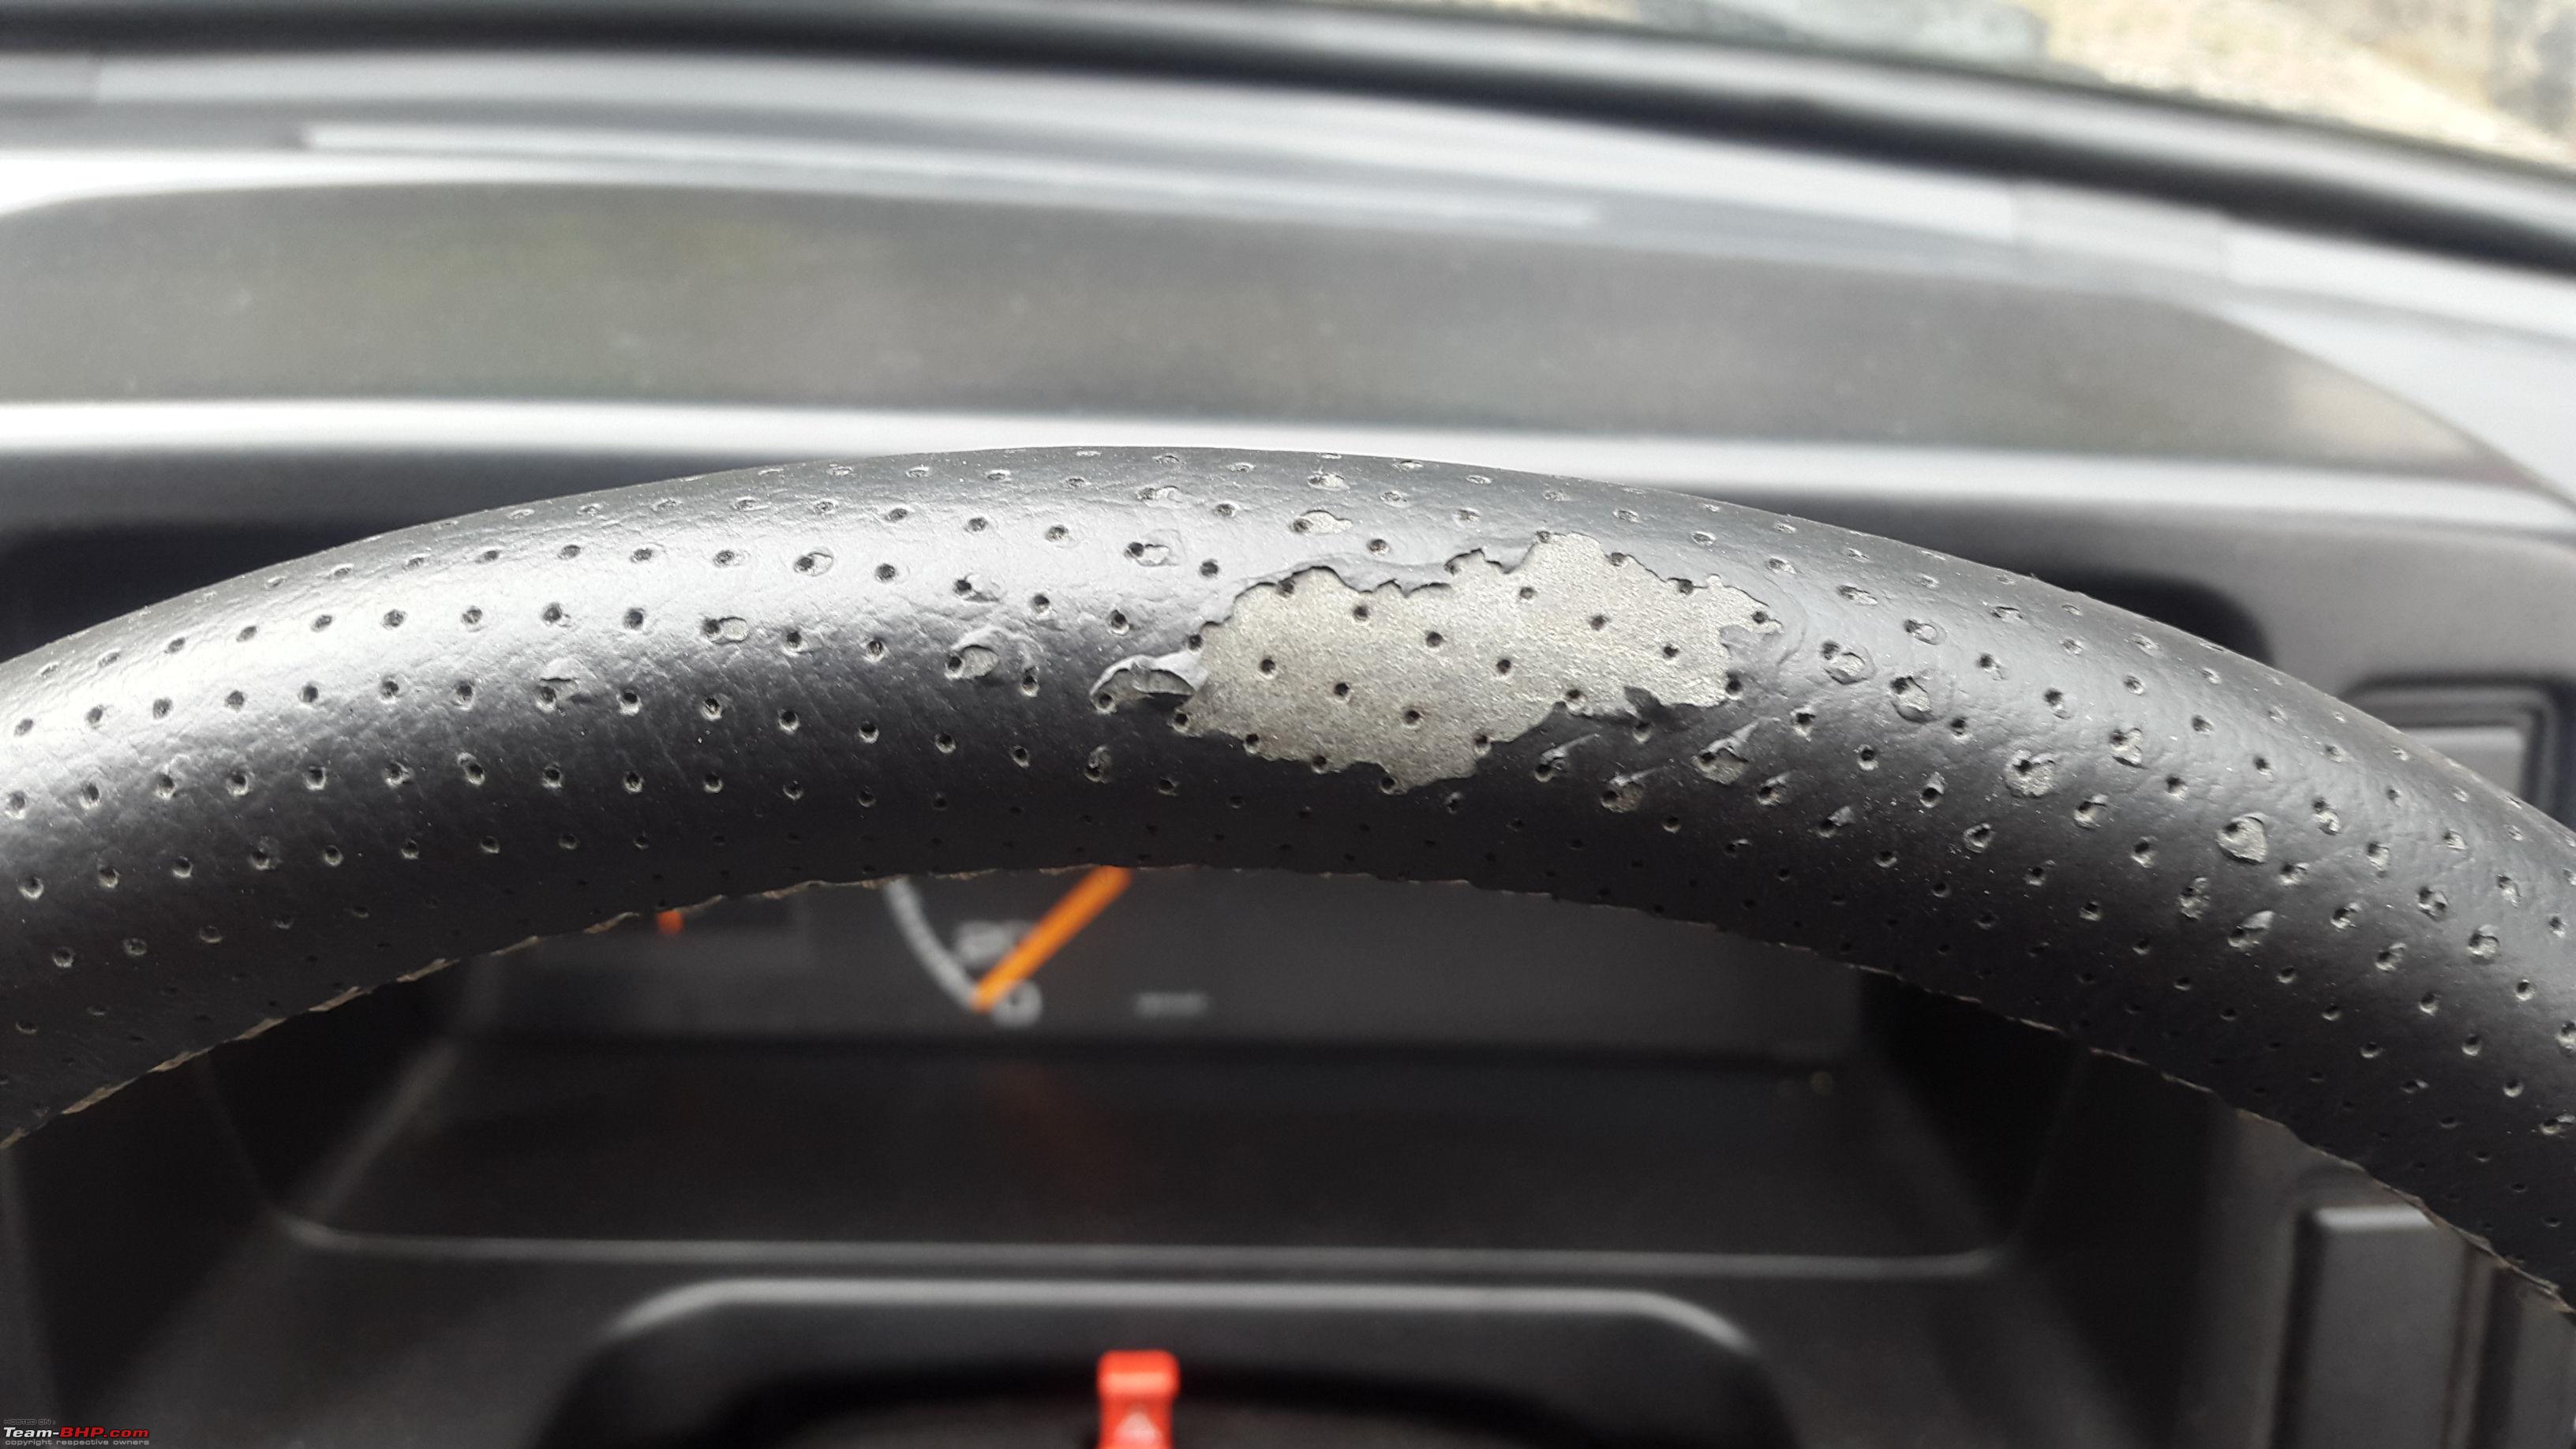
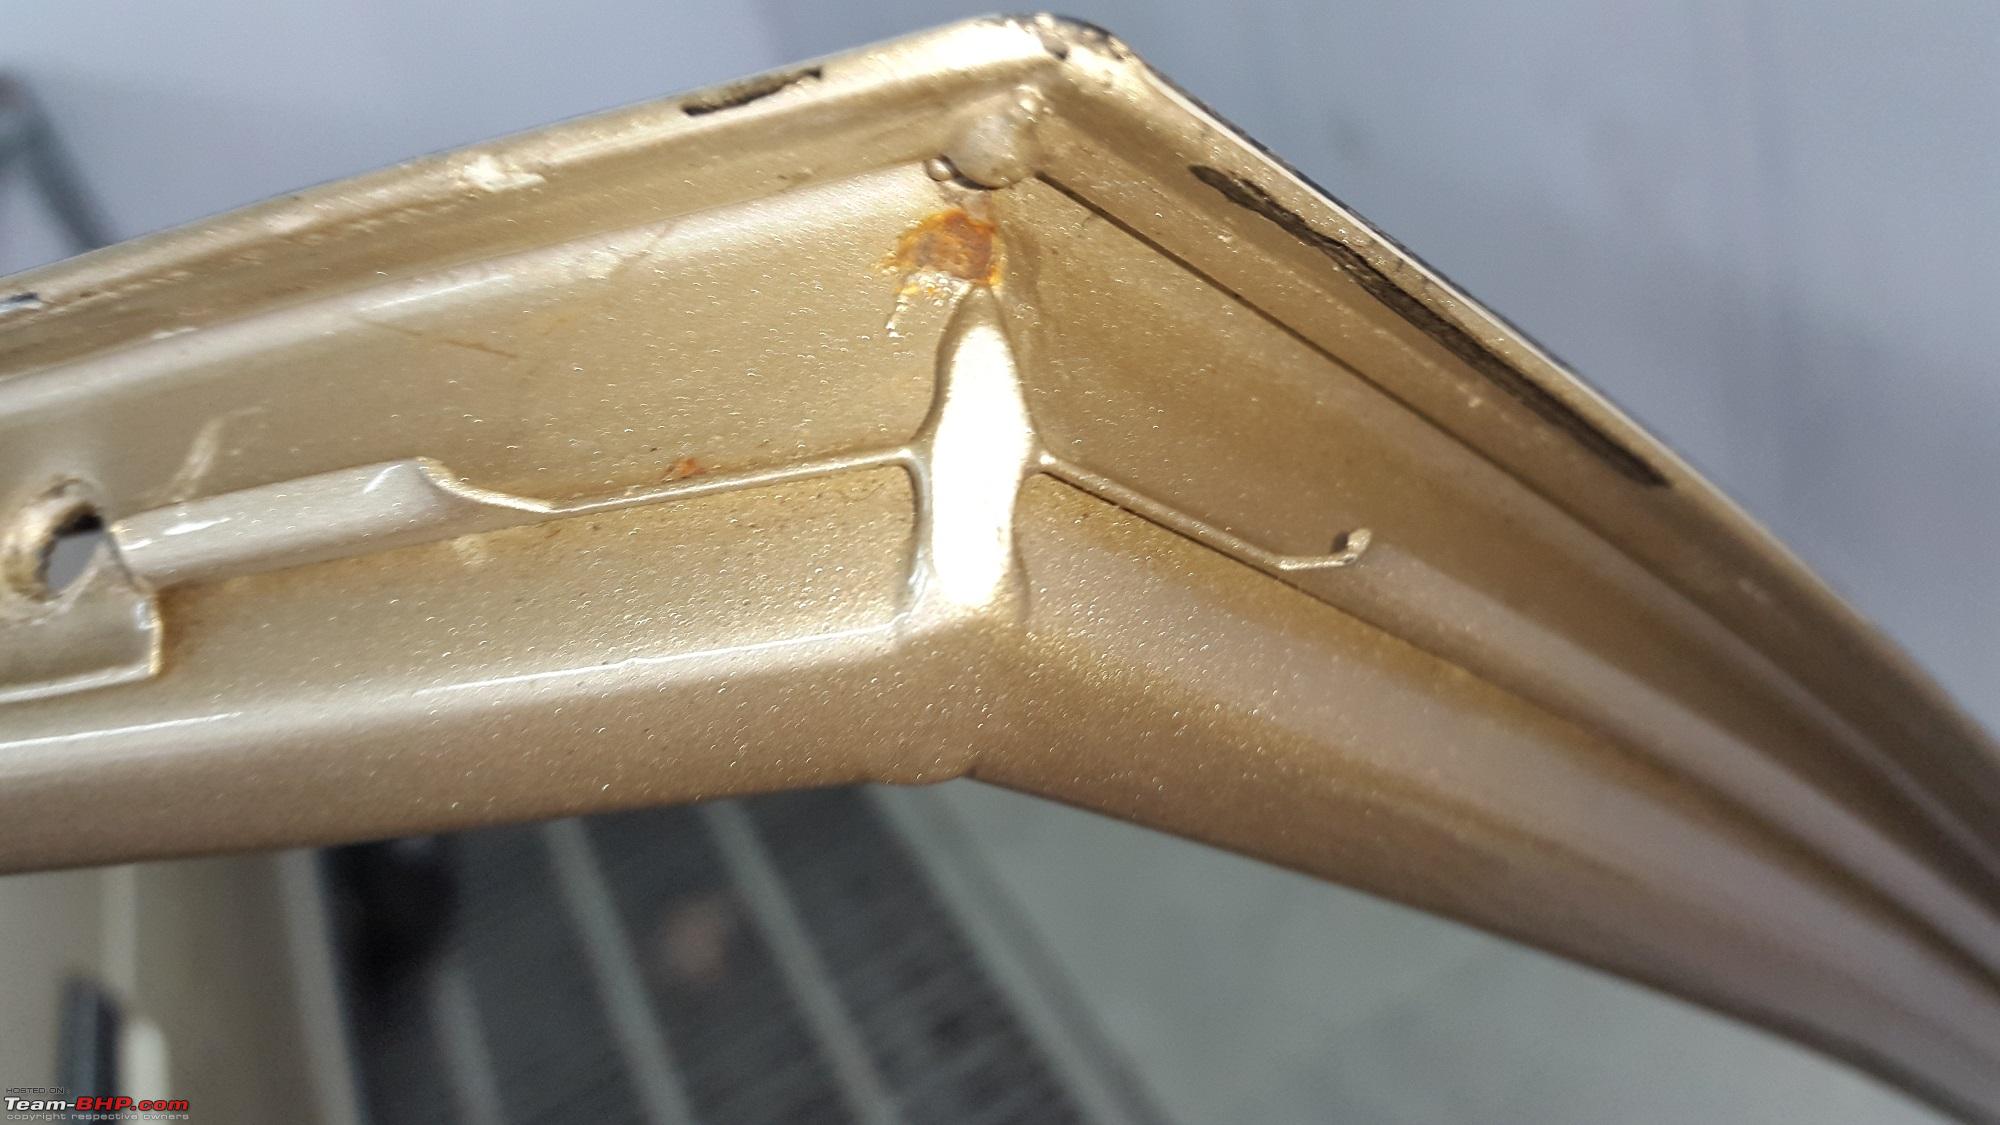
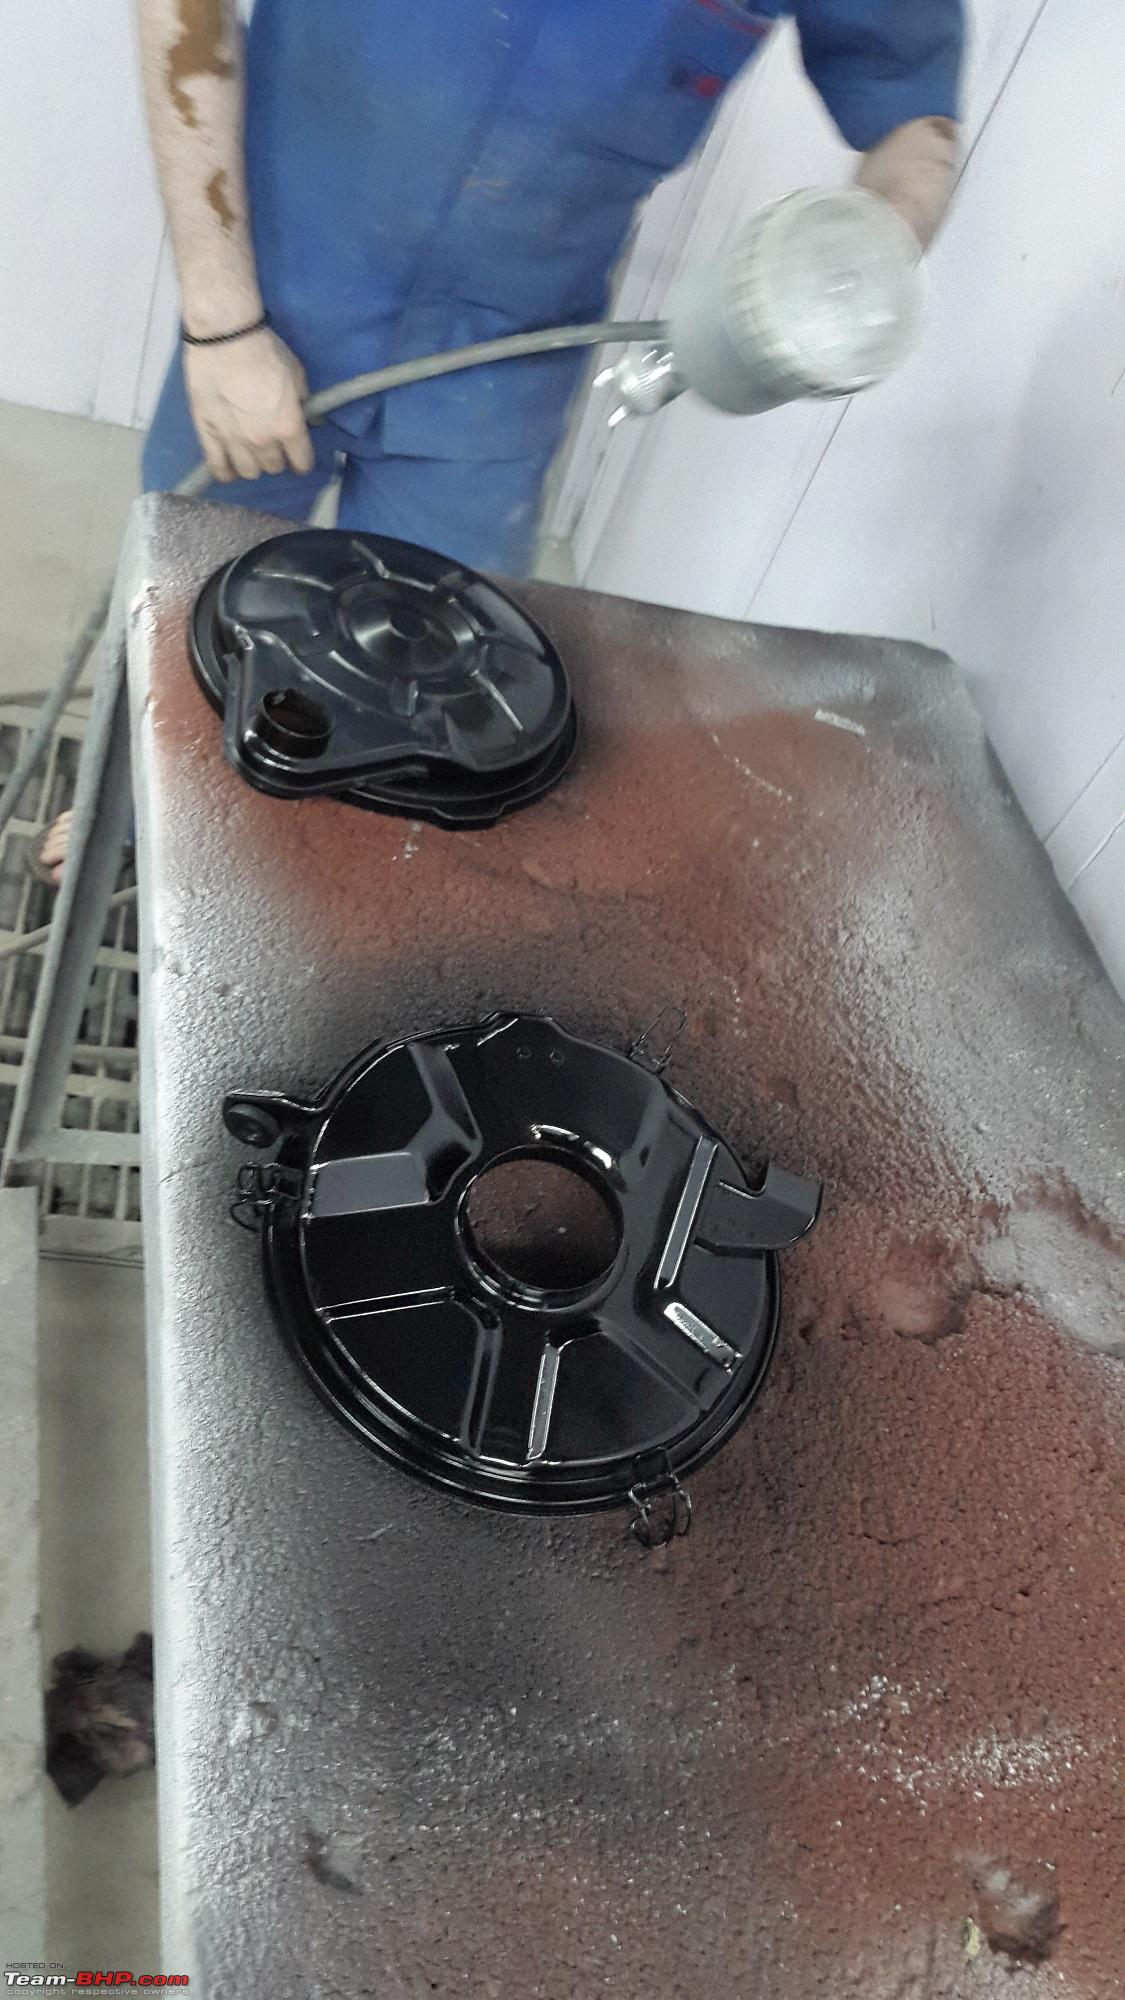
 . They had all gone in red due to age.
|
8th September 2017, 19:05
| #288 |
| Distinguished - BHPian | |
|
| (23)
Thanks
|

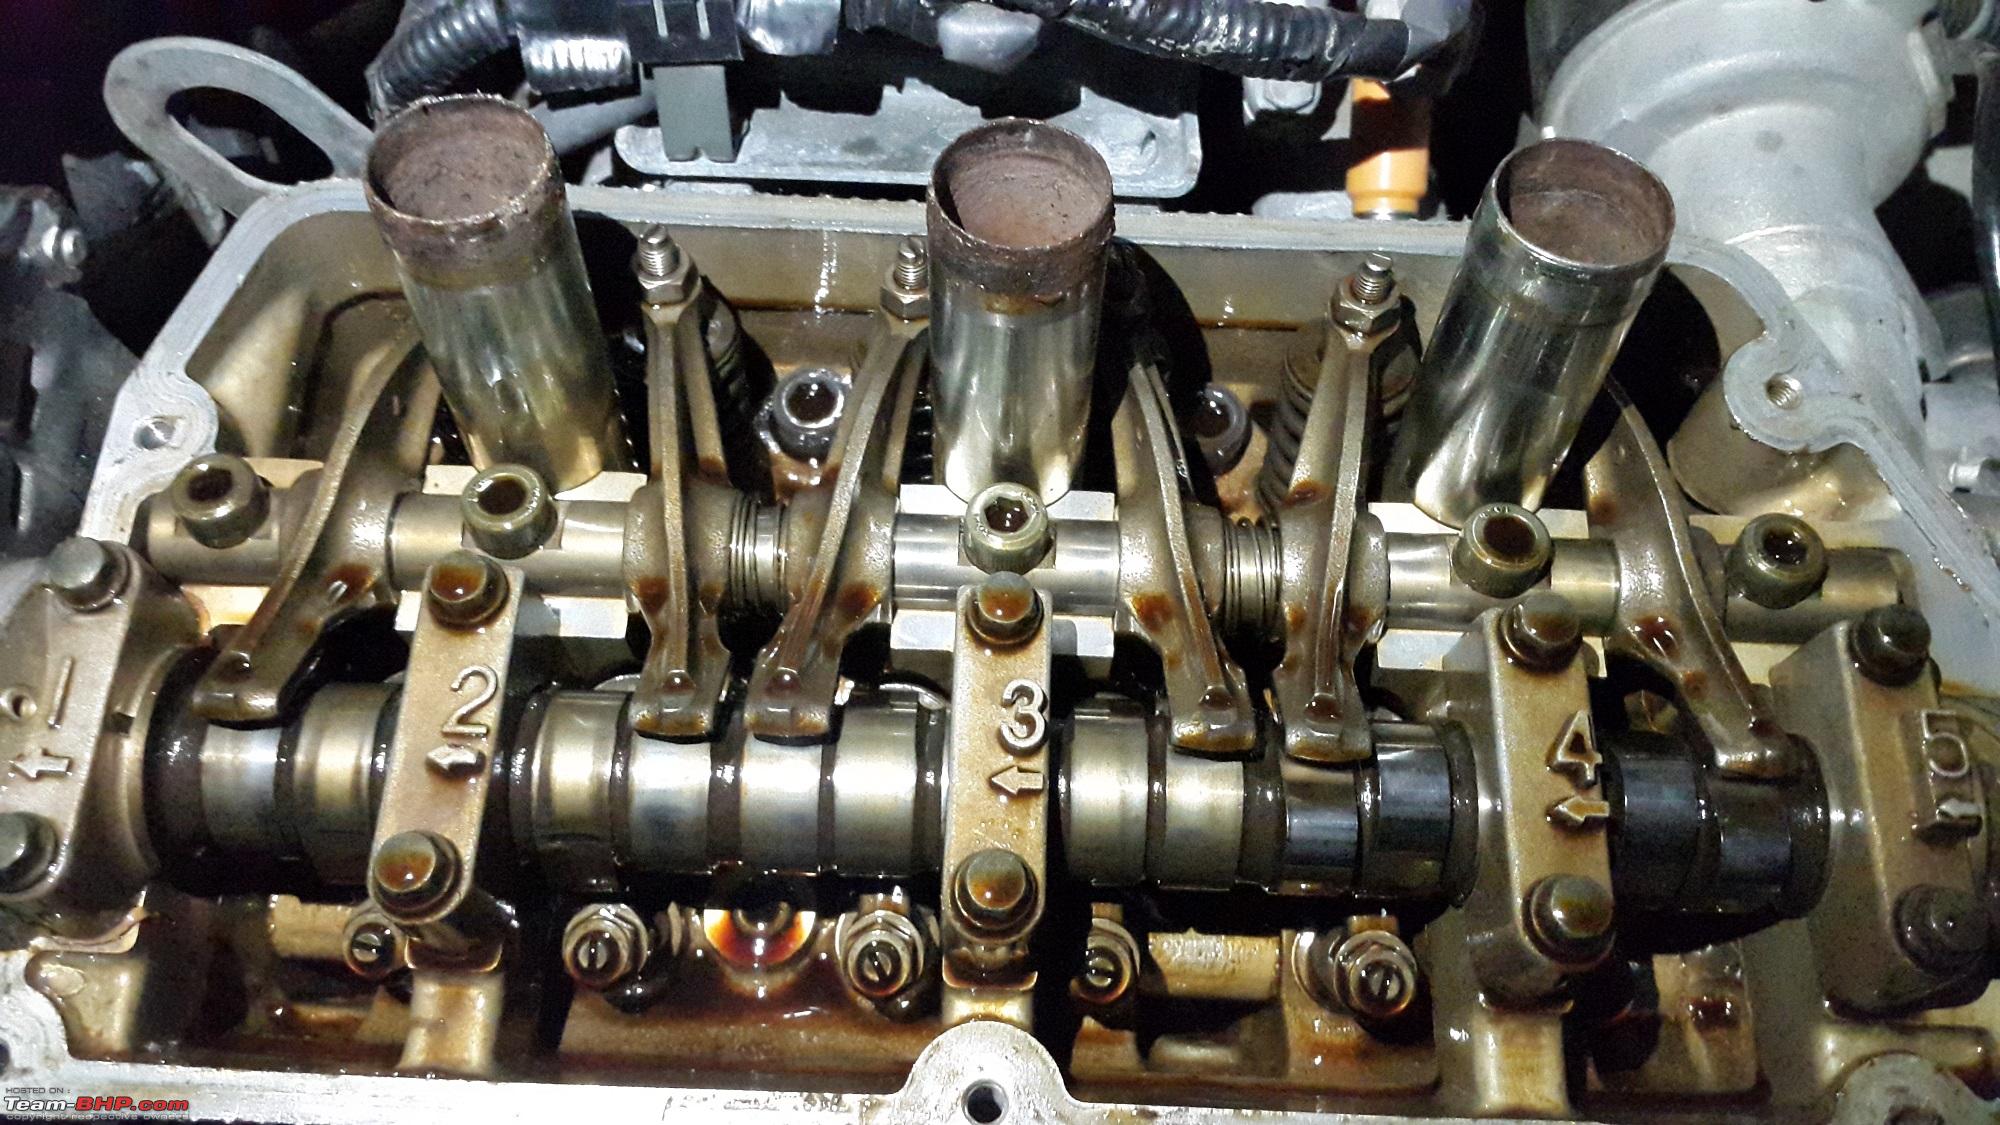
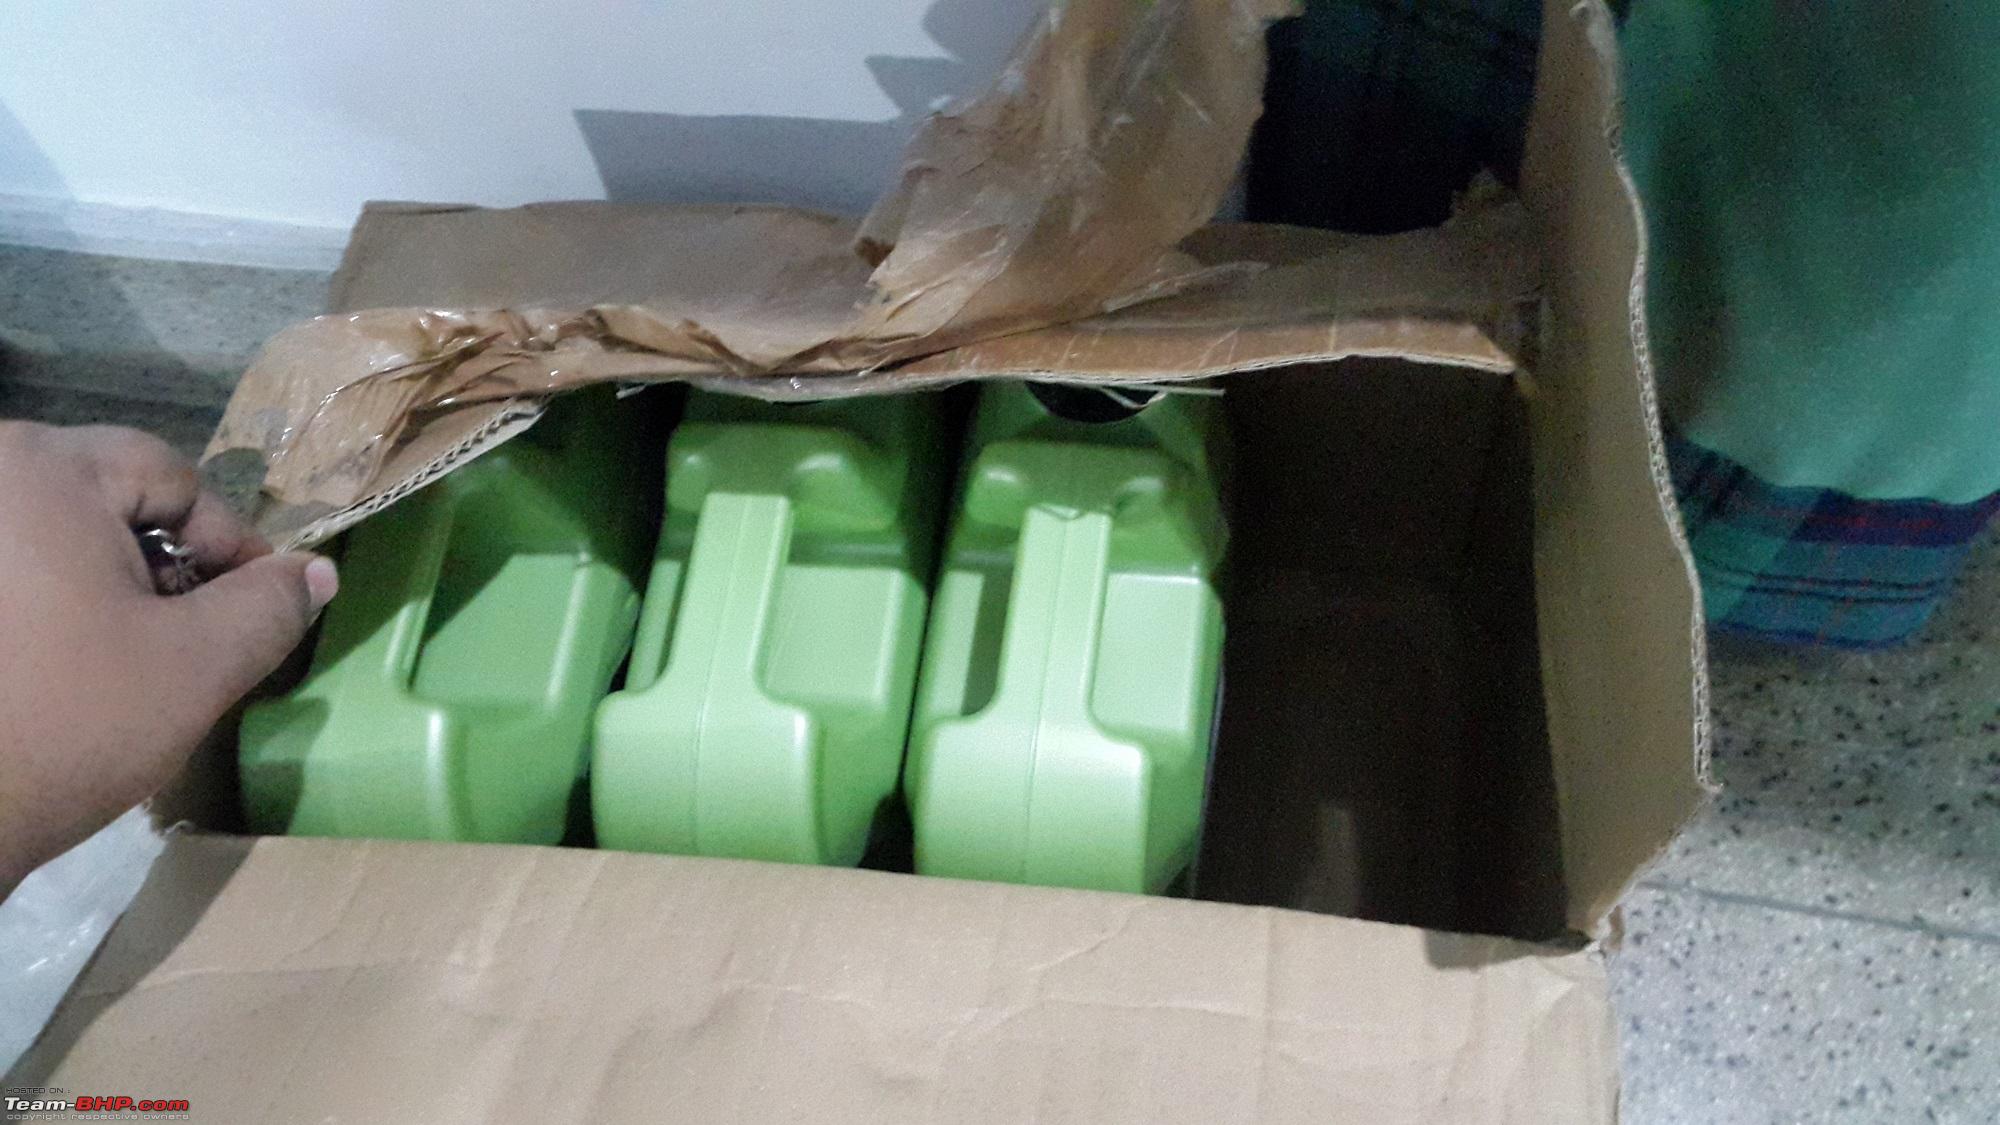
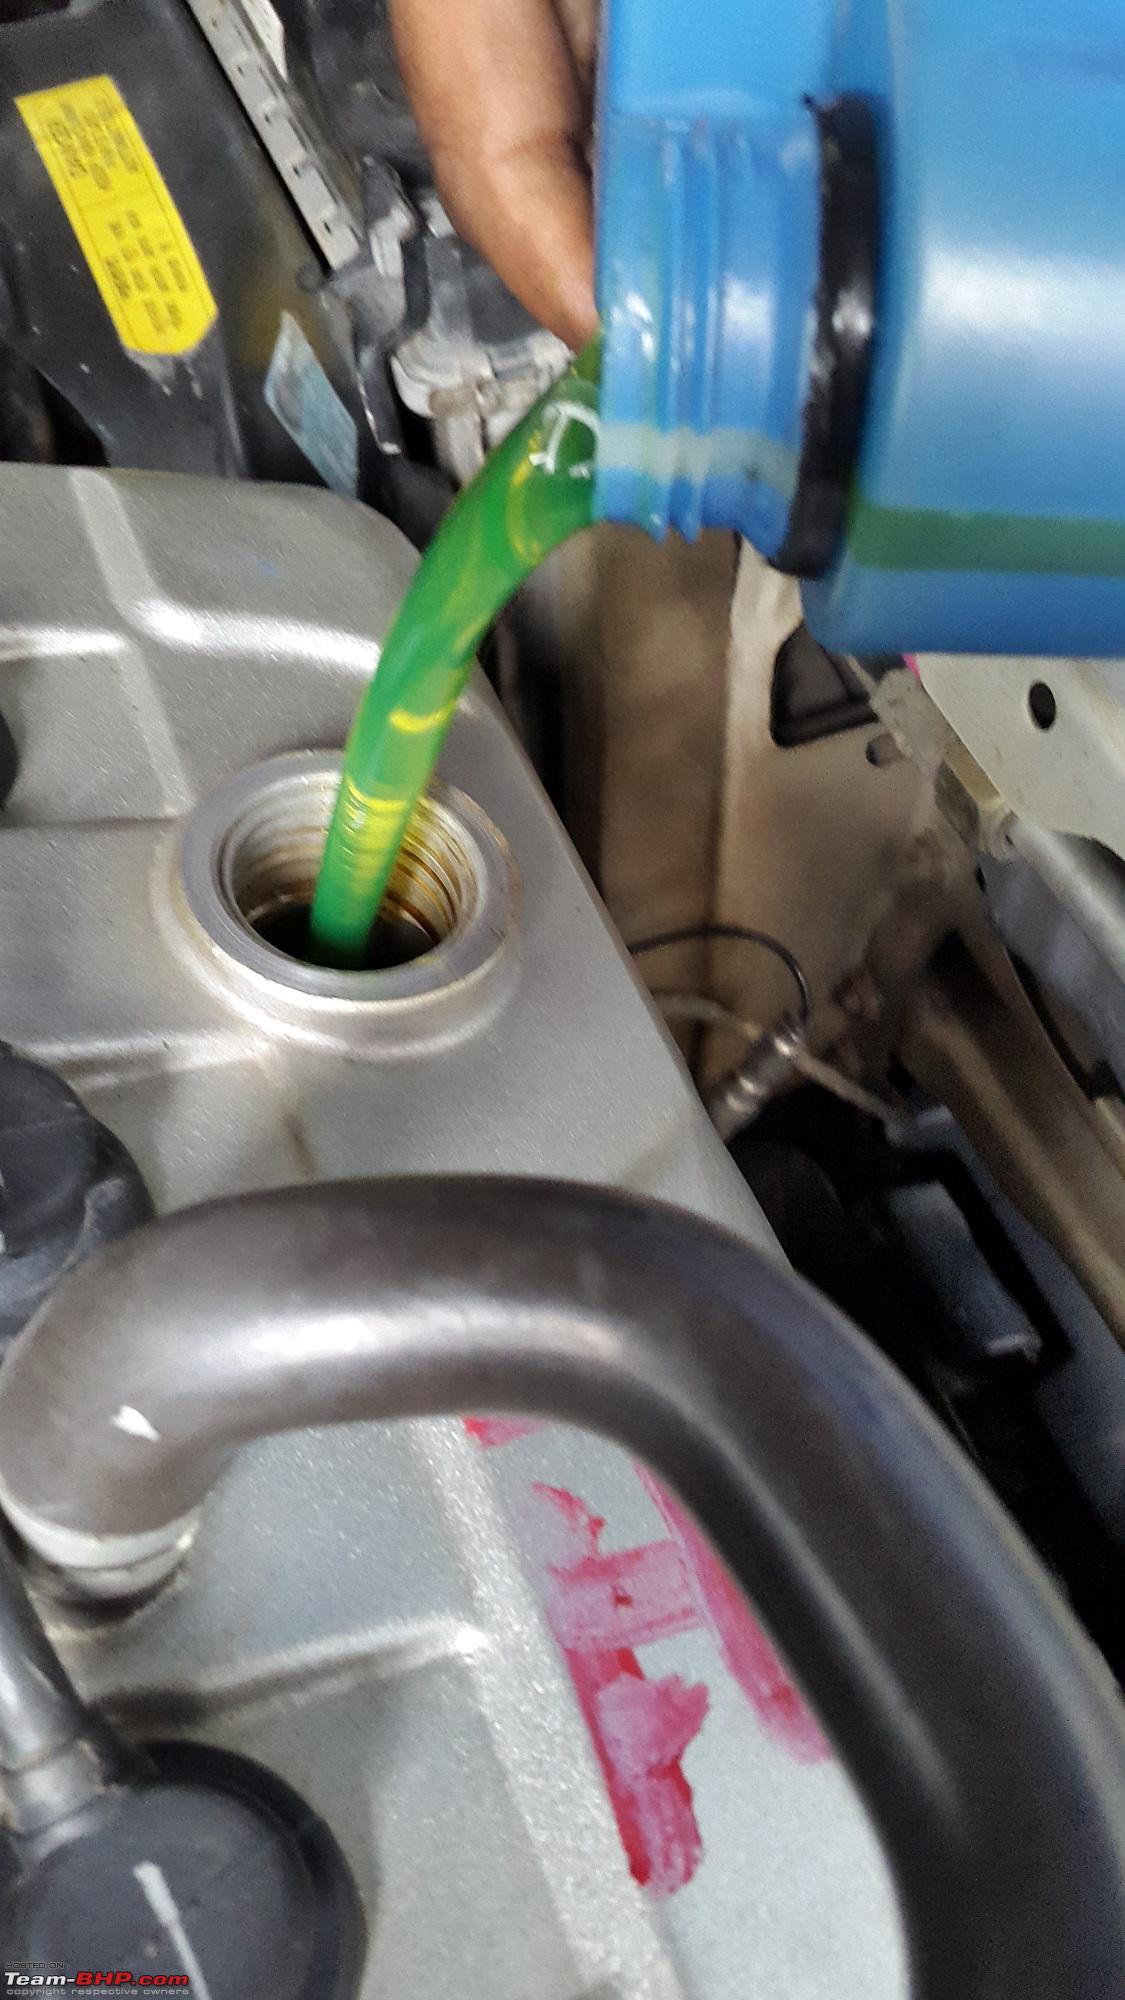
 Was extremely delighted to see a clean engine, free of sludge or any accumulation. We have been religiously following the 5k change interval with mineral oils for the whole 3 lac kms this engine has run, and it has helped the cause. This is the first time I have crossed the 10k mark with this oil, and will be changing it soon. Experts like Parag Sir also confirmed that the engine is in great shape.

|
8th September 2017, 19:25
| #289 |
| BHPian Join Date: Aug 2007 Location: Trivandrum
Posts: 295
Thanked: 649 Times
| |
|
| (1)
Thanks
|
|
15th September 2017, 18:32
| #290 |
| Distinguished - BHPian | |
|
| (18)
Thanks
|


|
18th September 2017, 17:56
| #291 |
| Senior - BHPian Join Date: Jun 2007 Location: Delhi
Posts: 4,892
Thanked: 8,114 Times
| |
|
| (14)
Thanks
|
|
20th September 2017, 08:26
| #292 |
| BHPian | |
|
|
|
22nd September 2017, 01:02
| #293 |
| Distinguished - BHPian | |
|
| (17)
Thanks
|
|
3rd October 2017, 00:28
| #294 |
| Distinguished - BHPian | |
|
| (24)
Thanks
|


|
28th October 2017, 01:29
| #295 |
| BHPian Join Date: Sep 2017 Location: BLR/RNC
Posts: 43
Thanked: 172 Times
| |
|
| (8)
Thanks
|
|
30th October 2017, 00:34
| #296 |
| Distinguished - BHPian | |
|
| (29)
Thanks
|


| |
|
31st October 2017, 09:36
| #297 |
| Distinguished - BHPian Join Date: Oct 2008 Location: Pune
Posts: 3,231
Thanked: 5,742 Times
| |
|
| (4)
Thanks
|
|
31st October 2017, 09:43
| #298 |
| Distinguished - BHPian Join Date: Jun 2012 Location: BengaLuru
Posts: 5,659
Thanked: 19,411 Times
| |
|
| (4)
Thanks
|
|
31st October 2017, 10:01
| #299 |
| Senior - BHPian Join Date: Dec 2006 Location: Mysore / B'lore
Posts: 1,666
Thanked: 4,115 Times
| |
|
| (12)
Thanks
|
|
31st October 2017, 10:40
| #300 |
| Distinguished - BHPian Join Date: Jun 2012 Location: BengaLuru
Posts: 5,659
Thanked: 19,411 Times
| |
|
| (5)
Thanks
|

 |
Most Viewed