| |||||||

| Search Forums |
| Advanced Search |
| Go to Page... |
 |
| Search this Thread |  567,977 views |
 8th September 2020, 11:06
| #121 |
| BHPian Join Date: Dec 2019 Location: KL52
Posts: 519
Thanked: 3,648 Times
| Re: Review: My Yamaha R1 (WGP 50th Anniversary Edition) ODO Update post So the R1 has hit 25,000 KMS on the do. Approx 5000kms added since me owning it. I picked up the bike at around 20,700kms. The bike is with Xaos636 for a few days now, he's the only person to ride the bike other than me and my brother, since he has been missing his R3 for so long so it was only right to let him enjoy the R1 for a few days, if i say that it also wasn't a ploy to get him to buy a sbk soon, i'd be lying.  Would have touched 30k by now if not for the current pandemic situation. Ah what can we do anyway. 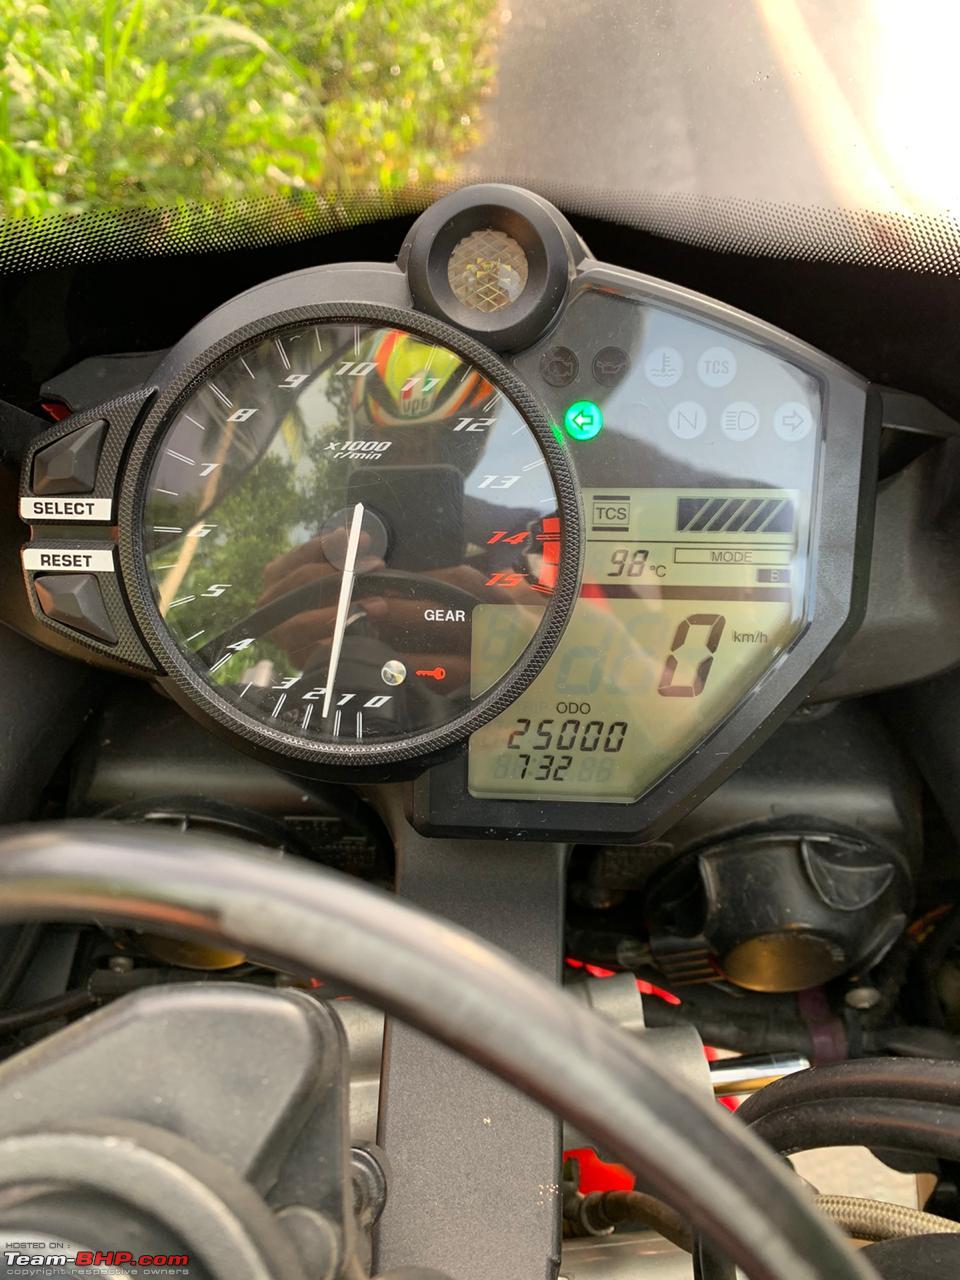 Cheers Krishna Last edited by krishnaprasadgg : 8th September 2020 at 11:11. |

|  (8)
Thanks (8)
Thanks
 |
| The following 8 BHPians Thank krishnaprasadgg for this useful post: | alphadog, Cyborg, deepfreak15, Godzilla, neil.jericho, SnS_12, VijayAnand1, Xaos636 |
| |
|
8th September 2020, 13:48
| #122 | |
| Distinguished - BHPian  Join Date: Aug 2009 Location: Cochin
Posts: 3,810
Thanked: 19,328 Times
| Re: Review: My Yamaha R1 (WGP 50th Anniversary Edition) Quote:
Given that Covid is here to stay for a while, why dont you do some short solo rides to enjoy motorcycling? What I do is strap on the helmet in the garage, go for a short ride, take a break at the destination without removing my helmet or gear, dont stop anywhere to interact with anyone on the way, no snacks or meals at any bakeries or restaurants (this obviously limits the distance of the ride), return home and remove my helmet in the garage. I know of one fellow rider here on the forum, who carries a small meal with him and he enjoys it alone at his destination without being near anyone. These might seem like extreme measures to some, to each his own, but it beats not riding at all. | |
|
| (7)
Thanks
|

| The following 7 BHPians Thank neil.jericho for this useful post: | alphadog, Cyborg, deepfreak15, krishnaprasadgg, shan_ned, SnS_12, Xaos636 |
|
8th September 2020, 13:59
| #123 | |||
| BHPian Join Date: Dec 2019 Location: KL52
Posts: 519
Thanked: 3,648 Times
| Re: Review: My Yamaha R1 (WGP 50th Anniversary Edition) Quote:
Quote:
Quote:
I guess now I can increase the duration of the travel bit by bit. Cheers Krishna | |||
|
| (1)
Thanks
|
| The following BHPian Thanks krishnaprasadgg for this useful post: | neil.jericho |
|
13th September 2020, 10:21
| #124 |
| BHPian Join Date: Dec 2019 Location: KL52
Posts: 519
Thanked: 3,648 Times
| Re: Review: My Yamaha R1 (WGP 50th Anniversary Edition) 2 small update 1. Clutch cable for the R1 has come in. Now it ready to go for a clutch + throttle cable swap. The bike is still running on the stock cables and 7 years in is a good time to make the change. Though no issues or obvious wear is felt or seen on the cables yet. Part Number: 1KB-26335-00 Cost: Rs.1,804/- Part came from Japan and Aug 2020 packed, so I guess its a recent manufactured one too. 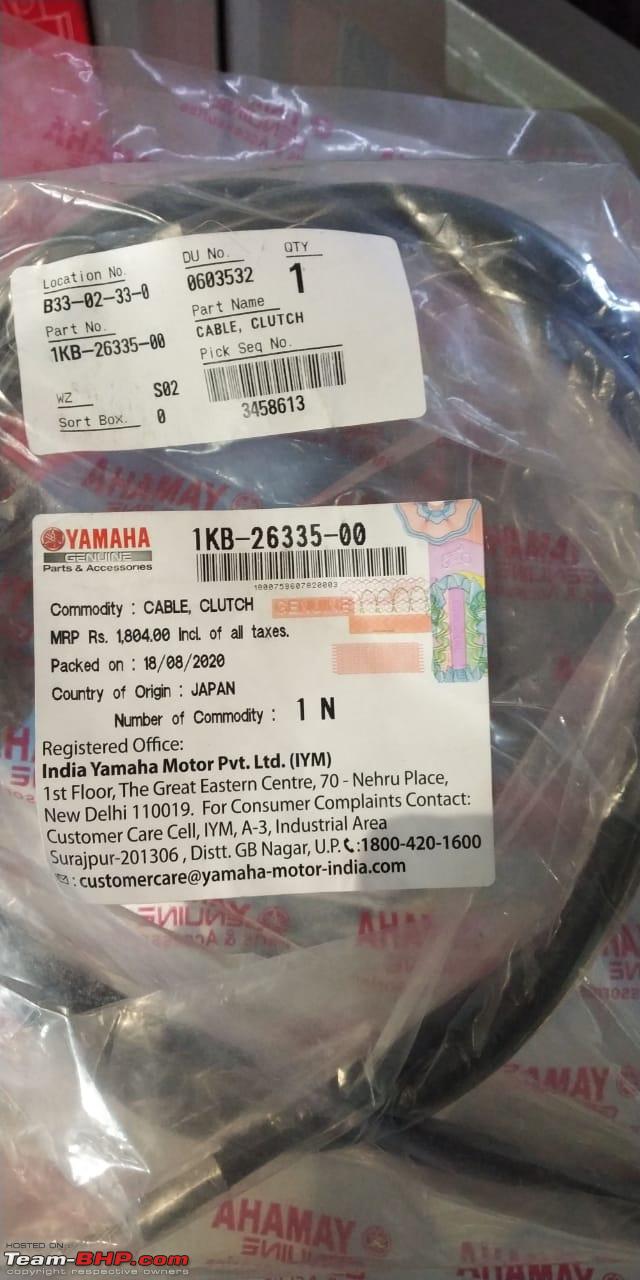 2. Got the reg number stuck on the MRA DB visor, it's been a long time coming, with lockdown being imposed right after I got the MRA screen installed and not finding a good shop to do the install. 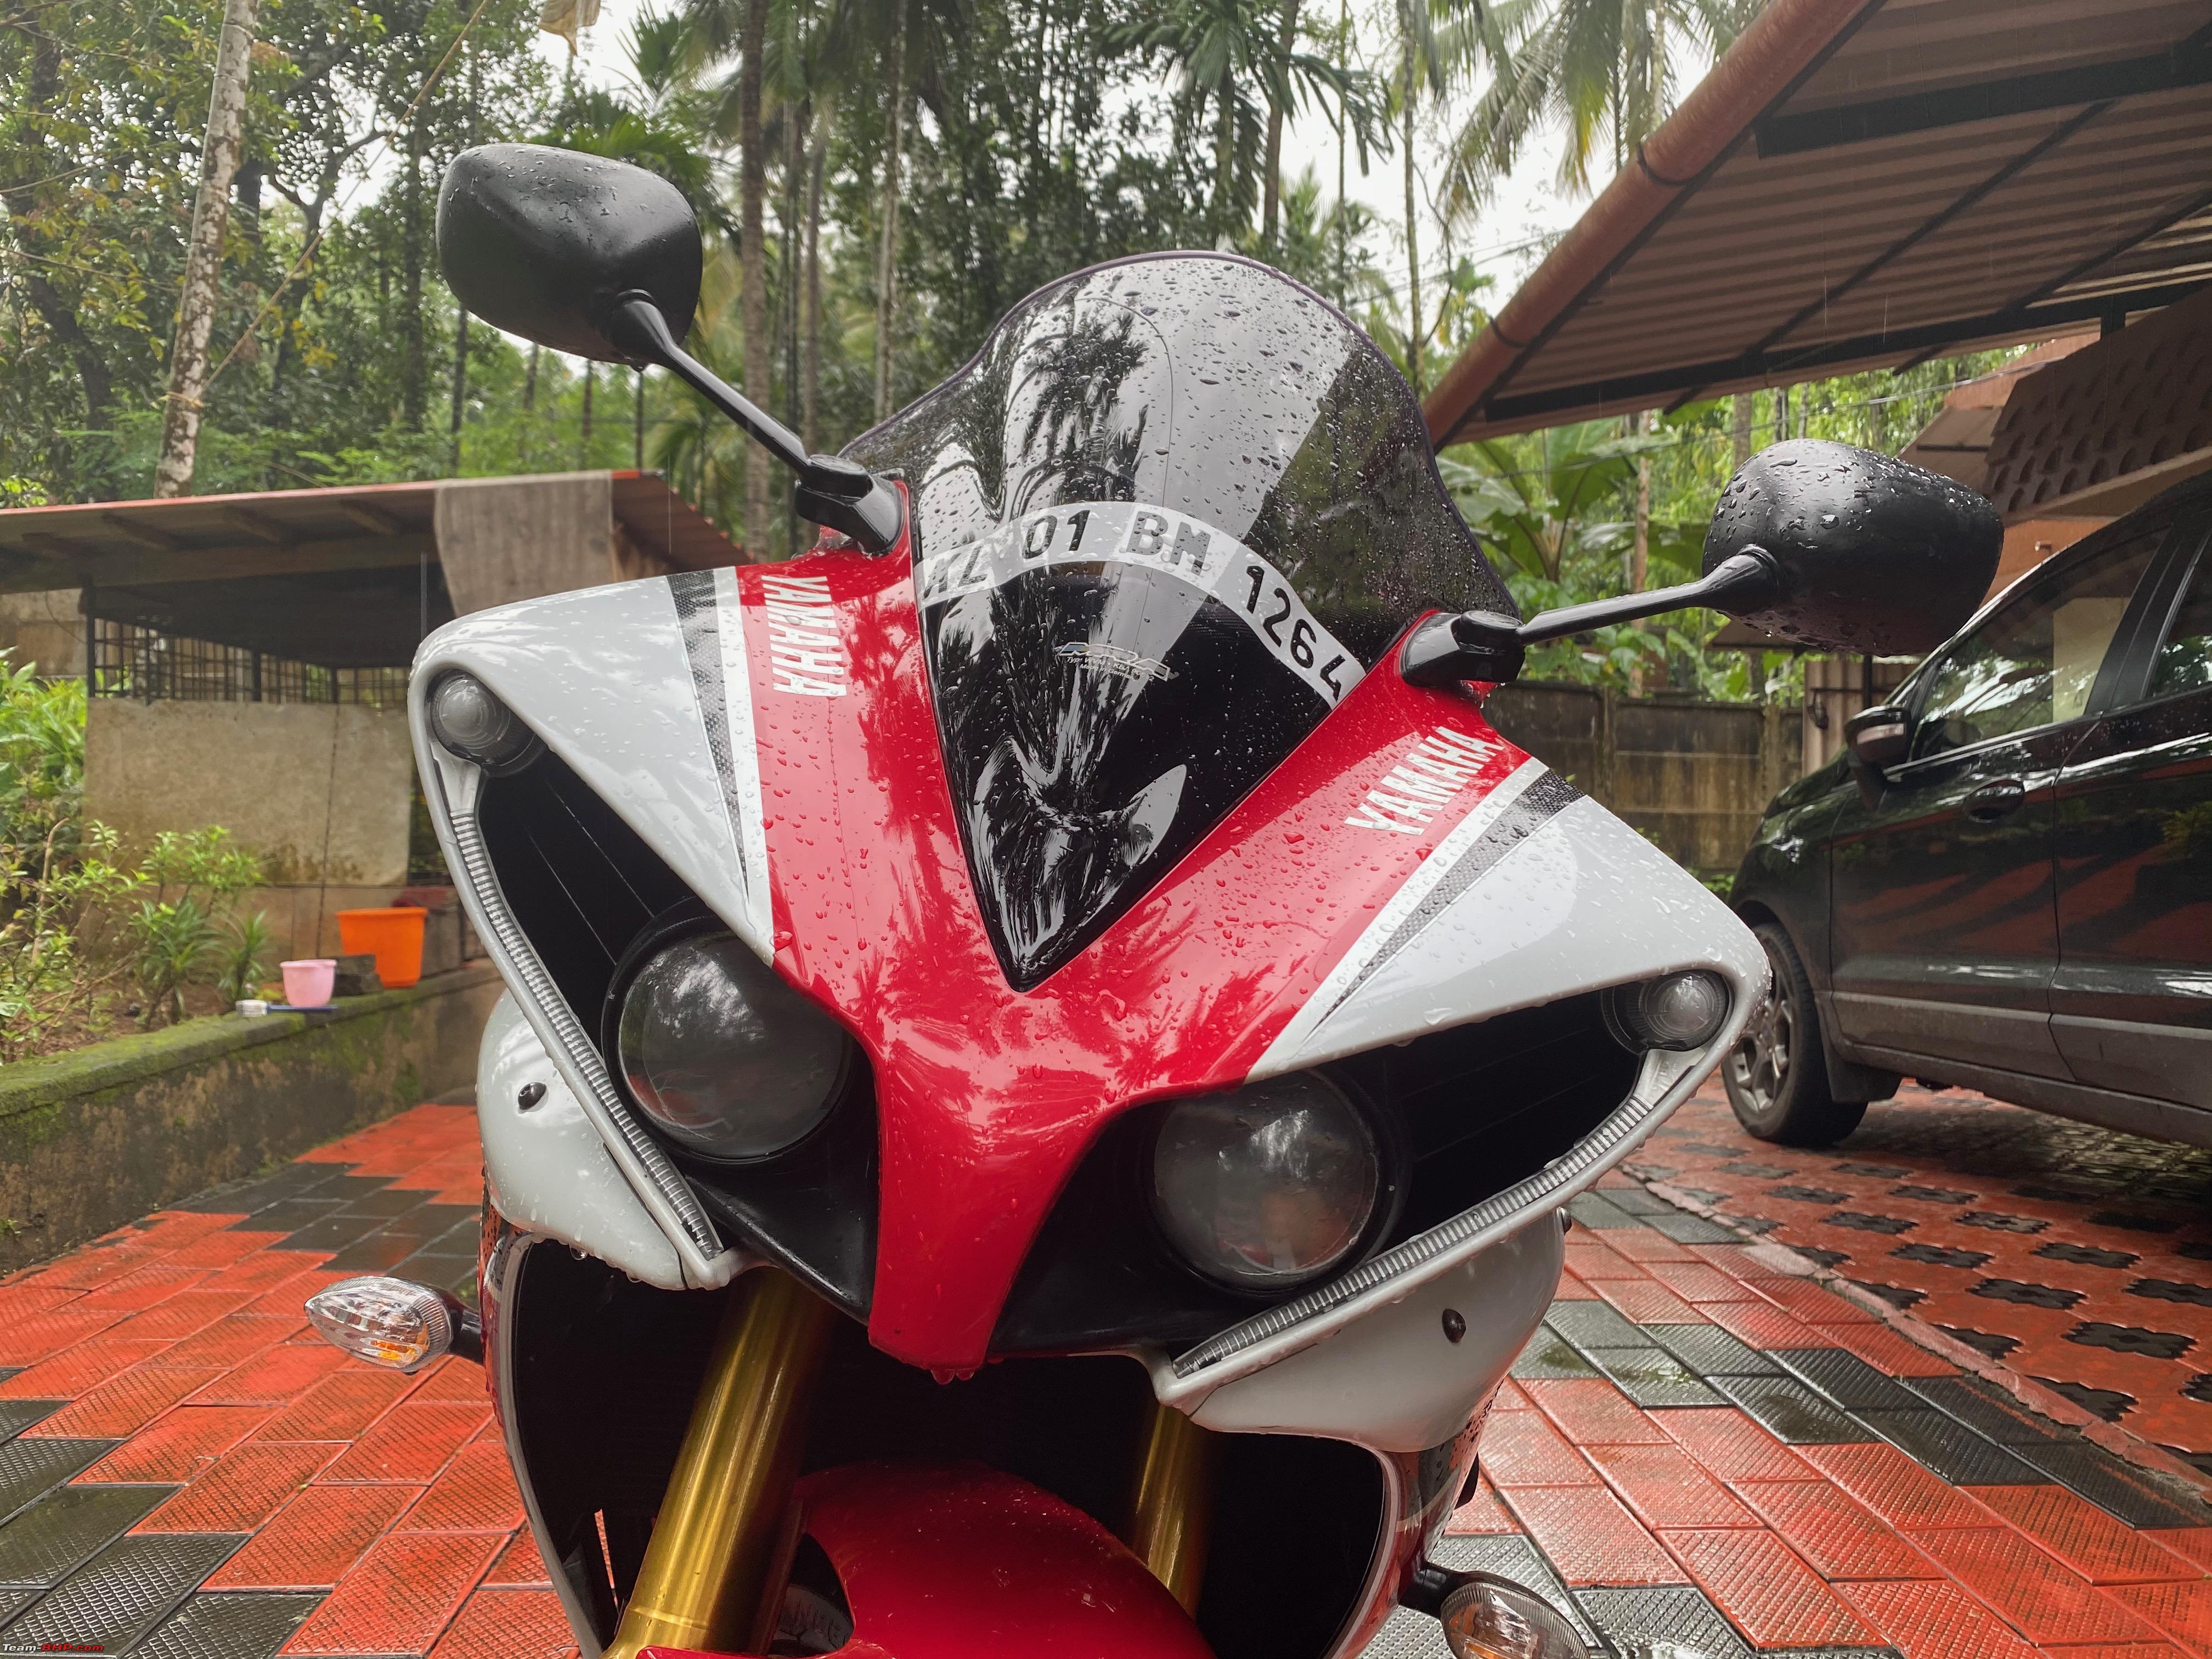 While during the lockdown I was debating on if I should do this or not, on one hand this being a direct import there was no front numberplate holder that came with the bike or was required due to its full import status(did not come with saree guards either) but explaining that to the cops would be useless , but the bike looked so good with the MRA screen that I did not want to spoil the looks of it at all and though to get something fabricated that hangs just below the fairing of the bike like in the CBR250. But in the end just ended up getting the normal reg number stuck on the screen. It might not look as good as before but atleast to a degree won't have any issues from cops. Another thing, might need some inputs from anyone with experience. I really want to get this god awful camera mount off. It's been stuck on here for quite a few years now, i tried leaving the bike under the sun and even the hair dryer heating techniques and the thing just won't budge. Tried yanking on it too, but stopped fearing it might pull off the red sticker along with it too and end up having a bigger problem. So right now I have admitted defeat with this. Any other suggestion/technique that I can try on this is welcomed. 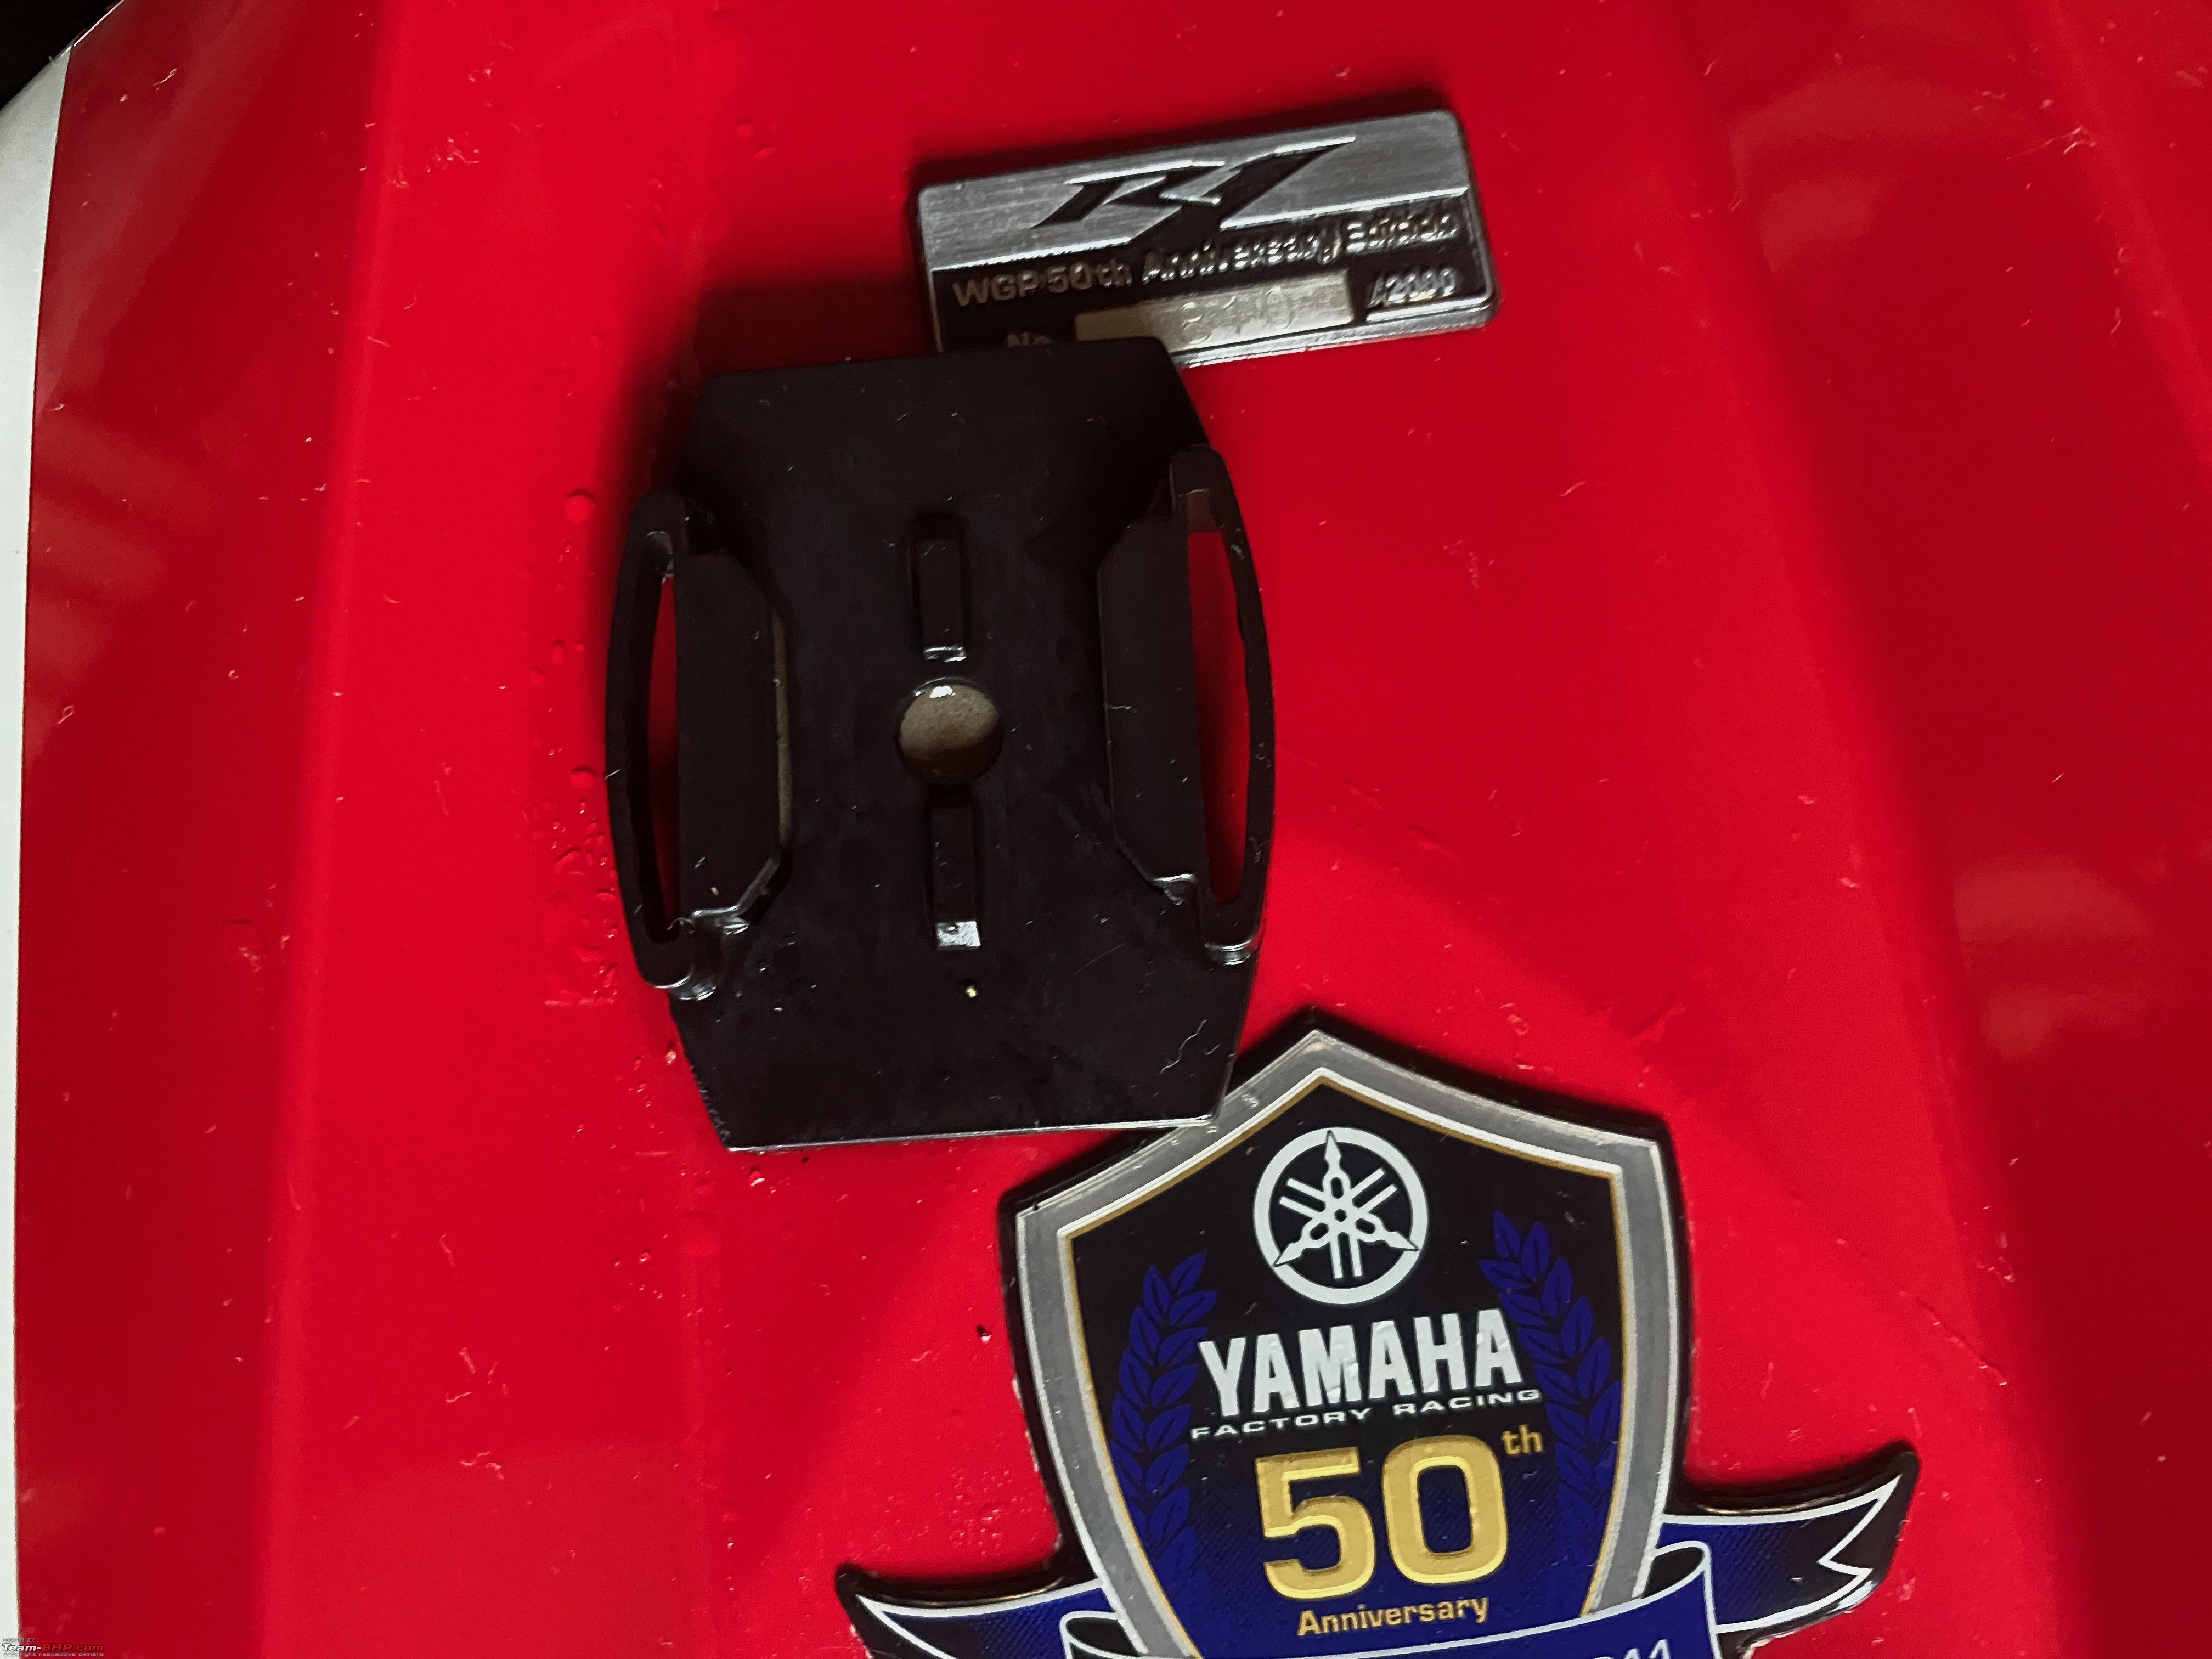 Washed the bike today. The bike was super muddy as it was ridden in the rain for quite a bit. Missed taking a pic of the bike all dirty, I don't know if its just me but dirt and grime on bikes/cars makes it look more epic for me.  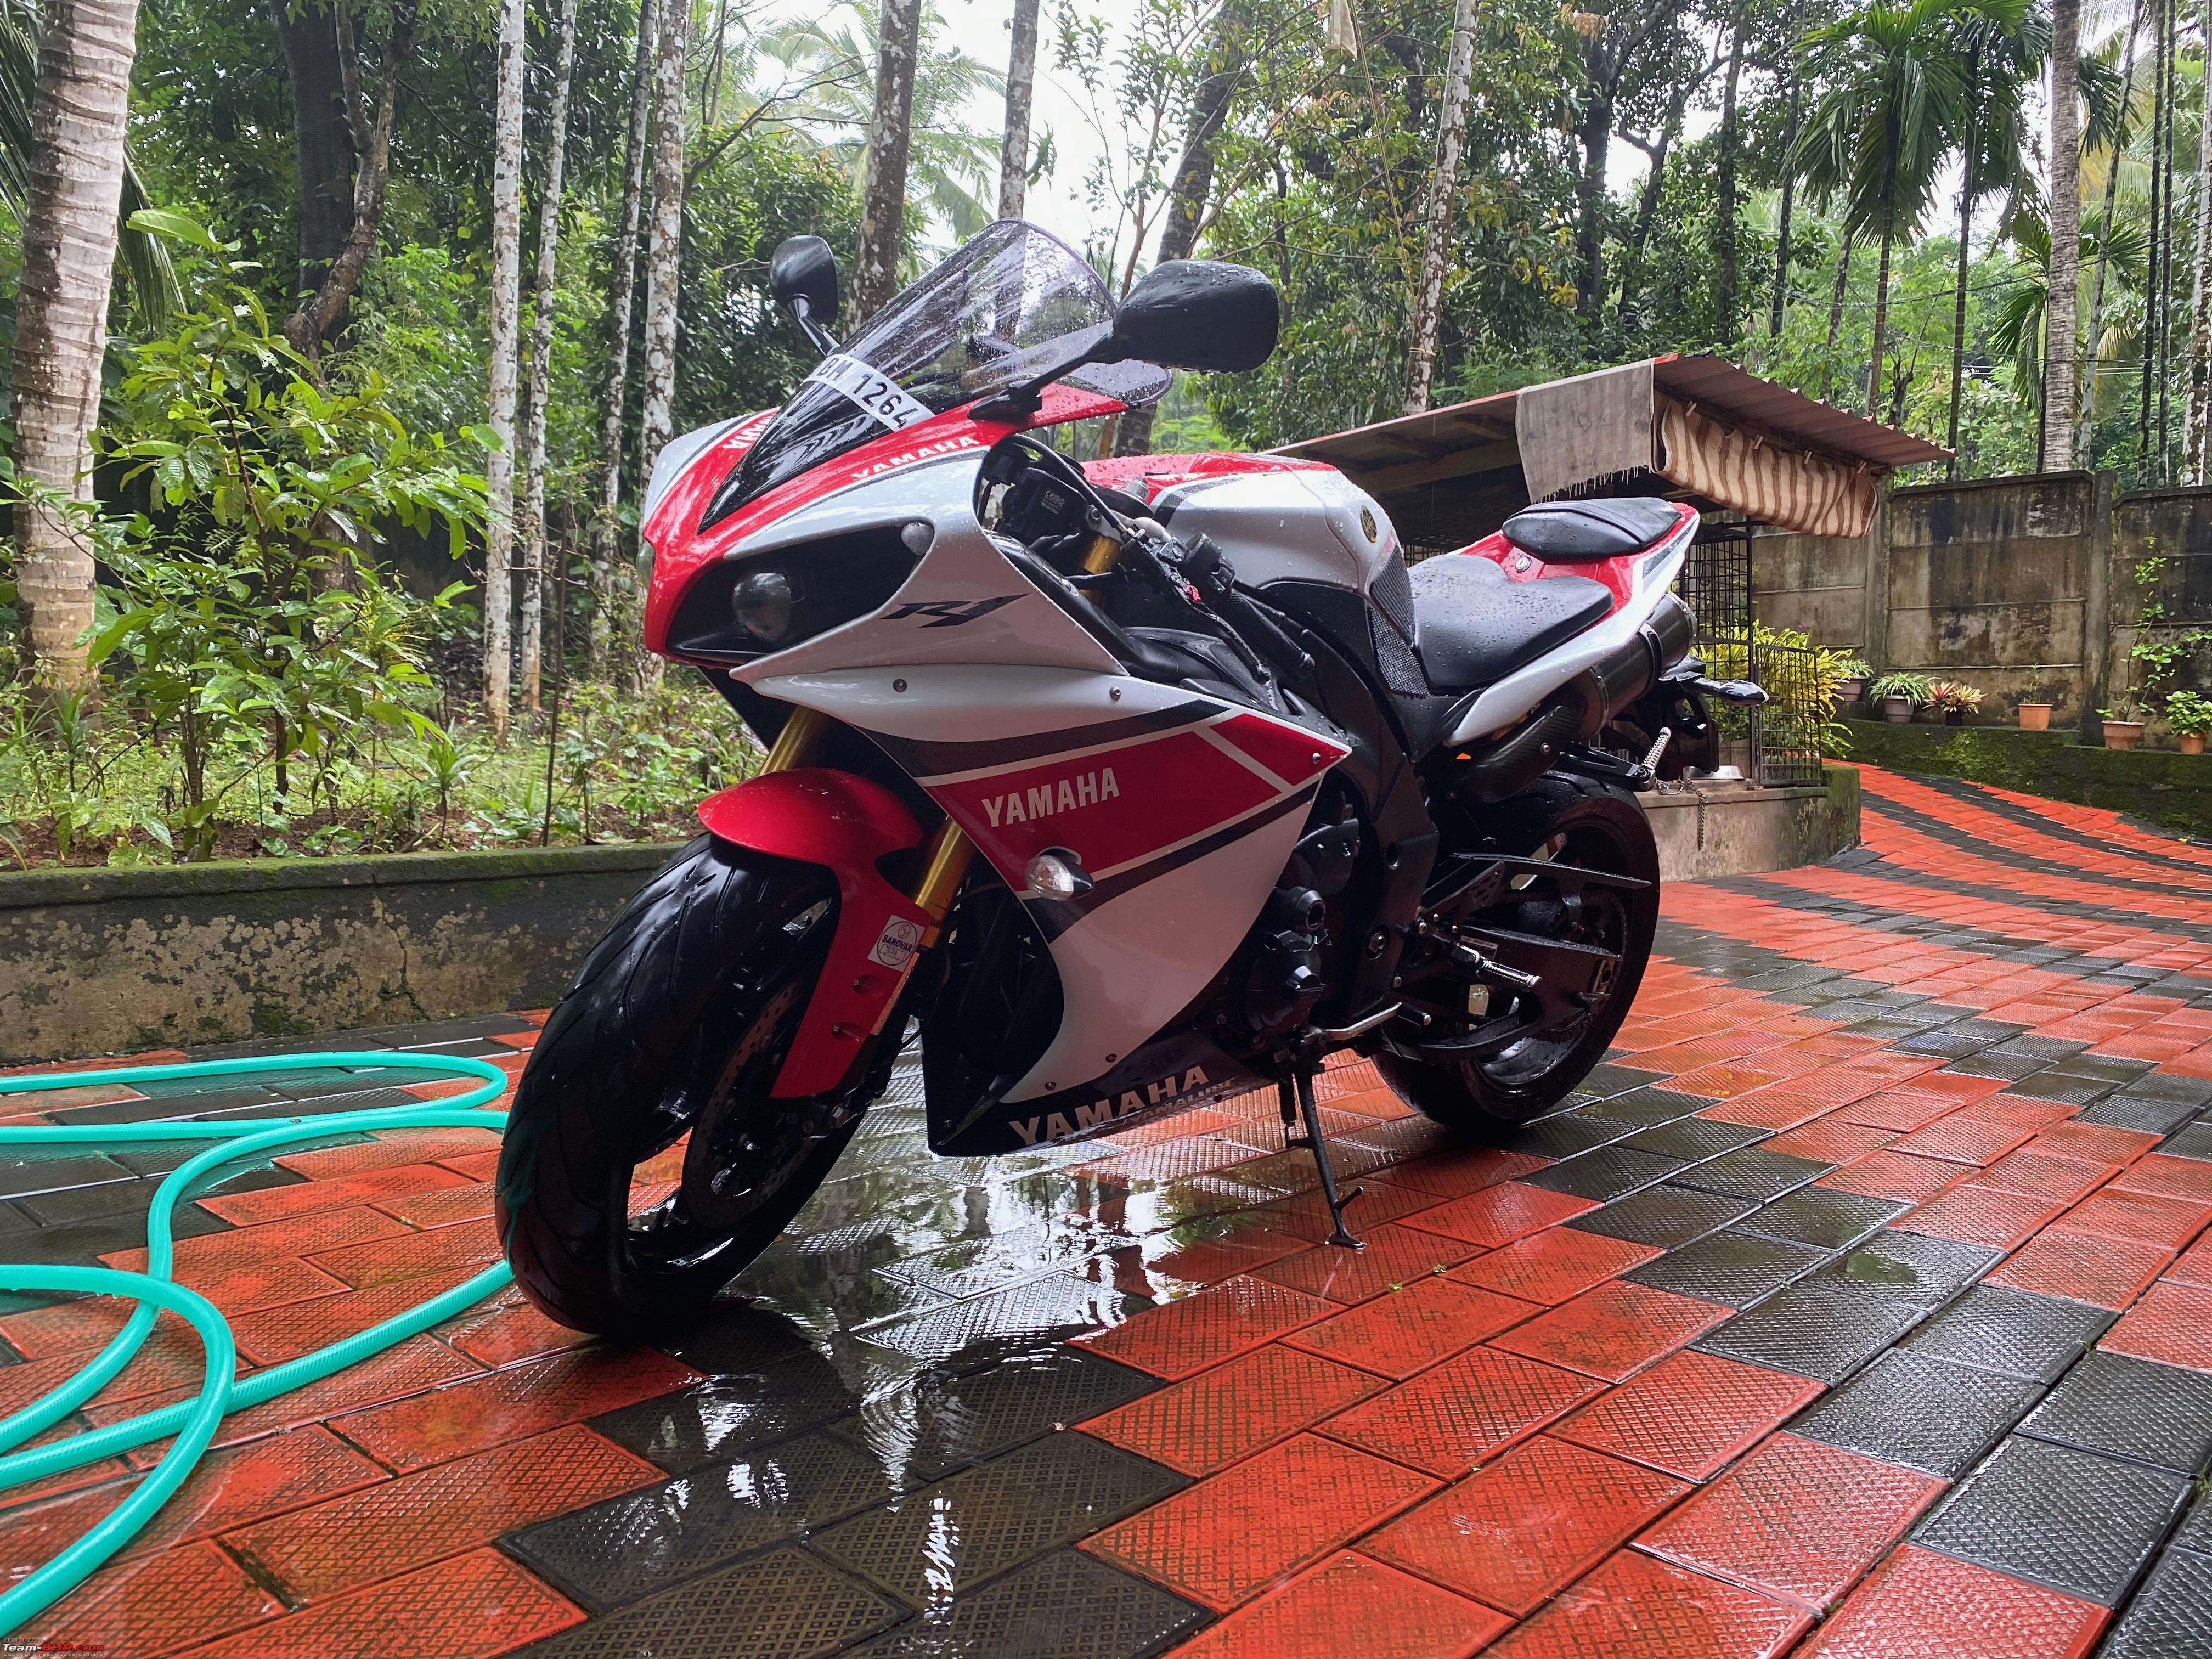  Cheers Krishna |
|
| (8)
Thanks
|
| The following 8 BHPians Thank krishnaprasadgg for this useful post: | alphadog, Cyborg, deepfreak15, KarthikK, neil.jericho, SnS_12, VijayAnand1, Xaos636 |
|
13th September 2020, 11:50
| #125 | |
| Senior - BHPian Join Date: Sep 2007 Location: NSEW
Posts: 1,309
Thanked: 2,706 Times
| Re: Review: My Yamaha R1 (WGP 50th Anniversary Edition) Quote:
With heat gun be very careful, excess will cause your paint to bubble. Keeping it in the sun for a few hours and a hairdryer are your only safe bets. You could also use a dash pry kit to see if it slides under the base and slowly lifting it up. If it's on sticker, the sticker will most likely get damaged because old tank pads and mounts almost always have a lizard like grip with the surface due to years of contact. | |
|
| (1)
Thanks
|
| The following BHPian Thanks bigron for this useful post: | krishnaprasadgg |
|
13th September 2020, 16:16
| #126 |
| Senior - BHPian Join Date: Oct 2013 Location: Stickn' Around
Posts: 1,066
Thanked: 2,825 Times
| Re: Review: My Yamaha R1 (WGP 50th Anniversary Edition) Penetrating lubricants will dissolve any gummy surface. Just let it sit for a while or even a day or two. Spraying the undeneath of the holder base and make sure you do it every one to two hours with a little bit of spray helps loosen then, and eventually, after a day or two, give it mild pull left, right, up or down, it will give up the ghost. But don't dry heat excessively, as other Bhpian suggested, it can and will spoil the finish by causing bubbles. Good luck. Cheers! VJ |
|
| (1)
Thanks
|
| The following BHPian Thanks VijayAnand1 for this useful post: | krishnaprasadgg |
|
14th September 2020, 10:03
| #127 |
| Distinguished - BHPian Join Date: Aug 2009 Location: Cochin
Posts: 3,810
Thanked: 19,328 Times
| Re: Review: My Yamaha R1 (WGP 50th Anniversary Edition) I hear dental floss is a good tool to remove such mounts. However the mount having been there for several years, may take some time to get off, irrespective of the method used. |
|
| (1)
Thanks
|
| The following BHPian Thanks neil.jericho for this useful post: | krishnaprasadgg |
|
15th September 2020, 14:39
| #128 | |||
| BHPian Join Date: Dec 2019 Location: KL52
Posts: 519
Thanked: 3,648 Times
| Re: Review: My Yamaha R1 (WGP 50th Anniversary Edition) Quote:
Quote:
Quote:
In the end hair dryer, a plastic pry tool and a little bit of elbow grease is all it took. Starting to budge  Half Way there  All the way off  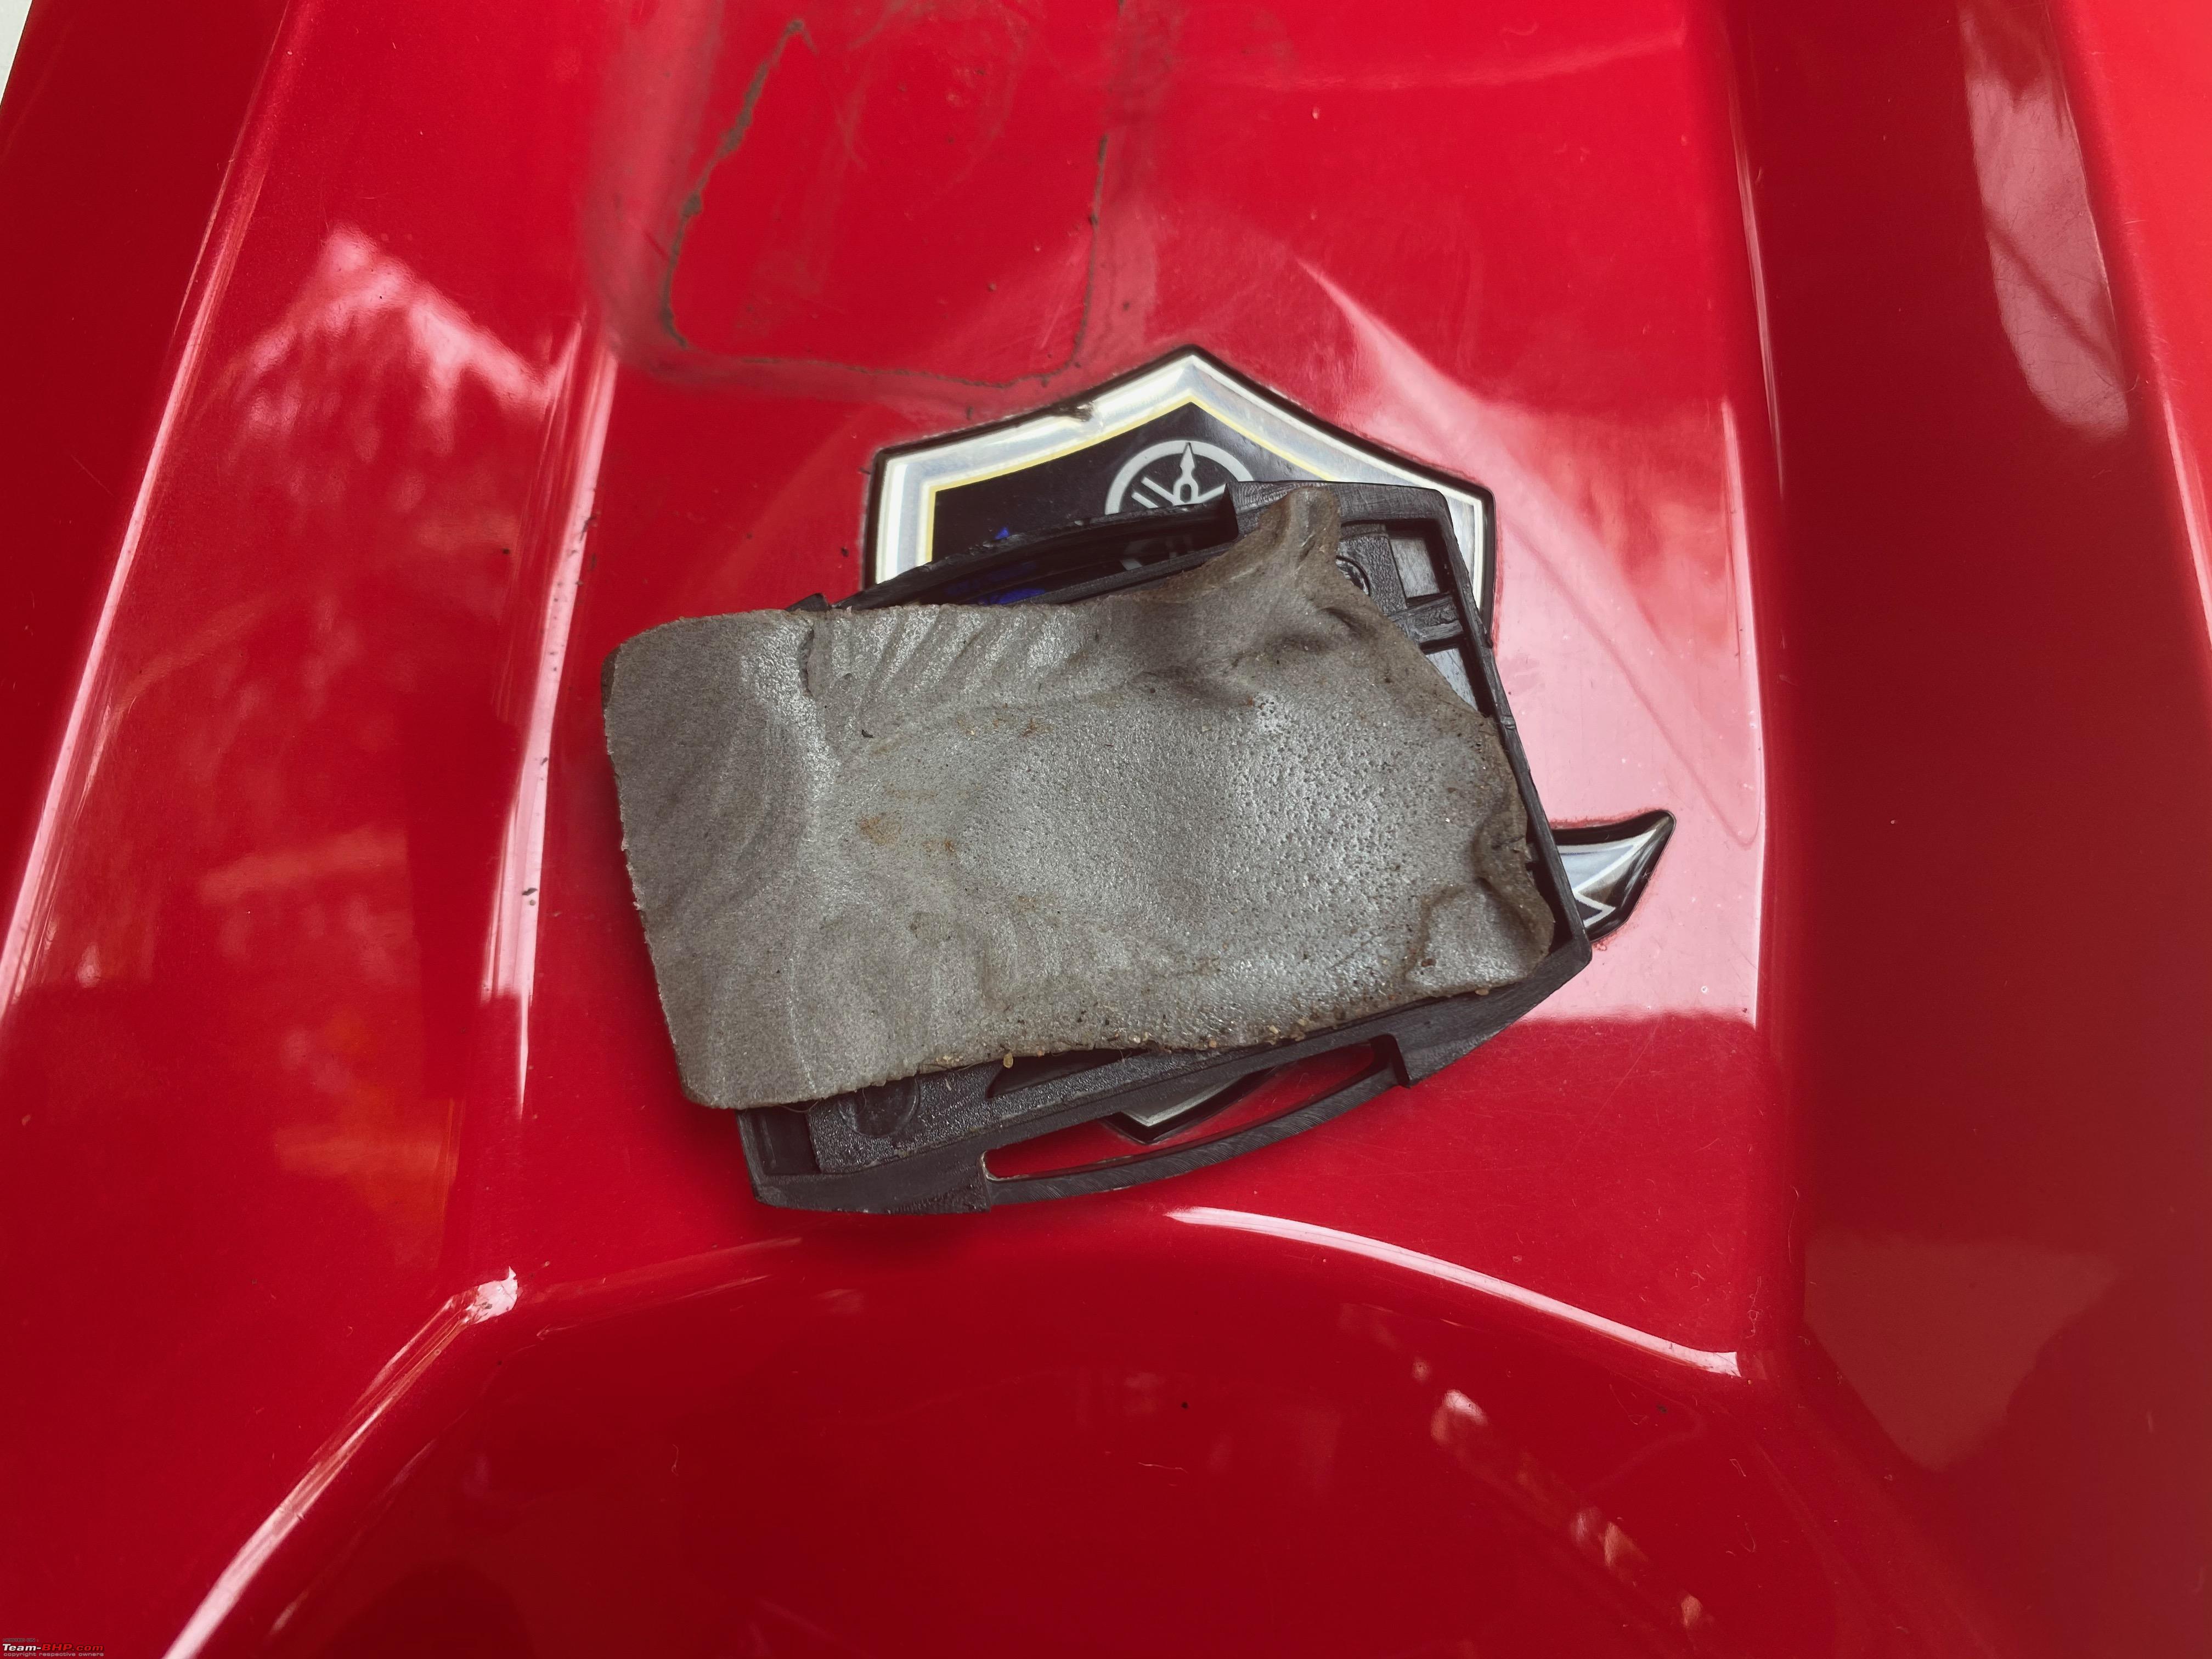 Patience was key. I slowly heated up the surface with the hair dryer , it had 2 settings, after which once it was hot to the touch i inserted the pry tool and put leverage in a progressive manner and just pulled on it slowly to make sure it doesn't life the red sticker underneath along with it. Took about 3-5 minutes but it's a success. The bike look so much more better without it now. Some residue was there but it cleaned up pretty well  Look relatively clean but there are scratch marks on it. Nothing a good detailing(by professionals ofcourse) session can't remove. 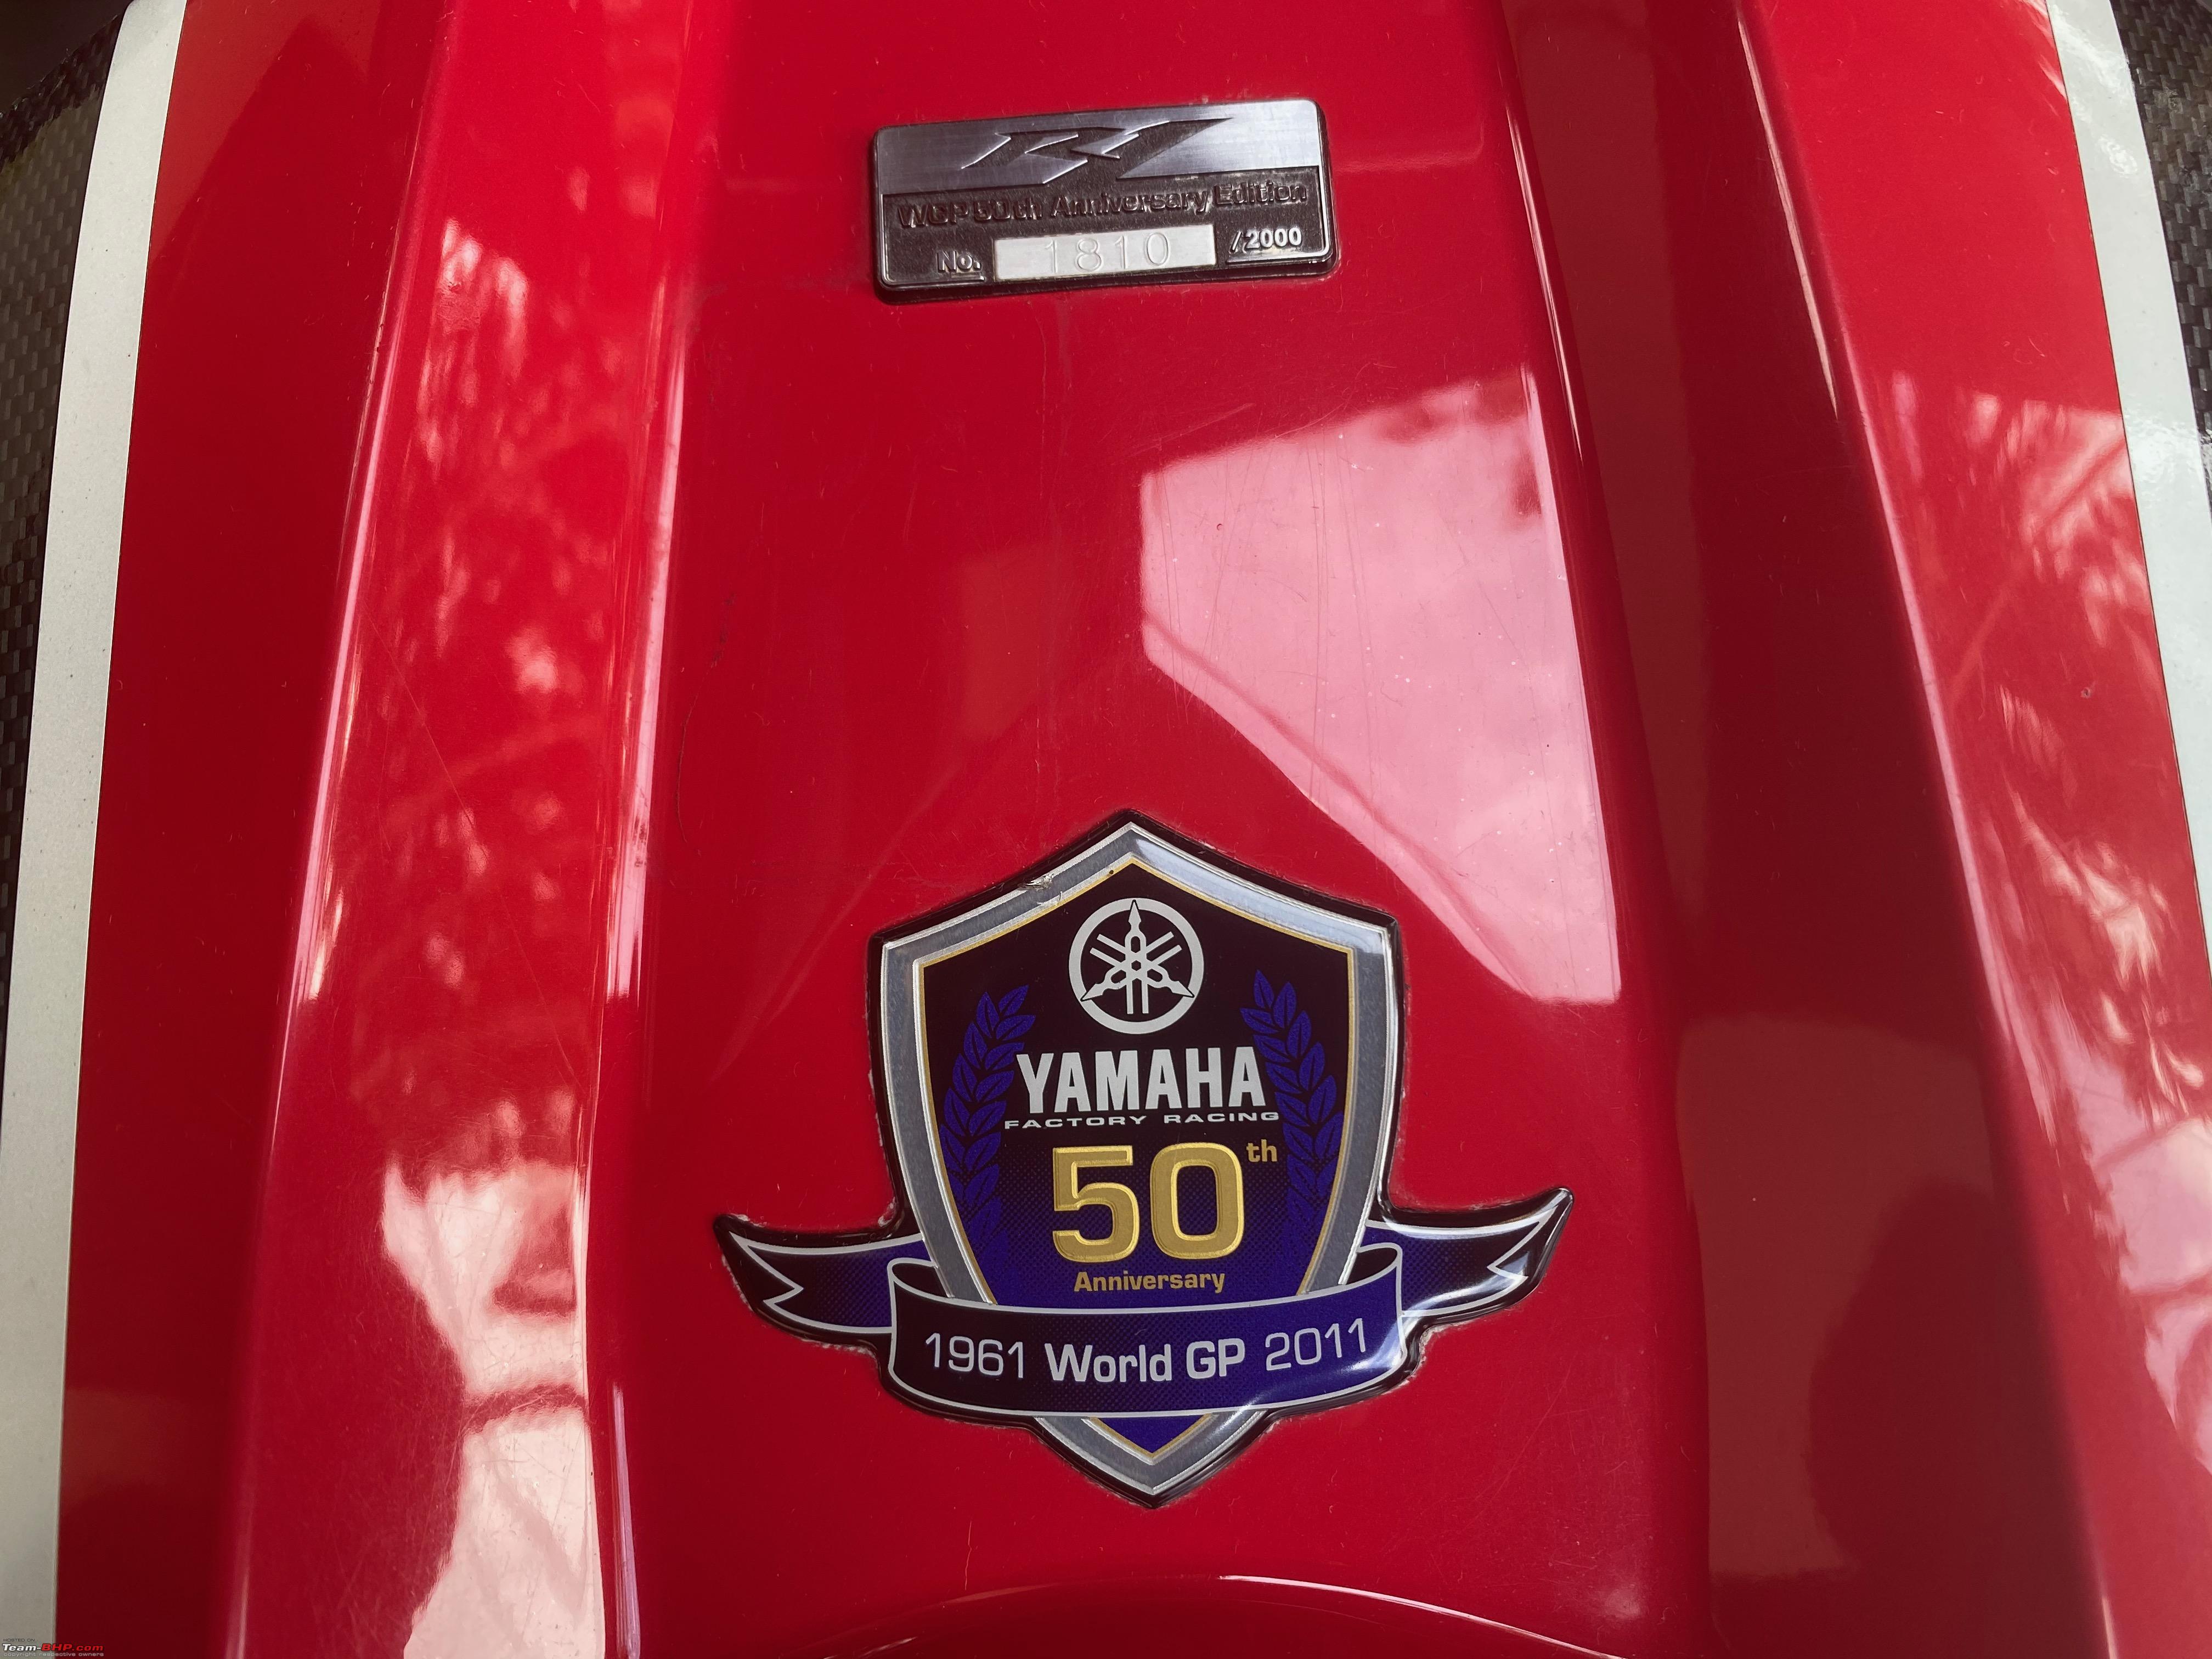 Thanks to the Hair dryer and the plastic pry tool that came with my cars dashcam. 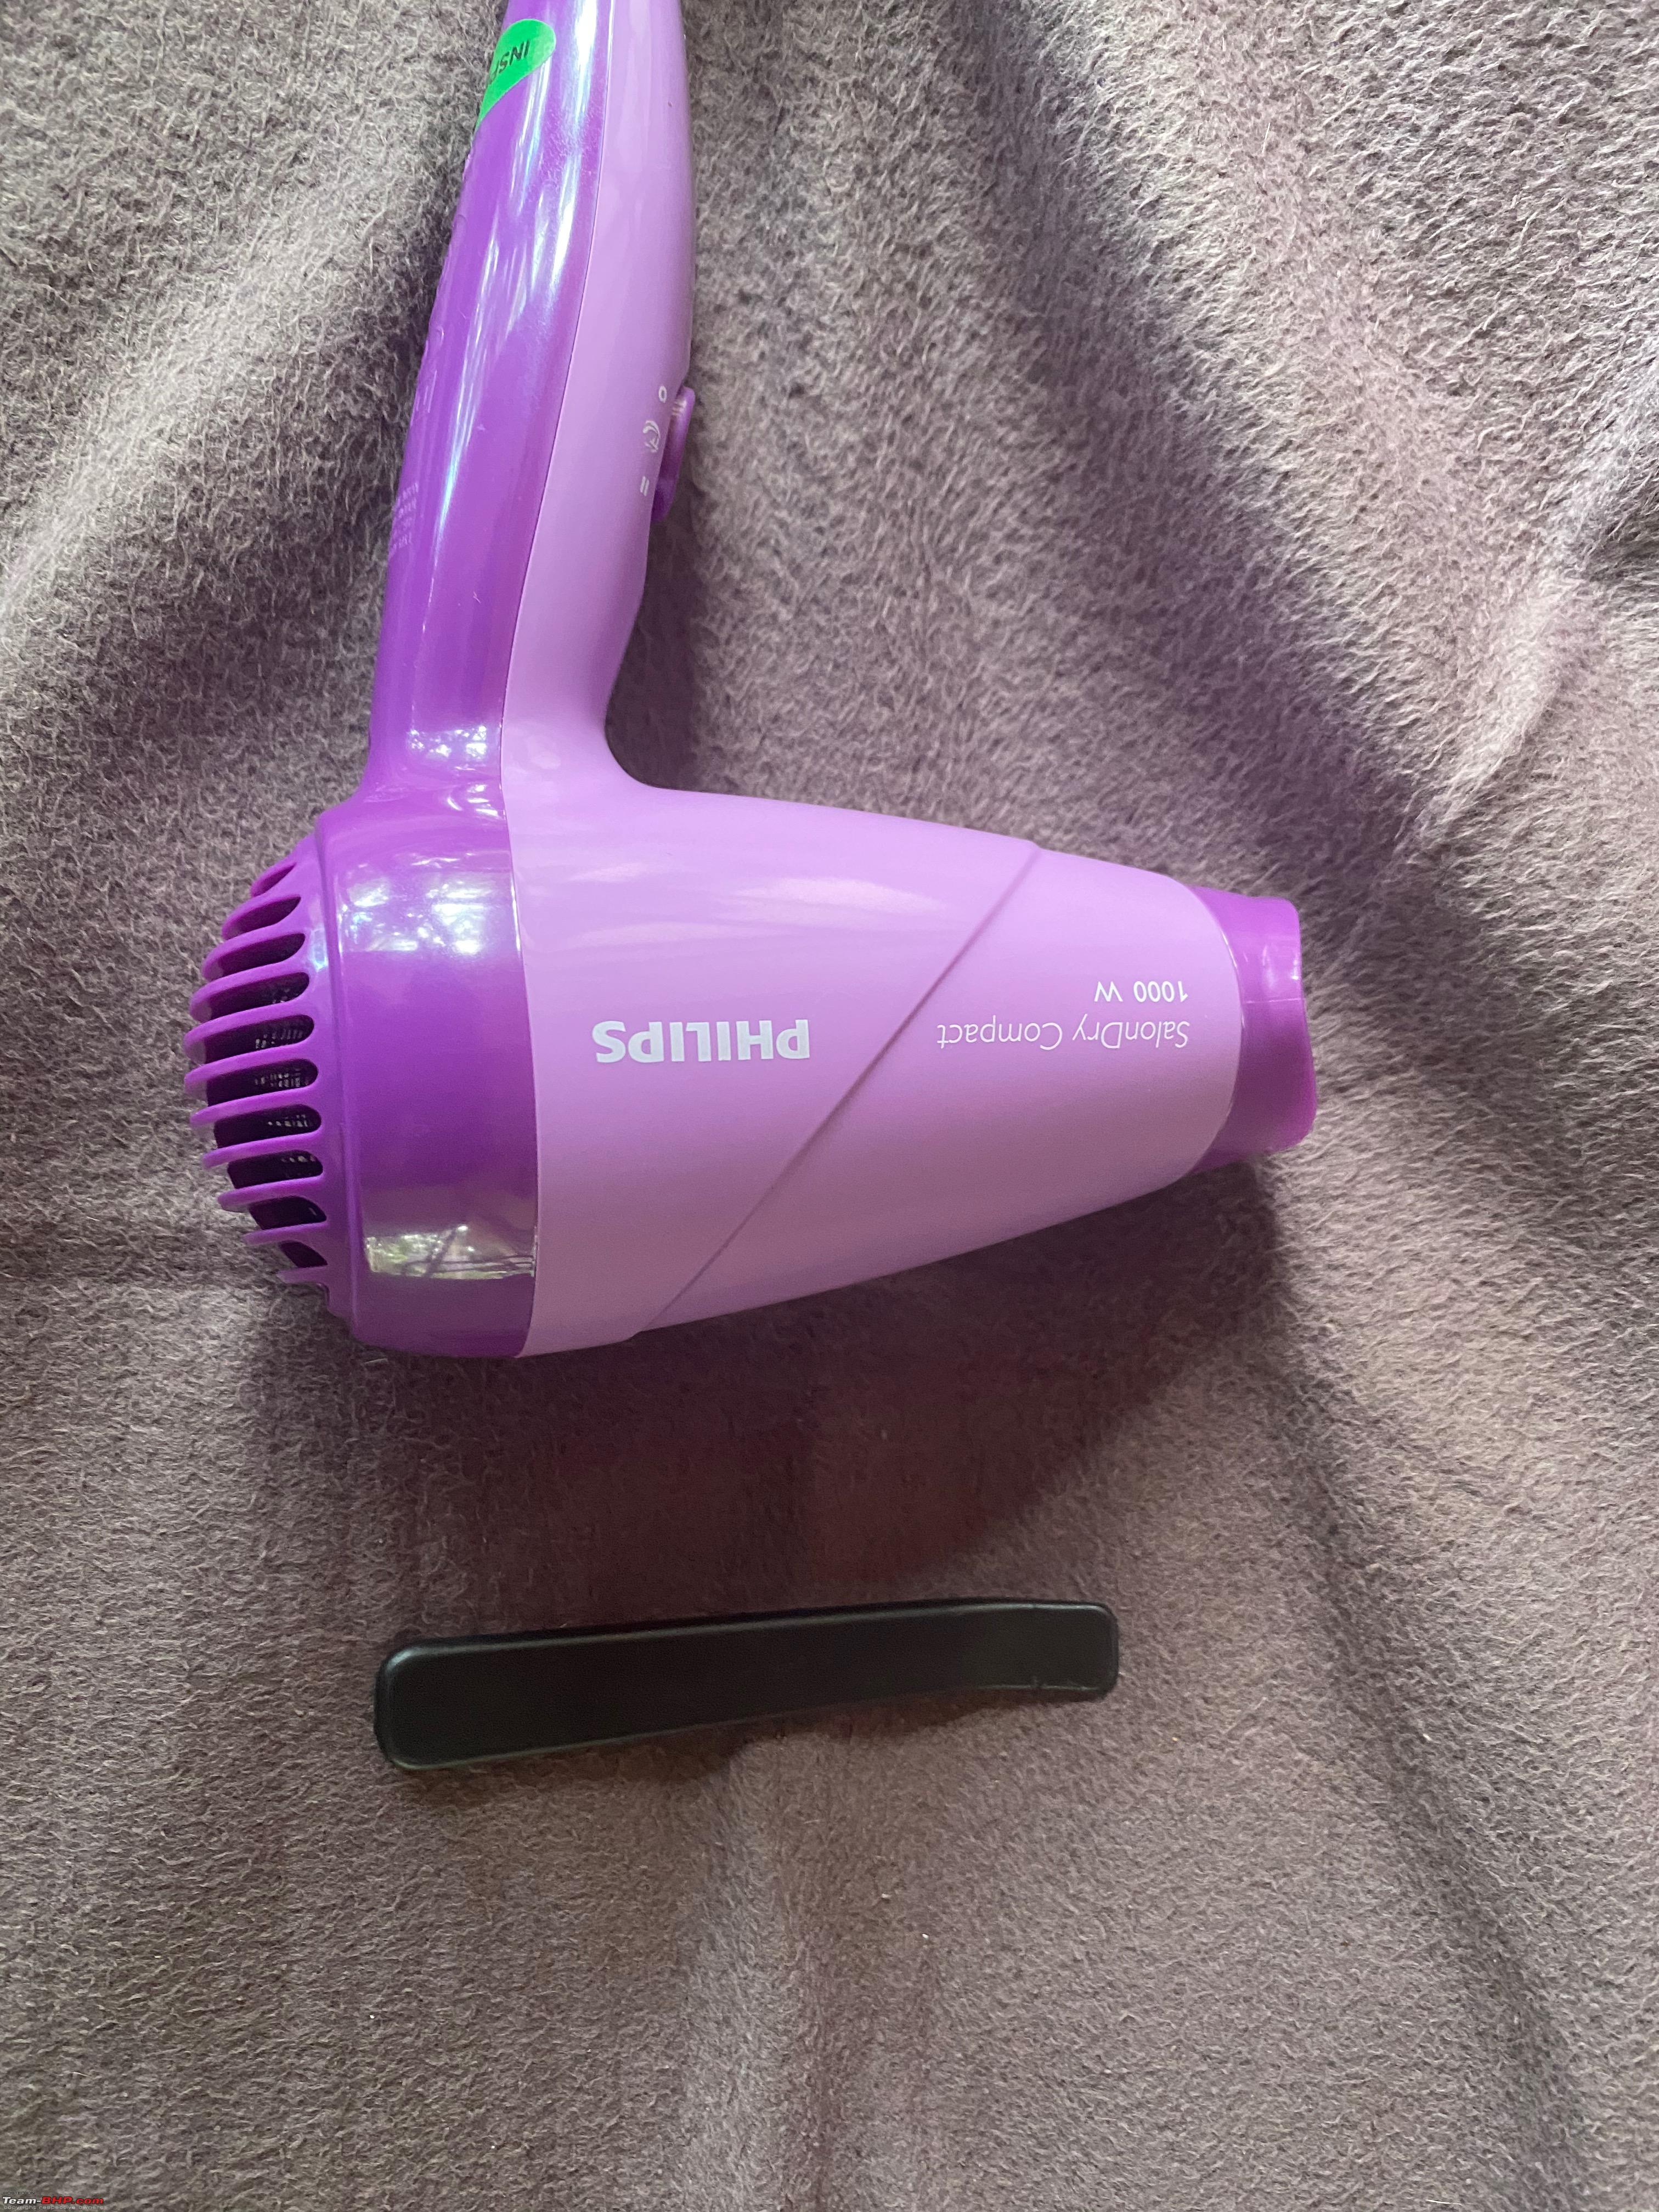 Now that I am a bit more comfortable with using this method. I need to remove the old and faded tank pad and replace it with the tech spec tank pad which I have saved for this purpose, also to remove the warning label on the tank. But the part is in Bangalore so will have to wait a while before I do that. Cheers Krishna | |||
|
| (6)
Thanks
|
| The following 6 BHPians Thank krishnaprasadgg for this useful post: | Ani0404, Cyborg, deepfreak15, KarthikK, SnS_12, Xaos636 |
|
24th September 2020, 16:20
| #129 |
| BHPian Join Date: Dec 2019 Location: KL52
Posts: 519
Thanked: 3,648 Times
| Re: Review: My Yamaha R1 (WGP 50th Anniversary Edition) Finally took the bike out for a short ride of about 100kms. Meeting a few petrolhead friends was the excuse. The bond between petrolhead friends is something I guess I don't need to say here. Was seeing them after about 10months or so , caught up over some good food. Tbhp member @Vishnu Shaji was one of them. We go way back to the early xbhp days too. Took very few photos. Half of the distance was city roads so did not stop much, and I;m not abig pic taker type guy during rides. I prefer to just ride without stopping much. Enjoy the pics. Finally just before getting into some wide highway roads. 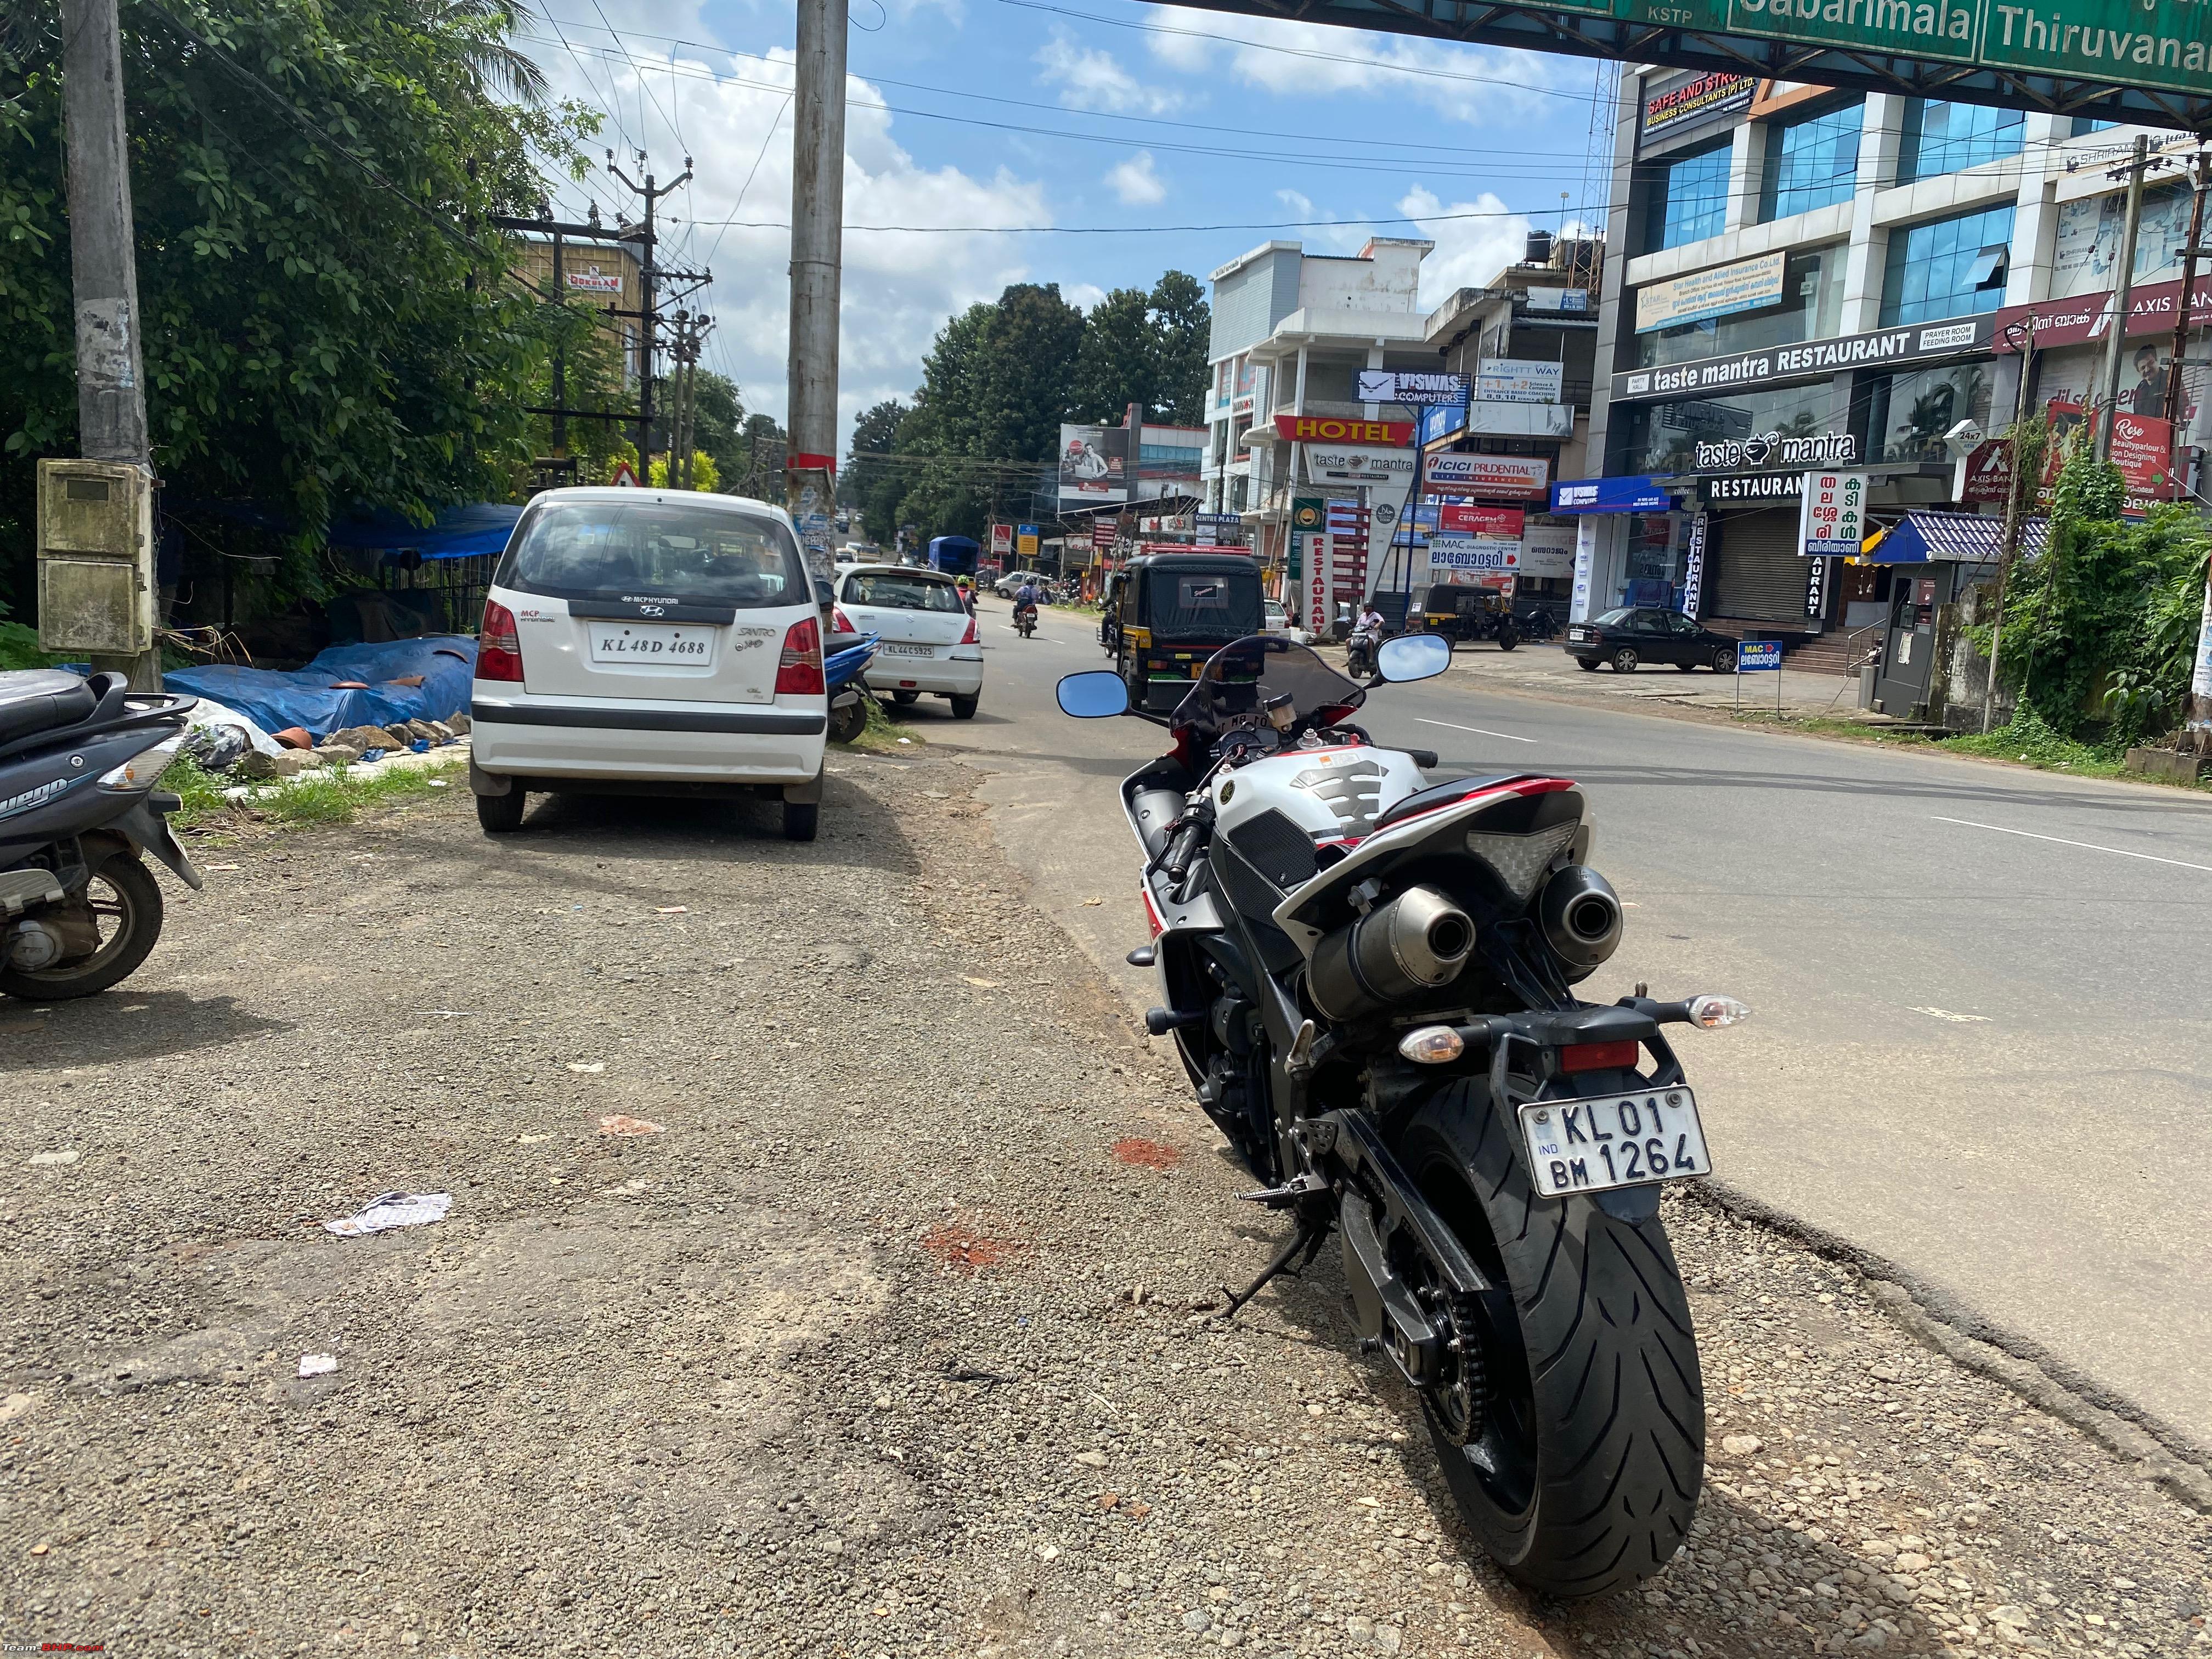  After not riding for so long my back started to complain a lot so took a cool down break.  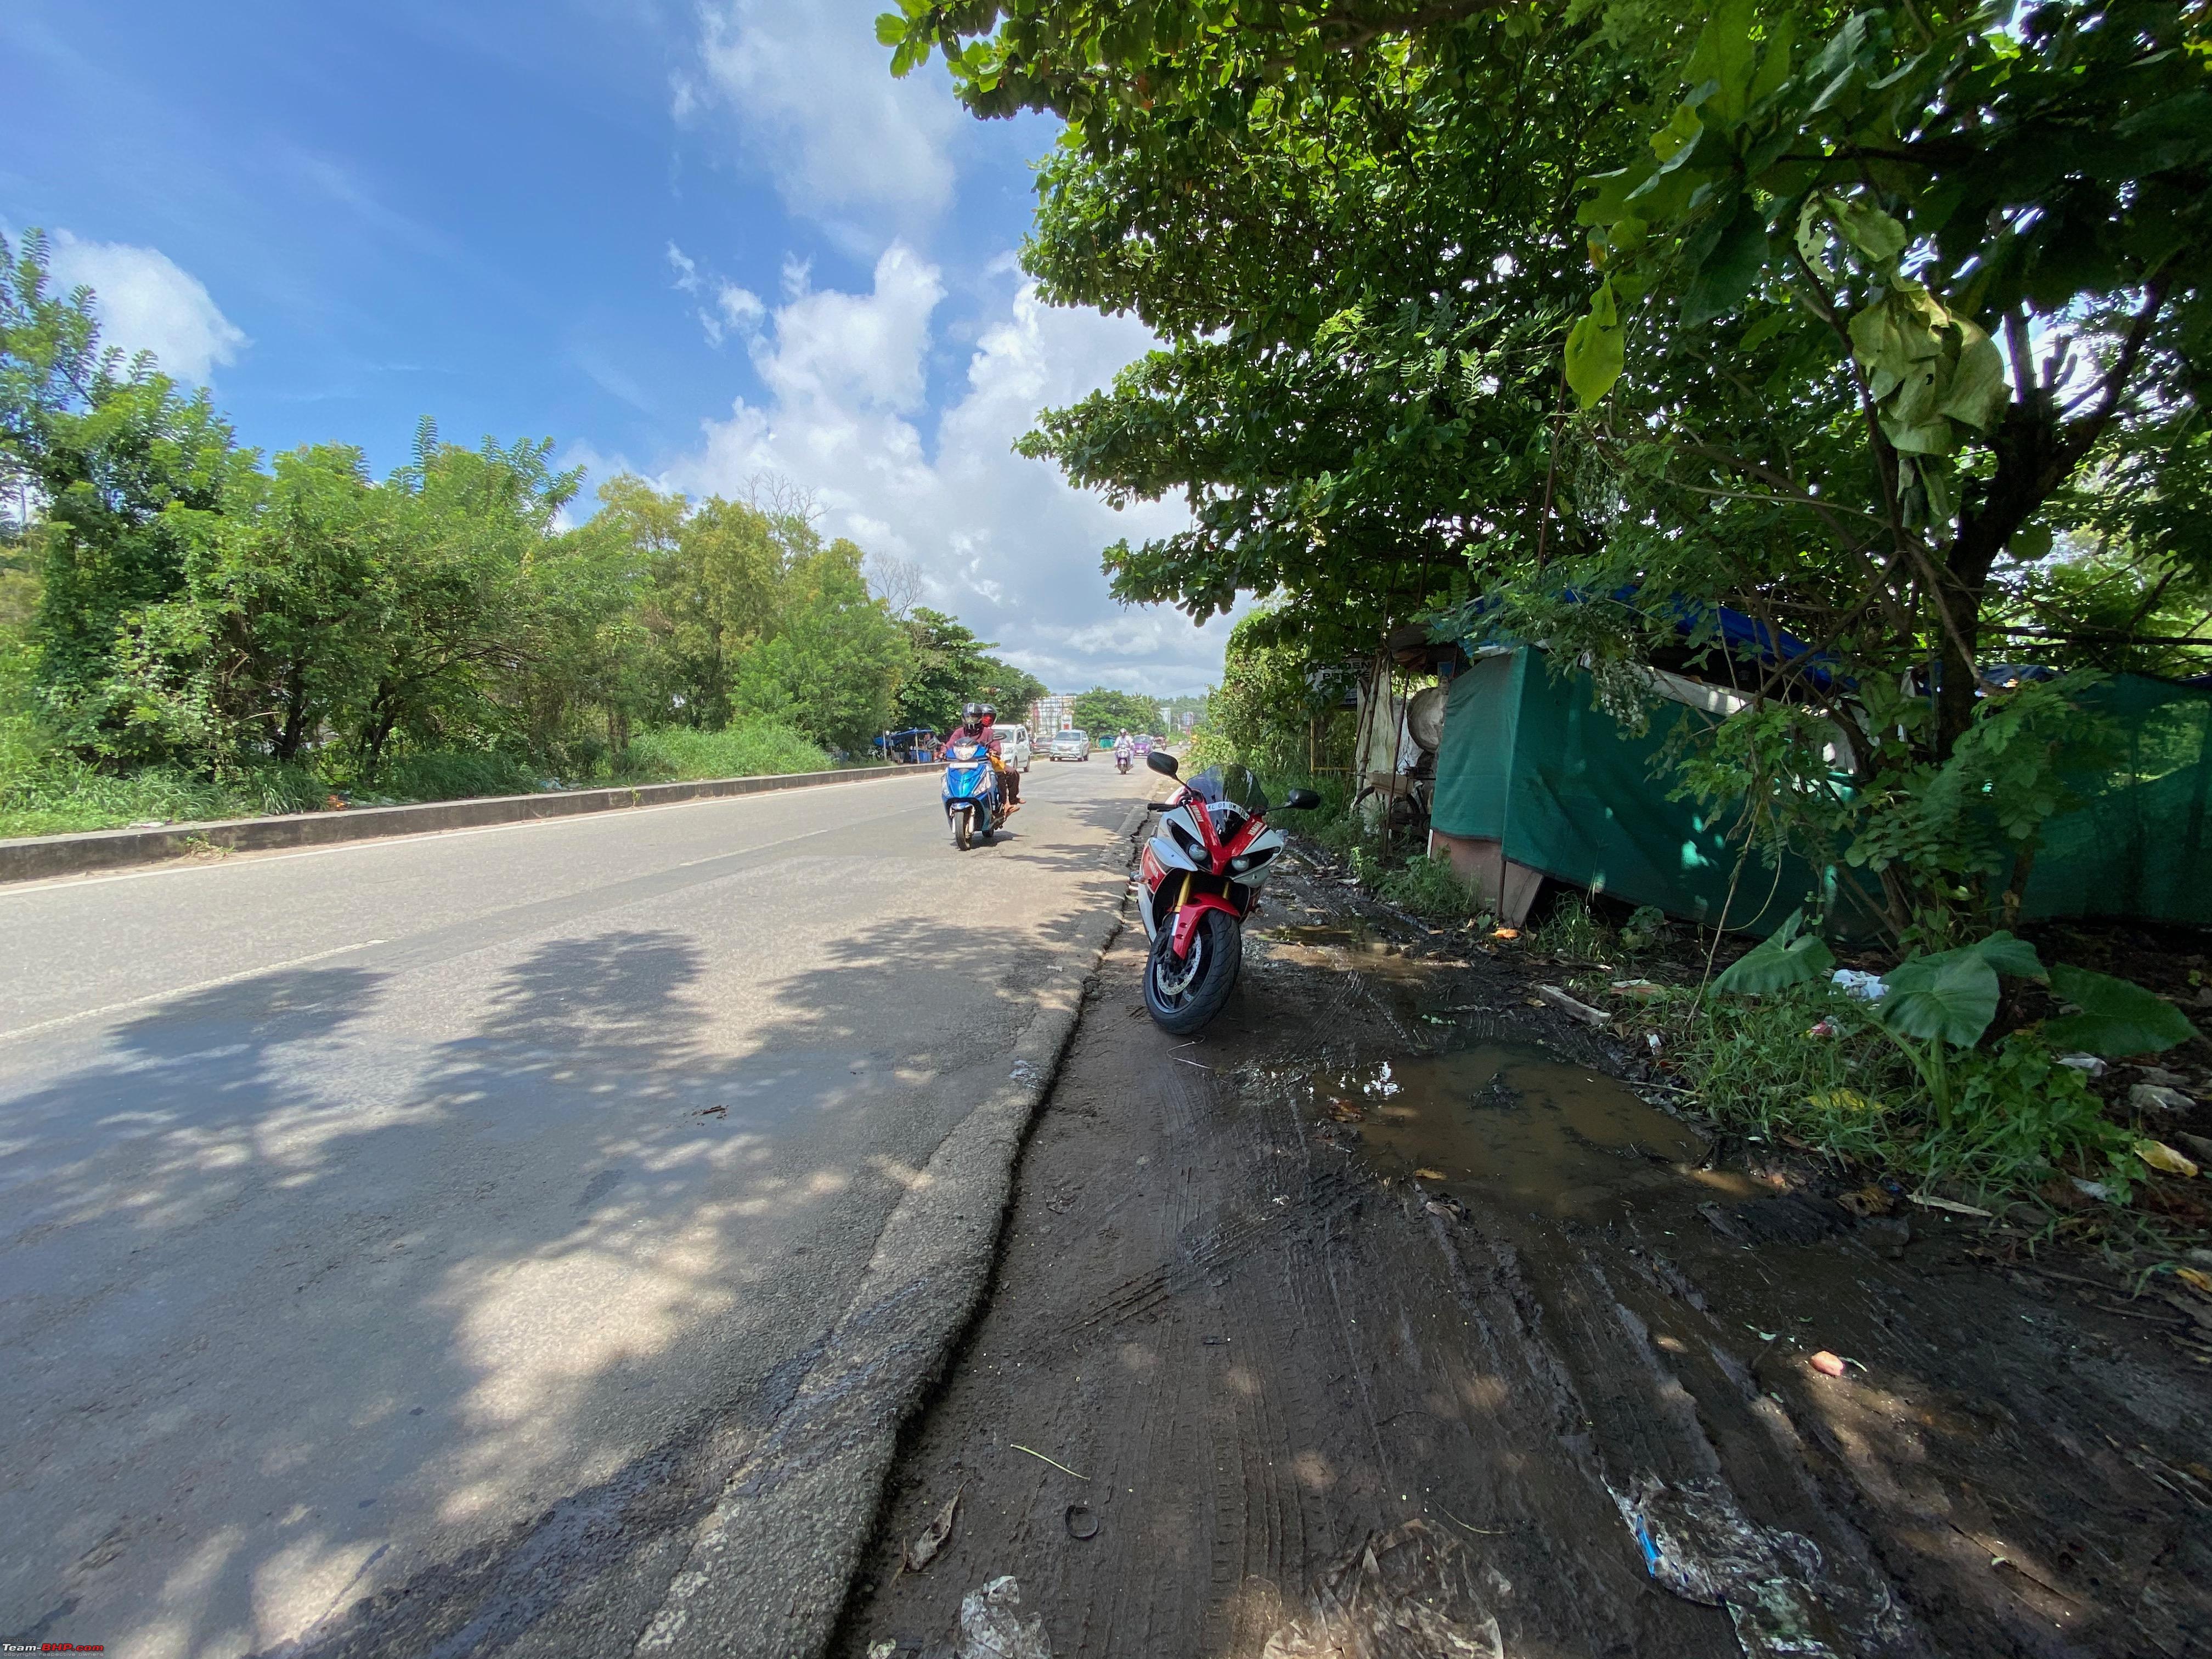 Tbhp member @Vishnu Shaji's daily driver Amaze. One of the cleanest Amaze out there. He has an amazing DIY thread on his Mobilio RS headlight conversion here (DIY: Mobilio RS Headlights installation on a Honda Amaze). 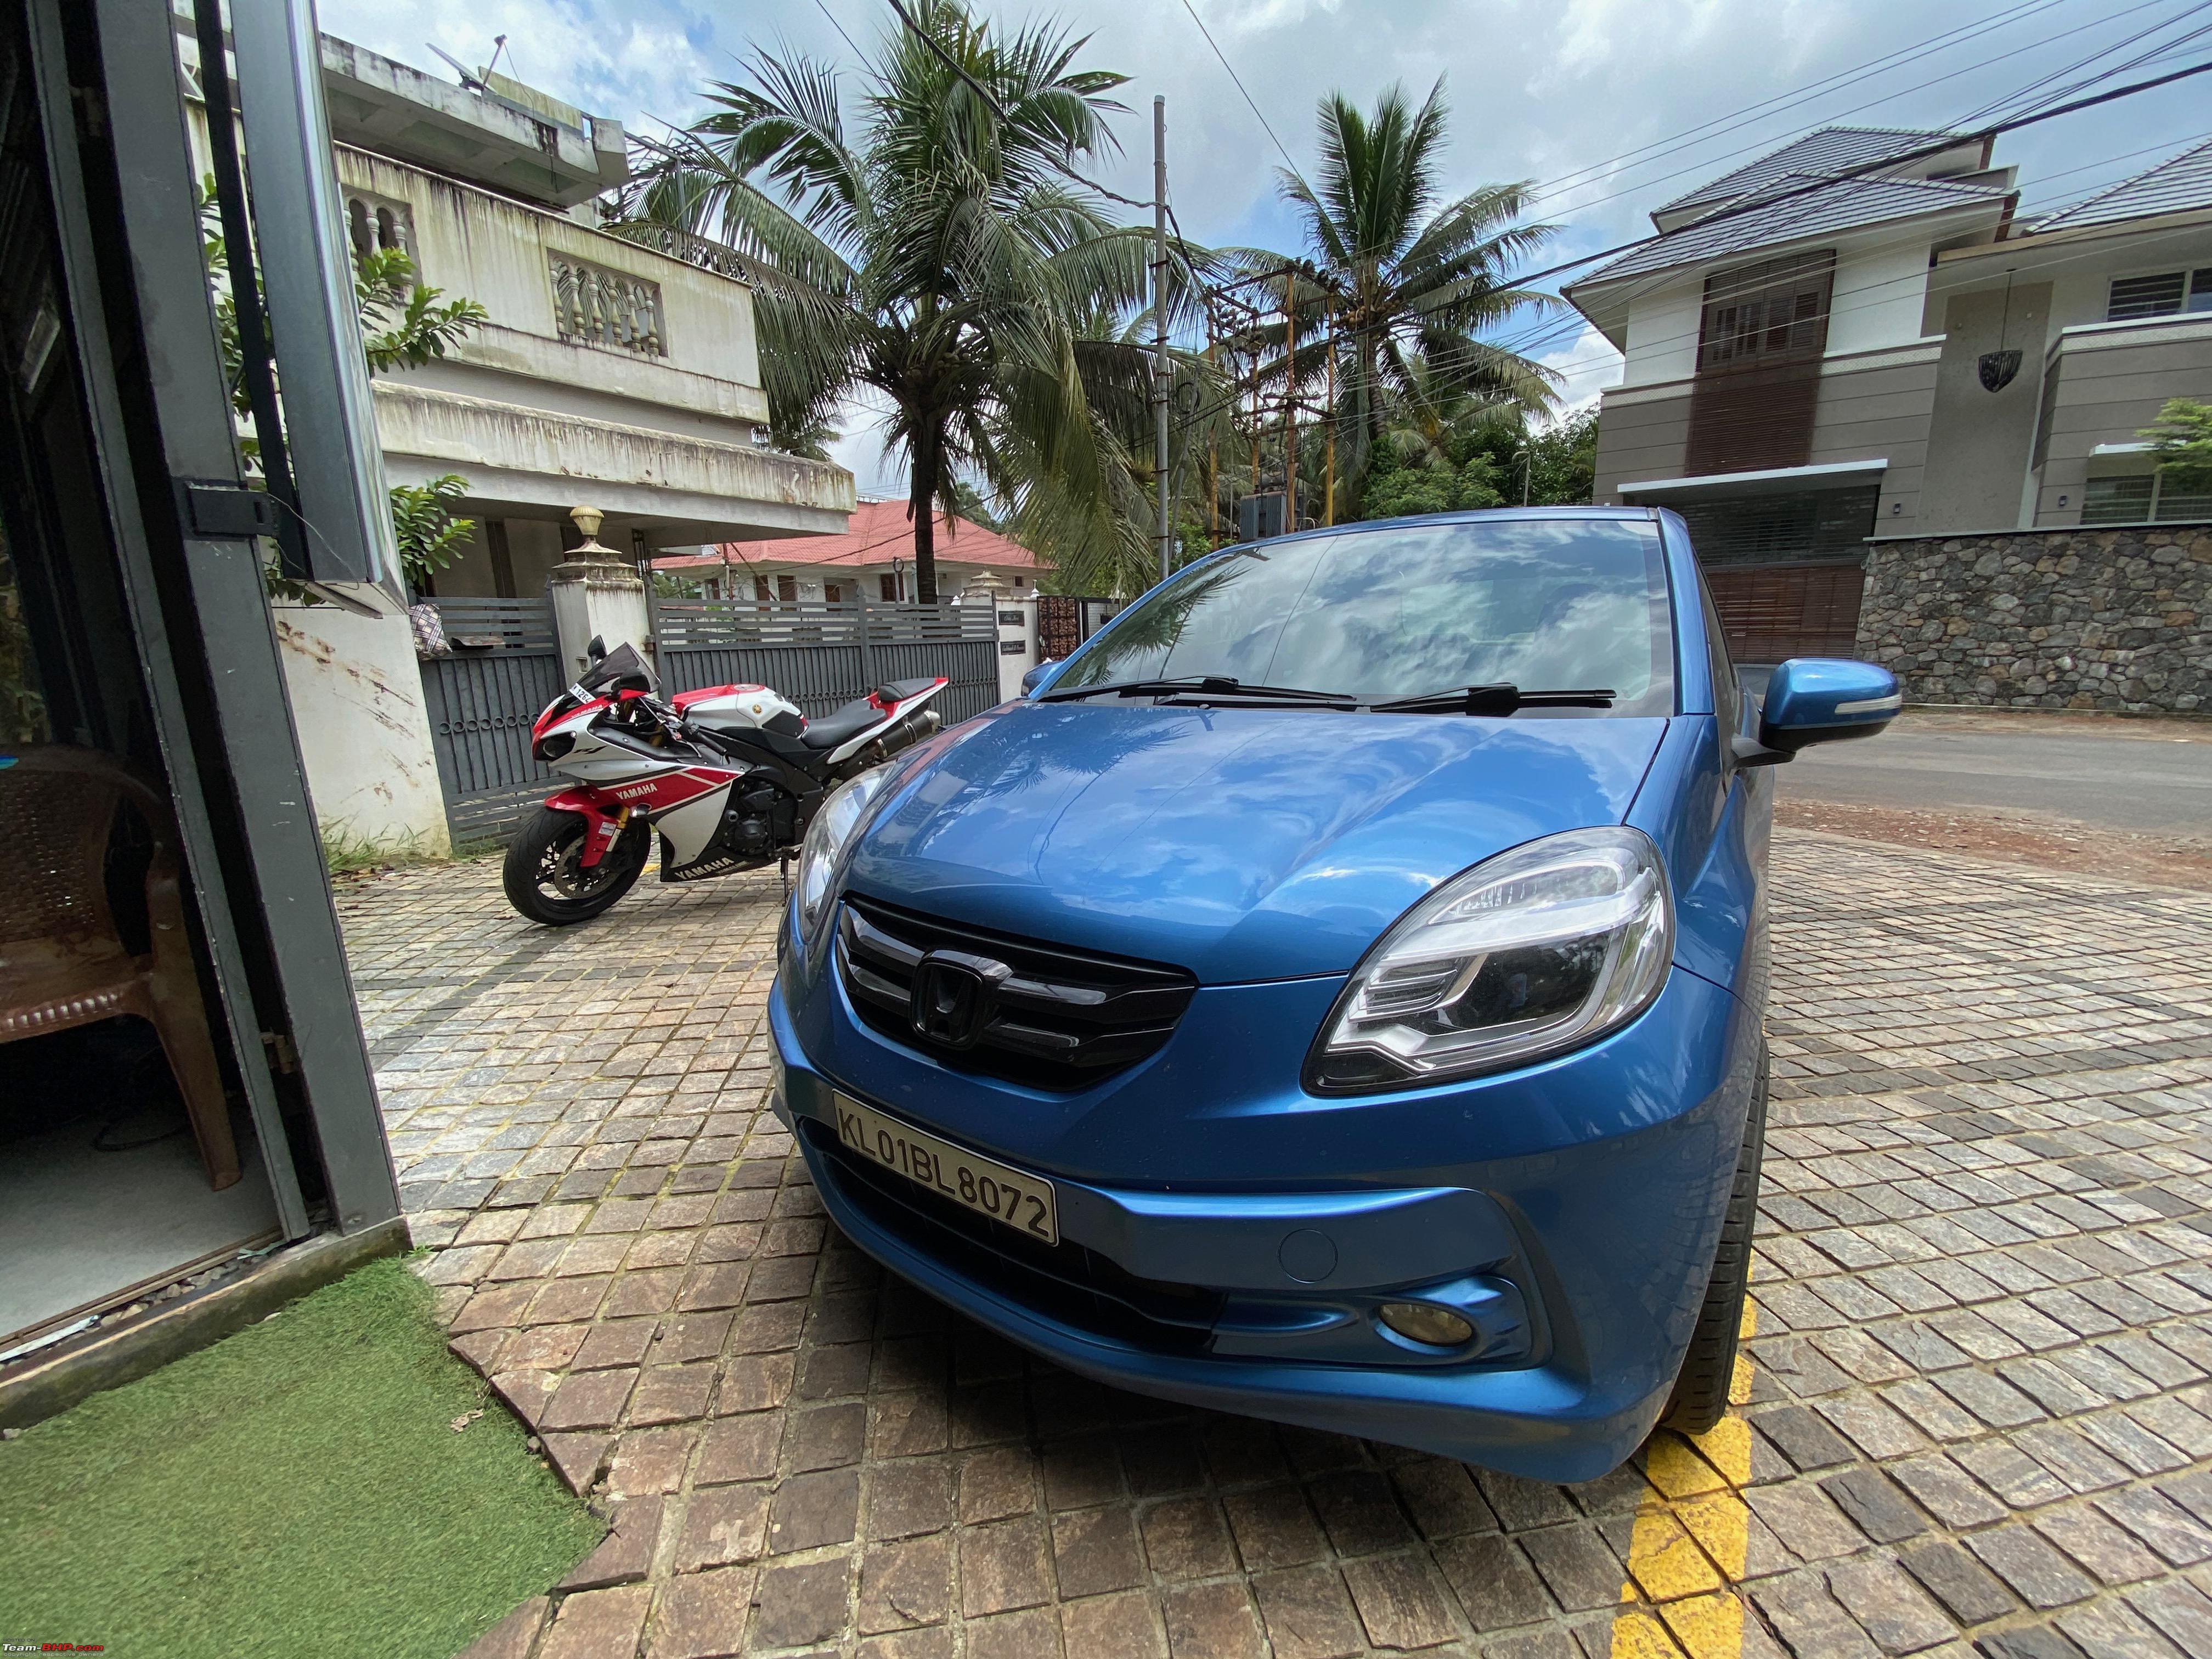 Trip A after today's 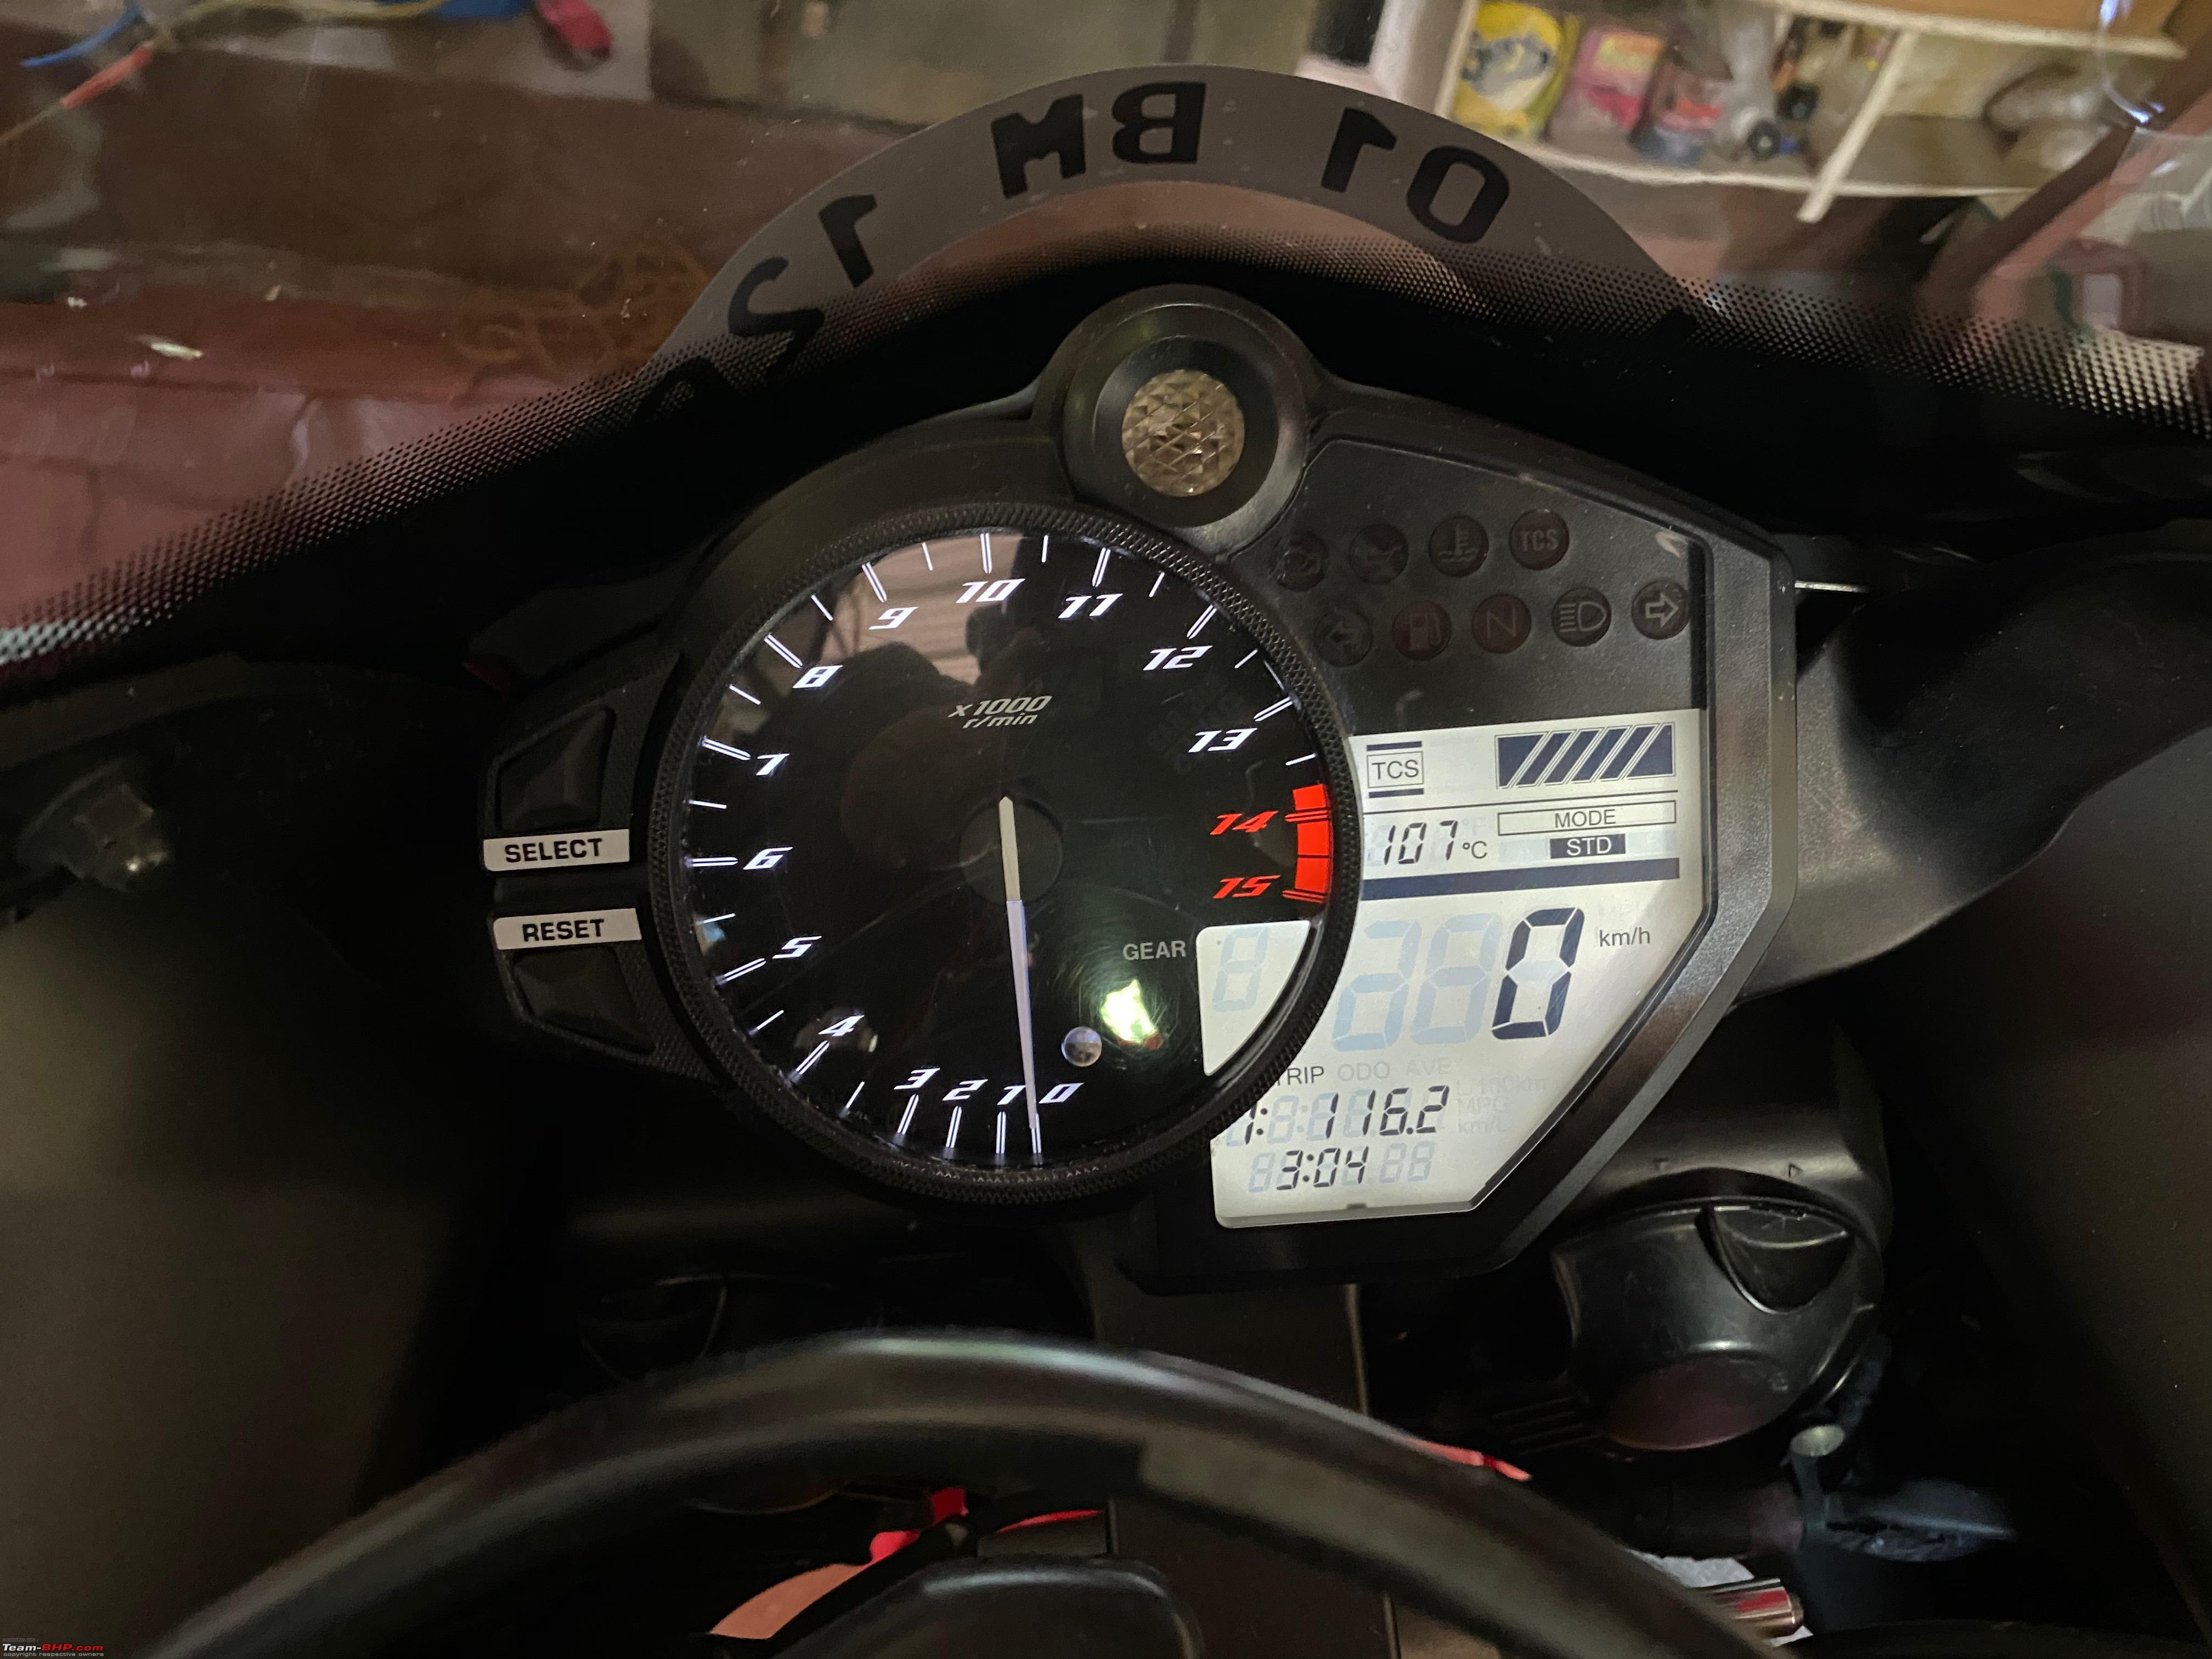 Cheers Krishna |
|
| (5)
Thanks
|
| The following 5 BHPians Thank krishnaprasadgg for this useful post: | Ani0404, deepfreak15, neil.jericho, SnS_12, Xaos636 |
|
29th September 2020, 10:11
| #130 |
| BHPian Join Date: Dec 2019 Location: KL52
Posts: 519
Thanked: 3,648 Times
| Re: Review: My Yamaha R1 (WGP 50th Anniversary Edition) New post update, but this is one not about the R1, but rather about the Tiger. At the risk of sounding like a broken record, we all know how bummed I was about not able to go for a ride for a long time. Well, opportunities come in very weird ways. Xaos636 was in a similar boat as me but with a slight change, his bike was stuck in Bangalore since the beginning of march while mine was still with me. So naturally, when the opportunity presented itself with the lifting of quarantine rules as part of the unlock down phase we had our hopes up for a quick rescue operation and also to get a quick 1000kms to ride done in. But alas, the Kerala govt decided not to lift the quarantine rules for people entering into the state. So both me and Xaos636 decided that it was not worth the hassle and to even put our family in risk so we decided to wait it out, well it was a frustrating few weeks until we had a new opportunity which would require us to just make the trip to the KA-KL border and collect the bike in a hand off and ride it back as technically we are not crossing the state so no quarantine rule applies. But all this depended on the fact that the officers manning the borders would agree to our requests. So we decided to give it a try anyway, and I volunteered to get the tiger and make it a ride instead of a drive as I too was itching for a ride anyways. Why the tiger and not the R1 you ask? Well, 400kms, Kerala city roads/traffic, Pillion well these are the perfect recipe for torture sooo... Anyways that how a 400kms ride came to be. Hope you enjoy the pics. I started my ride to Kozhikode at around 7 am on Sunday. The roads were pretty much devoid of traffic and reached Xaos636's place pretty early.  We then started towards the border which was about 120kms from his place Since we had no traffic being early Sunday morning we covered ground pretty quick and were ahead of schedule so we took a single pit stop along the way to avoid waiting at a check post where it is much riskier with the chance of interaction with others 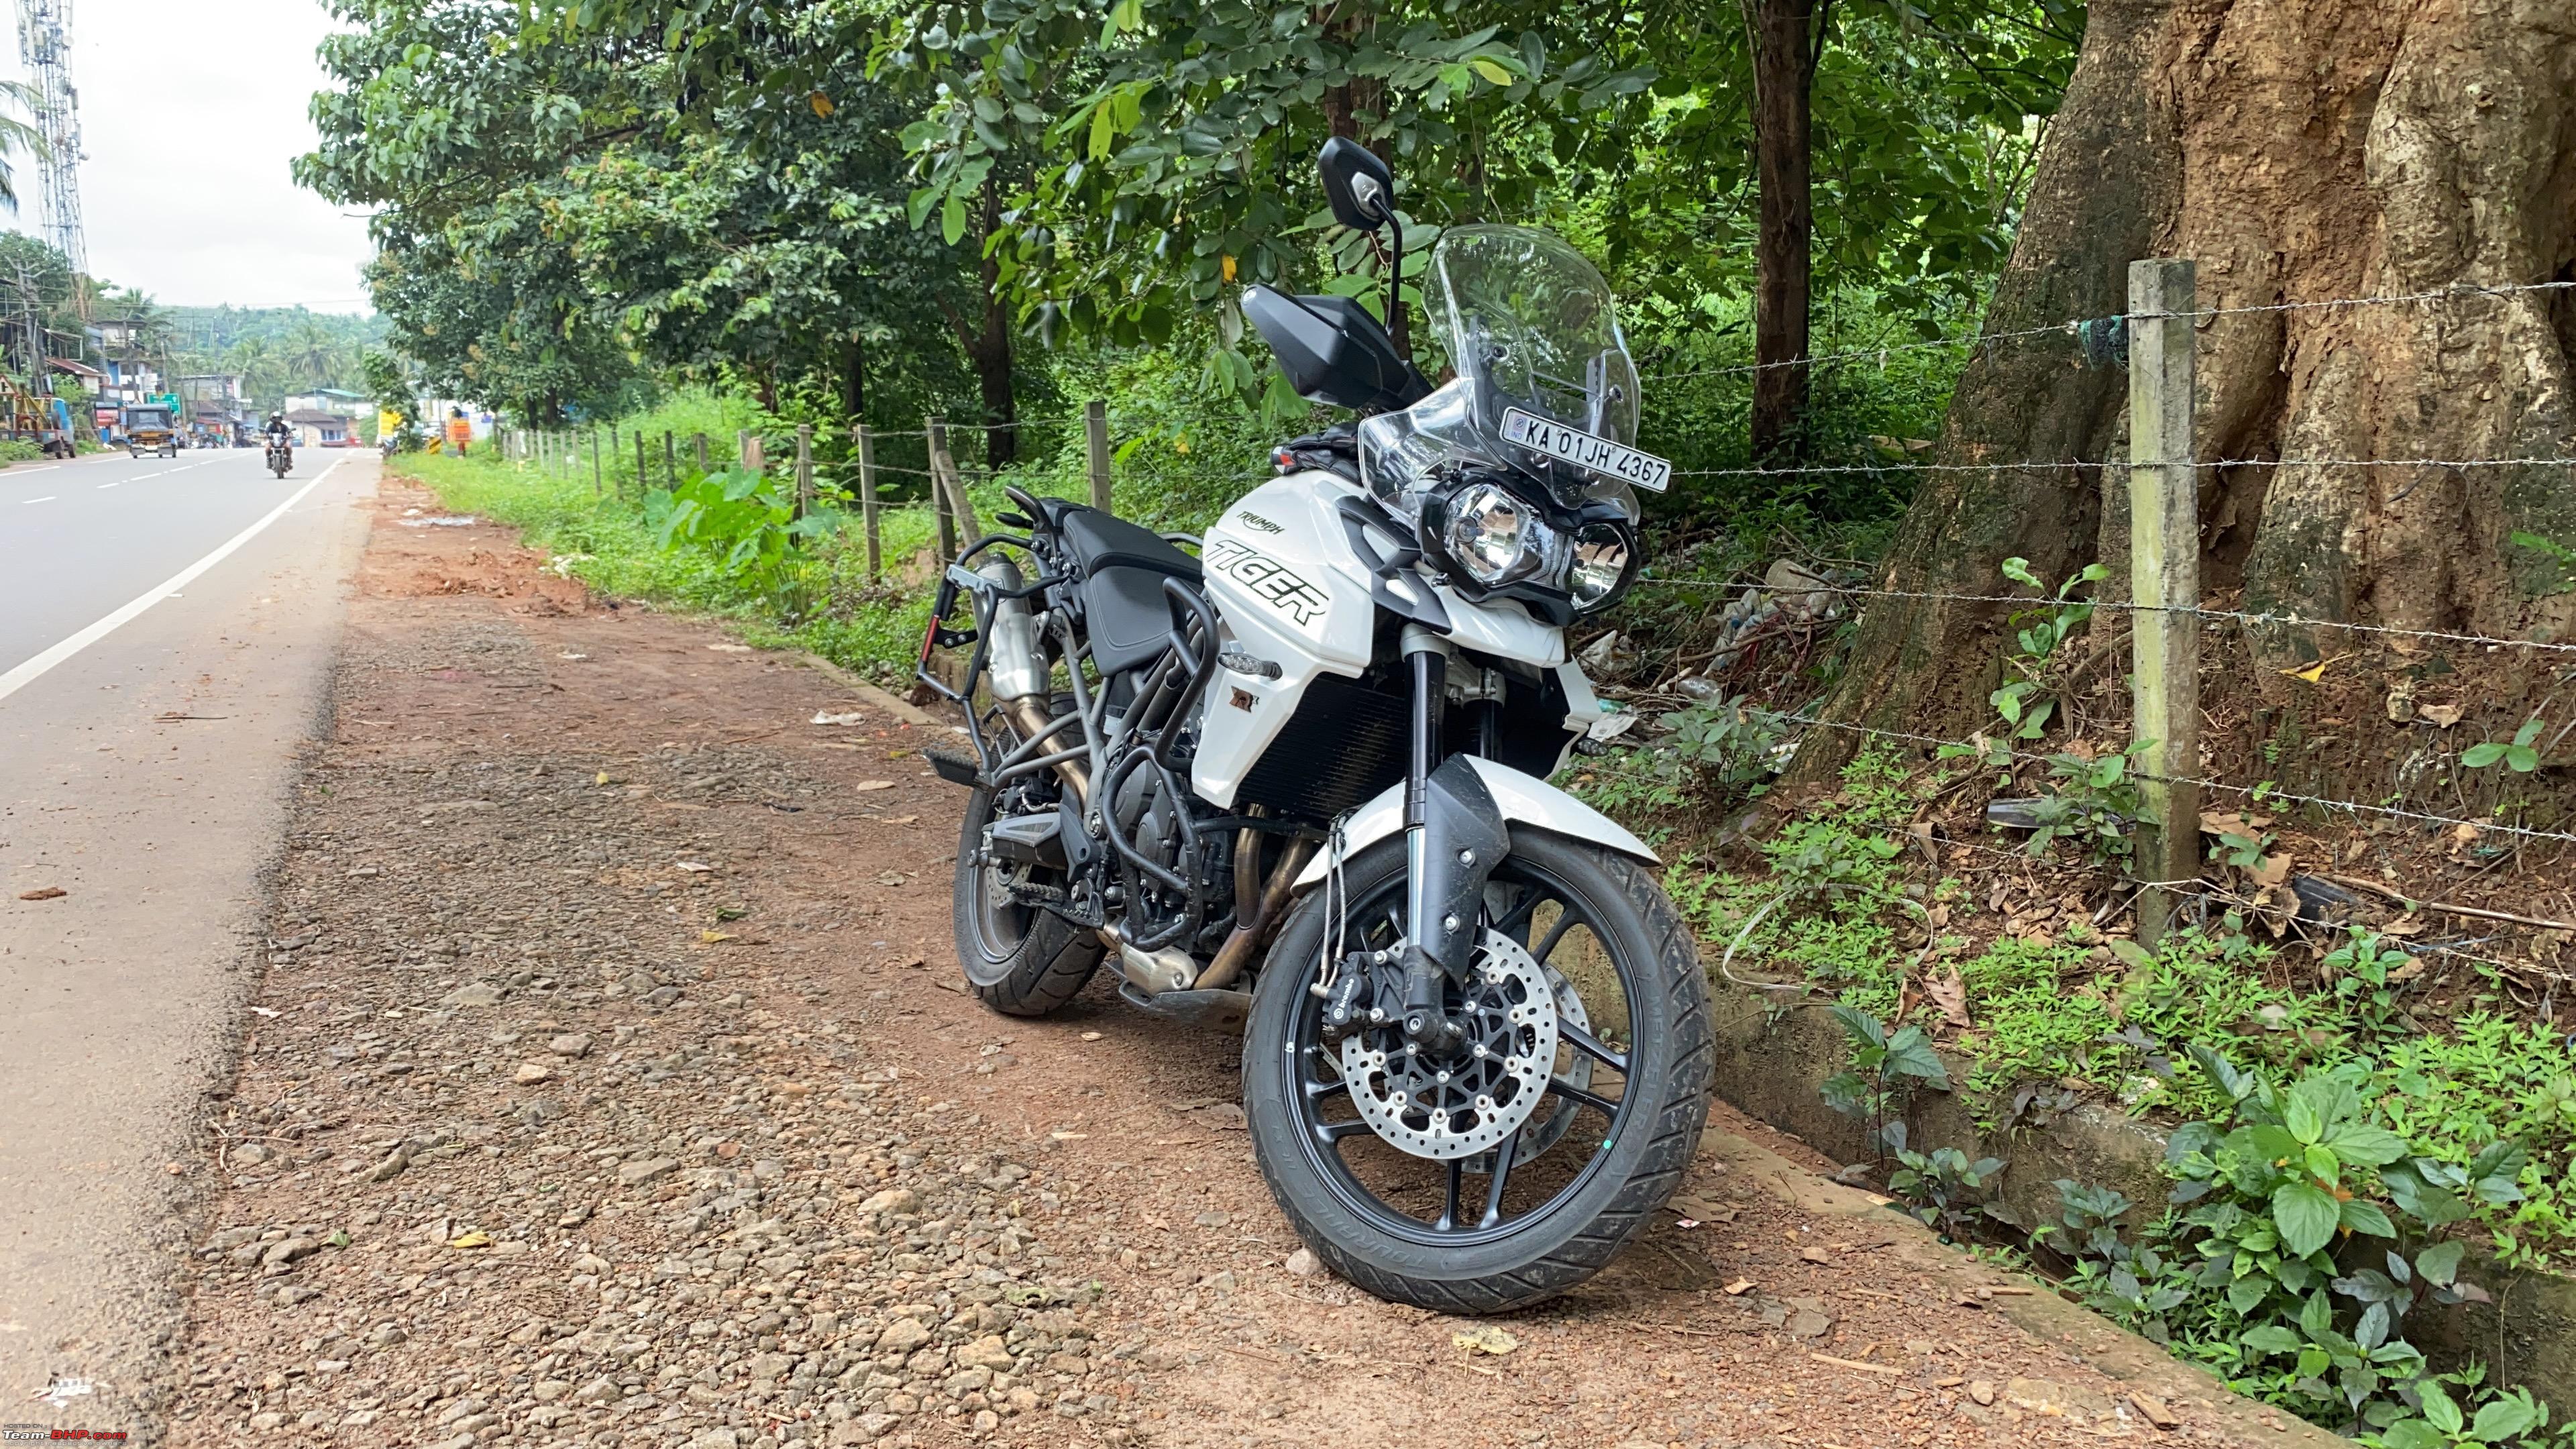  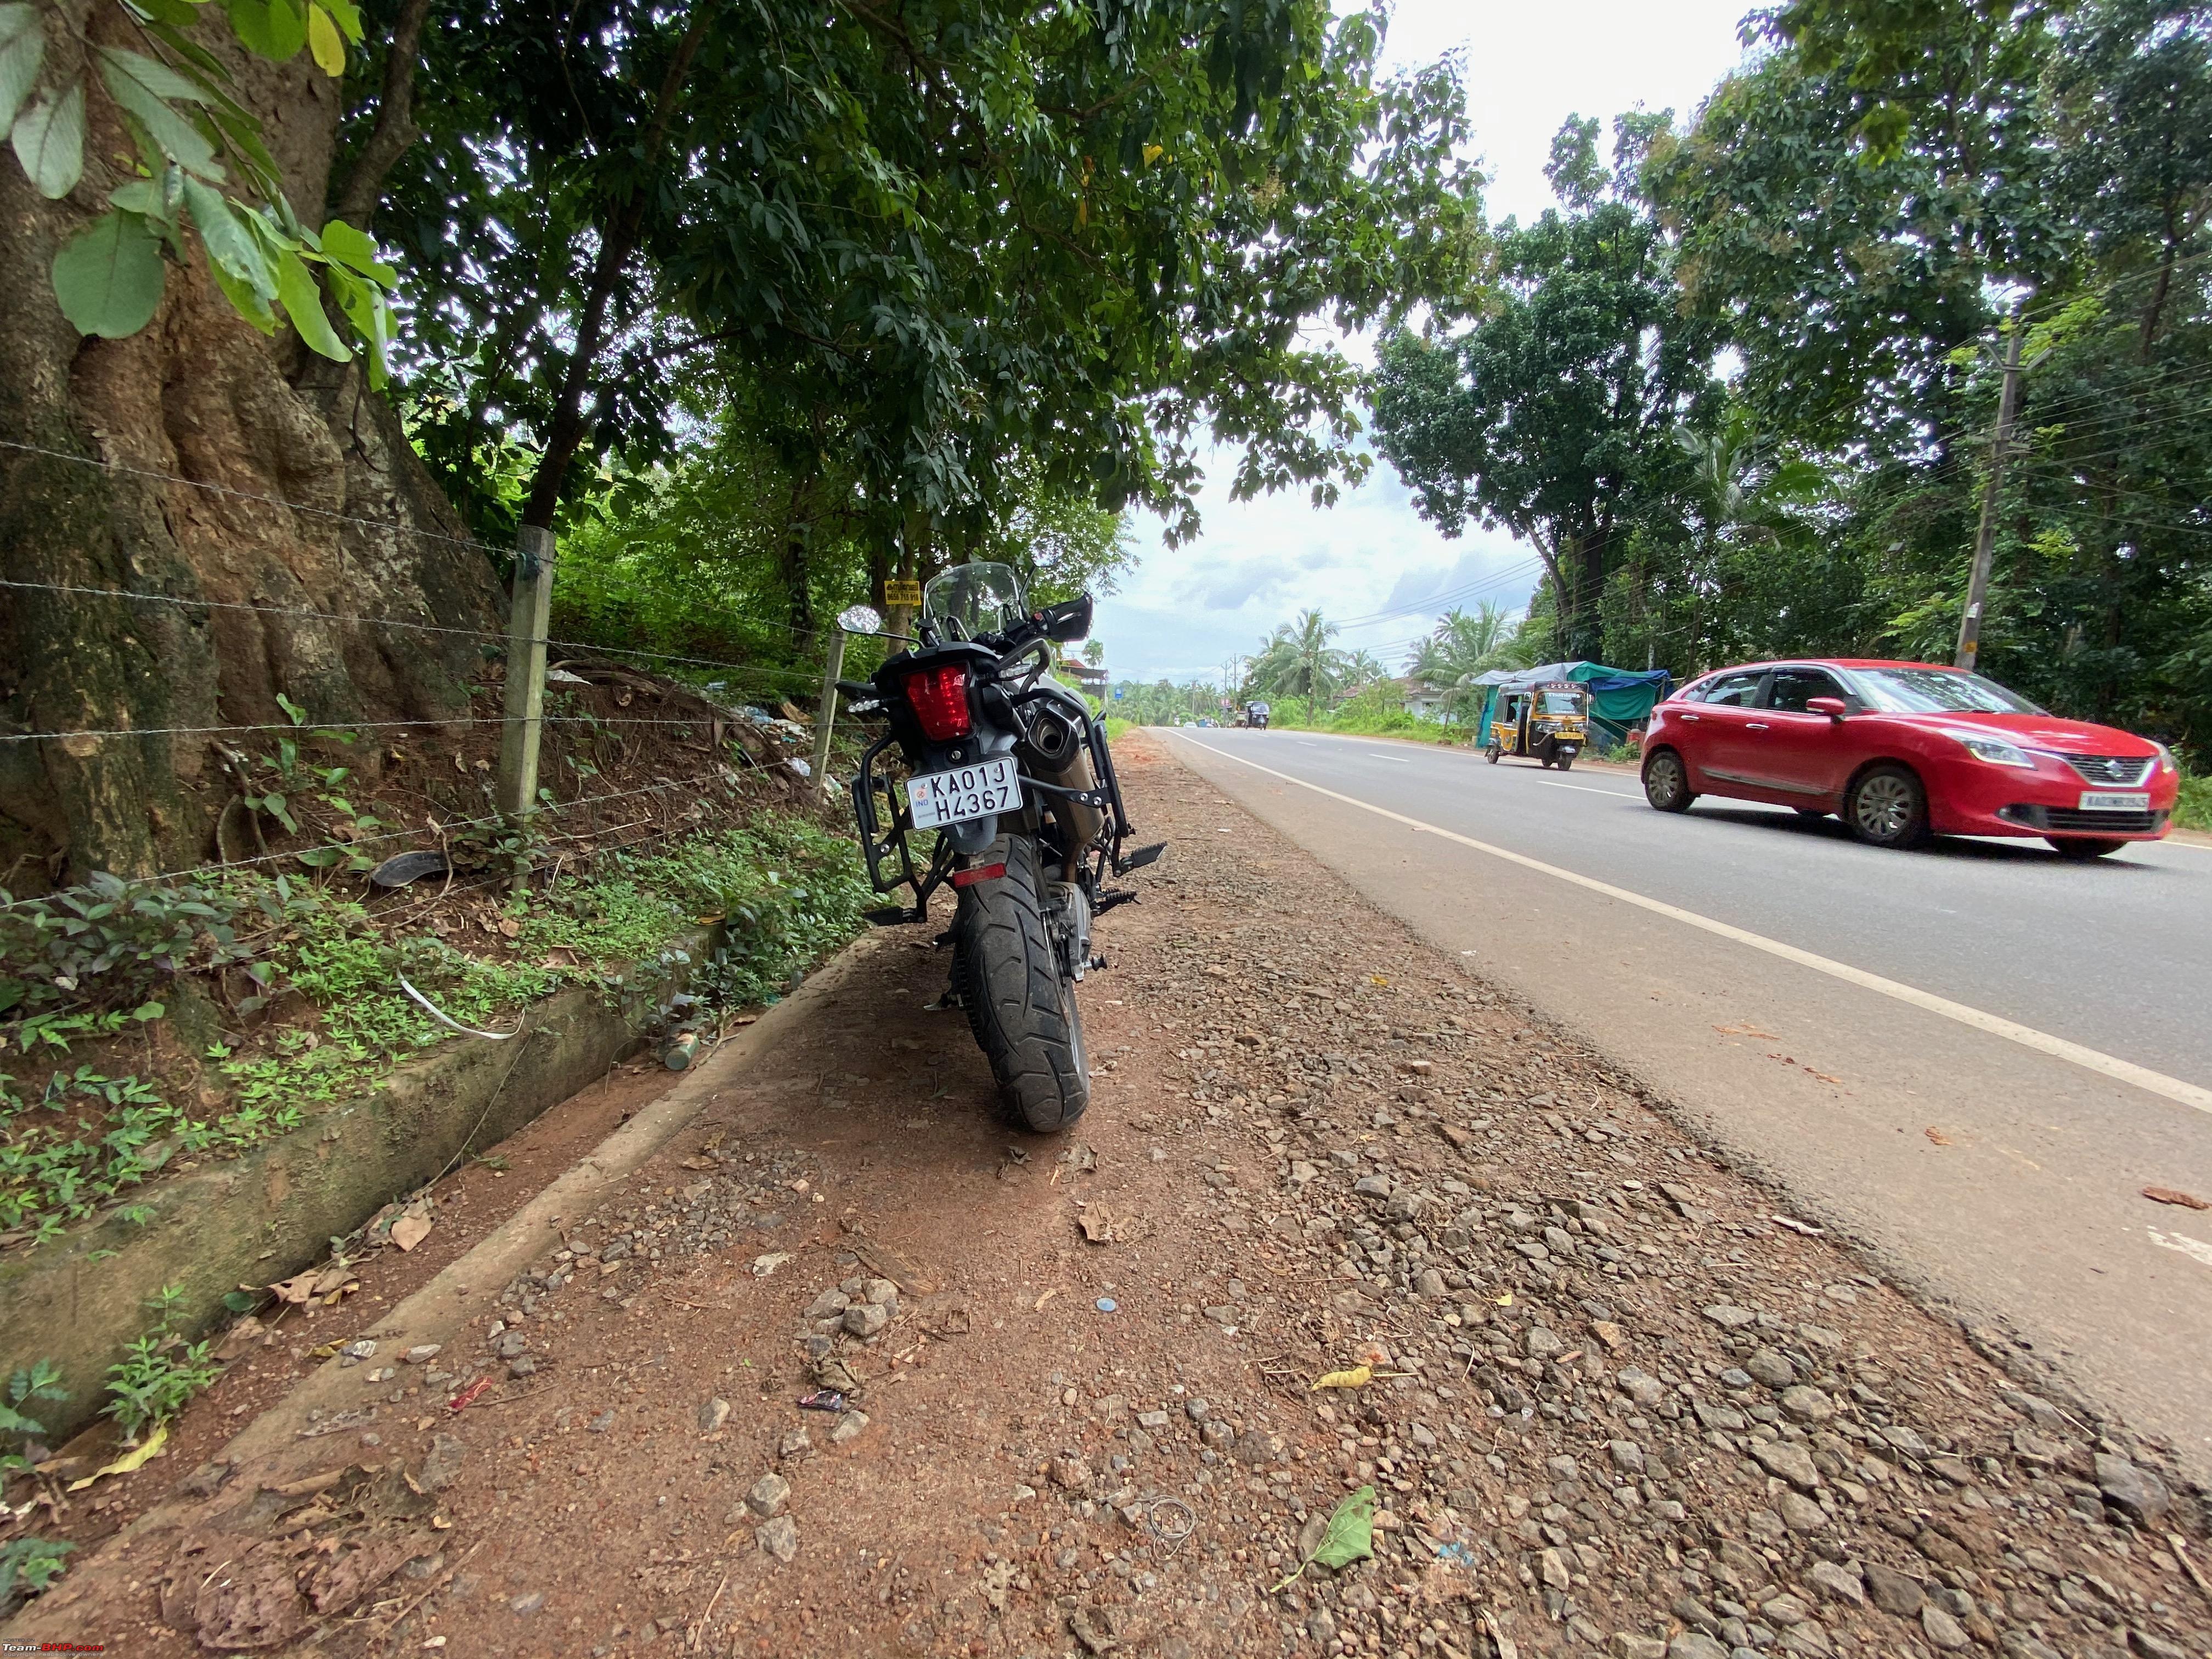 We finally reached the checkpost and as expected the check-post where people who were entering KL was pretty crowded and it was a bit chaotic. We approached an officer who was on guard and explained the situation to him and we promised it would not take more than 15 mins for us to return and he allowed us past stating to just explain the same to the officers at the actual state borderline which we did. Luckily they were also very understanding and allowed us to cross the bridge and wait there to collect the bike. In less than 5 mins of waiting the bike arrived and we quickly moved back along and the cops waved us past. Patiently waiting for the R3 to join us 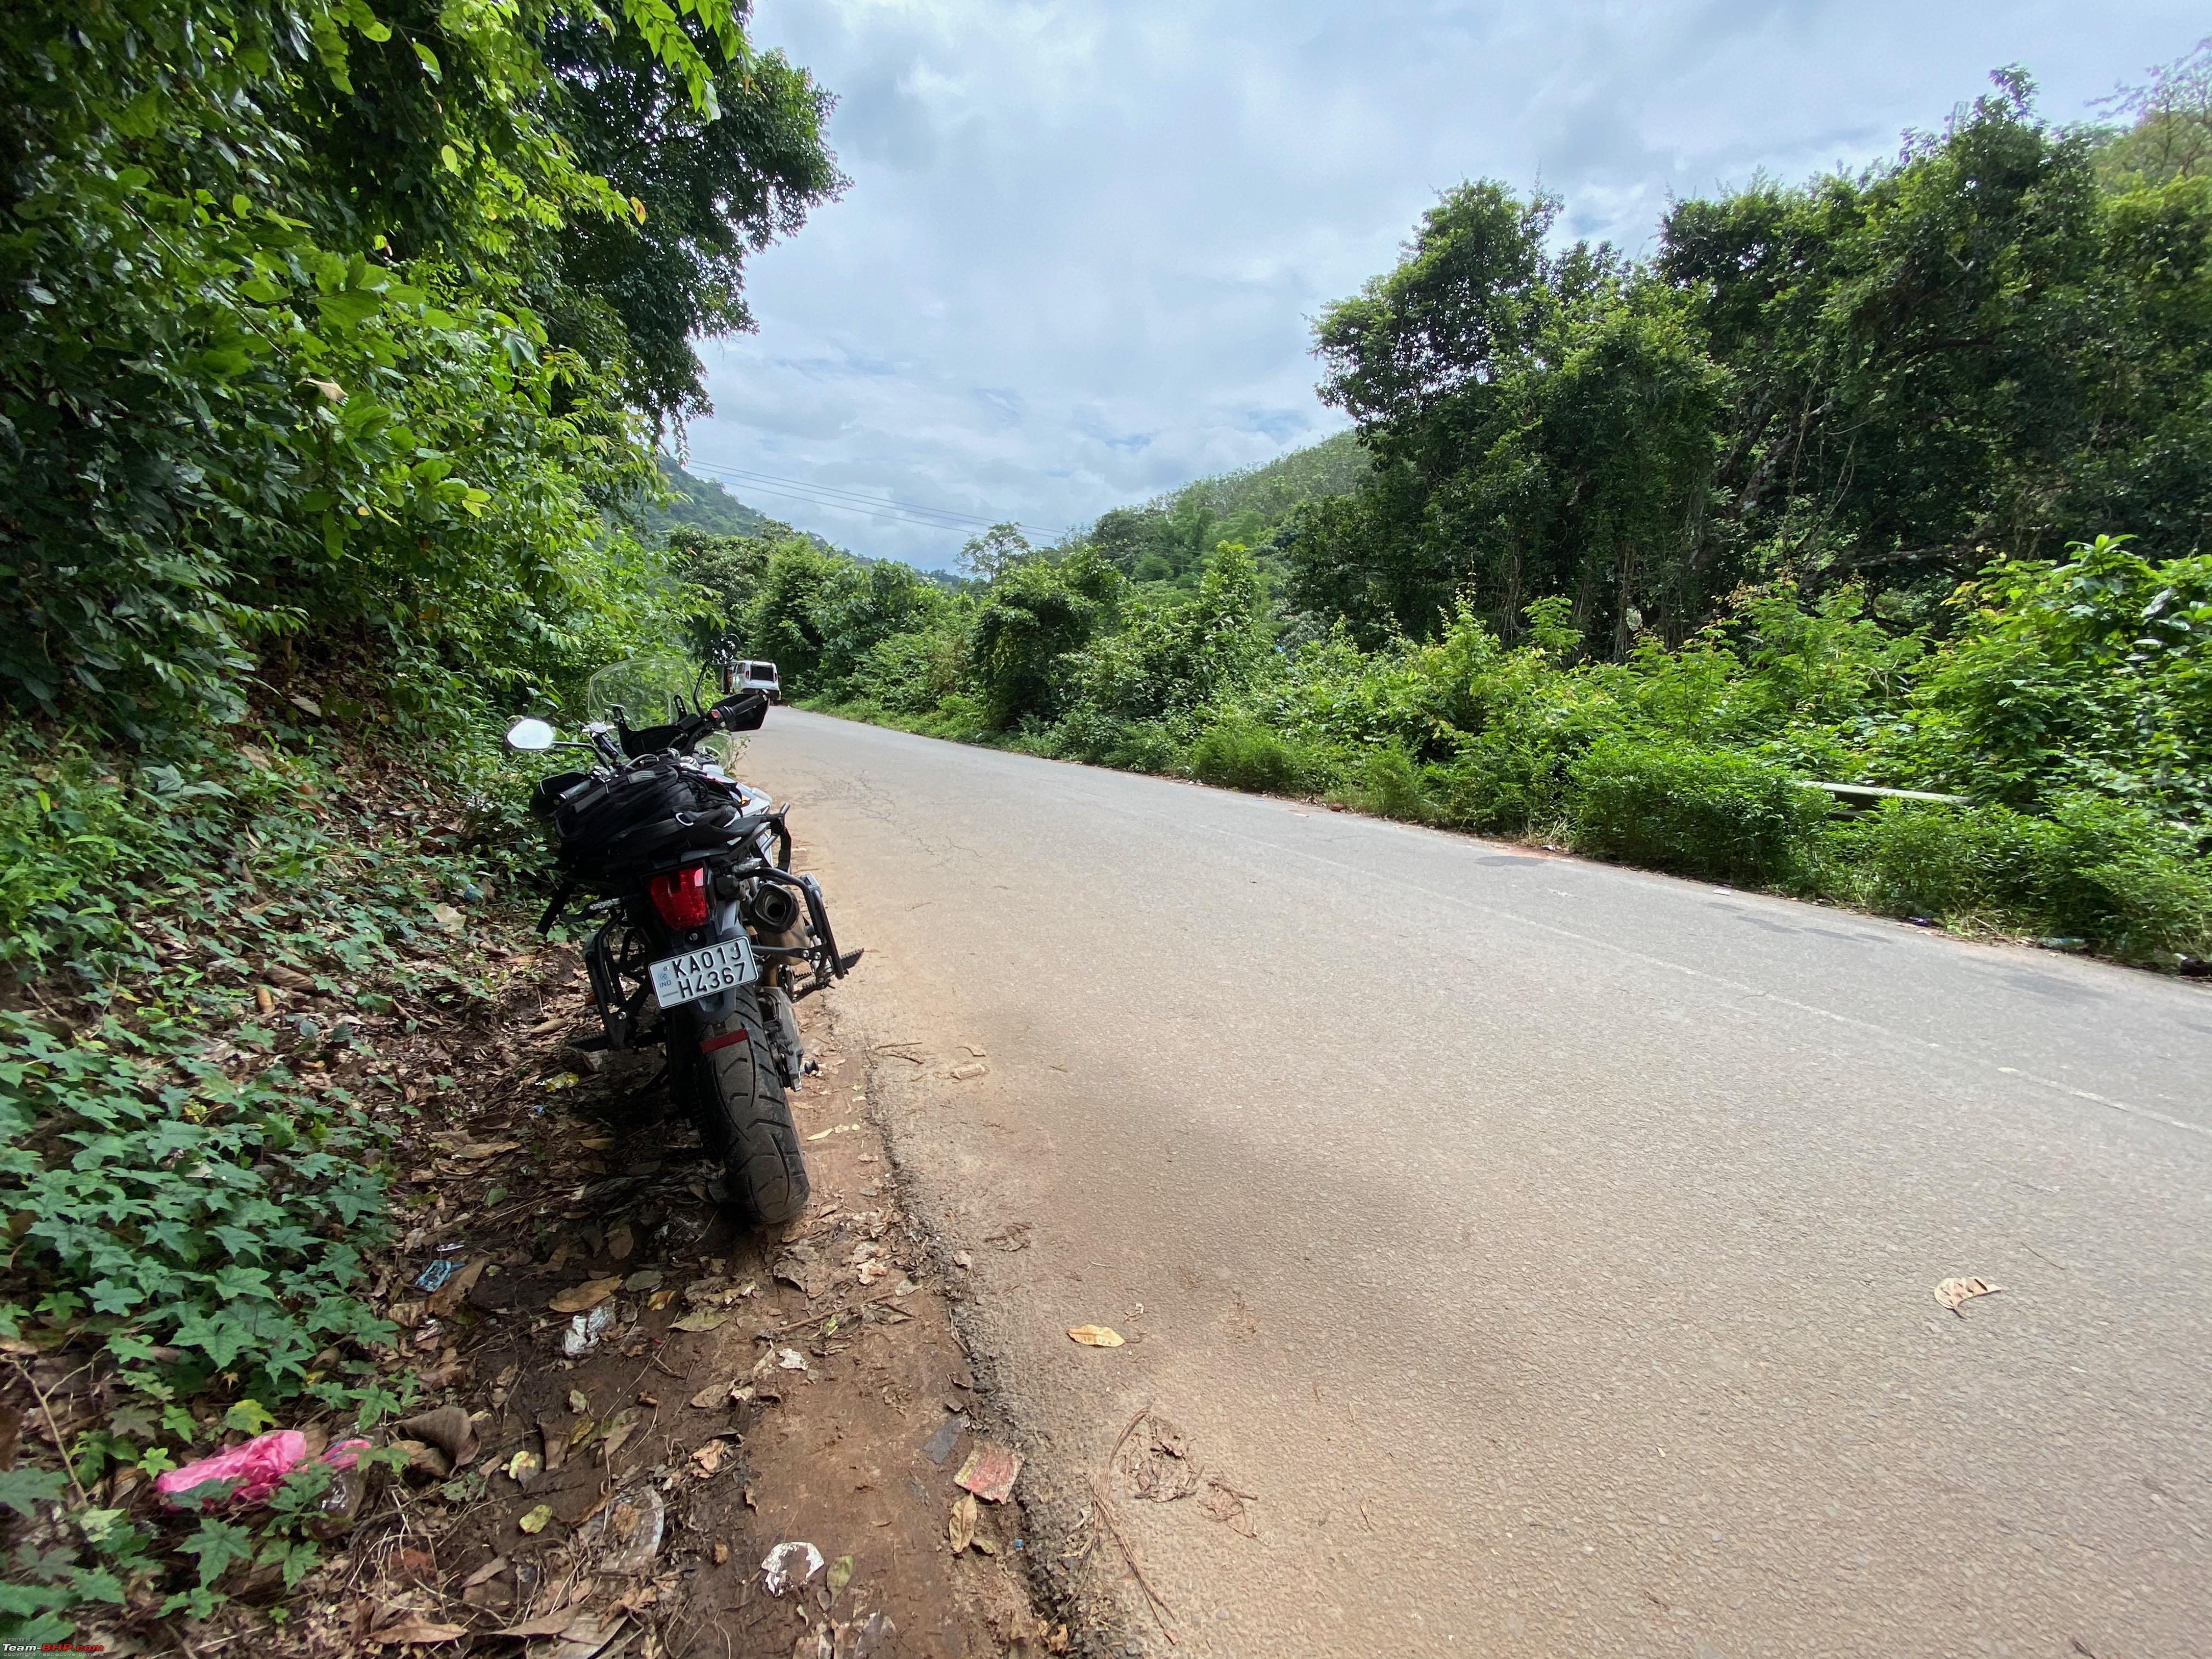 IMO The tiger does look a bit derpy without the front beak. It has been in order with Keerthi Triumph since Feb this year, no idea what unobtanium material the beak is made out of it still hasn't reached the showroom yet. 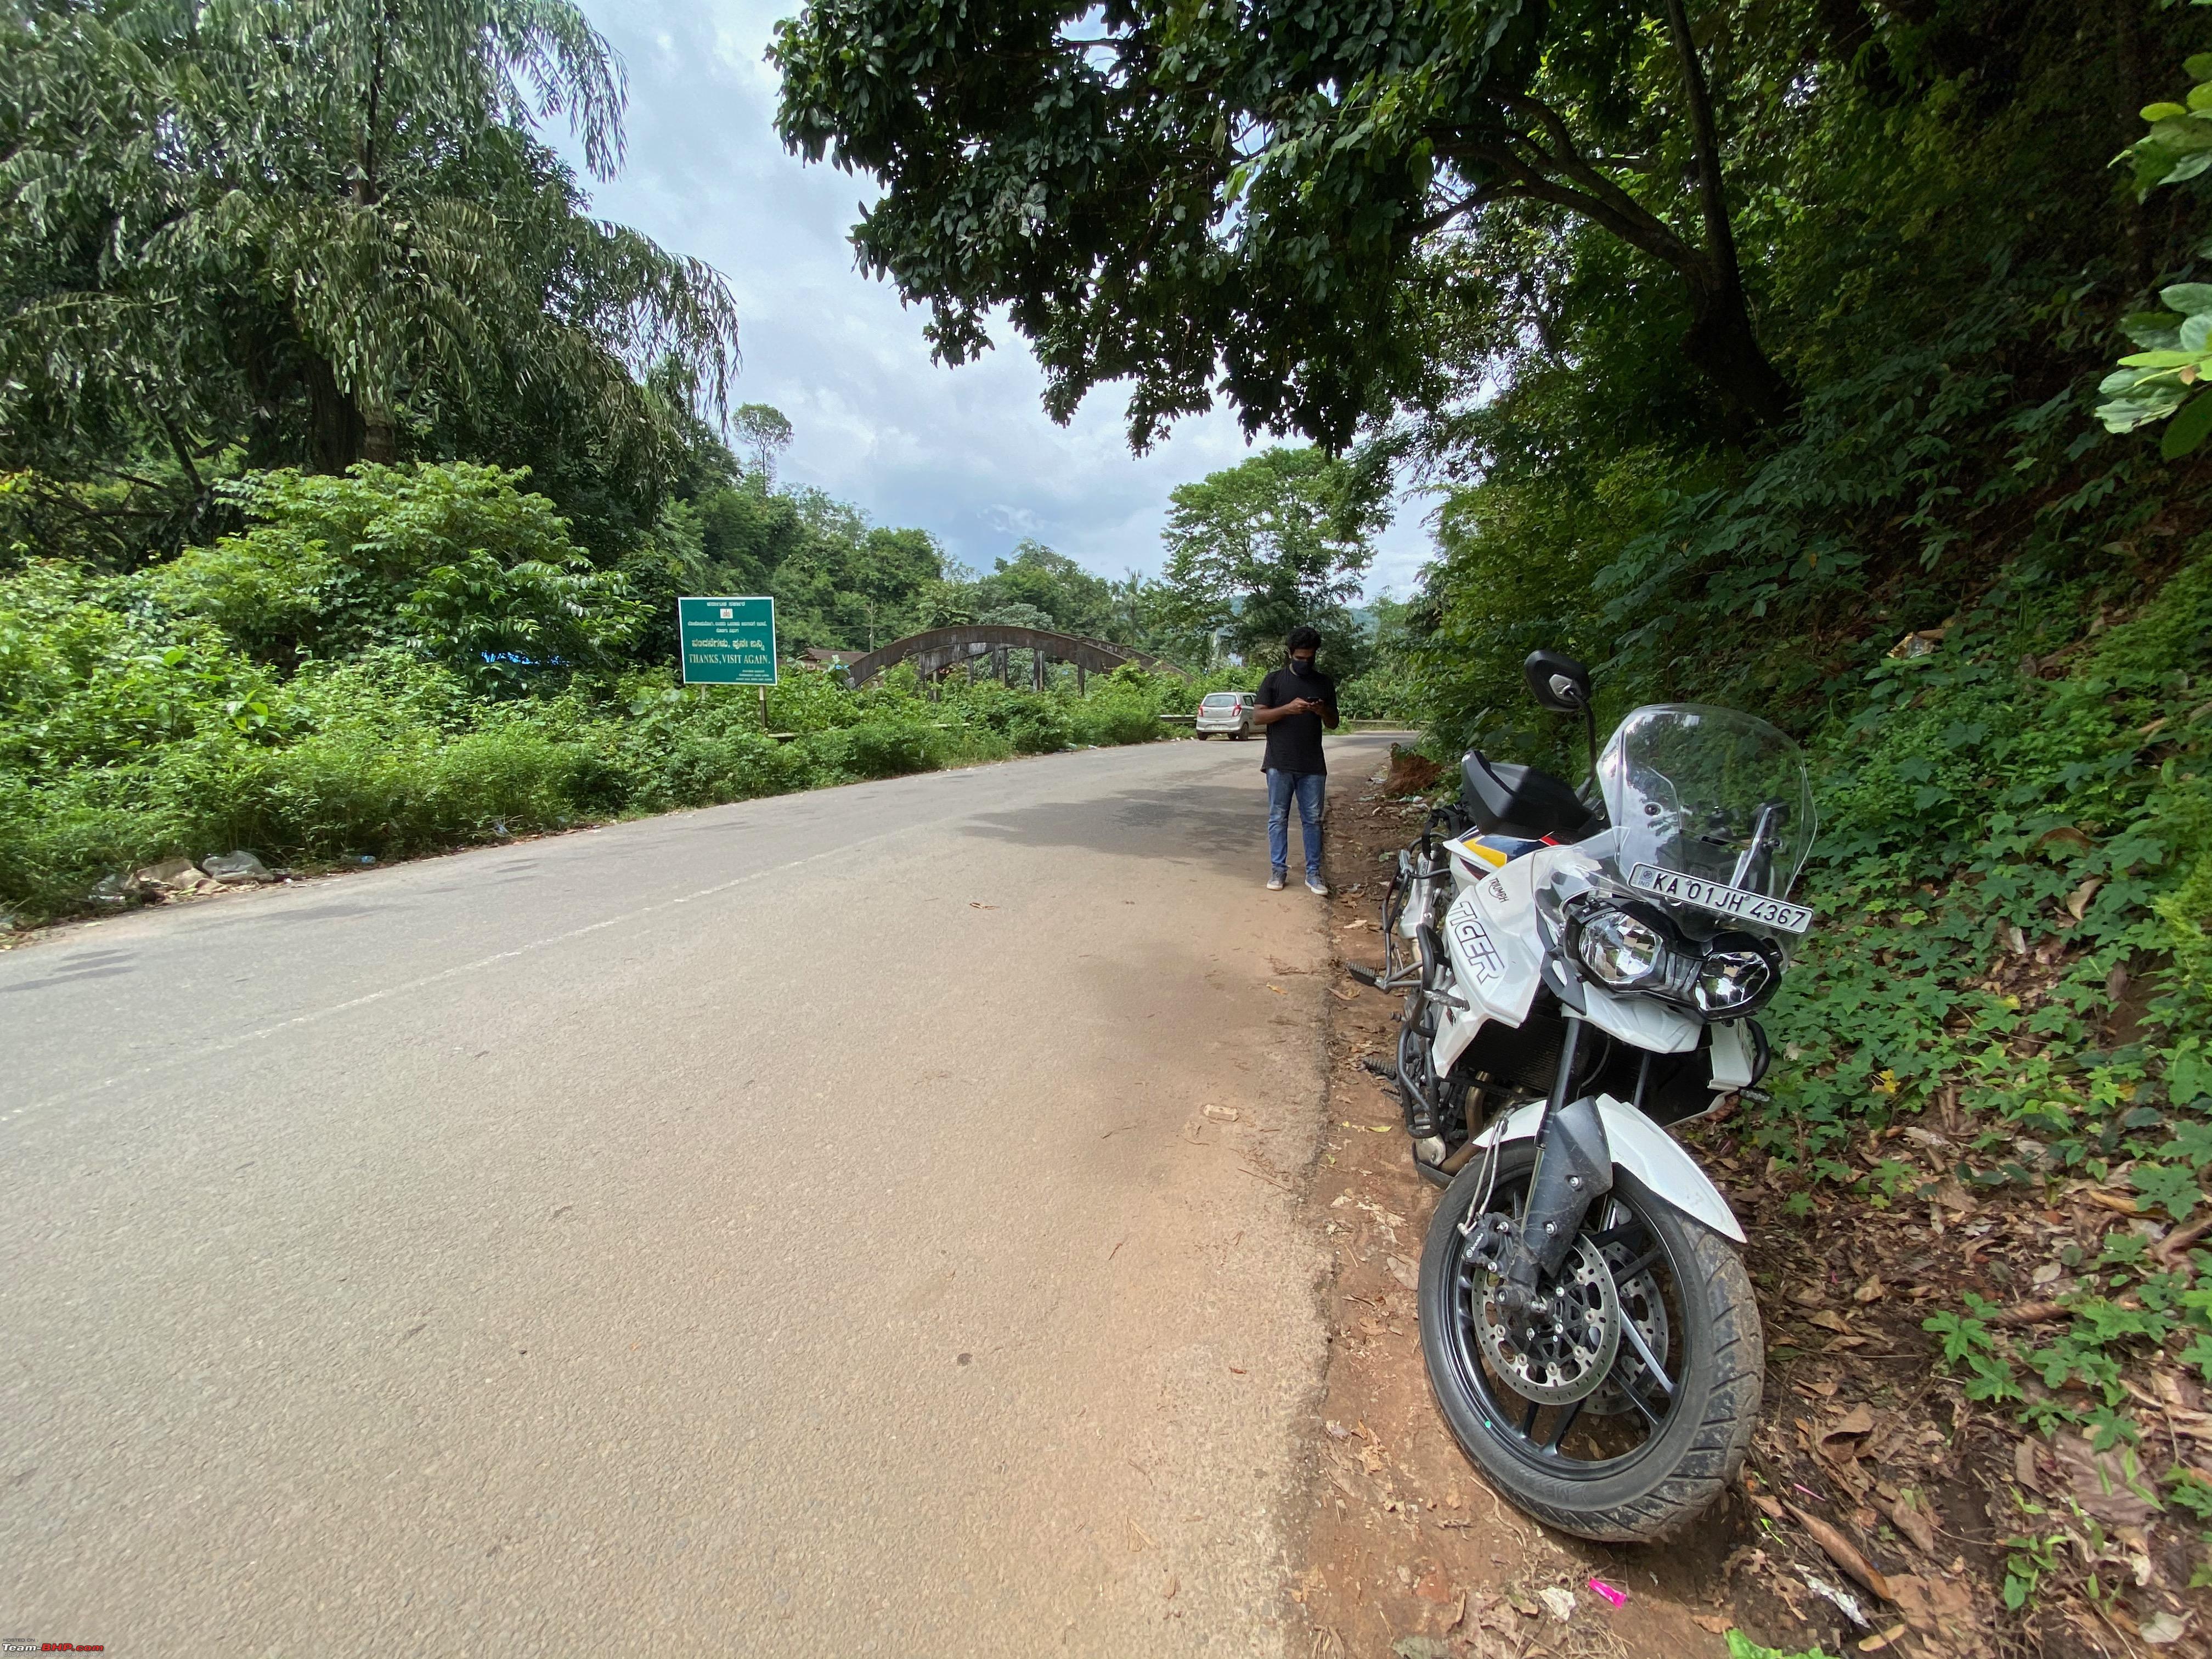 Finally, she has arrived. Isn't she a looker 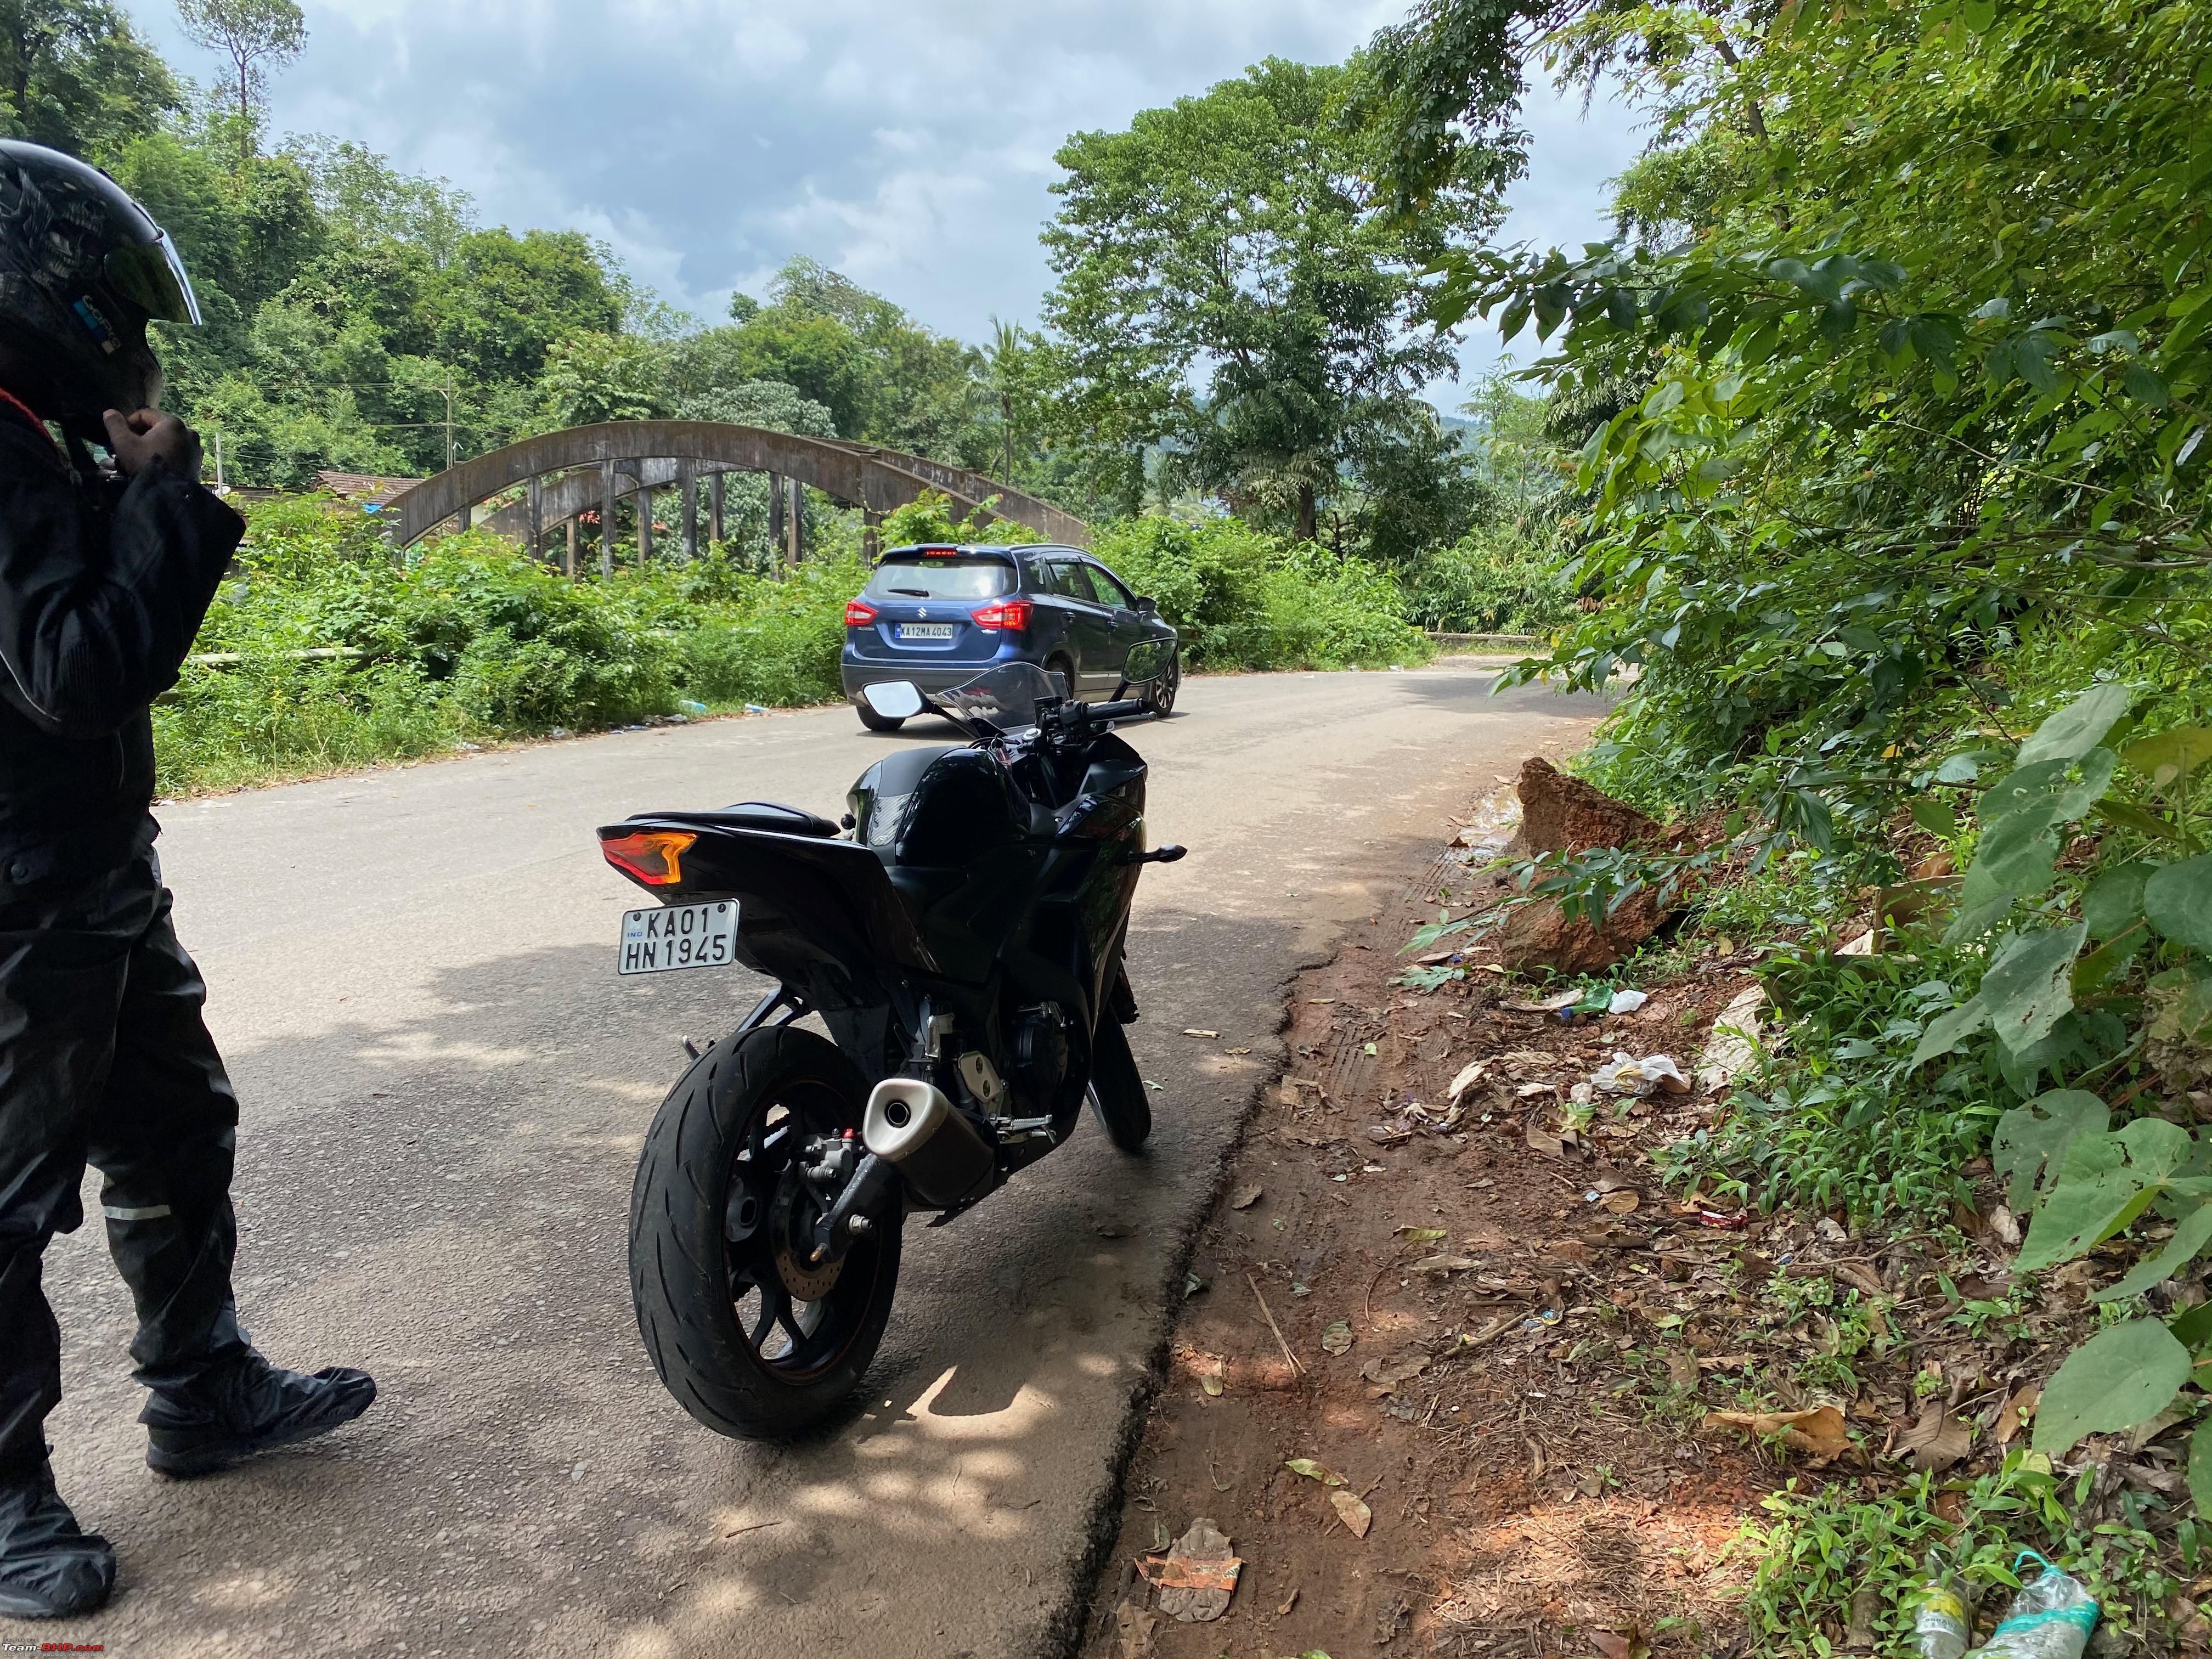 Just a quick pic before we started back. We didn't want to annoy the officers who were very understanding us. 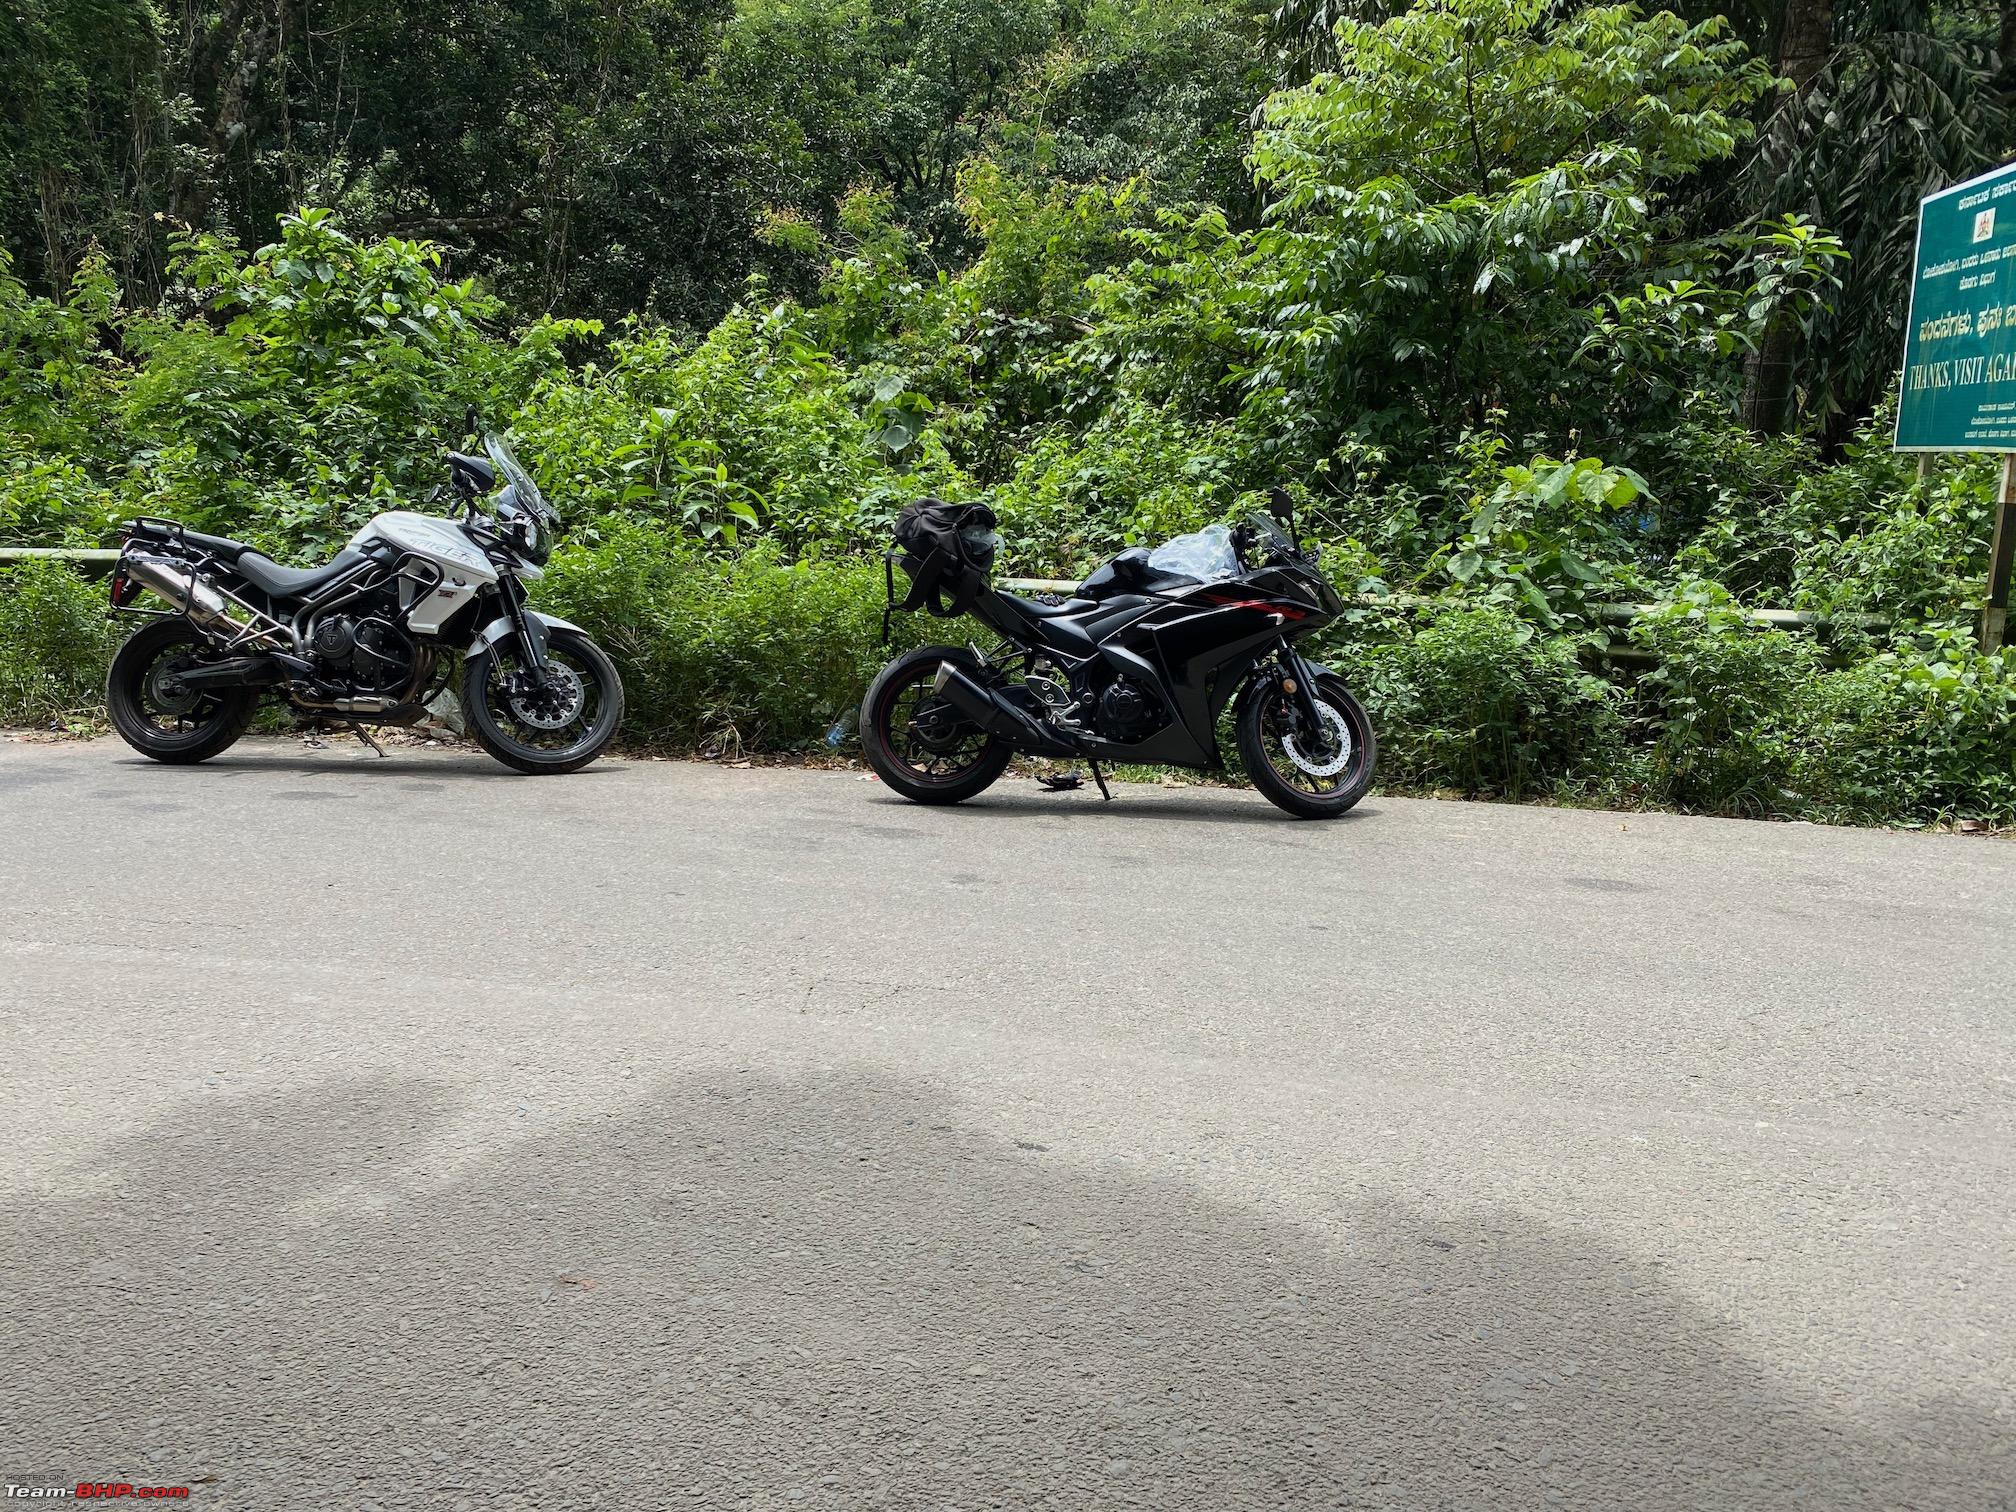 Pit stop on the way back to Kozhikode. 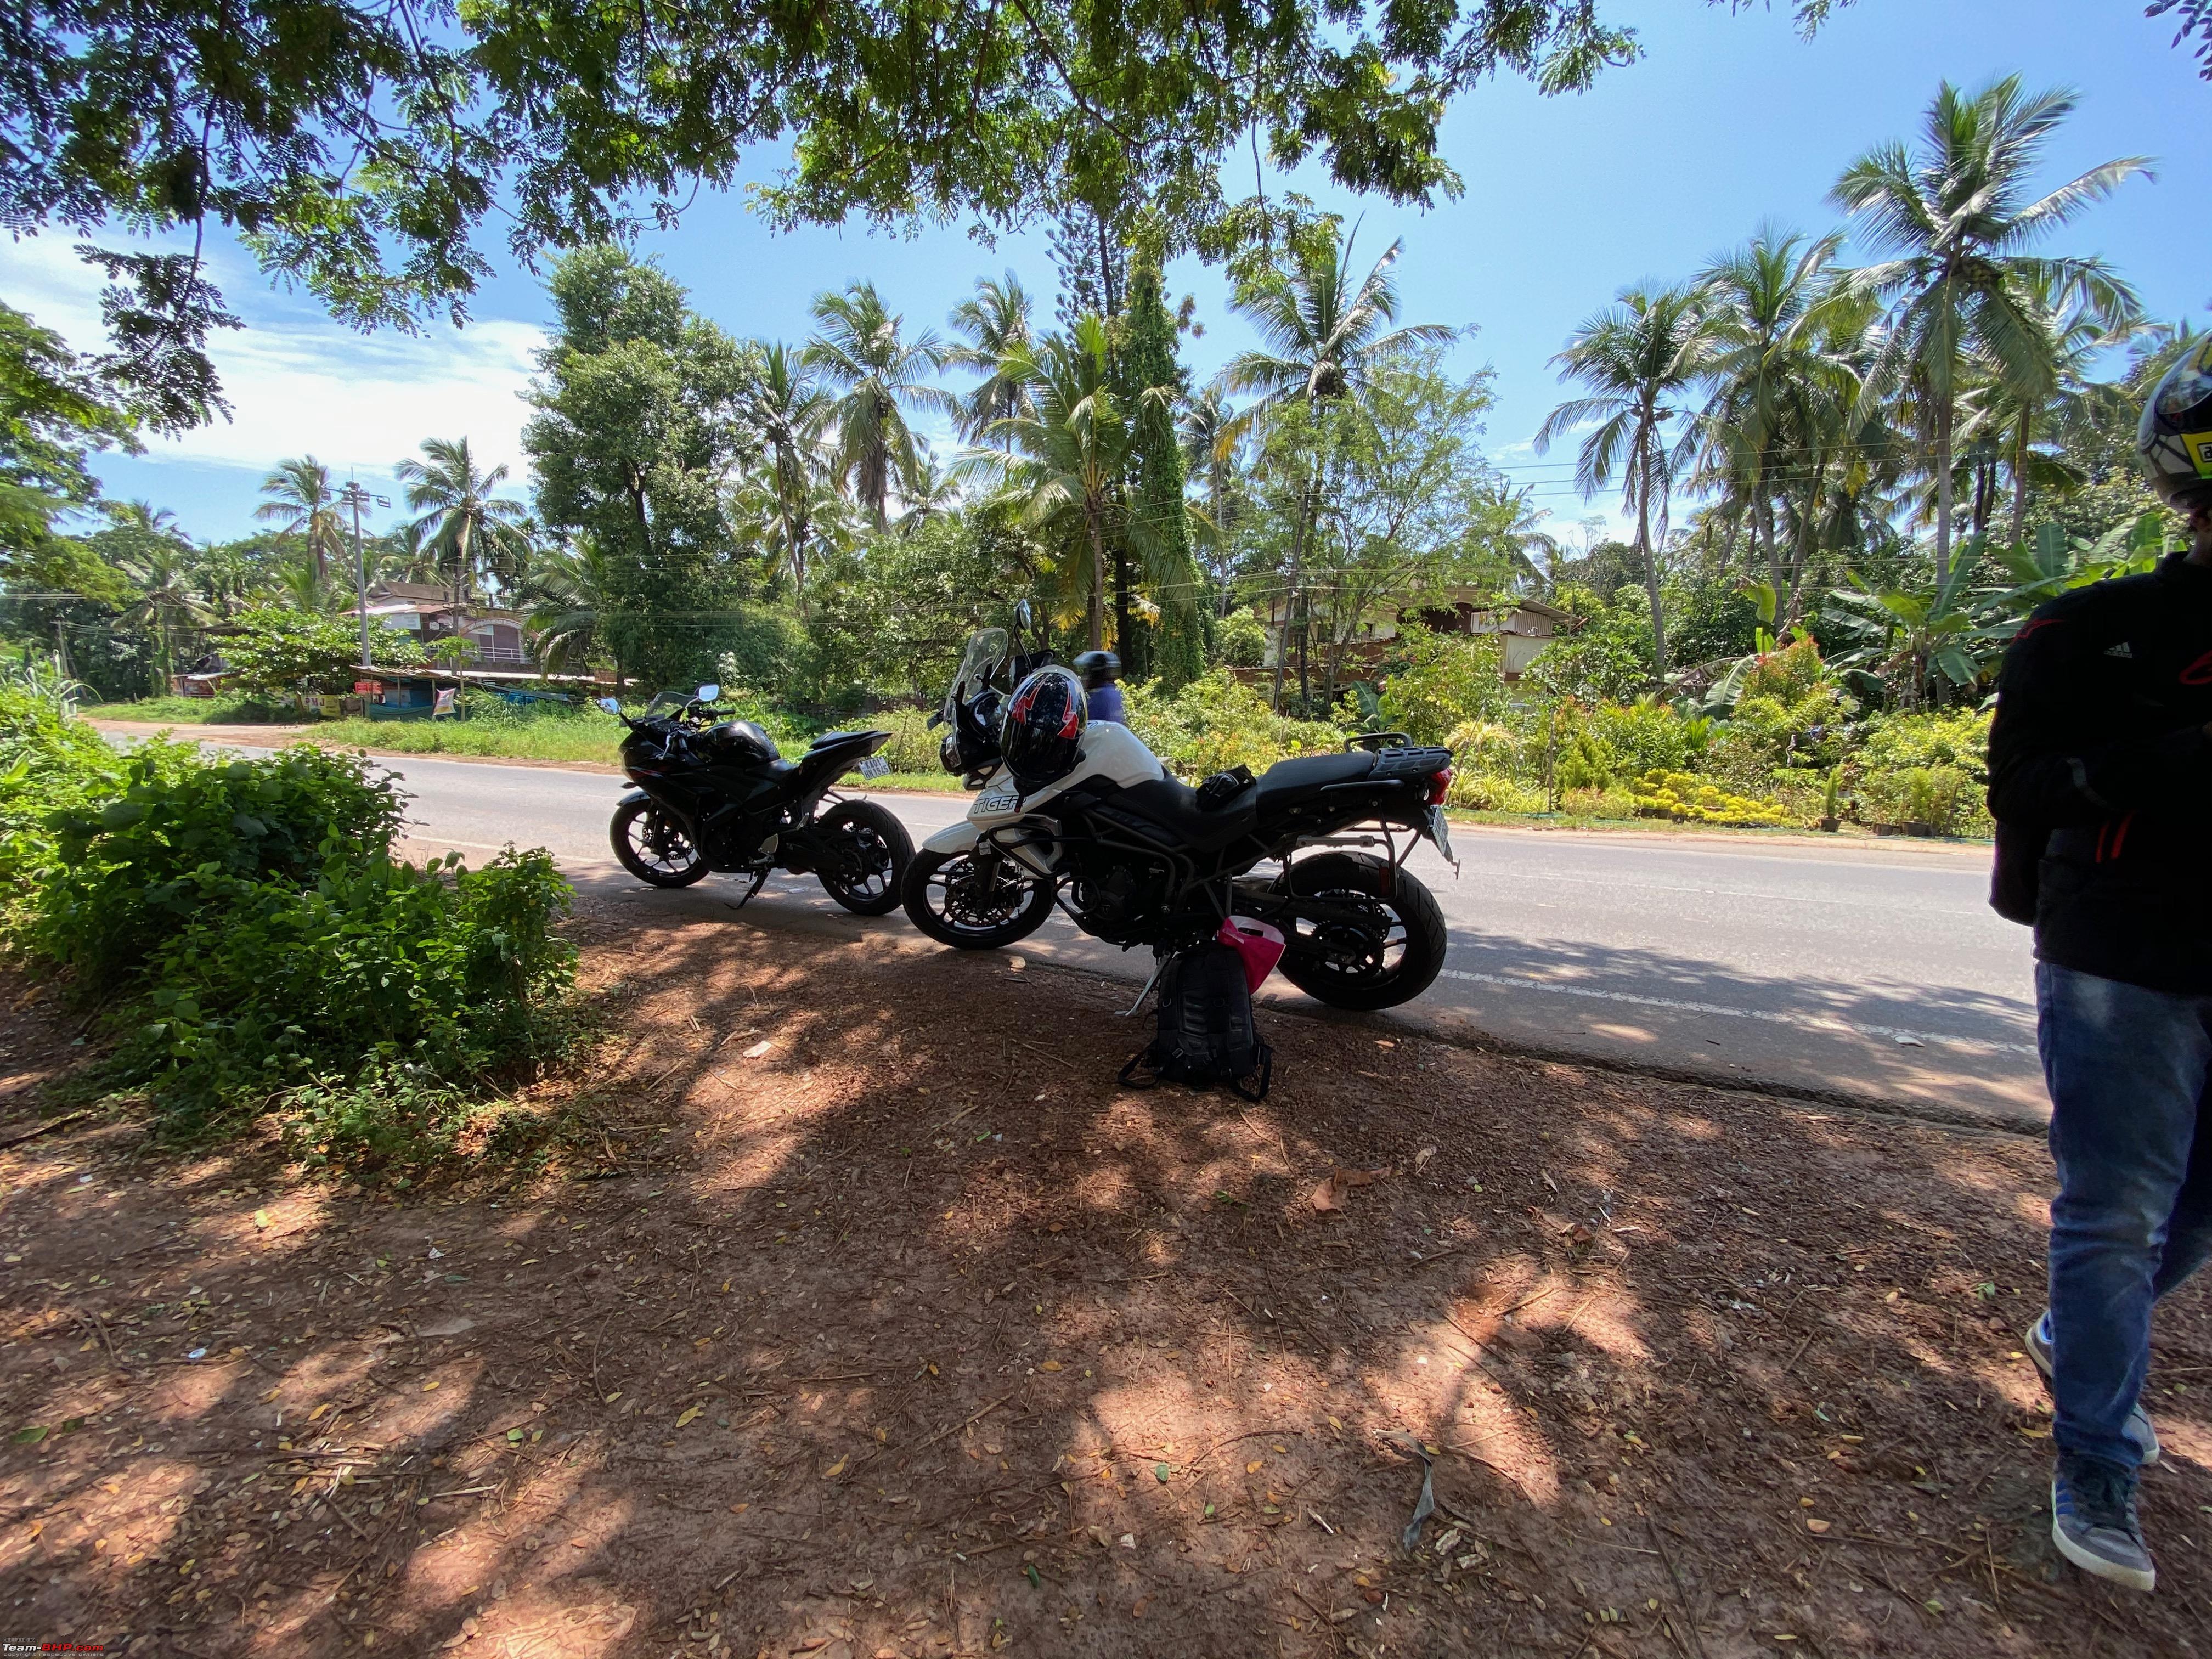 Energy drink on a trip is a must for me. I don't know why but it just tastes much better when on a trip. This one is one epic flavor too, do try it out if you get the chance. 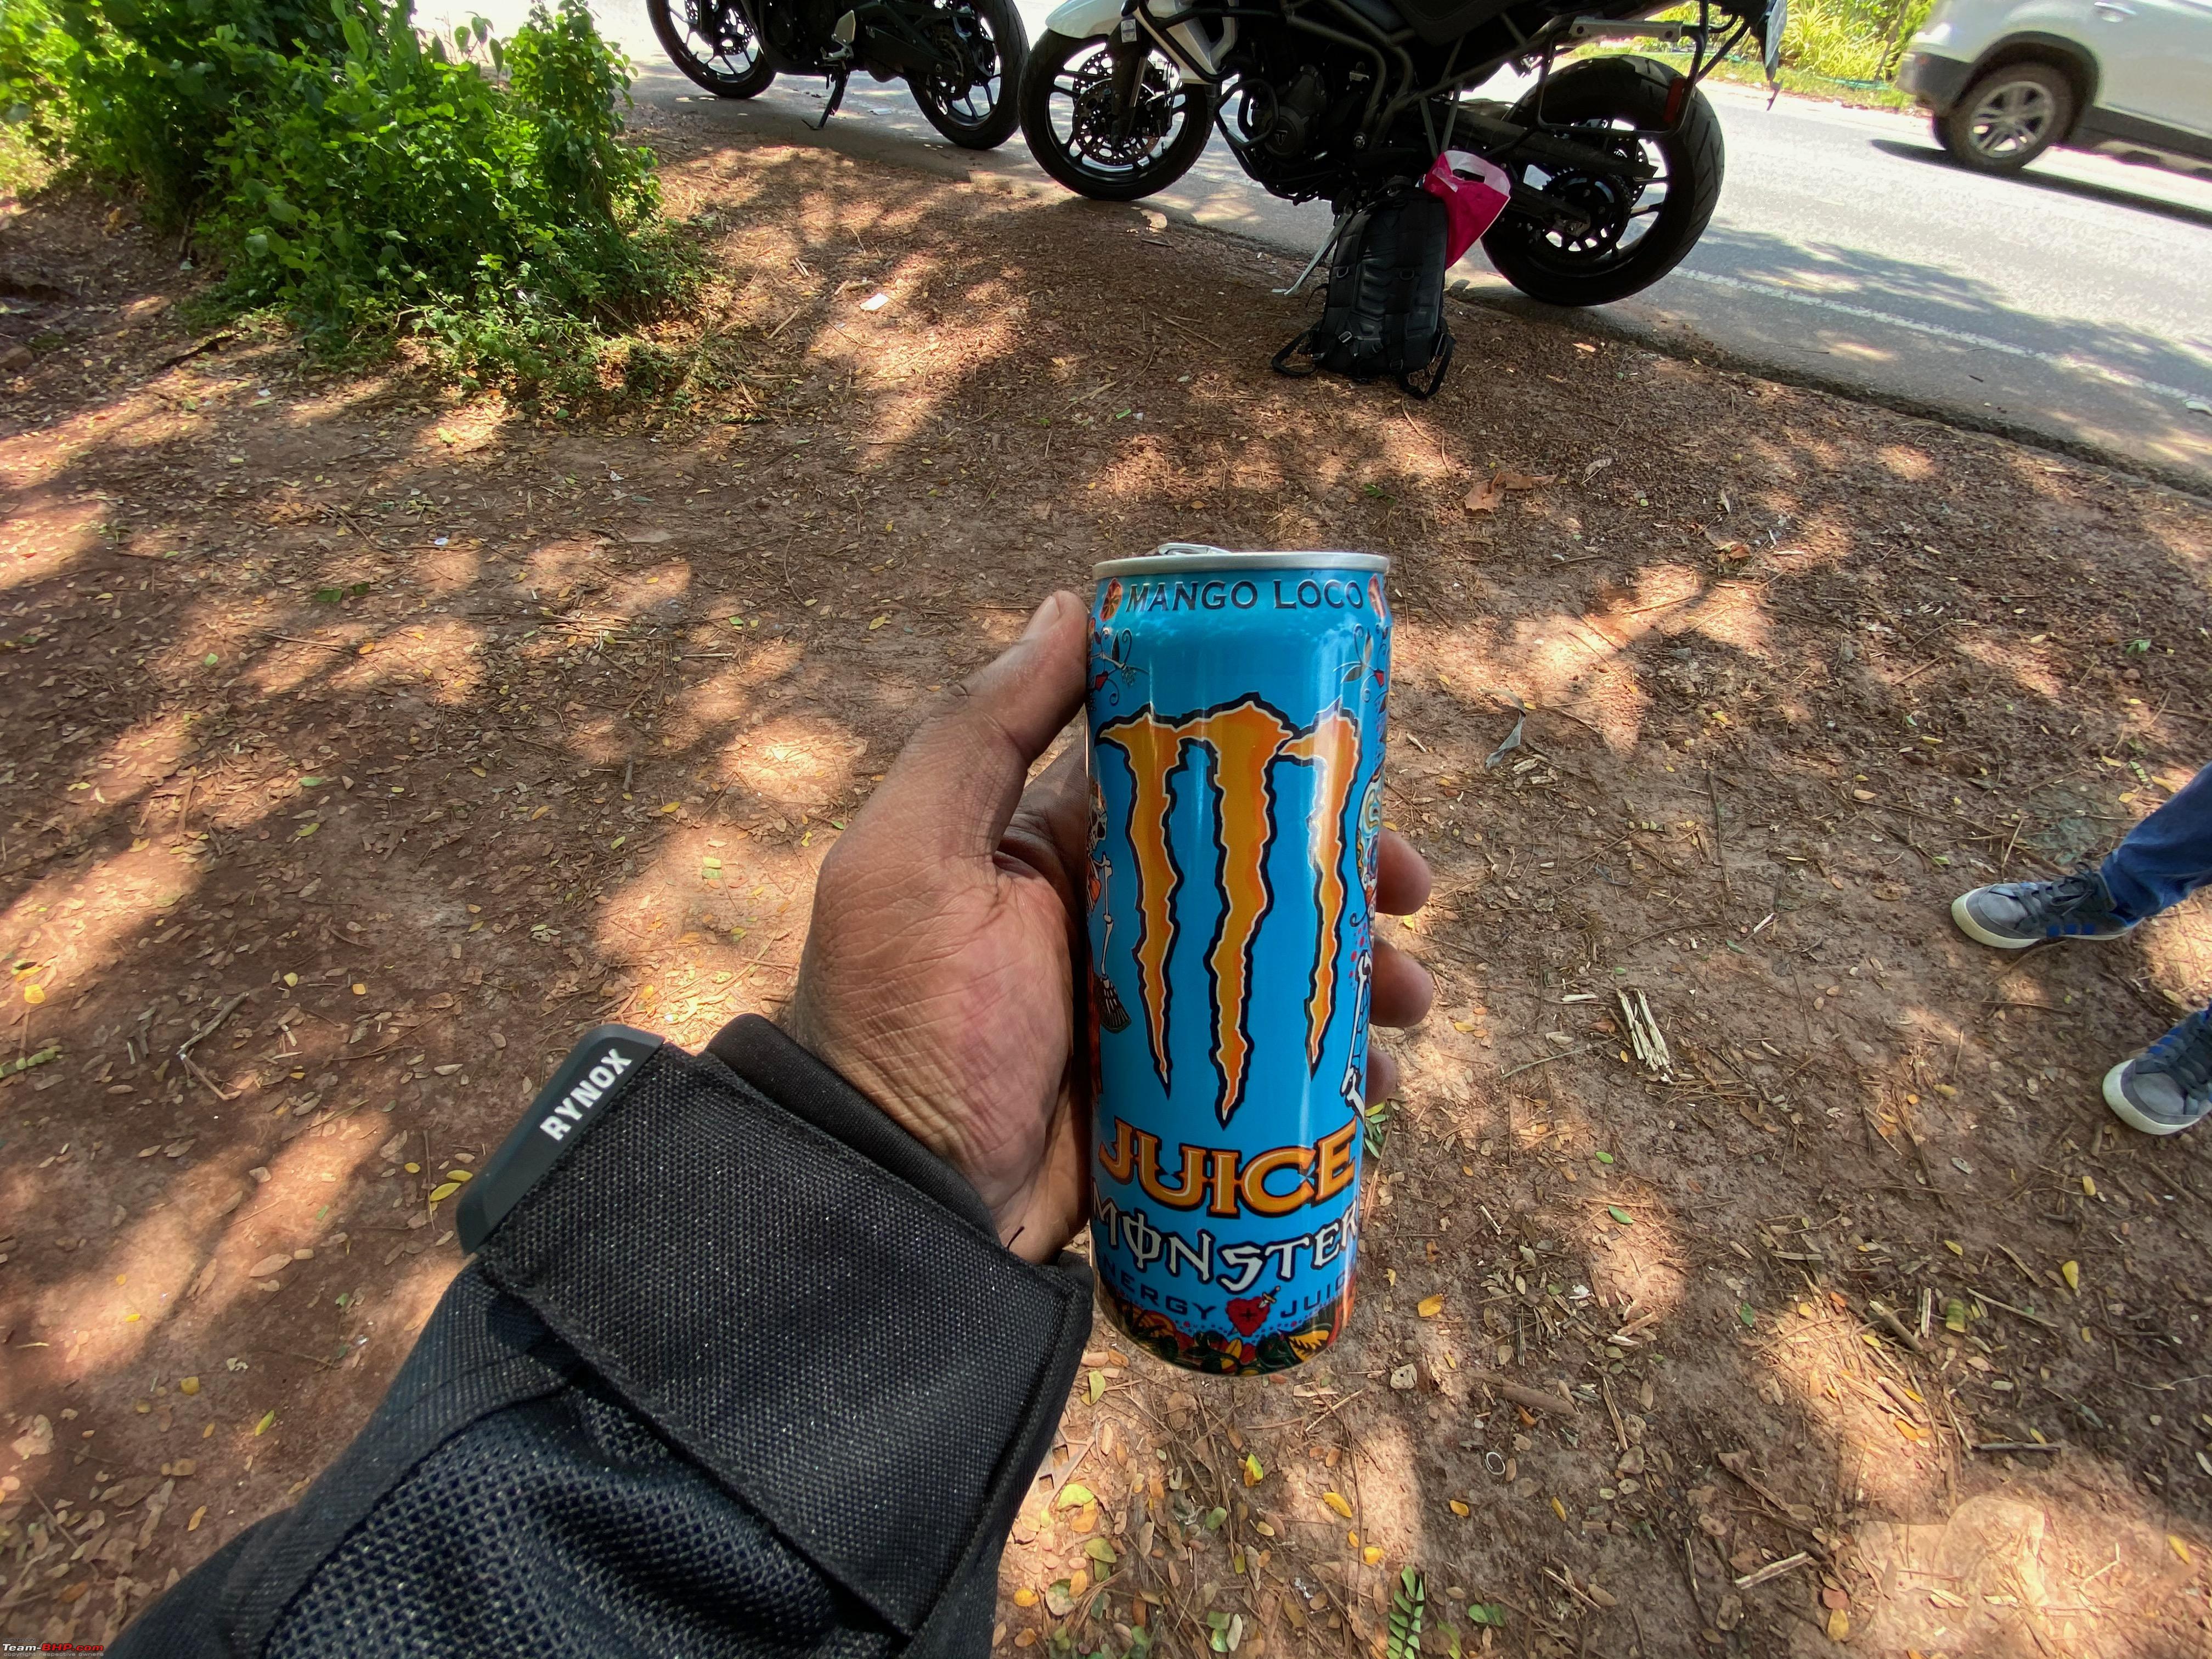 Both of the bikes striking a pose and Xaos636 ruining it in the background.   The R3 is such a looker, I prefer this iteration over the new one any day  The tiger needs that beak! Shouldn't be sold without one. 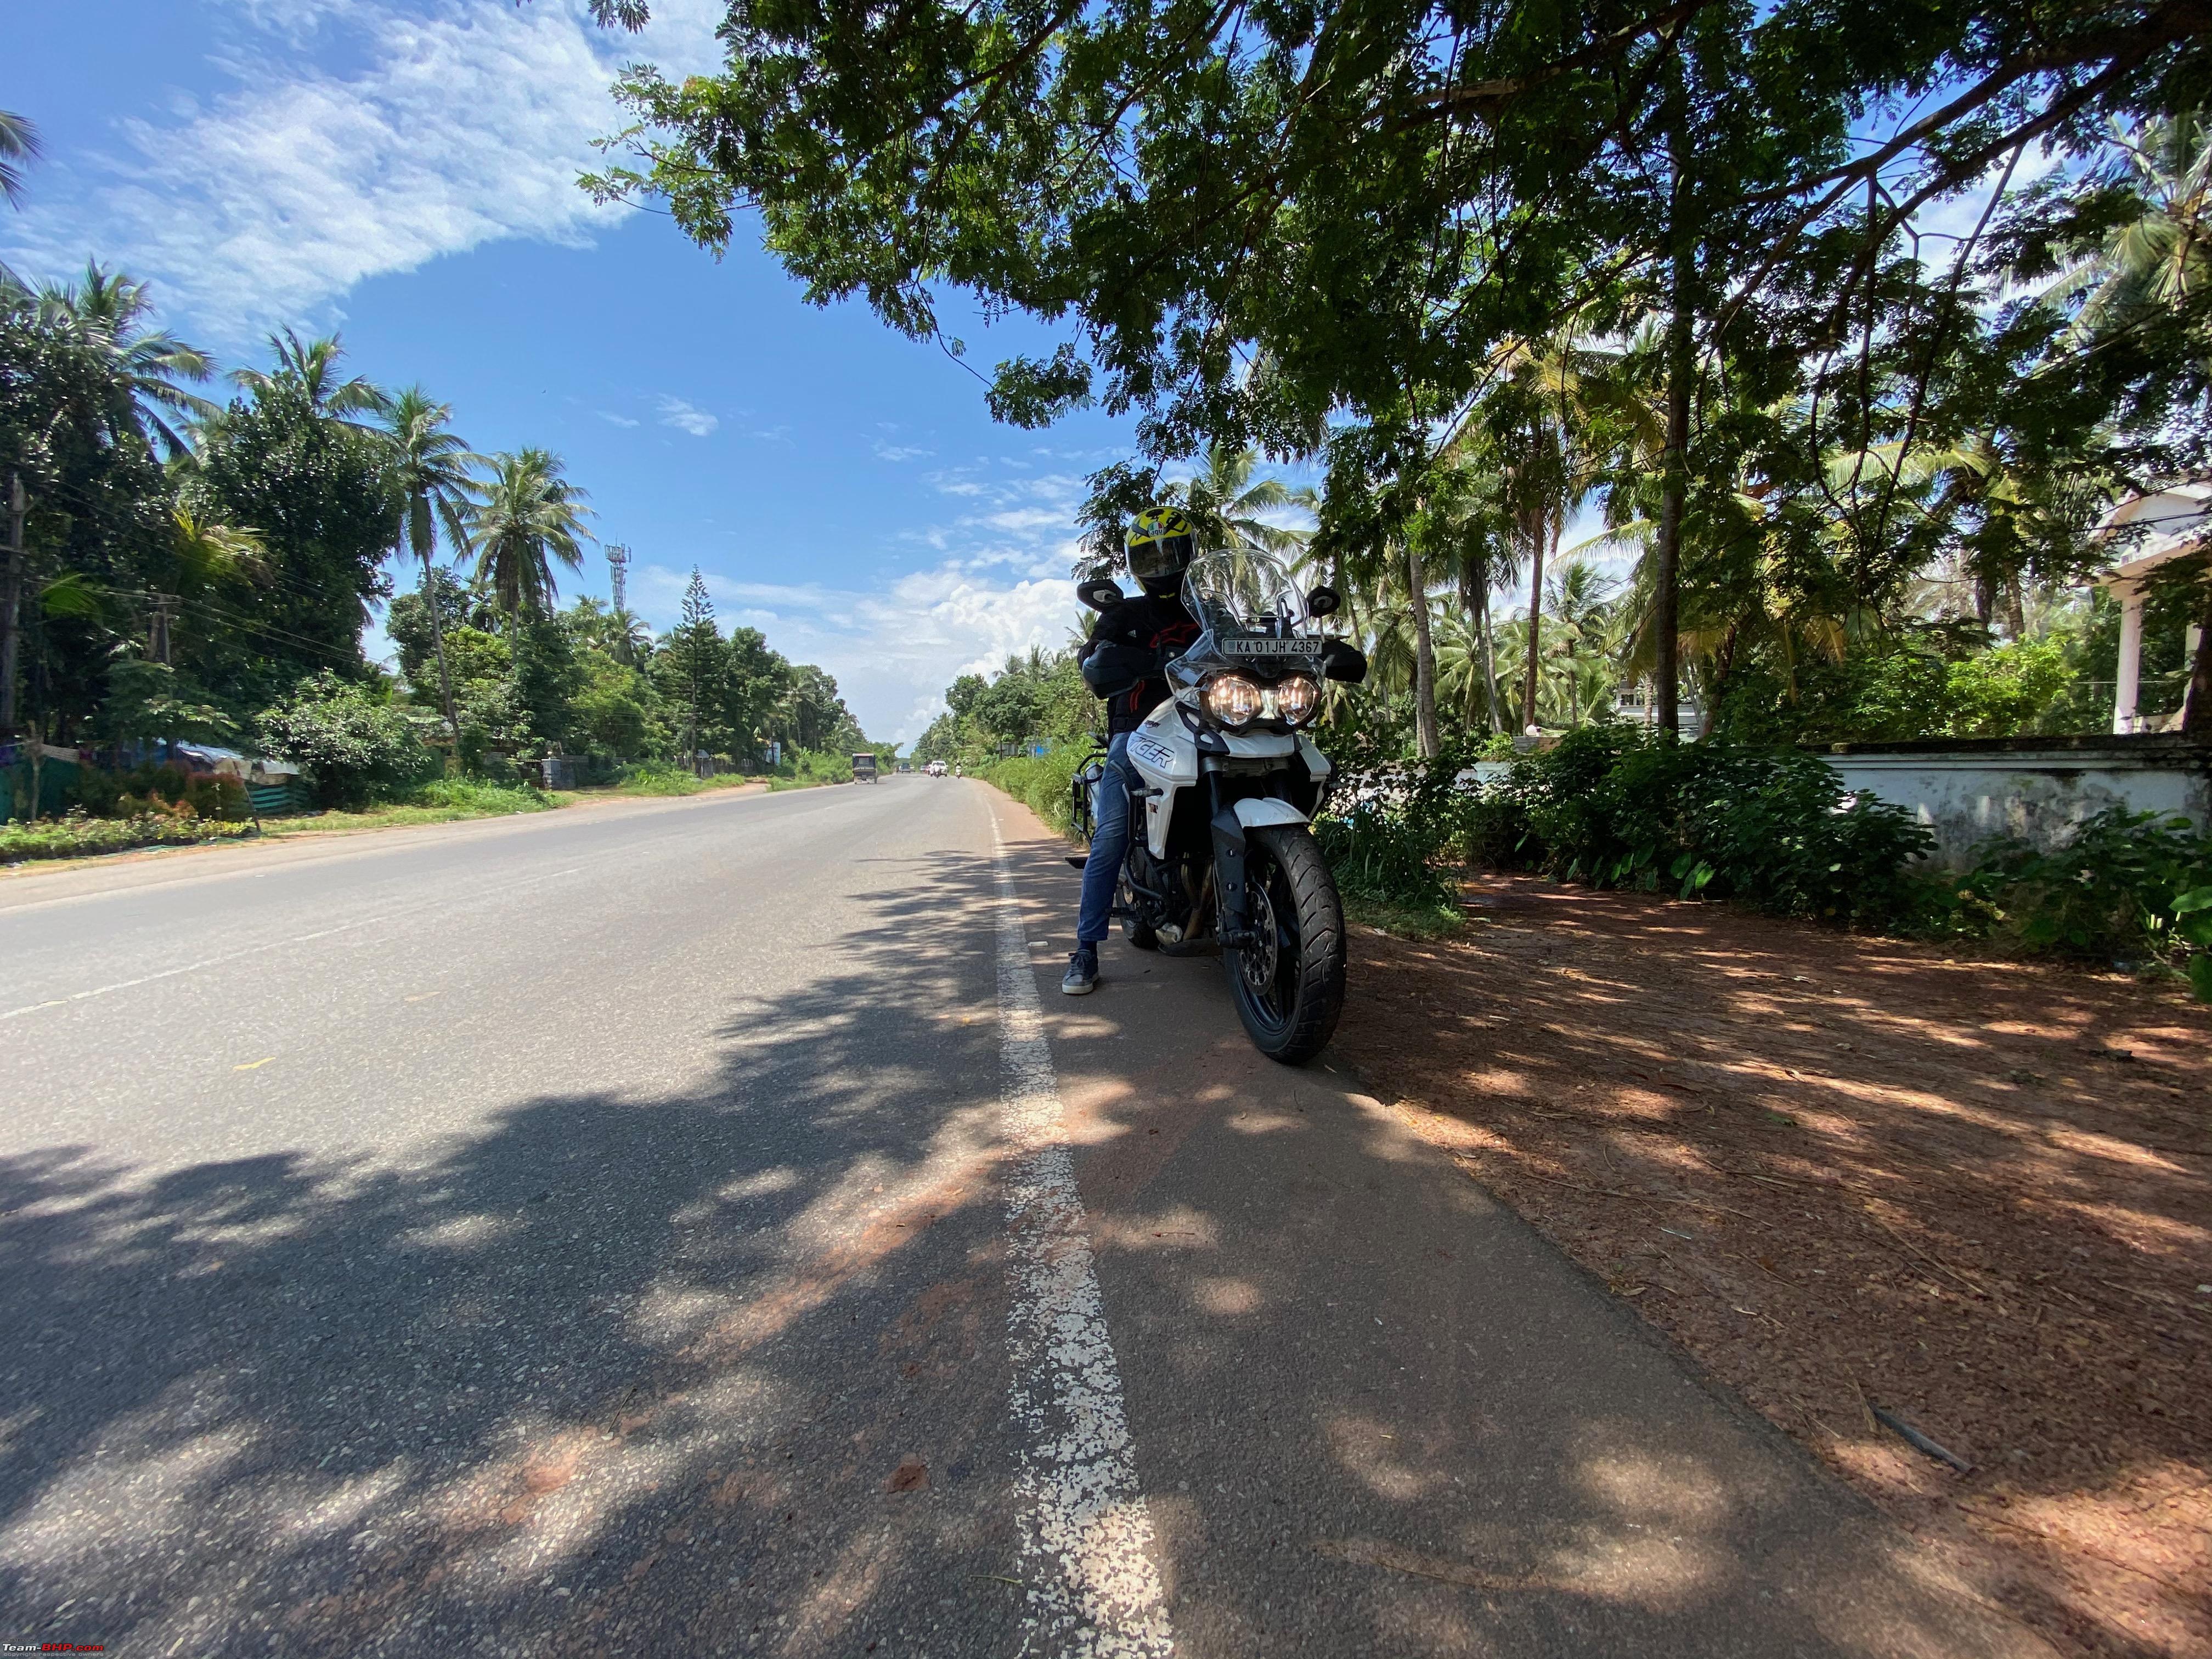 Also, both the bikes hit a well rounded off milestone figure on the ODO. 32,000 KMS on the R3 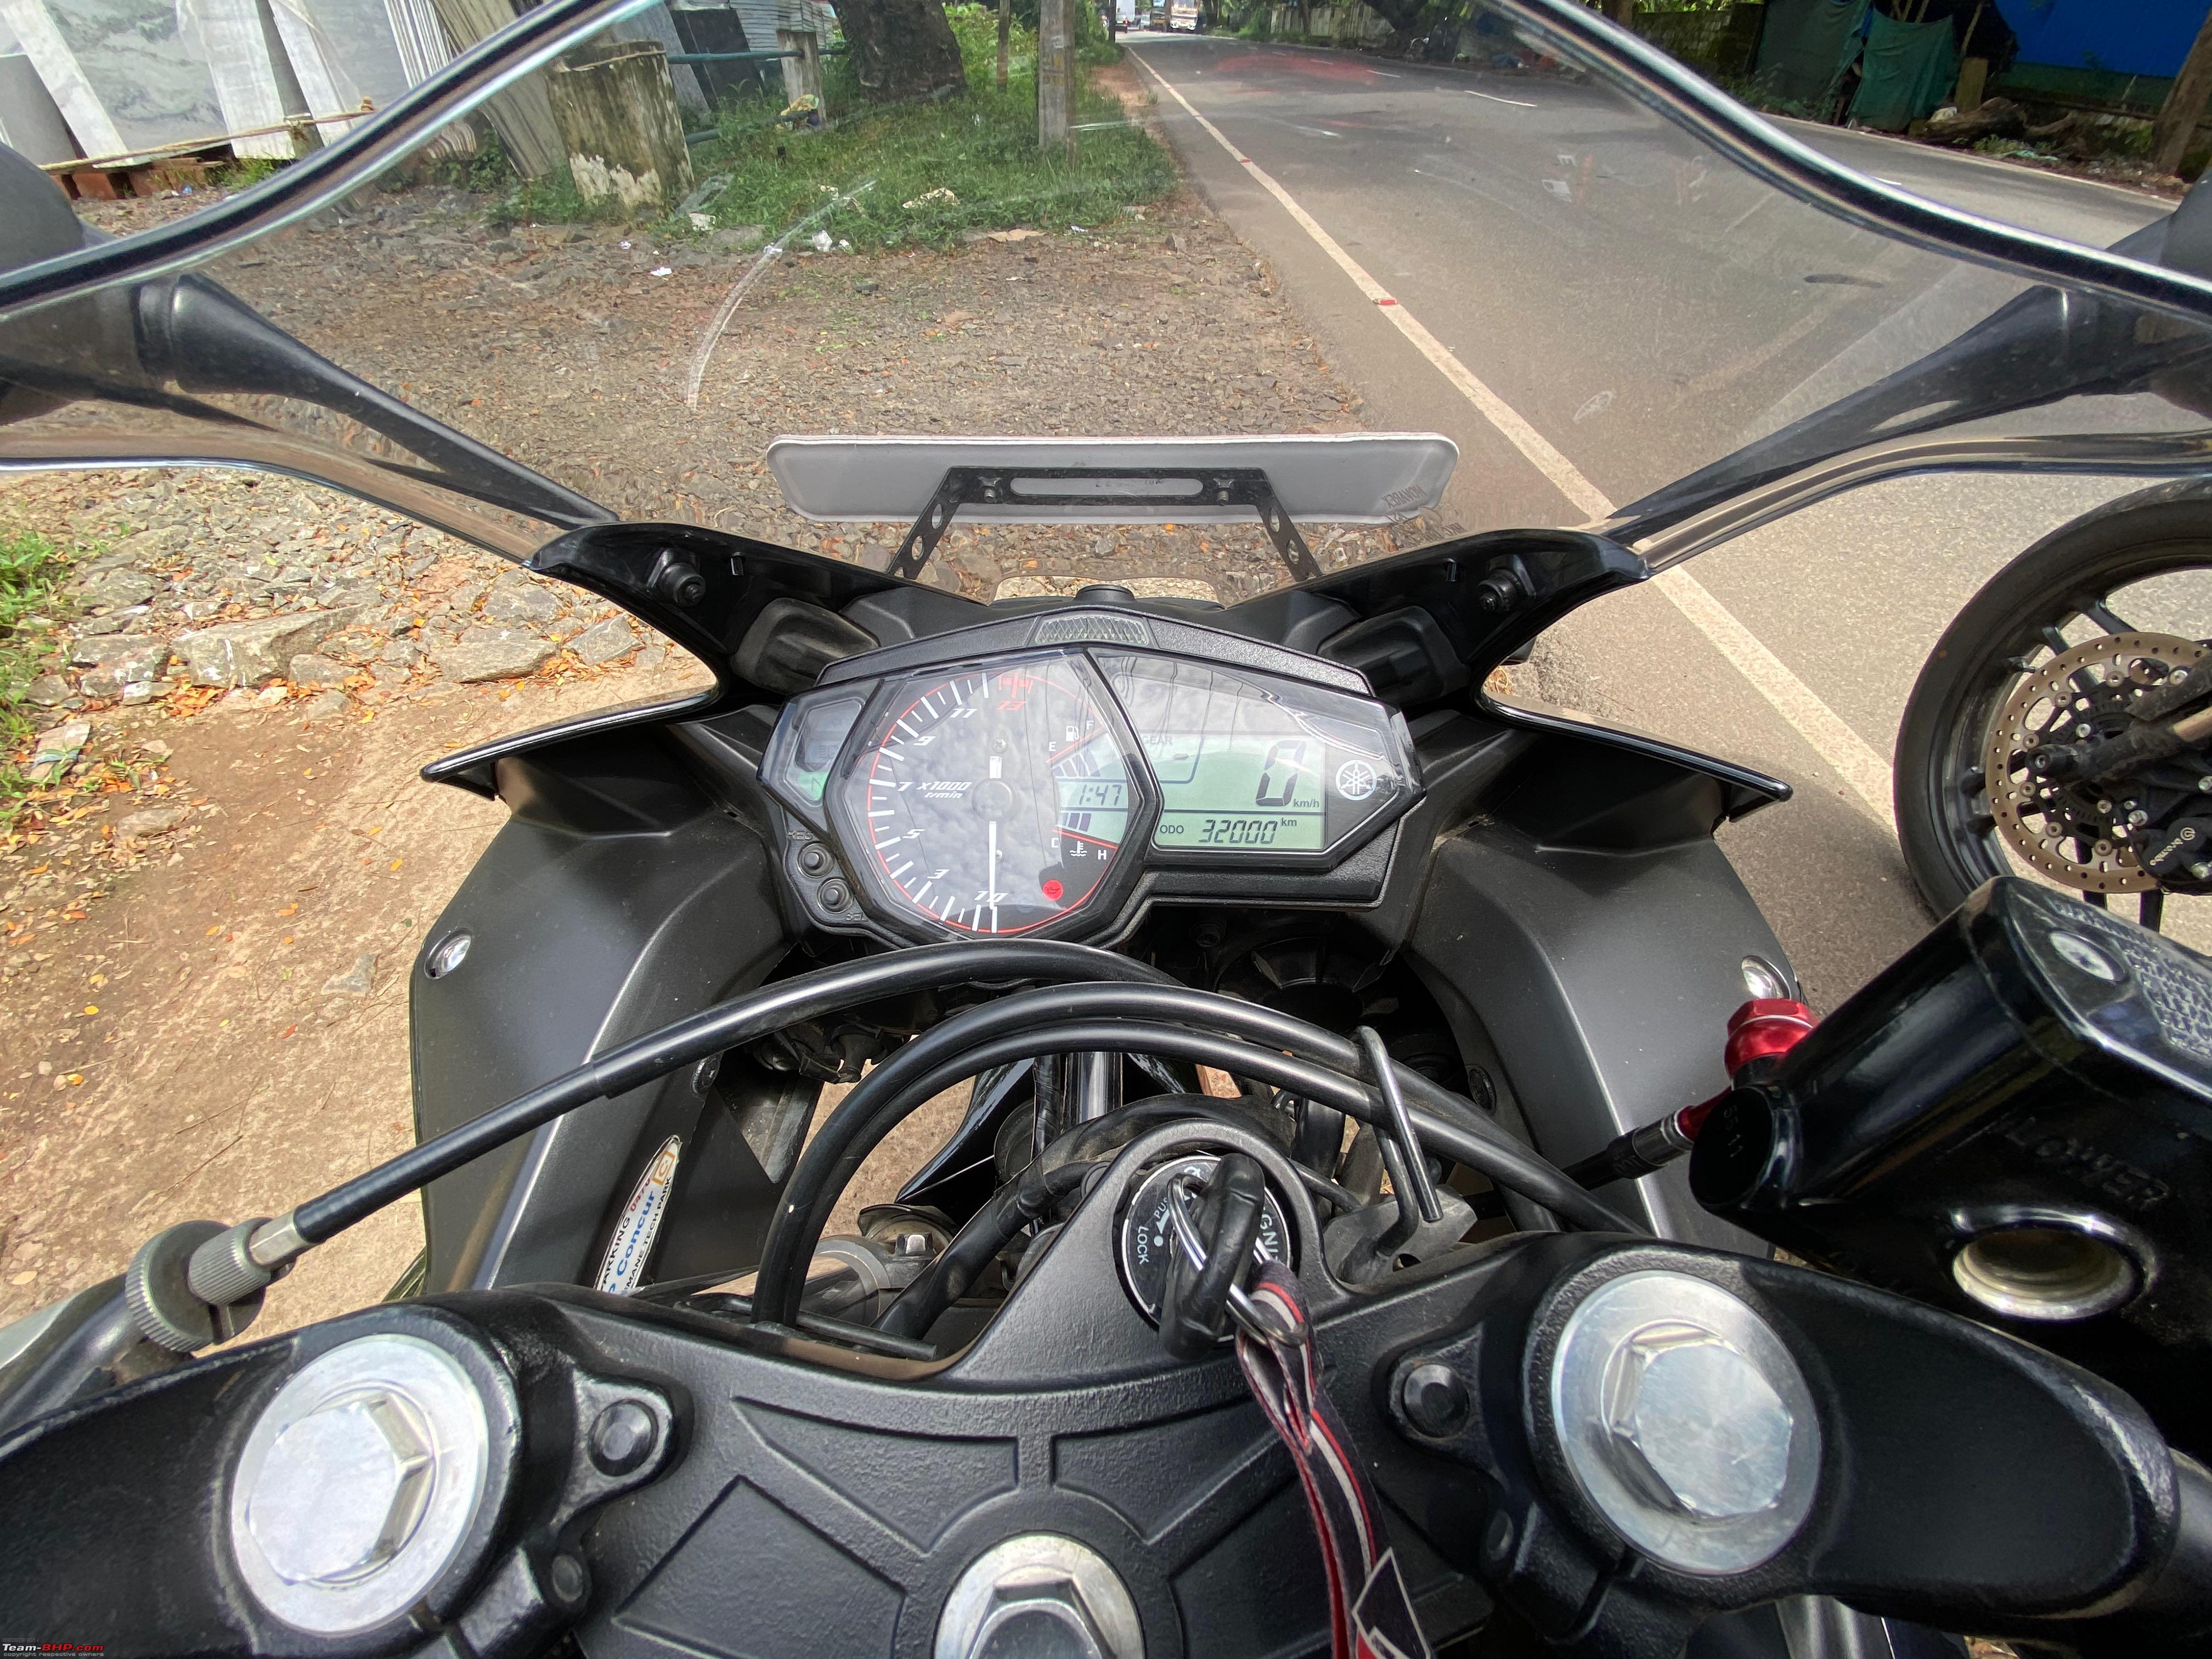 6,000 KMS on the Tiger 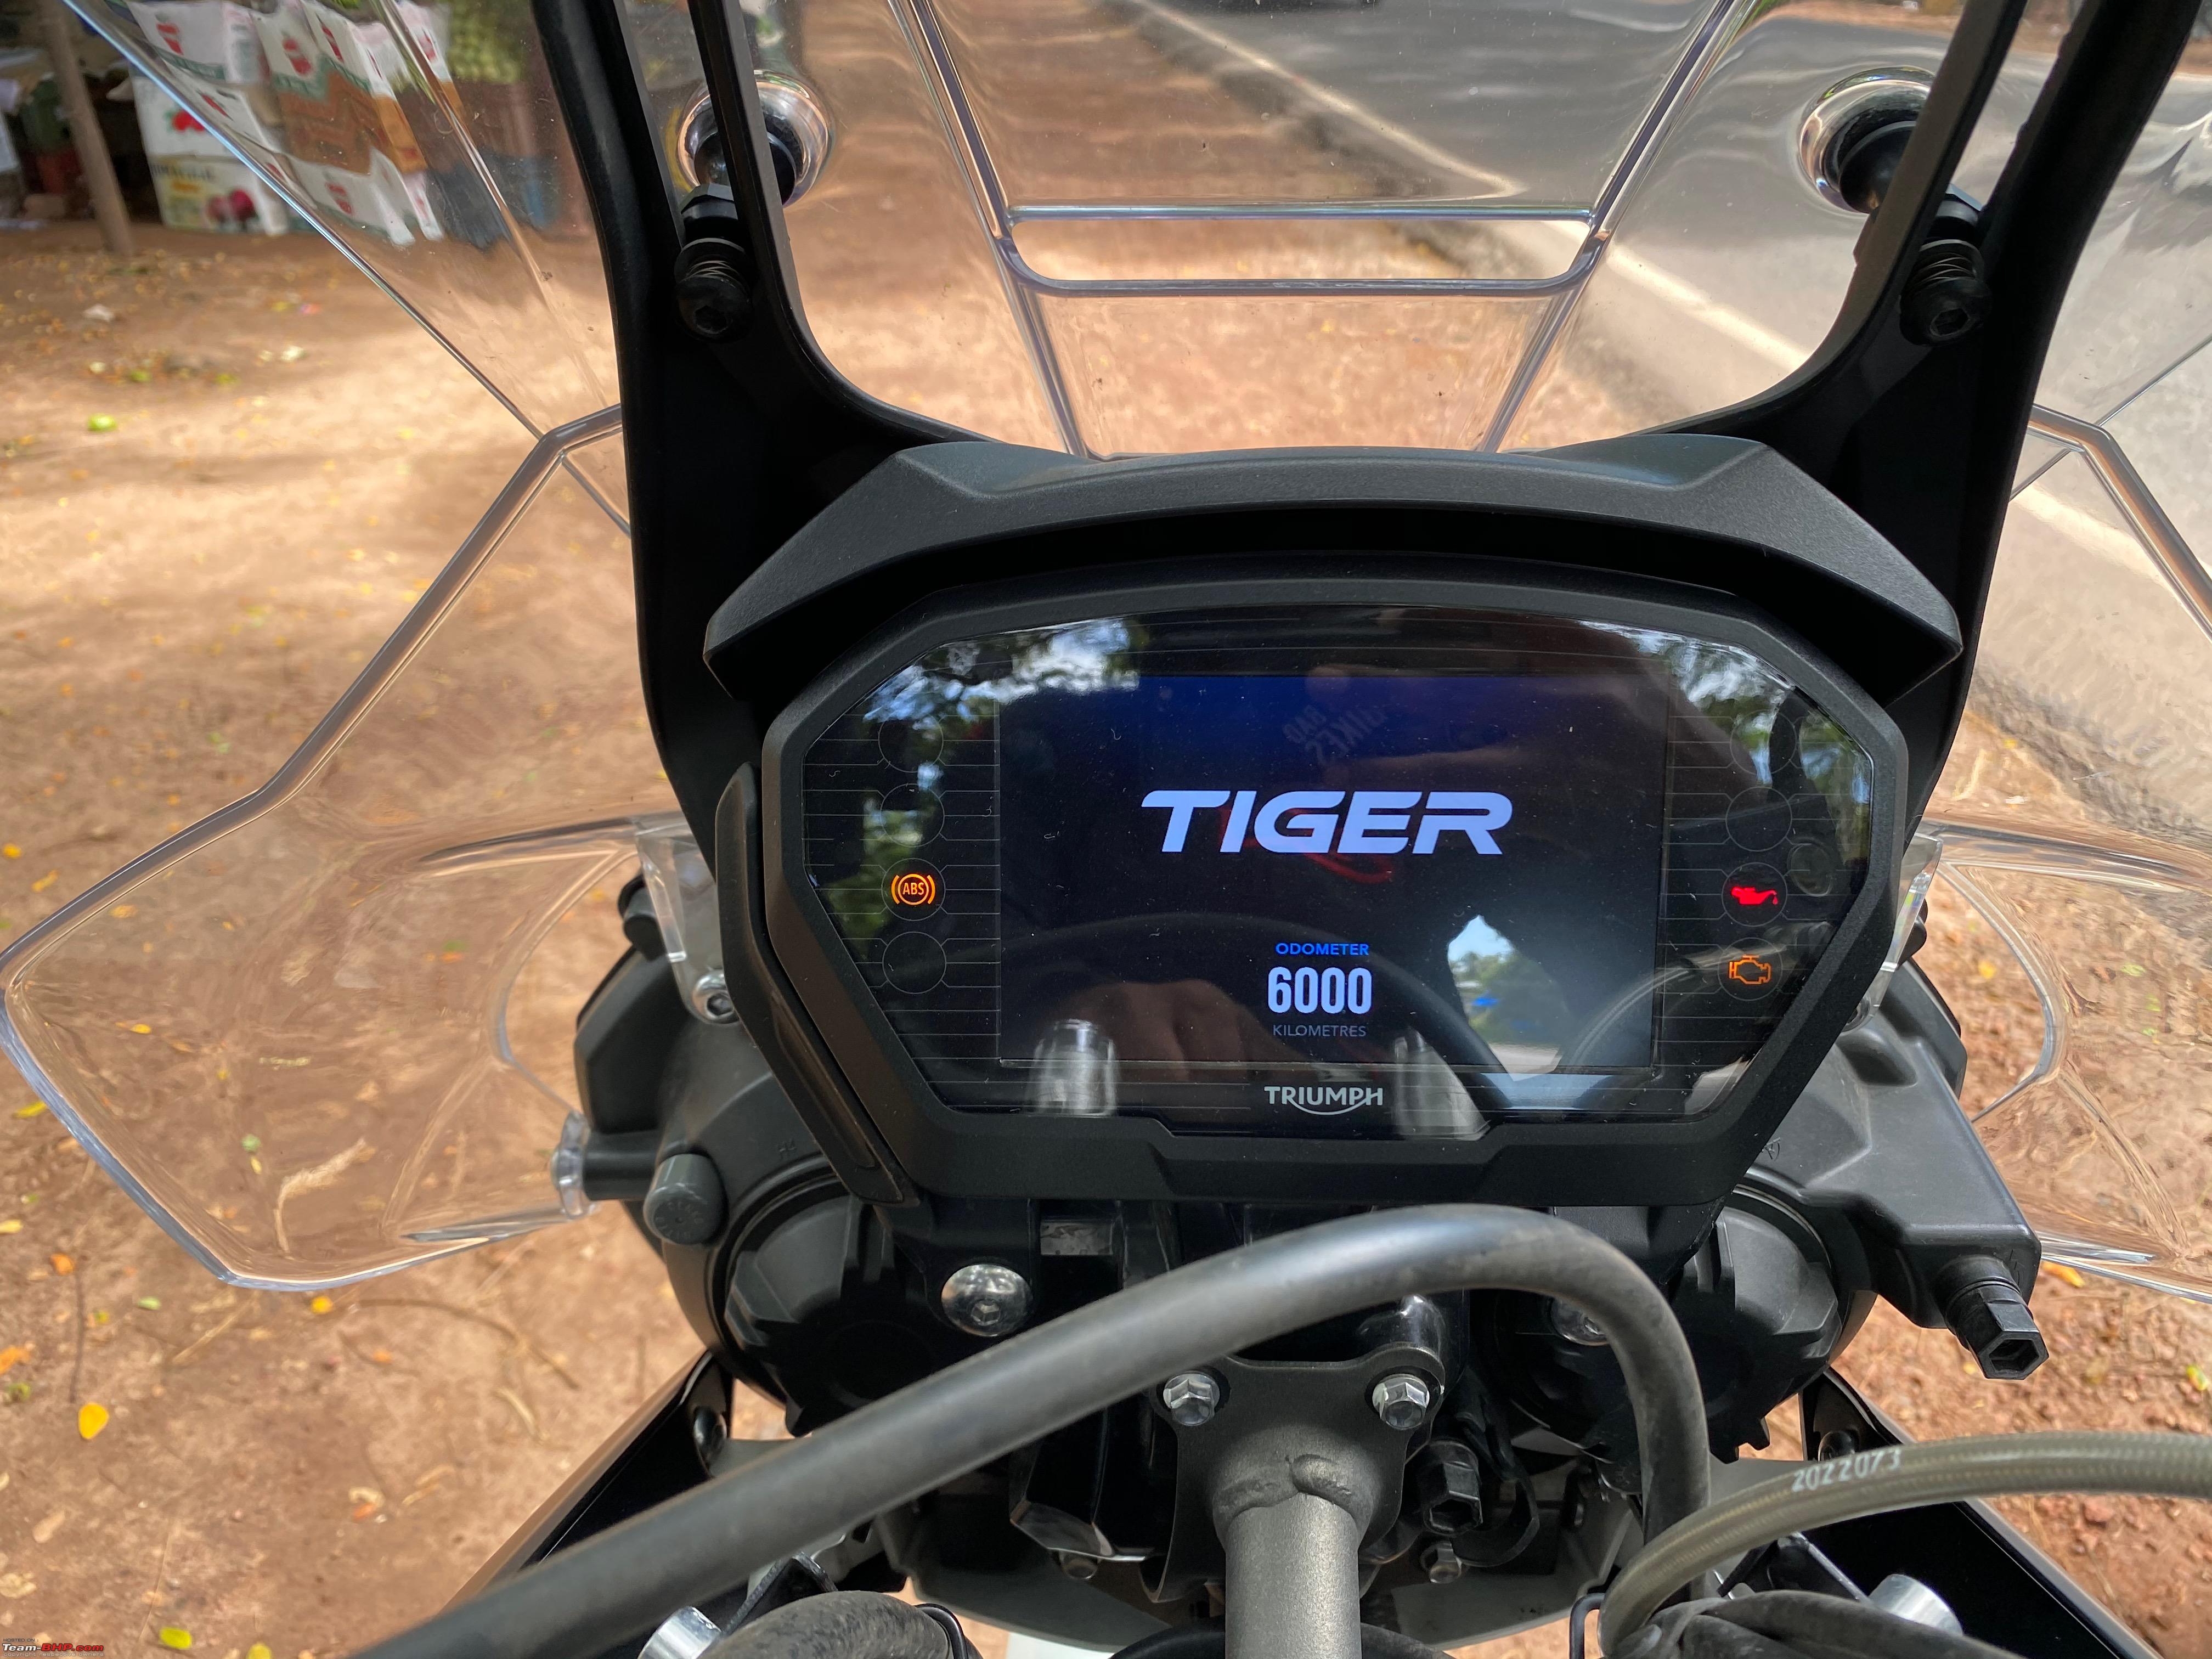 And funny enough the Trip meter hit 400 KMS the exact moment I rolled the bike into the parking at my house.  Happy ending overall. I promise the next post will be on the R1 and hopefully with a bit more content  Cheers Krishna Last edited by Aditya : 29th September 2020 at 19:28. Reason: As requested |
|
| (22)
Thanks
|
| The following 22 BHPians Thank krishnaprasadgg for this useful post: | 2himanshu, abhipuri, akash_v12, AlQuazi, deepfreak15, DevilzzzzOwn, GTO, gururajrv, InControl, janakiram_m, KarthikK, neil.jericho, nitninja, pritanshchandra, Researcher, sai_ace, SnS_12, SS80, Utham123, VijayAnand1, Vmax1200, Xaos636 |
|
5th October 2020, 11:54
| #131 |
| BHPian Join Date: Dec 2019 Location: KL52
Posts: 519
Thanked: 3,648 Times
| Re: Review: My Yamaha R1 (WGP 50th Anniversary Edition) R1 maintenance update + Sunday Ride (Part 1/3) Well, I was not expecting to have an update here for at least another 2 weeks but timelines got pushed up. Both Xaos636 and me had quite a few maintenance works that we wanted to do on our bikes and that too as DIY. But having no tools with us(mine are at my flat in Bangalore) meant that we couldnt do it at our house, so we decided to head to Cochin to a friend's house who has all the tools necessary to carry out almost any work on bikes/cars. First pit stop 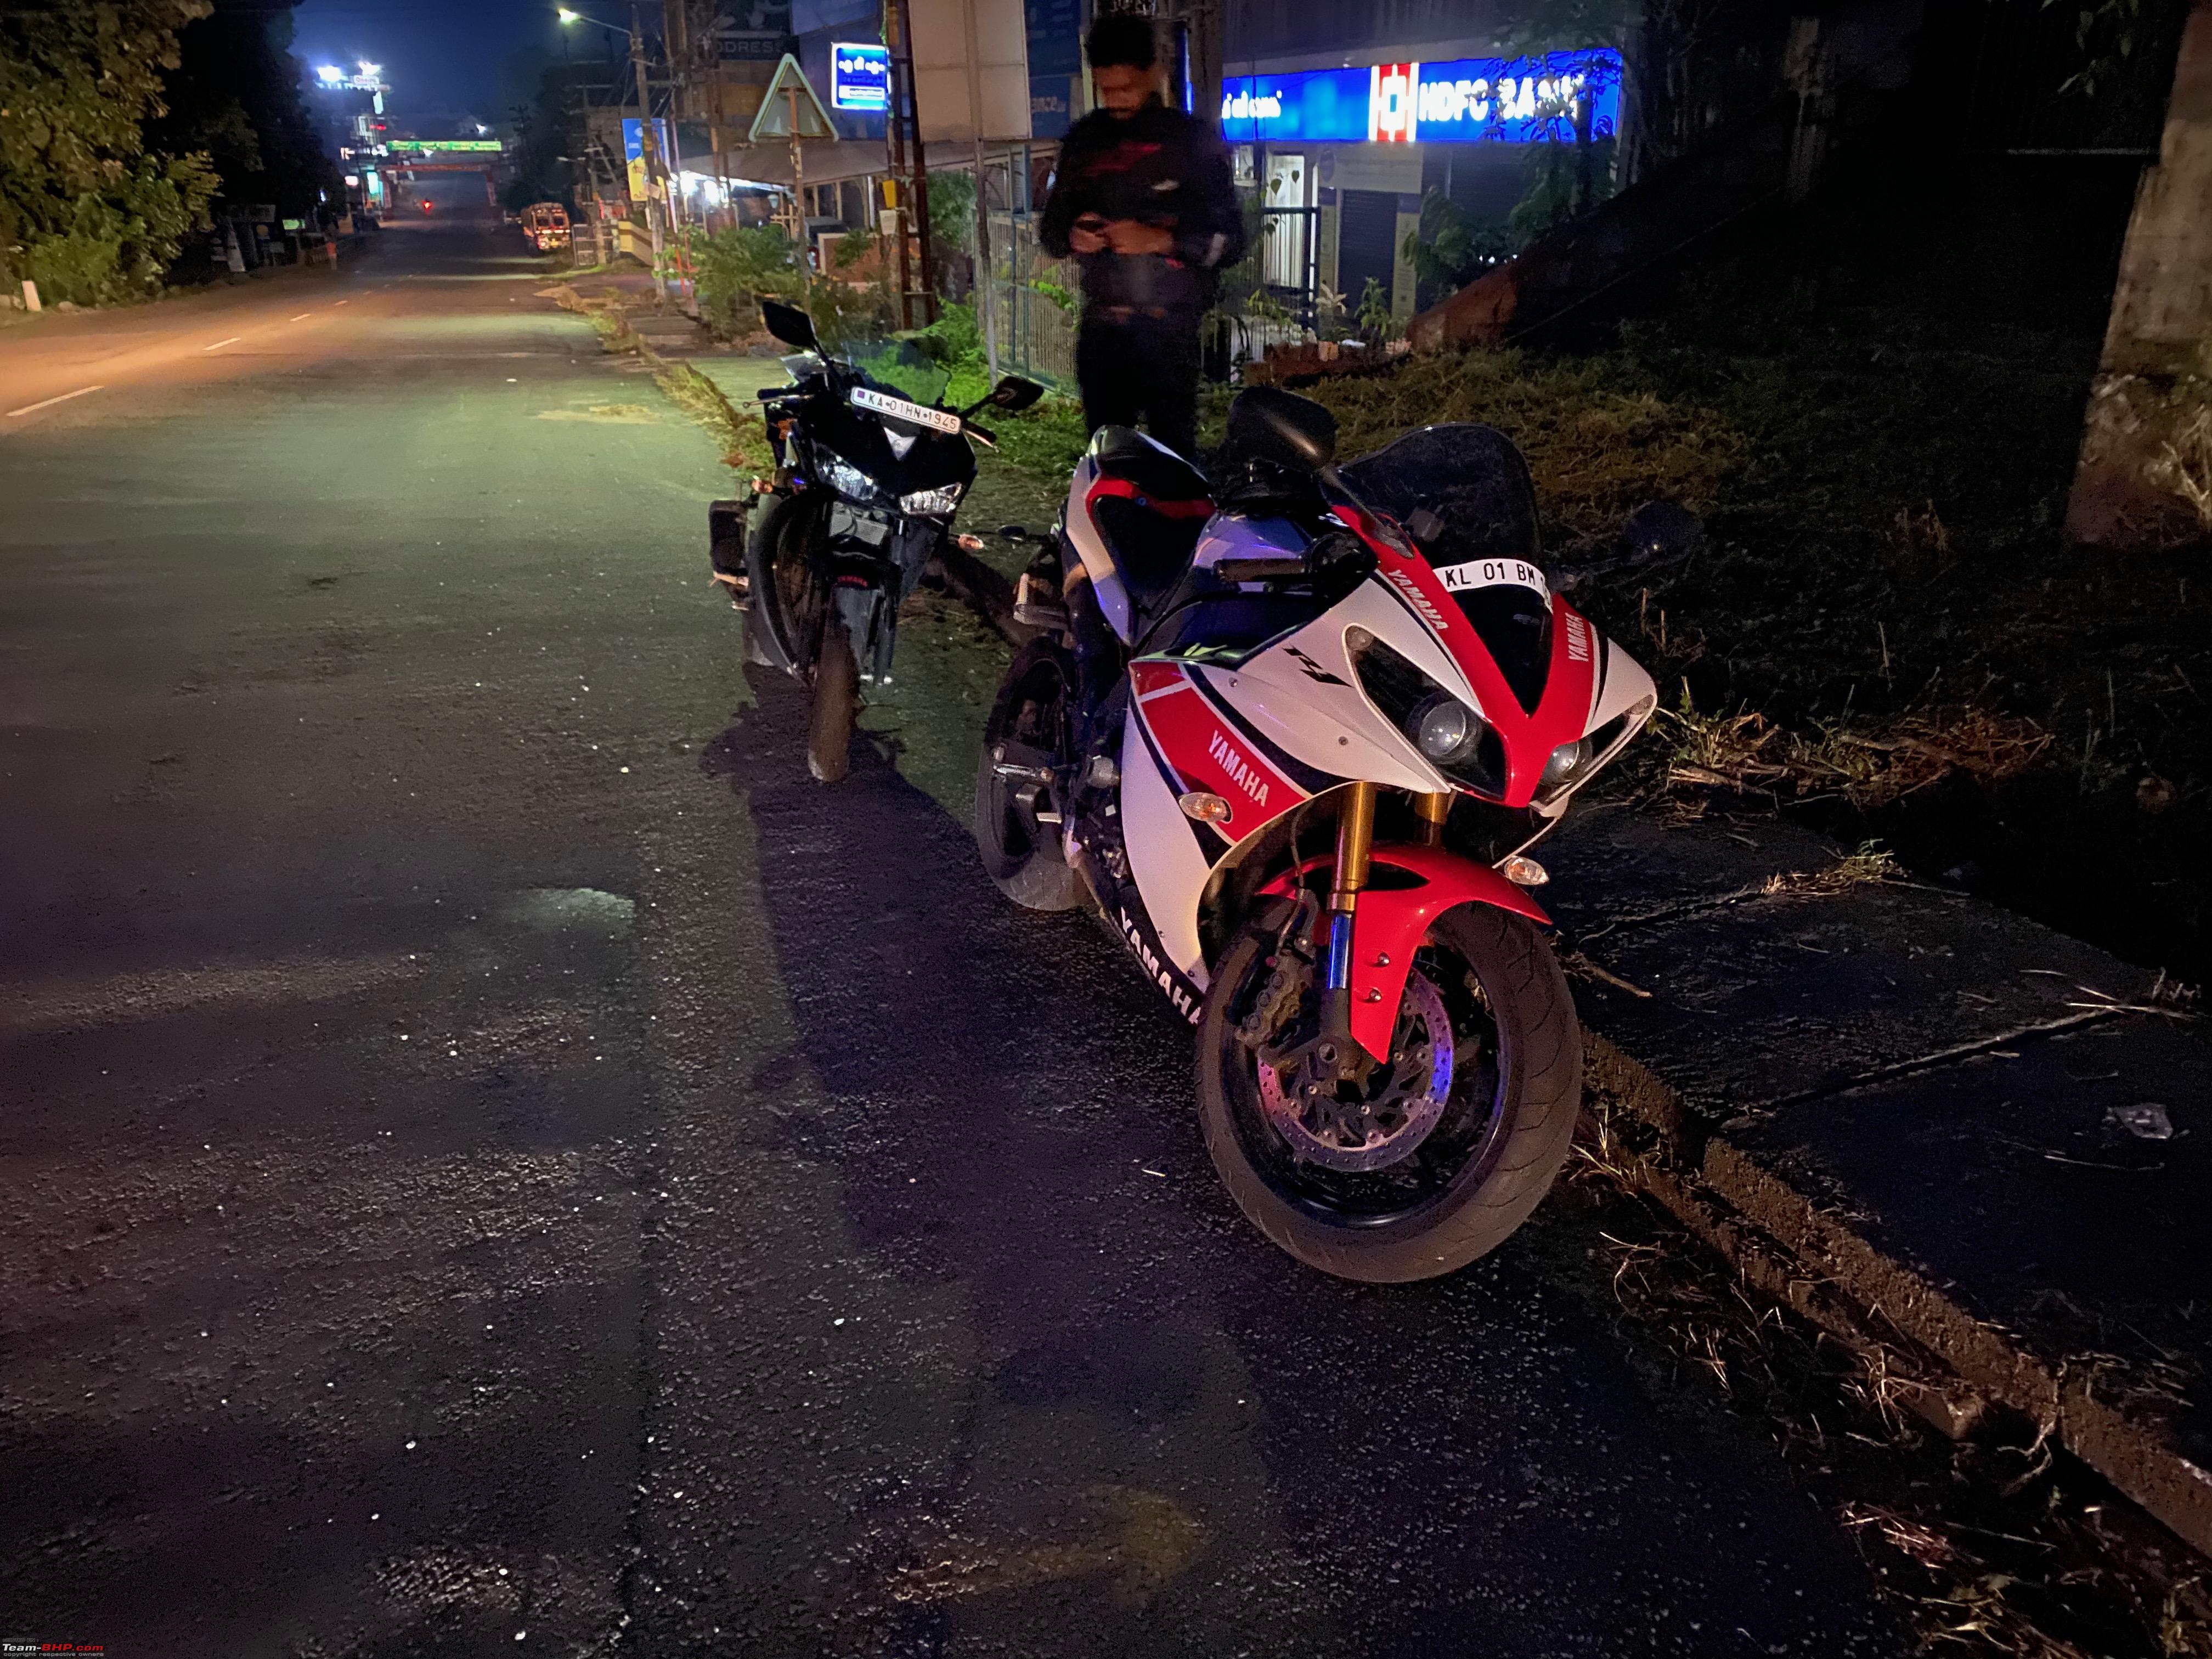 A part of the trip was under erratic rain. But that didn't last long which was a bit irritating as we were expecting a rain free ride   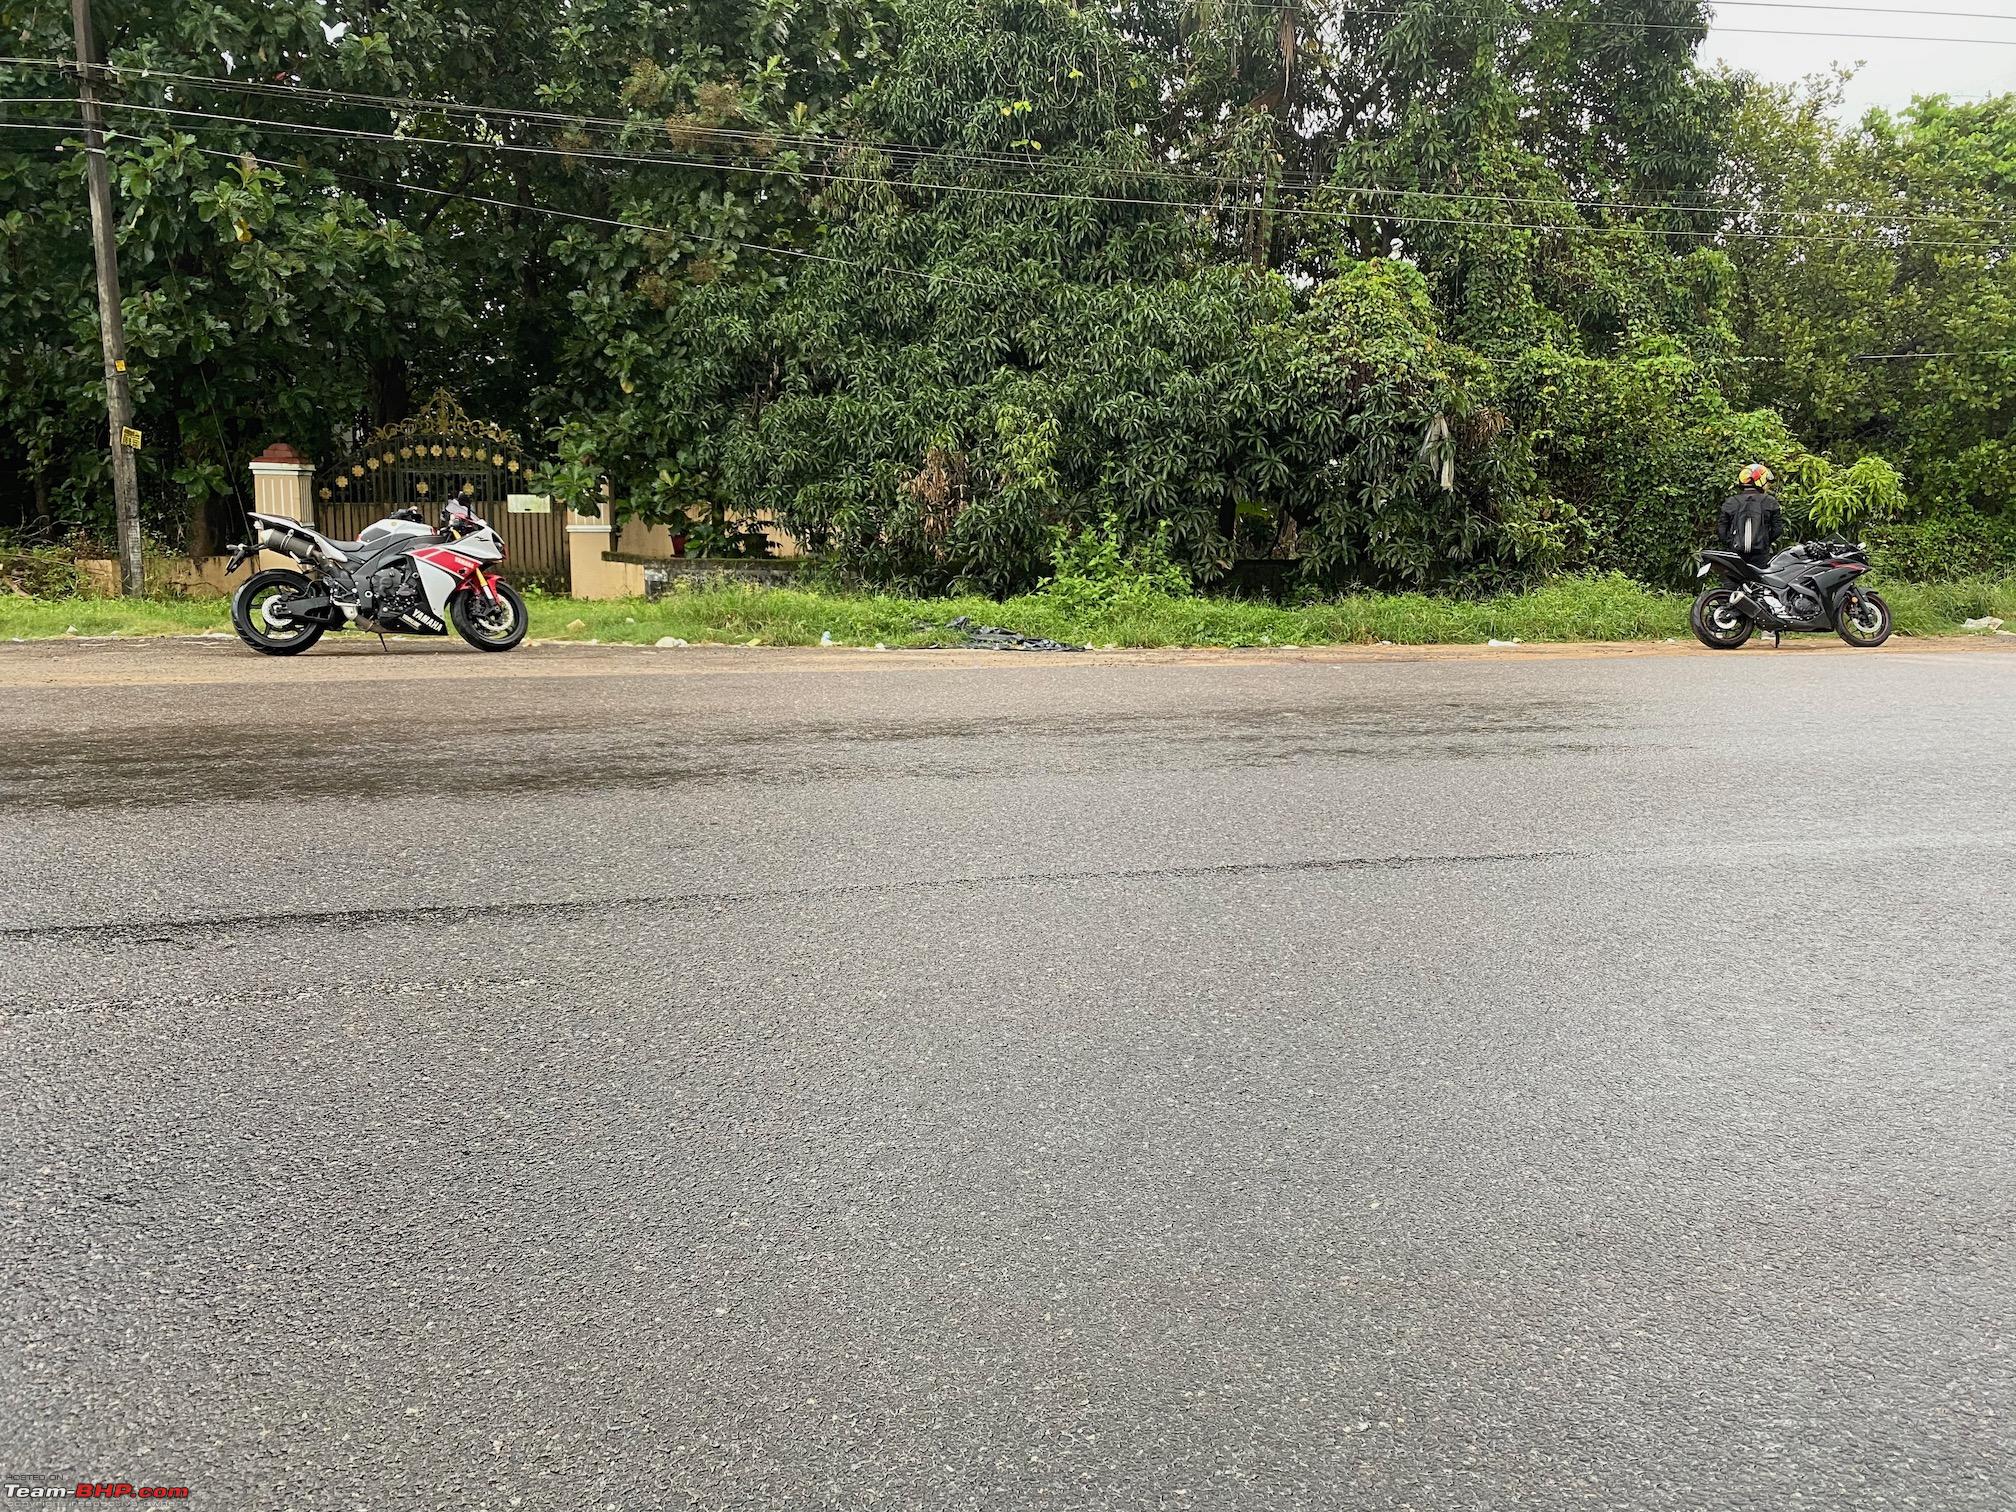 Isn't she gorgeous  The R1 did not need anything to be replaced so no waiting for parts was required, but Xaos636s R3 had quite a bit of parts to be changed so he had ordered the parts in anticipation of this for his bike(you can follow the DIY we did on the R3 in his thread) and a turnaround time of 3 weeks was given for parts procurement but we ended up getting everything needed with 1 week. Just as we rolled into Edapally,Cochin 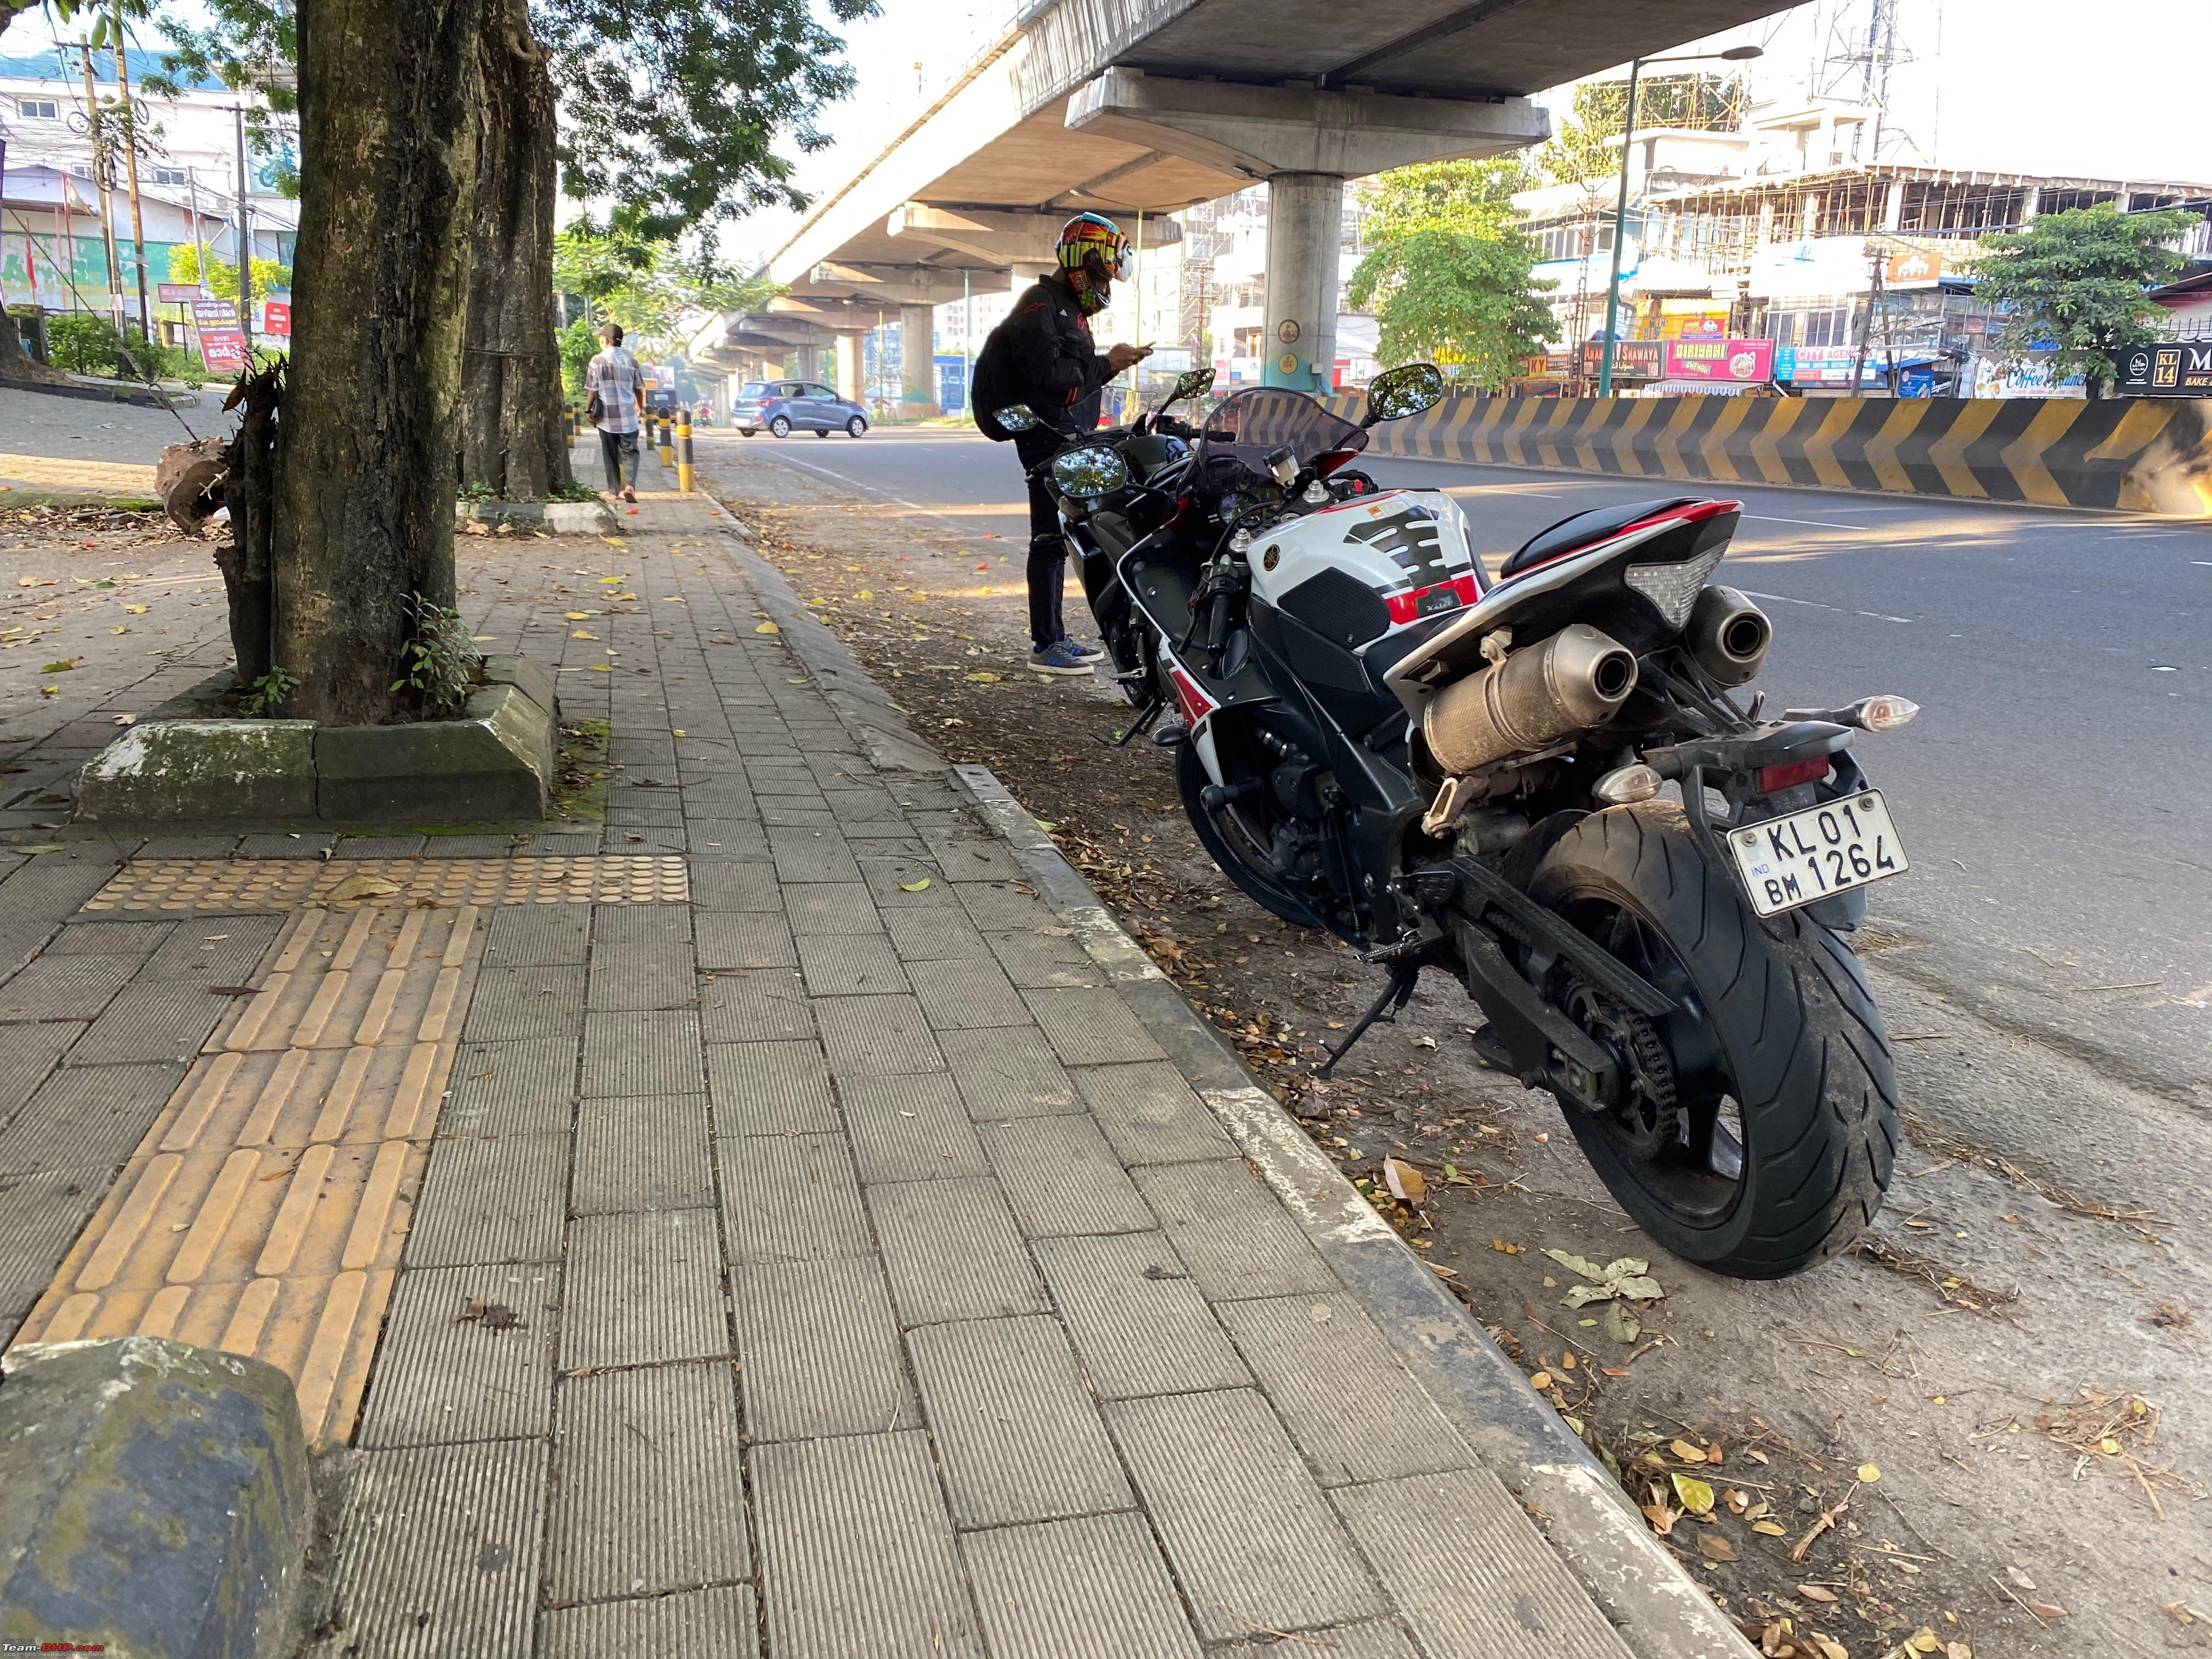   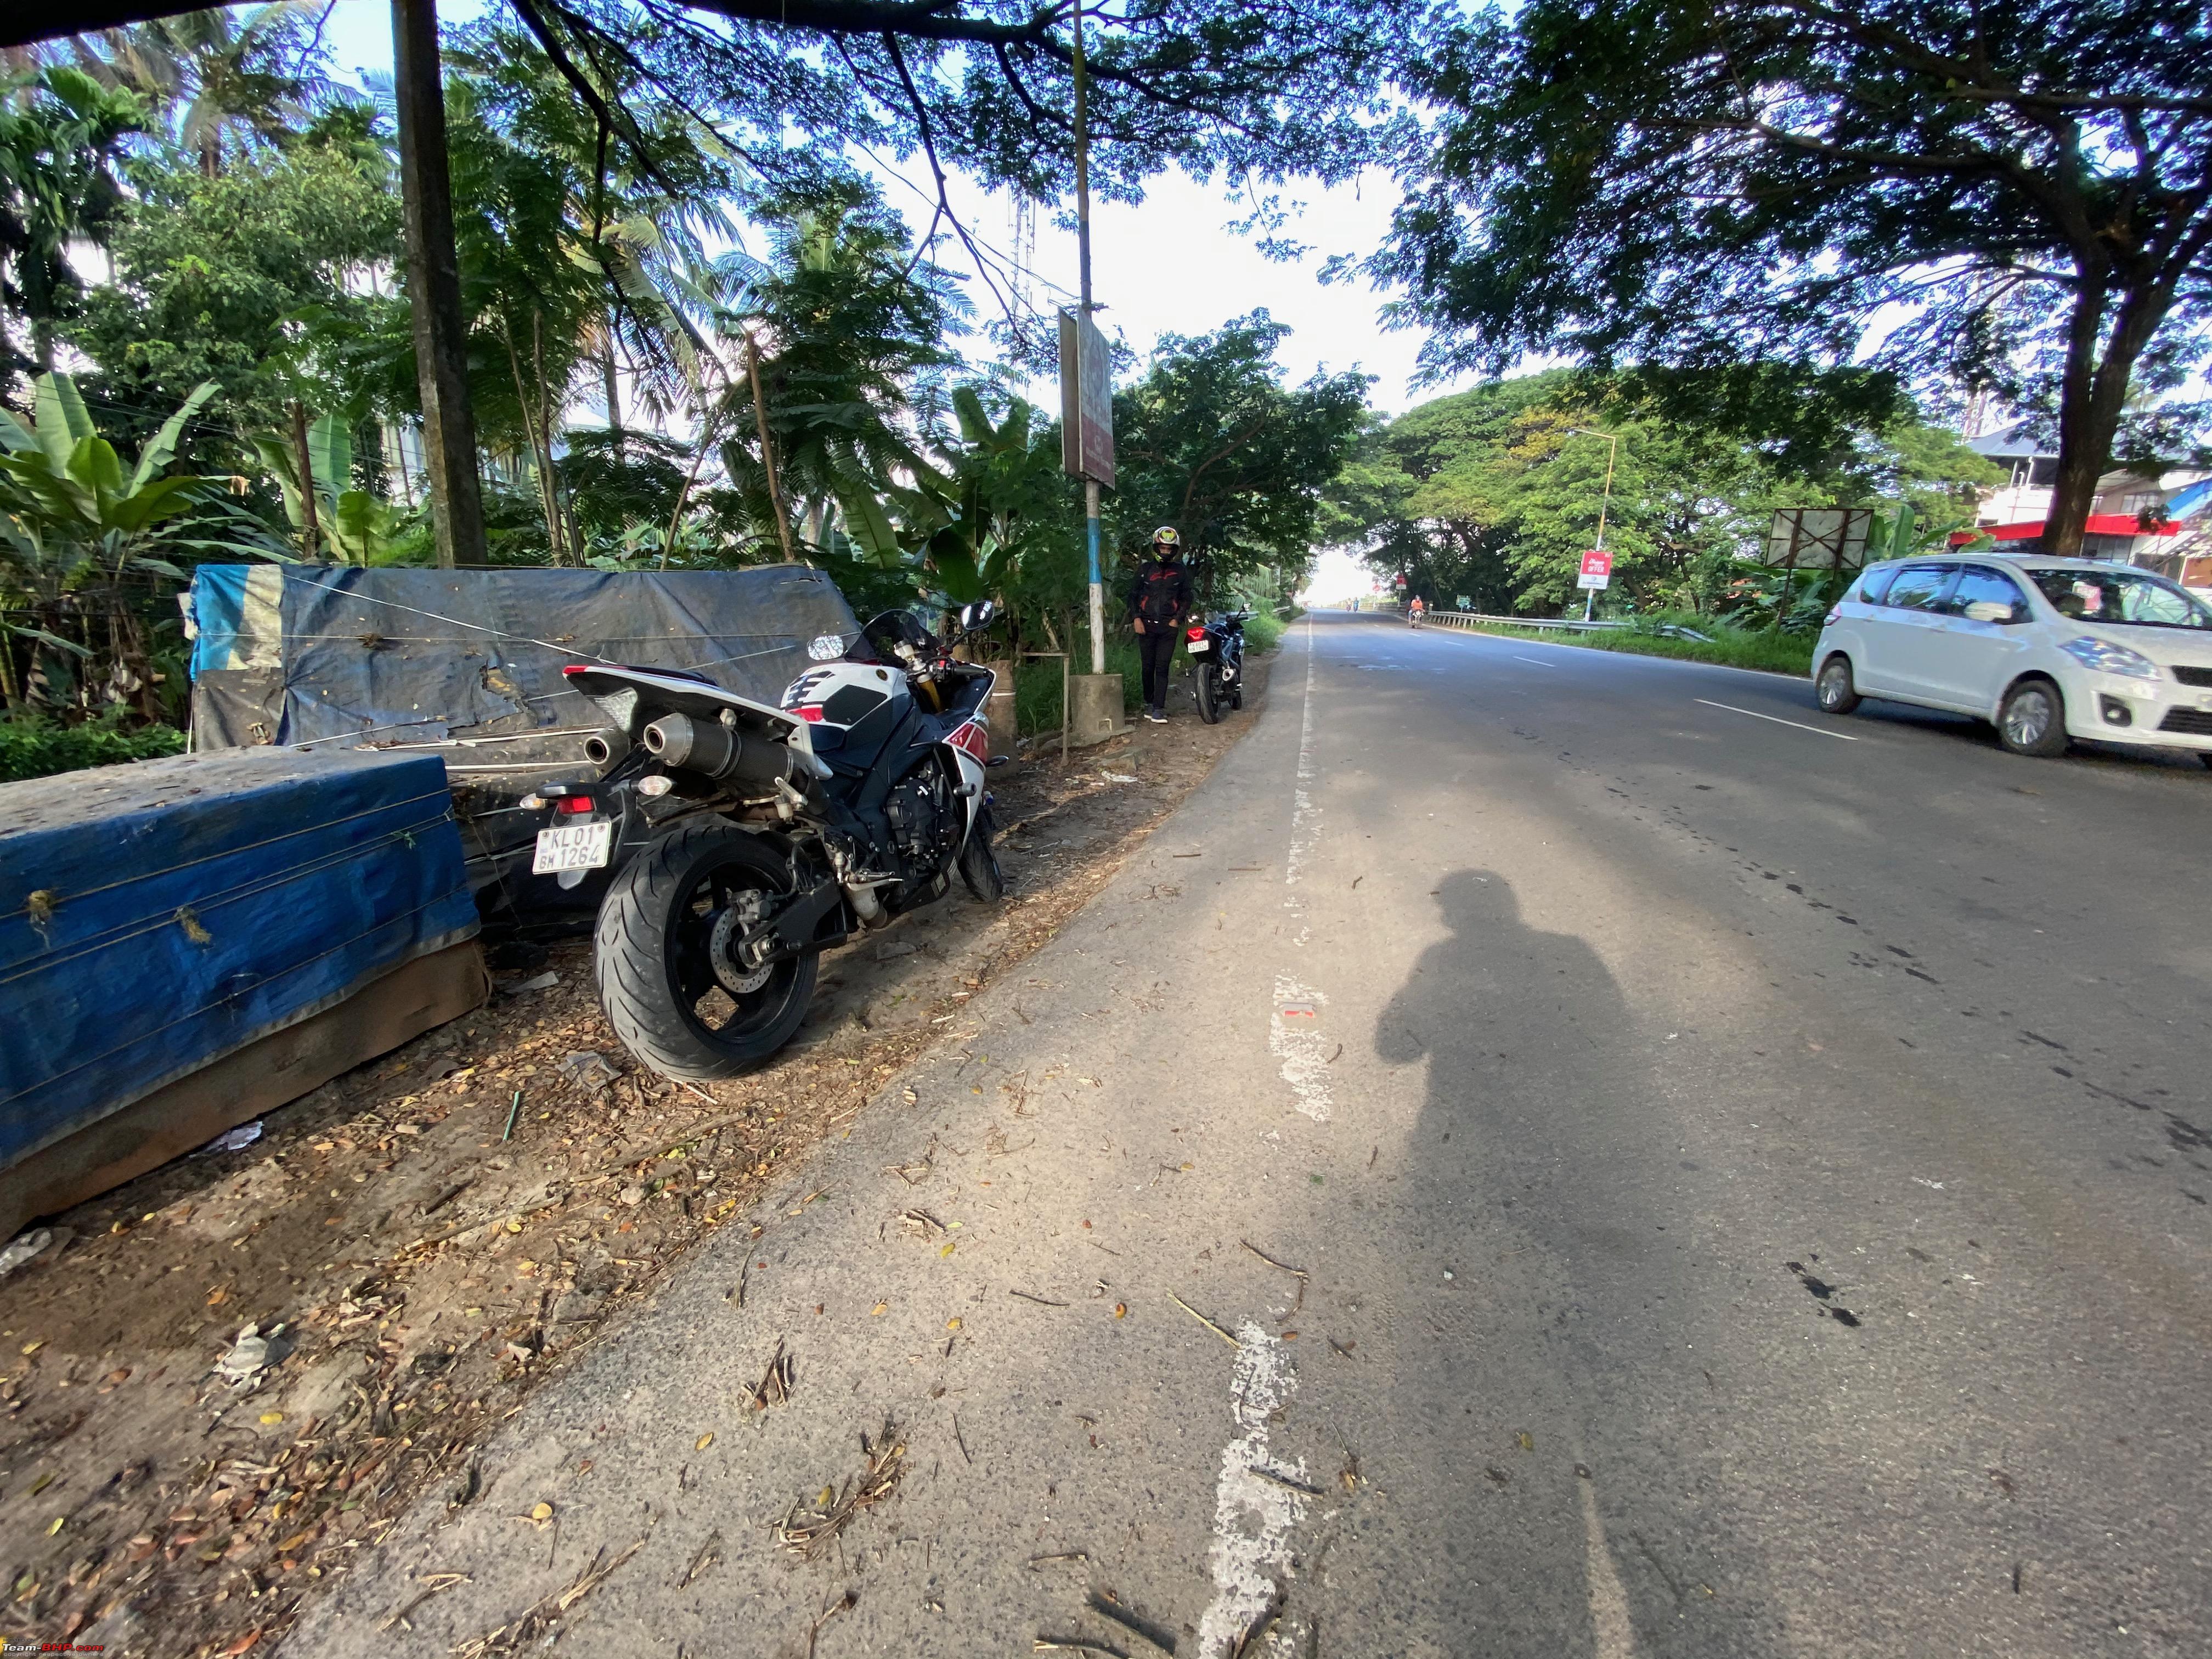  Finally reached our destination. Now to get started with the work  So Sunday was decided as the day for the work and we headed for Cochin. We had quite an early start to reach Cochin early so that we could get to work on the bikes early as we had to head back to our home on the same day. So in a way, it was a race against time. P.S: I am splitting the entry into 3 posts as there are about 50-60 photos that need to be added so cant do it in one single post. This post will stay as the Ride to Cochin part, next will be the Working on the bike part and finally the Ride Back Home part. |
|
| (9)
Thanks
|
| The following 9 BHPians Thank krishnaprasadgg for this useful post: | BigBrad, ChrisTJ, Govardhansupra, InControl, KarthikK, neil.jericho, Researcher, SnS_12, Vmax1200 |
| |
|
5th October 2020, 12:33
| #132 |
| BHPian Join Date: Dec 2019 Location: KL52
Posts: 519
Thanked: 3,648 Times
| Re: Review: My Yamaha R1 (WGP 50th Anniversary Edition) R1 maintenance update + Sunday Ride (Part 2/3) So lets have a look at the DIY maintenance work I had planned on getting done. The workspace and Bikes being worked on 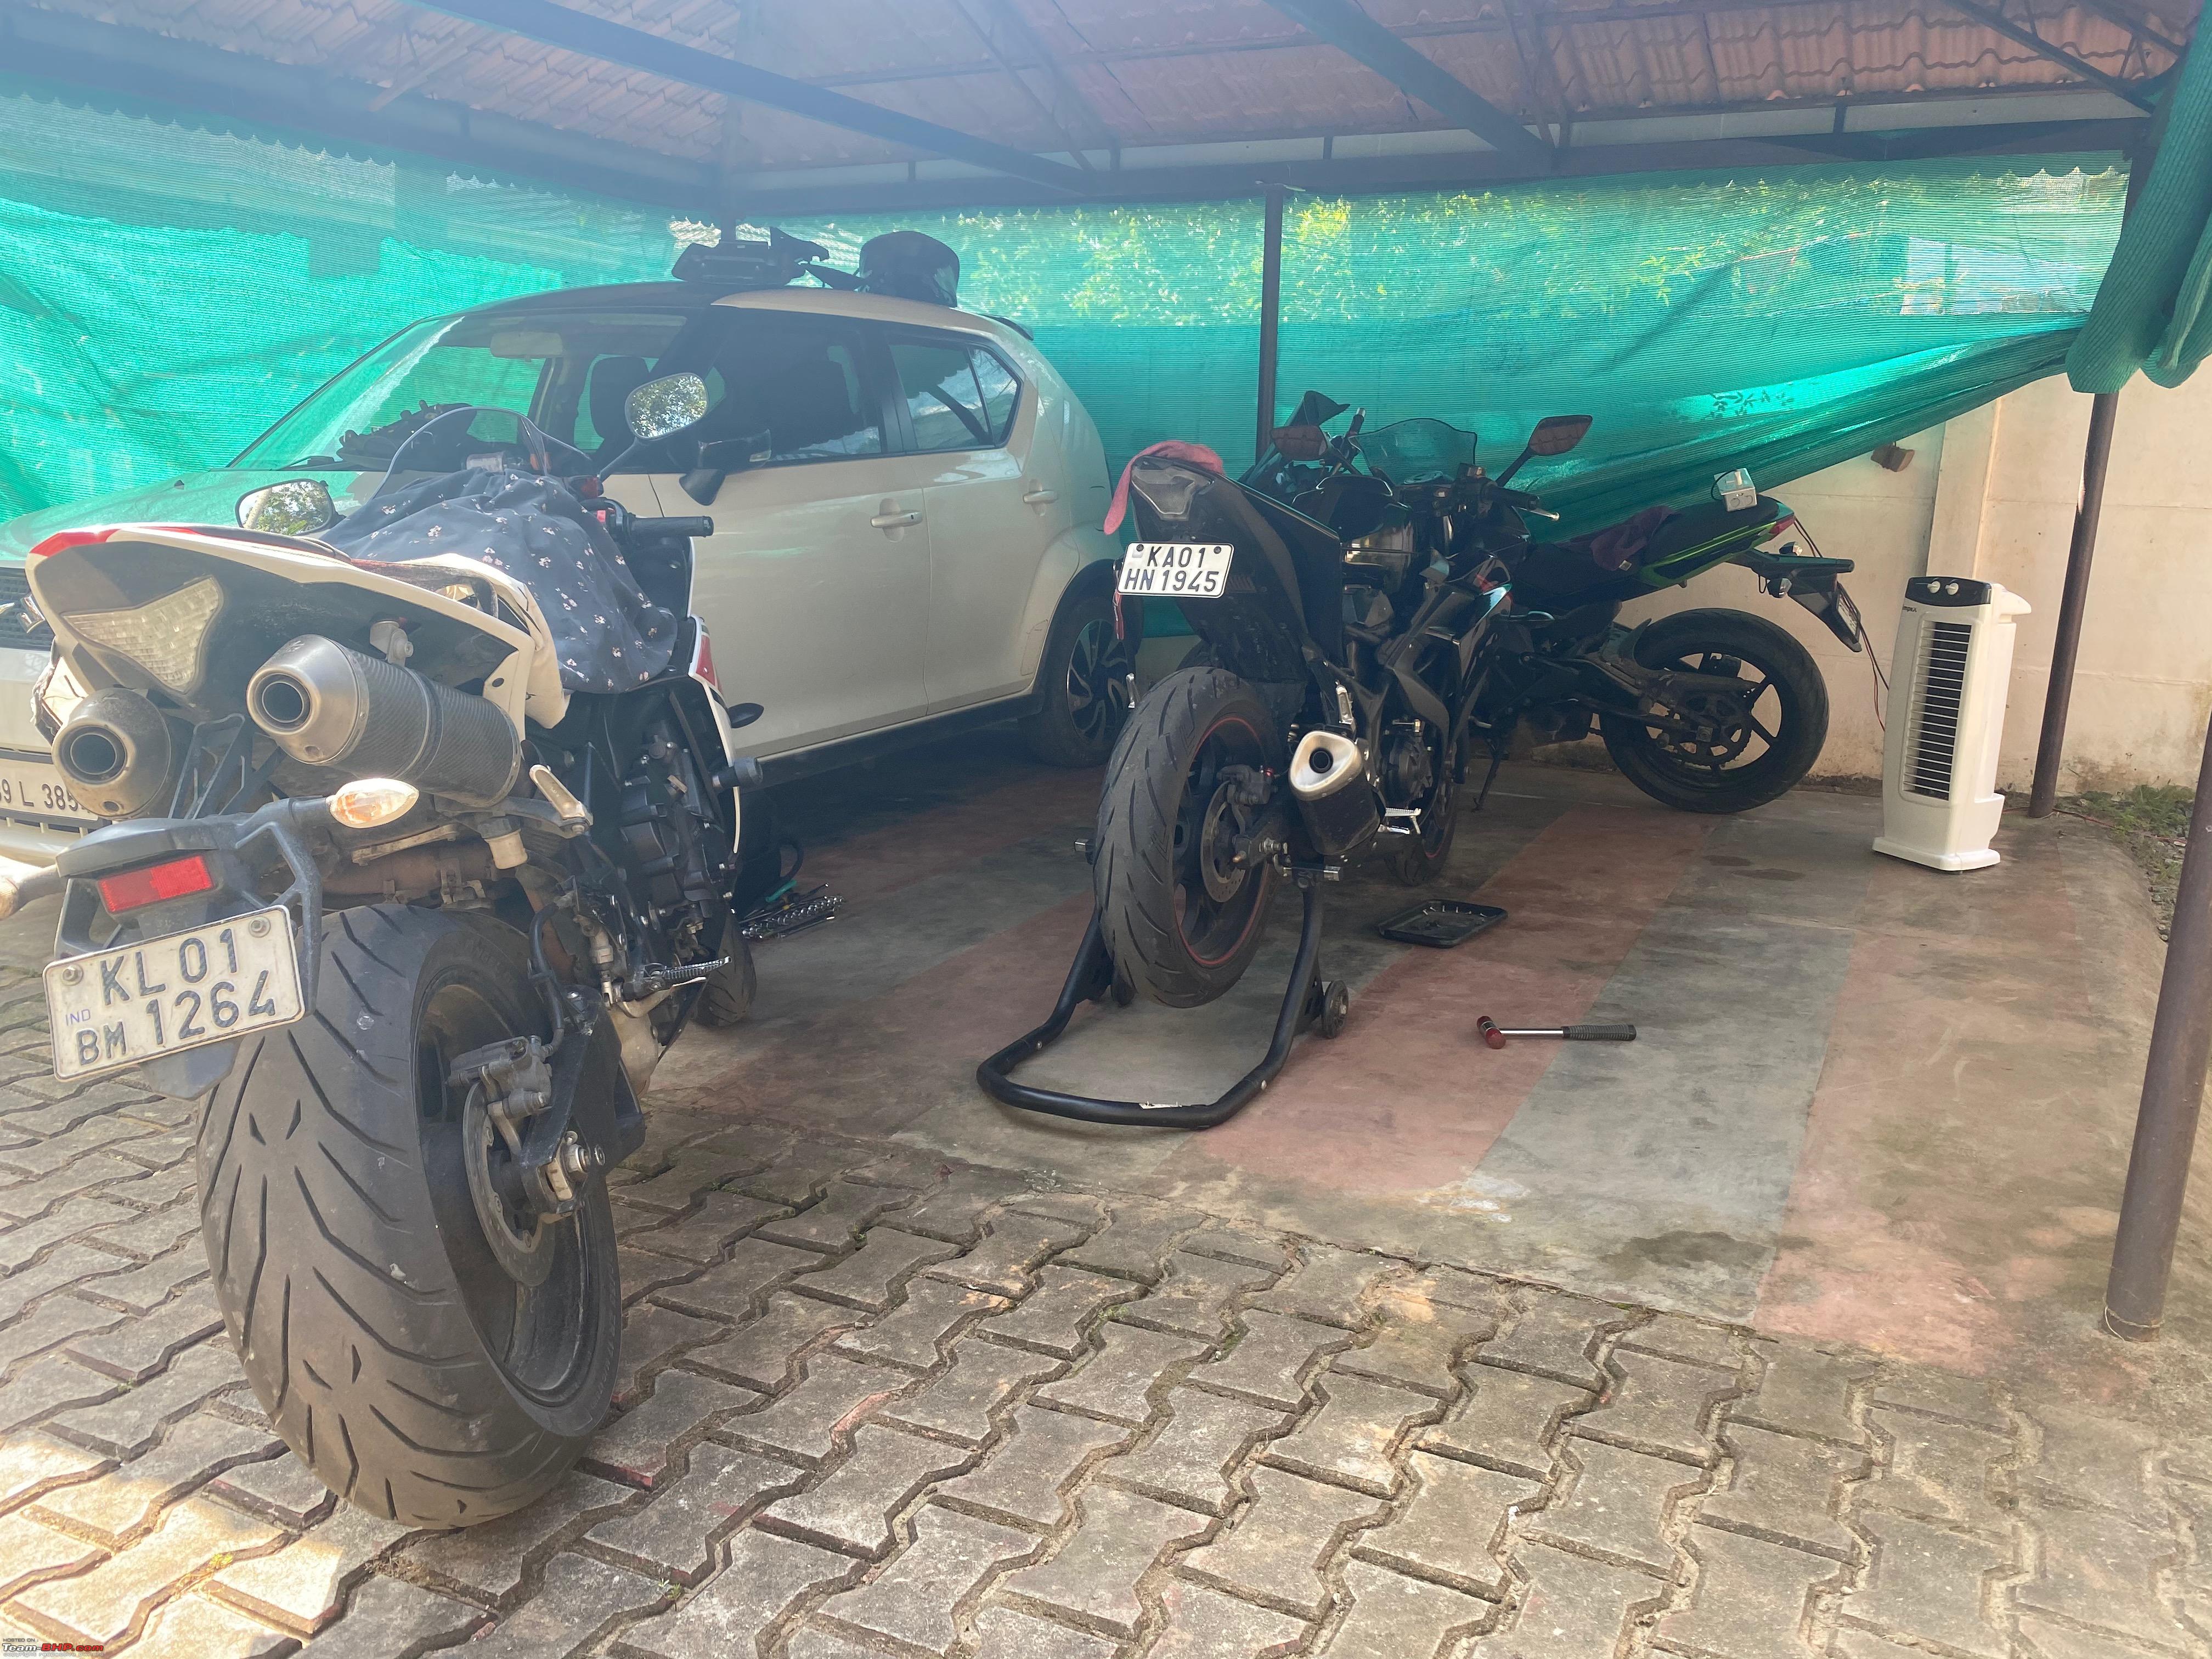 That's me working on Xaos636's R3. You can find the details in his thread soon  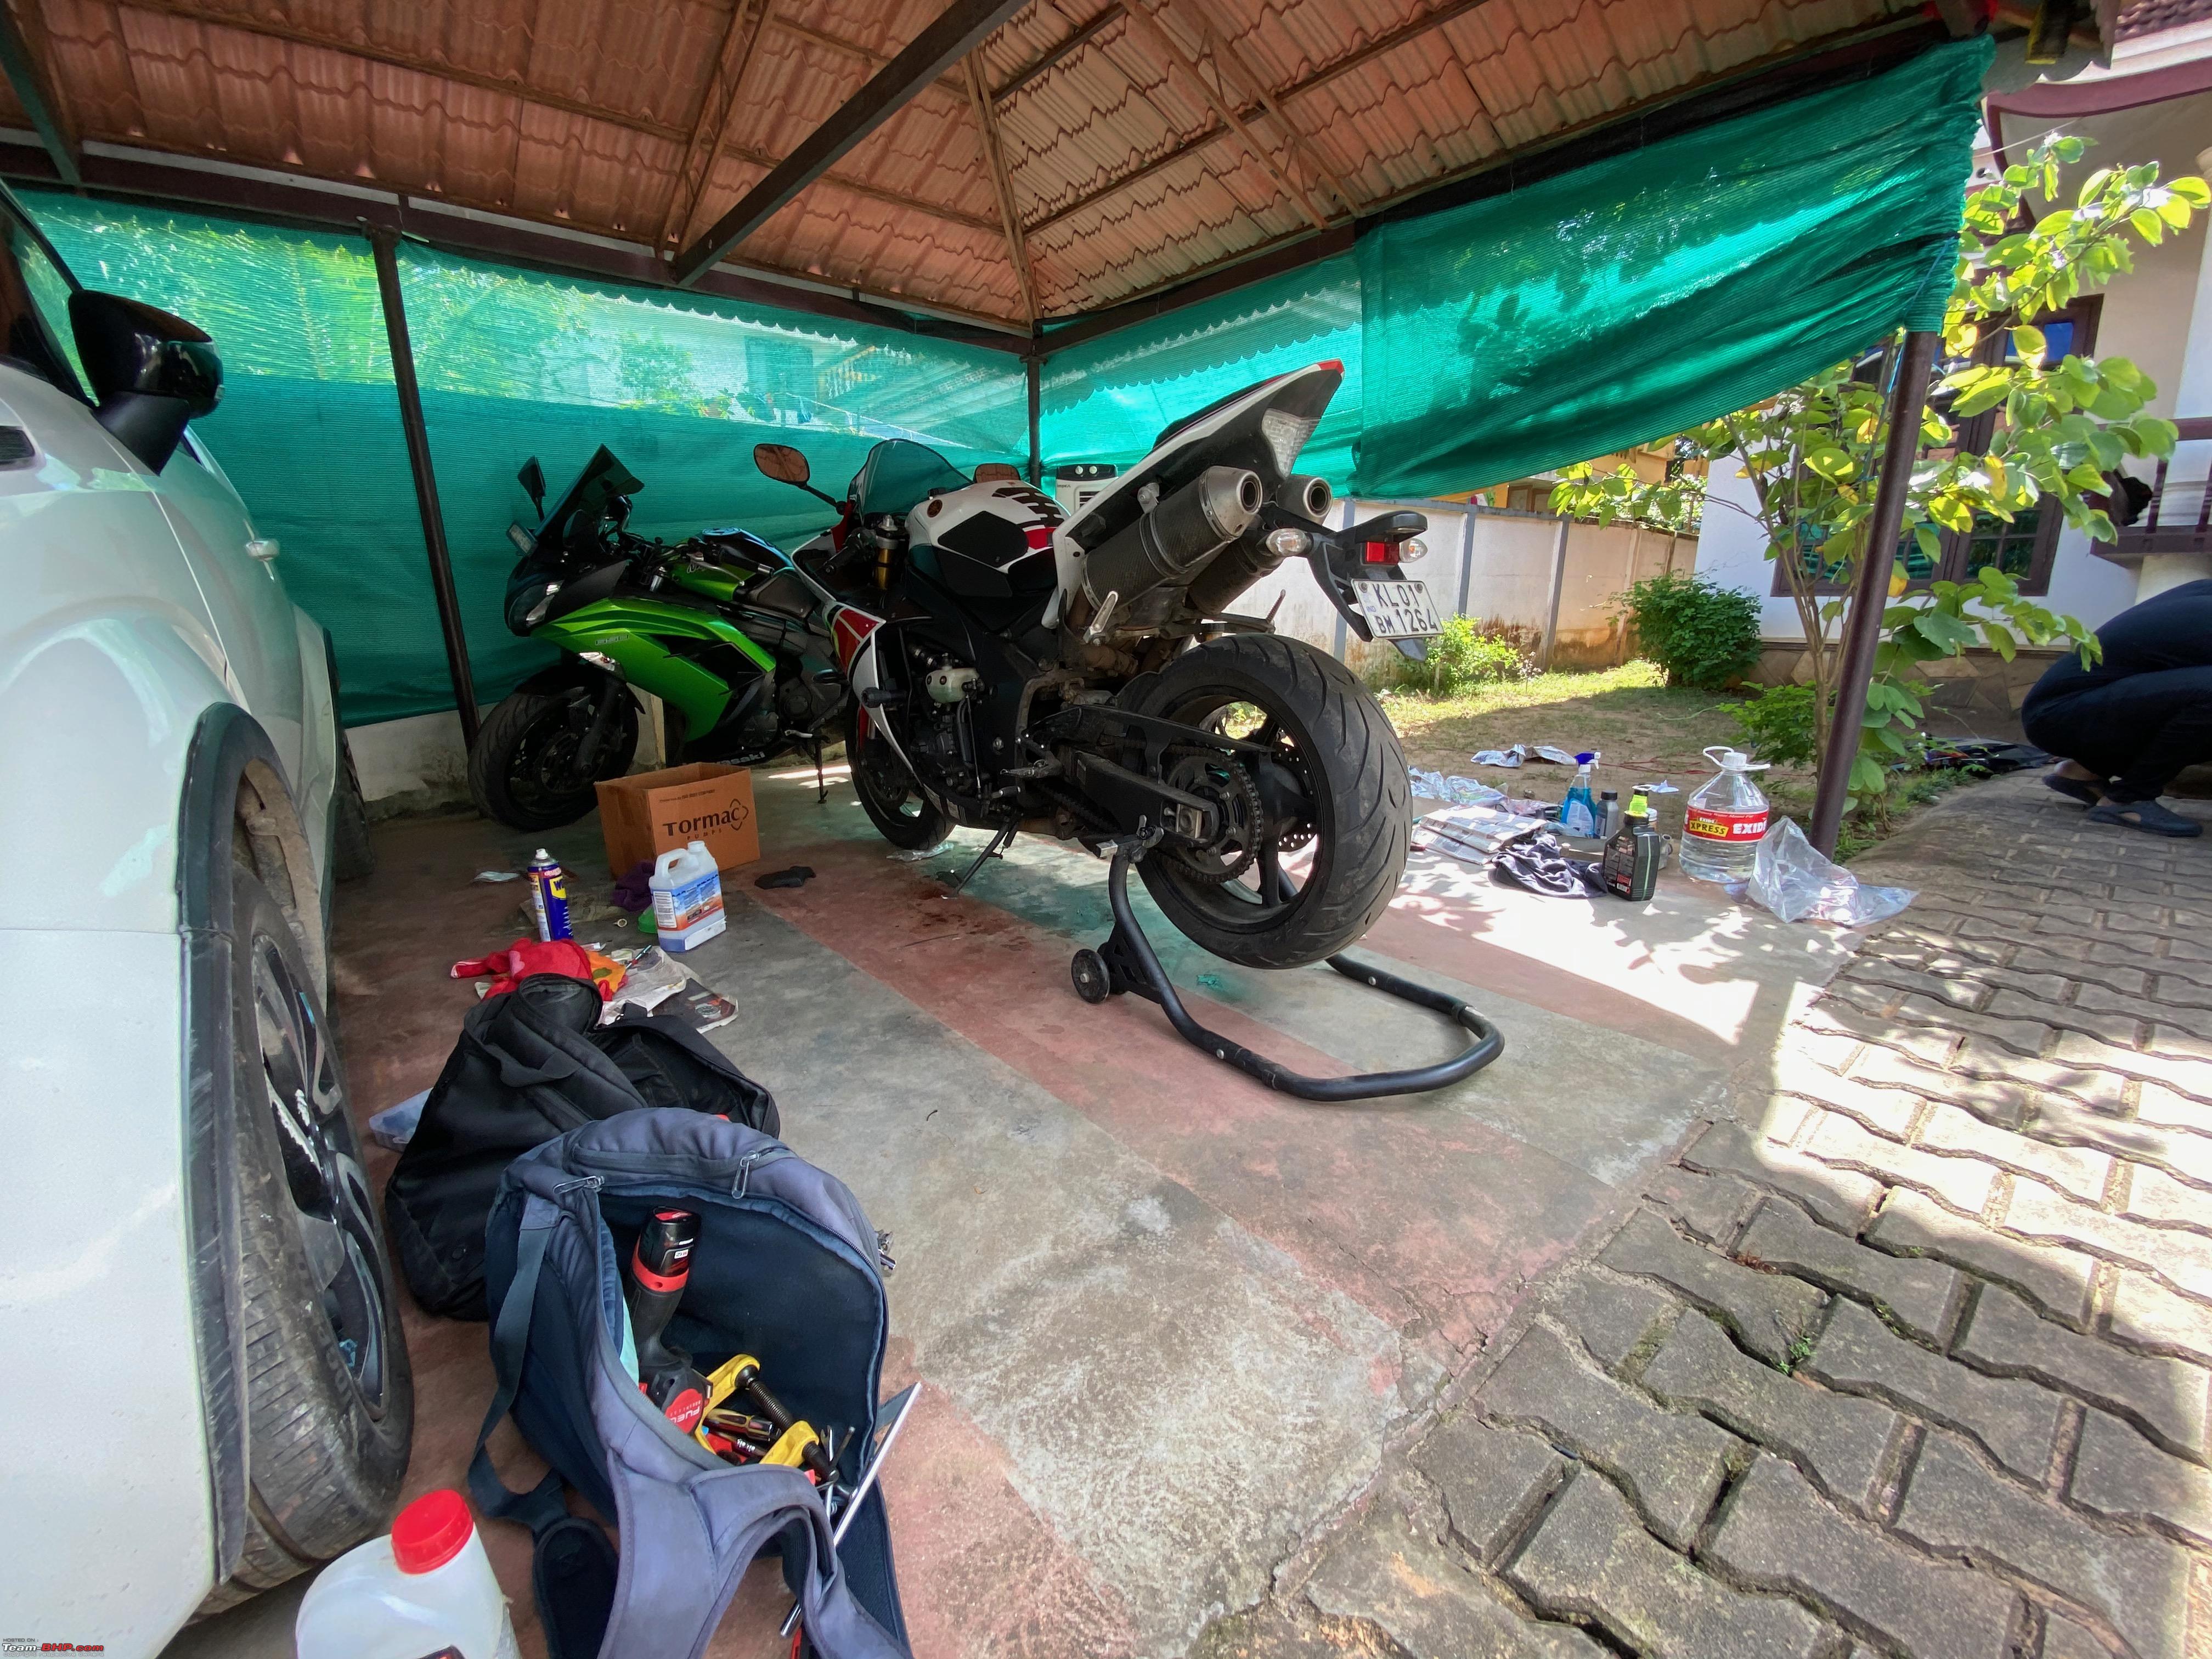 Routine Stuff scheduled Coolant Level Check Air filter clean Drive Chain tightening/Clean/Lube Repair Work scheduled Front and Back Brake bleeding Throttle sync Headlight height adjustment Fixing the Pass switch Coolant Level Check After flushing the coolant to Engine Ice I had never checked the level of coolant in the reservoir, so we decided to do that now.* Notice how the fluid seems green in color instead of the light blue that Engine Ice is supposed to be. This is because there was a bit of sludge we could not manage to get out of the reservoir the last time and that got mixed with Engine Ice and the color has changed. Cooling has not been affected in any way at all as a result of this. The bike maintains its temperature pretty well.* 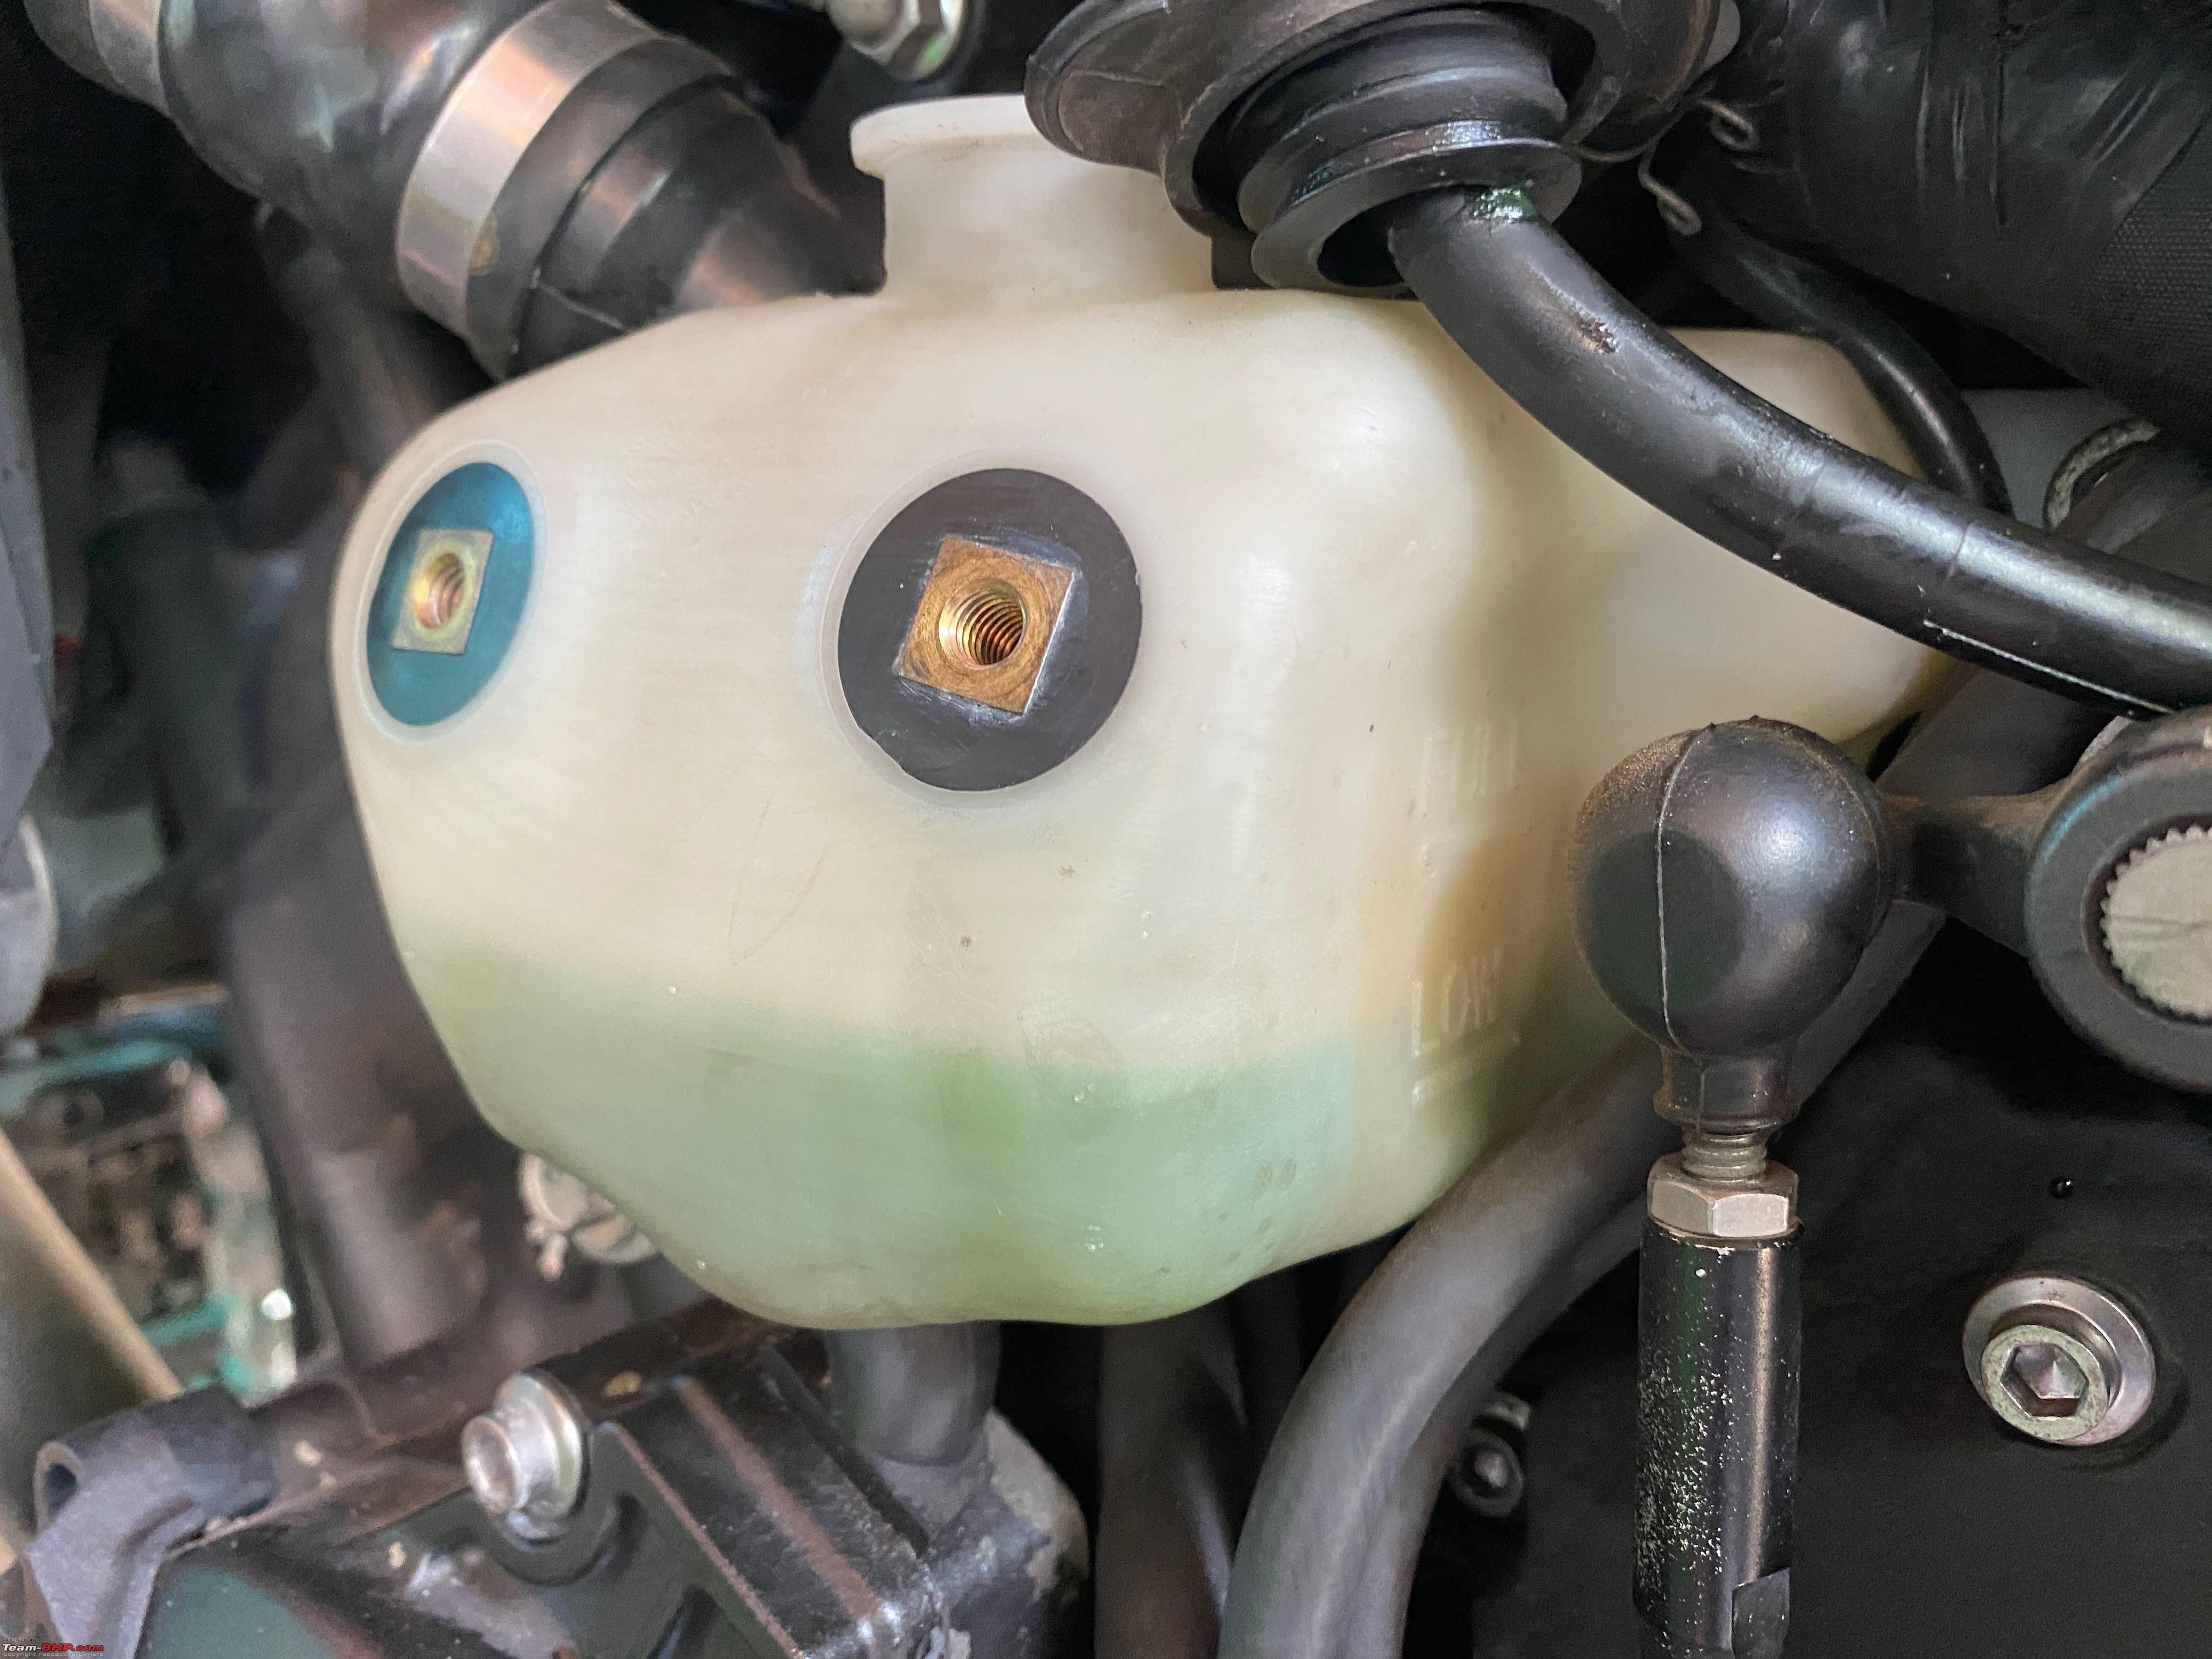 You can see that the coolant level had dropped and now was just a smidge above the low mark. We filled the coolant with more Engine Ice and left it at that. Quick 5 min job.* 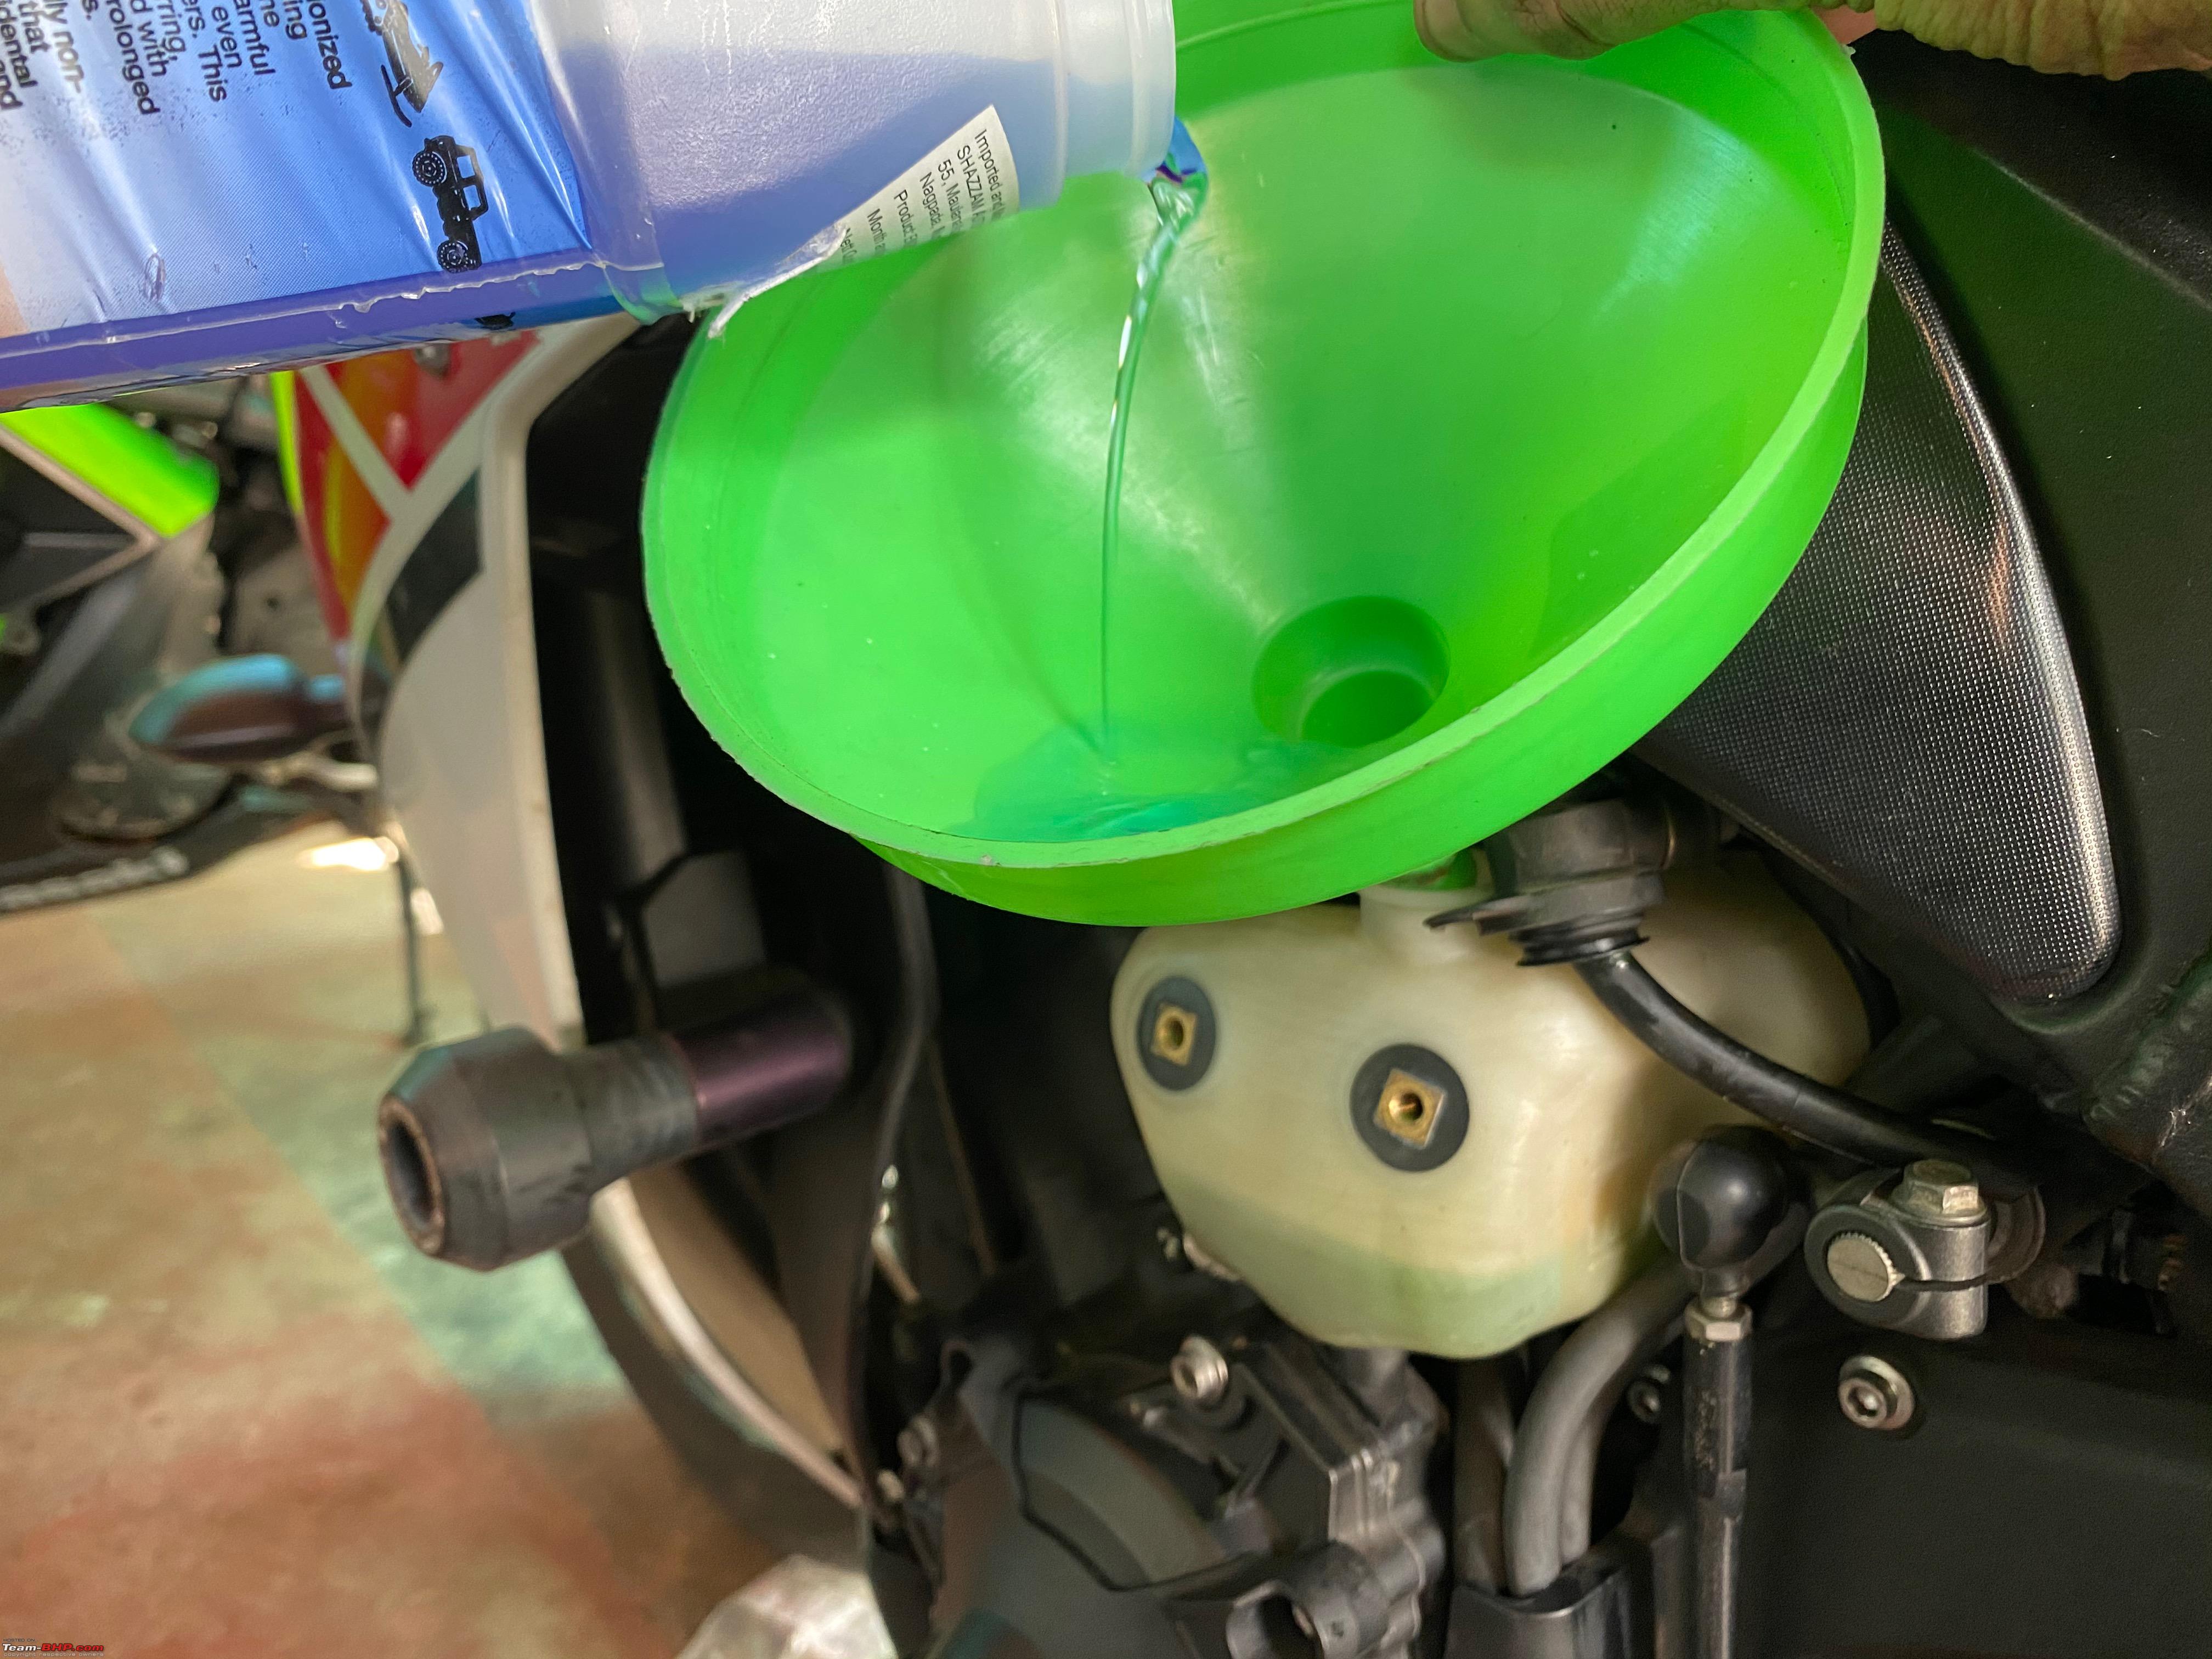 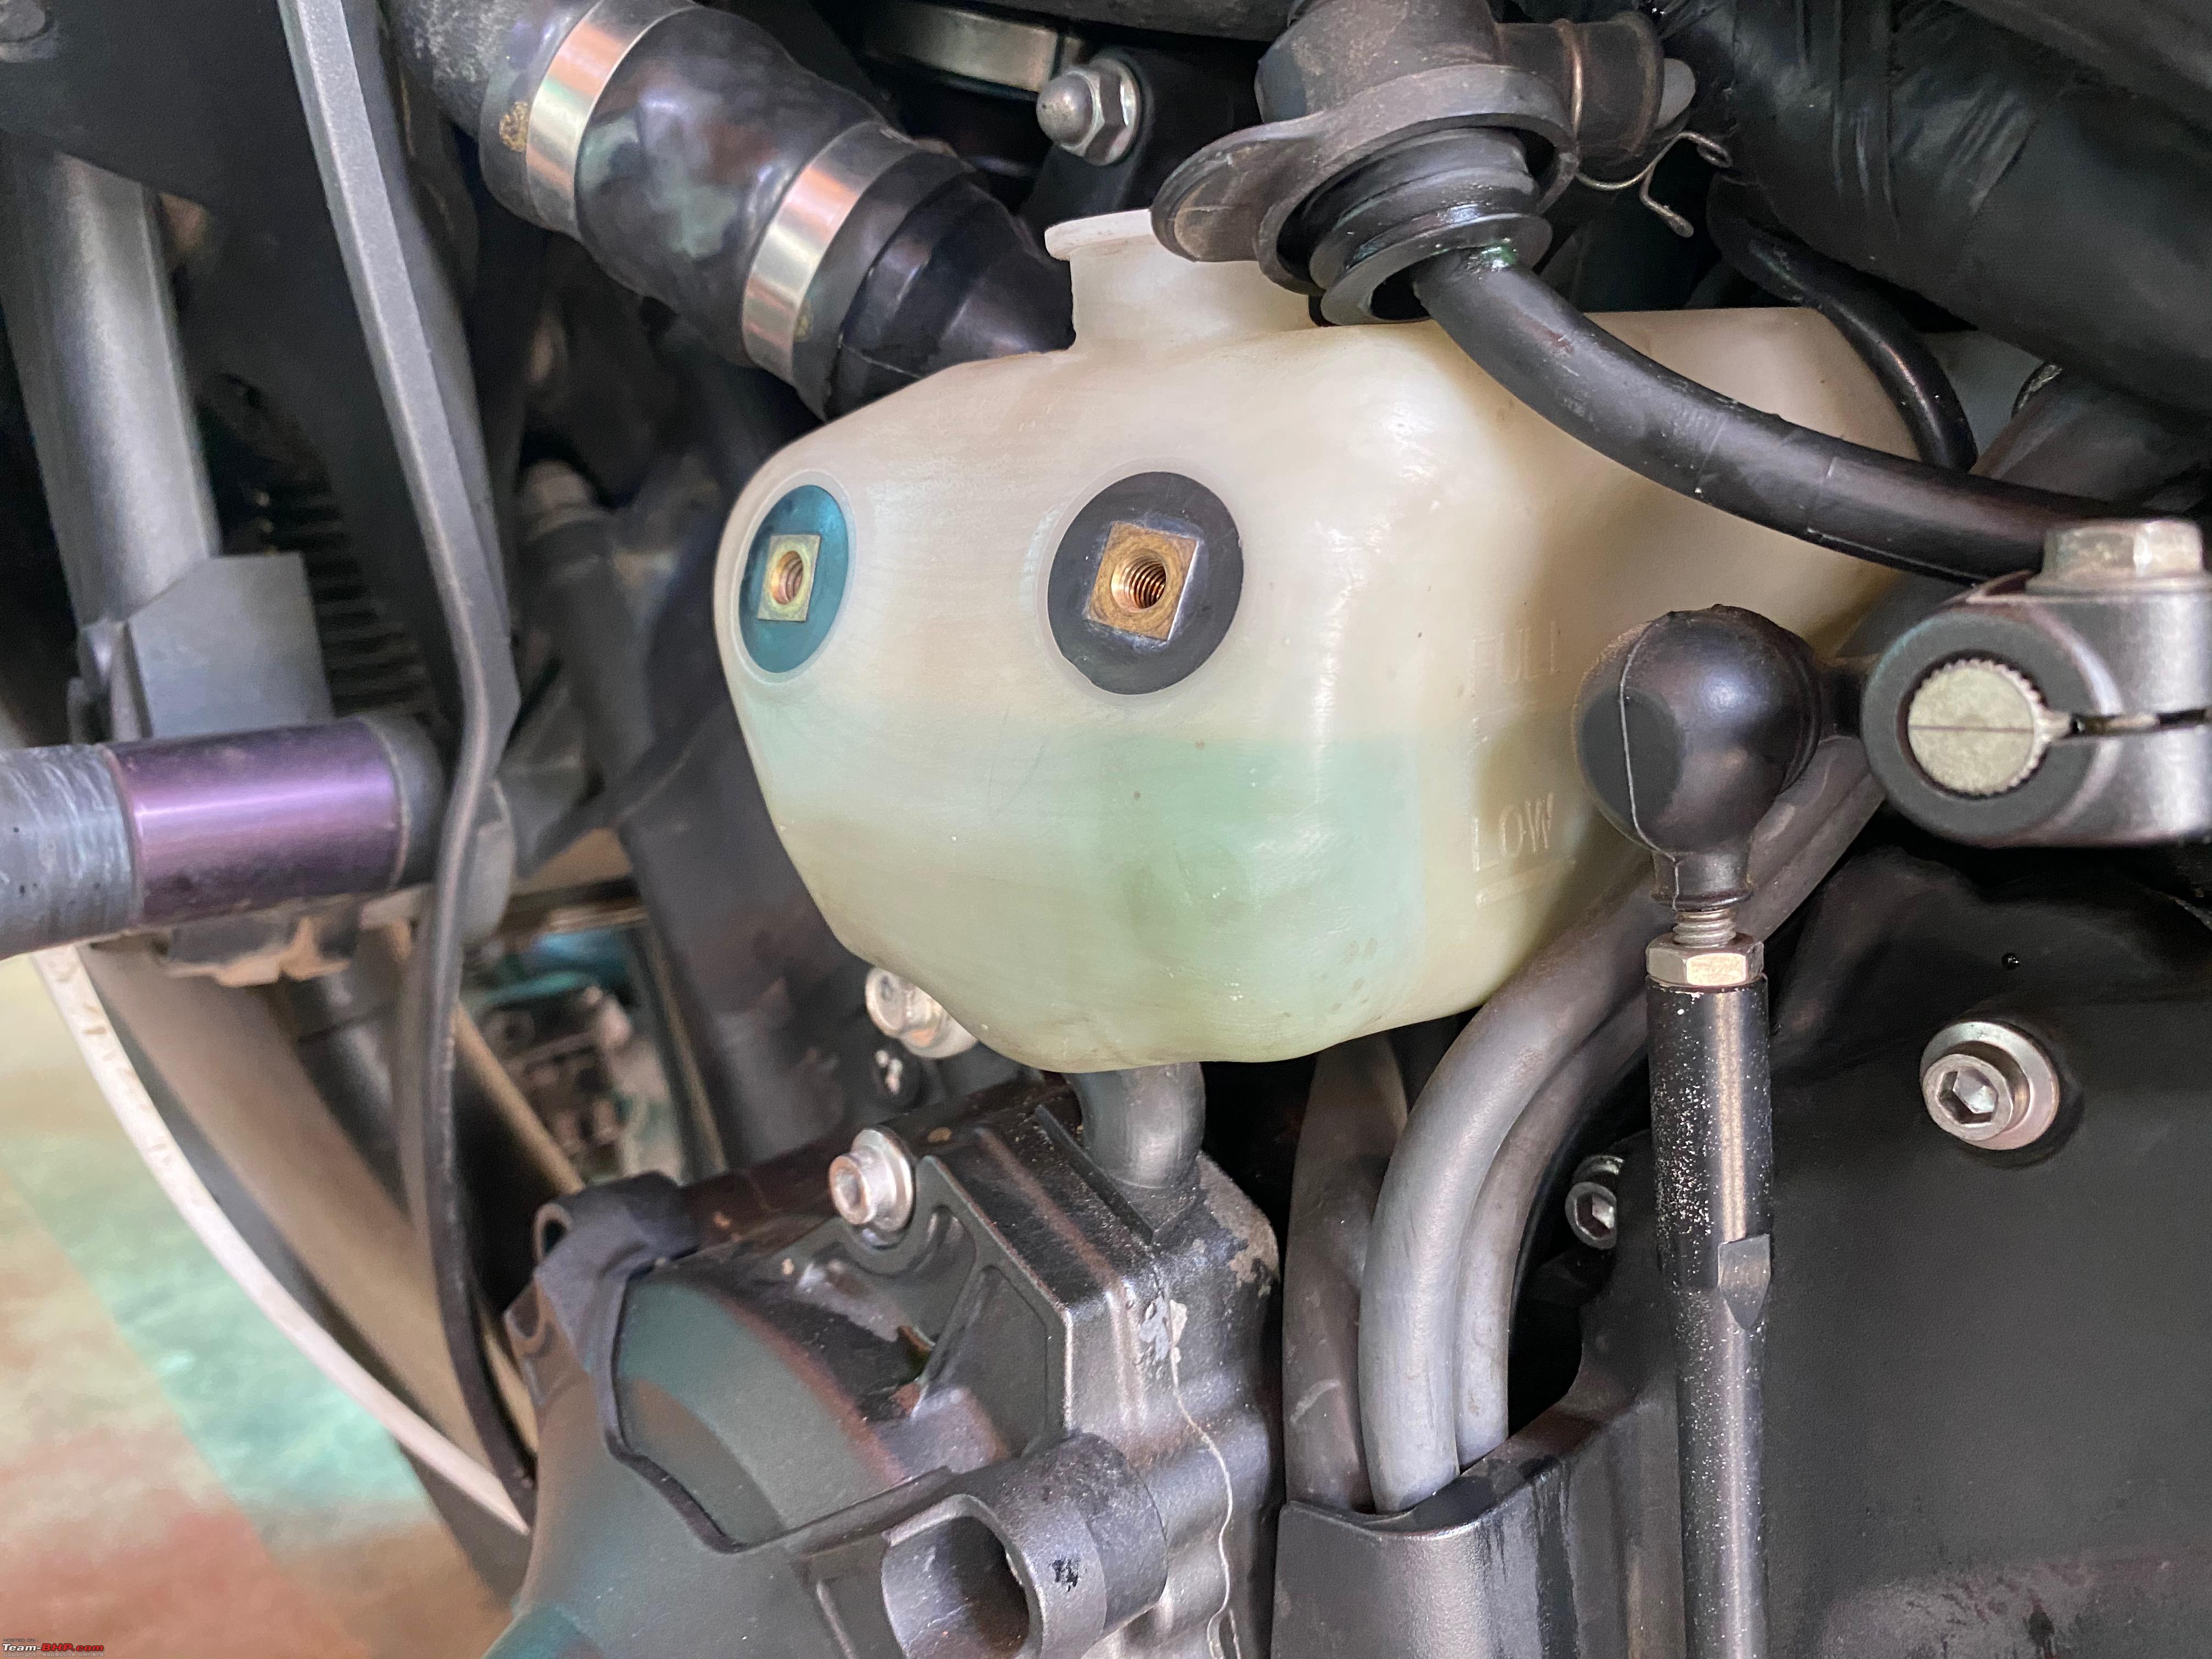 Drive Chain tightening/Clean/Lube 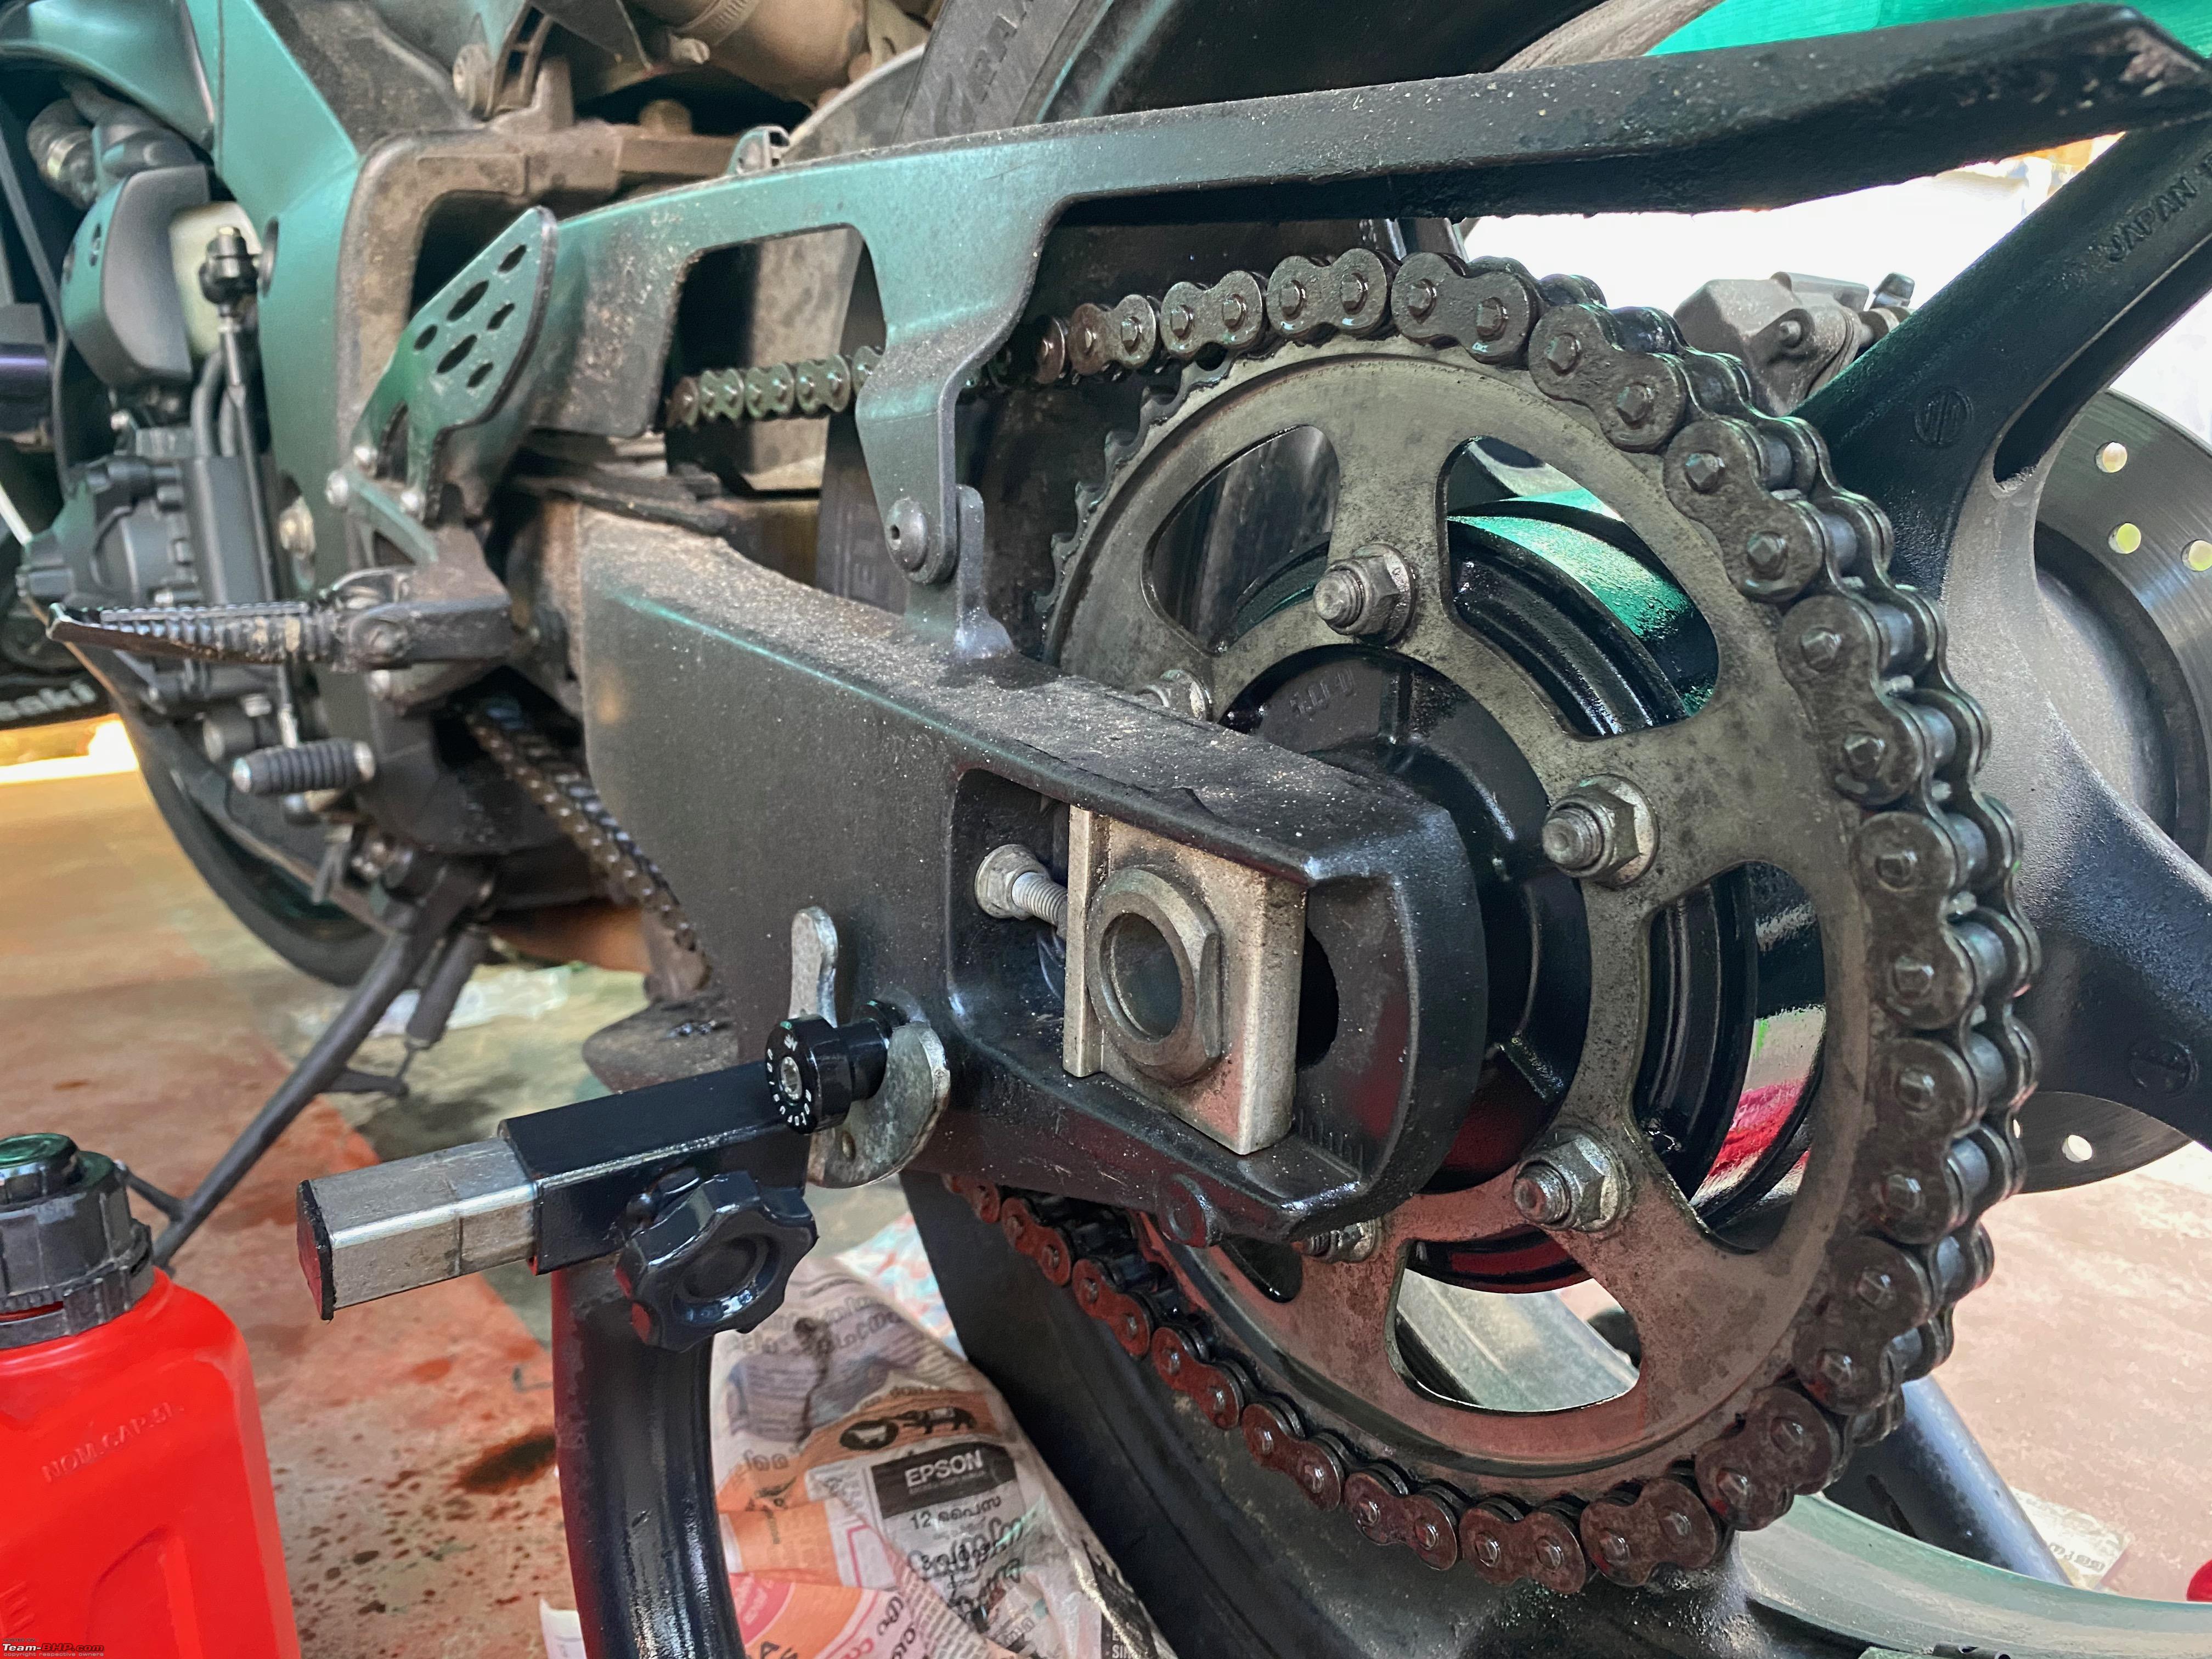 Well, nothing much to show here. Just used Diesel to give it a deep scrub/clean and wiped it dry and then used a good amount of lube and we moved on. 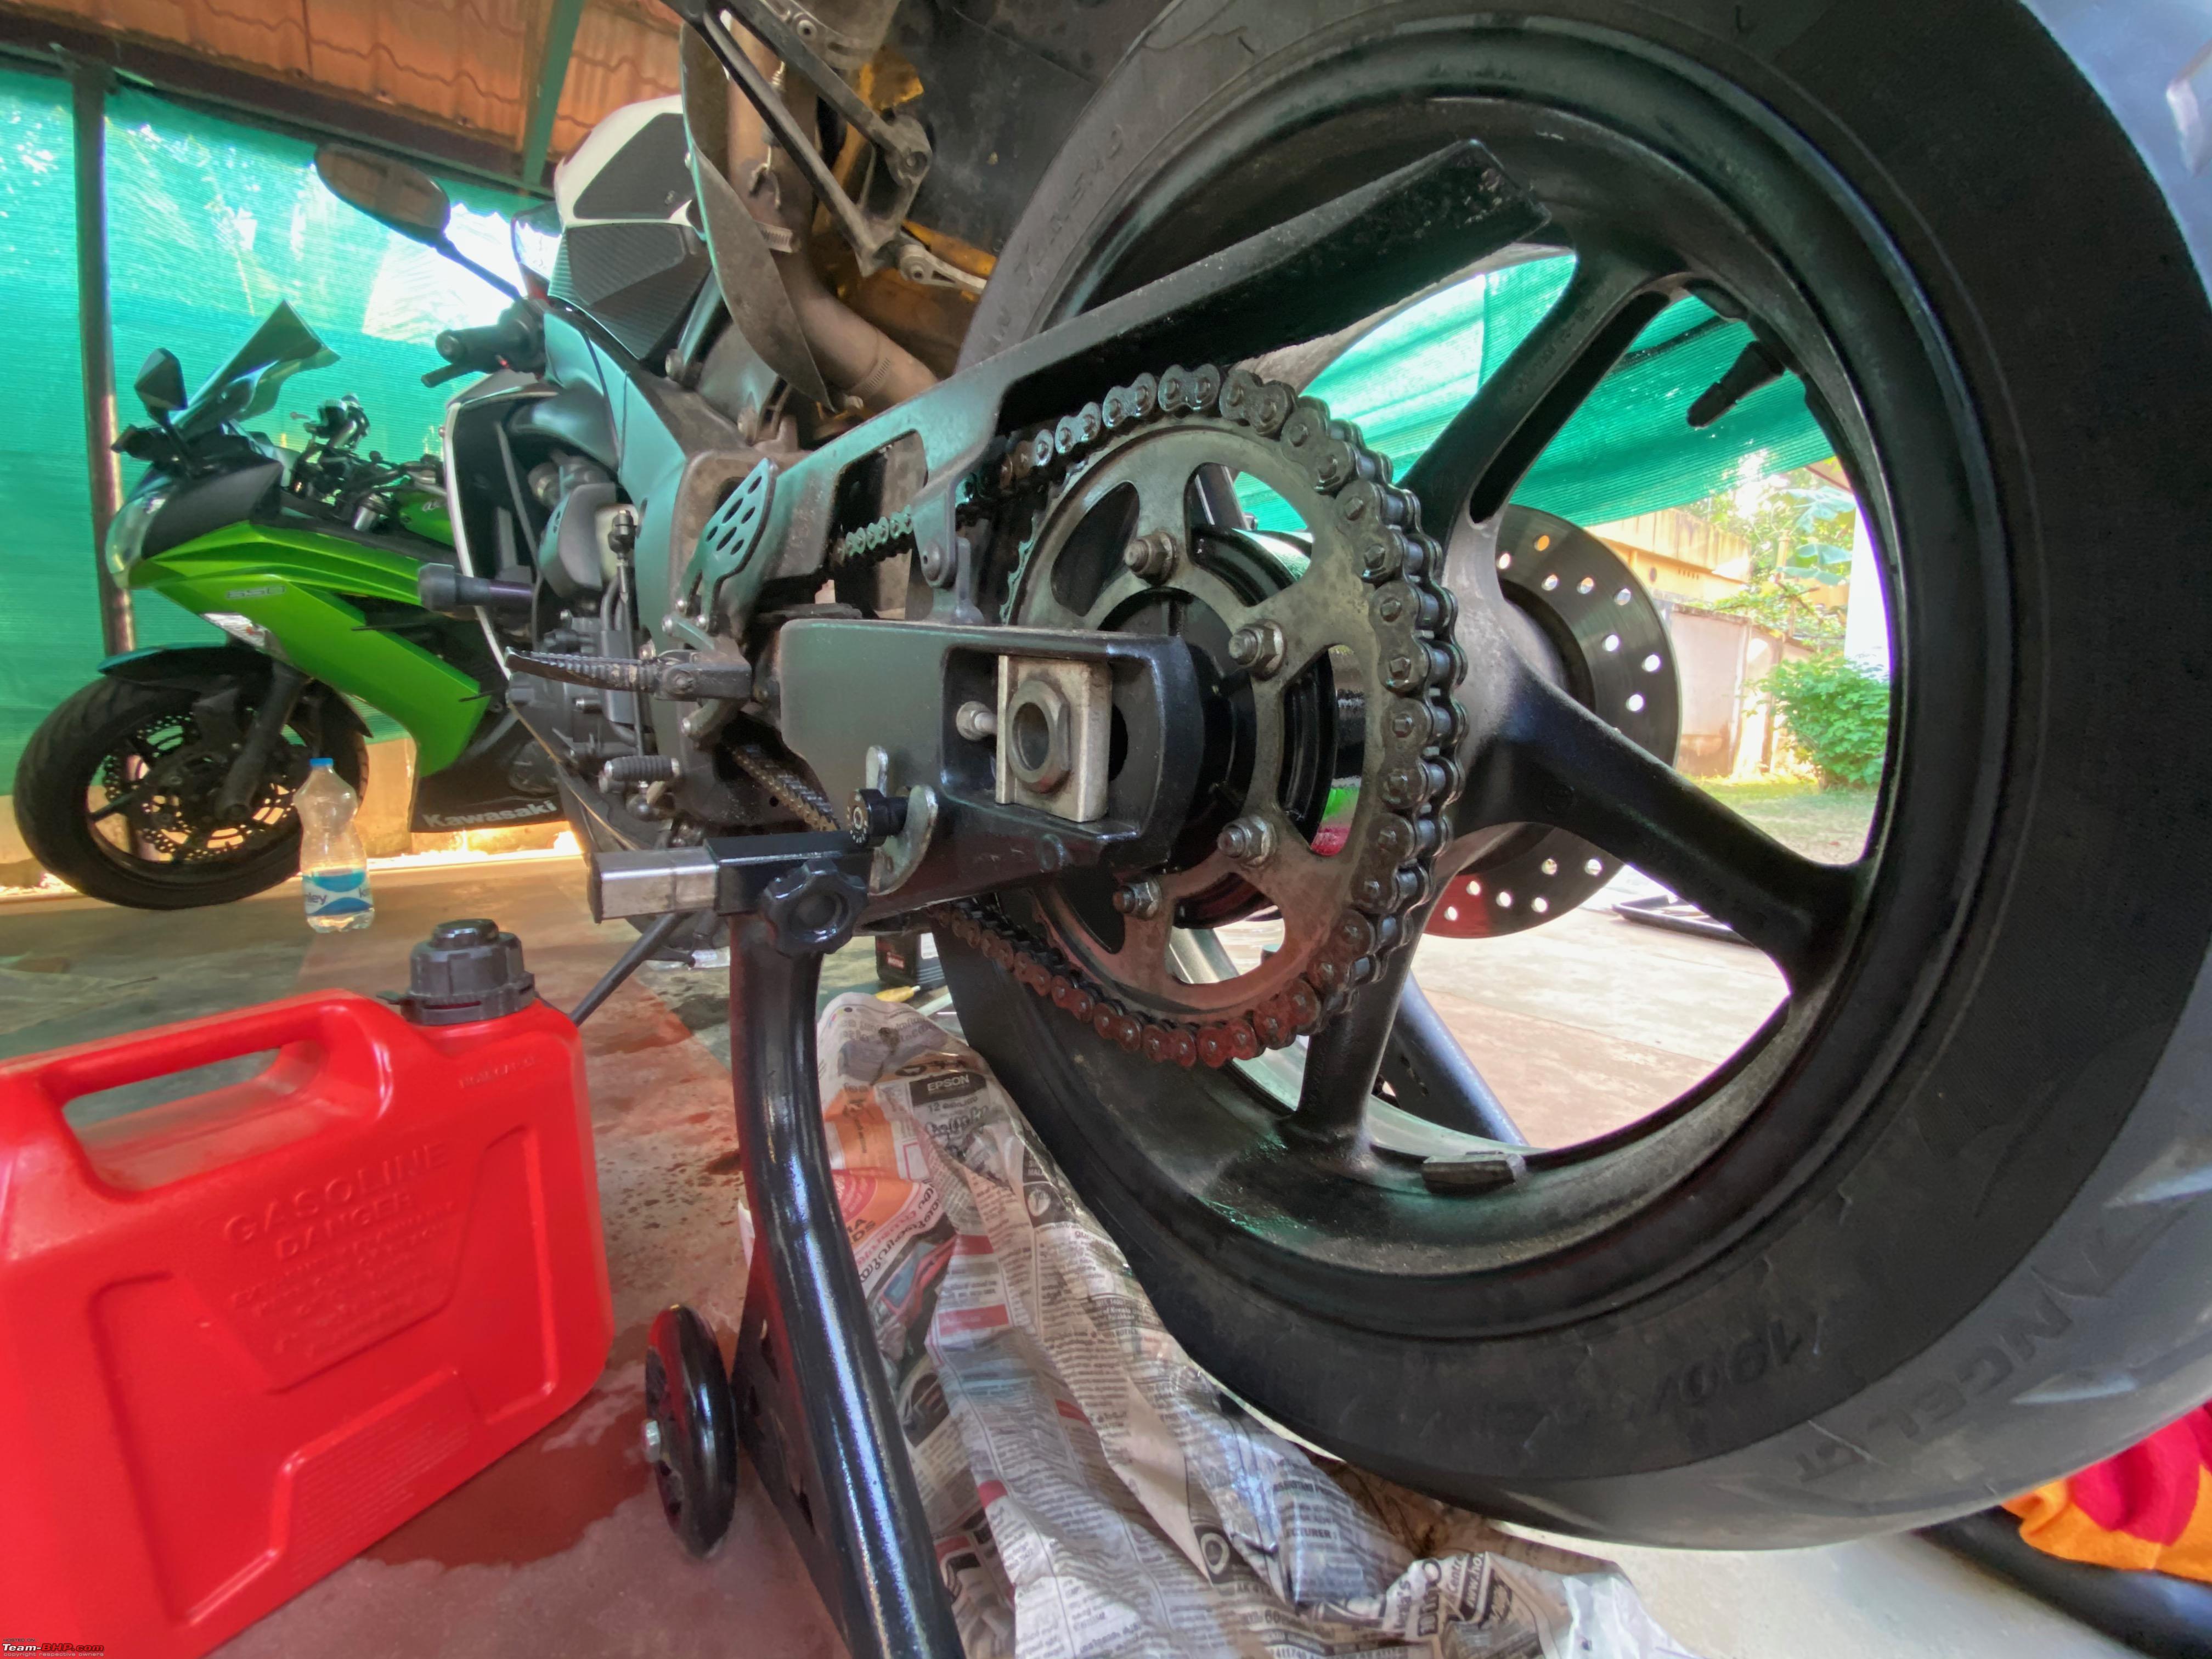 Headlight height adjustment Like I have continuously moaned on about the piss poor lighting on the R1. The headlight alignment was completely out of whack. Low beams were not throwing the light far enough and high beam was useful to light up the top of trees on the side of the road at best. So we made use of the procedure in the service manual to adjust the position of the bulbs and get somewhat of an acceptable setup. Before 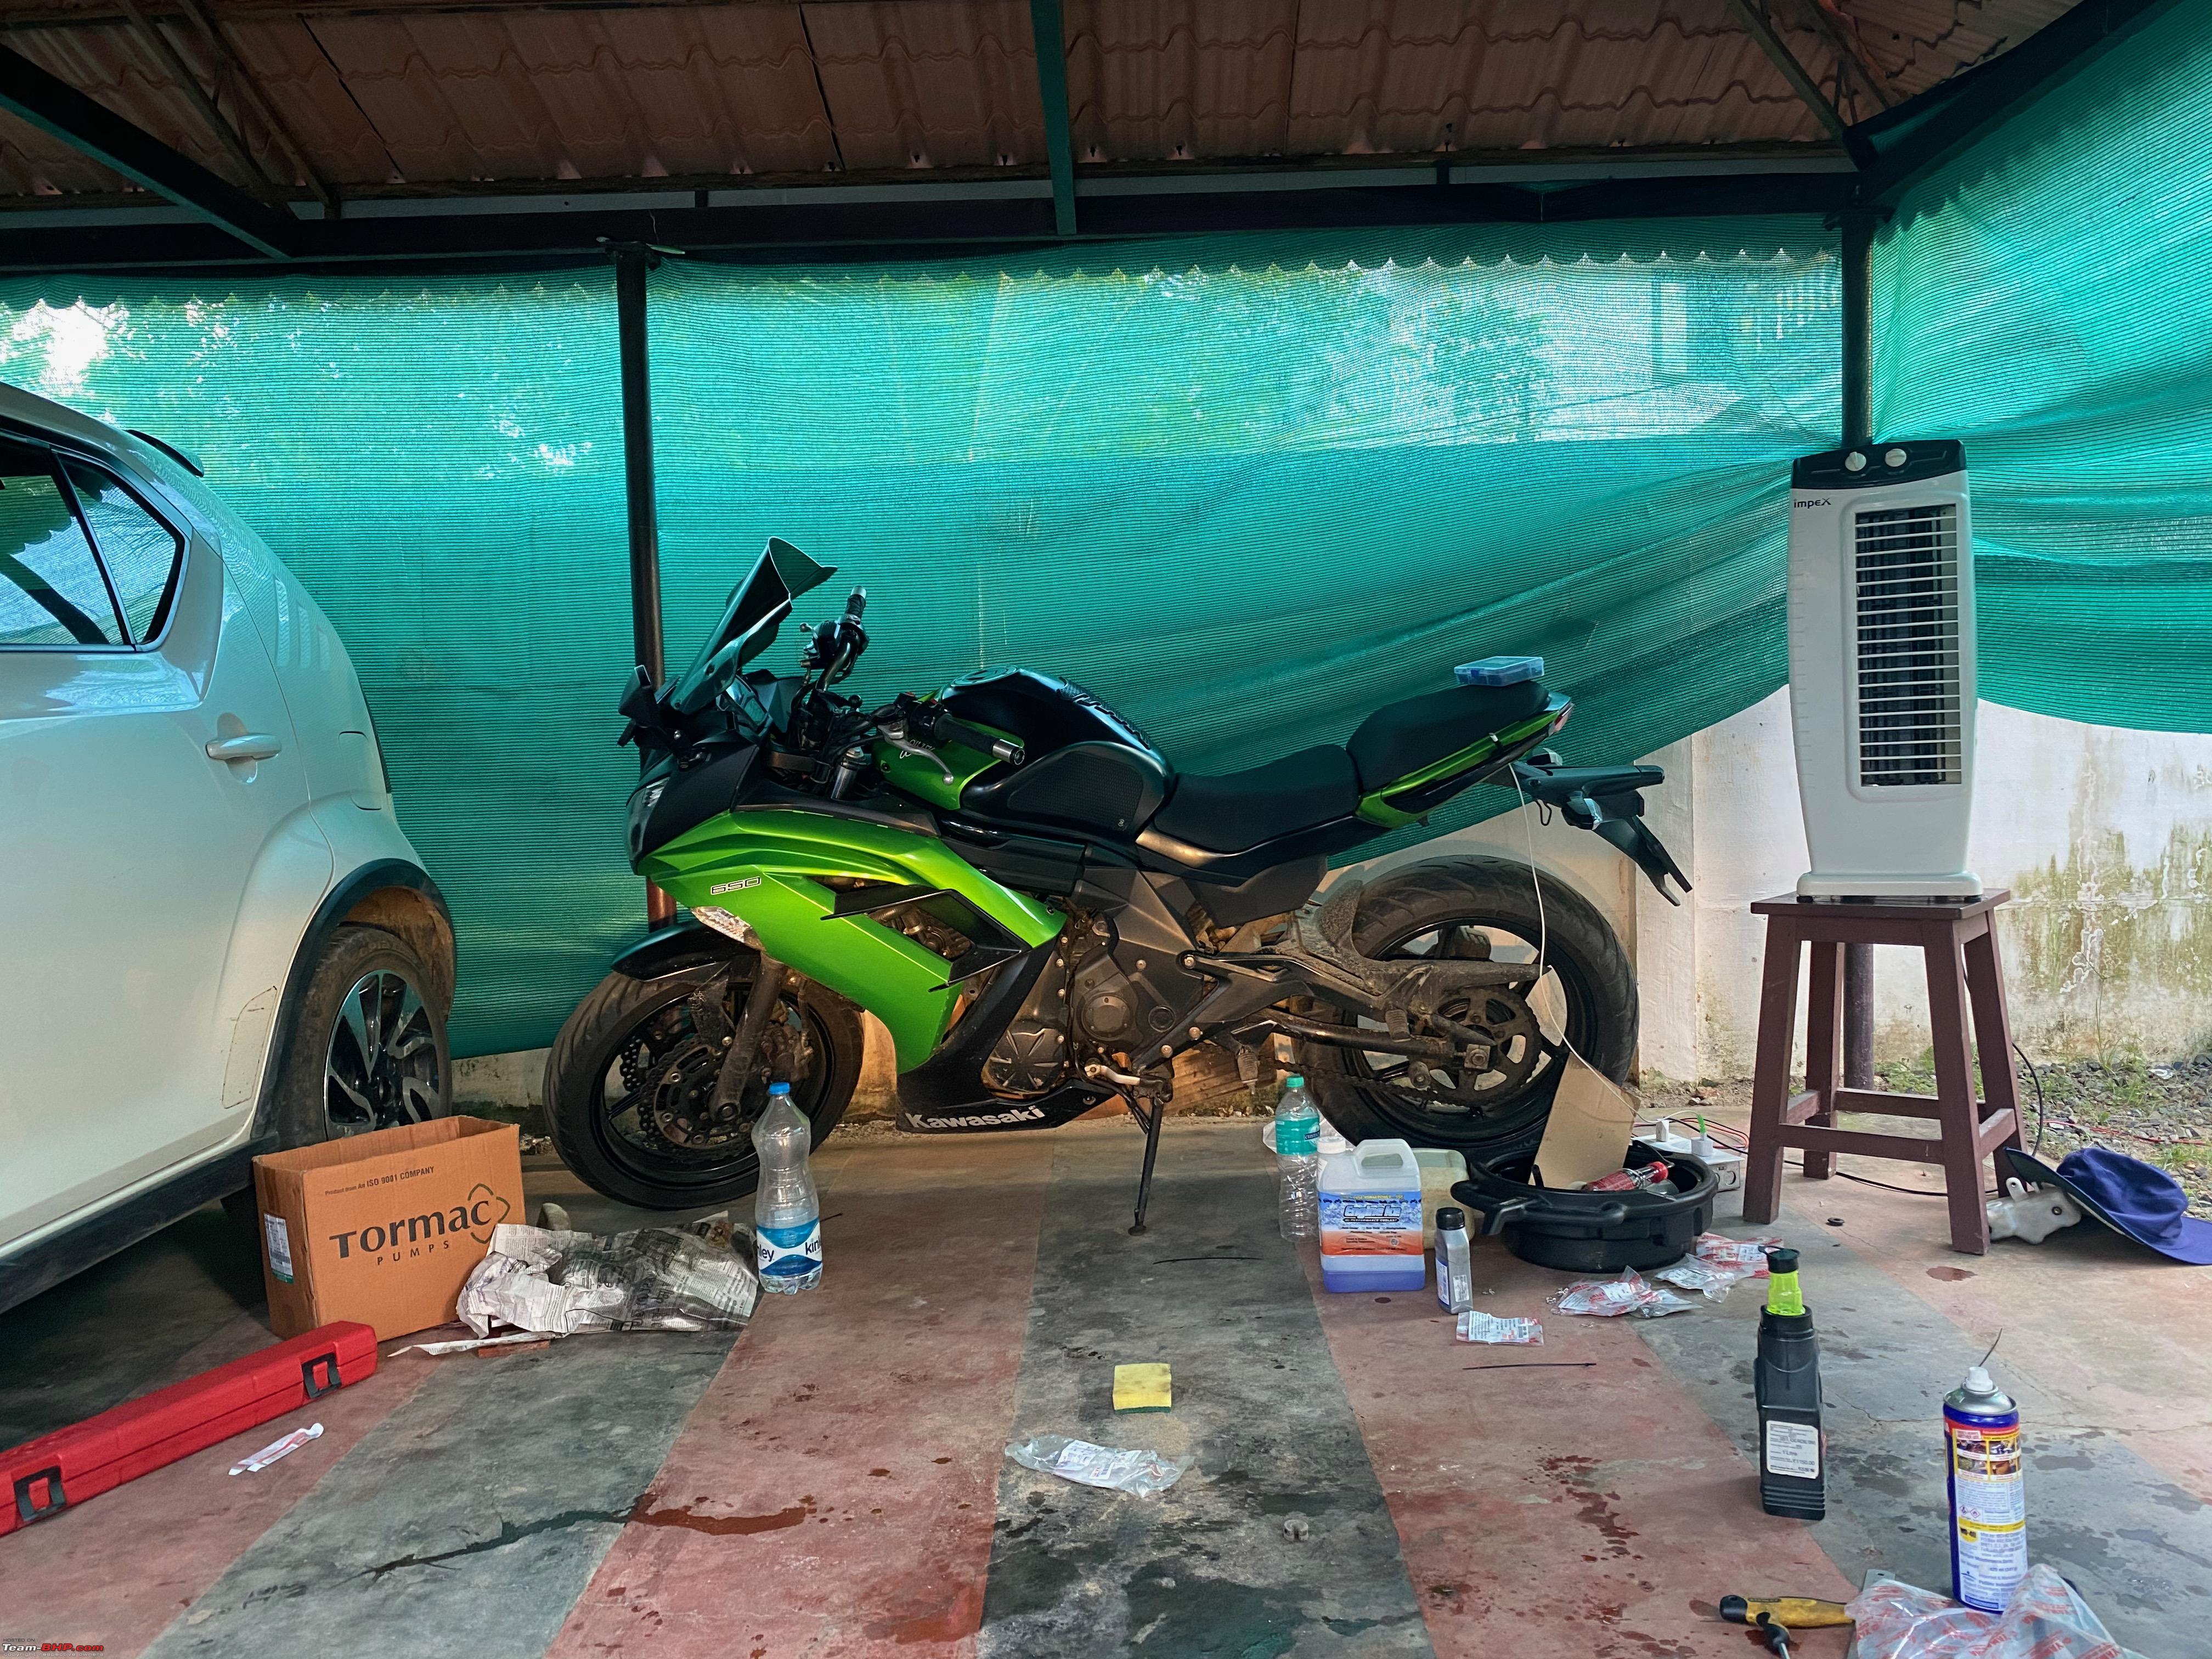 Now the in the R1 you have 2 adjustment screws for each bulb. One for adjusting the vertical movement and one for the horizontal movement. Gaining access to the vertical height adjuster is quite a task with the front wheel and forks in place and the fairings also get in the way. I couldnt get my fat fingers into the spot and had to get my skinny friend to do that for me. After 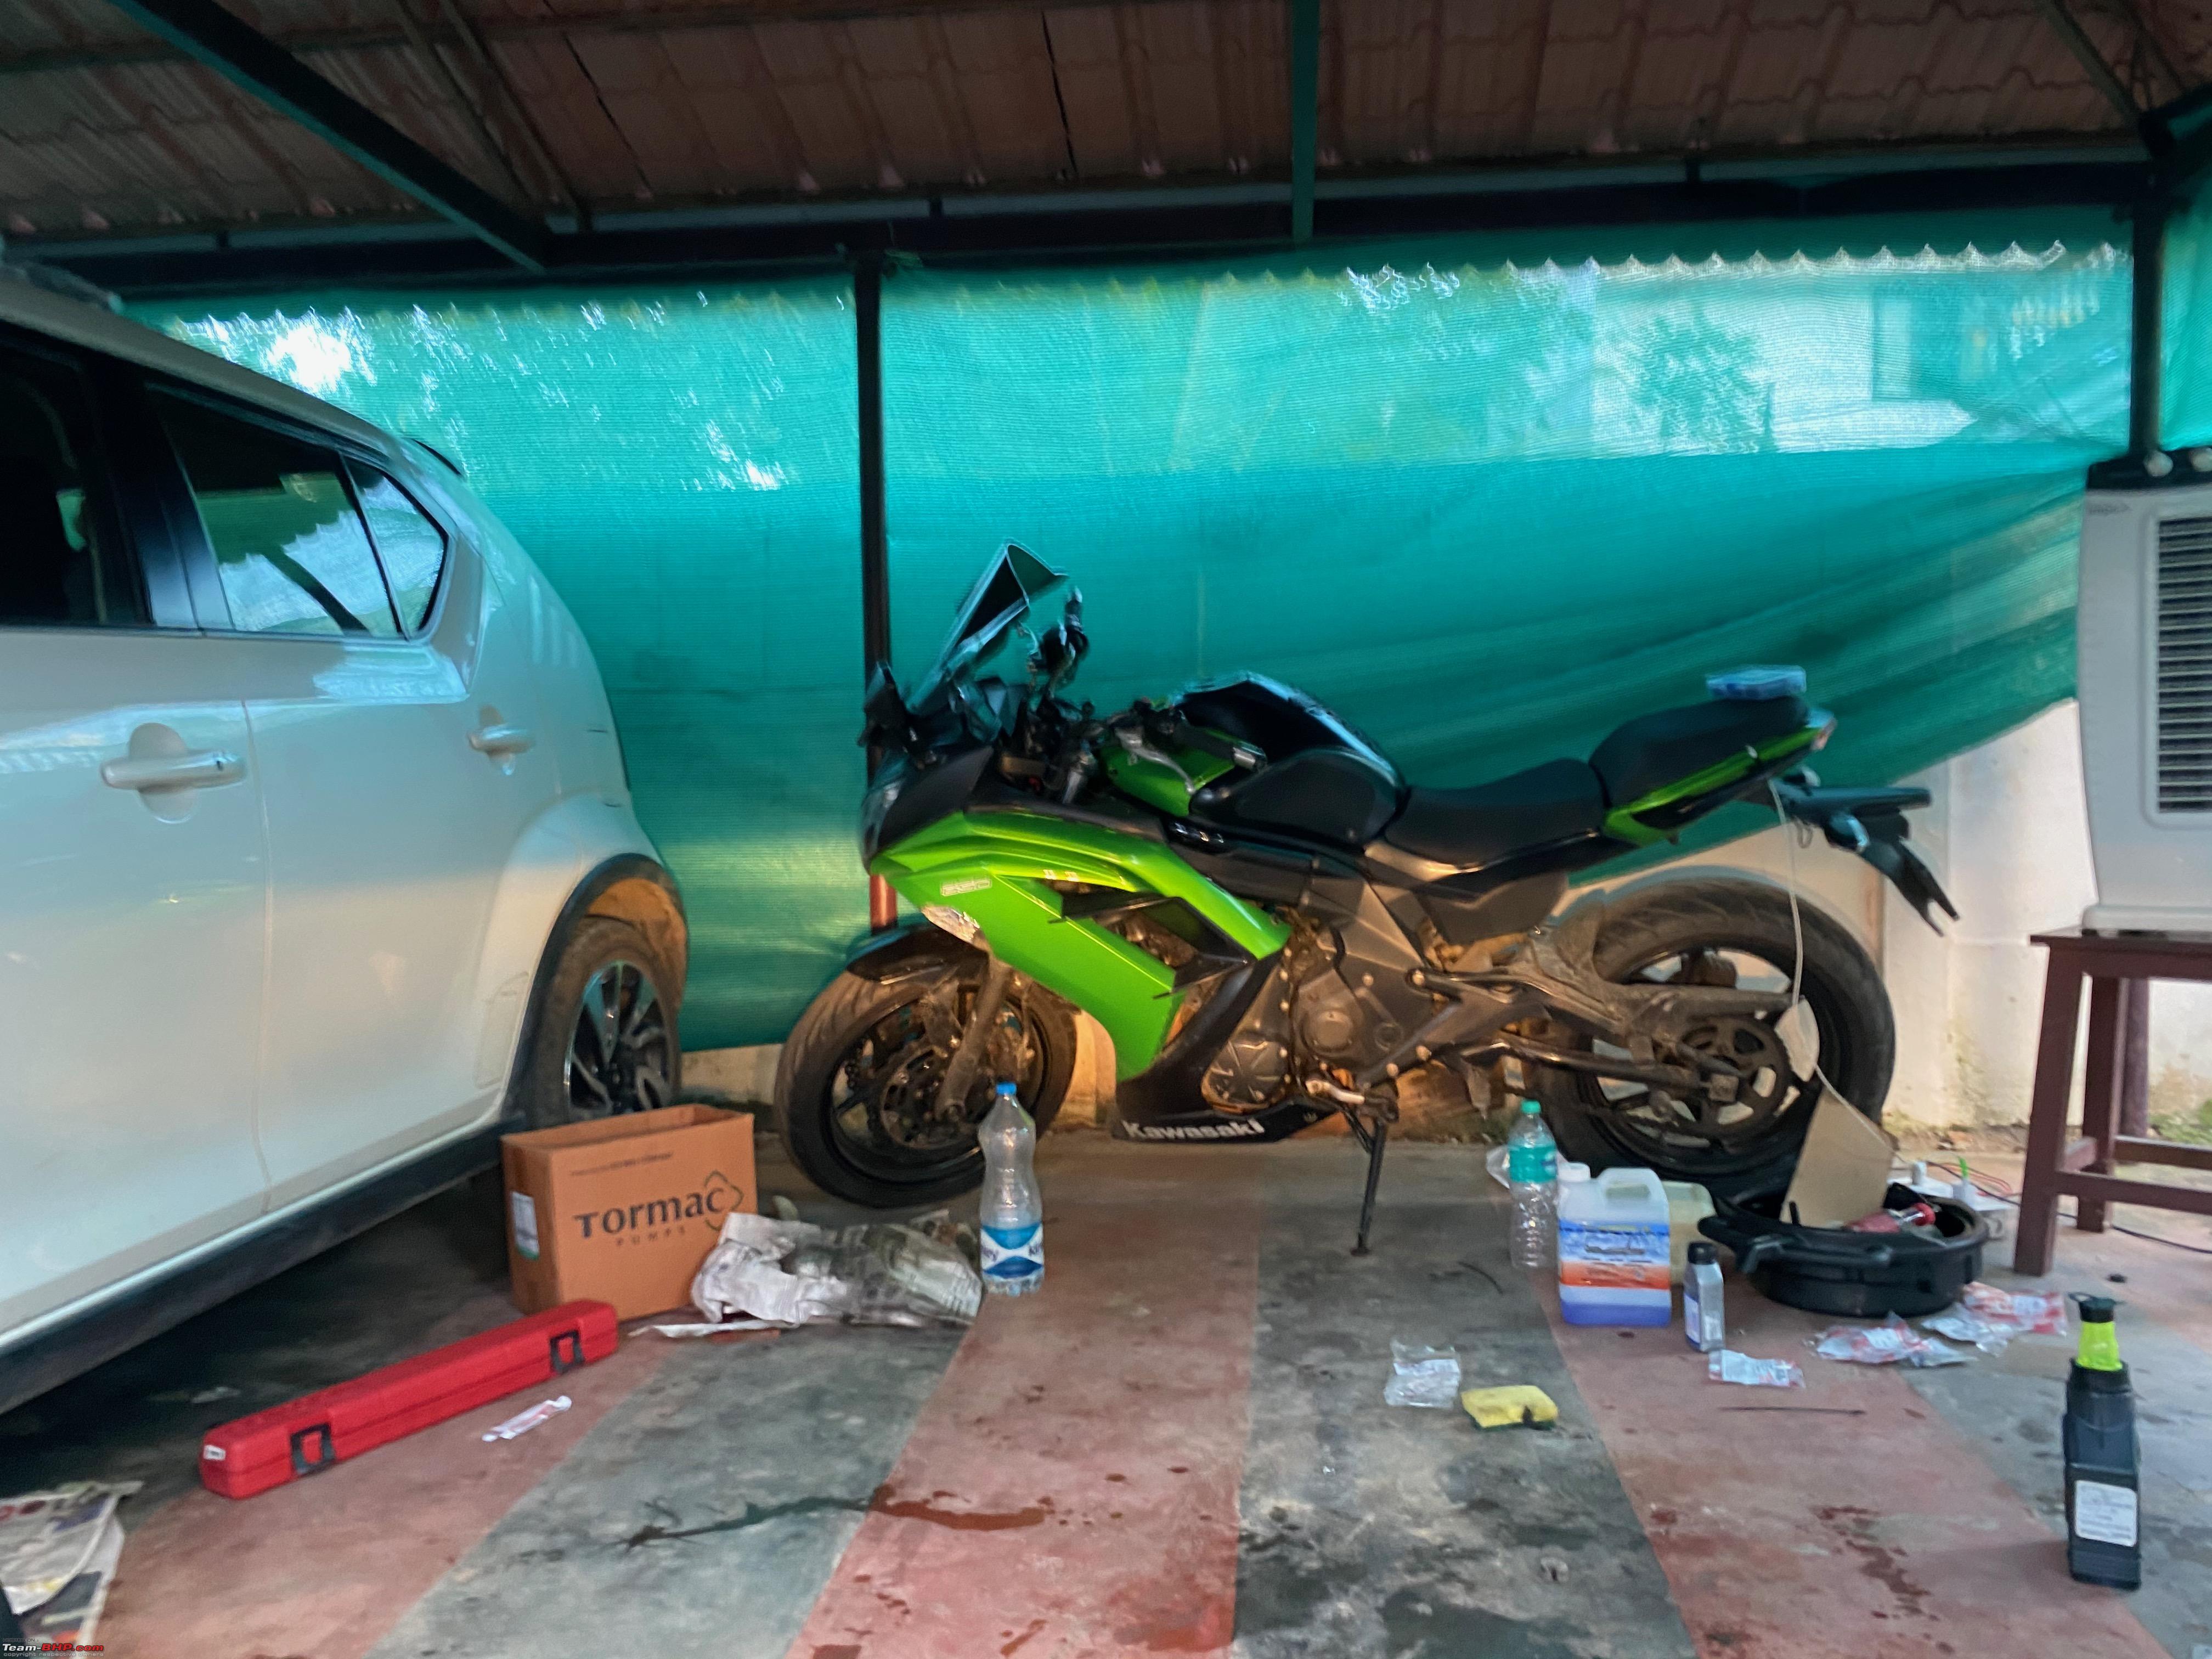 We had to do the adjustment in daylight time so couldnt dial it in properly but achieved somewhat satisfactory results with the low beam. The Low beam now has a better throw and is actually usable now. But we biffed it with the high beam before it used to illuminate the top of trees but now it illuminates the footpaths for the pedestrians. Well, at least now it comes to use for someone. Need to revisit this at some point.** Fixing the Pass switch Not sure if I had mentioned this before but the pass switch on the R1 had stopped working about a month into ownership. Somehow I always forgot about it when I took the bike to get general work done on the bike. So this time made sure to fix this. 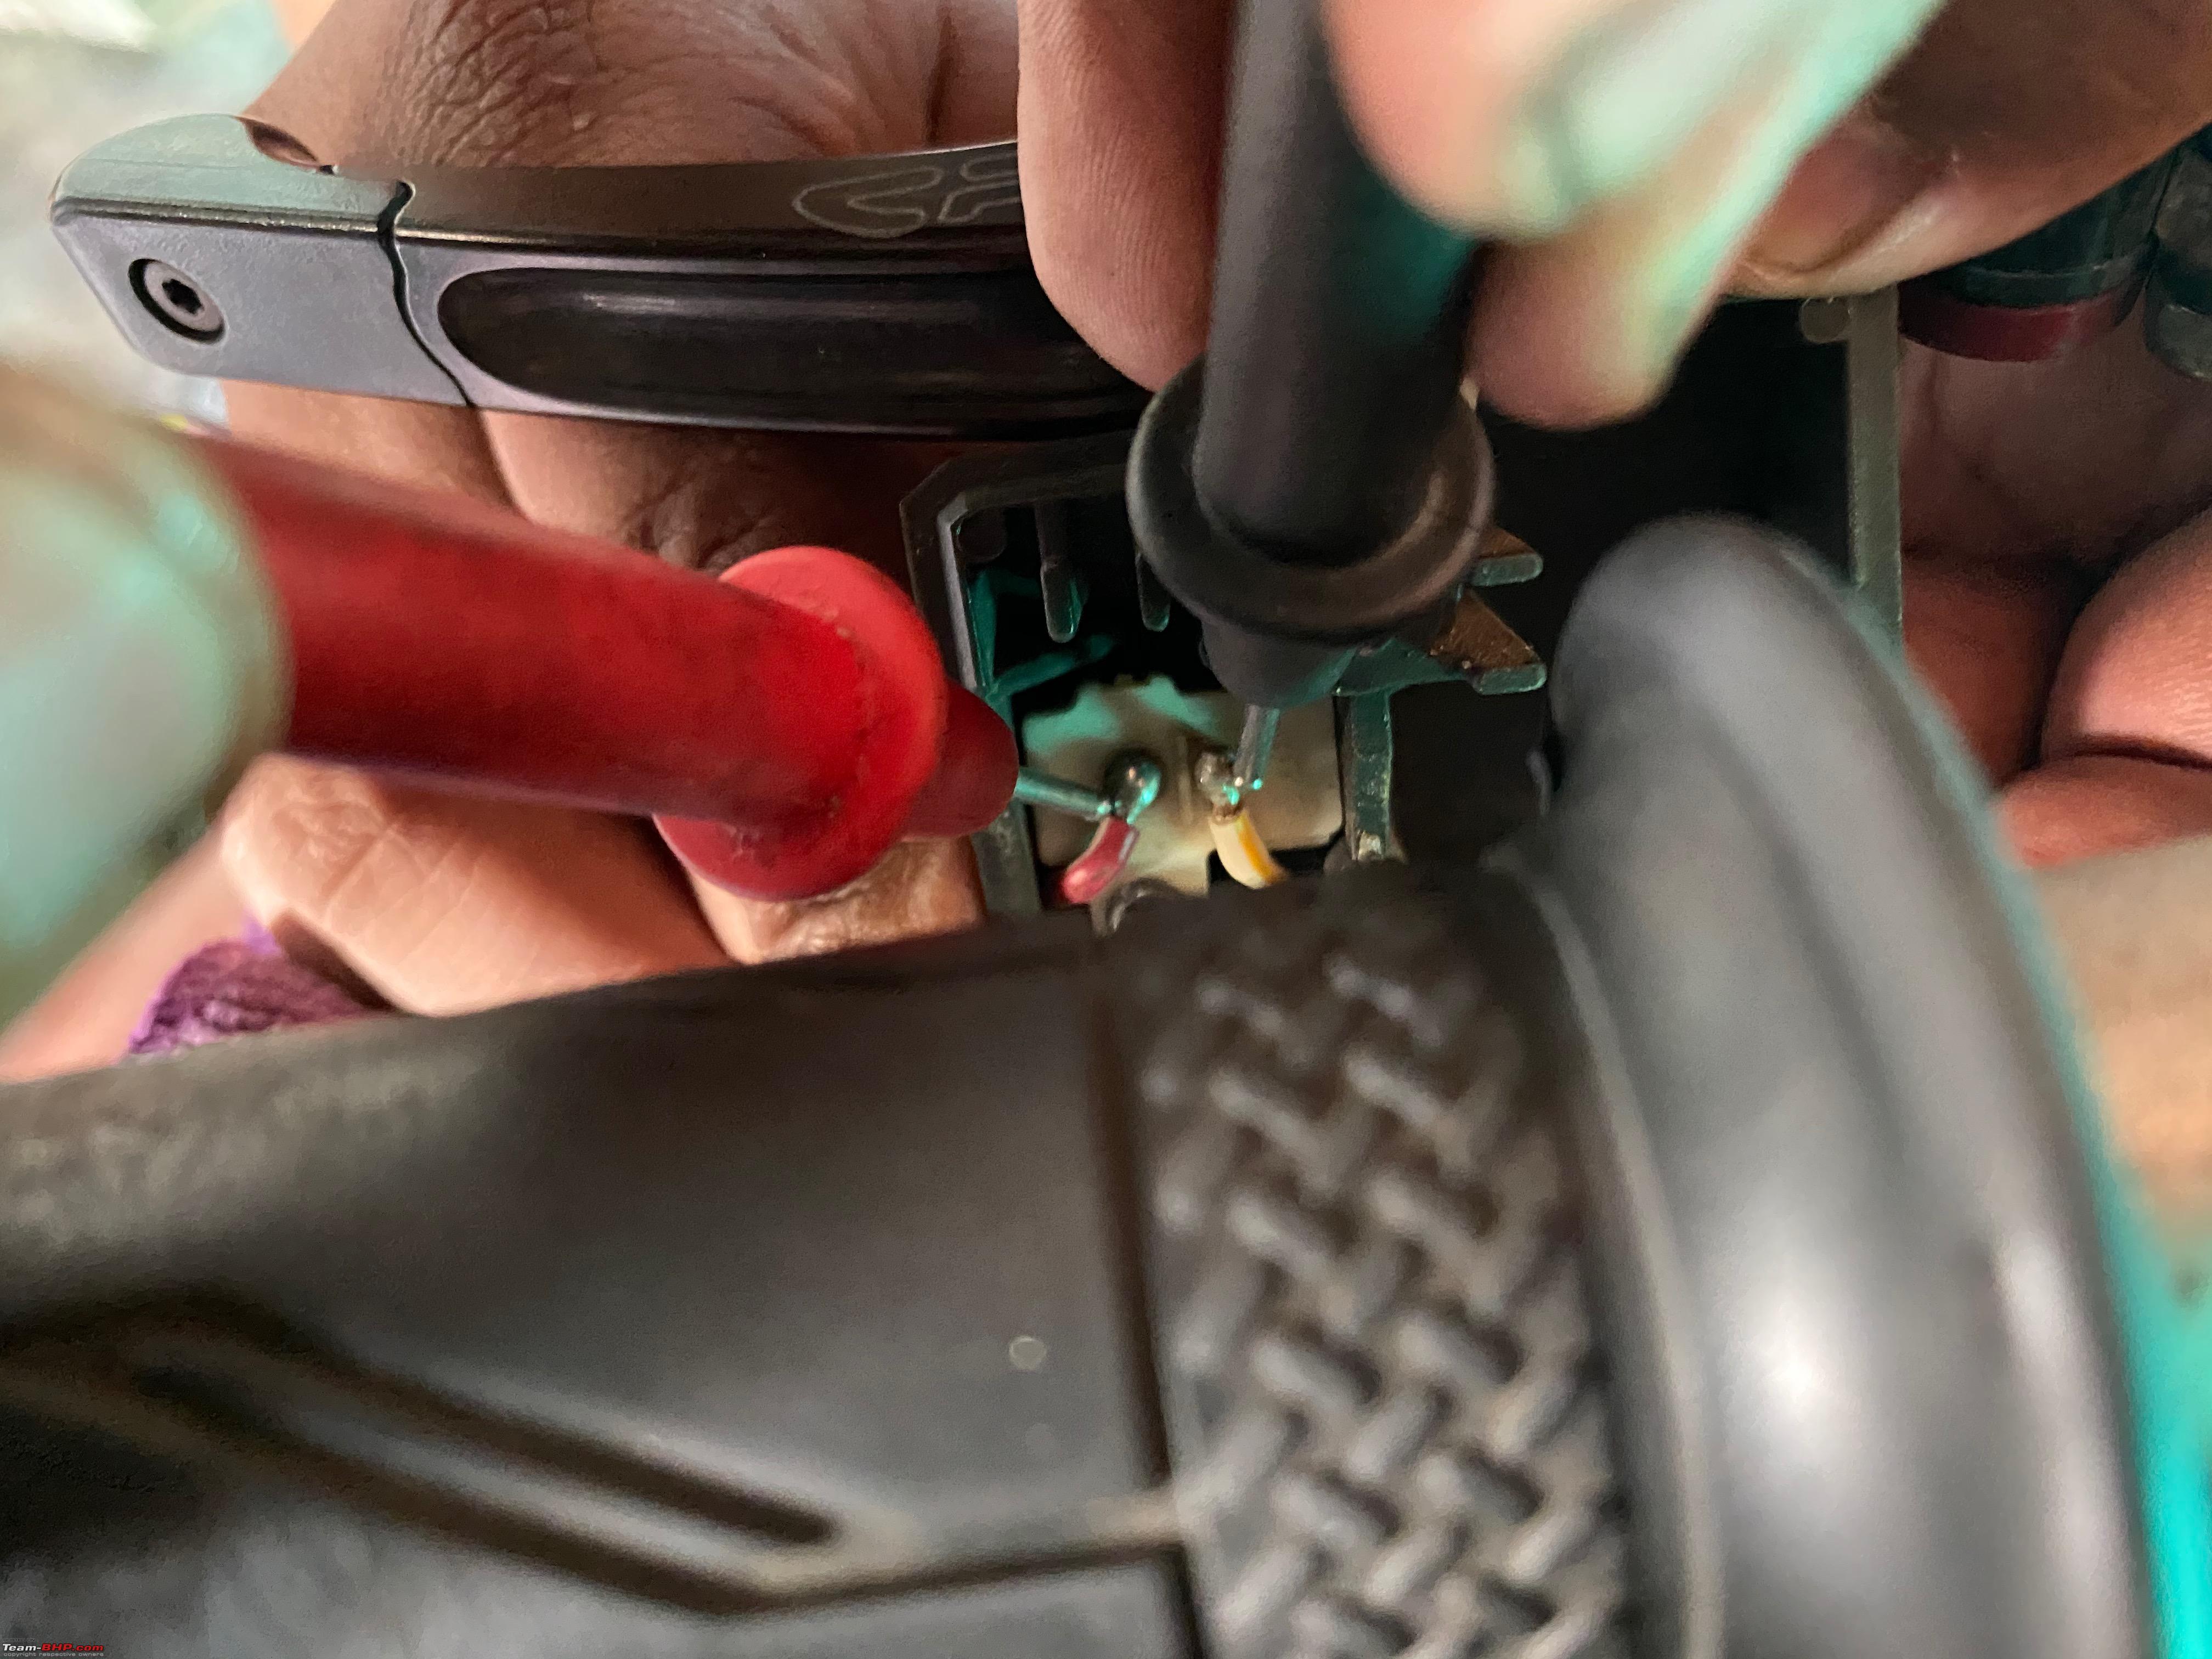 We opened up the left side switchgear and checked it expecting to see rust or moisture build-up but to our surprise, it was squeaky clean and no rust or moisture at all. This was indeed a surprise as now we were baffled about what the issue could be, the contact points were clean too.  We took a multimeter to check continuity and found out the issue, even with pressing/engaging the pass switch the circuit had no continuity to it but when we shorted the 2 wires directly it had continuity. That meant we had to further dismantle the unit and see why the switch was not completing the circuit when it was asked to do so, but luckily we just decided to give the good old WD40 treatment a try, and lo and behold the switch starts working again. We let the WD40 dry up and cleaned up the inside of any excess fluids and gave it another try, yup still works so that was an easy fix.* Throttle sync Well, since the R3 had a lot of work to be done and a lot of time went into that we did not have enough time to dismantle the R1 too as getting to the throttle body requires the airbox to come off and the velocity stacks to come off. Moreover, it was not a pressing job to be done as my idling is smooth and no unwanted creeping vibrations are noticed too so nothing points to an out of sync throttle body. So we decided to tackle this the next time and do it with enough time in hand.* Machine used to check and adjust the Throttle sync  Now lets move over to the meaty part. Front and Back Brake bleeding So you can see that I have added Front and Back Brake bleeding in the list even though I had just gotten the brakes to run on DOT 5.1 not more than 1k km back and the brakes were thoroughly bled too. 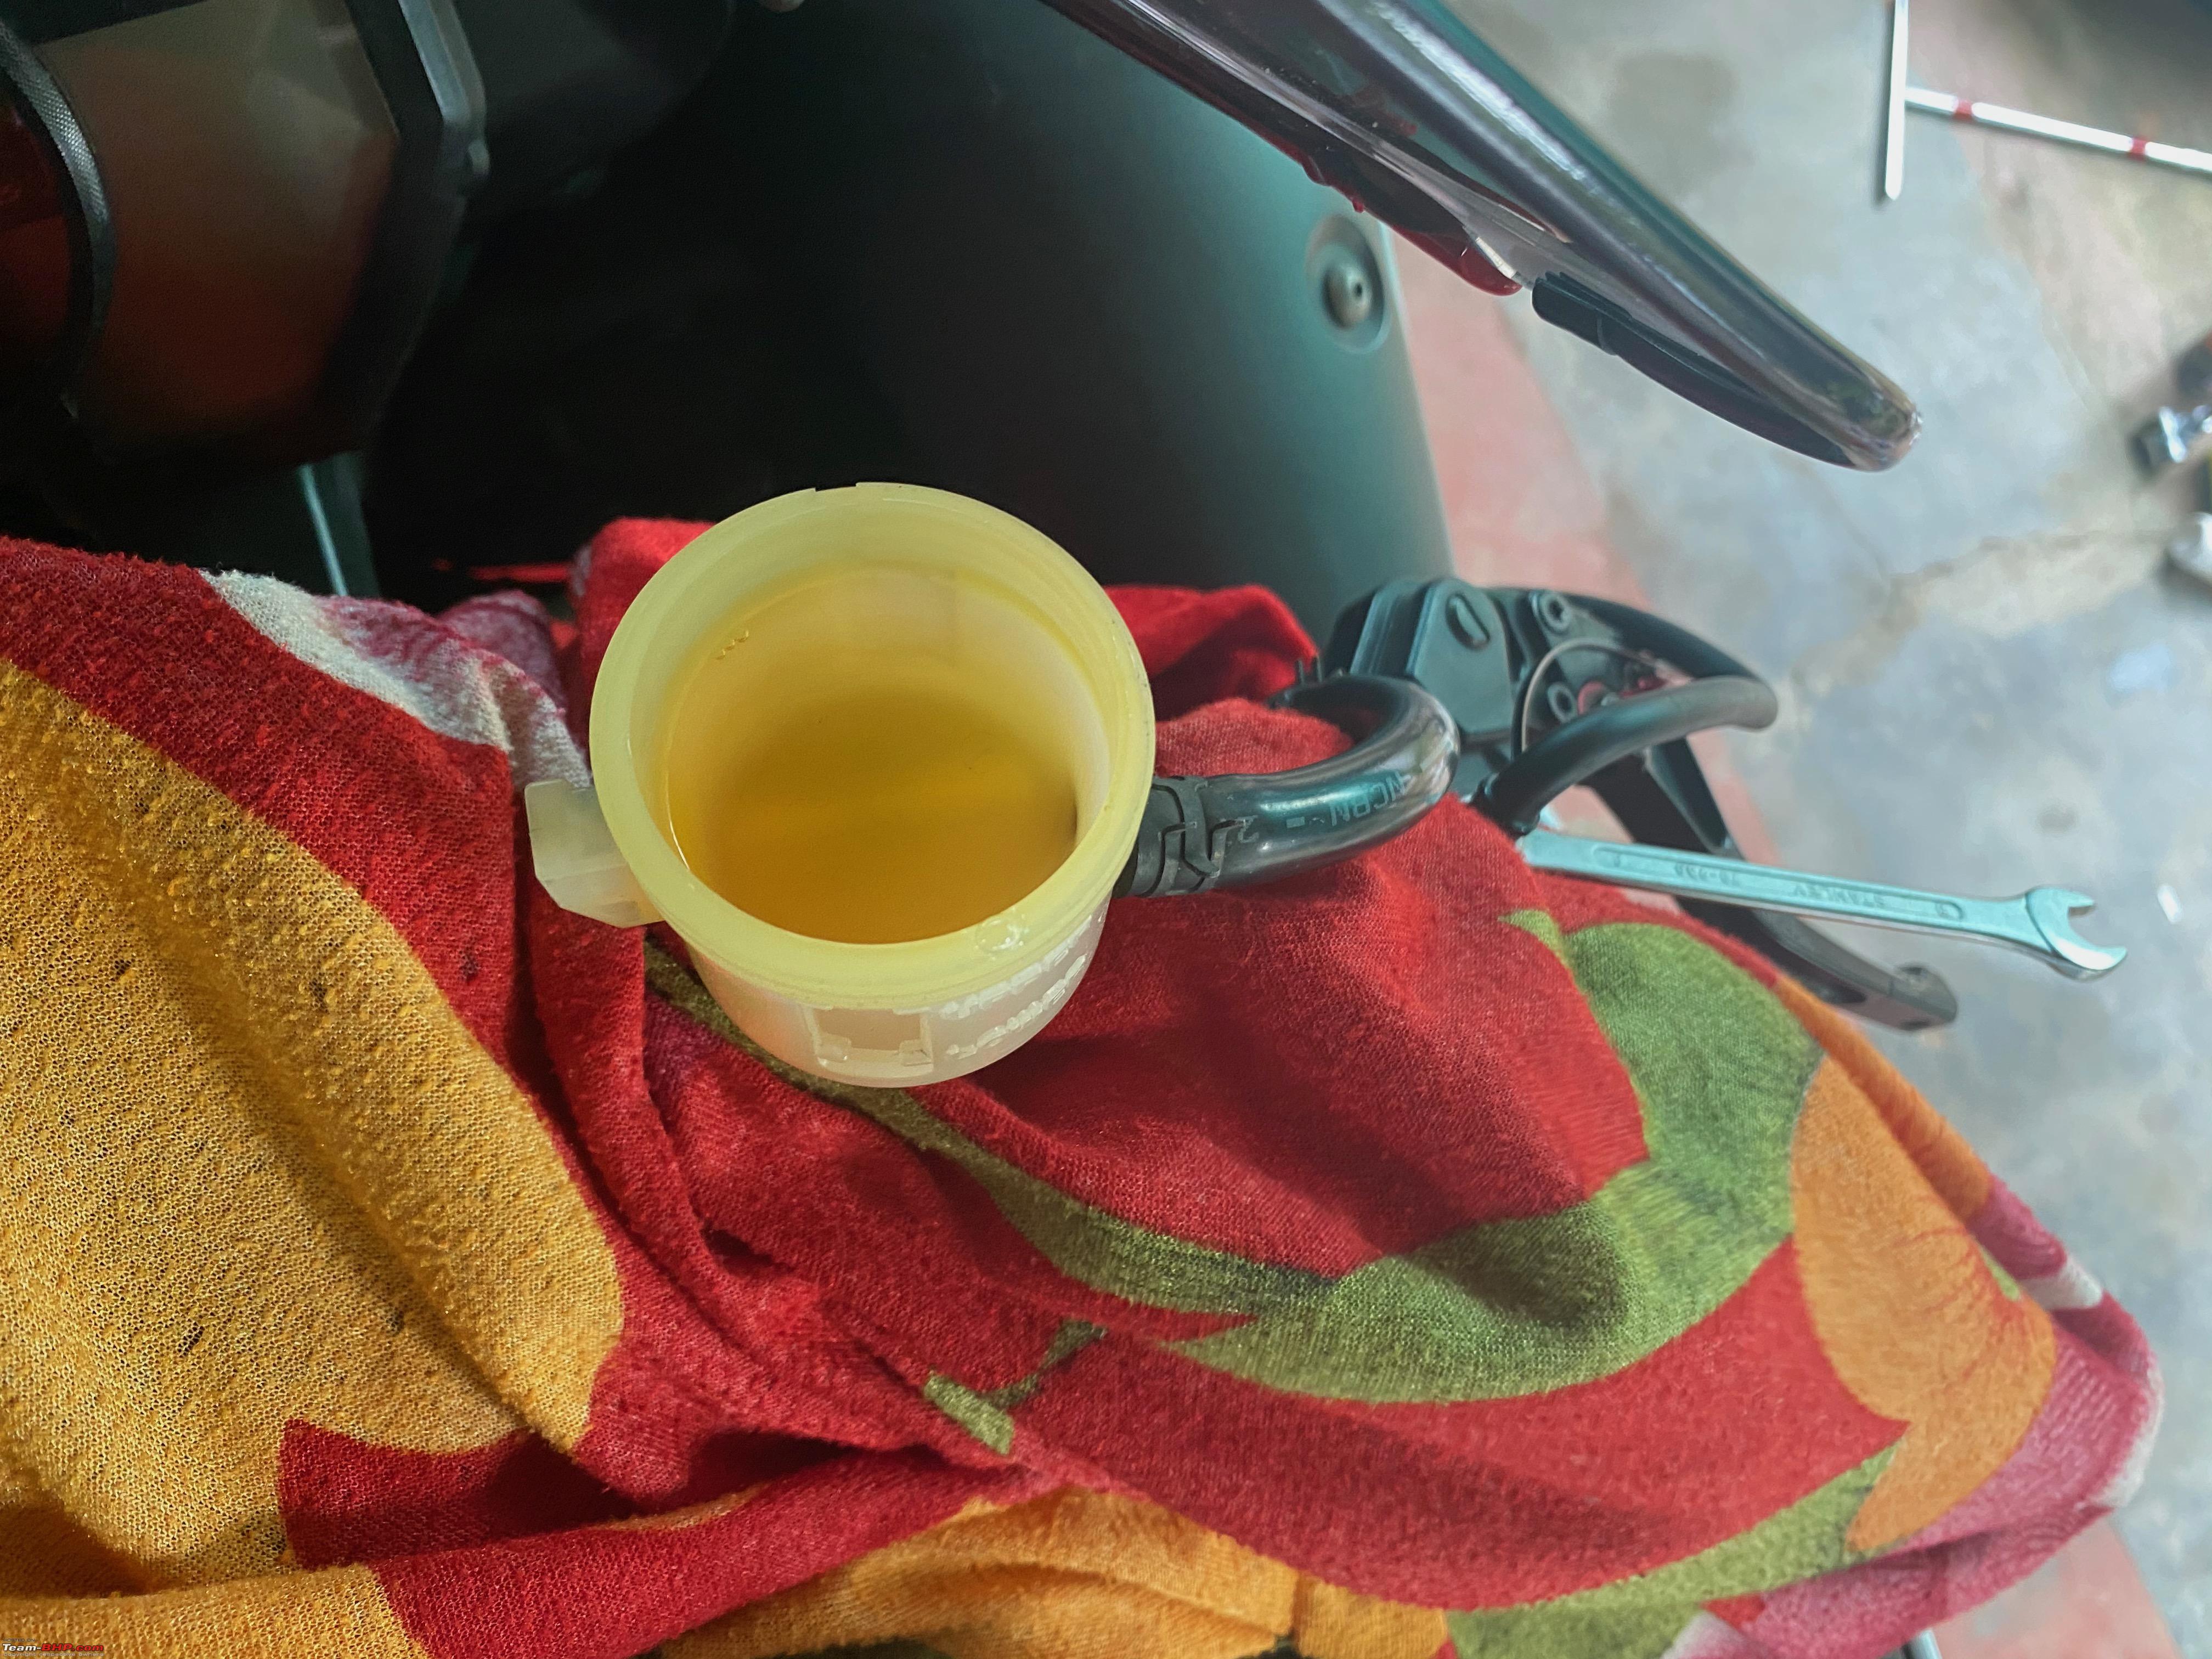 During my last short spin on the R1, I had noticed the front brake play to have increased a bit than what I was used to, I did not make/think much of it as it wasnt that bad. 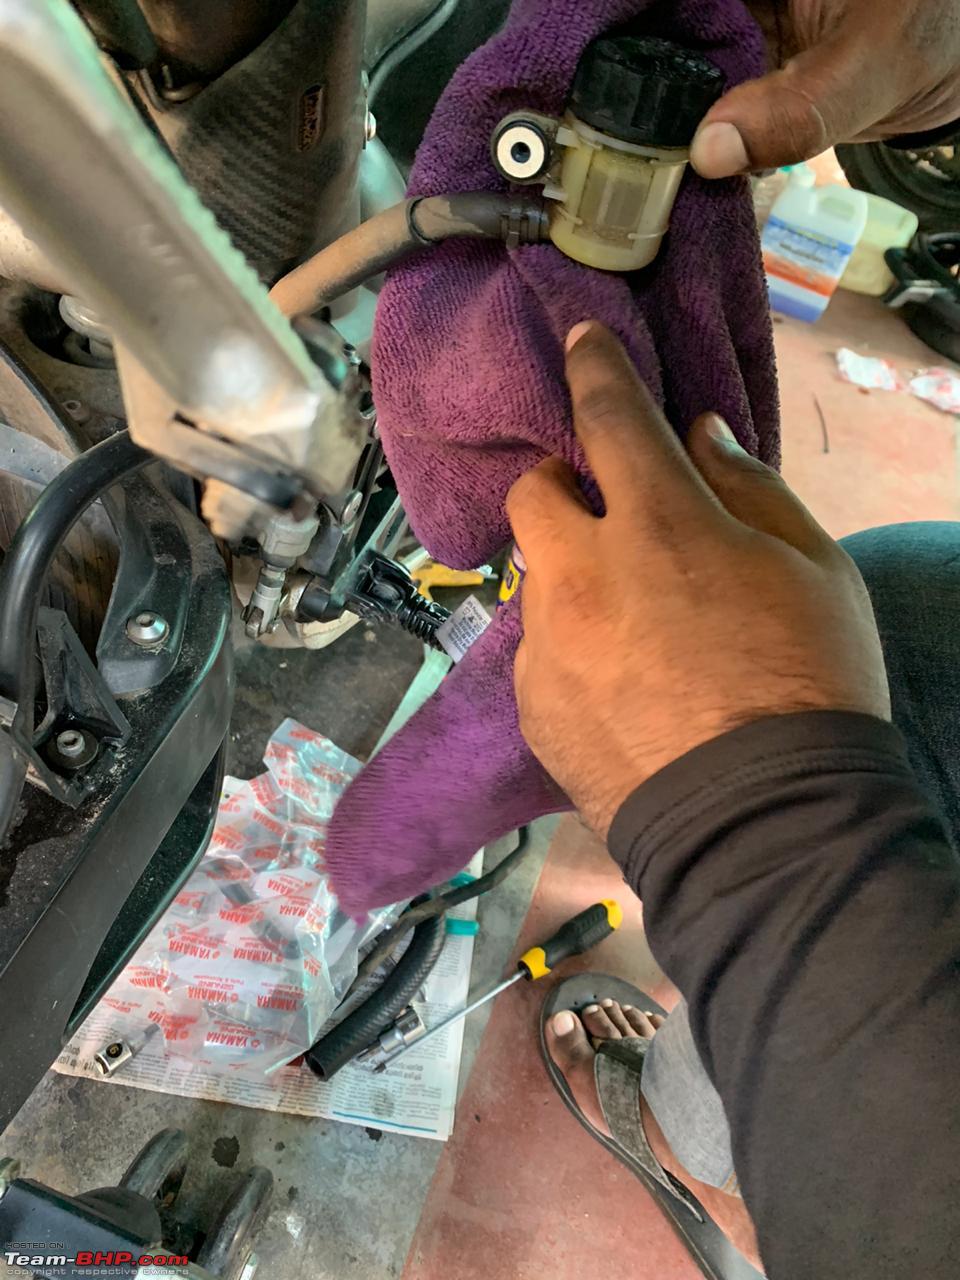 But on Saturday when I took the bike for fueling up for the Sunday ride I noticed that the front brakes had turned considerable spongy but the reservoir had more than enough fluid in them too and by the time I had reached back from refueling the rear brake too lost almost complete pedal feel. Oh, look a washer. Found this on my garage floor where all the bikes are parked. I know seems very random right? Trust me its not. Youll find out soon.  At this point I was considering not taking the R1 at all as riding close to 200 km without good brakes was not such a good idea. But since the front brakes still had some potency too it and were not completely dead I decided to go ahead with the plan and thats how the brake bleeding was added to the list so soon. * But wait a new development has occurred, now I was running Liqui Moly Dot 5.1 fluid in mine and now this particular product was not in stock in any shops in Cochin. Usually, it is not advised to mix brake fluids but as it turns out you can mix Dot 4 with 5.1 as per a blog post by Amsoil (refer here), now since they know much more about oils as they are a leading company in oils and lubricant I decided to go ahead and use Liqui Moly Dot 4 for the fluid change anyways But wait theres more, remember when I said that the rear pedal had lost all its feedback well, turns out it hadnt. So towards the end of our ride just before reaching cochin when we were stopping for fuel, I pressed on the brake pedal to hold the bike from rolling back and as expected got no pedal feel at all but that is when Xaos636 noticed that the rear brake MC was also moving along when I pressed the brake, now when we inspected this is when we found the culprit of the rear brake issue, turns out it was not the rear brake getting spongy but instead the screw holding the rear brake assembly in place to the rear set had unthreaded itself from its position and was dangling freely with just 1 mounting point holding it in place. Notice how the bolt has come undone from its place   Removing the rear set to gain access to the mounting points of the rear MC 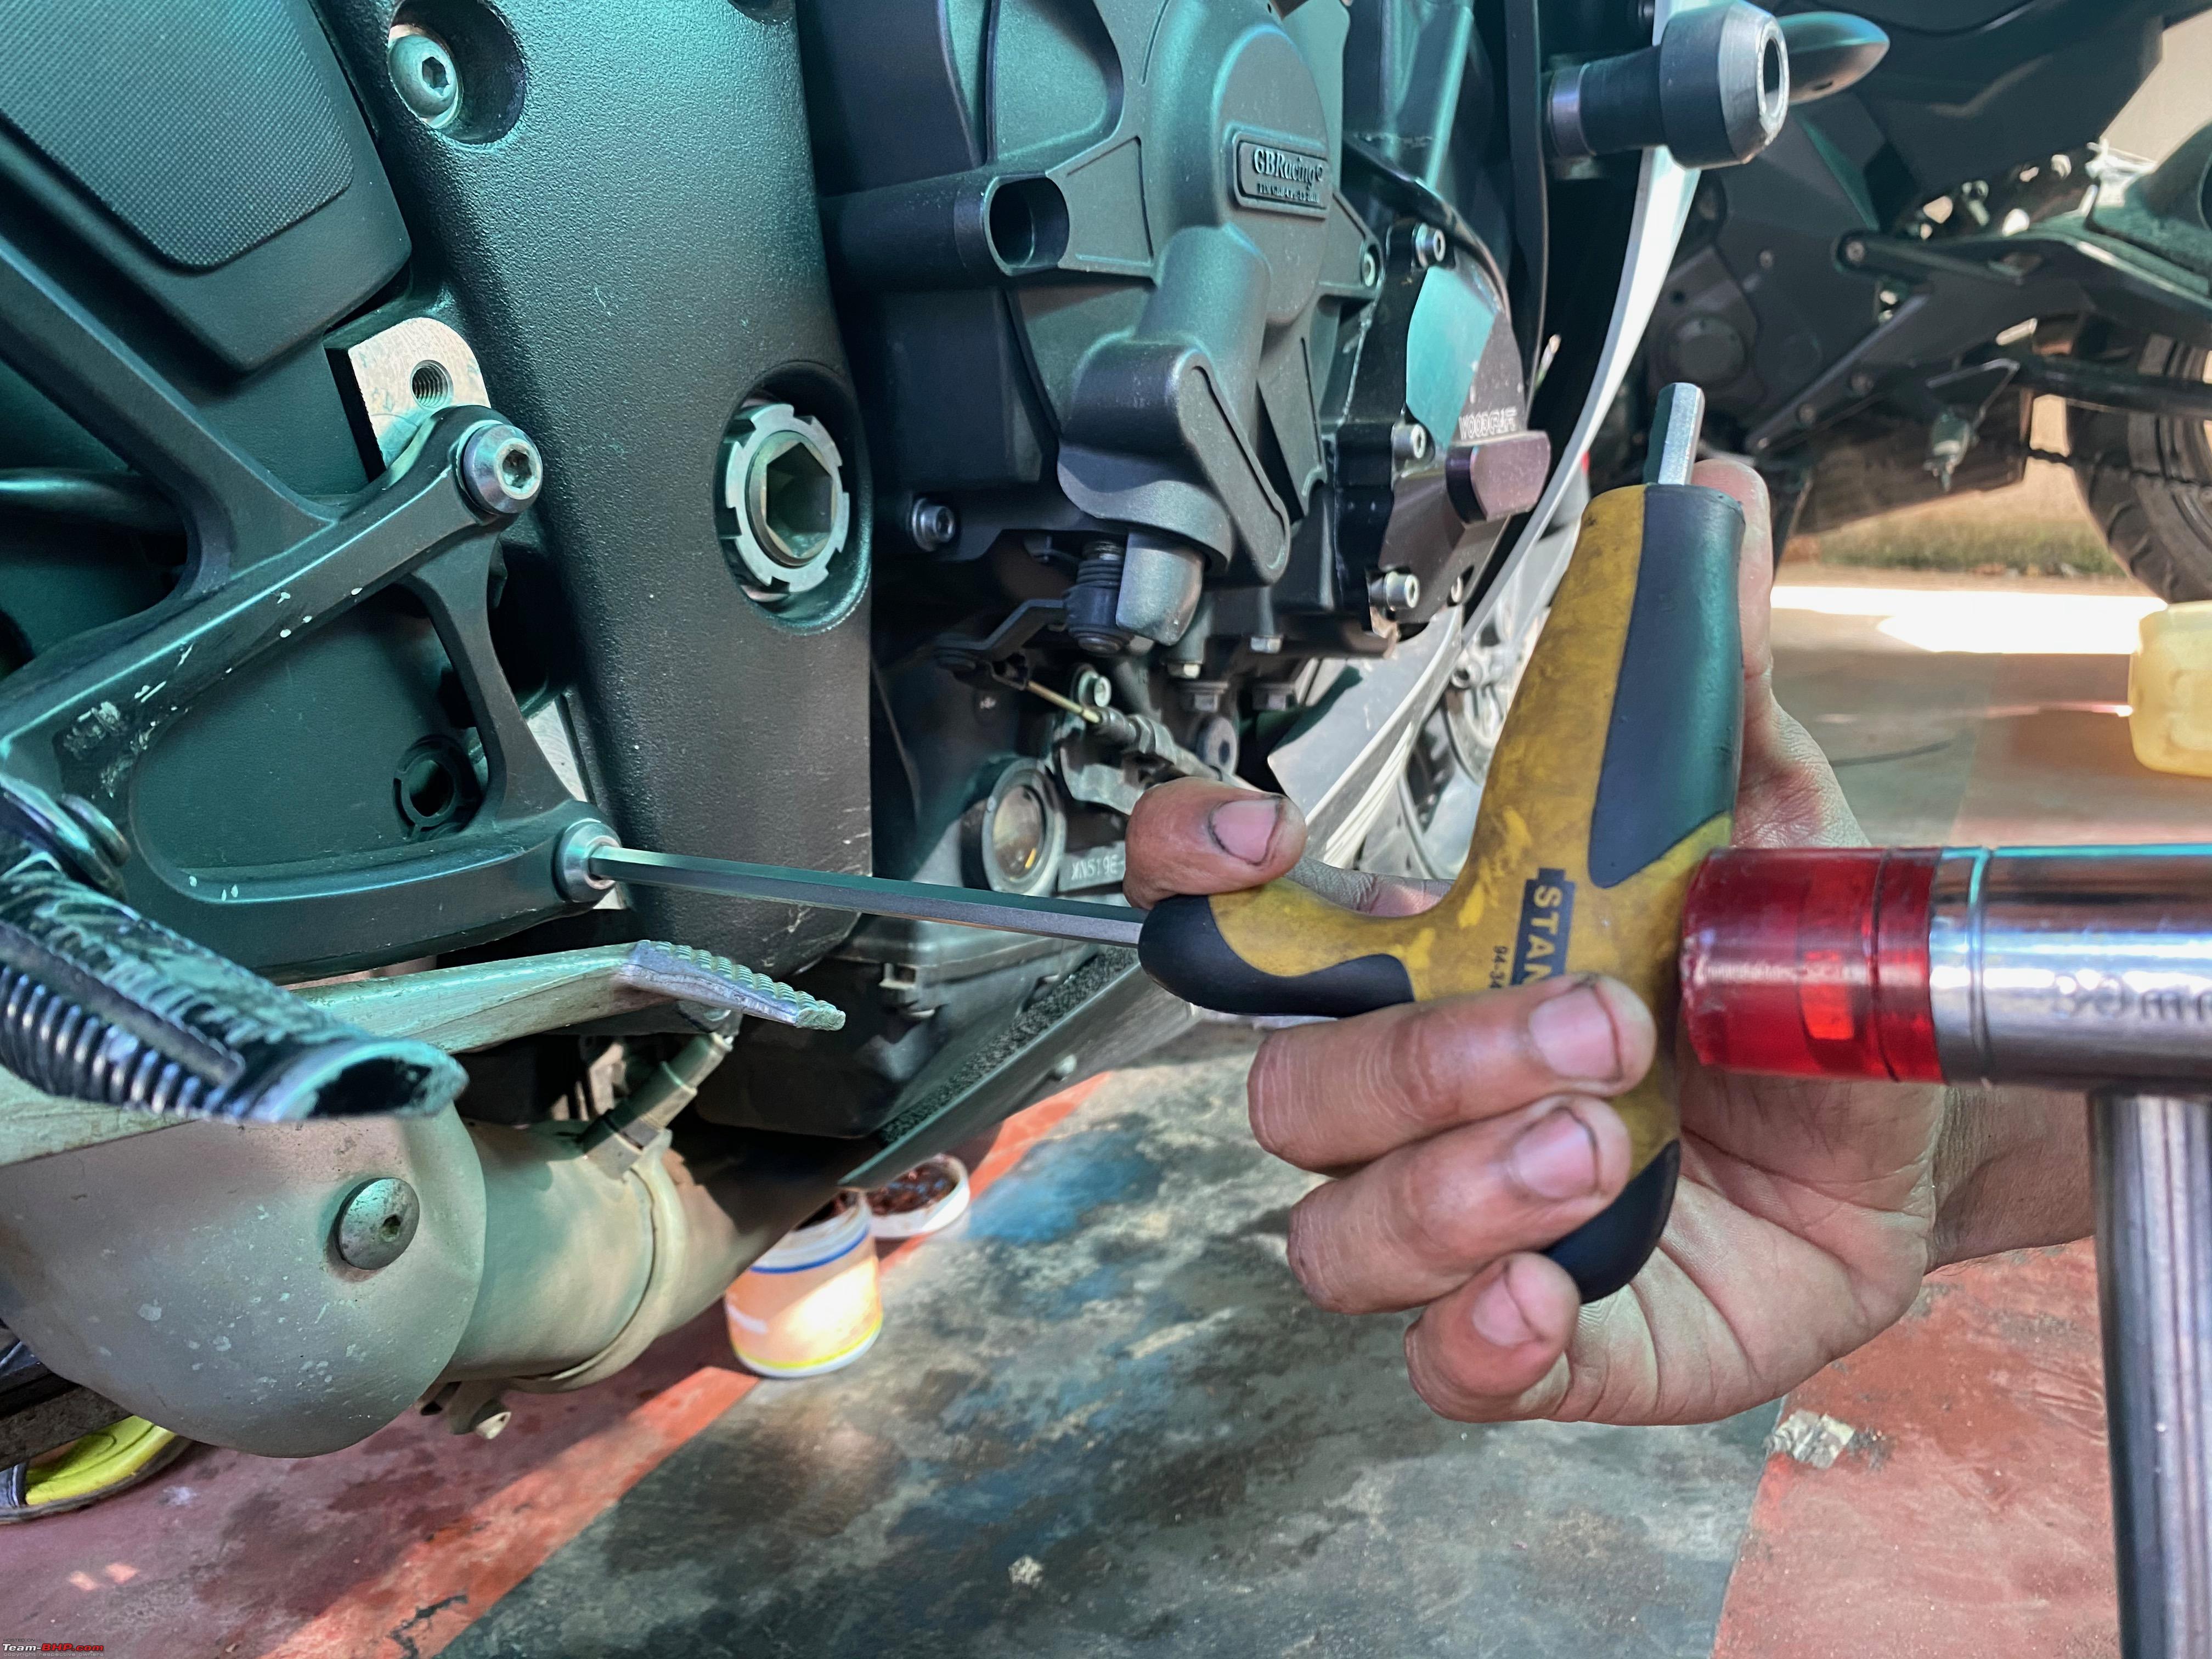 Bolt that had come undone. notice how grimy it is 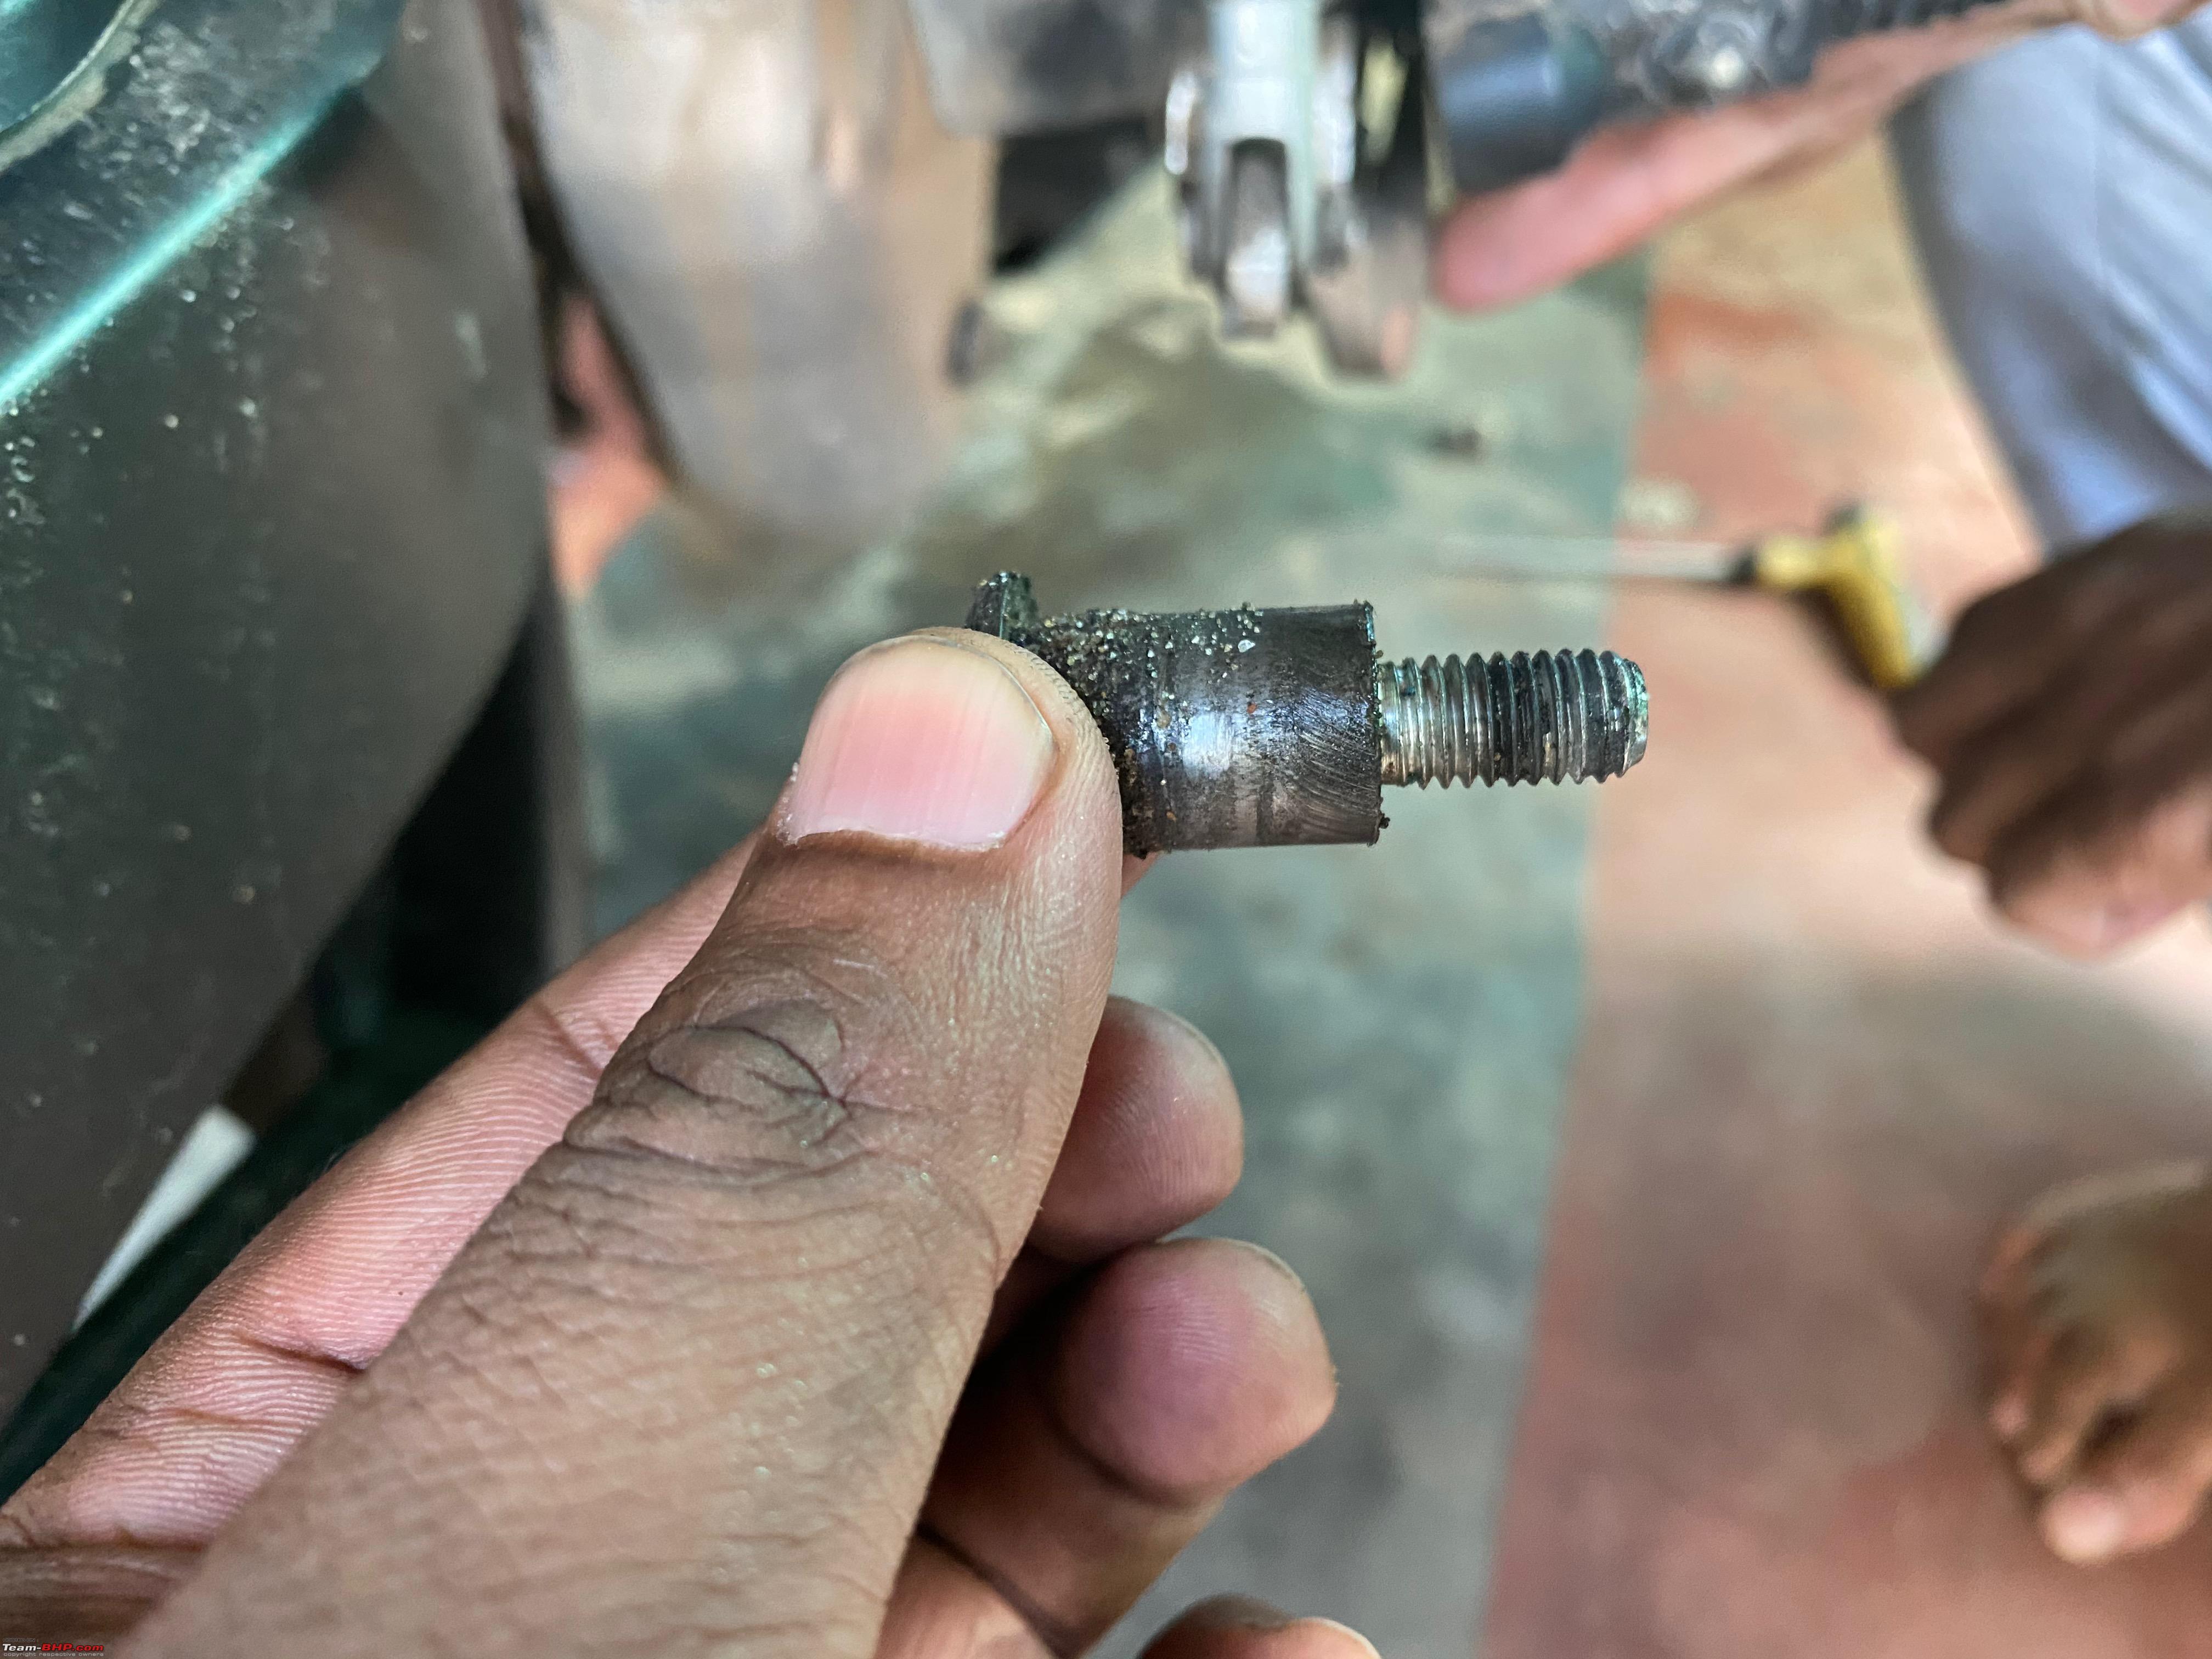 Where it should've been 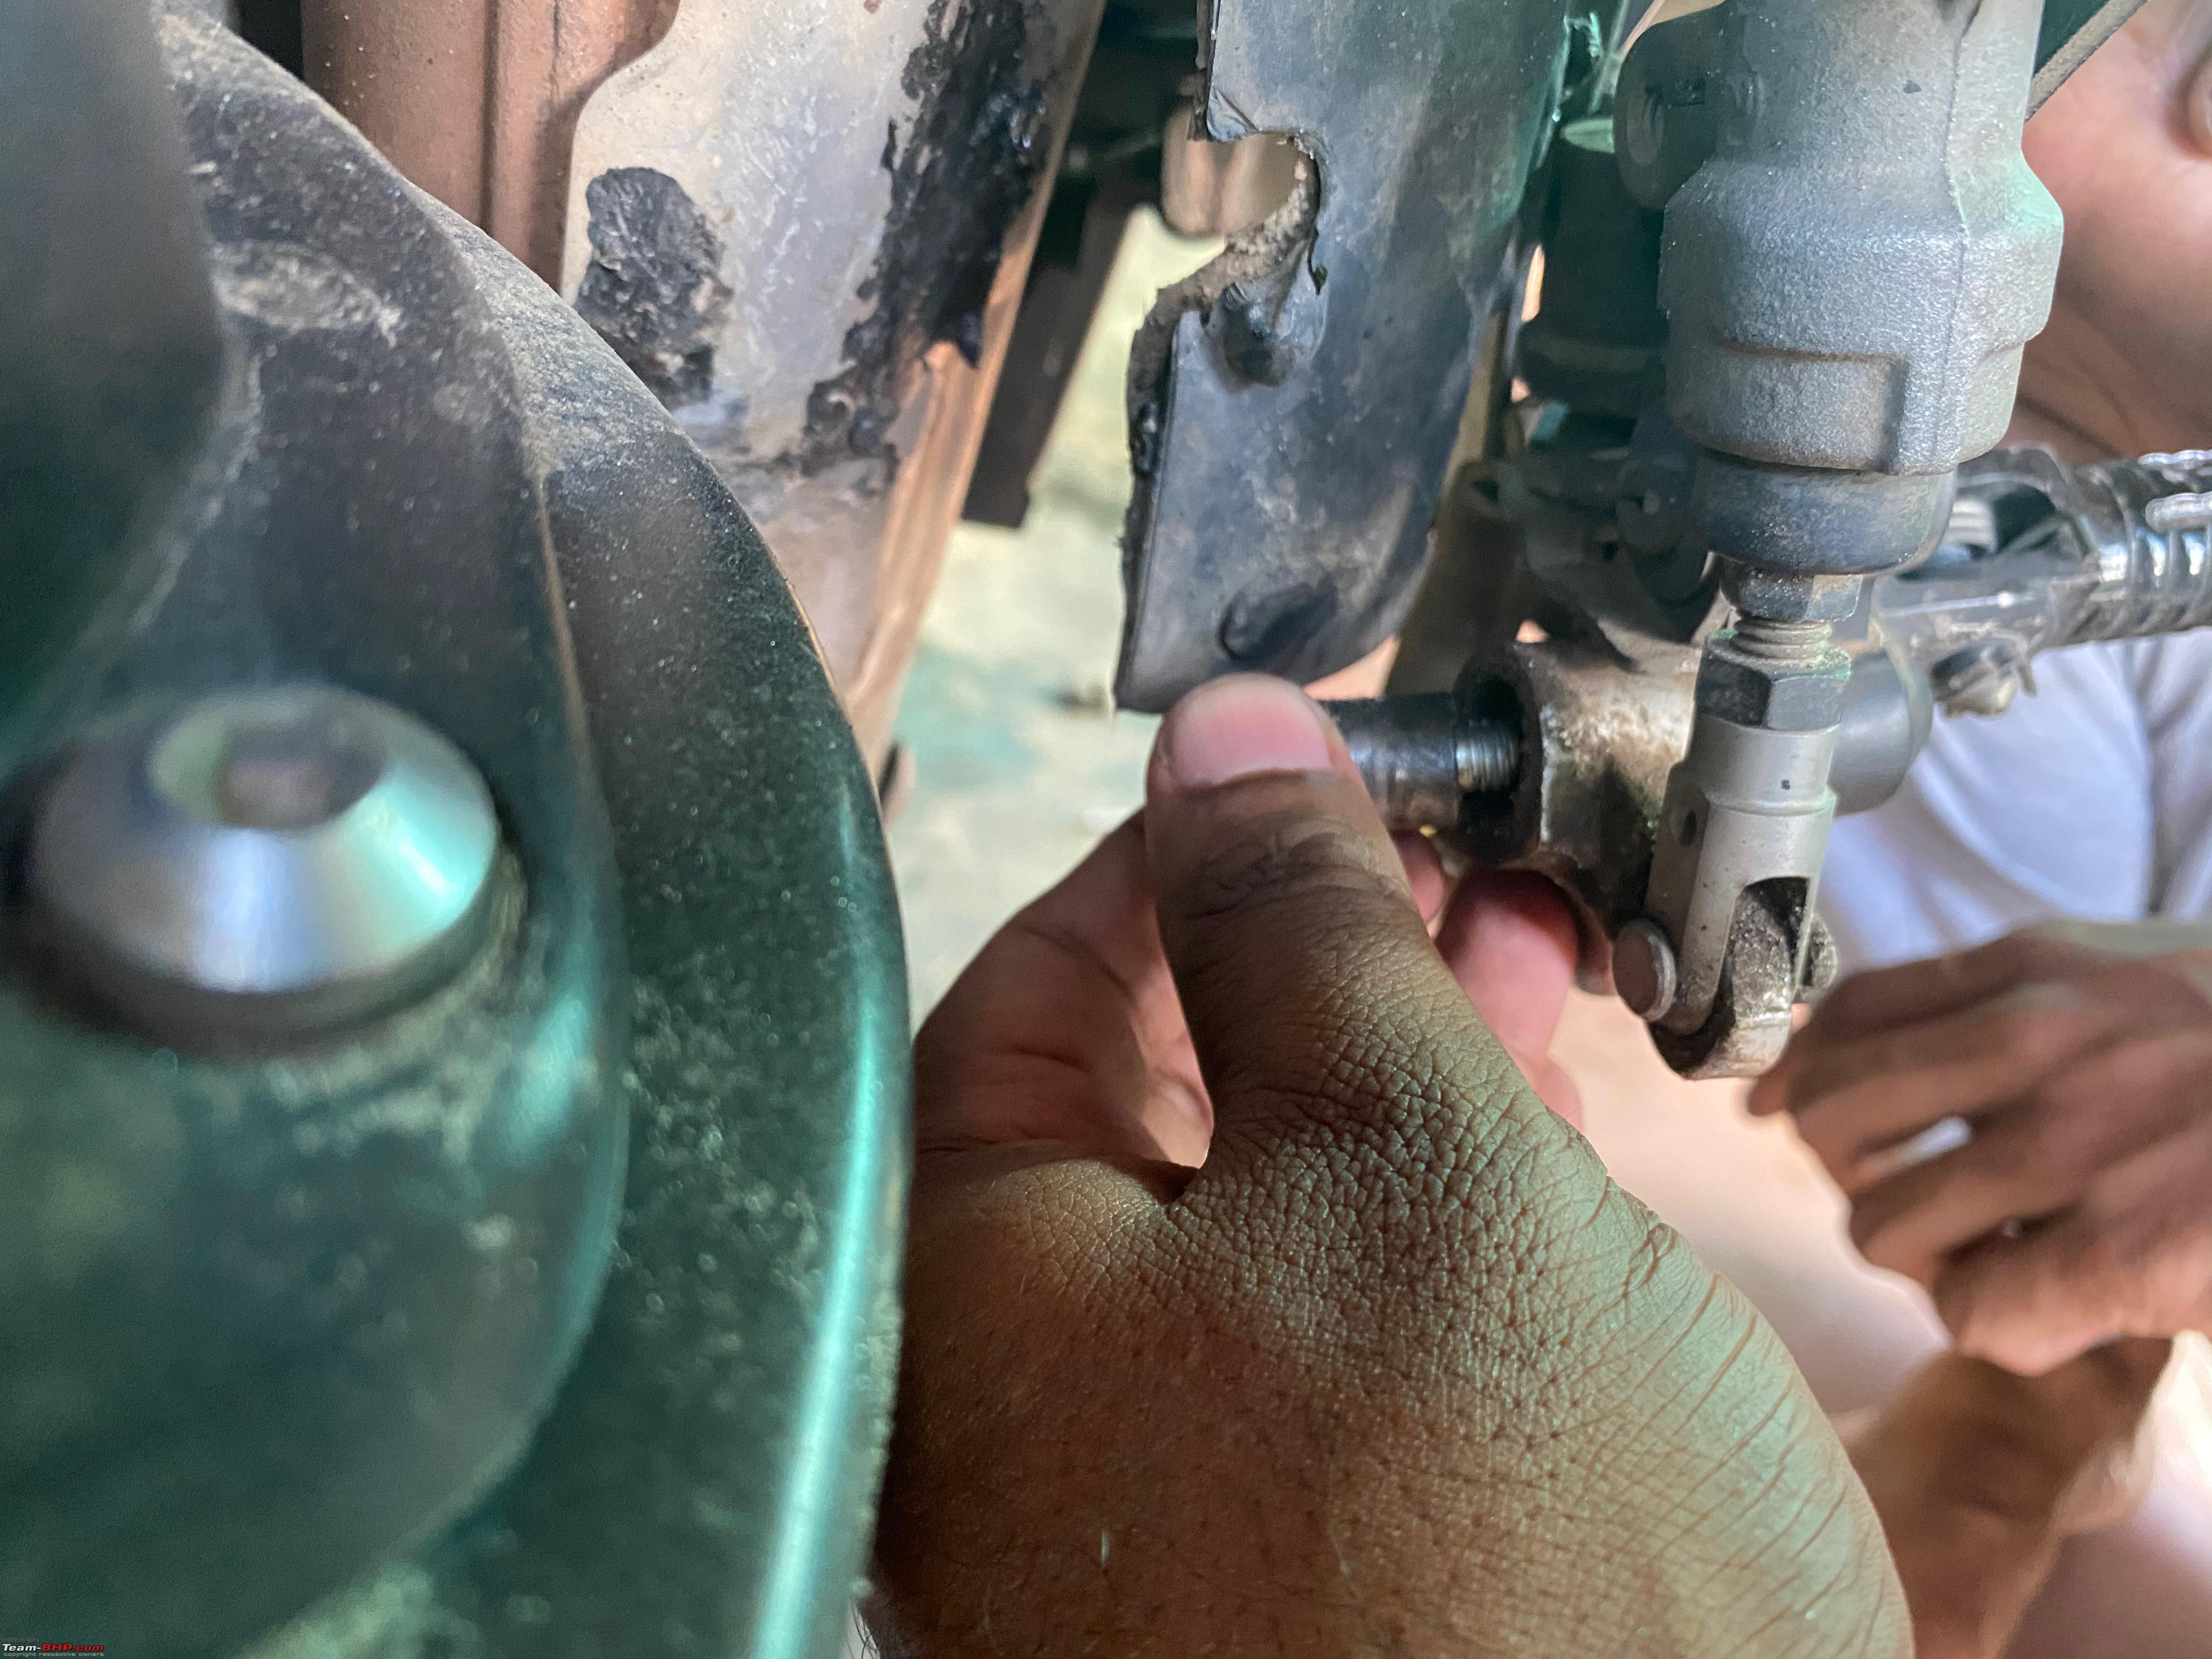 Now, remember the washer I so randomly found on my garage floor? Yup!I still cant believe that the bolt did not drop off somewhere during the entire ride till cochin. Well, all is well, we caught the problem and fixed it too. Took the opportunity to remove the rear sets mounting screws as well and applied a generous amount of anti-seize on them and thread locker too and torques them all to spec using a torque wrench as advised in the service manual. Bolt and washers were cleaned and a generous amount of anti seize applied 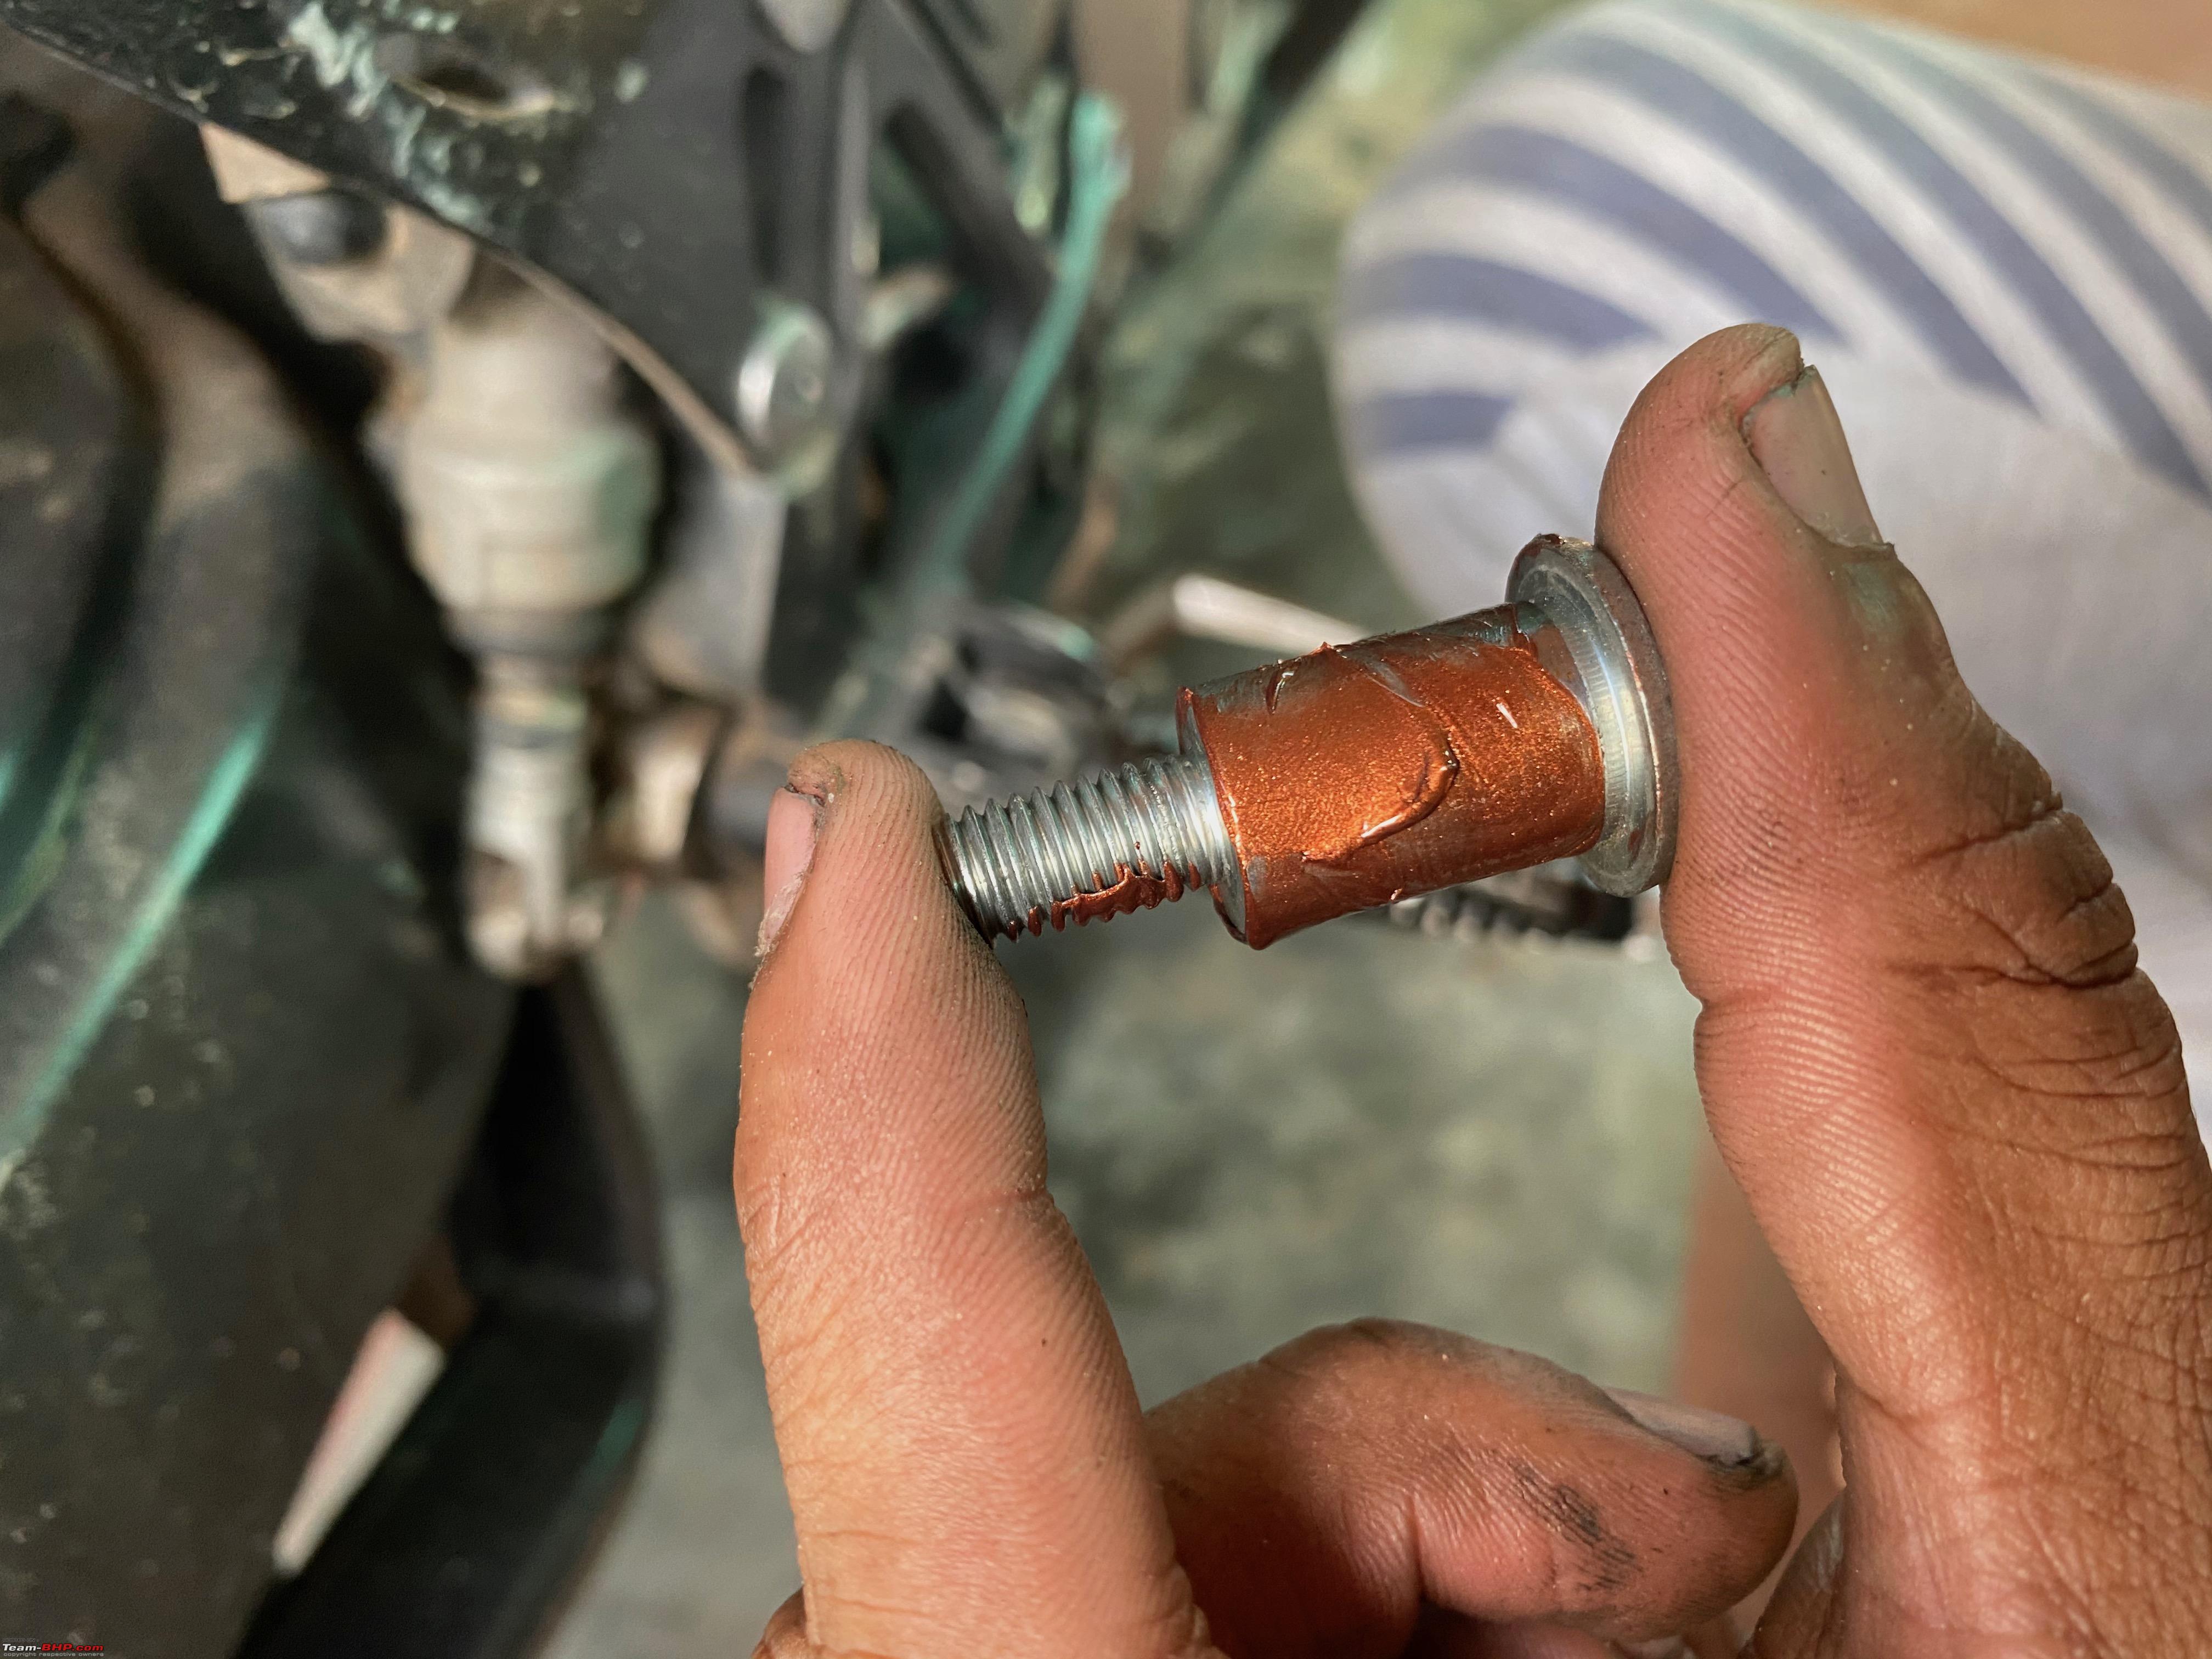    Notice how the exhaust heat plastic has been melted due to contact on the exhaust.  P.S: All bolts and screws were torqued down as per the factory spec and generous amounts of anti-seize were also used. For ease of service in the future. Torque Wrench used 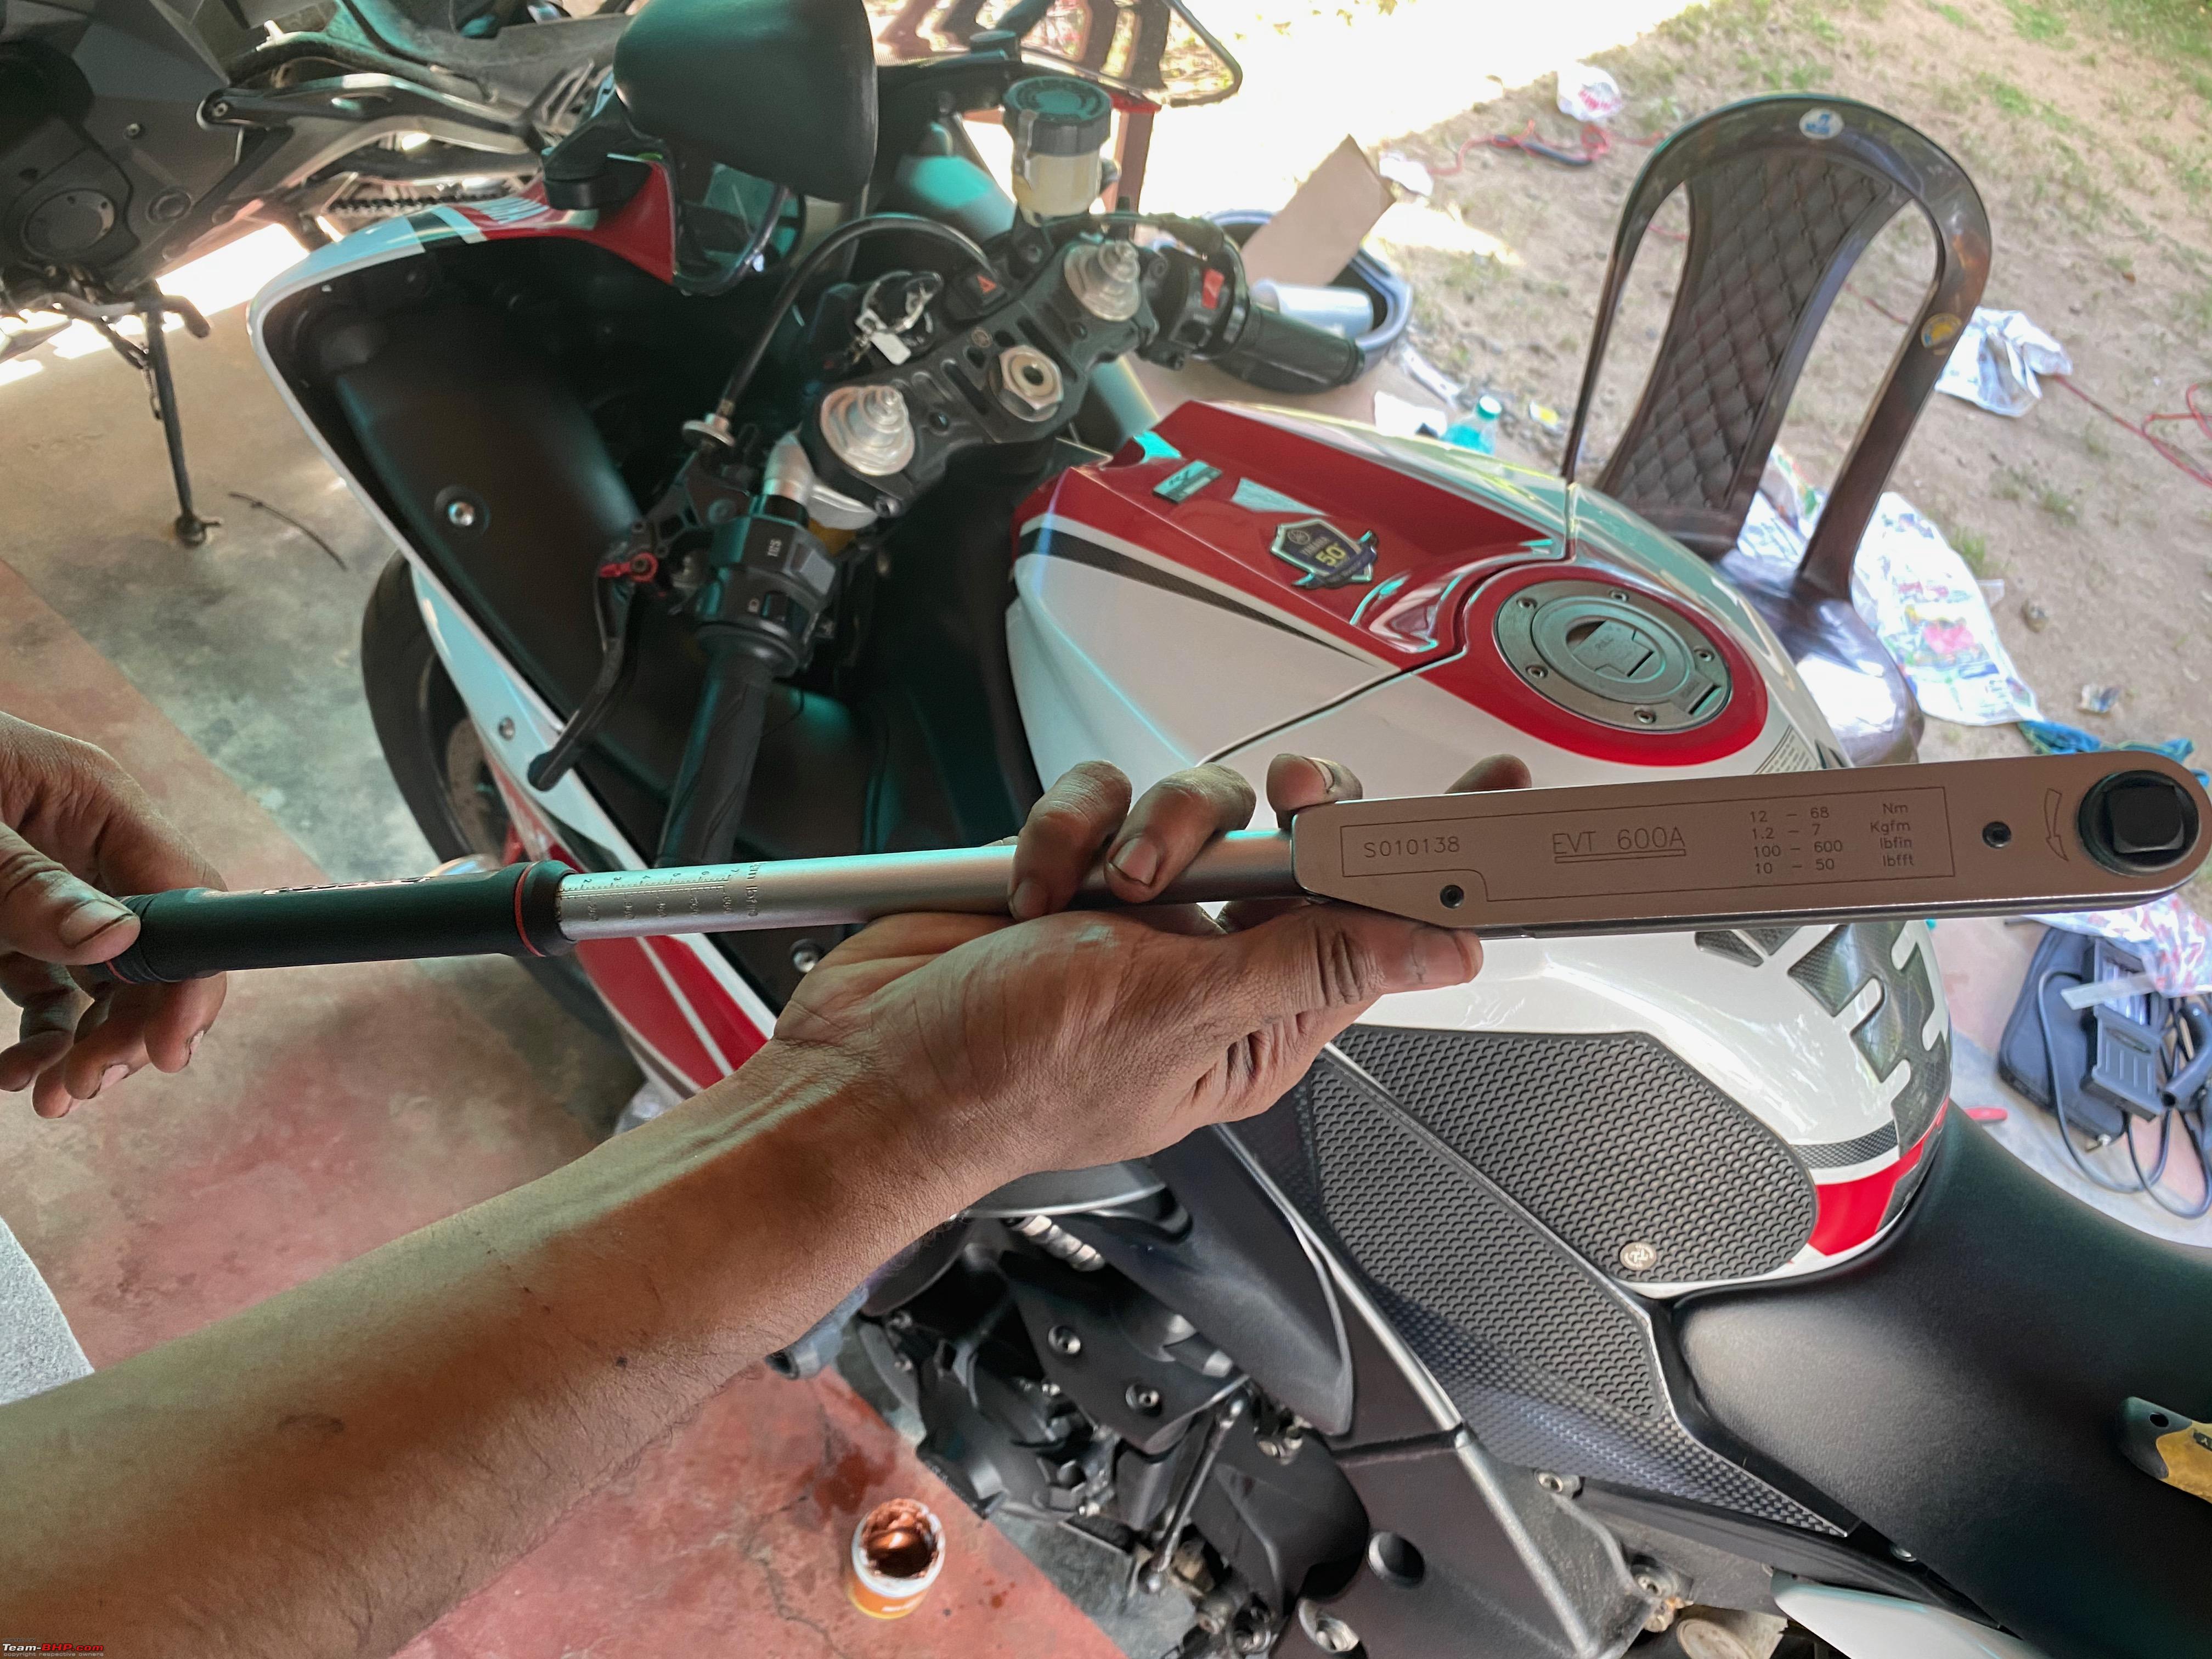 Torqued to spec 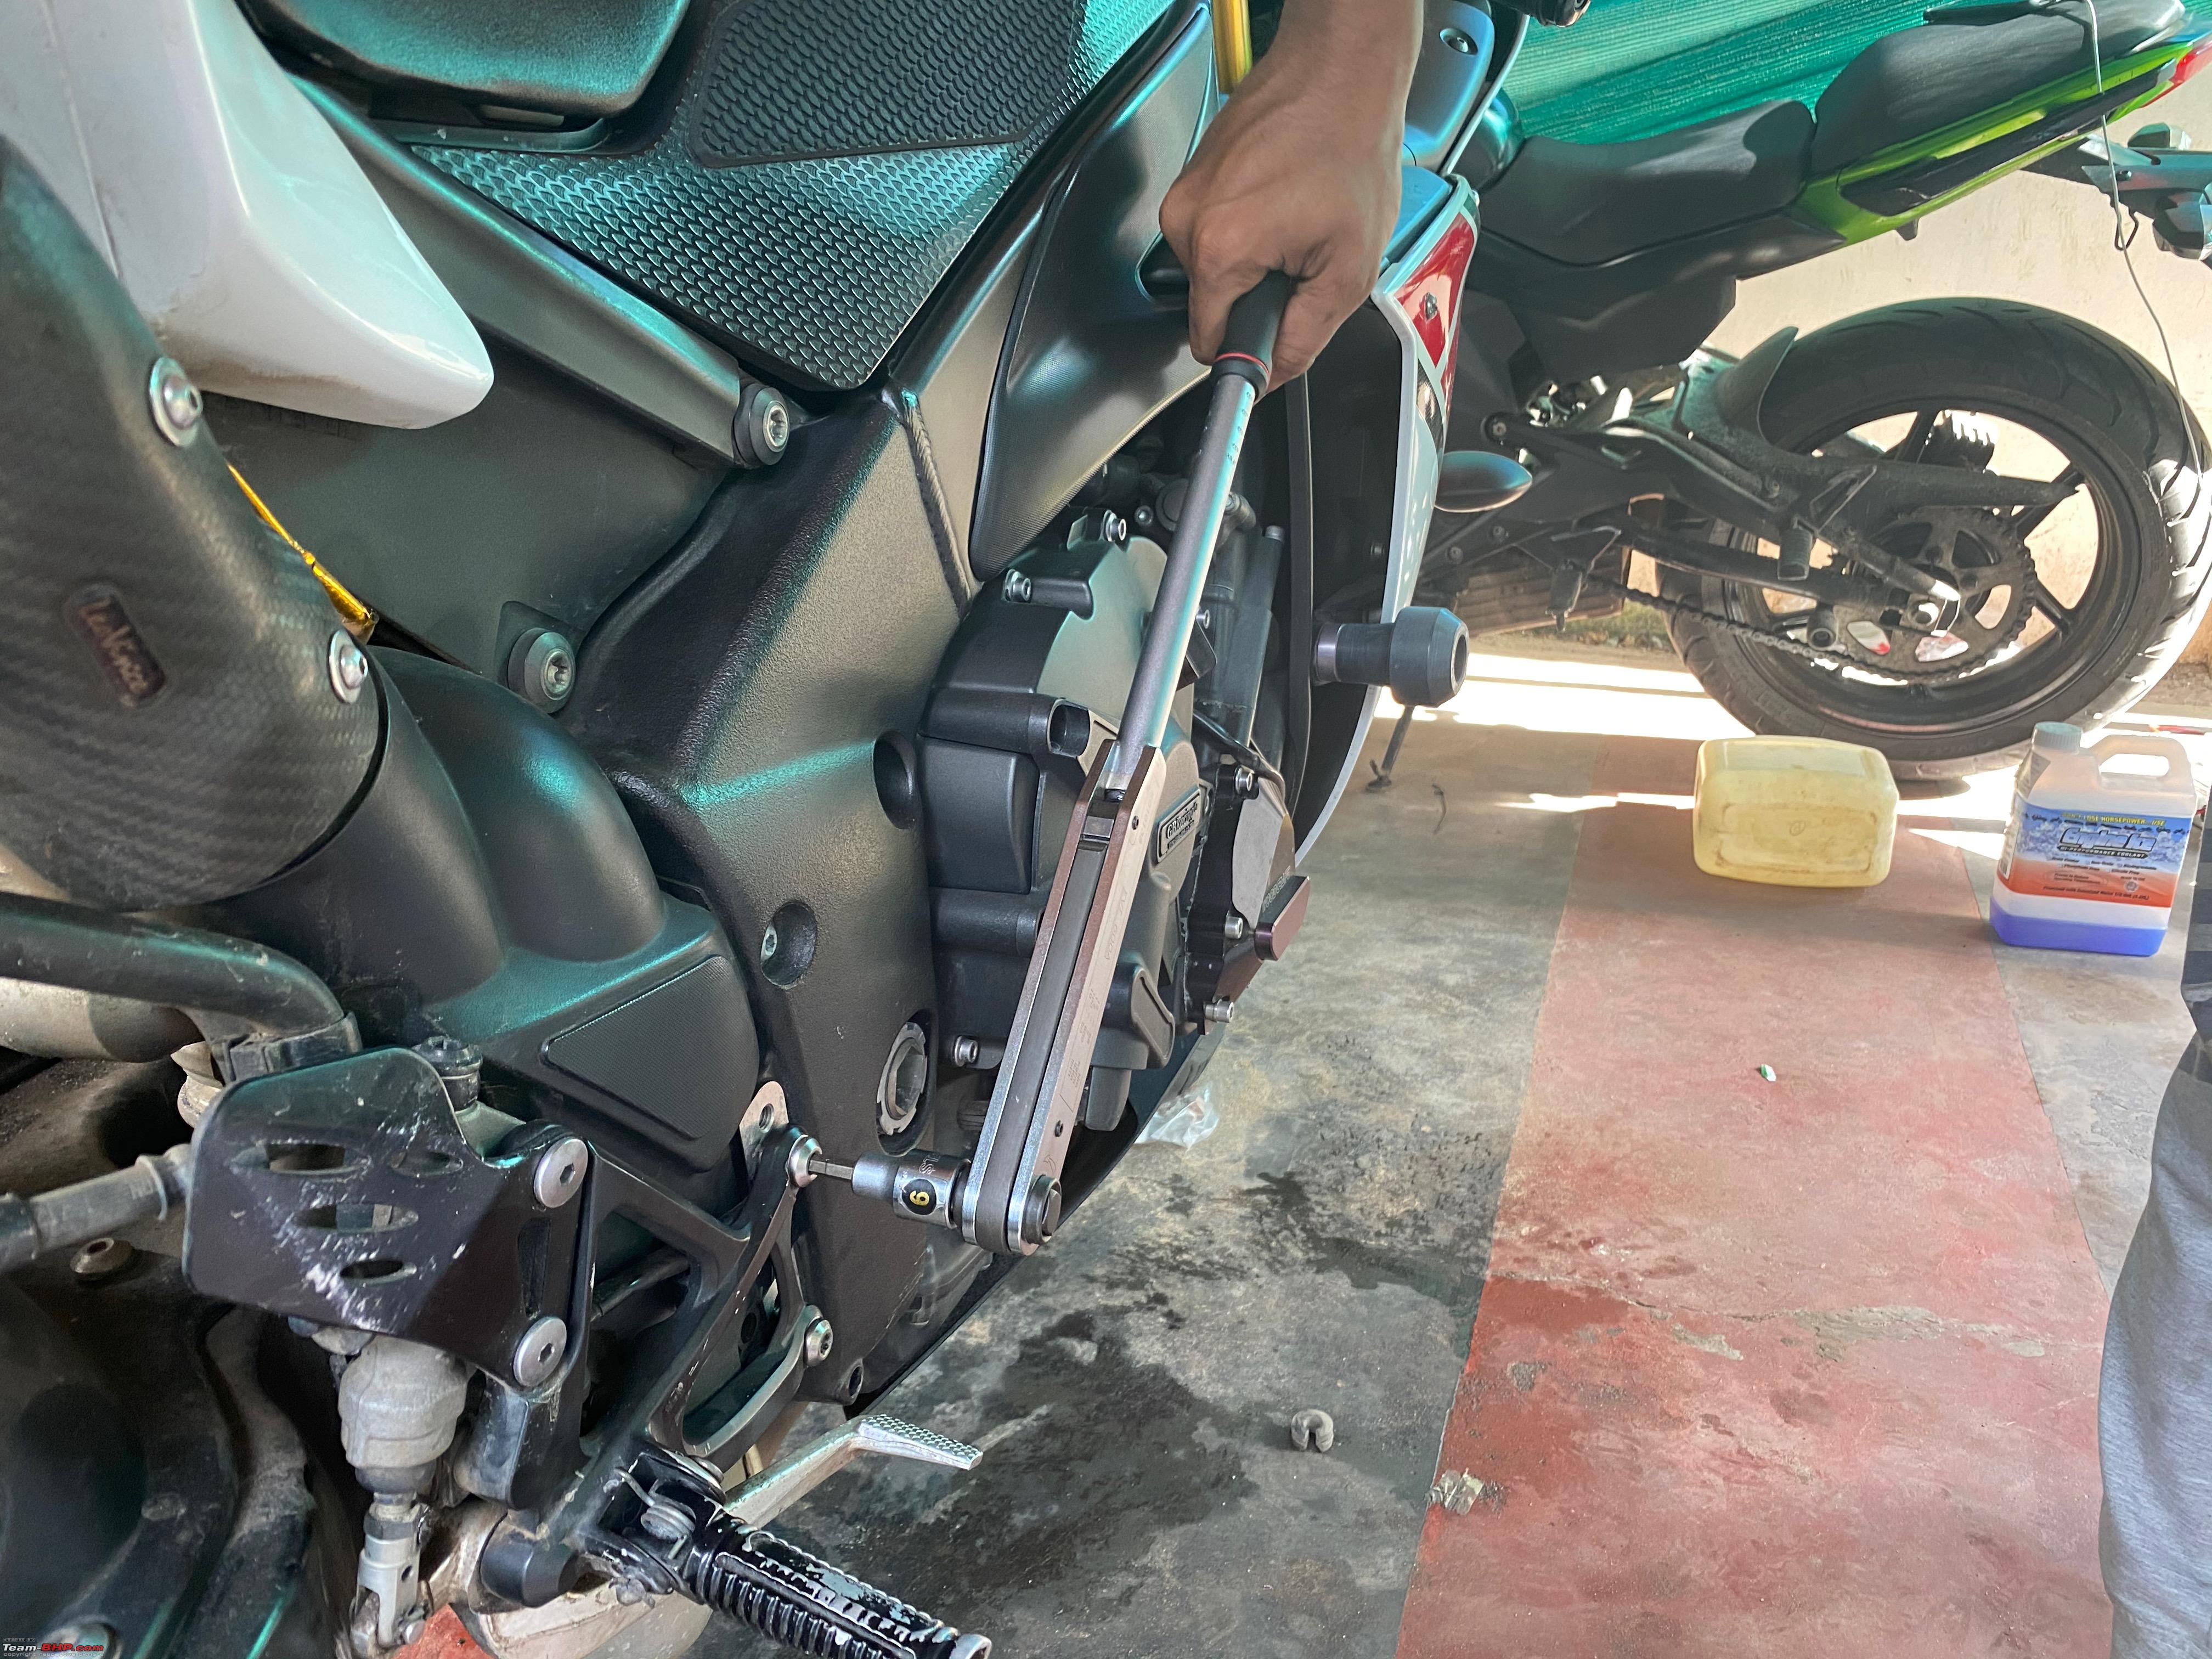 So with that, we concluded the work on both bikes and we put everything back properly and did the customary test/shakedown rides and everything was found to be in place. All done and ready to roll 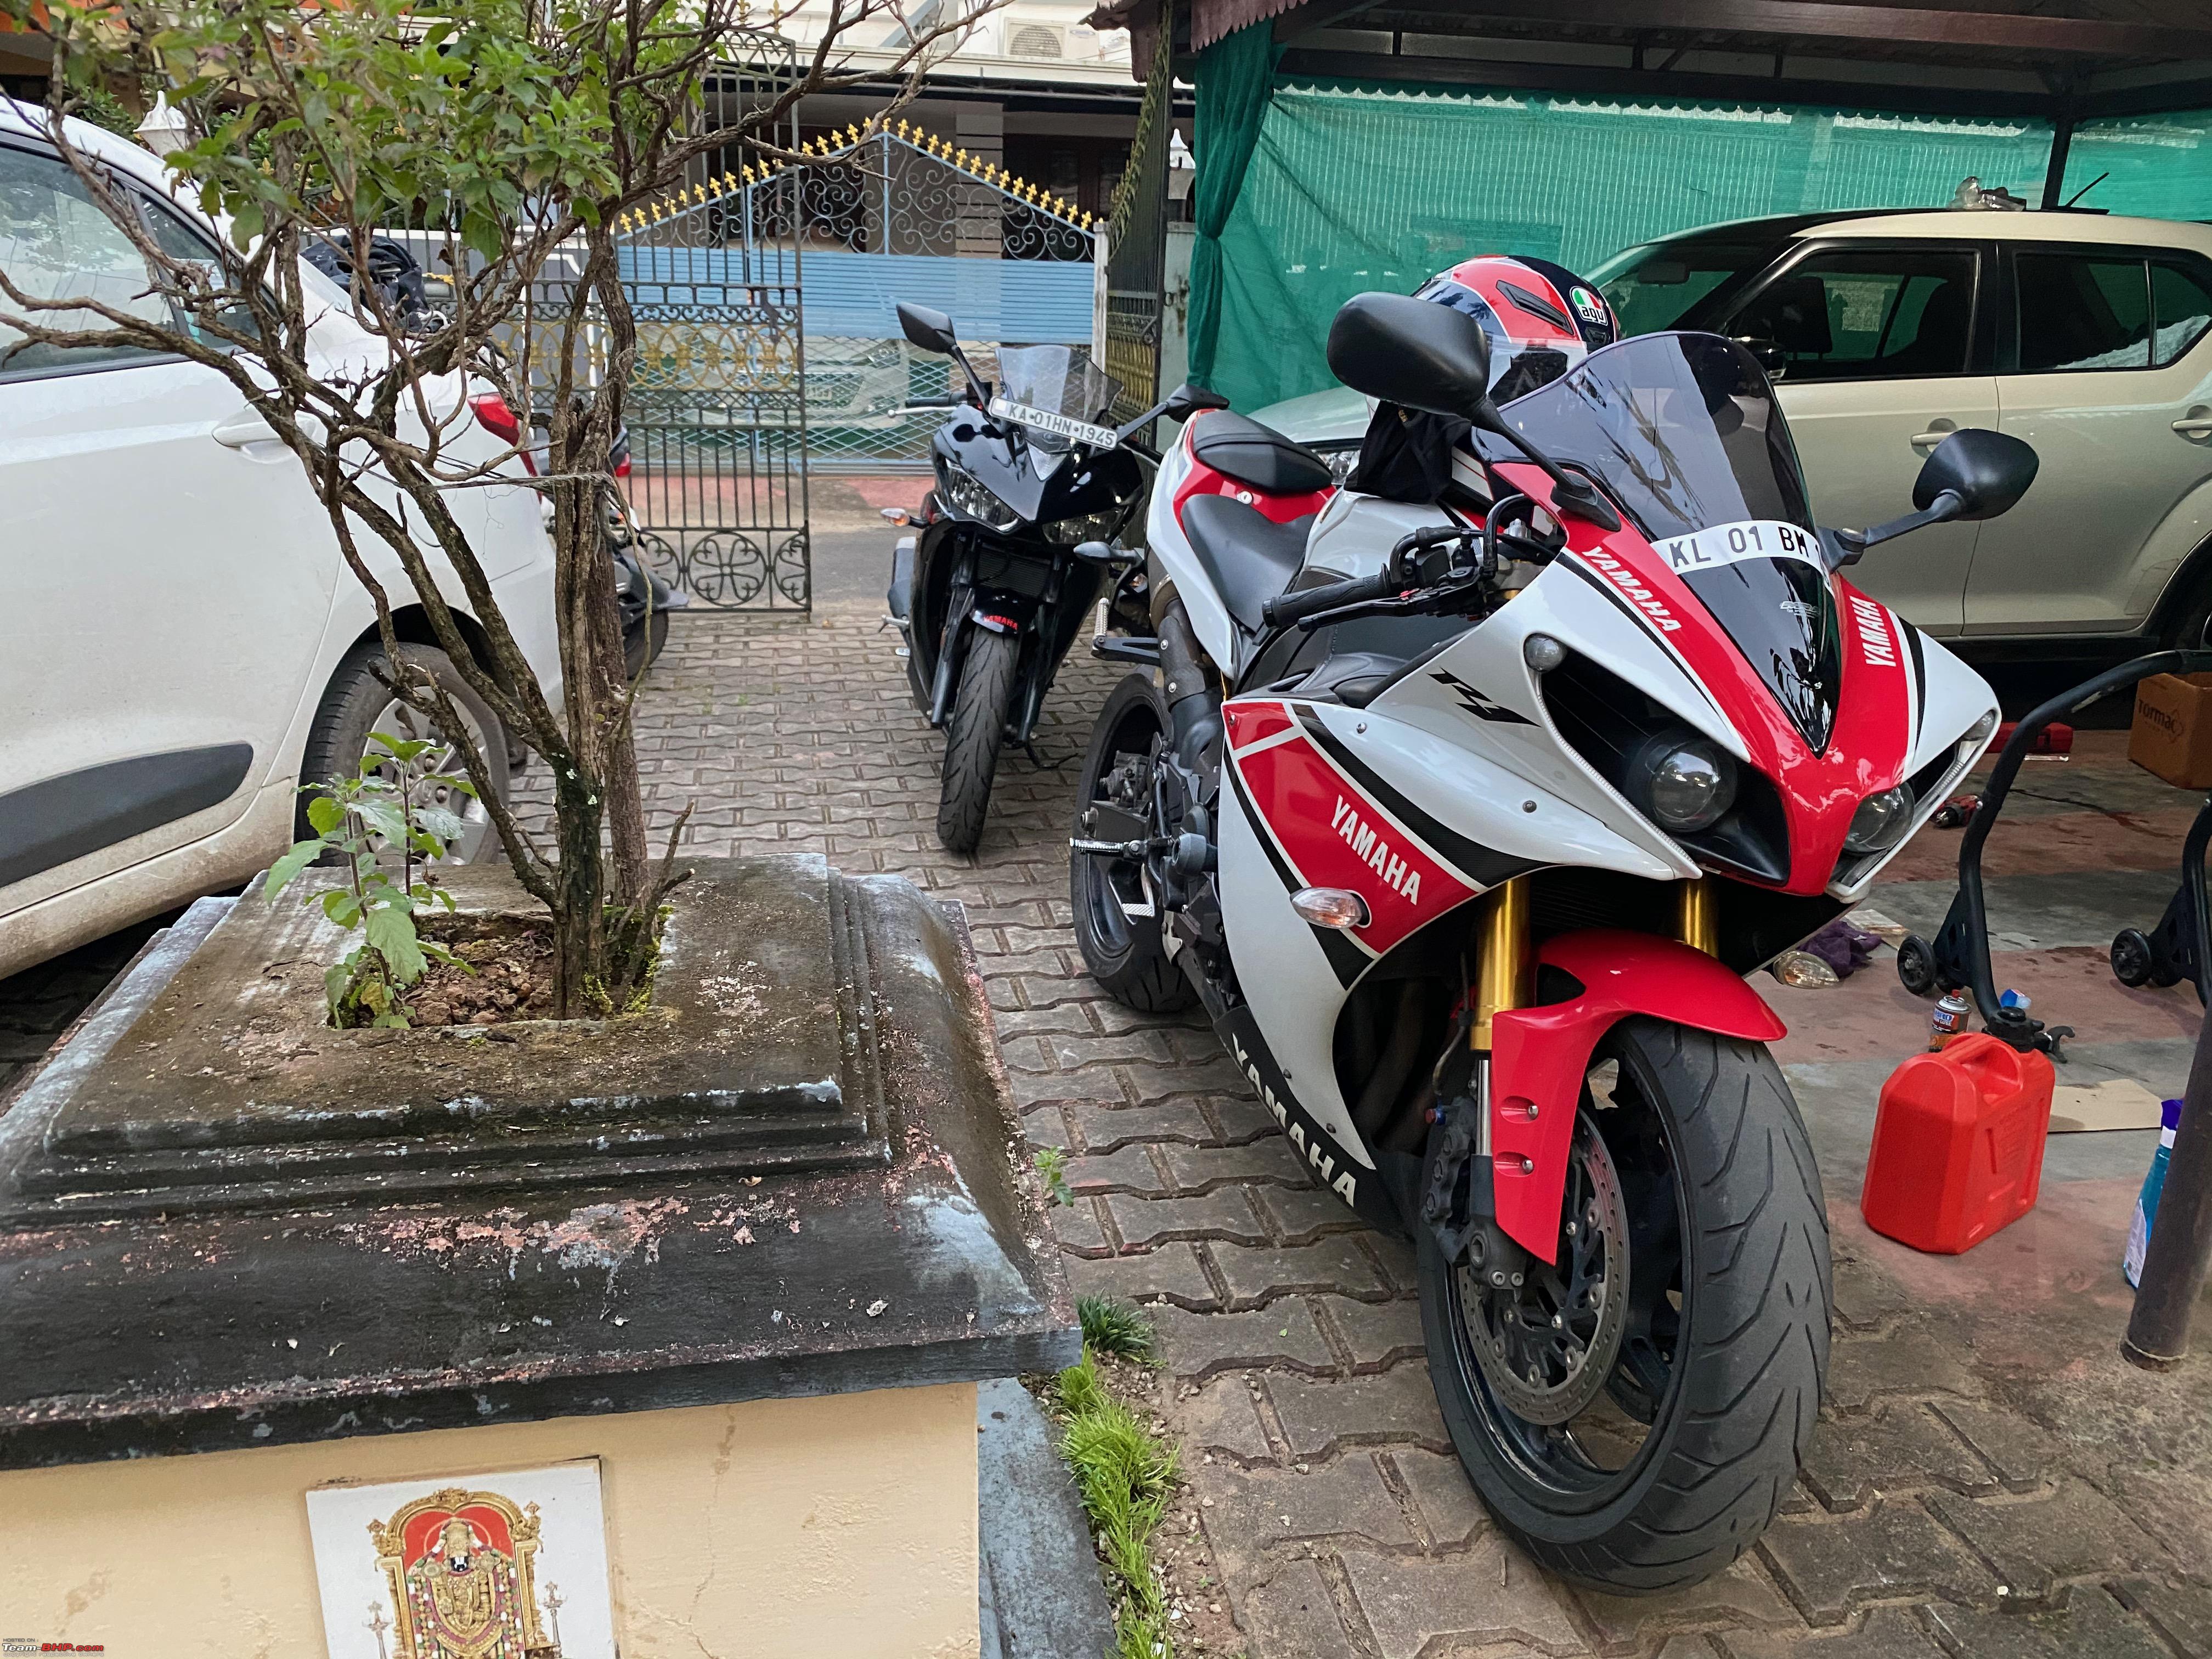 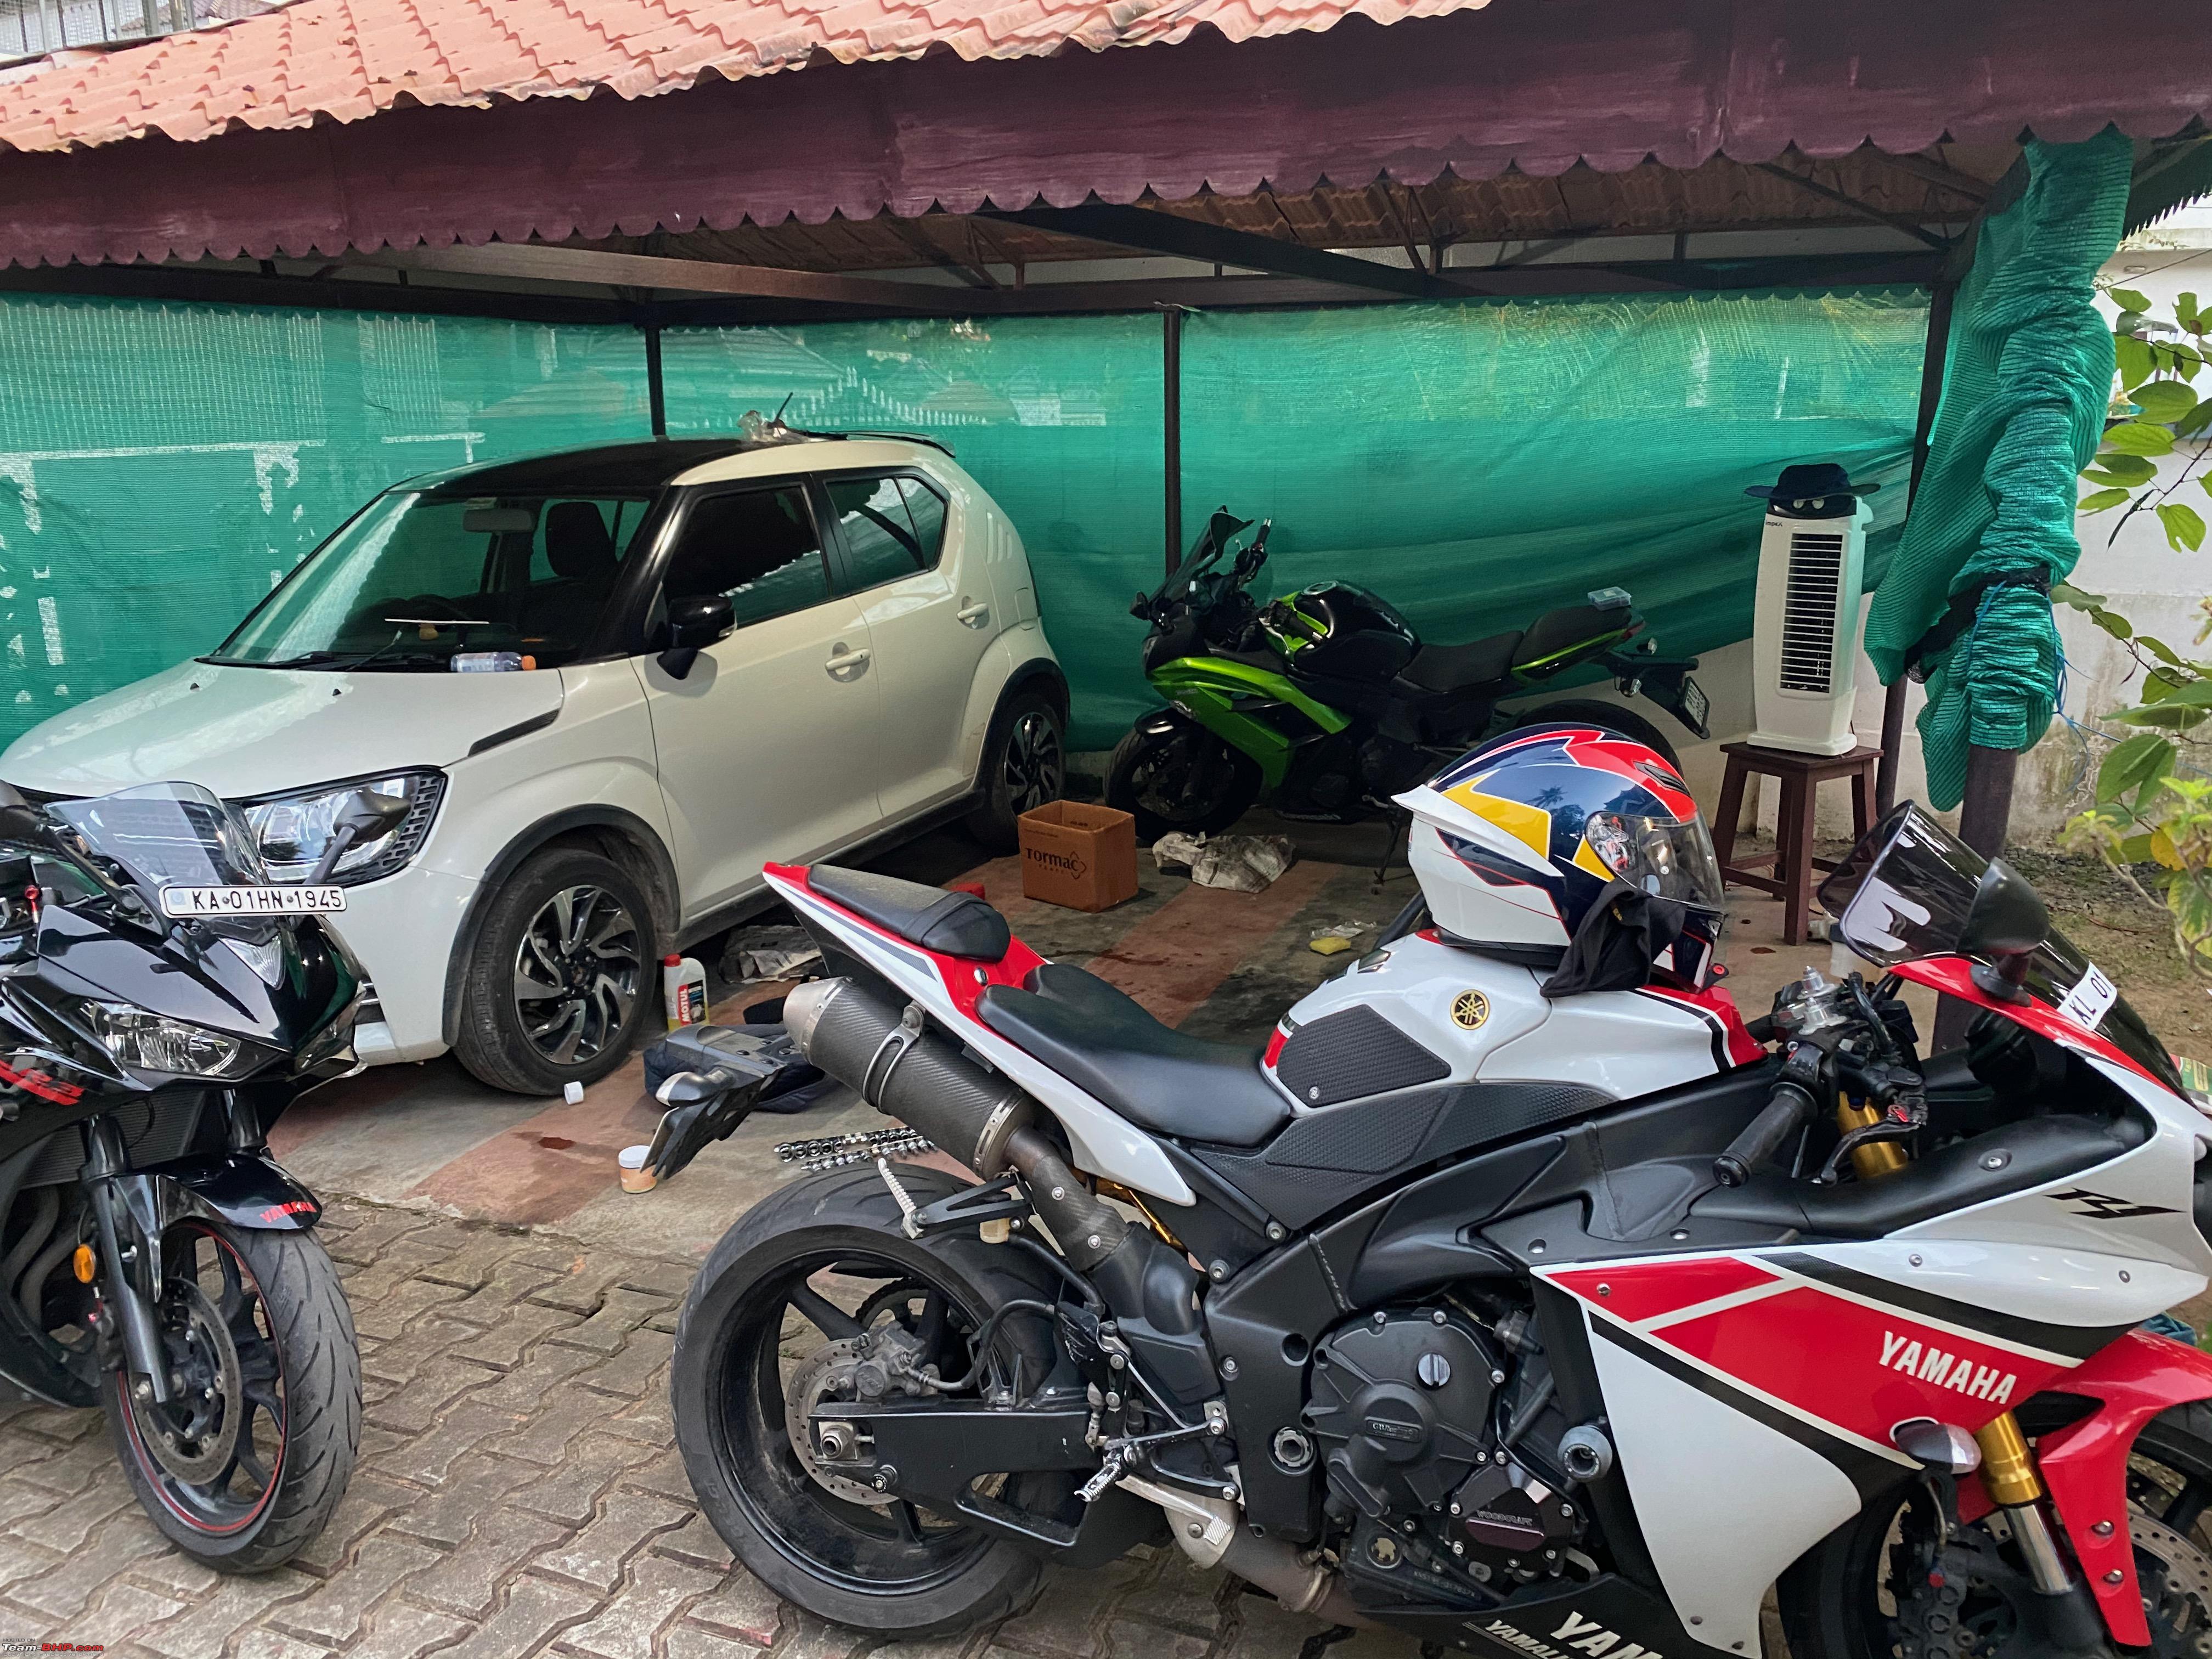 |
|
| (11)
Thanks
|
| The following 11 BHPians Thank krishnaprasadgg for this useful post: | BigBrad, Cyborg, gururajrv, InControl, KarthikK, man_of_steel, neil.jericho, Researcher, SnS_12, vishal.jayakuma, Xaos636 |
|
5th October 2020, 12:42
| #133 |
| BHPian Join Date: Dec 2019 Location: KL52
Posts: 519
Thanked: 3,648 Times
| Re: Review: My Yamaha R1 (WGP 50th Anniversary Edition) R1 maintenance update + Sunday Ride (Part 3/3) Now that that was finished the time was about 6.30 or so and we still had the 200plus km ride back to our home waiting for us. We quickly geared up and were on our way. L to R: Sanjay, Vishnu, Xaos636, and myself(My ugly mug is covered to prevent any sort of trauma for your own sake, so yeah, you guys owe me one). 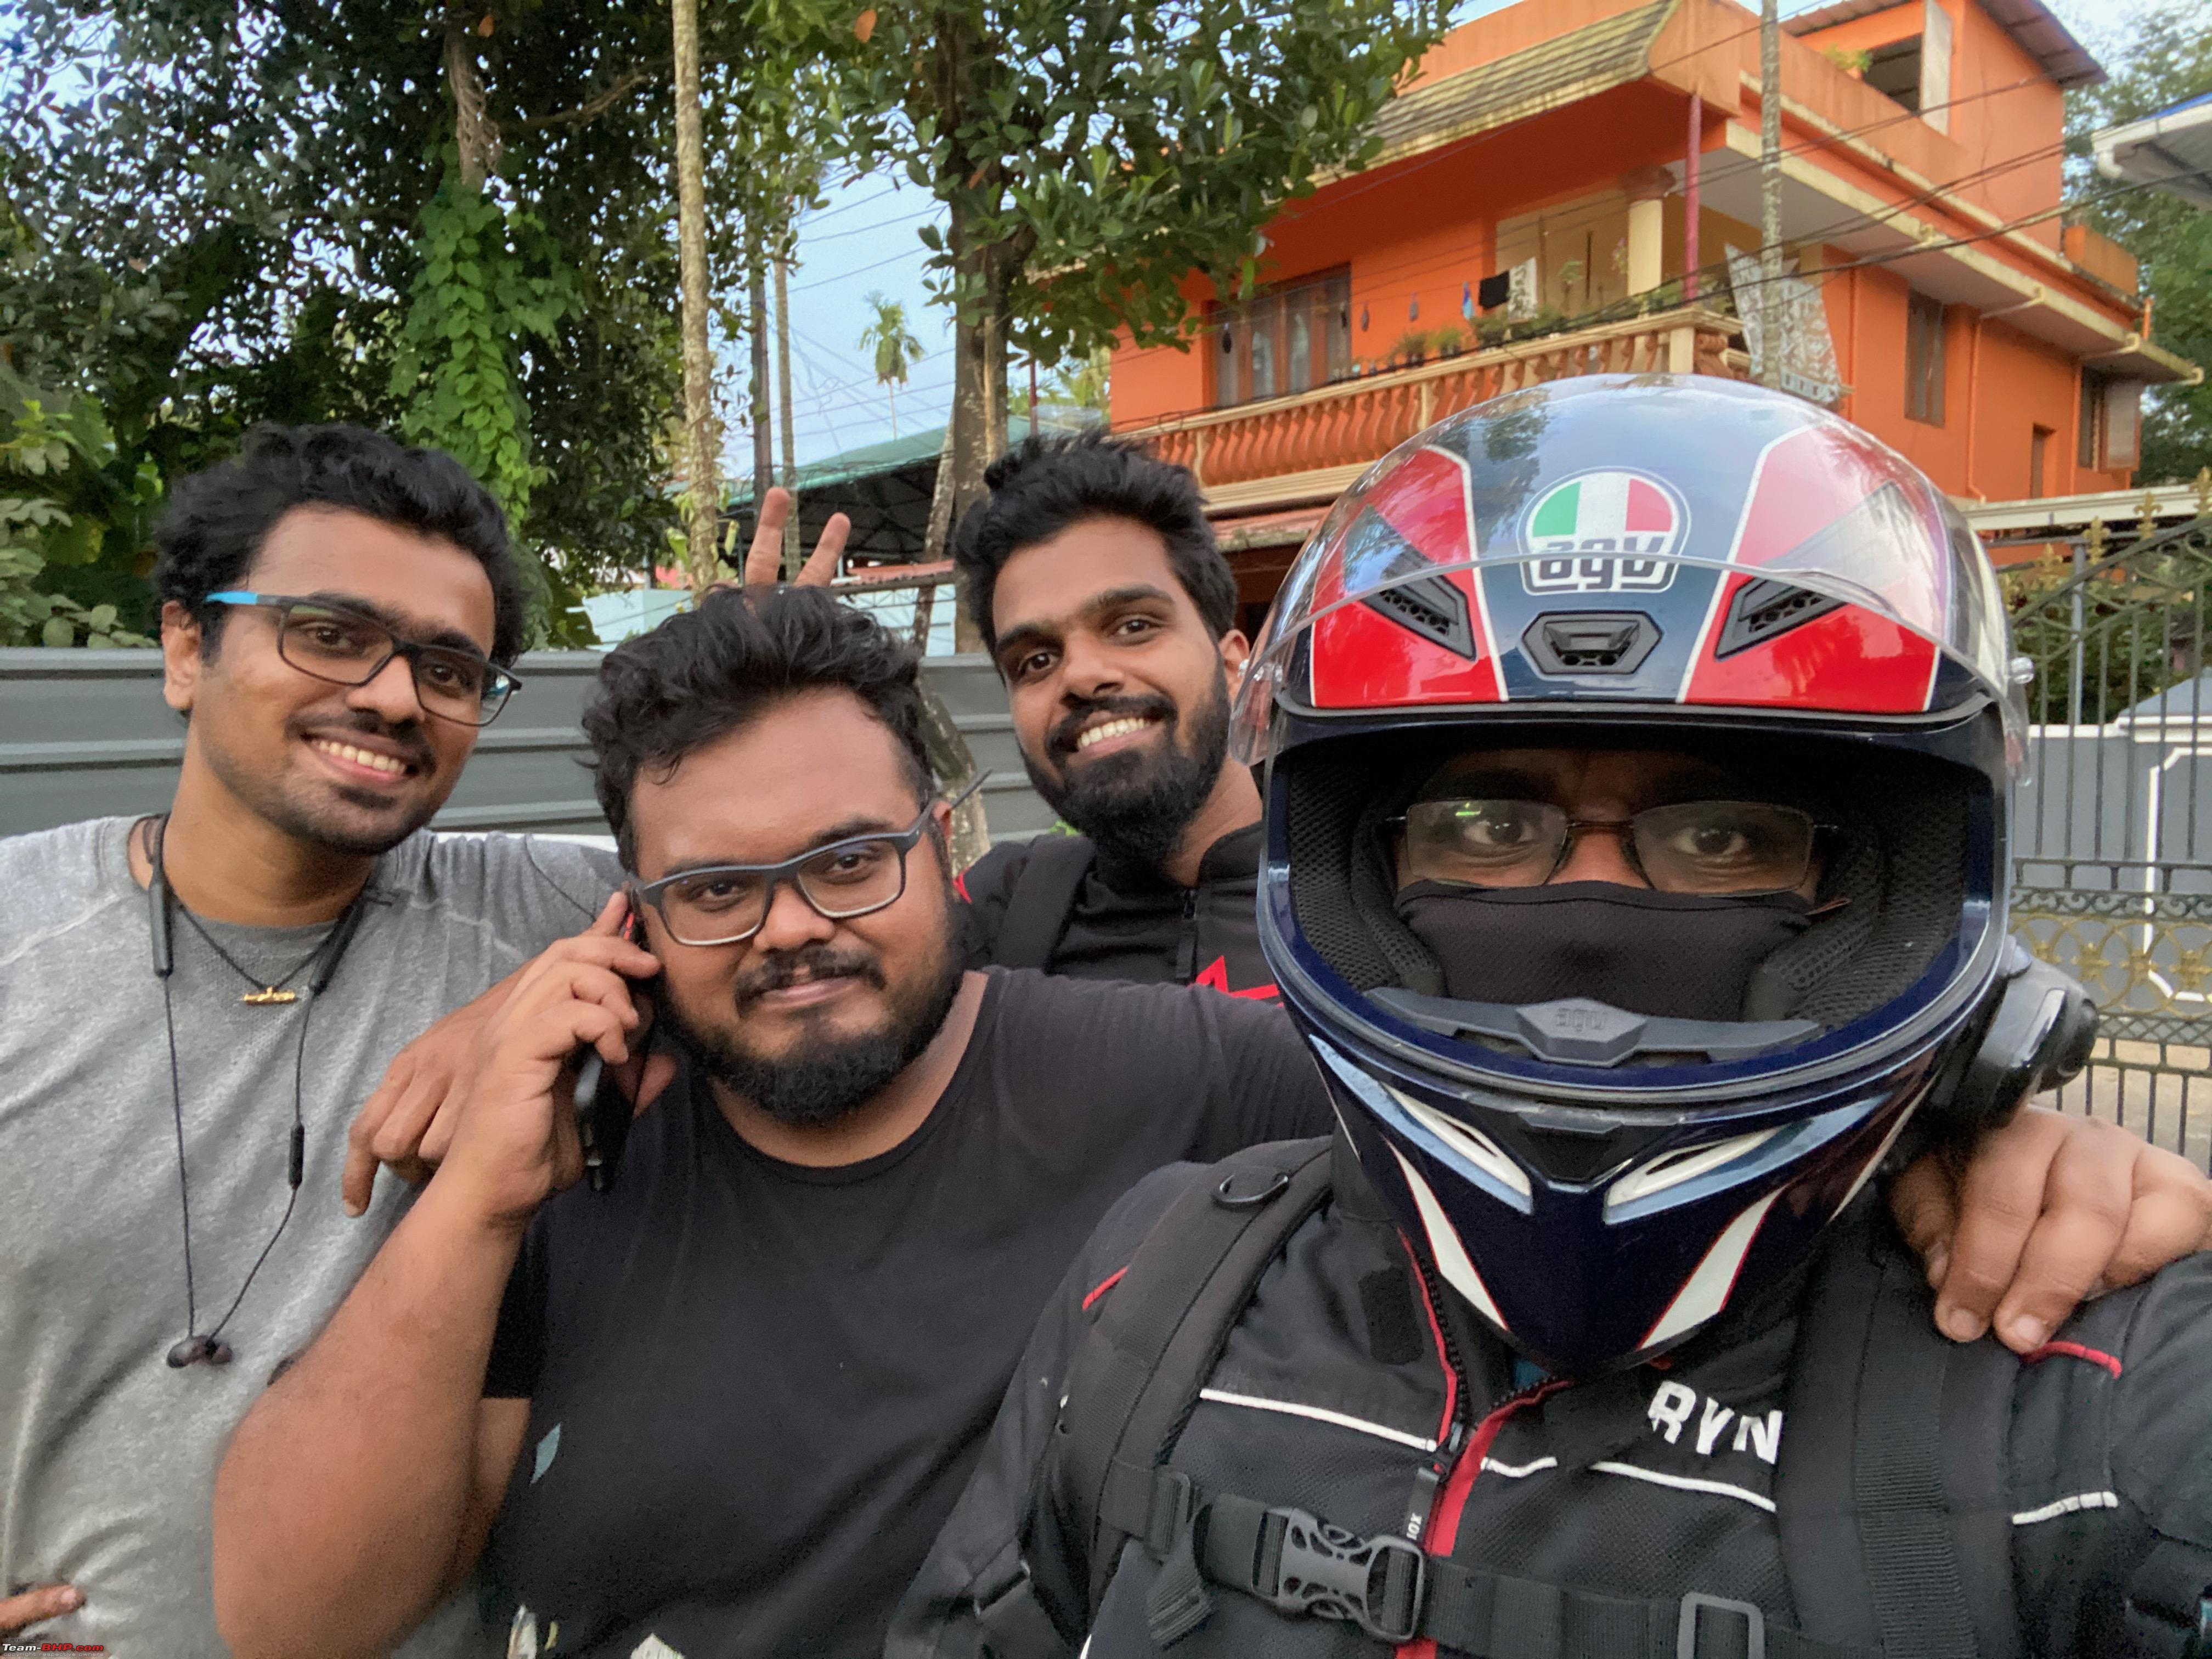 Not before grabbing a quick selfie. Nothing beats spending quality time with your friends working on your own bikes/cars, Priceless. Oh before I forget, I finally went ahead and got the Service Manual for the R1 printed out and spiral bound. Referring to the pdf copy each time had started to become a pain. Costed me about Rs.600 ish. 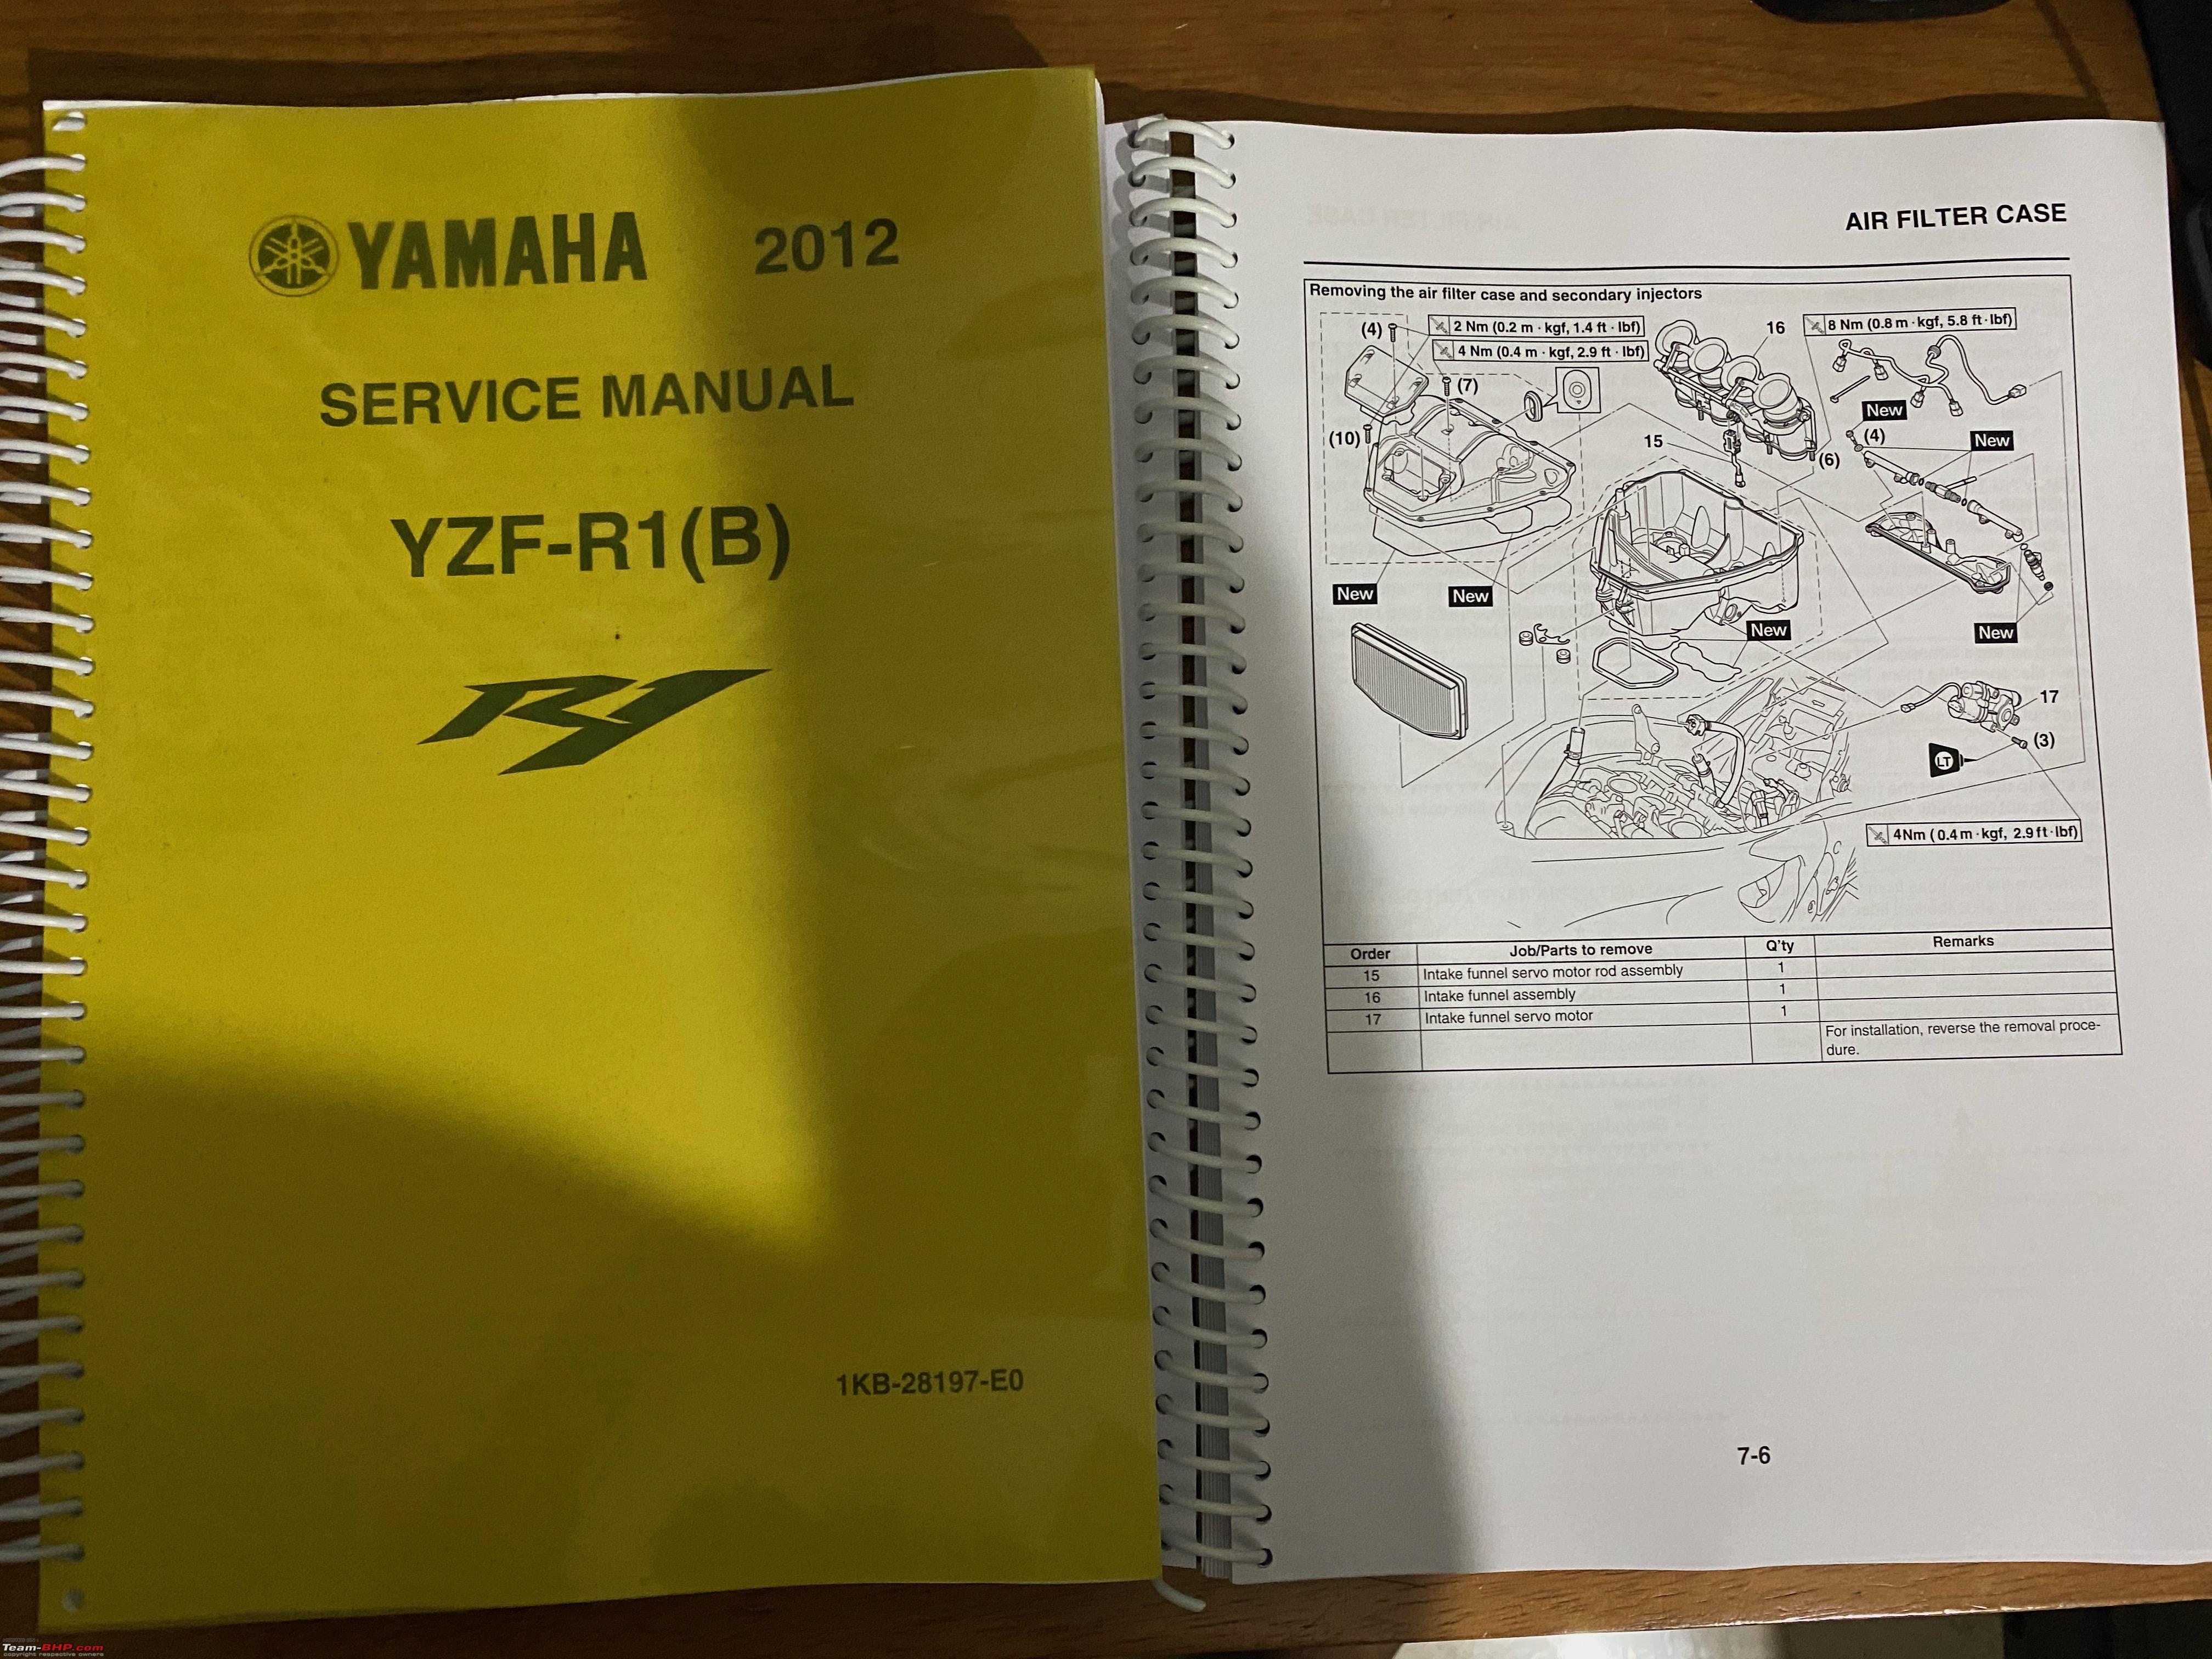 The ride back was relatively quick and traffic-free. Here are a few pics of the same. Fueled up before leaving Cochin  Pitstop at Angamaly  Pitstop at Thrissur  Trip Meter after the ride  ODO Reading as of now  Fin! Cheers Krishna |
|
| (17)
Thanks
|
| The following 17 BHPians Thank krishnaprasadgg for this useful post: | adwaith, alphadog, BigBrad, Cyborg, deepfreak15, DevilzzzzOwn, gururajrv, InControl, KarthikK, neil.jericho, Researcher, RohanDheman, Roy.S, SnS_12, vaasu, VijayAnand1, Xaos636 |
|
18th October 2020, 22:10
| #134 |
| BHPian Join Date: Dec 2019 Location: KL52
Posts: 519
Thanked: 3,648 Times
| Re: Review: My Yamaha R1 (WGP 50th Anniversary Edition) Another week another DIY project. Its funny, I think I have posted more posts about work being done on the bike more than riding travelogues/posts. Comes with the territory of owning a used bike I guess, moreover I am still going through the process of making the bike my own and getting it back to 100% off the factory floor condition, Im sure most of us will know what I mean by that. Anyways, In Todays post, both the R1 & the Tiger will be featured with maybe a cameo by the CBR. Actually, on second thought maybe not the CBR, better to do a dedicated DIY thread on that, the CBR got a lot of TLC over Friday & Saturday with her getting a fresh set of front and rear brake pads(went in a very interesting direction), fresh air filter, chain TLC, and a fresh air filter. I am still waiting on the engine oil to reach me to complete the general maintenance on the baby VFR, yeah you read that right, I love that little 250 to death but lets not assume that it was ever a baby blade. So, lets get back to the topic. Starting with the R1. R1 1. Installing the stock exhaust Why go back to stock? This has been a thought circulating in my mind a lot, many lengthy debates have been held in my head about this, which always ended up being inconclusive. In the end, it went down to 3 reasons.
Now, as far as DIY goes this is possibly the easiest mod to do as a DIY for the R1. At first, we removed the CF heat shields of the LV exhaust just to get a little bit more space to reach the clamps behind them to loosen up the RHS LV end can. Then we removed the upper tail panel off the R1, all it requires is 2 push pin type fasteners and an Allen head bolt towards the tail light assembly and 2 quarter-turn plastic push-lock screws at the bottom and slide the top panel towards the back of the bike and its off. This whole process takes about less than 2 minutes if you are fast and smooth. Removing the CF heat shield screws  Once that was done we applied a healthy dose of WD40 onto the 2 clamps for both side end-can to help loosen them up as it had a lot of grime and dirt lodged in them and the clamp fastener bolt was also a bit rusted and seized. Well, WD40 never lets you down so that was an easy step. Now that the clamps were off all that is left to do is to unfasten the 2 hanger bolts from the tail section of the bike and the end cans are ready to be wiggled off. WD40 applied to make disassembly easy  The 2 hanger bolts that clamps onto the center part of the end cans  They came off without any drama. 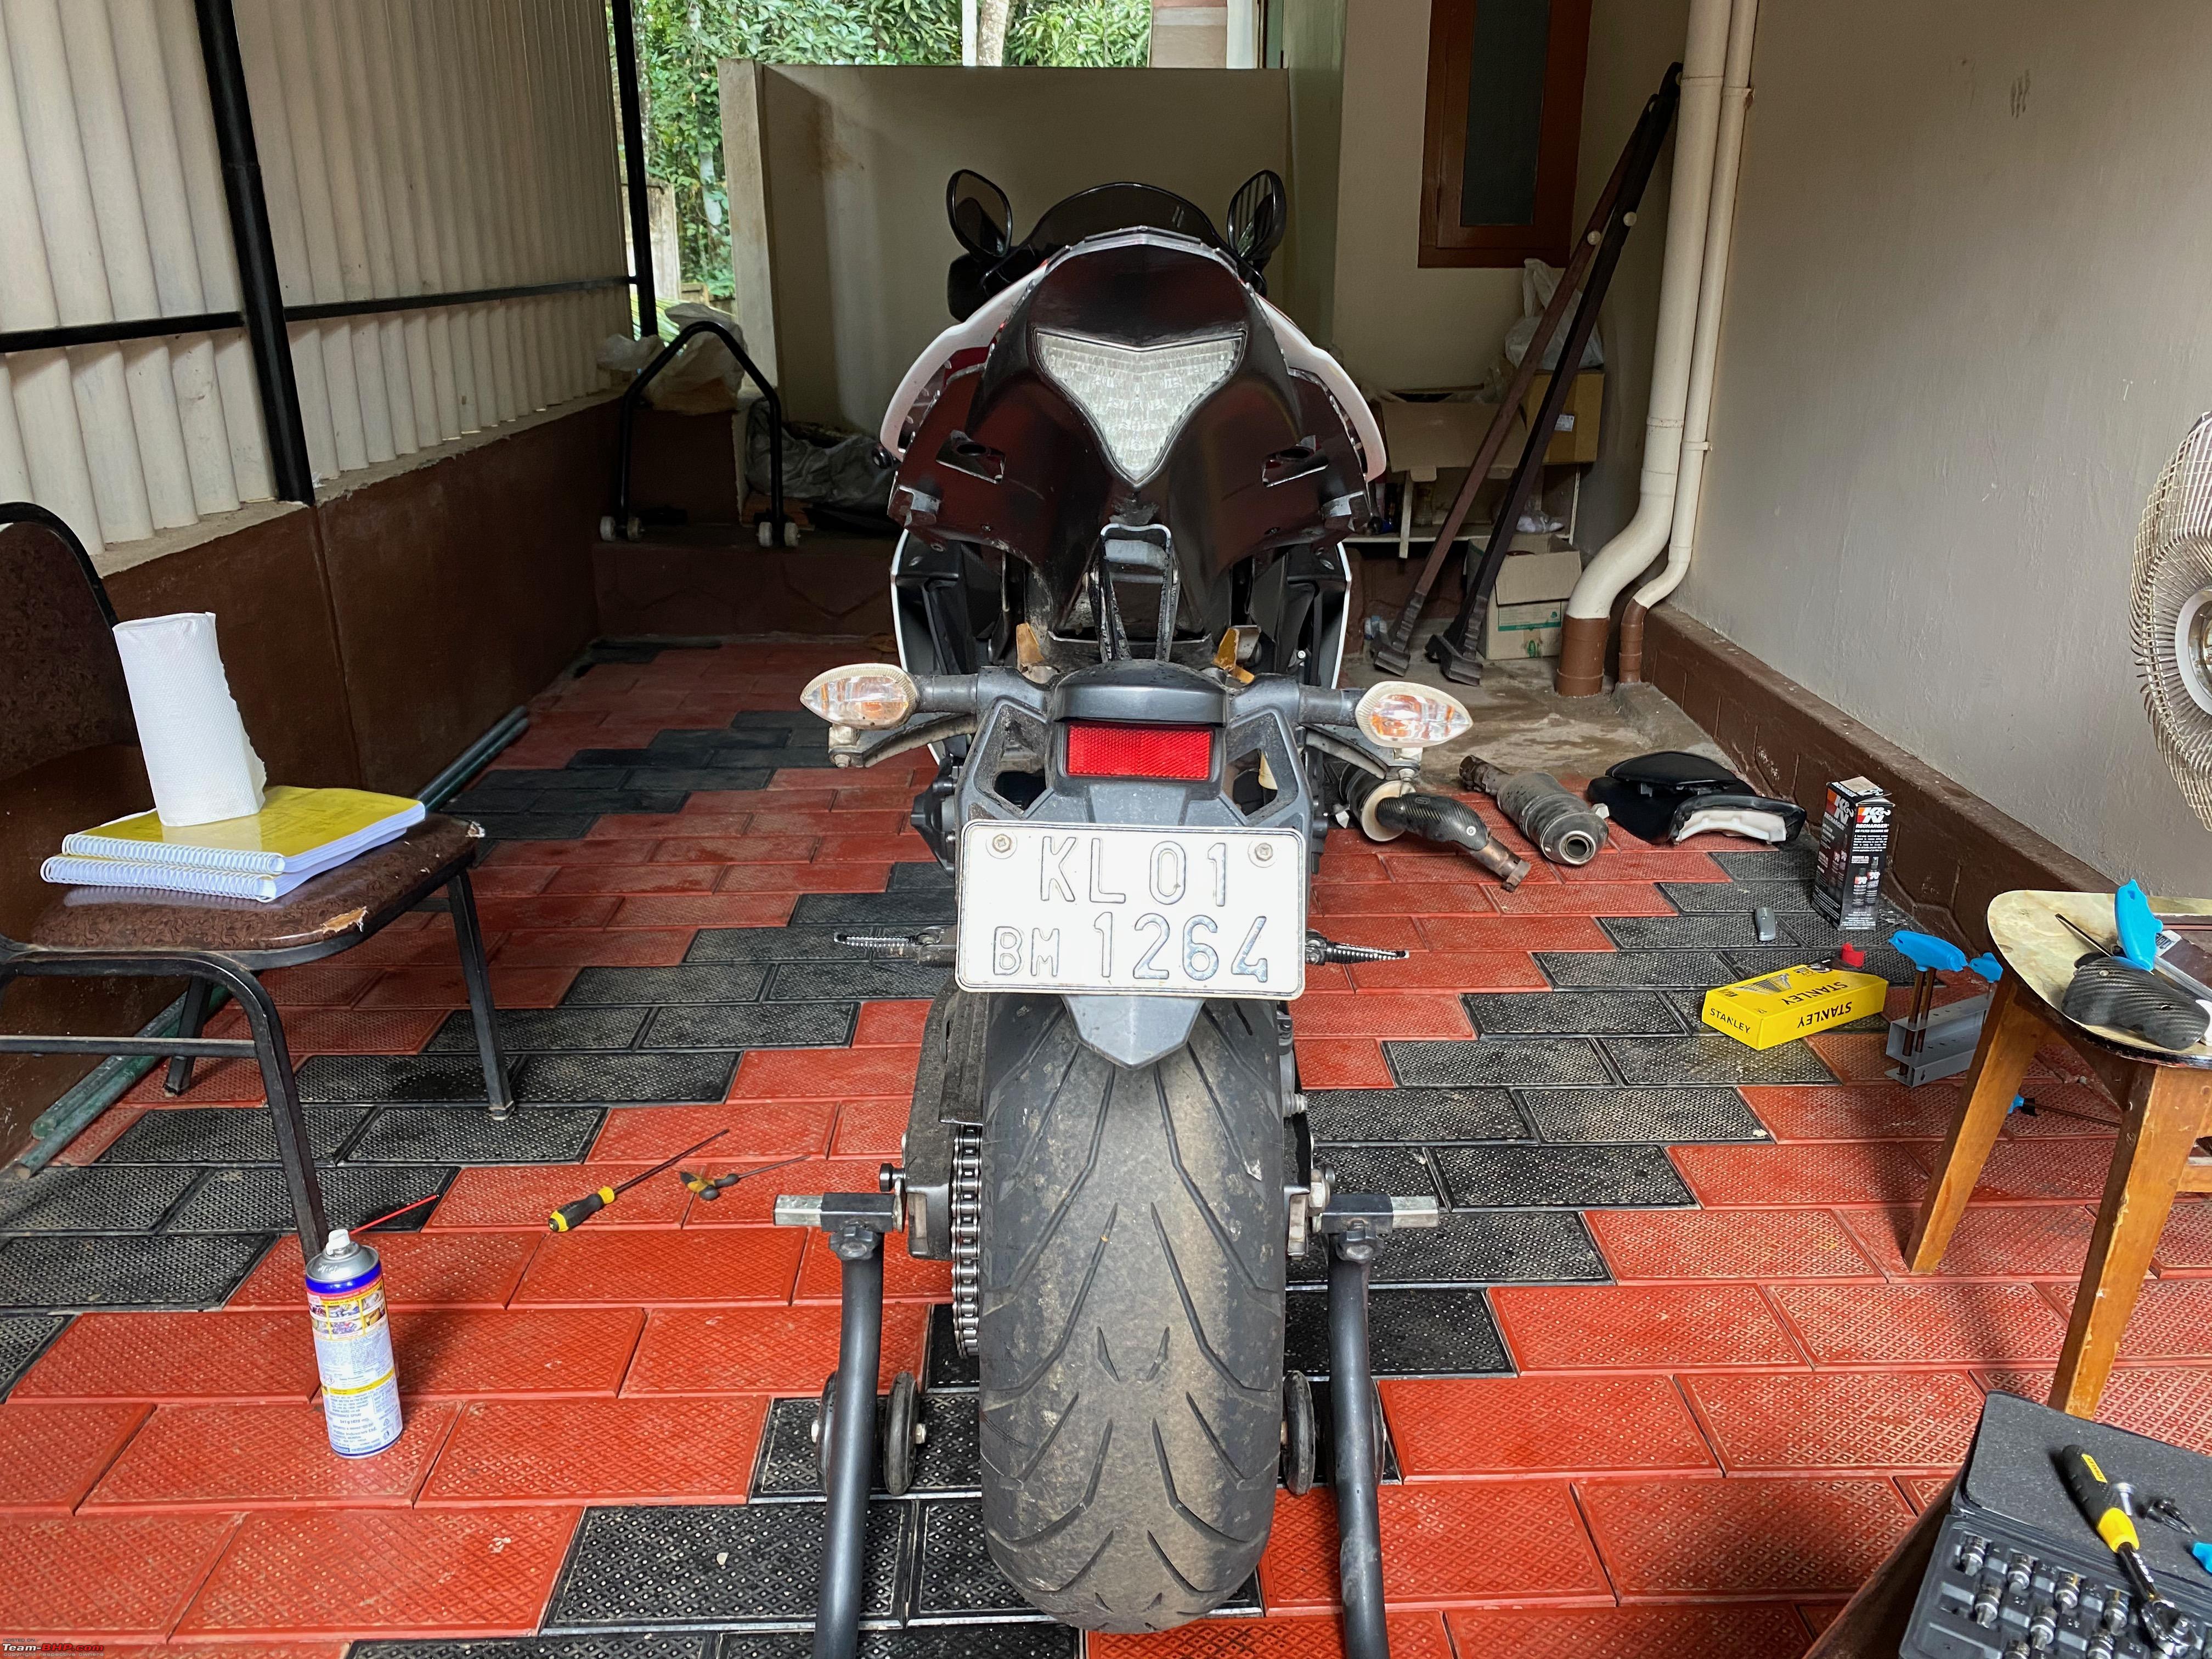 Doesnt the bike look rather good without the under-seat exhaust configuration or have I been inhaling too much of the WD40 fumes over the last 3 days? And No, I did not start her up with the end can off, I know I know, what a missed opportunity, I am just as much disappointed in myself about this as you are. But dont fret Ill probably remove the stock exhaust again soon, why? Because I am pretty sure that the stock end cans are lighter than the LV end cans and yes me being the genius I am forgot to weigh them booth when the exhausts were off the bike. *Strike 2* dont worry I am keeping count. So will remove them again and weigh them both and report my findings here soon. Anyways, installing the stock cans back is a much easier affair. I had wrapped them up very cleanly in newspapers and all required hardware in a ziplock bag so it was a pretty much easy process fitting them back. Just loosen up the OEM clamps, slide the pipes in, align the pipes such a way that the hanger mounting points are also aligned to the tail section of the bike, and screw them in finger tight. When all that is done, make sure everything is in place, and nothing is left out, and then proceed to torque them up to spec as mentioned in the manual. That would be 23Nm. Hanger bolts getting torqued down to spec 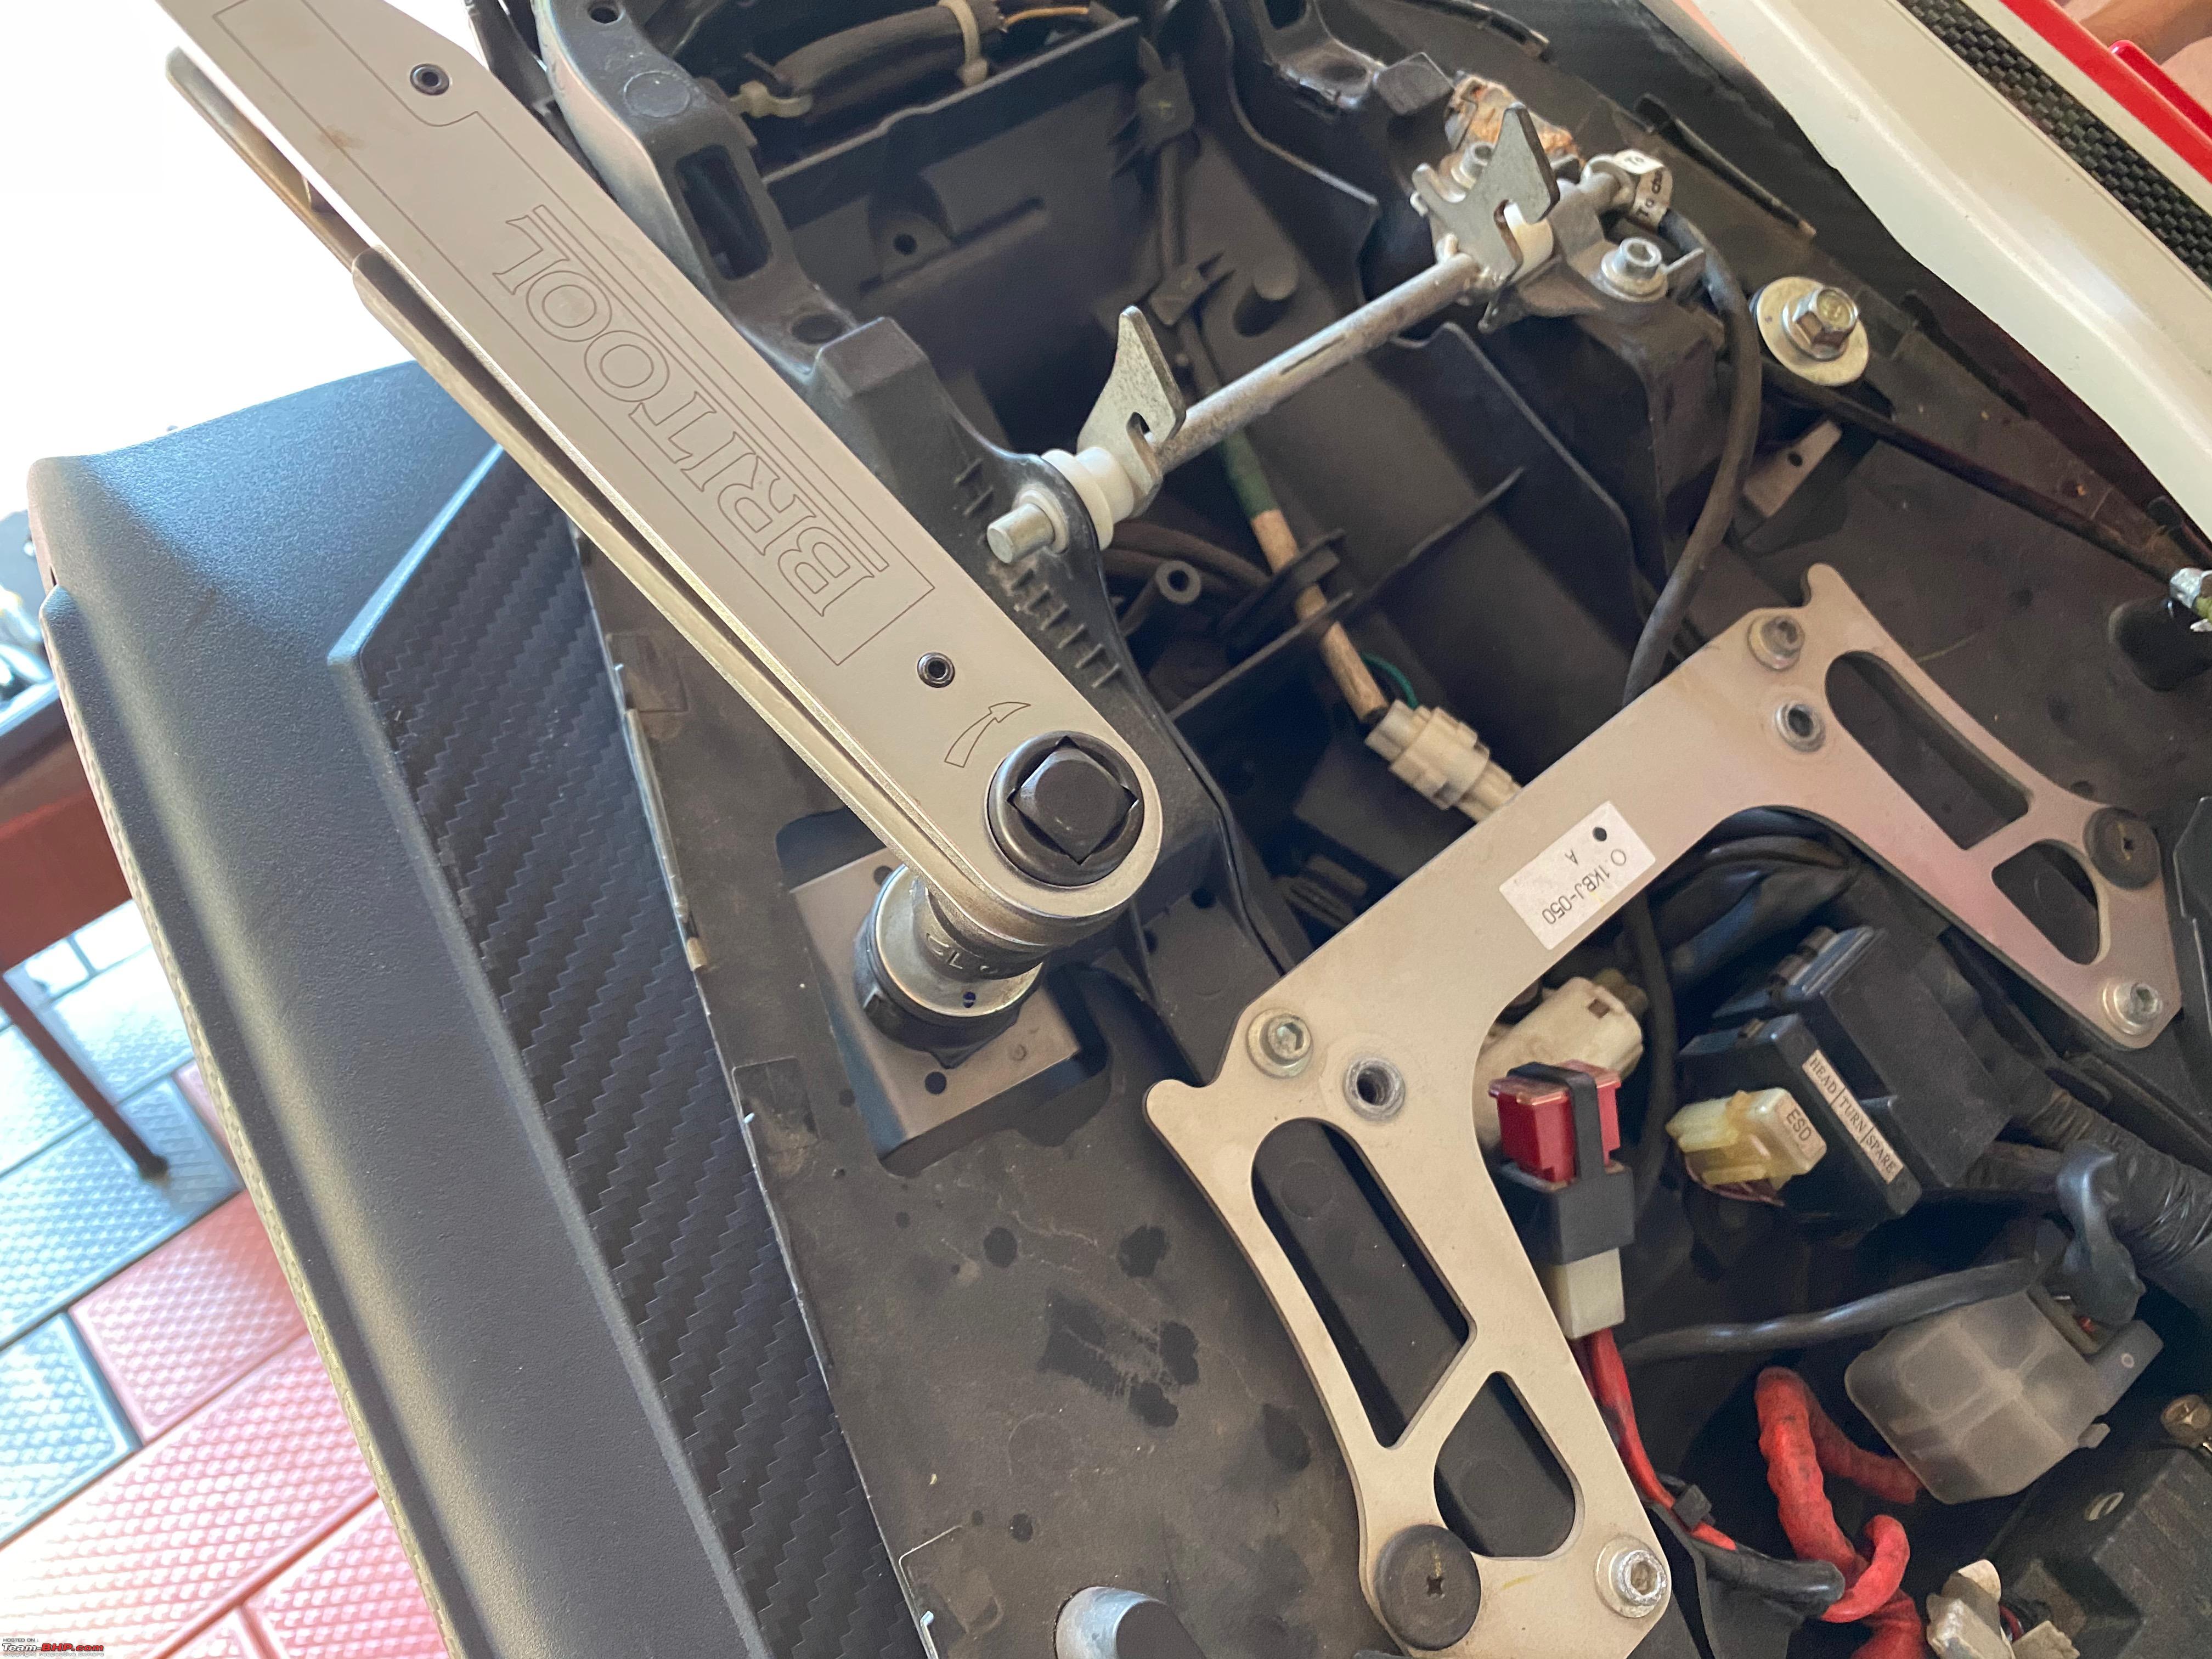 Now she is back to stock form. That rear just looks bellissimo! *Gestures in Italian* 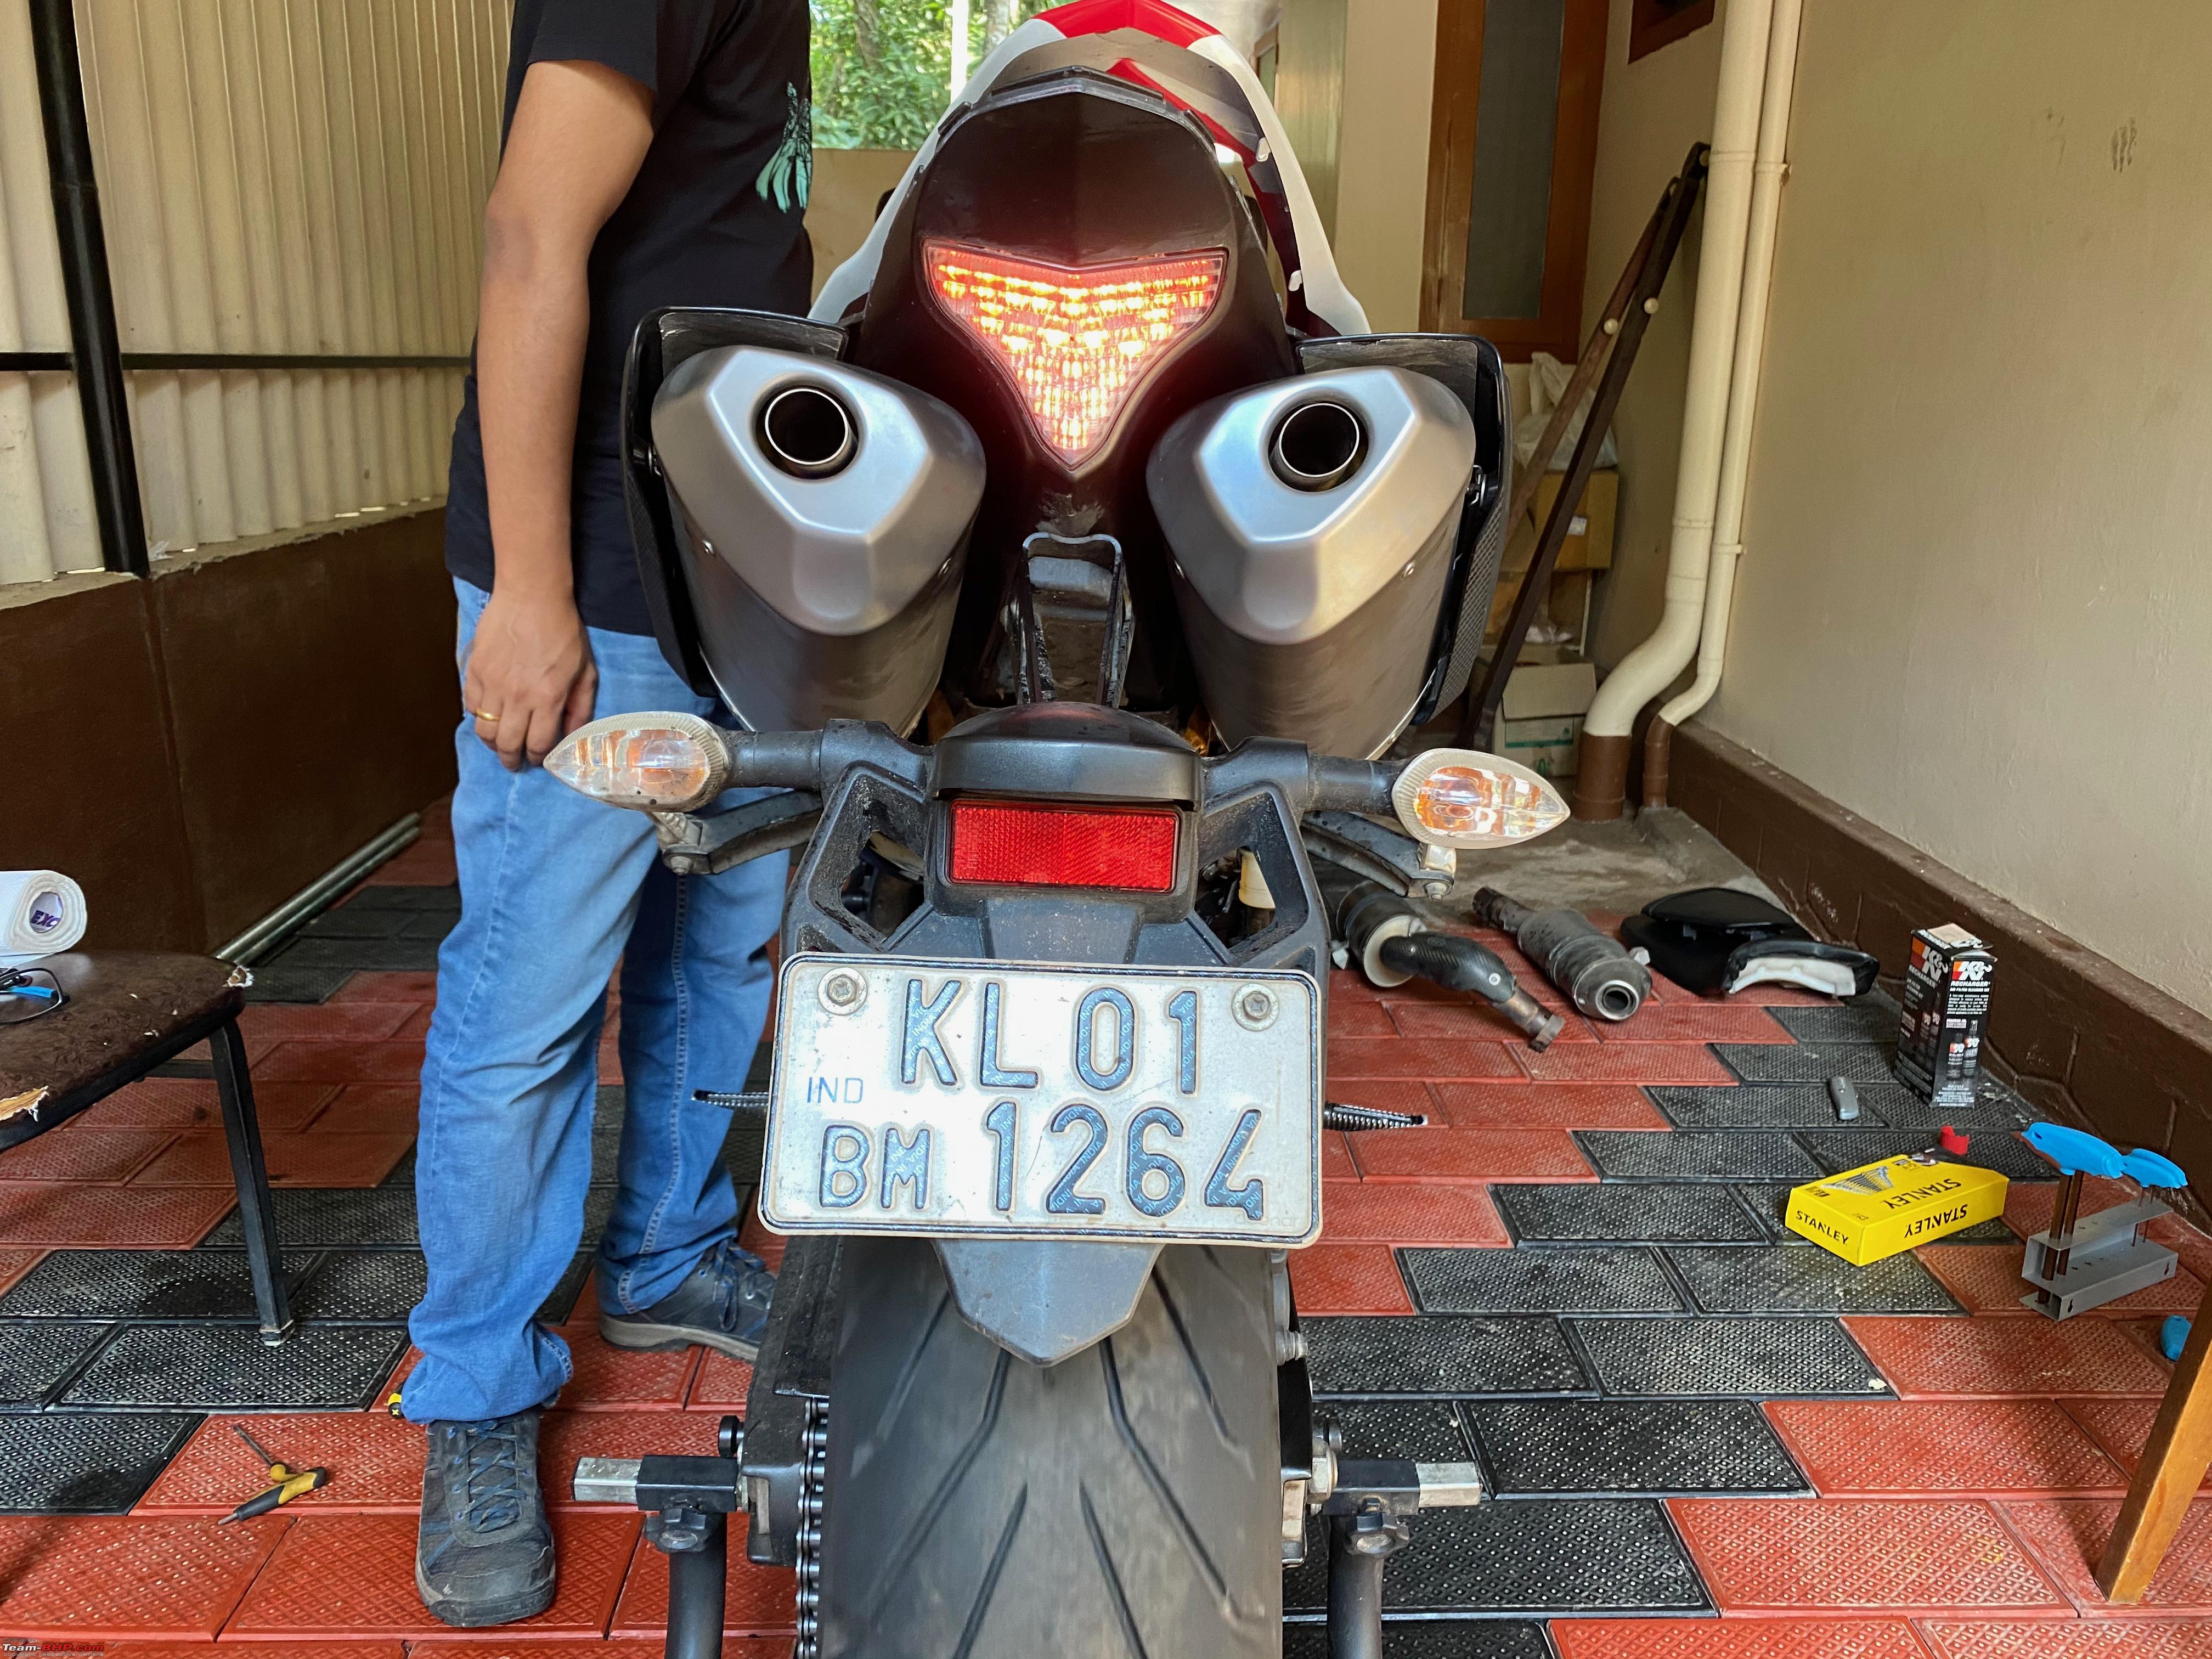 Next up was a deep clean of the brake calipers on the bike. I have no idea if this was ever done before and with the horror show I had to go through with the seized brake caliper pistons on the CBR I decided to make sure it doesnt happen on the R1. Well, because if that was a 2 piston up front and single-piston rear, this is a 12 piston upfront(6 pistons each caliper) and single-piston in the rear. So a preventive step now will save a lot of hair-pulling in the future. So we got started on that, the front left caliper was the first one to come off. The caliper mounting bolts were pretty clean and no rusting was found, so we are off to a good start. Front left caliper mounting bolts 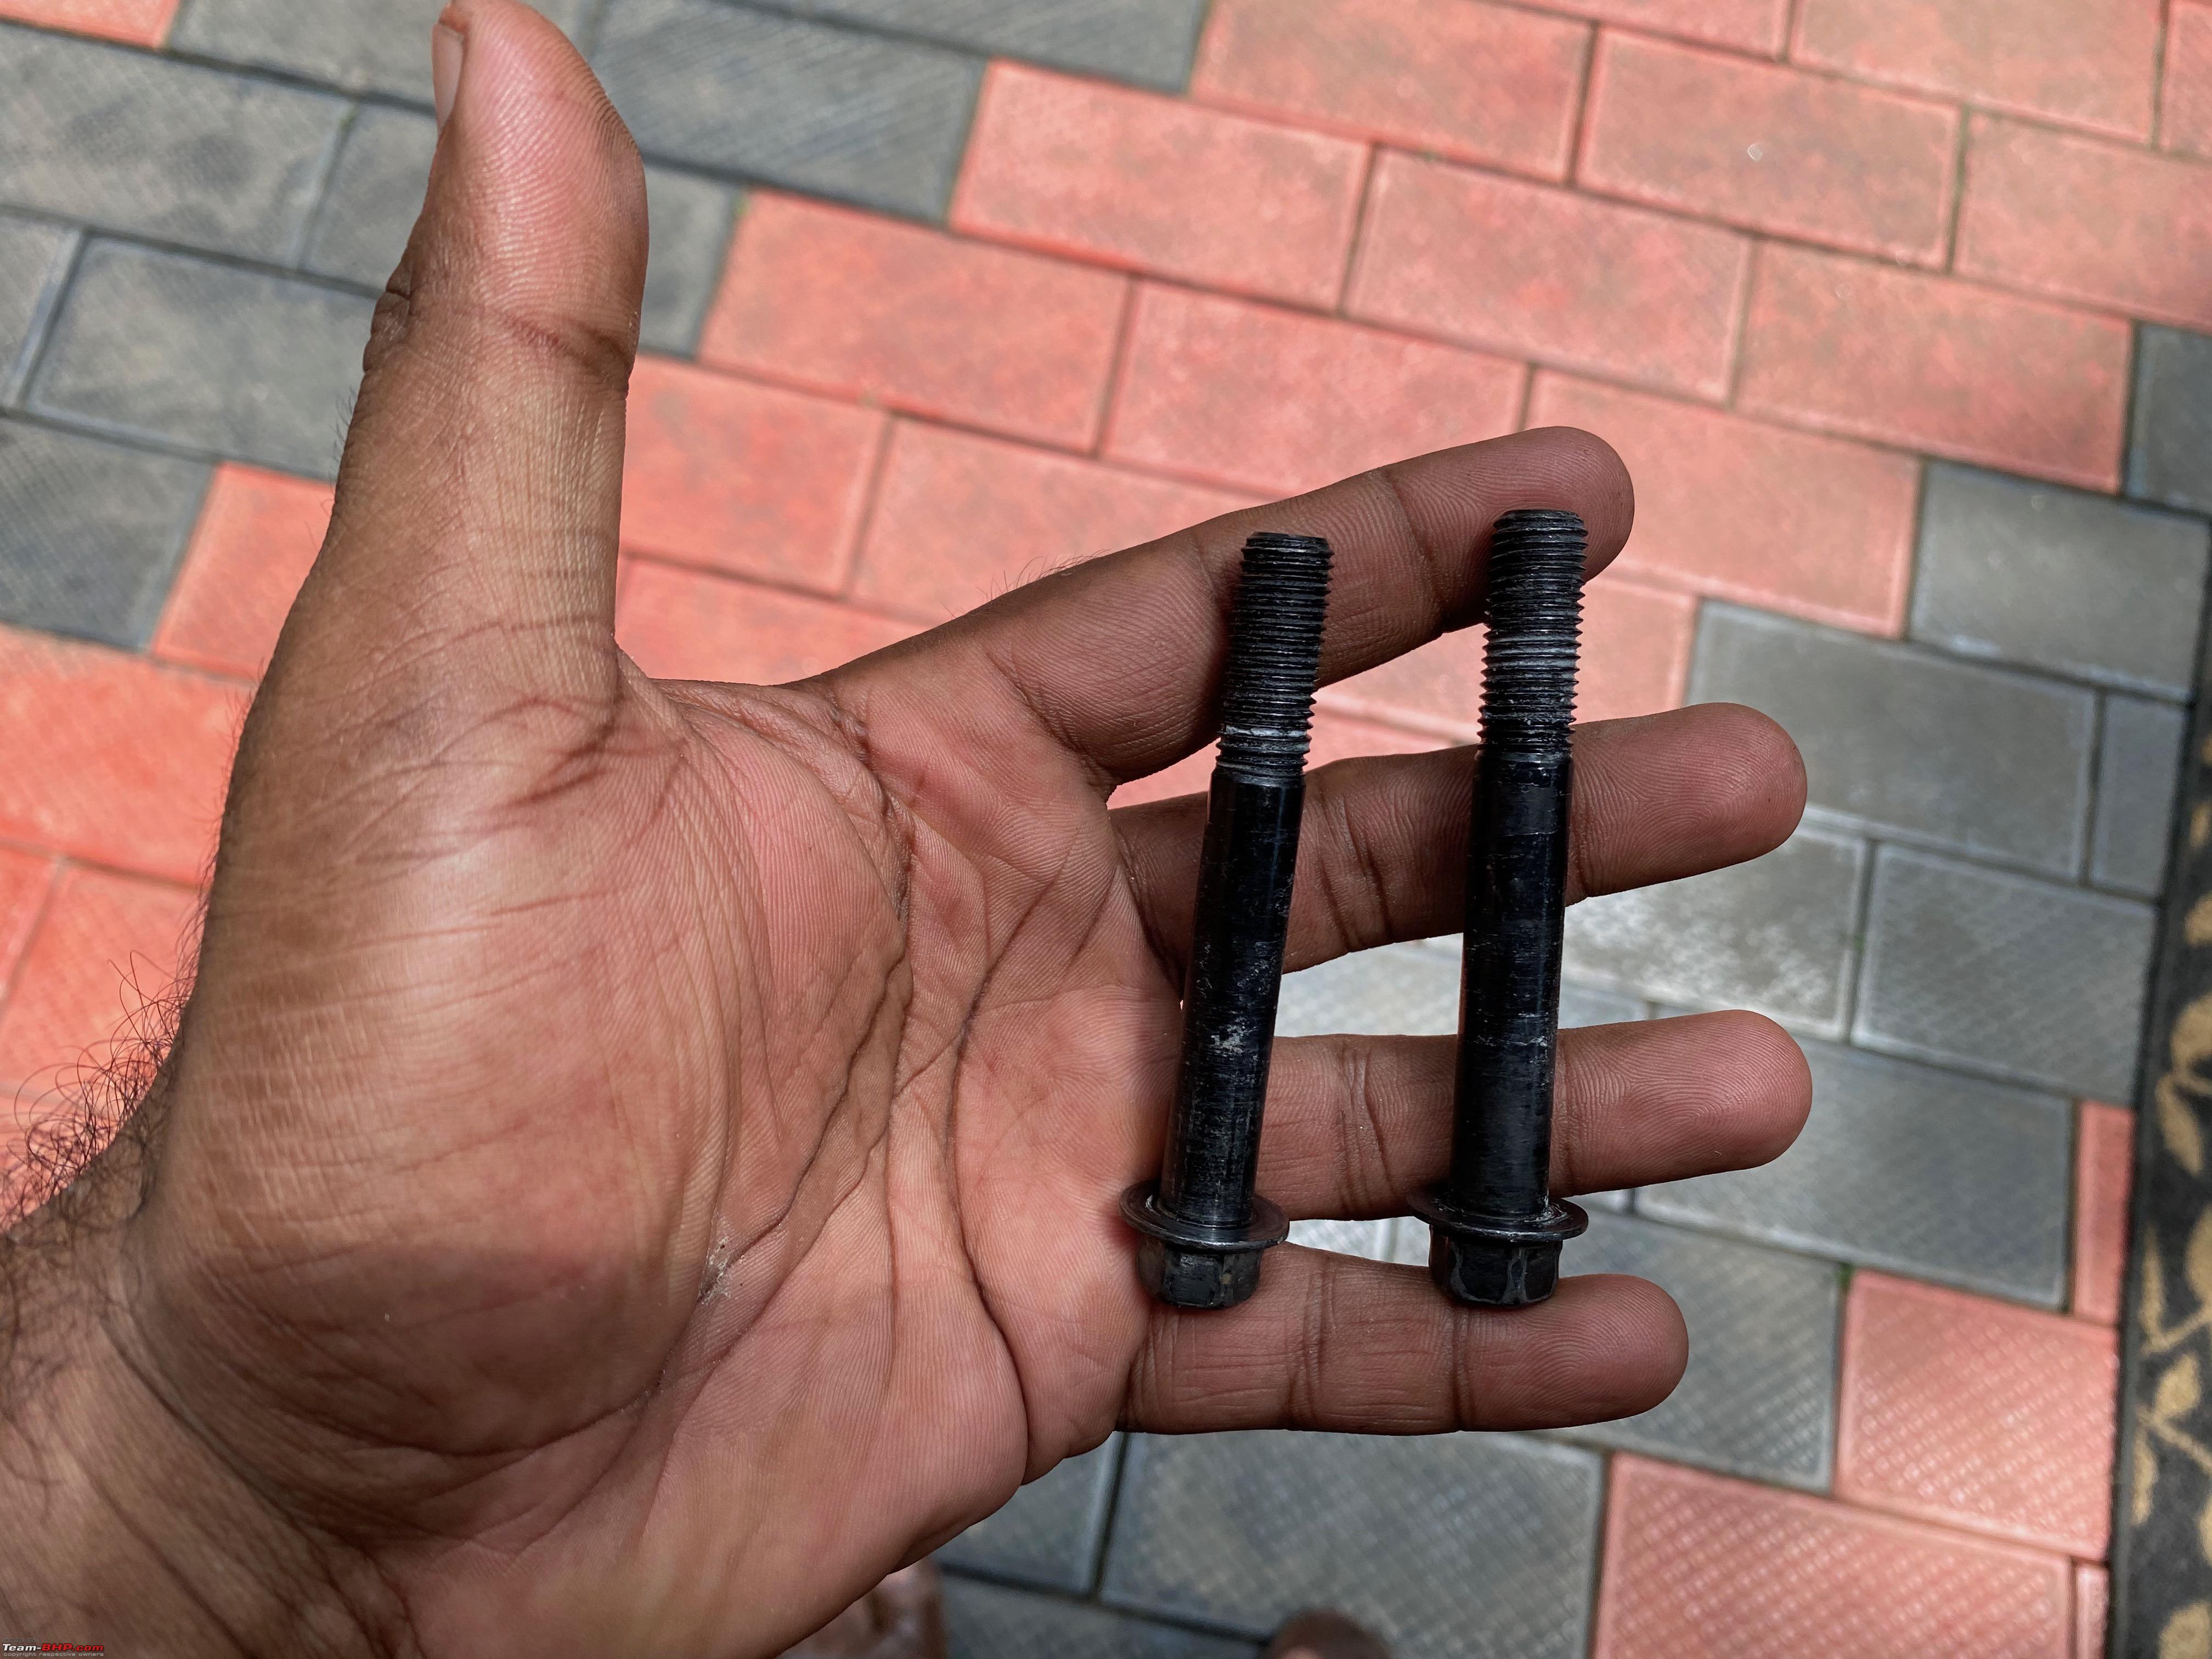 As I am currently running stock pads you can see that they are in a 2+1 combination for the 3 pot caliper upfront. The pad wear on them is pretty uniform and they have a good amount of life left in them so no worries there. Brake pad life left  Break pad wear pattern 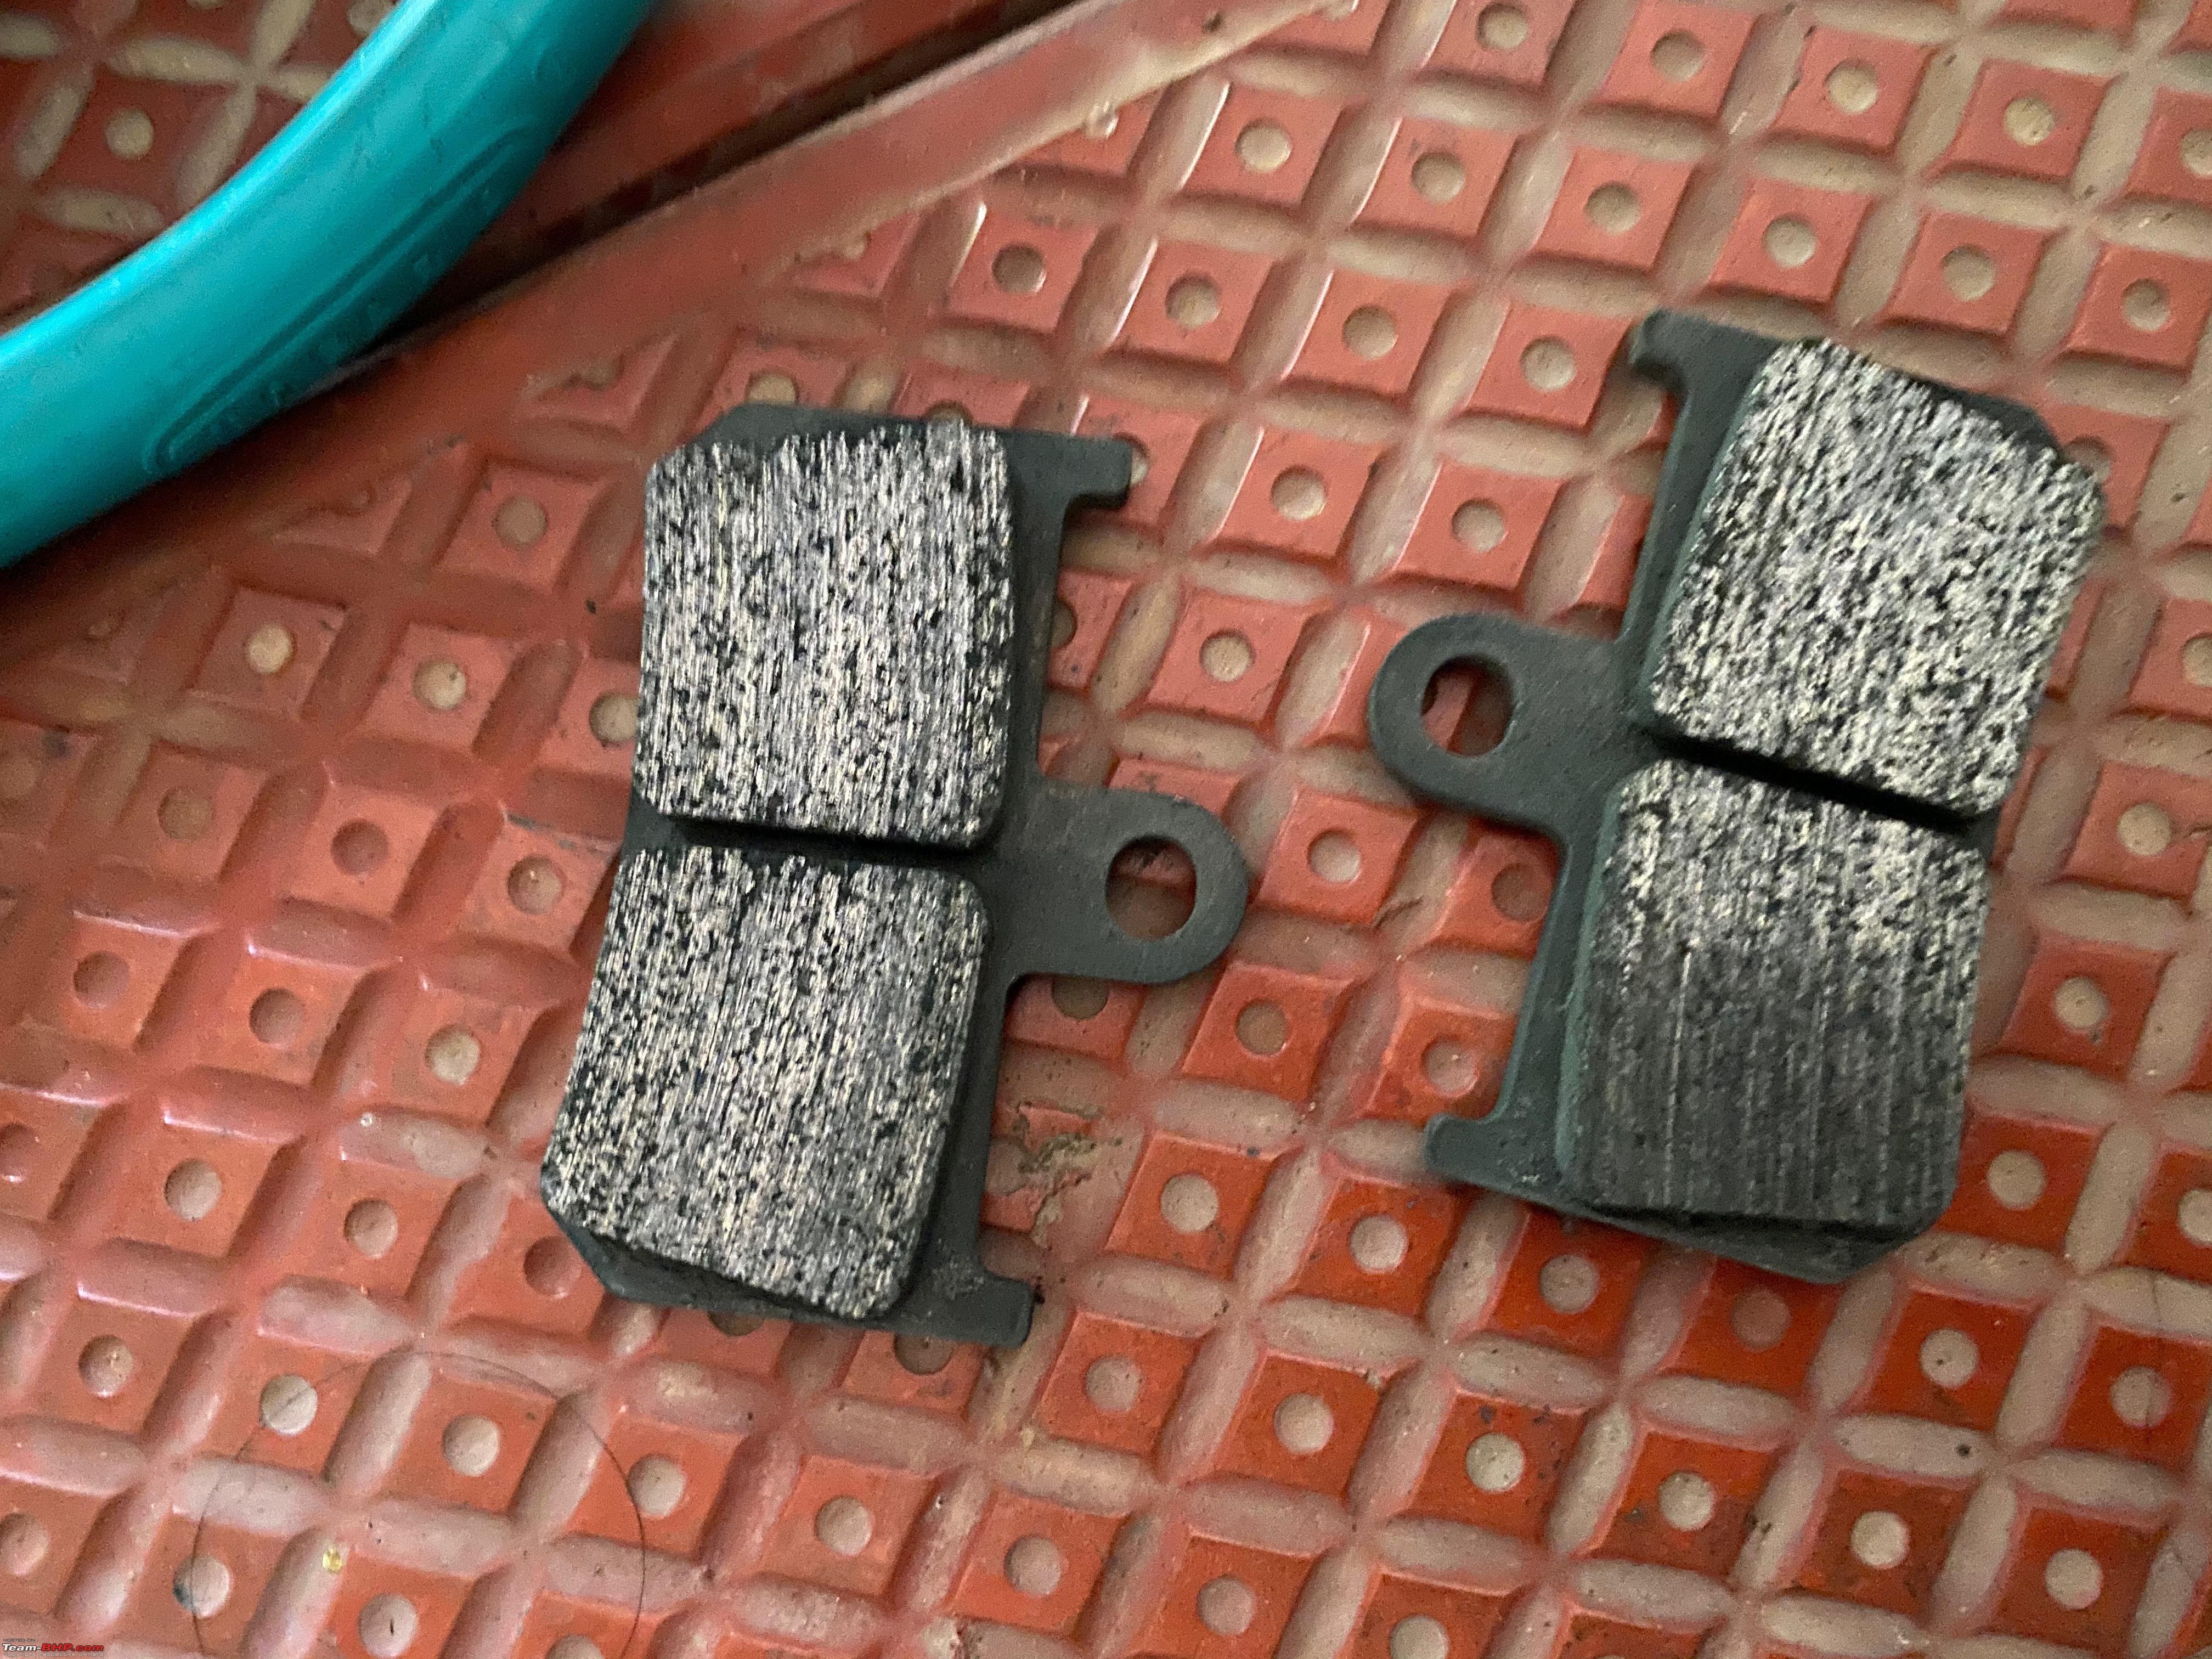 Break pad wear pattern 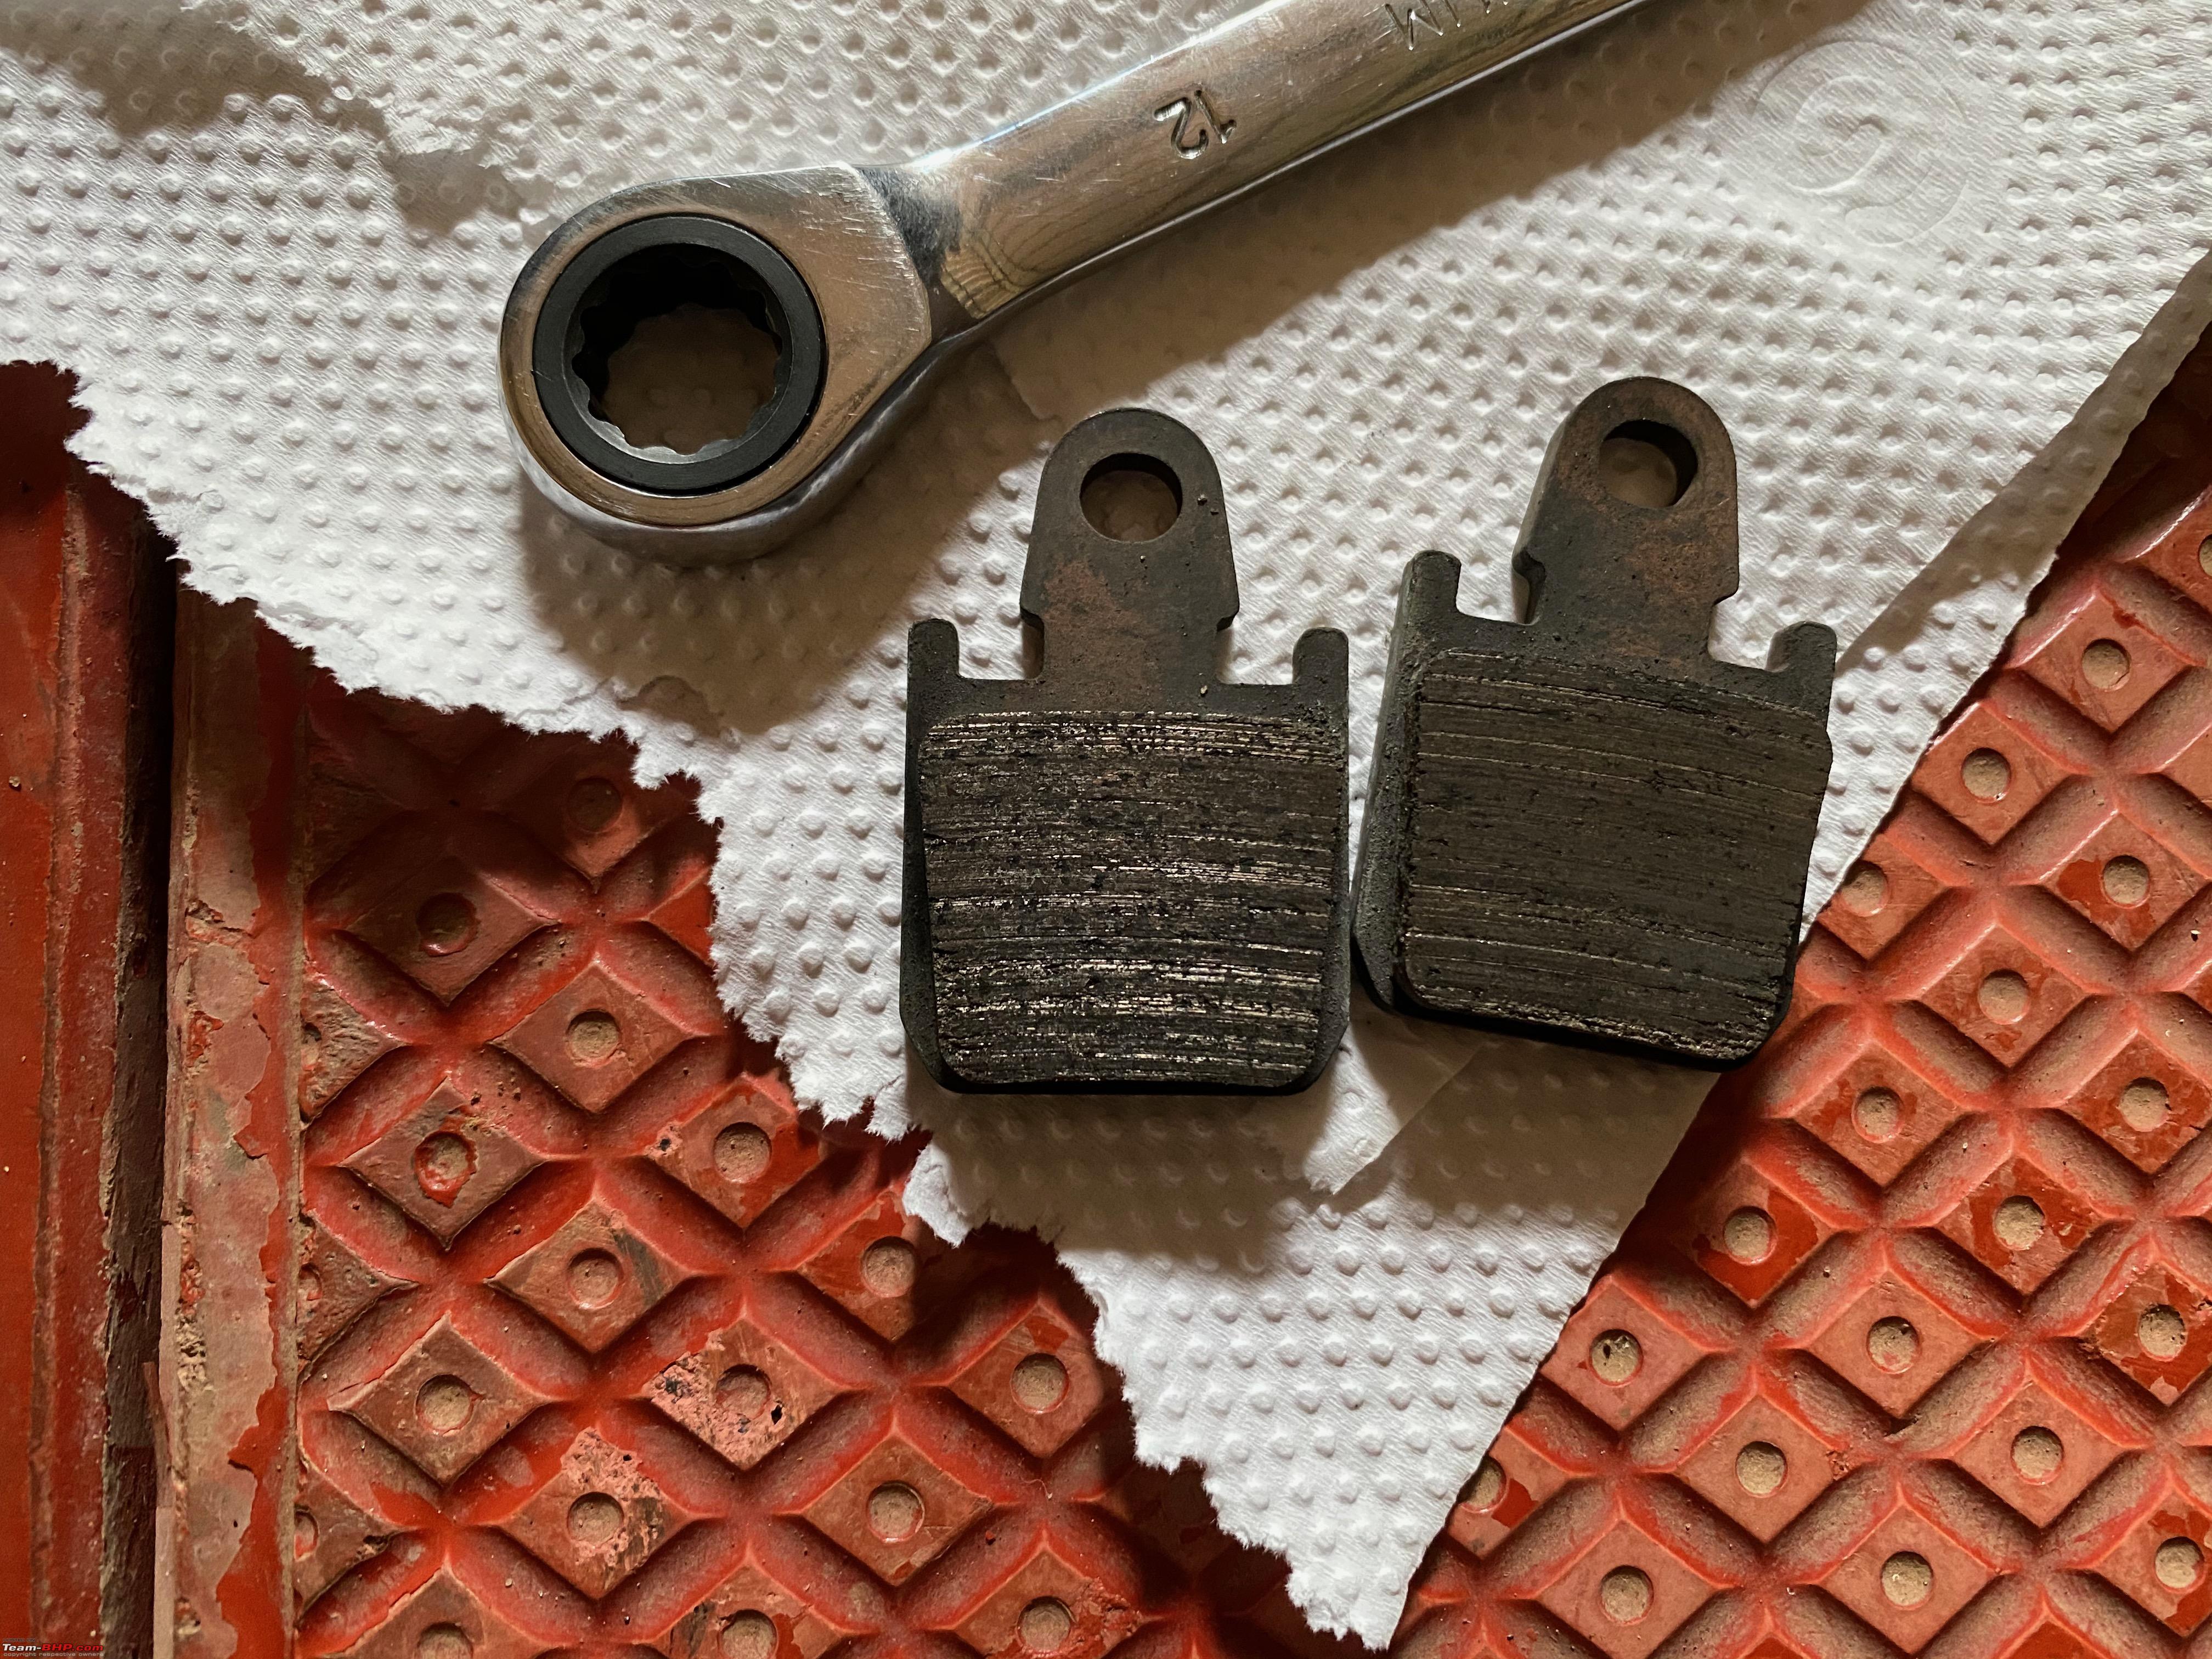 Next, you can see the left side caliper pistons, we pressed the brake lever a few times to see how good the motion of the 6 piston movements are and as you can see in the pics they are good but not perfect, the left-most top piston in the pic is a bit behind in actuation. Note the top left piston is not pushed out as much as the rest  This is quite common as dirt build-up sometimes cause them to seize up a bit. Just a healthy dose of brake cleaner can fix this issue. The important part and what you want to make sure is that the pistons depress back into their slots when you apply pressure on them with your fingers/hands, which it did(they didnt for my CBR, thats a story for another post.) STP Brake part cleaner used  Brake caliper & Pistons getting a good cleaning scrub 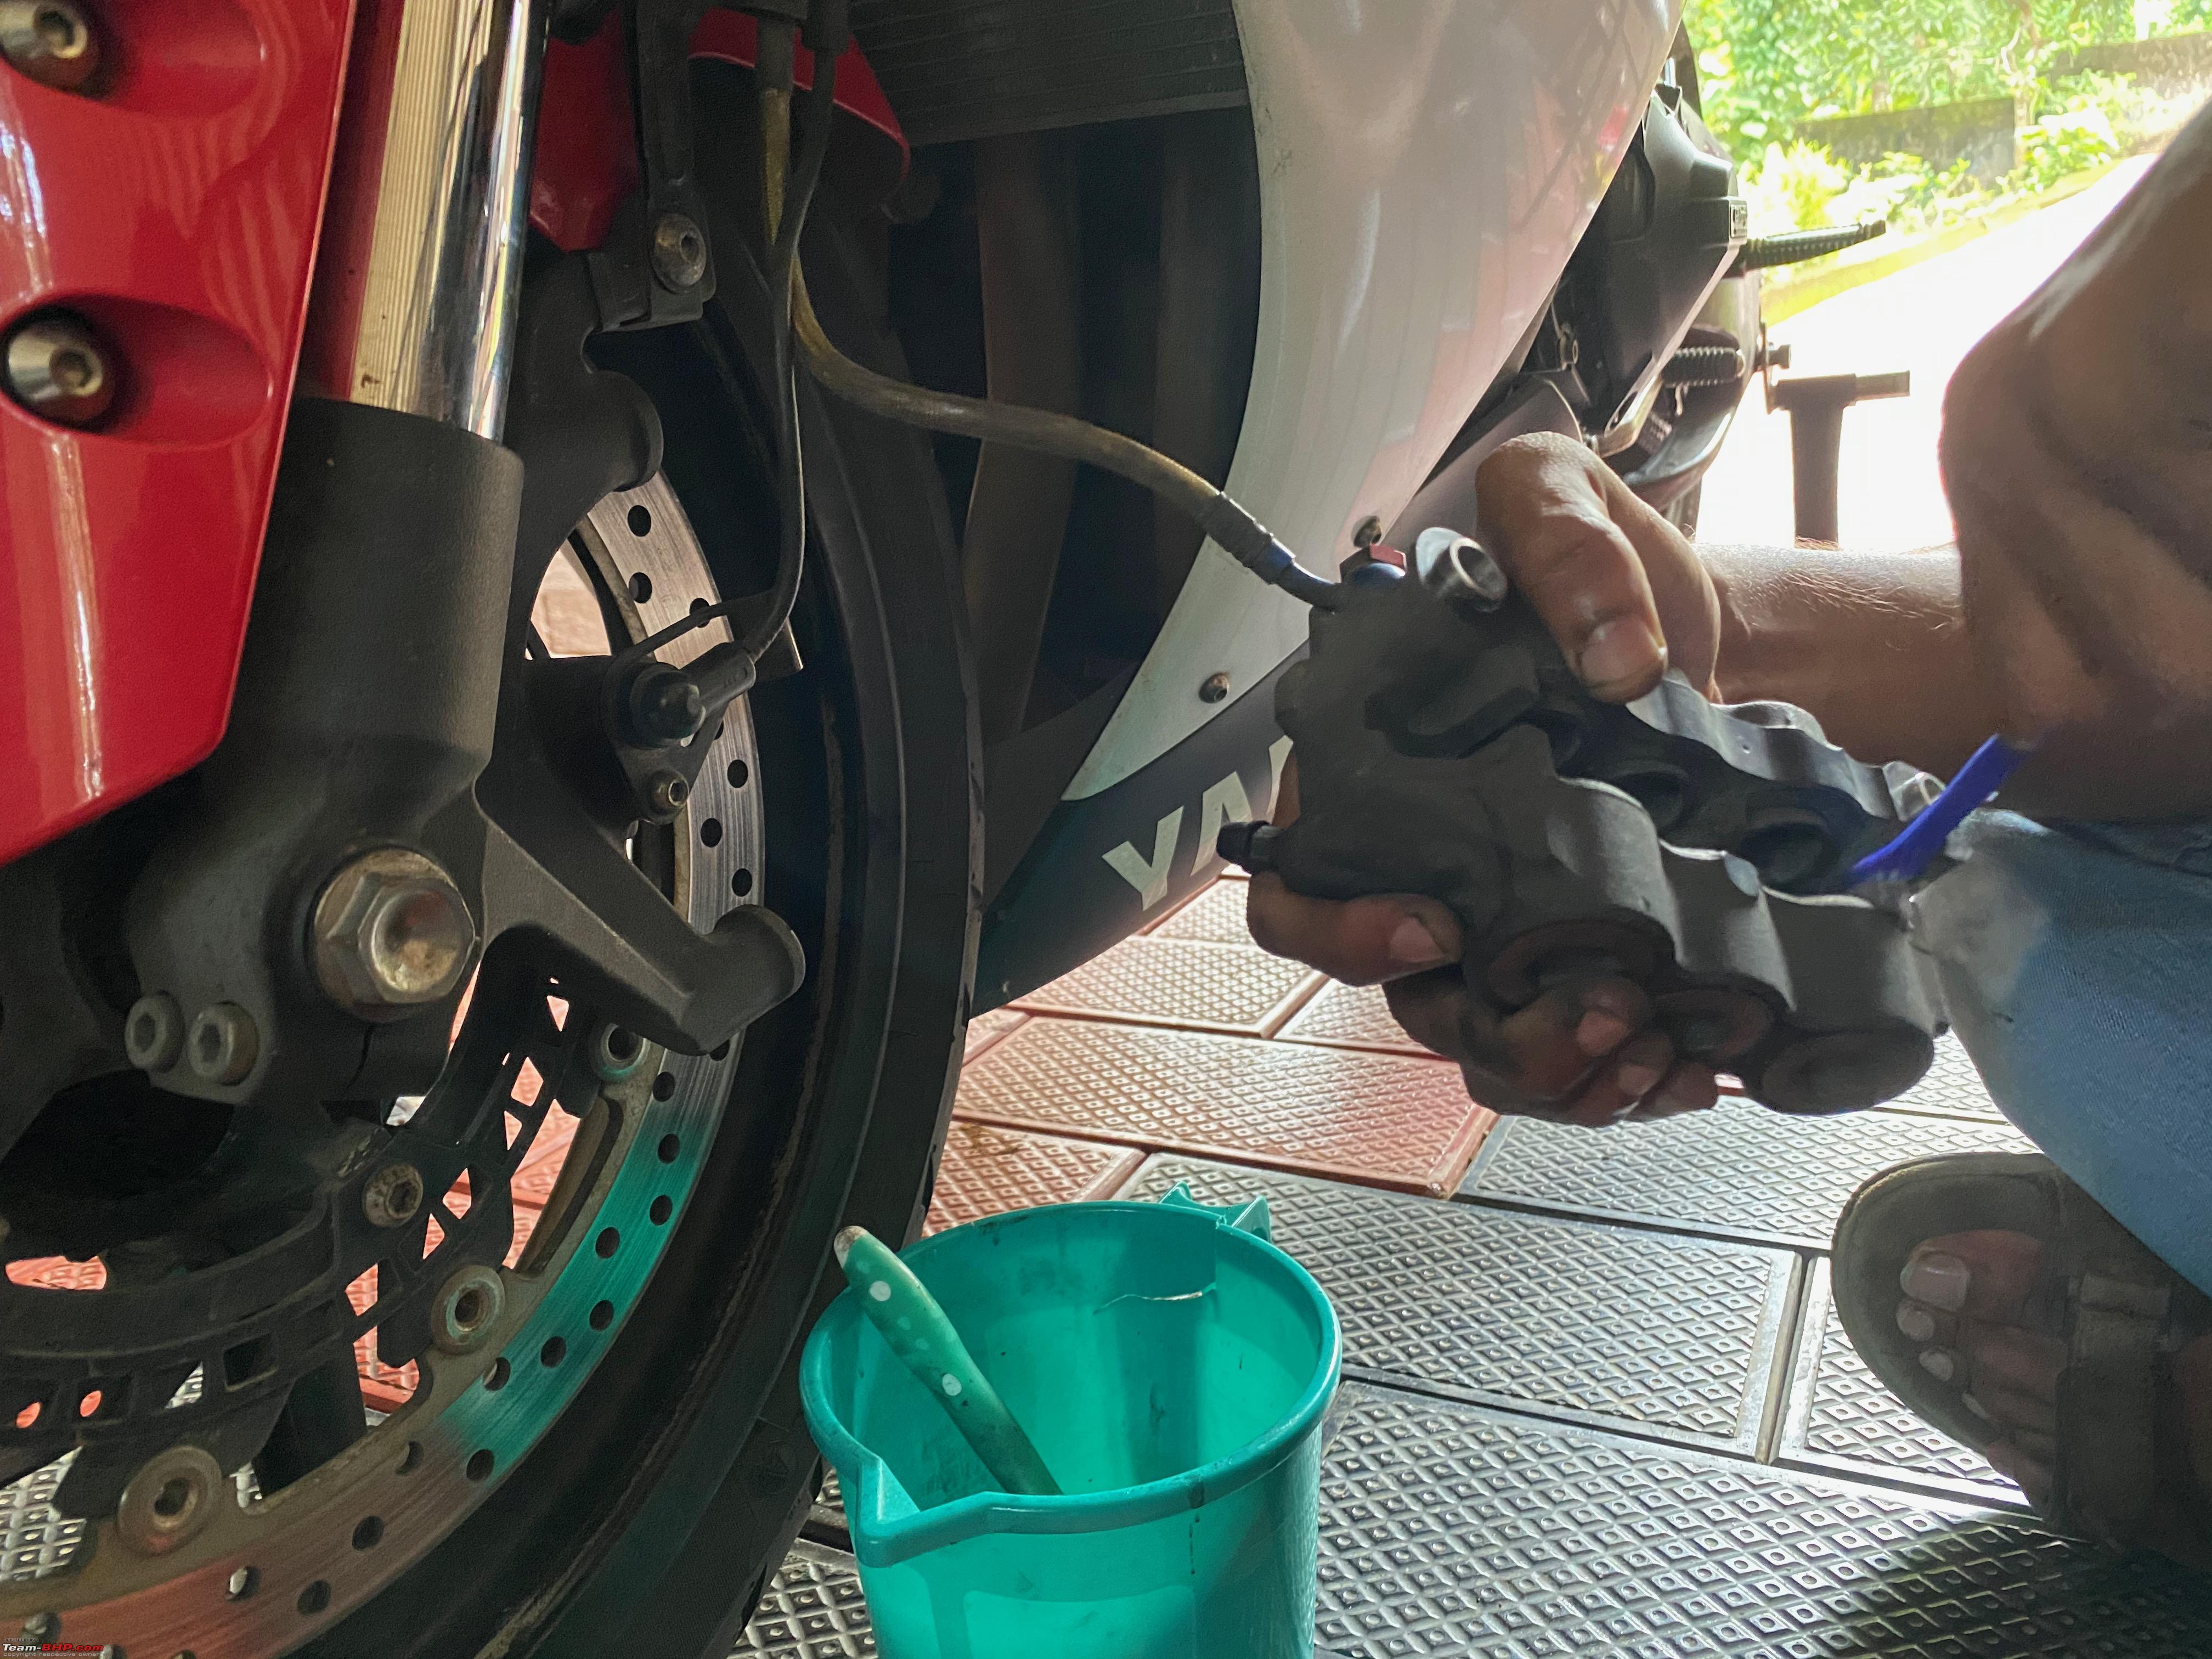 So we applied a good amount of STP brake cleaner on them and they were back to sublime shape. Next, we took apart the brake pads, cotter pins(those hairpin type thing), and the sliding brake pad guide pin(I dont know its the correct terminology), the support pad(that copper-colored plates) and gave them a good clean with the same STP brake cleaner. Clean AF and ready to go back in  Heres how it looks like post a proper cleaning and reassembly session. The left caliper is good to go and now onto the right side. All put back together 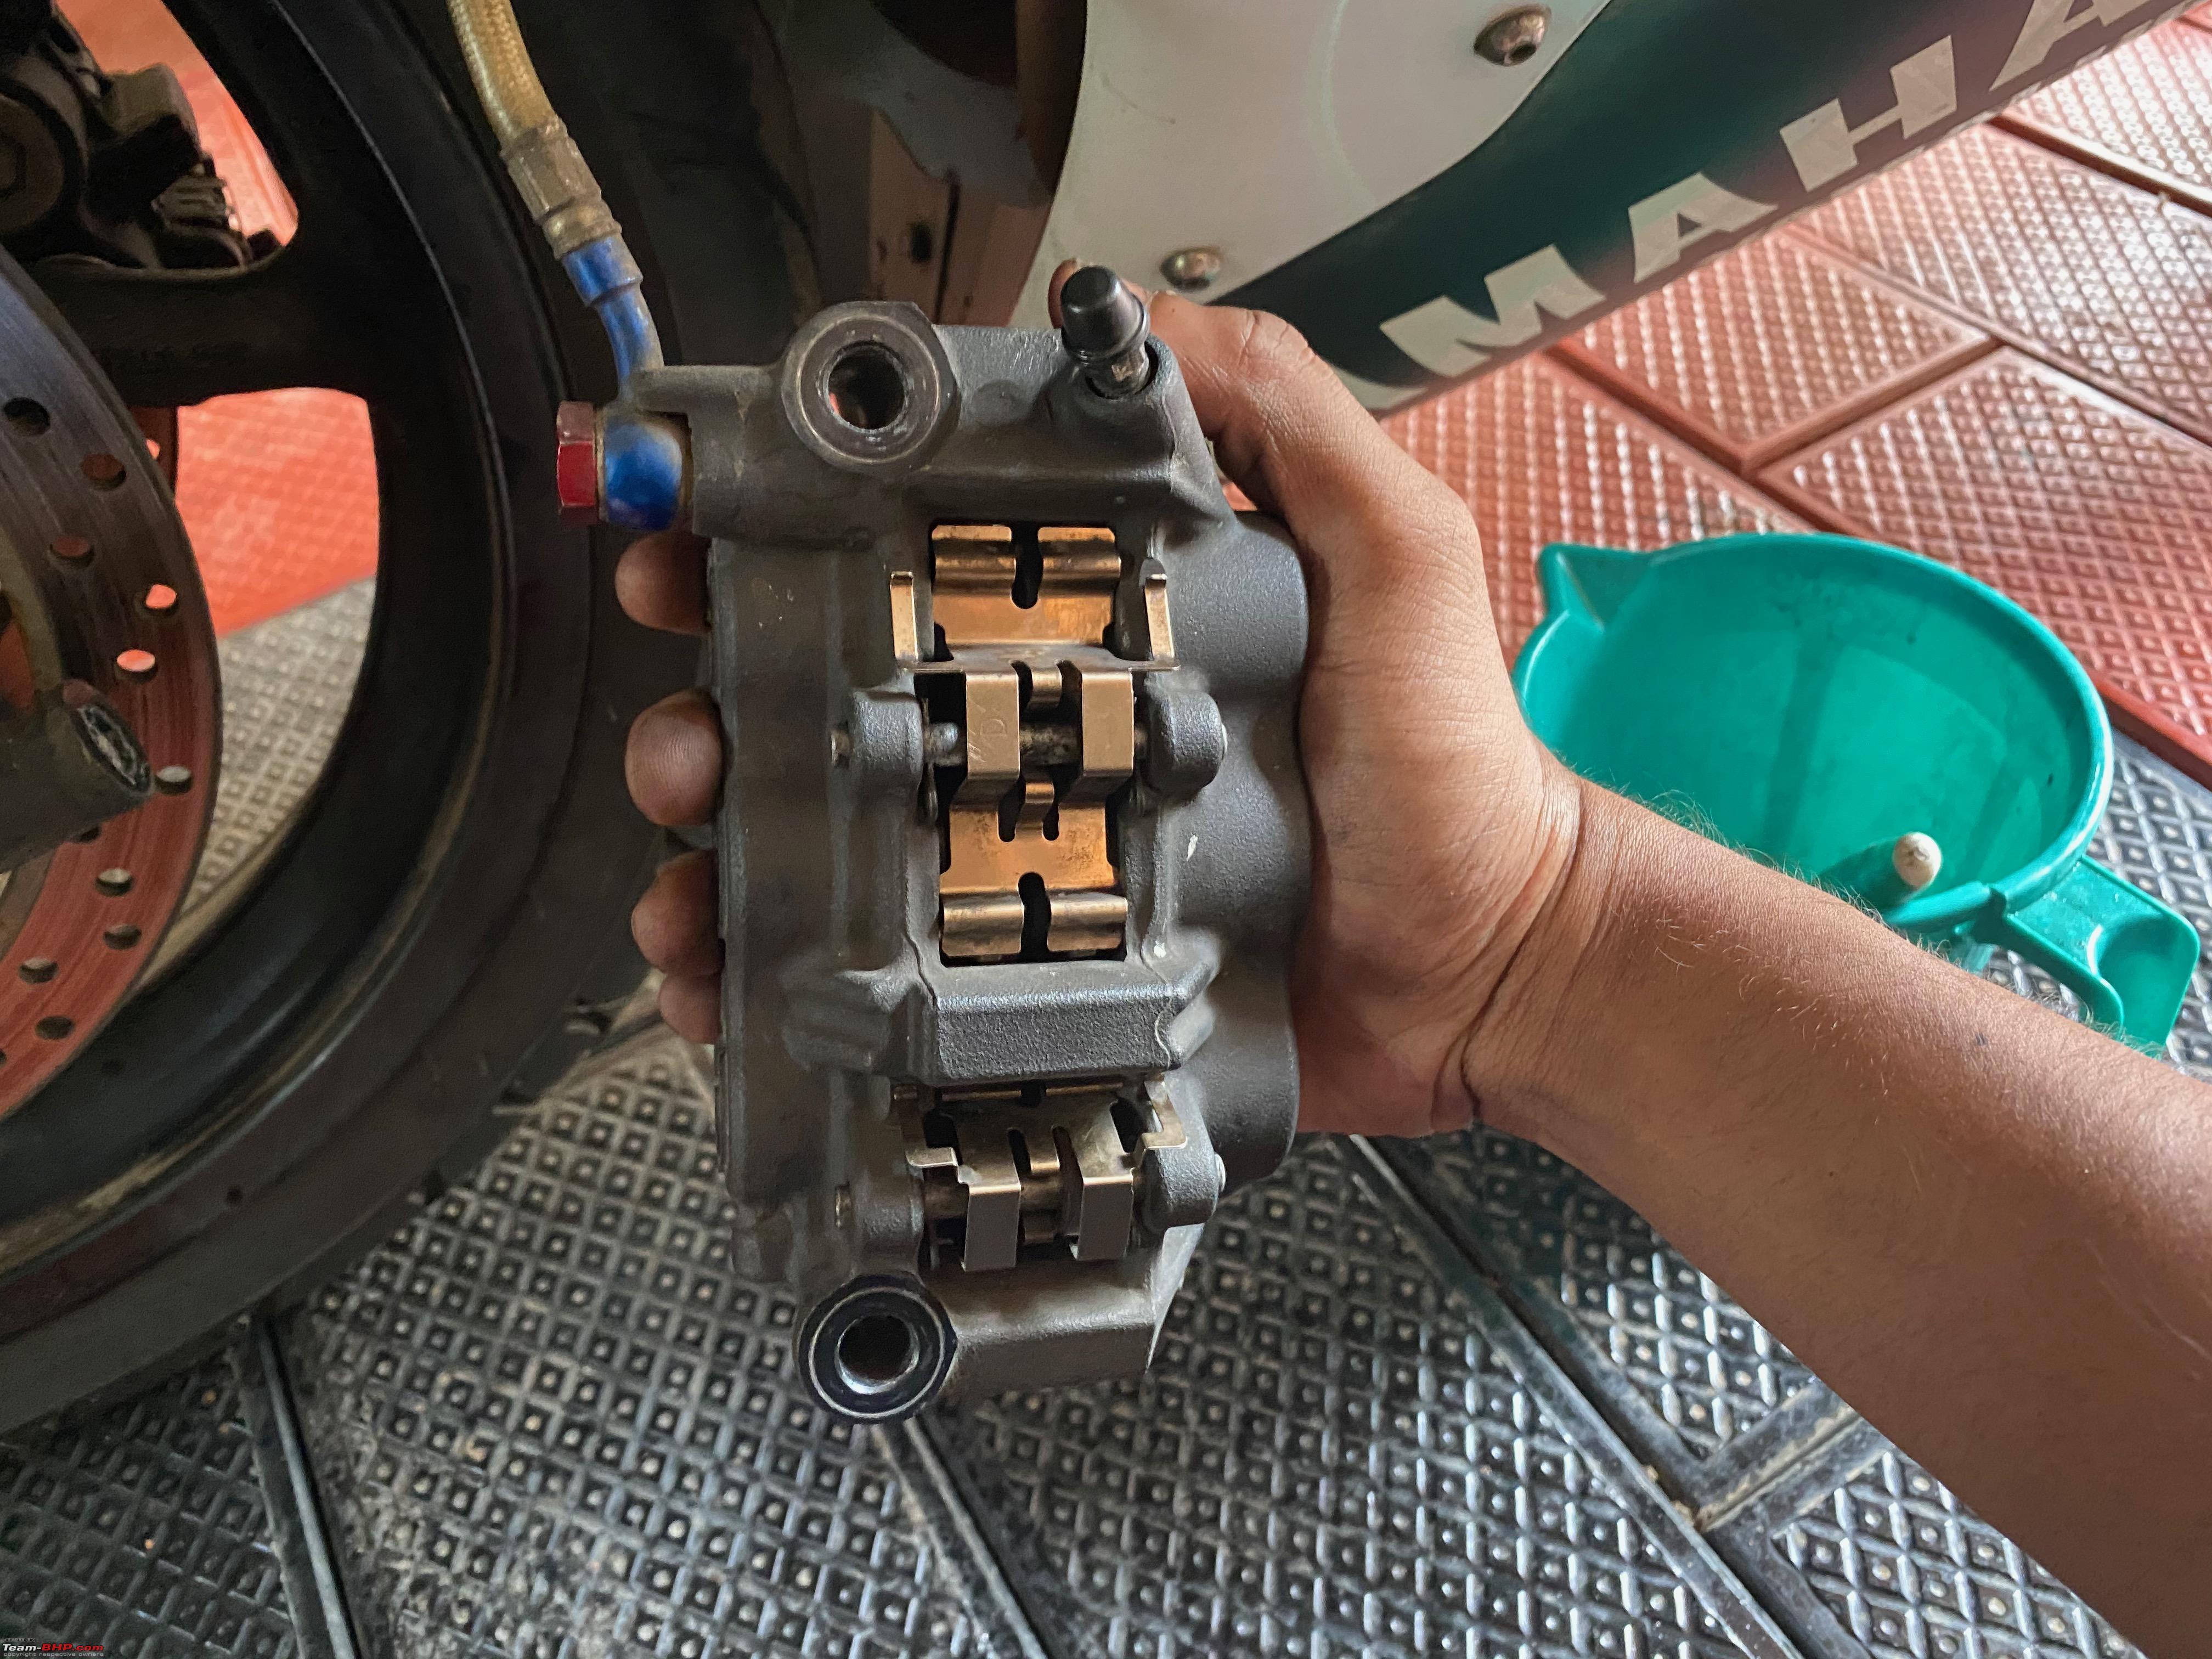 Now for the right side, rinse and repeat. Right side caliper  Here is a before and after for your viewing pleasure. Before 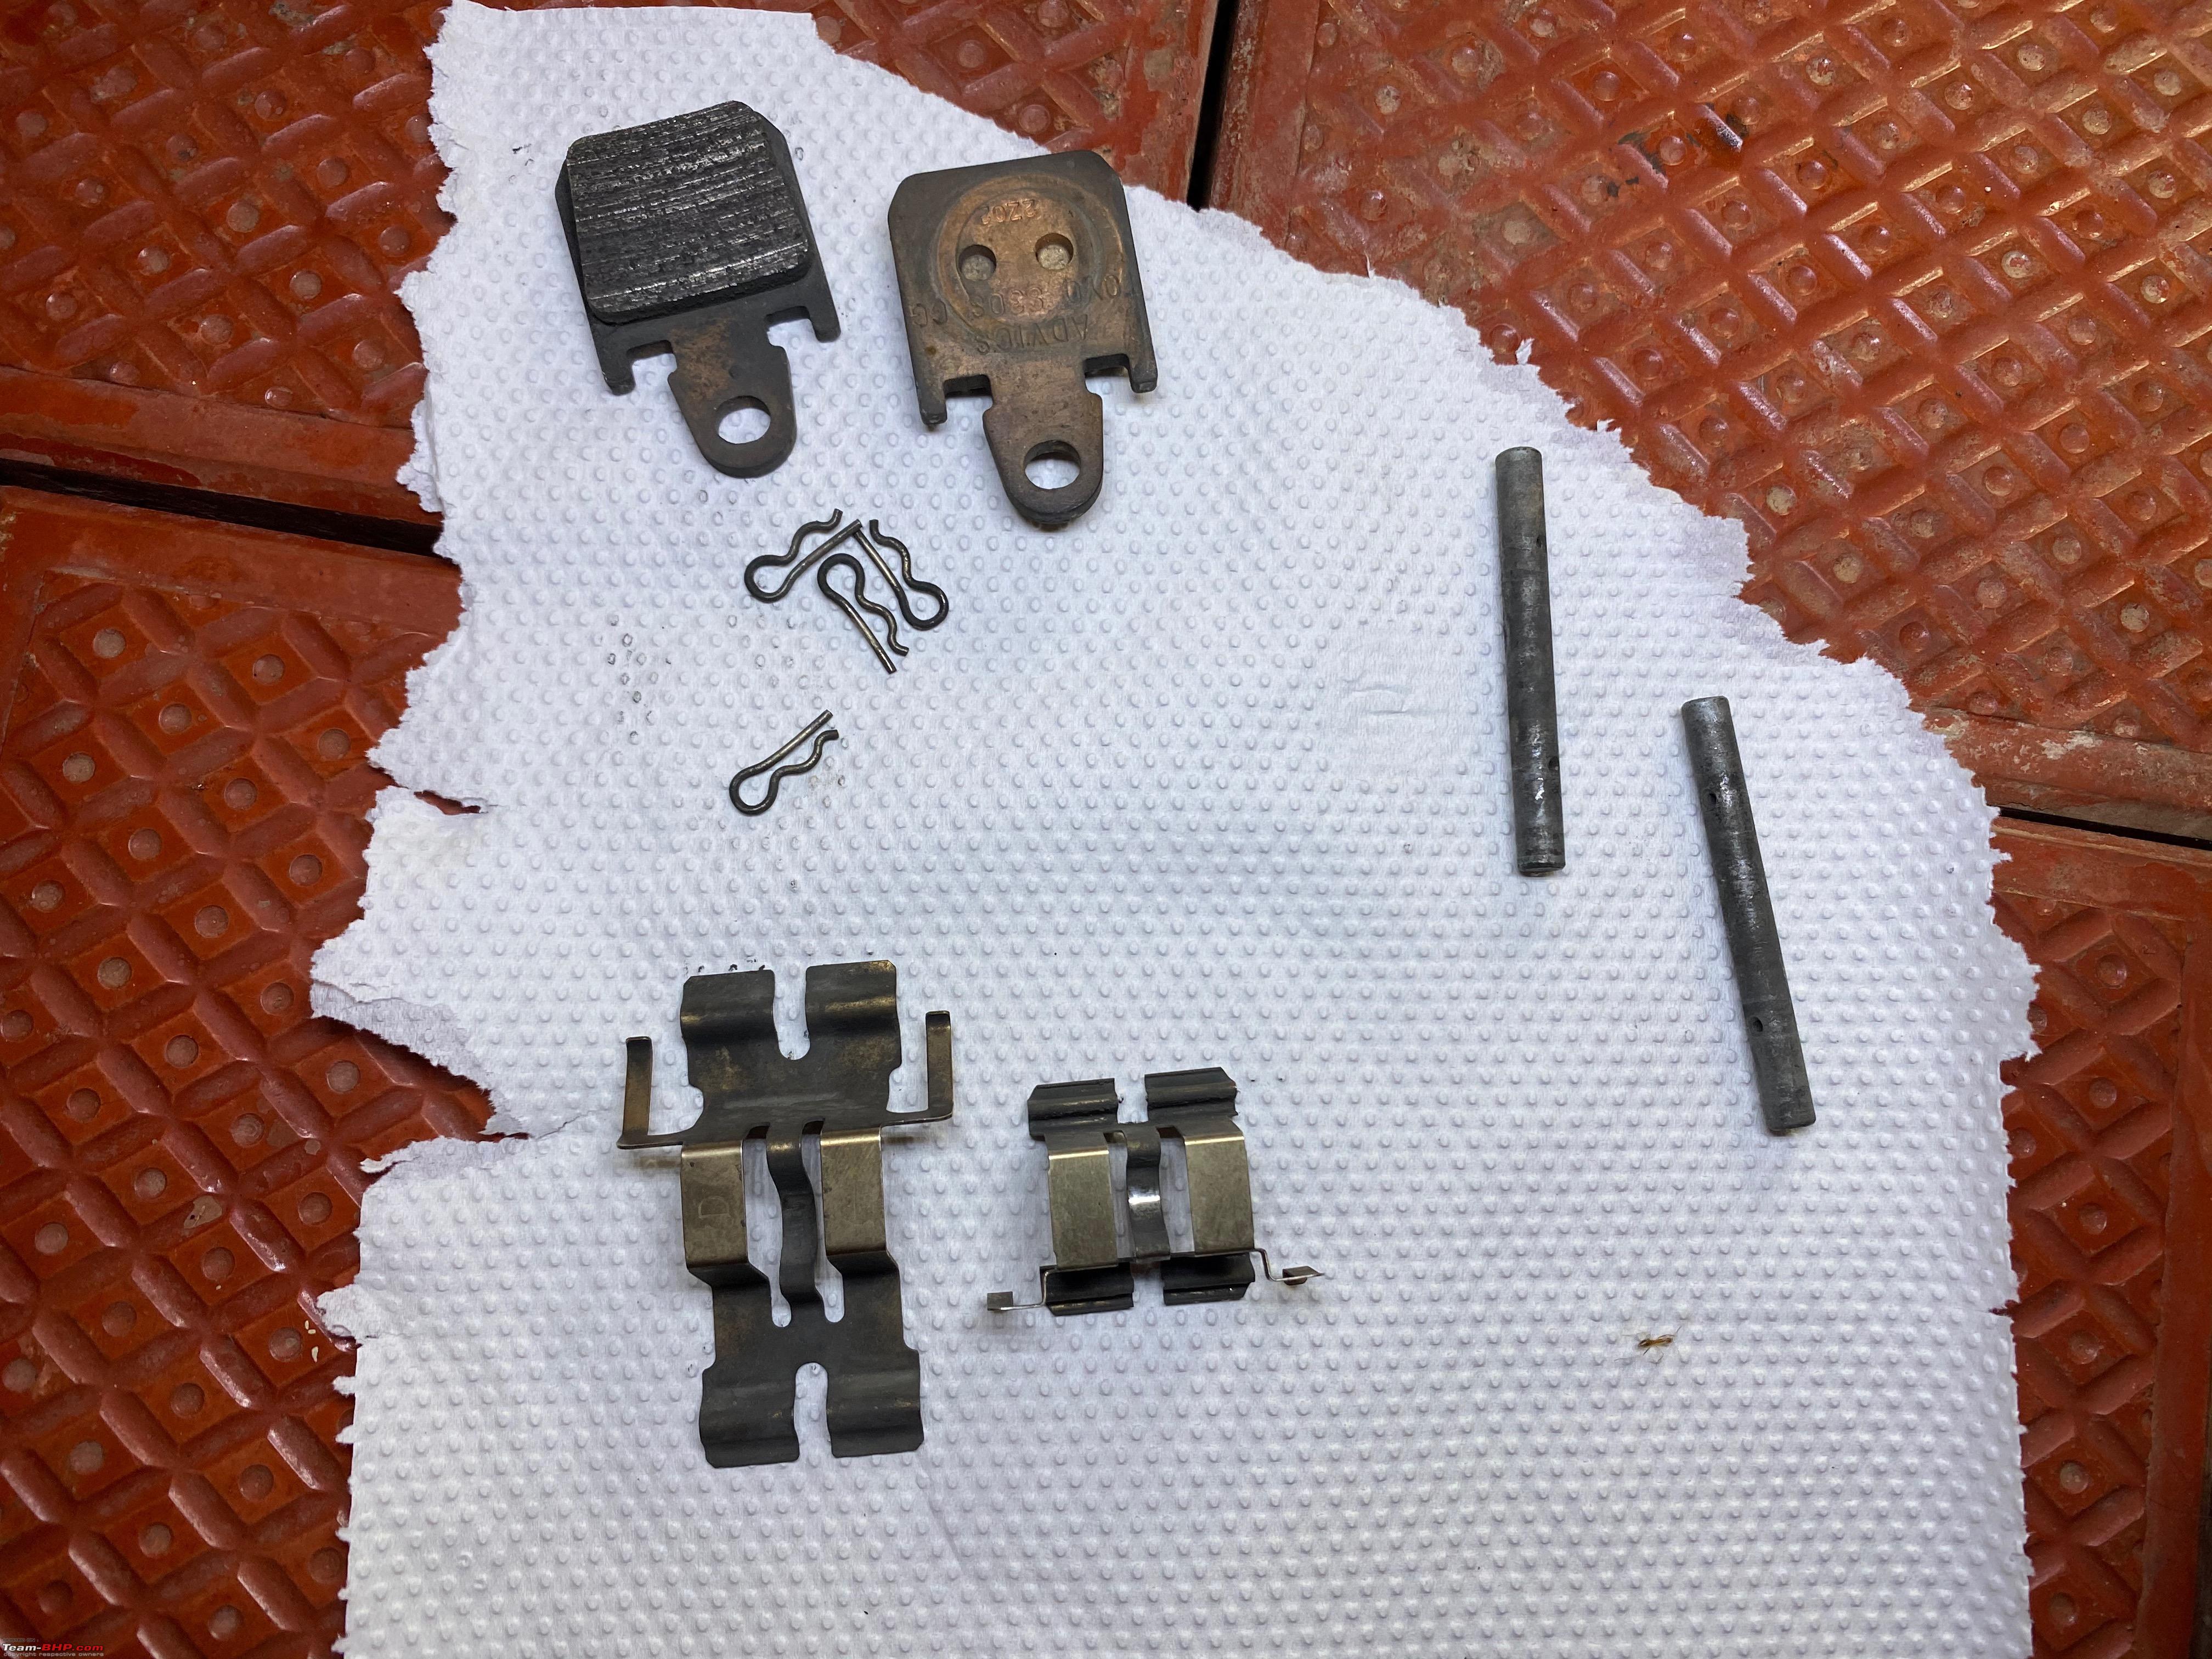 After  This is with the backside of the brake pads doused and spread with a generous spread of anti-seize paste(copper-based, you can find the pic of the product in the previous post). We had forgotten to apply this on the left caliper so we had to redo the whole disassembly of the left caliper once again to get this done. Anti Seize applied on the back of the pads  Next, we torqued the 4 caliper mounting bolts(2 each side) to spec as mentioned in the factory manual. That is 35Nm. Thats the front end done. Torqued to spec! 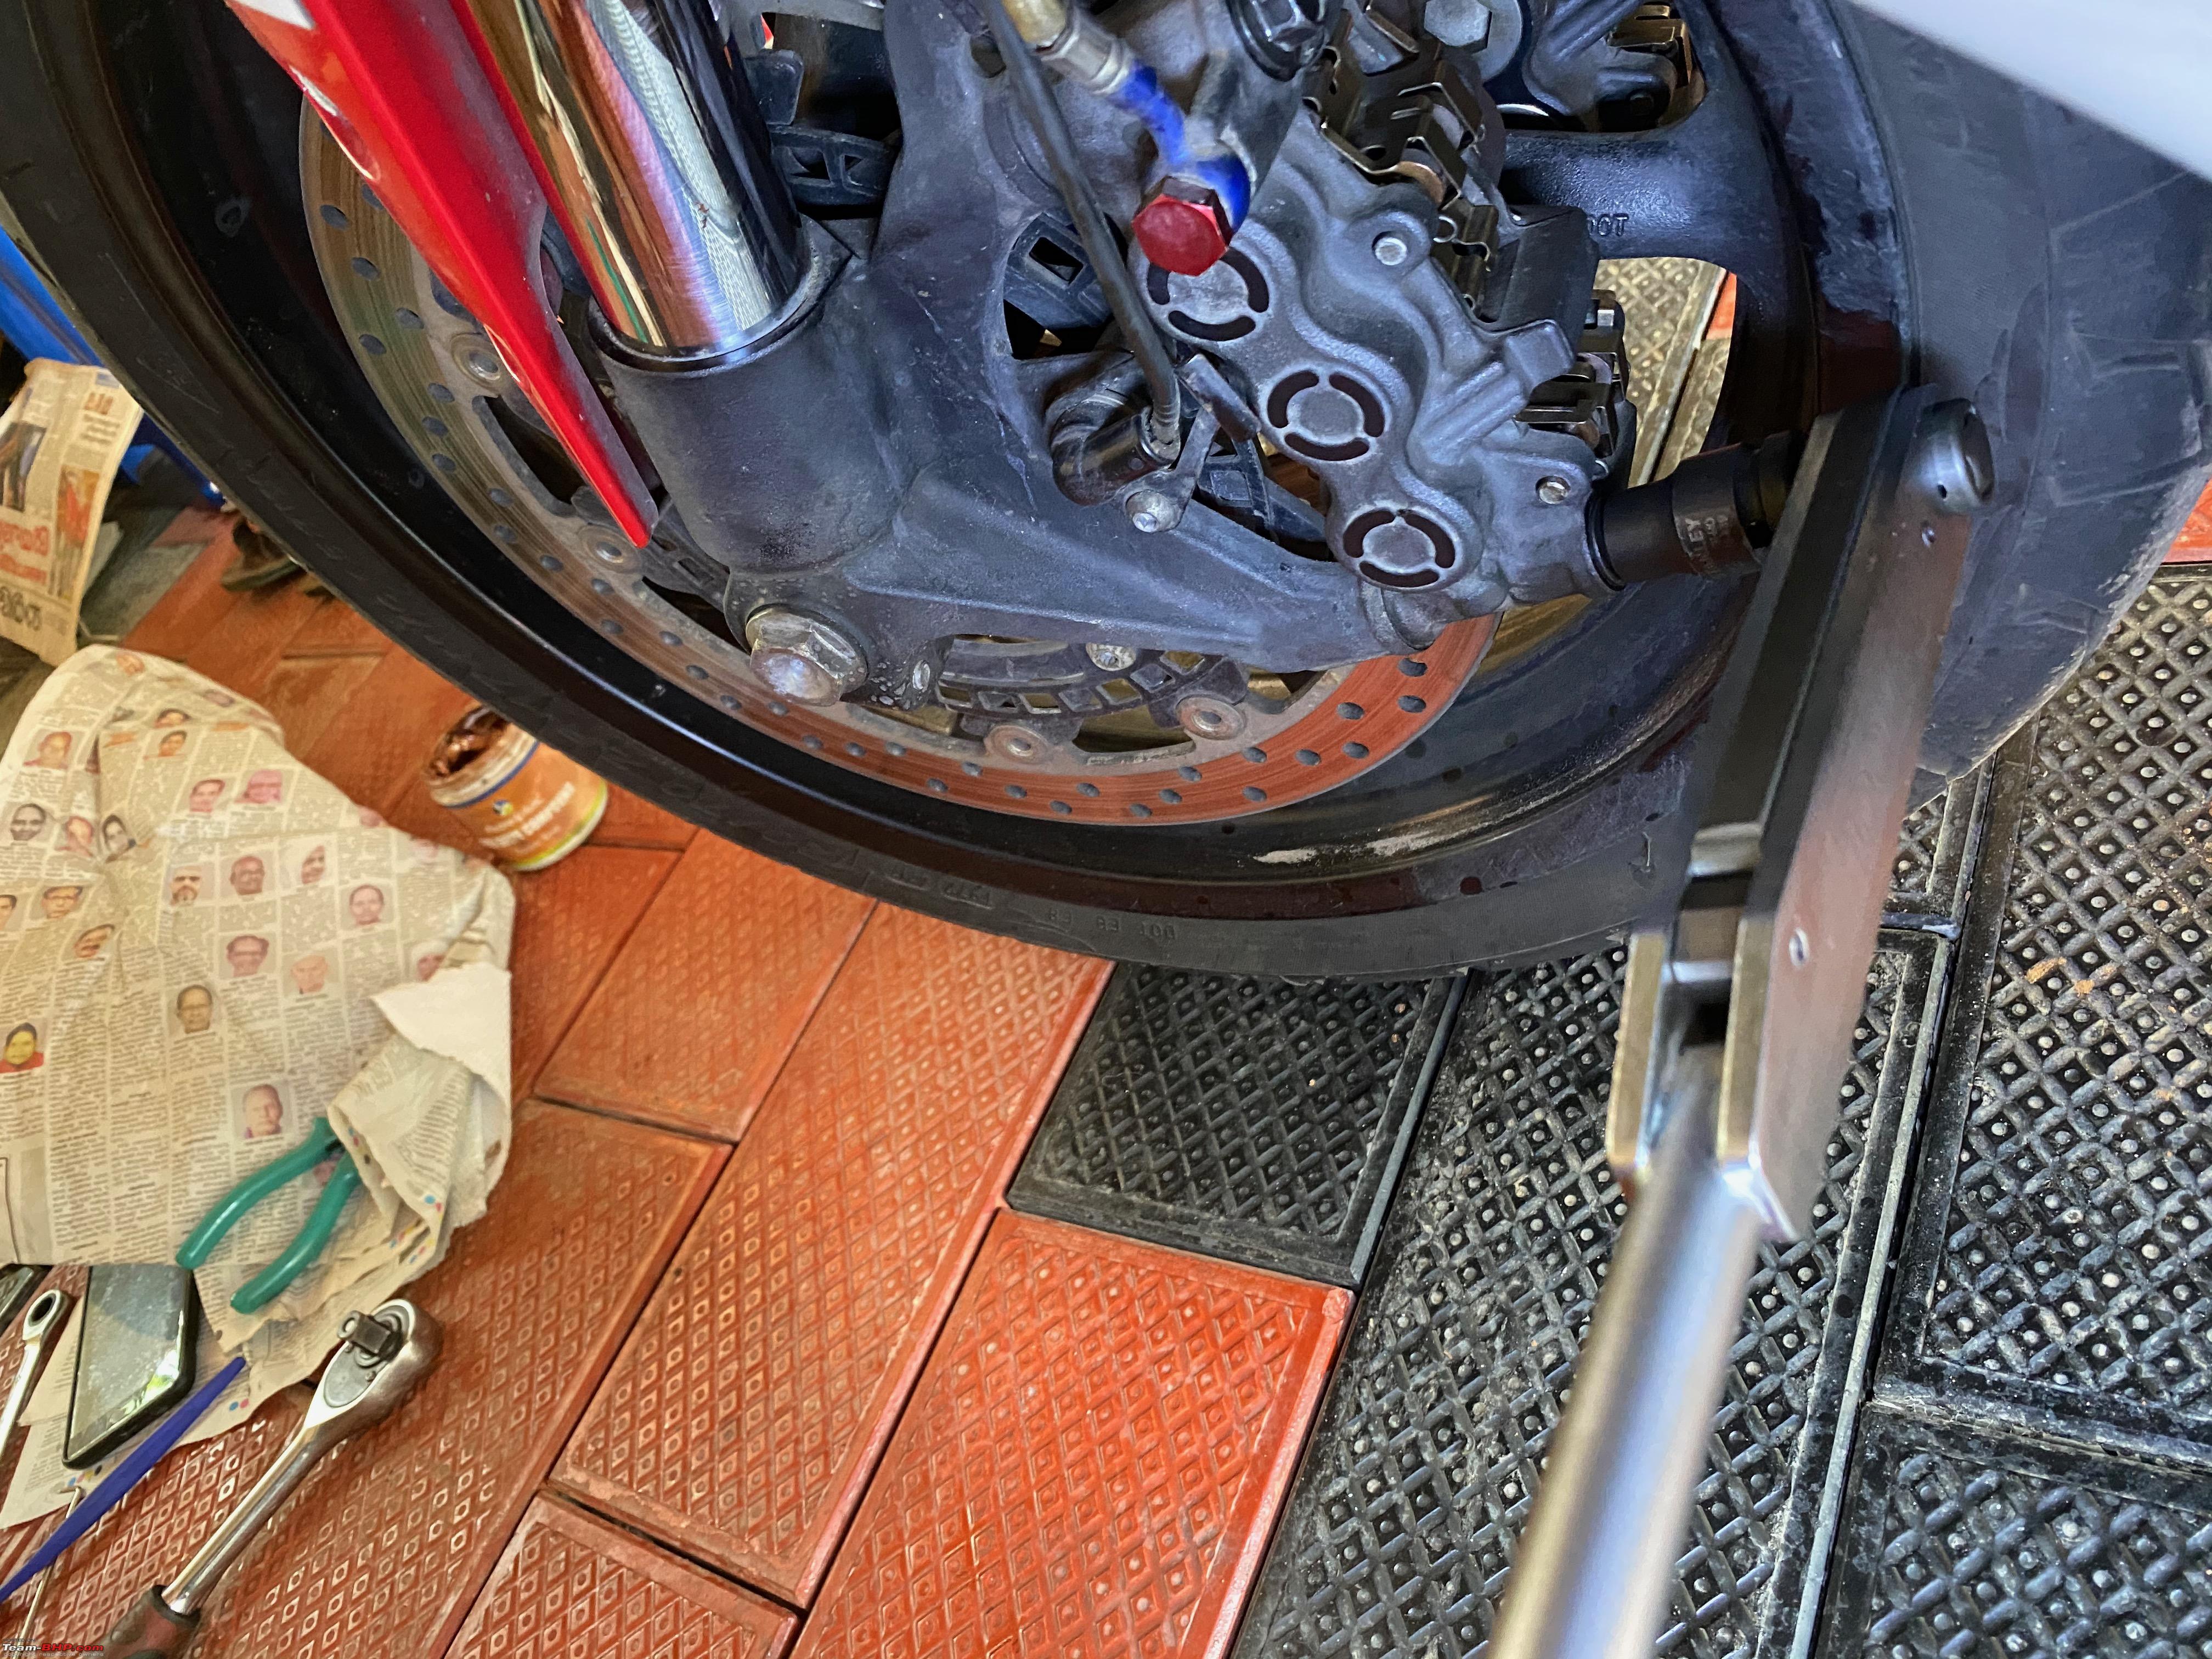 Now we move onto the rear. This gets a bit more interesting. The rear caliper unit is from Nissin and for Nissin, you might notice that there are no cotter pins to act as a safety mechanism from the sliding brake pad guide pin to, well, just slide out. They have an extra screw in place for this. And well, calipers tend to heat up quite a bit and after enough amount of heat cycles and a lot of dirt and grime they tend to seize up quite a bit too, so no prize for guessing that this was pretty much seized up too. Said Screw 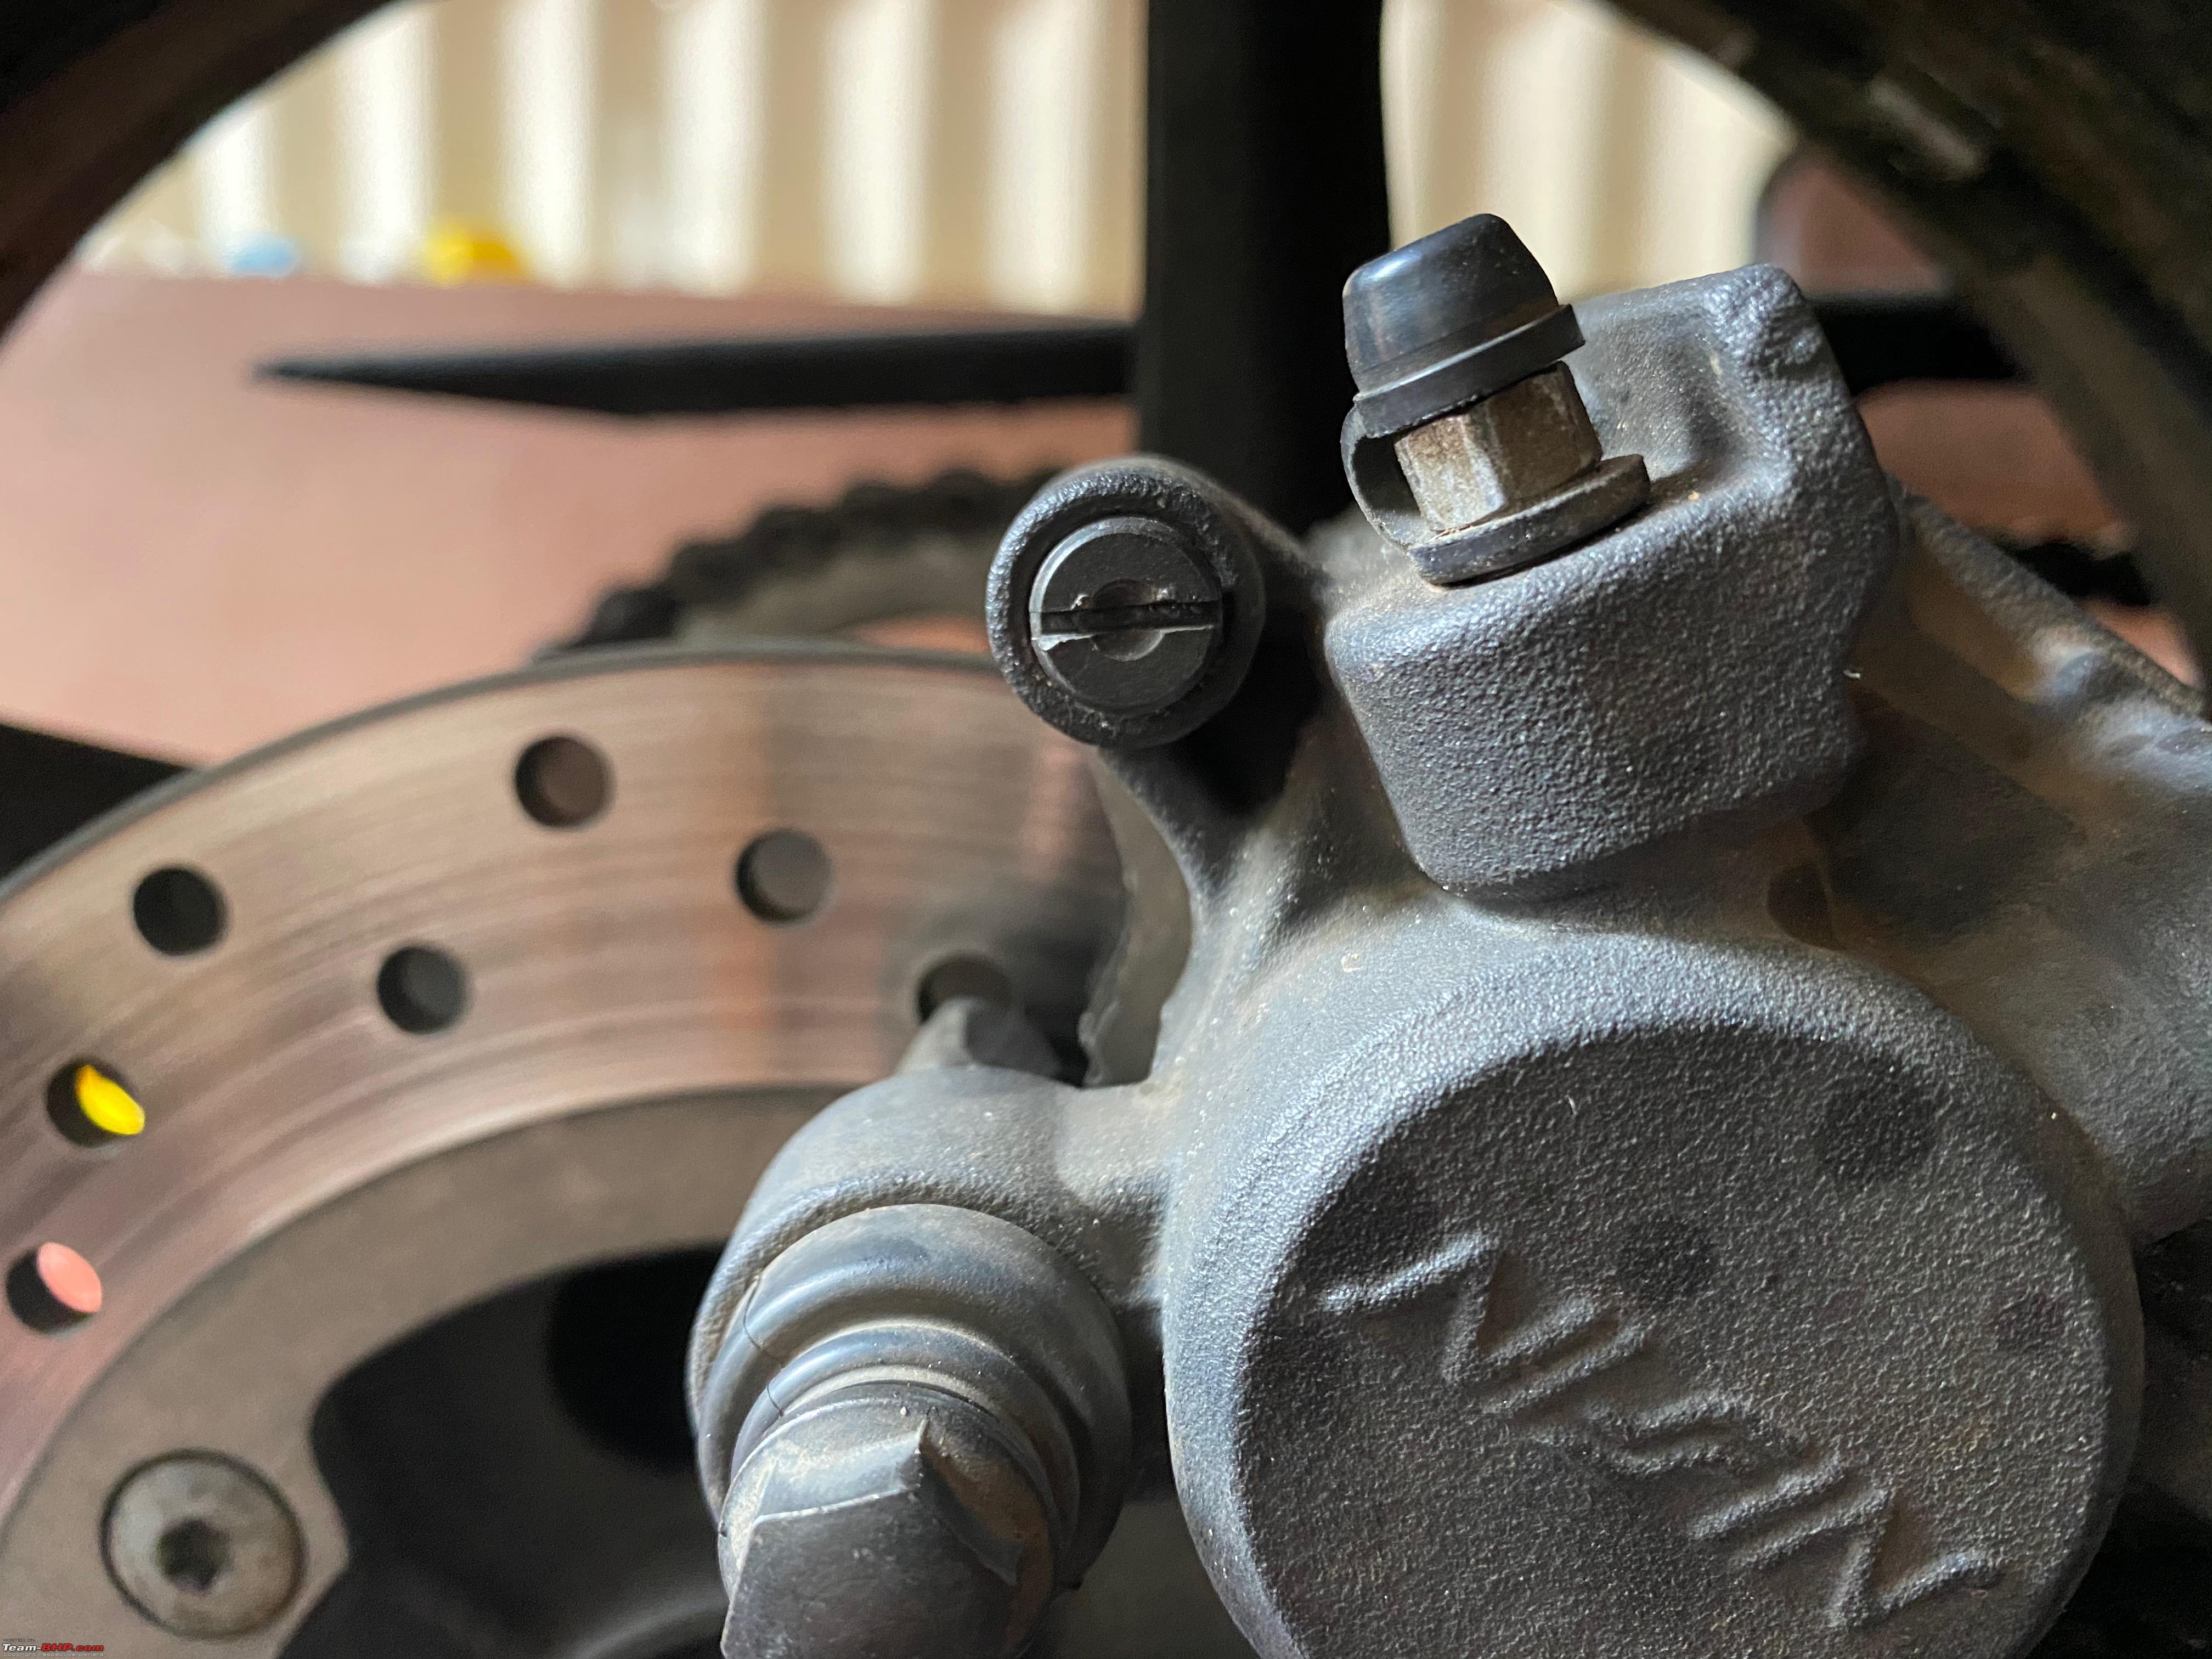 Since this is too small/ fragile a piece to use an impact power tool on we used the old school way of a flat head and a mallet used to drive impact into the screw and get it unseized and that worked like a charm. Here you can see the seized up the screw is Seized up good 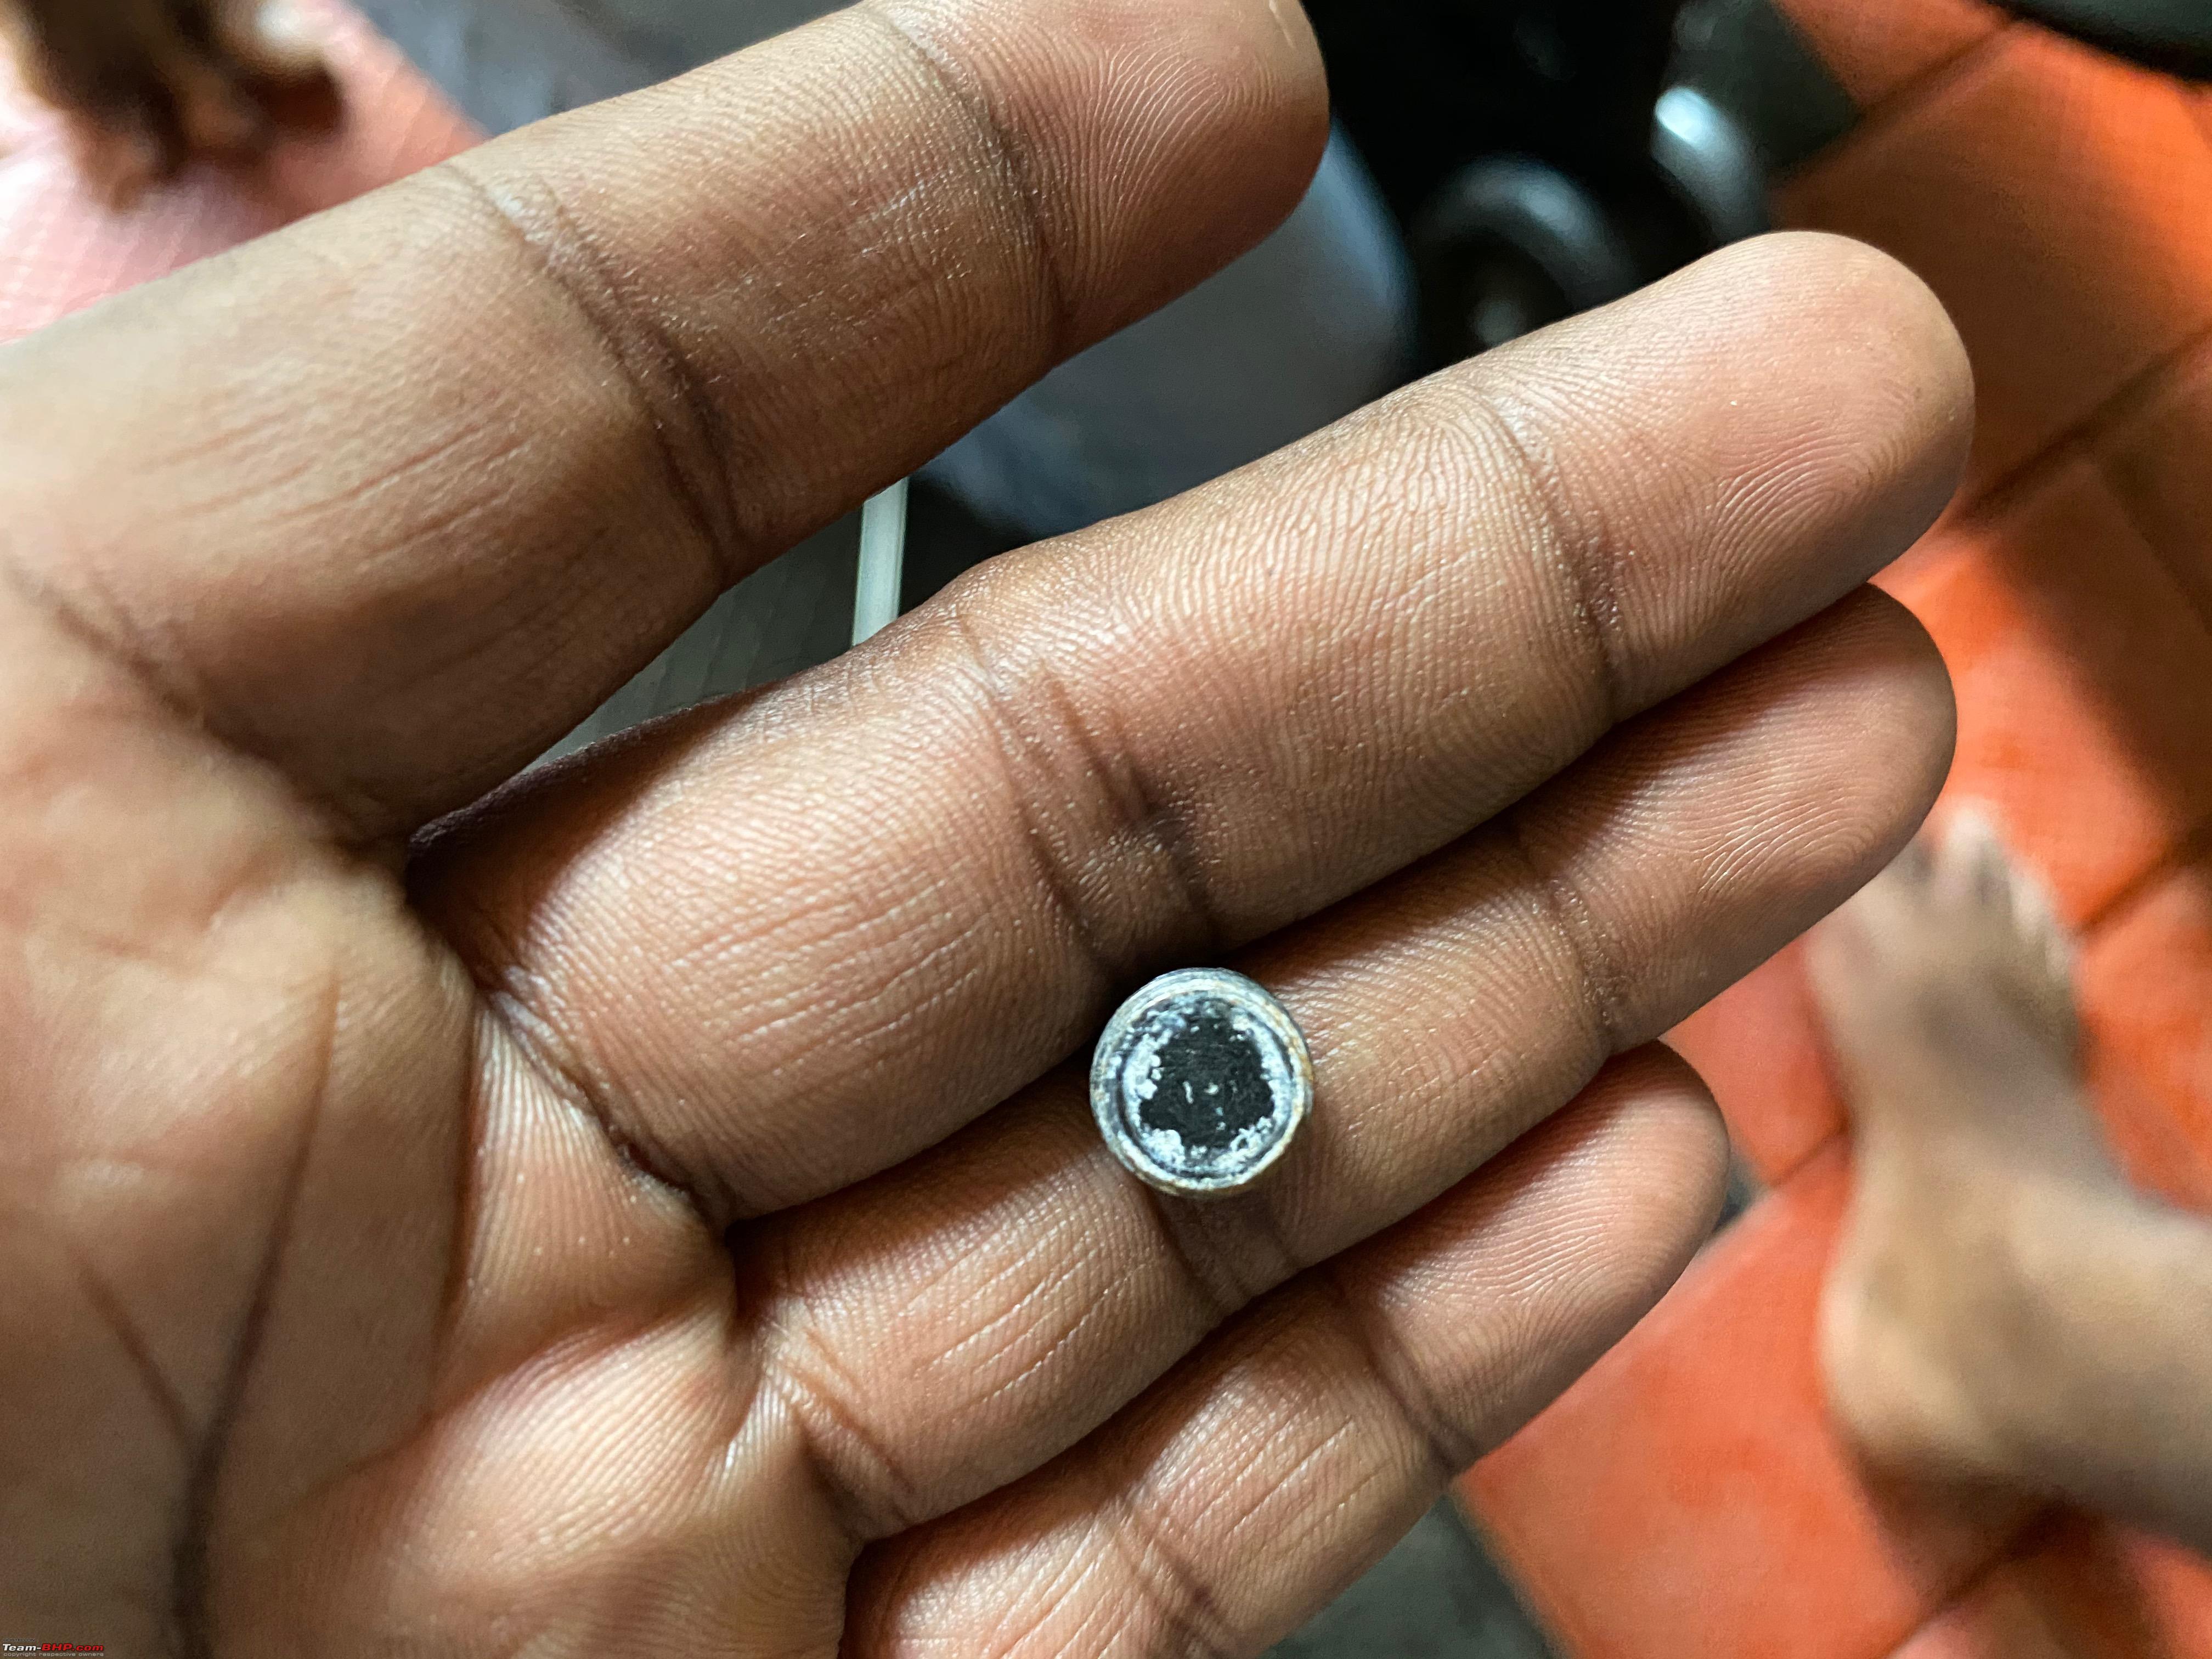 Now here it is when cleaned with a steelwool scrub Clean! 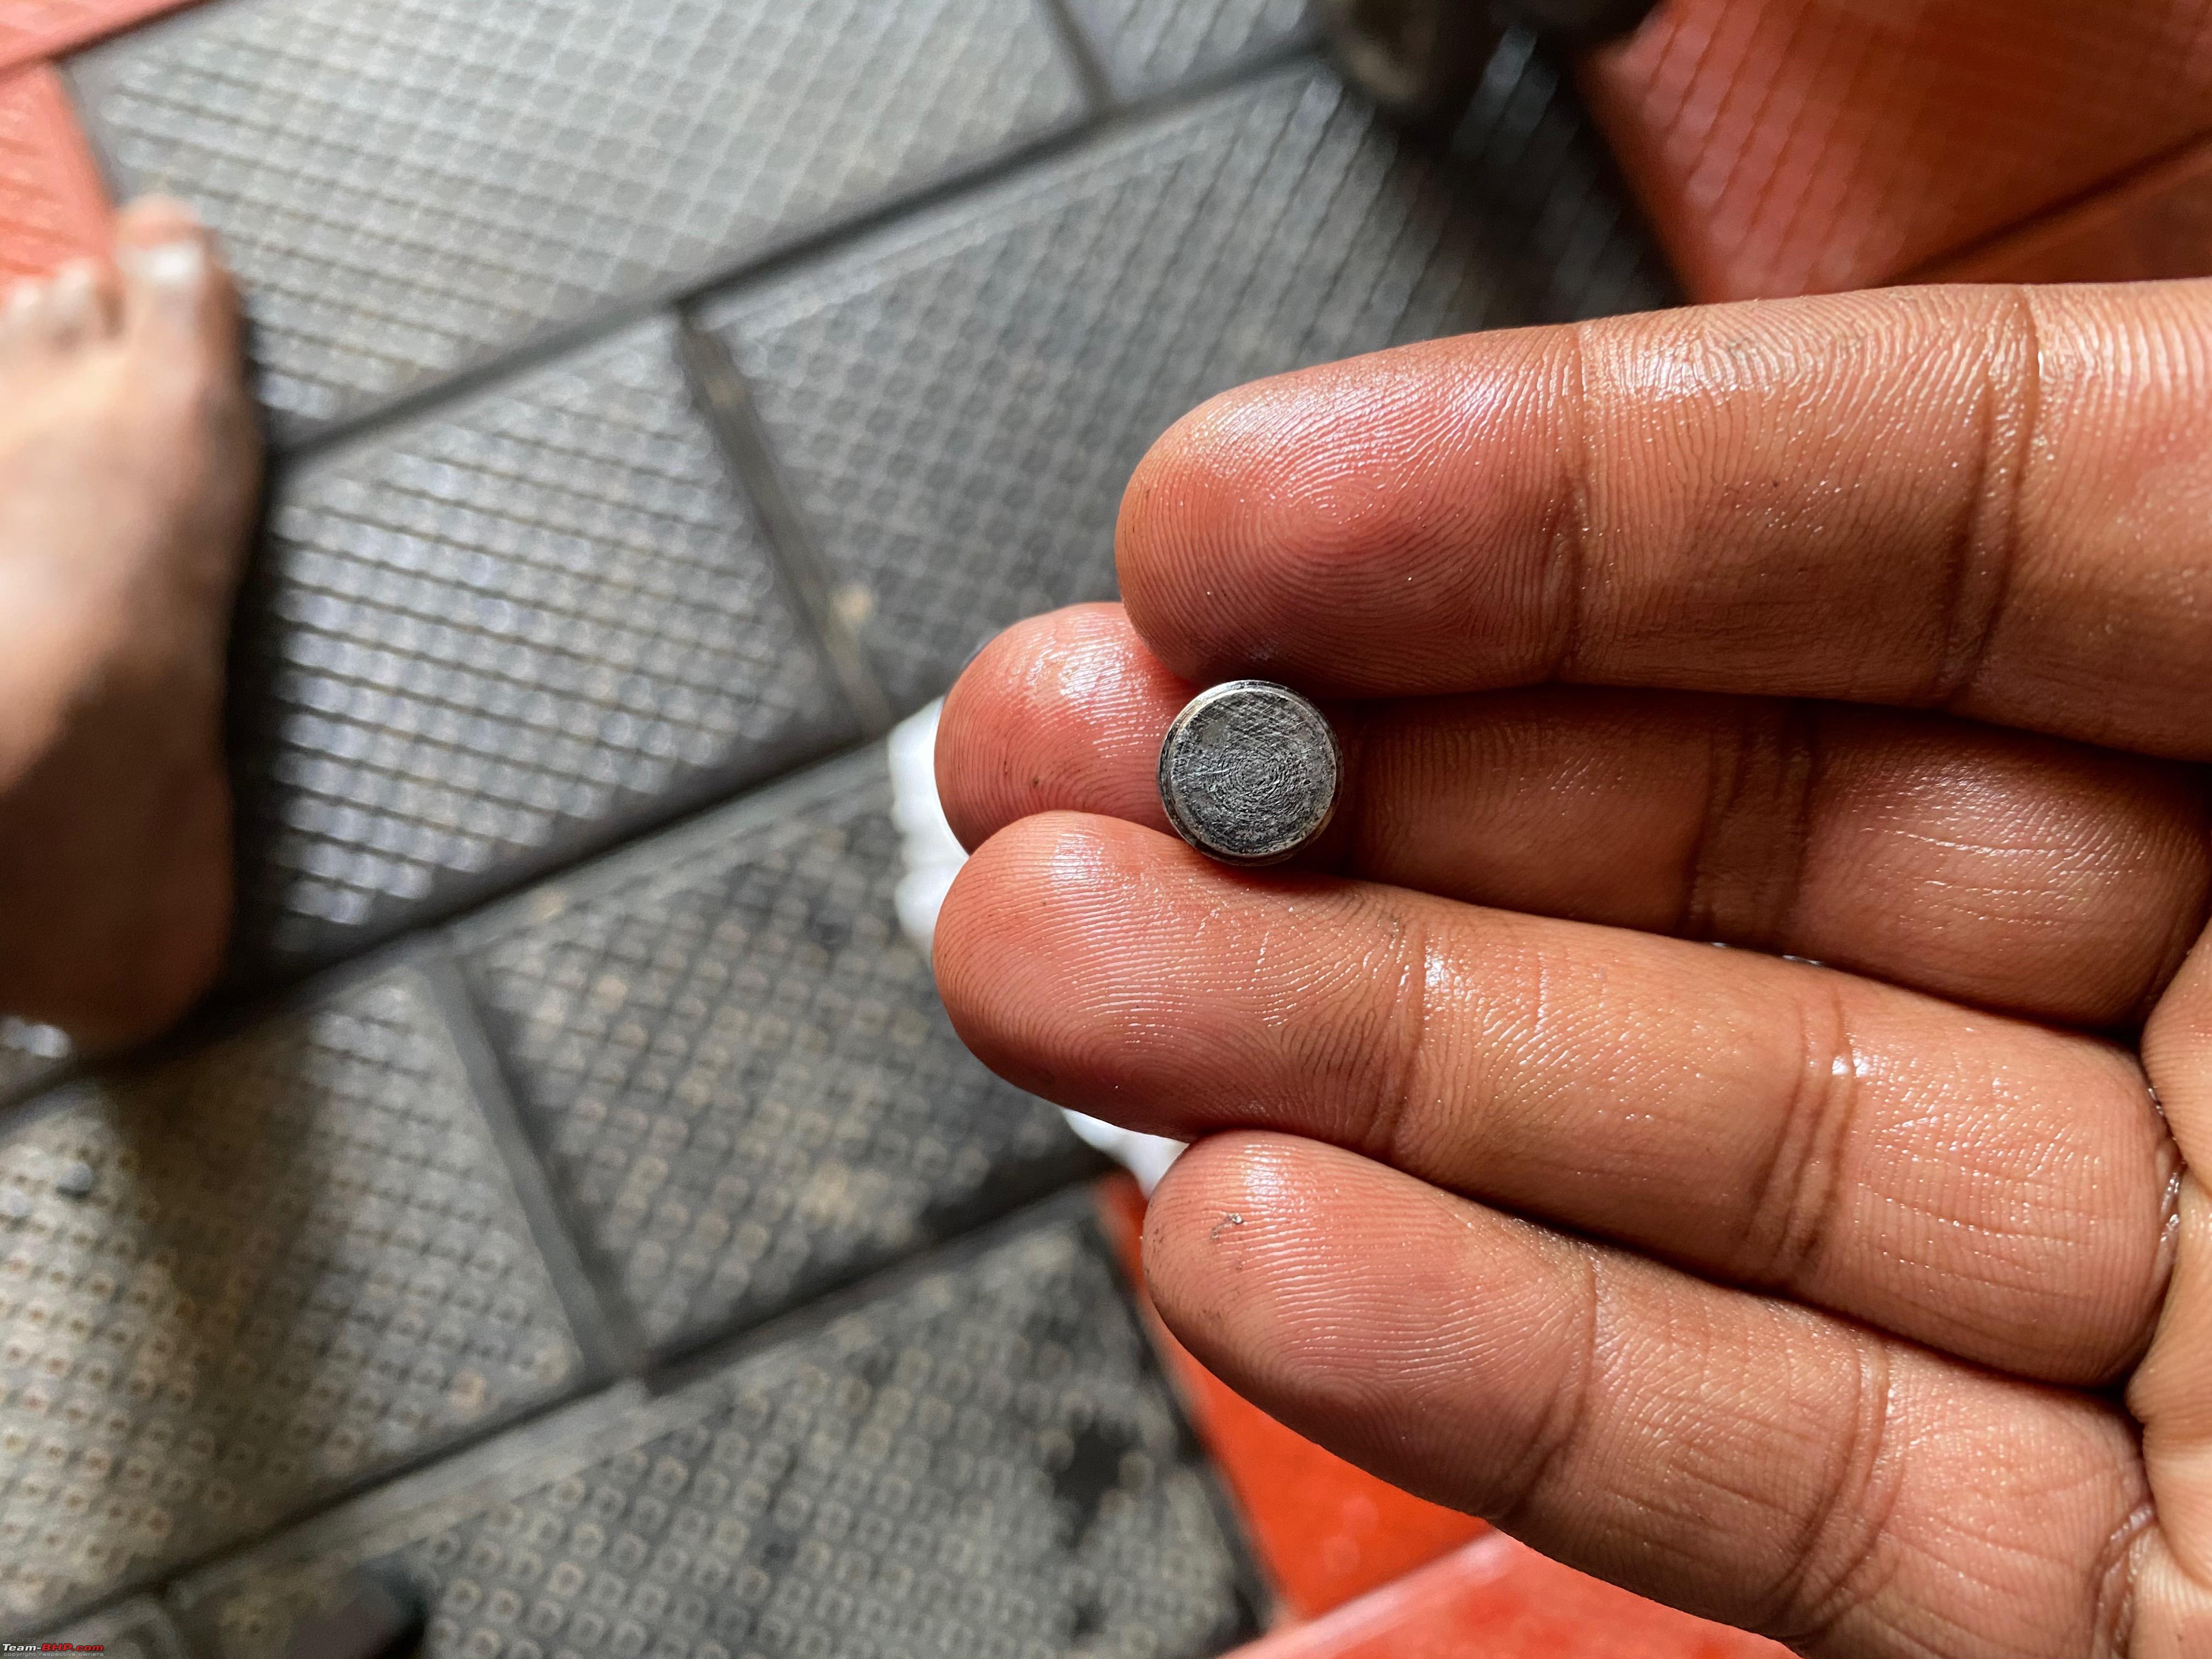 Notice how badly the bolt inside is also sized up? Rinse and repeat and that bolt also came out just fine. Bolt too was seized  Next, the 2 mounting bolts of the rear caliper were removed and they were found to be in good shape, so I did not take any pics of them. But here comes the big one, see how filthy the rear caliper is. That is just outright disgusting and looks like it hasnt been cleaned in forever. So we removed the inner support pad and cleaned the caliper innards and the sliding pin with a healthy dose of brake cleaner. Filthy! 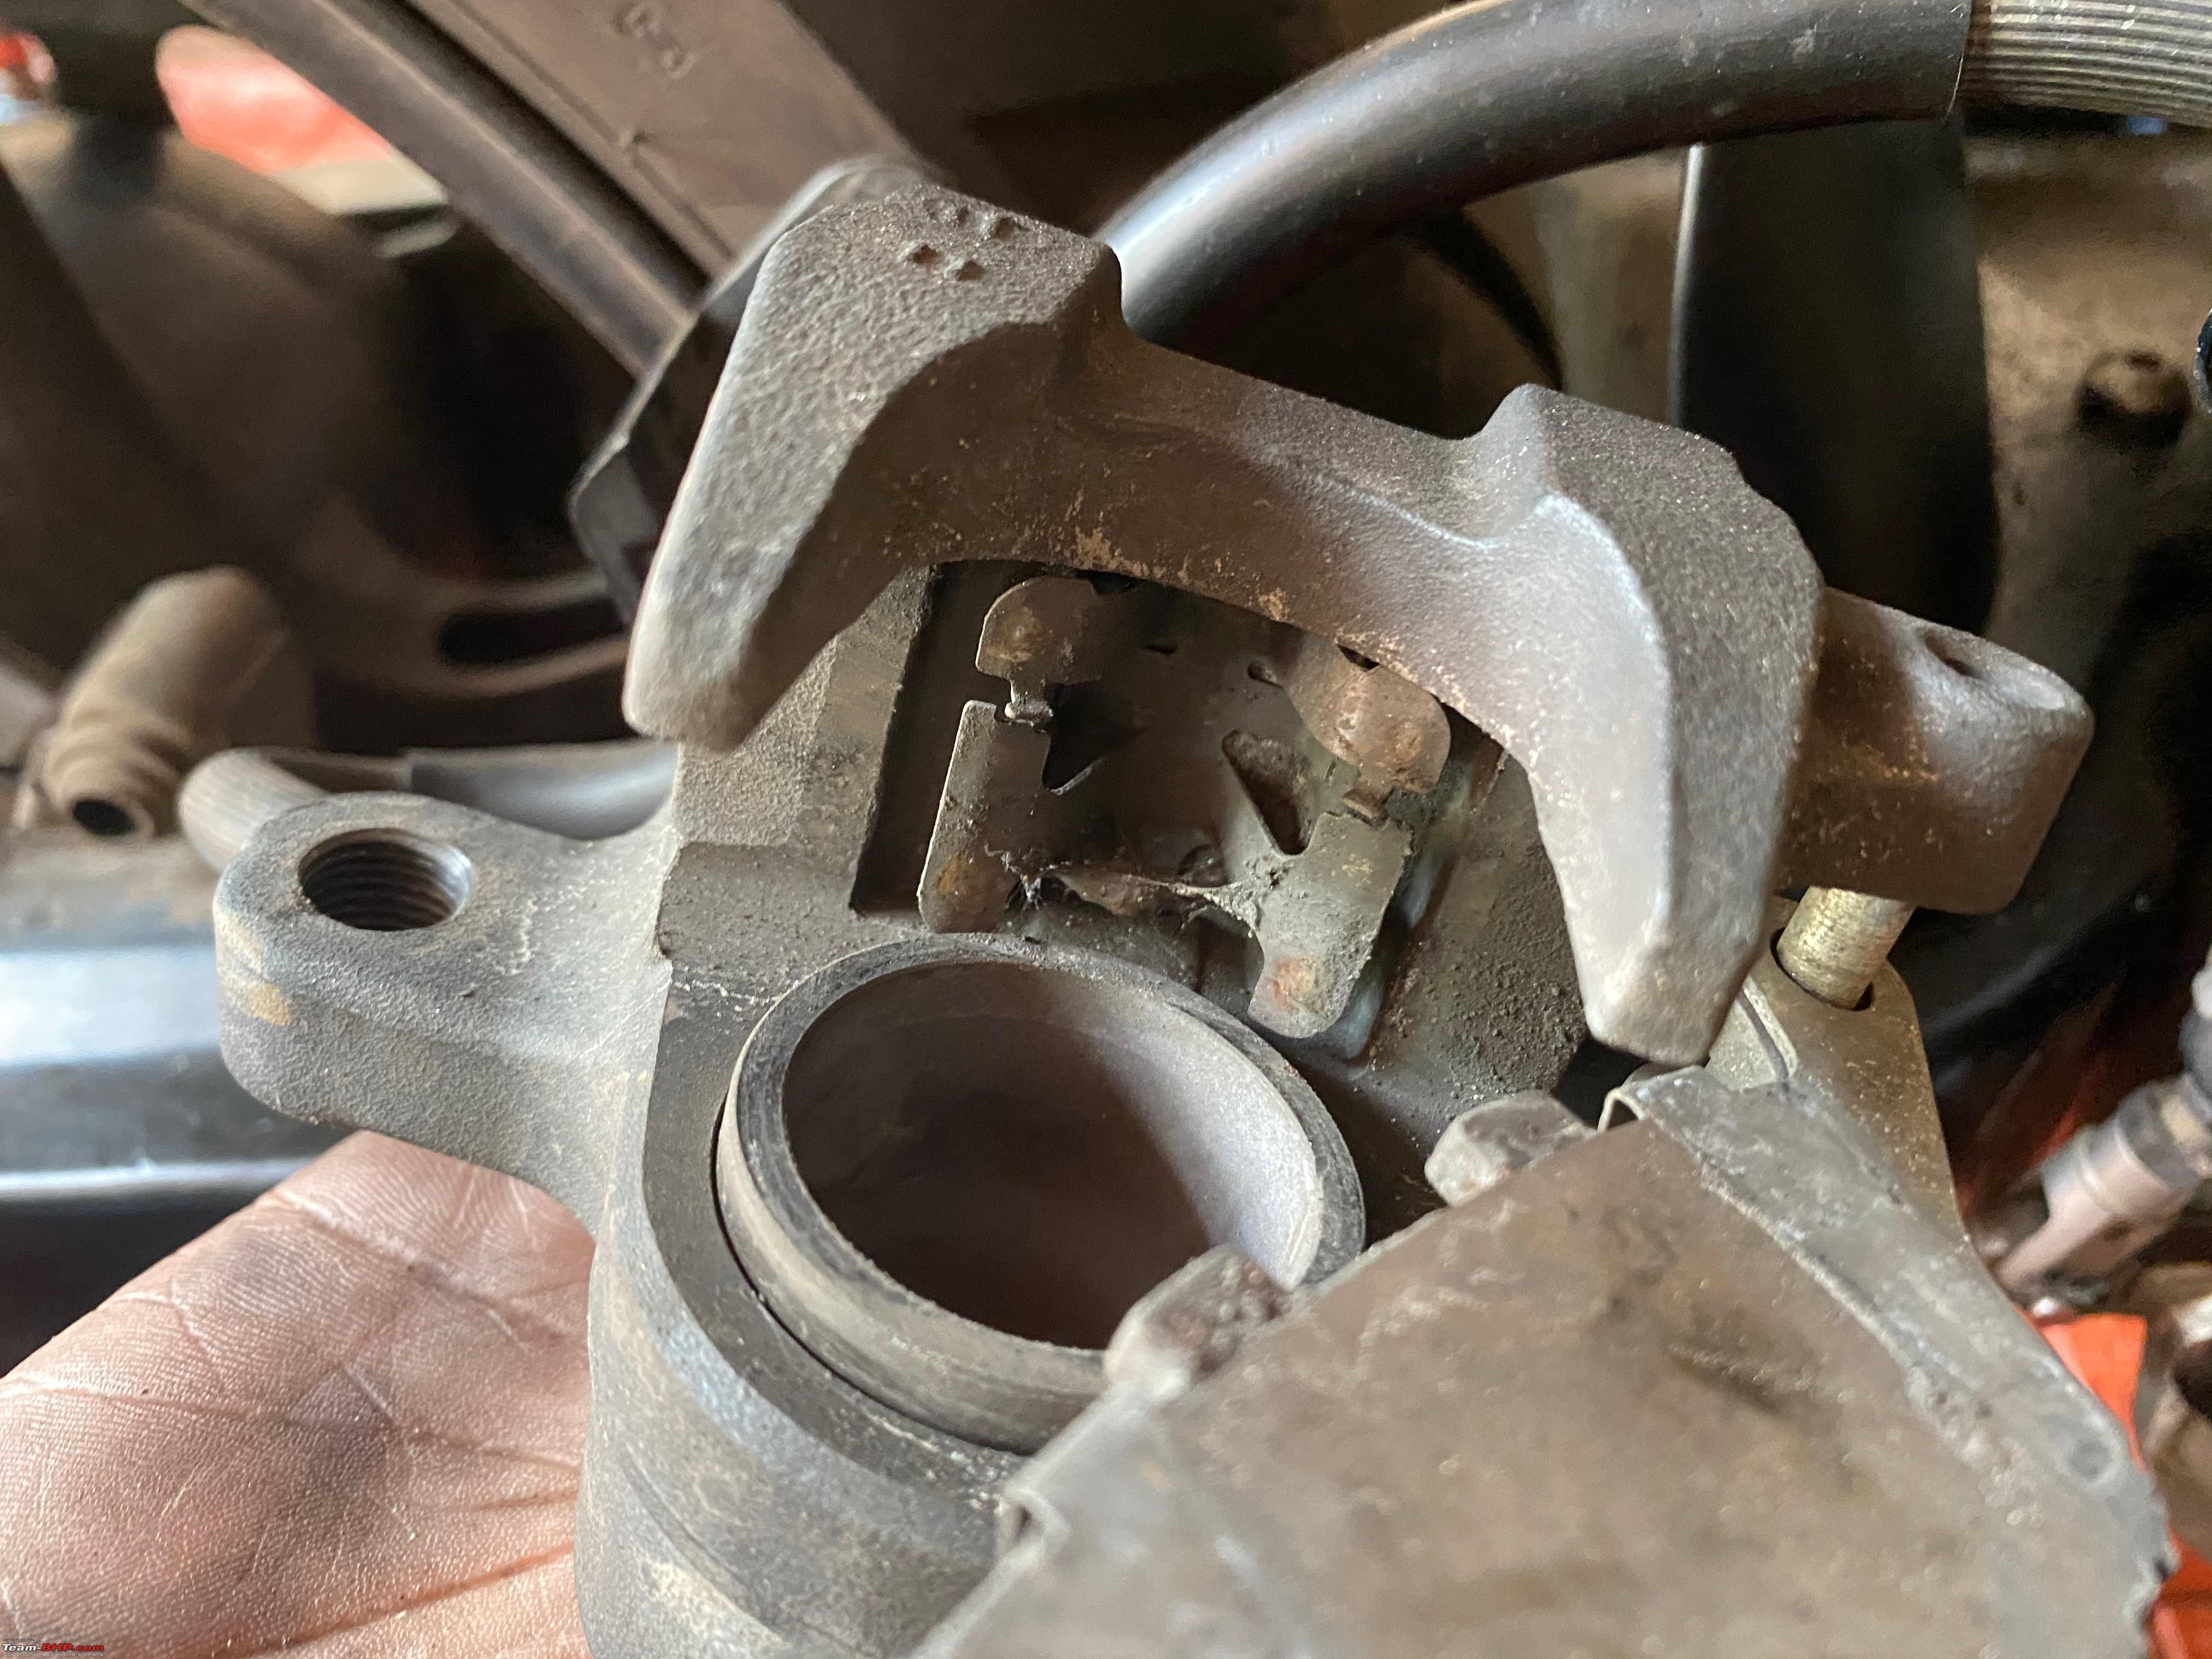 Spick and Spank 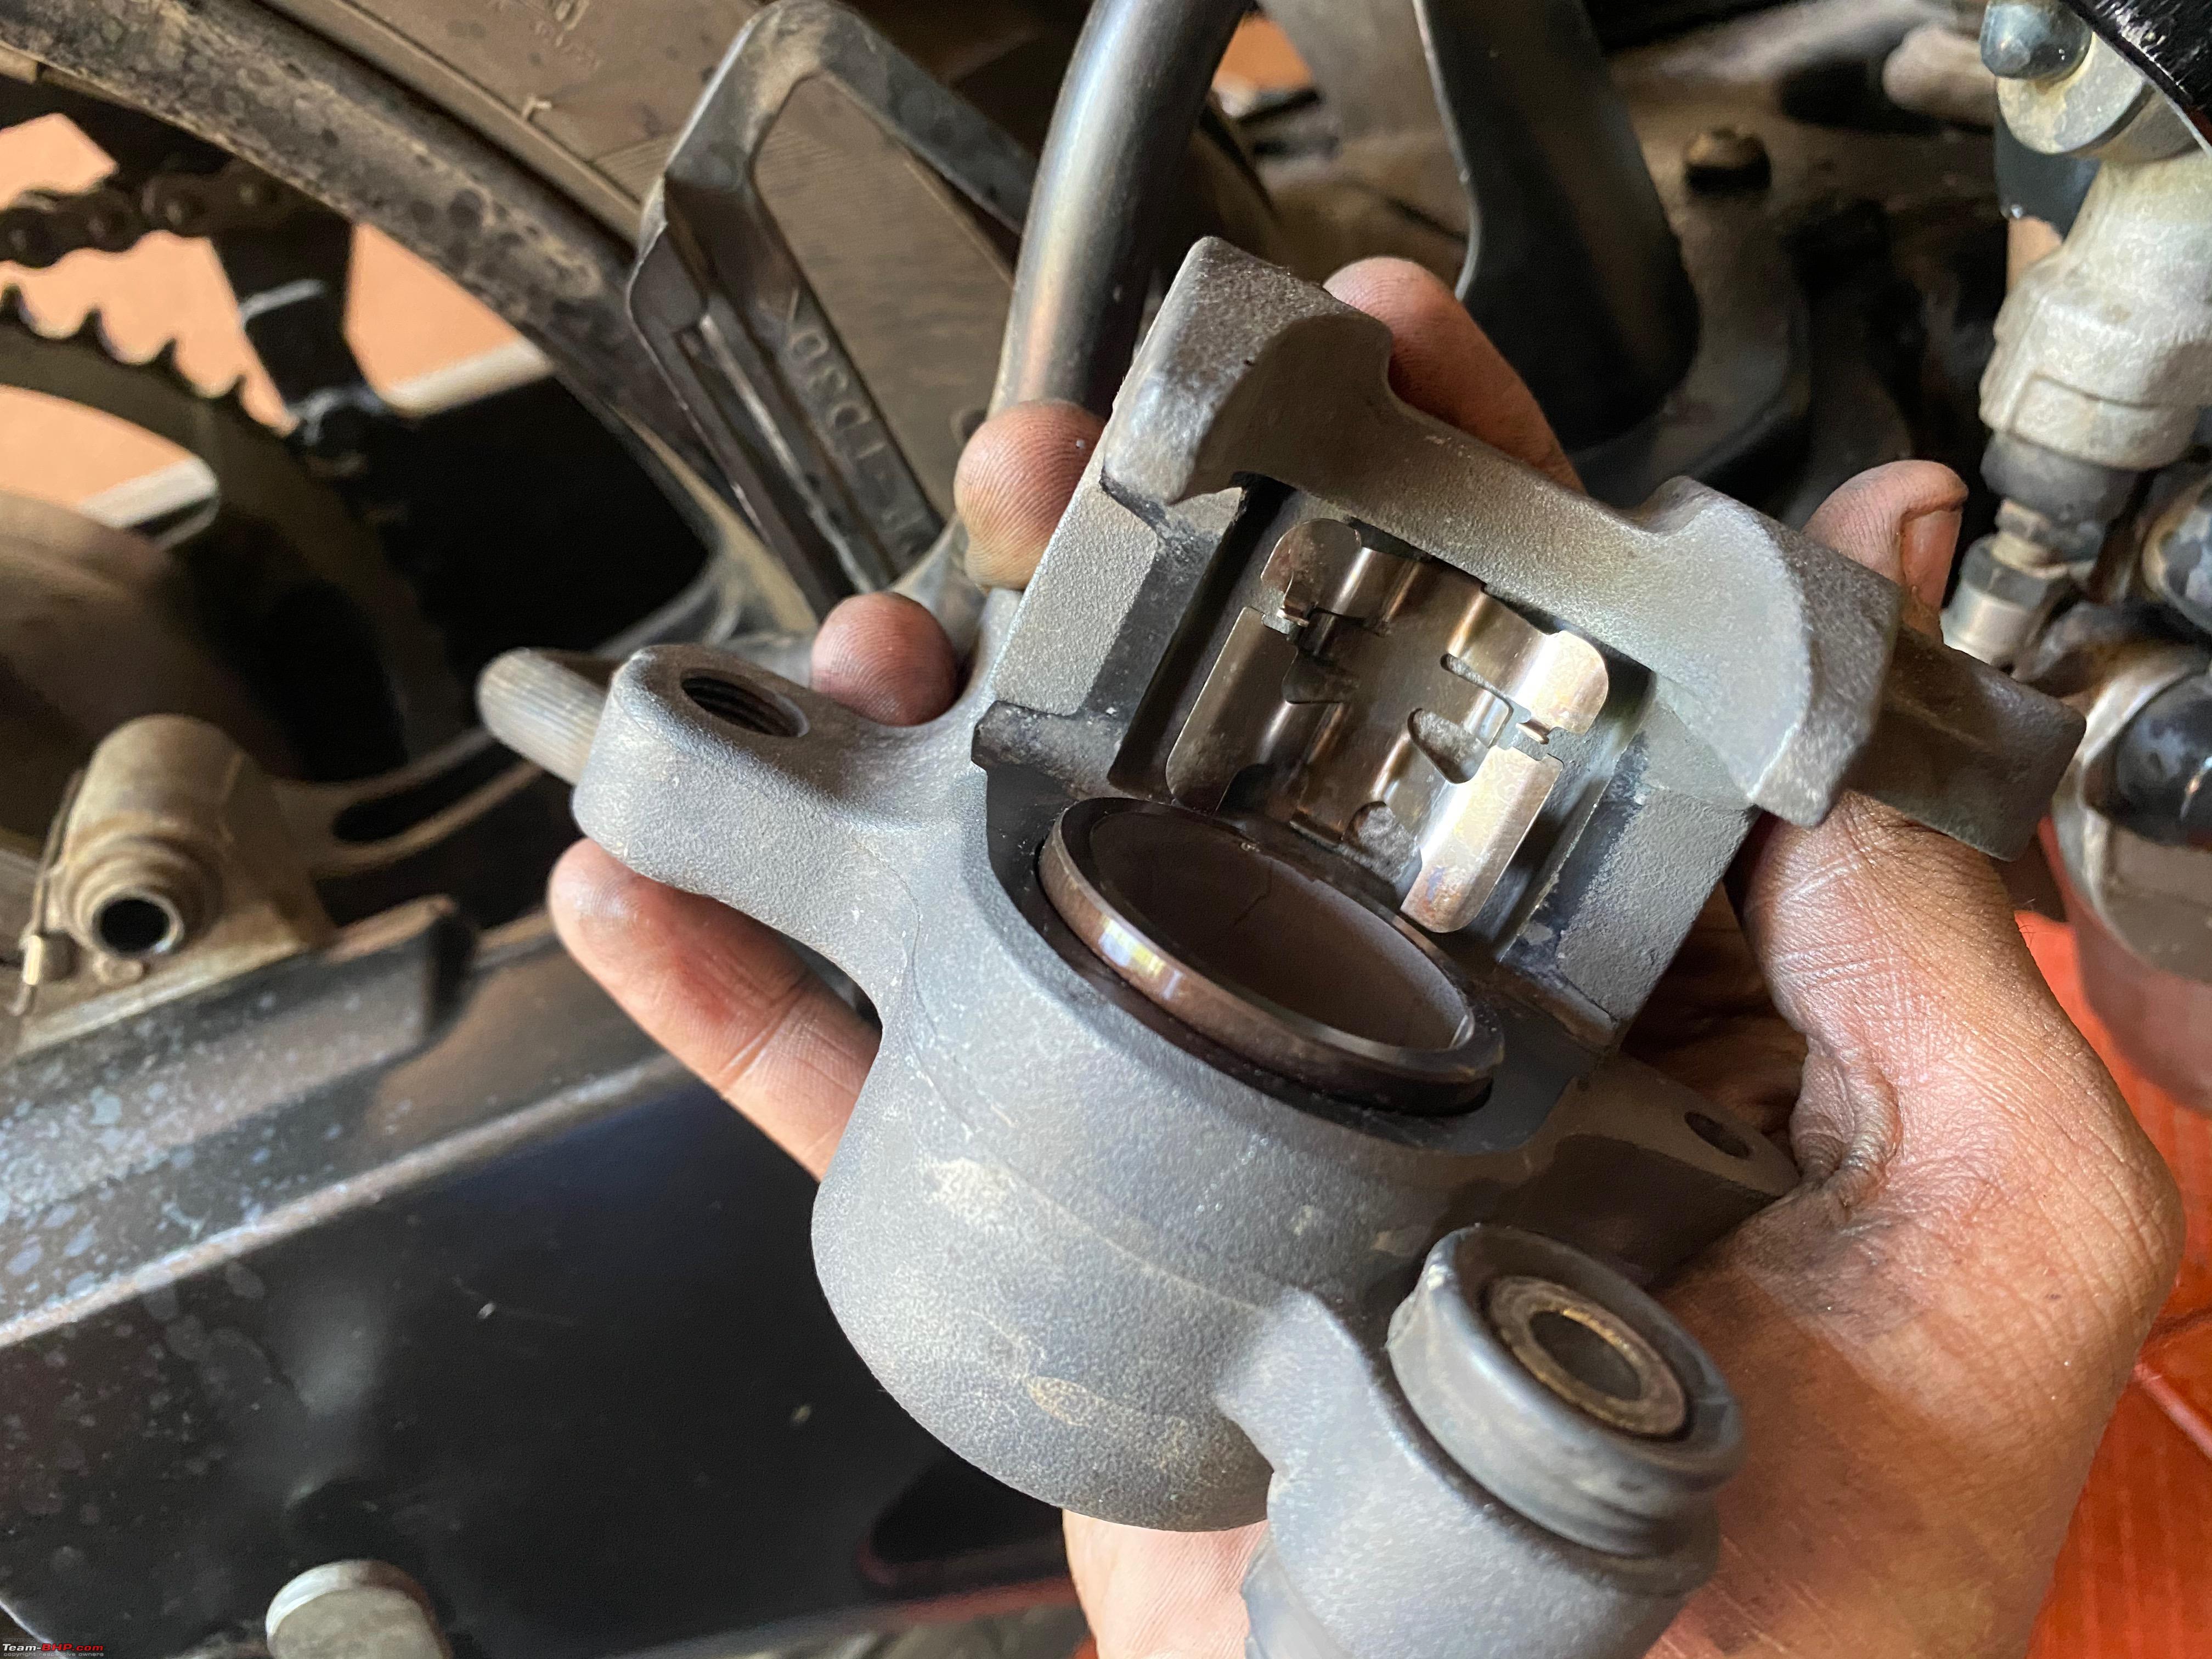 This is where it went a bit south when we pressed the brake pedal the piston was moving very slowly and not freely which showed the sign of the piston starting to seize up and to make matter worse the piston just refused to go back in. Now if this was 2 days back I would have started to panic but no worries since I dealt with this exact situation 2 days back with the CBR I had the right tool for the job. I used a C clamp to drive the piston back into the caliper and all was well. Now like an idiot I forgot to take a video of that because that is super satisfying to watch. So here is a video of the same that I asked my cousin to record as I am doing the same on my CBRs rear brake caliper. Enjoy. Phew, that was almost strike 3. Of course, the piston was cleaned nice and shiny before we fit it back. Using a C Clamp. This is from my CBR brake service video. Don't mind the audio Now we put back everything the way it came out, applied a good amount of anti-seize on the back of the pads, the sliding pins, and the mounting bolts, and fit them back. Of course, they were tightened back to factory specified torque spec. That is 27Nm for the M12 size forward-facing bolt and 22Nm for the M8 sized rear facing bolt. 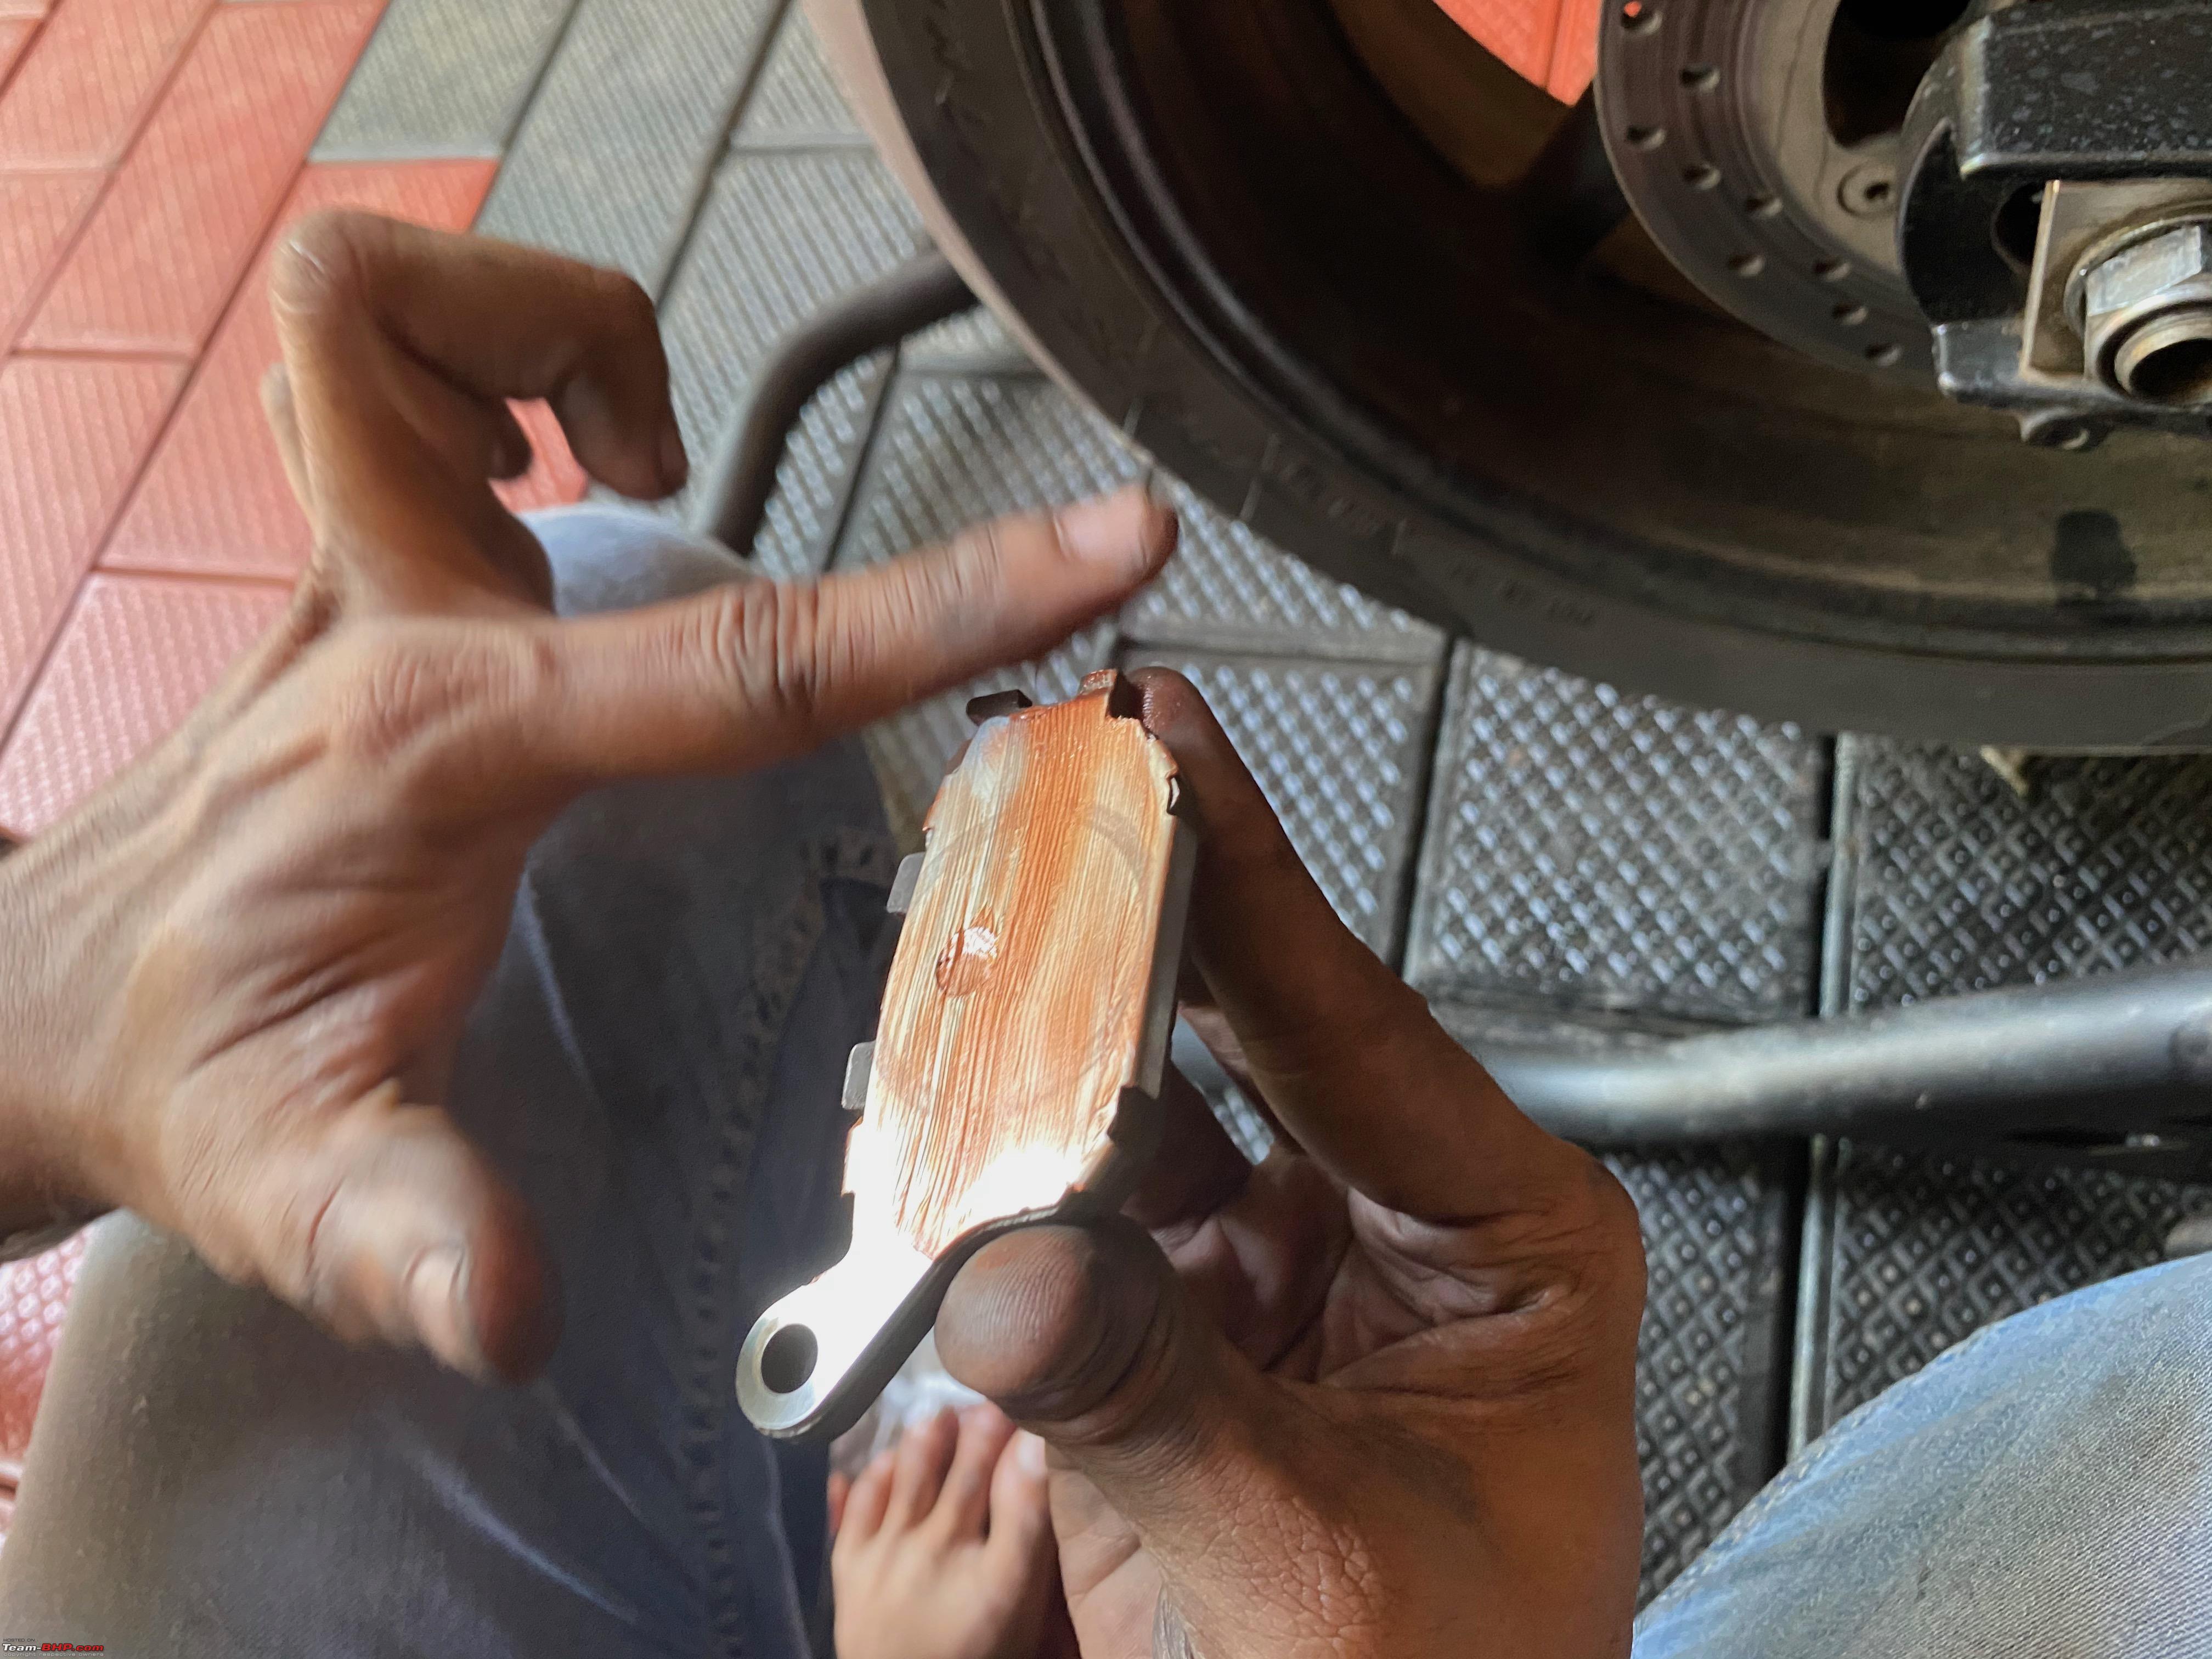   And thats about it for the R1. Tiger 800XRX Nothing fancy just a regular maintenance chain tightening was required, the yearly maintenance on the Tiger is coming up in a month or so anyway, so most of the work will be done then at Triumph Cochin. Was surprised to learn that only a very slight adjustment was needed even after 5000kms added on post the previous adjustment done. Well, that draws an end to my 3 days long DIY. Now while I have greatly increased my collection of tools to work on my bikes I was missing a few critical ones like the impact machine and torque wrench so the Sunday DIY on the R1 & Tiger would not have been possible if Sanjay did not make the drive from Cochin to my place(140kms one side). Usually, I would go to him to get to use the tools but carrying the exhaust with me on the R1 is just not something possible so he was nice enough to make the drive to my house. Well, that brings me to the end of this post. Here is a pic of both the bikes chilling after a shakedown run for both the bikes. The R1 needed a slight readjustment in chain slack as it has developed a tight spot on the chain in one area. This is a starting sign that the chain is aging a bit and that I need to be regularly keeping an eye on the chain slack and adjust it accordingly if I want to prolong the chain life.  Anyway, all is well for now. So until next time. Fin! Cheers Krishna |
|
| (29)
Thanks
|
| The following 29 BHPians Thank krishnaprasadgg for this useful post: | adwaith, akash_v12, Akib Khan, Cyborg, deadlifts26, deepfreak15, DevilzzzzOwn, Gixxy.danger, GTO, InControl, james, KarthikK, neil.jericho, PM - B, Red Liner, Researcher, roadrunner_nv, Roy.S, shan_ned, SnS_12, sri2012, surjaonwheelz, Tassem, v1p3r, vaasu, VijayAnand1, vishal.jayakuma, Xaos636, yesyeswe |
|
19th October 2020, 11:59
| #135 |
| BHPian Join Date: Jun 2005 Location: Mangalore
Posts: 597
Thanked: 645 Times
| Re: Review: My Yamaha R1 (WGP 50th Anniversary Edition) This is one of the few threads on tbhp that really interest me and I regularly check back for updates. Anyone who works on their vehicles has my respect and that respect increases multi-fold when a torque wrench is thrown into the equation. Ride safe! Cheers!  |
|
| (10)
Thanks
|
| The following 10 BHPians Thank james for this useful post: | avinash_clt, ChrisTJ, InControl, KarthikK, krishnaprasadgg, SnS_12, v1p3r, VijayAnand1, vishal.jayakuma, Vmax1200 |
|