News
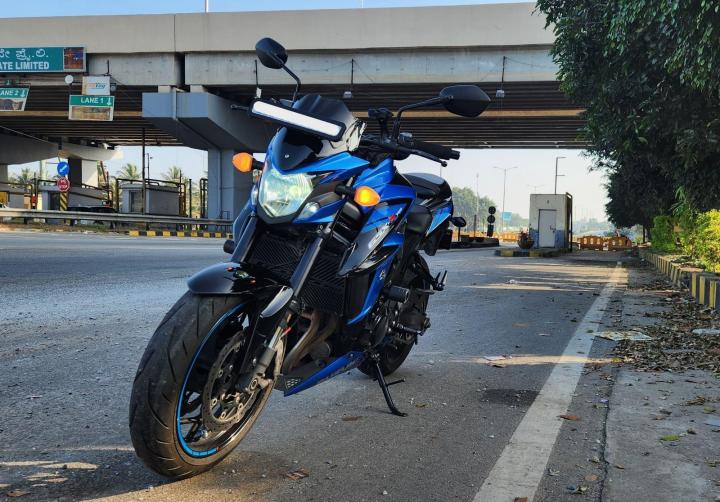
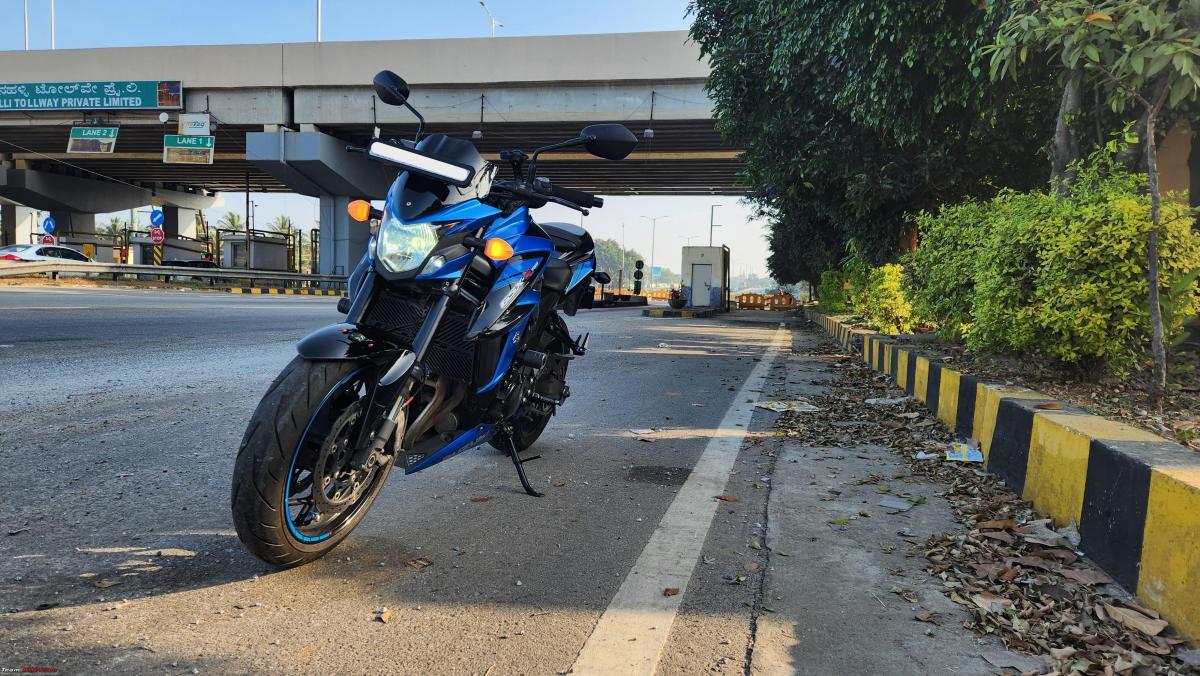
Suzuki GSX-S750 36,000 km update: Upgrading the brakes
Seeing my discomfort with the current spongy brake setup, Hafiz suggested fitting a Gen-3 Hayabusa master cylinder onto my bike.
BHPian TRR recently shared this with other enthusiasts.
Been a long while since I last updated this thread. The Odo is at 36,000 kms now, so I’ve managed to put 24,000 kms on the GSX-S since I got it in August 2021. Not as much as I would have liked to, but it’s no garage queen at least.
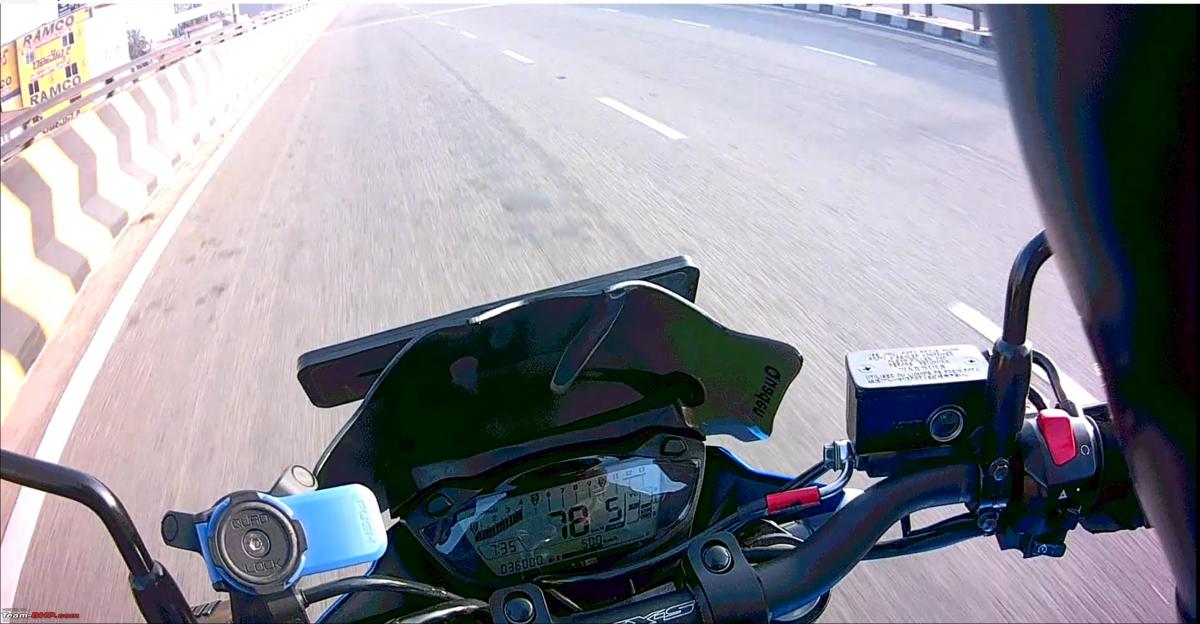
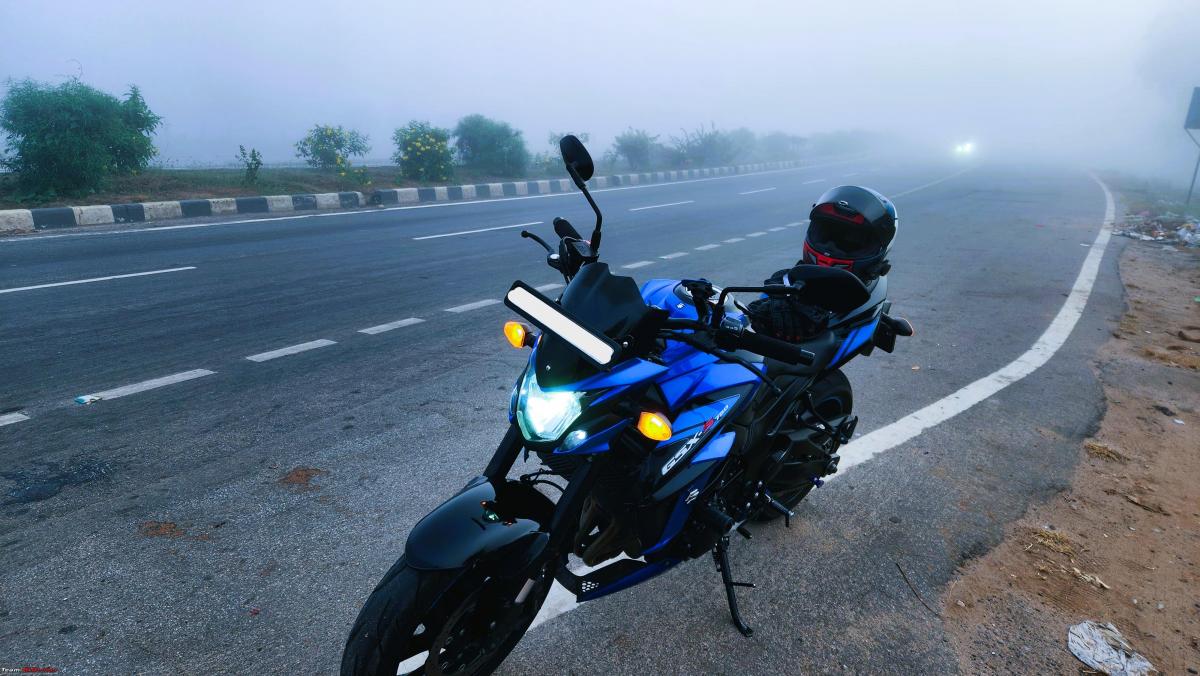
Couldn't stop anywhere for the 36000 kms photo, but got this grab off my helmet cam.
The Odo is climbing up more slowly now since I don’t wish to subject the bike to the ORR traffic every day. My new workplace offers a cab facility and that’s the preferred commute option on most days. Still, the bike doesn’t complain. Must be that Japanese reliability in its blood, for it still starts without a fuss when wheeled out in those wintery cold Bangalore mornings. With work and personal commitments piling up, the GSX now lives the life of a stereotypical Indian superbike. Head out on weekends for a 150-200 km breakfast/coffee run, head back home, get washed, and sleep under the covers for the weekdays. Only when I know that traffic will be minimal or when I plan to return from work late in the night does the GSX get to do the office commute.

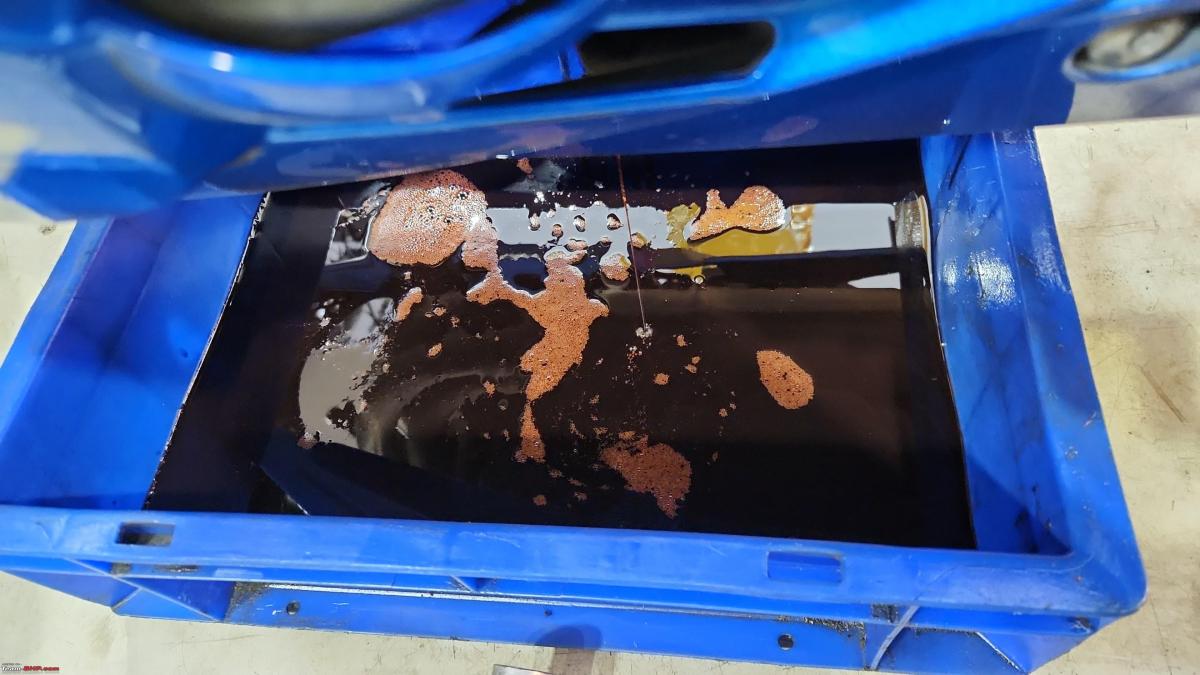
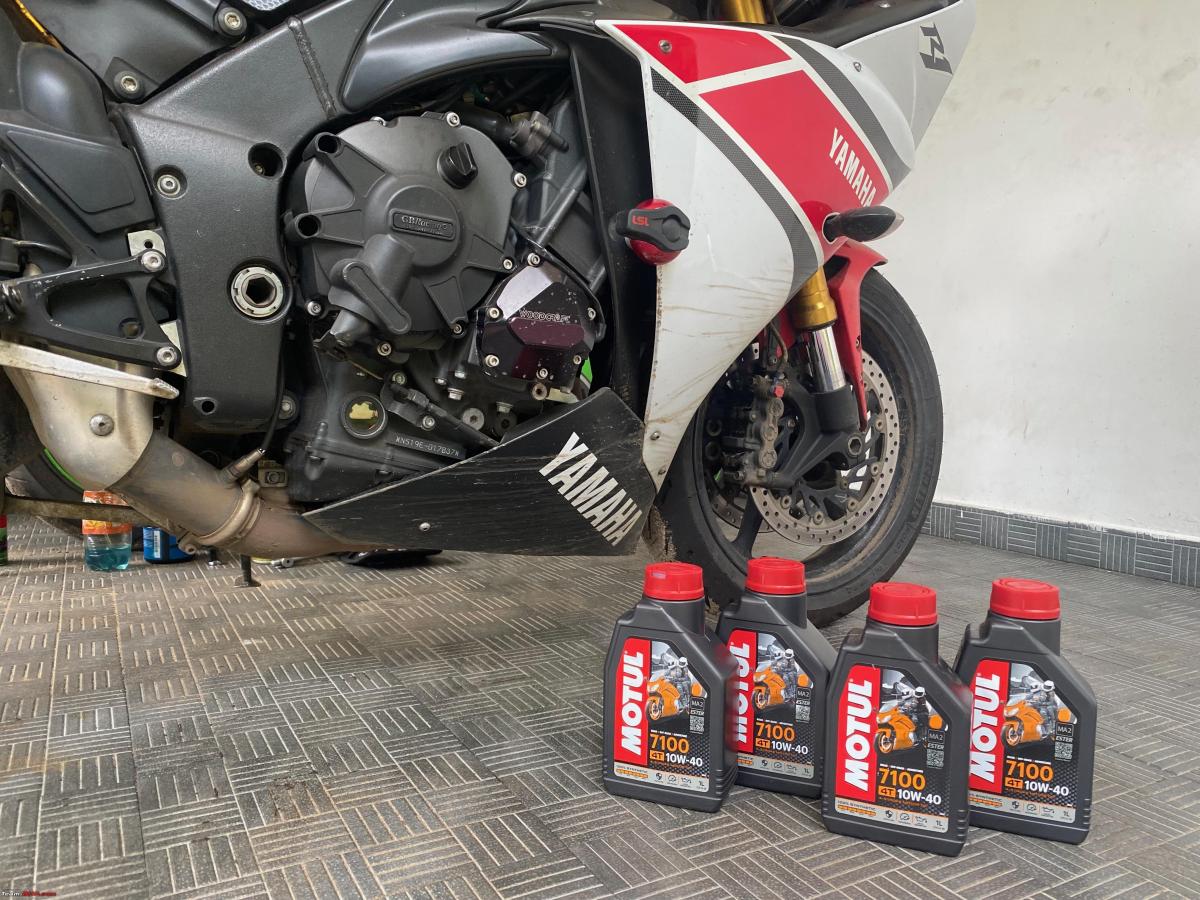
In the midst of it all, got the 6000 km oil change done recently. Took the bike to Hafiz and had a routine service done in under a couple of hours. Fresh oil and oil filter, brake cleaning, coolant top-up, and a thorough inspection all around. Nothing out of the ordinary to report on this front. Didn’t get many pictures of this. The old oil wasn’t fully degraded, surprisingly. Probably attributable to the fact that the bike now does a 40-60 ratio of commute-highway kilometres, with even those commutes being low-traffic, late-night runs.
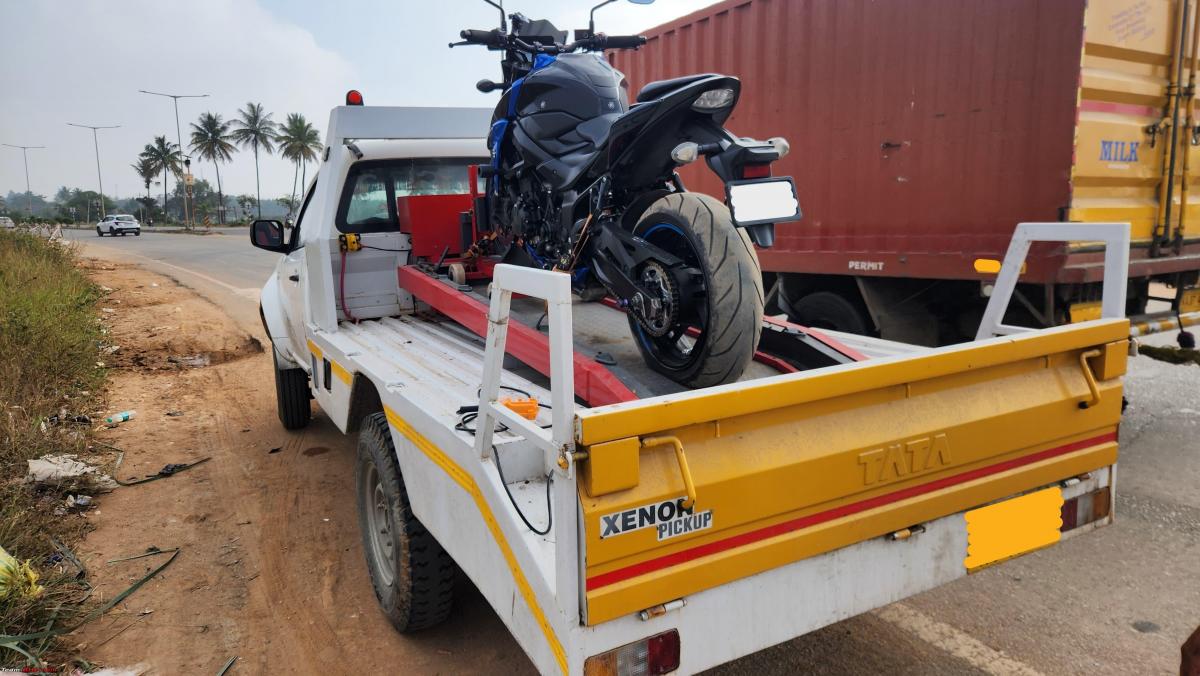
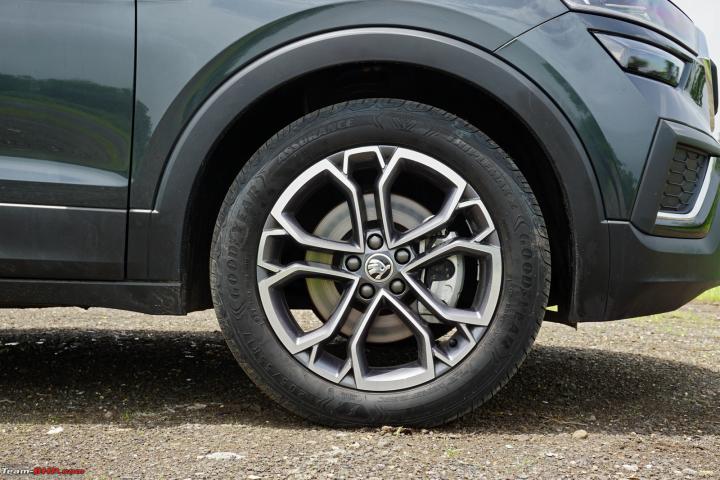
The Vredestein NSs suffered their second puncture this last weekend on a small jaunt out of town. Was stranded on the highway with no puncture repair guy around and had to call in a tow truck to get the bike back inside the city. Got it plugged in, but learned my lesson after this expensive tow truck ride and now have a puncture repair kit and air compressor handy with me to carry on any ride outside the city.
More goodies have been procured for the bike through my brother in the UK. These will be with me once he flies down this month's end.
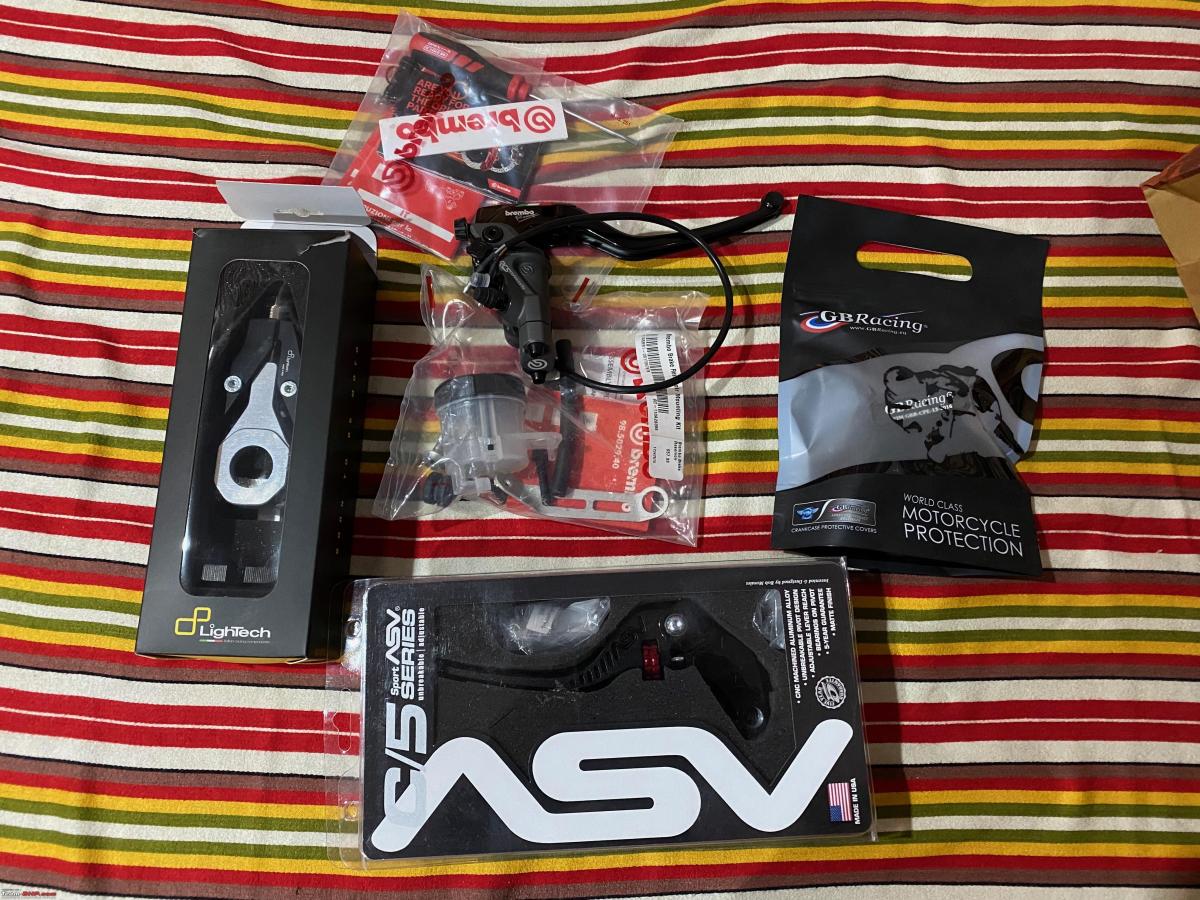
Sintered front brake pads from Brembo. Found these on Omnia Racing Italy for the same price as a set of EBCs here in India. Had them shipped to my brother. The current EBCs on my bike will last for another 2000-3000 kms and the Brembos will go on once they’re done. With these being as cheap as they are, I plan to have them brought down with my brother once a year or so, whenever he visits.

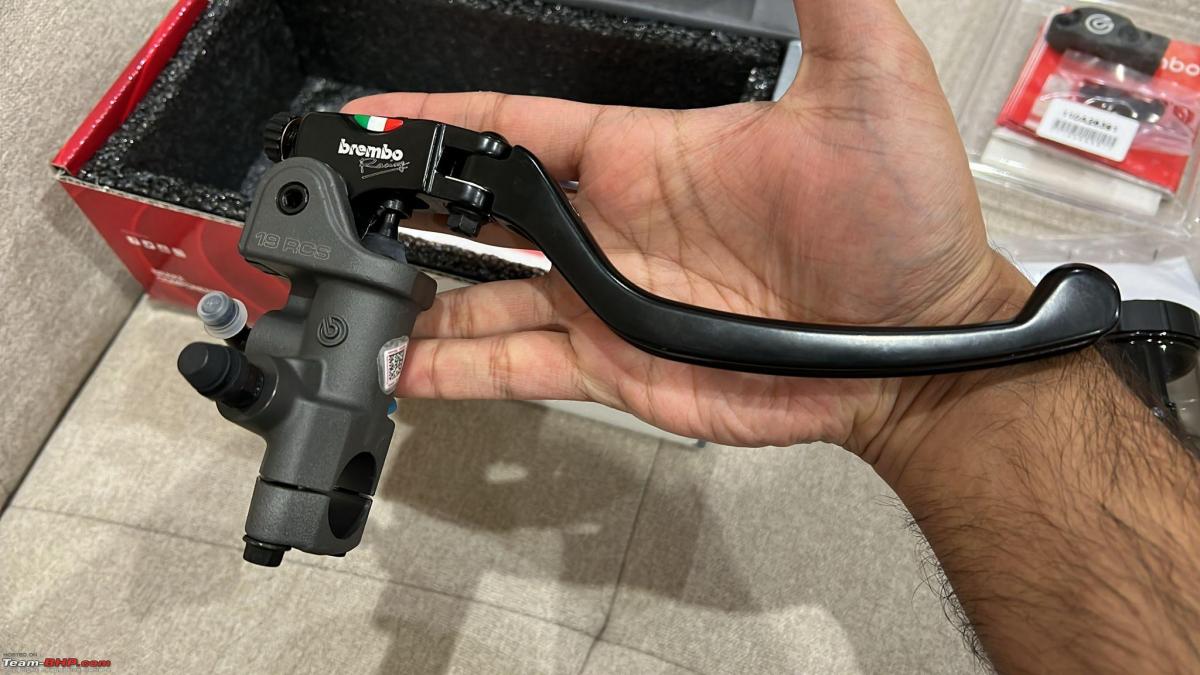
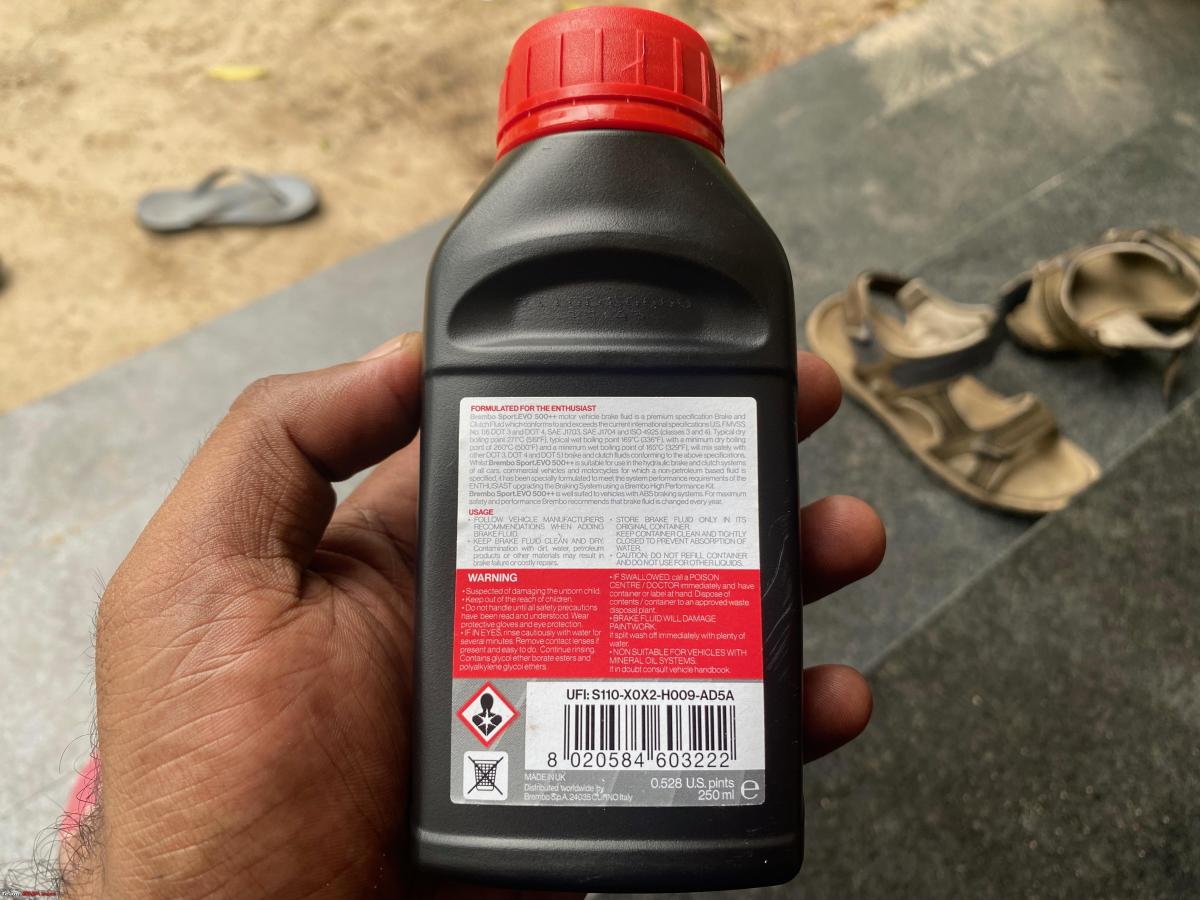
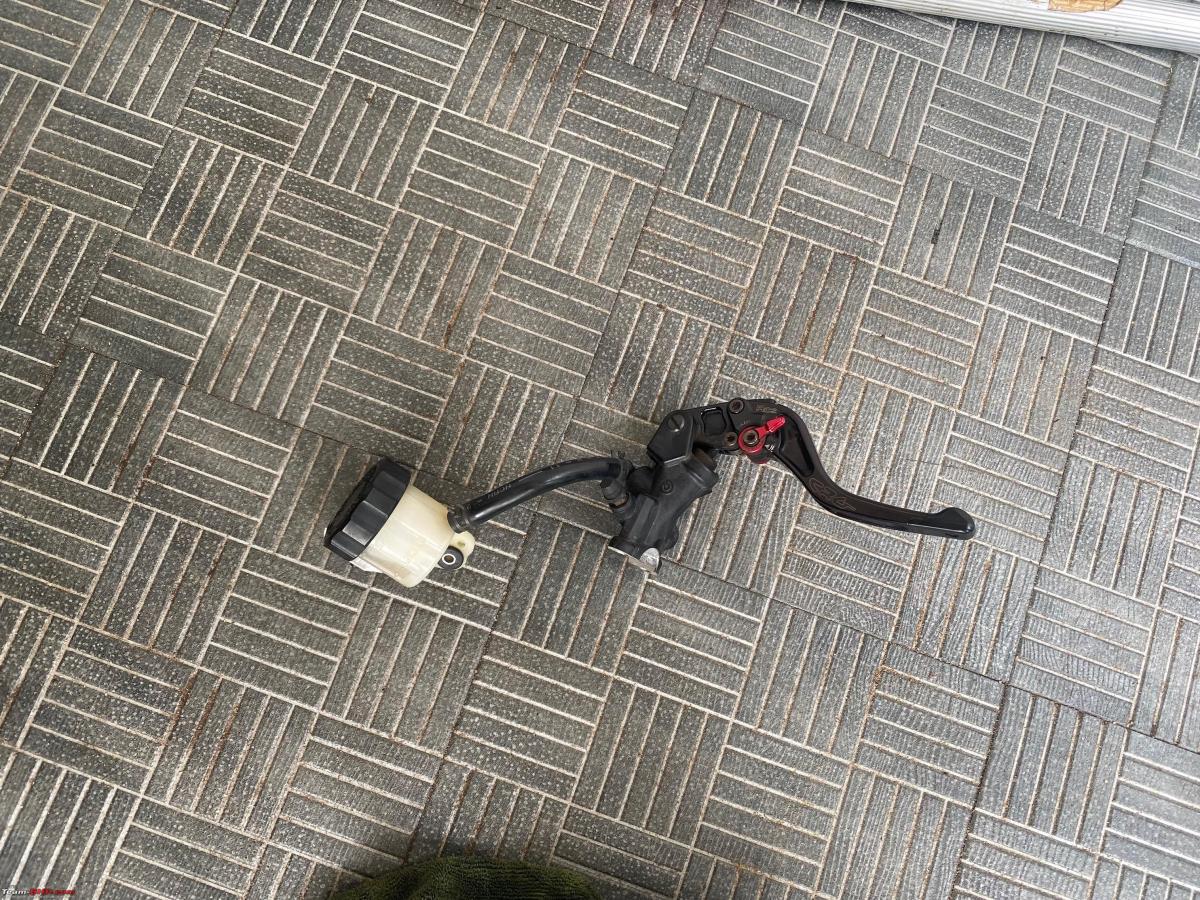
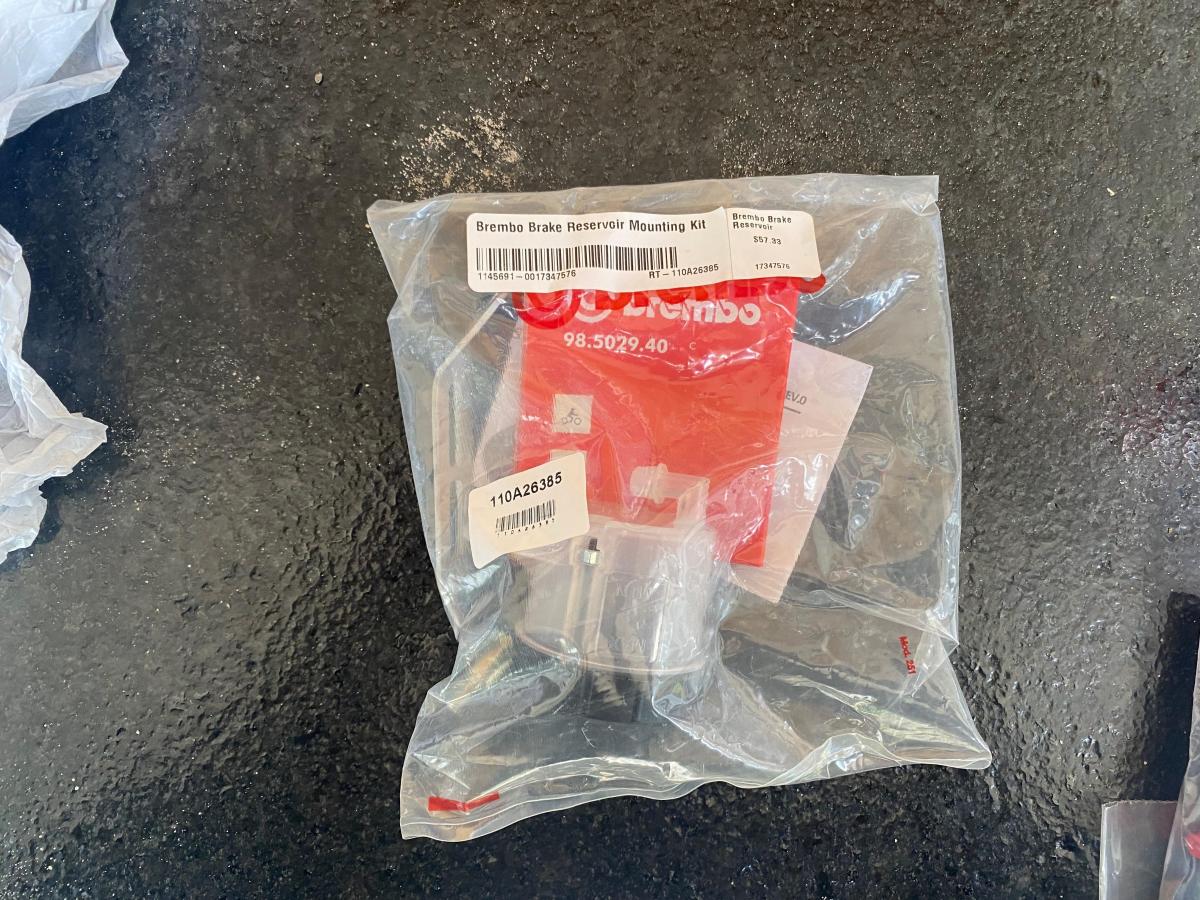
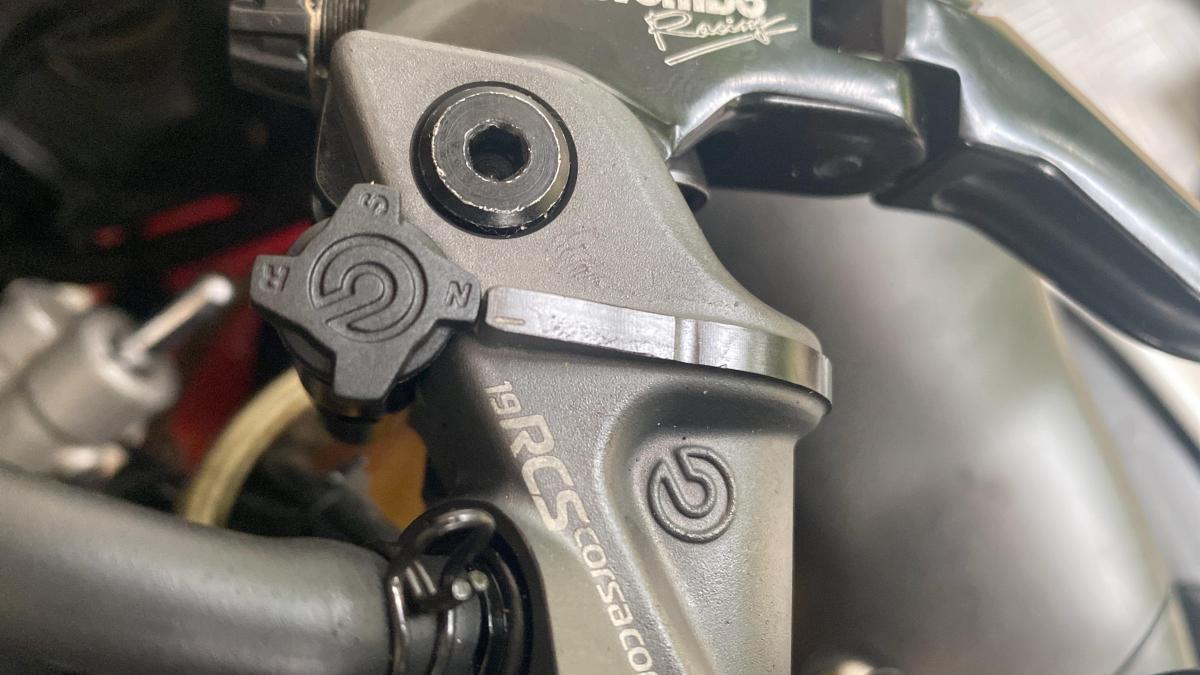
And the final component of my planned braking upgrades - the Brembo RCS19 brake master cylinder. Purchased these from Carpimoto along with the Brembo mirror mount clamp and again, had them shipped to my brother. These are the non-corsa Corta version and were purchased as a set with the brake fluid reservoir and mounting kit included.


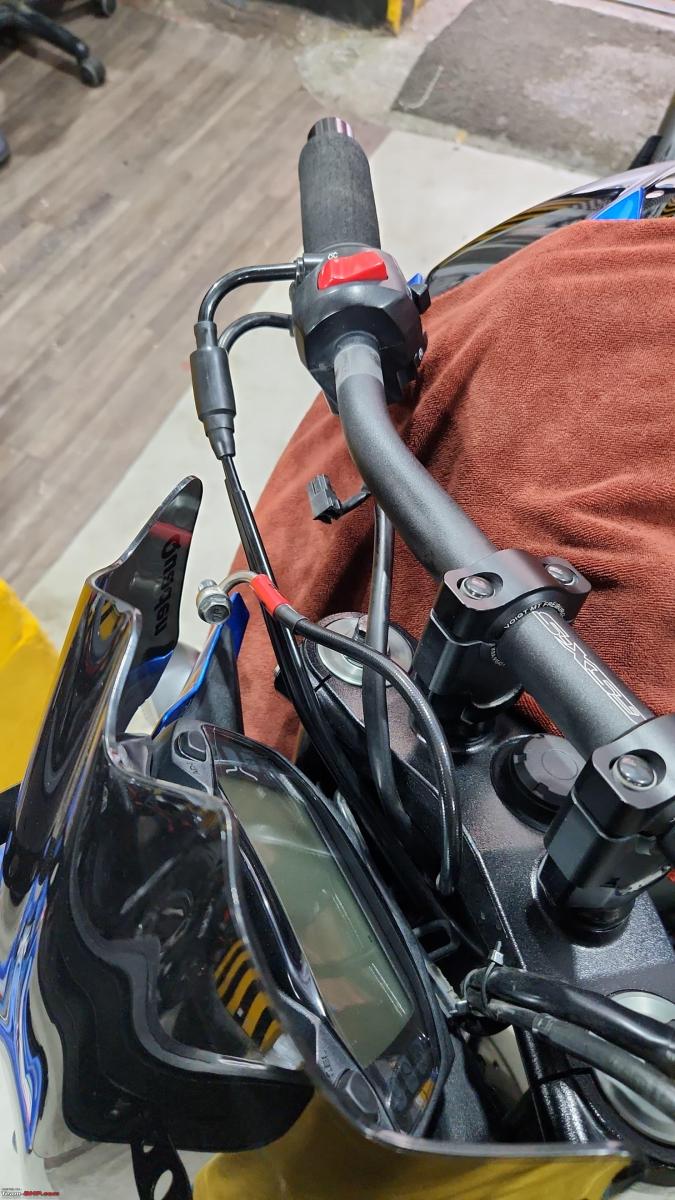
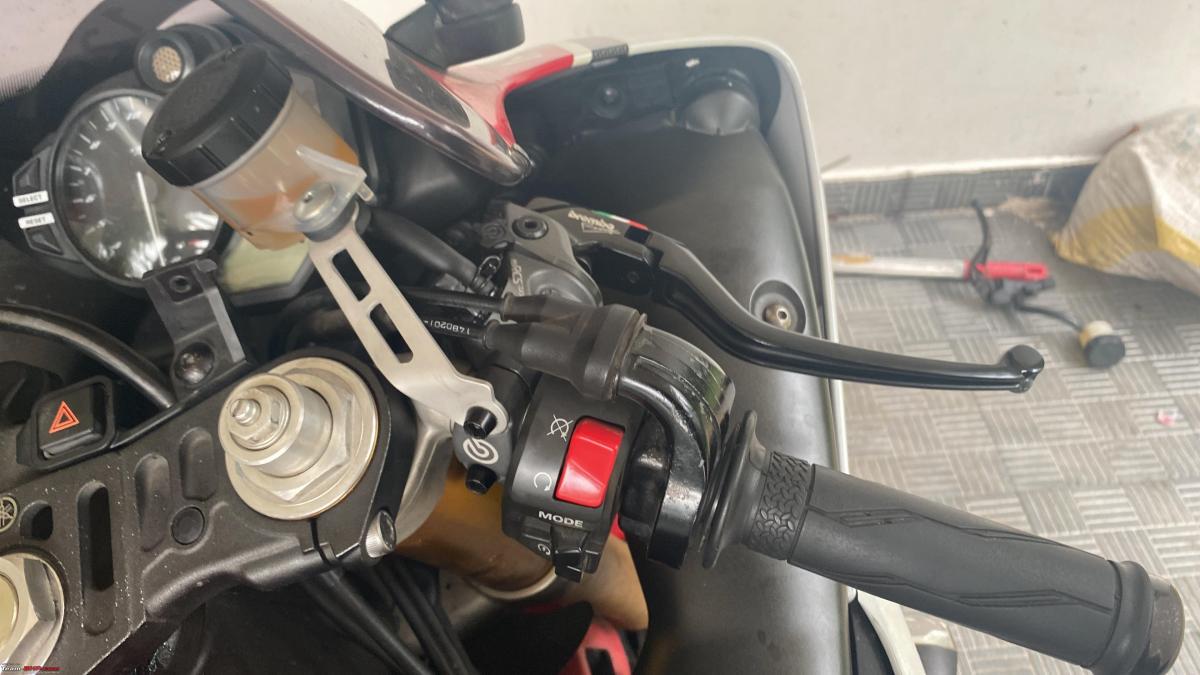
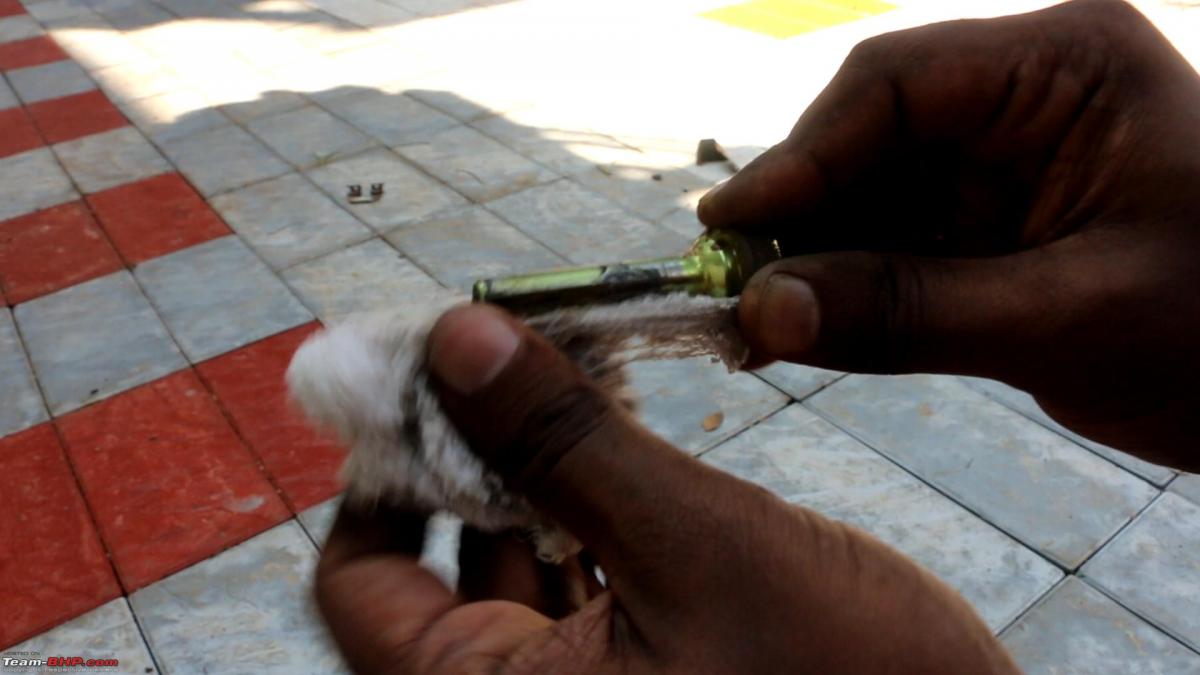
This is one thing I consulted with Hafiz closely before pulling the trigger. Seeing my discomfort with the current spongy brake setup, Hafiz suggested fitting a Gen-3 Hayabusa master cylinder onto my bike. This would be a radial master cylinder and would allow me to gauge whether changing to a radial setup would give me the feedback I sought. He had a spare Gen-3 Hayabusa master cylinder with him and offered to let me borrow it for a while. Took the bike to him and had this master cylinder fixed, but the accelerator cables coming out of the right handlebar controls were fouling with the brake lever. He managed to angle the lever a little downward to avoid the cables, but, with the bleeder valve sticking towards the handlebar, there was no way for me to fix the right-side mirror with this setup. I was unwilling to continue with this, but Hafiz suggested I take the bike around the block for a small bit gauge the feedback, and then pull the trigger on the RCS19s.
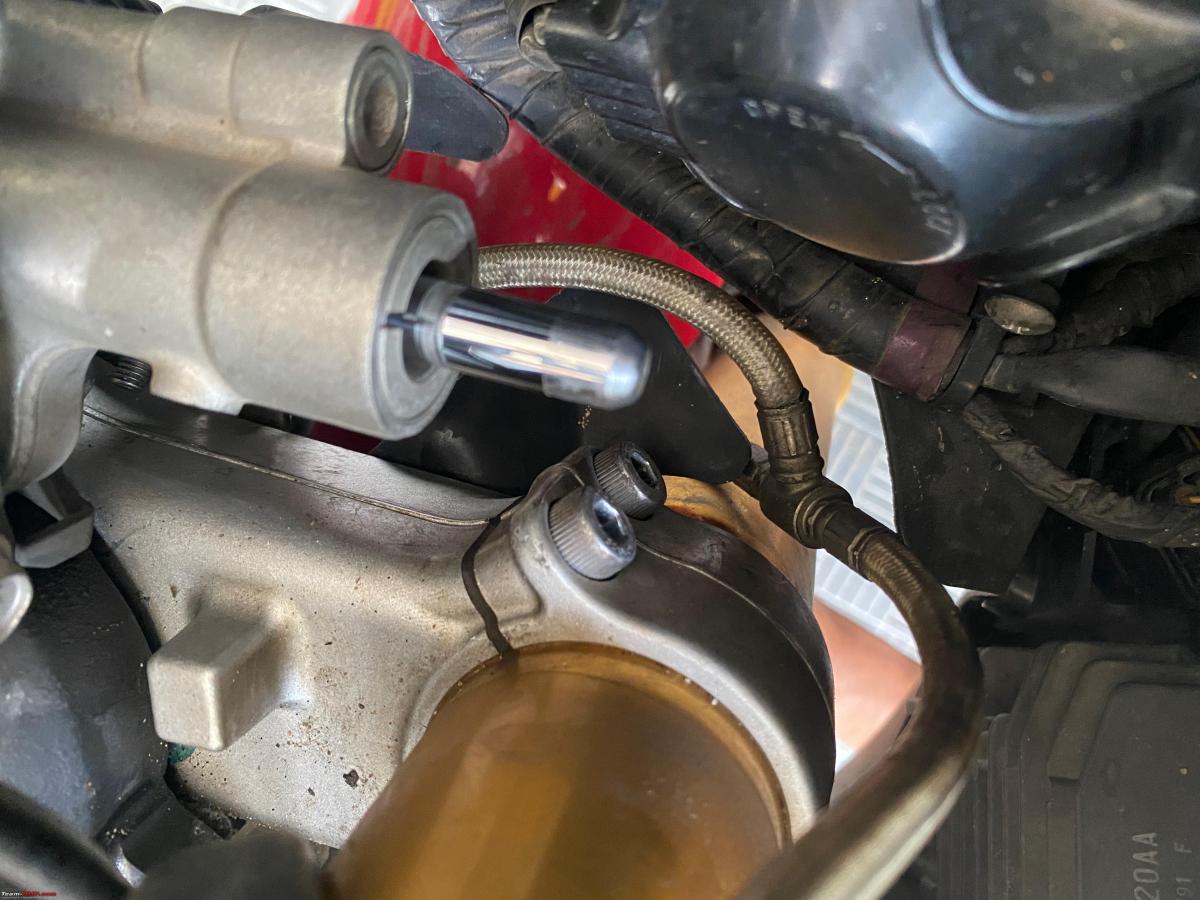
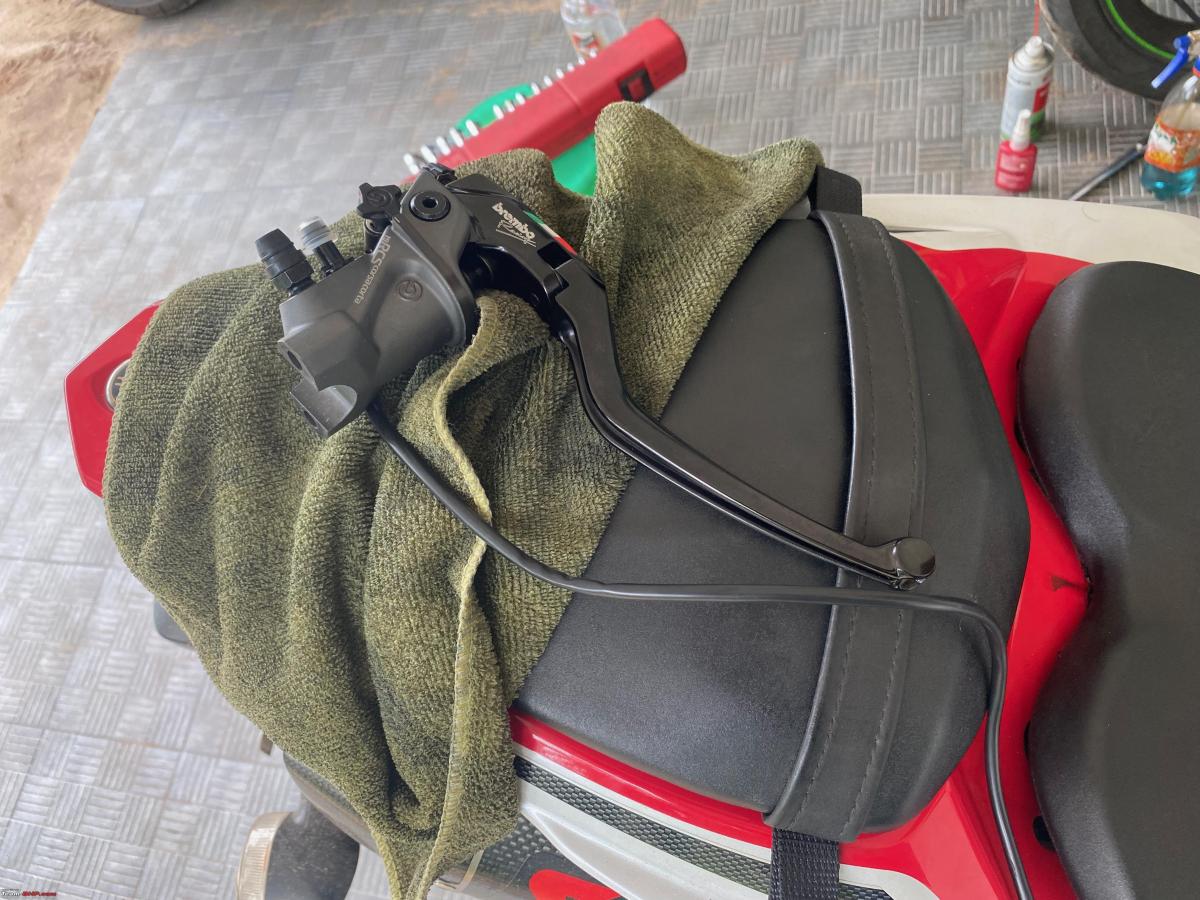
The radial master cylinder from the Gen-3 Hayabusa

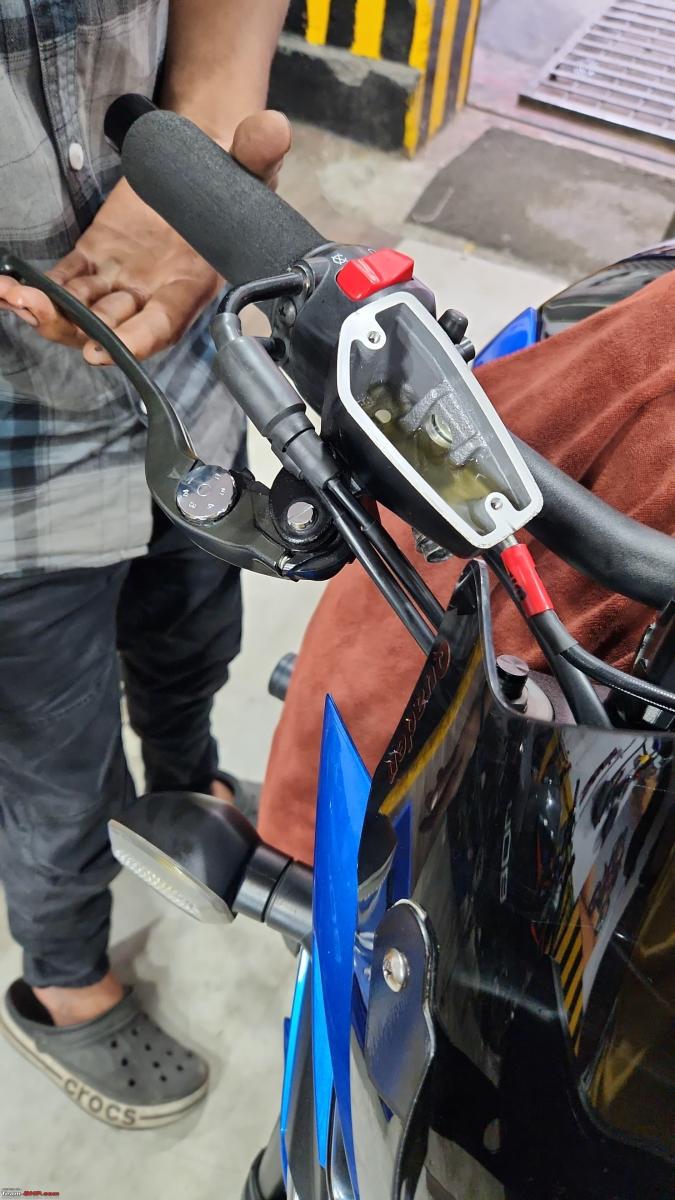
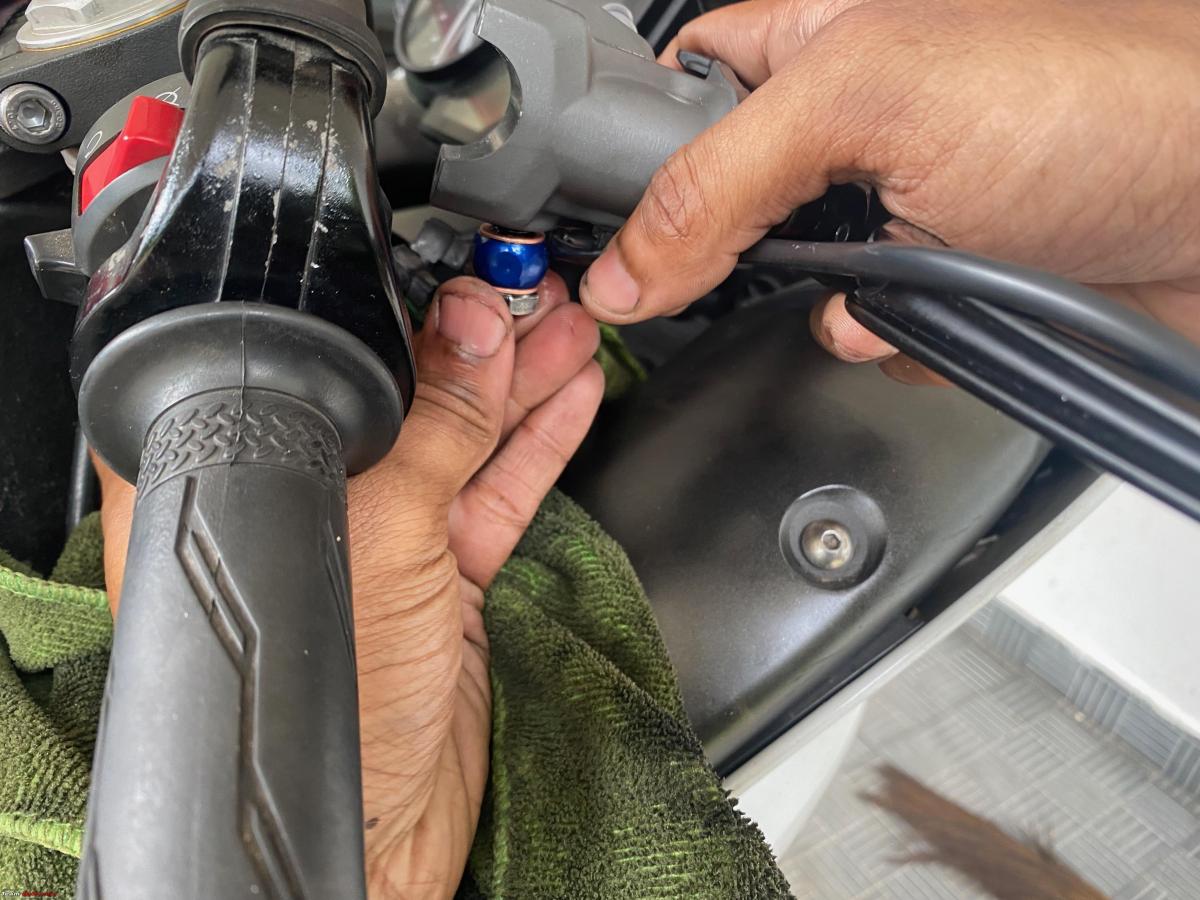
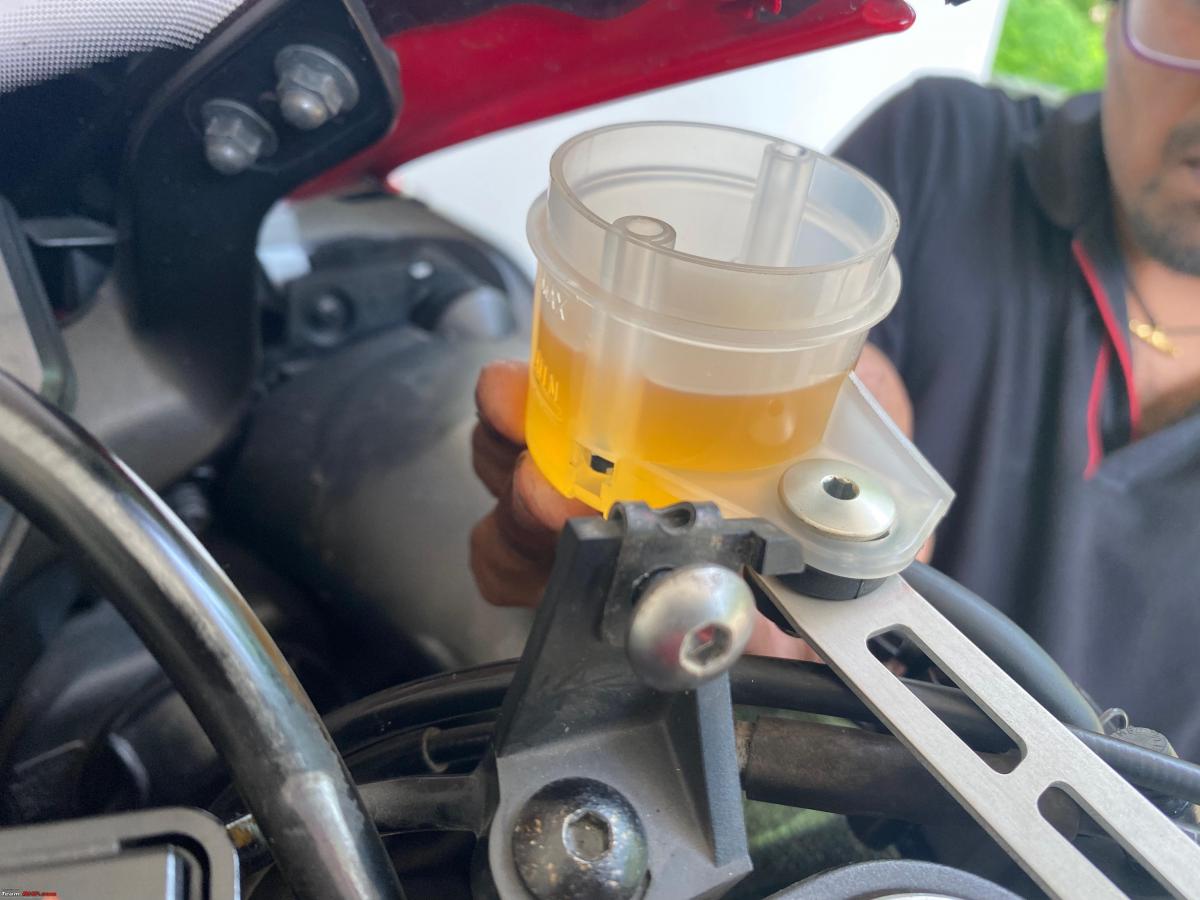
The stock axial master cylinder removed
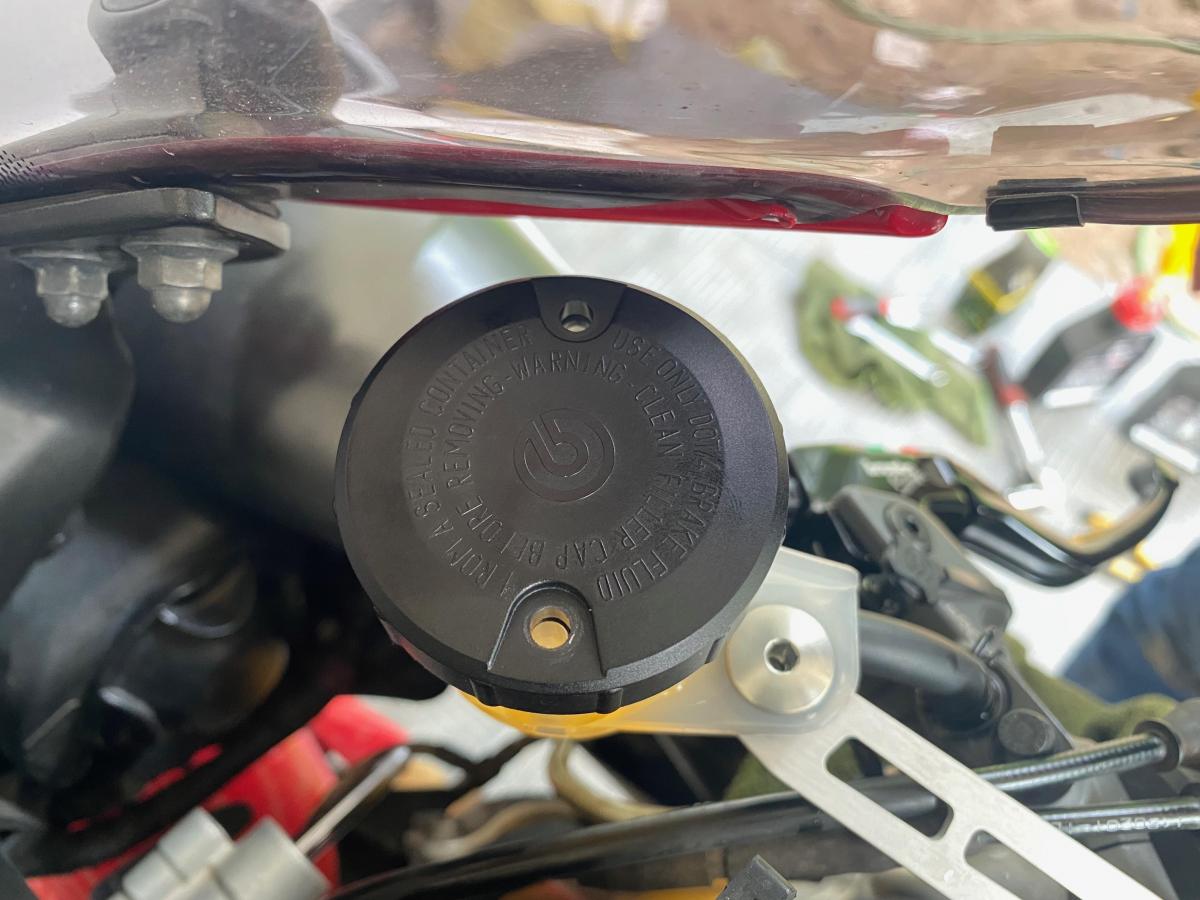
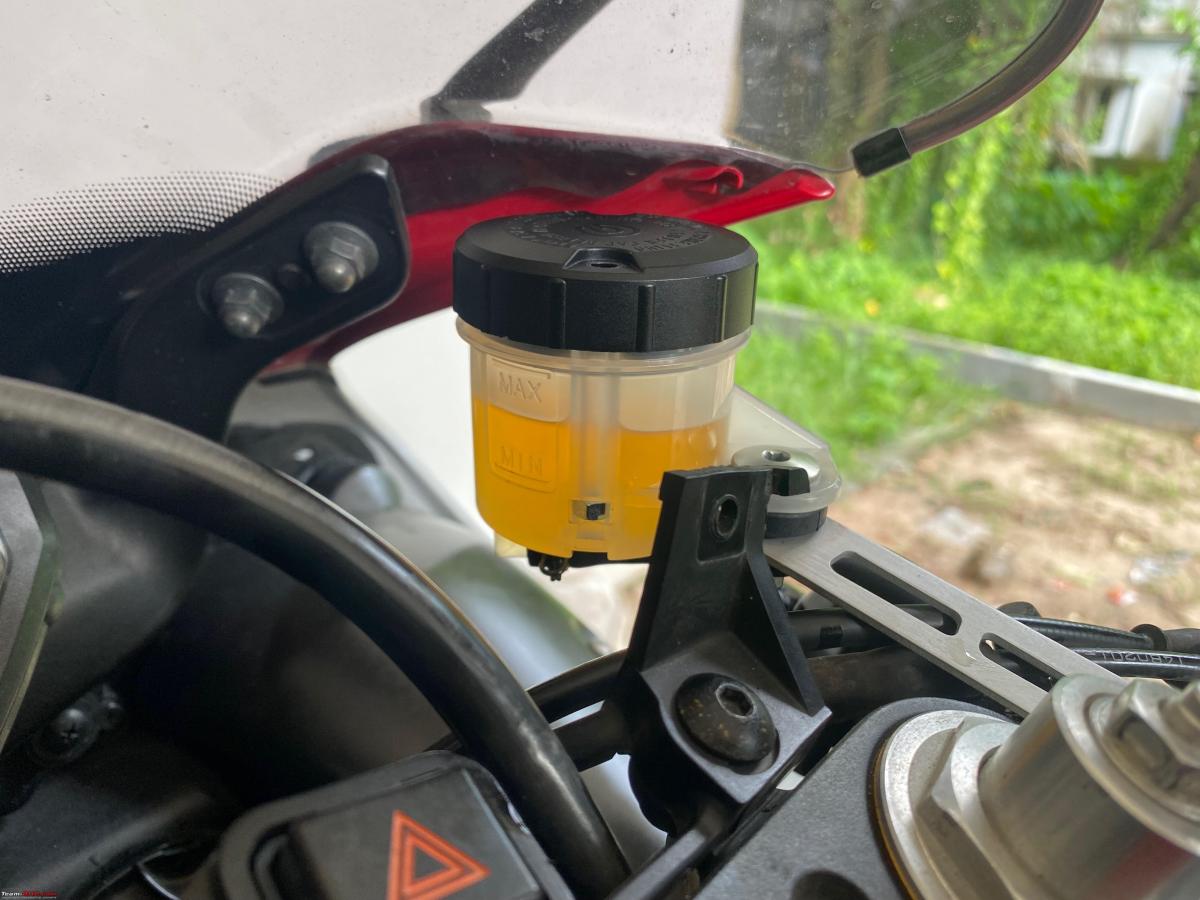
The radial master cylinder fitted
The difference in brake feel with this radial master cylinder was night and day. I suddenly had the instant, precise feedback that I had been searching for. It was incredible how precise the front brake felt with this new setup. Plus, I could easily do one-finger braking with full confidence now. Went back to his shop with the decision to buy the RCS19 now cemented. Hafiz fixed the stock master cylinder back along with the right-side mirror and from then, my wait had begun. Hopefully, the fitment of the RCS19 won't throw up any surprises
The next post will mostly be after all these parts go on the bike. This upgrade should close the chapter on the brakes front since the only thing left will be upgrading the rotors, which I have no intention of doing. In fact, with these parts fixed, I’ve decided to pause any further upgrades for a bit and enjoy the bike as it is.

It’s been 2.5 years since coming into the ownership of the GSX-S now. I still pinch myself when going to the office parking lot and finding this machine waiting for me. There are many good things in life, but that inline-4 singing away to glory on the late-night sprints to home is something special. It plays the perfect stress-buster after those long days at work. And the weekend runs outside the city, while short, just make life so much better, especially with Bengaluru's current weather. Sure, the GSX-S isn’t the most advanced, most powerful nor the most expensive bike out there. But cutting through the winter fog on the outskirts of Bangalore with the music from the SC-Project reverberating inside my helmet, I am left pondering if there is any better way to immerse oneself into the superbike dream
Check out BHPian comments for more insights and information.
News
Got ceramic brake pads for Honda CB350RS: Cost & initial observations
The stock brake pads are the organic type. Organic brake pads are made from organic materials, offer silent operation but tend to wear out faster.
BHPian Mr.Sleeper recently shared this with other enthusiasts.
Brake Pad Upgrades
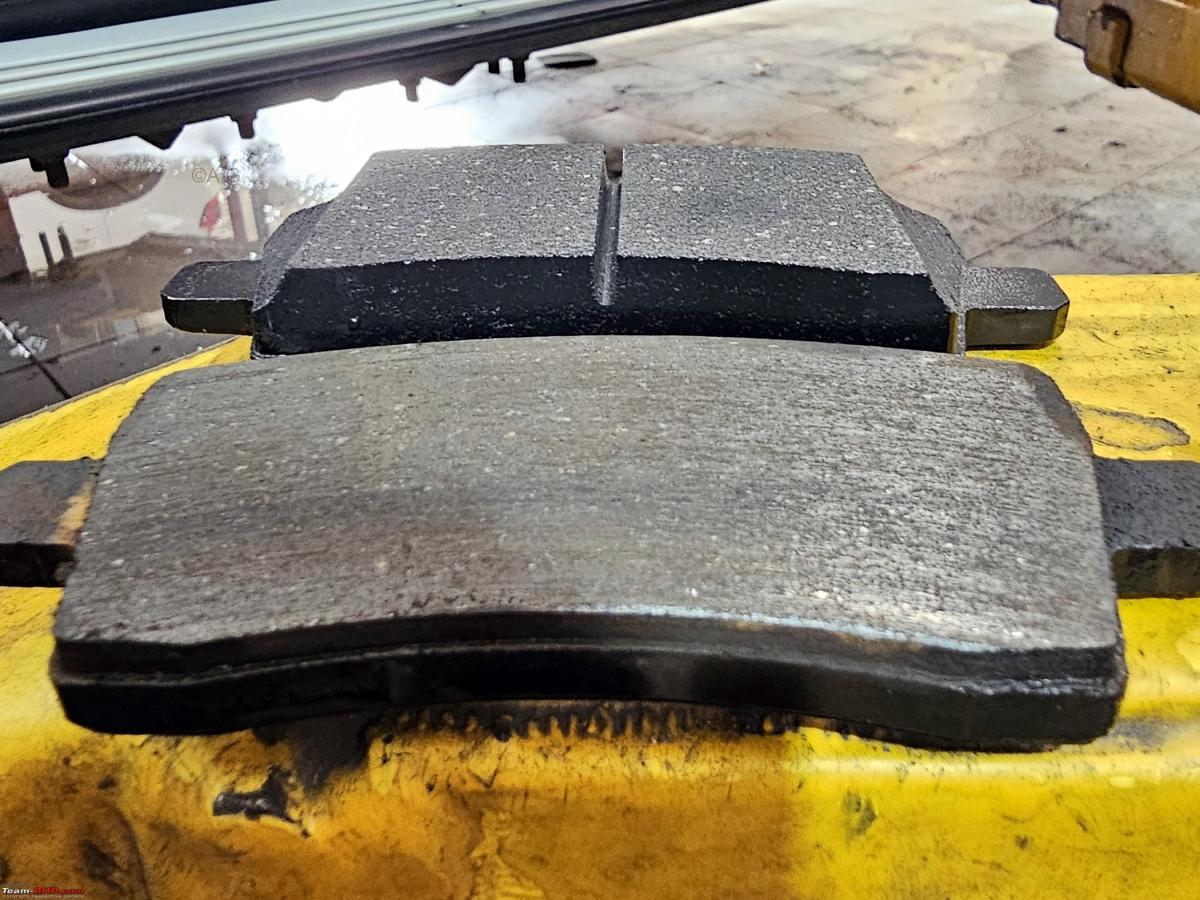
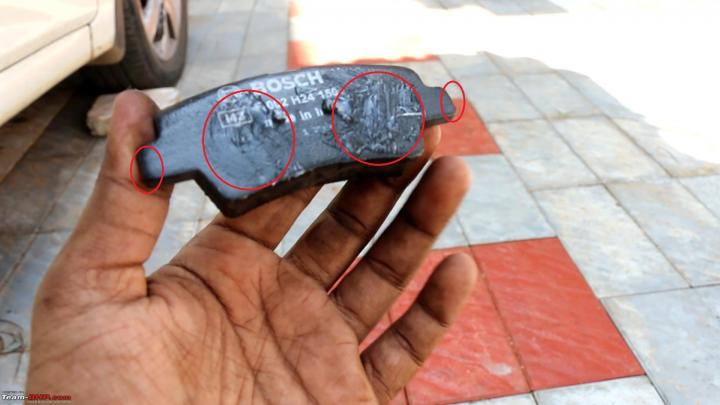
Most media reviews say the CB twins offer a very good breaking performance with a good initial bite and a very progressive feel. Even owners would agree that during the initial phase of ownership at least, the brakes perform really well. However, the decline in performance over time is very noticeable. By around 5,000 km the brakes just didn't feel as sharp as they used to. Initially I thought it was because of me getting used to the bike and the braking feel. But by around 7,000 km there were strange noises from the front brakes. Checked it out and found that the front brake pads had c-o-m-p-l-e-t-e-l-y worn out.
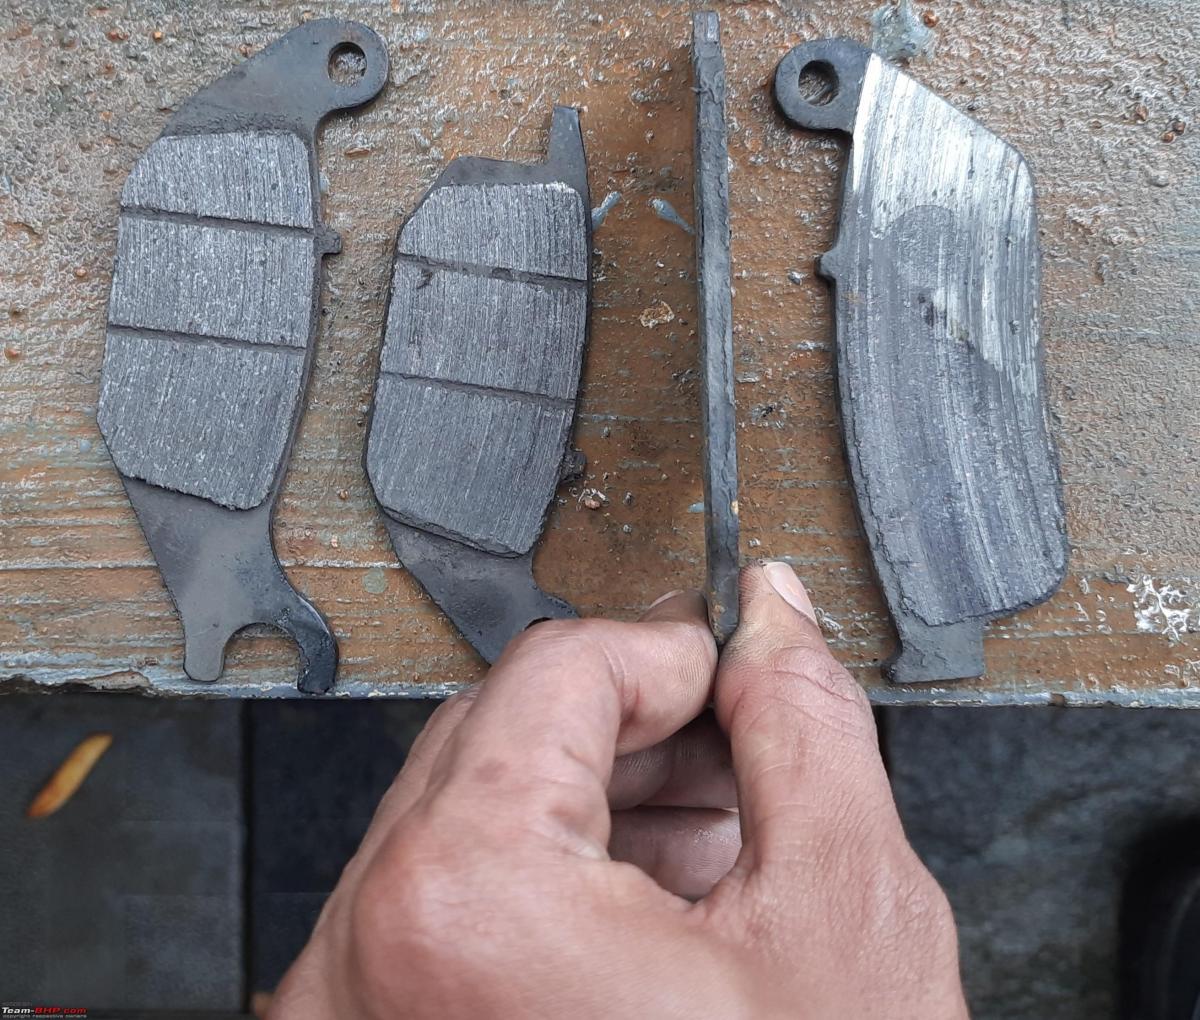
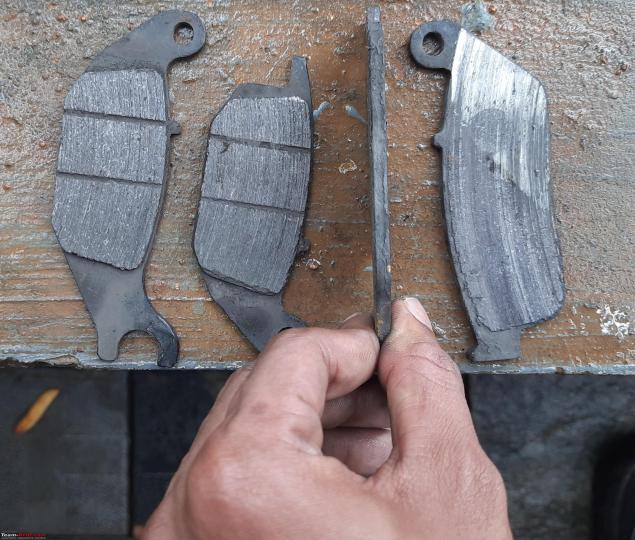
Left: Rear Pads Right: Front Pads
I understand this photo might suggest I'm a negligent owner, allowing the problem to worsen to this extent. I too agree that a timely inspection should have been done. However, I never expected parts which usually have a life-span of 10-15k kms , that too from a Honda Bike, to fail so early.
According to my research, the stock brake pads are the organic type. Organic brake pads are made from organic materials, and offer silent operation but tend to wear out faster. The short lifespan of these brake pads suggests they might not be well-suited for use on a heavy motorcycle. Decided to not cheap out on brake parts and Installed Vesrah Ceramic Brake Pads at both the front and rear.
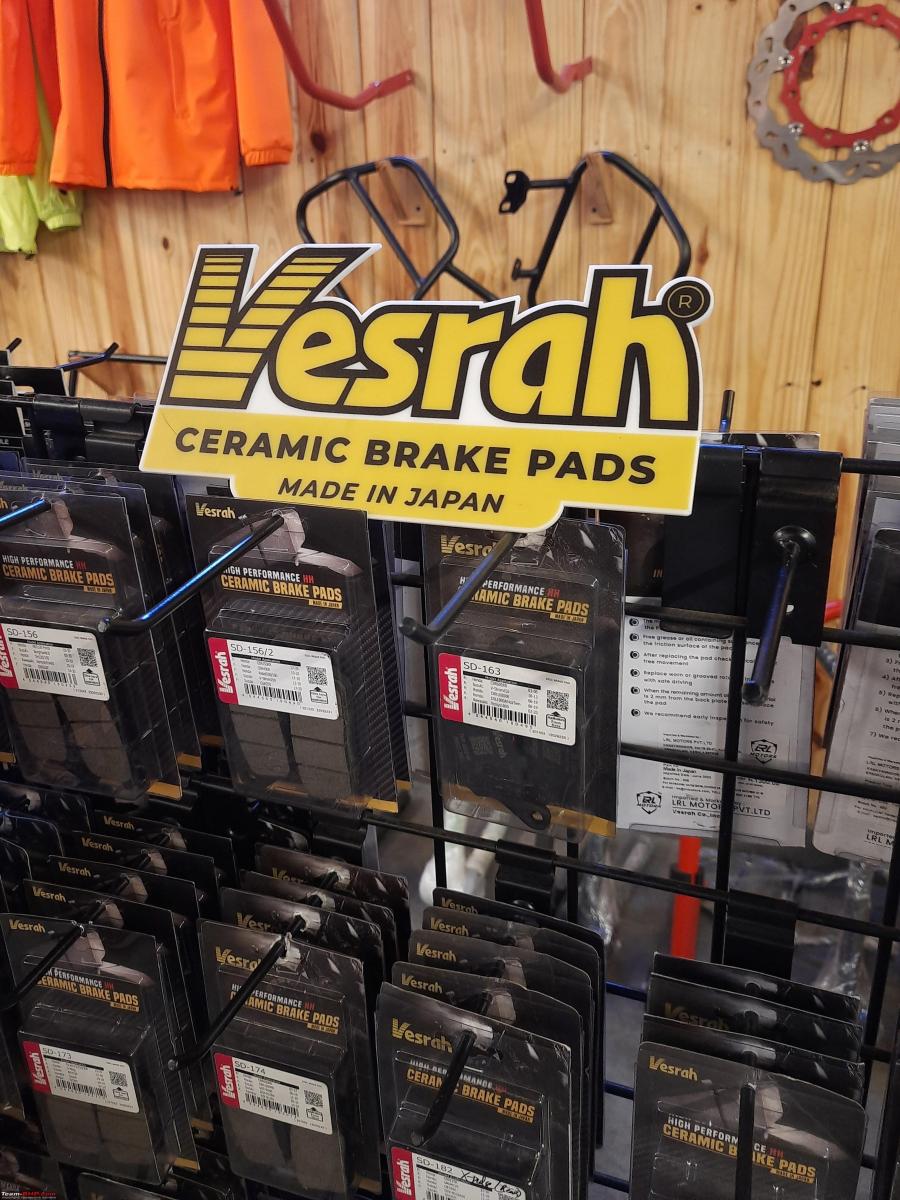
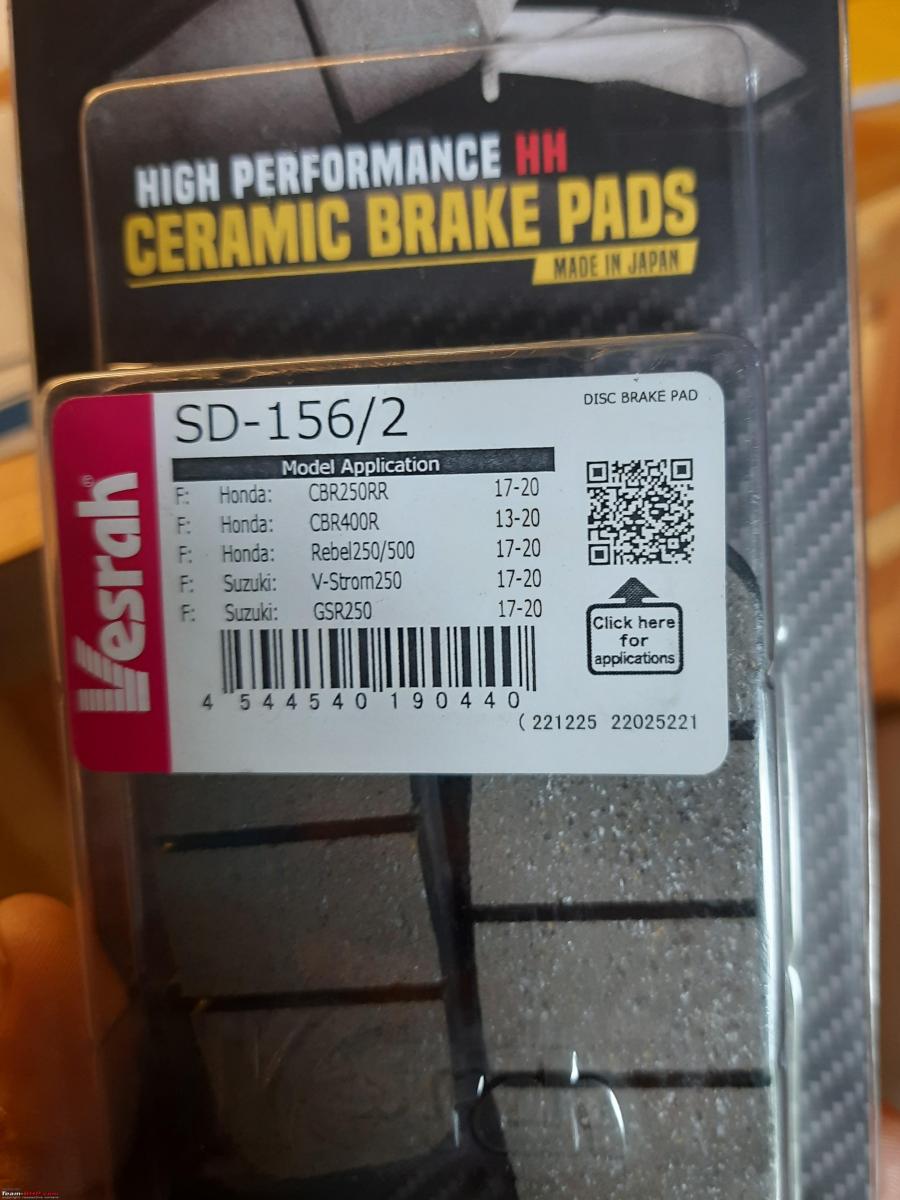
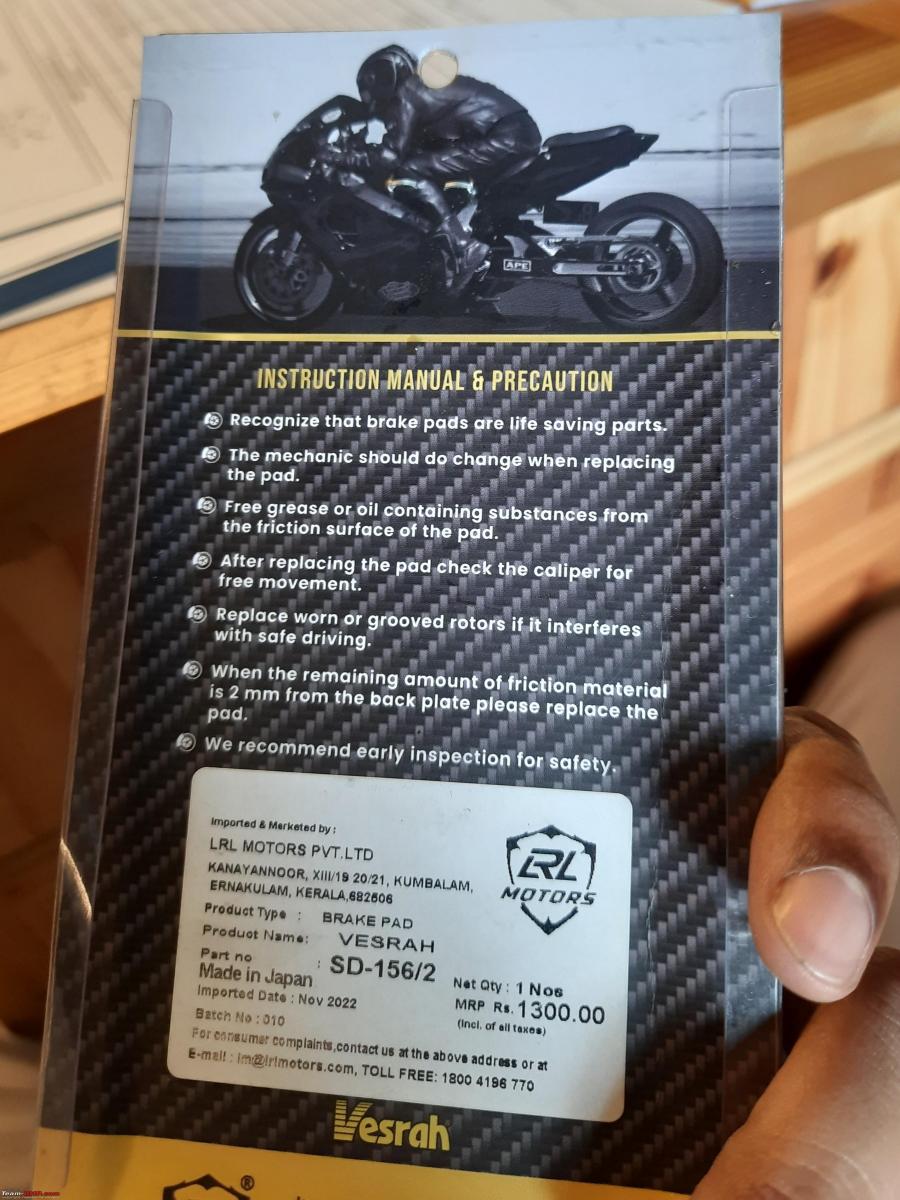
Model No: SD-156/2
Price: Rs.1300 for each set, Labor Rs.300, Total Rs.2900
Workshop: LRL Motors, Kochi (Satisfactory Workmanship)
Changes Noticed:
- The Ceramic Pads definitely offer more braking bite.
- The brake pad life and build quality are really good. I recently inspected the brake pads at 11k and it was all fine.
- The braking feel isn't progressive enough. It starts off a bit numb and then offers a strong bite.
- The brake pads perform better once they heat up.
Check out BHPian comments for more insights and information.
- Tags:
- Indian
- Honda 2 Wheelers
- CB350RS
- brakes
News
Got brake discs skimmed & pads changed on my Mahindra XUV700

The service center used Procut machine which didn’t require removal of discs for skimming
BHPian A.G. recently shared this with other enthusiasts.
General inspection before a trip (Rear Brake Pads changed)
Before heading out on a family trip, it was wise to get the XUV7OO also inspected. Visited the post-Diwali break and upon inspection, the rear brake pads were found to be almost at the minimum thickness mark. With the trip ahead, got them changed. The Brake discs were also suggested to be skimmed to even out the minor undulations. I was pleasantly surprised that the service center used a Procut machine which didn’t require the removal of discs for skimming and performed the job in hardly 10 minutes on one disc.
Getting on the lift
Old Brake pads (Rear) - thickness was around 3mm

With new Brake pads
Product disc skimming machine in action

Skimming done

After the road trial, the general checks were performed and the air filter was cleaned. The total invoice came to Rs. 7,503/- with Rs. 1,350/- + taxes being charged for skimming and the rest being for rear brake pads.
Check out BHPian comments for more insights and information.
- Tags:
- Indian
- XUV700
- Maintenance
- brakes
News
Braking issues at low rpms on my Maruti Jimny: How Im getting it solved

Post the brake cleaning process, the pedal became spongy and I had lost the brakes all together.
BHPian purohitanuj recently shared this with other enthusiasts.
I earlier shared about braking issues on my Jimny. I now have an update on the same.
As per my scheduled visit, I reached the service center where I was informed that few engineers from Maruti Suzuki were waiting.
They connected a VCI OBD and started to capture all parameters as a log file while they drove my Jimny and tested the brakes at different RPMs. I too then drove. Nothing out of ordinary was observed.
Note that the VCI does capture the vacuum brake boost pressure in kPA.
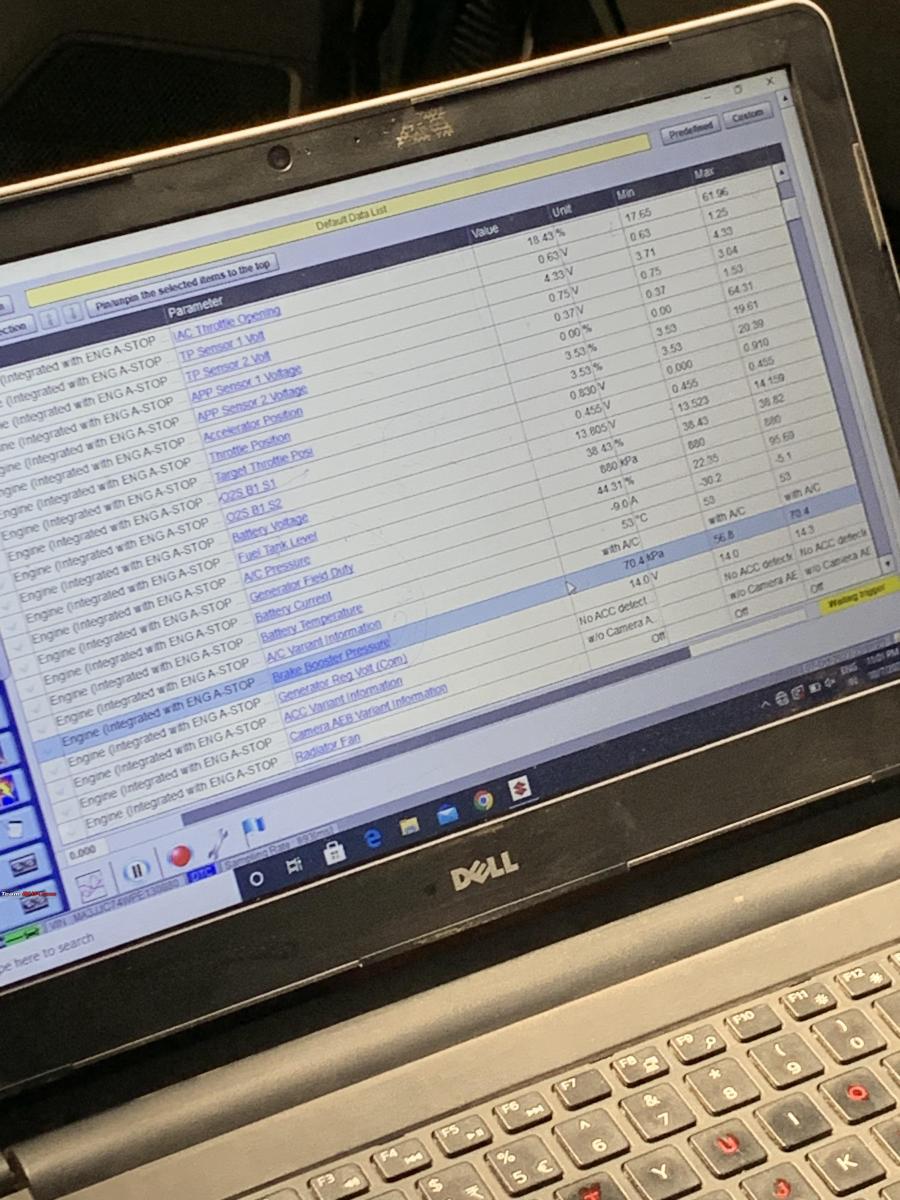
I suppose they will correlate this data from another Jimny tested similarly in higher altitude.
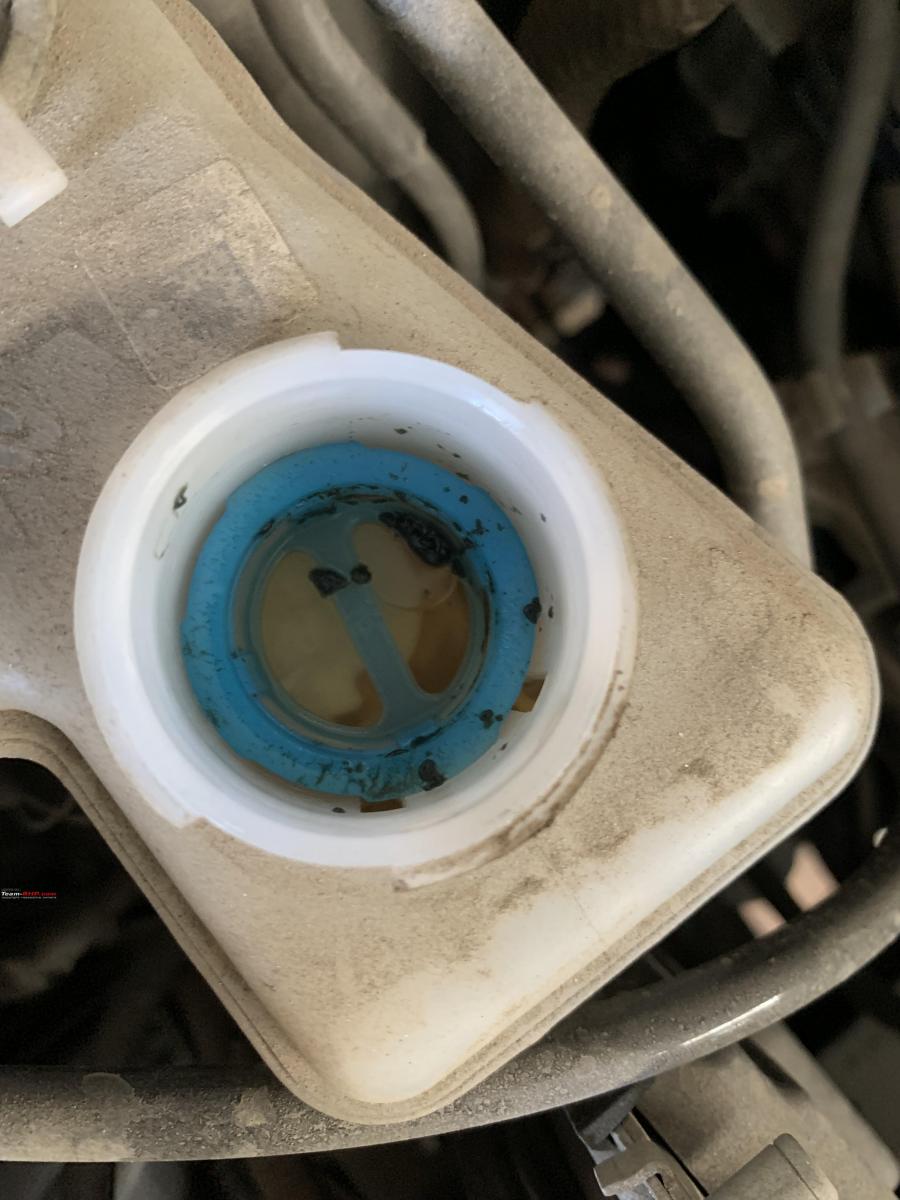
The brake fluid filter had this gunk like substance.
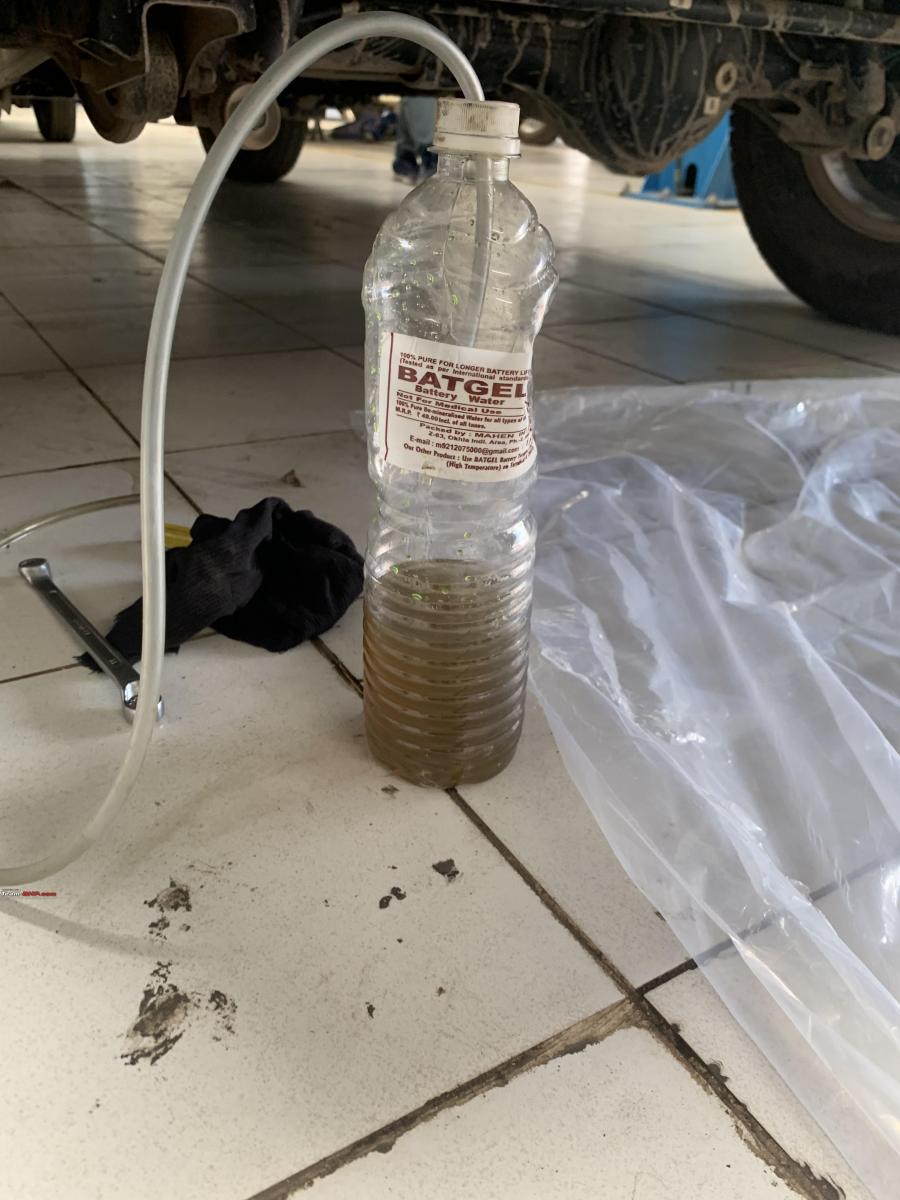
Brakes were cleaned. When I asked them to bleed them once, the service engineer told me that they were specifically asked to "not" touch much on the brakes as they didn't wanted to disturb the brake setup too much for future analysis.
However, post the brake cleaning process, the pedal became spongy and I had lost the brakes all together. Hence they had to do the bleed process which resulted into this oil coming out which was filled in by a brand new bottle of DOT3 brake oil.
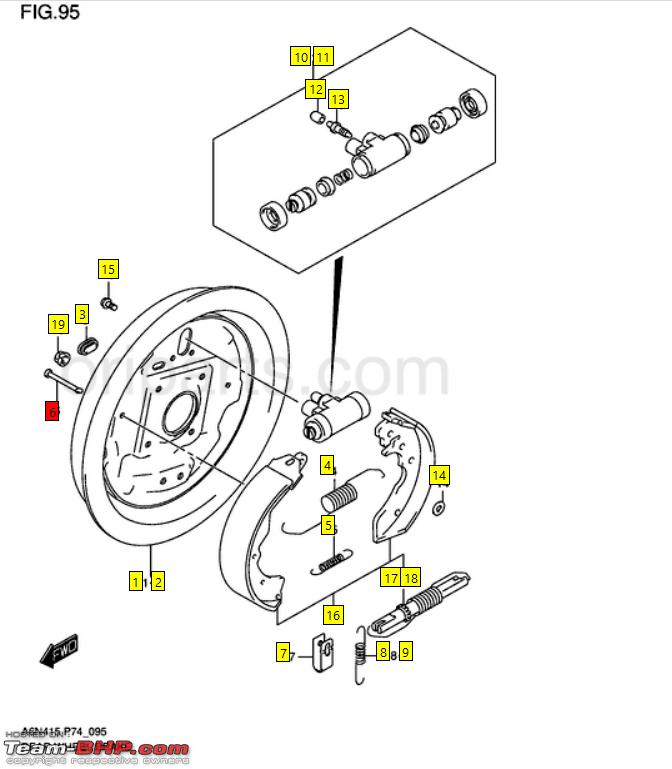
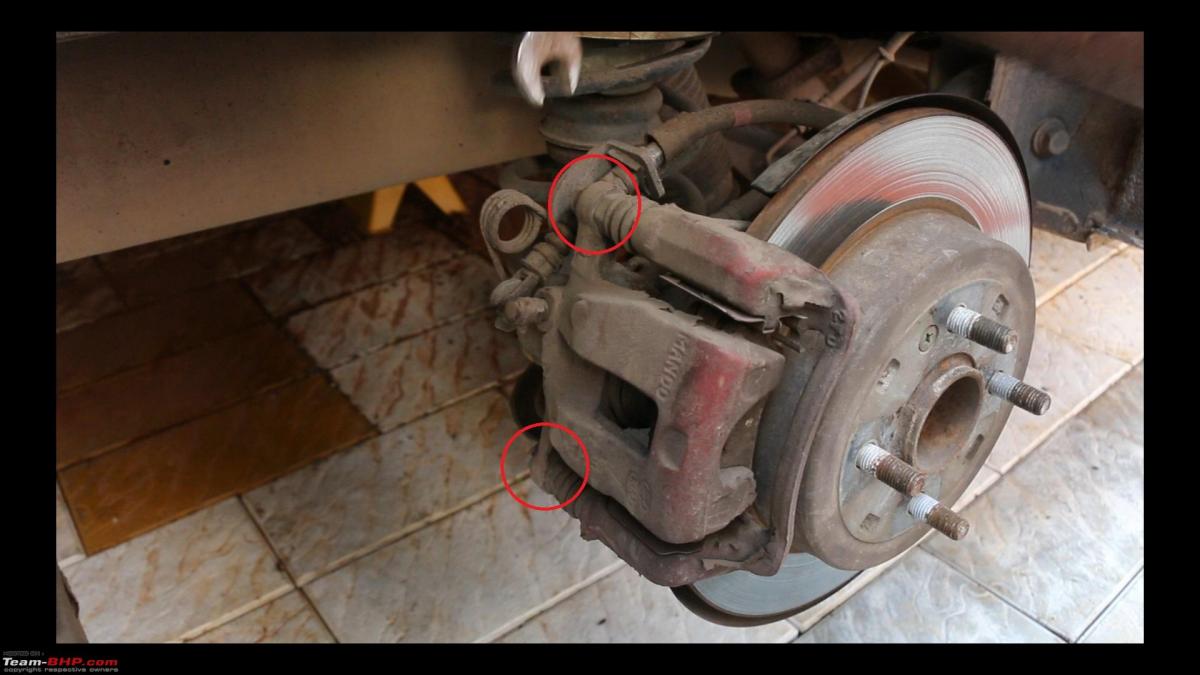
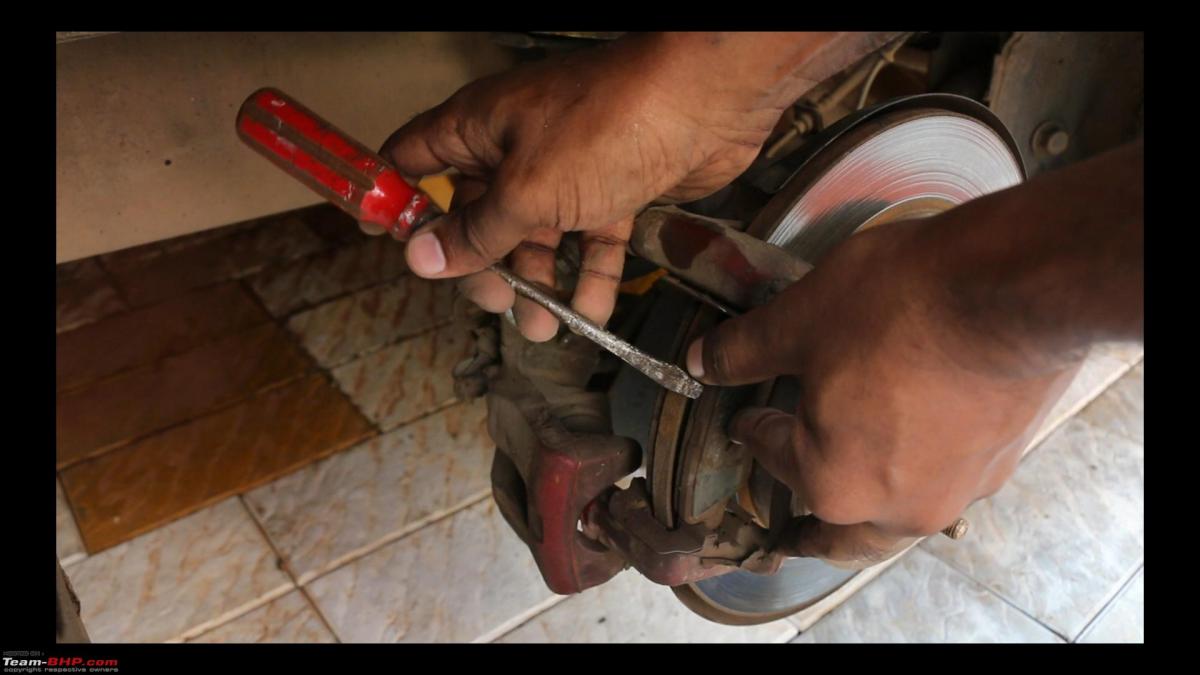
During the brake shoe removal, a pin ( which is used to hold the brake shoe) broke which might have resulted in the spongy brake pedal.
The pin is marked as part number 6 in red.
As for the update further, I have asked to wait for few days / 1 week.
Check out BHPian comments for more insights and information.
- Tags:
- Indian
- Maruti jimny
- 4x4
- SUV
- brakes
News
Need advice: Brake pad squeal on my BMW 3GT
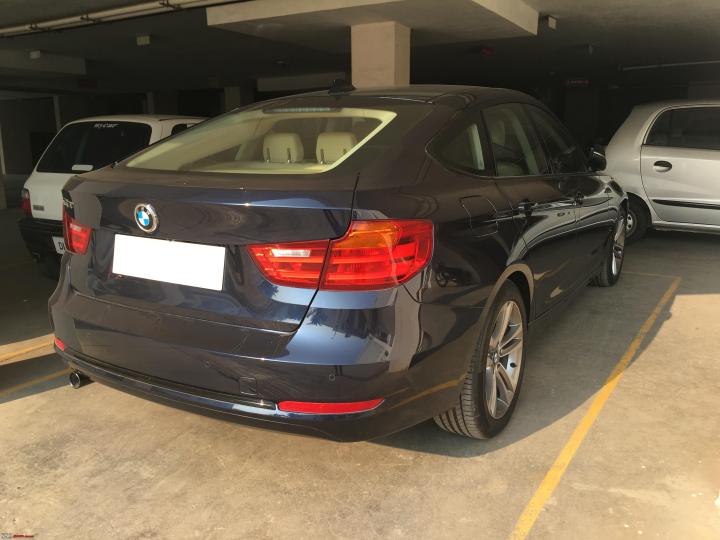
I experience a whining noise while braking at slow speeds.
BHPian Shubhz recently shared this with other enthusiasts.
Anyone experienced a whining noise while braking on the F34? Particularly when braking on slow speeds like as in approaching a speed bump or while negotiating a curve? I was facing this issue. SA said it may be because of brake pads.
Subsequently the front pads were changed, callipers greased and oil bled.
Things were alright for a couple of thousand kms and now that sound is back.
Kilometers run - 25,000
Here's what BHPian DRIV3R had to say on the matter:
This sounds like brake squeal. A dab of anti squeal paste on the rear backing plate of the brake pads and contact area of pad with caliper should fix it.
Here's what BHPian Kosfactor had to say on the matter:
No matter what you do, it will start again if you do a Mysore to Ooty through Masinagudi
This video is the official explanation about that sort of noise.
Here's what BHPian sagarpadaki had to say on the matter:
Apply the above paste as a film on the back of brake pads. If the pads come with anti noise shims, remove the shim and apply the paste and put the shims back on. This should eliminate any noise caused due to pad vibration during braking.
Refer this video for how to.
Here's what BHPian Jeroen had to say on the matter:
Vibration is a function of mass, so lots of dirt build up might chance the resonance frequency a bit. Over time discs wear down and loose a considerable amount of their mass and thus resonate at different frequency.
Part of the Squeal can be coming from the piston on the back of the piston, and or the sides of the pad. So applying some copperslip or ceramic paste might get rid of it.
On my Jaguar I get these squeals very very occasionally. I have found that certain pads make it worse, or better. My current pads rarely give me any problems. And it can be fixed by taking the pads off, cleaning everything and remounting them with copperslip on the appropriate touchpoints.
What also might help is to very lightly file down the spots on the calliper where the side of the pads touch. The idea being the smoother the surface the less friction and the less likely something will make anodise when resonating.
What is important and relevant is of course, there is absolutely nothing wrong with your brakes when this happens. It is just annoying, and you can to a good extend minimise it. Most brakes don’t squeal, so there is hope!
Here's what BHPian androdev had to say on the matter:
Better to stop worrying about it. This is a very common issue with cars having big brakes. I too face this issue (brake noise when coming to a slow stop - like approaching a toll gate) and learned to live with it after few futile attempts to get it fixed.
Based on what I read, you can't have all these in a brake pad: dust-free, high-performance, quiet, long-life. My hypothesis is that OEMs prioritise performance and long-life over other two.
Read BHPian comments for more insights and information.
- Tags:
- Indian
- BMW 3-Series GT
- brakes
News
Tesla downgrades performance brakes, hides it with a cover
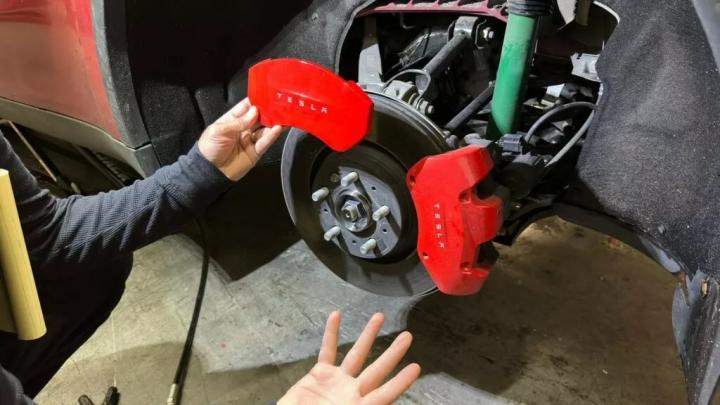
ZEVCentric stated that the calliper cover added no major benefit apart from an aesthetic improvement.
According to reports, Tesla is said to have secretly downgraded the performance brakes on its Model Y Performance model and put a cover over it to hide the change.
Reports claim that Tesla made the change last year and came to light when ZEVCentric - an aftermarket Tesla parts supplier, noticed it while working on a customer car. The parts supplier took to Twitter to showcase the smaller calliper and rotor, while also revealing the red-painted calliper cover used to make it look bigger. ZEVCentric also stated that the calliper cover added no major benefit apart from an aesthetic improvement.
Having said this, to Tesla's credit, ZEVCentric did confirm that though the rotor and calliper size is identical to the Long Range versions, the rotor on the Model Y Performance is 2 mm thicker, which Tesla claims will not impact its braking performance.
Tesla's website clearly mentions that the Model Y Performance upgrades include "Performance Brakes", although it doesn't specify what that means. The shop says that "paint is not an upgrade much less a performance one".
Source: CarScoops
- Tags:
- Indian
- brakes
- International
News
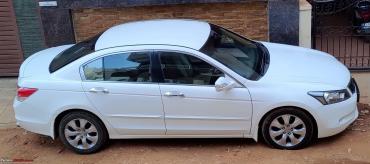
2008 Honda Accord: How I managed to remove stuck brake master cylinder


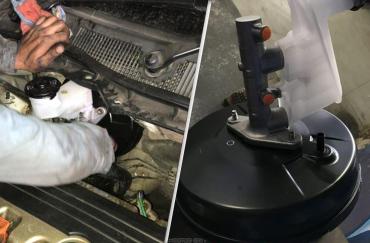
According to the mechanic , if they force the part out, it would not only damage the original 'Brake Master cylinder'. This is something that I can allow, as I already have the replacement.
BHPian ritedhawan recently shared this with other enthusiasts.
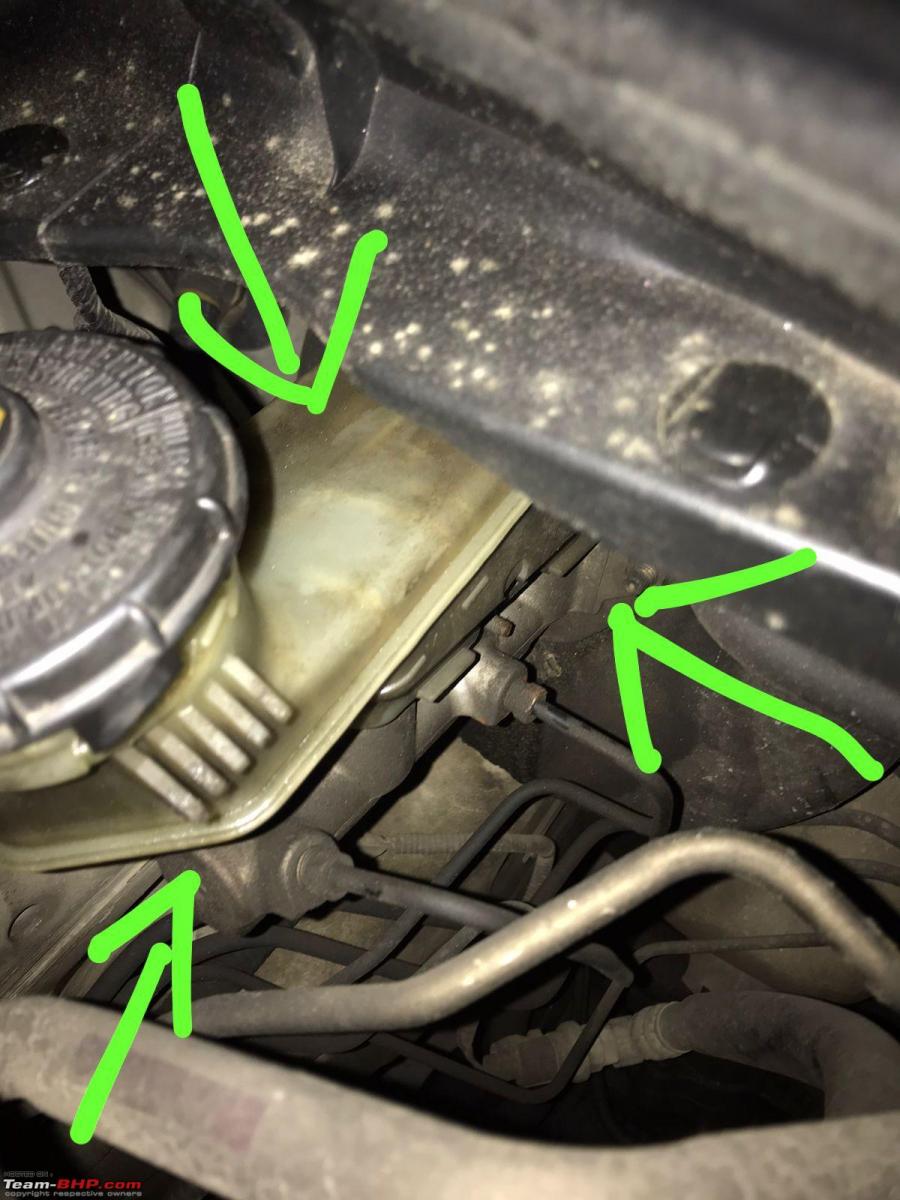
I have been using a Honda Accord 2008 2.4L AT which has clocked 120,000 KM. Recently I went to an independent workshop to get the 'Brake Master Cylinder' replaced. However, once the mechanic unscrewed the 2 bolts which allows the component to stick to Brake booster and disconnected the short cable on the left of the brake master cylinder. He was 'Unable to remove the Brake Master Cylinder'. It seemed as if the 'brake master cylinder' is stuck to the brake booster!. Initially, he tried to pull it out as usual , nothing changed. Then he tried to apply additional force, still no change. Then he got some 'rust penetrant ' and applied where the 'brake master cylinder' sticks to the Brake booster. He tried again to pull the part, no change. He applied the 'rust penetrant' again and we waited for 1 hour and then tried to pull the part. Still no change.
The mechanic and his service advisor came to the conclusion that: they cannot disconnect the part and forcing it out may incur damage not only to the part but to the connected 'Brake Booster'. We collectively decided to give up the part replacement. They re-installed what was taken off during this procedure.
Let me now elucidate in detail , what required the change of the 'Brake Master Cylinder':
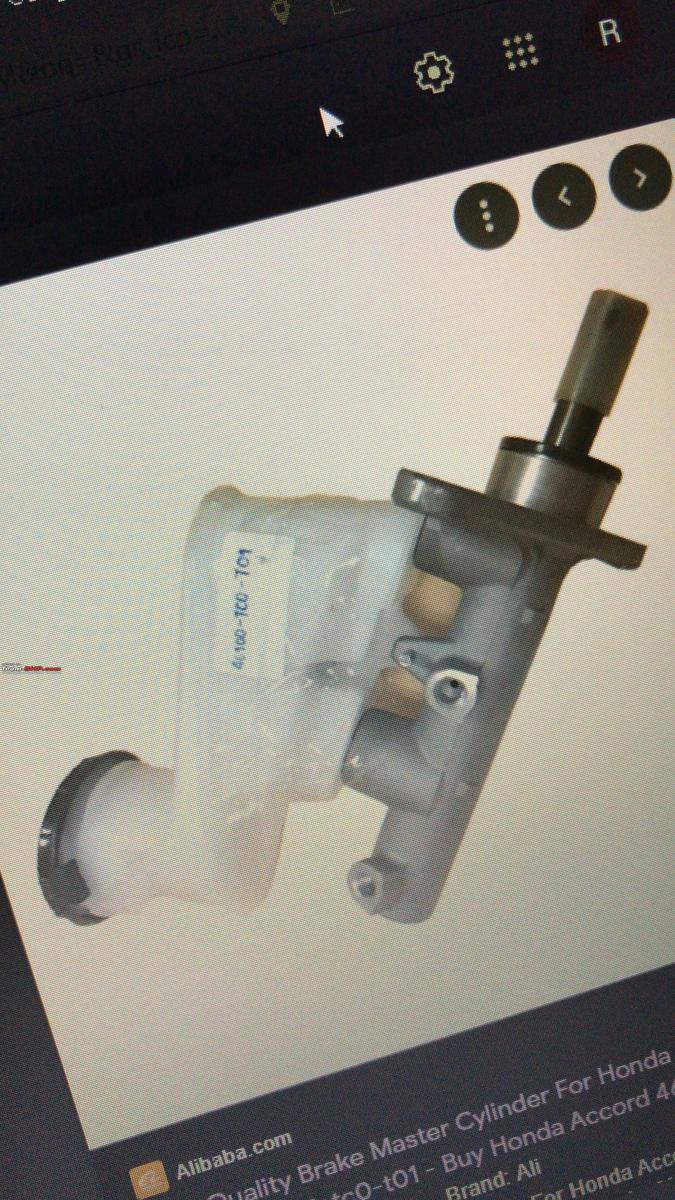
Its been months now that I have been facing this peculiar issue : The brake comes into effect only when the brake pedal is pressed sufficiently. For example, for the initial press of the 'Brake pedal' , nothing happens. Lets say, that the 'brake pedal travel' is being measured on a scale of 1-10. For the initial '1-4' brake press , nothing happens. Brake comes into effect between '5-10' on the scale. I keep on topping up 'Brake fluid reservoir'. Initially, I went to the same workshop which recently attempted the part replacement (WoS, Noida). There the mechanic and SA mentioned 'Brake Master Cylinder' being the culprit. I got the same diagnosis from another workshop. I have checked some YouTube videos and they confirm the fact that its the 'Brake Master Cylinder'. Therefore, when I went to the independent workshop , I had procured the AFM Brake Master Cylinder. However, what can we do if the originally one is stuck and wont come out?
This is where I need advise from fellow T-BHPians:
What can we do IF we are unable to replace 'Brake Master Cylinder' as it seems to be stuck to the 'Brake Booster'?
I would like to inform all, that we have already done the brake bleed and it makes marginal difference to the issue. According to the SA and mechanic , if they force the part out , it would not only damage the original 'Brake Master cylinder' --This is something that I can allow, as I already have the replacement-- But it would damage the brake booster as well. This is what I fear. That is the reason we aborted the replacement. But then I am stuck with the same issue.
My constant fear is: If they force the part out albeit damaged and then on top of that the brake booster has incurred damage as well. Then I may have to get the Brake Booster replaced as well.
Lets continue with the same line of thought and we decide to replace both. What guarantee that the original brake booster wont cause the same problem that the 'Brake Master cylinder' is causing. The problem: unable to remove it.
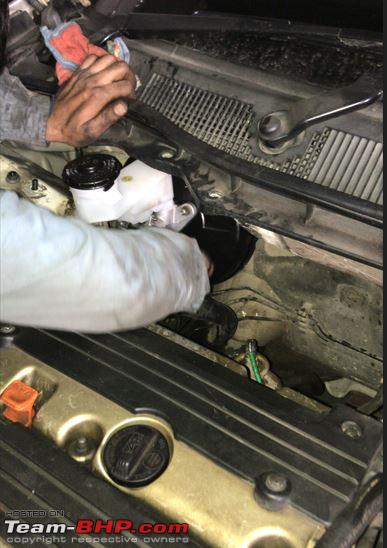
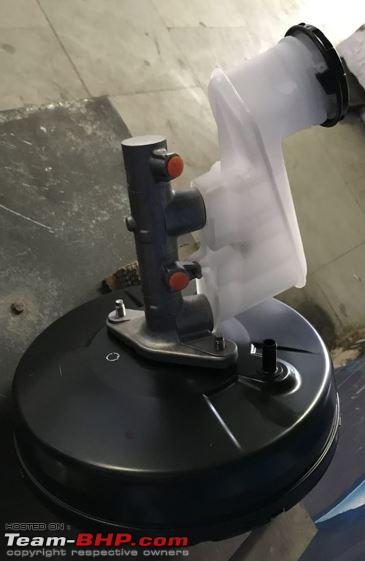
So, finally, day before yesterday, took some time to get the car to the repair shop in order to get the pending replacement job done. The OEM brake booster, brake master cylinder, and OEM Dot-3 brake fluid had arrived and been lying dust at my home. The job of detaching the old brake master cylinder from brake booster and getting brake booster out from the engine bay in itself required two to three hours. There wasn't enough space to get the brake booster out, the mechanic had to get the AC line out which lead to the release of any existing AC gas in the system, the strut bar had to be removed, we didn't remove the power steering hose as stated by fellow Bhpian 'vigsom'. However his advice was really helpful in terms of getting the job done.
Once the old parts were out, getting the new brake booster installed was time consuming. The replacement job started at 1145 and by 4 PM we had the old parts out and the new brake booster installed. Then the new brake master cylinder was installed and filled with OEM brake fluid. The peripheral parts taken out to get the space required for the brake booster were re-installed, AC gas refilled, then started the final phase of brake bleeding and test drove the vehicle to check everything was in order.
Check out BHPian comments for more insights and information.
News
Explained: Reasons why brakes groan when the car is on a slope
The reason why this is becoming more common is because of the choice of friction materials for brakes.
BHPian Mclaren Rulz recently shared this with other enthusiasts.
I've noticed this brake groaning in multiple cars, including mine. A video explains the sound much better than I could, so here it is at the 4:00 mark.
Why do brakes make that groaning sound when one is on an incline? I believe this happens in both forward and reverse directions though I may be wrong about that part.
Here's what BHPian ashivas89 had to say on the matter:
Brake dynamics engineer here
Brakes groan due to a phenomenon called stick slip which has something to do with the tribology (contact between disc and pads) and the the response of the chassis parts and bushings. This leads to results in self excited vibrations.
The reason why this is becoming more common is because of the choice of friction materials for brakes. Cars getting faster+heavier+regulatory requirements+competition to achieve best stopping distances all have led to the need for a certain type of friction material.
Please note that this phenomenon or brake squeal which also occurs due to broadly similar reasons has no bearing on safety or stopping distances. In fact the better the performance, higher the likelihood of these issues cropping up (in fact this is a bigger headache for luxury car makers and they spend millions to figure out a good compromise between NVH comfort and performance).
High speed judder on the other hand is a cause for concern something that will need looking into. But that is another lesson for another day.
Here's what BHPian saket77 had to say on the matter:
Great to have someone on this topic.
My question- do brake shims/ spacers help arrest this noise? Will adding more than 1 shim change anything?
Also, do brake shims in any way, positively or negatively impact braking efficiency?
Thanks in advance.
Regards,
Saket.
BHPian ashivas89 replied:
Primarily shims are used in this context to either tune the contact patch between the pad and the disc or to enable optimal placement and movement of the pads within the caliper housing. This requires a lot of tuning (100s of man hours simulating+testing on dynos)and they are specific to each problem encountered. So they help, if tuned as mentioned.
There is never a one size fits all solution and aftermarket shims are definitely a hit or a miss.
Performance in terms of brake pedal feel might take a marginal hit if a thick elastomer layer is used, for example. Stainless steel shims don't register.
Absolute performance in terms of stopping distance is never an issue. However, in high performance cars, materials have to be chosen carefully to account for the high thermal demands of performance brakes.
Here's what BHPian shancz had to say on the matter:
A layman's example here, seems like the same logic is at play.
I was accustomed to these "vibrations/noise" as the staircase in our house has a rounded wooden railing. Rounded is important because as I am coming down my entire hand's surface area is gripping the railing similar in concept to how the caliper grips the flat disk via flat brake pads.
Coming down and then gripping the railing harder to slow down for the last steps it would make a slight squeal and then the vibration would start and as I pushed more(accelerated) just for fun, the vibrations were significant enough to visibly shake the unhinged end of the railing.
Exactly like you said this was easy to happen during rains due to the absence of dust and presence of moisture both in the hand(brake pad) and the railing(brake disk) aiding grip and it doesn't happen at all during dry and dusty environs as the hand just slides over without much grip.
So experiencing the same in cars wasn't surprising at all.
Hope this crude example makes sense and please do advice if it isn't correct on the principle.
Here's what BHPian VijayAnand1 had to say on the matter:
Interesting one!
Let me share my observations on brake groan or brake chatter. This issue is pronounced in my experience in two scenarios. When the speed is extremely low and the weight is biased towards one side i.e. front or rear. This sound emanates almost entirely from the front disc brake of the car as opposed to the drum brakes.
Now, I've observed this phenomenon on both my motorcycle and car. Case in point, when the motorcycle is washed and where I live there is slope to cover to access the main road, and when you engage the front brake, the front brake groans. What's interesting is while the rear is almost silent when both the brakes are simultaneously applied, the front groans and moans. You can feel the front slip-grab-slip-grab along with the groan sound. The loaded front end of the motorcycle, along with inadequate CoF ultimately results in this sound.
This slip-grab happens so quick, perhaps even in milliseconds, you don't feel the judder yet you hear the sound and experience a sore brake feel.
The above phenomenon happens even in my car after wash. The reason I've highlighted my motorcycle as an analogy is to try to dissect it in a simple way.
Once the rotors and pads are warmed up, they tend to do their job well and there is absolutely no squeal, groan, moan of any sorts. So, even temperature has a role to play in how well a brake performs.
Now, there are different aspects as to why this "groan" can pronounce itself in an unusual way and a lot of factors come into play, condition of brake pads, the condition of rotors, how sticky/grabby the caliper pistons are, how dirty are the pads themselves of accumulated brake dust, there are so many variables, but that's for another day, perhaps.
The bottom-line, weight, temperature and pressure all alter a given friction coefficient for a given circumstance. And as simply and neatly said in the First Law of Thermodynamics - Energy cannot be created or destroyed, it can only be changed from one form to another.
Cheers!
VJ.
Check out BHPian comments for more insights and information.
- Tags:
- Indian
- car brakes
- brakes
- braking
News
Exhaust & brakes upgrade on my Yamaha R1 WGP 50th Anniversary Edition

The bike really isn't that loud at all from a 3rd person's perspective. But for the rider, you really do feel quite a bit of difference in the sound you get to hear and feel.
BHPian krishnaprasadgg recently shared this with other enthusiasts.
Bags packed and ready to roll:
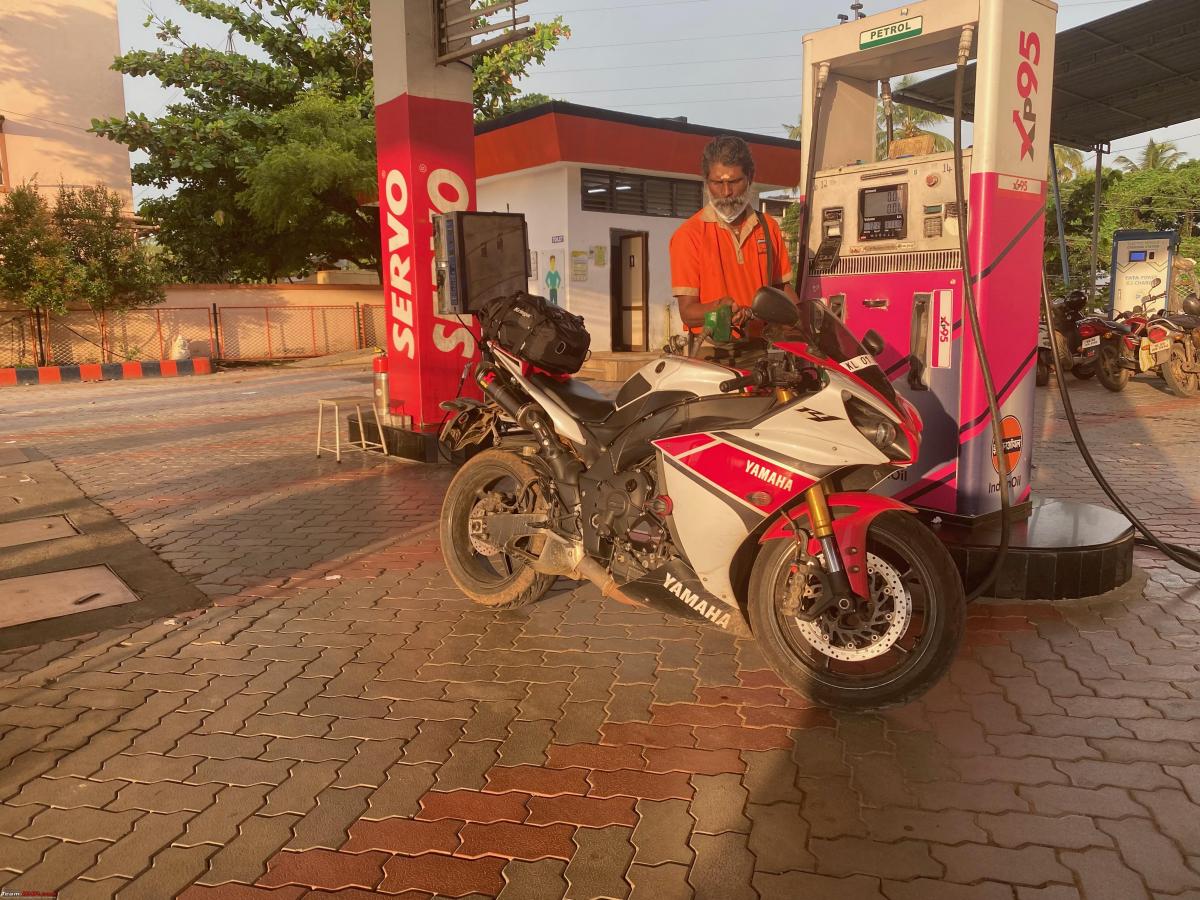
Finally, after 2-3 weeks of no riding, I'm back to riding the R1 and this time it was special because it was the first time I was taking the bike out, post the installation of the Akrapovic exhaust and let me just tell you what an epic experience it is riding the bike now, don't get me wrong riding the R1 is always an epic adventure but throw in the sound from the Akra and it is just something else altogether.
The bike really isn't that loud at all from a 3rd person's perspective. But for the rider, you really do feel quite a bit of difference in the sound you get to hear and feel. I was a bit apprehensive about running the bike without the DB killer installed but post some 600 plus covered in total with the Akra I have changed my mind. Rode through numerous police checkpoints and routine checks and passed through without being stopped once, even when the cops did notice me approaching, now apart from the non-obnoxious sound that the Akra produces under 6k rpm it also helps if you are riding decently without creating a ruckus/ doing any sort of attention-grabbing stunts in general. I mean for sure this goes without saying but still thought I'd mention it.
Now above 6k rpm it's a different story, that's when the actual audio experience starts, the bike just screams and oh what a beautiful symphony it is to take in. Words are not enough, I'll try to include an audio clip soon to try and communicate what I get to experience with the current exhaust setup. The next best part is the burbles or as I like to call it "the growls and grumble" the bike creates when decelerating, this is not something new that has started post the Akra addition, it has always been there in the bike, it is part of the AIS system that's there in most modern bikes and it's mainly present to control emissions, simply put what it does is that it injects air into the exhaust system to help burn unburnt fuel vapors in the exhaust pipe and this causes burbles or cracks which is also referred to as backfiring. It happens on the stock system too when the bike gets to temp and is more pronounced with an aftermarket exhaust system. A lot of people get Block off plates that delete the AIS system which usually makes the burbles go away. For me I like it, adds some extra drama to the experience of riding the bike.
Ok, so now that we have that out of the way let's get into the meaty part of the update. about 2 weeks back I received a bunch of parts that I had ordered over a year back. It has been a long wait but finally, the day is here. After the Exhaust system, this is probably the biggest mod I have been looking forward to which is upgrading the braking system of the R1. The Brembo RCS19 Corsa Corta has finally reached my hands and in this post, we are going to cover the installation and initial review after about approximately 500kms of riding post the mod. Along with this I also got the Lightech chain adjusters and the ASV clutch lever installed and also got did some suspension tuning and an oil change done too.
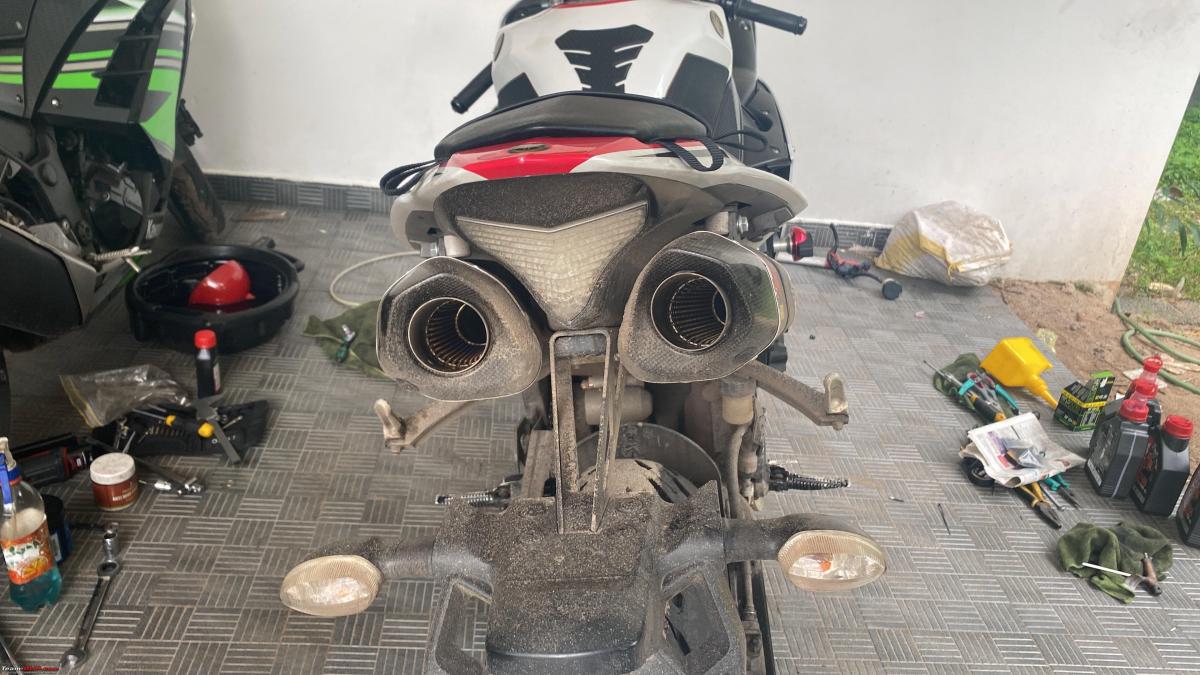
The goodies waiting to go in:
Brembo RCS 19 Corsa Corta upgrade:
Well, it's no secret that I feel the stock braking prowess of the R1 is something I am not happy about. The bike does on most occasions and as inevitable as it is on our roads there have been plenty of occasions where I have been left wanting with more bite and at many times more stability from the braking system. In short, I wanted to change the behavior of the bike's braking to something that's more communicative of what the system is doing while being stable and stopping at a dime with a more aggressive bite!
Obviously, the first step anyone would think of will be steel braided brake lines, alas the bike already comes with a very good quality Spiegler steel braided brake lines, so yeah, I wanted more, the next step would be better brake fluids, I tried a variety of fluid from Liqui Moly Dot 5.1 to Maxima race fluids and with progressive and positive results but nothing that was a change I would say substantial.
So what next, logic dictates, get better brake pads, yes, so I go and get the EBC double sintered pads for the bike, I made the purchase and have been sitting on these for over a year, why haven't I changed it yet you may ask, well, the OEM brake pads still have a ton of life to it, I did not want to waste the OEM pads by just swapping it out for the EBC right away.
The next step in the braking system upgrade would be better master cylinders and I did that too, did a lot of research, and decided to pull the plug on the best Brembo had to offer, the RCS 19 Corsa Corta, last year on my birthday I was feeling generous and decided to splurge and gift myself the Corsa Corta and I had also ordered the EBC pads on the same day thinking it would be a good mod to combine in one go.
Anyways, here we are over a year later, I finally got the MC in my hand but I decided not to go for the EBC pad swap just yet, there are 2 reasons for this, firstly, again the OEM pads still have plenty of life in them. Secondly and more importantly I want to be able to experience what just an MC upgrade would do for the brake upgrade plan and then later see how much of a difference a better set of pads can add to the system, you know, step by step upgrade and experimentation.
Ok, that was a lot of ranting, now let's get to the brass tacks, all the stuff had been laid out and we were ready to get started with the MC upgrade and we hit an unexpected roadblock!
The problematic Banjo:
The current kit came with the banjo bolt that accepts 2 banjo bolts directly to the MC, but the current brake lines have only 1 banjo bolt that comes and feeds into the MC. The reason is that the Spiegler lines are a bit different as opposed to the independent lines that you find with many other brand solutions where there are independent brake lines that run from the mc directly to each caliper. For the Spiegler, it's a single unit that has 1 line that feeds the fluid from the MC, and about halfway it splits into 2 lines via a T junction and makes its way into the 2 calipers.
The T junction that is the root cause of the issue:
So immediately we had a red flag, I guess my research wasn't as thorough as I thought. But then I thought not to worry, I'll just use the banjo bolt off of the current system and that should be fine, right? But no, If history shows us anything it's that in my case it can't be something that simple, the current Spiegler banjo bolt does not fit into the Corsa Corta because the pitch of the thread on the Banjo bolts is different. The Brembo MC accepts a 1mm pitch while the OE MC (which is also made by Brembo back in 2013) accepts only a 1.25mm pitch. So yet again we had to find a solution to this problem, so I set about looking at RevZilla and sportbiketrackgear, and many other websites to see how fast I can ship out a banjo bolt that would solve my problem. But then suddenly we realized that maybe just maybe there are some bikes sold here that might be using a 1mm pitch Banjo bolt in their braking systems, most of the bike here run on bybre systems which is a sister company of Brembo anyways and a banjo bolt at the end of the day is, well, a banjo bolt. It serves the same purpose no matter what MC it goes into.
The solution:
The saviour:
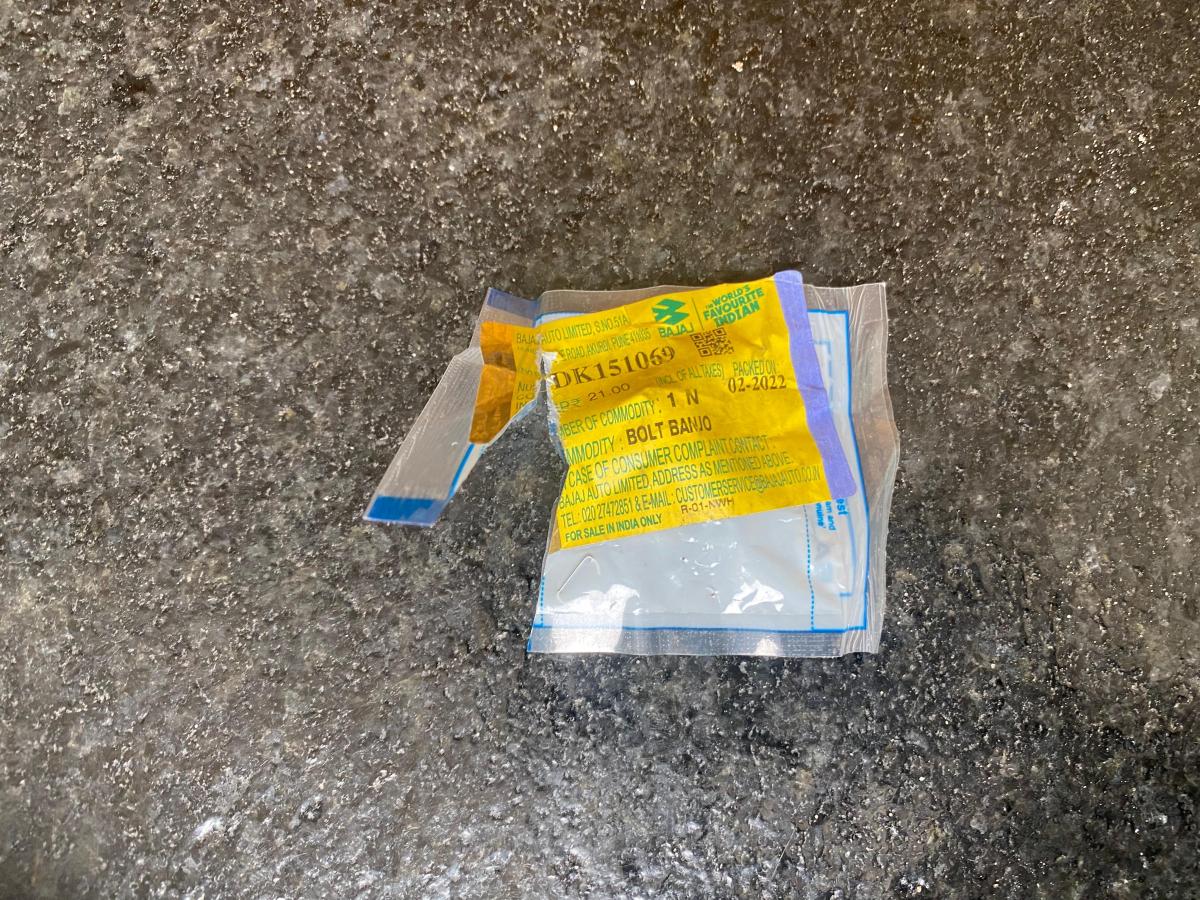
And that's how we find out that the Bajaj 200NS MC uses a 1mm pitch Banjo bolt for its front brake MC, and as you'd imagine we immediately jumped on the bike and went to the nearest Bajaj dealership and bought the Banjo bolt in question.
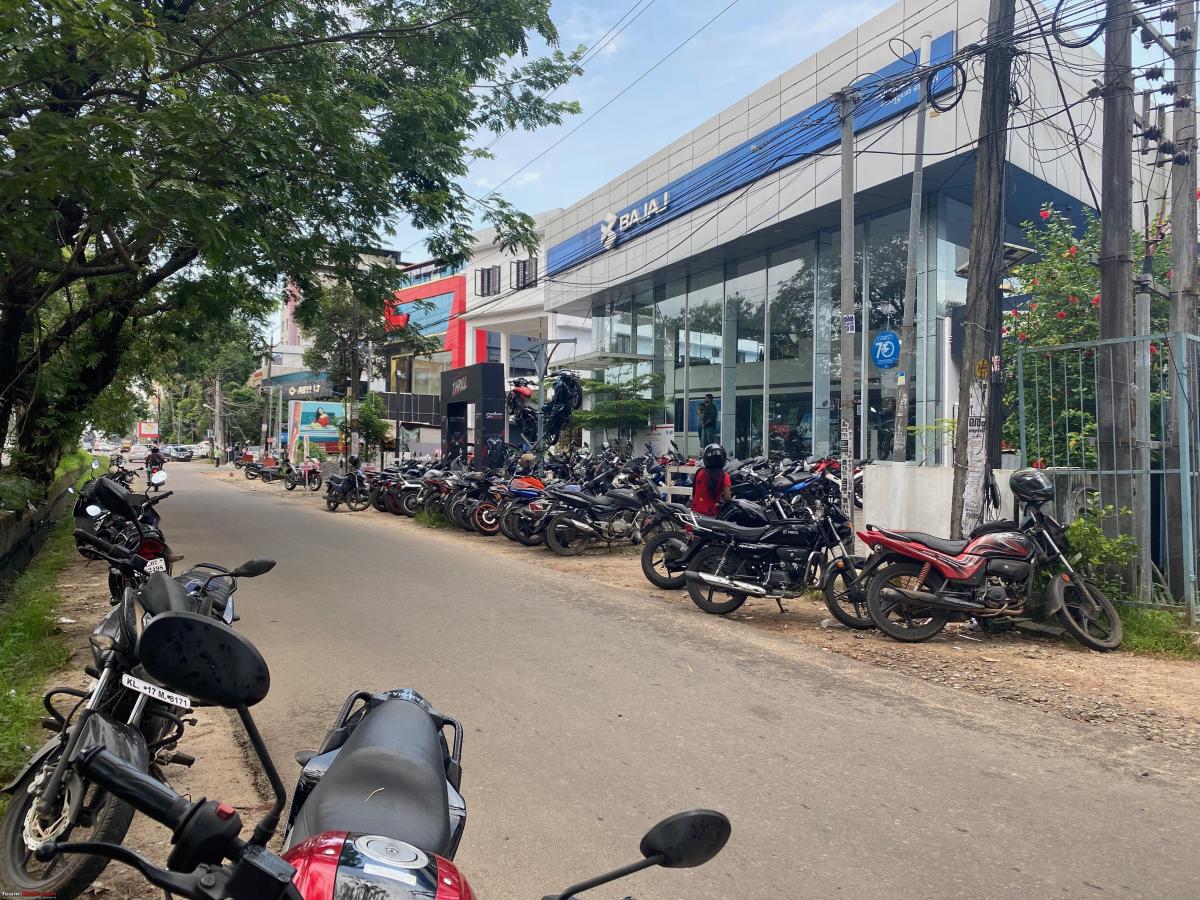
Quick drop in at Bajaj:
We made sure to carry the MC along with us to do a test fit and make sure that the bolt fits correctly and as expected fits like a glove.
Notice the difference in pitch in the Banjos. The red bolt being the Spiegler Banjo:
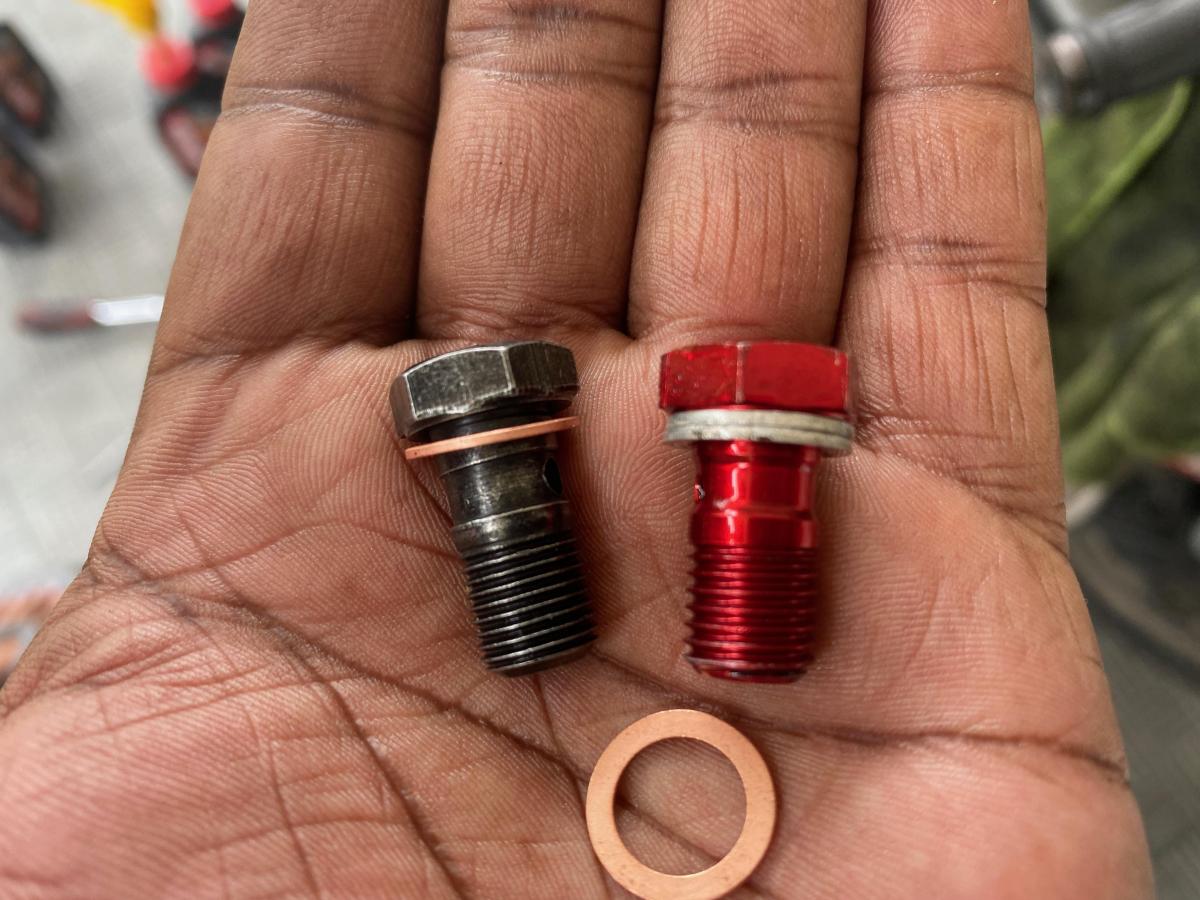
And the best part, how much did it cost us to solve this problem? A huge sum of Rs.21/- including taxes and there I was trying to buy a Banjo bolt from the US for 15 dollars . Sometimes buying local is the best solution.
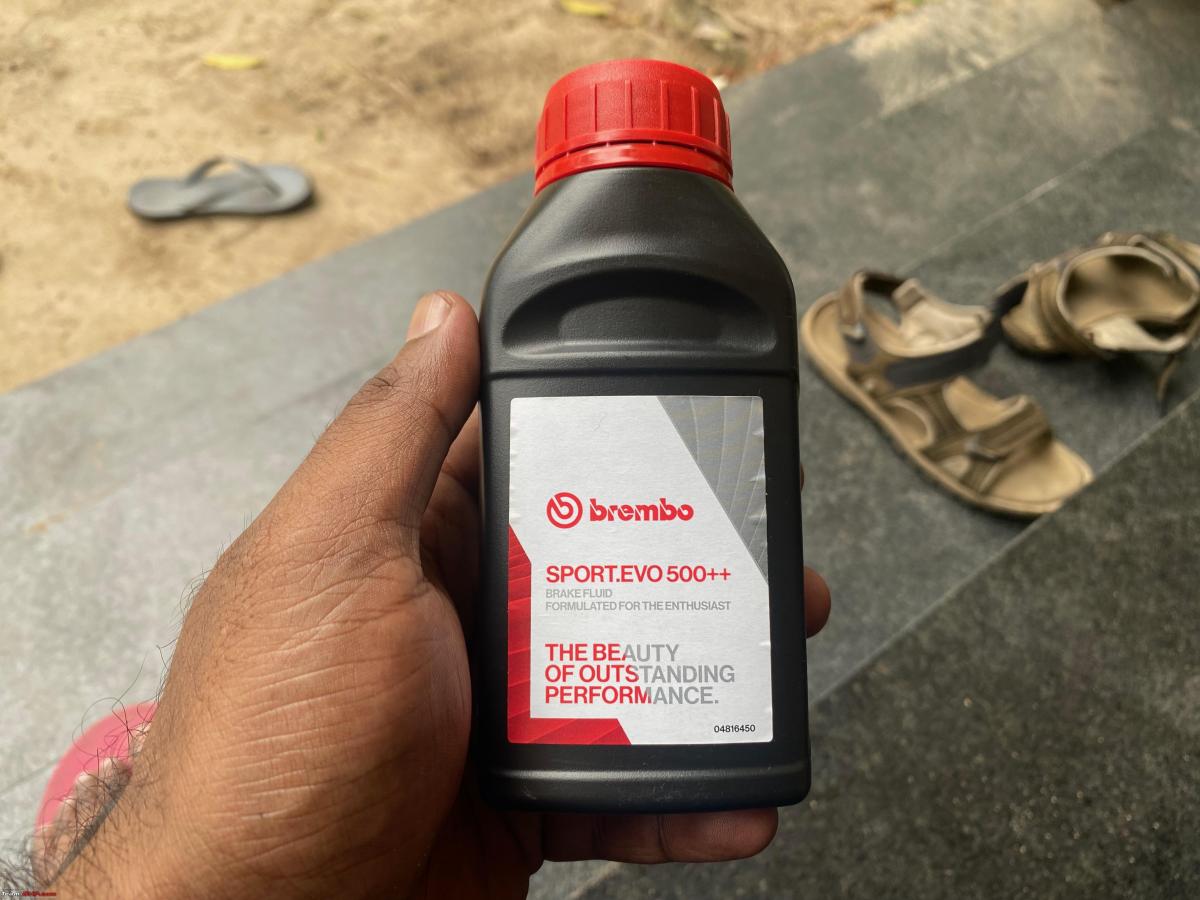
While we were out we also went ahead and bought 4L of Motul 7100 10W40 and also HiFlo filter that I usually use for the oil change I also decided to try out the Brembo Brake fluid to go along with the MC upgrade.
Once all the required items for the change were collected we got cracking, we were tackling the MC change and the Oil change together as the oil change is pretty much a low maintenance job that just takes time and our attention from time to time.

Anyways, we began by making sure we did have all the parts that were required to complete the installation of the new MC and did a test fit, the reservoir and the feed line were plumbed onto the MC and were made ready so that we can attach it as a single unit onto the handlebars which makes it so much easy to work with. Then we started by disconnecting the banjo from underneath the OE MC and freeing the brake line from it and then we removed the cover off of the old fluid reservoir and drained as much fluid as we could before removing the whole unit as one piece from the handlebars.

And we then immediately mounted the new kit onto the handlebars and connected the brake line onto the new MC using the new Banjobolt we purchased from Bajaj and voila we were ready to bleed the system. Yeah, it's as simple as that if you do the prep work just right. Because of the way we removed the line from the OE MC we did not introduce a lot of air into the system from the brake lines to the calipers. So the bleeding process we did was only required to drain any air out of the system that's in the new MC, which was not a lot and we were done within 15 mins, but we went ahead and bled the braking system at all 3 spots, first at the MC bleeder, then at the left and right calipers also. All in all the most time-consuming part of this exercise was the bleeding and that took about 30 minutes in itself(we wanted to be thorough).


Now the next step was to figure out how to mount the reservoir, as the OE mounting points are now unusable.
I had also purchased a reservoir with the mounting kit along with the MC as I knew that using the OE Reservoir was not an option, and the kit came in handy, it had a bracket that attaches the reservoir to the top bolt of the MC mounting clamp to the handlebars, the clamp is flexible enough to allow you micro-adjustment as needed for different bikes and we spent barely 2 minutes before we got a position which was good enough to clear the fairings from coming in contact with the reservoir in full handle lock left to right.
Now since that was done let's talk about the difference now shall we, if I have to use 1 word to describe it it would be "Stability". Oh boy what a difference this change has made, I am not exaggerating or messing around when I say this has made a night and day difference in the way the bike stops. The lever feel has 0 sponginess to it, it's very very direct and precise! There are 3 different modes in which you can set the feedback and that's labeled as S, N, and R. I am currently in N which I think stands for Neutral (Not sure need to check) with S being the most aggressive I am yet to try. The pedal feel is just something else, it's very direct and communicative, you get to feel exactly how much pressure is being applied onto the pistons in the calipers and all it takes is 1 finger to bring the bike to a halt no matter what speeds you are doing and it does this with no drama at all, you don't need to guess at what point the wheels are going to lock up(No ABS on this bike!) because they feel from the levers is just enough you know where the limit is! In the 500 plus km I rode with this I have covered it in multiple scenarios, I rode it in the dry, in the wet, during an active heavy rainfall, and tried it at different speeds varying from city crawling speed to highway cruising and WOT to standstill drills as well and I am just blown away from what the product has to offer.
I cannot express how happy I am for what I have got out of this one single upgrade. Worth every single penny I spent on it and worth every single day I waited for it too. No regrets whatsoever. I will be covering the range of adjustability the Corsa Corta has to offer (which is huge) in another post once I have put a few thousand km of riding behind with all the different settings and will post my finding here, until then what I have already typed up should serve as an initial experience/review.
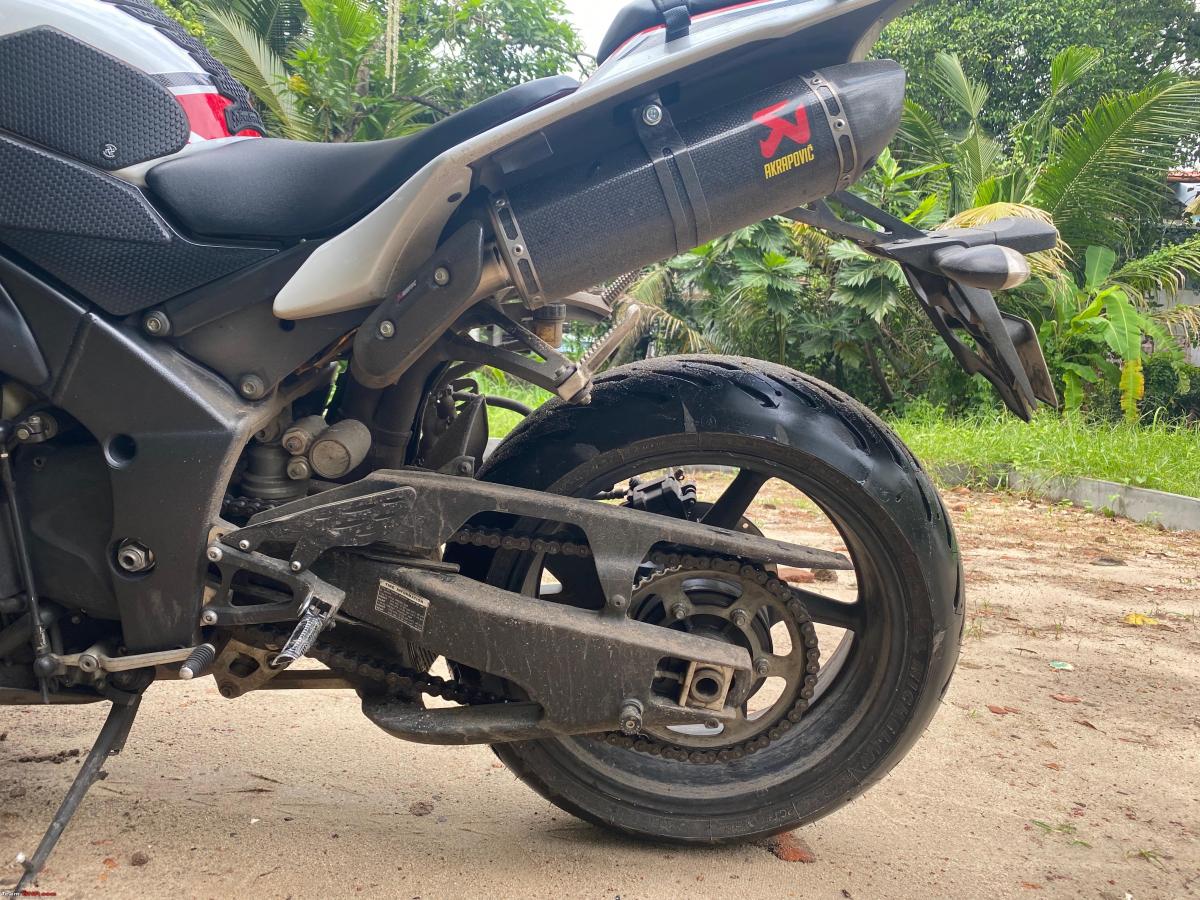
Current setup:
Final look post install:
Cheers,
Krishna.
Check out BHPian comments for more insights and information.
News
Step by step DIY: Replacing rear brake pads in the Hyundai Verna


Remove the retainer clips , rub the surface with sand paper to remove rust. Wipe it clean and then grease it as well.
BHPian stanjohn123 recently shared this with other enthusiasts.
Here is another DIY job of replacing the rear brake pads in my Verna.
Things you need for this DIY:
- 14mm socket wrench.
- Brake pad caliper grease - Fa Duca Lub Grease. I used these on the front and so far they are good, no squealing noises.
- Nose plier.
- Flat head screwdriver.
- Rear brake pads : Bosch brake pads.
I have made a complete step by step video guide as well, so those who want can watch it here.
Now let's get to the DIY:
Step 1: Crack open the brake fluid reservoir cap. This is necessary because while pushing the caliper pistons inward, excess brake fluid will be pushed outward.
Disengage your hand brake as well:

Step 2: Use the 14mm wrench to remove the 14mm brake caliper bolts:
Step 3: Gently wiggle and remove the brake caliper and use the flat head screw driver to remove the old brake pads:
Step 4: Remove the slide pins, they just slide out when you pull them. Clean off the old grease and apply new grease on them. Then reinsert:
Remove the retainer clips , rub the surface with sand paper to remove rust. Wipe it clean and then grease it as well. I did not get new retainer clips with my Bosch brake pads, so I'm just reusing the old one:

The inner brake pad which comes in contact with the piston must be greased in this portion:

While the outer brake pad will be greased in these portions:

Step 5: Rotate the brake caliper piston in the clock wise direction all the way in with the help of the Nose Plier:

Step 6: Insert the retainer clips and brake pads in place. You have to insert the brake pads at a slight angle:

Step 7: Take your brake caliper and put it back in place. You will have to push the sliding pins inwards while placing the brake caliper. Tighten it with the 14mm bolts.
Do the same job on the opposite side as well and you're almost done:

Step 8: Start your engine and keep half-pressing the brake pedal. Keep the brake fluid reservoir cap slightly open. Don't press the brake pedal fully in as this could damage the master cylinder.
Close the brake fluid reservoir and you're done.
I hope you enjoy doing this DIY at home.
Check out BHPian comments for more insights and information.
Pages
About Us