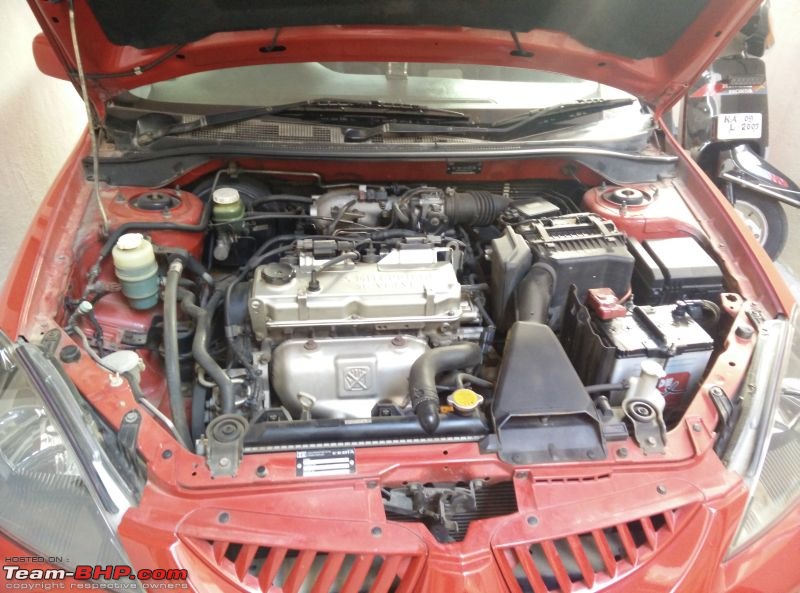
It was the D-Day for the major service! Instead of doing it by myself, I went to Blackworks and get it done.
Arriving early hehe

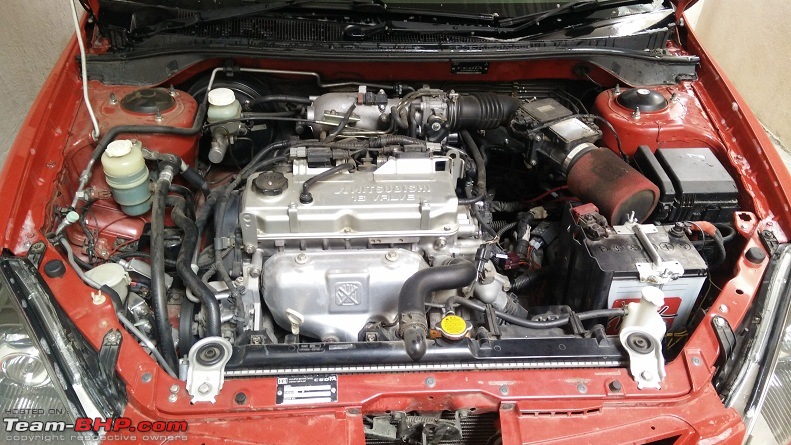
I got a new Front O2 sensor from a Mitsubishi Evo 9. Replacing the O2 sensor helped remove the problematic engine response below 1K rpm. Result!

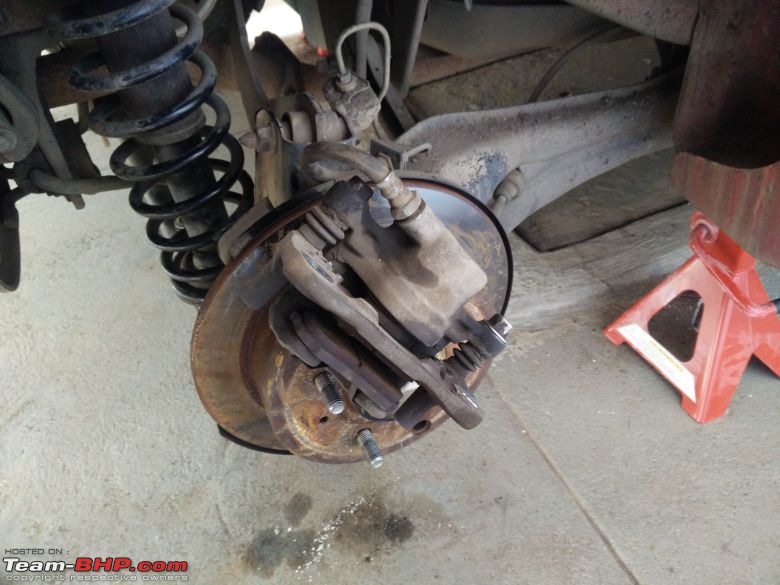
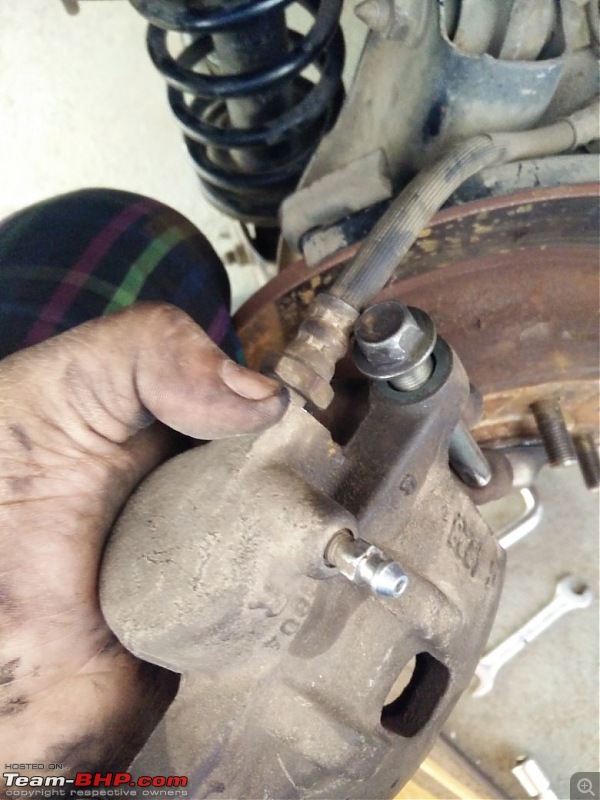
Last year when I took apart the front brakes to paint the calipers and grease everything, I had noticed that the piston dust seals were damaged. I procured a new set of front caliper rebuild kit and it was time to replace them. Since the rebuild kit also had new piston seals, decided to tear apart the whole caliper and rebuild everything on it.
Piston as it is. there is light corrosion which is common for a 10 year old car.

Piston after cleaning. There is light pitting but it shouldn't affect the piston operation since the pitted portion does not come in contact with the seals. I'm glad to say I cleaned up all the mess without having to use any emery paper/ abrasives.

Insides of the caliper also showed some corrosion; the body of the caliper is aluminium and technically there should not be any rust!

Cleaned off everything, using techniques to safely remove all embedded iron/rust without he use of any abrasives. Any rust on the surface next to the piston will accelerate corrosion and reduce life of the brake fluid.

My front left wheel barrel was covered in grease since the driveshaft boot failed. It looked like a mess alright

Cleaned the wheel. Its not 100% perfect but there were other higher priority things on the car to tackle that day.

Both calipers rebuilt with fresh seals
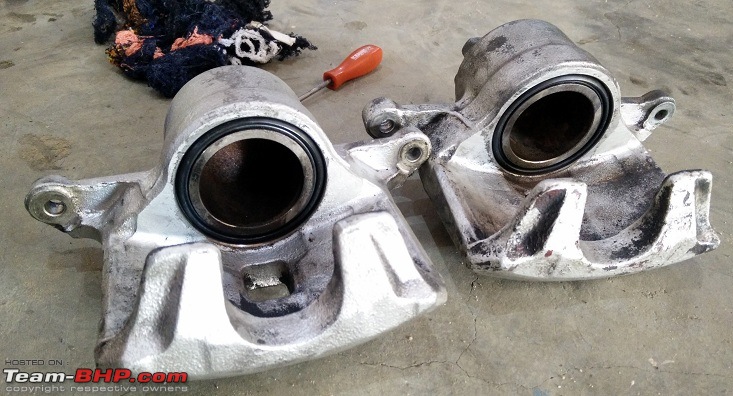
The calipers were reinstalled with Mintex Brake pads. The front brake pads had completely worn out; the wear indicator line wasn't visible on 2/4 pads heh. The rear brake pads had life but swapped them out to an all Mintex pad setup. Reused the brake pad shims from the Brembos since the Mintex pads didn't come with any. Anyone who sees my front brakes will be fooled to believe I still run Brembo pads

Next was the coolant flush and replace. We drained the radiator to begin with. The quantity of coolant that came out was less; only around 2.5-3L. I had asked Chandru to get about 15L of distilled water since I wanted to do a thorough flush and drain. Since we couldn't drain the whole system, we filled up the radiator and bled the system and thought of tackling it another day. Chandru also noticed some "rust" and other crap sitting on the top of the radiator and recommended I use a radiator flush.
Somewhat dejected, I came back home then headed to JC road to buy a radiator flush. No one had it; I saw Xado/Very Lube radiator flush at JK Automobiles, waited around 10 minutes at the shop, no one was interested to sell anything to me. Frustrated, I went back home empty handed and this just reinforced my decision not to buy anything ever for the car from local shops. Buying stuff from USA is easier than getting parts from JC road. Ordered Liqui Moly Radiator Flush from amazon and it showed up two days later. Drained 200ml coolant and replaced it with the flush, ran the car for about 10 minutes till the thermostat opened and the flush was circulated everywhere.
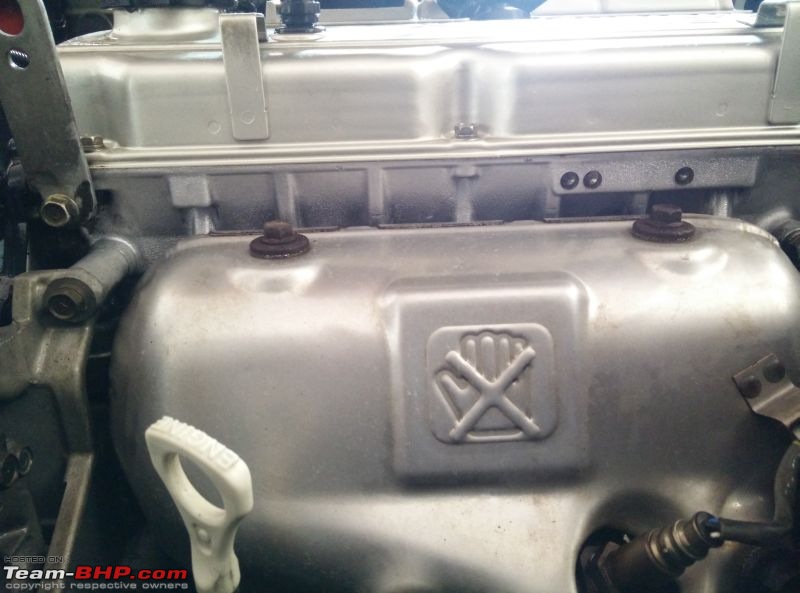
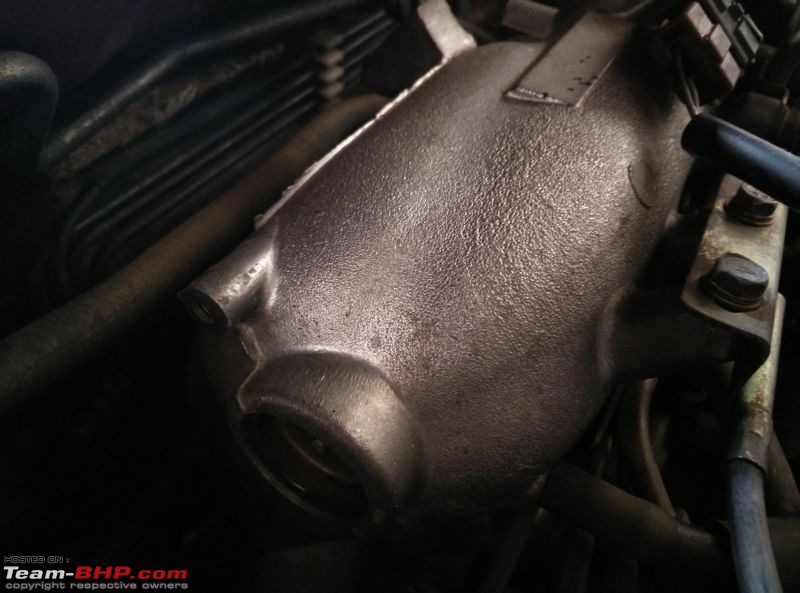
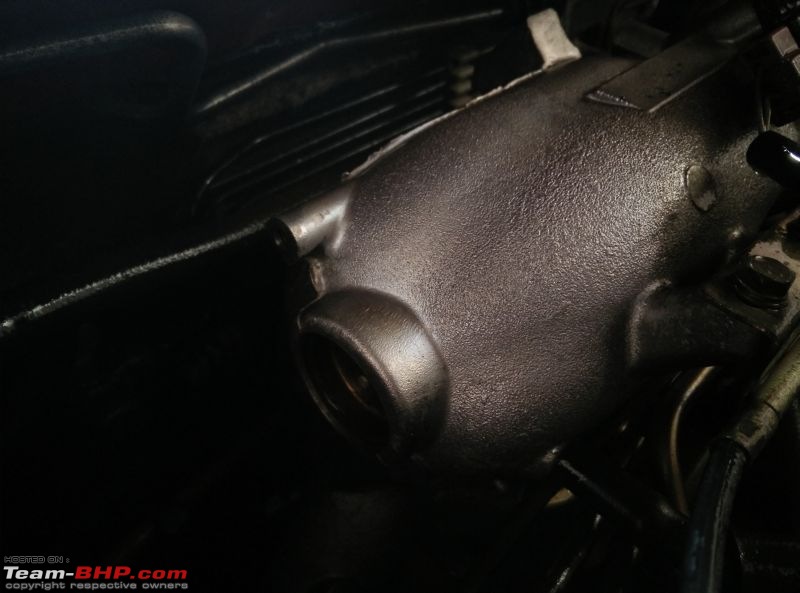
I was reading upon the service manual on the process of draining the coolant, there was one step where the cylinder block drain plug had to be taken out. The sad thing is nowhere on the manual, or even the engine rebuild manual the location of the drain plug is given!!!
Drain coolant by removing the plug. but where??

I found a reference in the parts catalog. We looked around the block in that area and could not find such plug
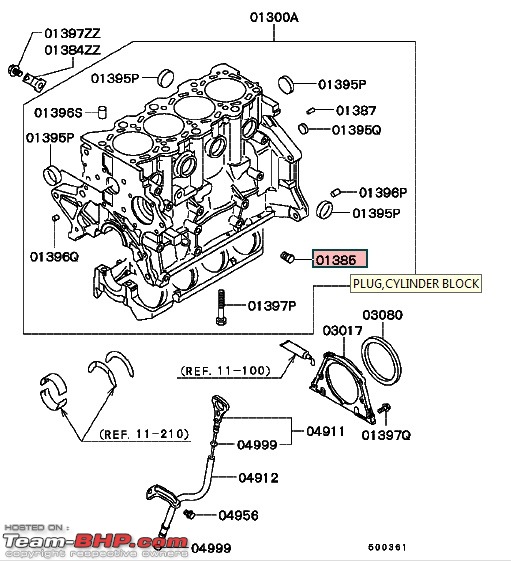
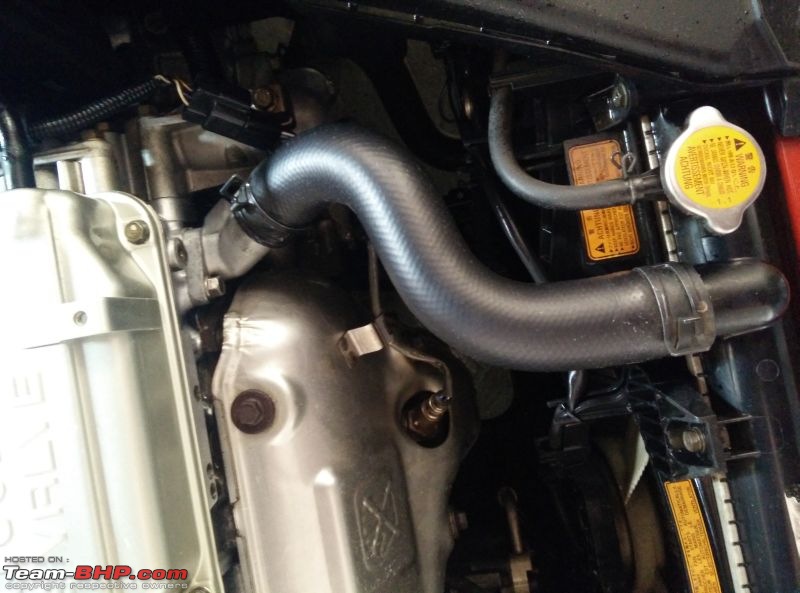
Next day, drove back to Blackworks. This took about 45 minutes giving the flush enough time to work. We looked around the block and couldn't find any drain plug. Chandru had the idea of taking out the thermostat and draining the coolant from the passages, we gave it a try.

It was a resounding success! Using his proprietary techniques, he drained out most coolant. I was pleasantly surprised to see no corrosion on any of the coolant passages I could see, which is also an excellent result. We replaced the thermostat and I set to work cleaning the overflow bottle.
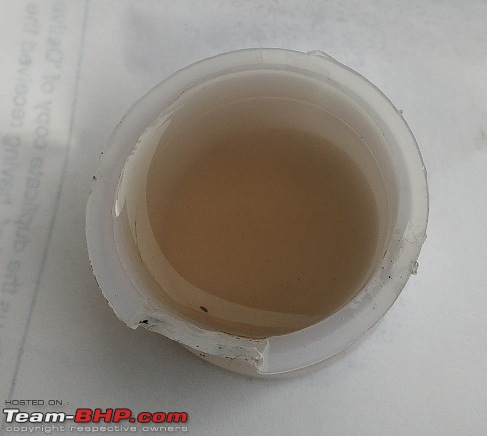
The contents of coolant overflow bottle had the color and consistency of chocolate milk shake, YUCK! I managed to clean it fairly okay.

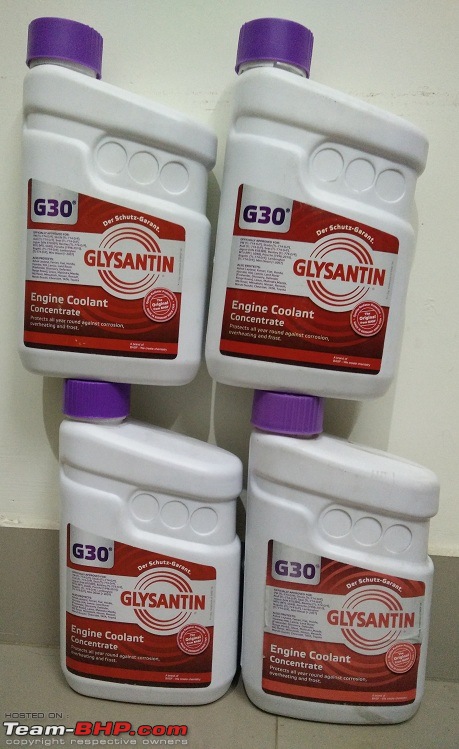
Pouring the new coolant mixed with distilled water @ 1:1. Love the reddish violet color! The car took in ~5.9L of coolant, which is very close to the Mitsubishi recommended quantity of 5.96L. So I have another 100ml of coolant left with me if I ever needed to top it up.

A sample of the drained coolant. It looks murky and looks like the flush did its job.
The next day I finally found a document where the location of the drain plug was mentioned. We couldn't find anything there, if anyone is changing their coolant, they can check up and let me know.

Last item of the job was to replace the tie rod ends. The boots of the ones on the car were damaged; although they were working OK, didn't want to take a risk and replaced them with OE tie rod ends.

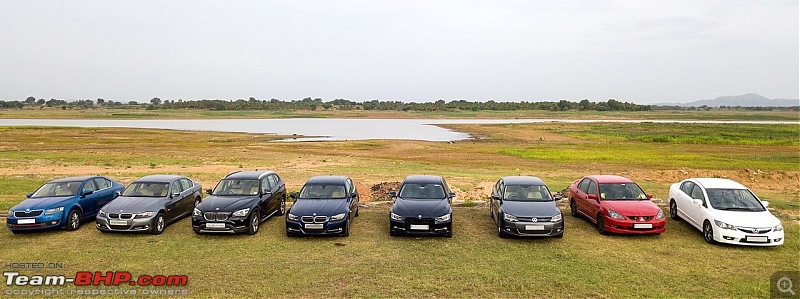
Somewhere on the way back home I crossed the 90K milestone. It has been a very slow 1000KMs, I should be racking more miles soon with couple of trips including a TBHP drive to Ooty!

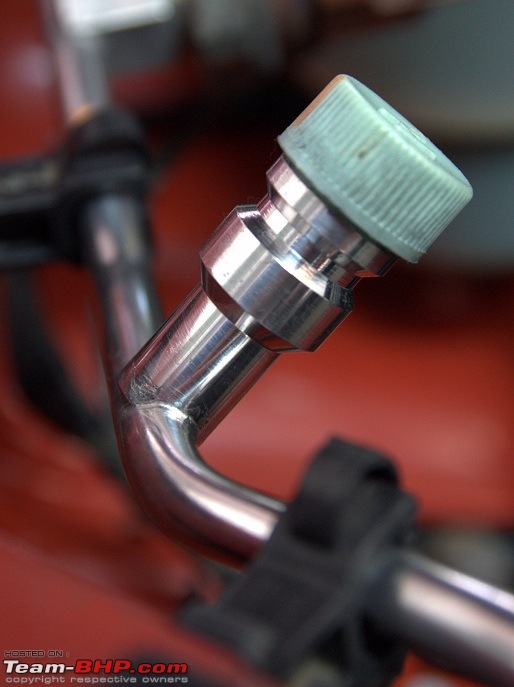
Last but not least, I managed to connect the AEM wideband to the Evo ECU. Now the ECU can read the AFR from the wideband and I can log it using Evoscan without using any serial cable. Next upgrade for the ECU will be a patch for a narrow band simulator based on the wideband signal. If it works, I can replace the front O2 sensor with the wideband and get more accurate fueling.

Special mention of thanks to the mechanikitties of Blackworks. They can be a pain in the butt sometimes but cant help adore them!

 (9)
Thanks
 (10)
Thanks
 (20)
Thanks
 (22)
Thanks

 (7)
Thanks
 (43)
Thanks
 (6)
Thanks

 (8)
Thanks
 (1)
Thanks
 (1)
Thanks

 (7)
Thanks
 (1)
Thanks
 (2)
Thanks
 (13)
Thanks


